I have the tamiya nashorn, and elefant in my stash waiting to be built. However, I just picked up my first air brush, so I bought the tamiya StuG IV as a nice cheap kit to practice my air brushing on before moving on to newer more expensive subjects. I also plan on practicing making my own zimmerit on this kit in prep for the elefant.
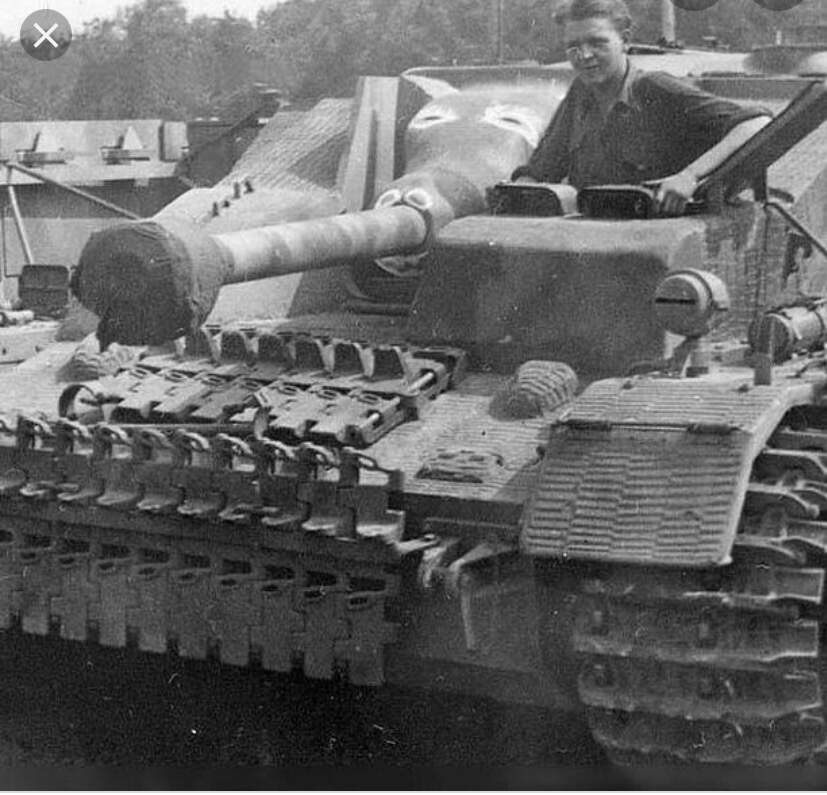
Does anyone have good period pictures of StuG IV with zimmerit so I can see where it was mainly applied and have some references? I scoured the Internet and found some stug III ones but was having a harder time finding some good photos of StuG IV
I maybe wrong but I think it was only the earlier production runs of the StuG IV that had zimmerit, whereas those rolling out the factories later on didn’t. I did manage to find some photos of those with zimmerit here:
Cheers, some great photos in the link. You are correct as far as I know in that late ones didn’t have zimmerit. I think the Tamiya kit is an early variant having 4 return rollers
Yes, the Tamiya kit depicts a vehicle produced during the period when Zimmerit was applied. The kit dates from 1975, and isn’t especially accurate. The hull dimensions were tweaked to fit the standard gearbox for Tamiya’s electric motor system, and the tracks are noticeably too wide. It’s an easy build for a practice model.
Italeri’s kit from a couple of years later was more accurate overall, though it had very early pattern wheels (it was recently tweaked by Italeri, though I haven’t seen the revised kit).
Most accurate Stug IV kits these days are the Dragon versions (pricey and a bit hard to find) and the all-new Academy kit (Academy also offered an unauthorized clone of Tamiya’s kit about thirty years ago, so make sure you’re getting the current one)…
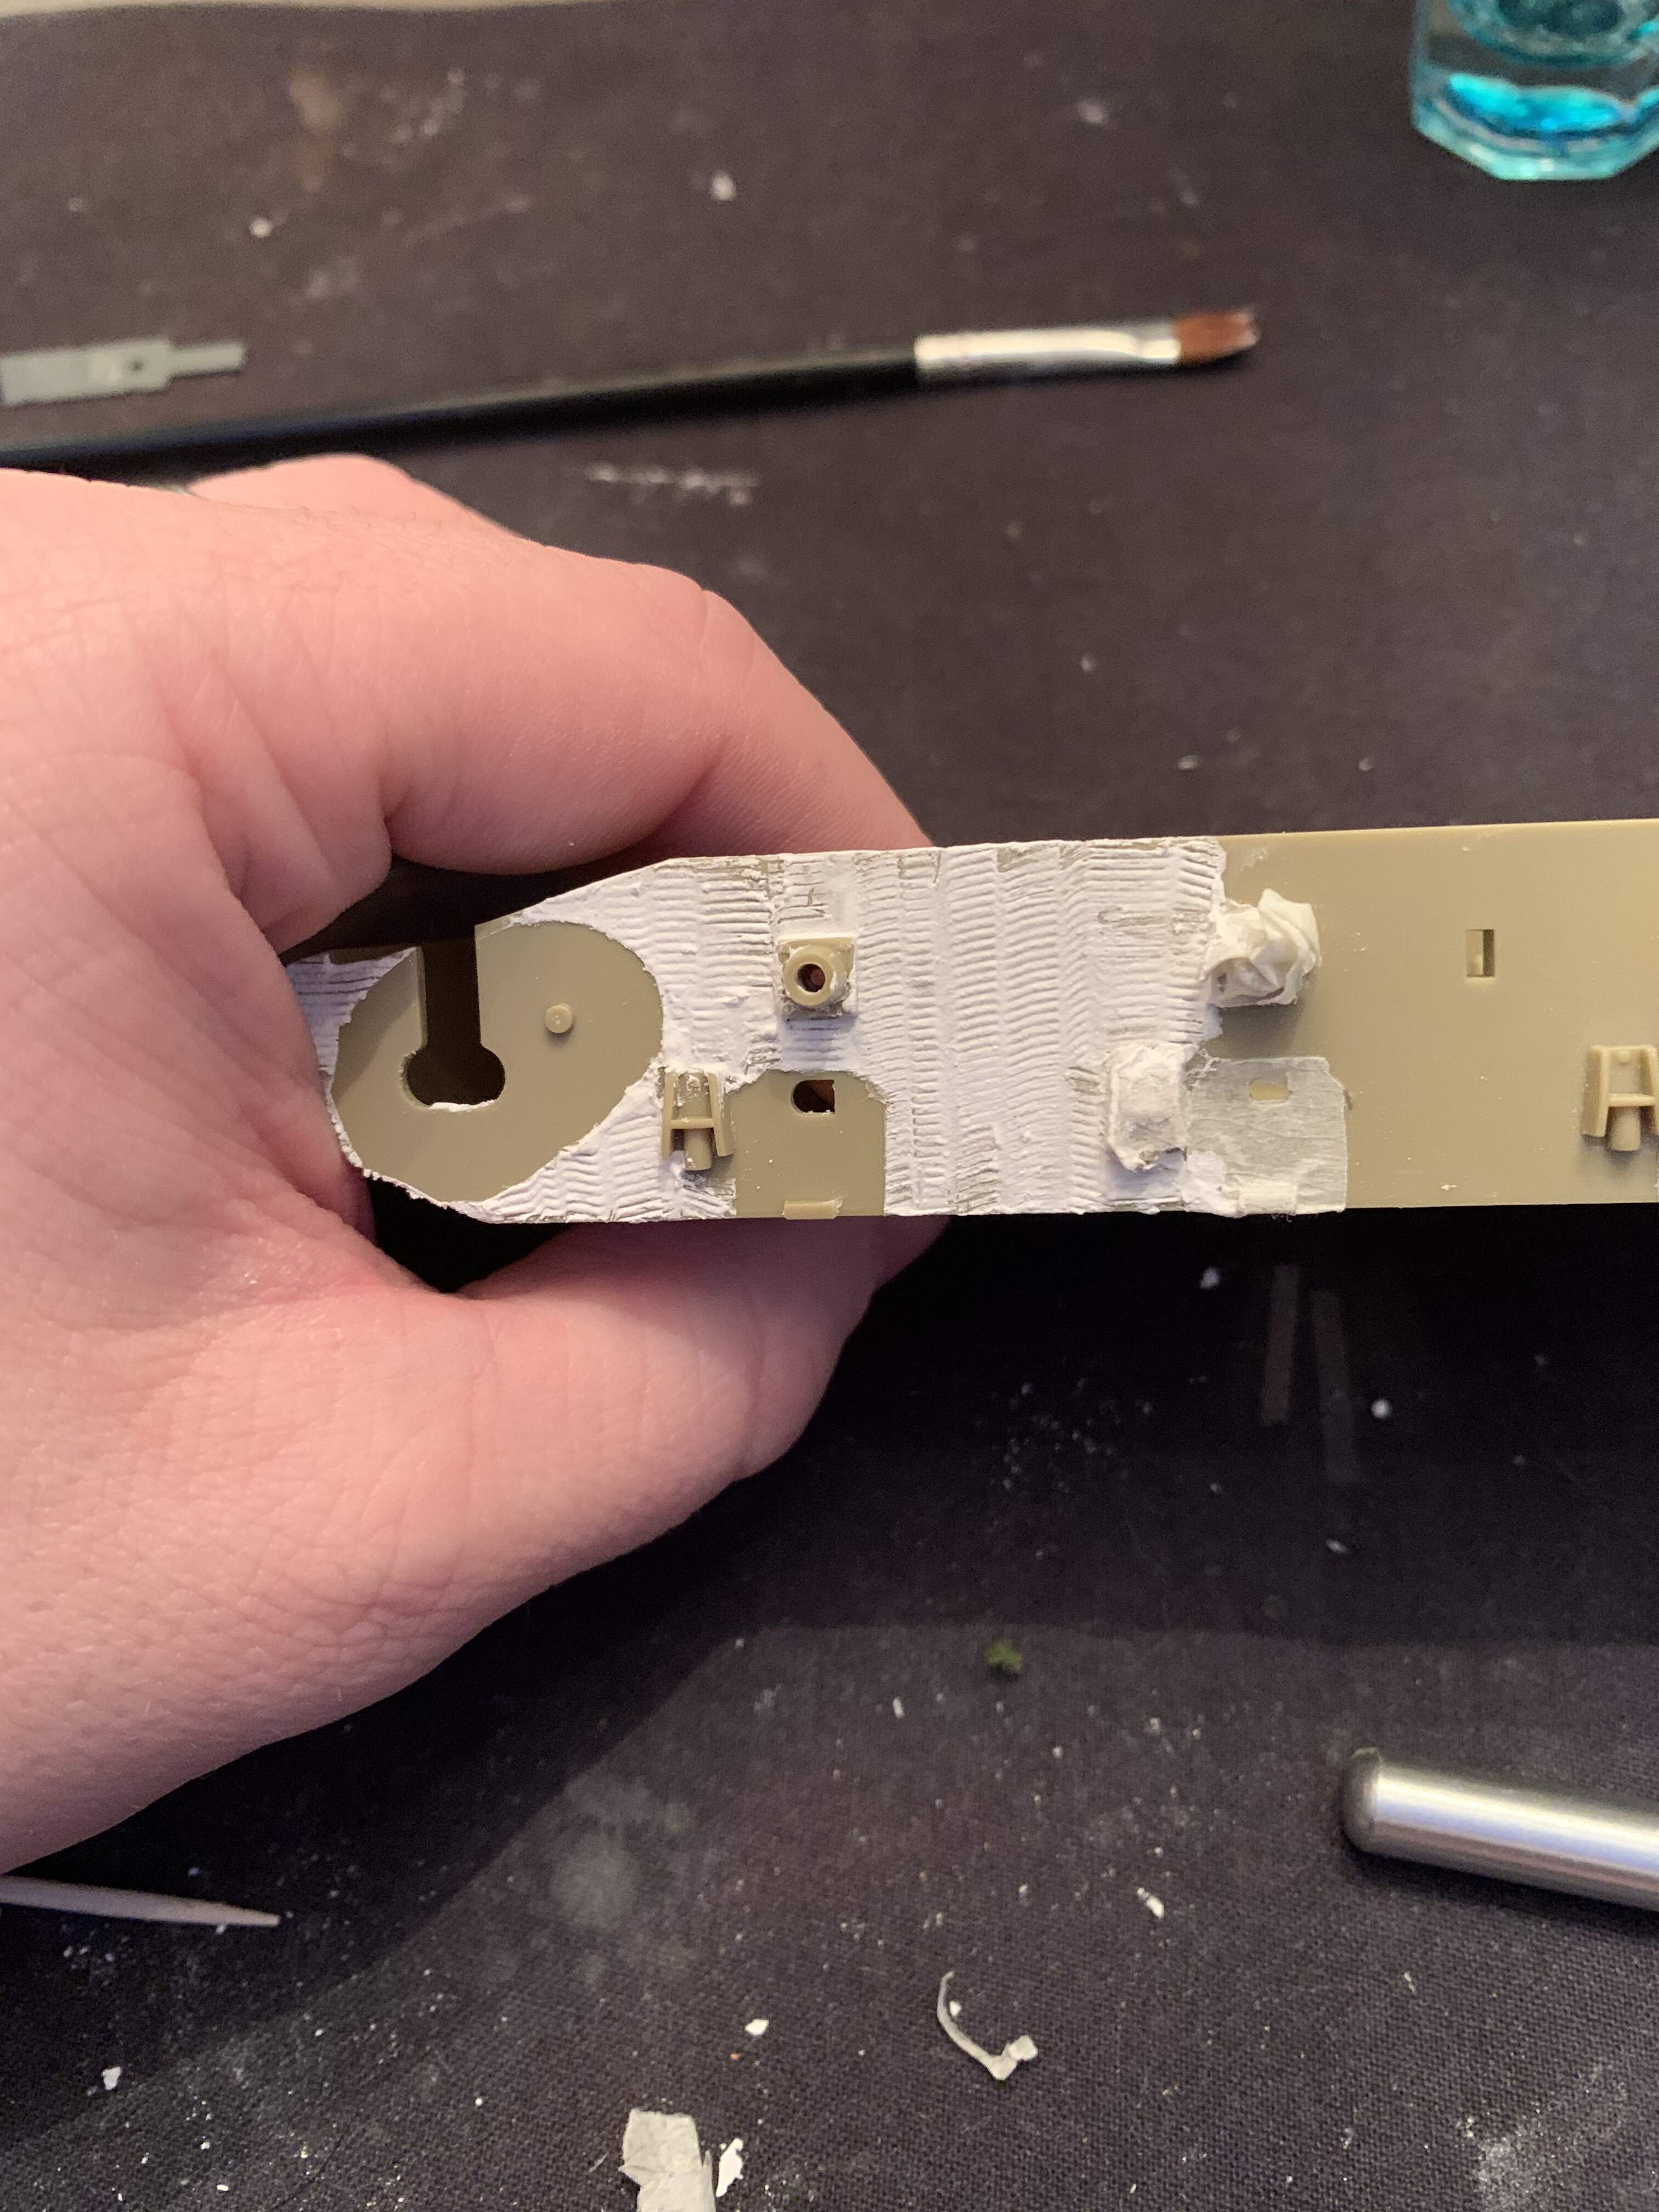
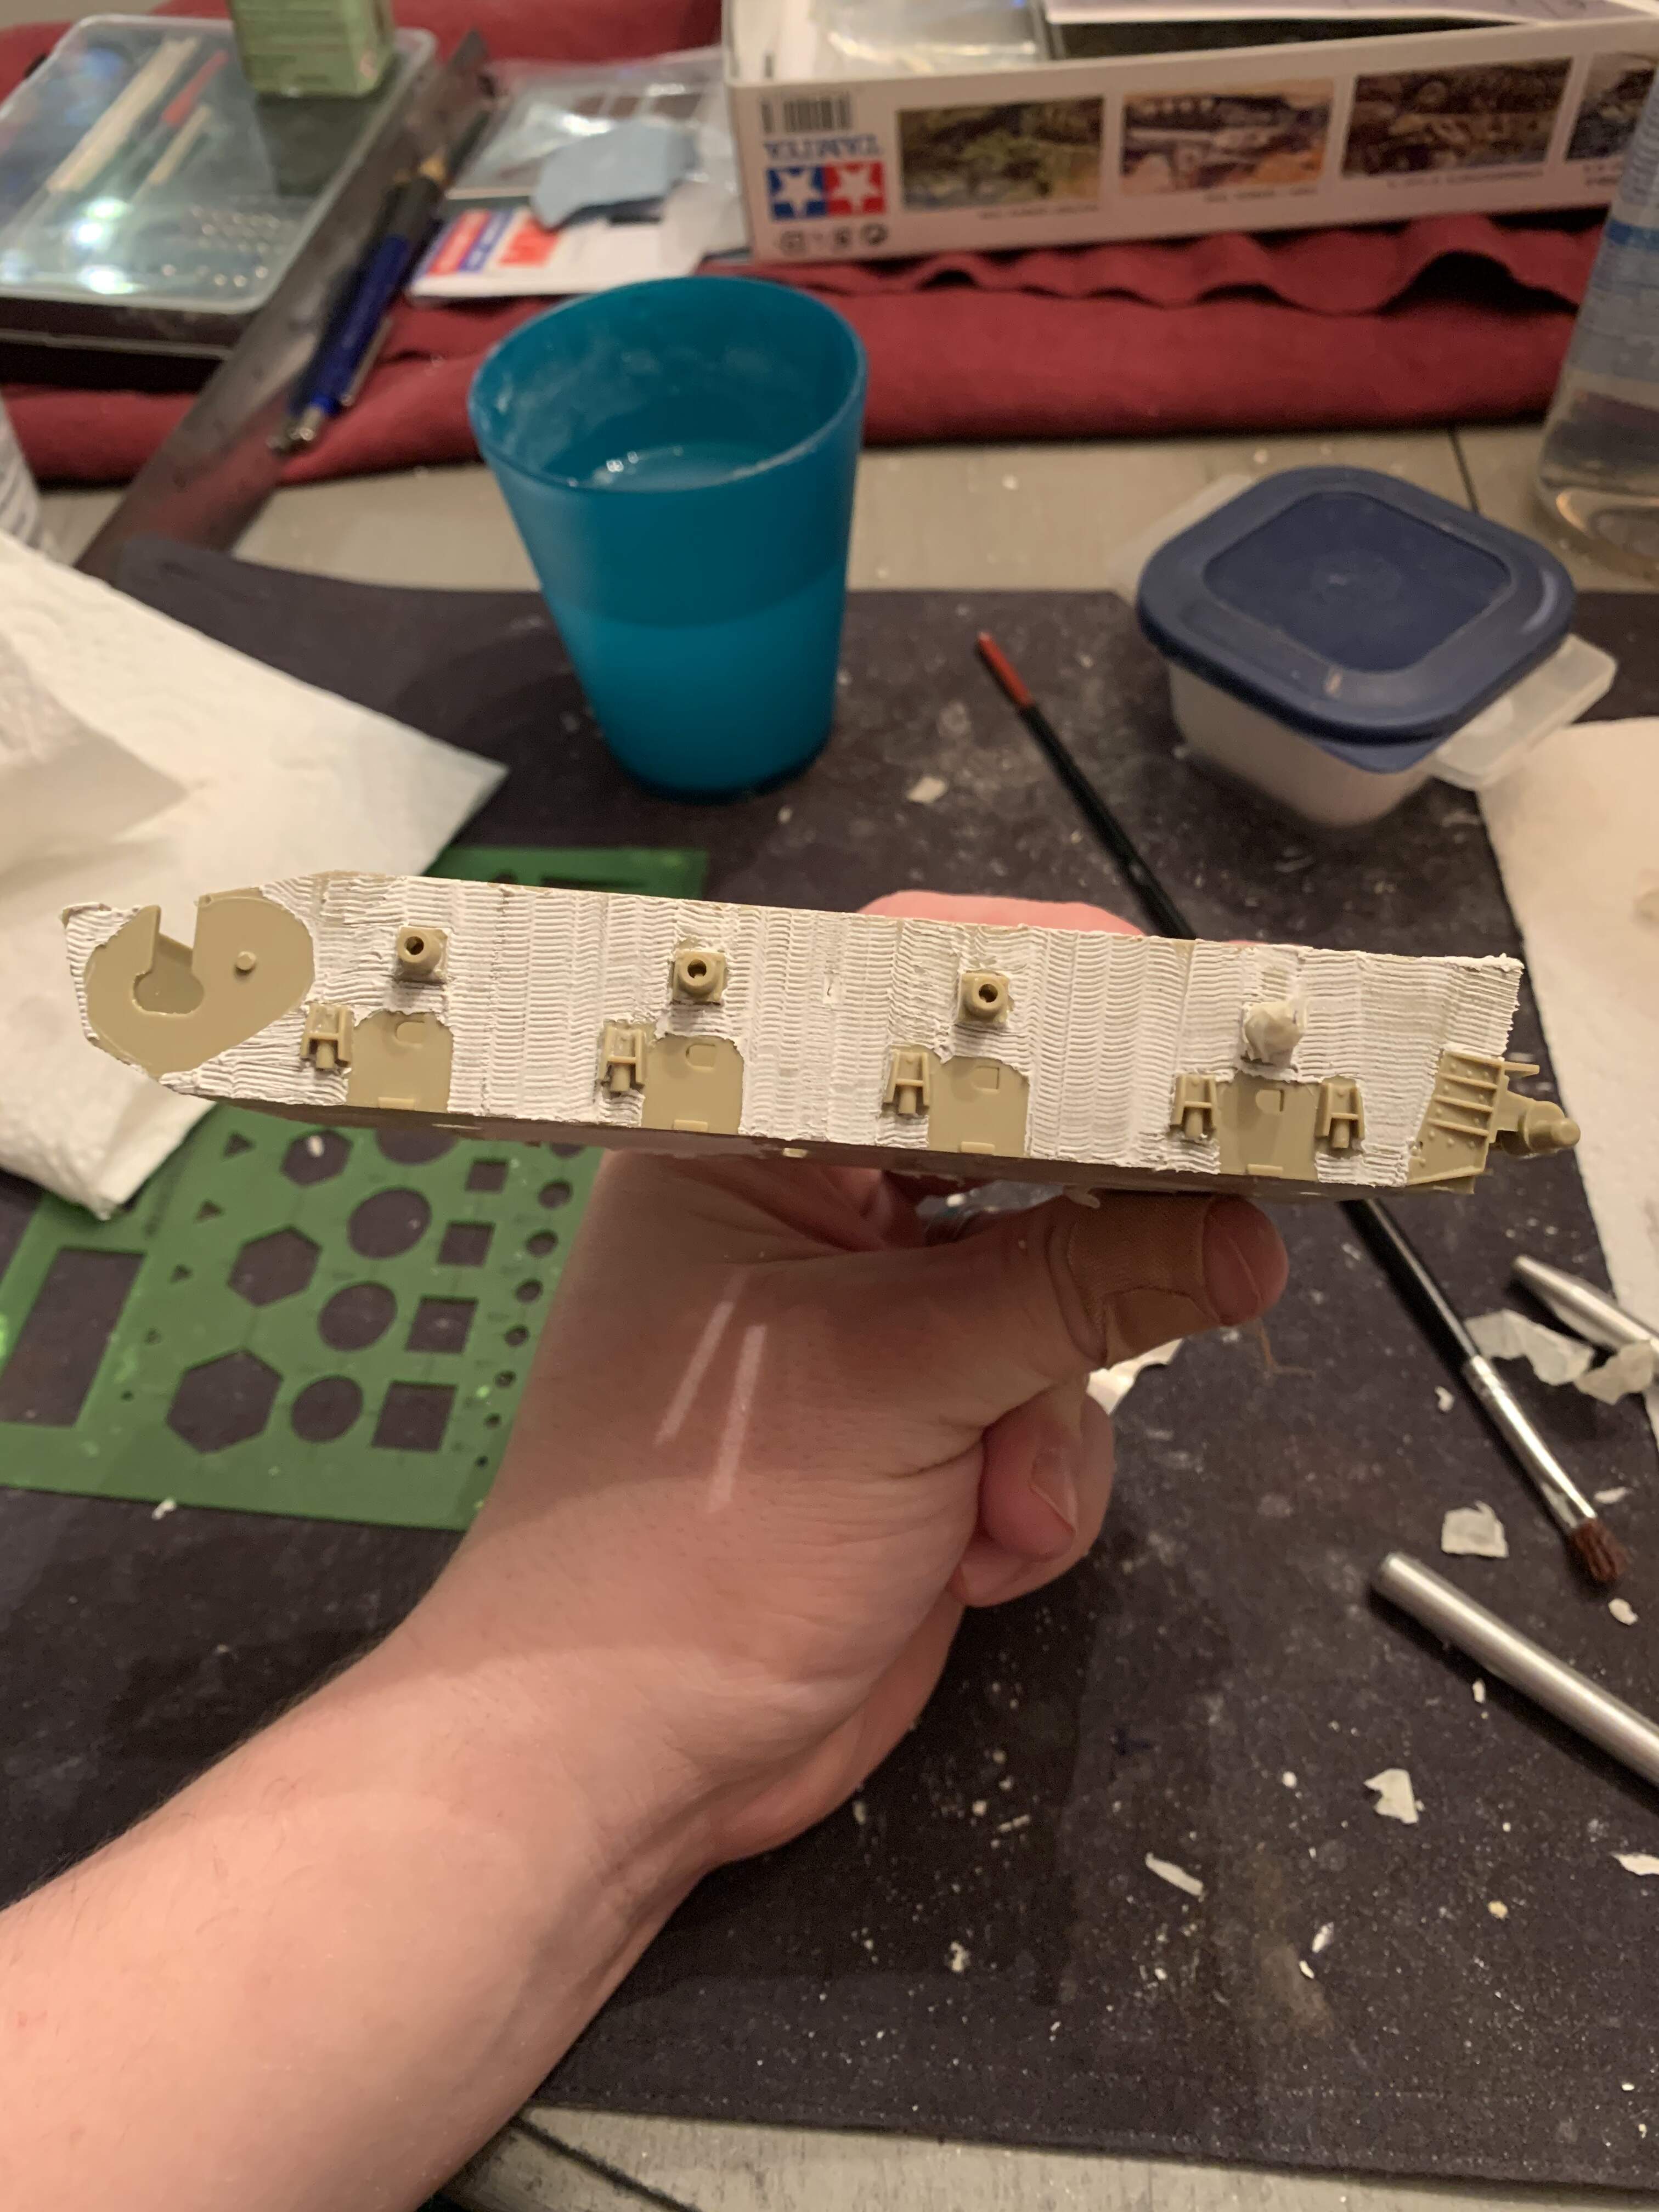
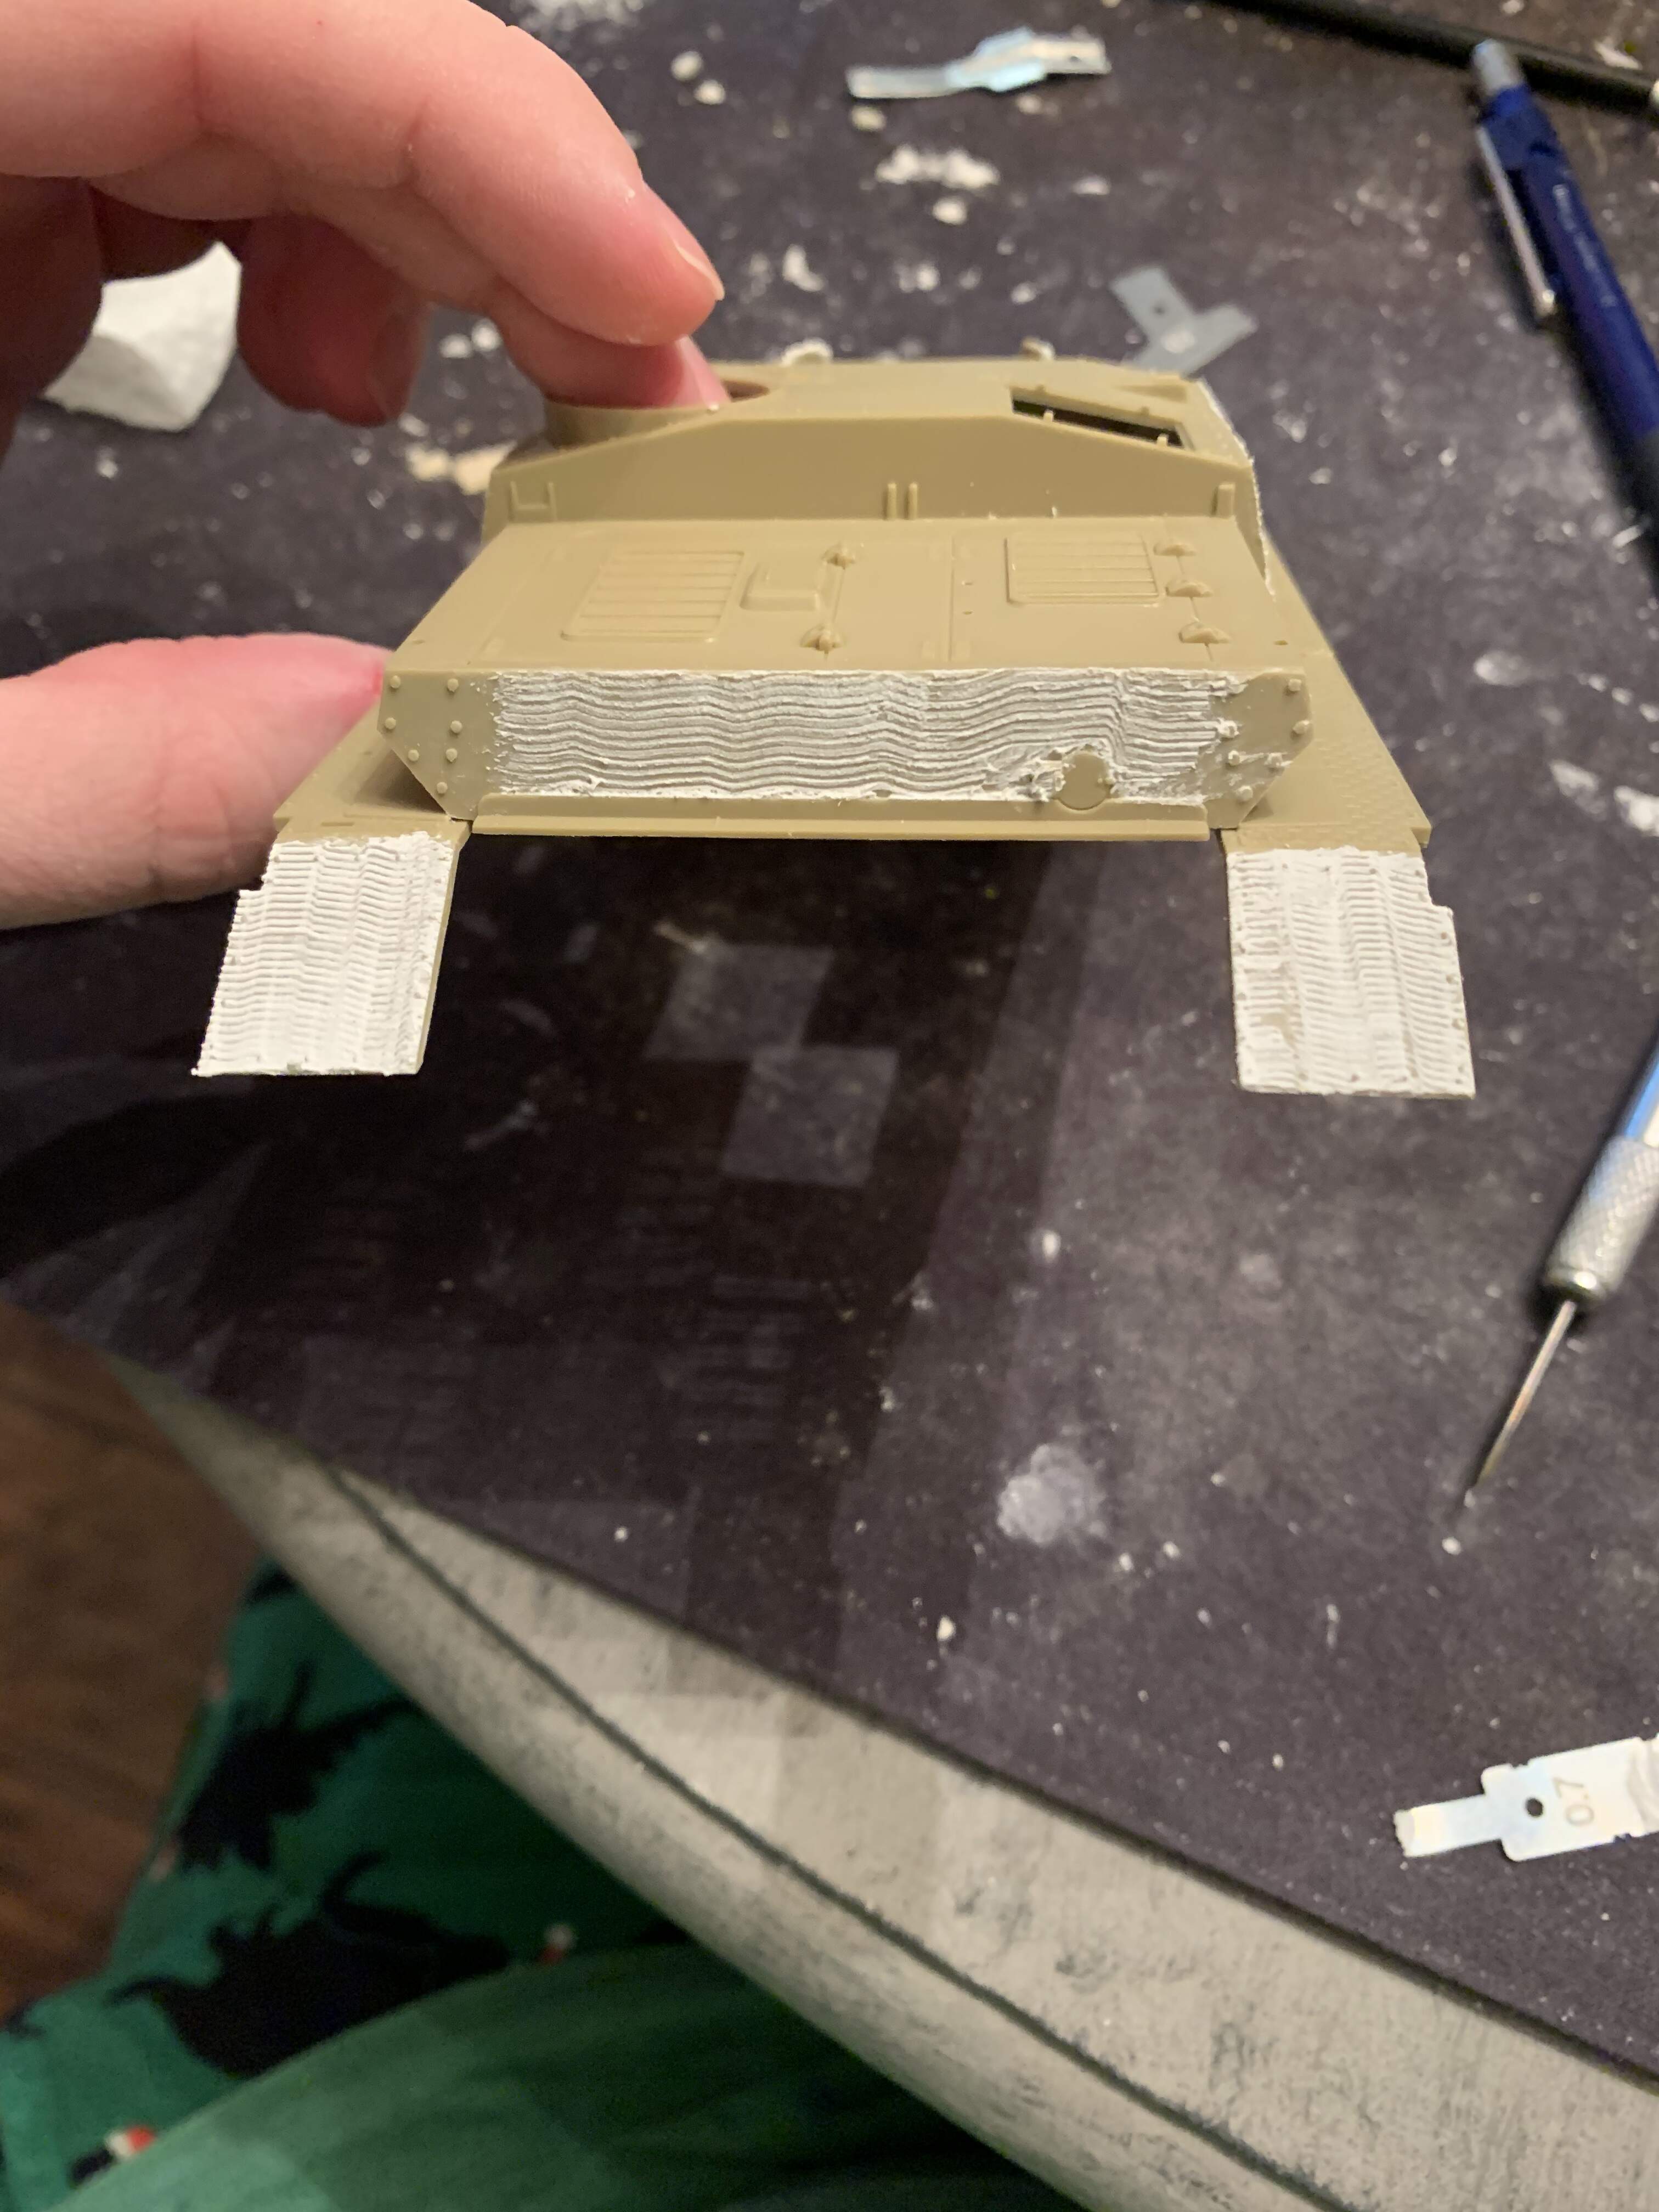
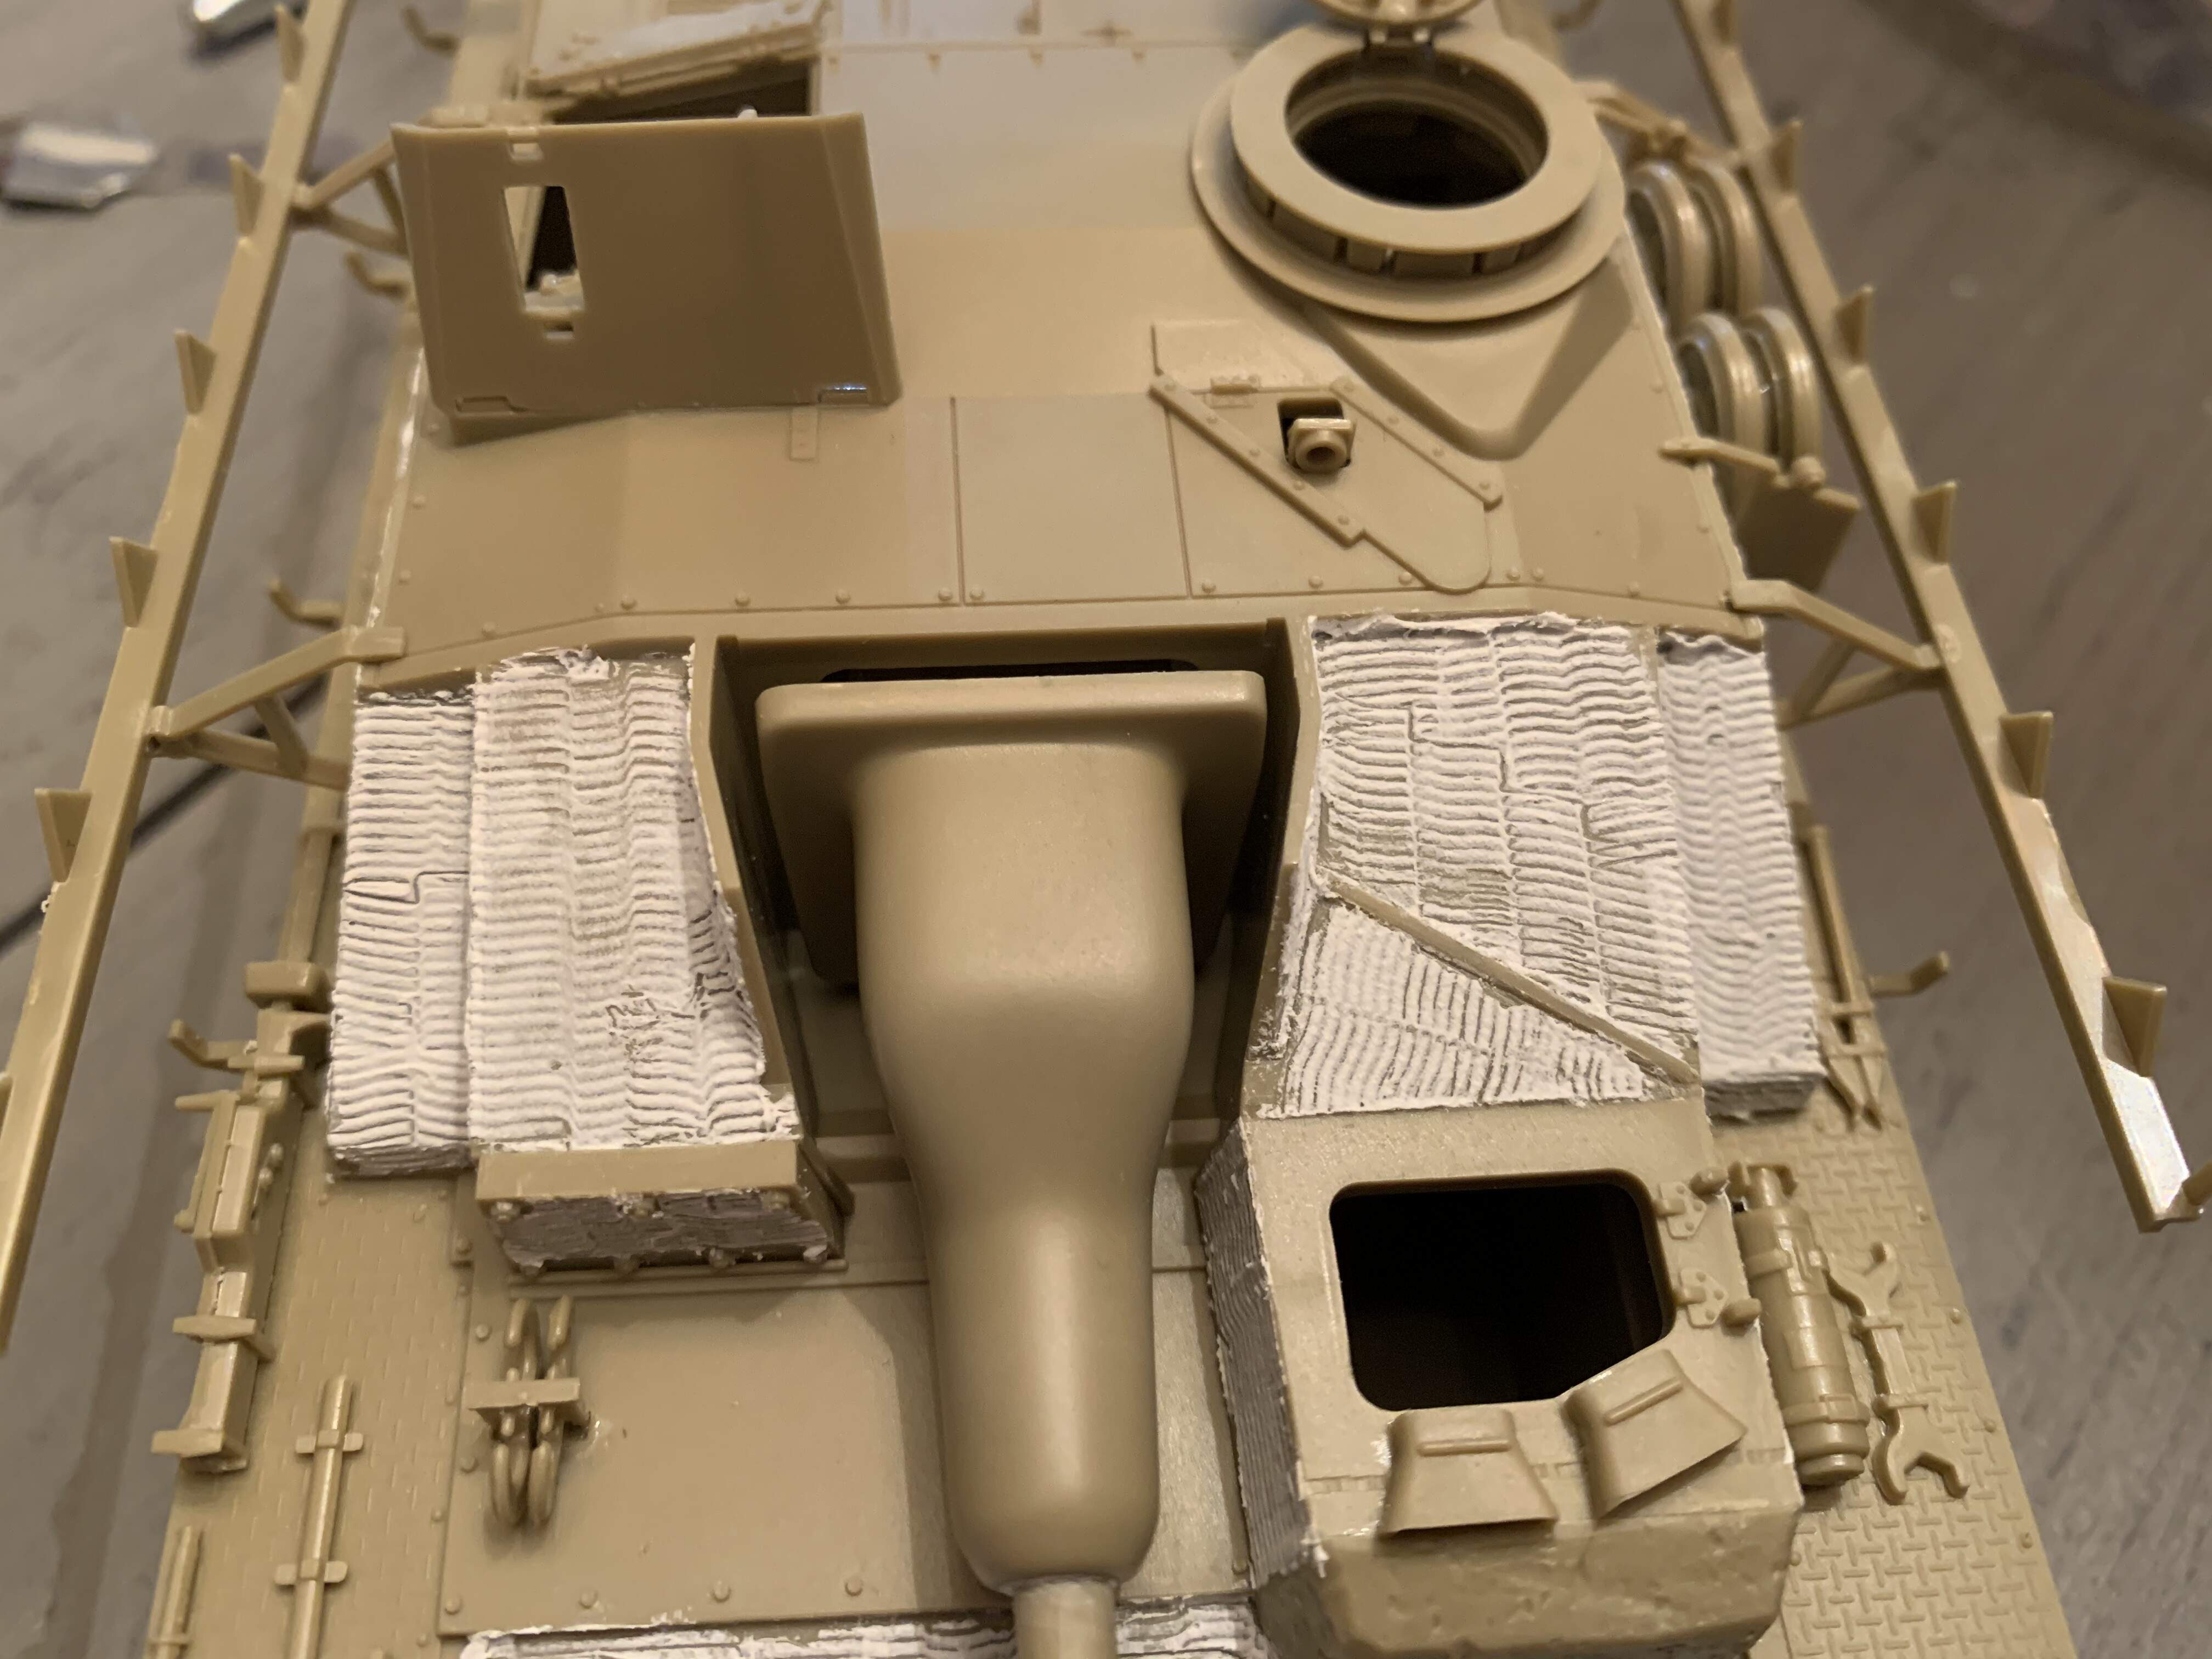
Here is my starting attempt at a zimmerit pattern. Using thinnned drywall spackle and the tamiya zimmerit patter tool. I think it’s coming along decent but want to check into see what people think. It’s still semi temporary now as the spackle is easy to remove before it full cures.
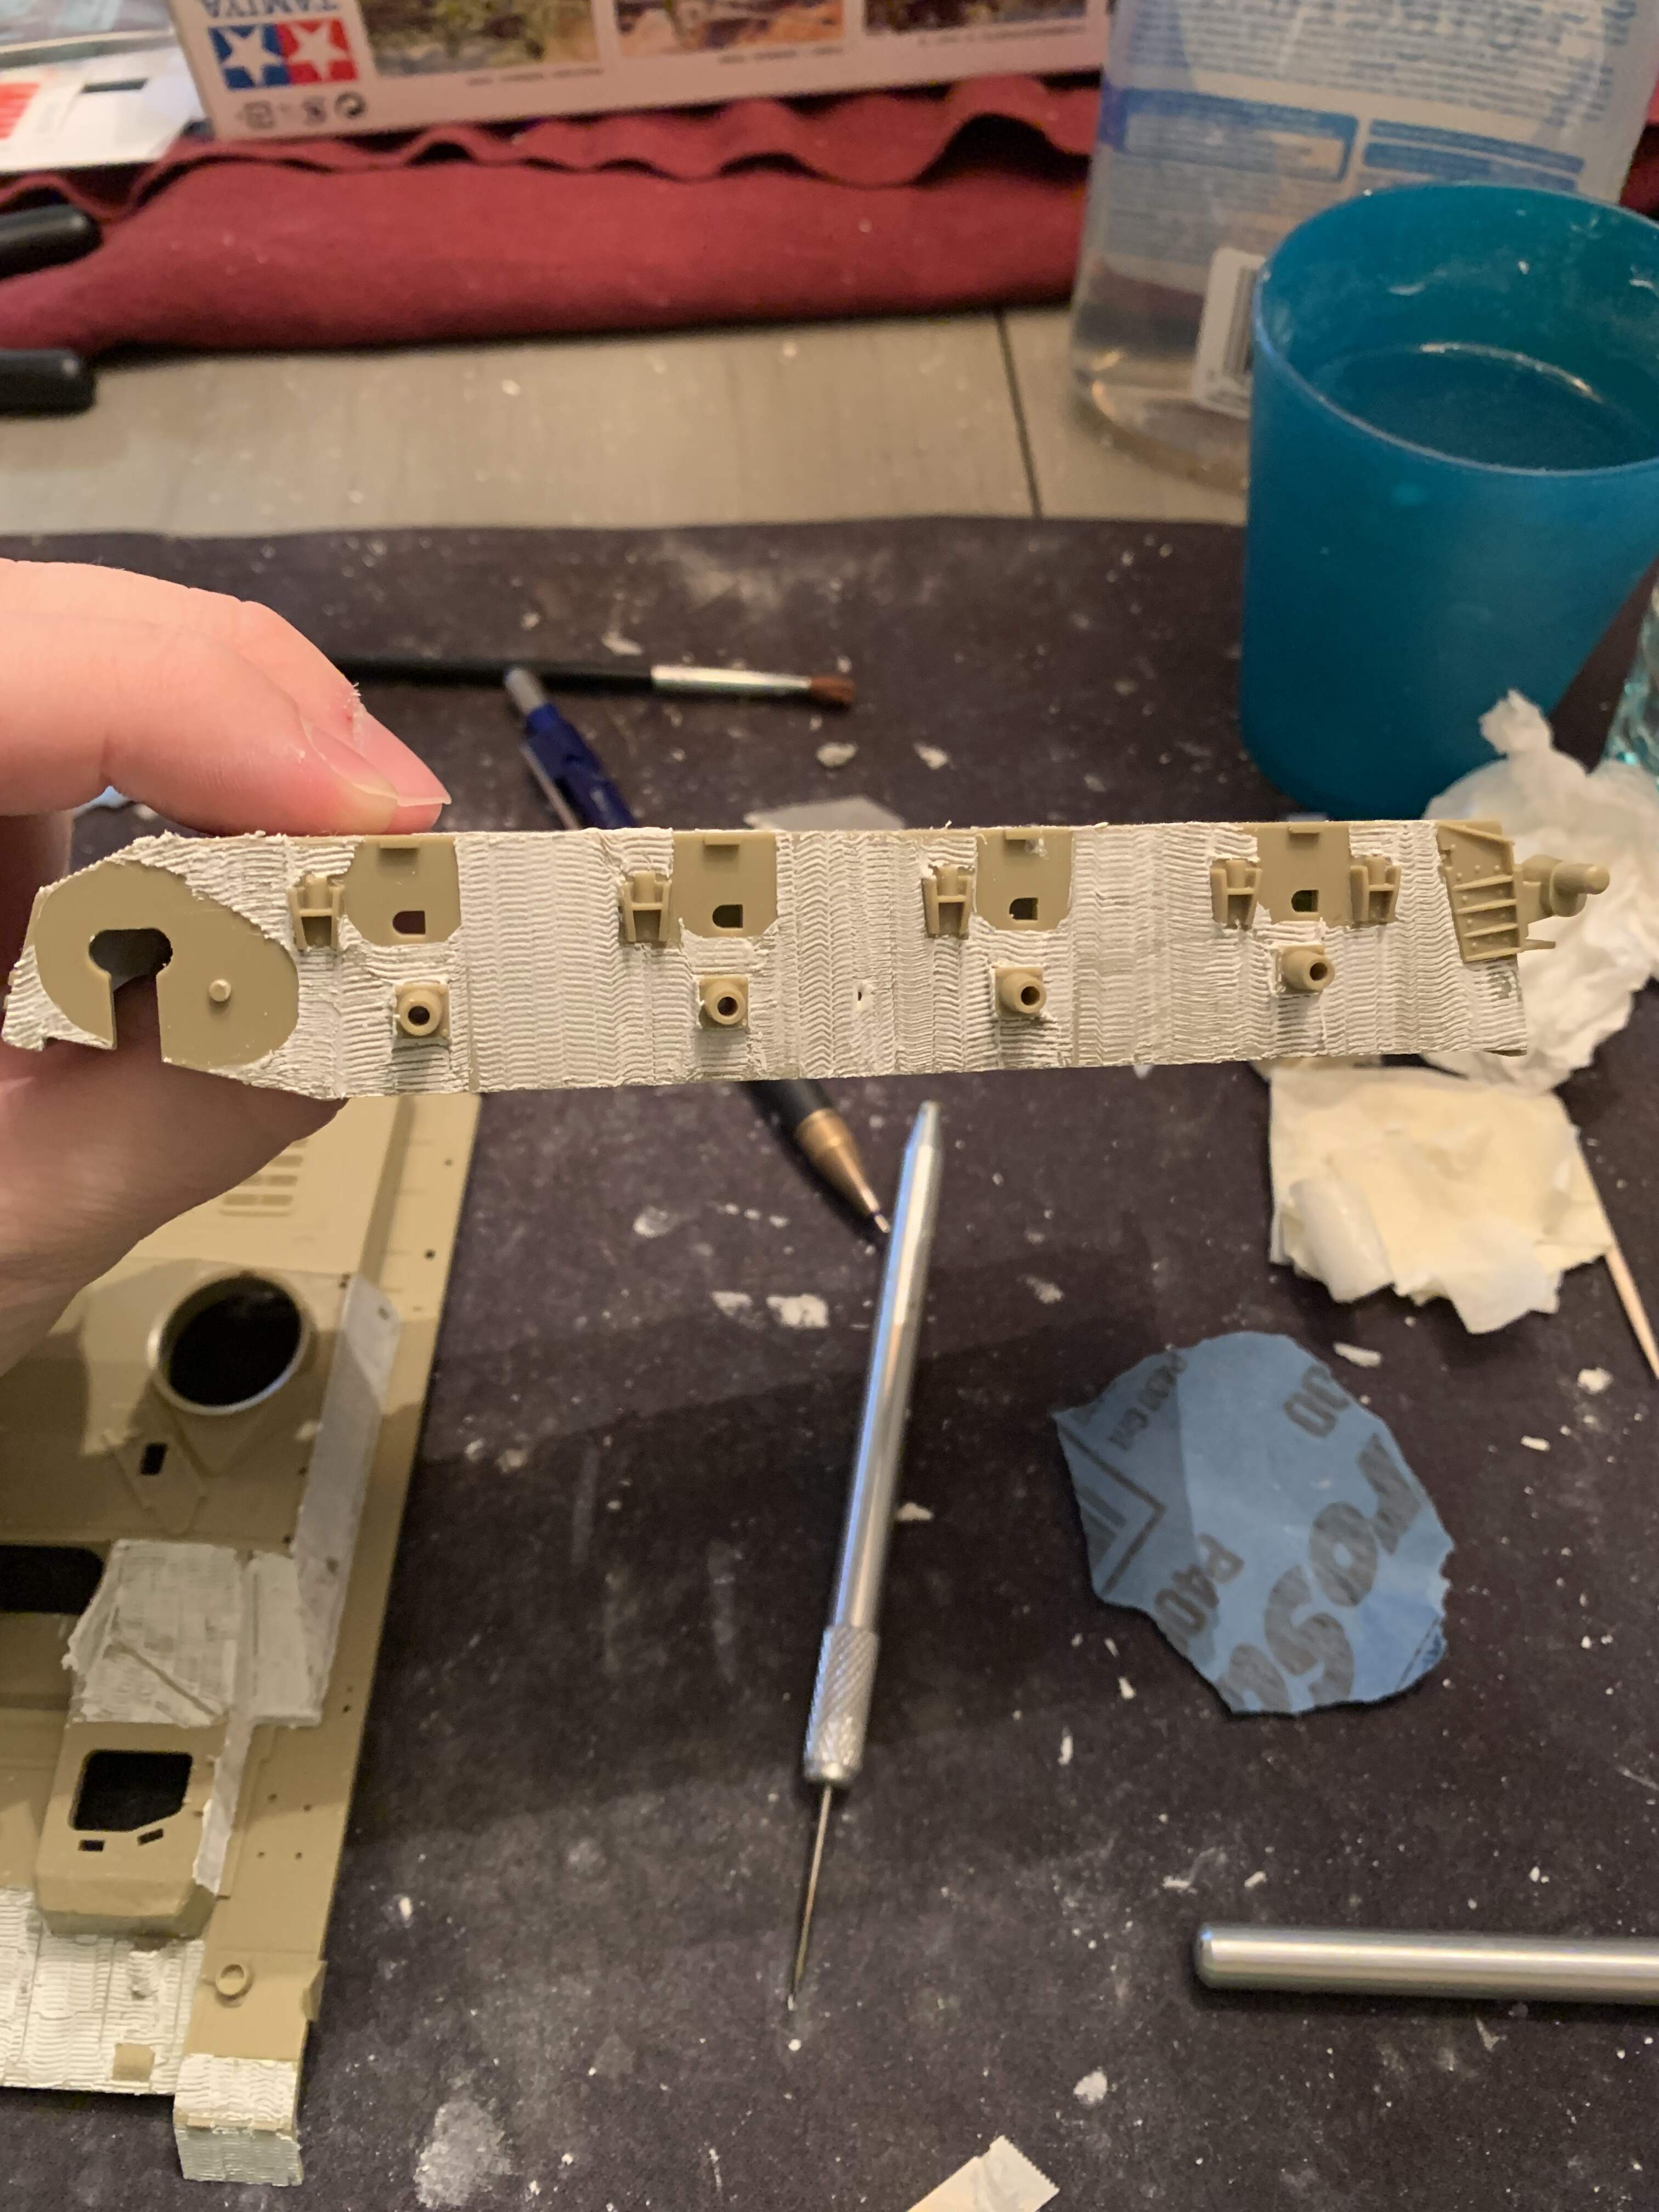
Here is the front of the base hull and one side done. I found mixing the spackle with latex house paint in a ratio of about 3:1 or 75%-25%. This made a nice consistency paste that worked much better. It also seems to improve the durability. I may coat with a thin coat of future to stop the spackle from chipping
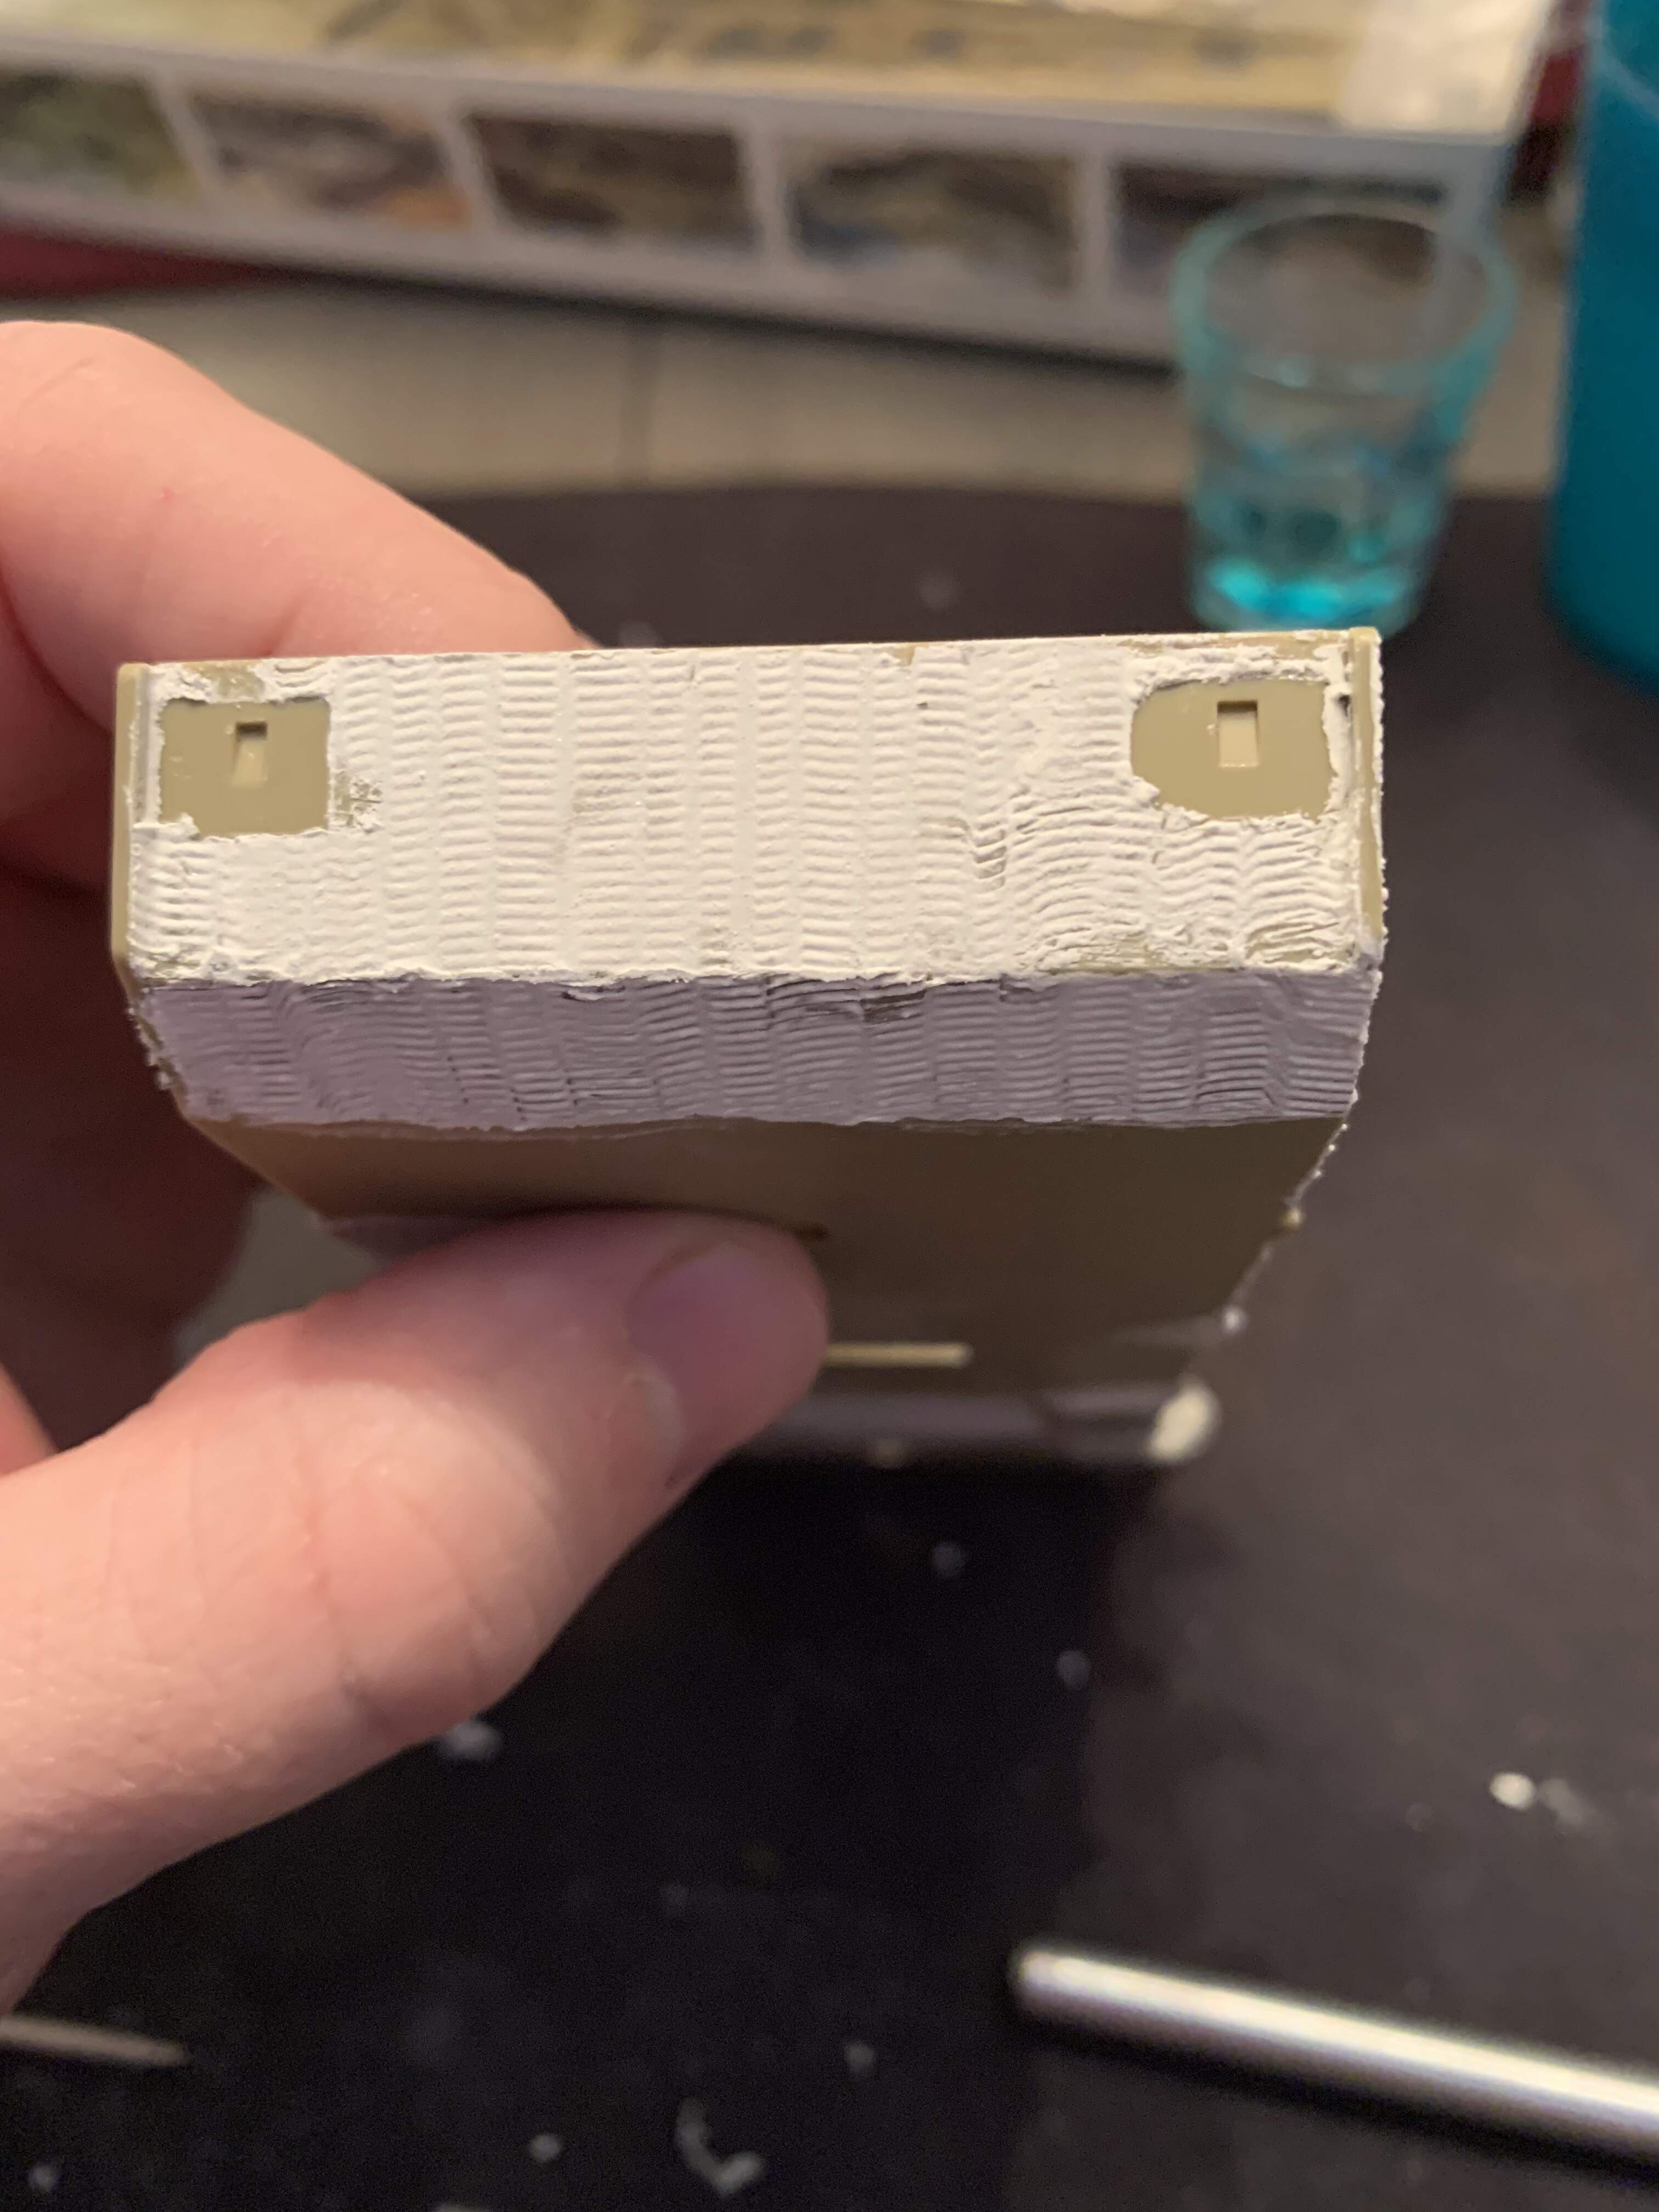
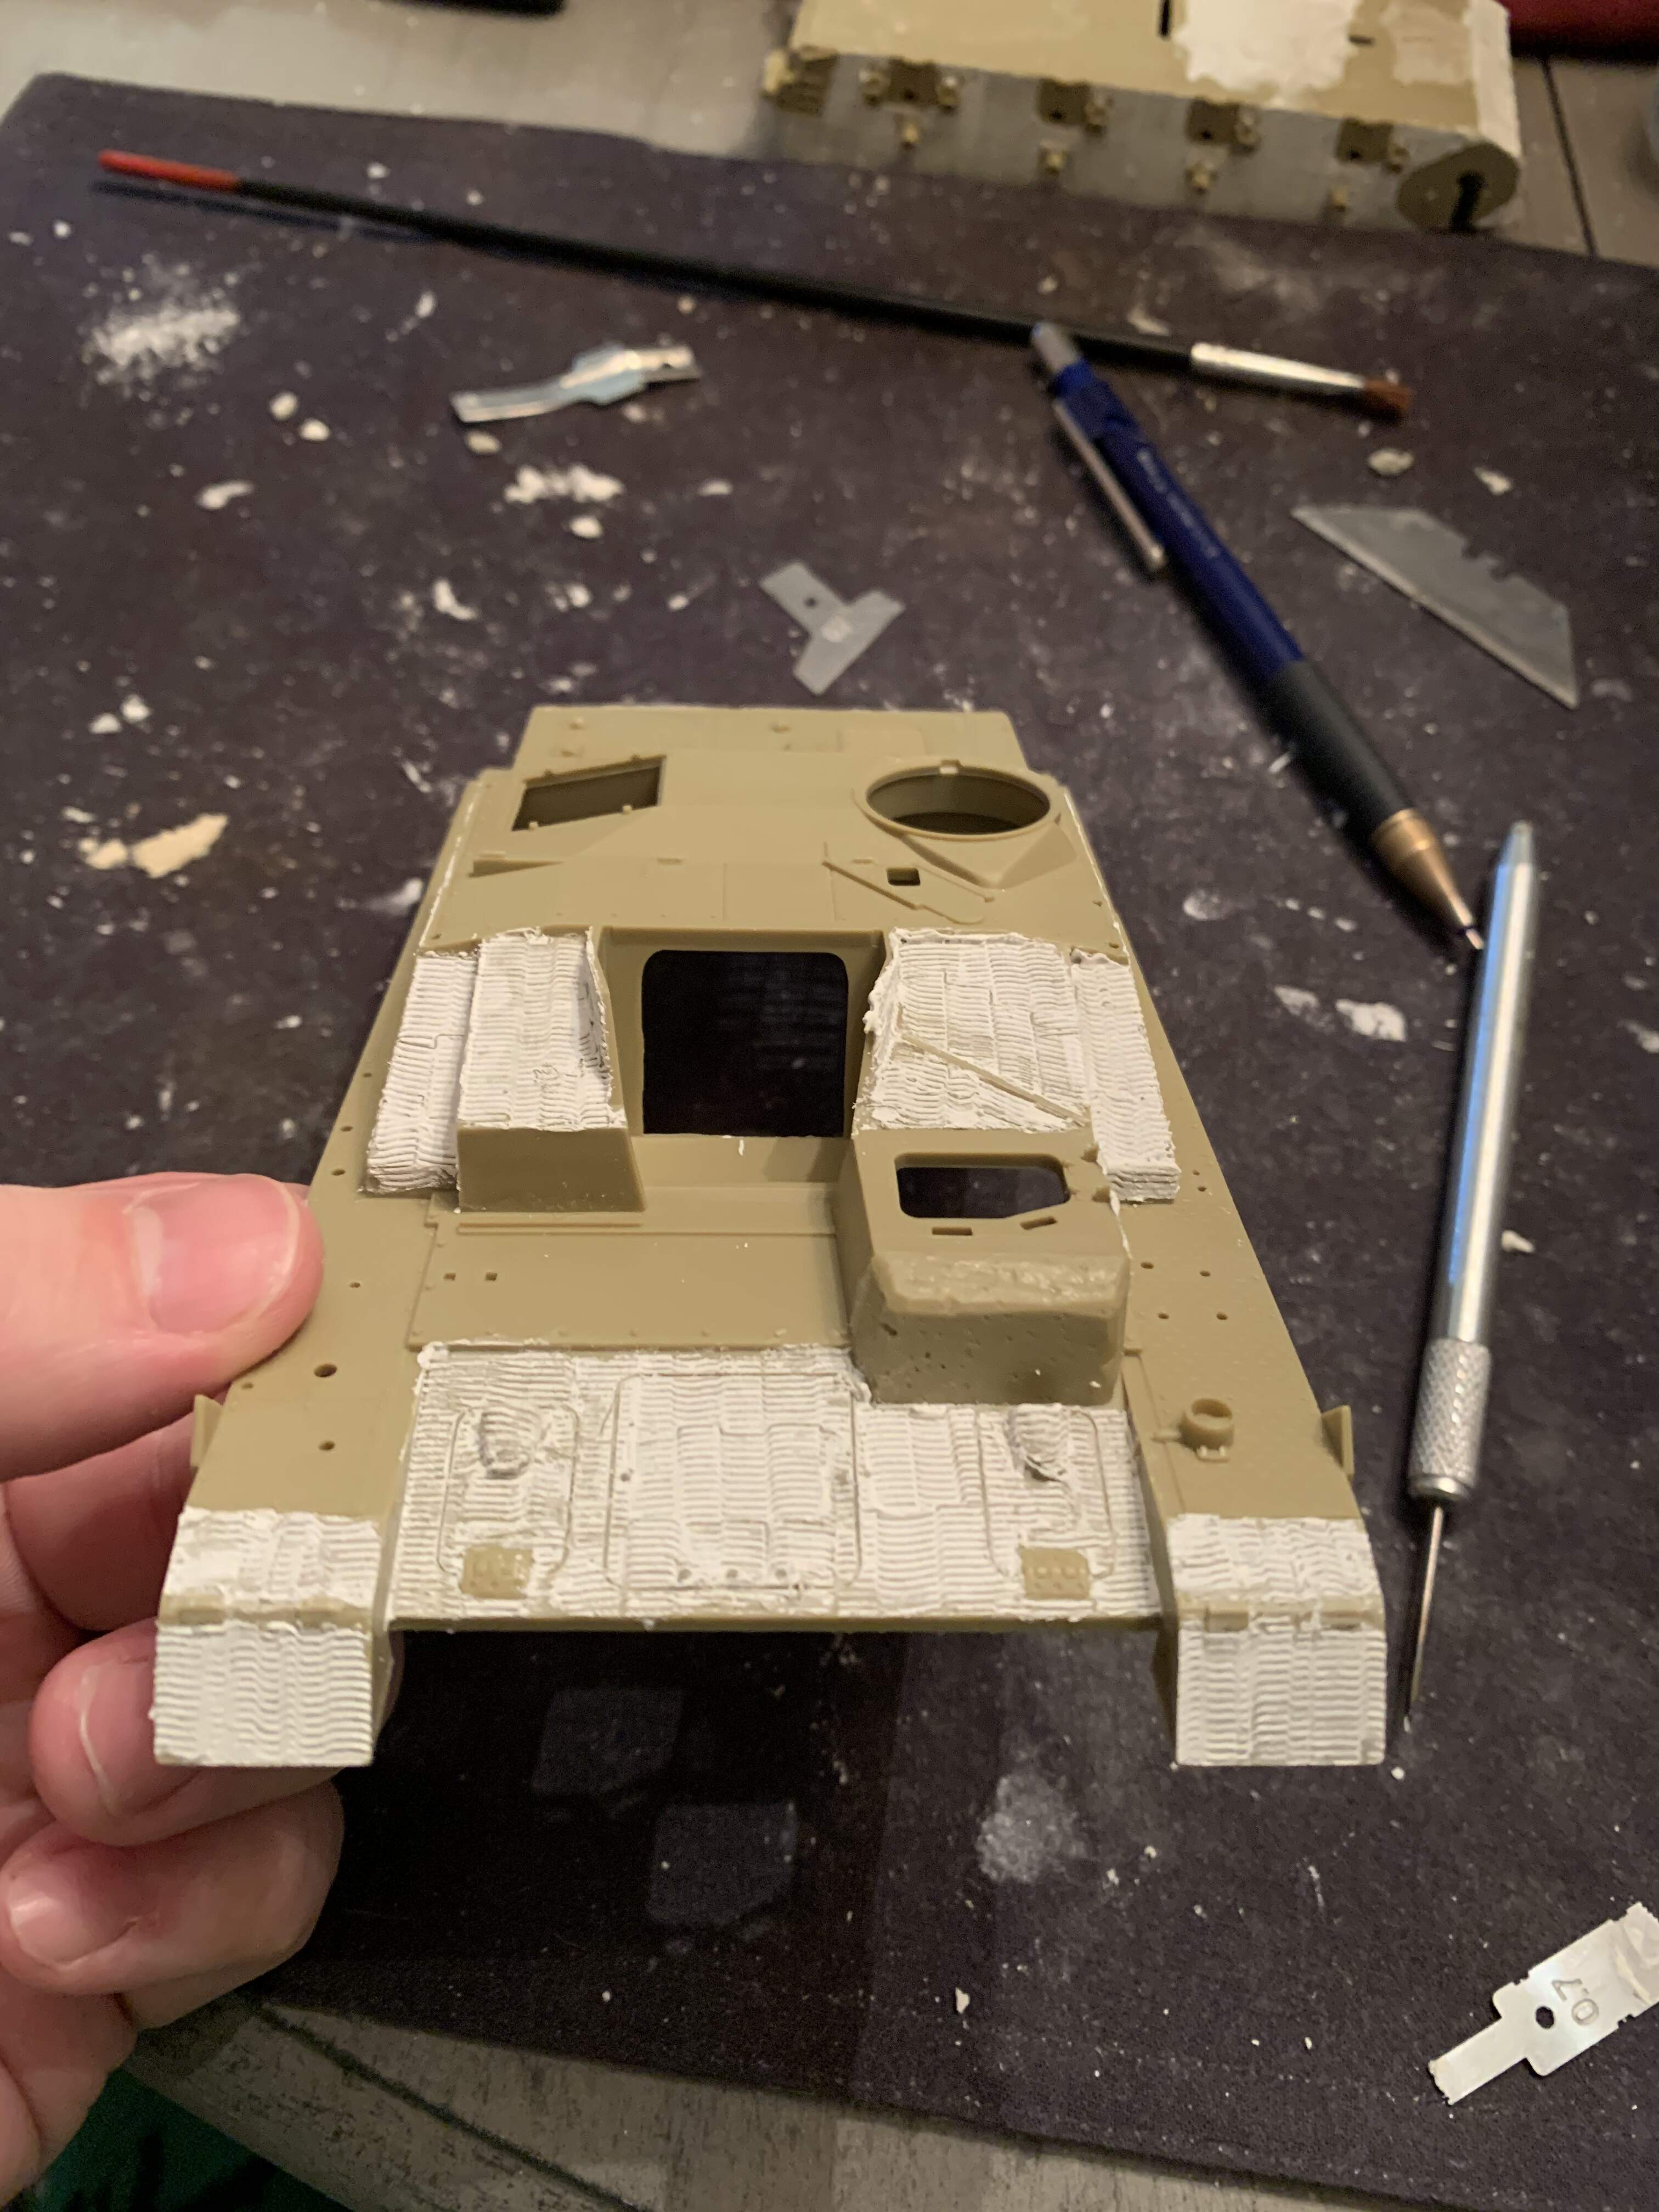
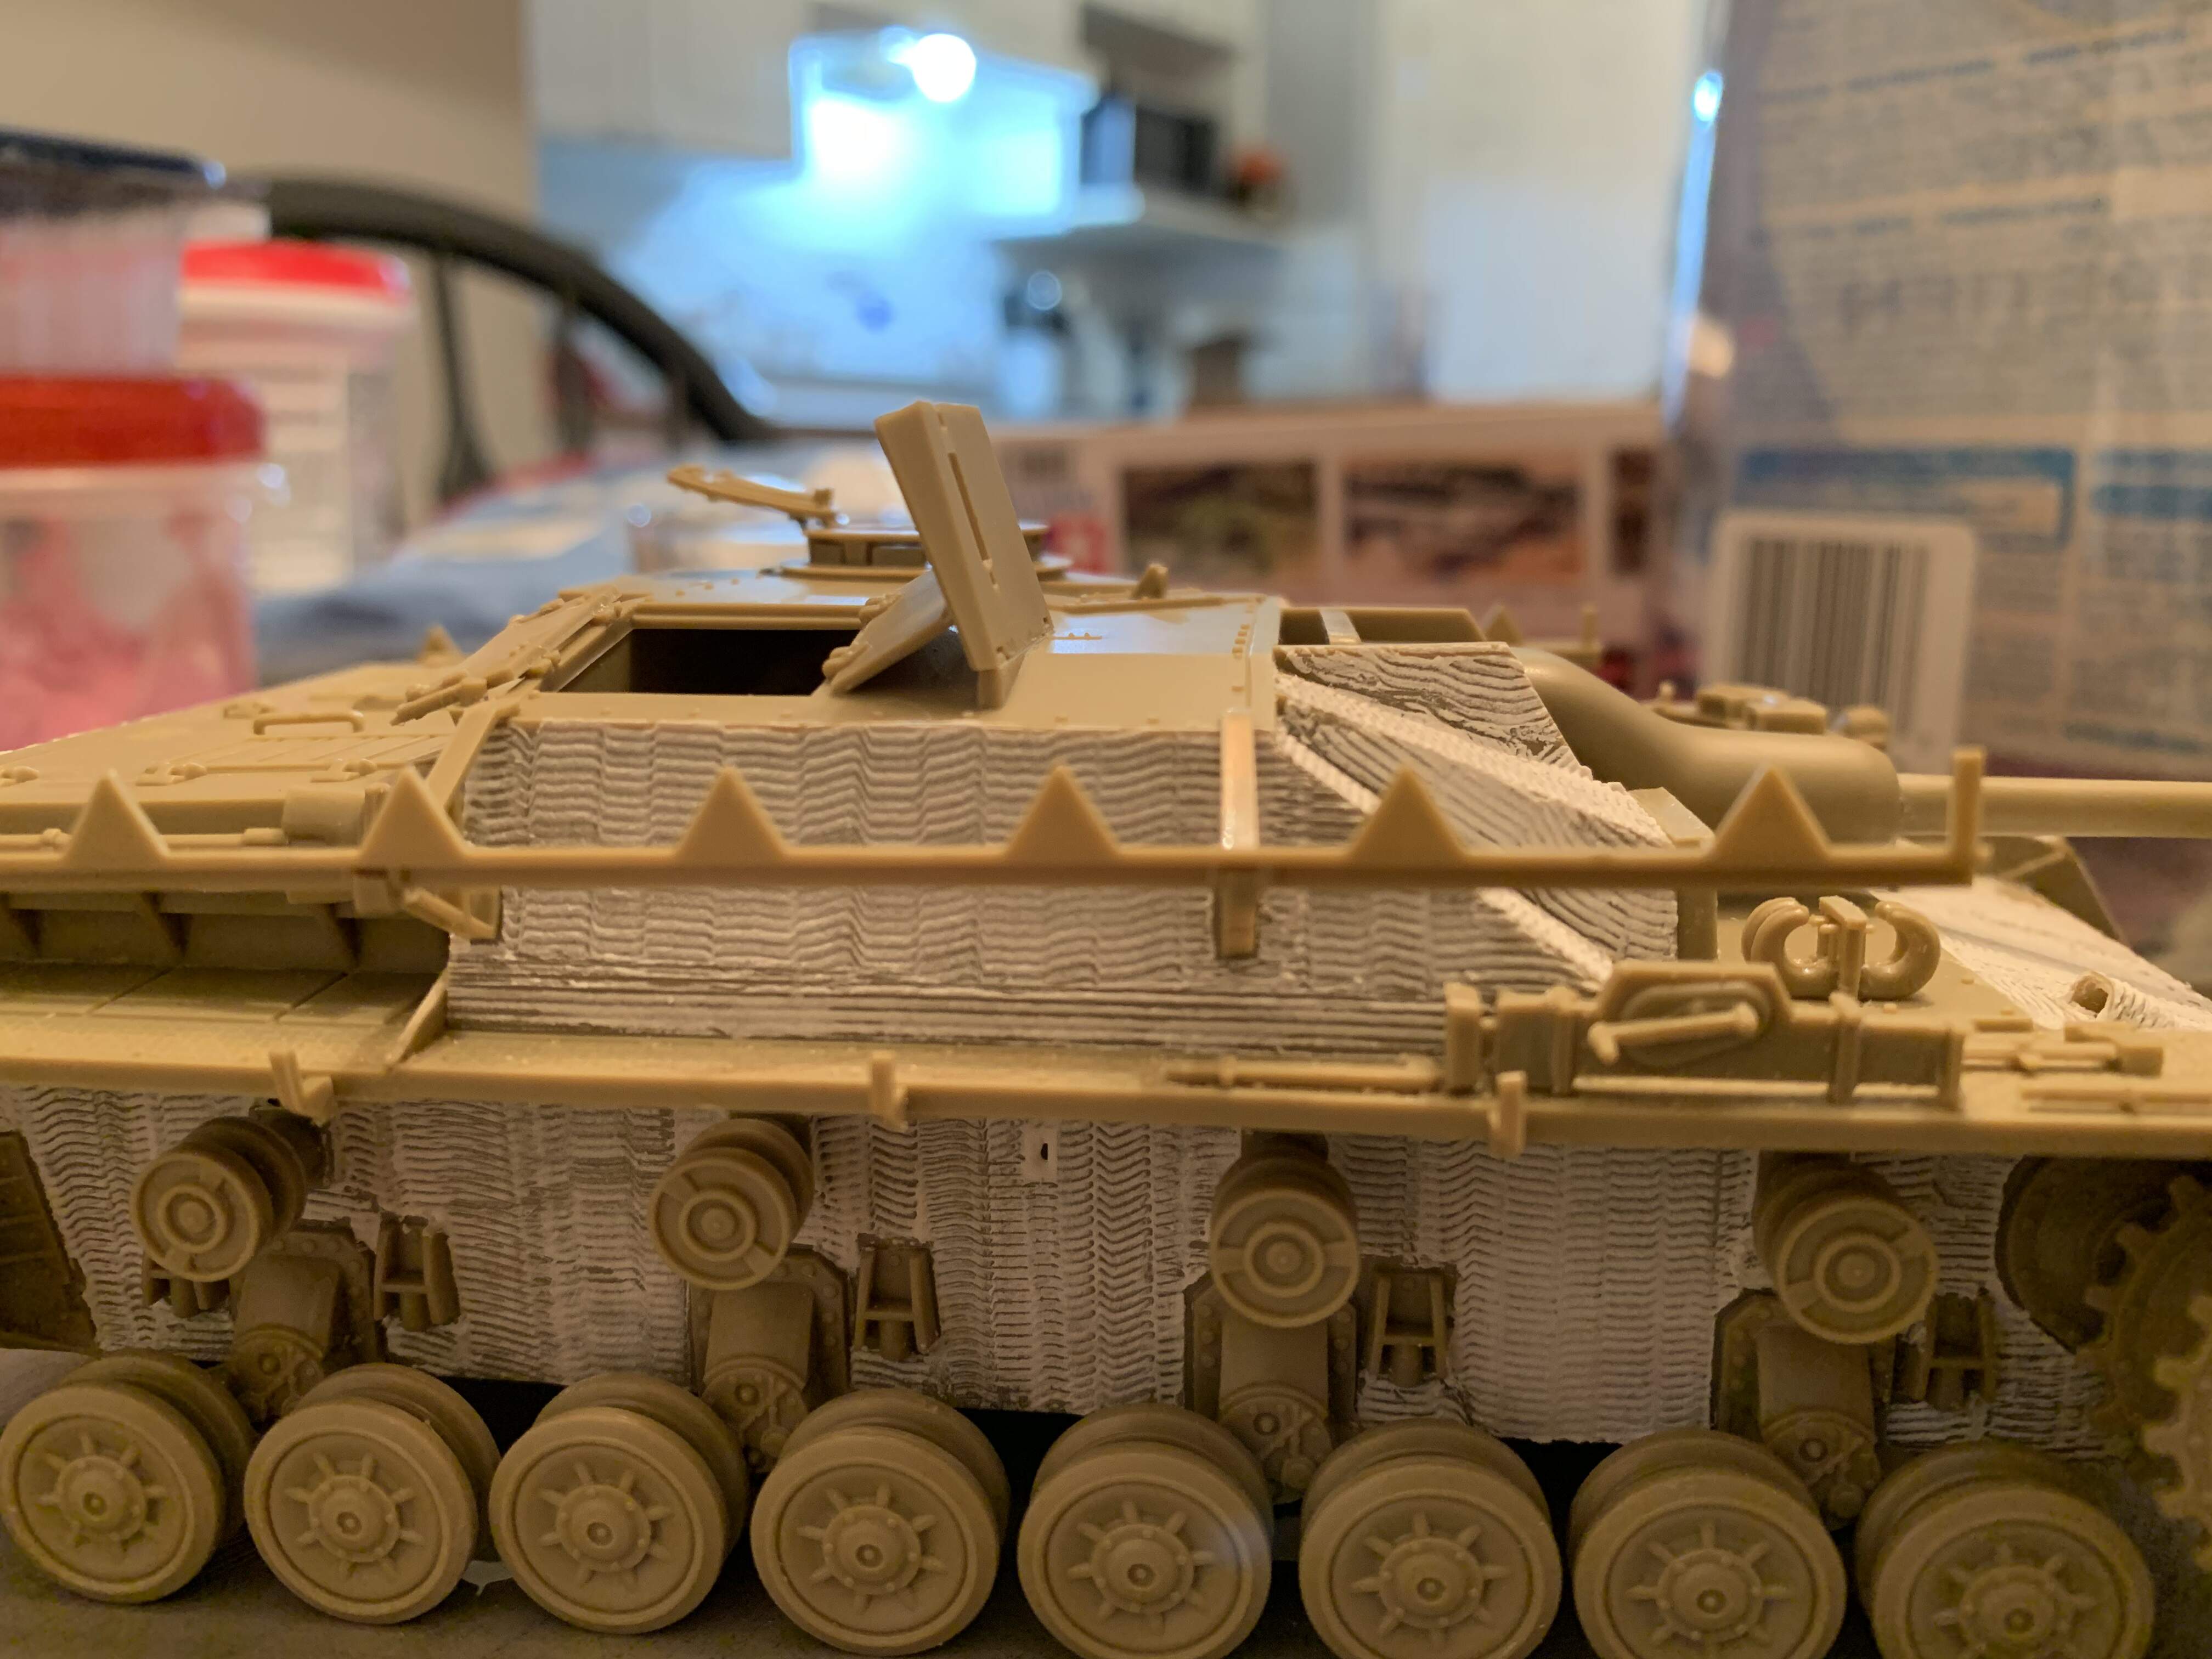
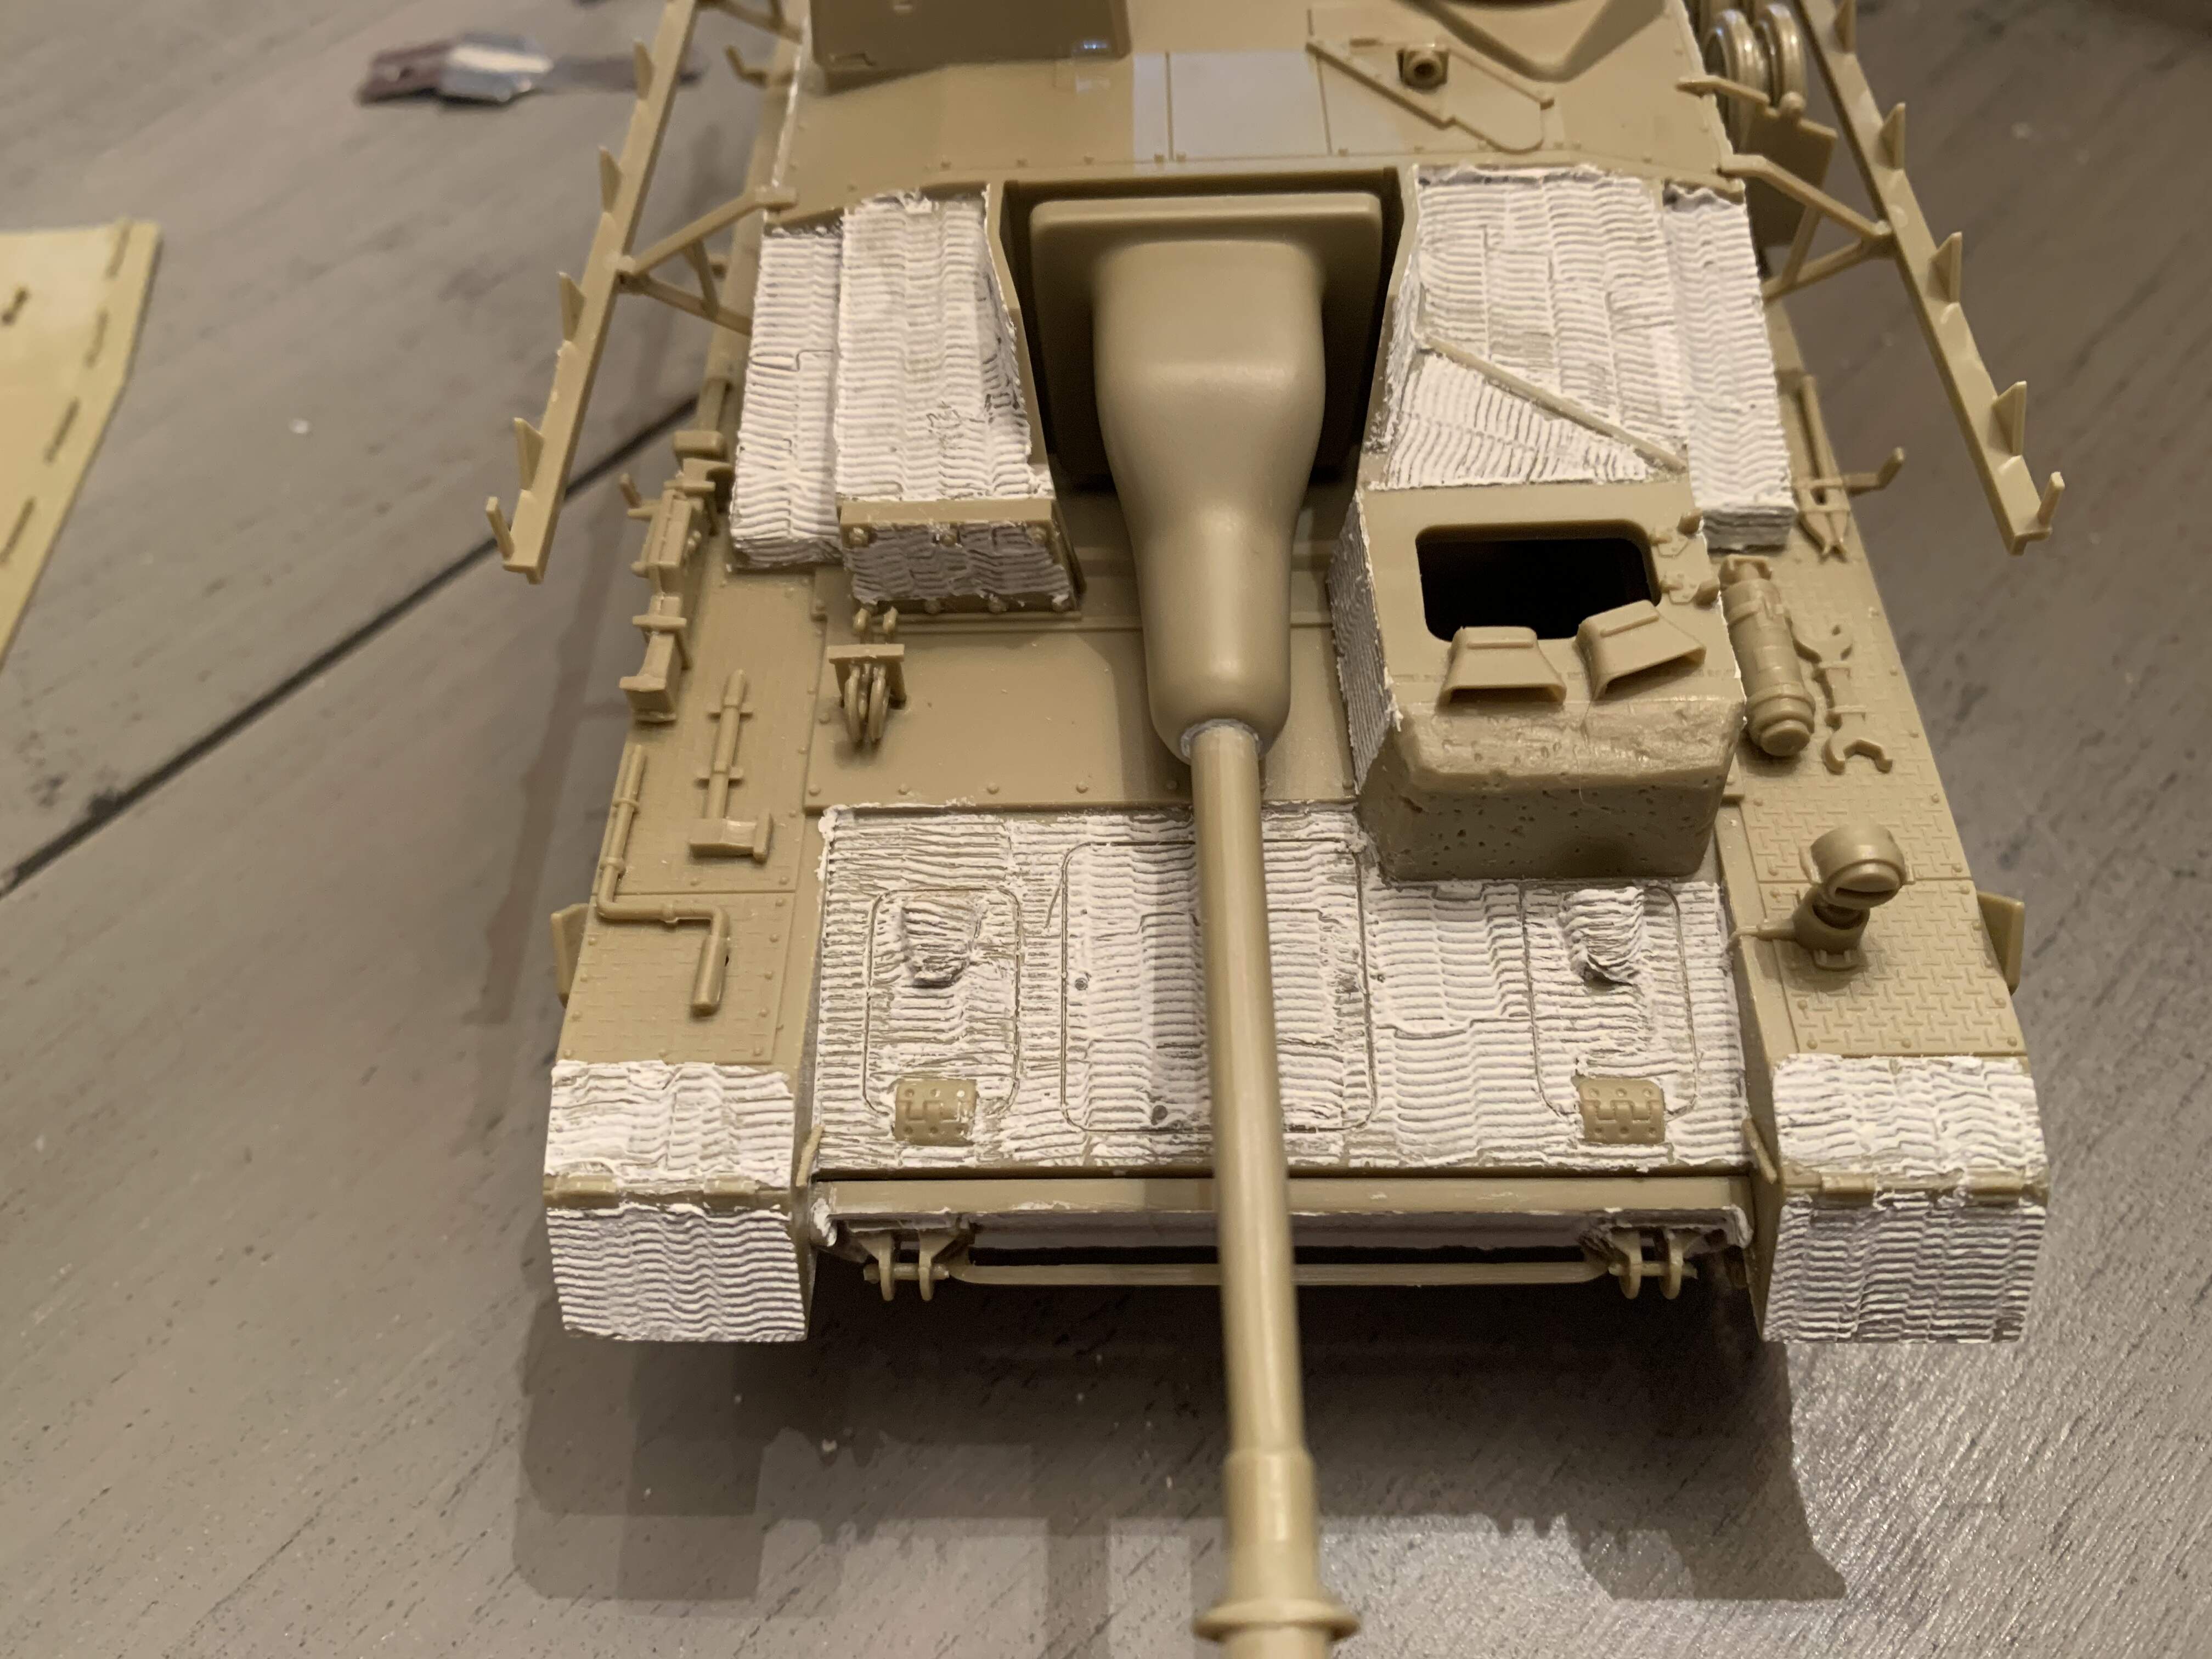
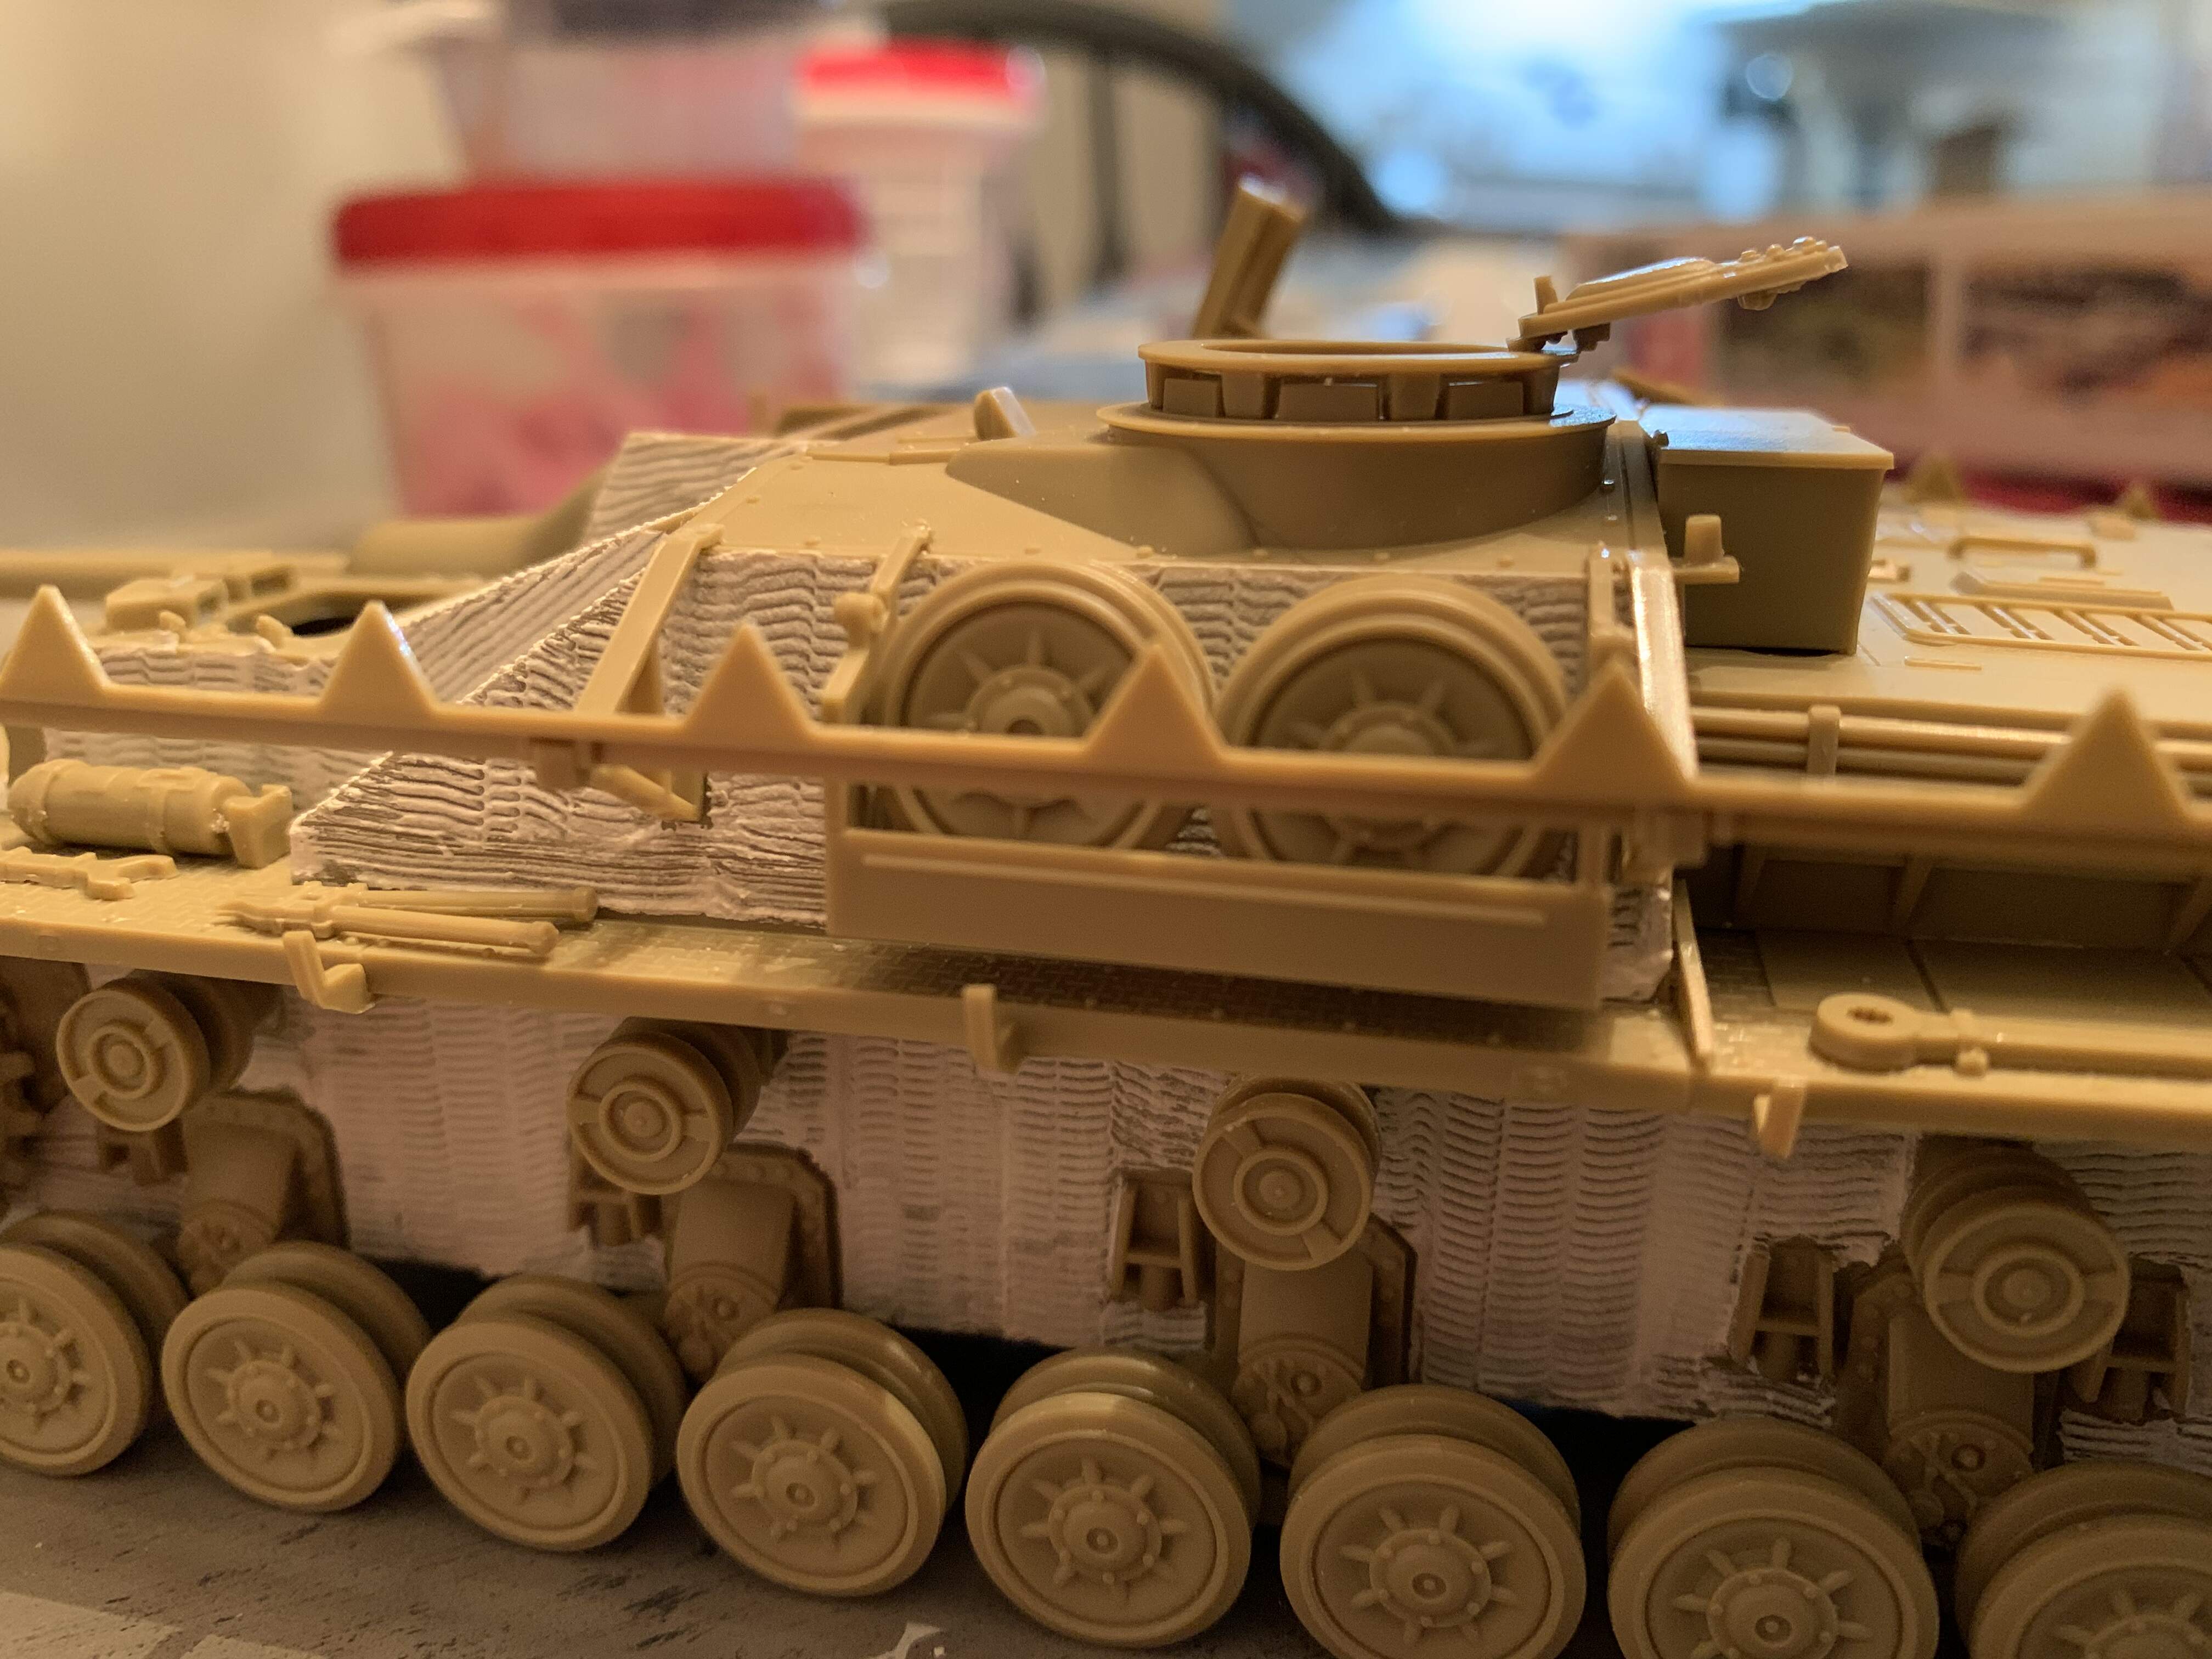
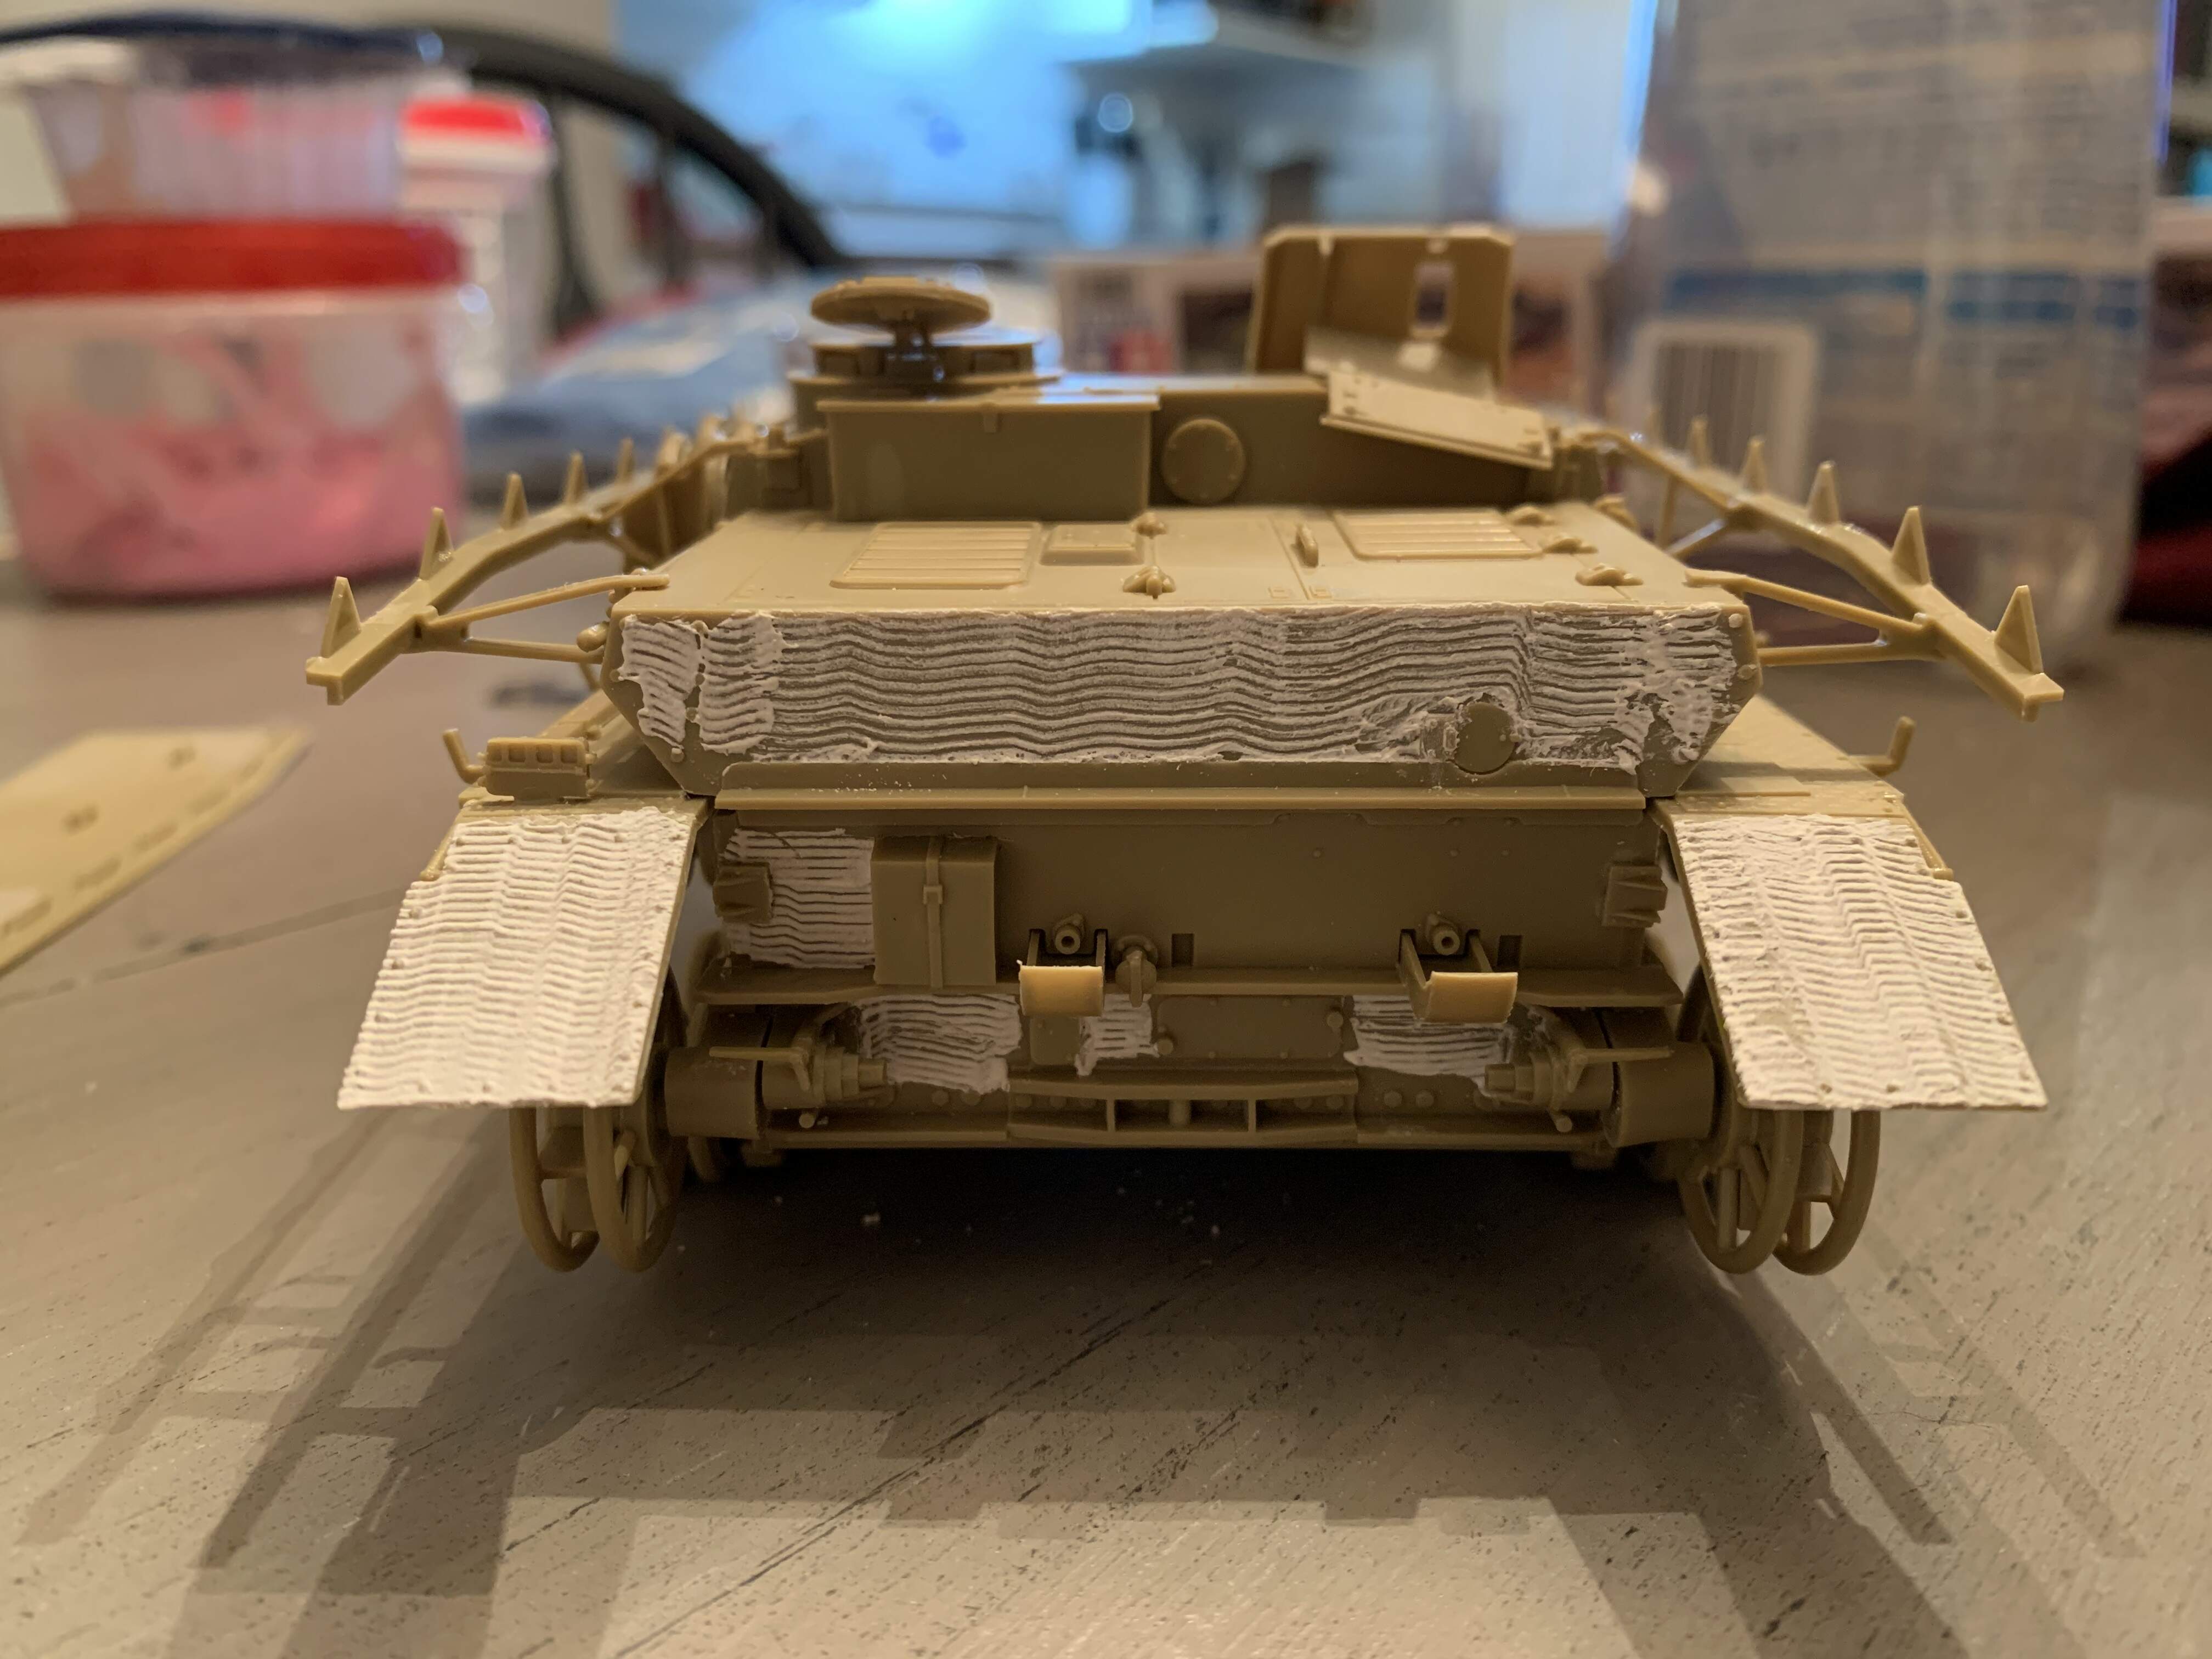
Finished the other side of the lower hull, and upper hall today. Some areas have me some trouble, especially the front plate with some bolt heads I had to navigate around and some curved surfaces but overall happy with the results. Only thing left to zim is the rear of the lower hull, something I have been avoiding due to small bolt heads I’ll have to navigate around.
This is looking good. I have a Hobbyboss king Tiger kit in my stash which comes with zimmerit. Whilst it is to scale, it looks too uniform so will have to either hack it about a bit, or judging by the authentic look you’re achieving, bin the supplied zimmerit and have a go at self applying, when I get round to that build.
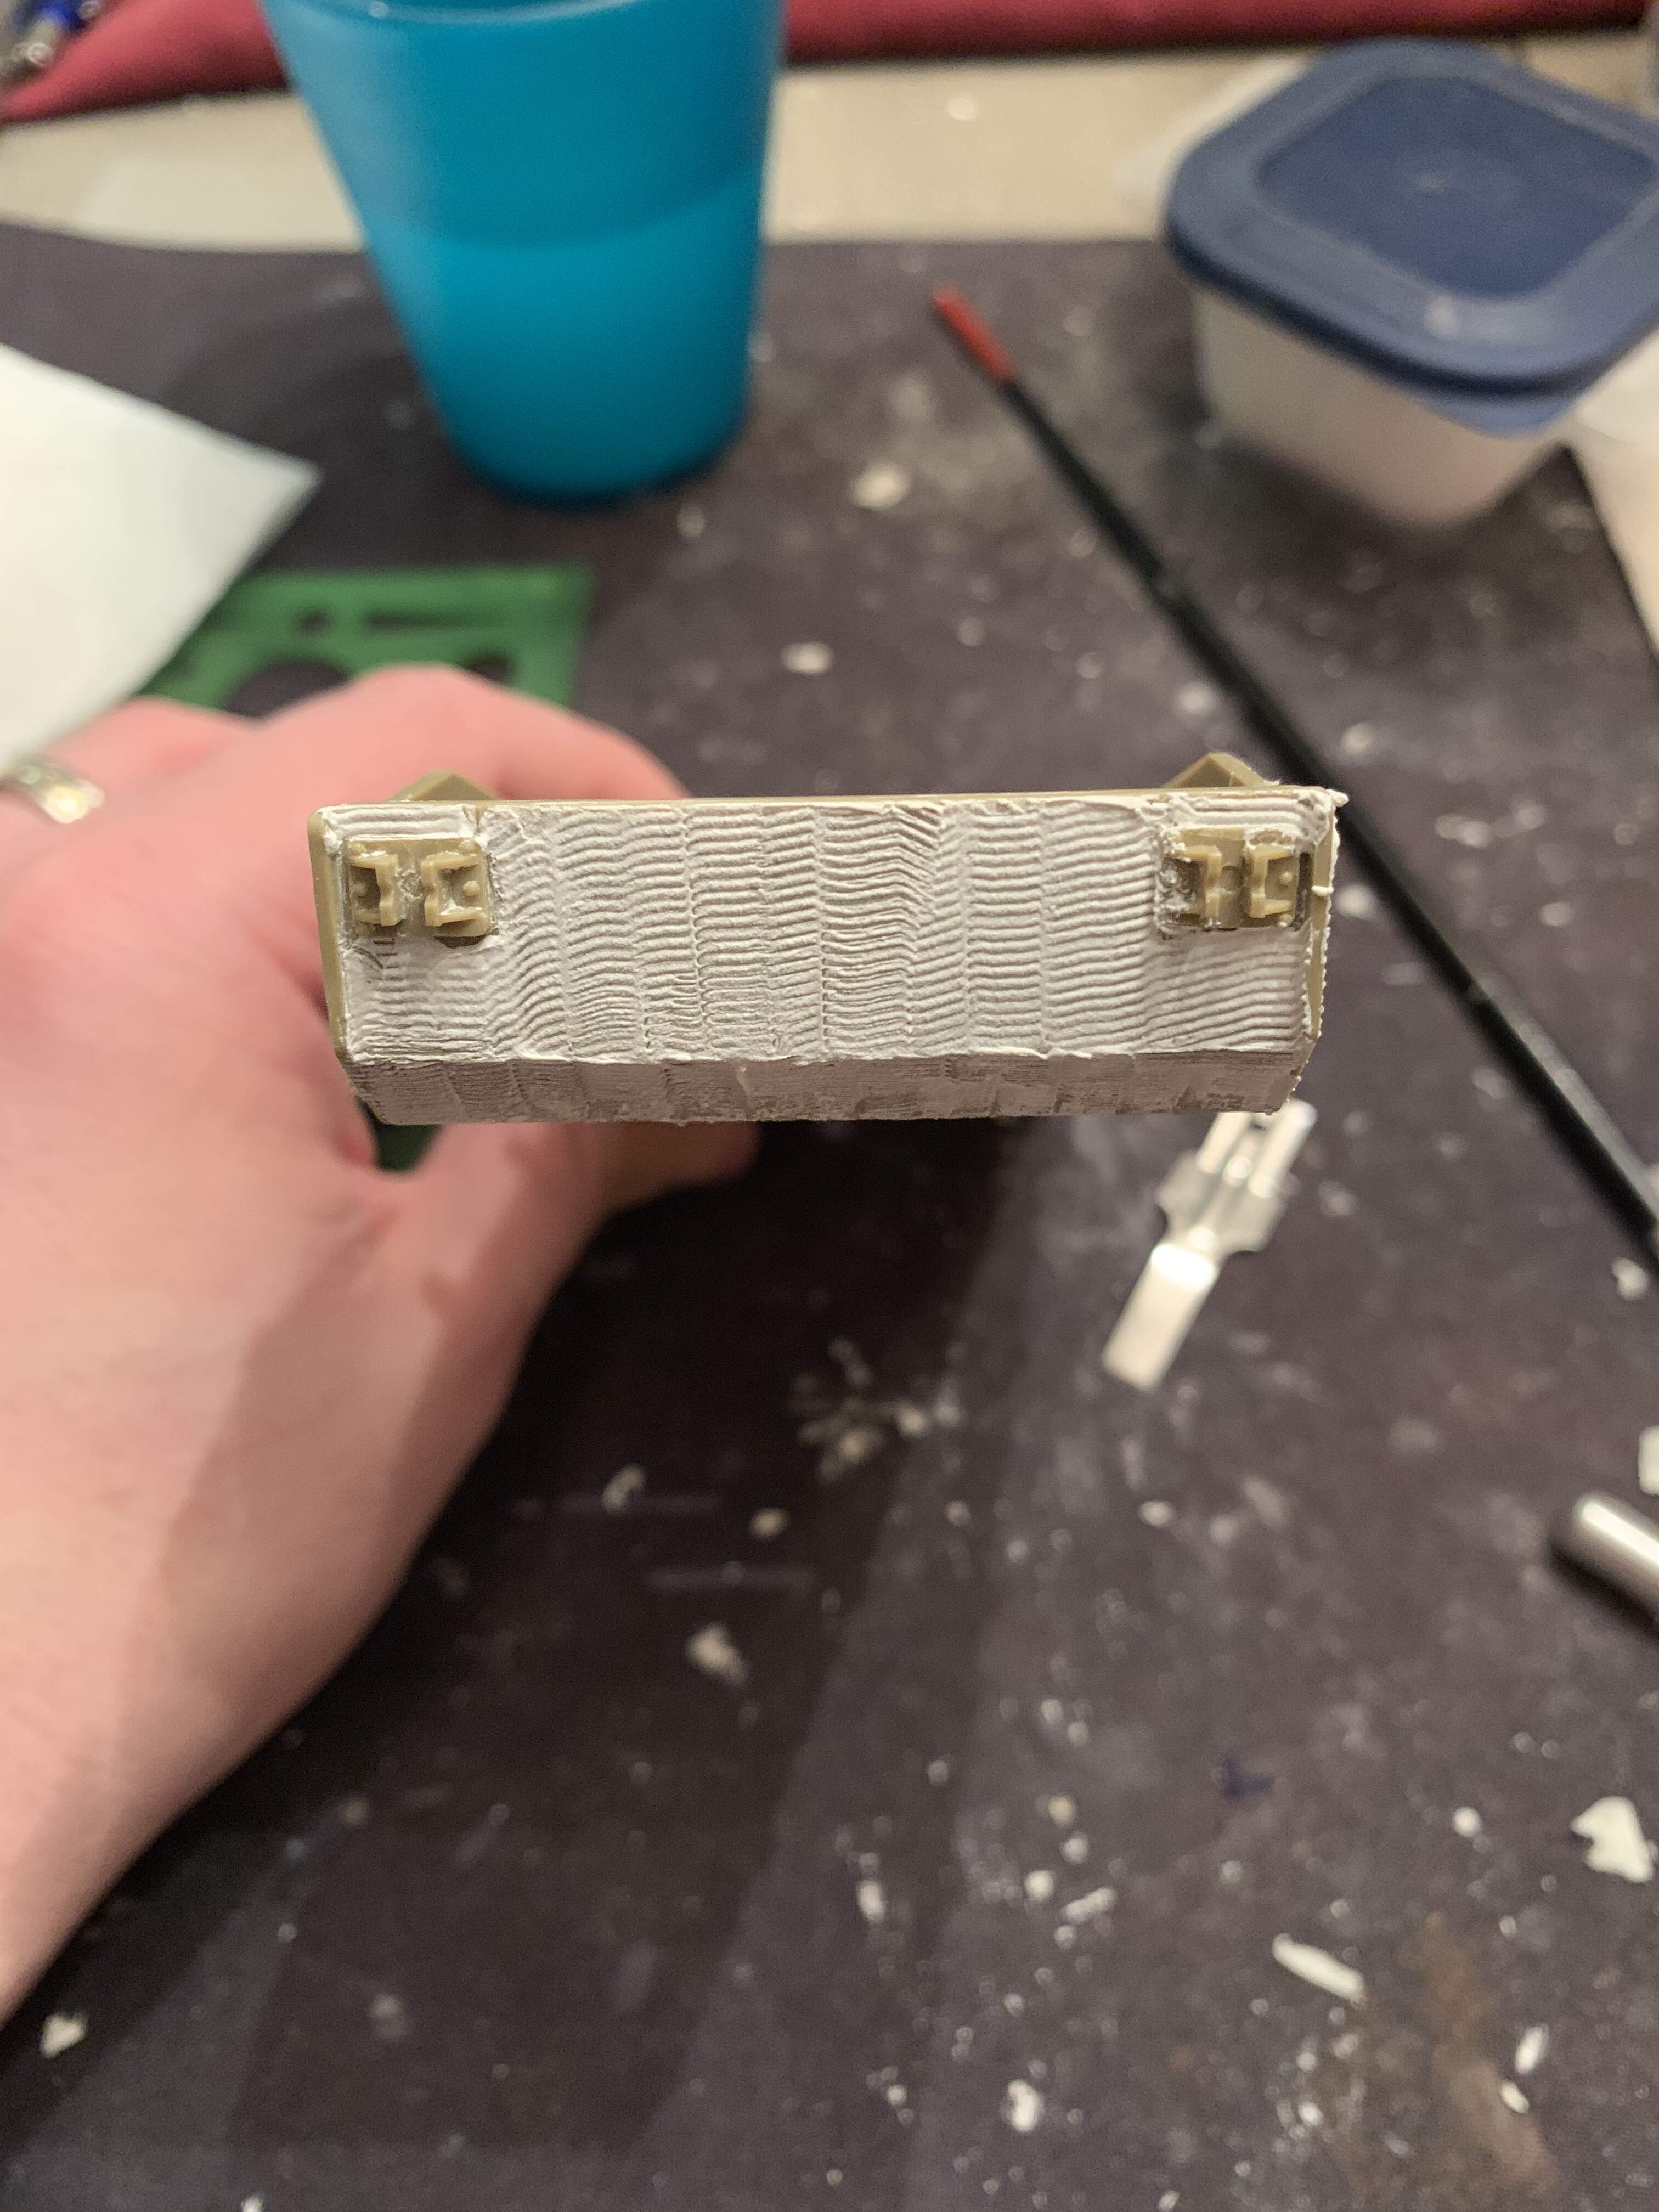
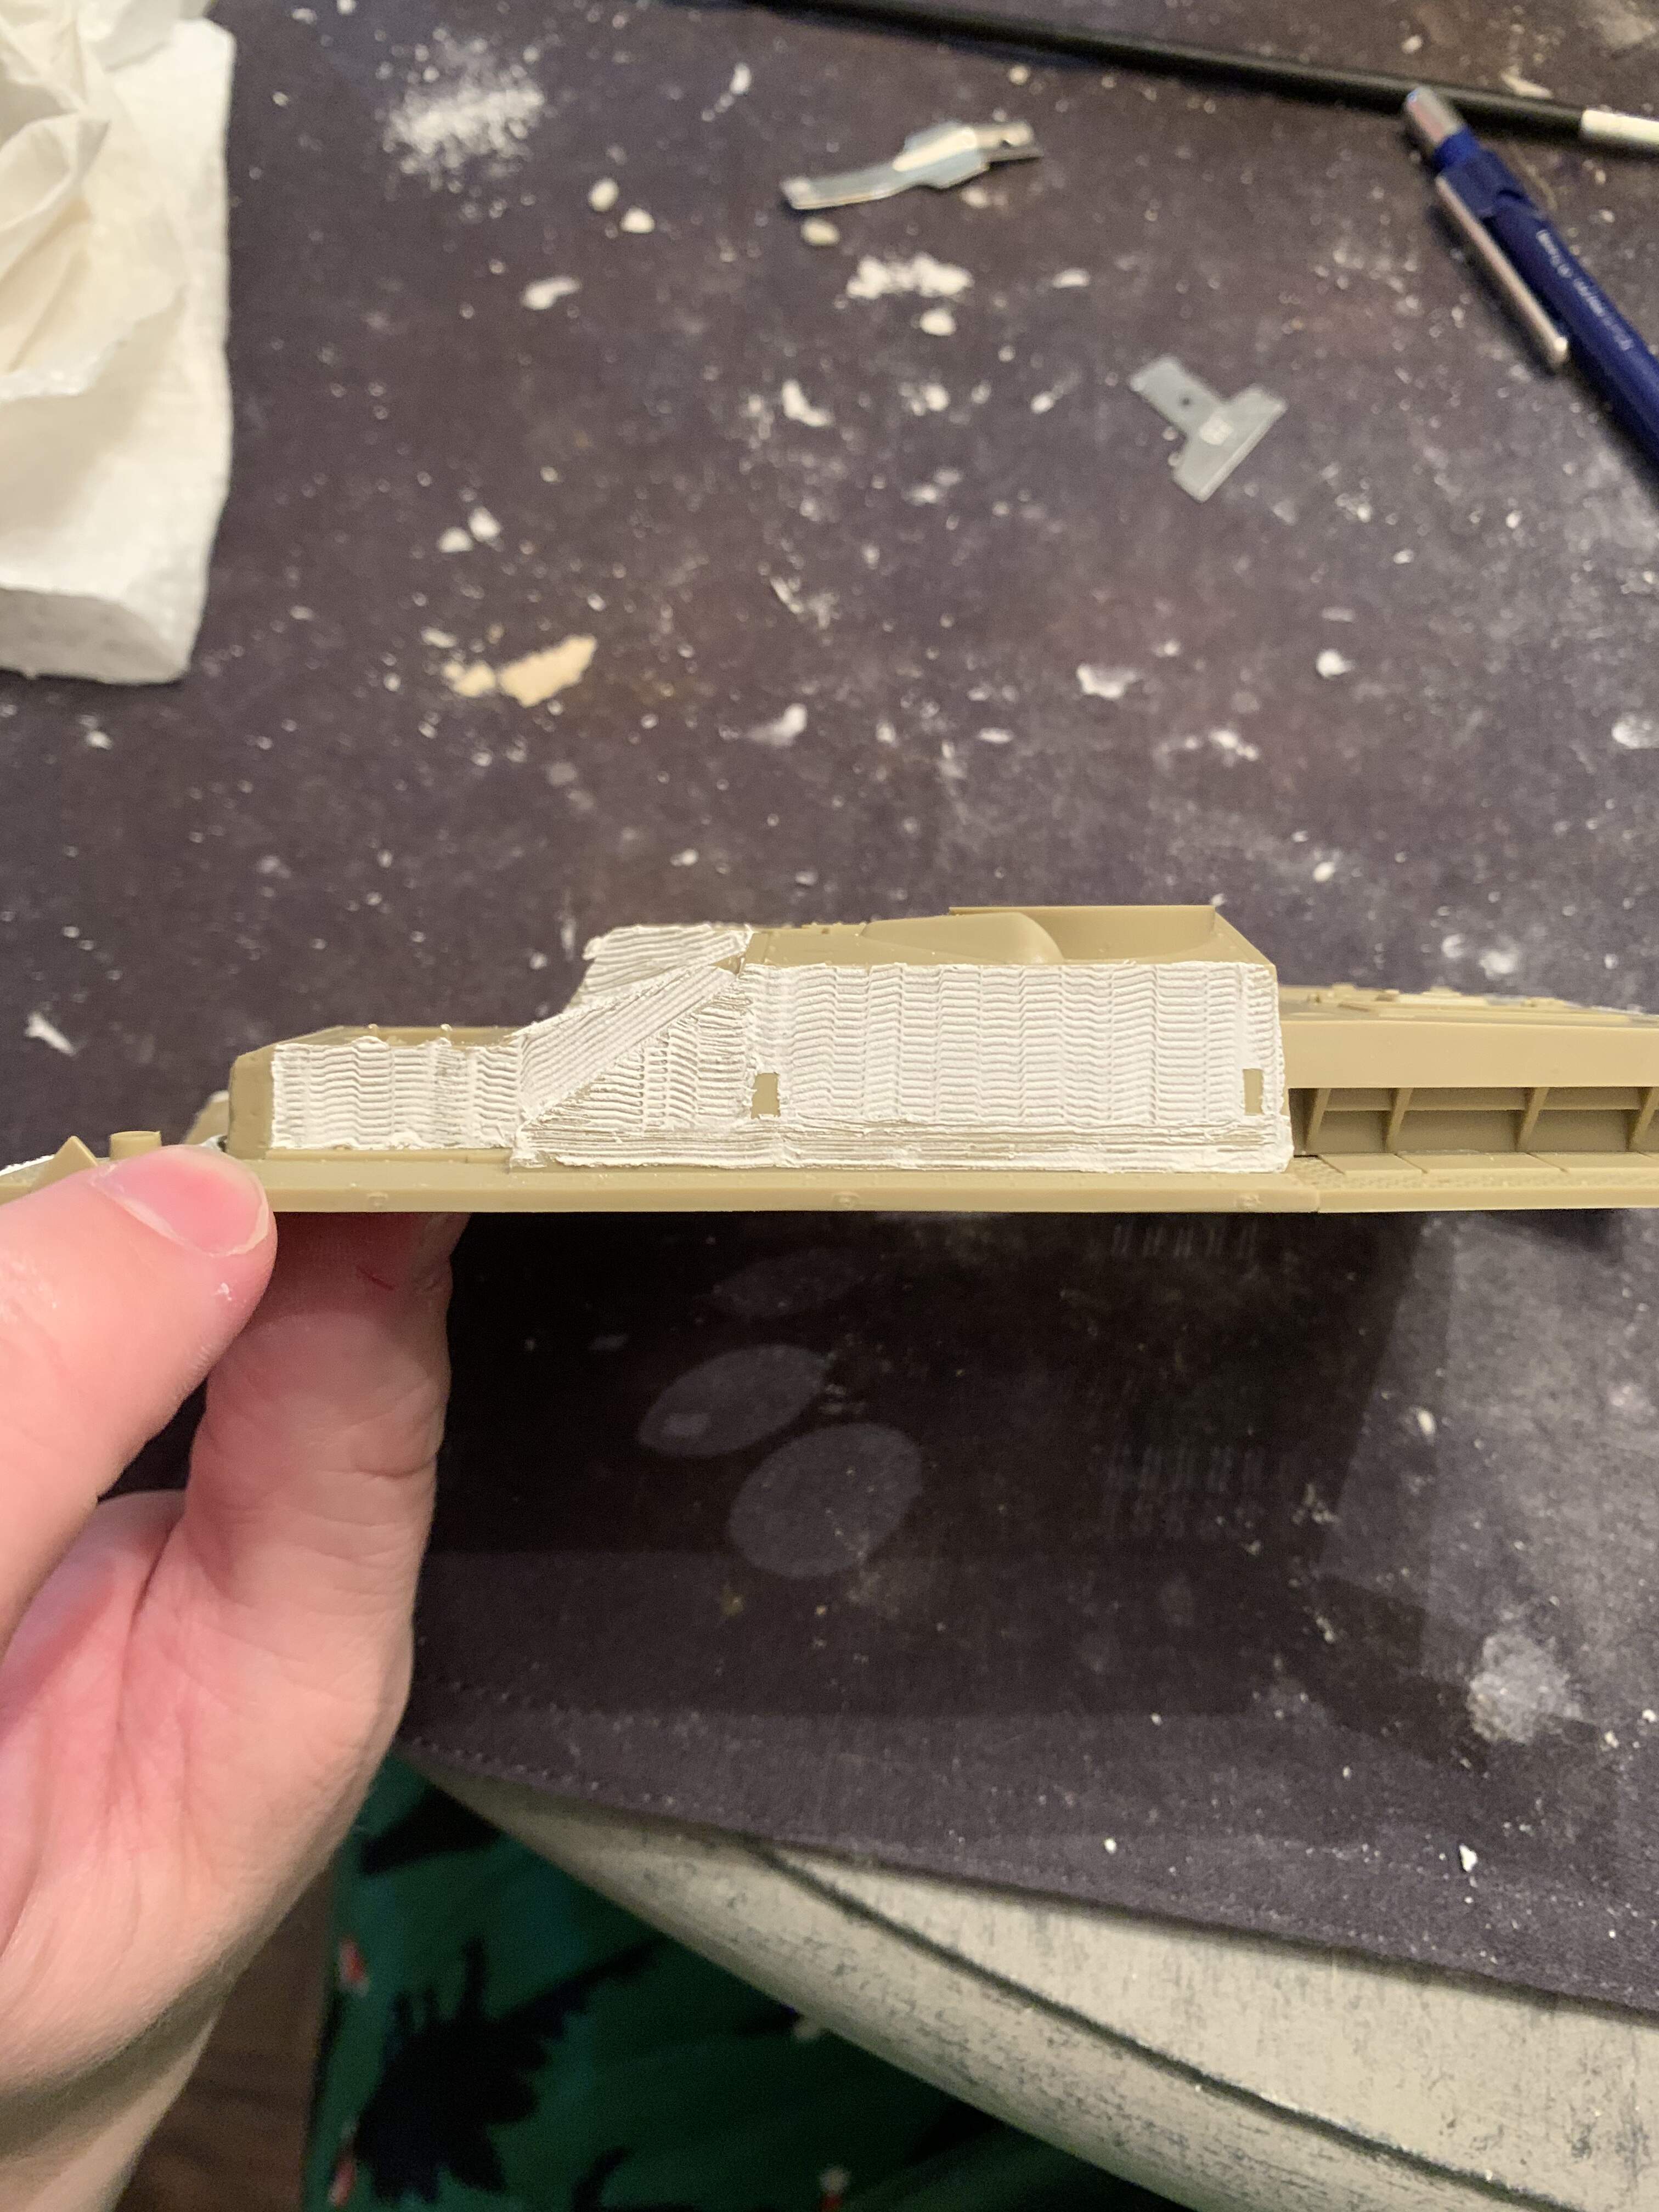
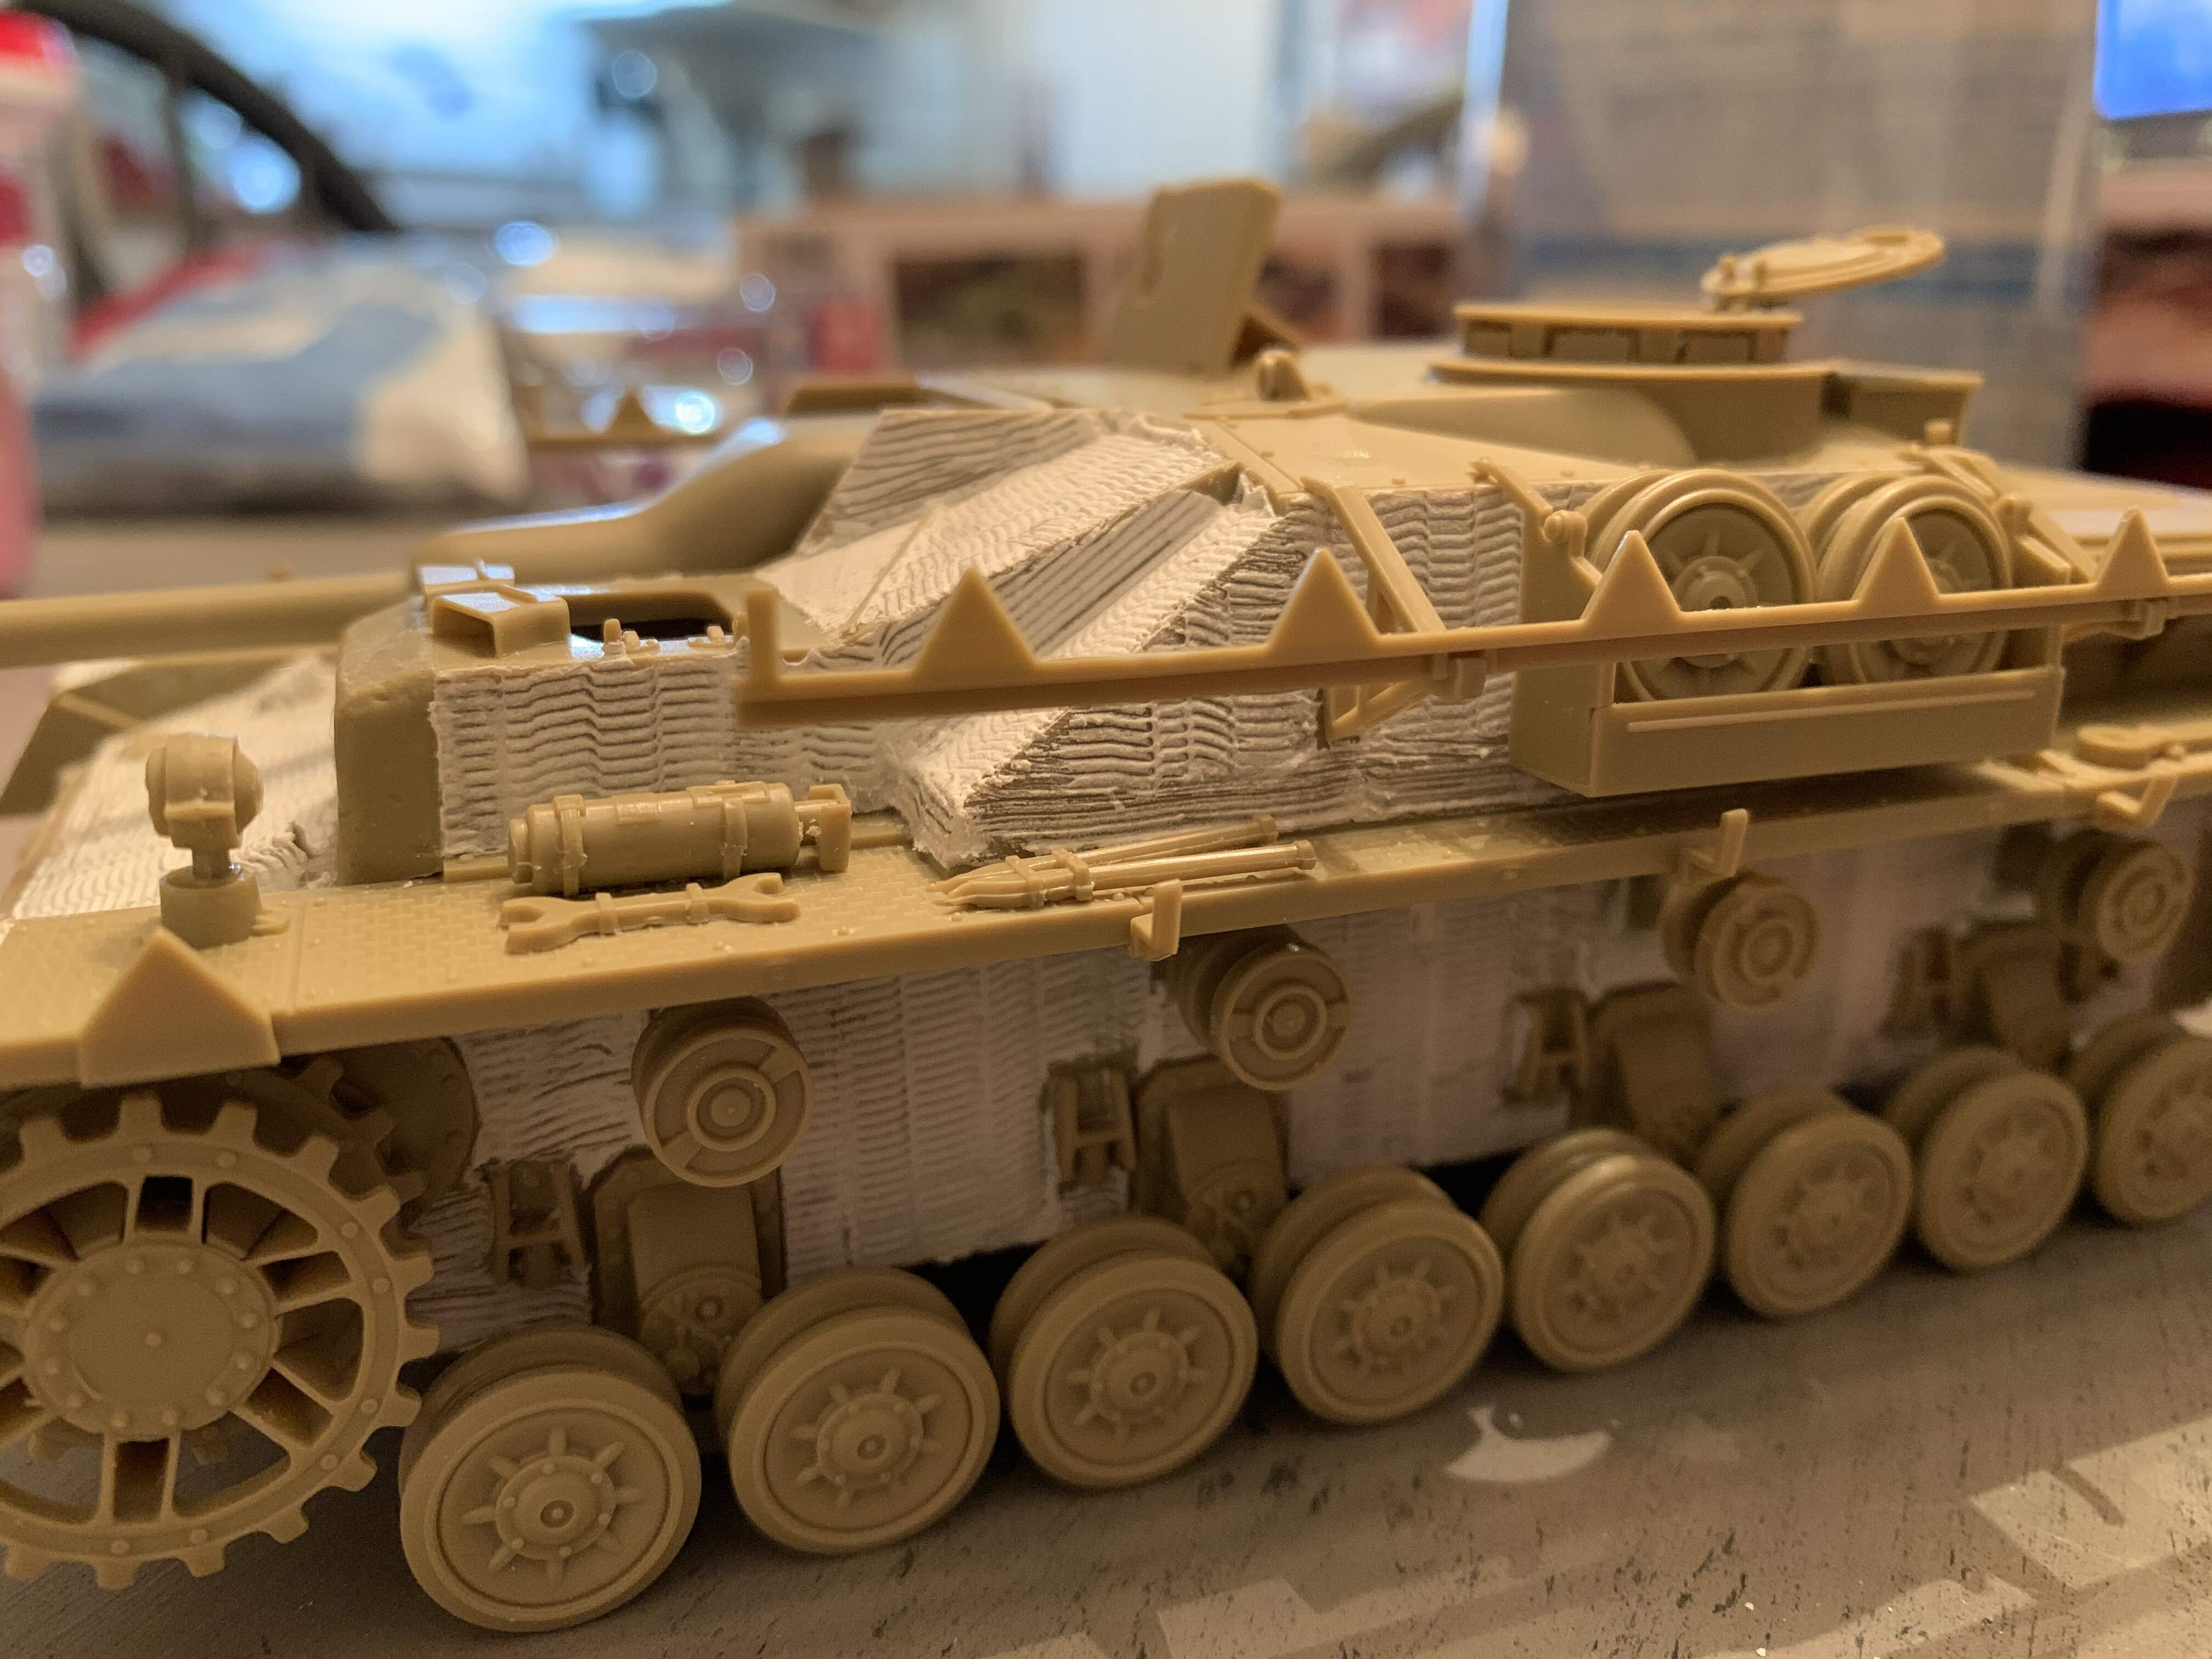
Here she is mostly fully built and ready for paint, (hull pieces aren’t glued together yet so kind the gaps).
The zimmerit technique had a slight learning both in technique and the right mix of paste. I went with a roughly 75% and 25% mix of drywall mud and white latex house paint. I used the tamiya zimmerit tool, the one with the 0.7mm spacing.
This was my first ever attempt at zimmerit so I am pretty happy. Early on I kept removing it if it wasn’t perfect. I then studied zimmerit photos and found all kinds of flaws. (Thicker application in some areas, streaks, irregular patterns, areas where zimmerit didn’t stick as well and was thinner, etc.) i Ike this method as it isn’t consistent and perfectly neat