Worked today on the interior (well, the sectio. That includes the loading cradle).

Rd oxide primer for Mr. Finishing, acrylics from Tamiya with some AK Interactive Earth Effects wash to dirty up the floor.
Not too shabby, I may say.
Worked today on the interior (well, the sectio. That includes the loading cradle).
Rd oxide primer for Mr. Finishing, acrylics from Tamiya with some AK Interactive Earth Effects wash to dirty up the floor.
Not too shabby, I may say.
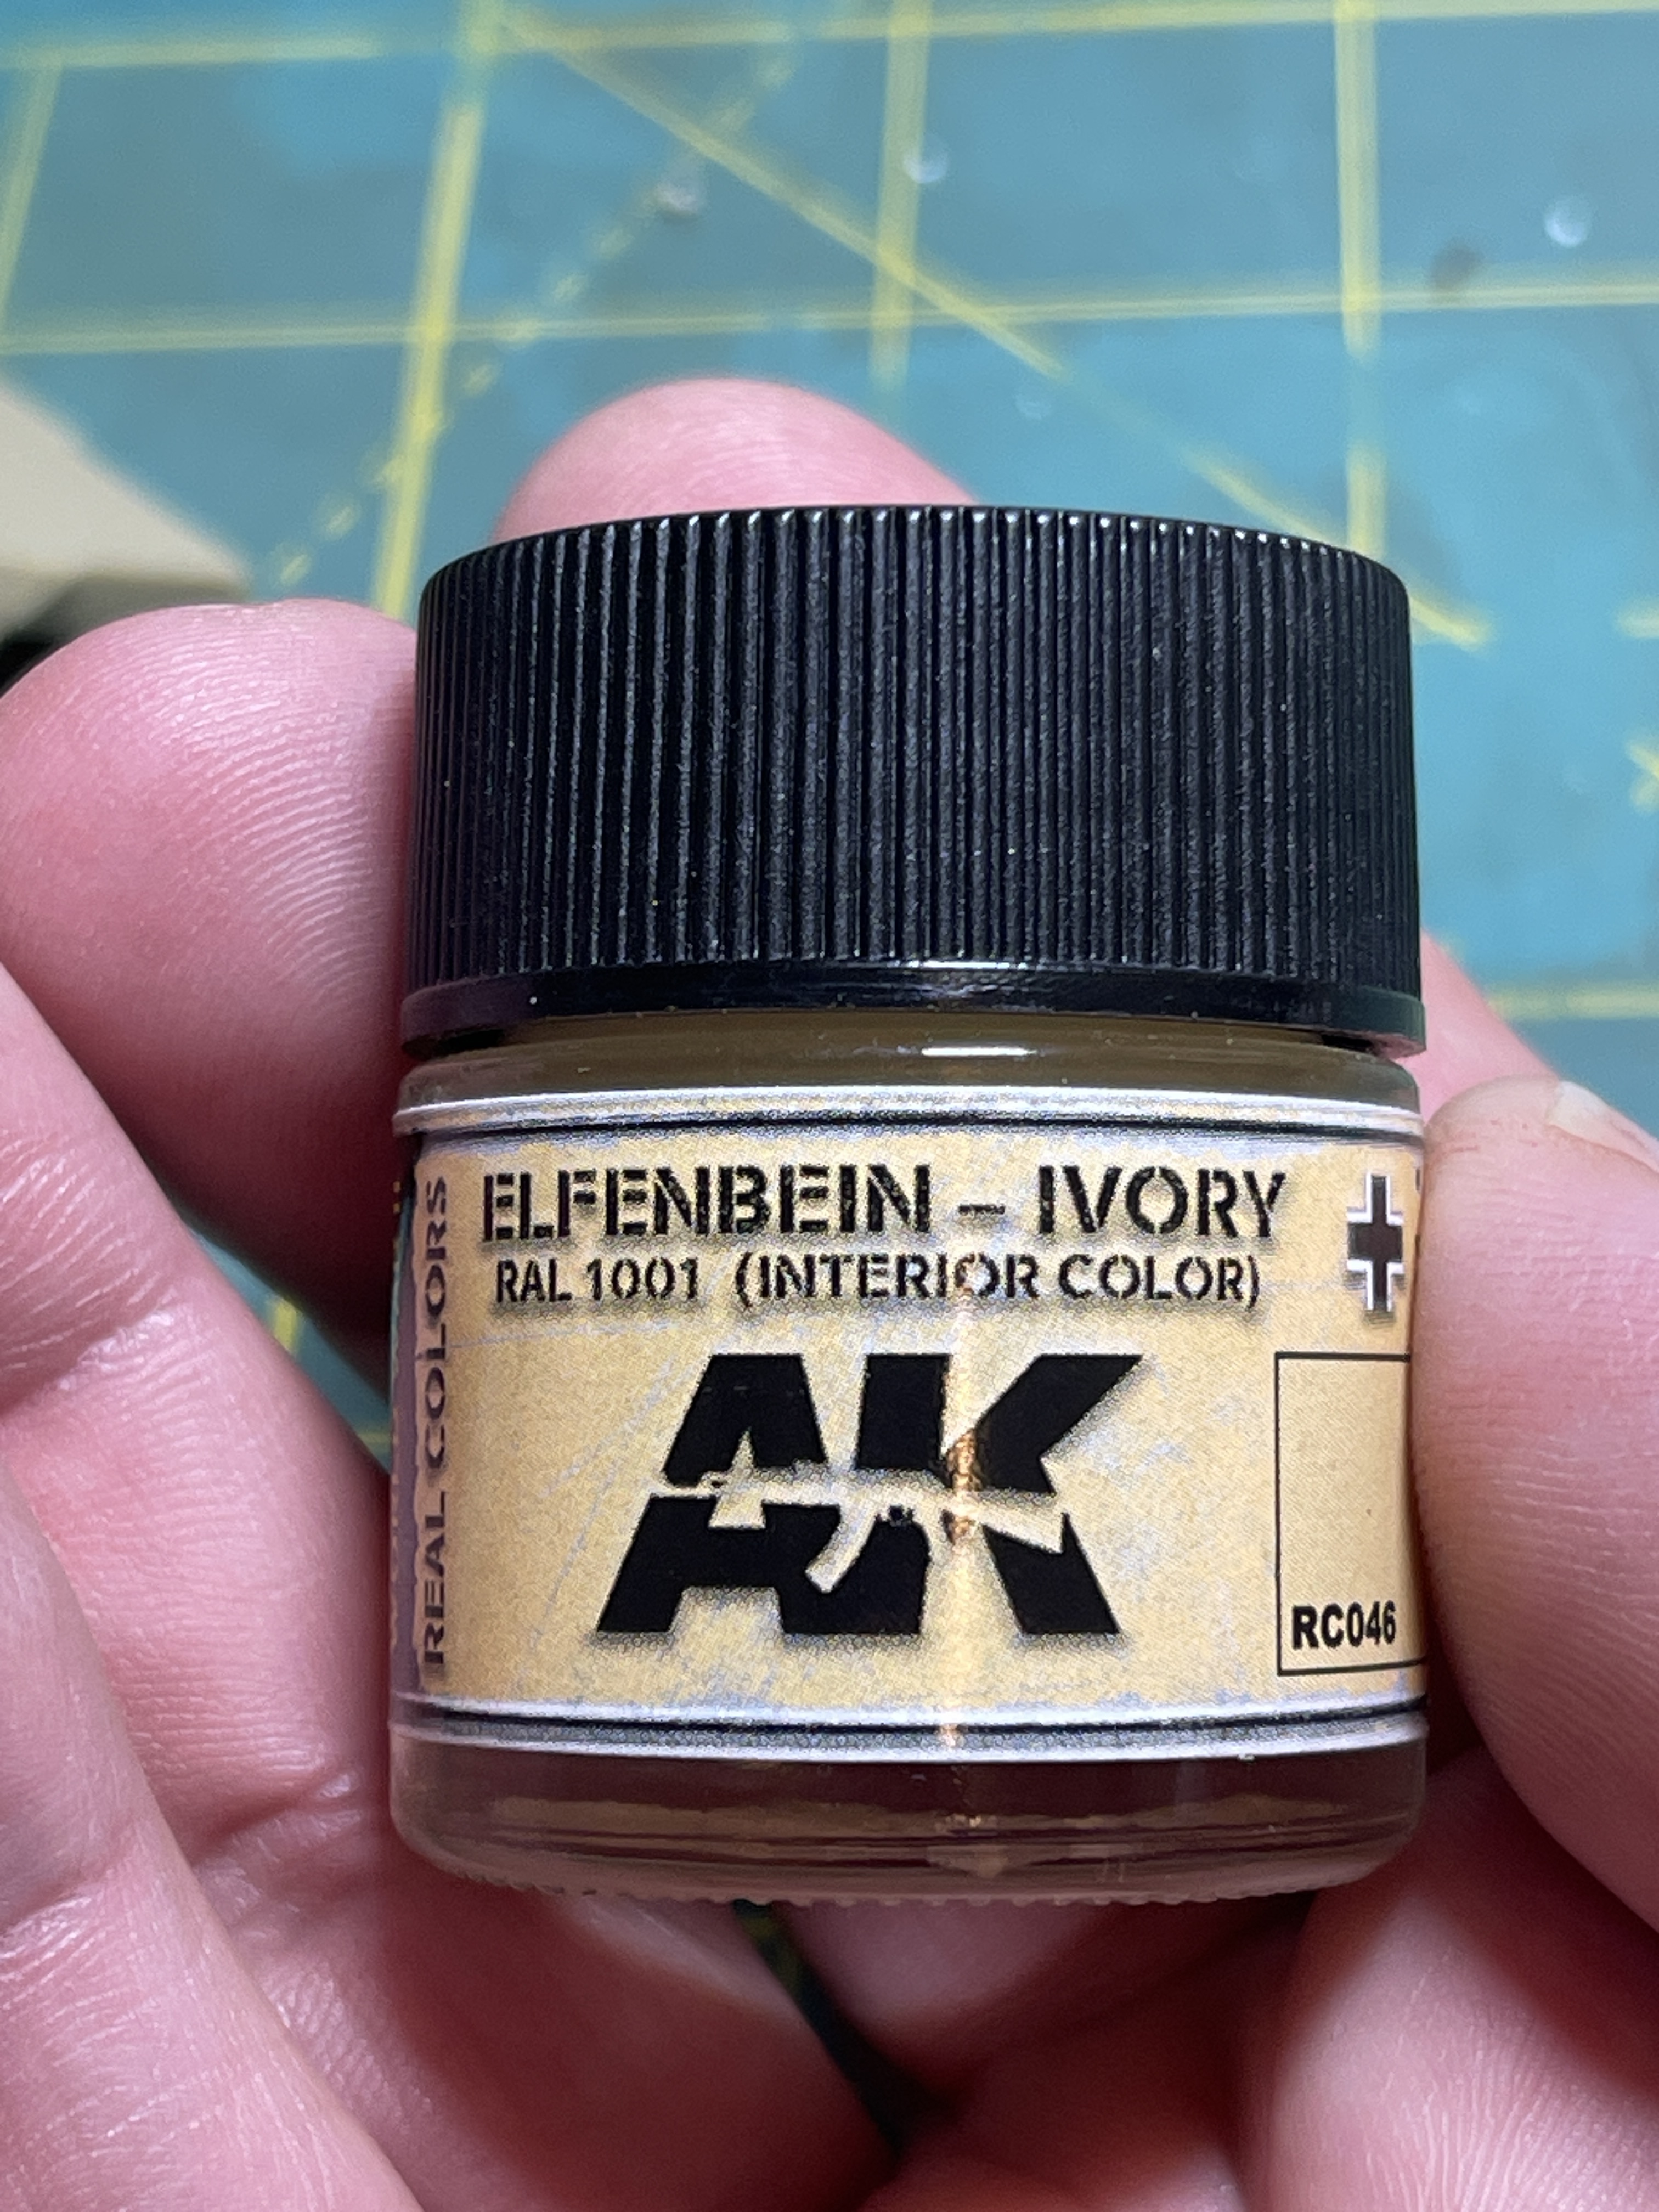
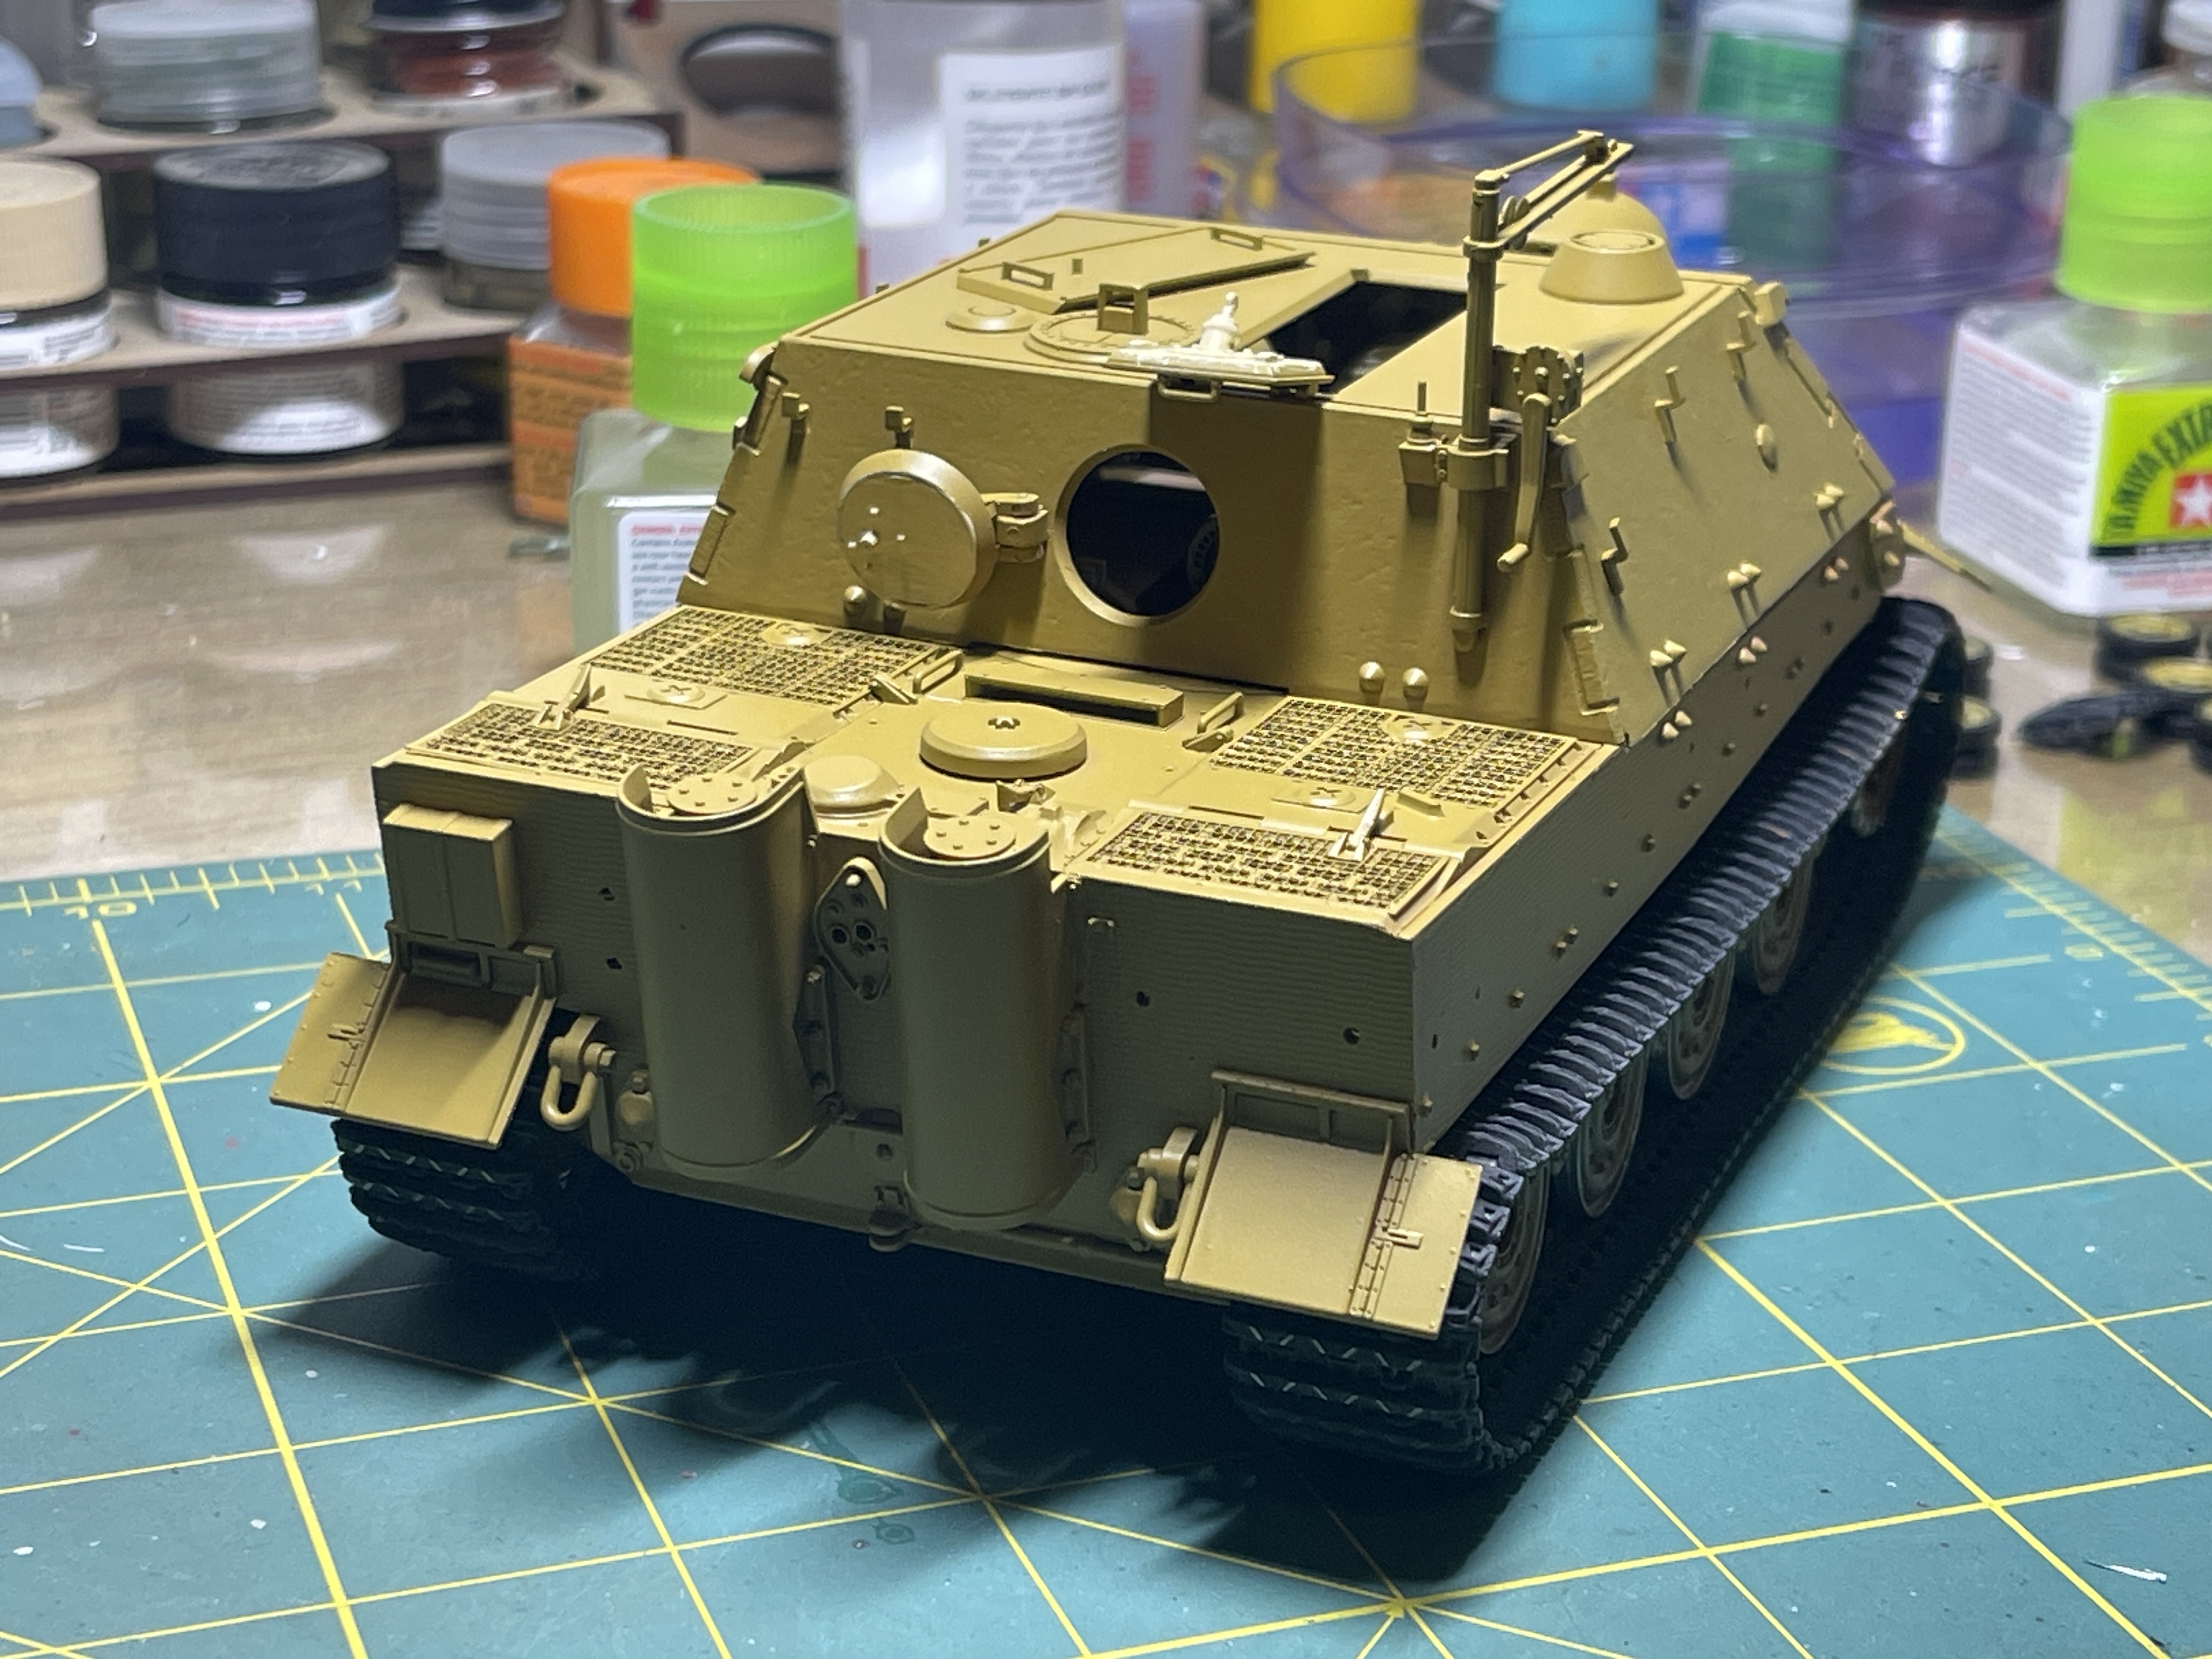
Got the paint for the interior, AK Interactive Elfenbein RAL 1001, as recommended.
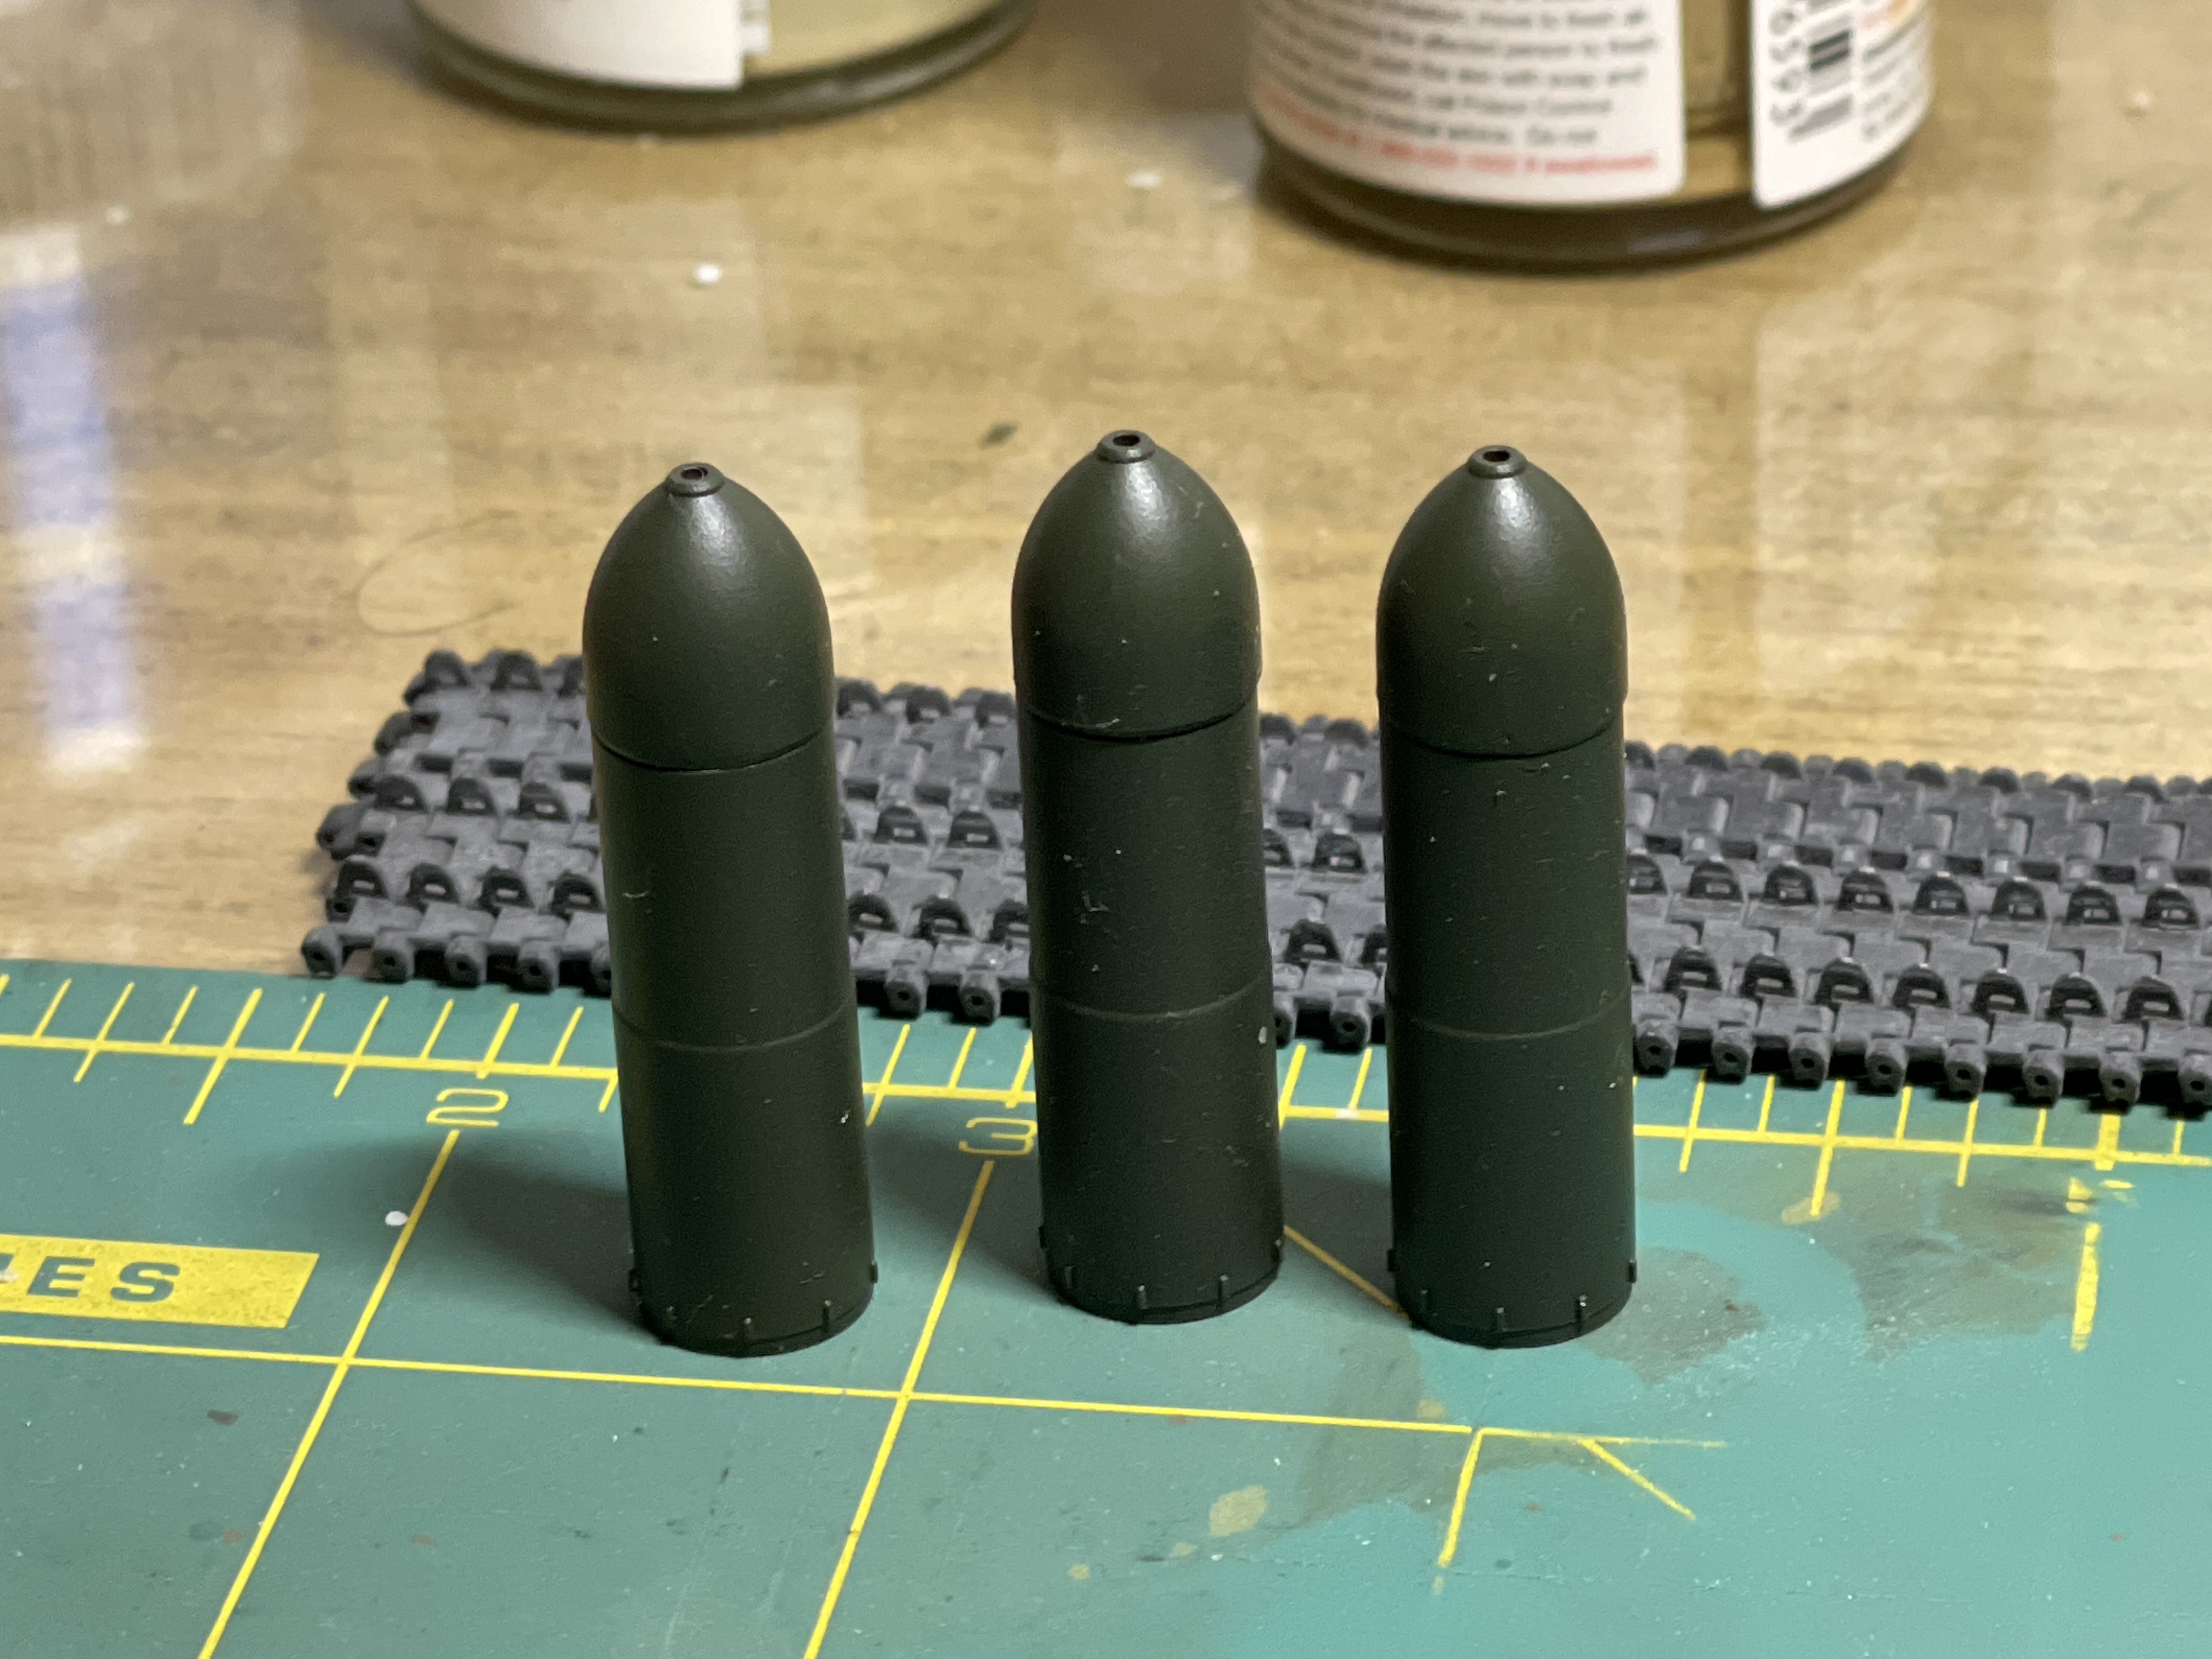
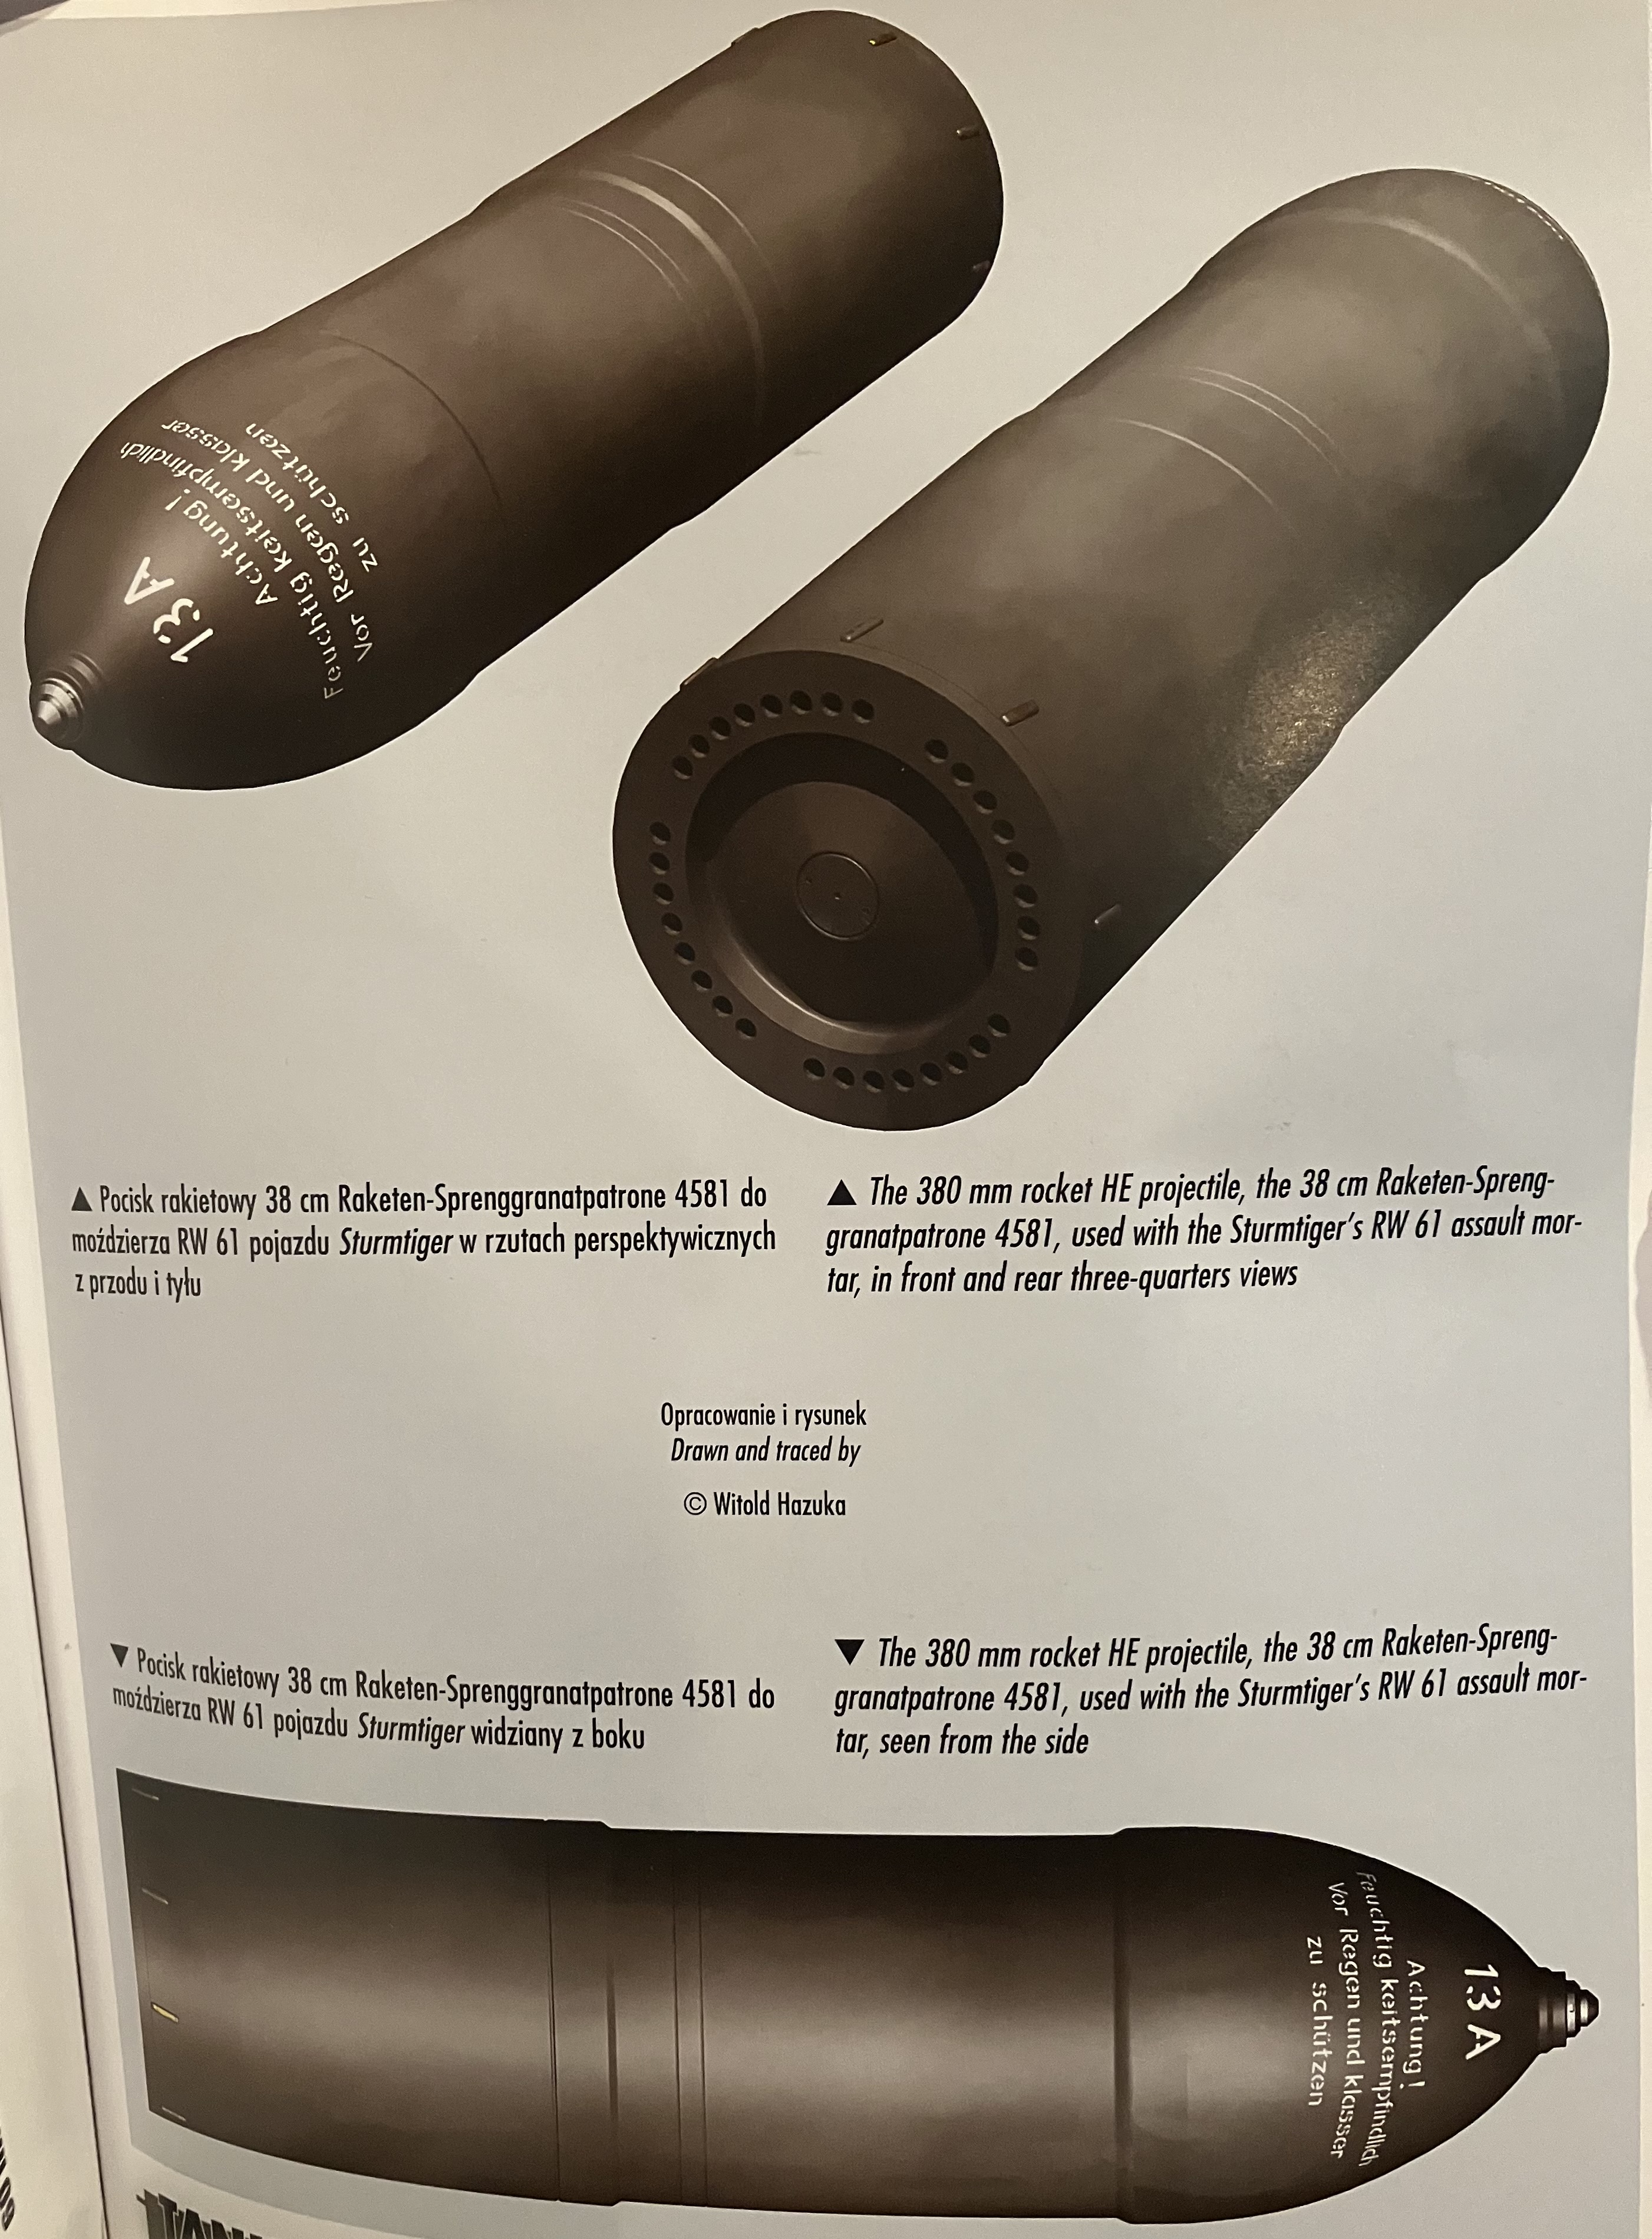
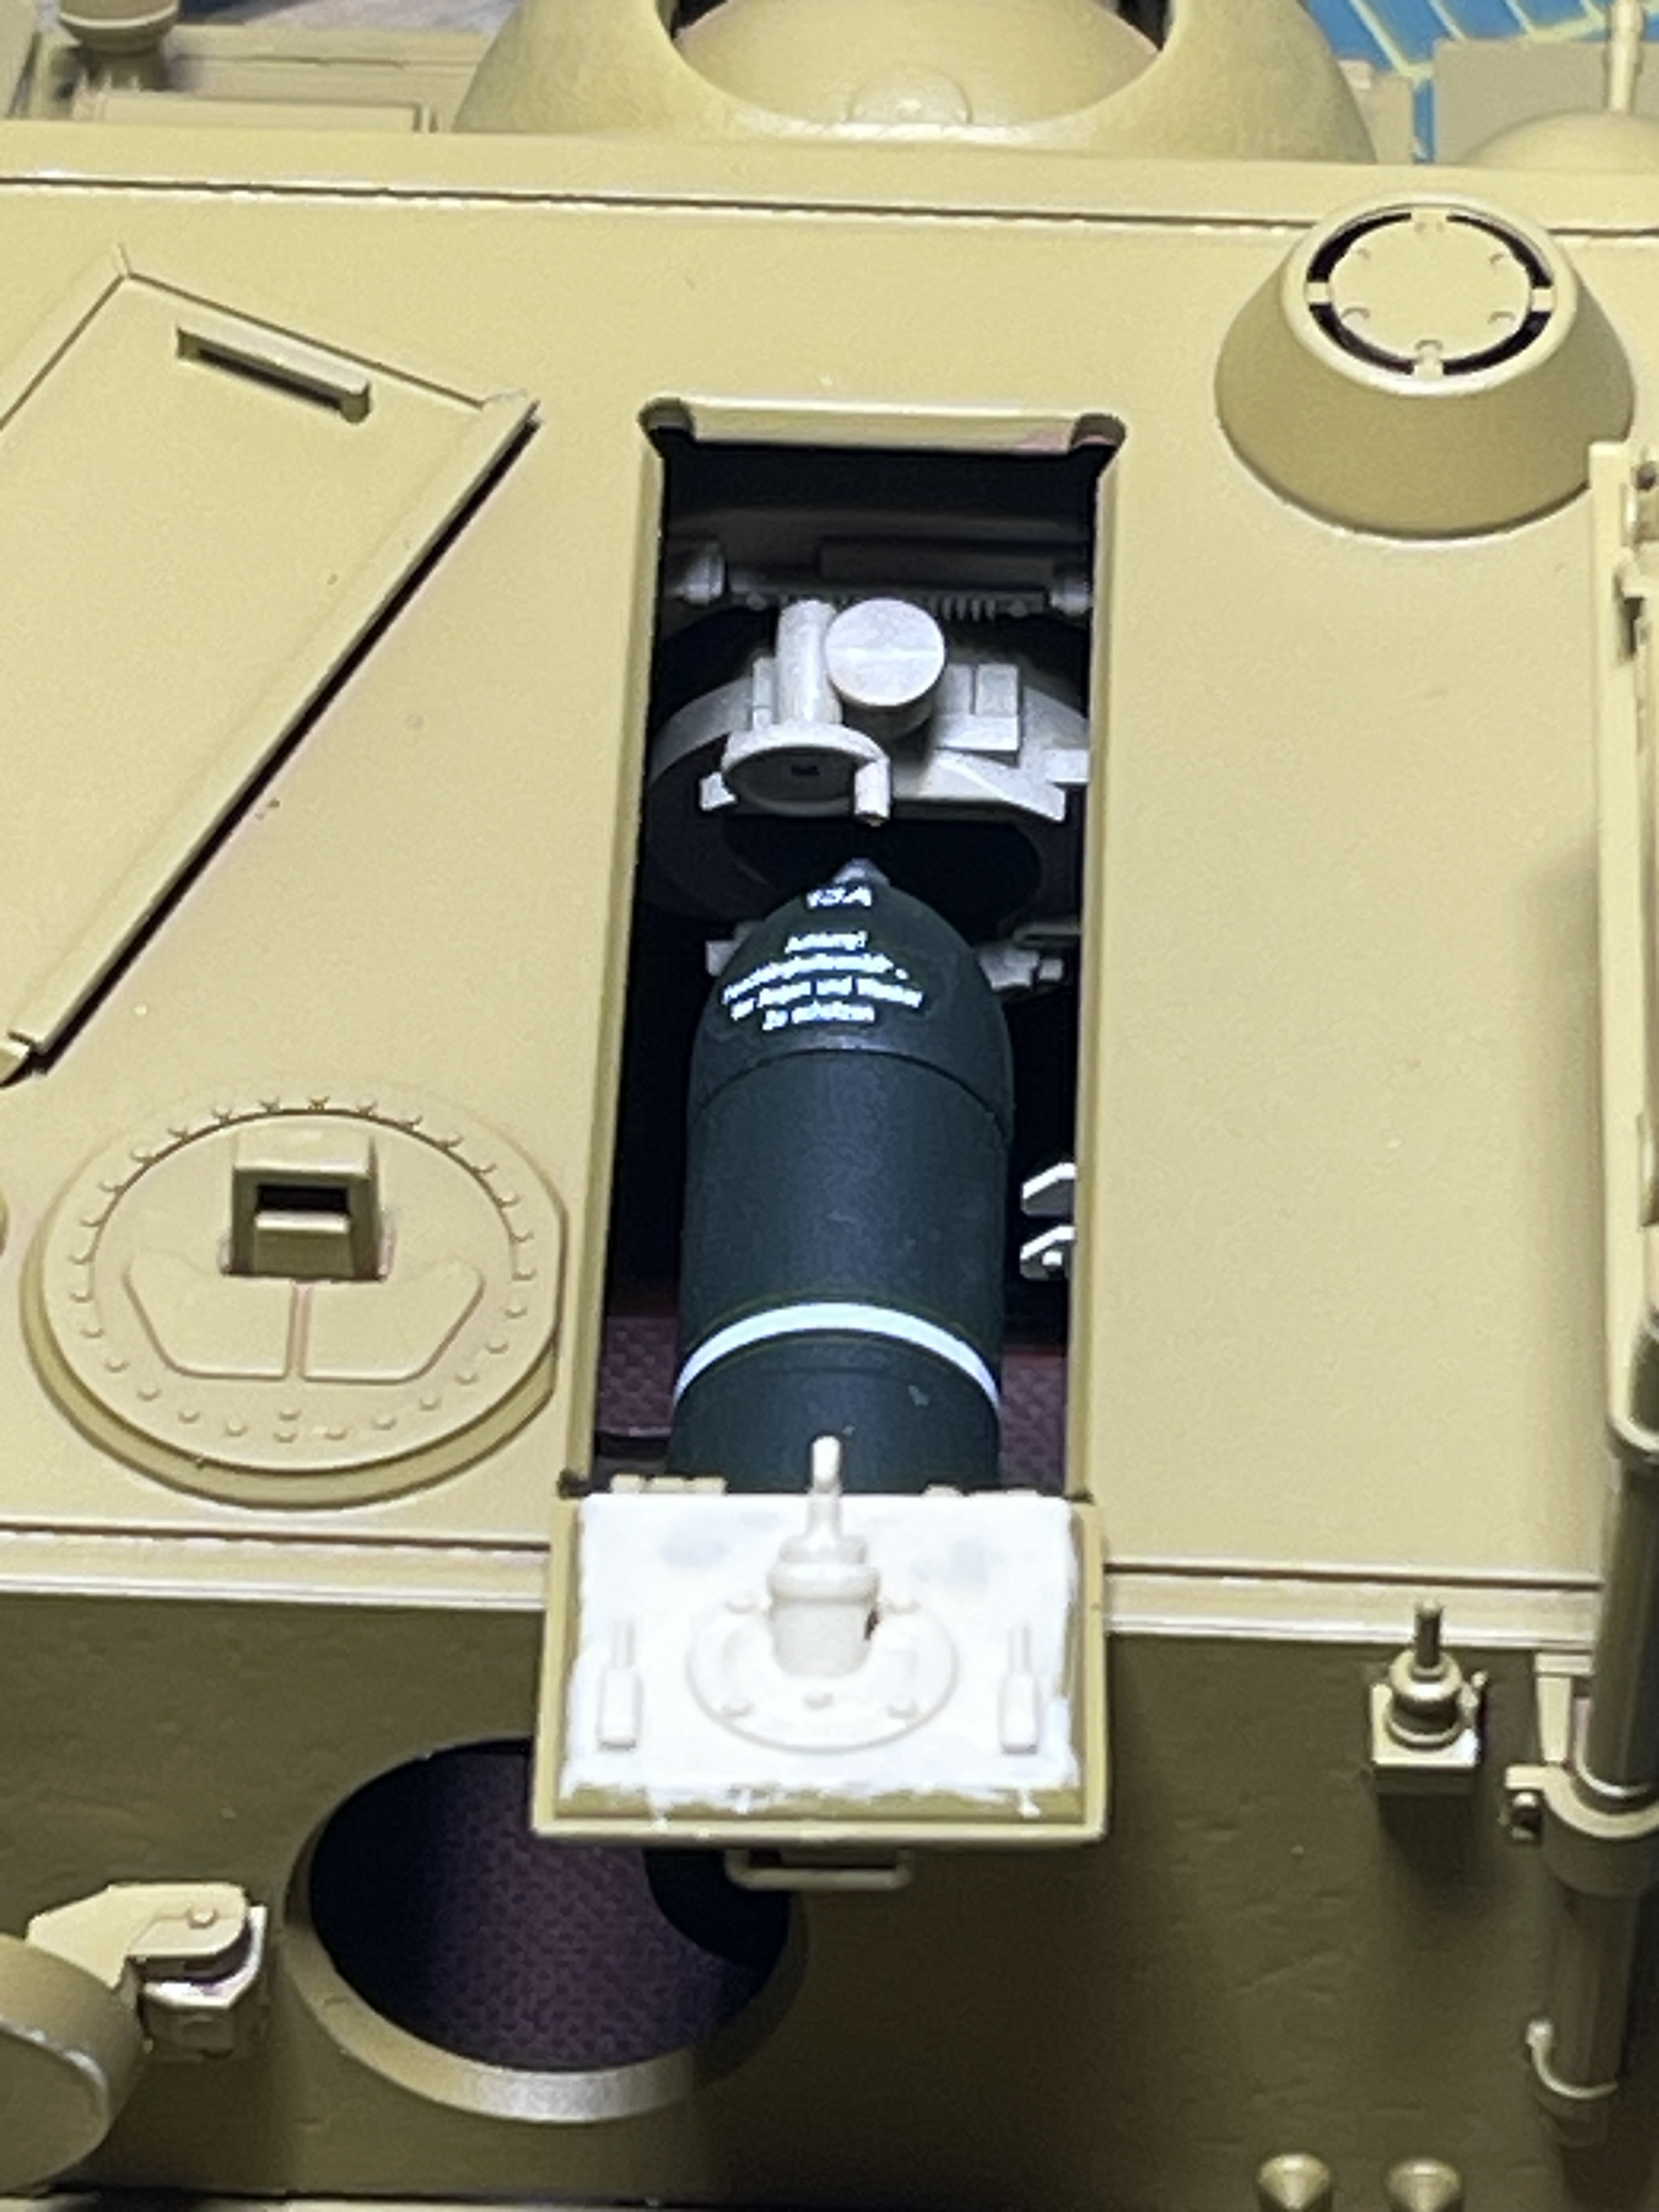
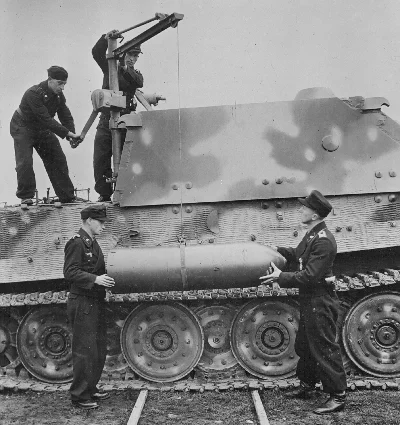
And painted the rocket rounds, plus bought a set from AFV Club.
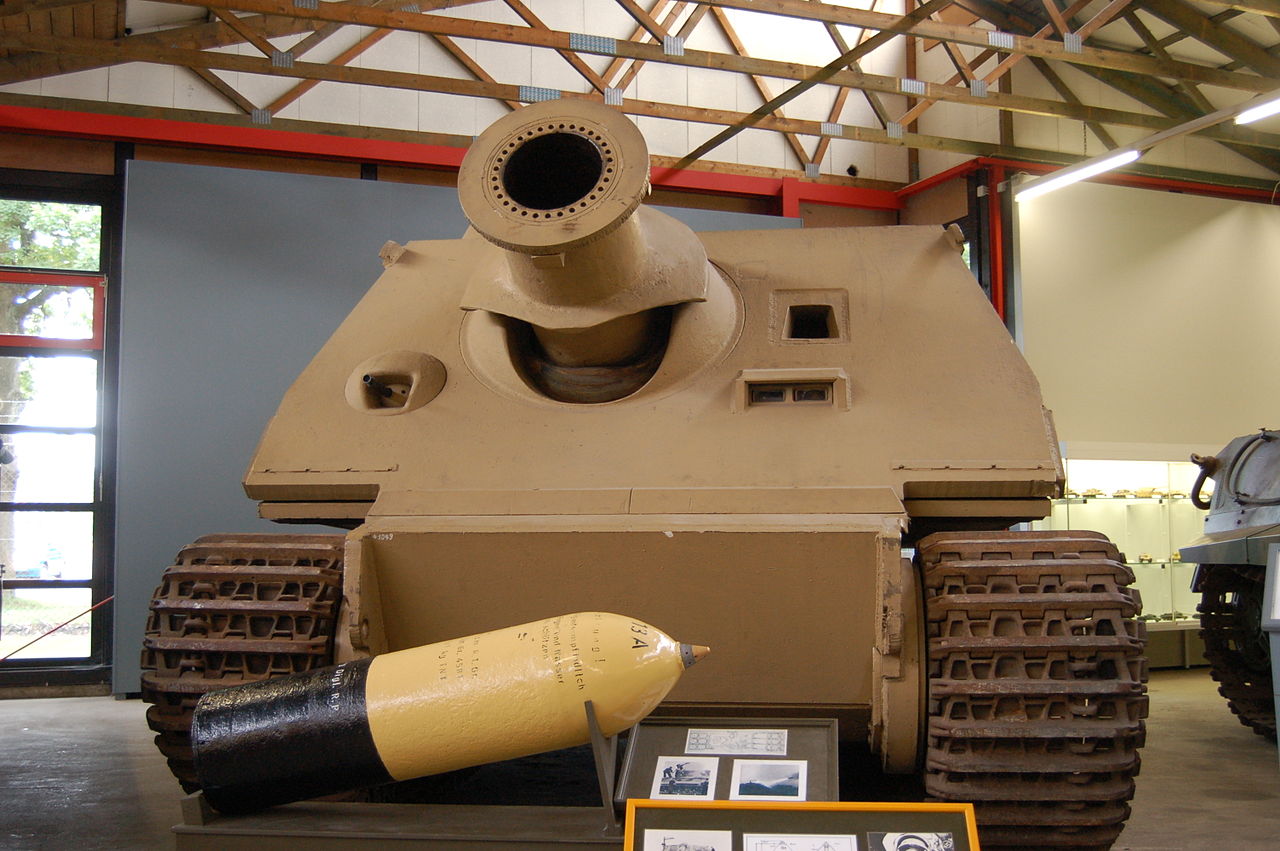
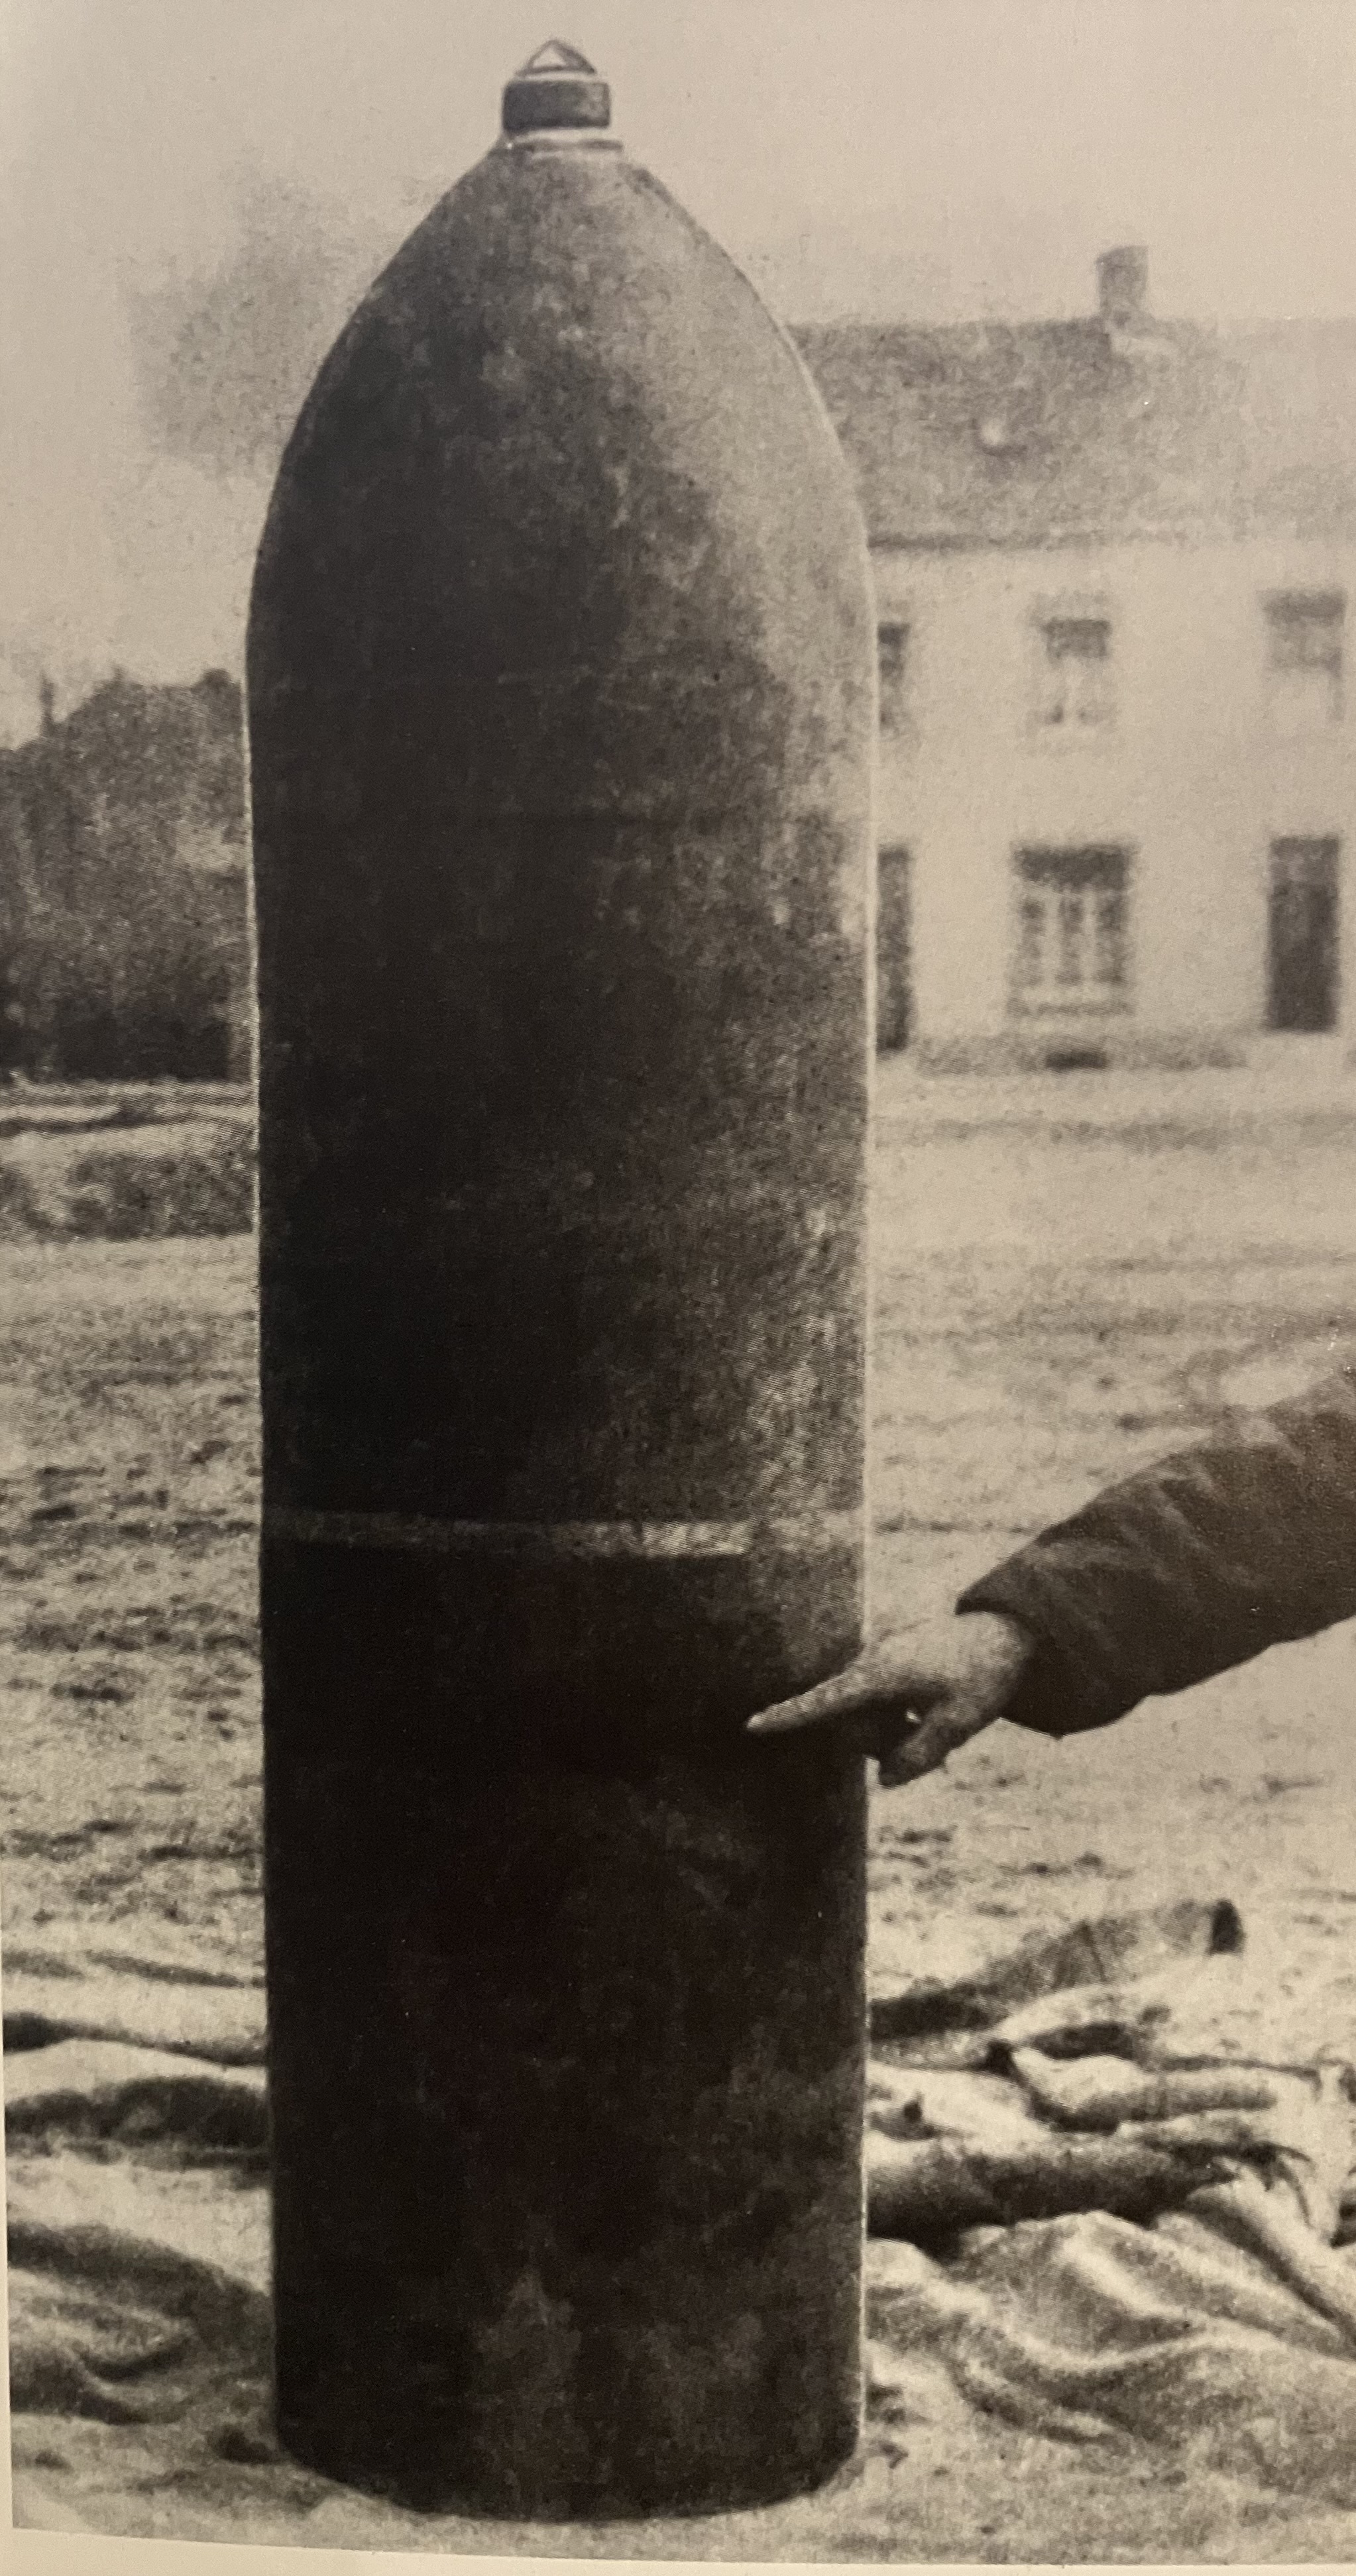
Now, one dilema. You can see that several rockets on display are painted in a different way.
I’m steering I. The direction of what the kit says, but clarification would be greatly appreciated.
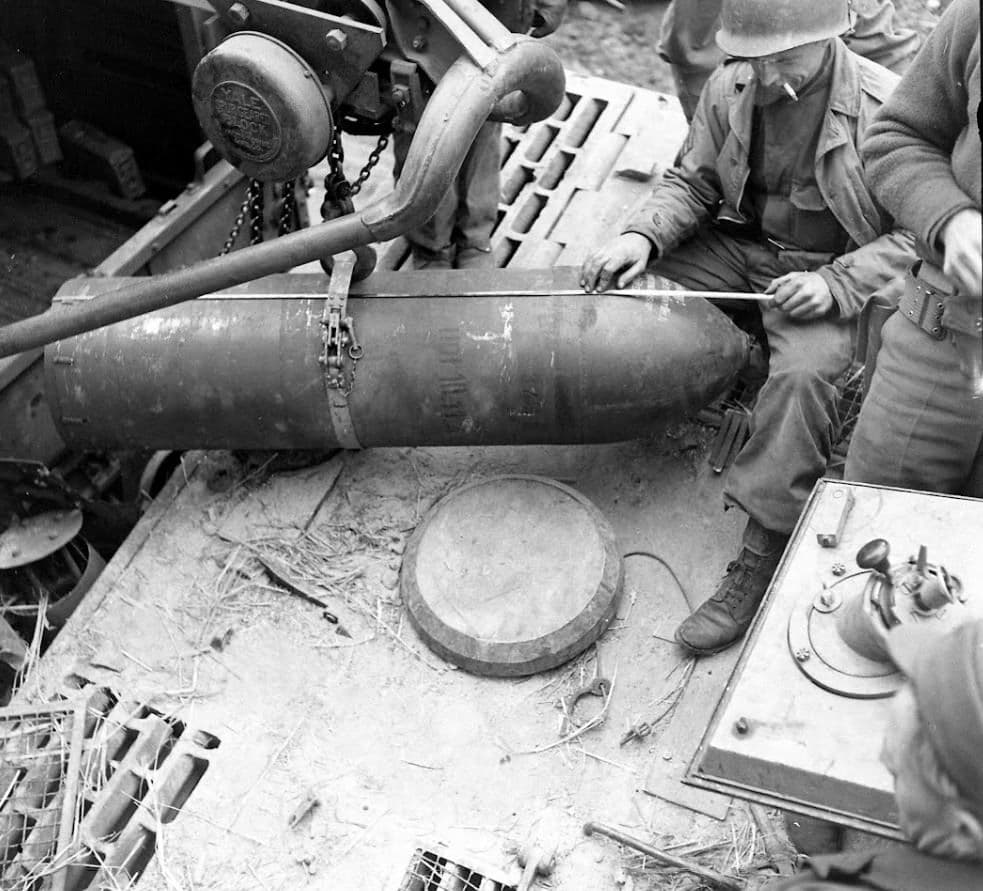
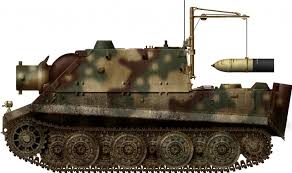
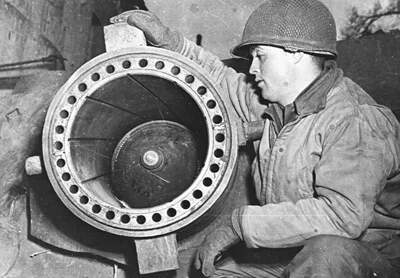
Taken straight from the belly of the beast, no yellow is to be seen, nor do I see any in about a dozen other period photos of the rockets. The Panzer Museum Munster photo simply shows the demarcation between the propellant chamber and the warhead.
That’s certainly clears out any misconceptions about the colors and markings. ![]()
Thanks for the clarification.
The really funny thing about this monster is the fact that there were only 317 rounds of ammo manufactured, which works out to less than one and a half complements for each vehicle built. Not a lot of combat utility considering the effort and cost to develop this weapon.
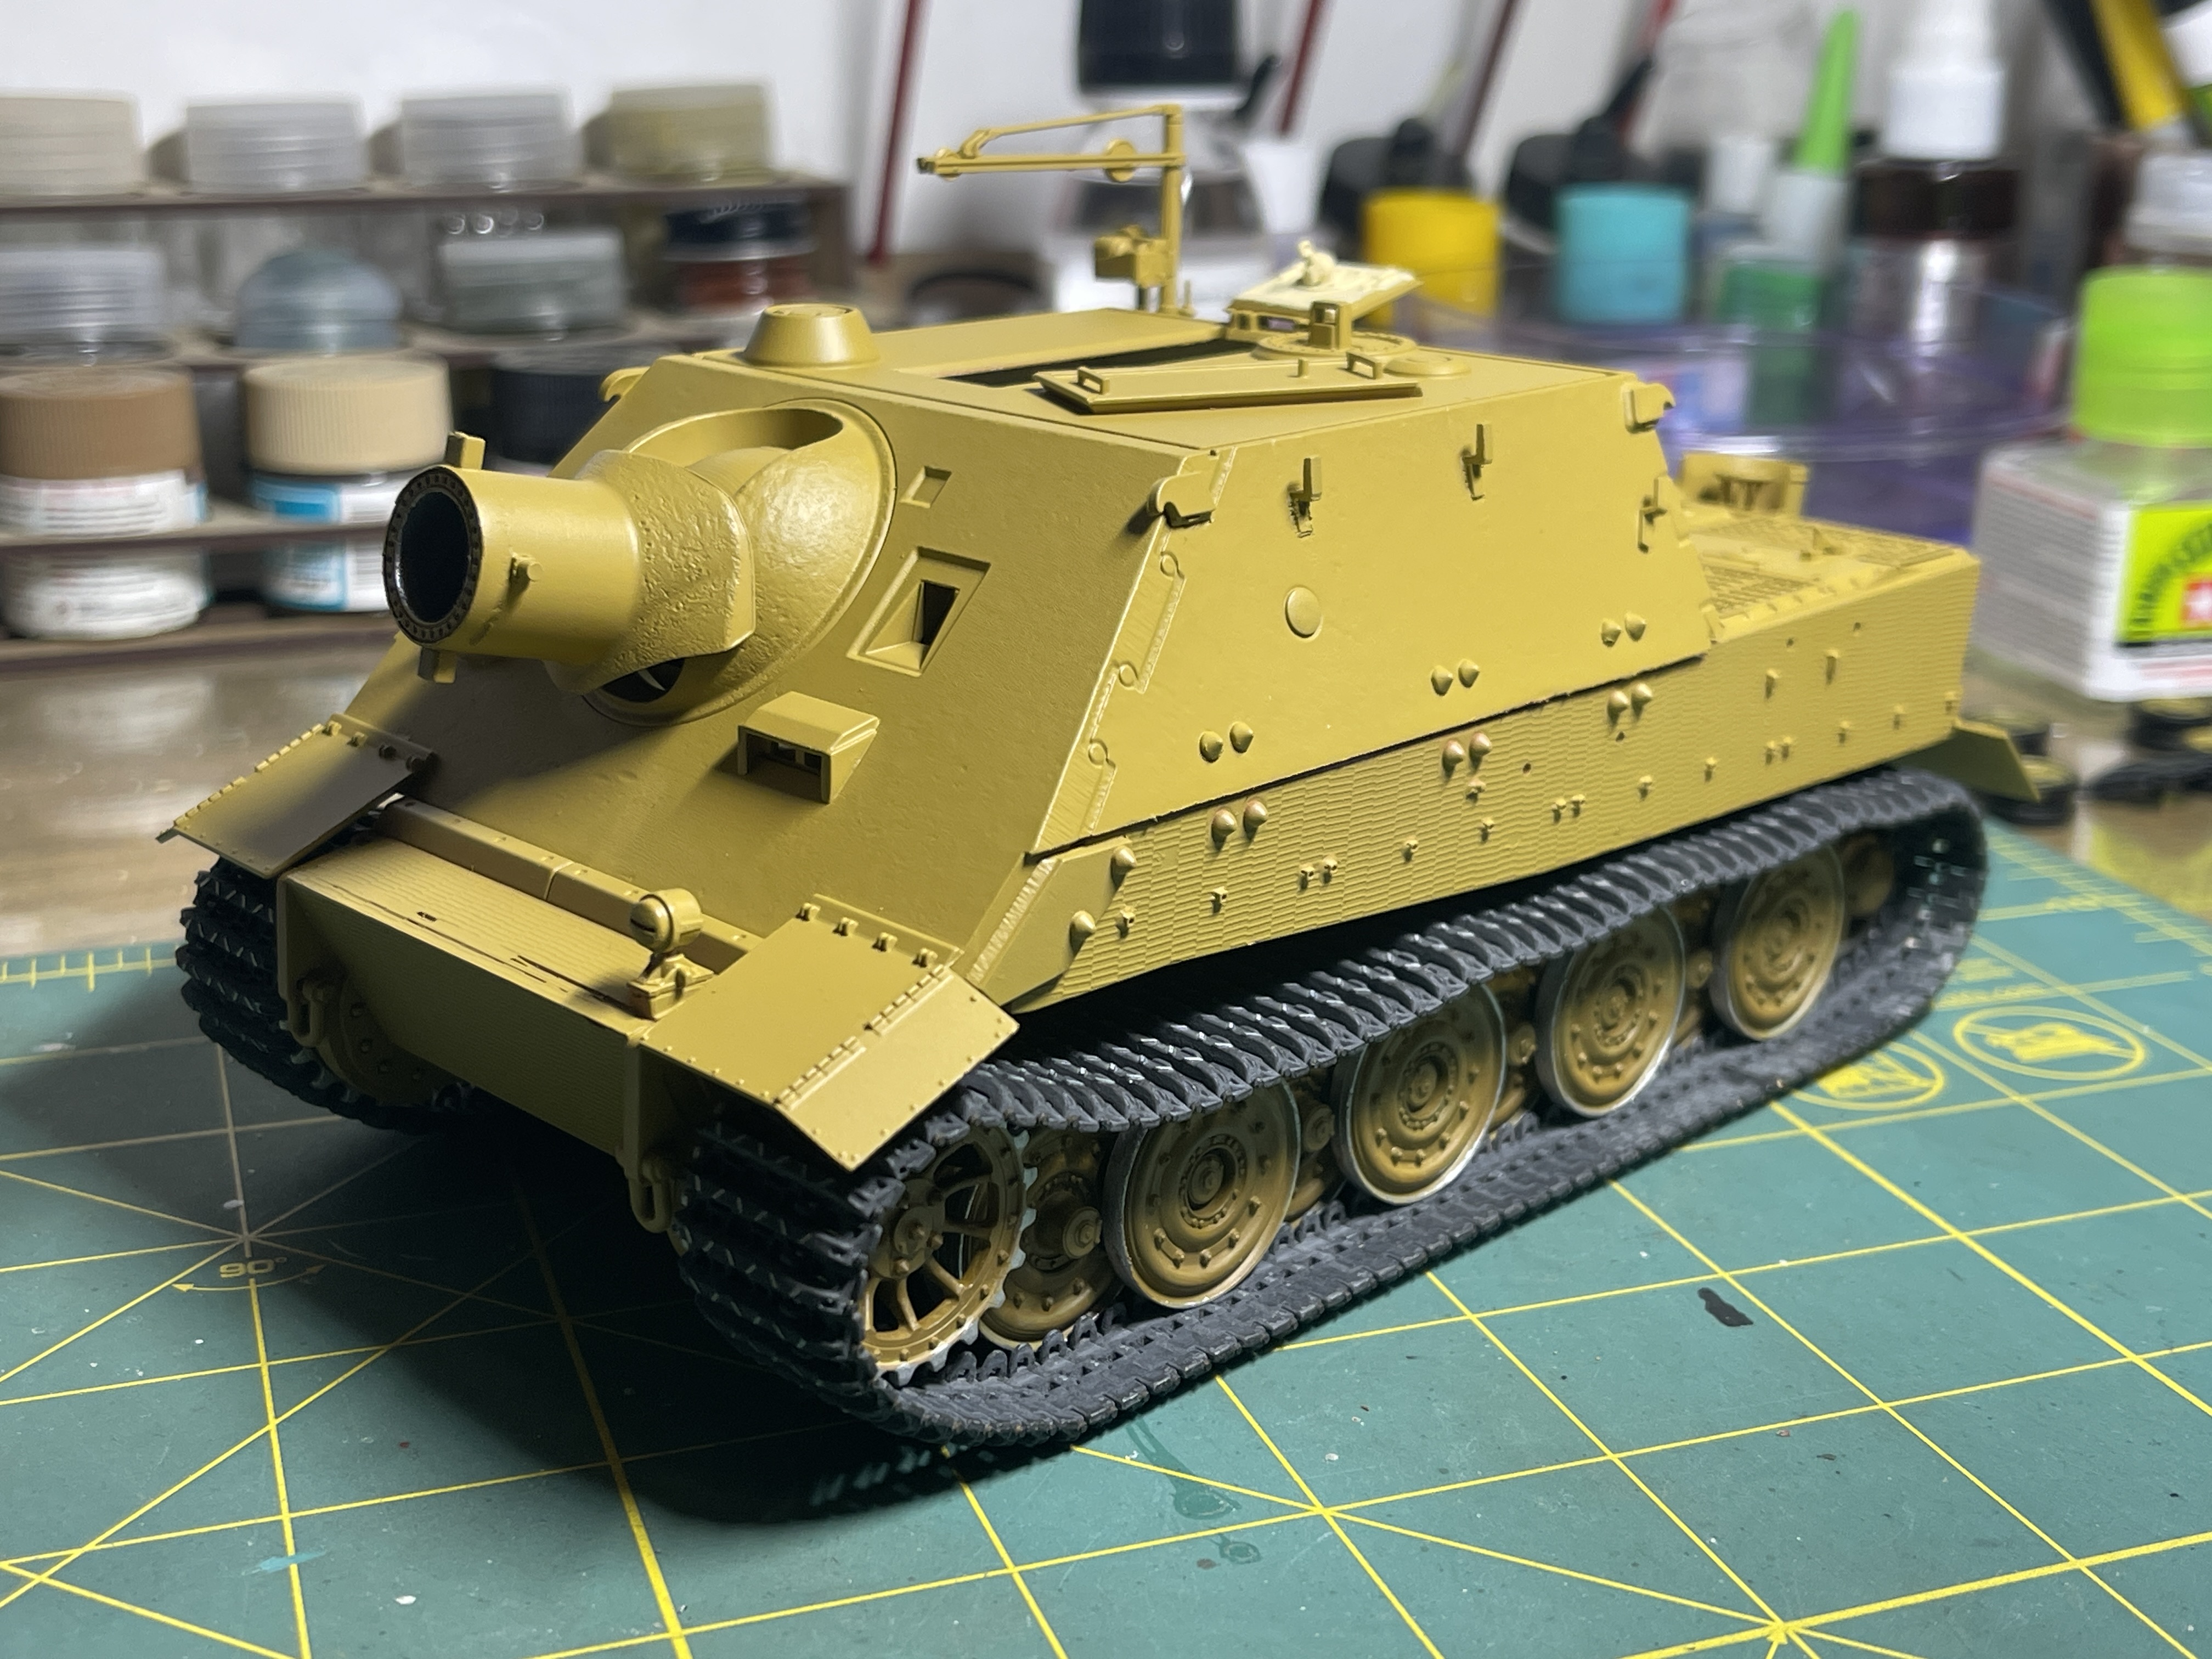
Sorry for the delay in posting. New year, new priorities, I guess…
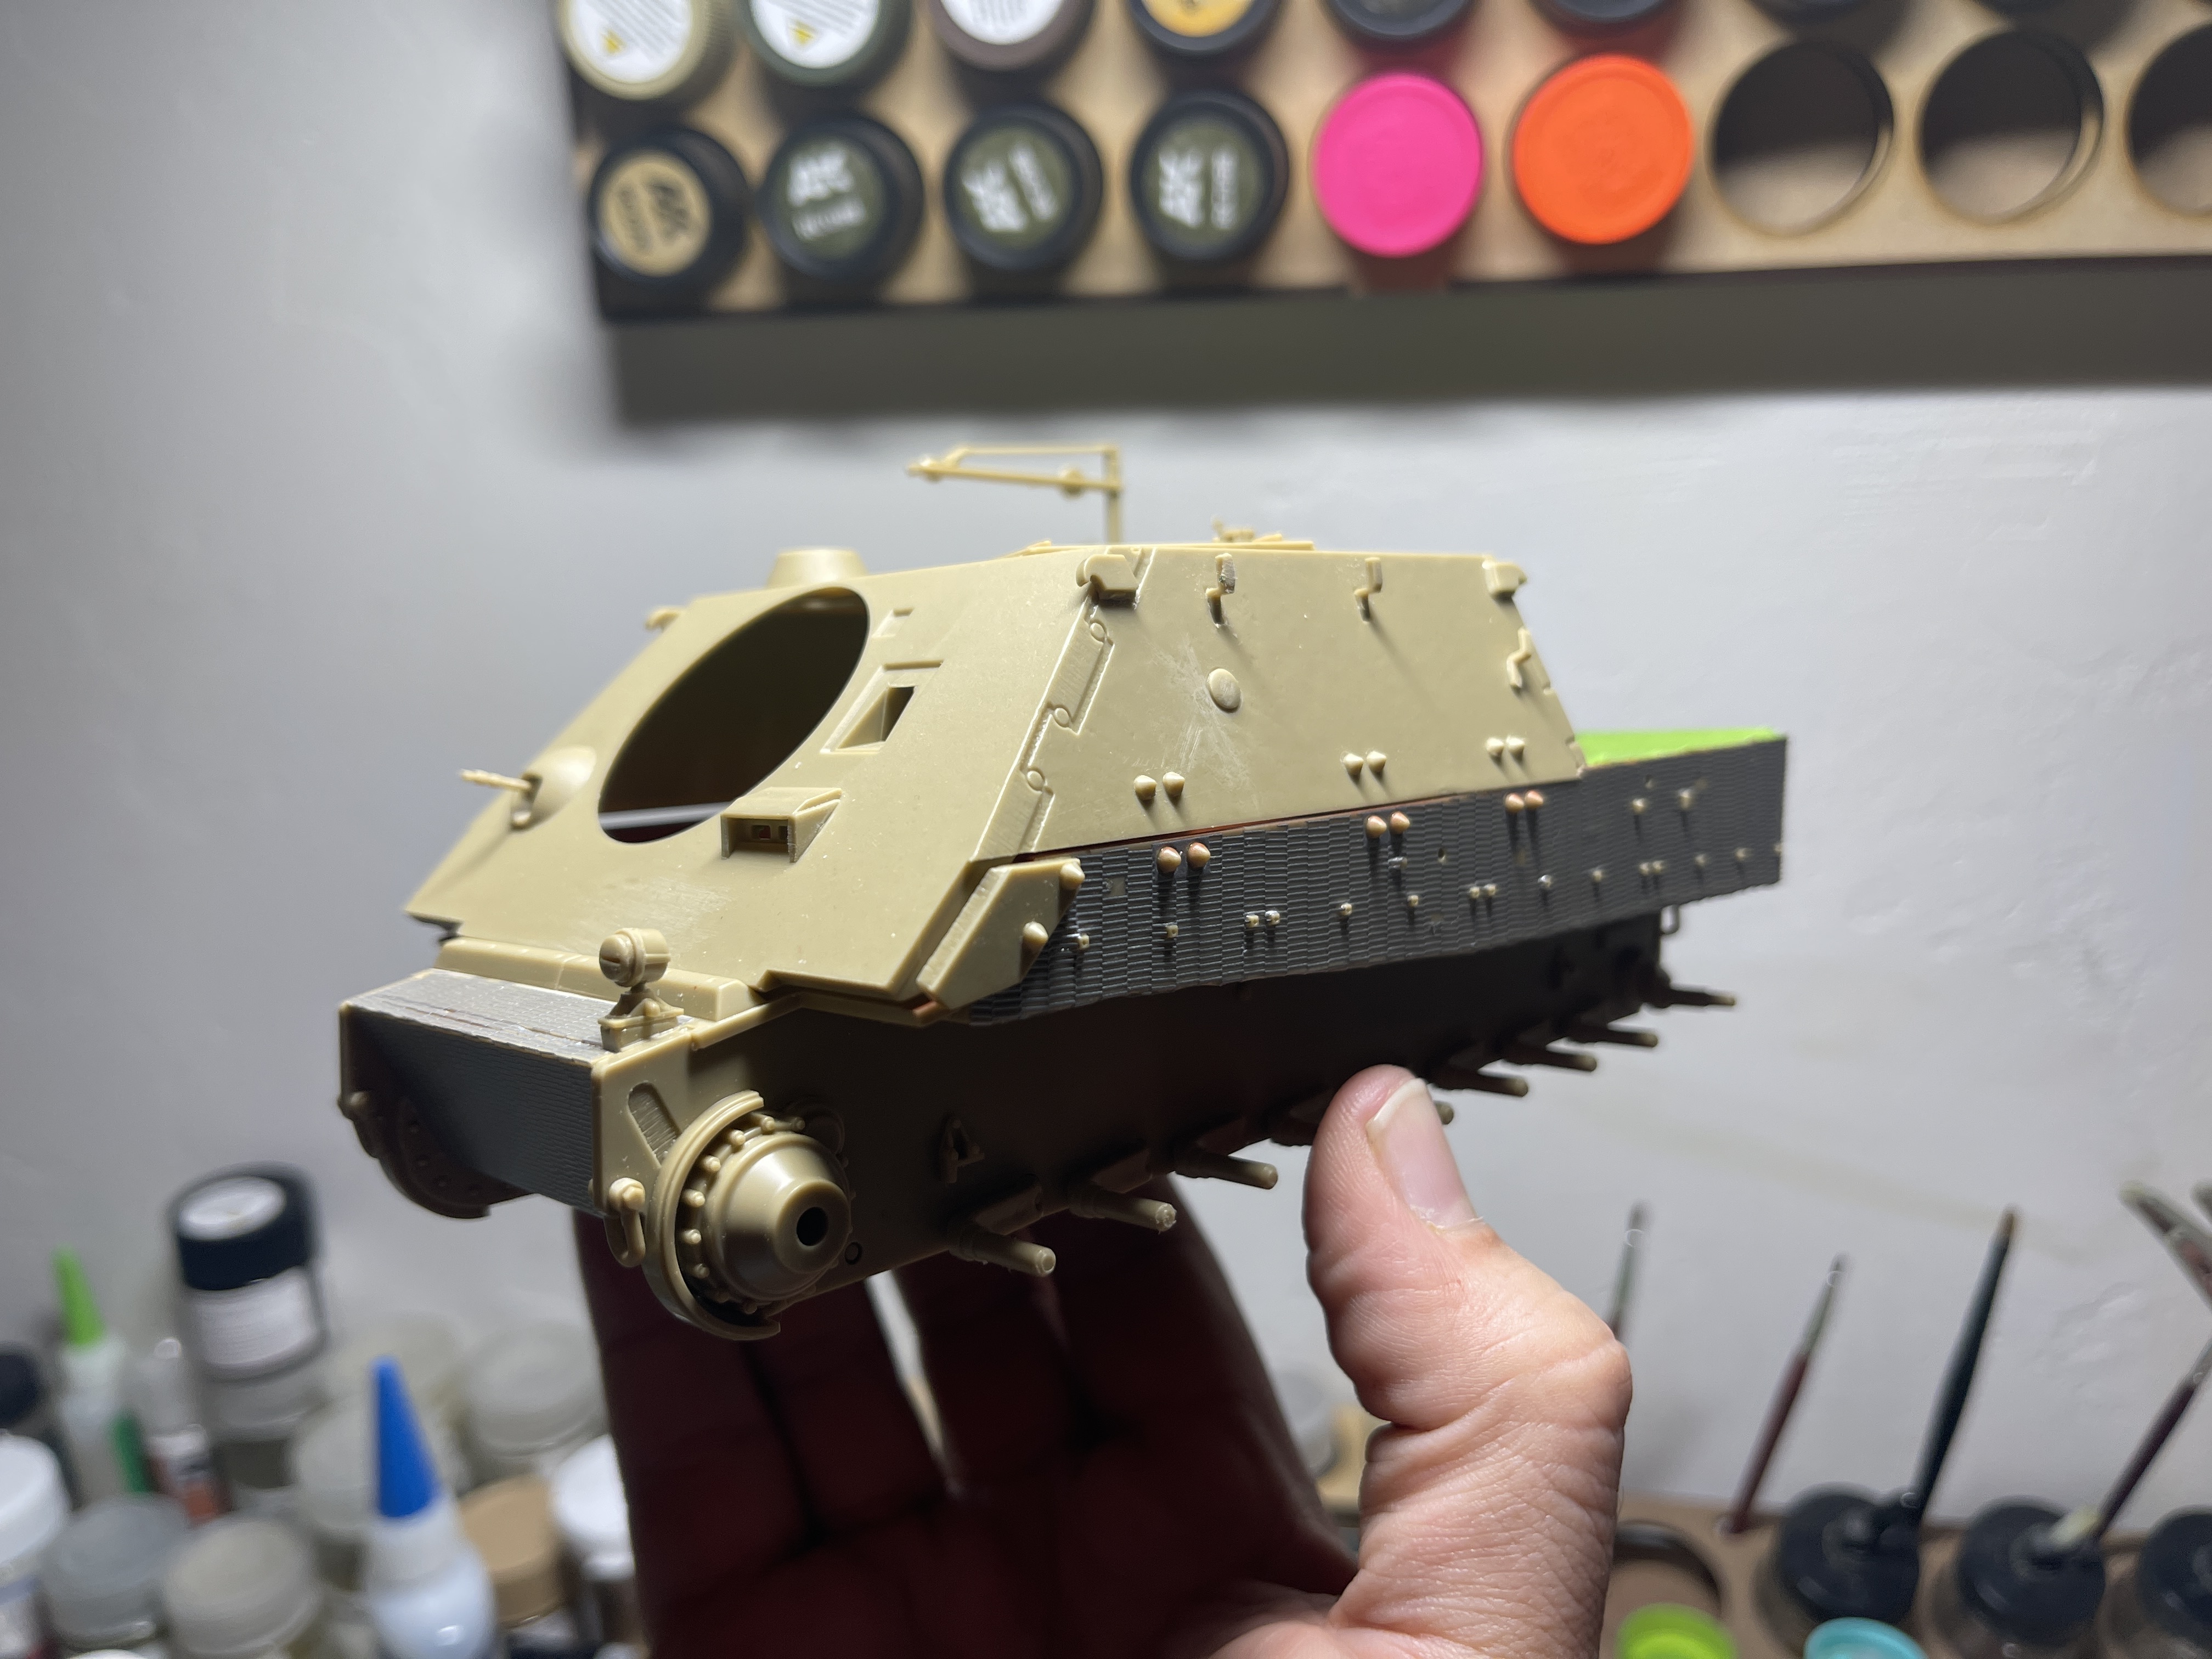
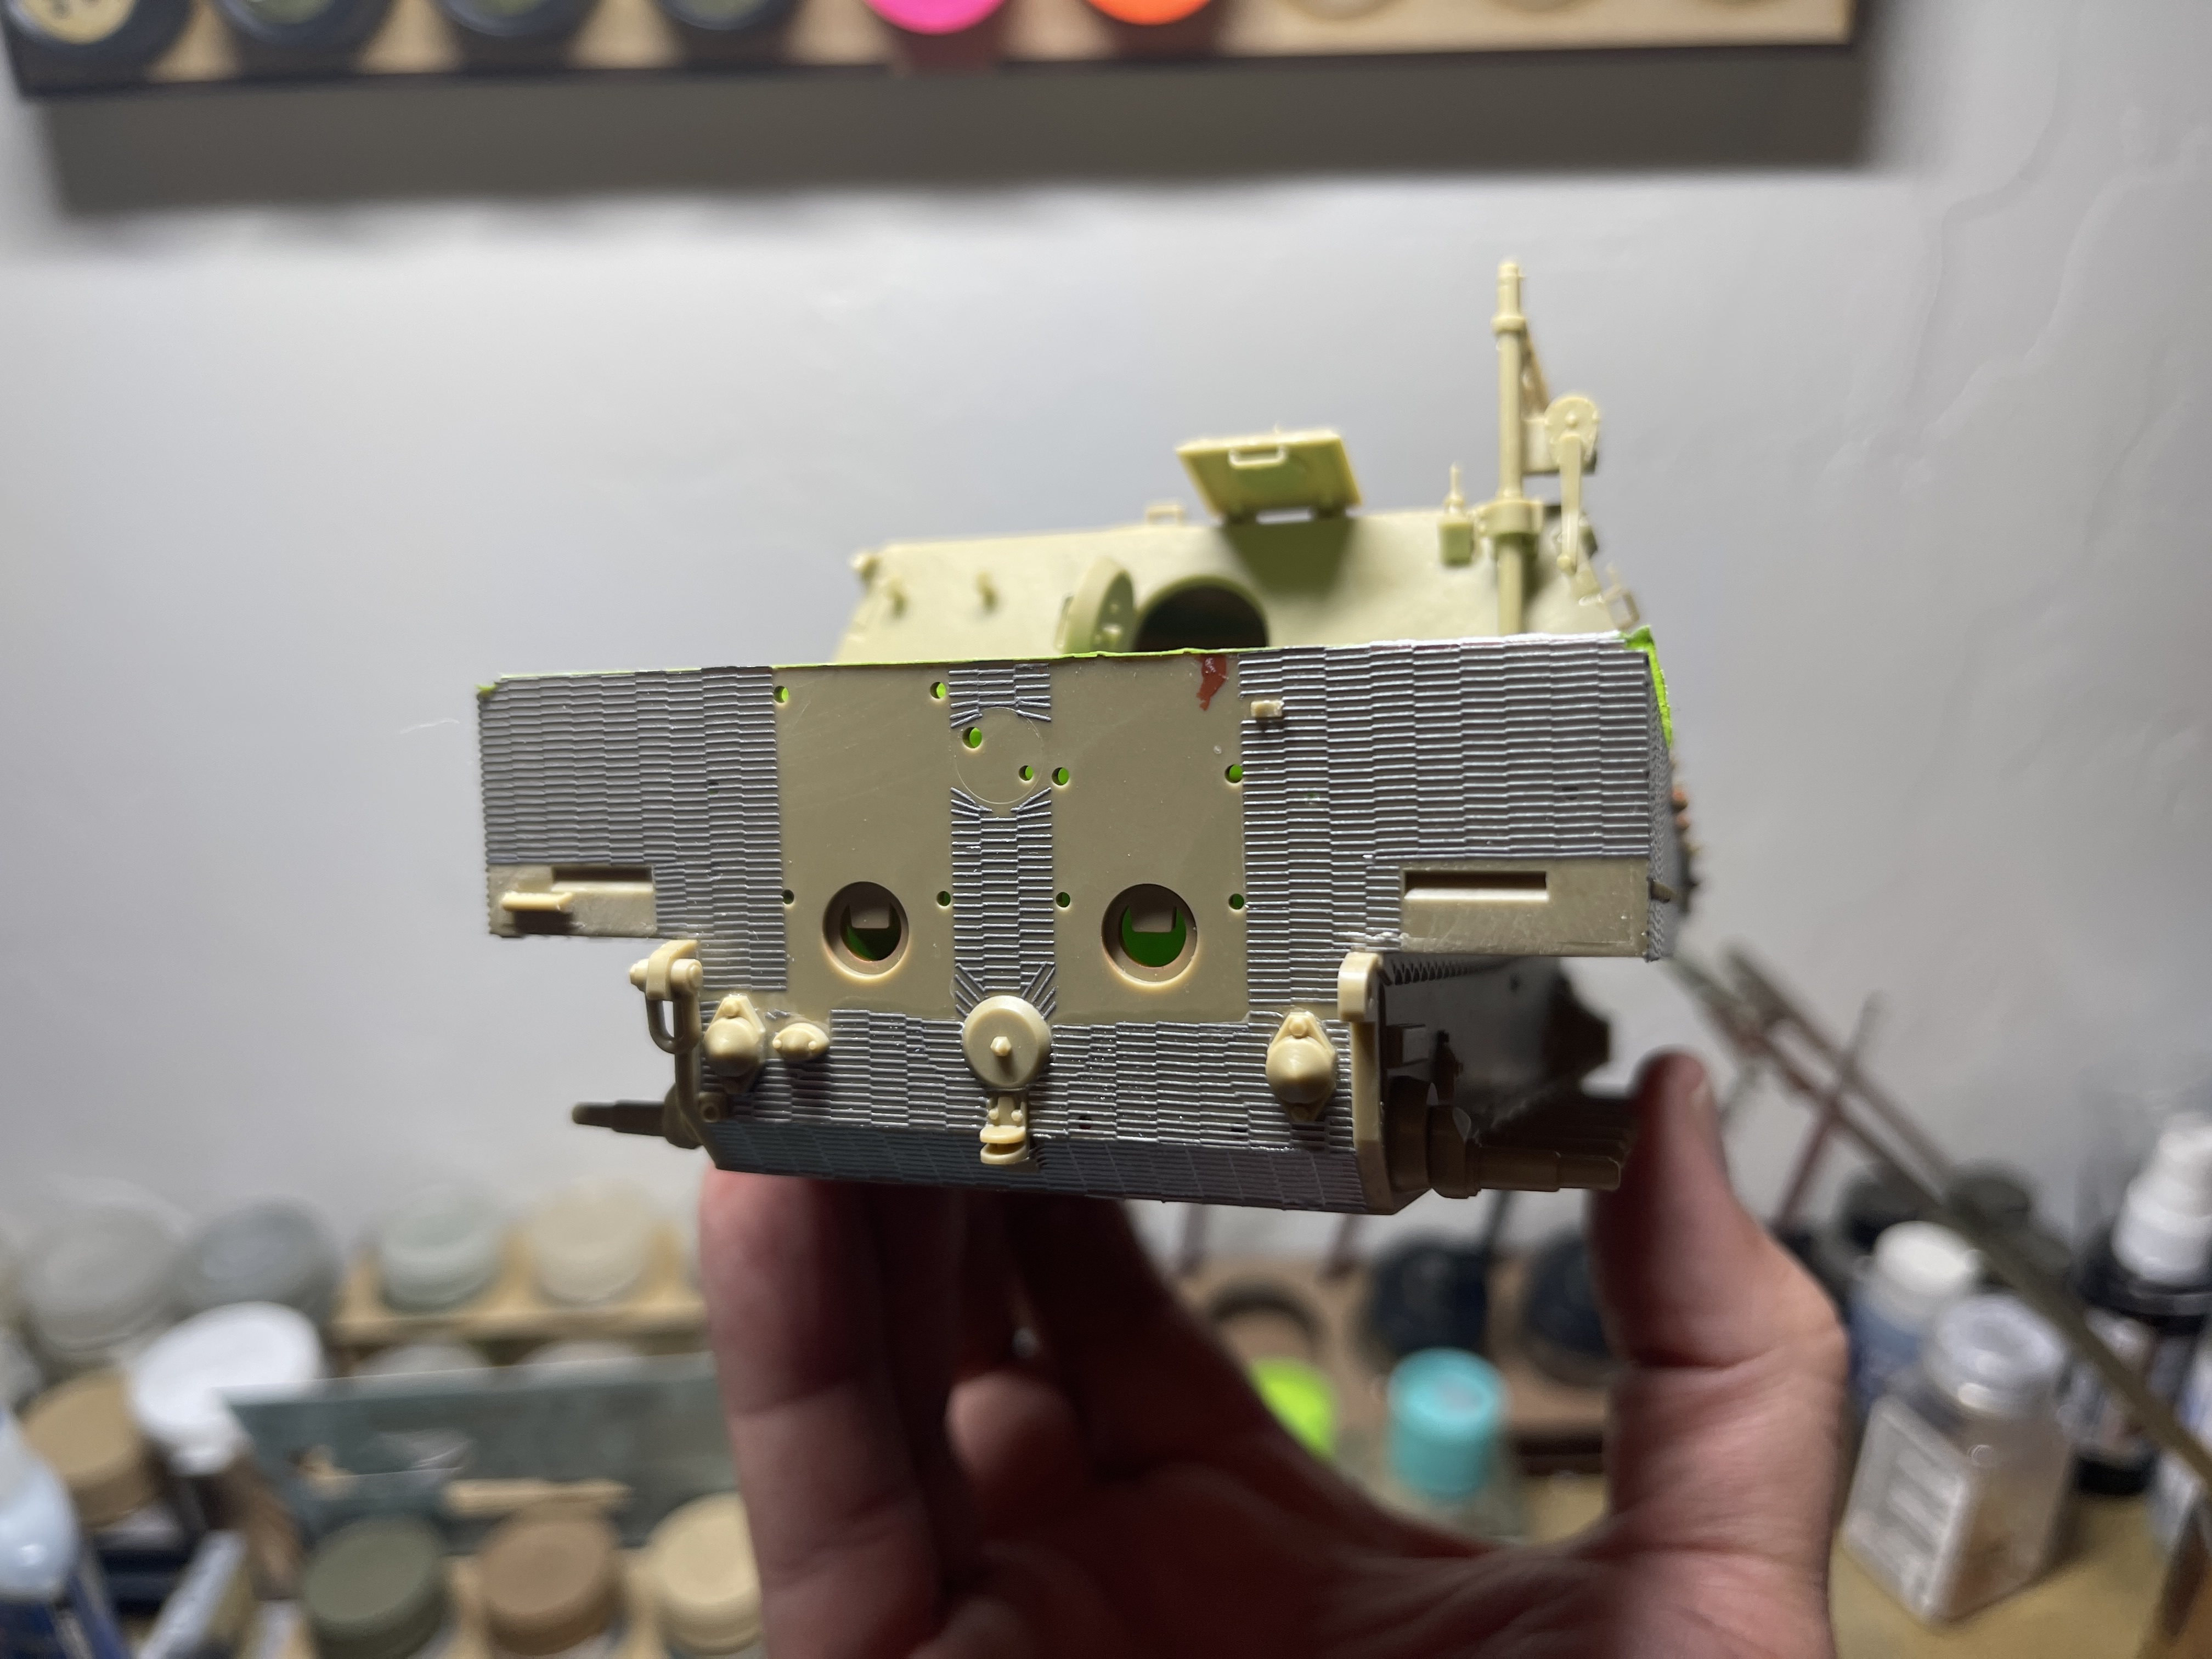
Anyhow, got around to doing work in the build. Mainly painting the road wheels and applying the DEF zimmerit.
The bottom set is already painted and the top set needs the silver paint around the wear area of the metal wheels.
Once the zimmerit decals dry up and stick to the plastic, I’ll be painting it all.
Something looks a little off with those wheelsets? have you test fitted the tracks to them?
I have. I’m using Sanxin metal tracks (behind the wheel sets).
I still got to dial up the sag once the wheels are glued in place.
How did you find the Def set? What glue did you use?
I applied it like regular decals, used Mark Fit like always. It does state you can use a little Tamiya extra thin cement to help it adhere. I used the cement to clamp down the edges a bit, after I applied the decal sheets over the bare plastic.
Thanks
Looking fantastic!
Marvelous work. Looks much better than my shelf queen. VBG
This is a very cool build Reynier … Really looks the part … The inside is nicely done as well, even though it will be limited to what’s visible…great work
Super nice Reynier. Those SanXin tracks look fantastic. Your paint work is excellent; very smooth. This is coming together into an outstanding model.
That rocket fills up the interior.
Nice job.