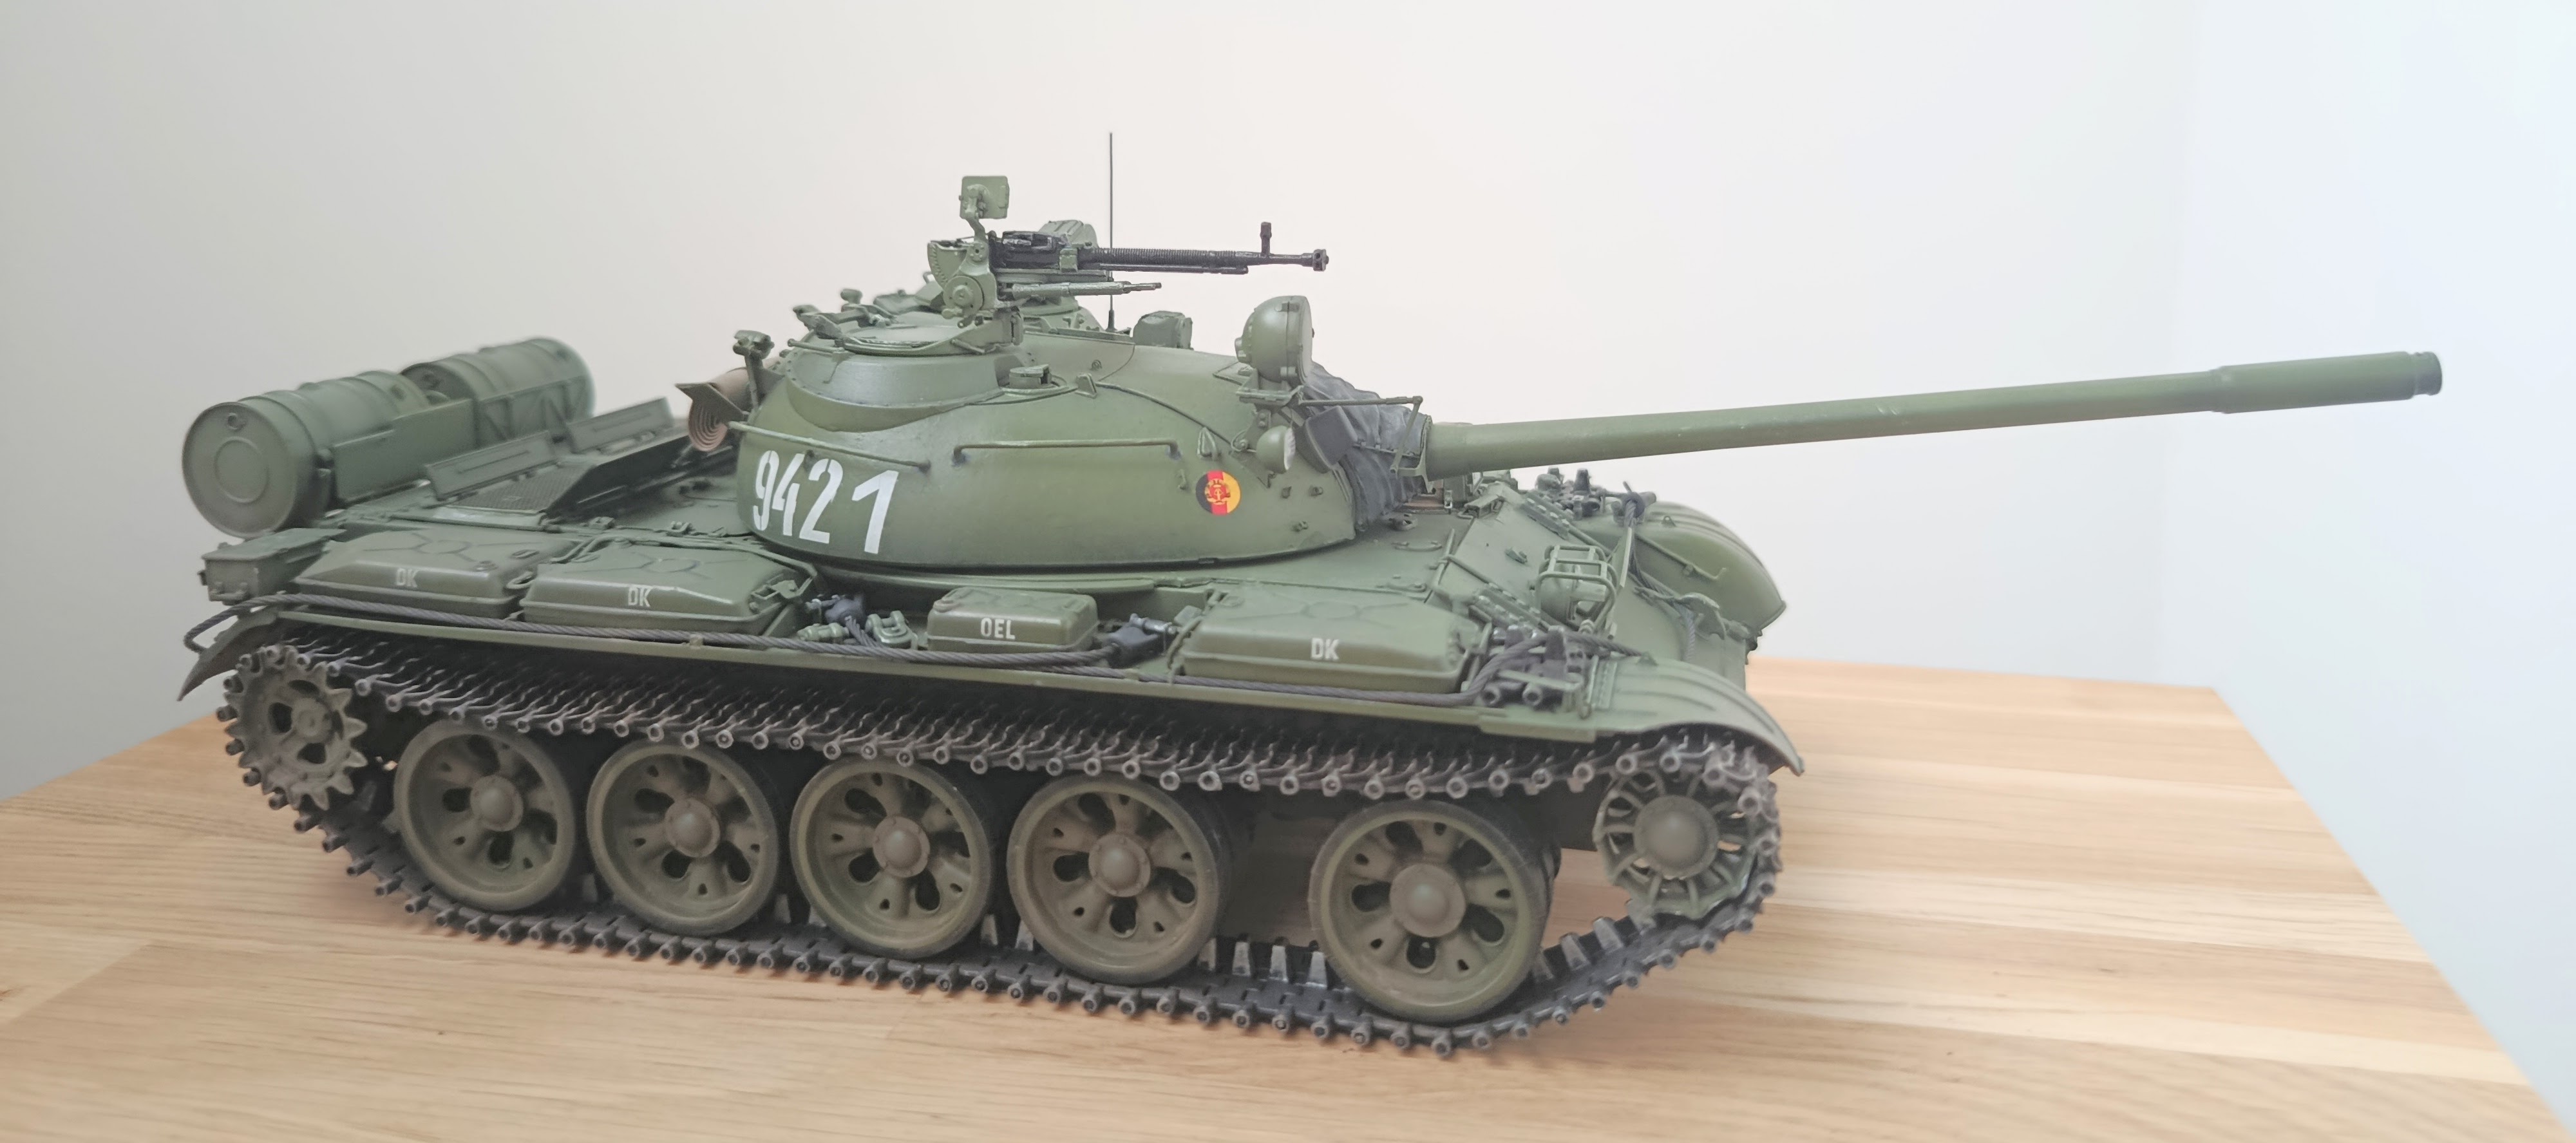
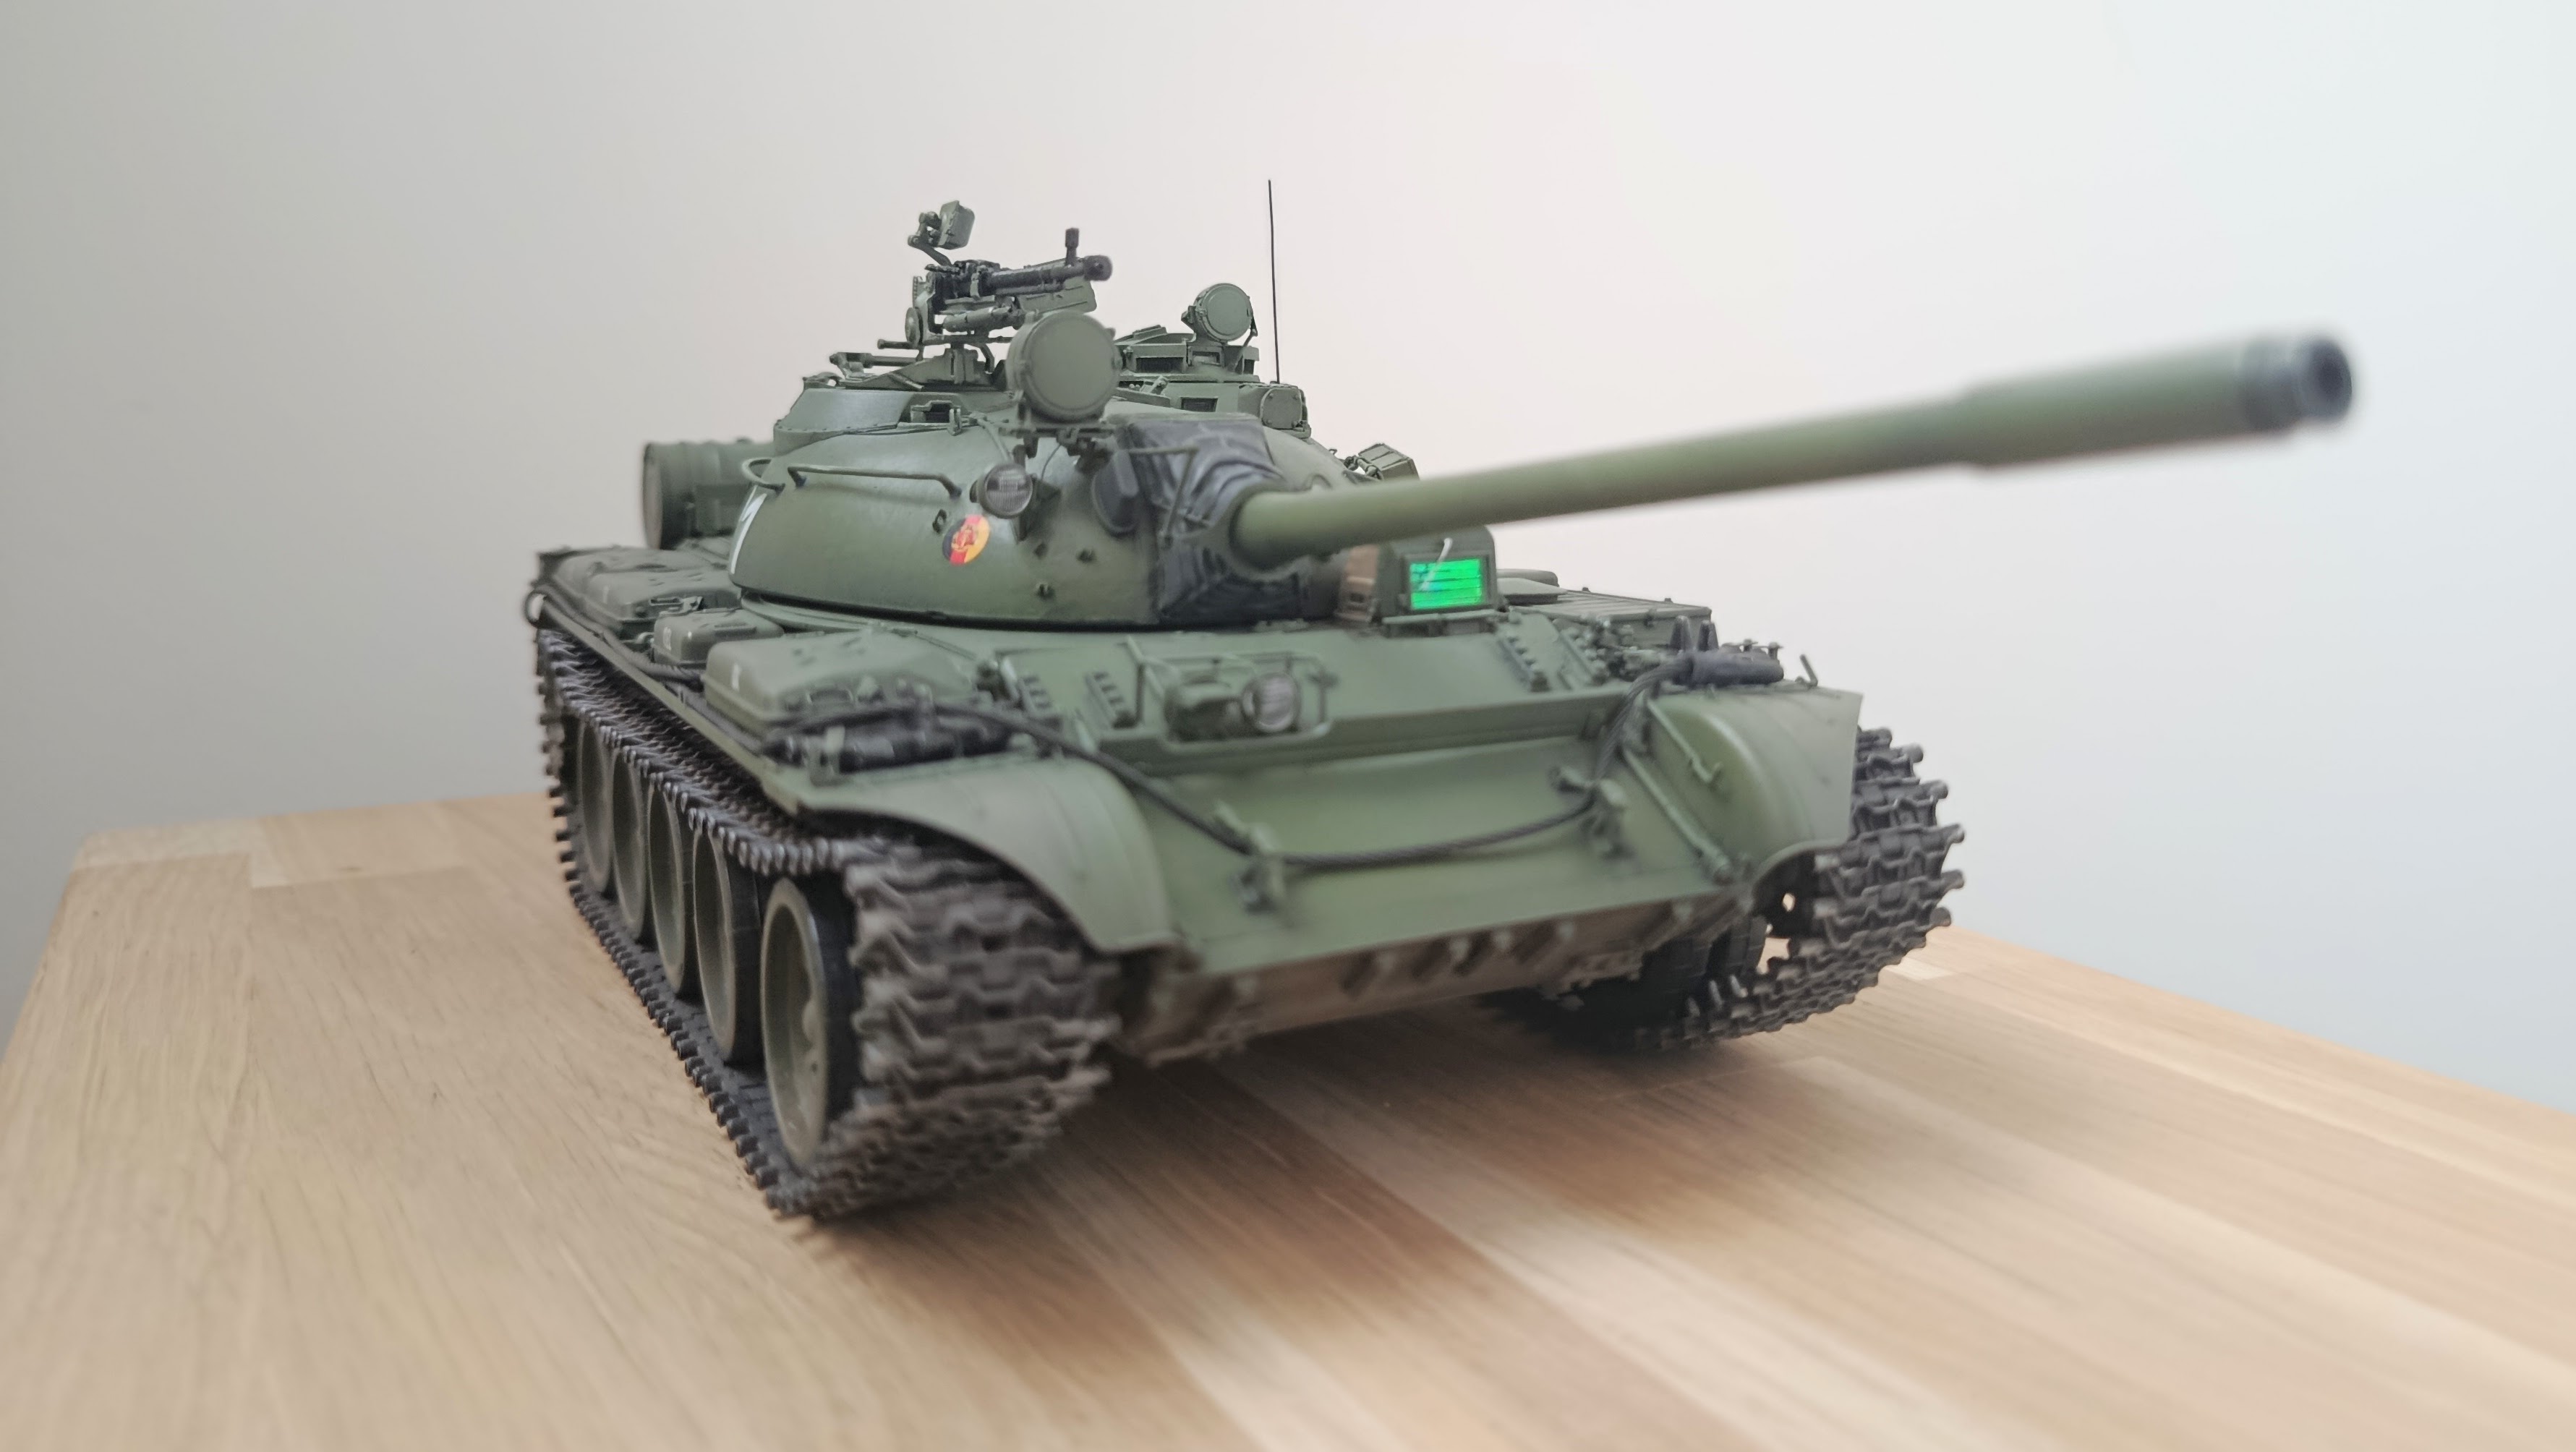
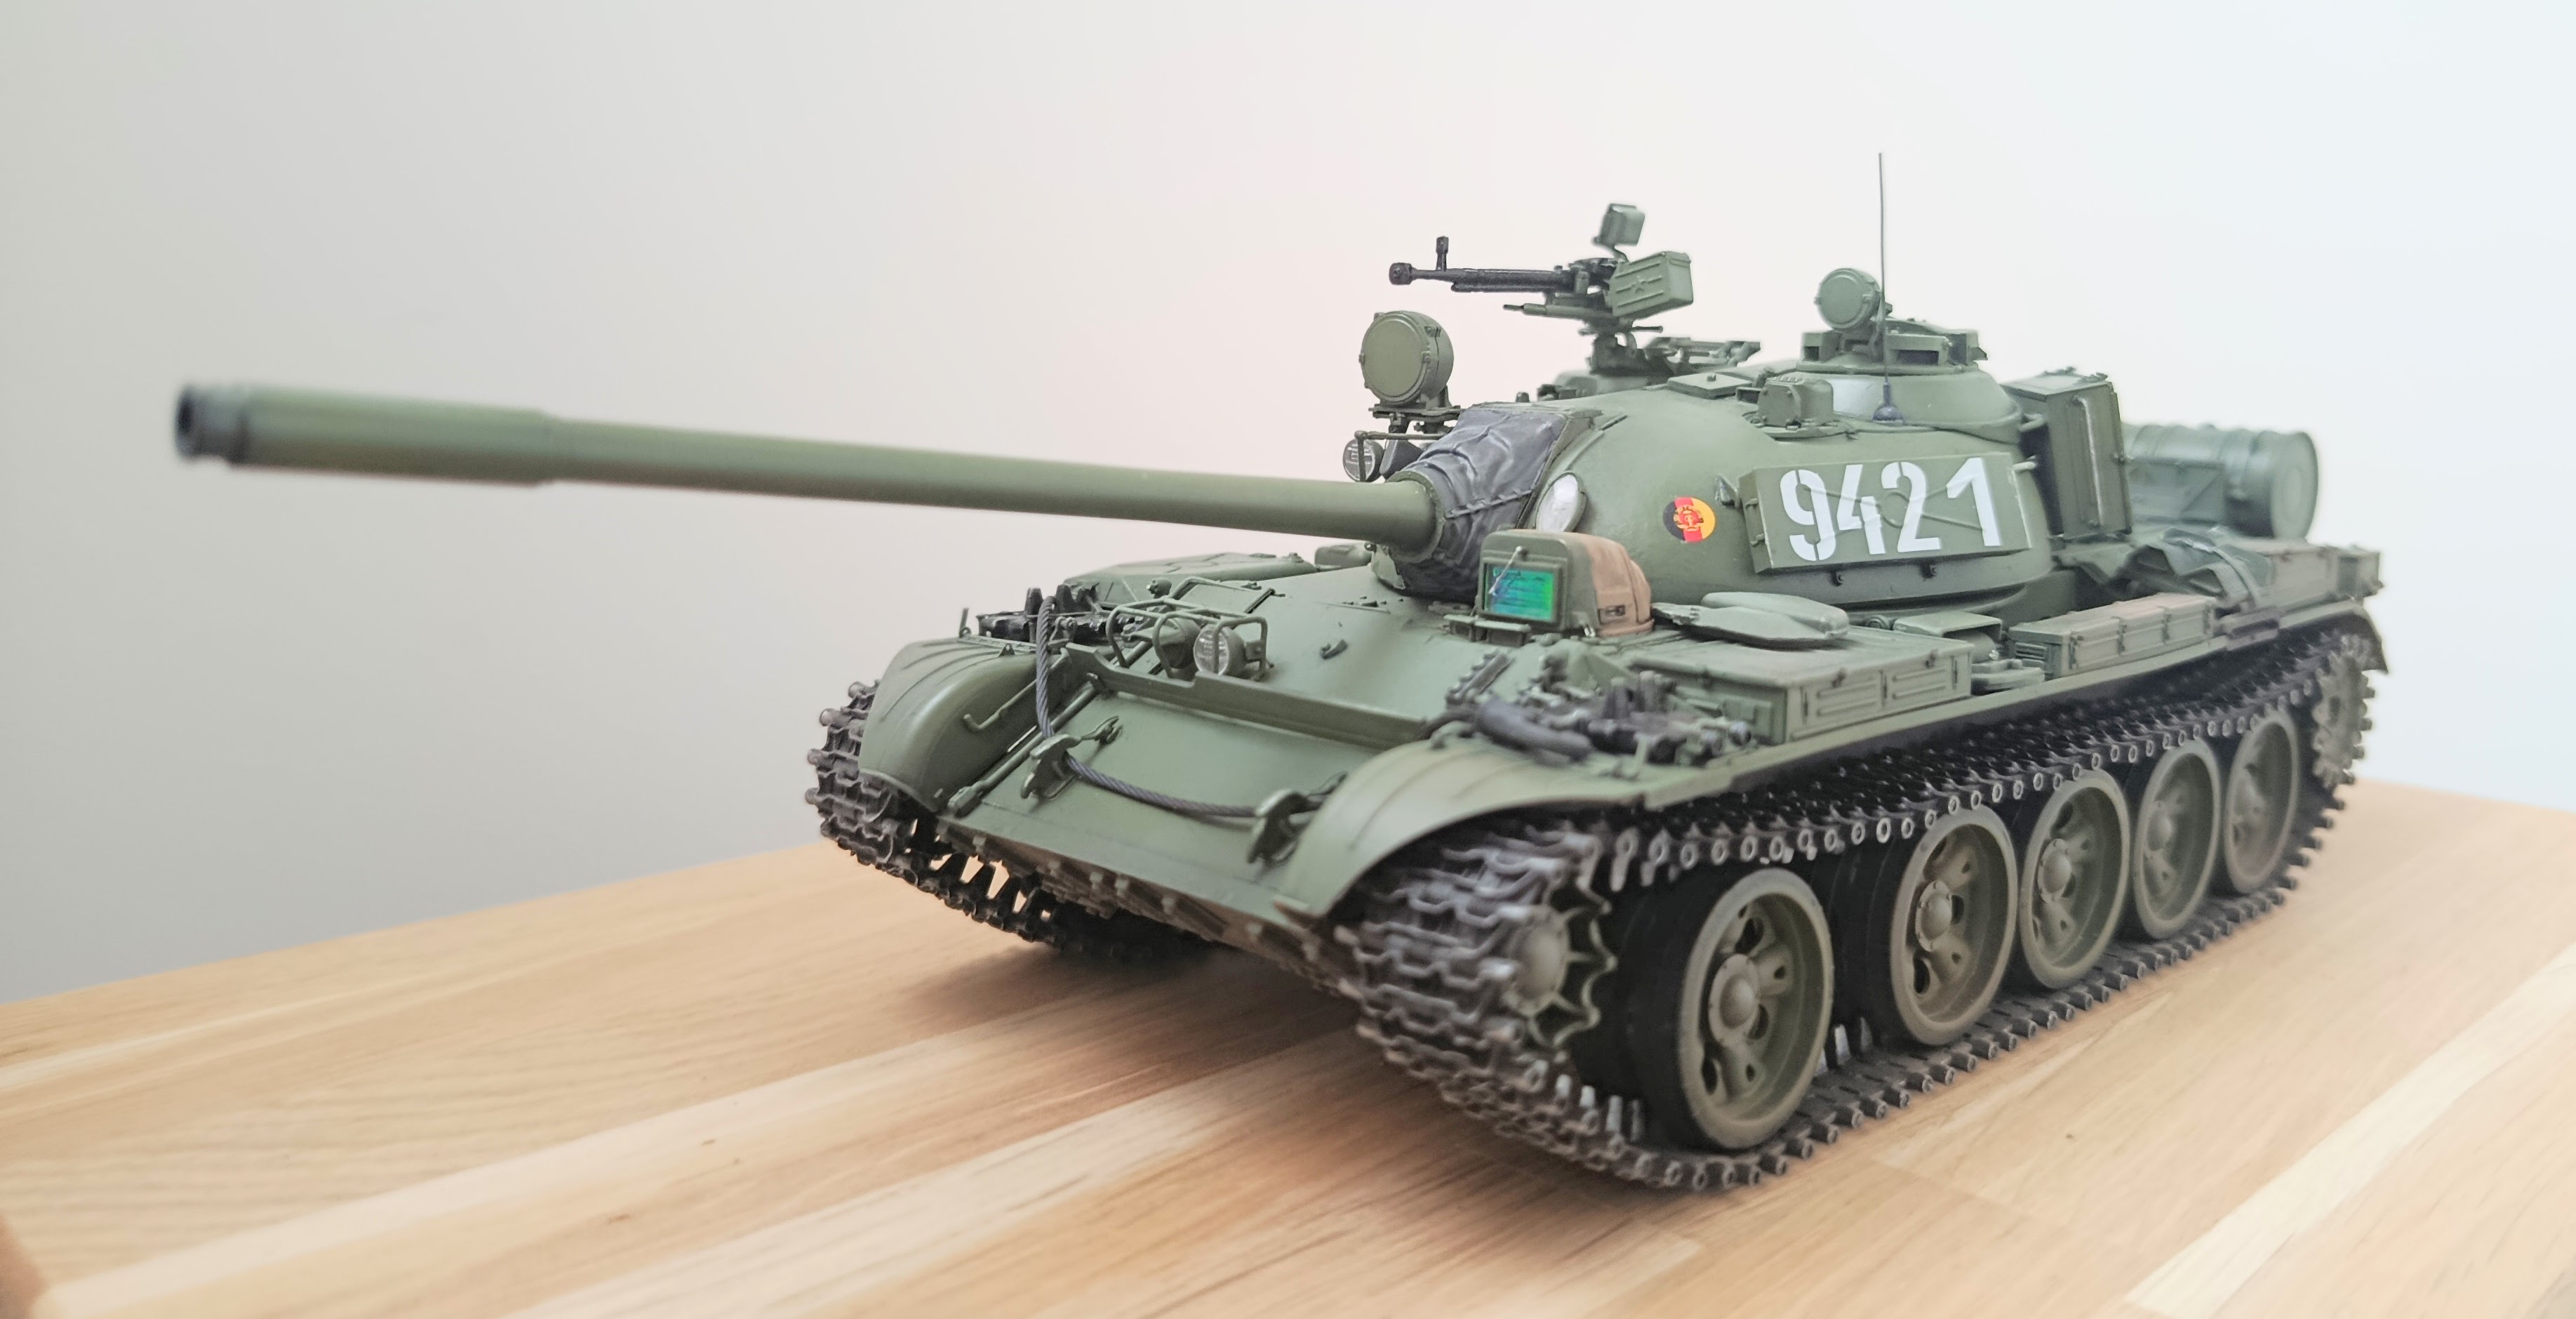
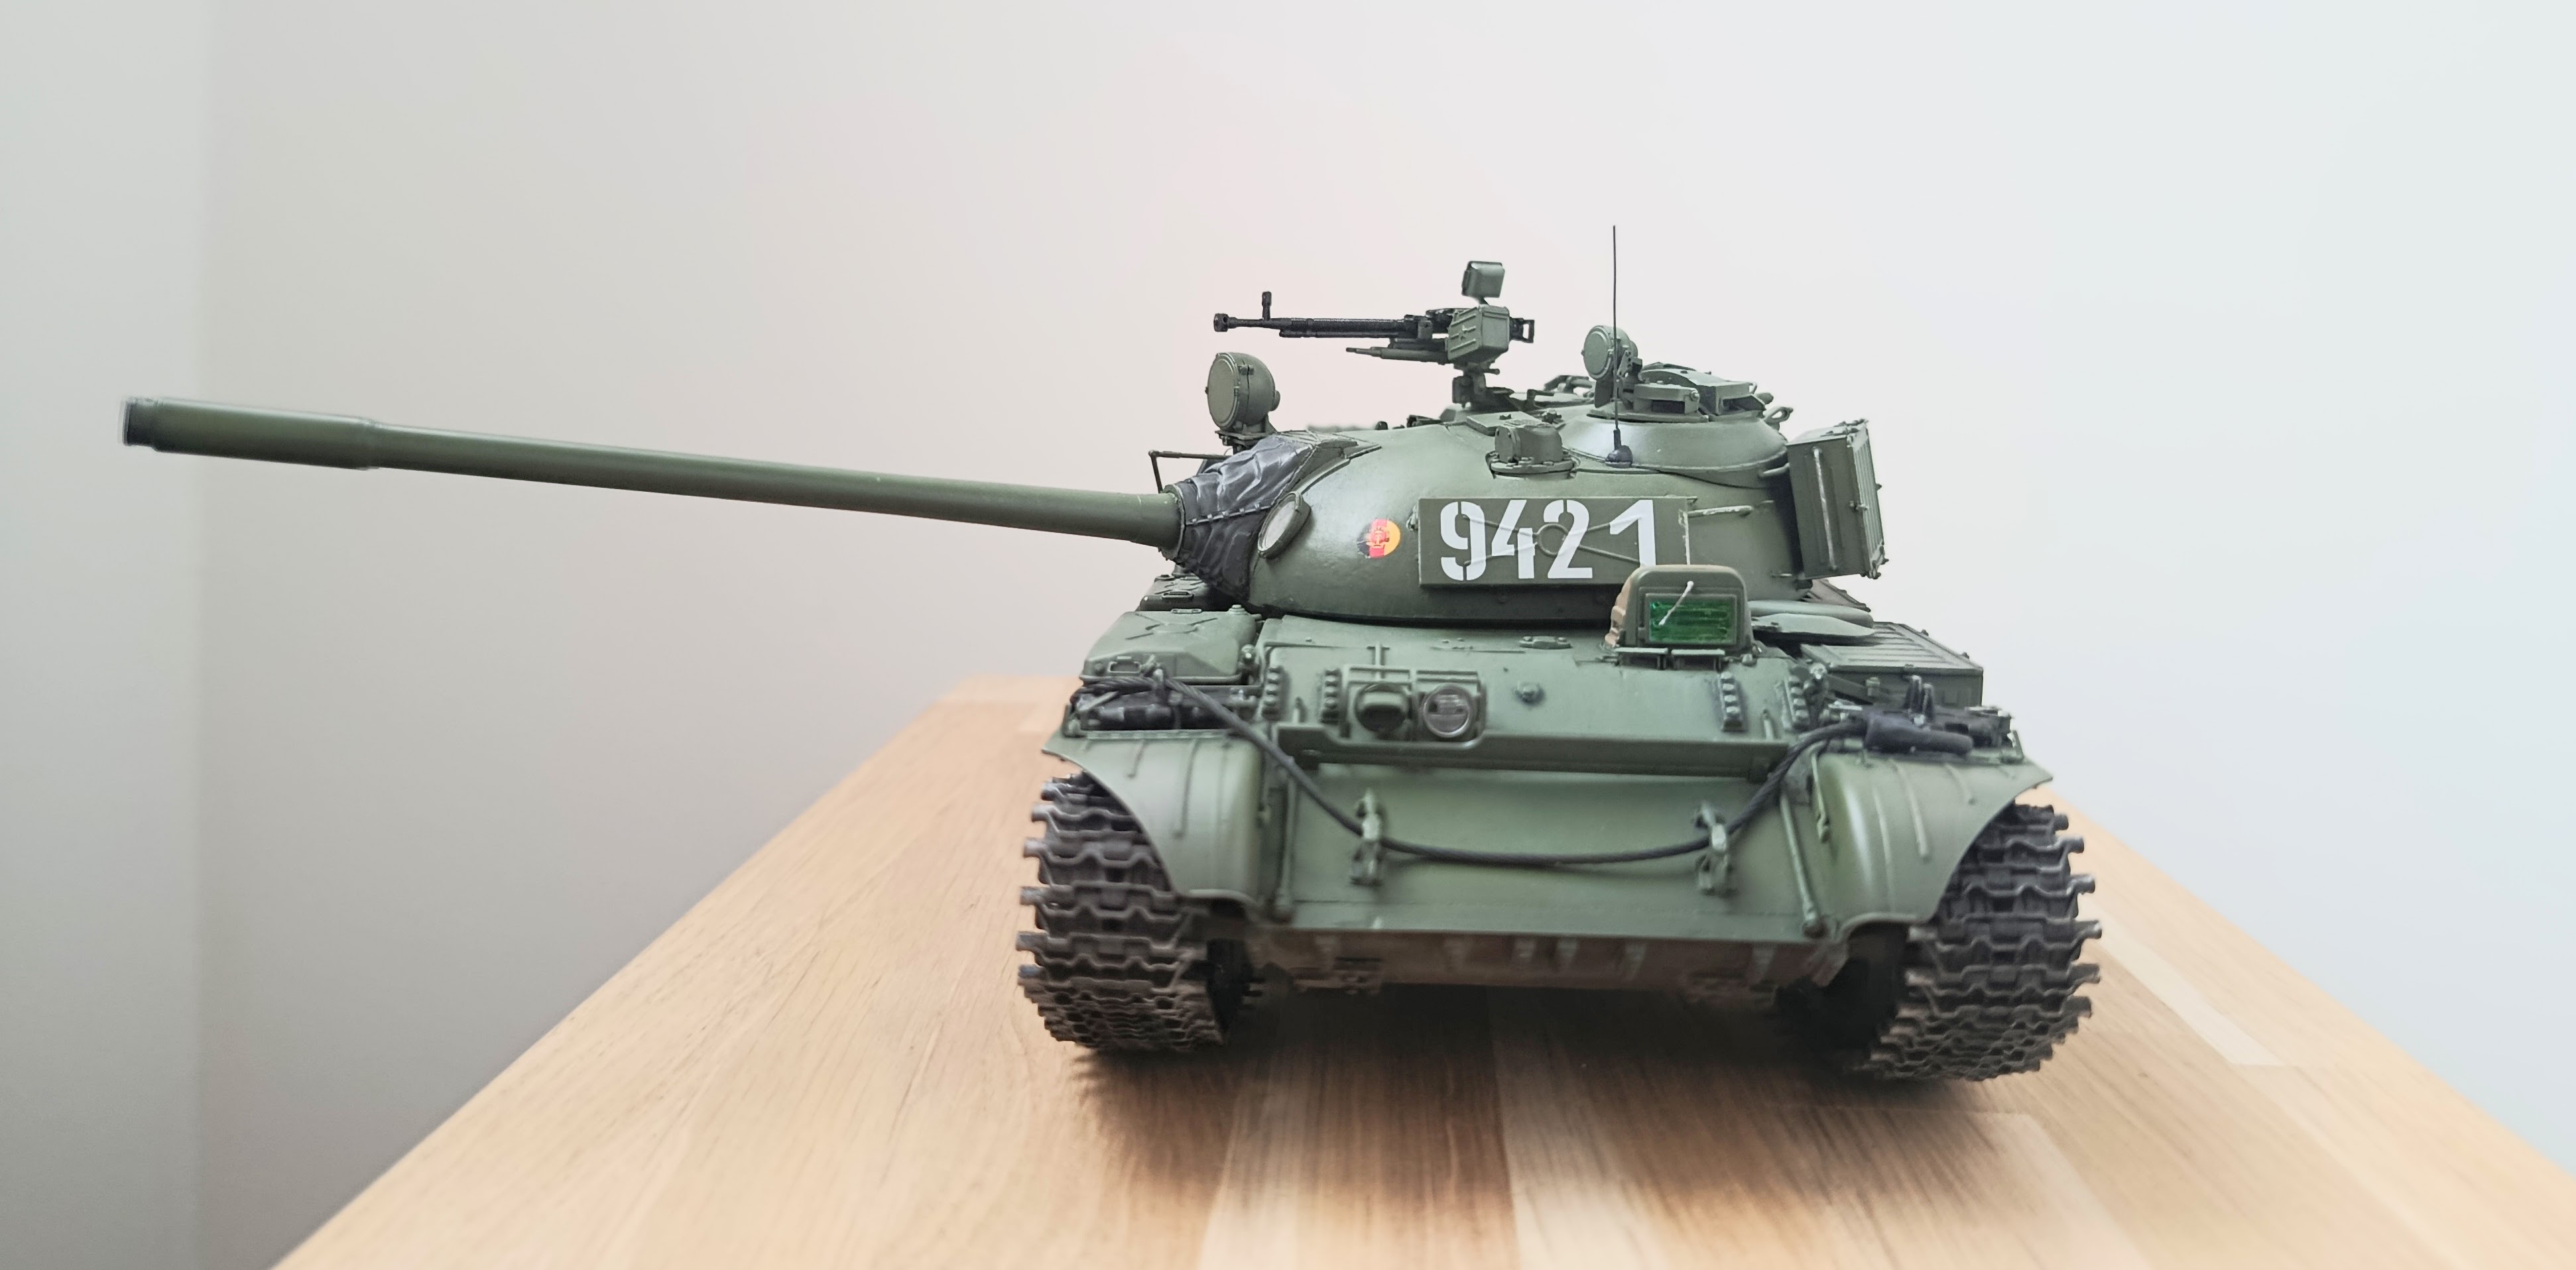
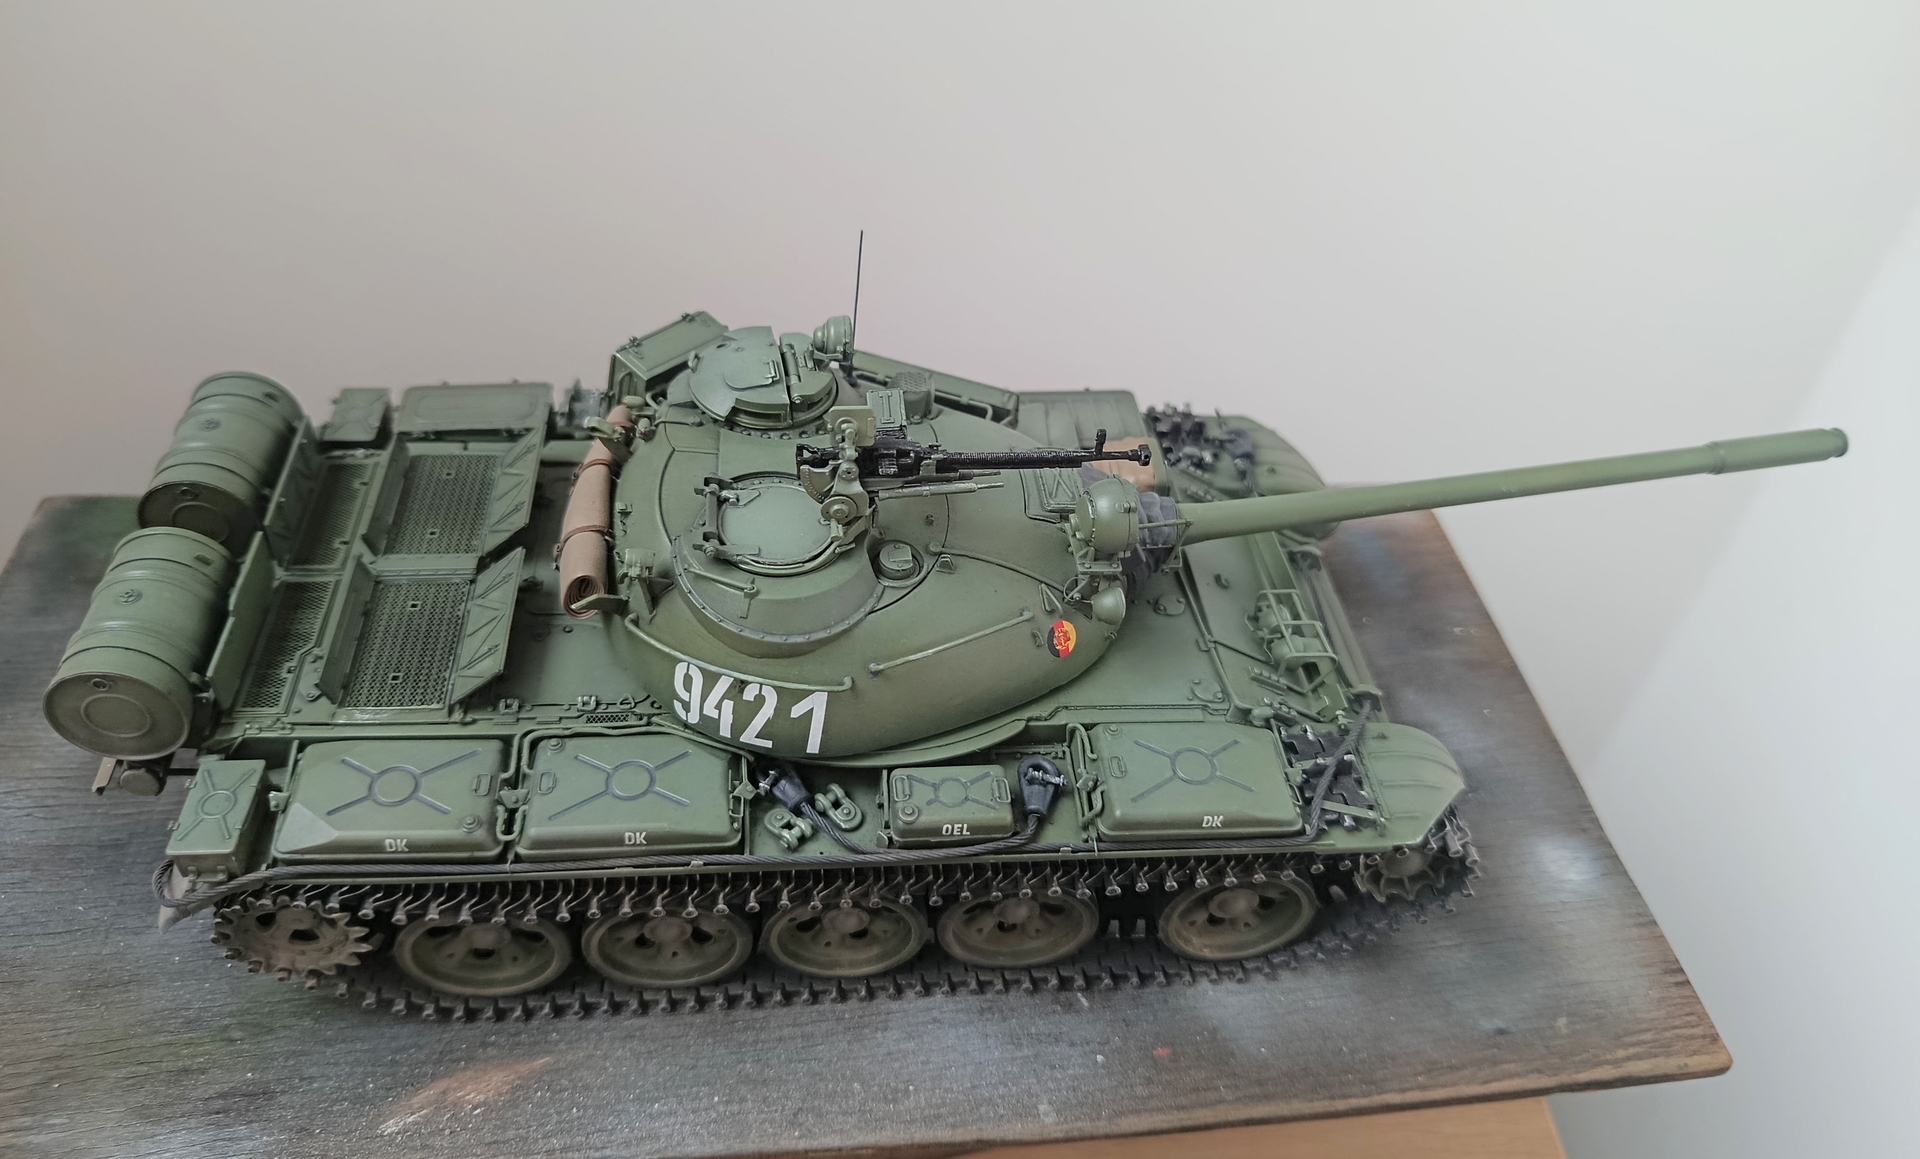
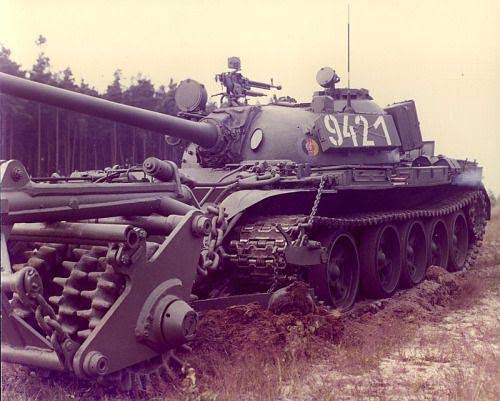
After completing my SU-122-54, I decided to add another vehicle from the same family to my collection. This time I chose MiniArt’s T-55A NVA (kit 37083) and lets a build this beautiful model.
As expected from MiniArt’s recent releases, the kit is very well detailed and enjoyable to build. Very few modifications were required, apart from replacing a couple of the finer headlight wires with thinner wire for a more realistic appearance.
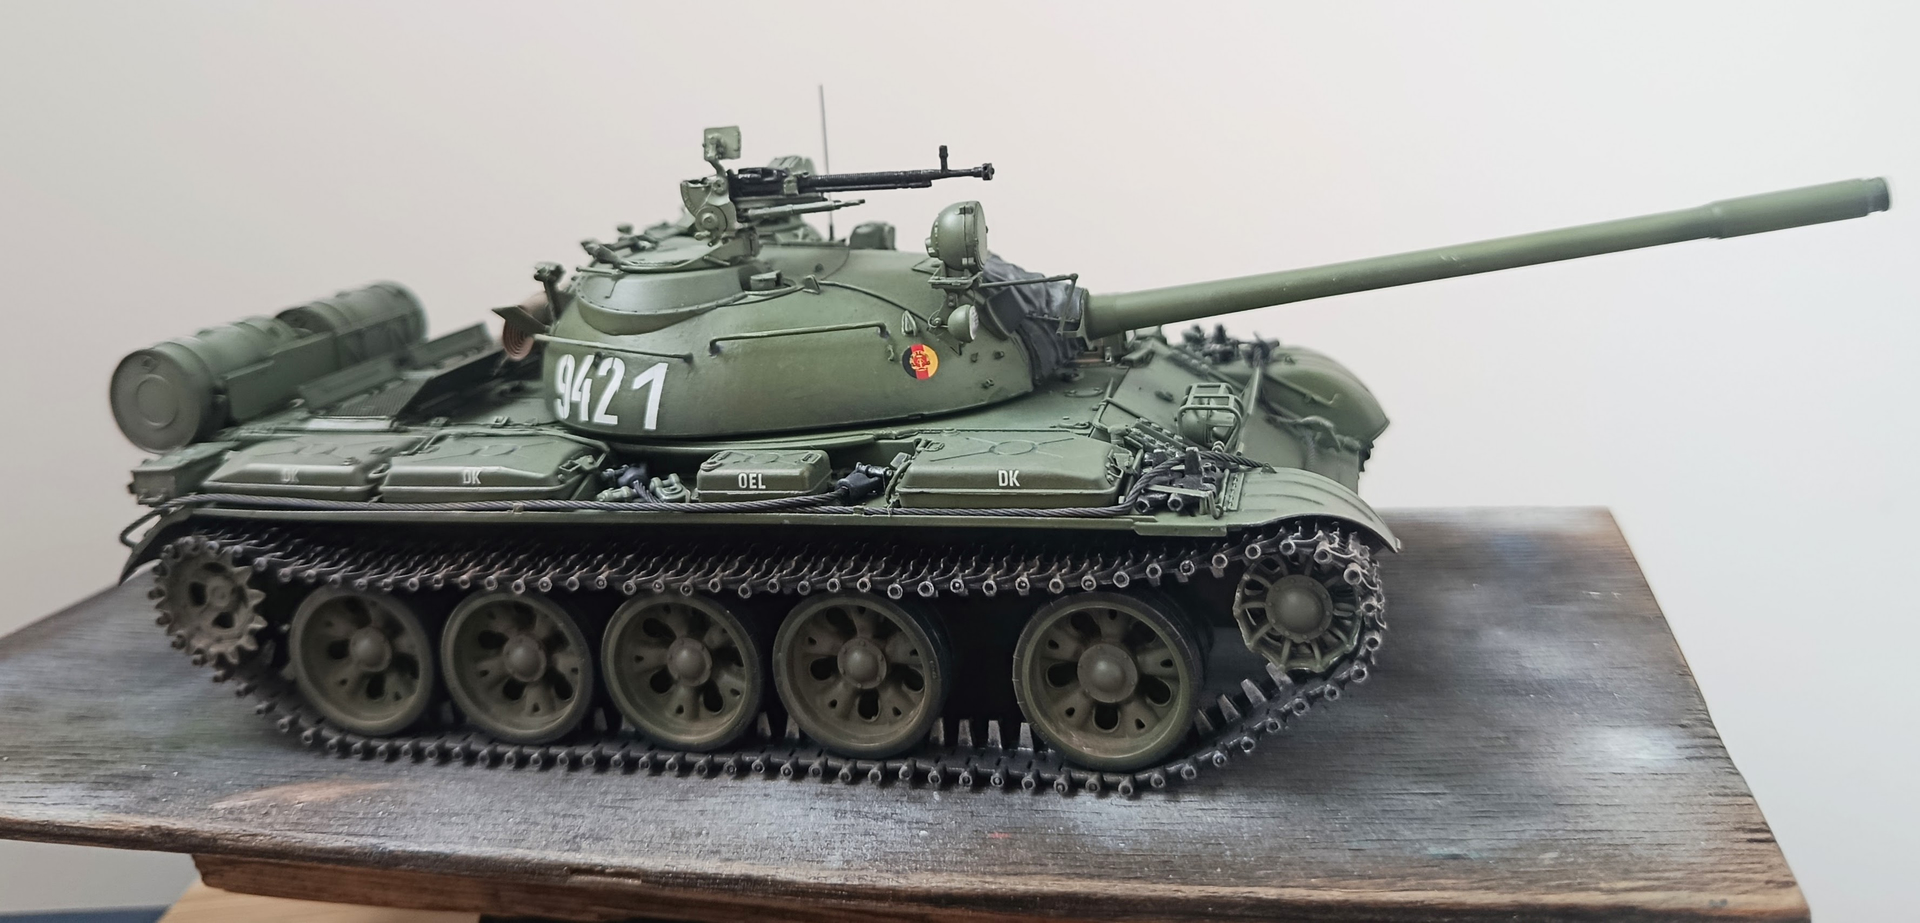
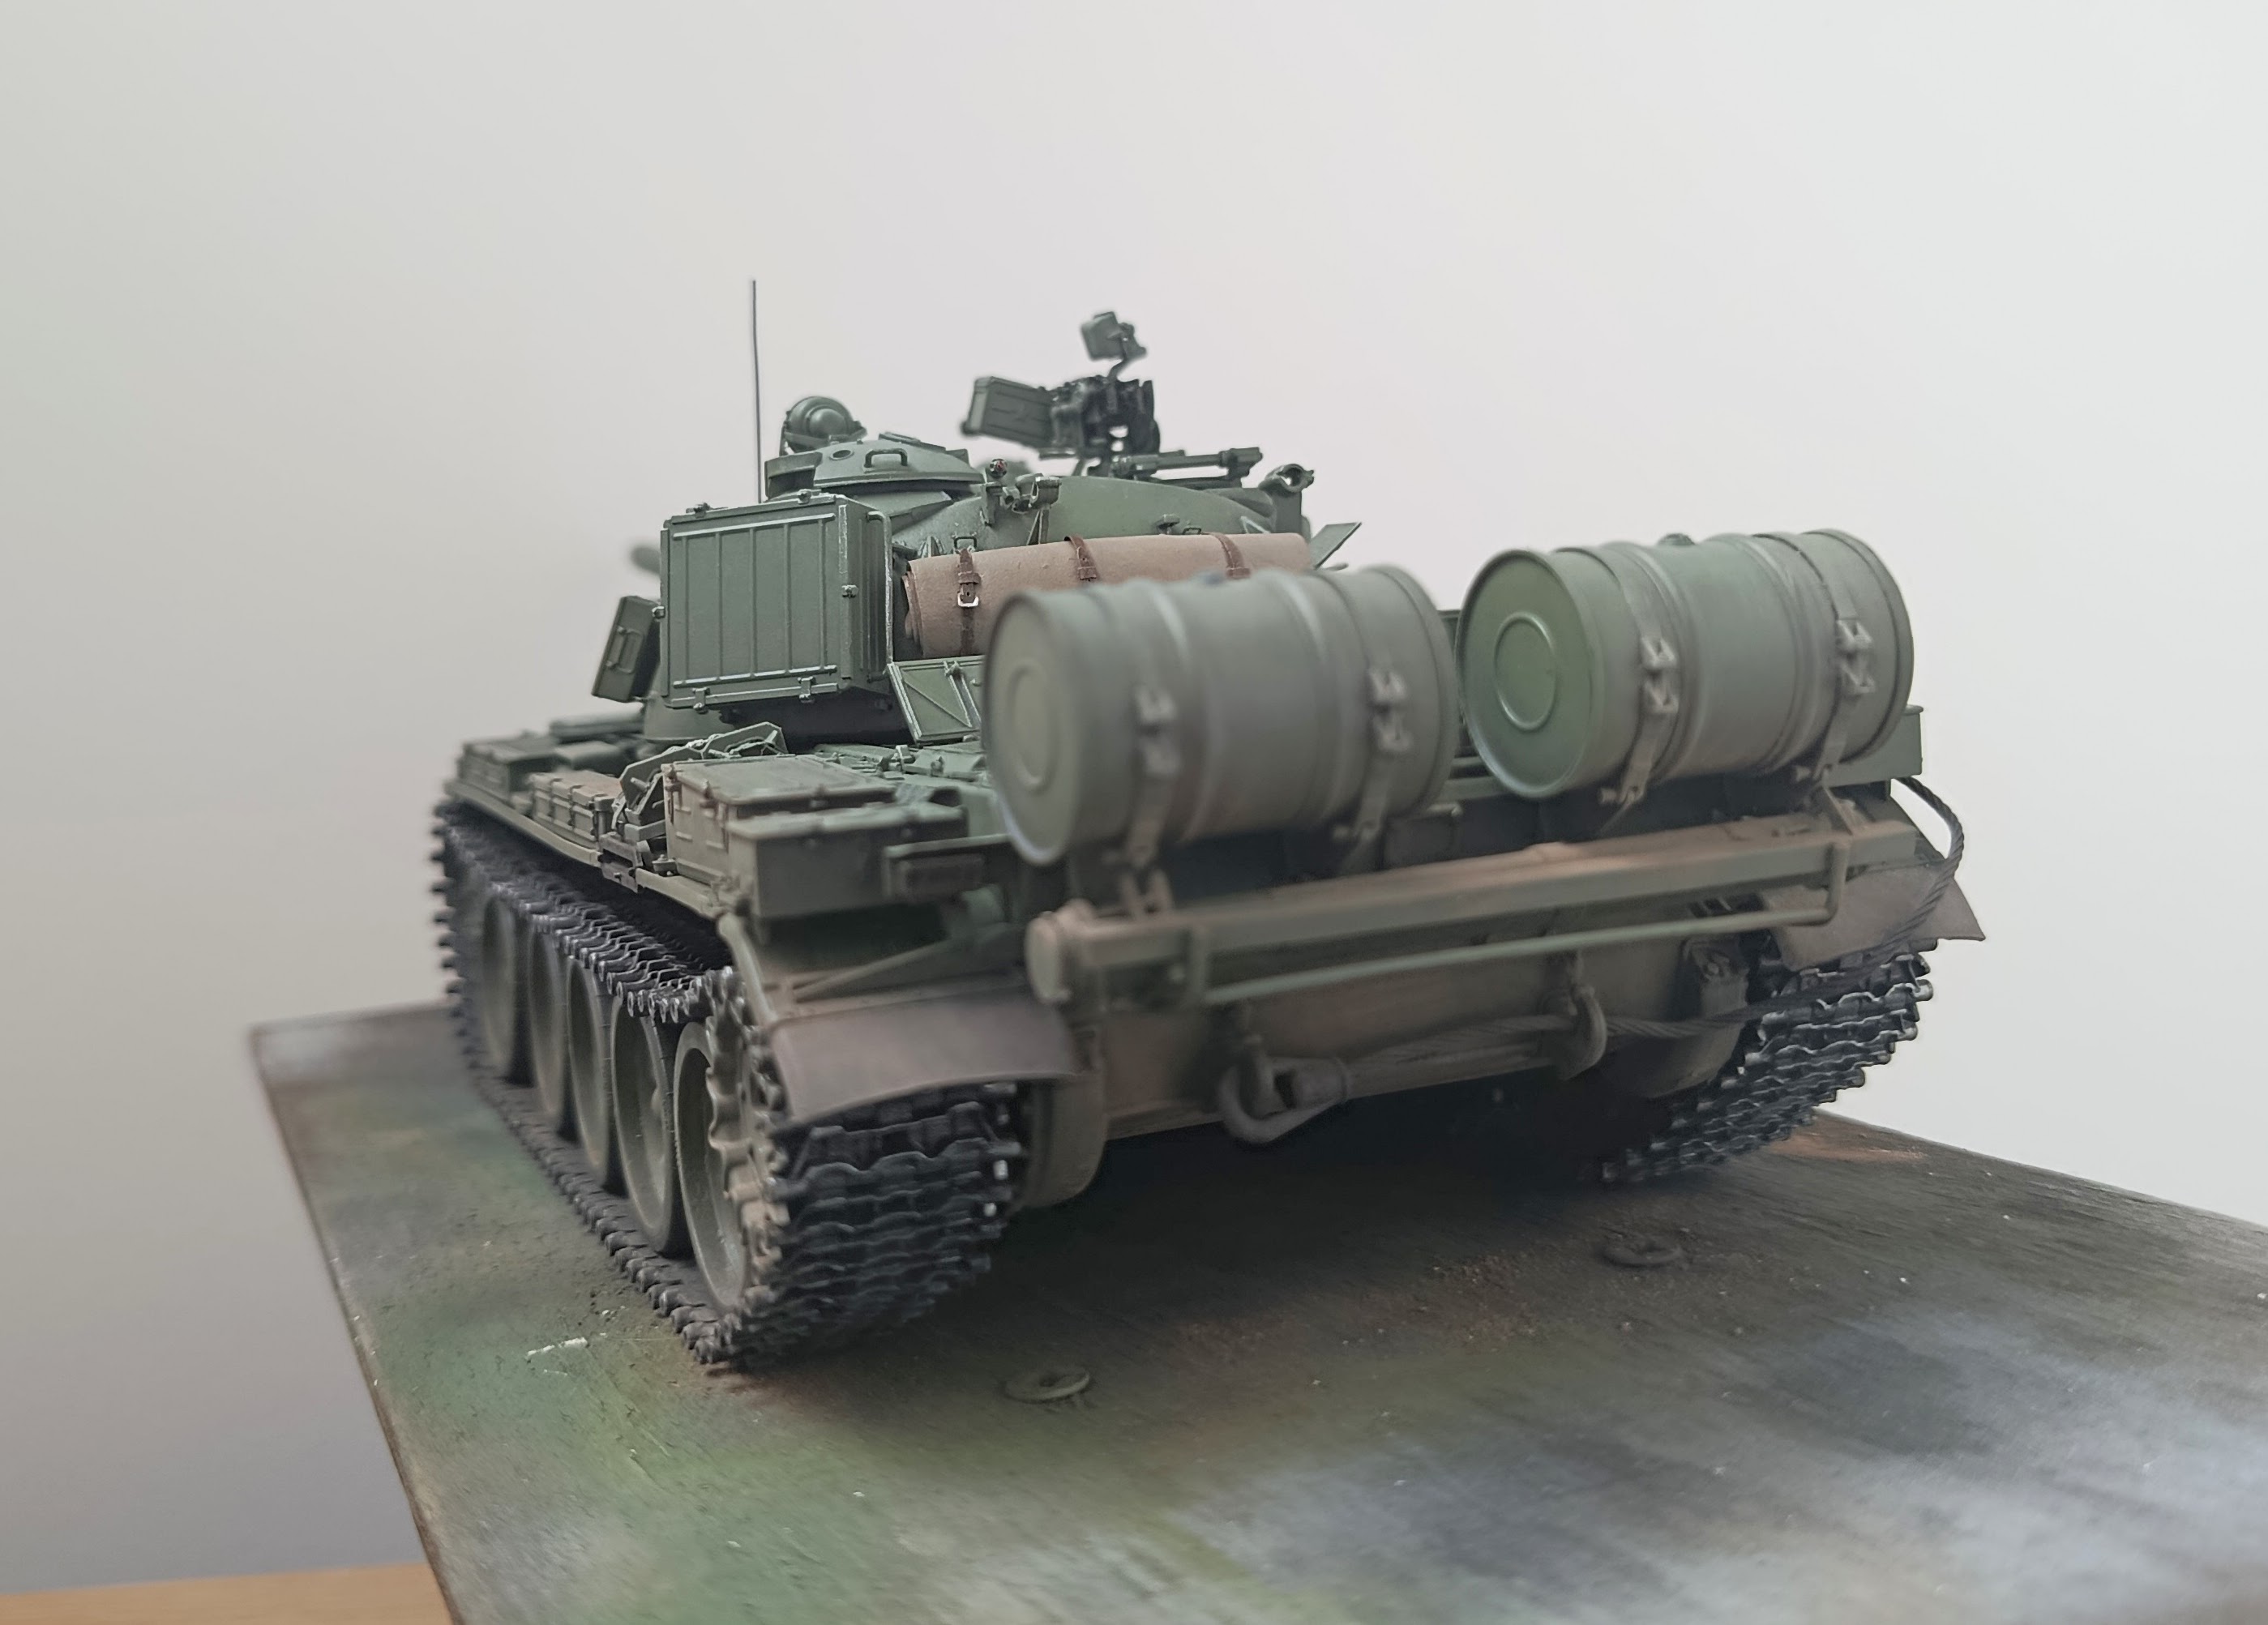
One of the highlights of this kit is the extensive amount of external equipment and stowage details. Another welcome feature is the RMSh tracks included in the kit. In my opinion, they are noticeably easier to assemble than the earlier OMSh tracks, which usually require a considerable amount of patience and effort to complete.
For this project I plan to keep the finish relatively clean. The tank will be painted in the characteristic East German NVA green and weathered only lightly. I have decided against a winter camouflage scheme, as I think the T-55A looks attractive enough in its standard finish and does not need to be hidden under a layer of whitewash.
I hope you will enjoy following the build. Comments and suggestions are always welcome.
Nice, and I agree on the color.Those darker wheels are noticeably different. Intentional depiction of wheels from two different real world manufacturers?
Base color:
XF-67 NATO Green — 50%
XF-58 Olive Green — 25%
XF-4 Yellow Green — 10%
XF-2 White — 15%
Highlight color:
Base mix
XF-4 +10%
XF-2 +10%
XF-18 Medium Blue +5%
Road wheel rubber:
XF-69 NATO Black — 75%
XF-63 German Grey — 20%
XF-2 White — 5%
Filter:
Blue — 50%
Green — 30%
Black — 10%
Panel line wash:
Grey
(The wash is not visible in the photos yet.)
I’m not entirely sure if I nailed the exact NVA shade or not. Once the model is fully finished with all the weathering, filters and final details, I’ll post the completed result and you can be the judges.
Personally, I feel the color could perhaps be a little more saturated. It turned out slightly paler than I originally expected, but I’m curious to see how it looks once everything is brought together in the final stages.
That was not intentional. All the wheel rims were painted using the same color mix, but the lighting and photography seem to make some of them appear darker than others. Looking at the photos, I can definitely see what you mean.
The idea of depicting replacement wheels from different manufacturers is actually quite interesting, though!
I must admit I get confused over the NVA colours. I believe there were 2 iterations: the first being a pale grey/green which is certainly what I recall from the 70s. This was followed, and I don’t quite know when by a more vivid green, which I believe you have depicted on your model.
It was a very enjoyable project from start to finish. The MiniArt kit went together beautifully and required only a few minor improvements, mainly replacing some small details with wire. I wanted to keep the weathering relatively restrained to preserve the clean appearance typical of many NVA vehicles.
Thank you to everyone who followed the build and shared advice and encouragement along the way. I hope you like the final result. Comments and constructive criticism are always welcome!
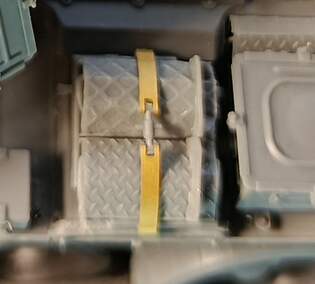
Hi Taras, that’s a really great model you’ve built here. I like it a lot. If you can manage it, try removing the ribs from the loading wedges; those weren’t found on the T-55 or any tracked vehicles with wide tracks. Those ribs were only present on tracked vehicles with narrow tracks—like the BMP, PT-76, and similar ones. You could also try painting the underwater driving buoys red and white. A top-notch model.
Hi, thank you very much for the kind words and for the detailed feedback!
Could you please point out exactly which parts you mean by the “loading wedges” with the ribs? I’d like to understand which details you are referring to so I can correct them if possible, or at least keep this in mind when building my next T-55.
And thank you for the suggestion about the underwater driving buoys. I’ll definitely keep the red-and-white painting in mind for my next model.
I’ve marked what I mean here; you can see it clearly in the original photos. Regarding Uncle-Heavy’s question: during underwater travel, the buoys served to mark the recovery cables—indicating whether they were attached to the front or the rear of the tank. During the recovery operation, the recovery crew would then connect these to the cable from the recovery vehicle. The rapid recovery of the tank saved the lives of many tankers. Here is the picture.



 What could it possibly be?