Ok, so as previously mentioned in the main thread, here’s my submission for Micro Machines. The T31 Demolition Tank.
It’s manufactured by a Ukrainian company called UM. I picked the model entirely for the weird and wacky factor and had never heard of the tank or UM before.
First impressions in the box were good. Parts looked well cast, PE and metal barrels, what could go wrong?
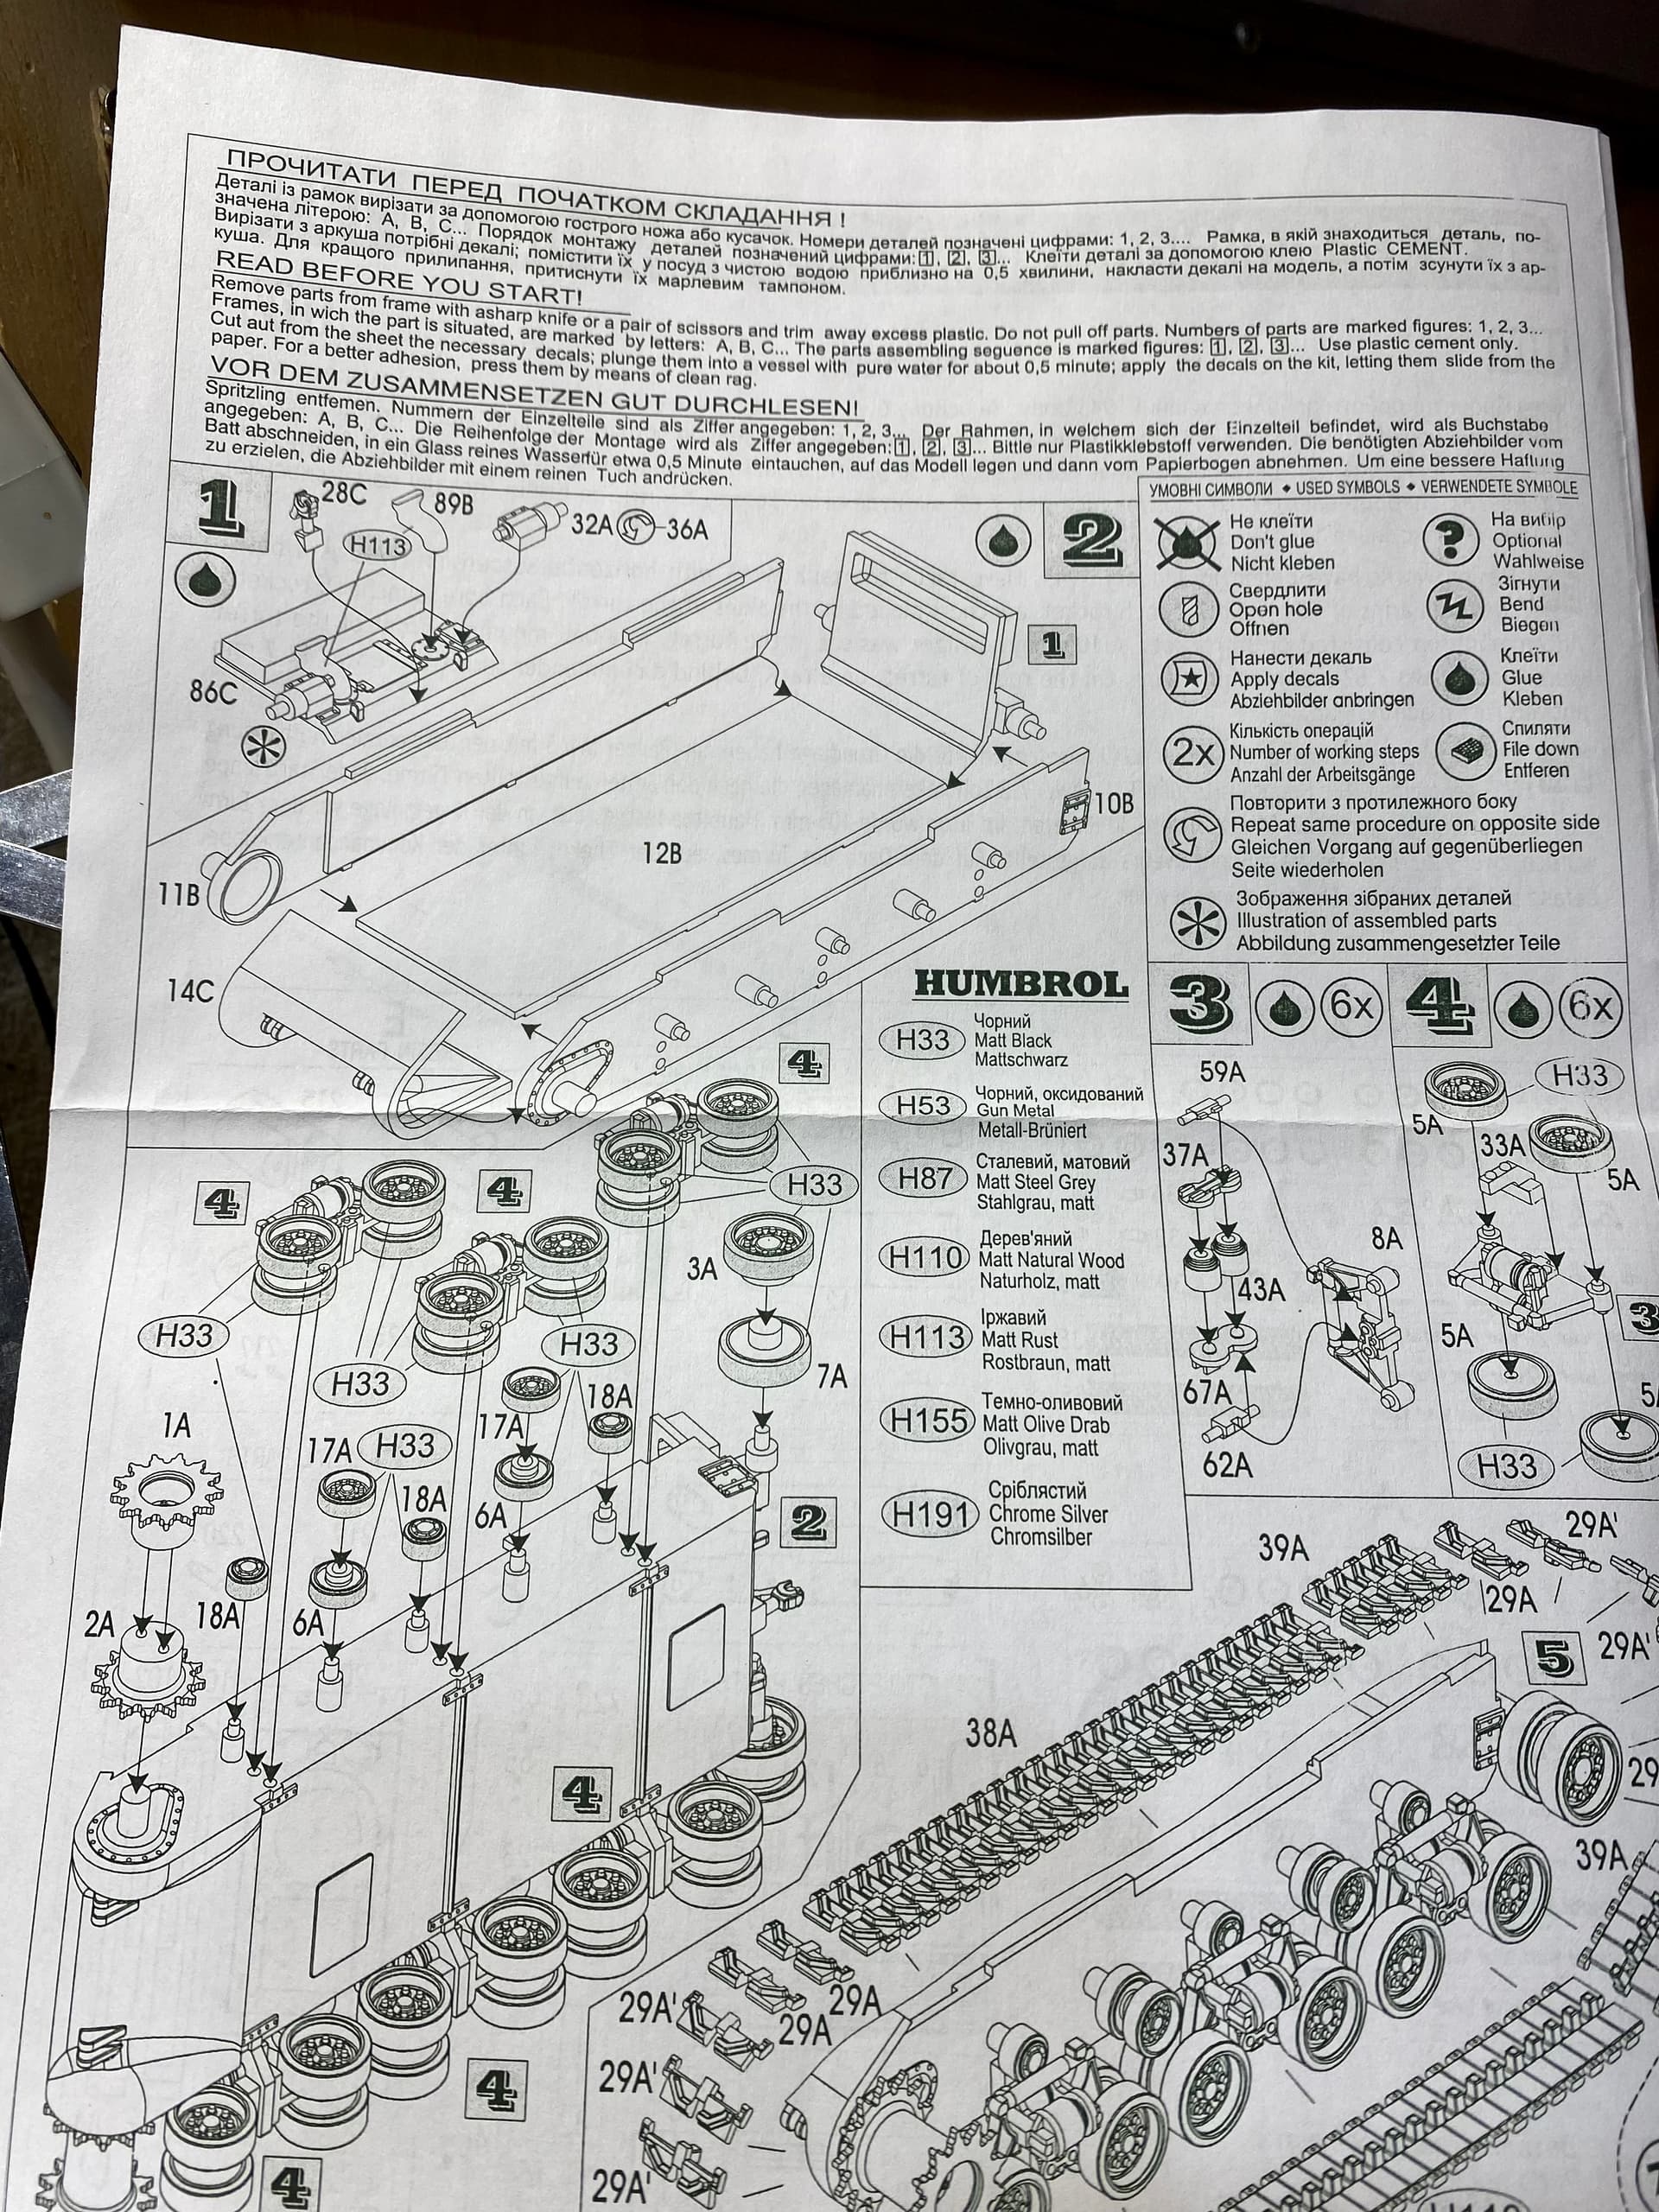
Useable, and I get it needs to fit in a tiny box, but man there’s a lot happening on those pages. There’s also not much in the way of locating marks for anything on the model. The Mk I eyeball is going to get a workout with alignment stuff.
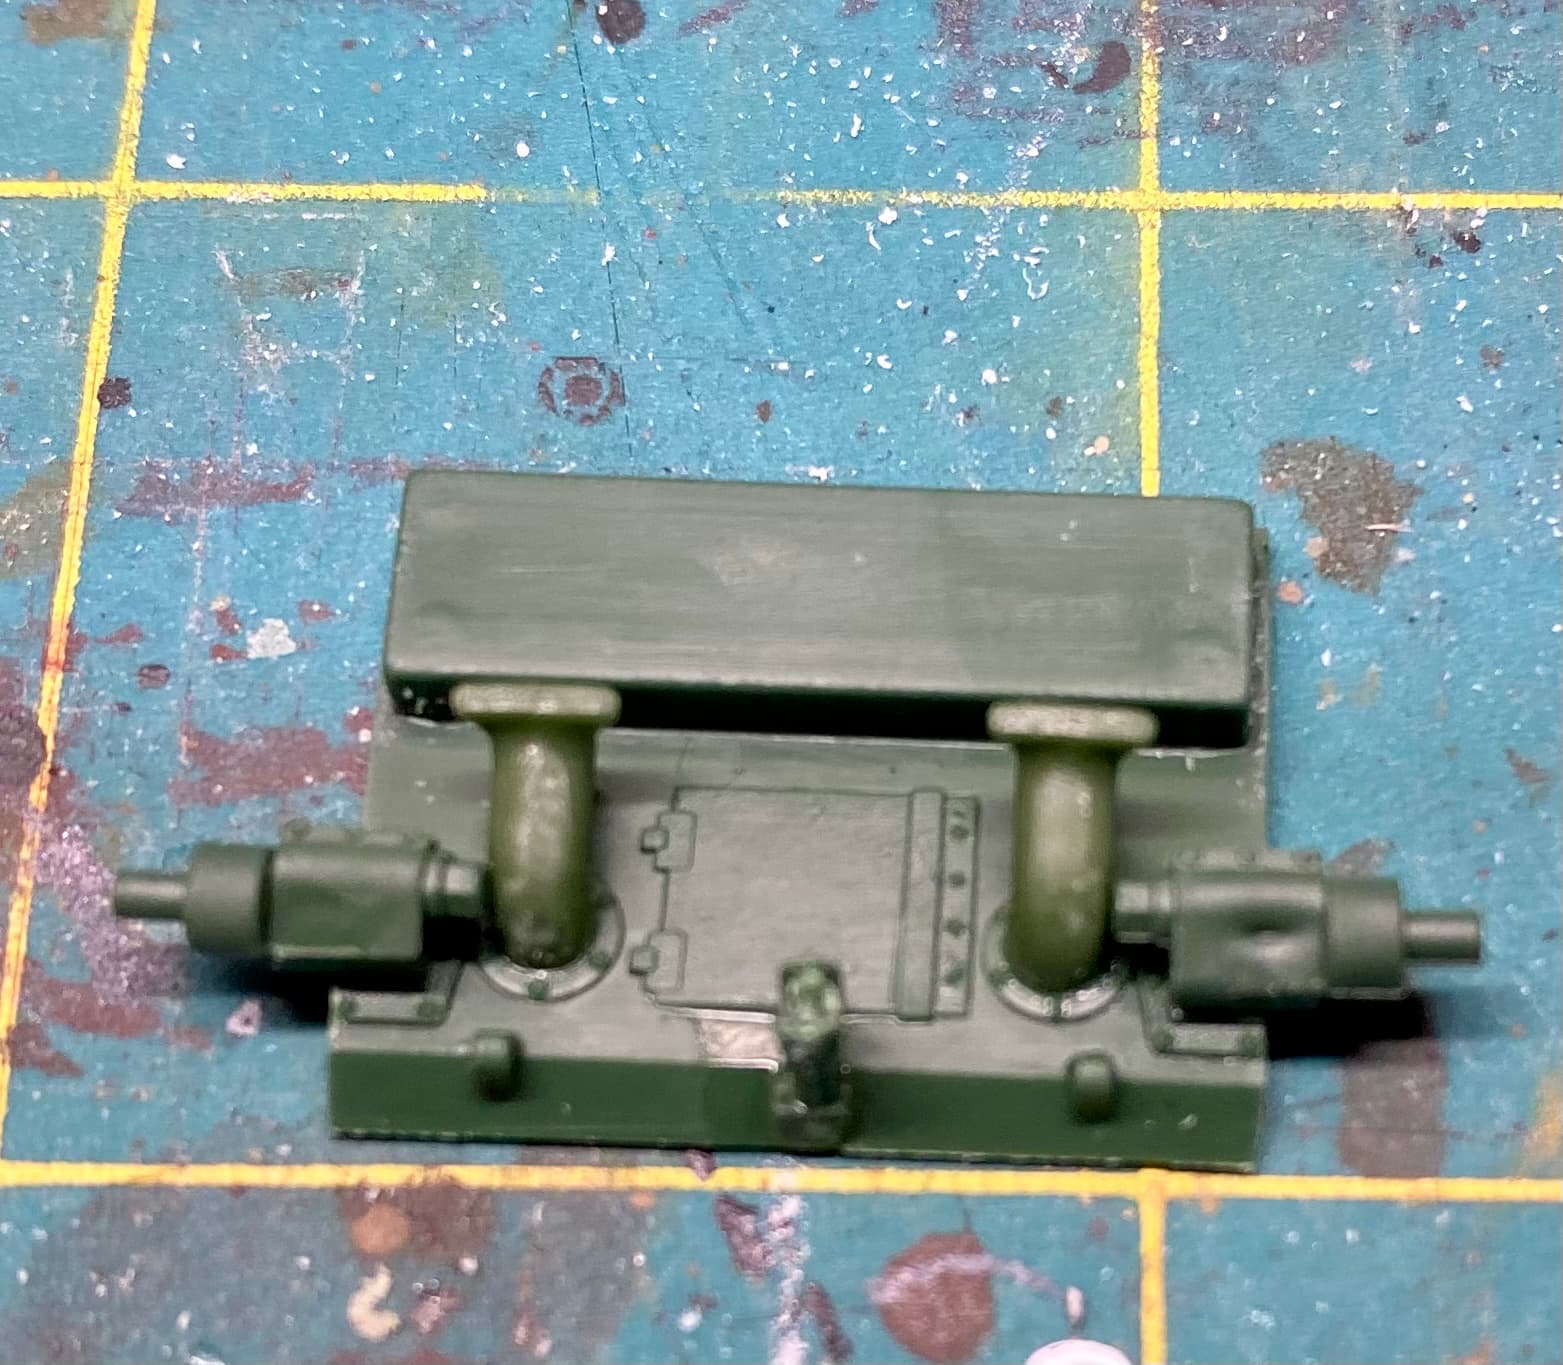
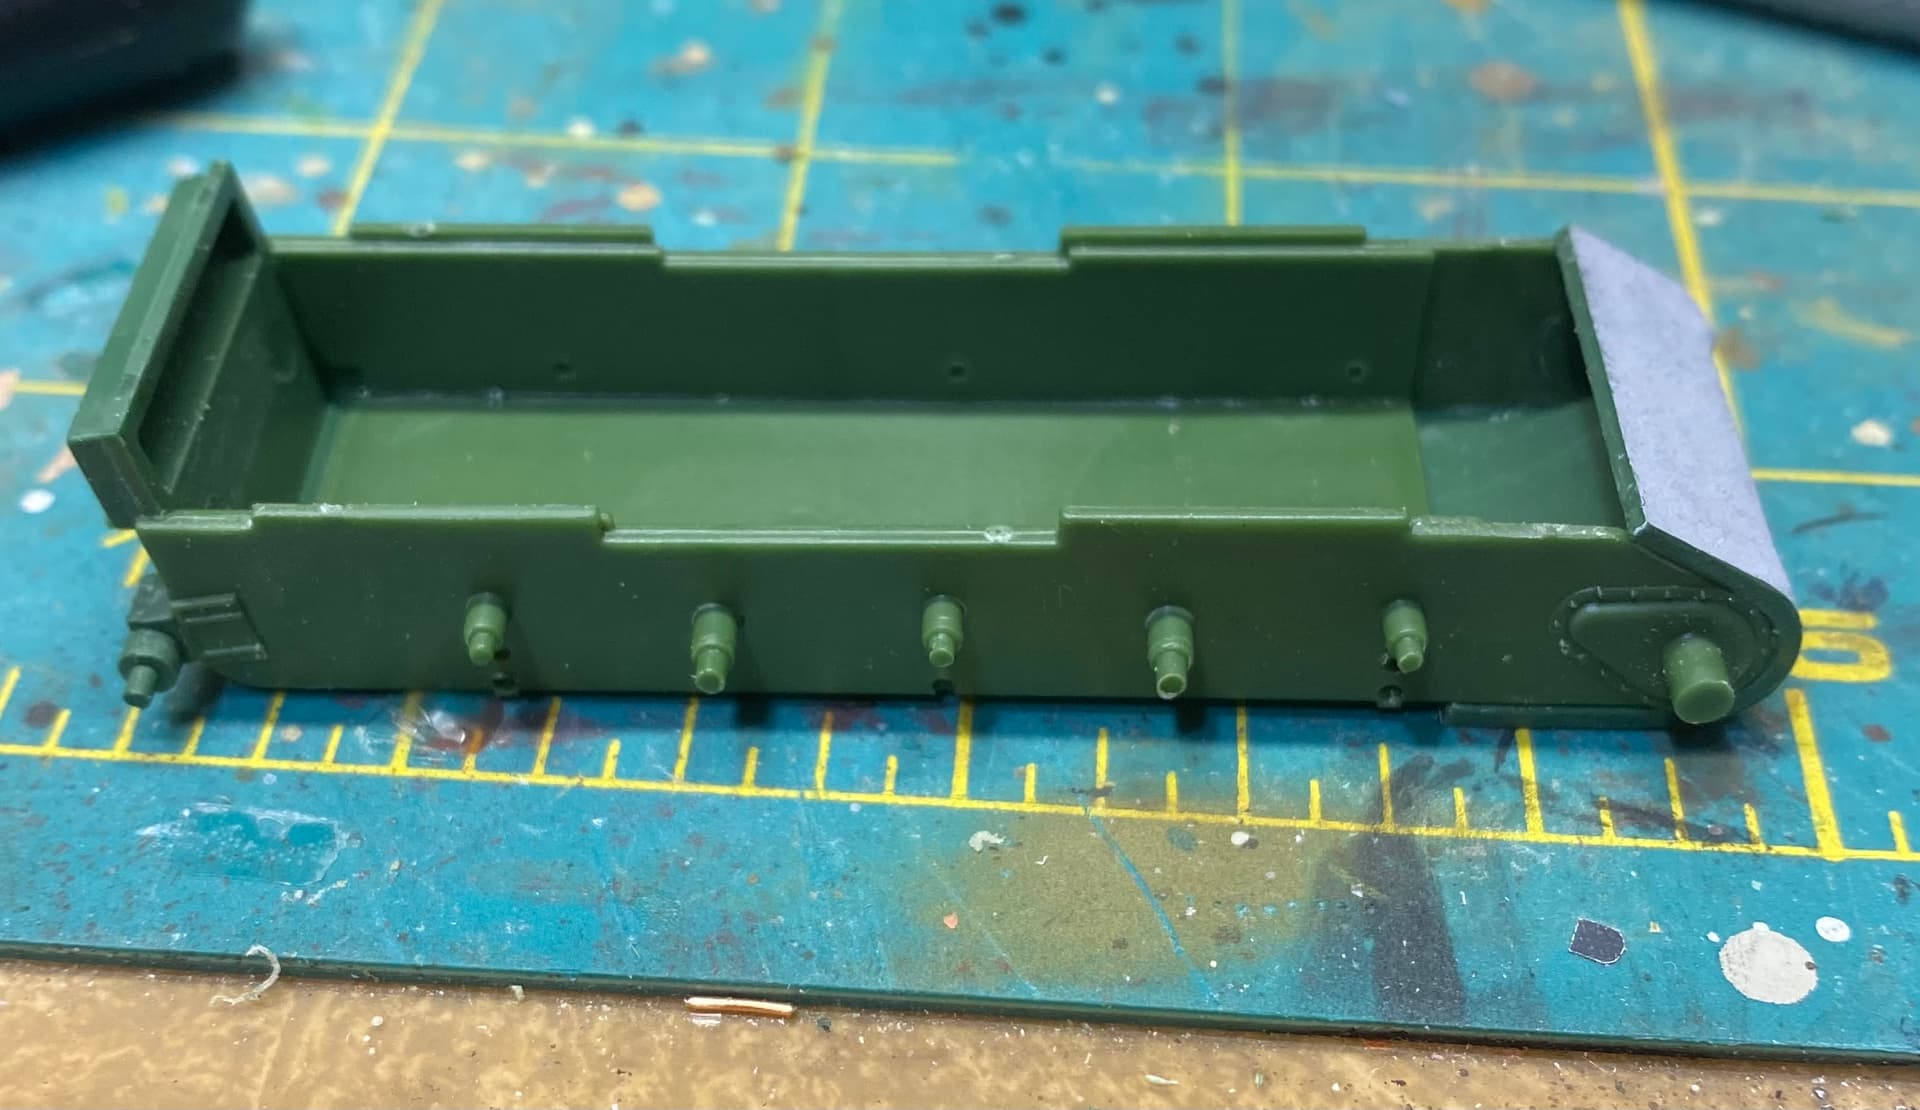
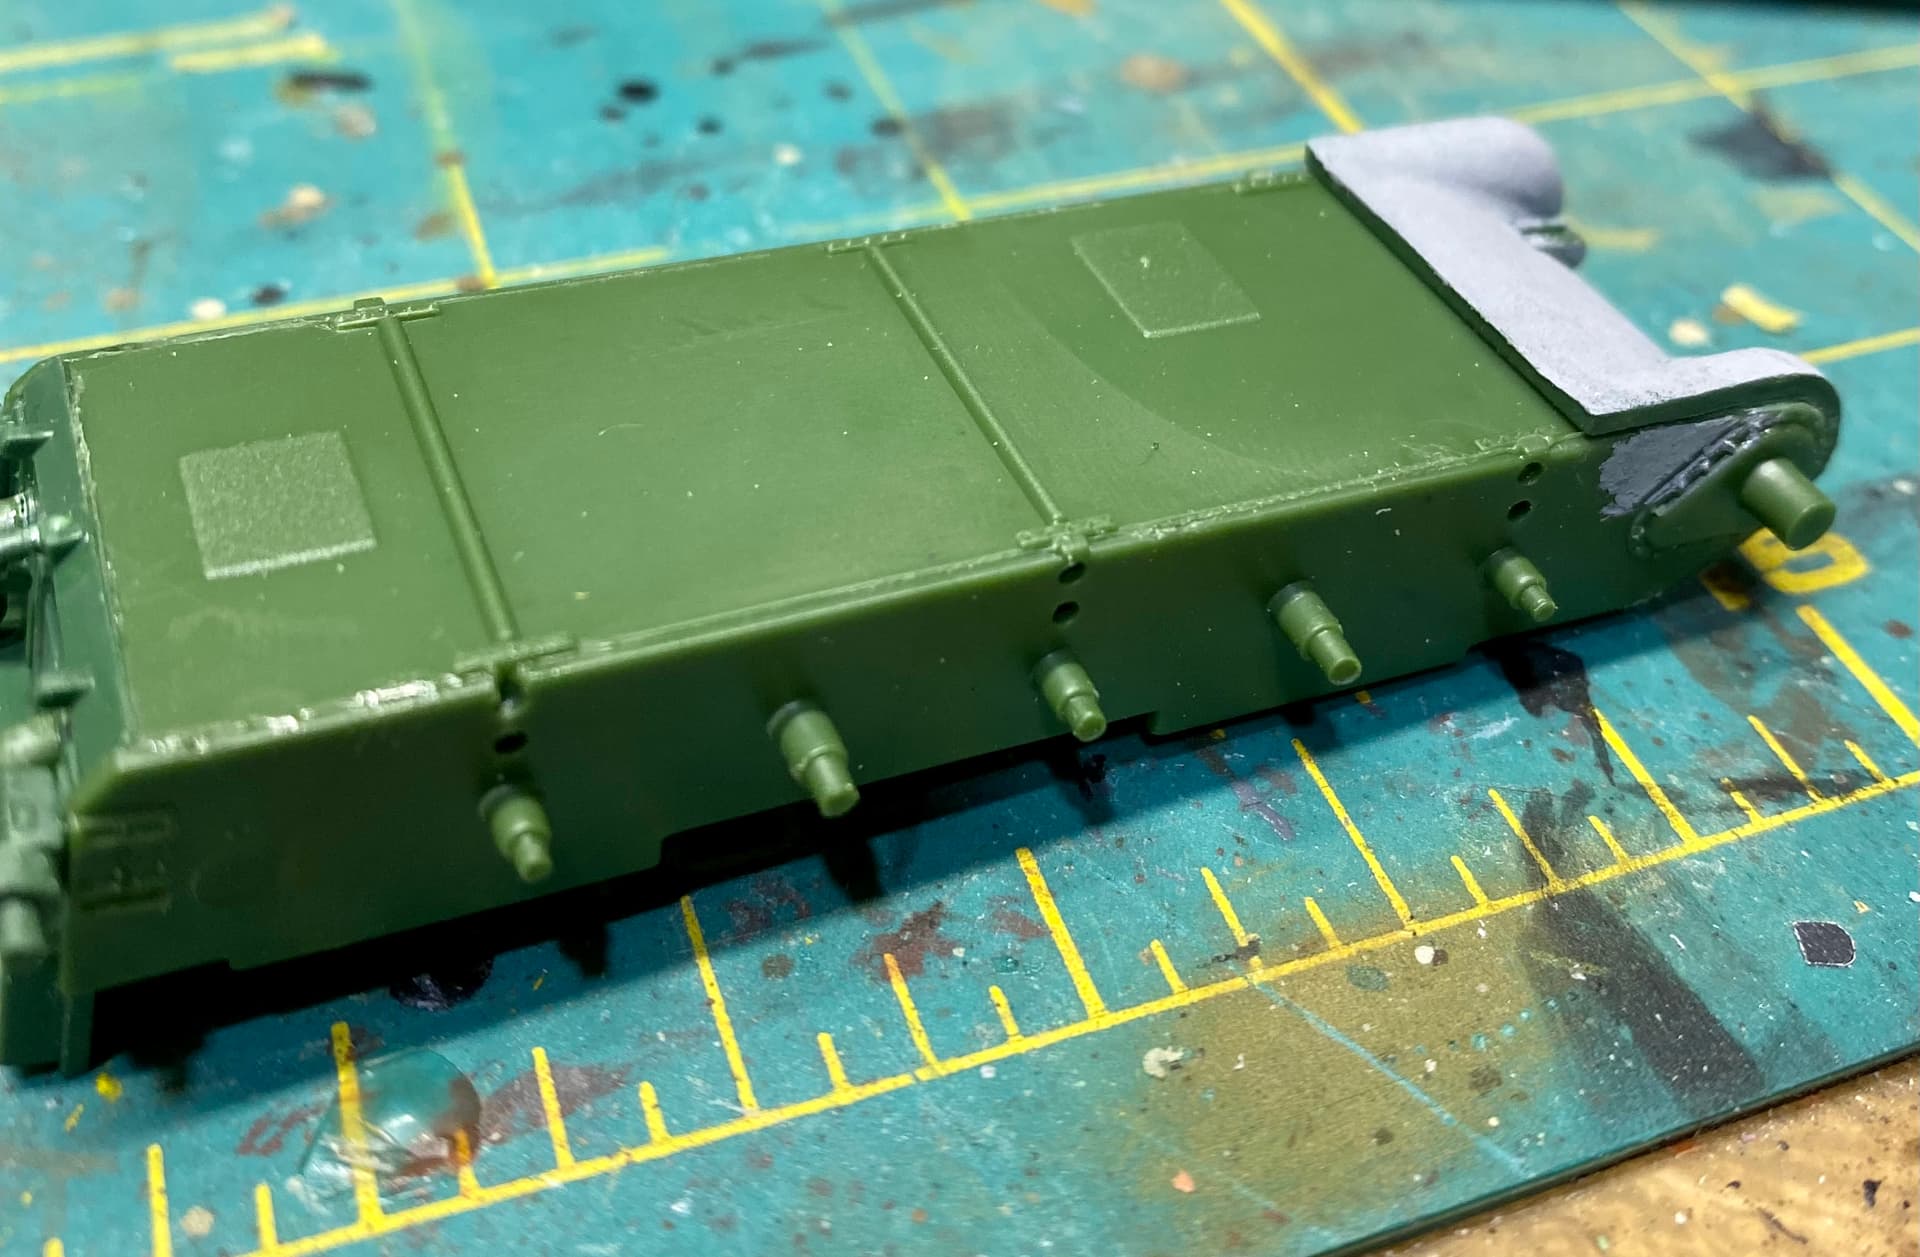
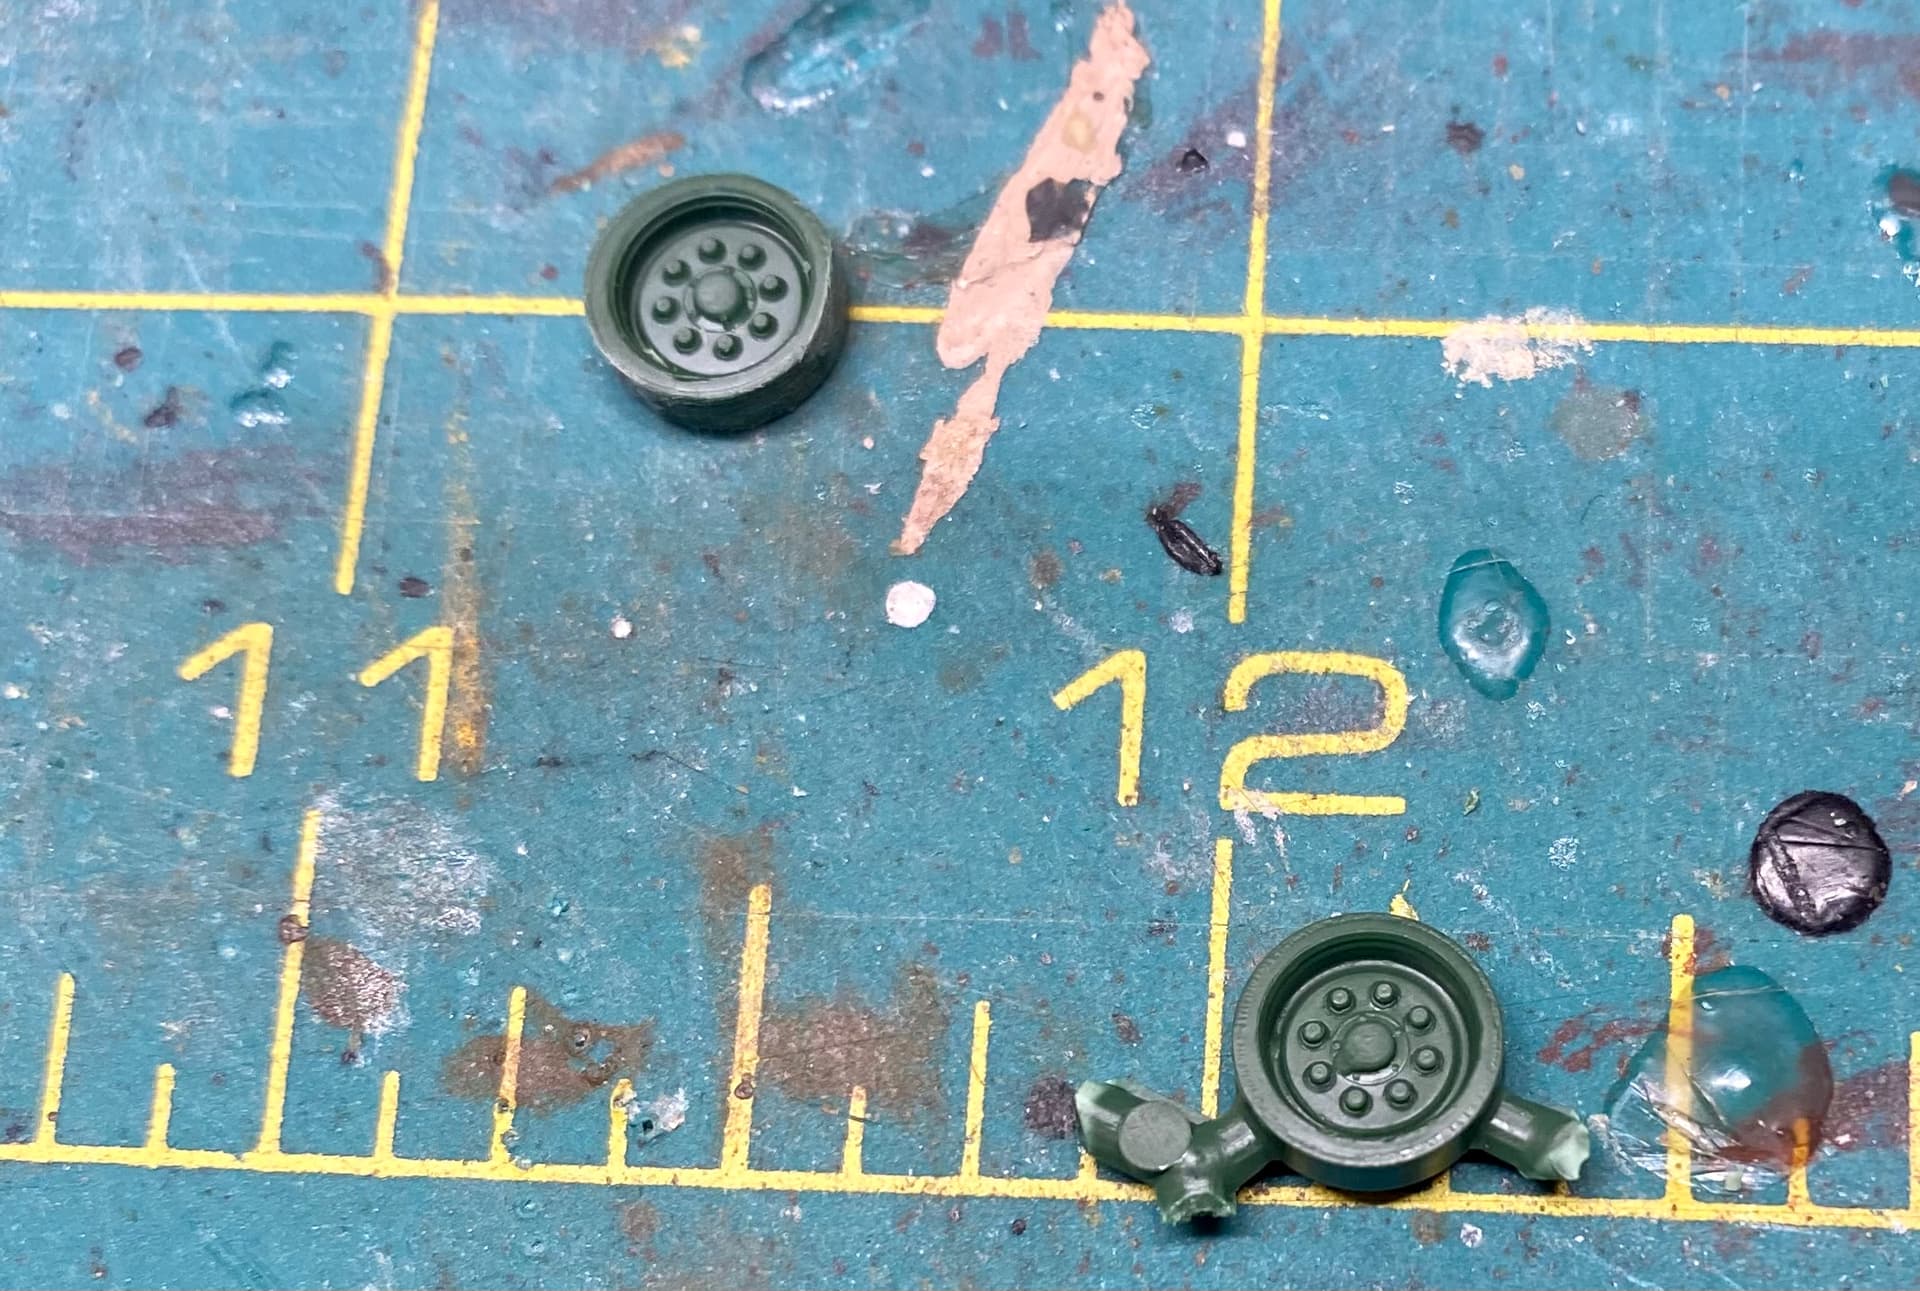
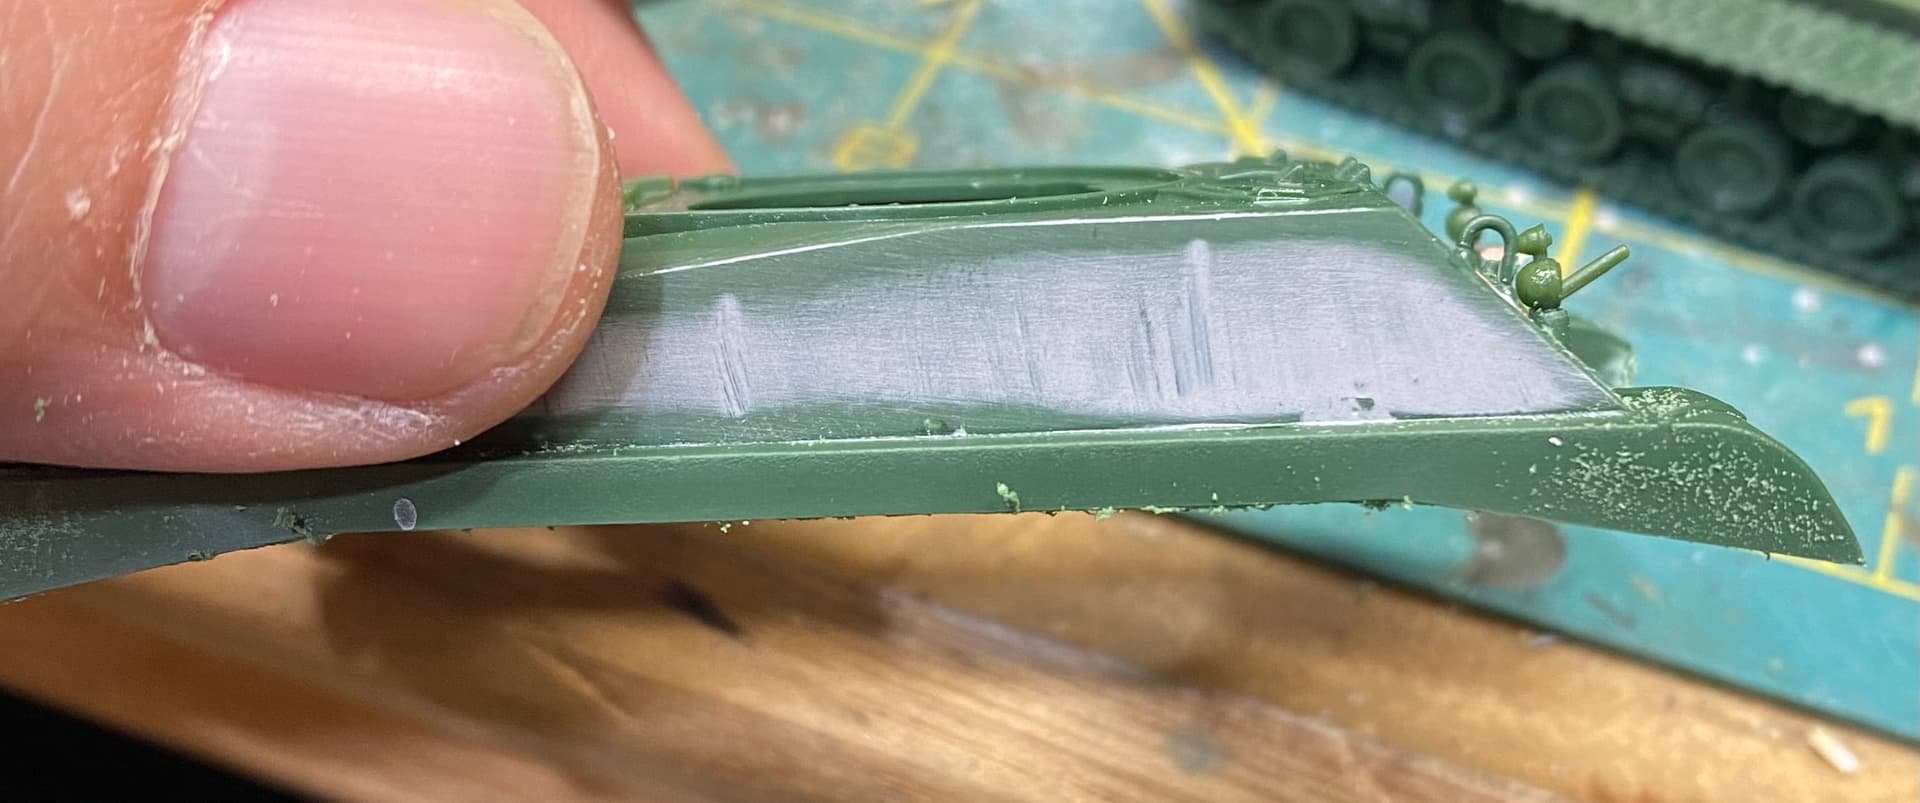
It’s a Sherman based vehicle so first off was assembling the hull tub. There are a couple small sink marks on the idler wheel hubs and that tow pintle isn’t quite centred but I can live with it.
The actual lower hull gave me some trouble though. It comes as a floor, sides and cast transmission cover. There’s nothing in terms of locating tabs/marks to help keep things aligned. Bow also needed some sanding where the drive sprockets are to get the sides to sit flush(ish).
This would really have been better served as a single casting. They did it with the upper hull so it’s not a space or technology issue. It just feels like padding parts count. No matter. Thankfully it’ll all be hidden by running gear.
Don, it feels like bad engineering and molding to me. I’ve never seen a UM kit before either, but this does not bode well for you. This kit is looking borderline unbuildable. Keep pressing on, though! I have faith in you and hopefully it will all come together!
I have a soft spot for the T31 - I consider it the ugliest tank ever built and as a Shermaholic I’ve always wanted to build one but never got my hands on the old Verlinden conversion. Finally found the Bold Division turret at BNA and ordered it and a RFM M4A3E8 to put it on. They are inbound now. I know my kit’s going to be a lot easier to build than yours though…
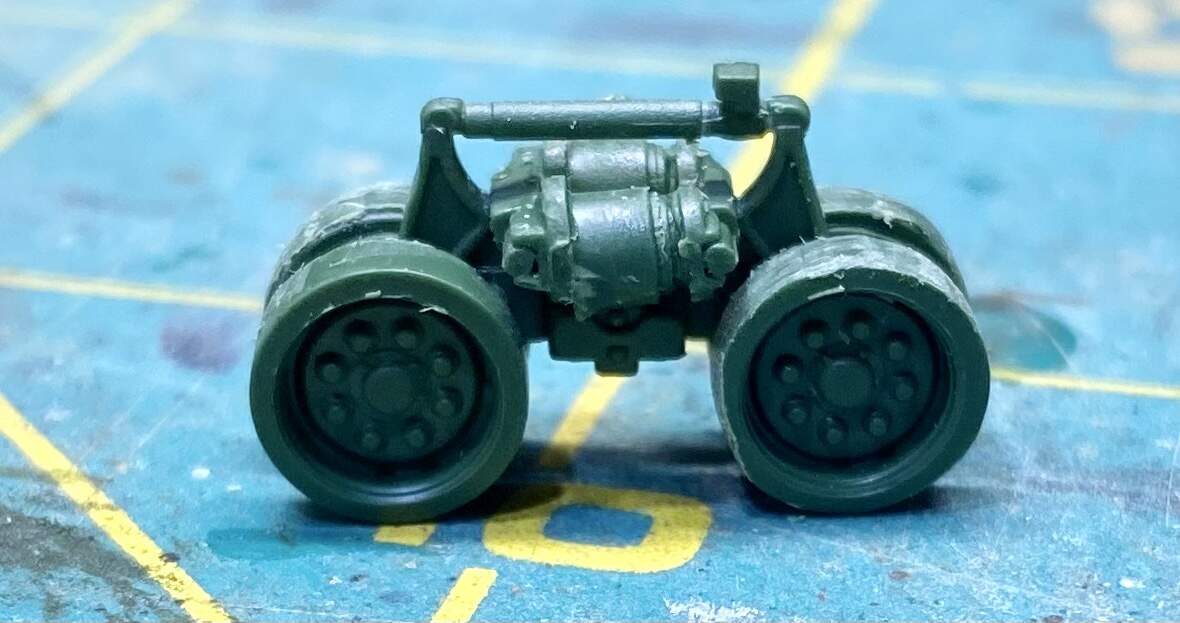
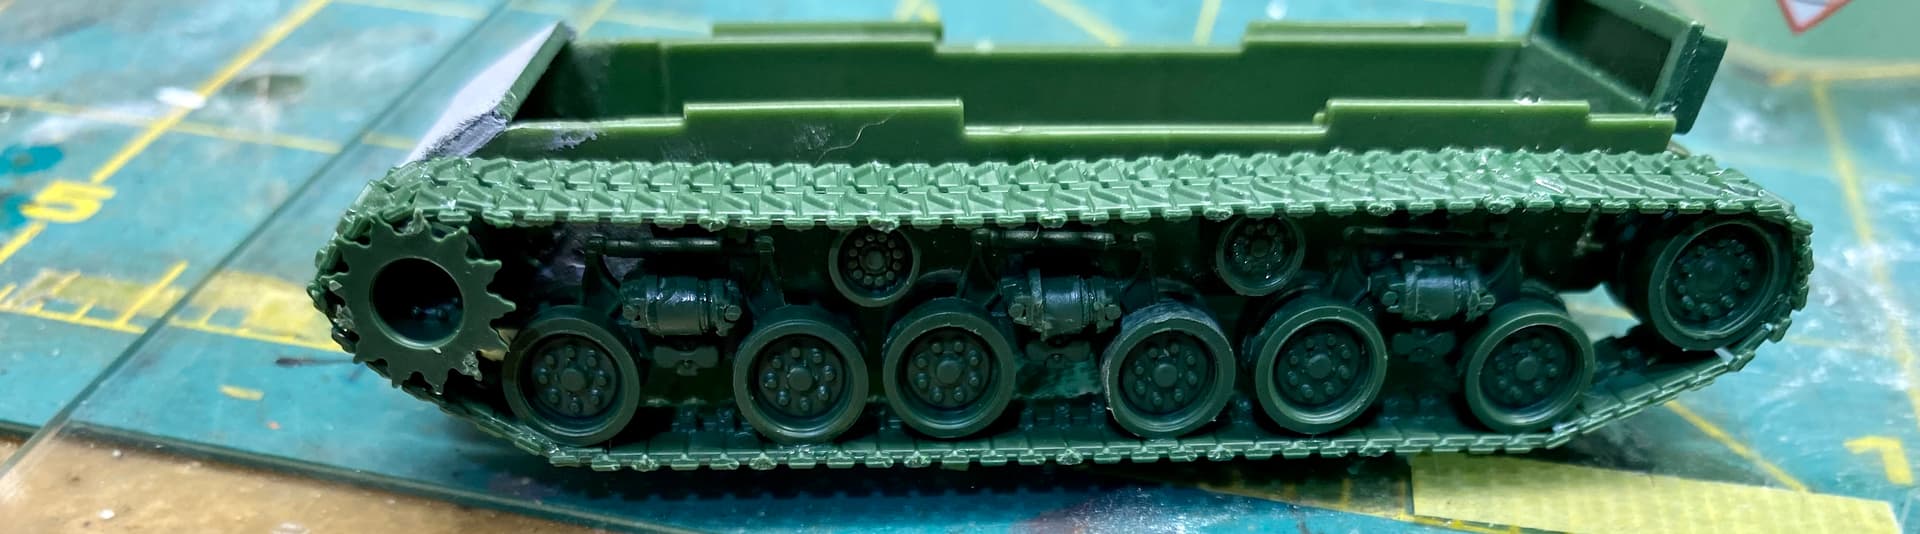
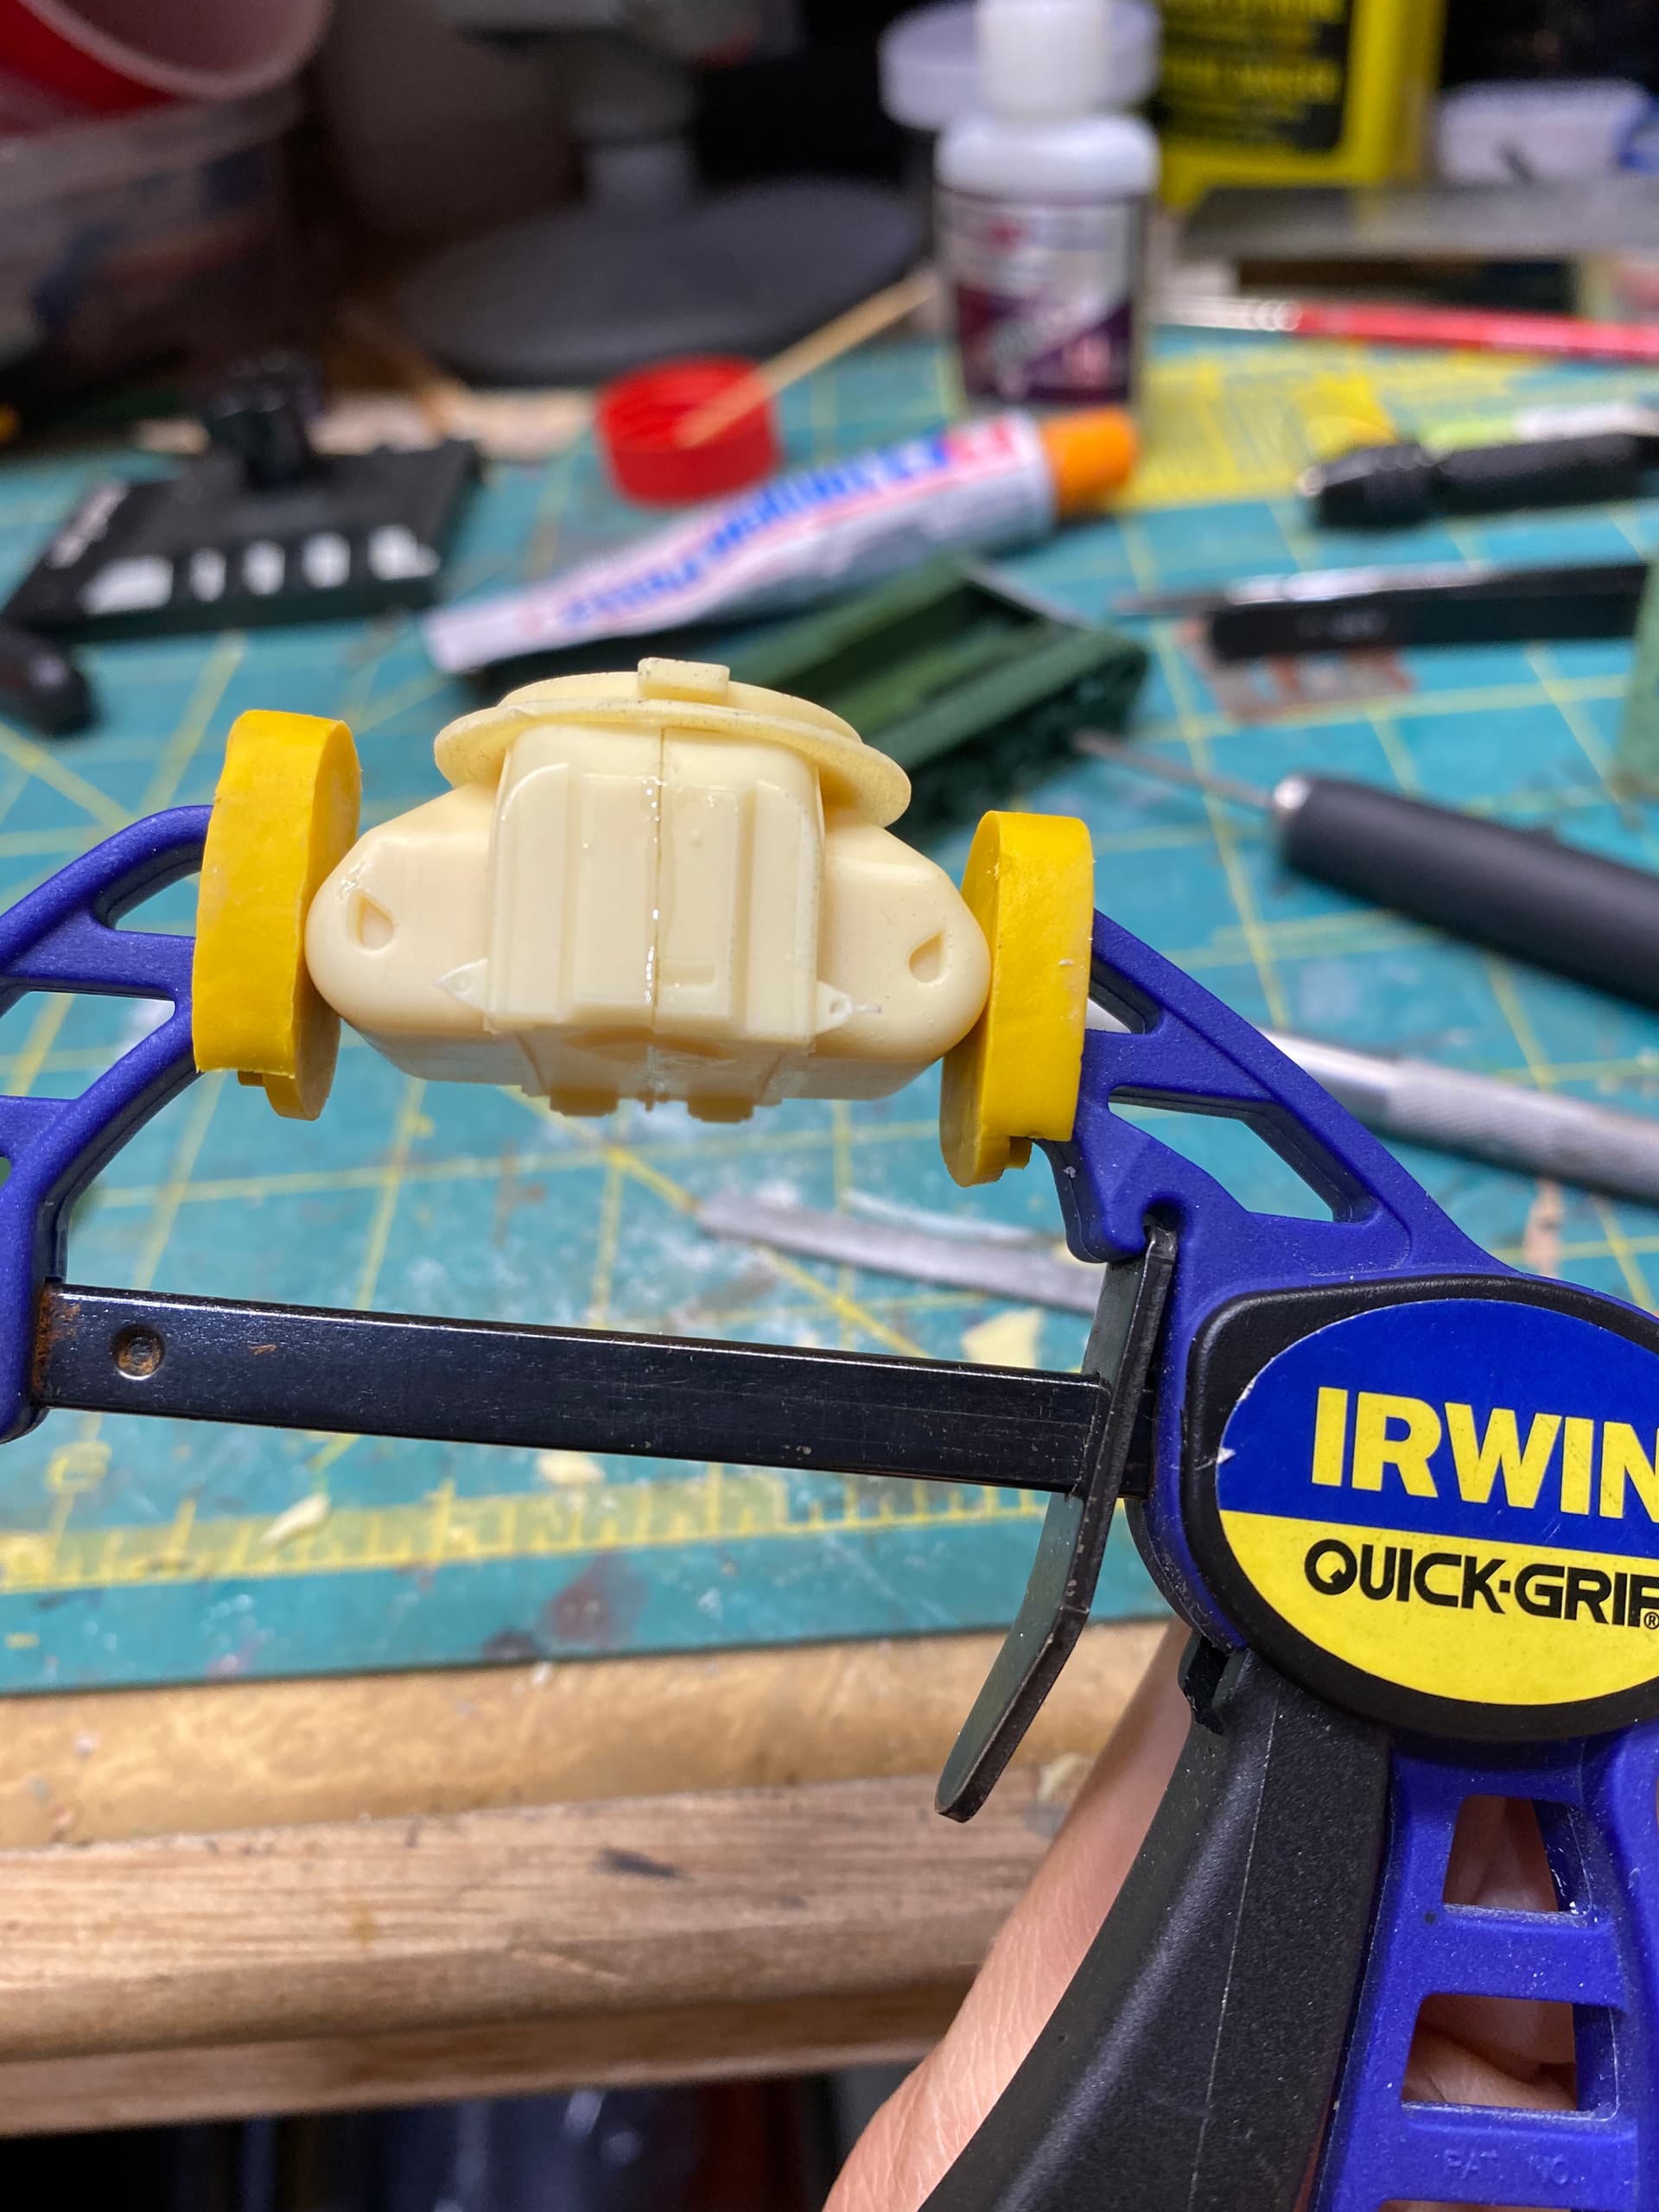
Got my first set of track/running gear done. And I thought 1/35 running gear was my own personal hell. At least those I can see and manipulate. These sausage fingers aren’t meant for this detail stuff.
Bogies actually built up not too badly though once they’re together. HVSS components also suffered during sprue surgery, though unless you’ve got the microscope out you can’t see it right away.
All things considered they weren’t actually that bad. Biggest pisser is that the drive sprocket and tracks might as well be from two different vehicles. Sprocket is too wide and the teeth don’t fit the tracks. I also lost two teeth because they were homogenous with the sprue gates. That and the links are sooooo fragile that I had to be very judicious with trimming flash and what not.
I actually found it was better to cut two of the 4 gates and, contrary to the cardinal rule, just flex the link until the other two gave way.
Not bad! The parts aren’t exactly square, it’s tapering in towards the centre a little, but it’s livable. I hog off too much more resin and I’m going to have other problems.
Which because my tracks are so cockeyed means the hull now won’t fit as there isn’t enough clearance.
In a fit of panic I broke out the rotary WMD and tried thinning the insides of the skirts down, but still couldn’t get the room I needed.
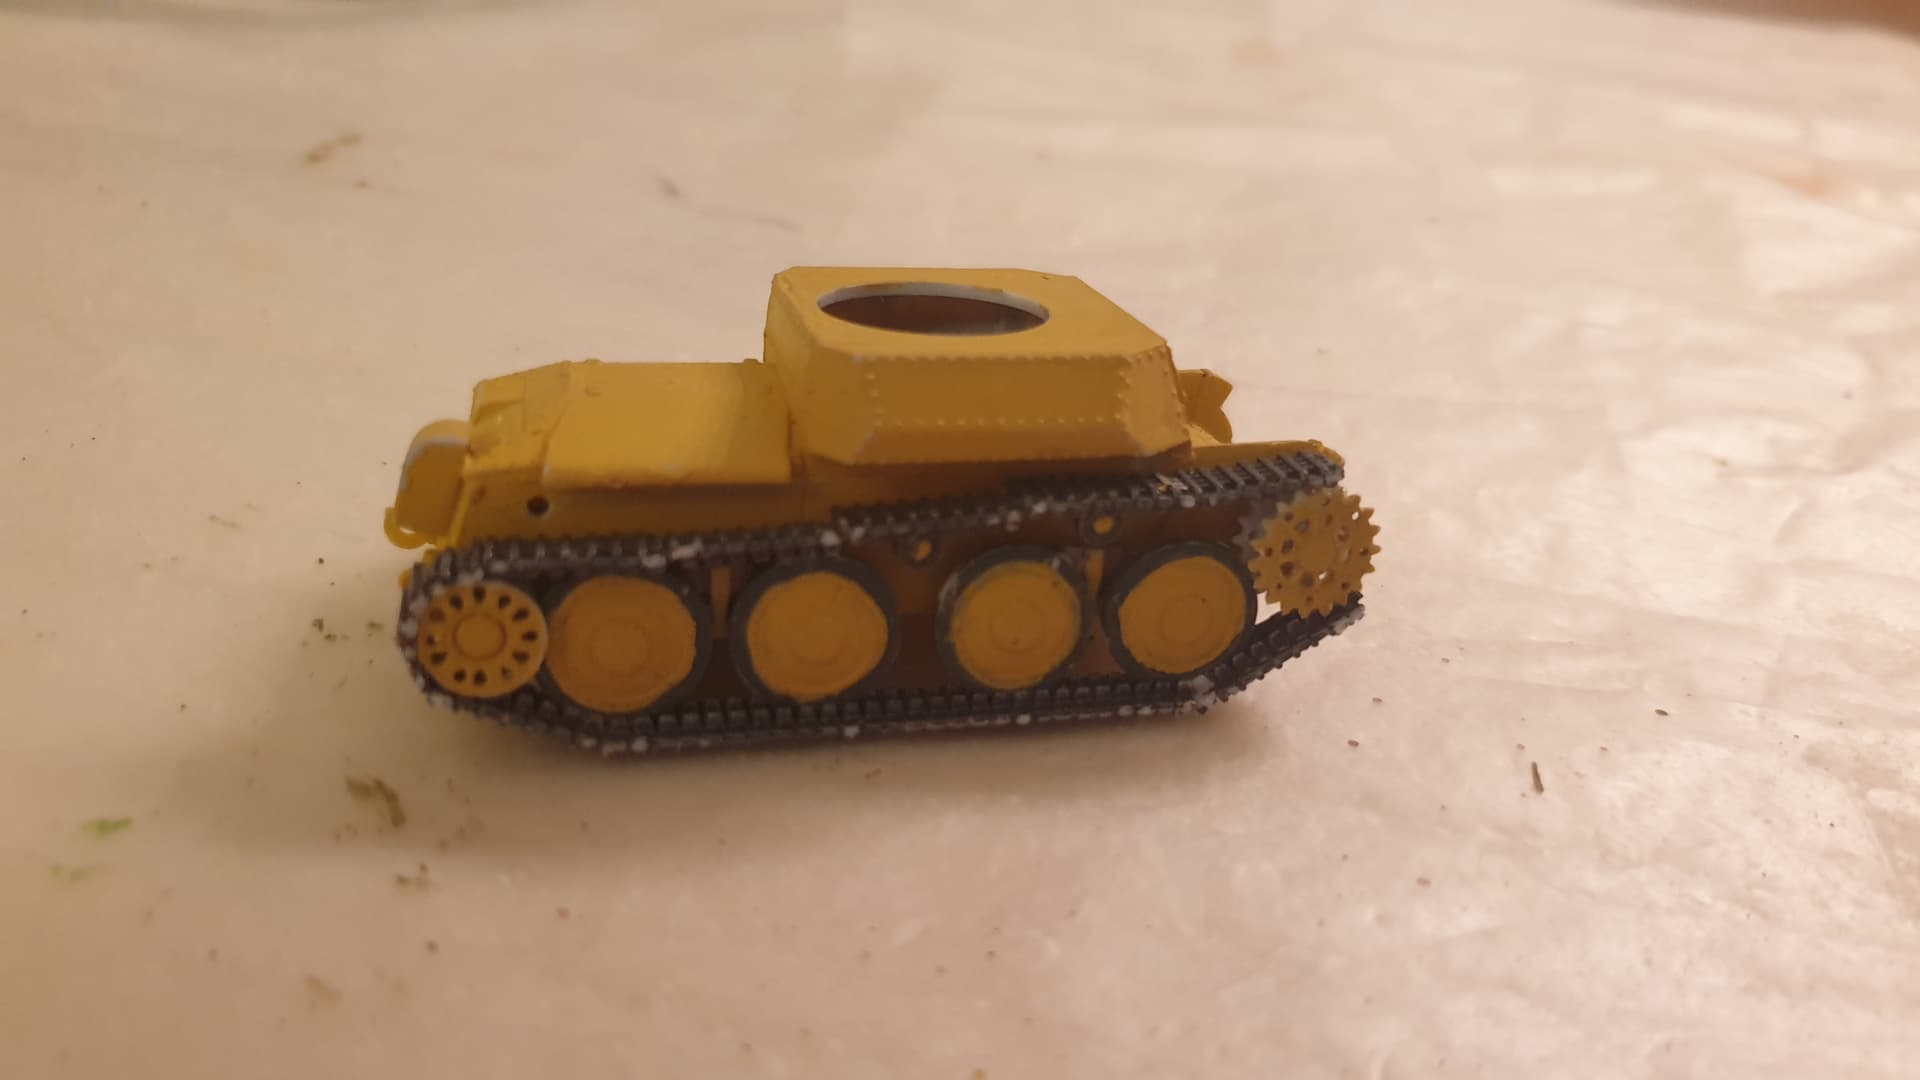
Then I had a moment of genius. Though the T31 was only ever a single prototype, I had planned on modelling a 1946 style “what if” so I could have some fun with paint and maybe camo.
No more skirts! Everything now fits perfectly (or what passes for perfect with this kit).
What I’ve also somehow managed to do however is lose my cutters. And not just lose, but lose in the span of about 30 seconds between being in my hand and taking a picture, because I used them to cut the bloody skirts! My work space is maybe 50% bigger than a phone booth (ask your parents @Panzer_modeler) but they have vanished. If anyone happens to find them I’d appreciate it…
I think I’ve decided this tank will be participating in Operation Downfall which for anyone not familiar was the planned invasion of the Japanese home islands.
Given that, I’m leaning towards making it a Marine tank. I’ve seen a few options for camo including one with green and red-brown over sand which I think looked really nice.
The kit only comes with markings for the prototype so I may go minimalistic or try and ad-lib some.
Had built a T-34 from UM, and it was built pact oob, had minor issue with it, but no major surgery needed (have no photos of the kit).
I also built a Sd.Kfz 140/1 a reconnaissance tank based on the PzKpfw 38(t), by UM, and after building the same tank from Attack came to appreciate the UM kit
I’m enjoying watching this… Purely from the pain side of things Don… Lol… Seriously though, you are doing an amazing job with it… There are some real nightmares there, the wheel sprue gates, side skirts … I’d of probably binned it by now in a fit of frustration…
Keep slogging away at it, I’m sure you’re going to finish up with a swan instead of the ugly duckling it could of been
If I’d picked this up for a regular build I might have just tossed it for the price, but the campaign is giving me the motivation to build it and the crap quality is giving me permission to play with it in ways I wouldn’t mess around with a more expensive or well build kit.
It’s an absolute bastard of kit from a design and quality perspective, but in my brain I think it’s going to look solid come the end.
I may even try plunking it down on a beach dio as apparently these things were intended for amphibious assault landings.
Holy crap kids we might actually have our selves a tank!
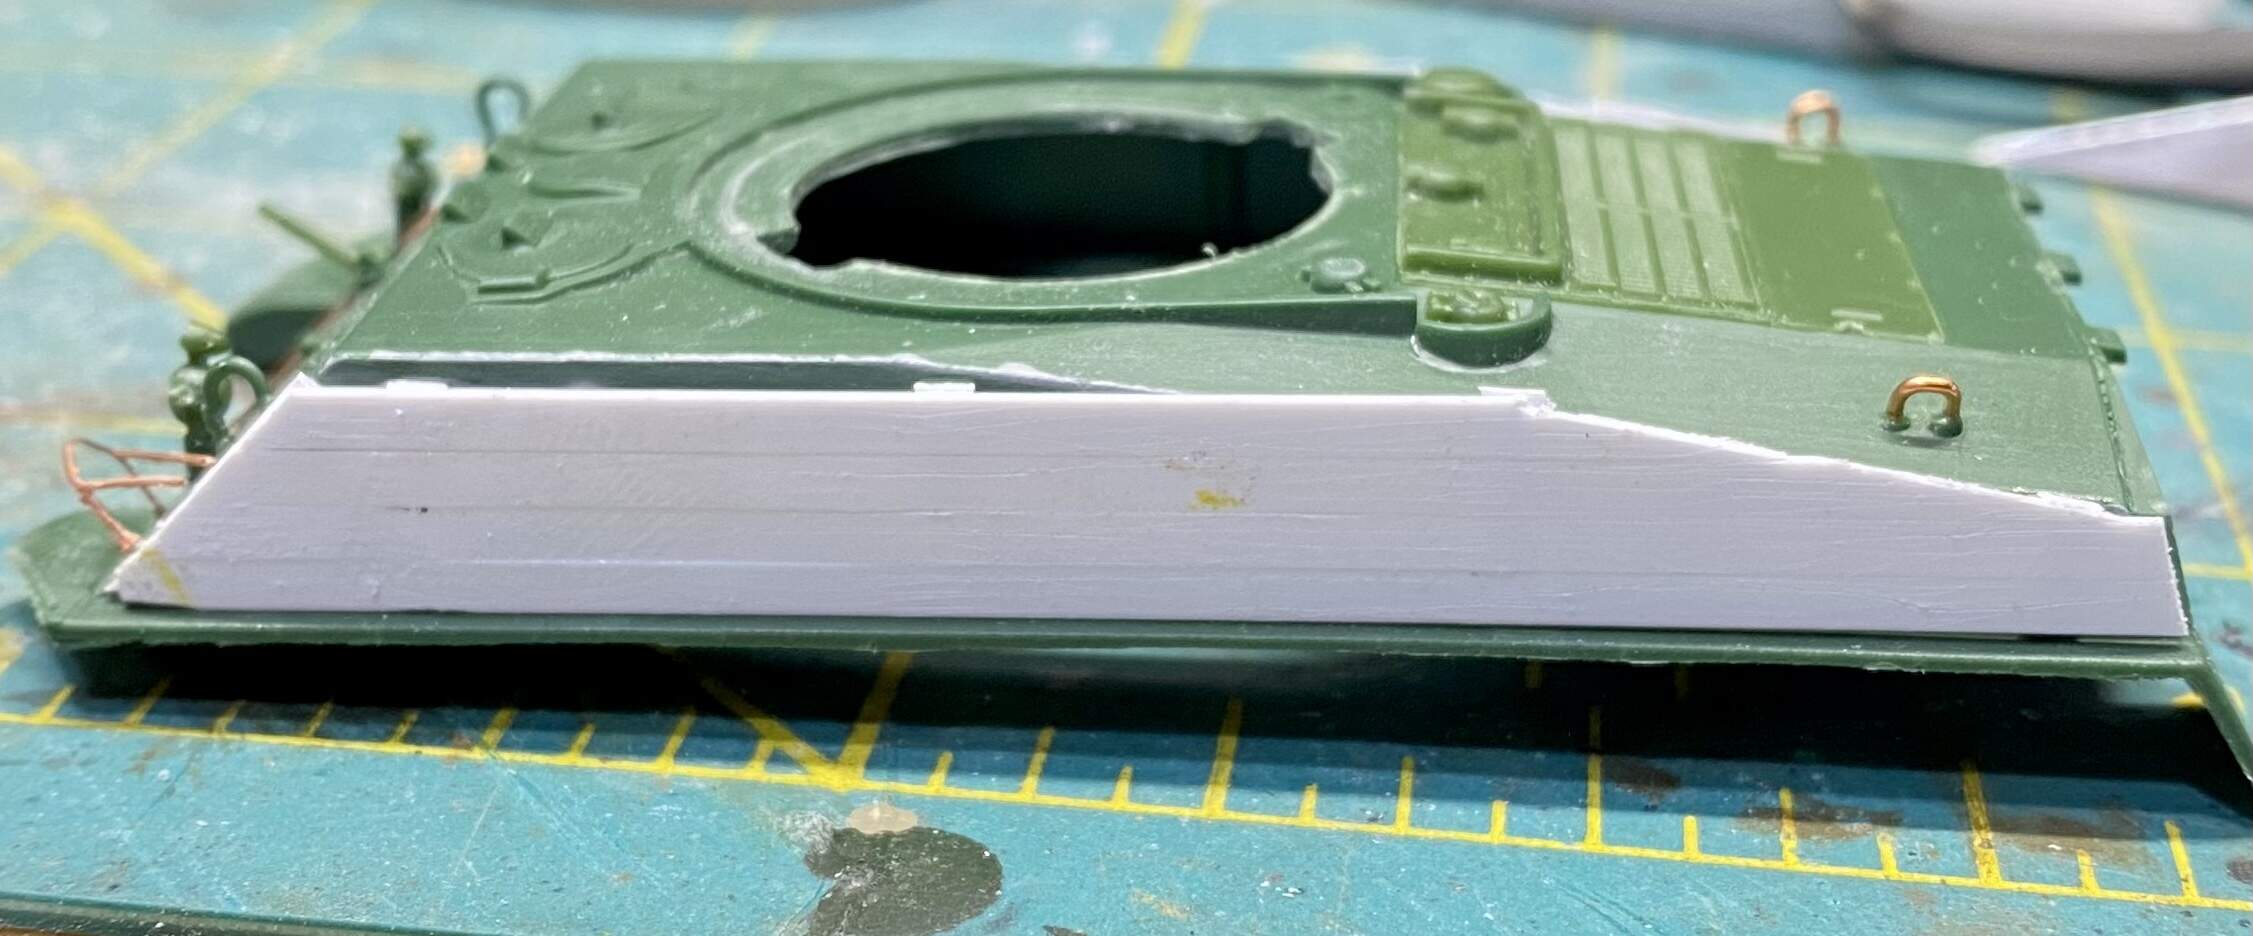
Going with the Marine theme, I’ve been looking around for paint and markings and came across some tanks with appliqué armour made from wood/boards. The thinking being they helped prevent those dastardly Japanese from attaching limpet mines to the tanks.
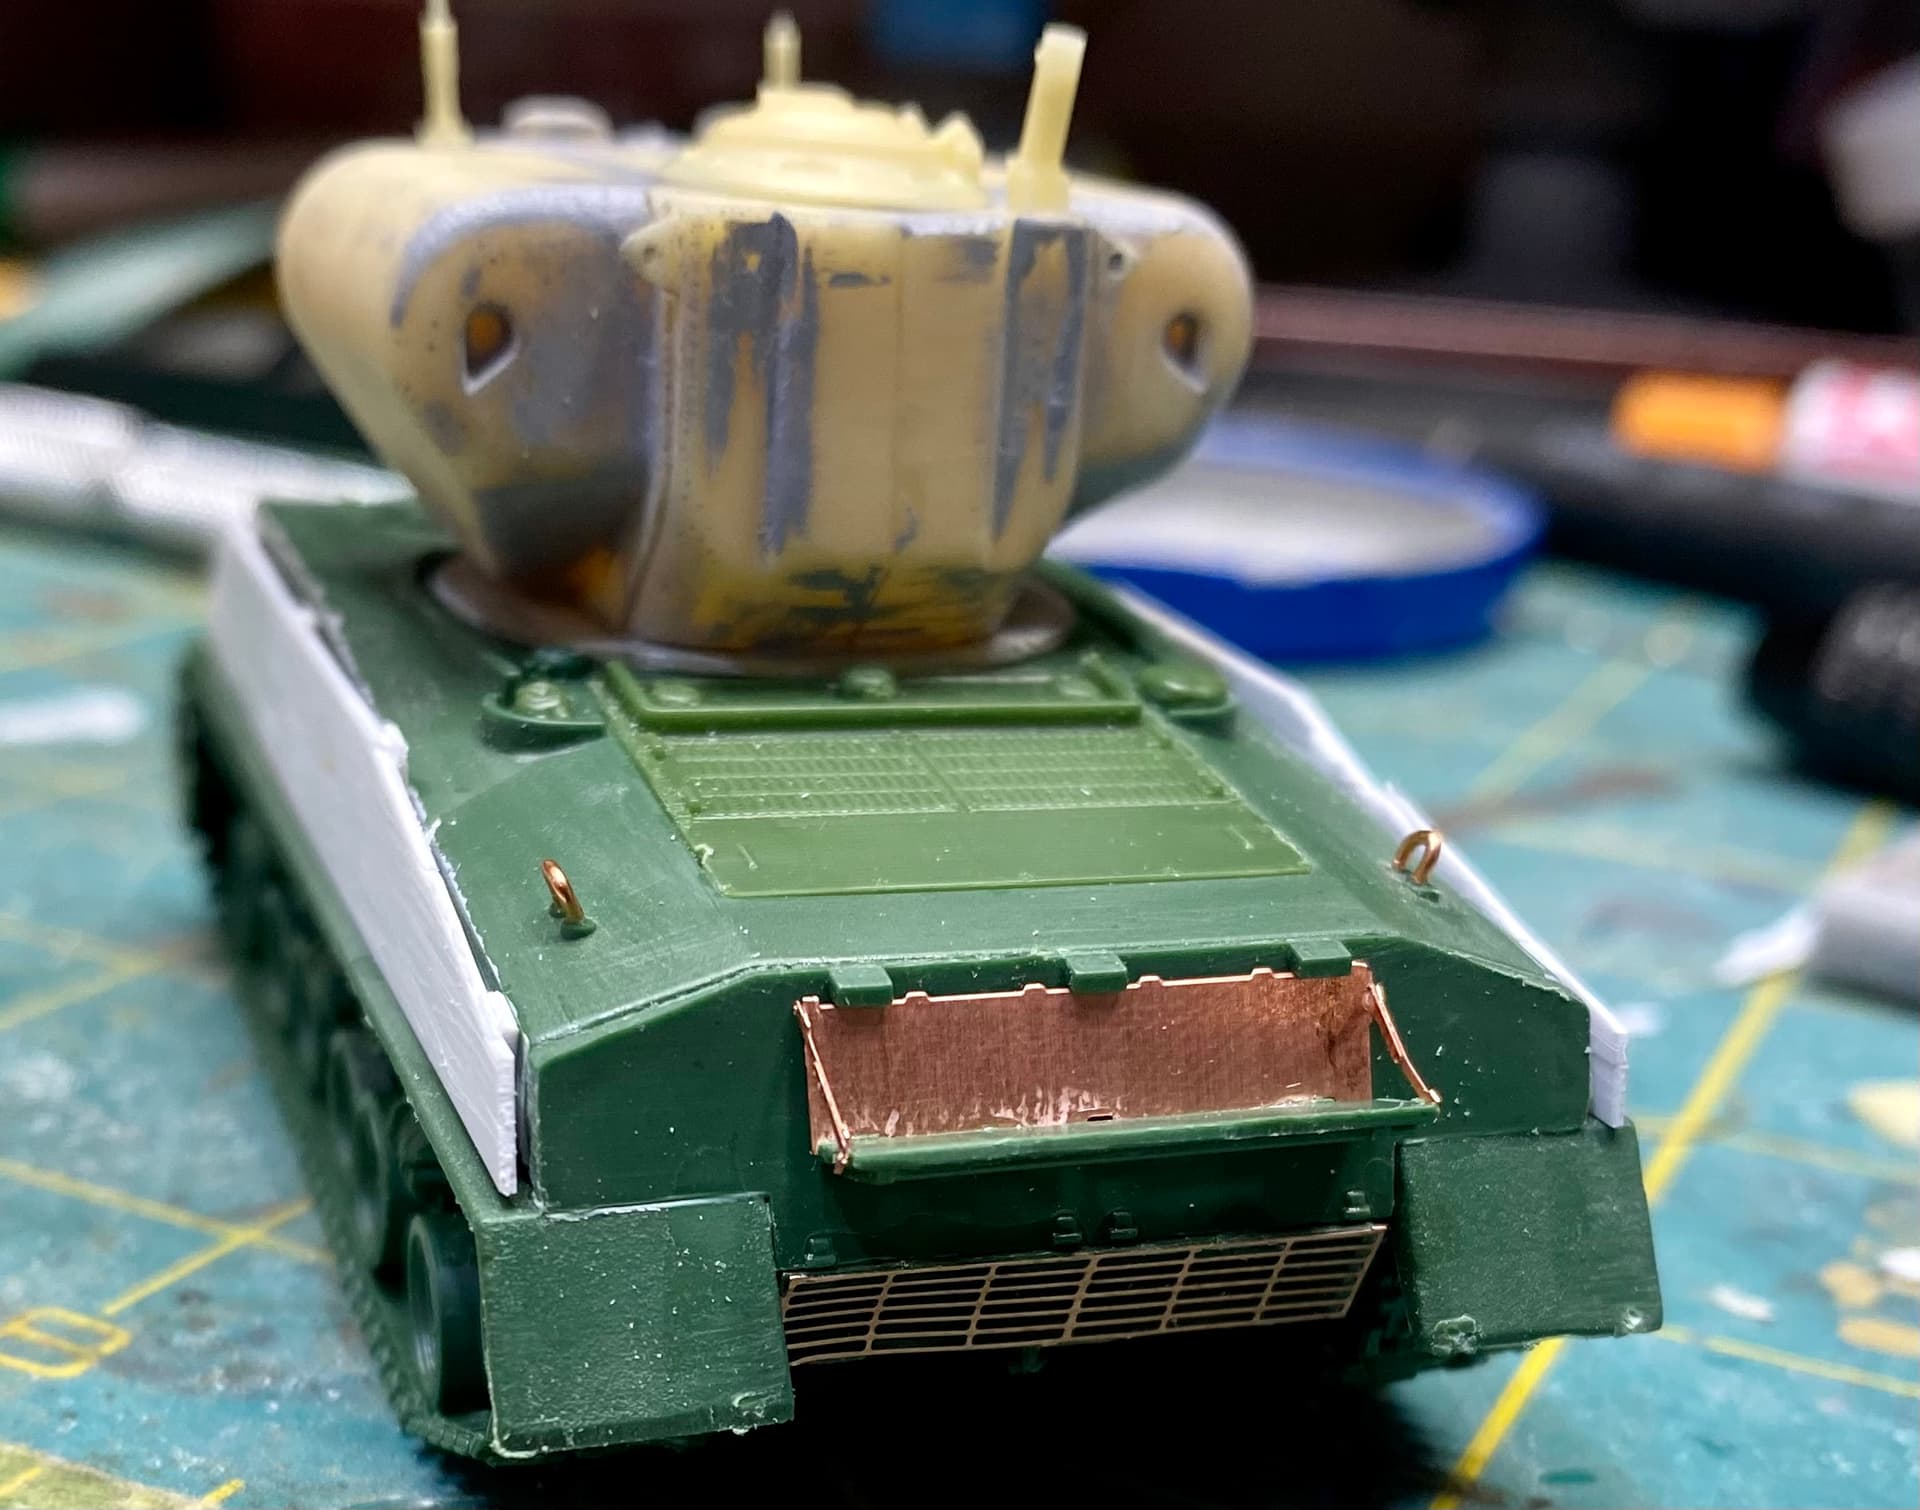
Boards were made from evergreen. They’re a little narrower than what I’ve seen in photos but it’s what I had on hand. You can’t see in this photo but they’re spaced out slightly from the hull. I saw spaced versions and ones that looked like they were bolted right on, but spaced seemed to make the most sense for its intended purpose.
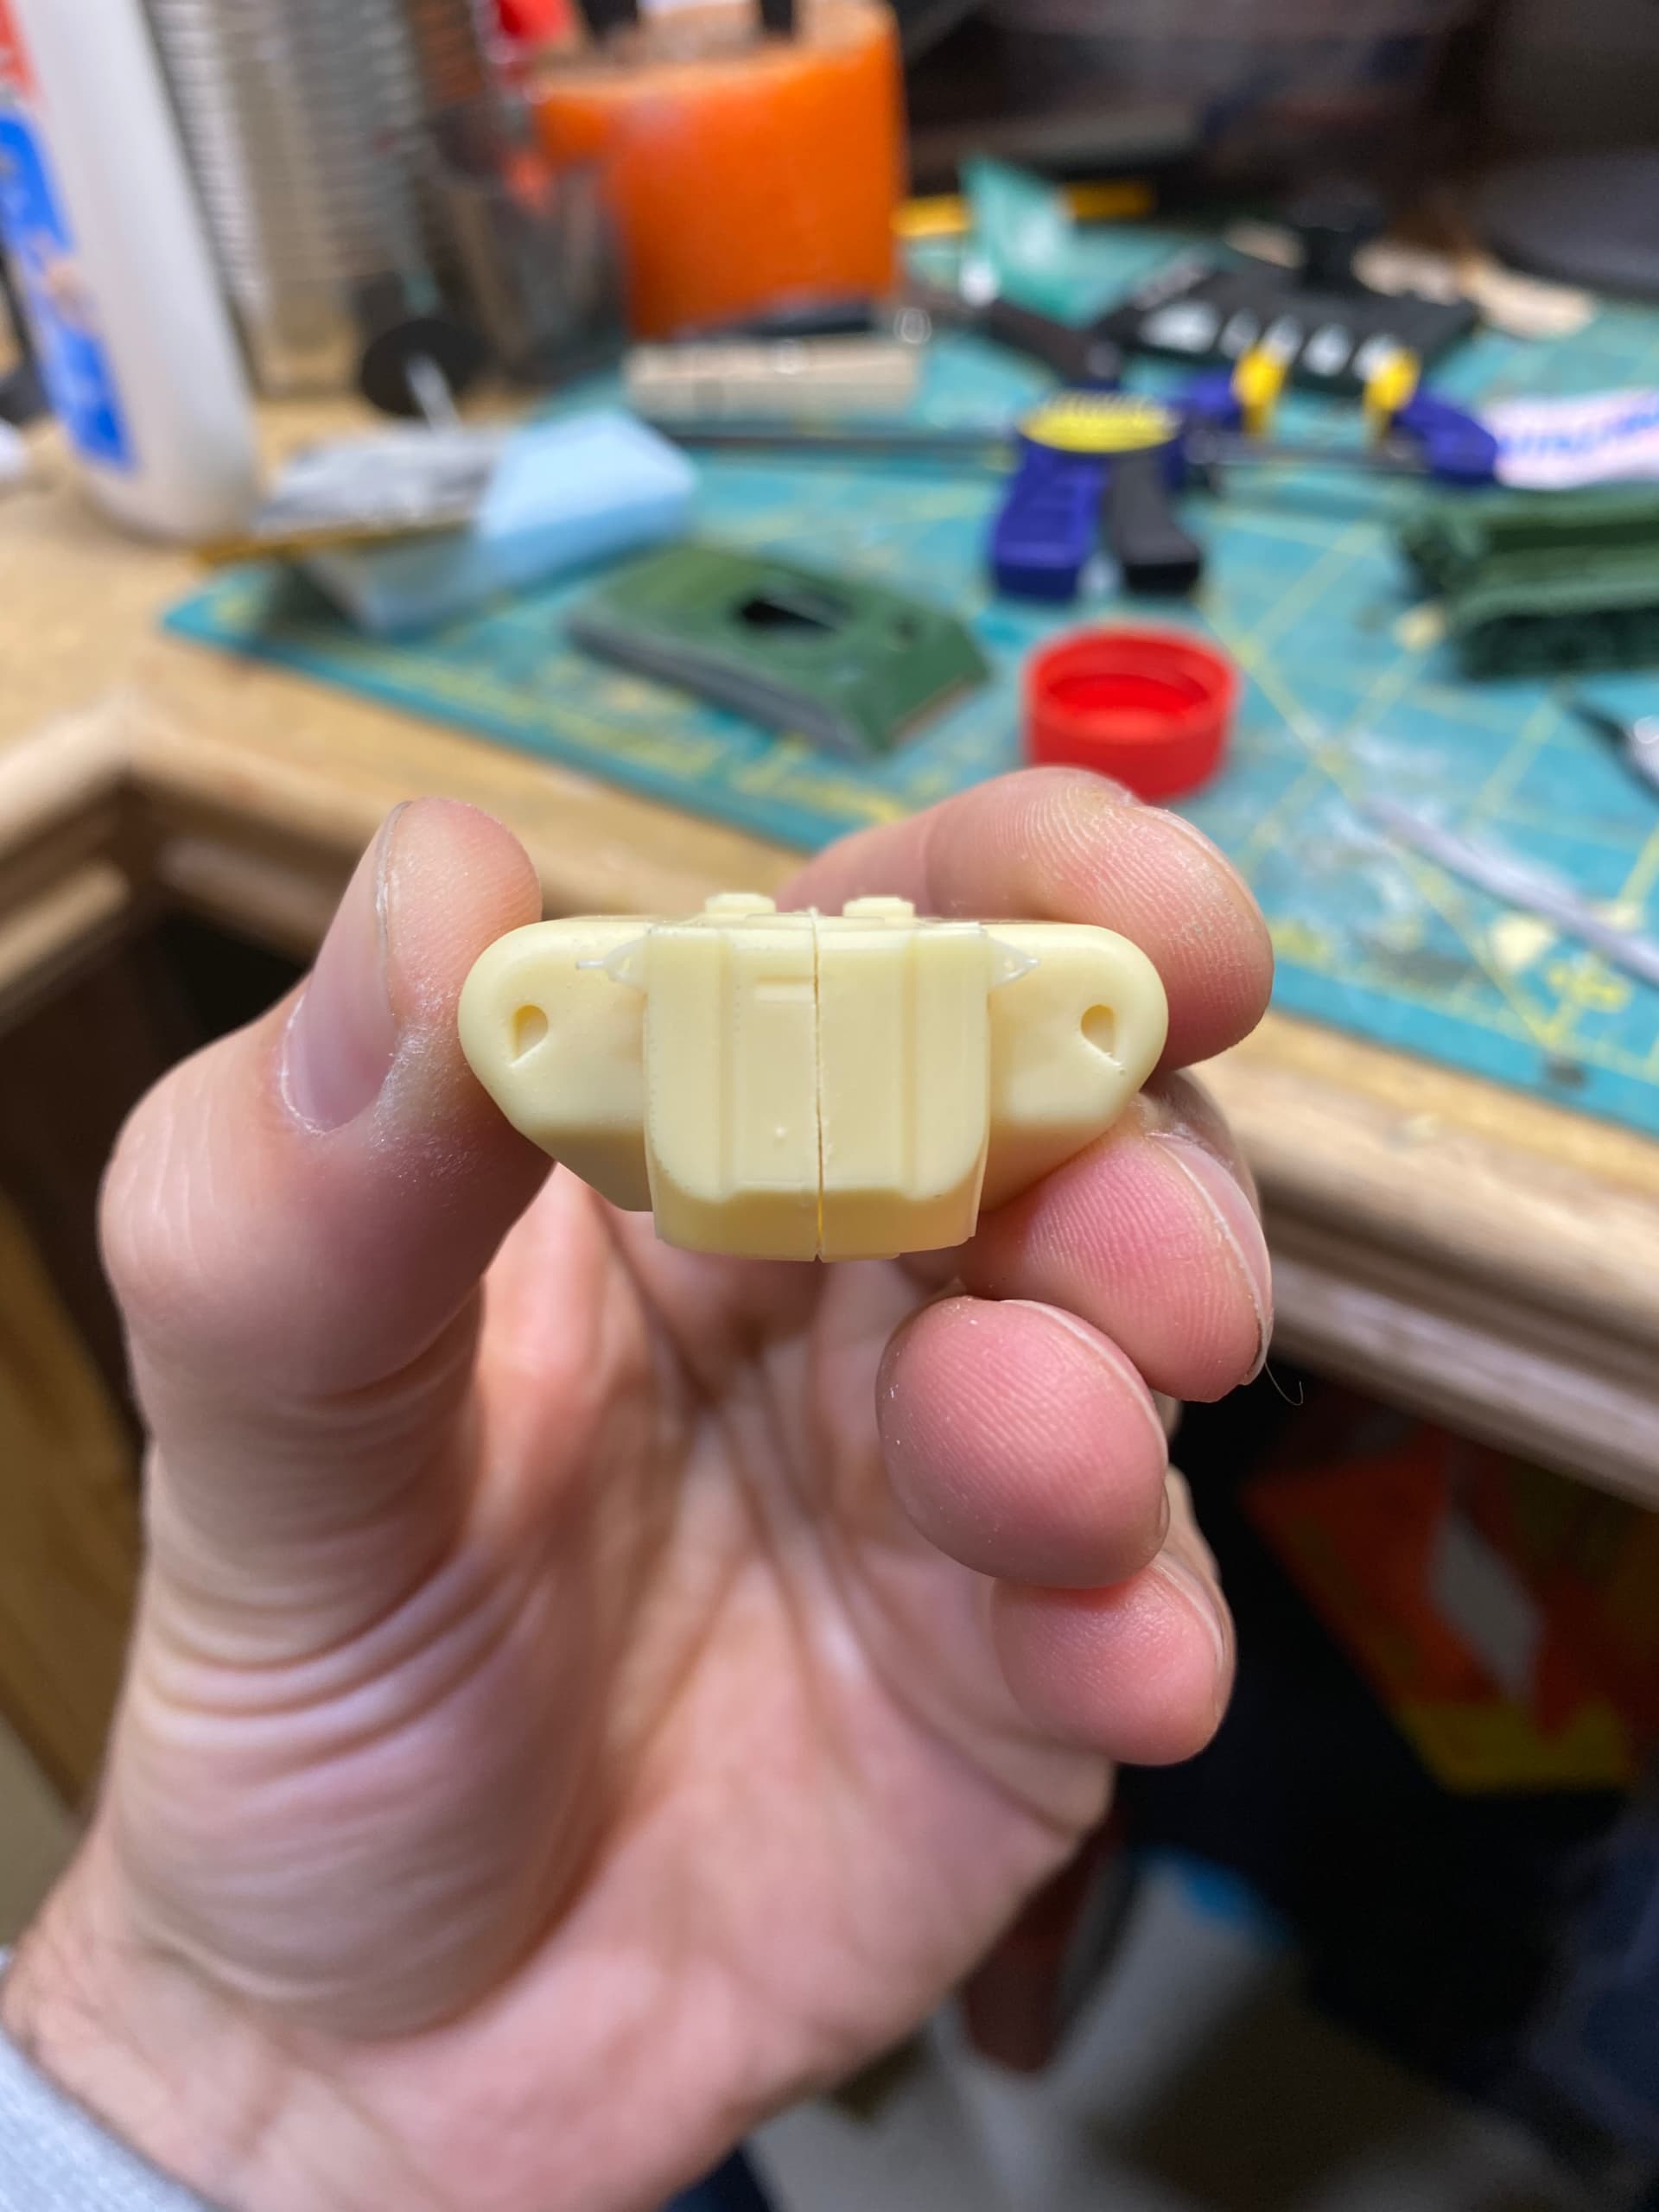
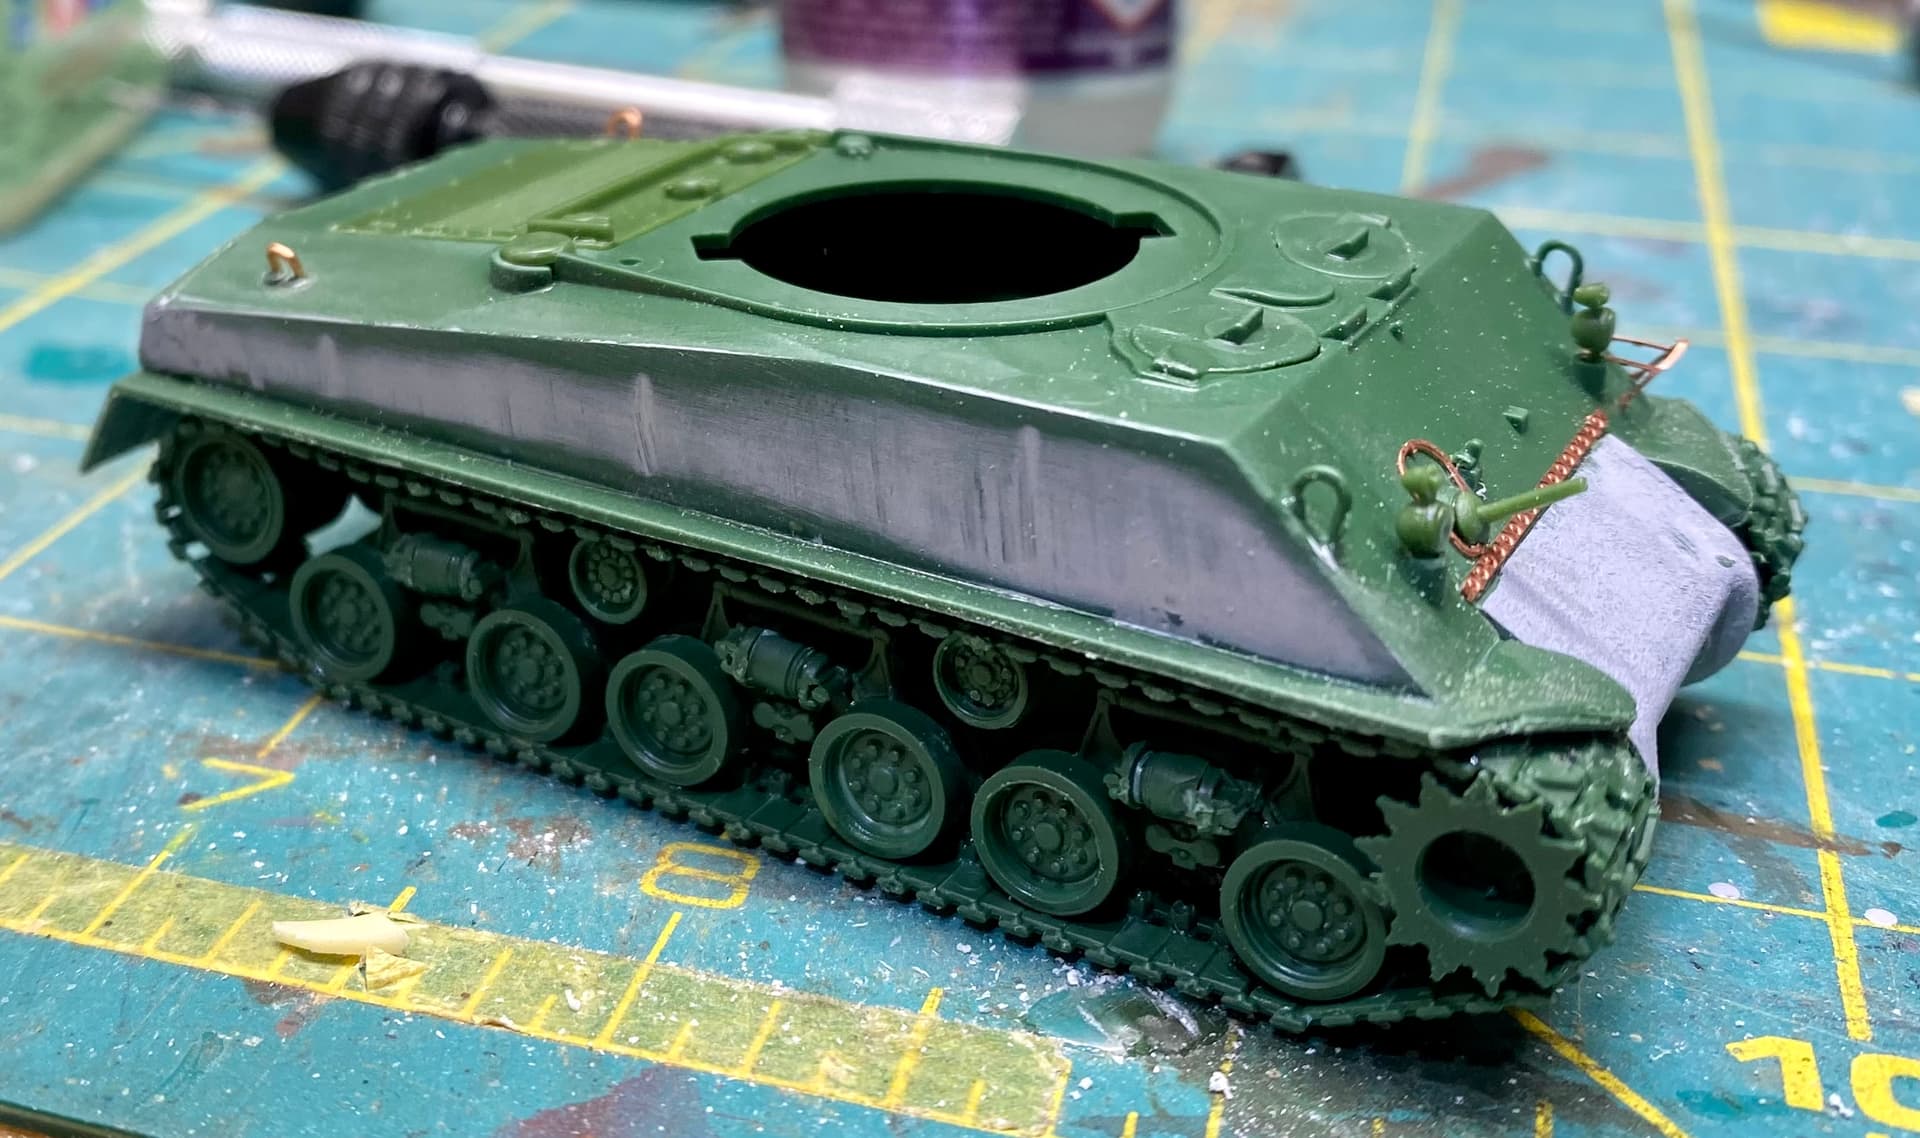
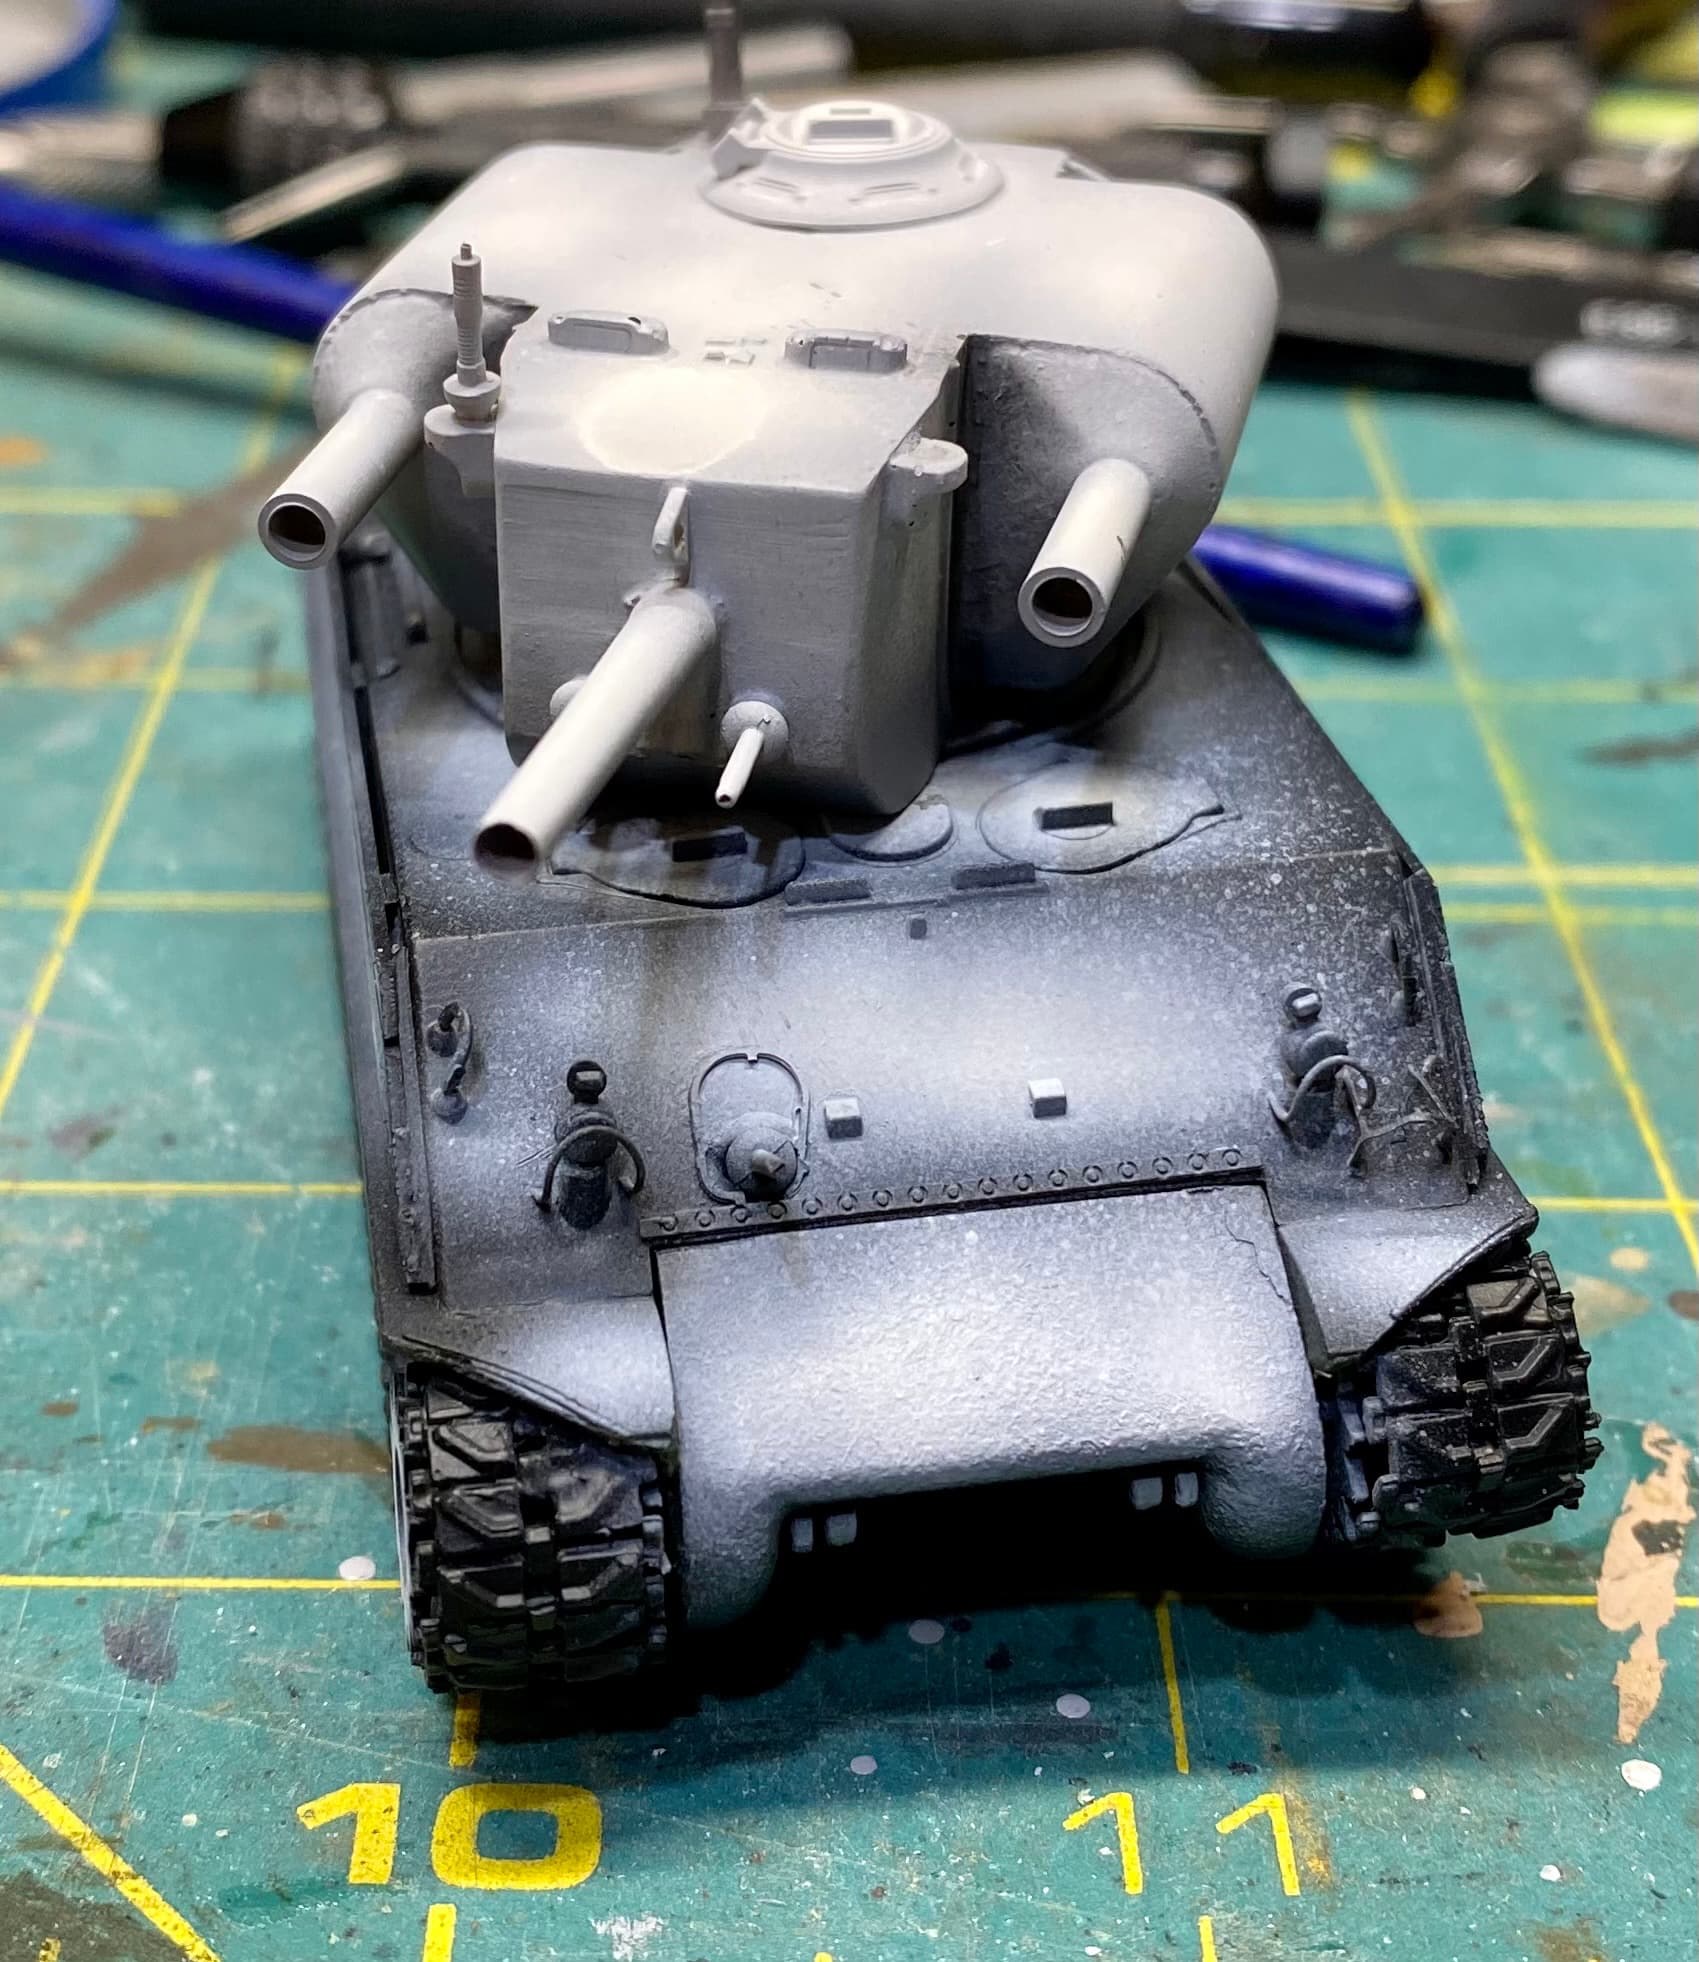
I also got the turret into something half decent looking.
I’m going to use some automotive primer on it to try and even out the last of the surface imperfections.
One thing I appreciate (but keep mangling) is the PE fret they included. I’m barely competent in 1/35, so I completely botched the light guards on the front, but the larger pieces are helping add some life.
Last thing I need to do is add the pioneer tools and think about some more external stowage. I have exactly no 1/72 anything in my box of bits, so I’ll maybe try scratching up some simple crates, or better yet, crate shapes and then tarping them.
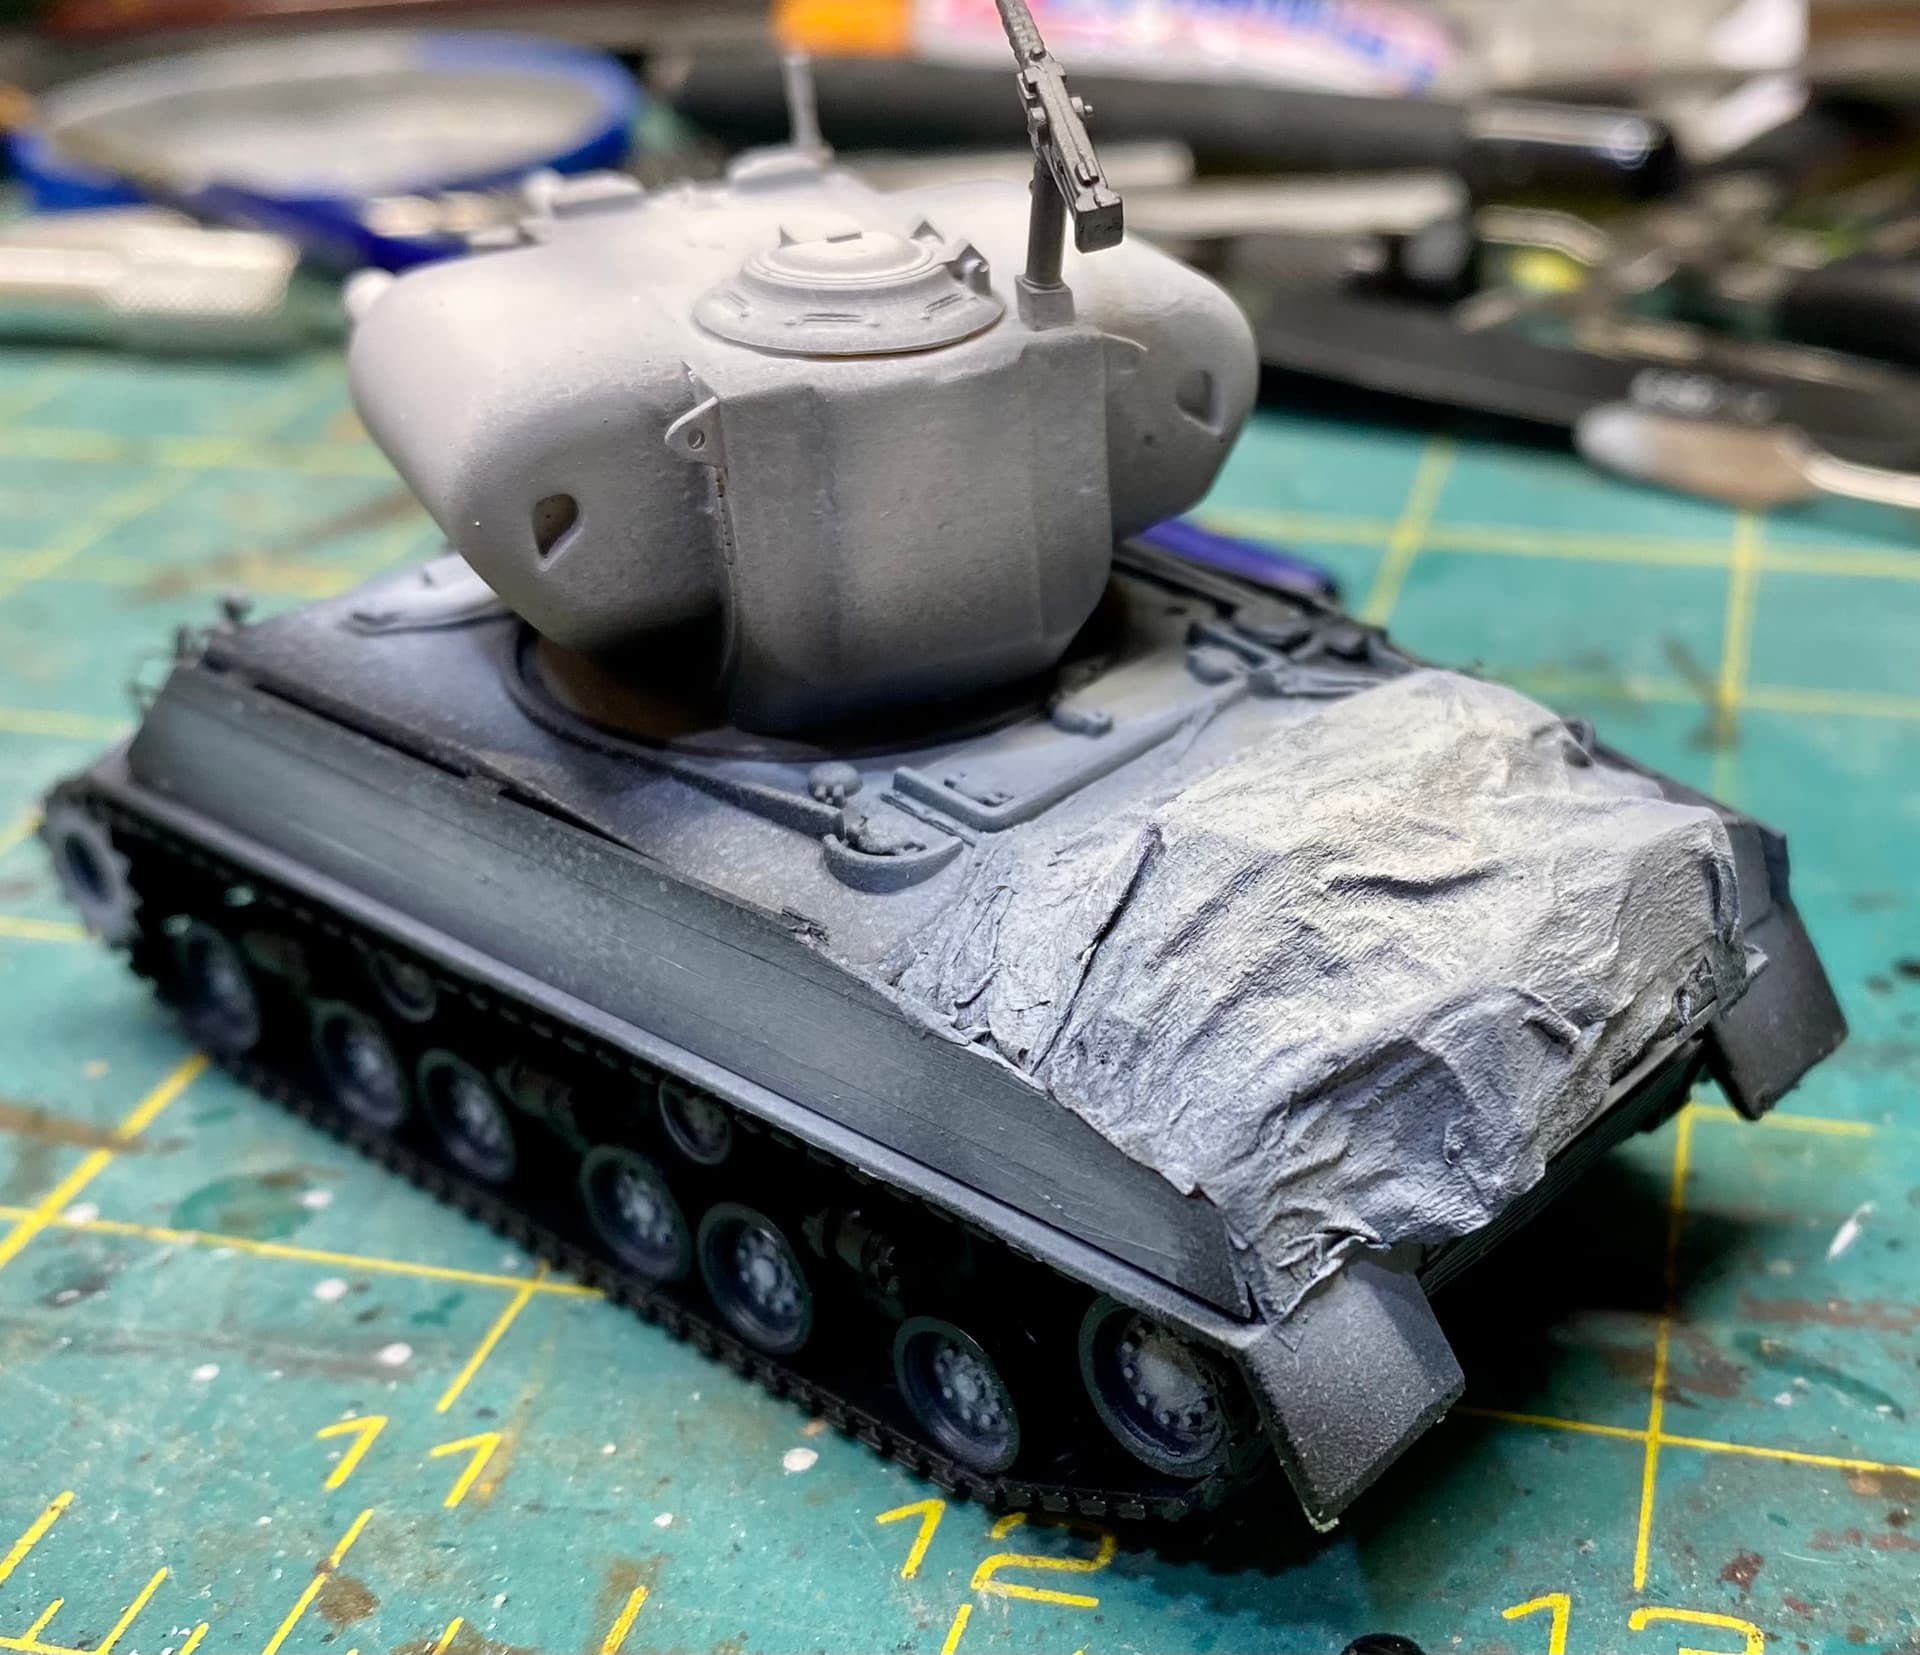
Beast is primed with a fairly slapdash attempt at some pre-shading.
Also carved some box shapes out of foam and tarped them to give it a little more visual interest.
Between the tarp and the wood slats I’ve also managed to obscure the worst of the fit and alignment crimes that I committed.
Turret also came out looking much better than I thought it would. The heavy coat of automotive primer I used has taken care of all my seams. There are still a few micro bubbles but you can only see them if you hold it upside down and know where to look.
And this is where things shall remain until the new year. I’ve think I’ve settled on Sand and Rust over OD for the colours, but I’ve got a brand new spray gun under yon Balsam Fir so I’m going to be patient and wait for that to get broken out before anymore paint goes on.