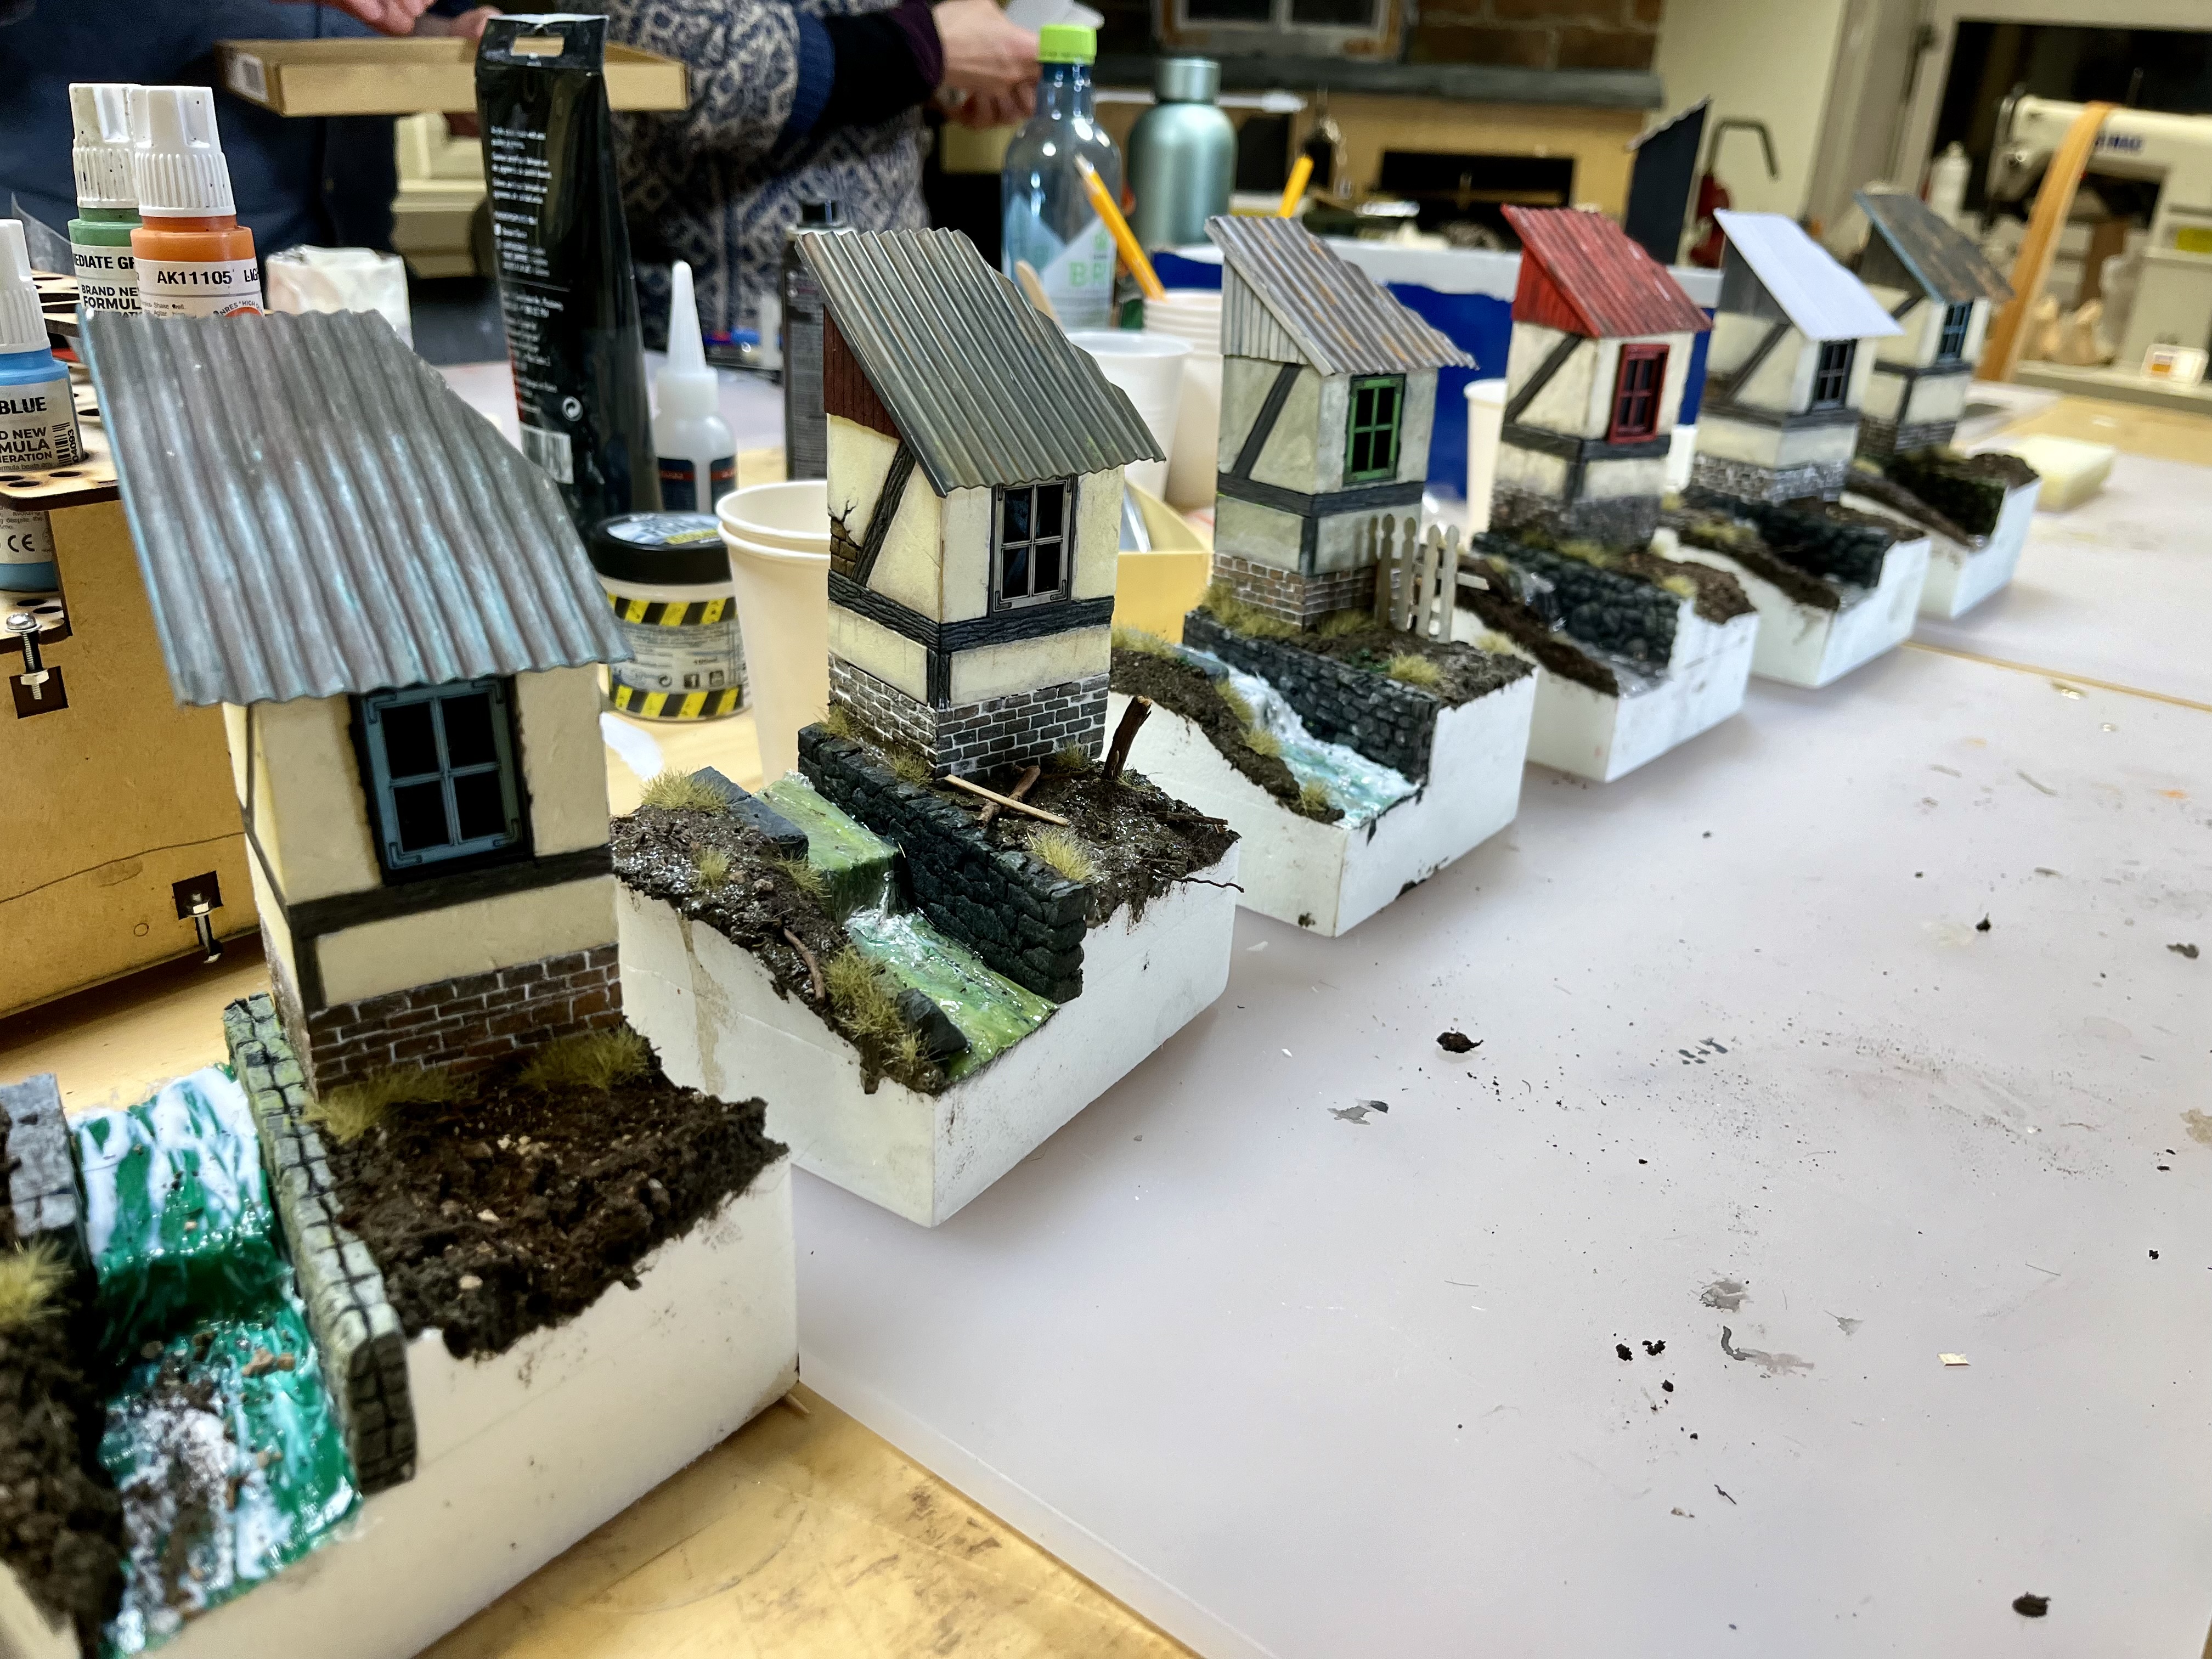
I was so lucky to attend a diorama course held by the very talented Per Olav Lund today. Learned a lot and had fun. This is how far I got in 8 hours. Everything from scratch.
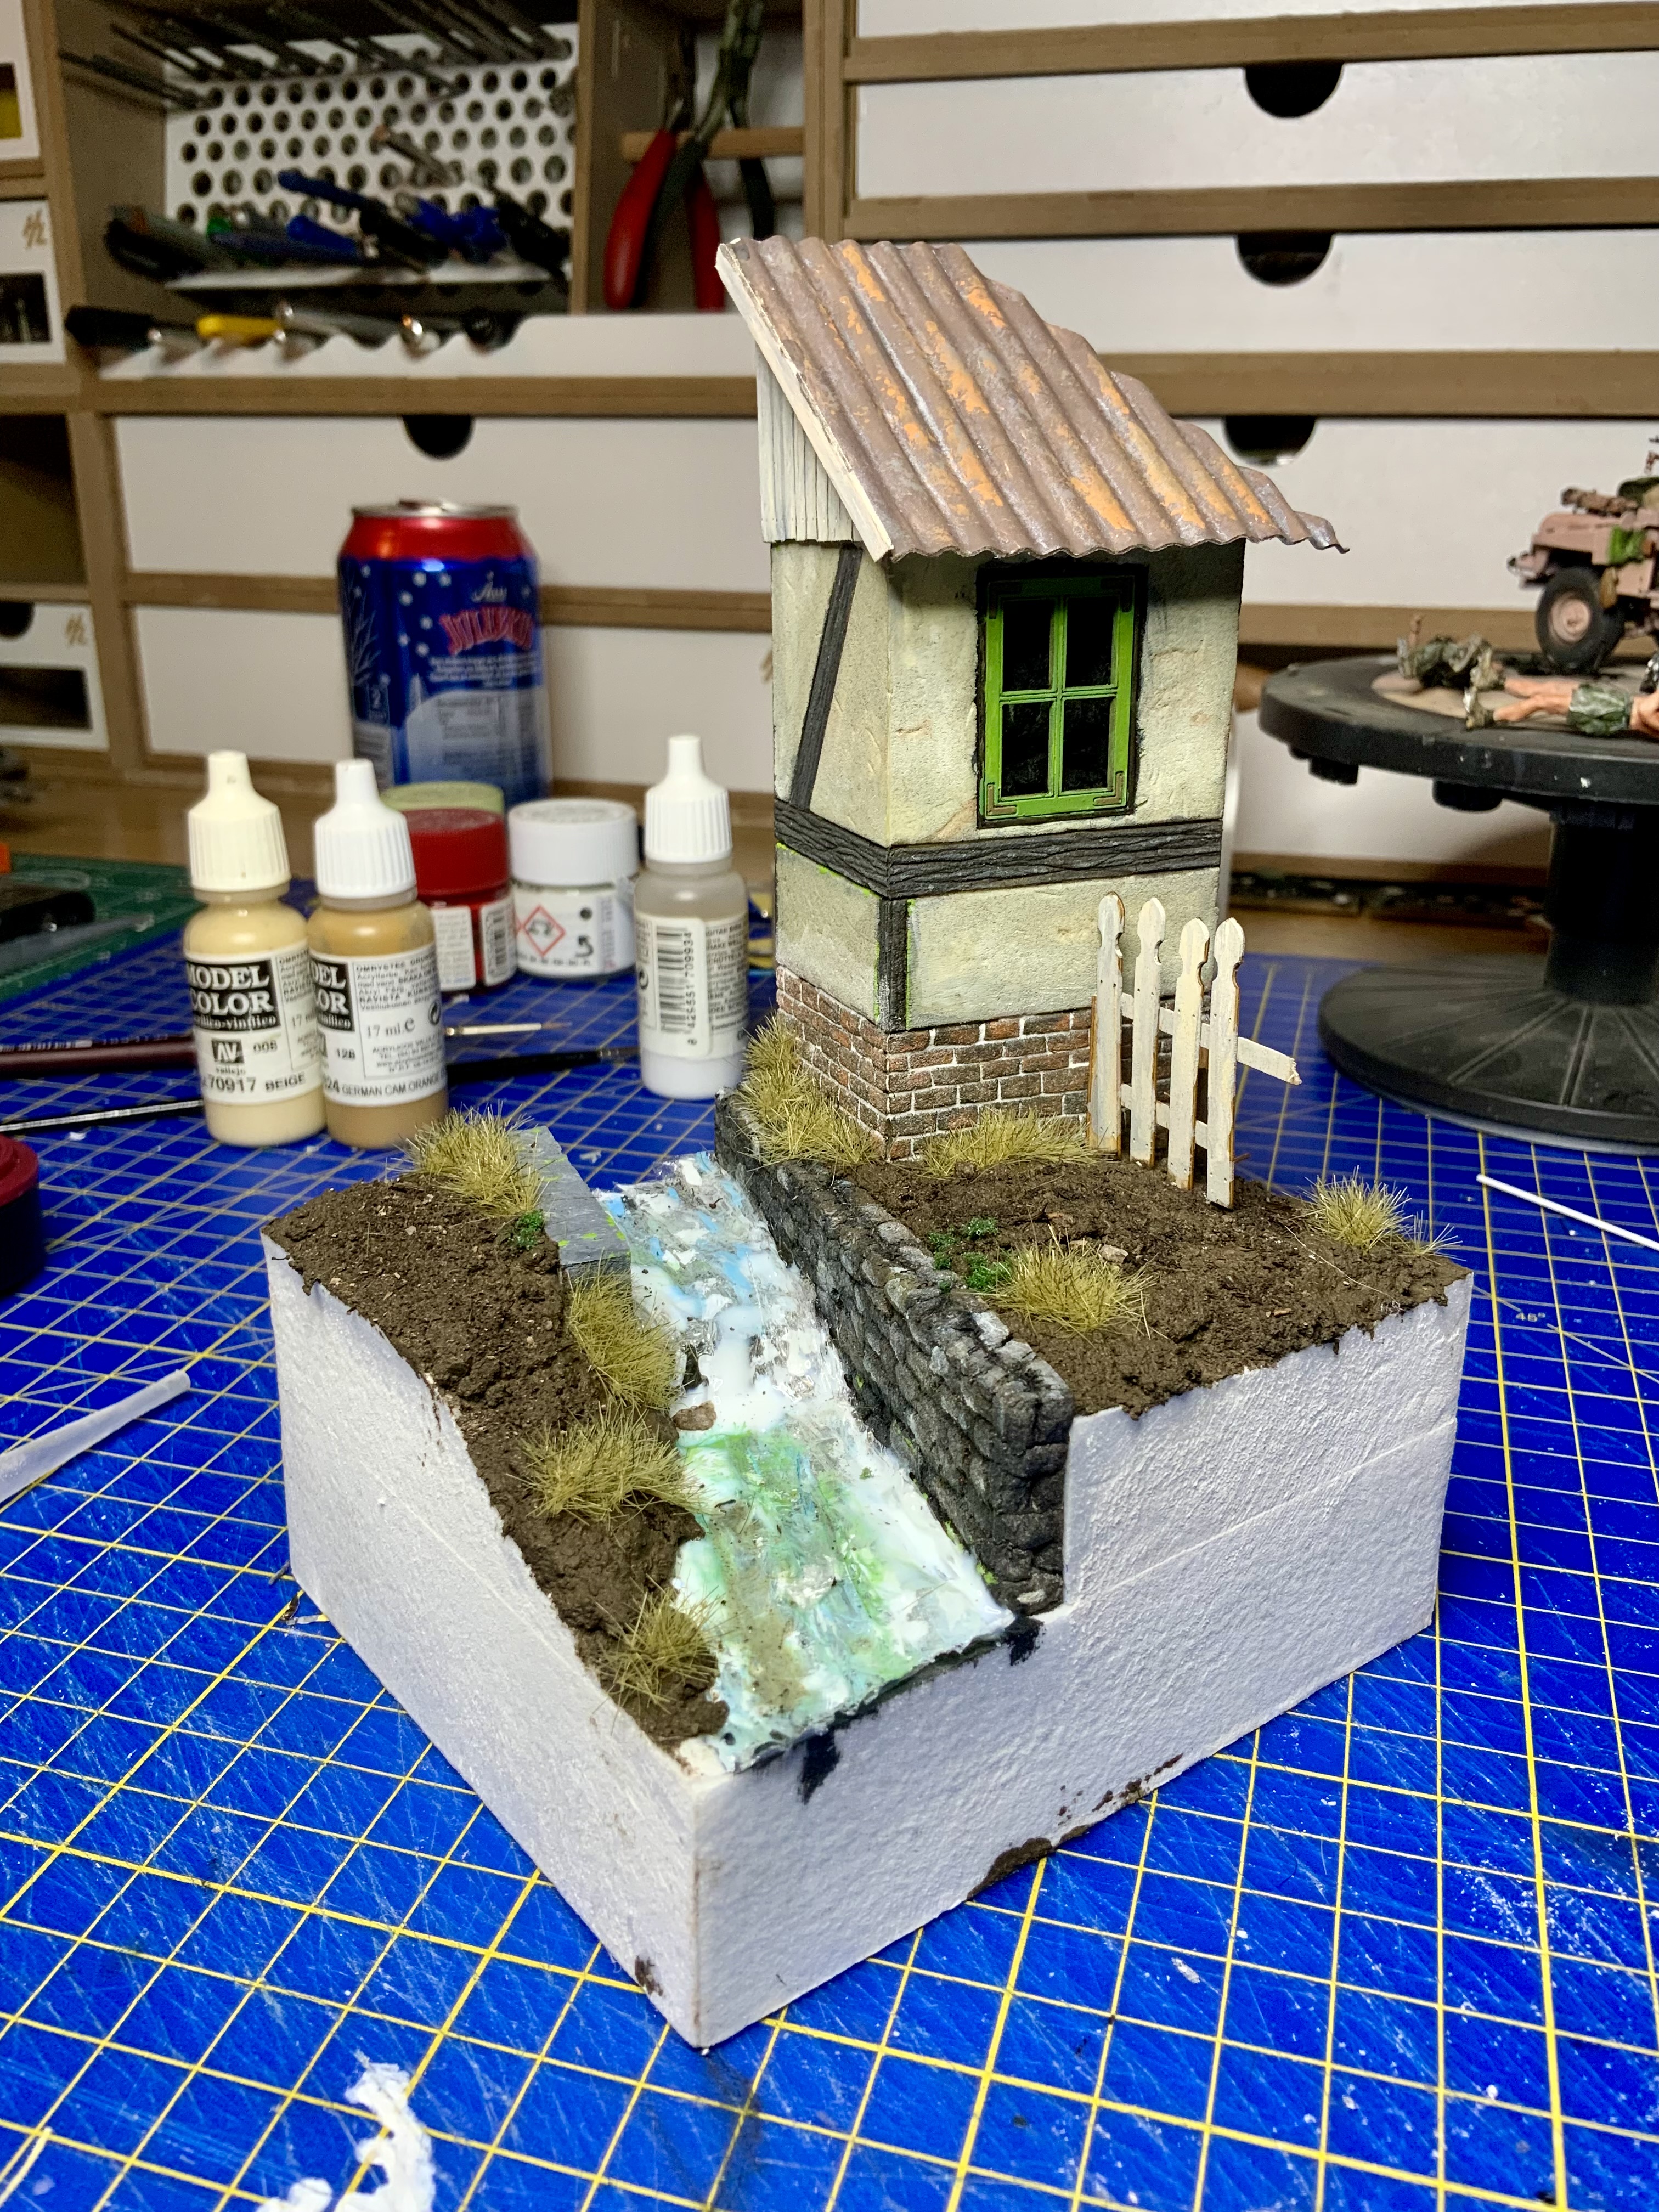
(Yeah yeah, I´m totalt aware of that the little stream needs more work)
I was so lucky to attend a diorama course held by the very talented Per Olav Lund today. Learned a lot and had fun. This is how far I got in 8 hours. Everything from scratch.
(Yeah yeah, I´m totalt aware of that the little stream needs more work)
Always nice to attend a class and see techniques first hand. Looks like a great start. ![]()
![]()
That looks really good Erik…well done ![]()
I’m impressed ! That’s a lot of good work done in ONLY 8 hours!
How did you make the fence? Those little details on the top are a nice touch!
Thanks for sharing!
I could do that in about 8 weeks and it will probably not looks as good.
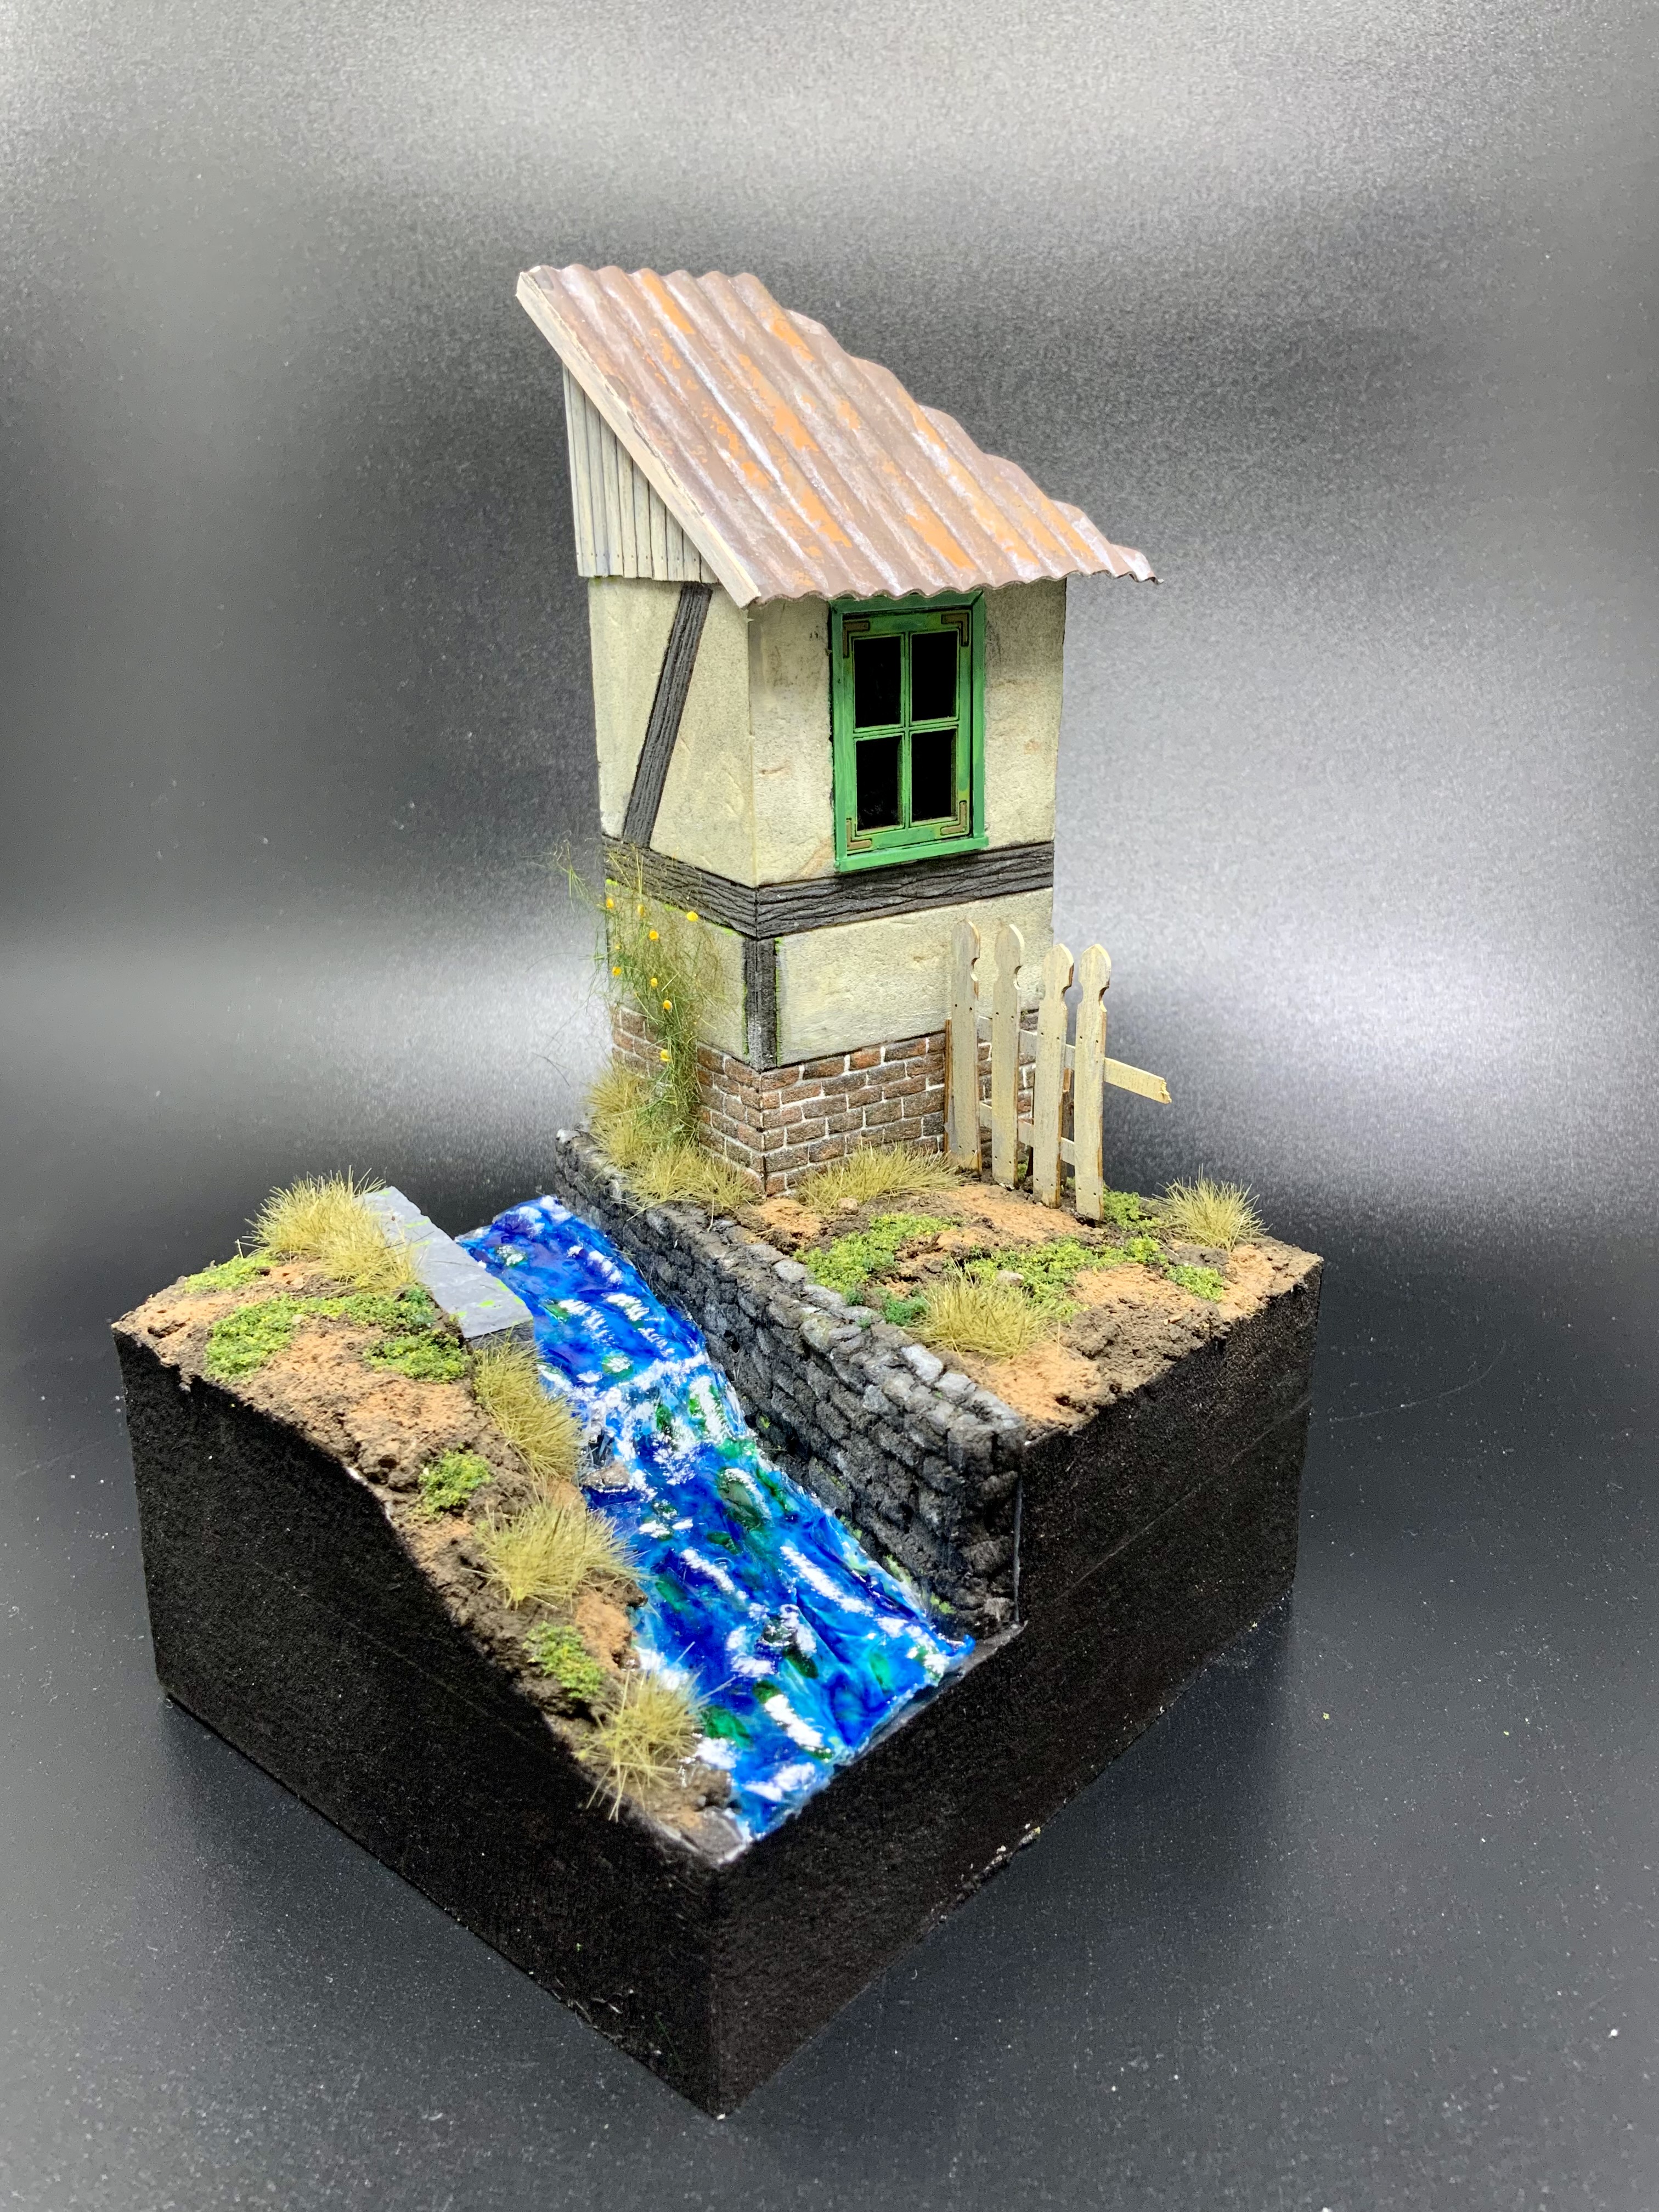
The fence is made by laser cut parts glued together. Took about a minute to make.
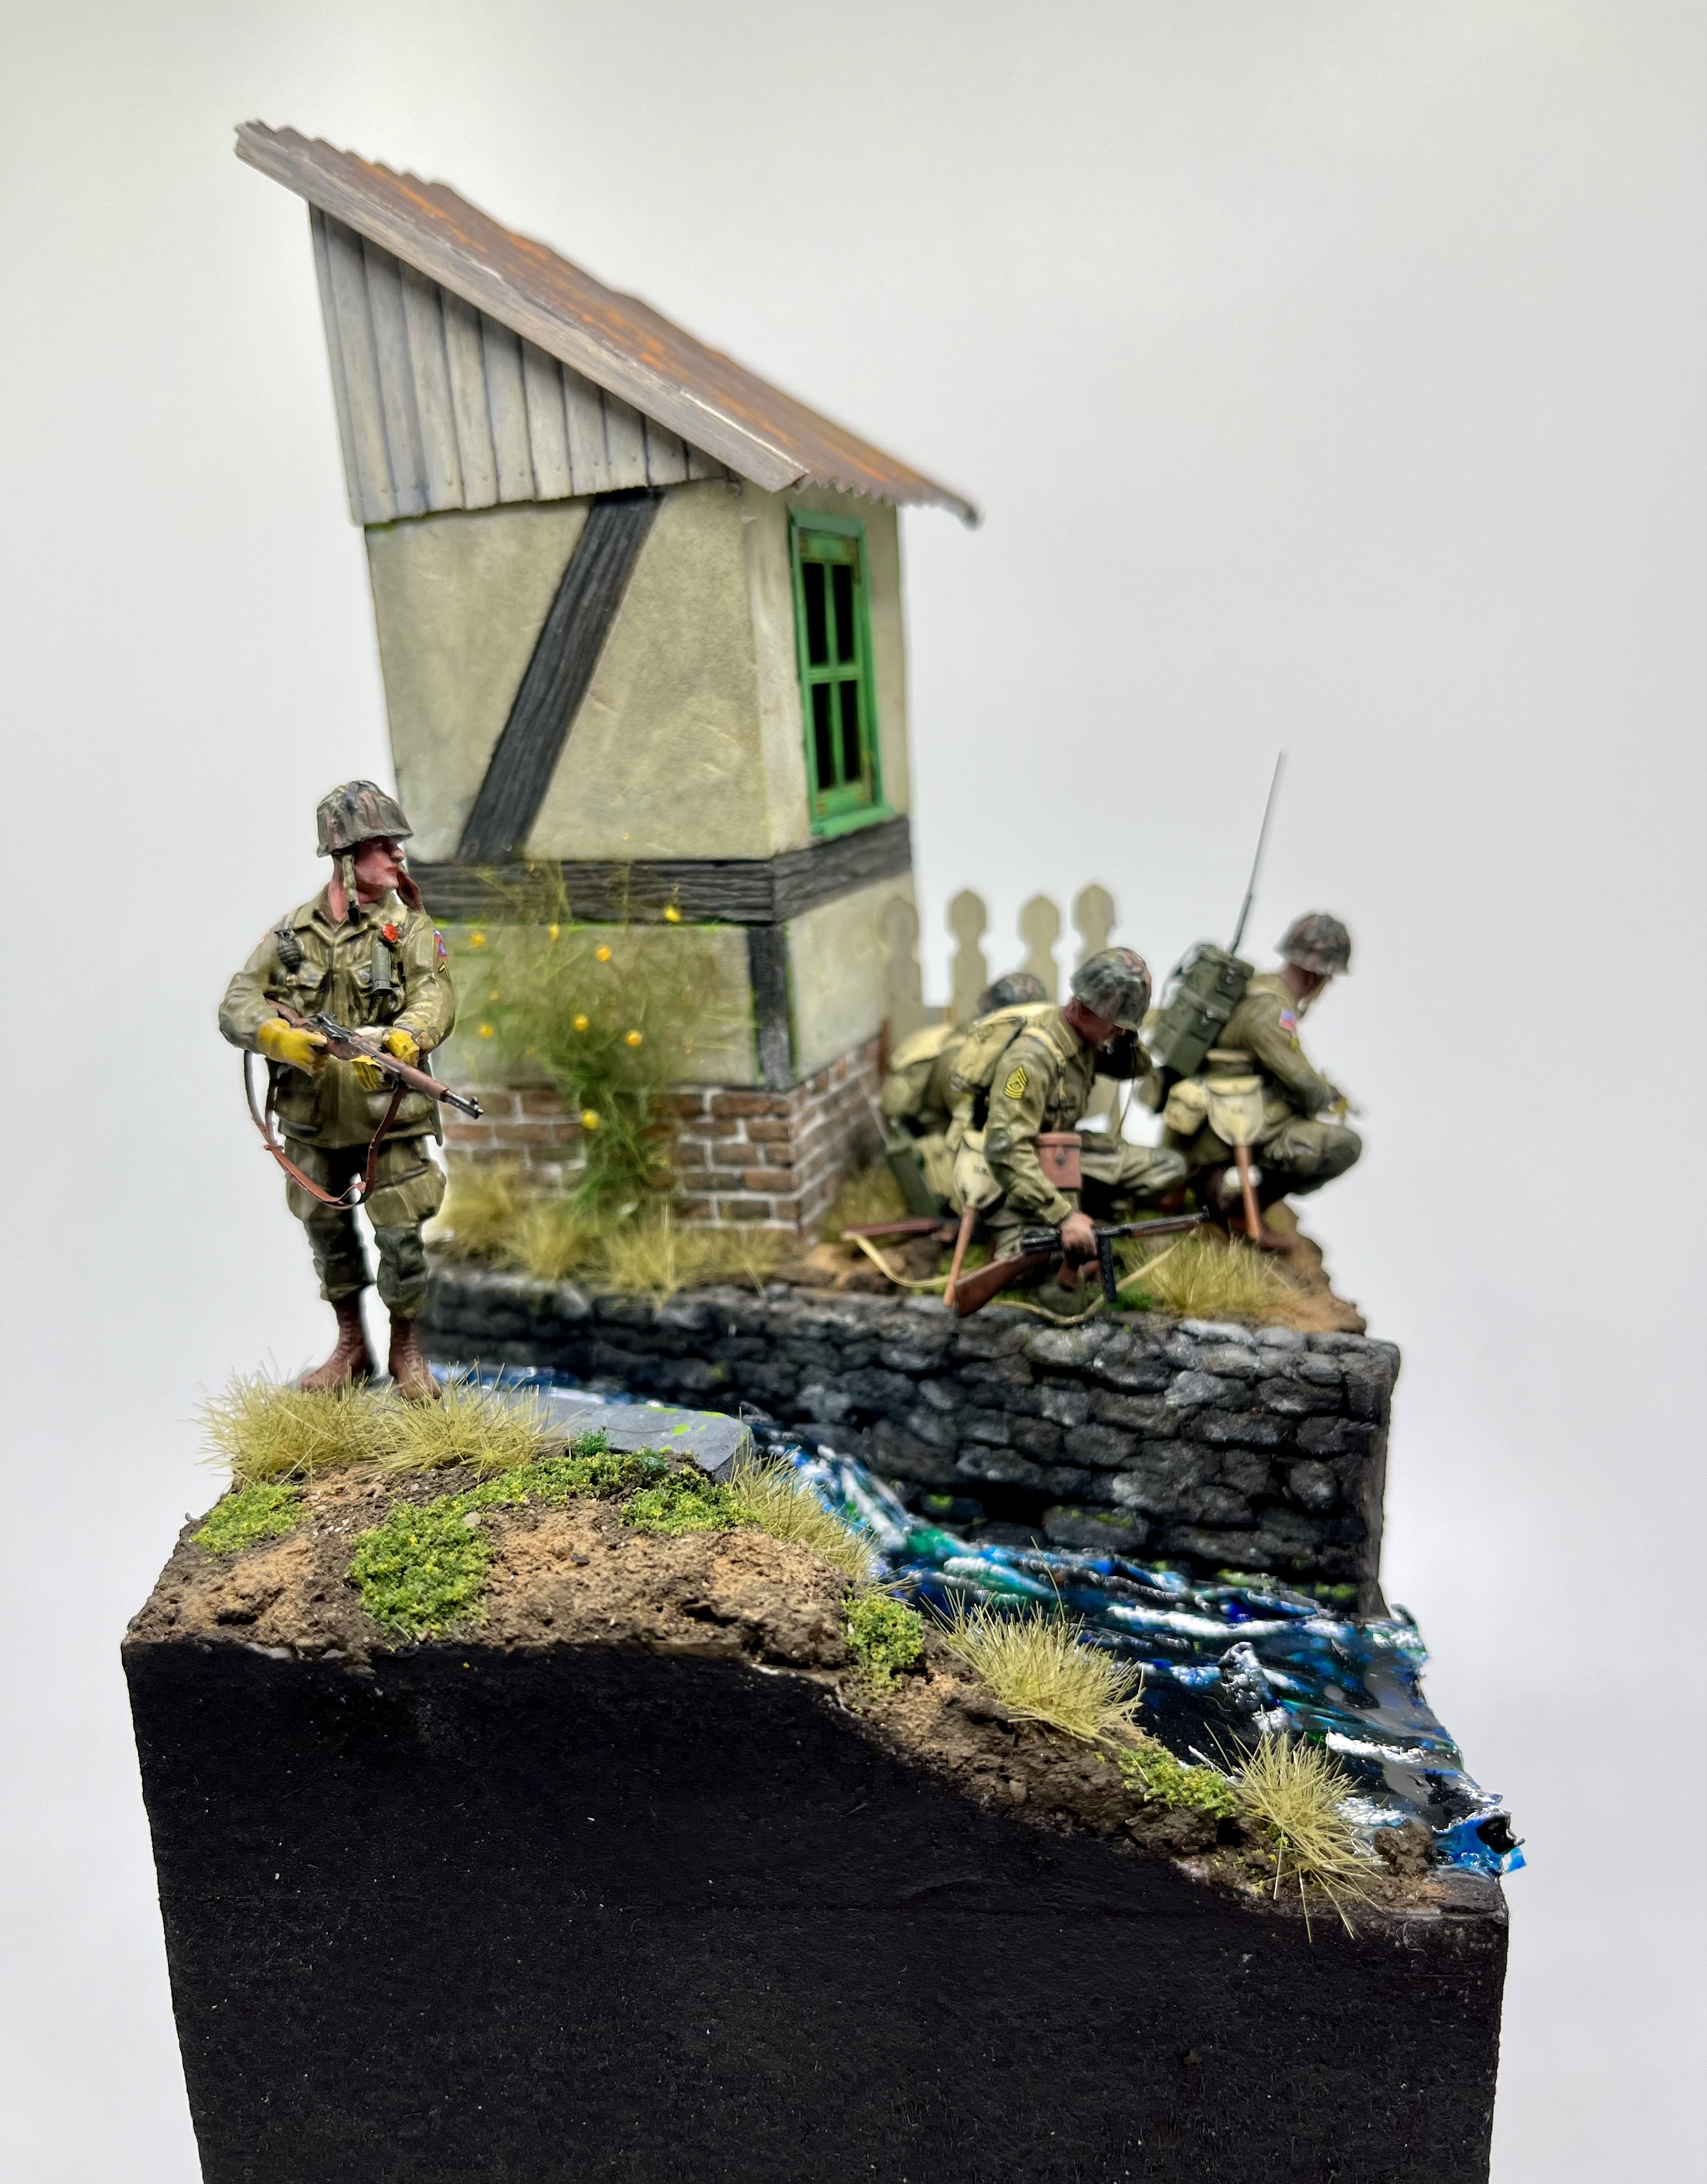
Well, I think you could have done it. It was surprisingly simple to do. We were six people participating with different skill sets and everybody did very well. The house (and base in general) is made of styrofoam insulation plates and we used AK paint and products. Tools were simple, a knive, a steel ruler, a cocktail stick, some cheap paint brushes, a spunge, a sharp pencil, a home made «stamp» to make depth in the stone walls and a small ball of aluminum foil to make structure in concrete walls. Window was laser cut. Roof is made of cardboard run through a tool from Green Stuff to simulate a corrugated tin roof.
Taking a class from the Master of dios would sure be an experience to remember. That is totally cool, they all look great.
I finished the house. Only thing missing is a couple of grumpy paratroopers. All in all the build took 9 hours. There are som small mistakes here, but the Main goal was the learning process.
Great job. ![]()
![]()
Nicely done Erik … This will be a great learning asset to further Dio’s that you do … worth the time and any money spent ![]()
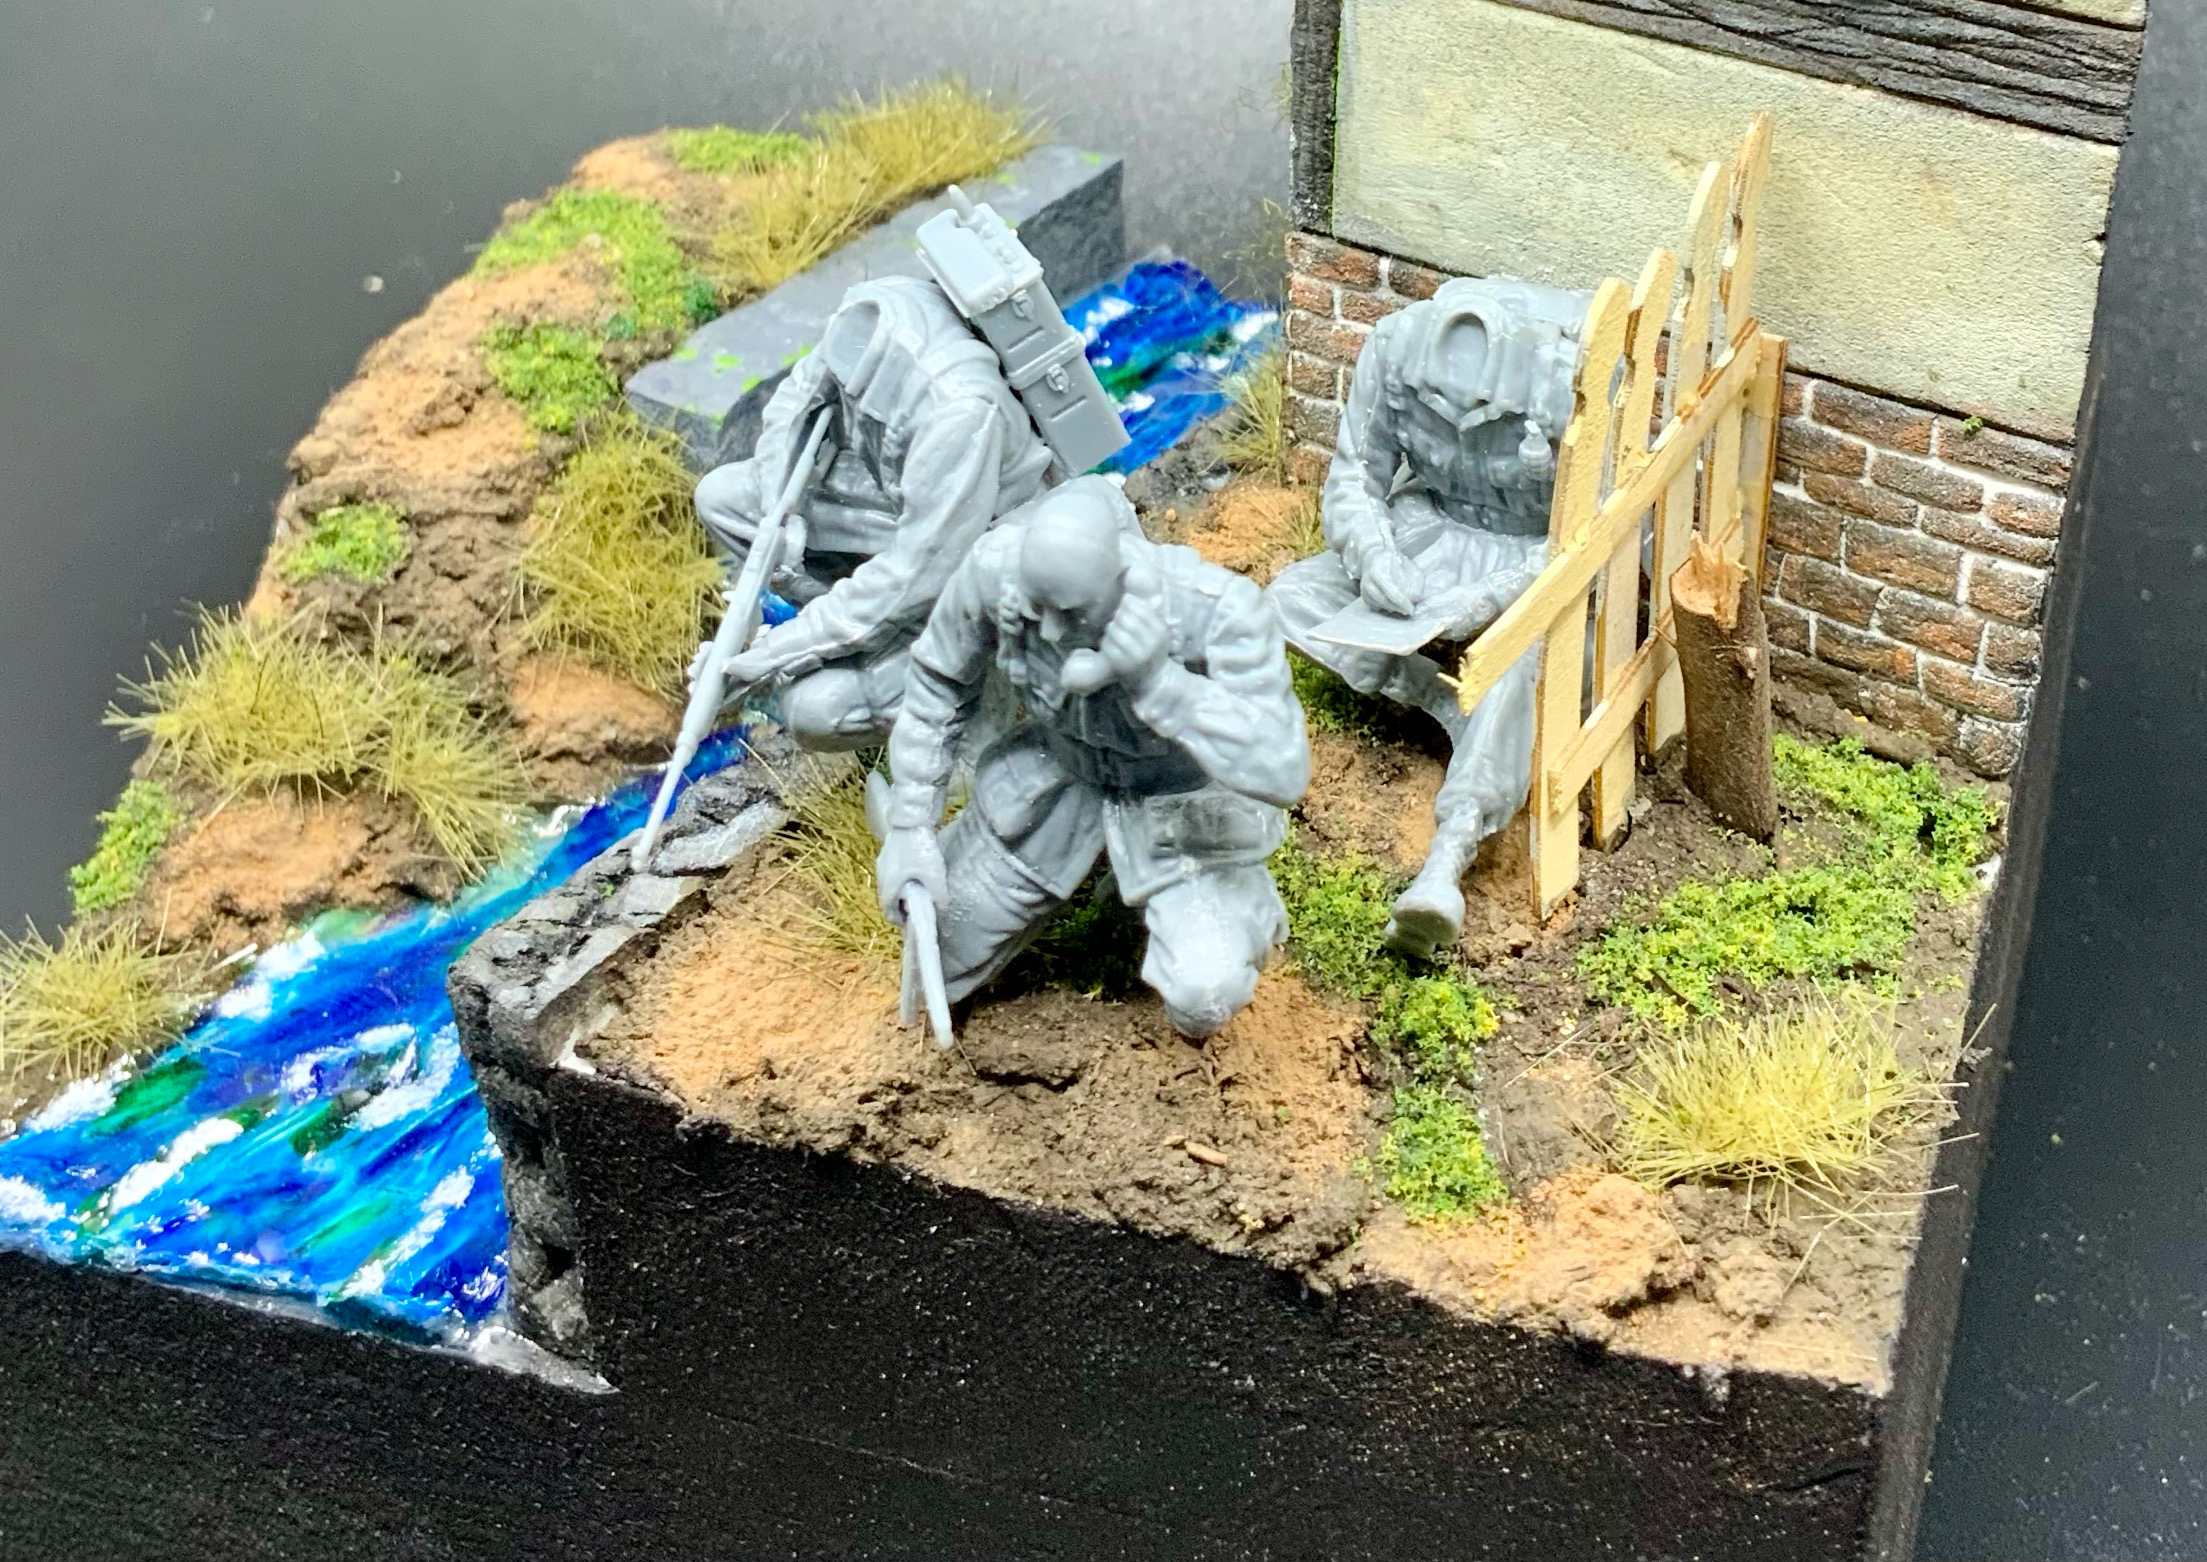
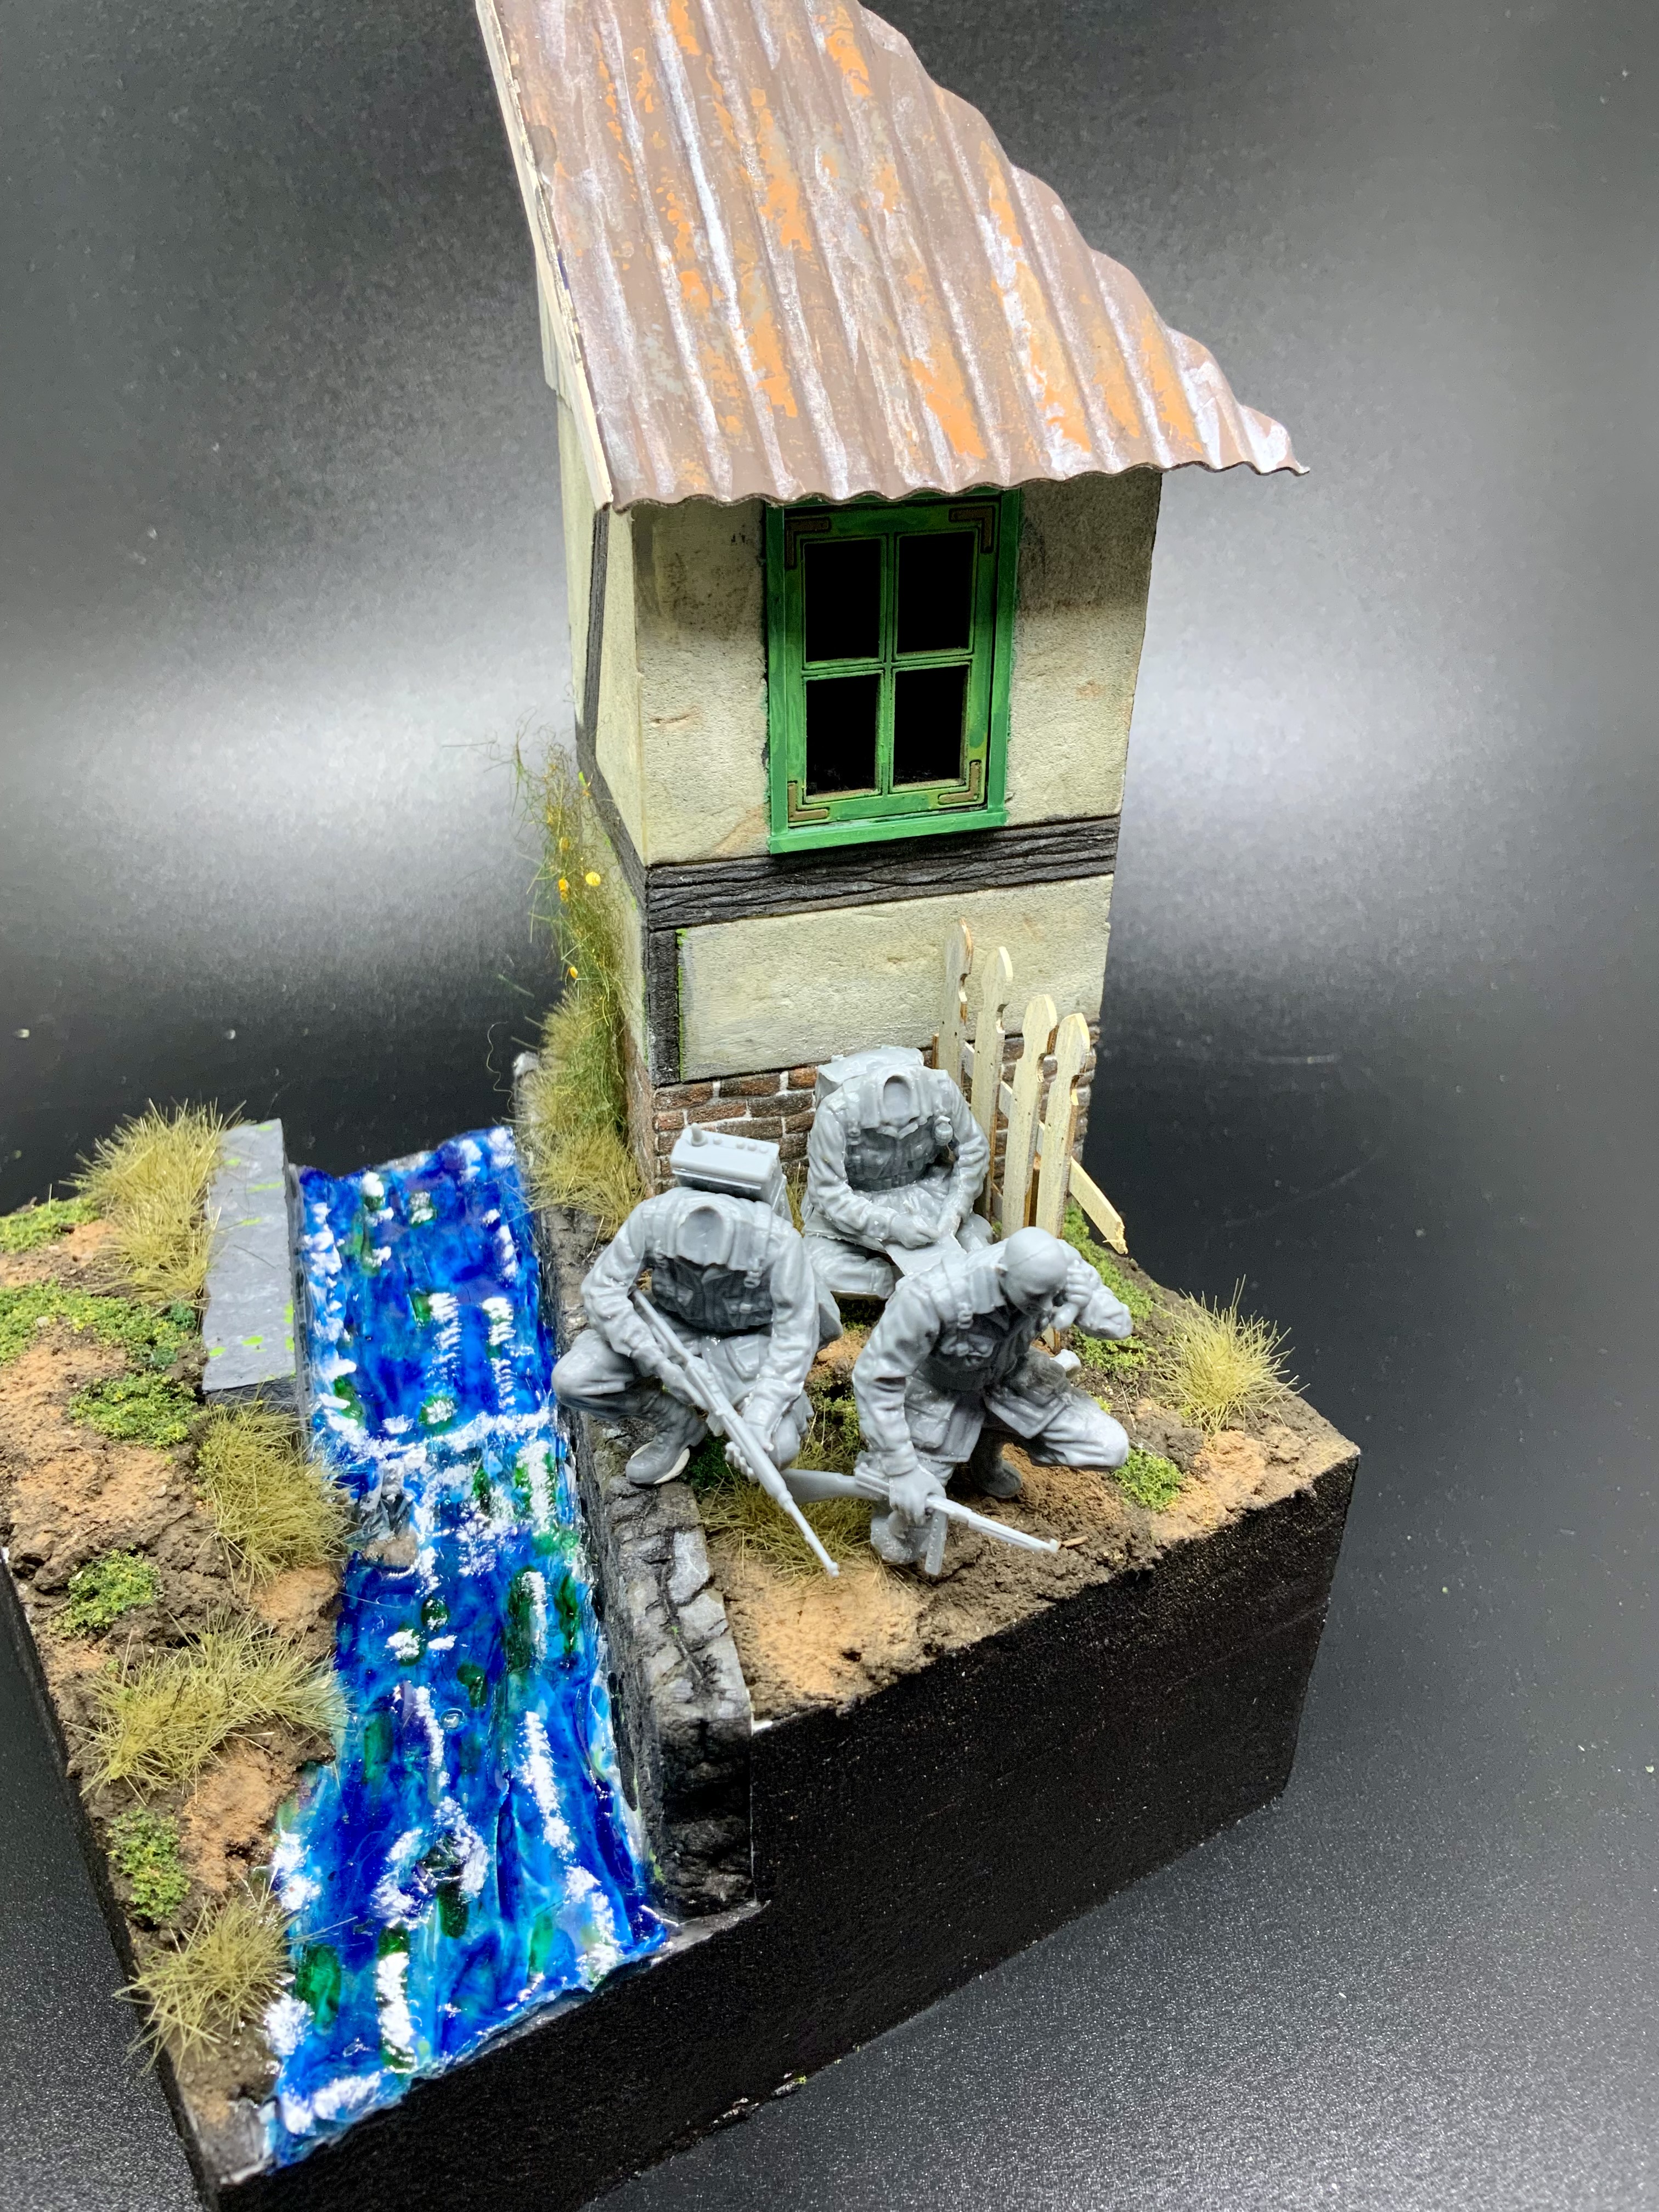
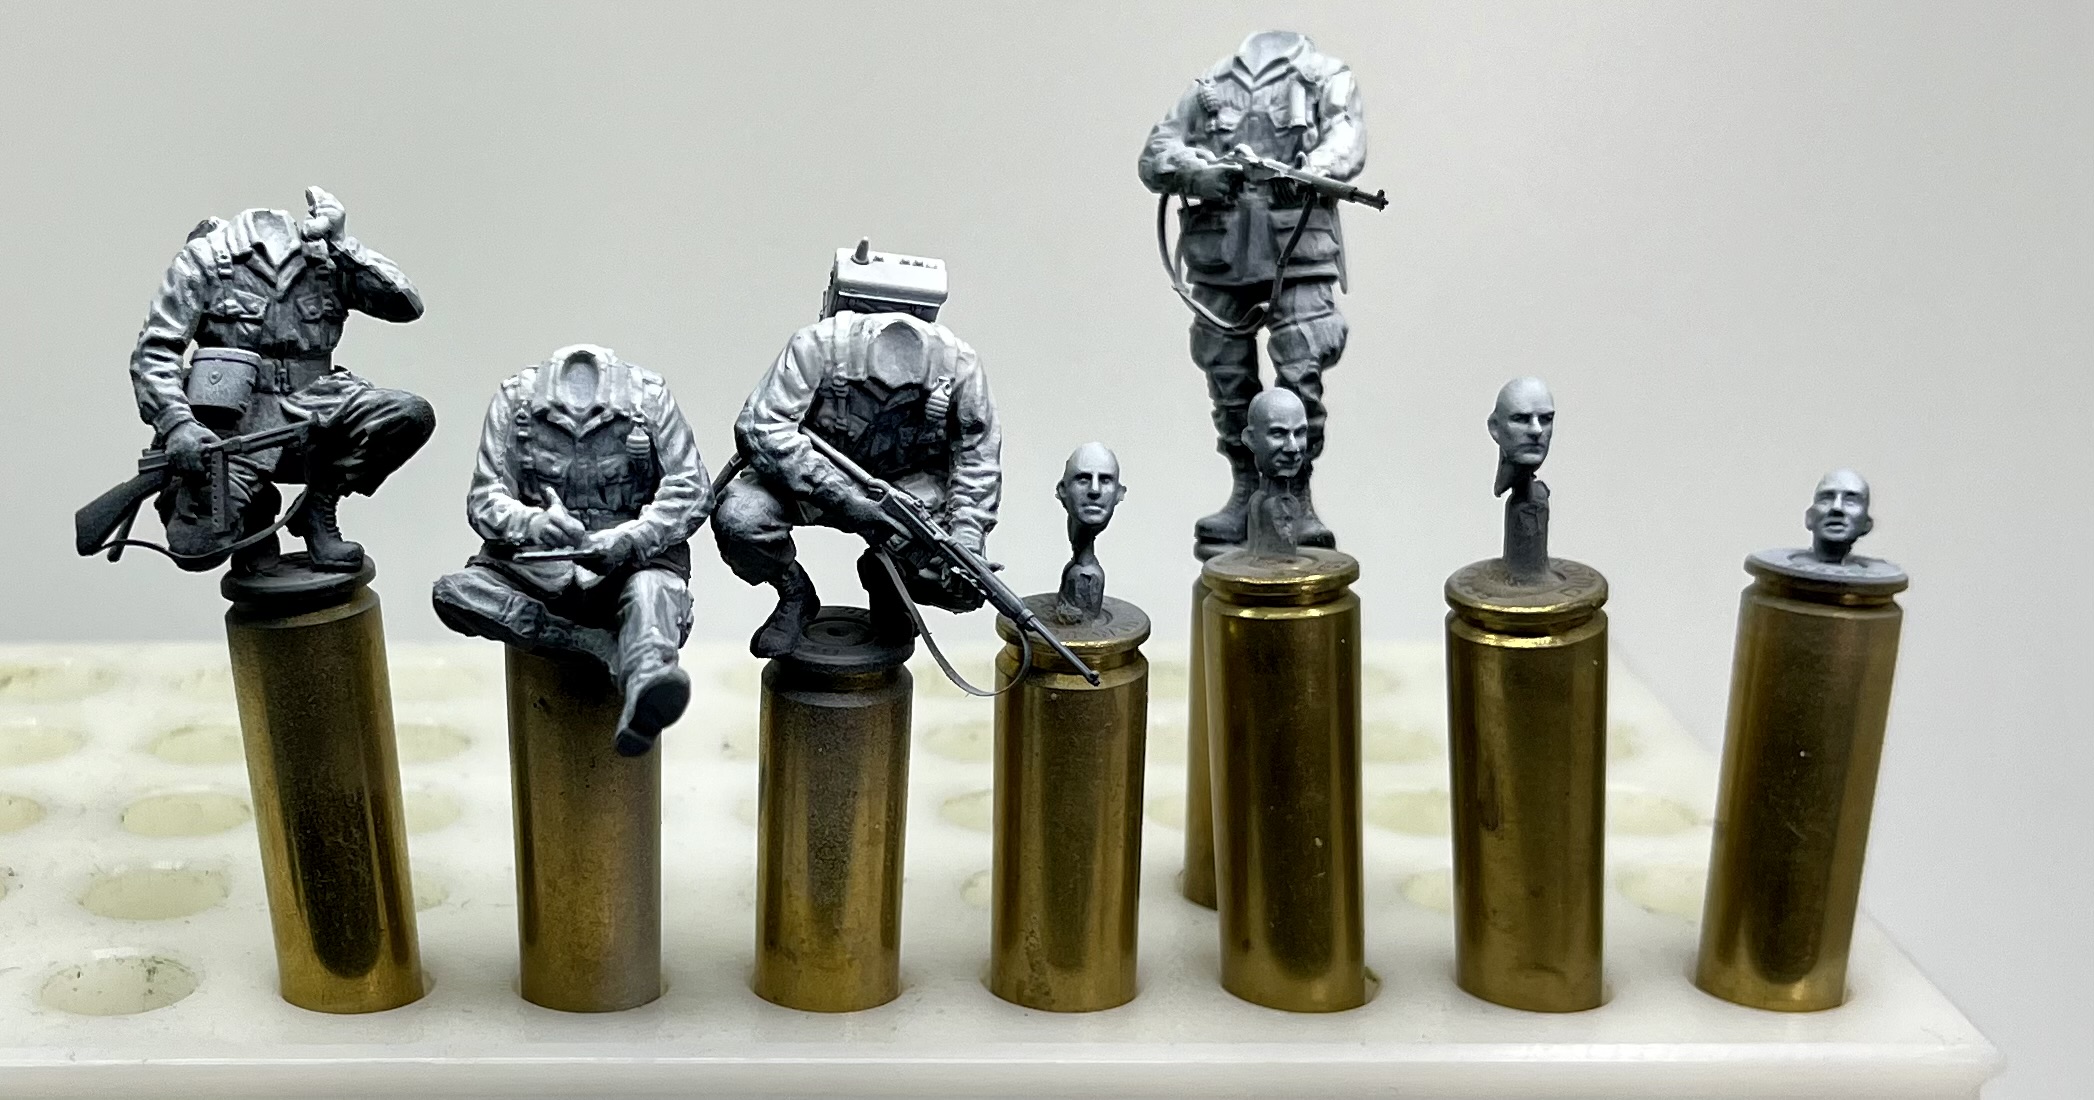
I started working on the figures. They are from Gecko Models and of very good quality for styrene figures. There is lot of options and equipment, but Gecko has messed up the instructions regarding the rifle man and one of the sub machine gunners. The mistake is rather obvious for anyone with some knowledge to the M1 Garand and the Thompson SMG… (They have switched the ammo pouches ![]() ) A very simple fix though. Otherwise the figures need a little bit of filler, but nothing big. I´m especially impressed how the figures hold their weapons. On many plastic figures the rifle often looks like it is floating in the hands of the individual. Gecko has solved this by «splitting» the hands into two. It makes it a bit more difficulty to paint, but I think the end result will look good. These figures are not recommended for beginners.
) A very simple fix though. Otherwise the figures need a little bit of filler, but nothing big. I´m especially impressed how the figures hold their weapons. On many plastic figures the rifle often looks like it is floating in the hands of the individual. Gecko has solved this by «splitting» the hands into two. It makes it a bit more difficulty to paint, but I think the end result will look good. These figures are not recommended for beginners.
I guess I will switch places for the two guys operating the radio…
This is the kit I´m using
Very nice composition! ![]()
—mike
It’s looking good - just tone down the blue in that water (unless it’s just the way the image came out). Loving the idea of a diorama course!
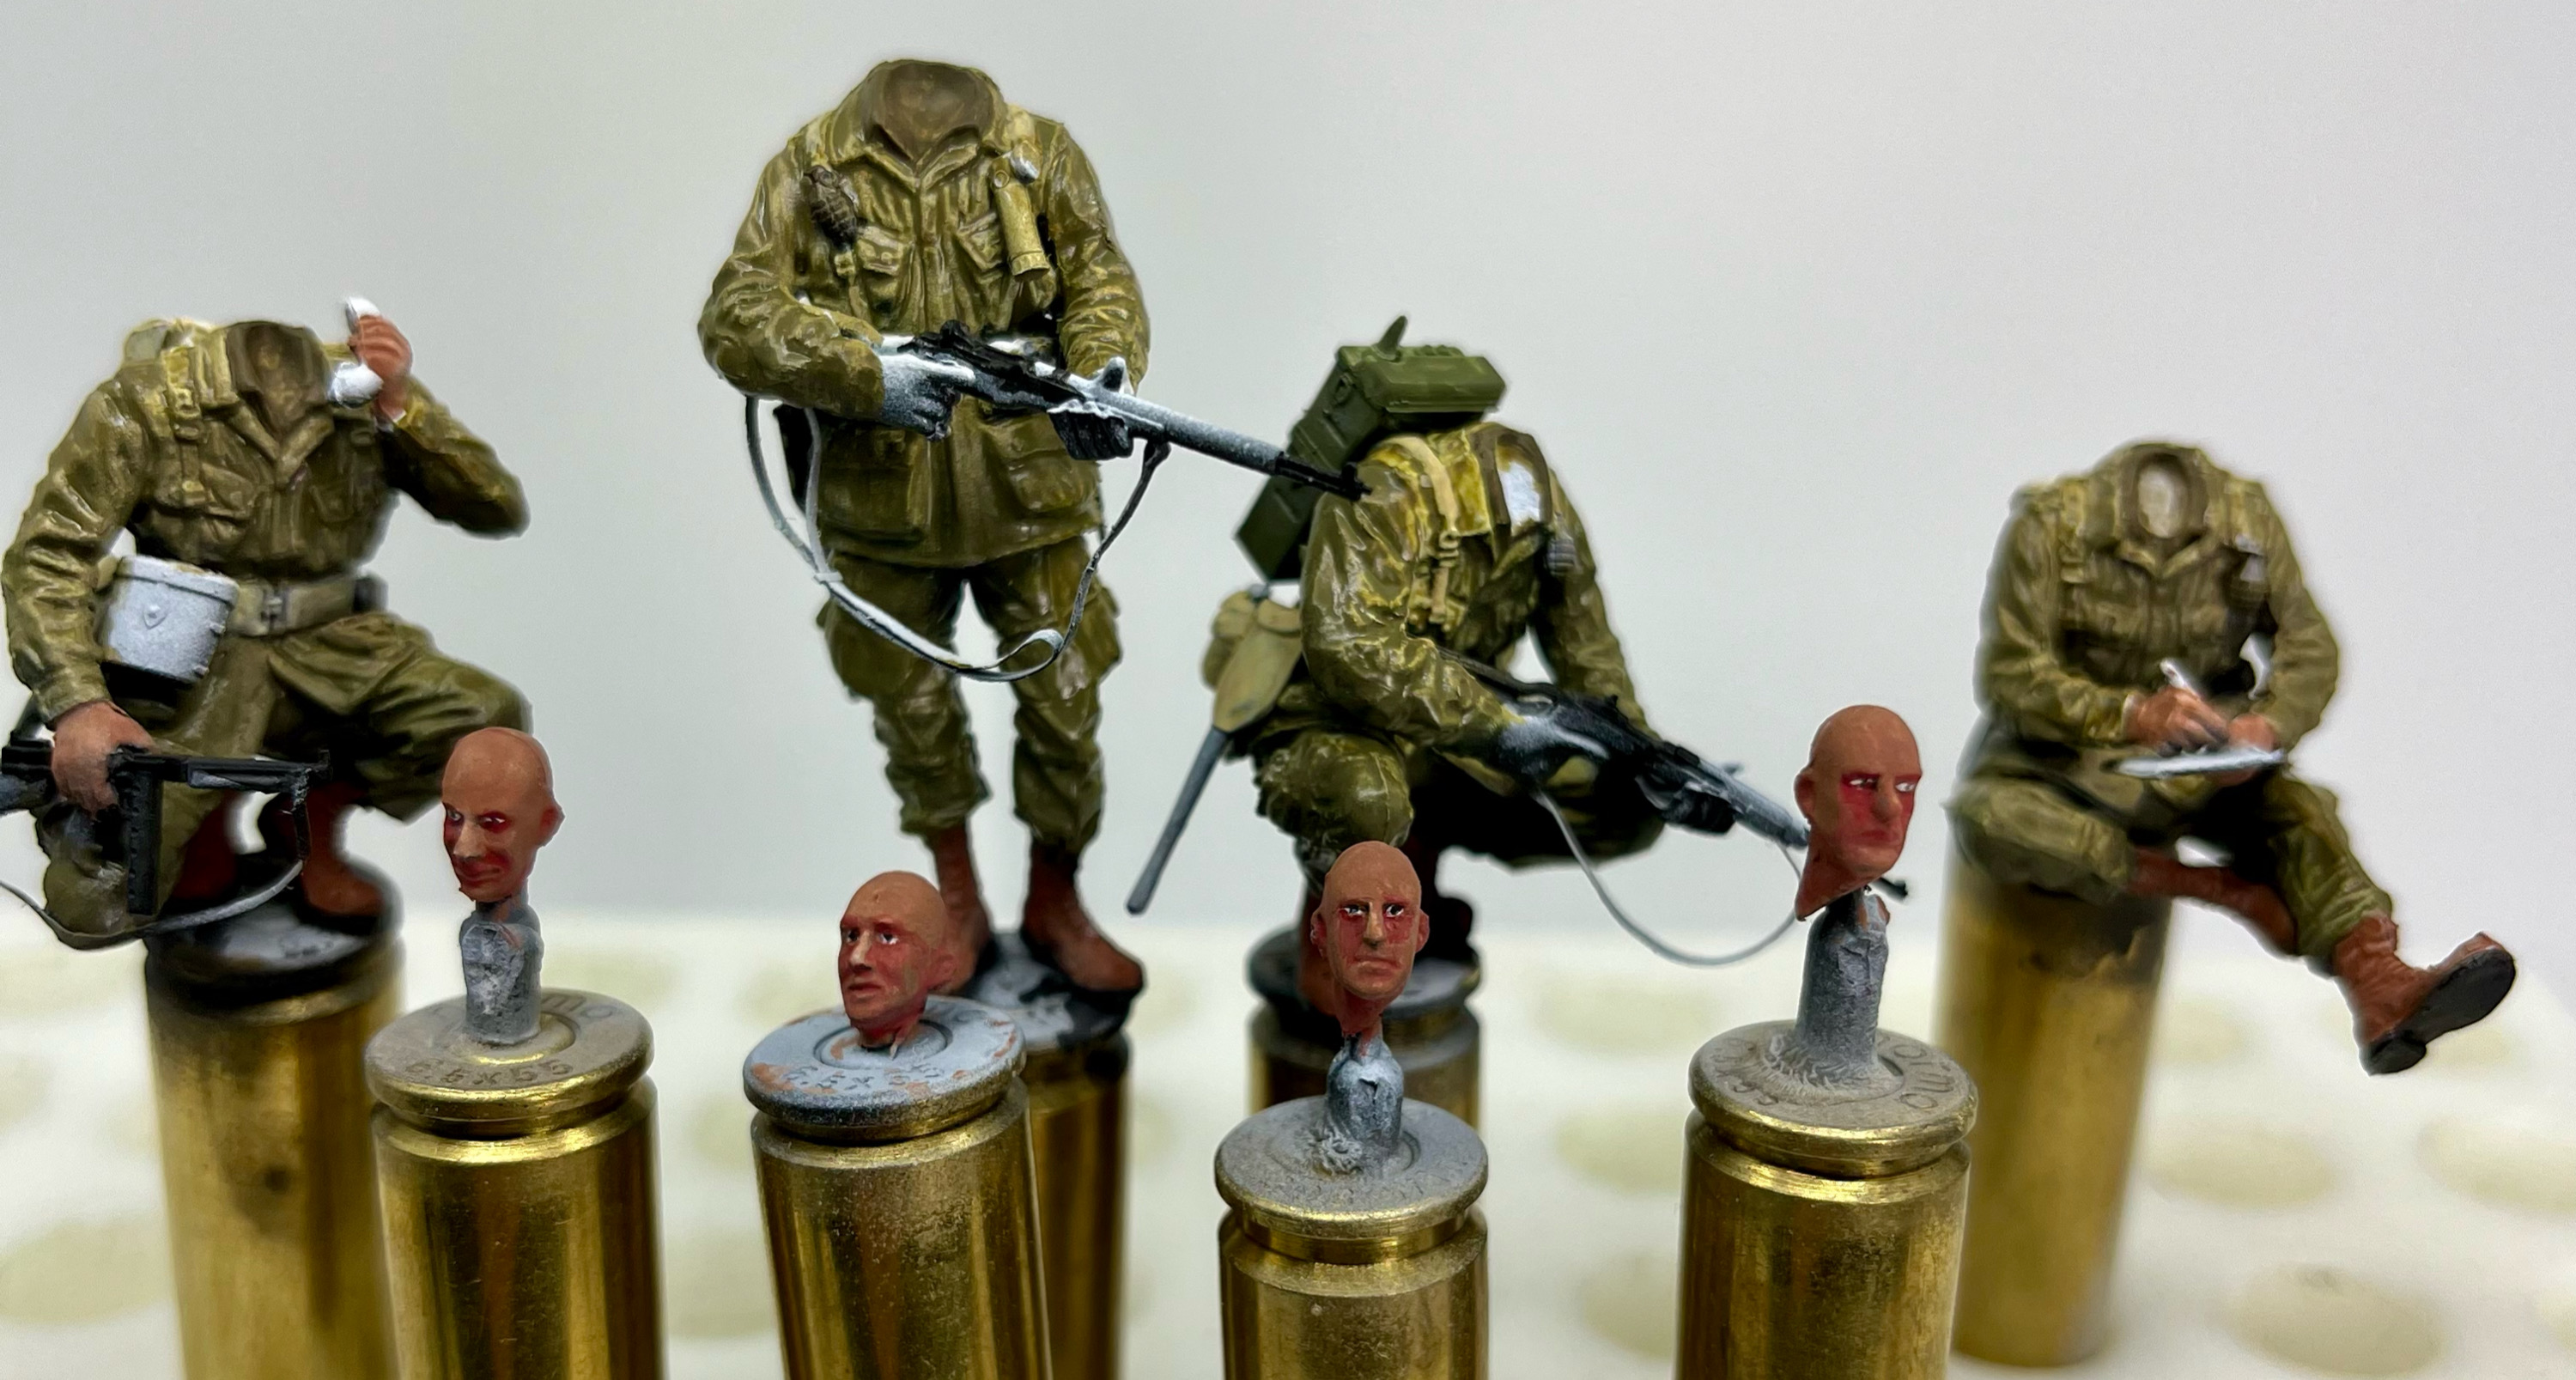
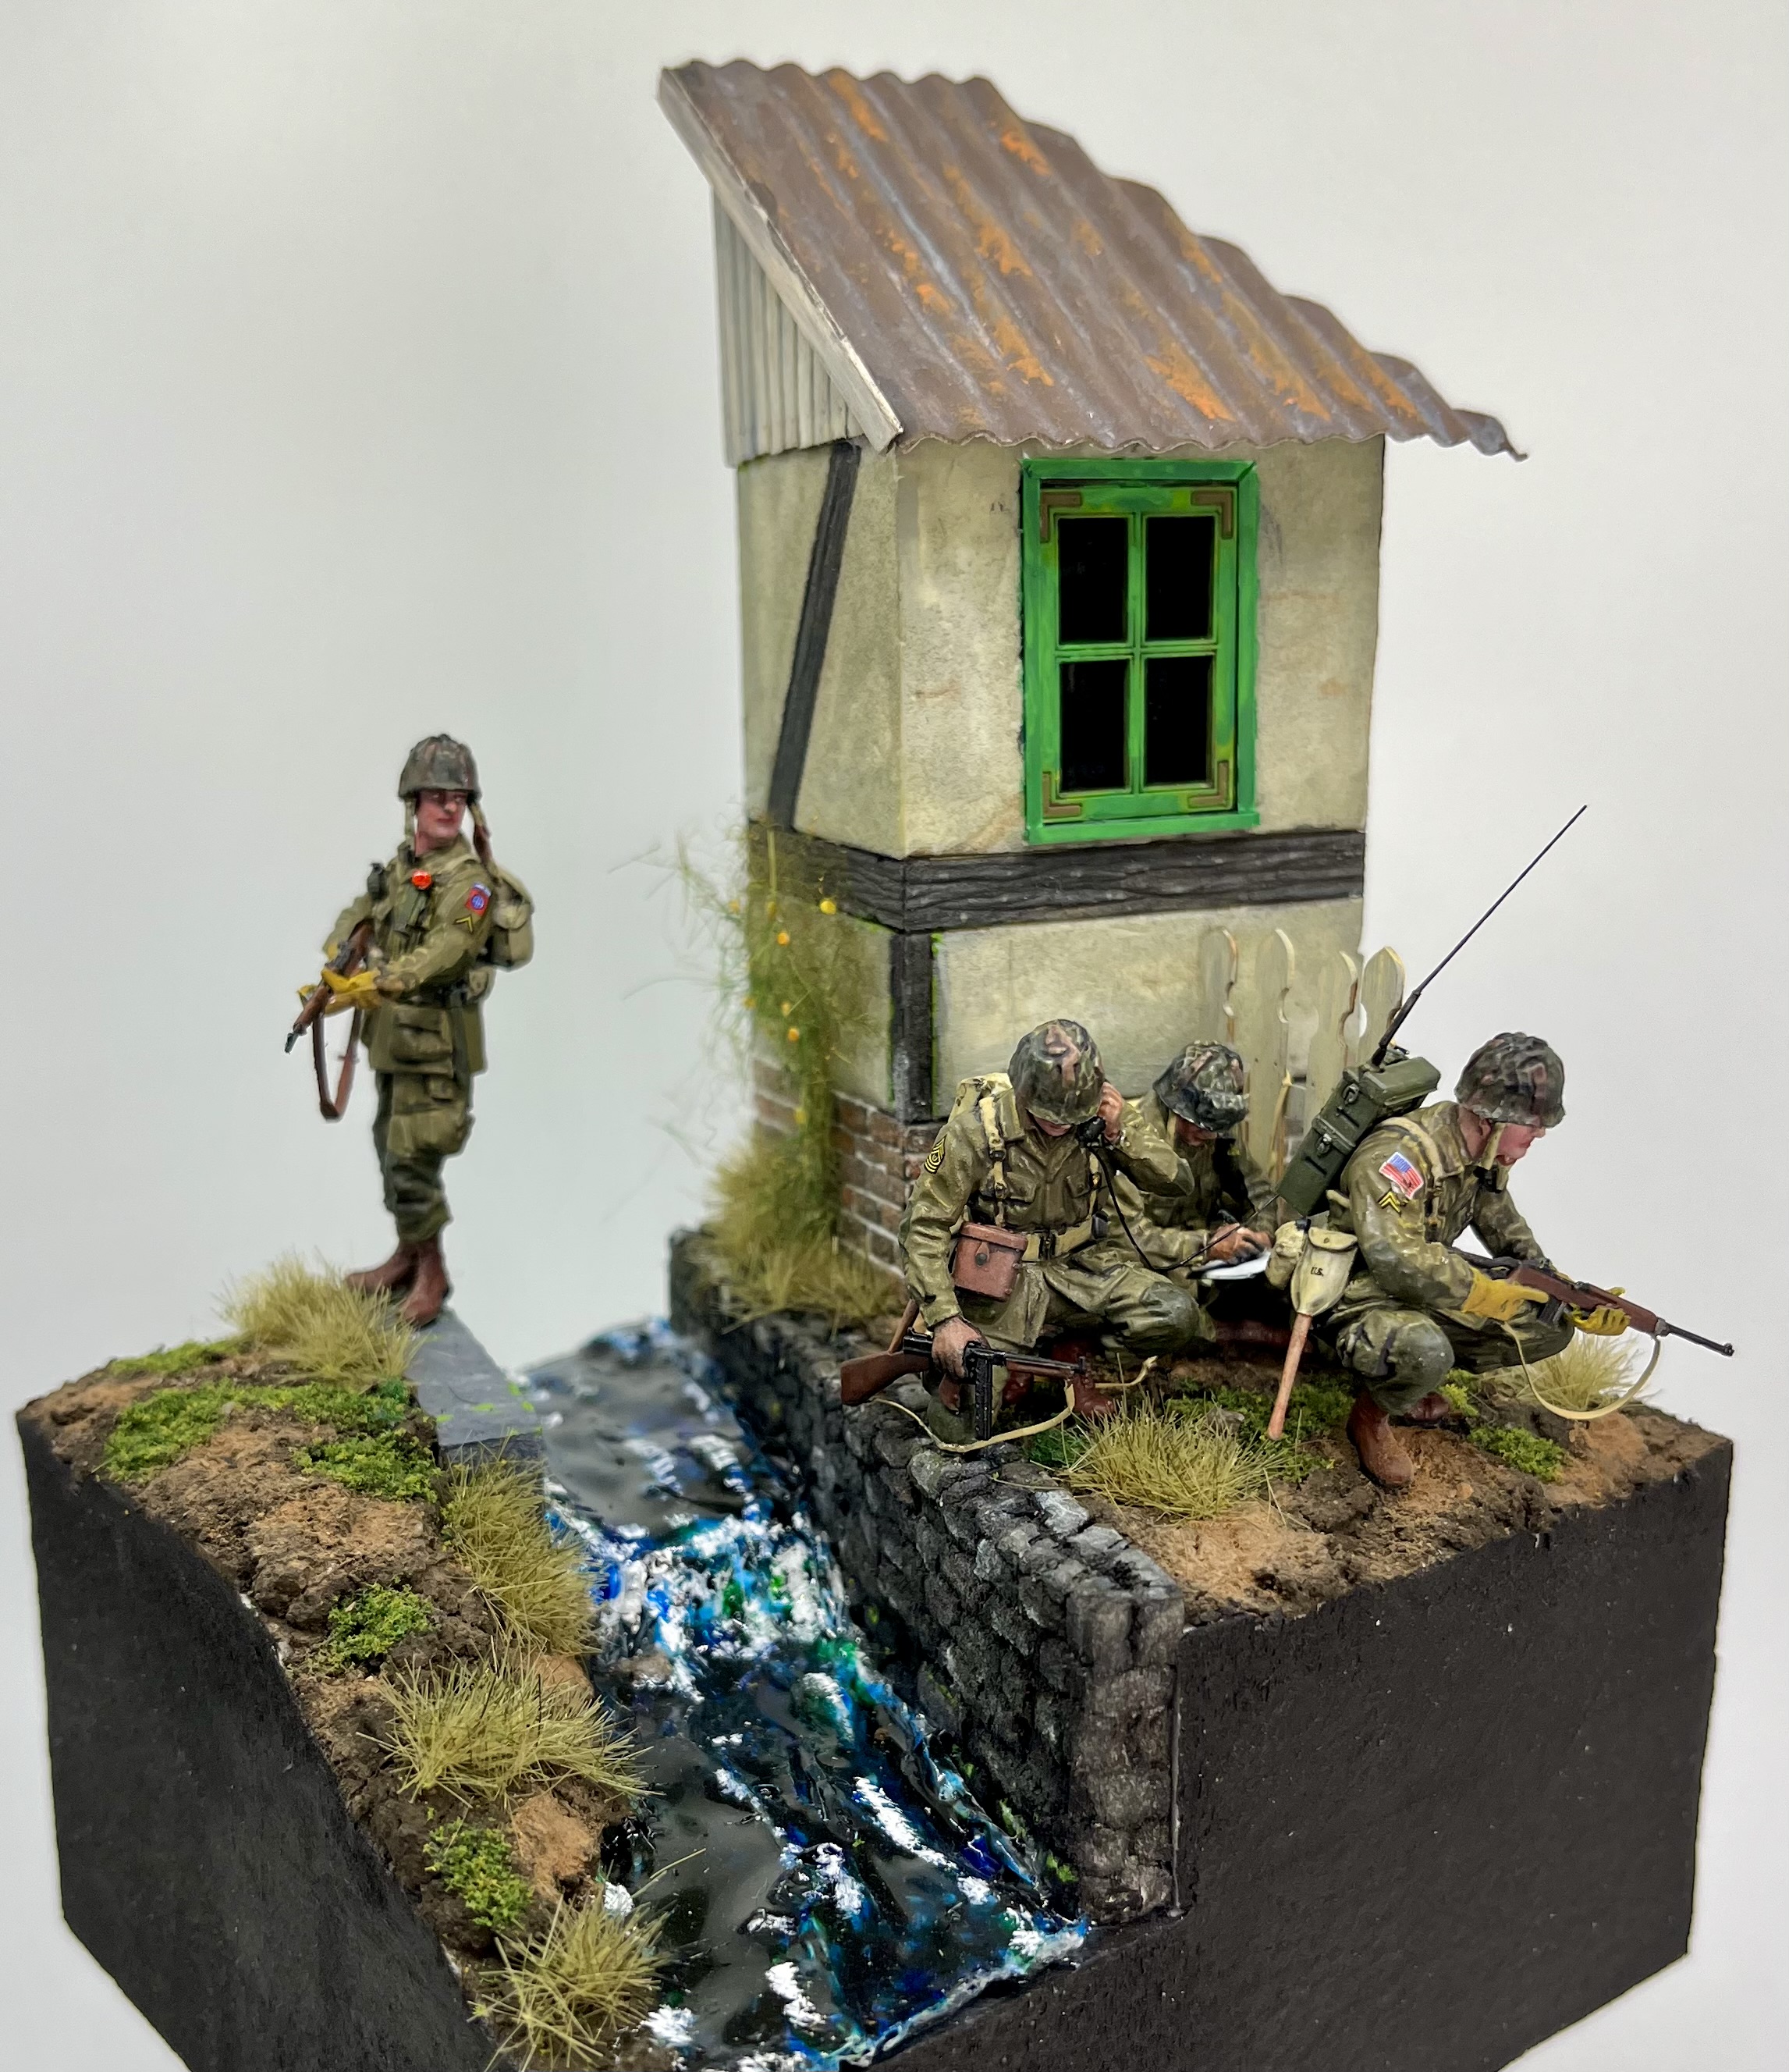
Had the time to do some painting this afternoon/evening. I´m not a very good figure painter, but I really enjoy it. Here they are in their current state. So far I like the way this is going, but there is still much to do. These guys are painted with Mig, Vallejo and AK paints.
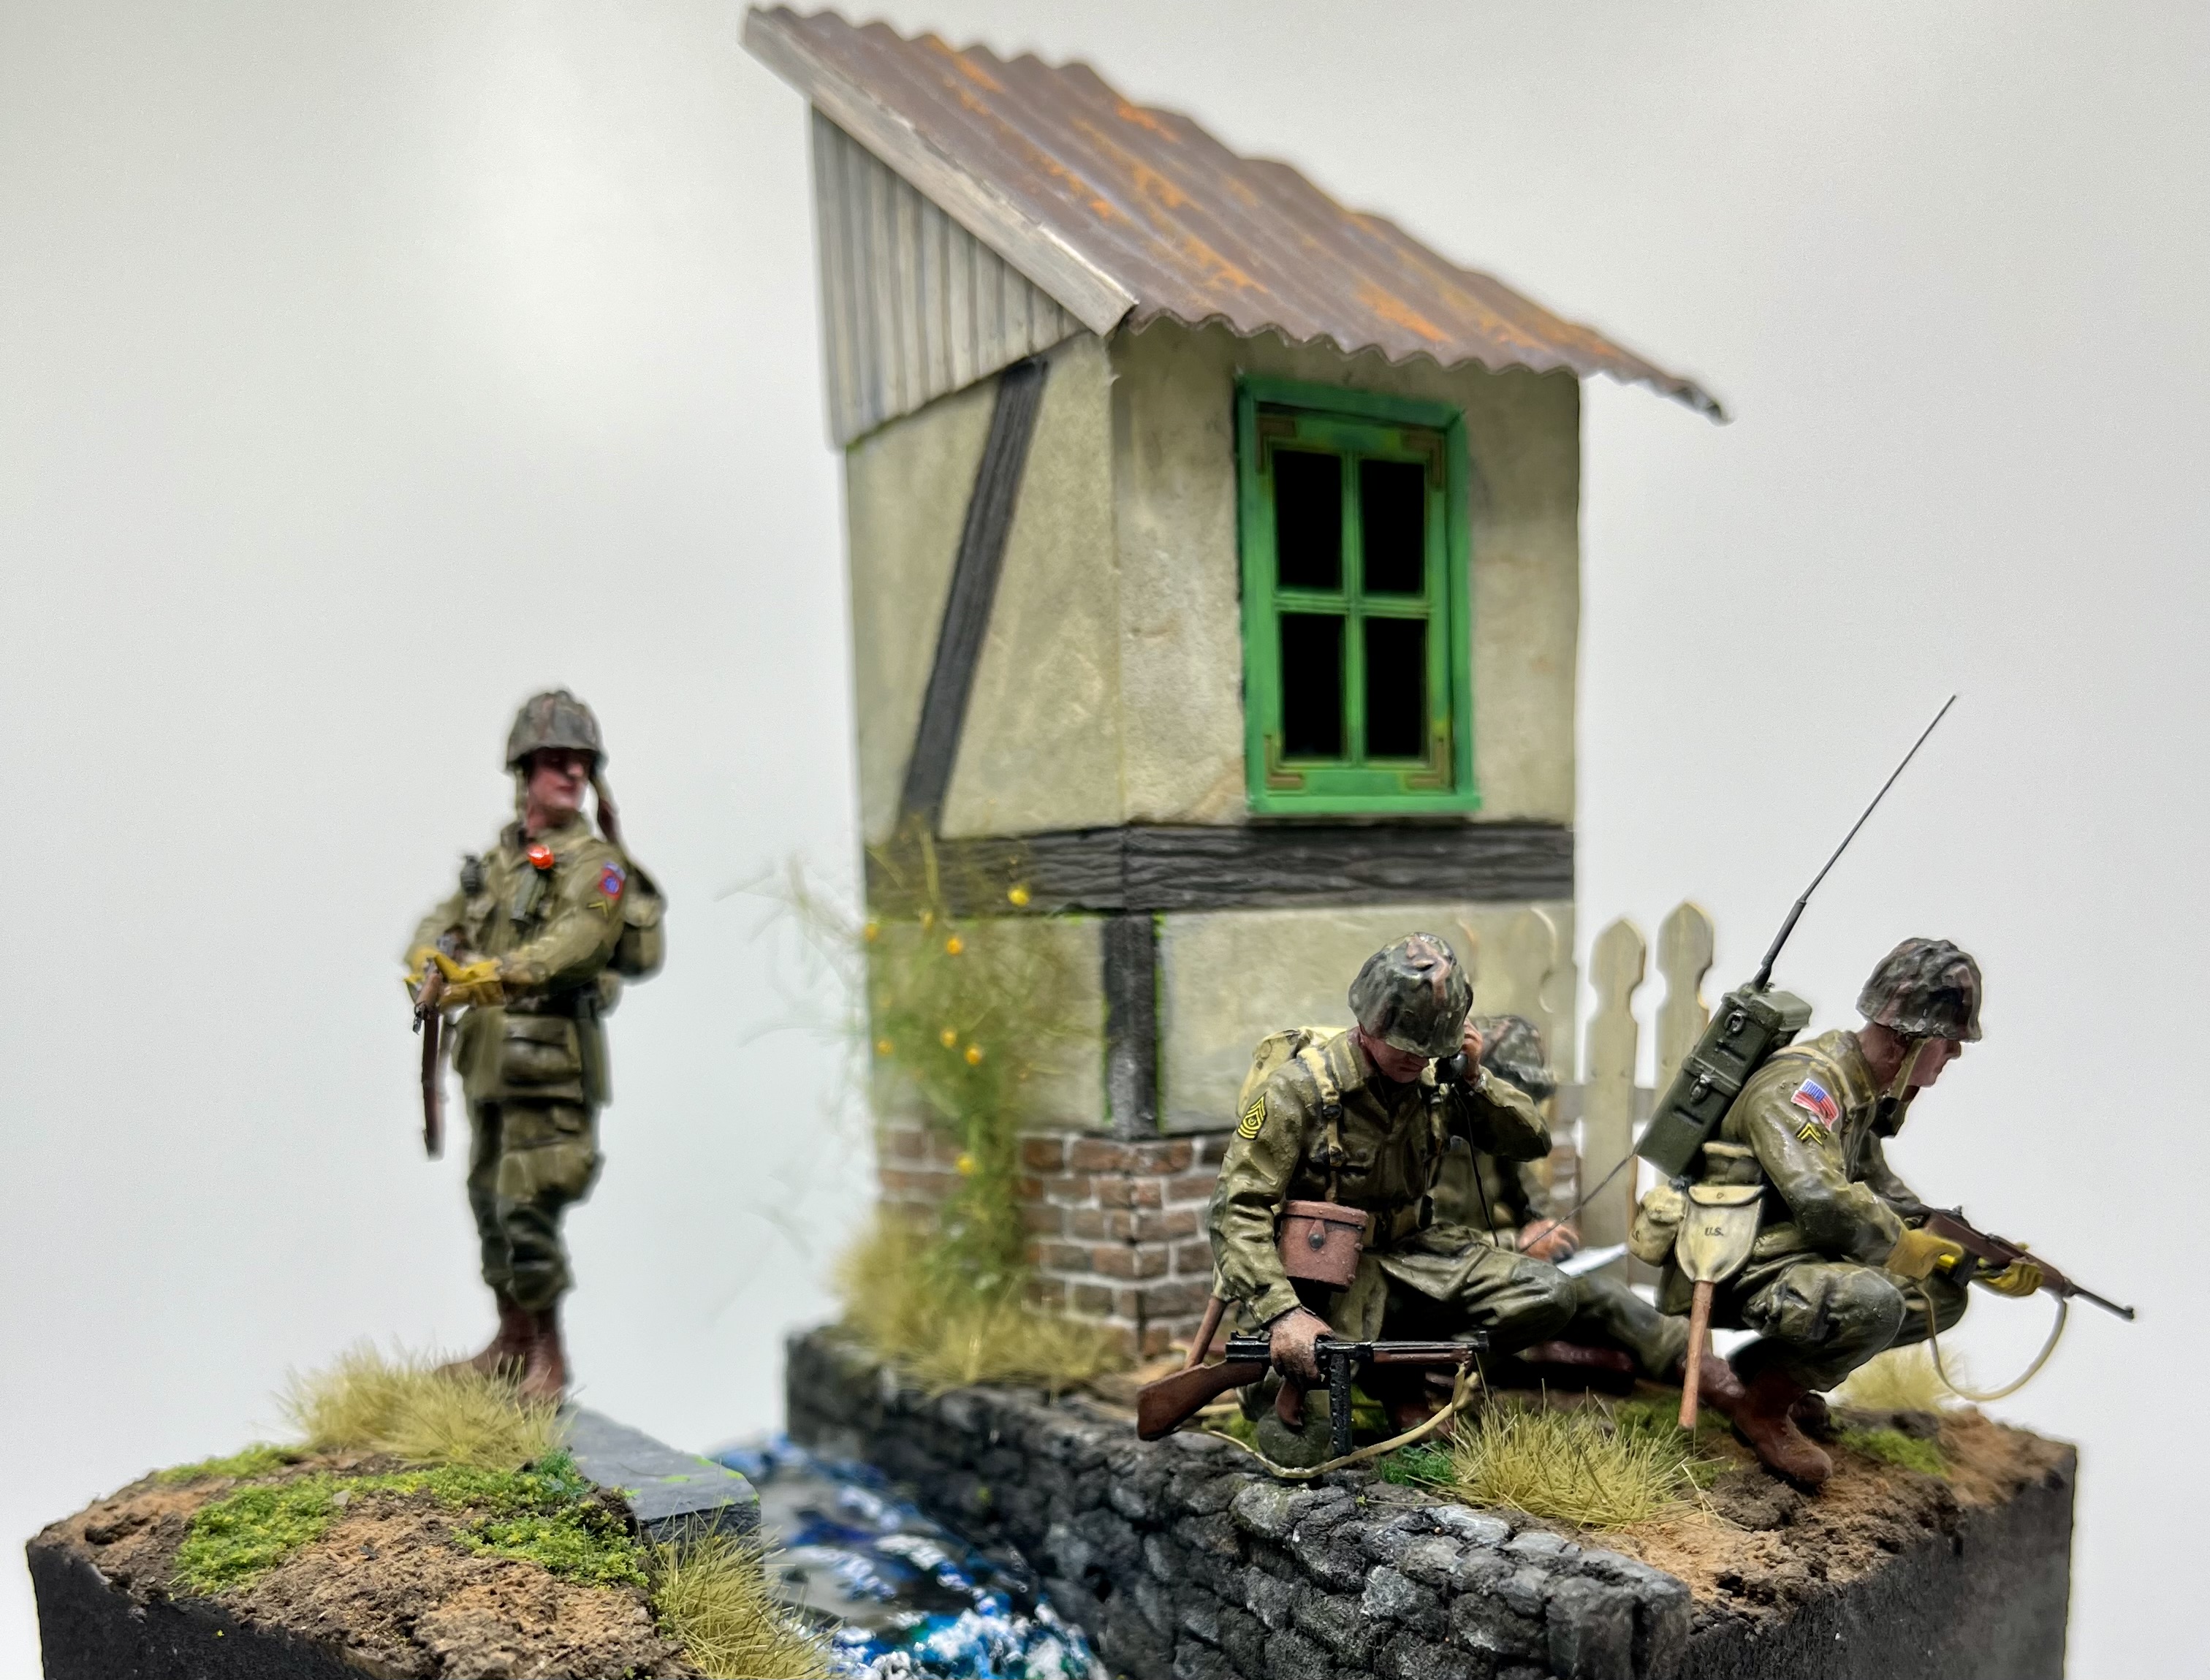
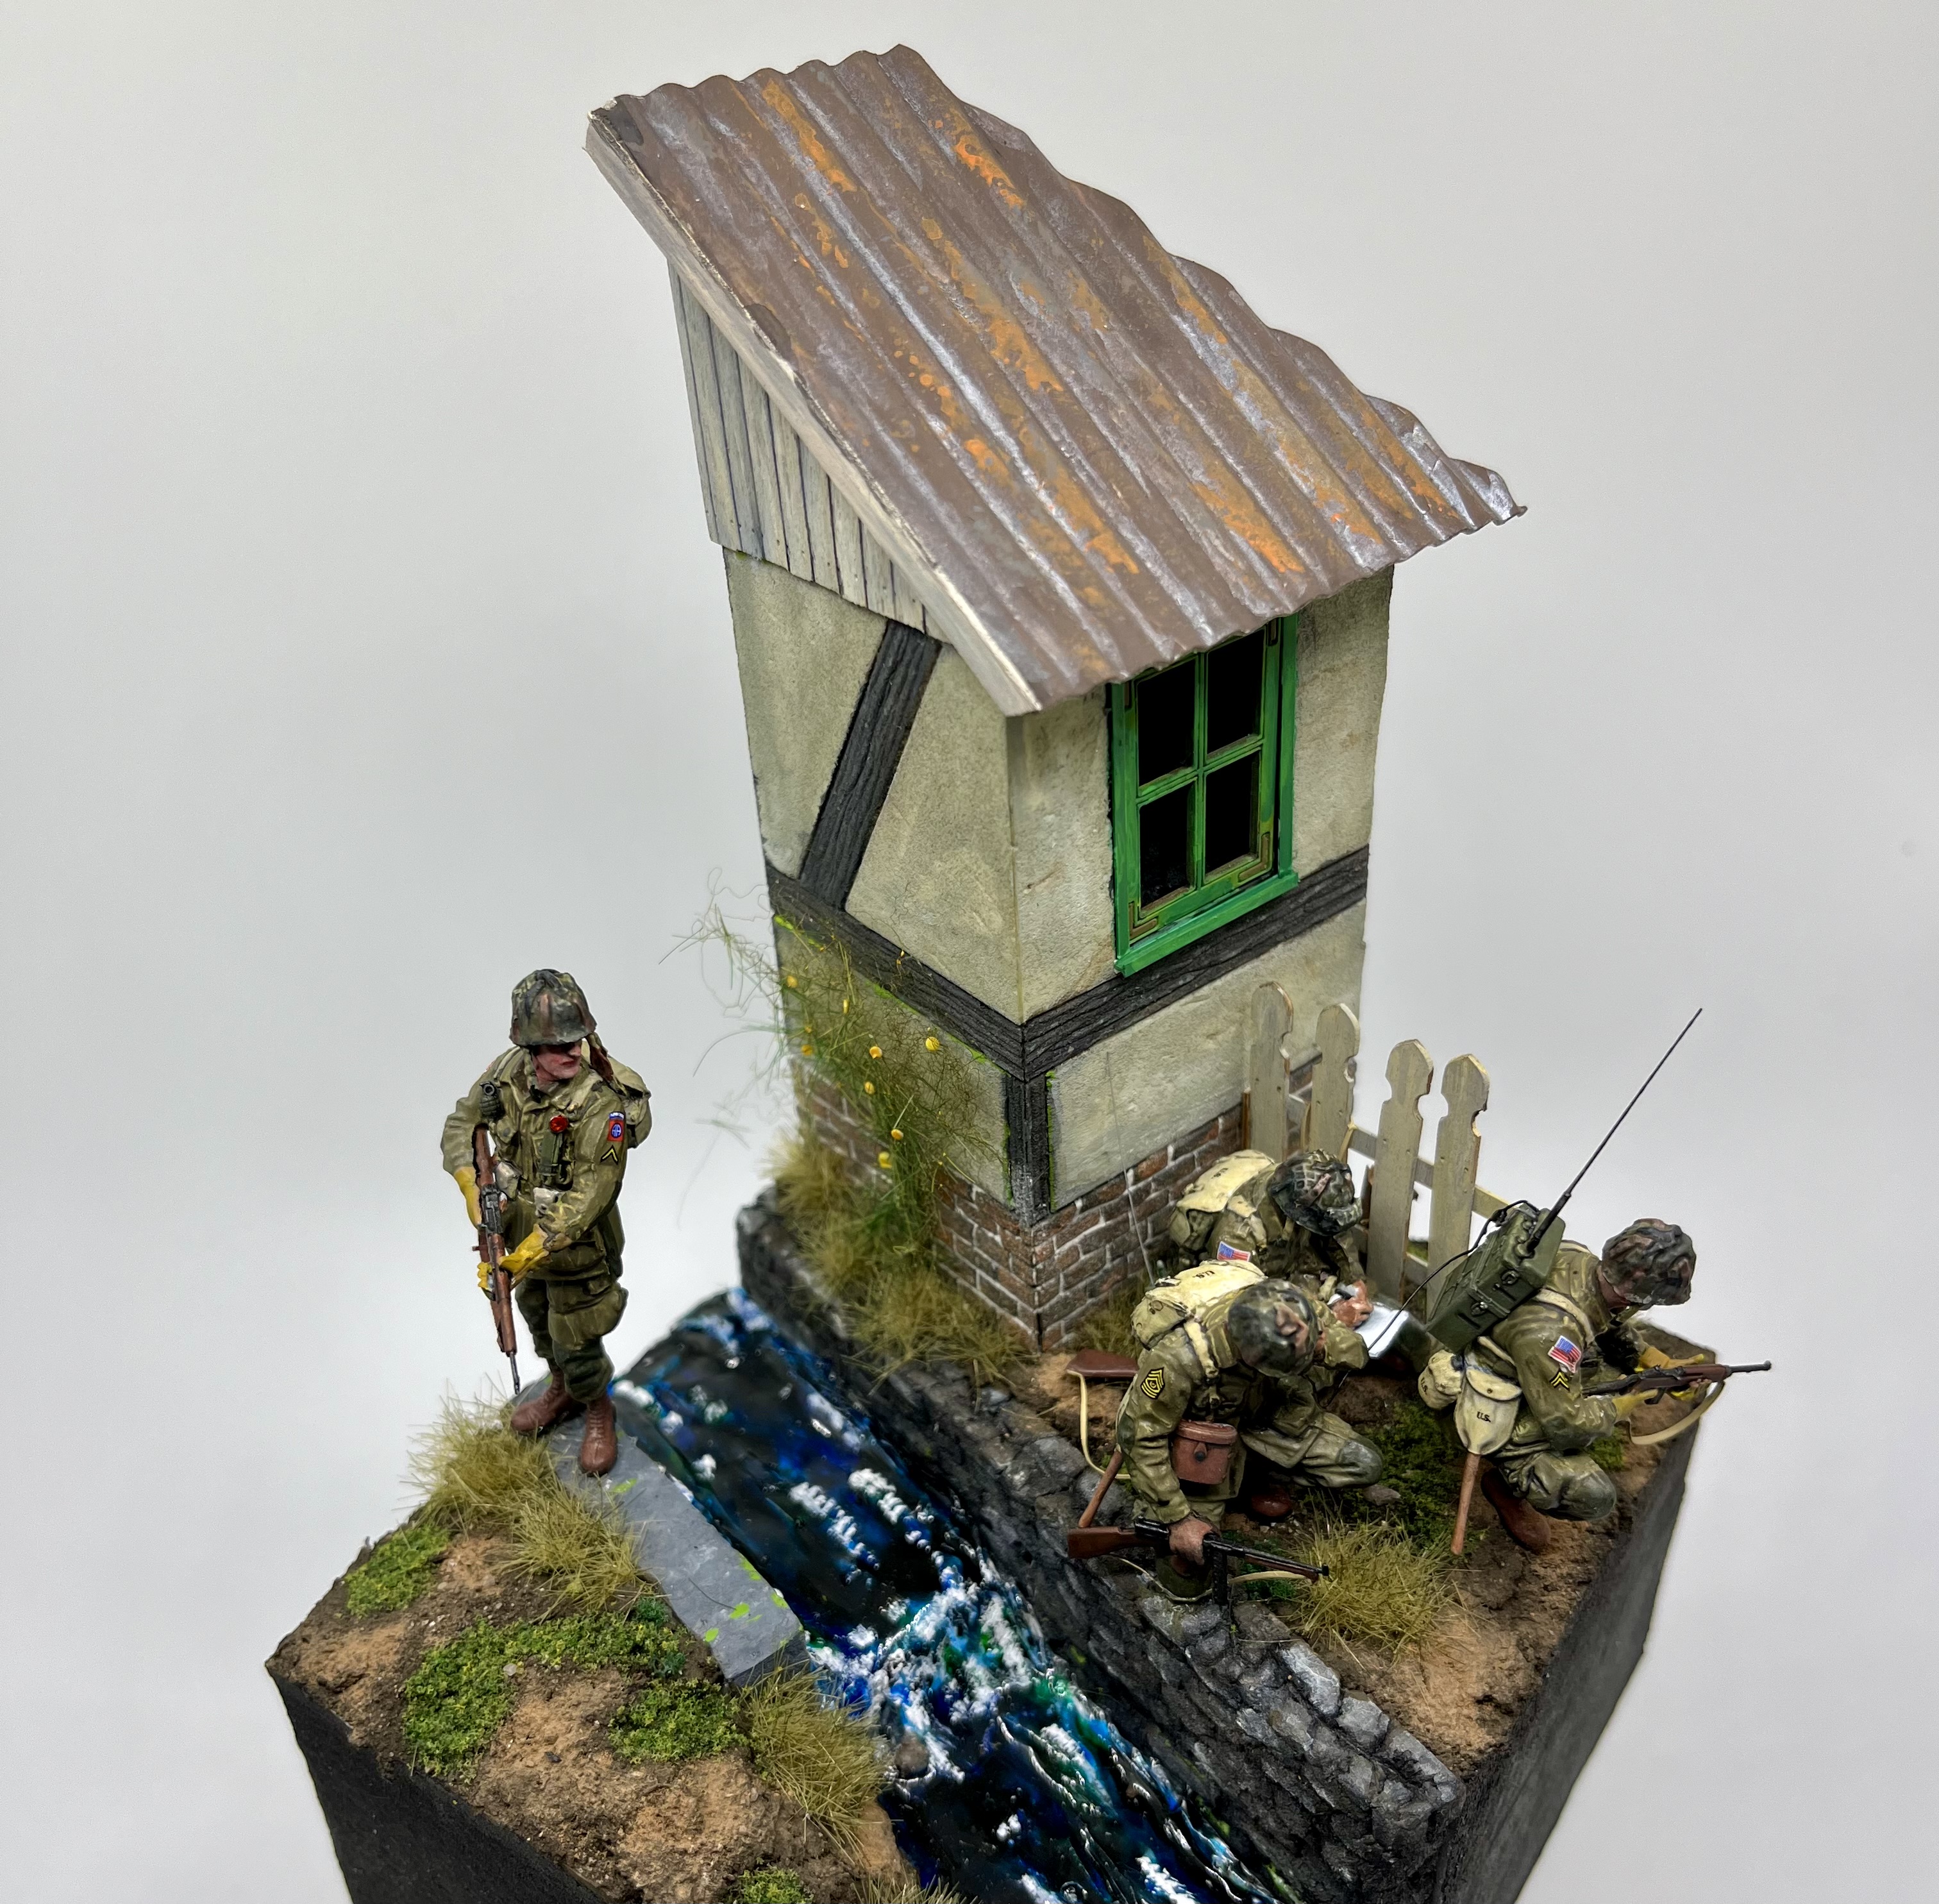
Finished. This is the last one of 2023. As mentioned this is the result of a diorama course I attended on December 2.
Excellent work Erik
That is a Great looking Diorama!
I think you utilised this base in excellent fashion- just the right amount of figures and in poses that still let the details of the base be seen and appreciated. Plus you’ve done a very fine job on the figures themselves!