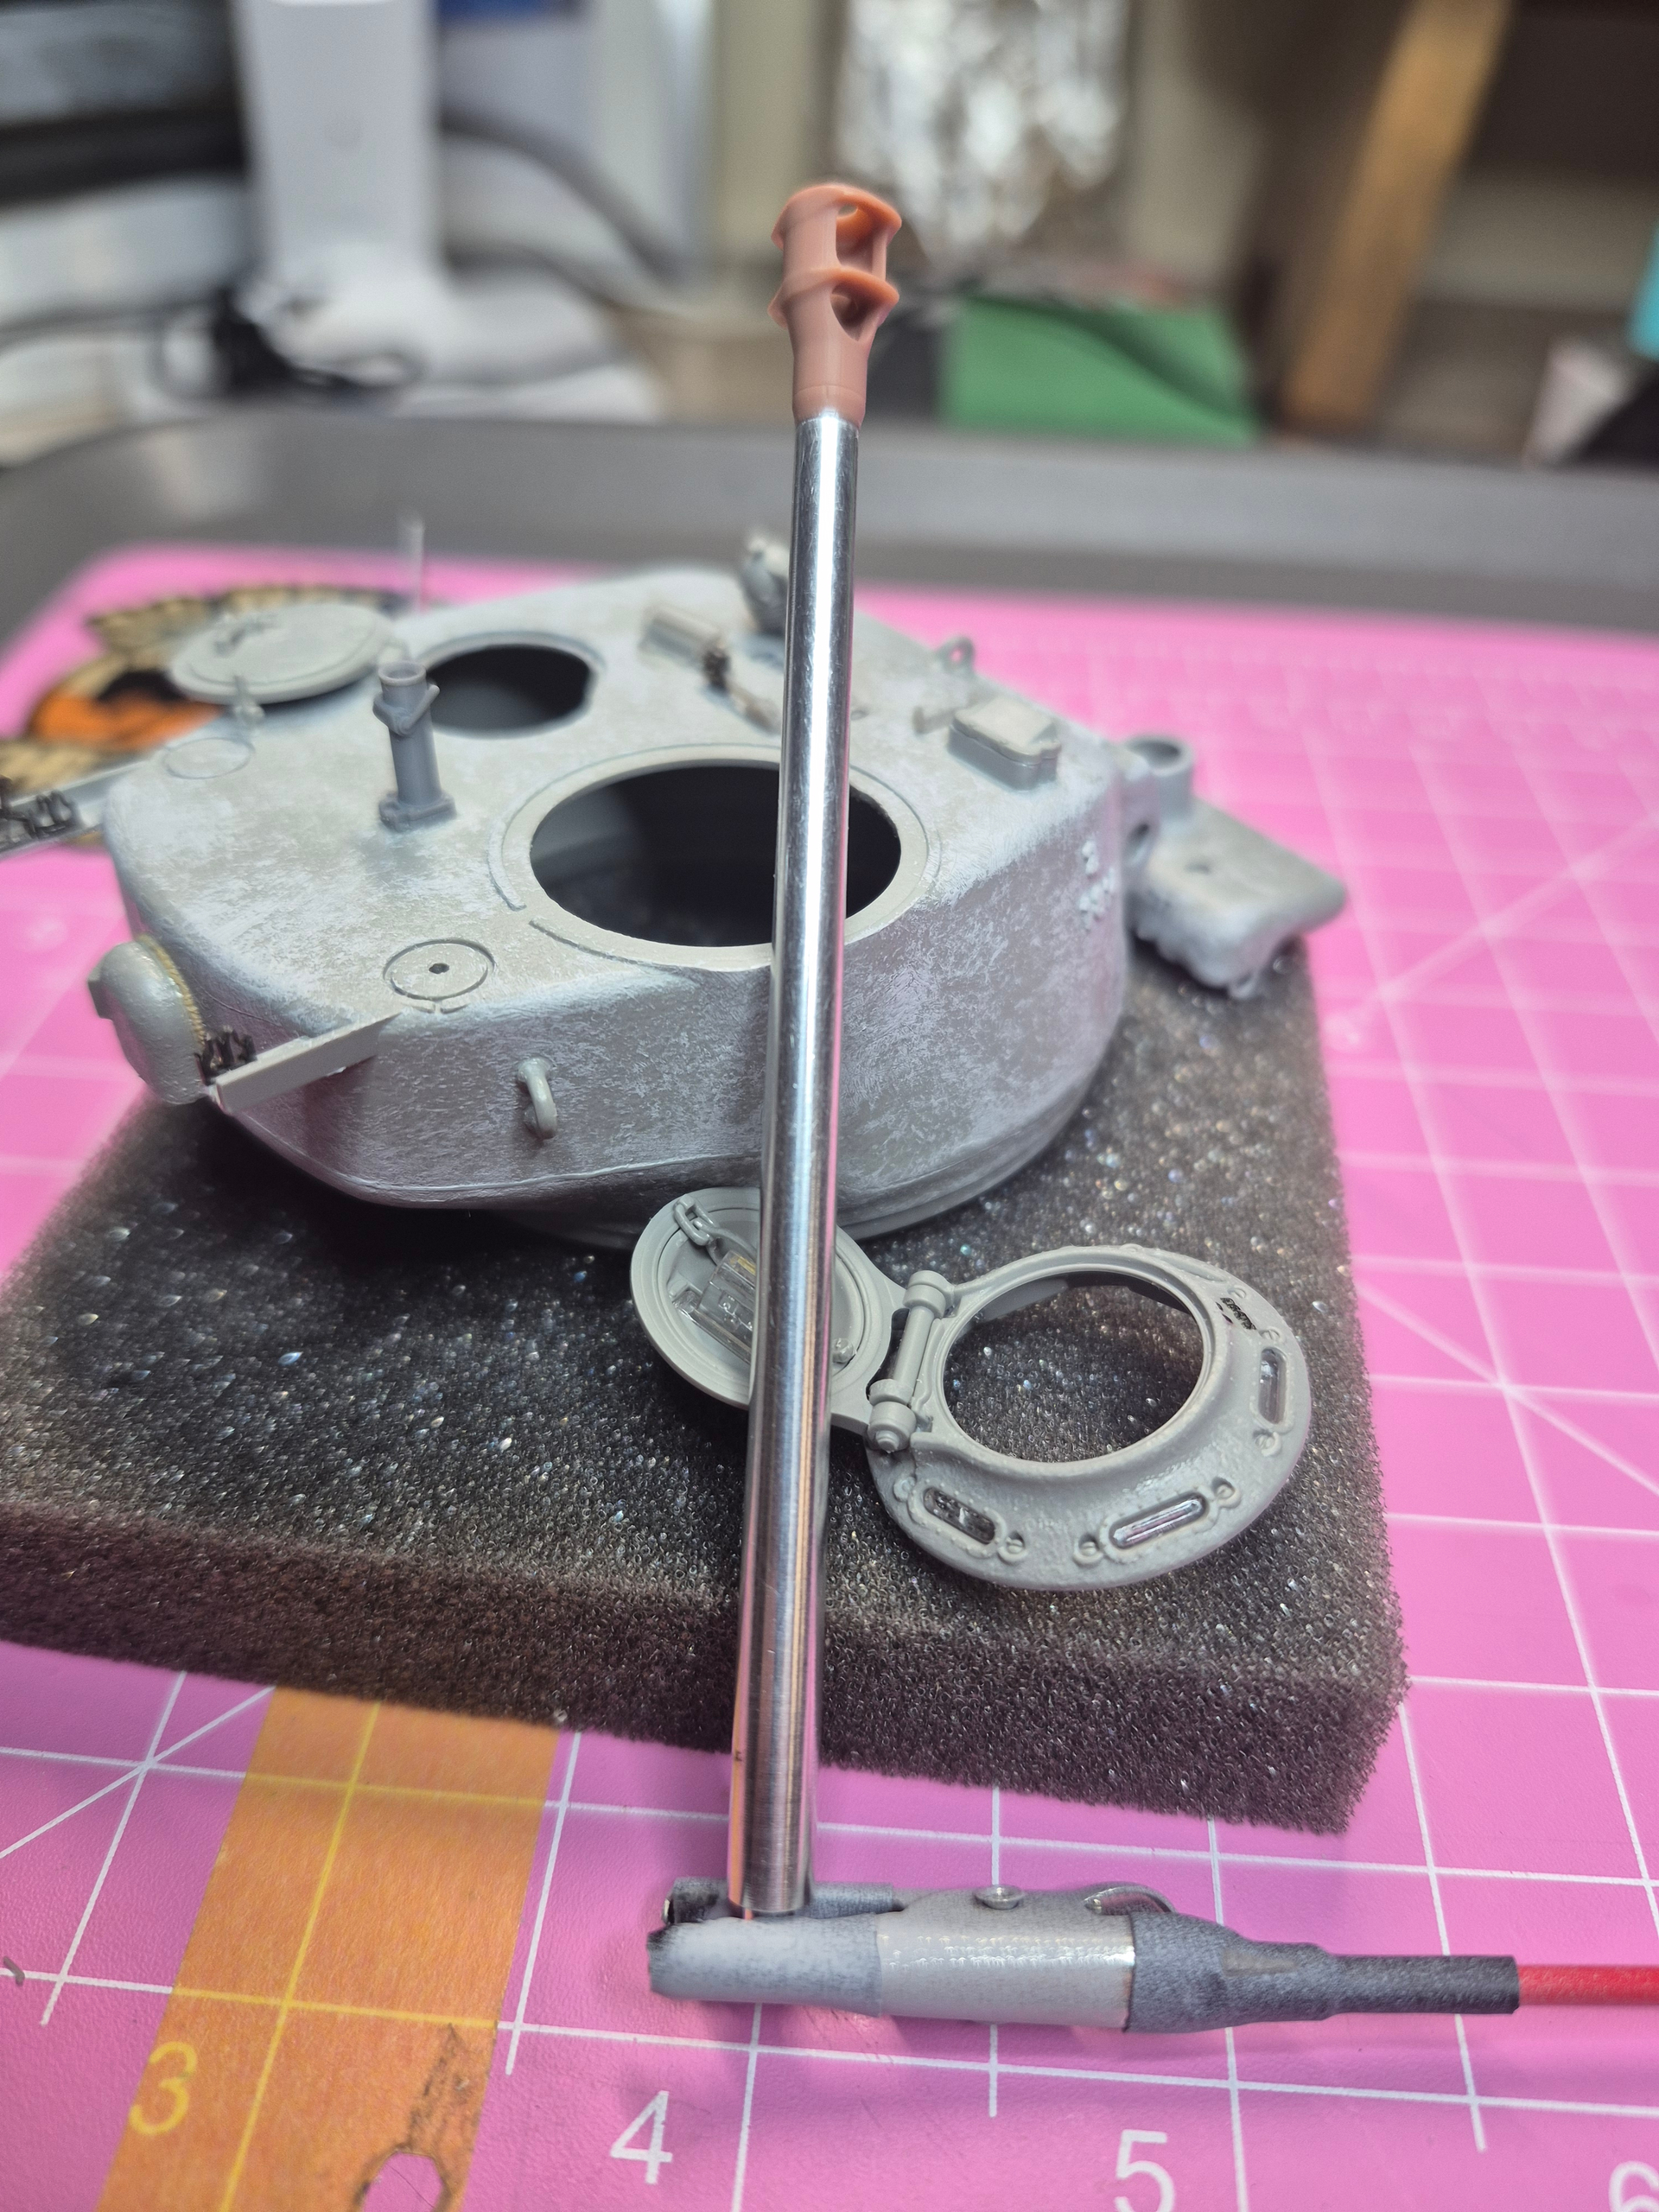
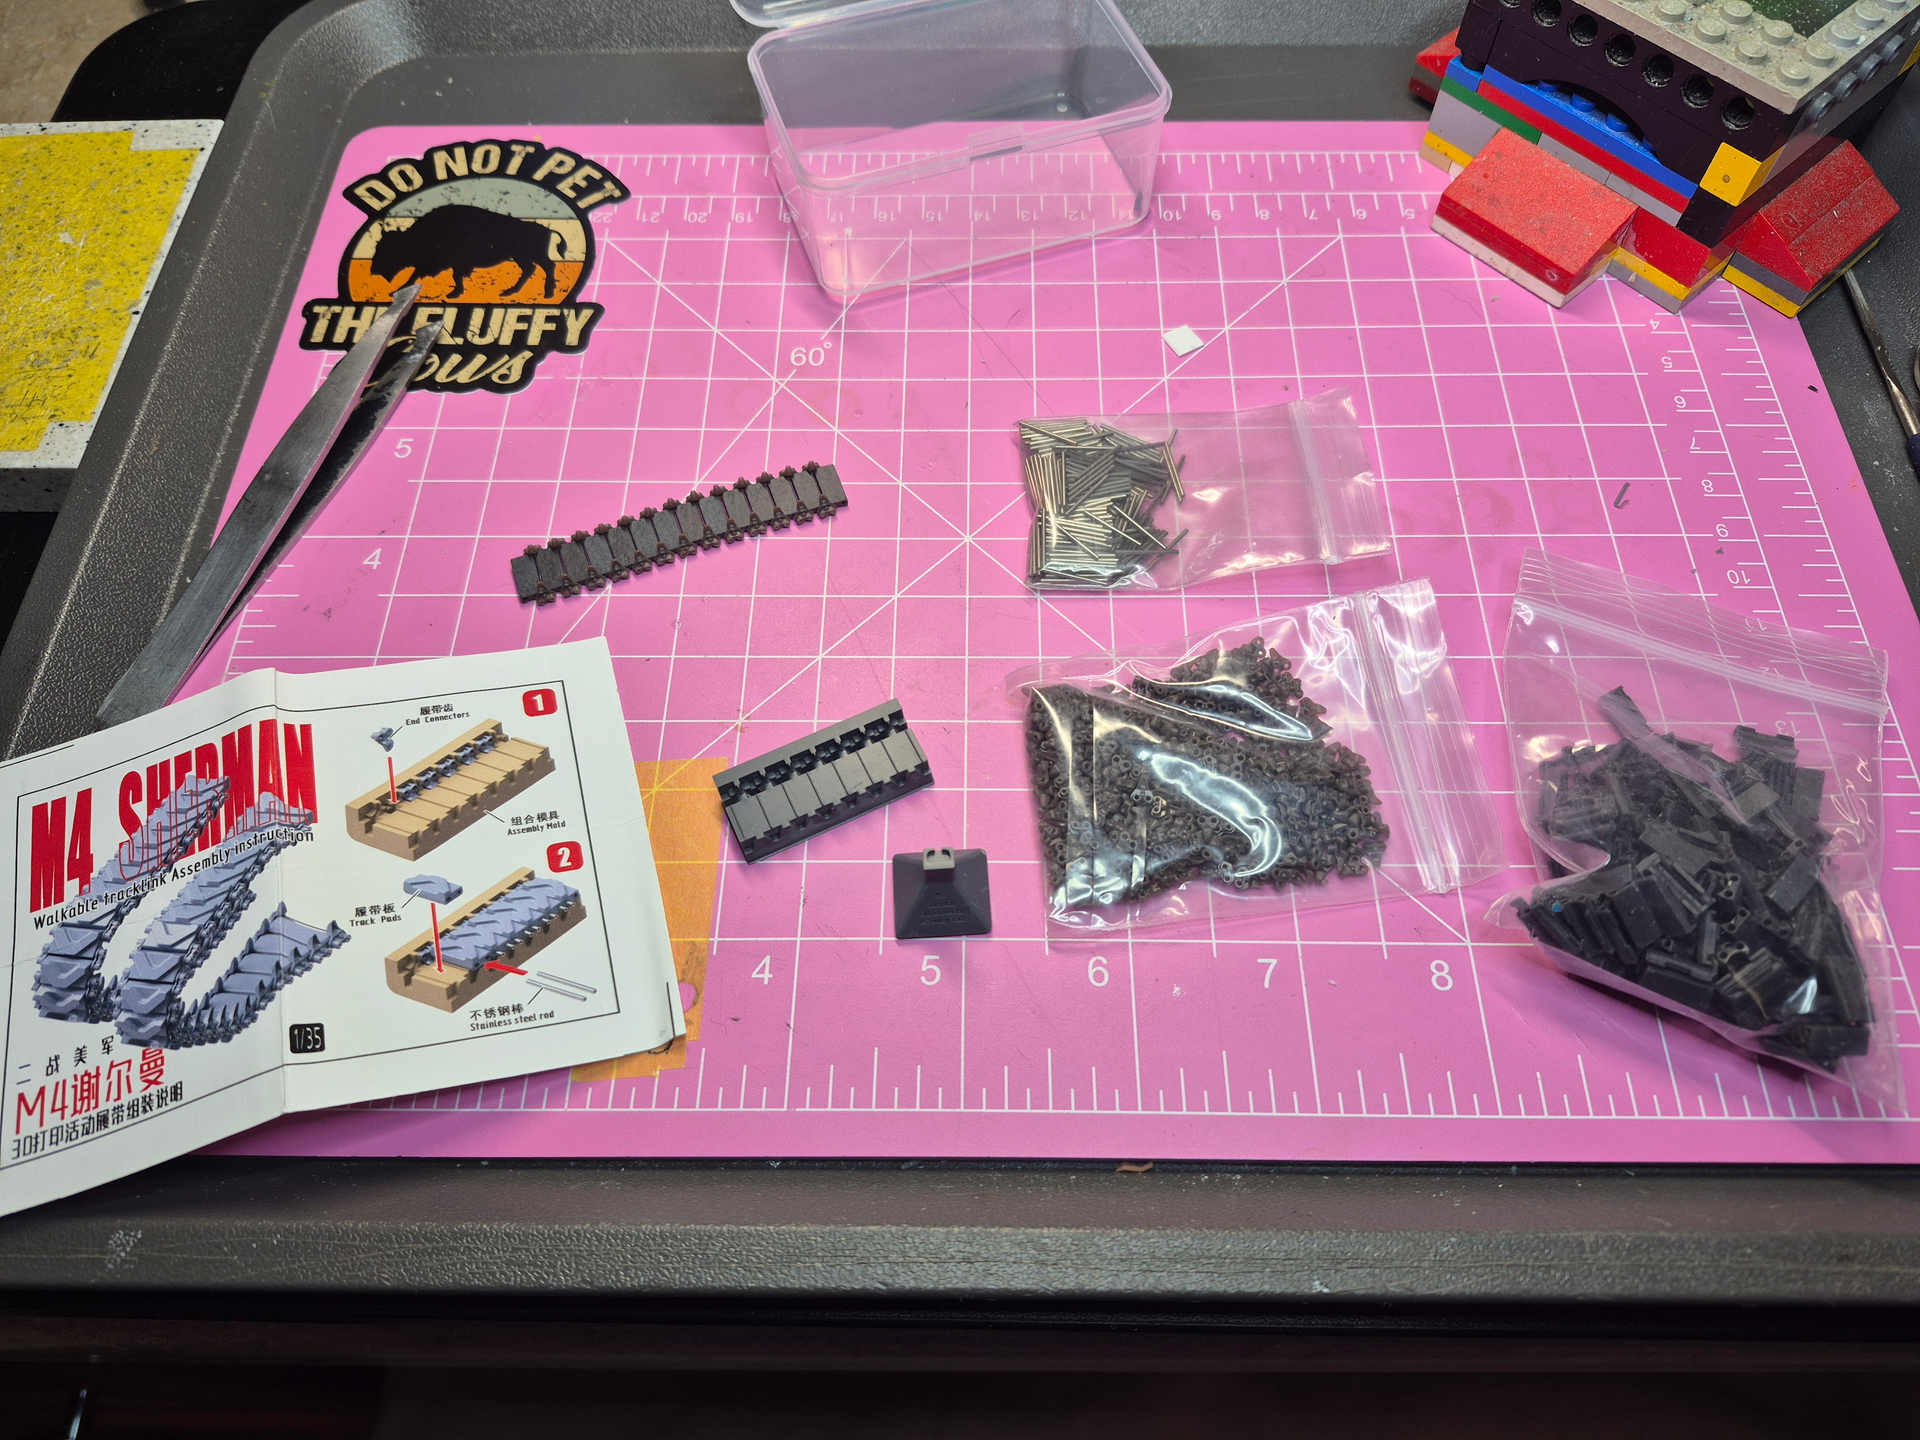
It looks really good in the box and also looks like you’re having fun building it too:)
1 Like
Thanks much
2 Likes
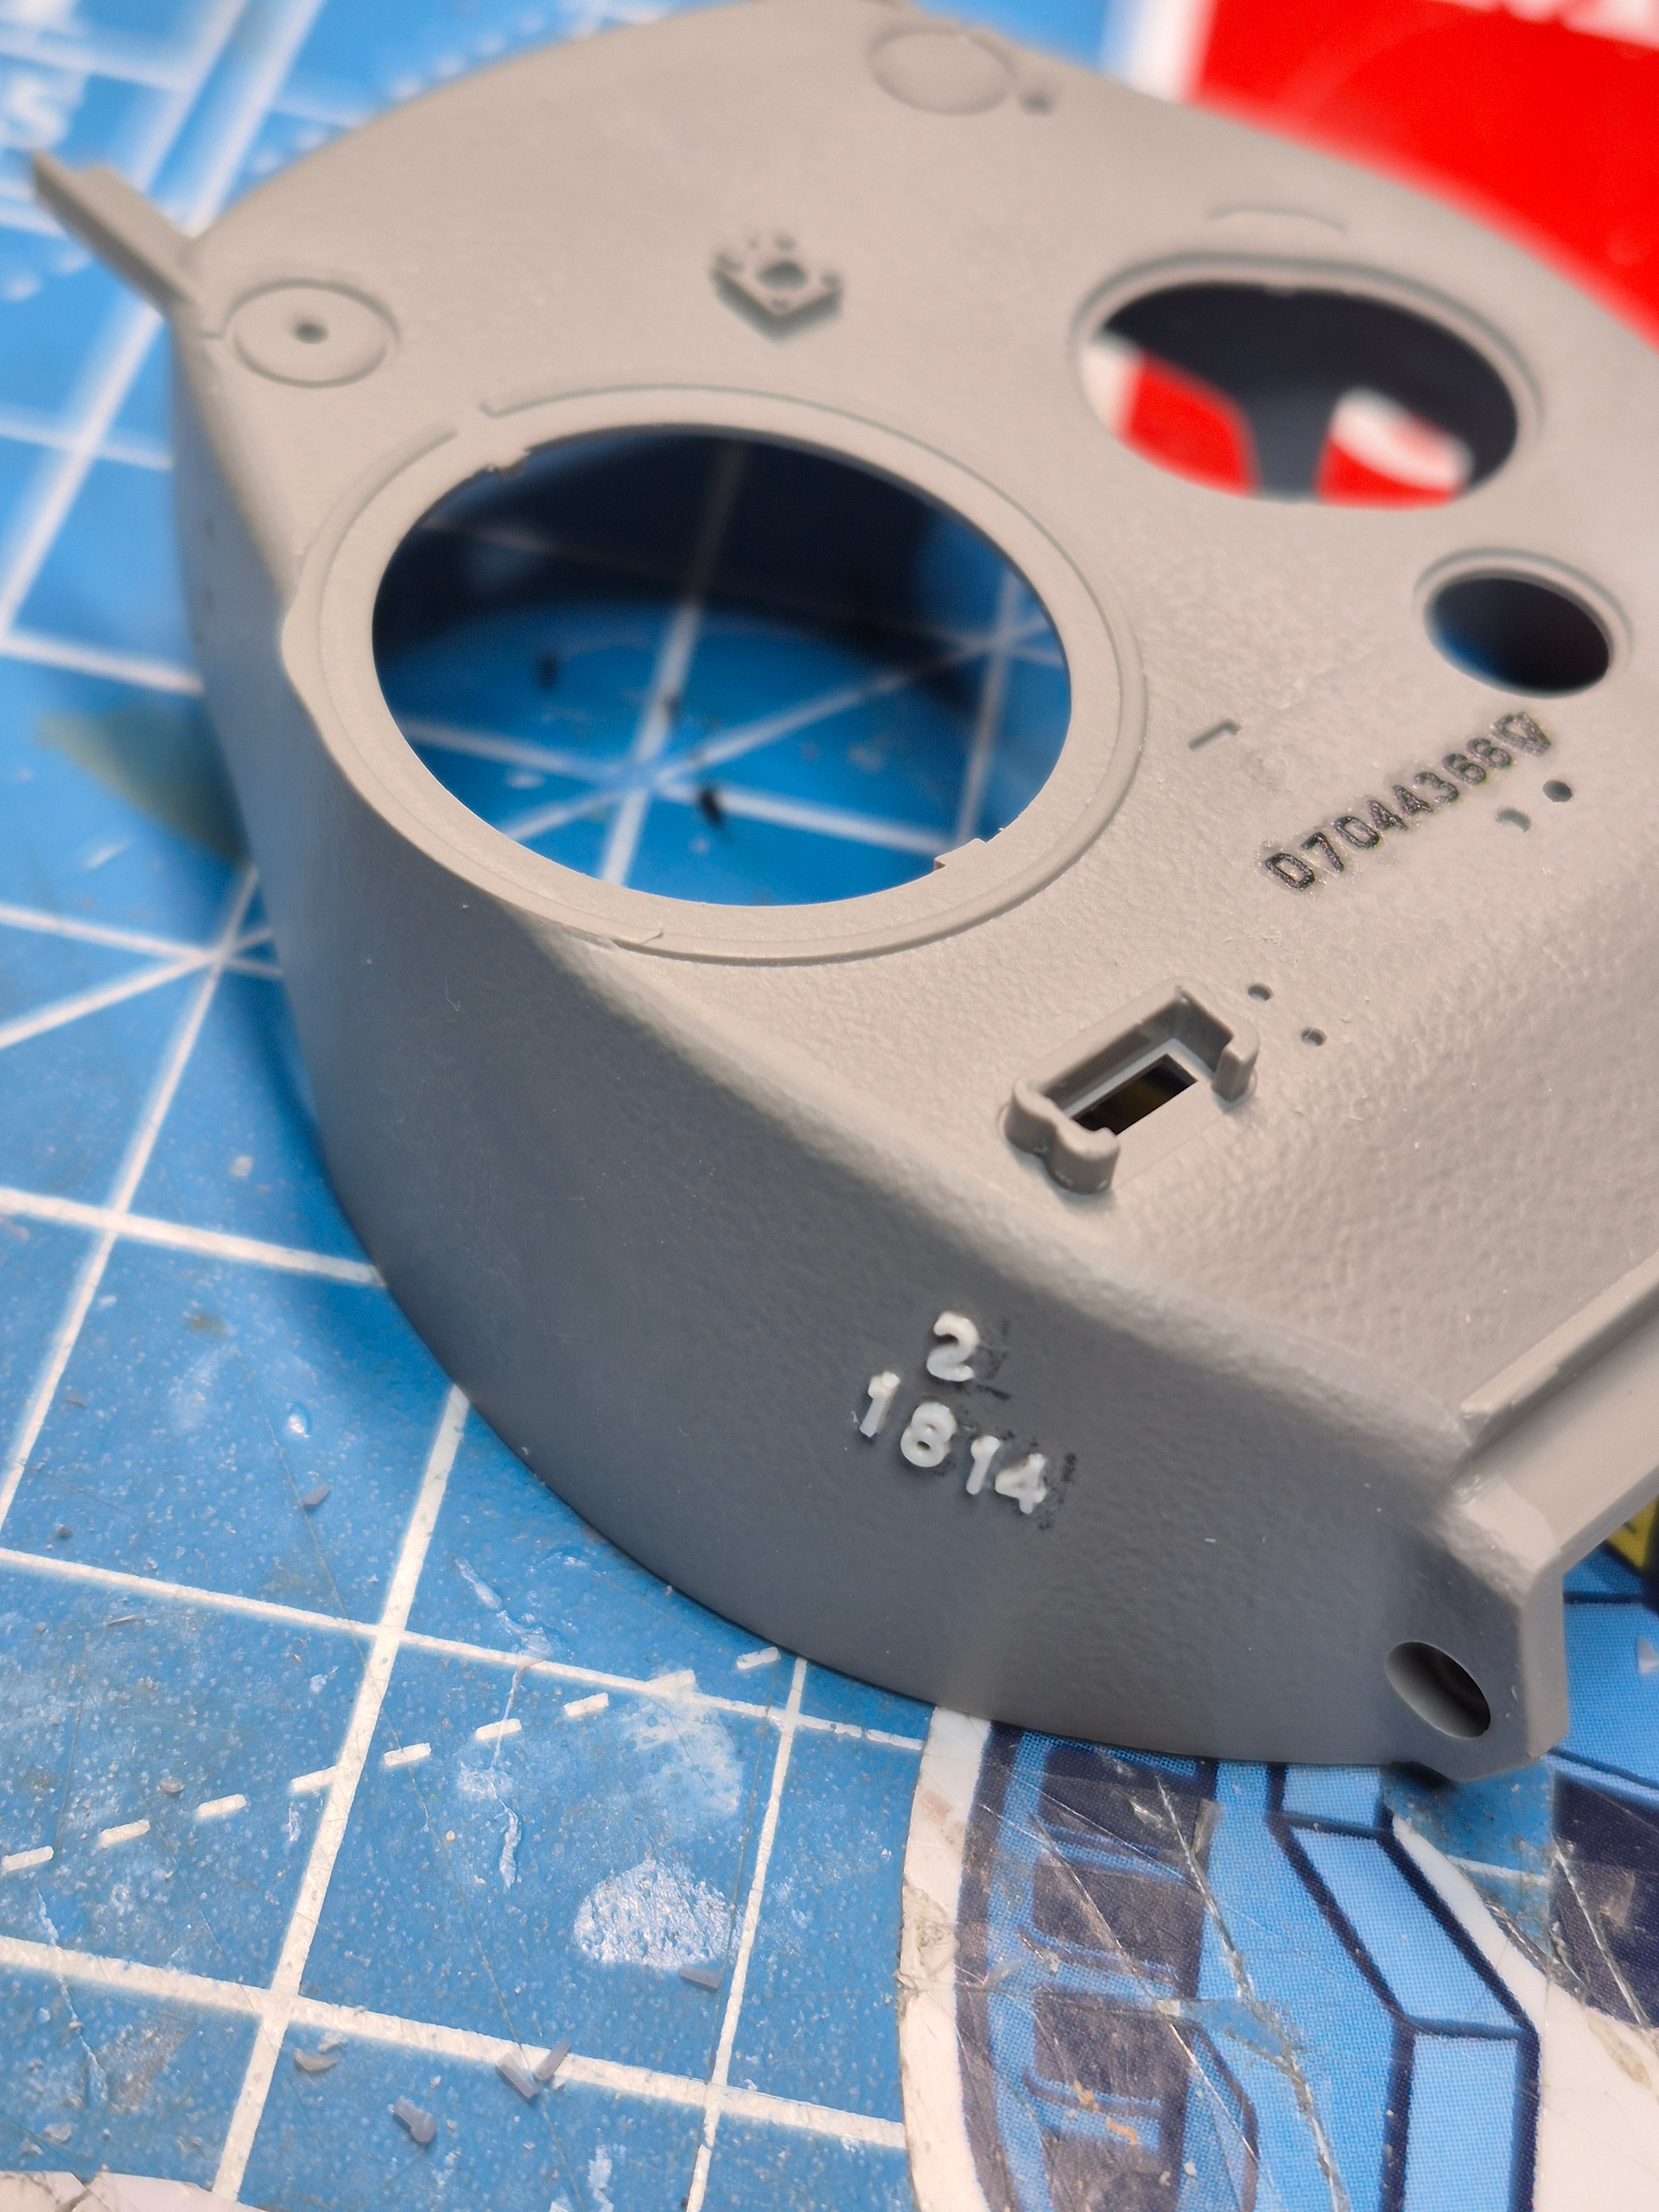
Starting the turret and noticed some things. There’s a seam running along the top edge of the turret and it was removed. I added Archer fine transfers raised letters and numbers to the turret top-its the part number. I didn’t have a five so used a extra four. Found these thick white plastic numbers for the turret side. They will get sanded down a bit. The directions tell you to drill a hole for the smoke launcher tube, but there is no starting hole. I’ll have to eye ball that I guess.



5 Likes
And it looks like you softened up the contour on that spot on the turret that we discussed before. I guess I haven’t studied mine well enough cause I’m looking at your photos and the plastic on the turret sides looks really thick. The casting numbers really add a lot. I only ever bought one Archer fine transfer set for making these casting marks and it’s just about gone. I do have a bunch of plastic numbers and letters from the Academy kits that I saved but they are difficult to extract from the sprue sometimes. Are you using 3D printed casting numbers?
1 Like
I am using the Archer casting symbols and I guess they are 3D as they are thicker than what the kit provides. I am impressed with Takom for including the casting symbols in the first place, but I thought they are a bit petite. Thanks for looking in.
3 Likes
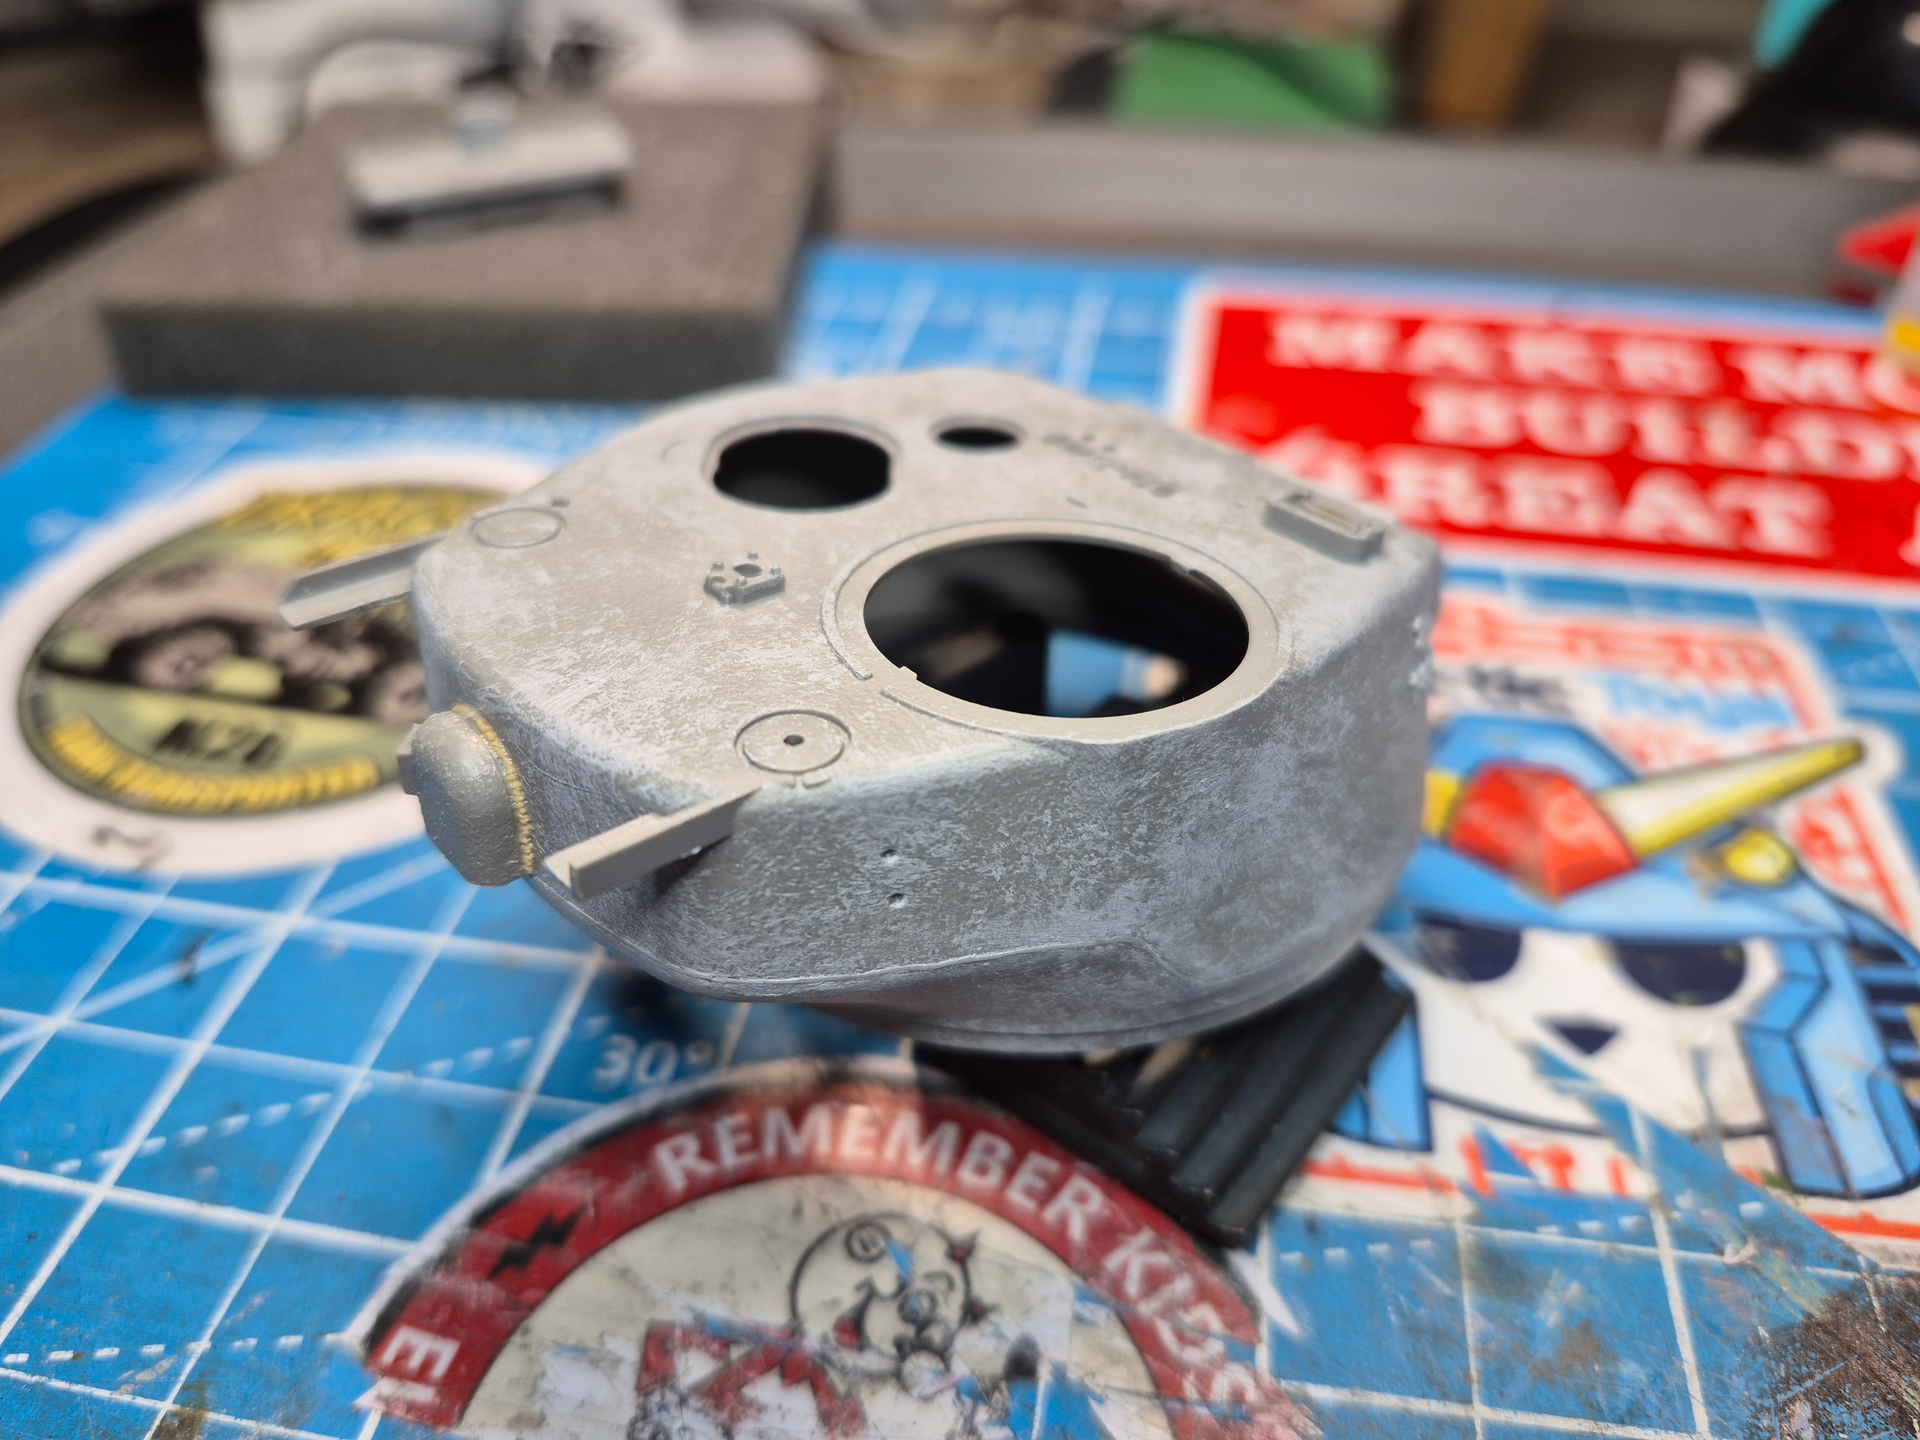
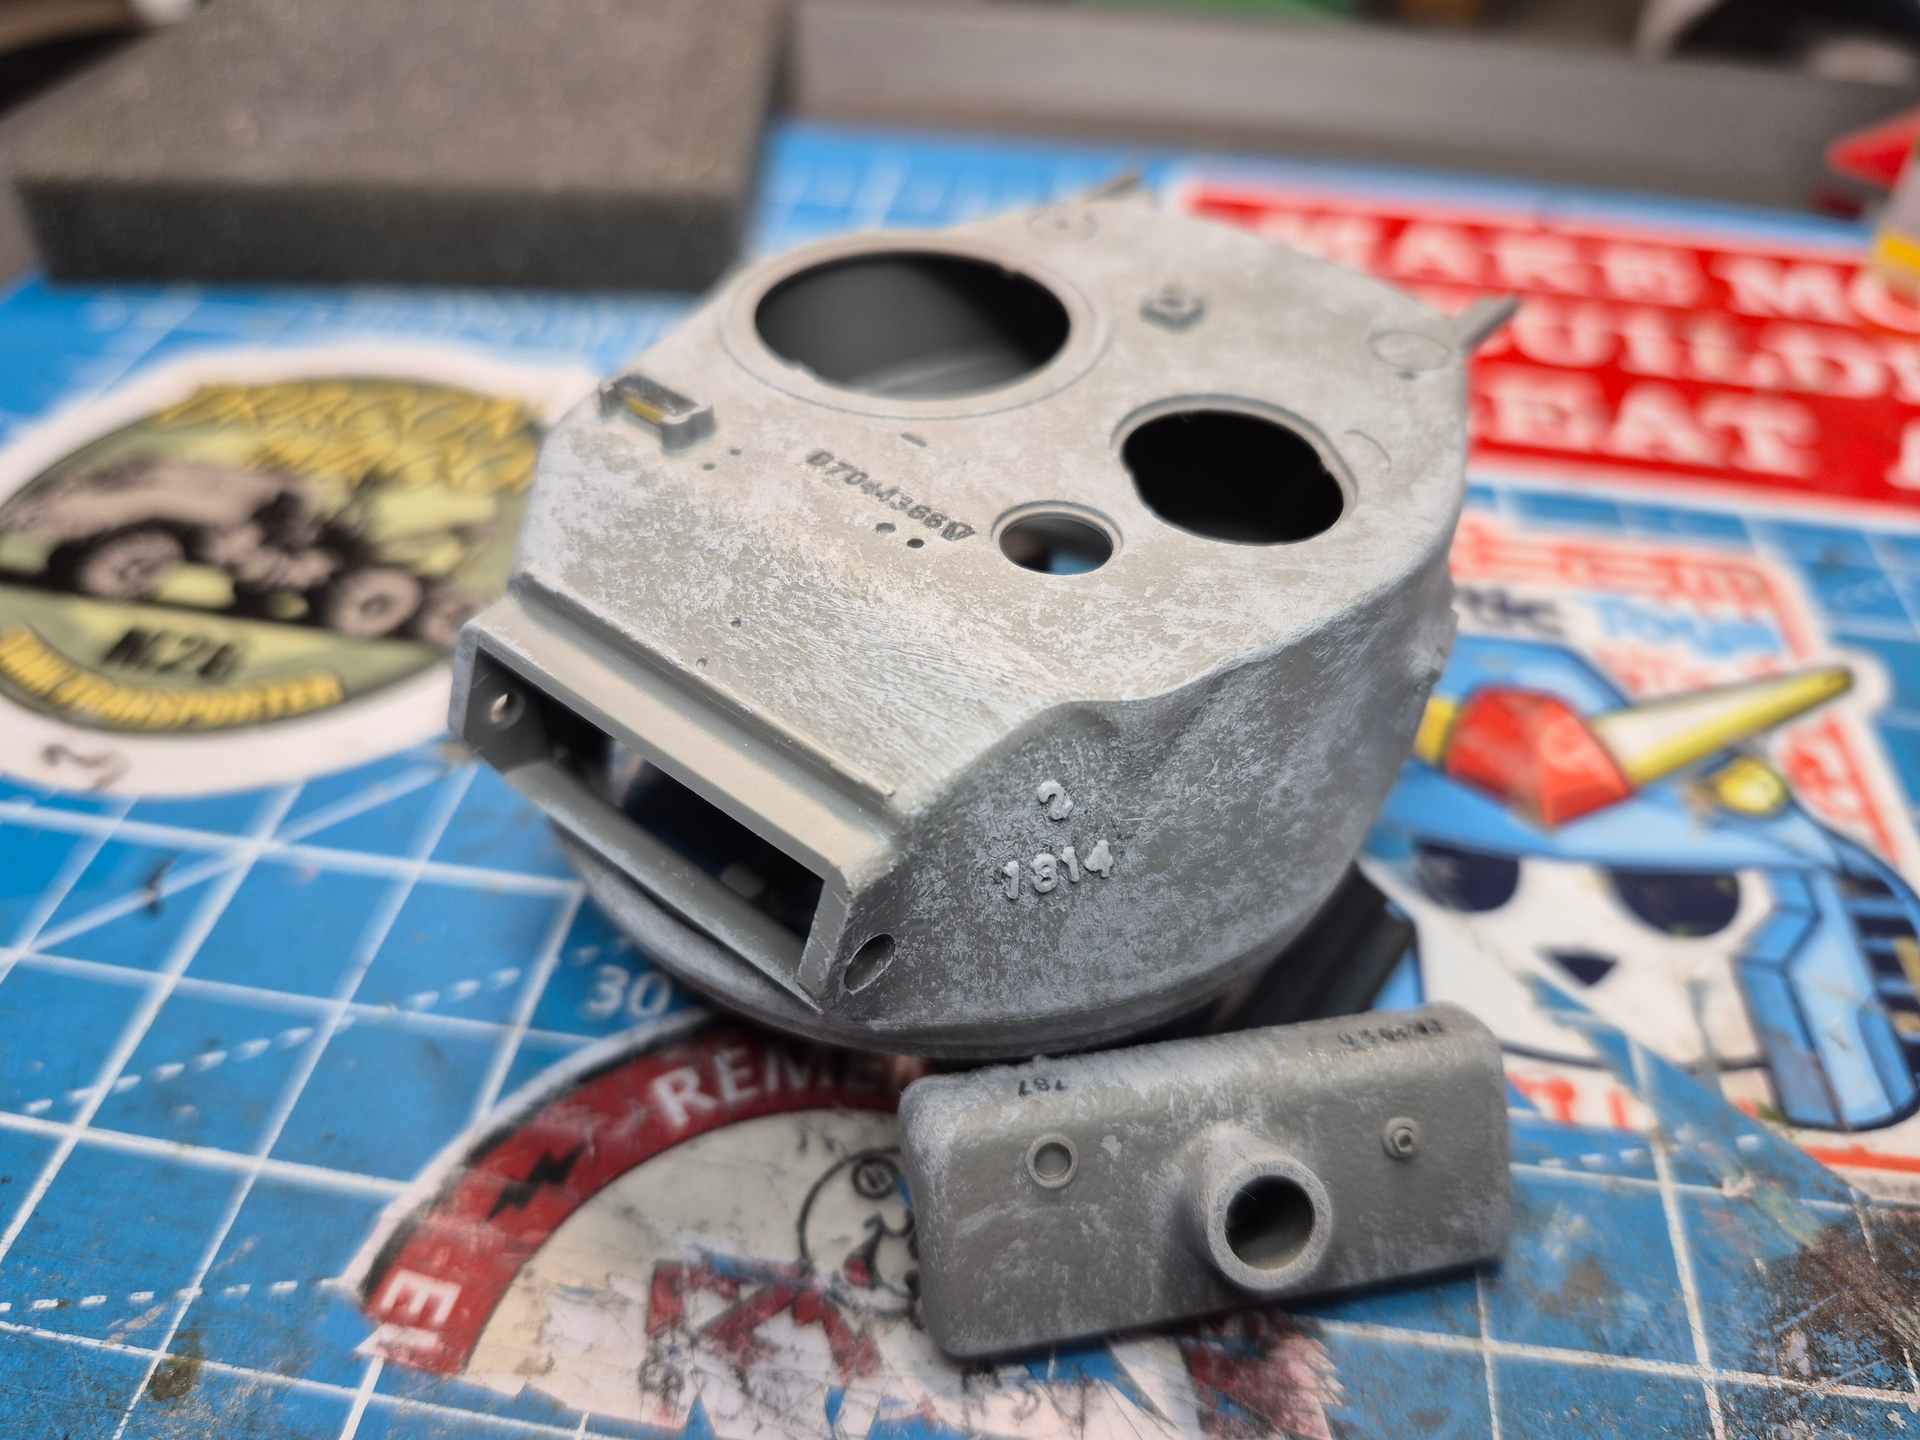

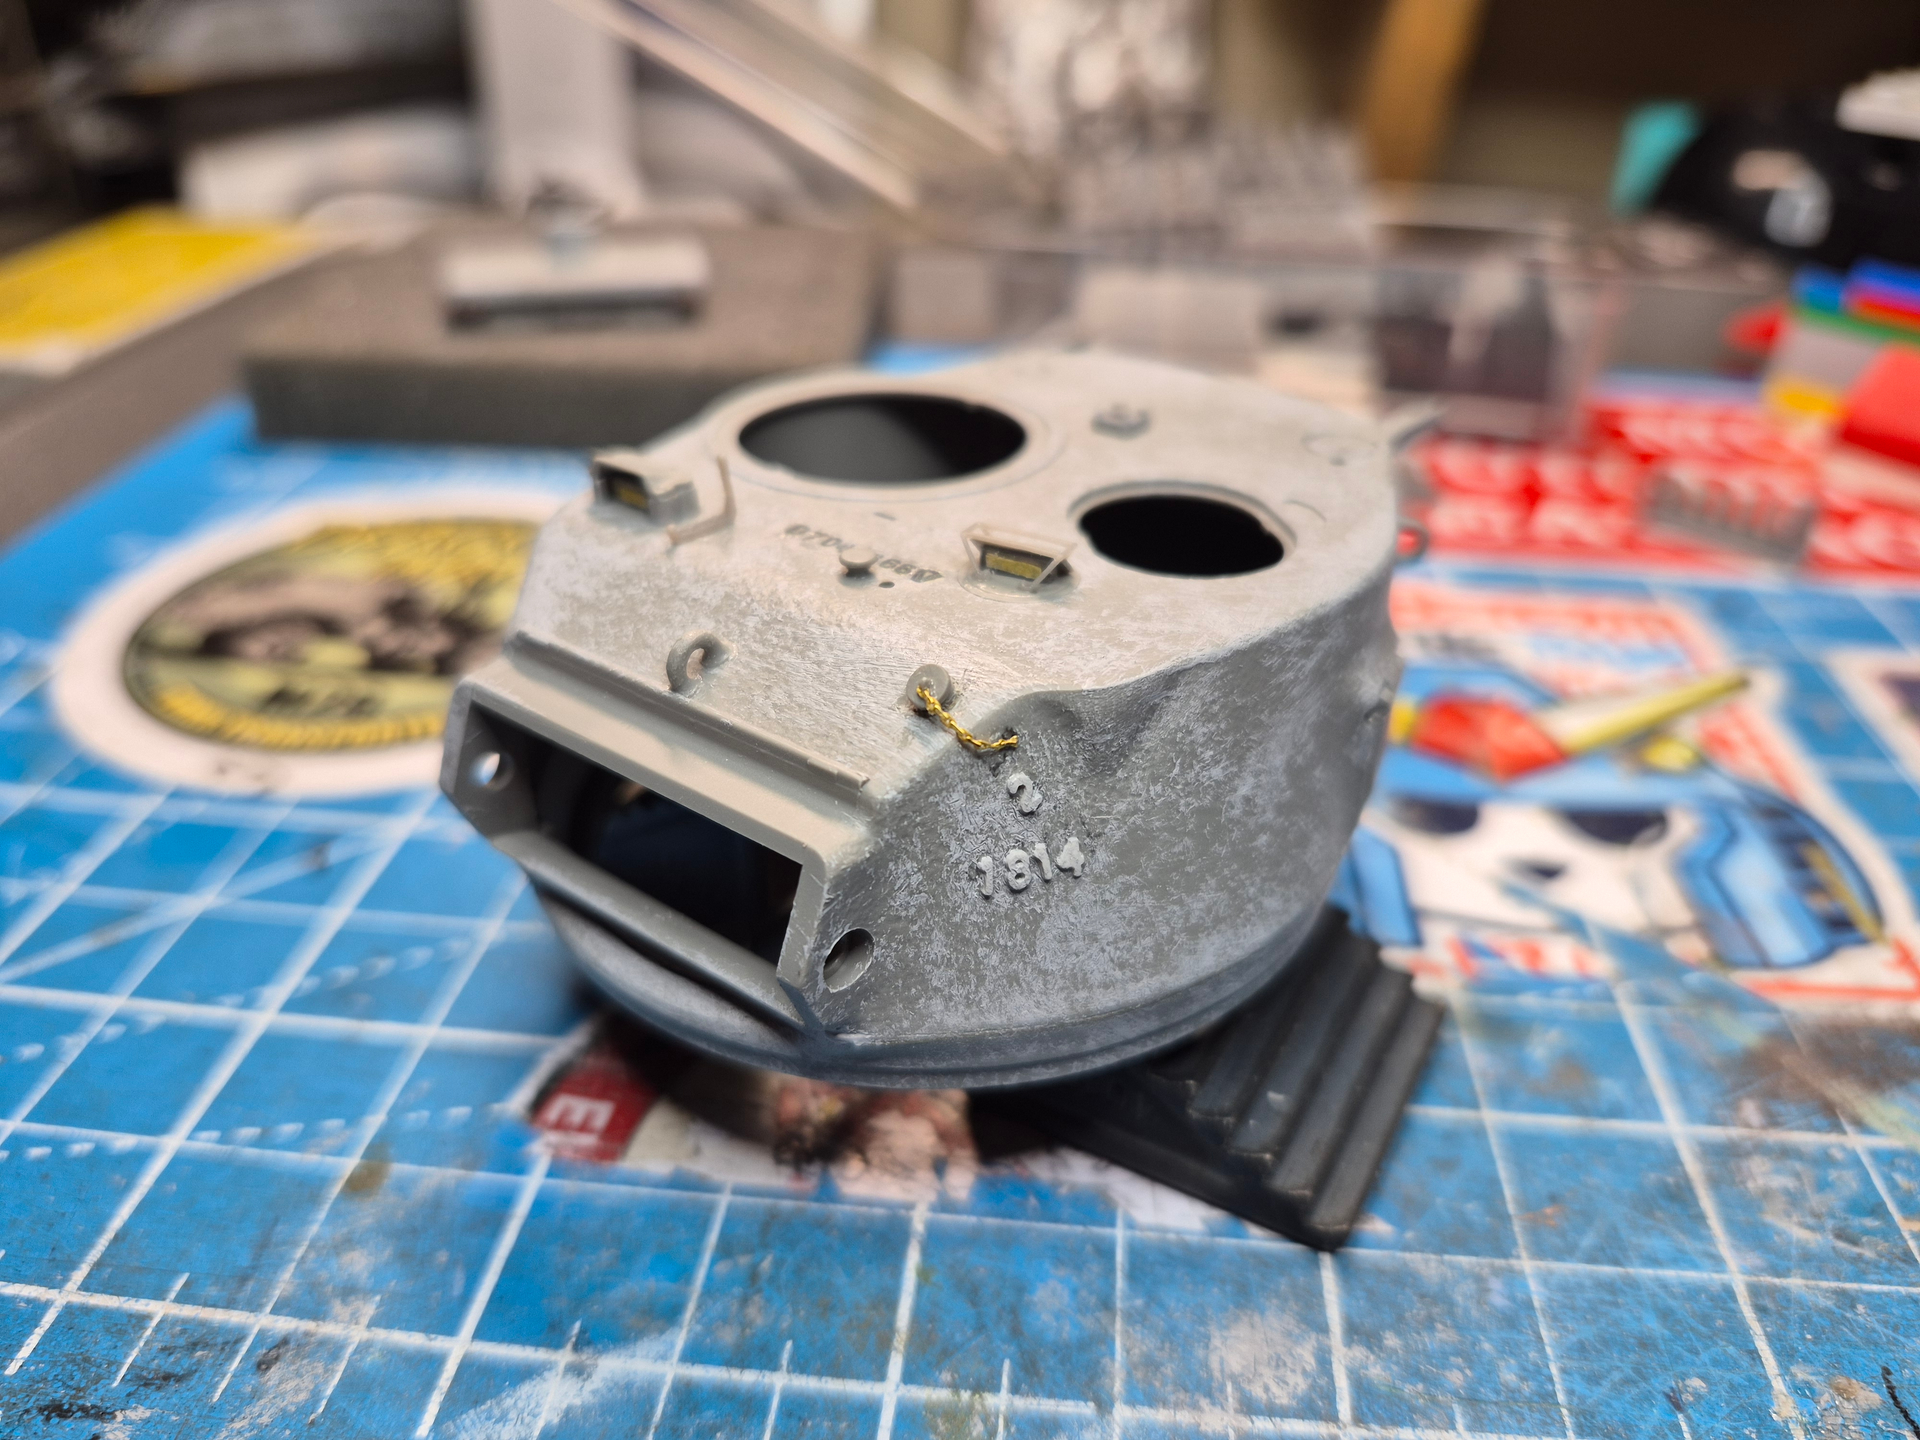
What’s your opinion on the Takom Mantlet? Why does it look so flat to me compared to the other manufacturers mantlets of this turret type?
The turret is turning out amazing, I really like how Takom cast the whole turret like on the real tank. Asuka gives you the front of the turret in three parts and it’s a real pain to get rid of the seams in the front of the Asuka turret.
1 Like
I thought the mantlet good but I’ll look at it again. The only other that I have is from RFM.
2 Likes
Dan, is that the kit periscope cover? Looks pretty thin.
Jeff
1 Like
Yes, but it’s flat on the bottom and it should be the shape of a upside-down V.
2 Likes
Been trying to figure out how you are treating the surface of your build. Are you using surfacer to reduce the factory texture or are you creating more texture? I’ve never seen anyone else post pictures that look quite like this. I am curious to know what you are using and how you are applying it or maybe you are mixing it with something and then sanding the excess off? and in some places it looks darker than other too.
1 Like
Its Mr. Surfacer 1500 applied with a brush.
3 Likes
What kind of brush? Do you stroke it on or stipple it?
1 Like
A beat up old brush that I clean with tamiya lacquer thinner; I stipple it.
5 Likes
Here is a very dusty Toon M26 done with Mr Surfacer 500. I use it because it is goopier than the 1500 Dan uses. What he does, which is superb, is much finer than my way. Like he said, just stipple it on with an old brush. If you don’t like it, cut it back with some fine sandpaper.
Jeff

5 Likes