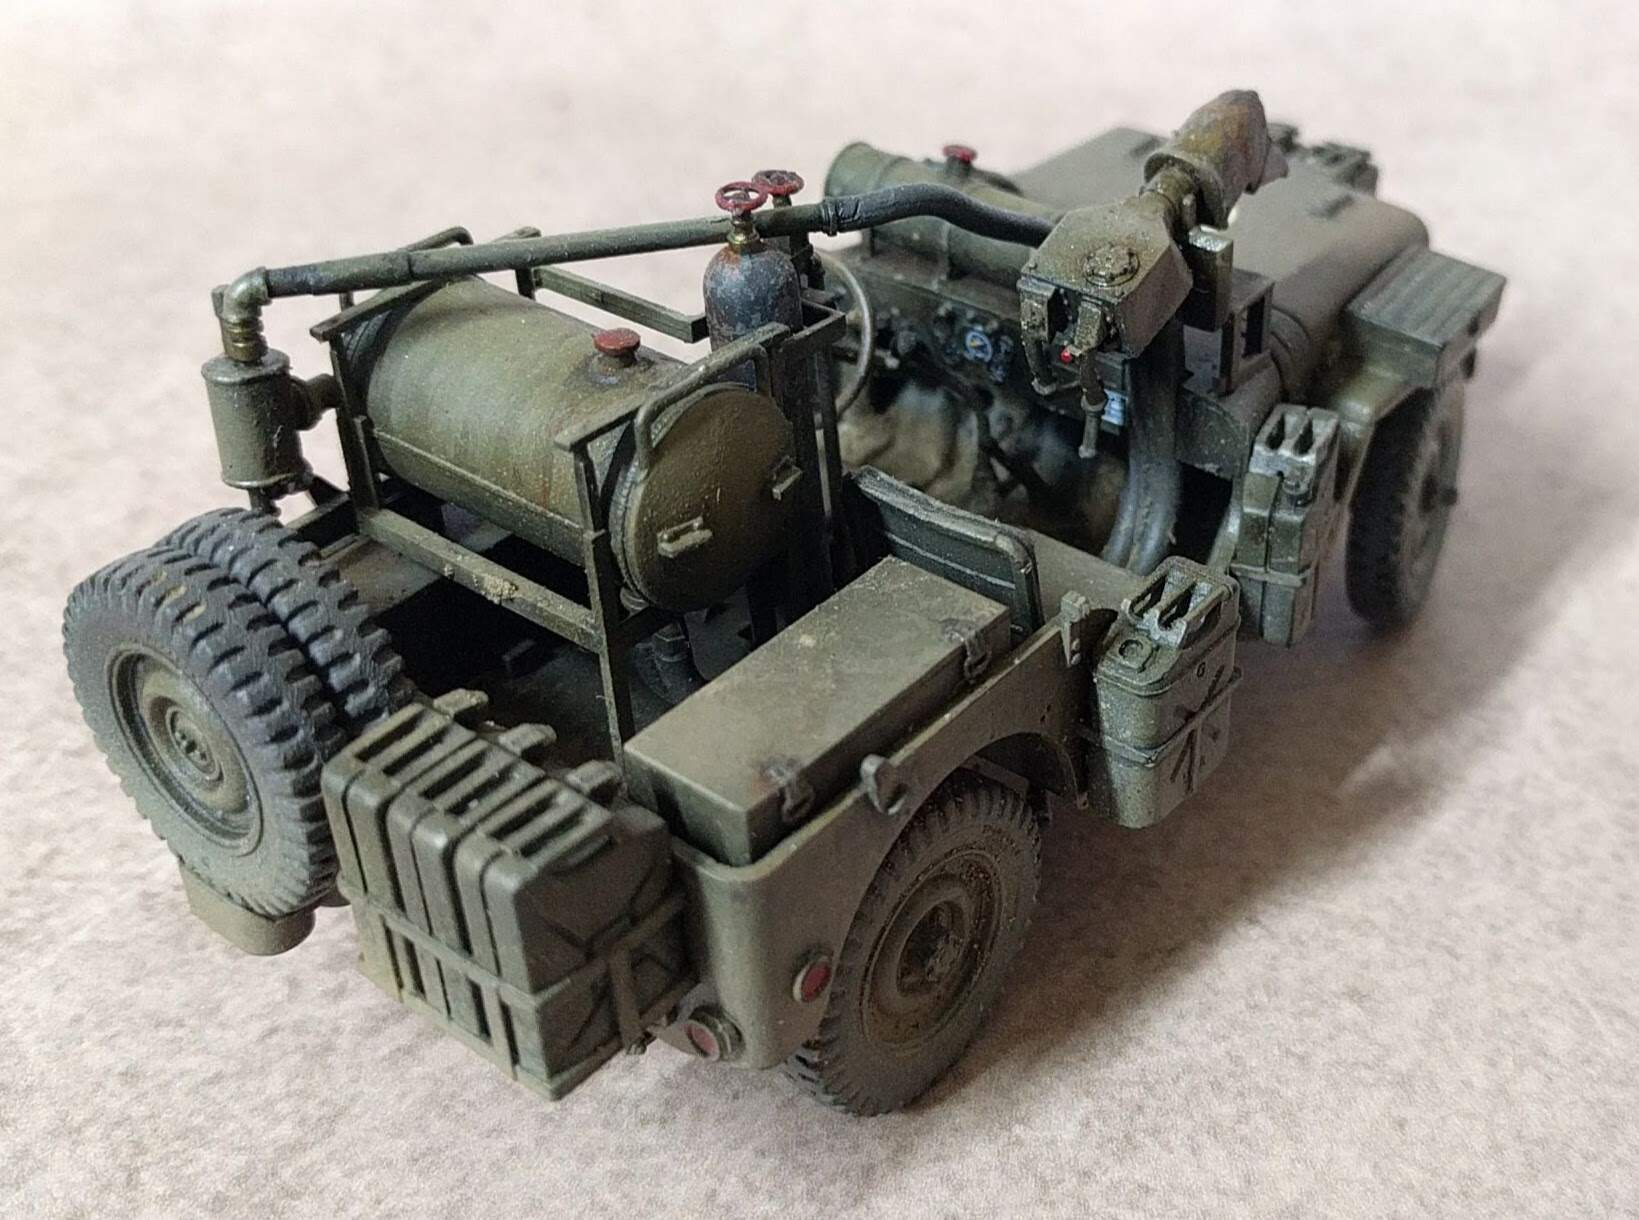
A short While ago I assembled a Meng Wasp Jeep as a bit of return to historical plastic modeling. It was not too difficult, the suspension was a bit tricky and I took the time to 3d print some new valve handles. Turns out there is quite a bit of detail missing from this kit, mostly related to various hoses and other paraphernalia associated with the flame-thrower. But lacking reference added to a keenness to just build something I went ahead anyway.
Thus:
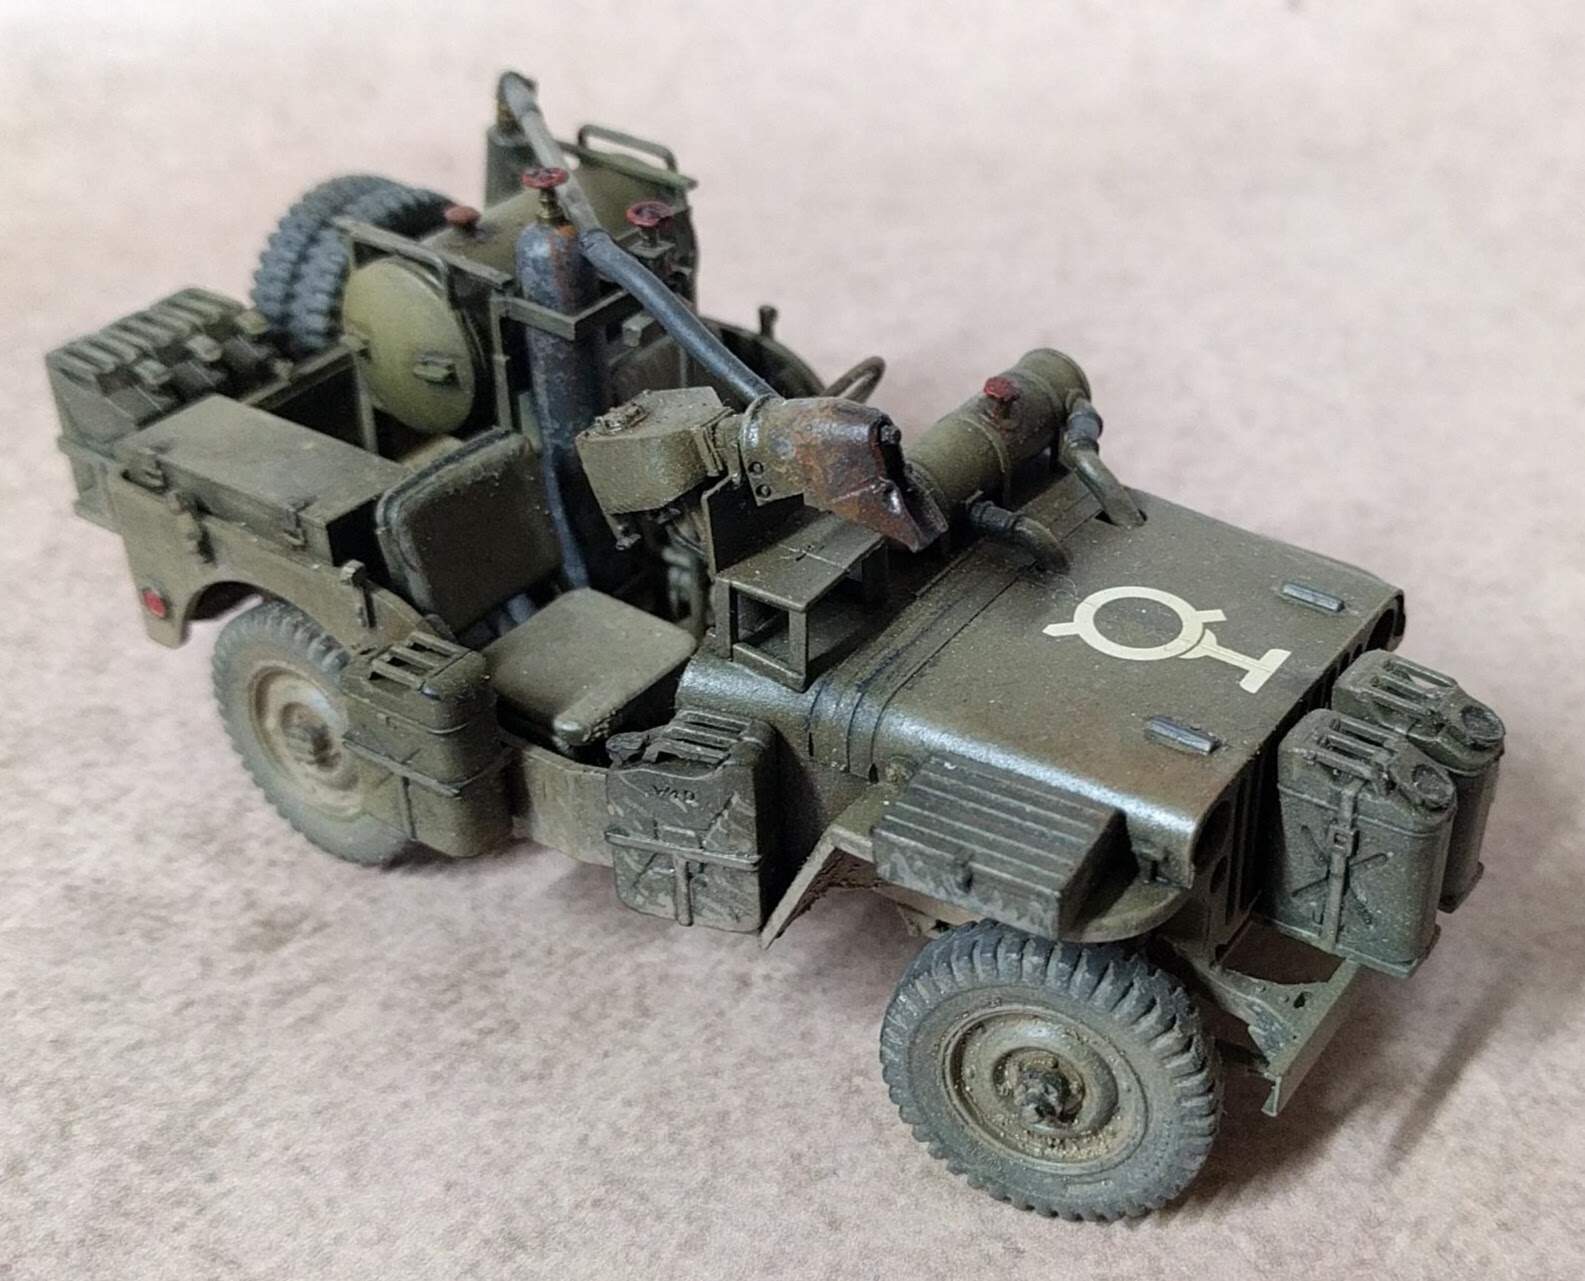
That was fun. Next up, This:
Which has the proper 50 cal, as used by the Rat Patrol. Not that the Flame thrower wasn’t proper. It was just a terrible idea.
6 Likes
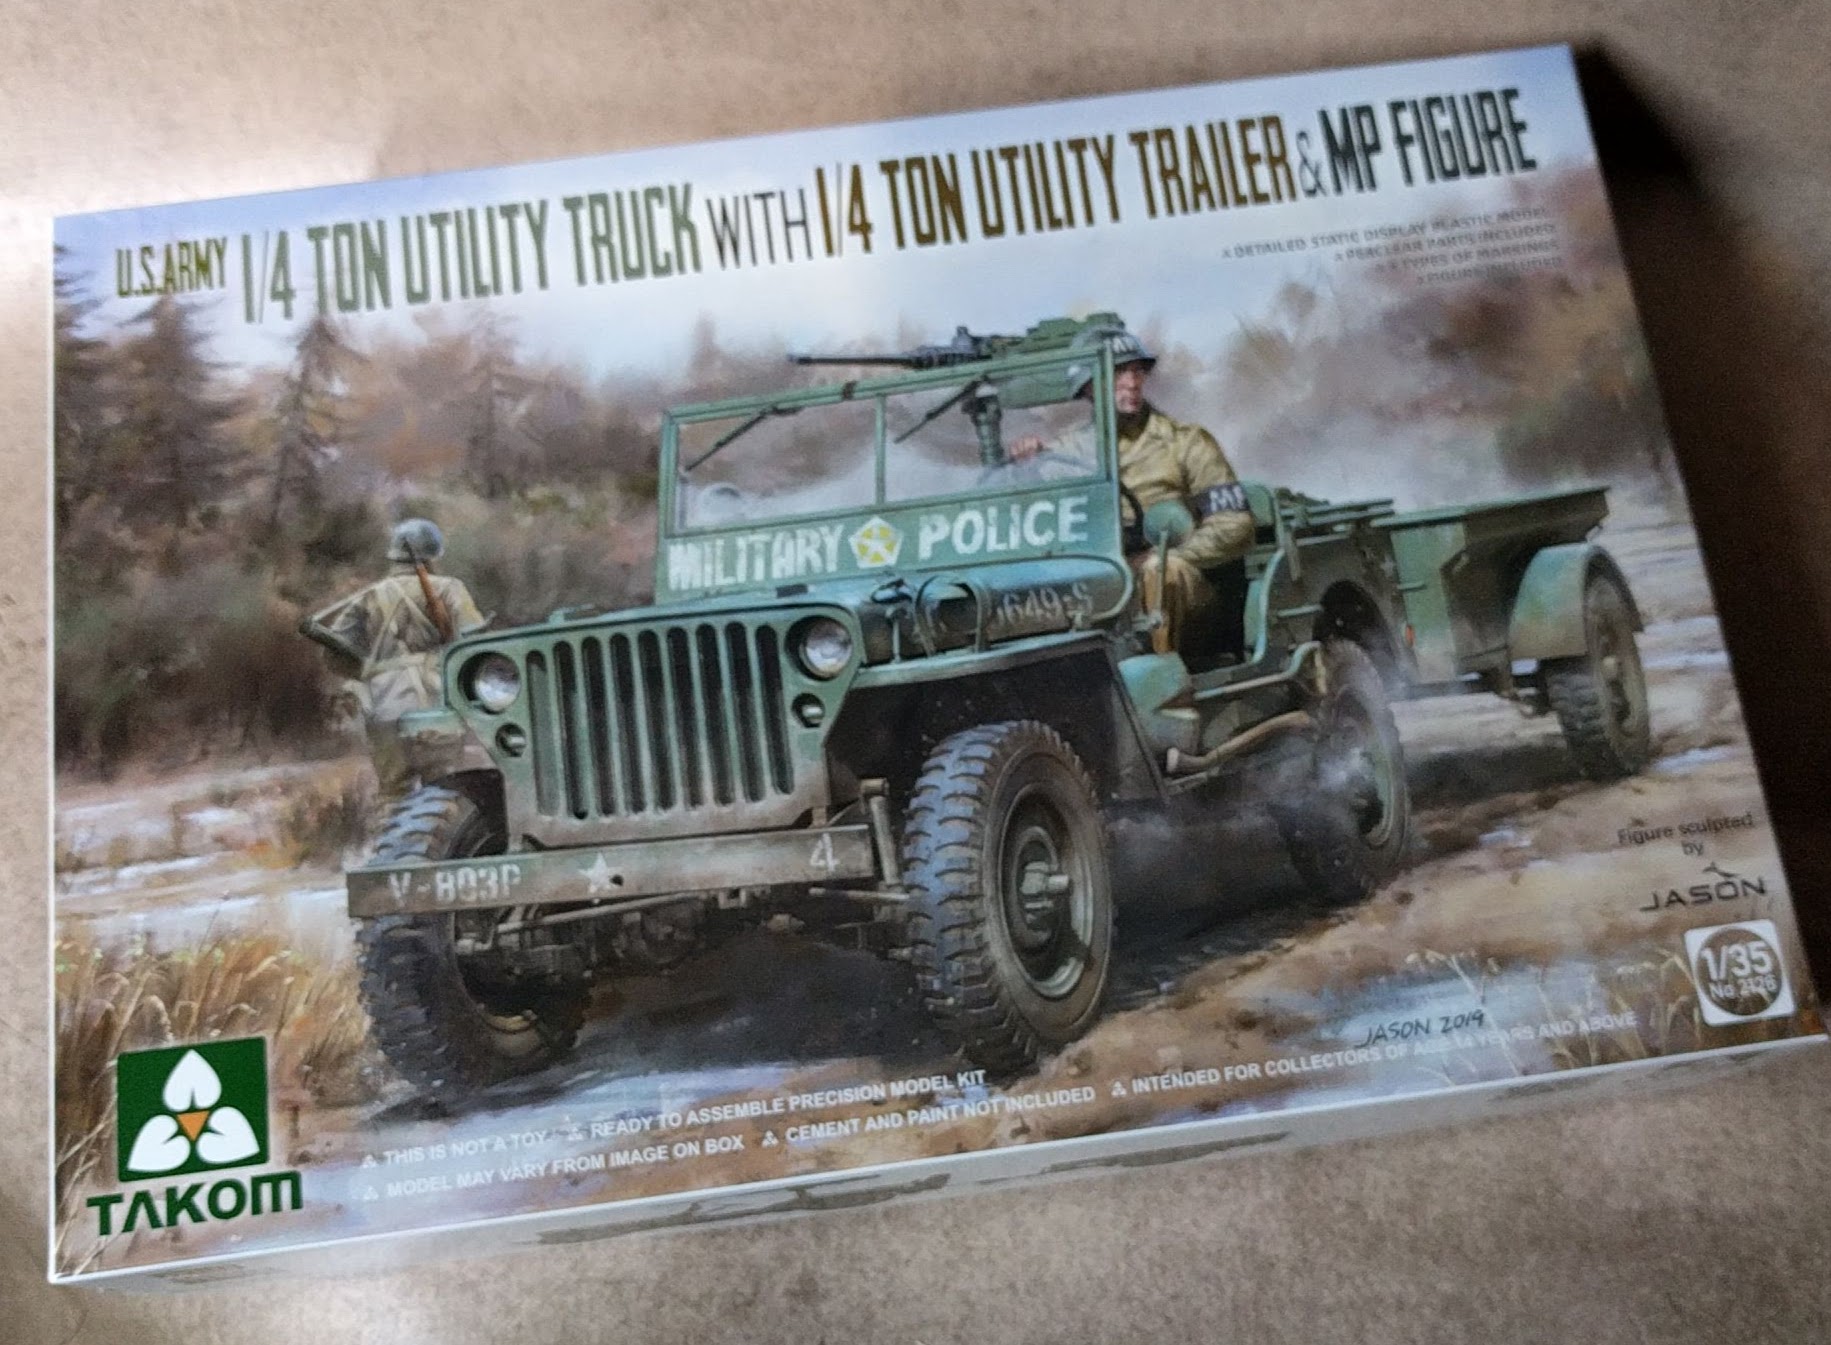
Righto. The Takom Kit. Takom are one of my favorite manufacturers at the moment, being well detailed and reasonably priced while also providing a good range of subject matter. They have the Standard, stable, high sales German things and a nice variety of other subjects more rarely kited. Their WW1 range is very welcomed, for example.
Anyhoo. Jeep.
You know that moment when you open the box and think “this looks good!” and tack on the hope that 'this is going to fall together like a Tamiya kit".
*sigh.
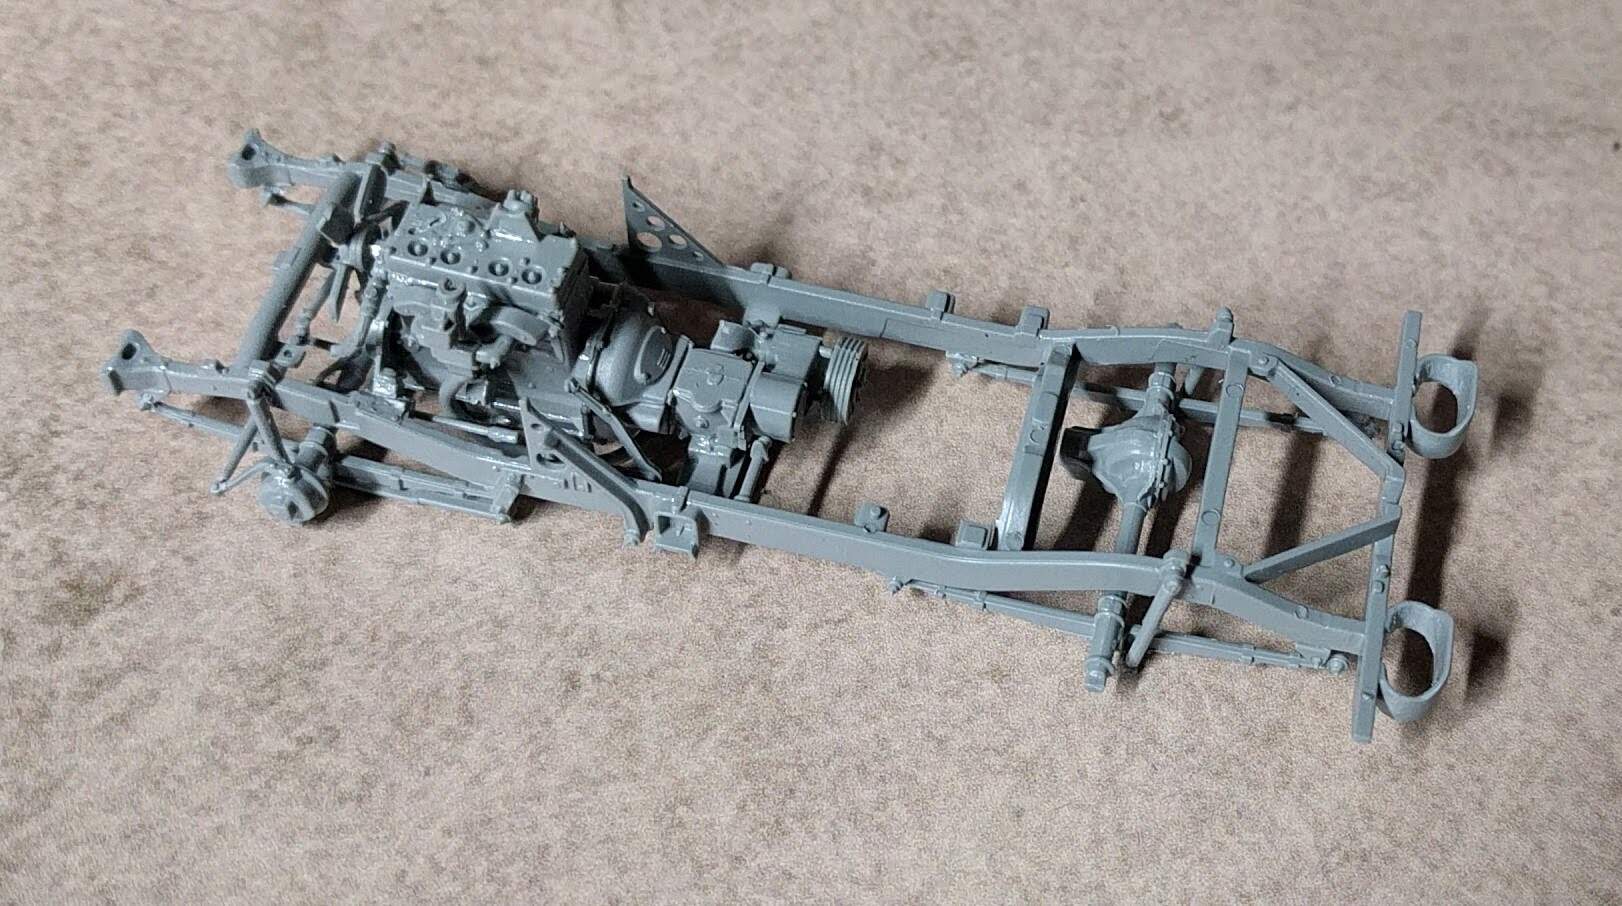
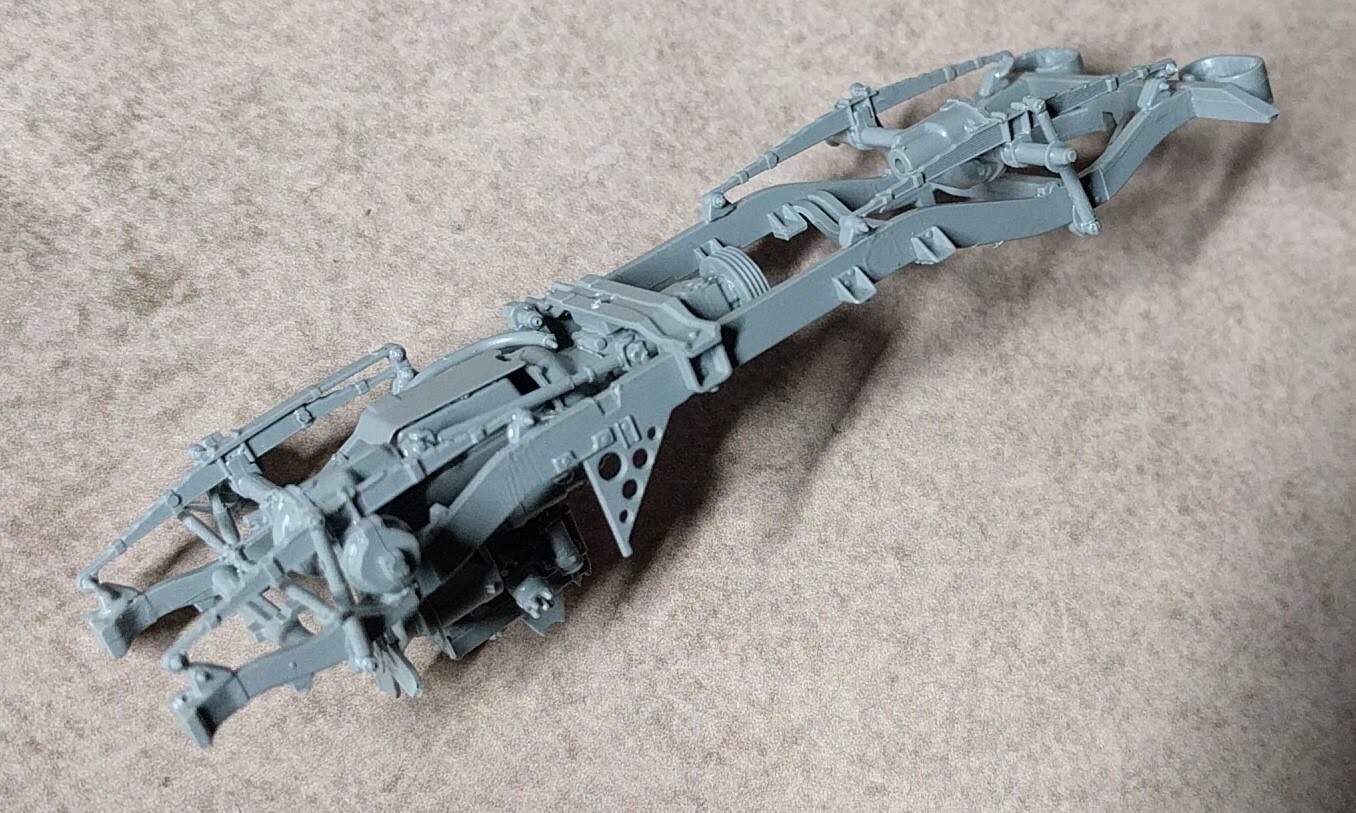
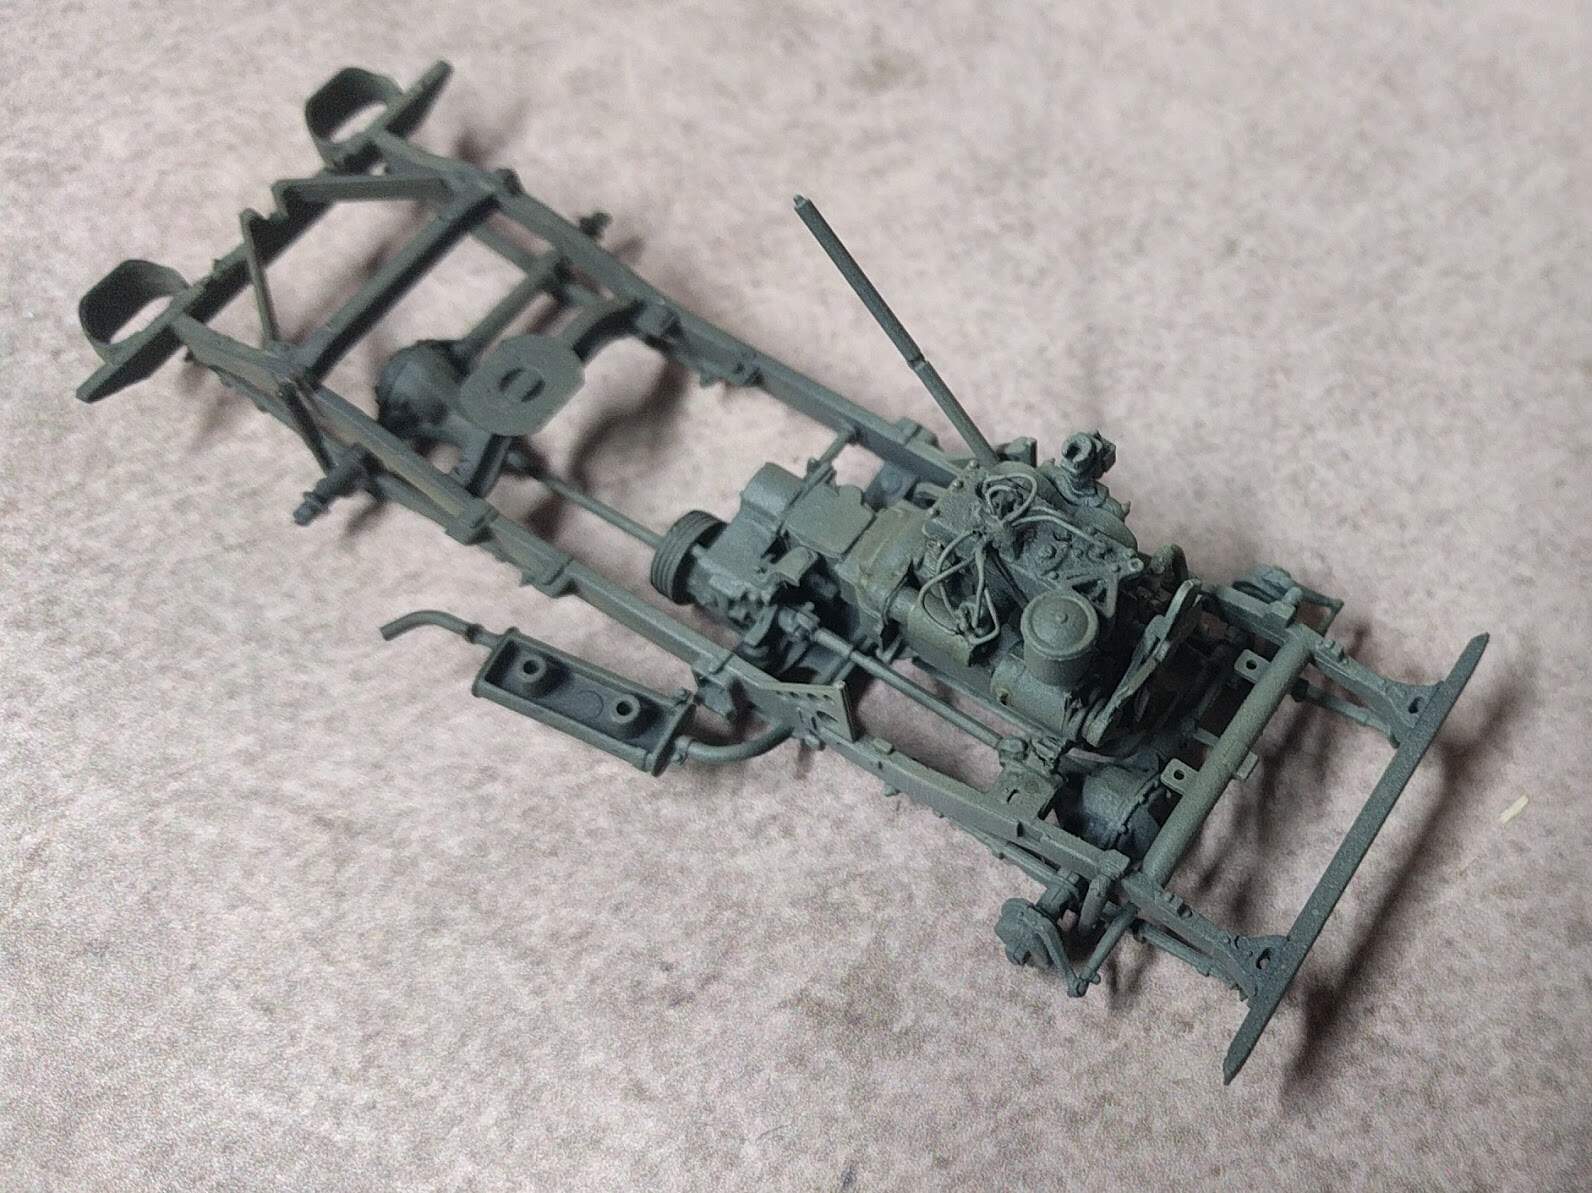
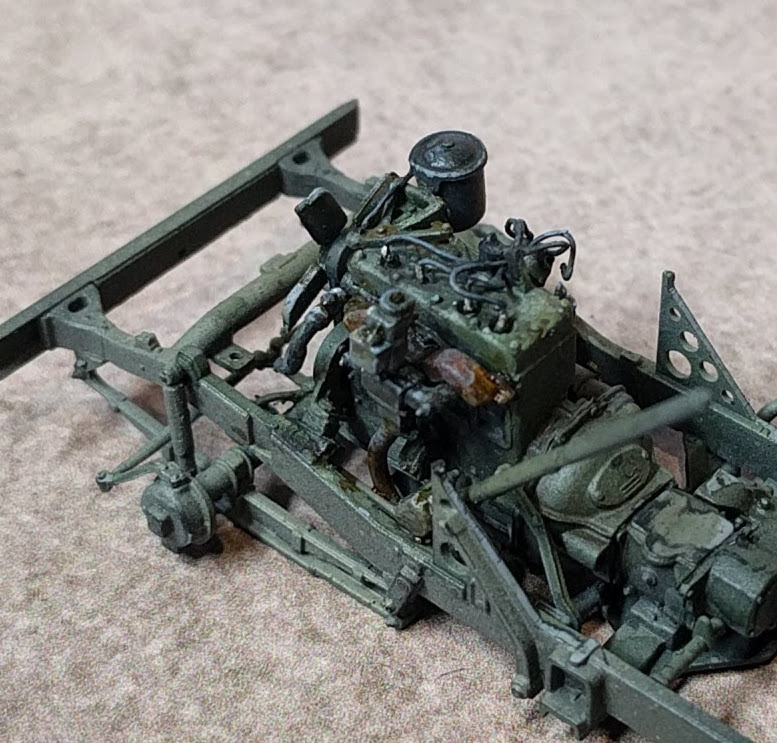
Lets just say the chassis assembly is a tad vague in spots. Most notably, the location (or lack thereof) for the leaf springs onto the chassis rails. I glued my front suspension too far forward which only became apparent when I tried fitting the engine and the steering and front shaft came up about 2mm too short. Luckily I was able to slice them of a reattach without making too much mess. Meh. It’s going to be covered in mud, right?
Now to be fair, I recall the Meng wasp kit being a bit fiddly with the suspension as well, but it didn’t have the alignment issues. It also had positional steering, which the takom kit does not.
Still, it’s all gone together okay. I suspect the detail is a bit better with the Takom. they both have engines, but the wasp kit doesn’t really allow for leaving the hood open (the pipes get in the way) so I didn’t do anything but fit the visible parts to that one. Might open this one up. it’ll need some ignition wires and wotnot.
…and of course the photo shows several ejector pin thingies and some seam lines to deal with that I didn’t notice earlier.
3 Likes
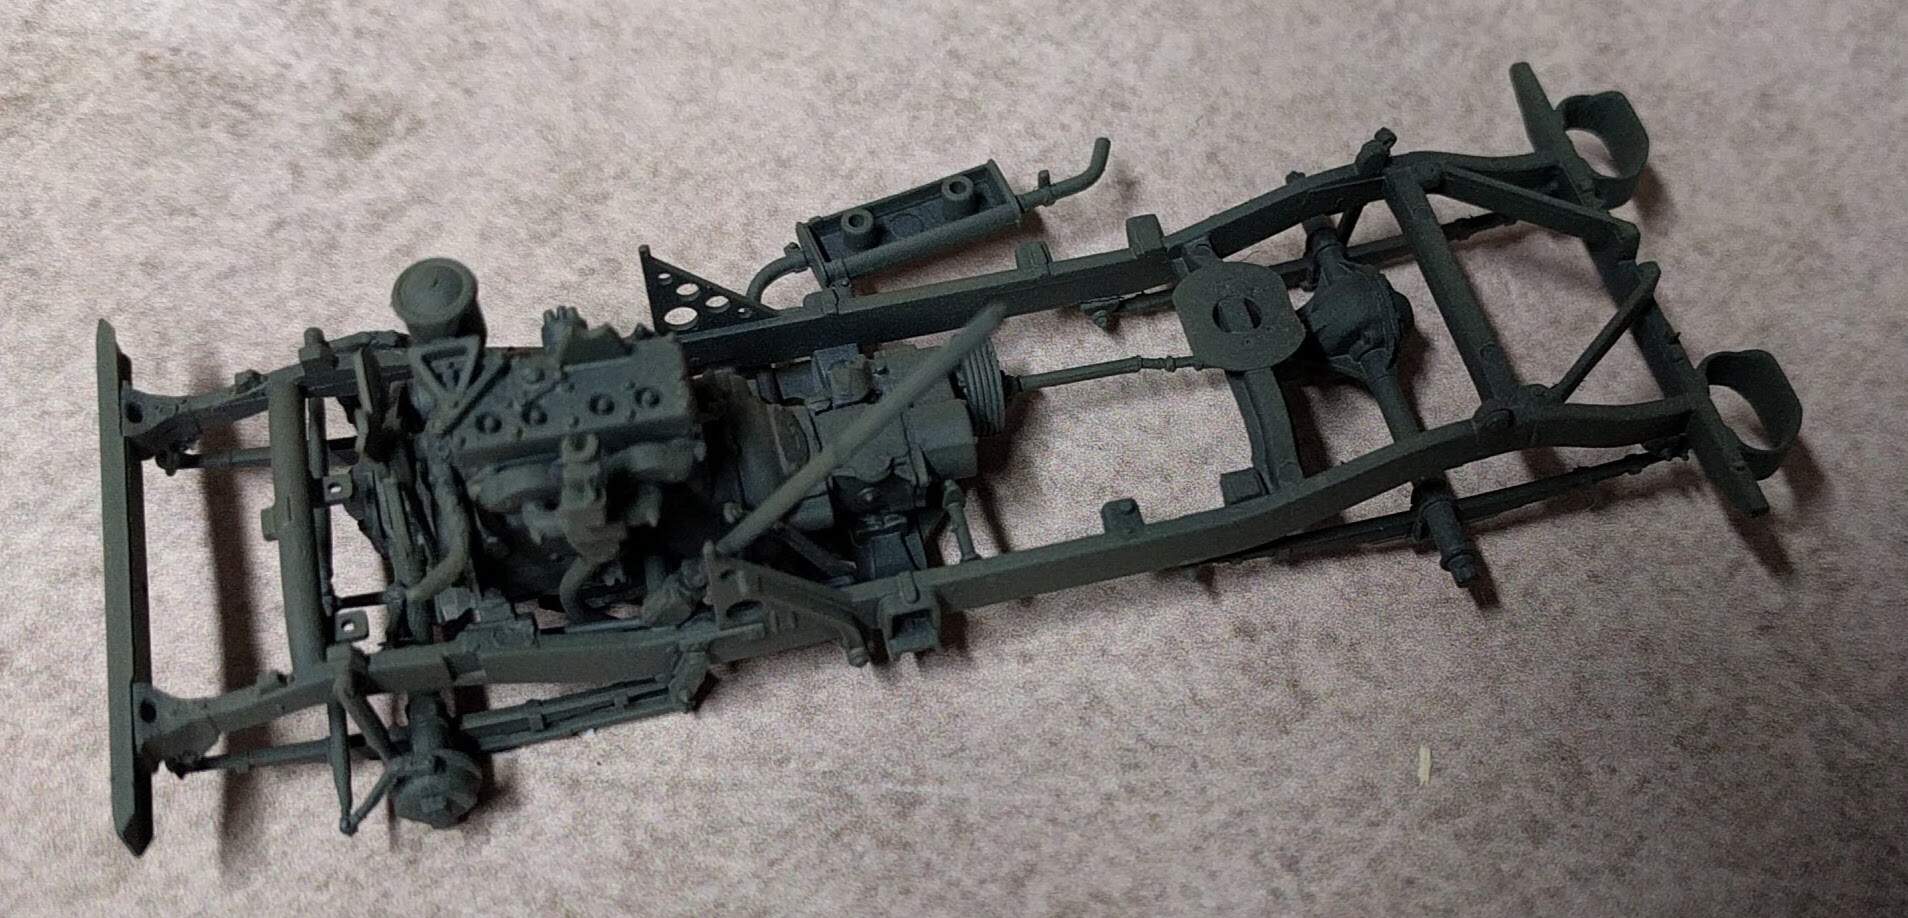
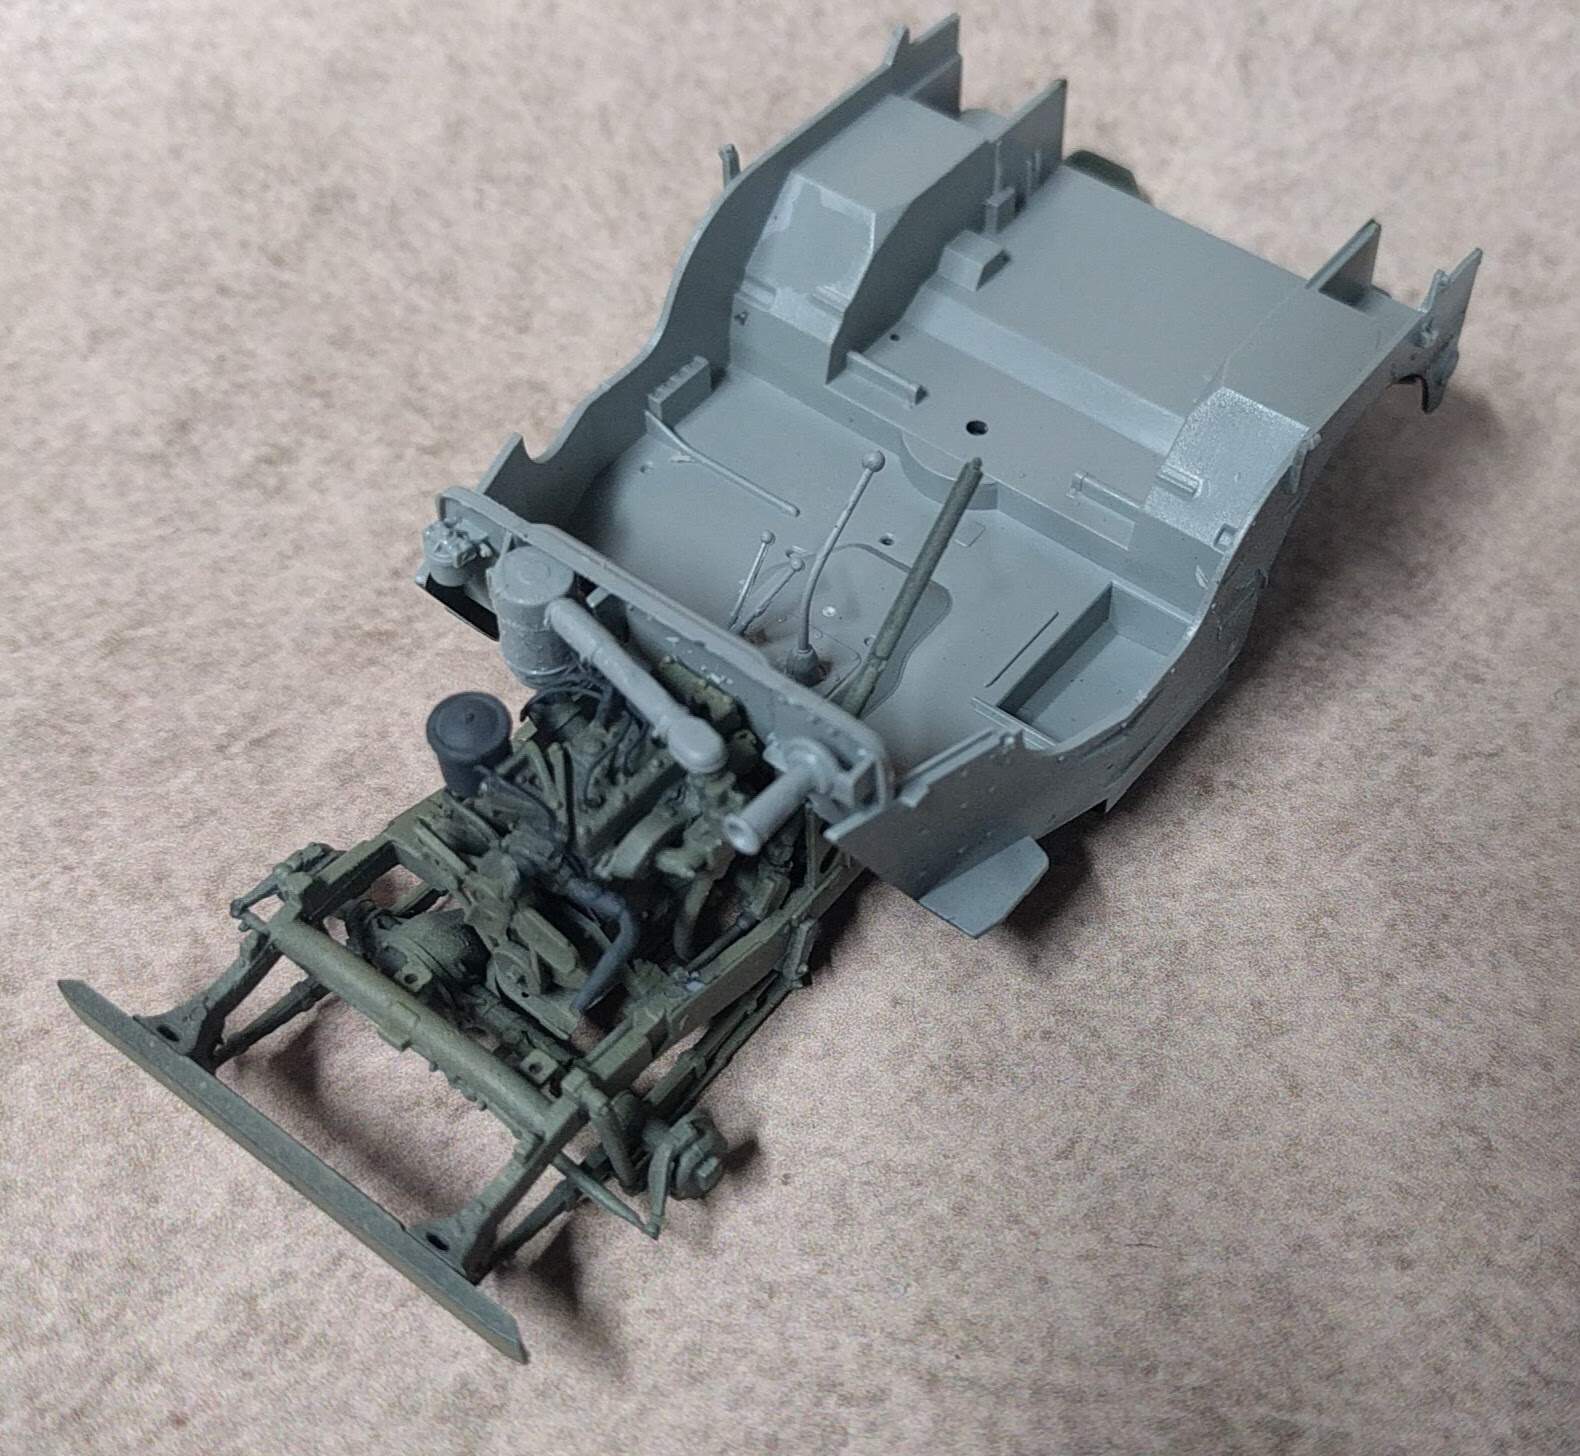
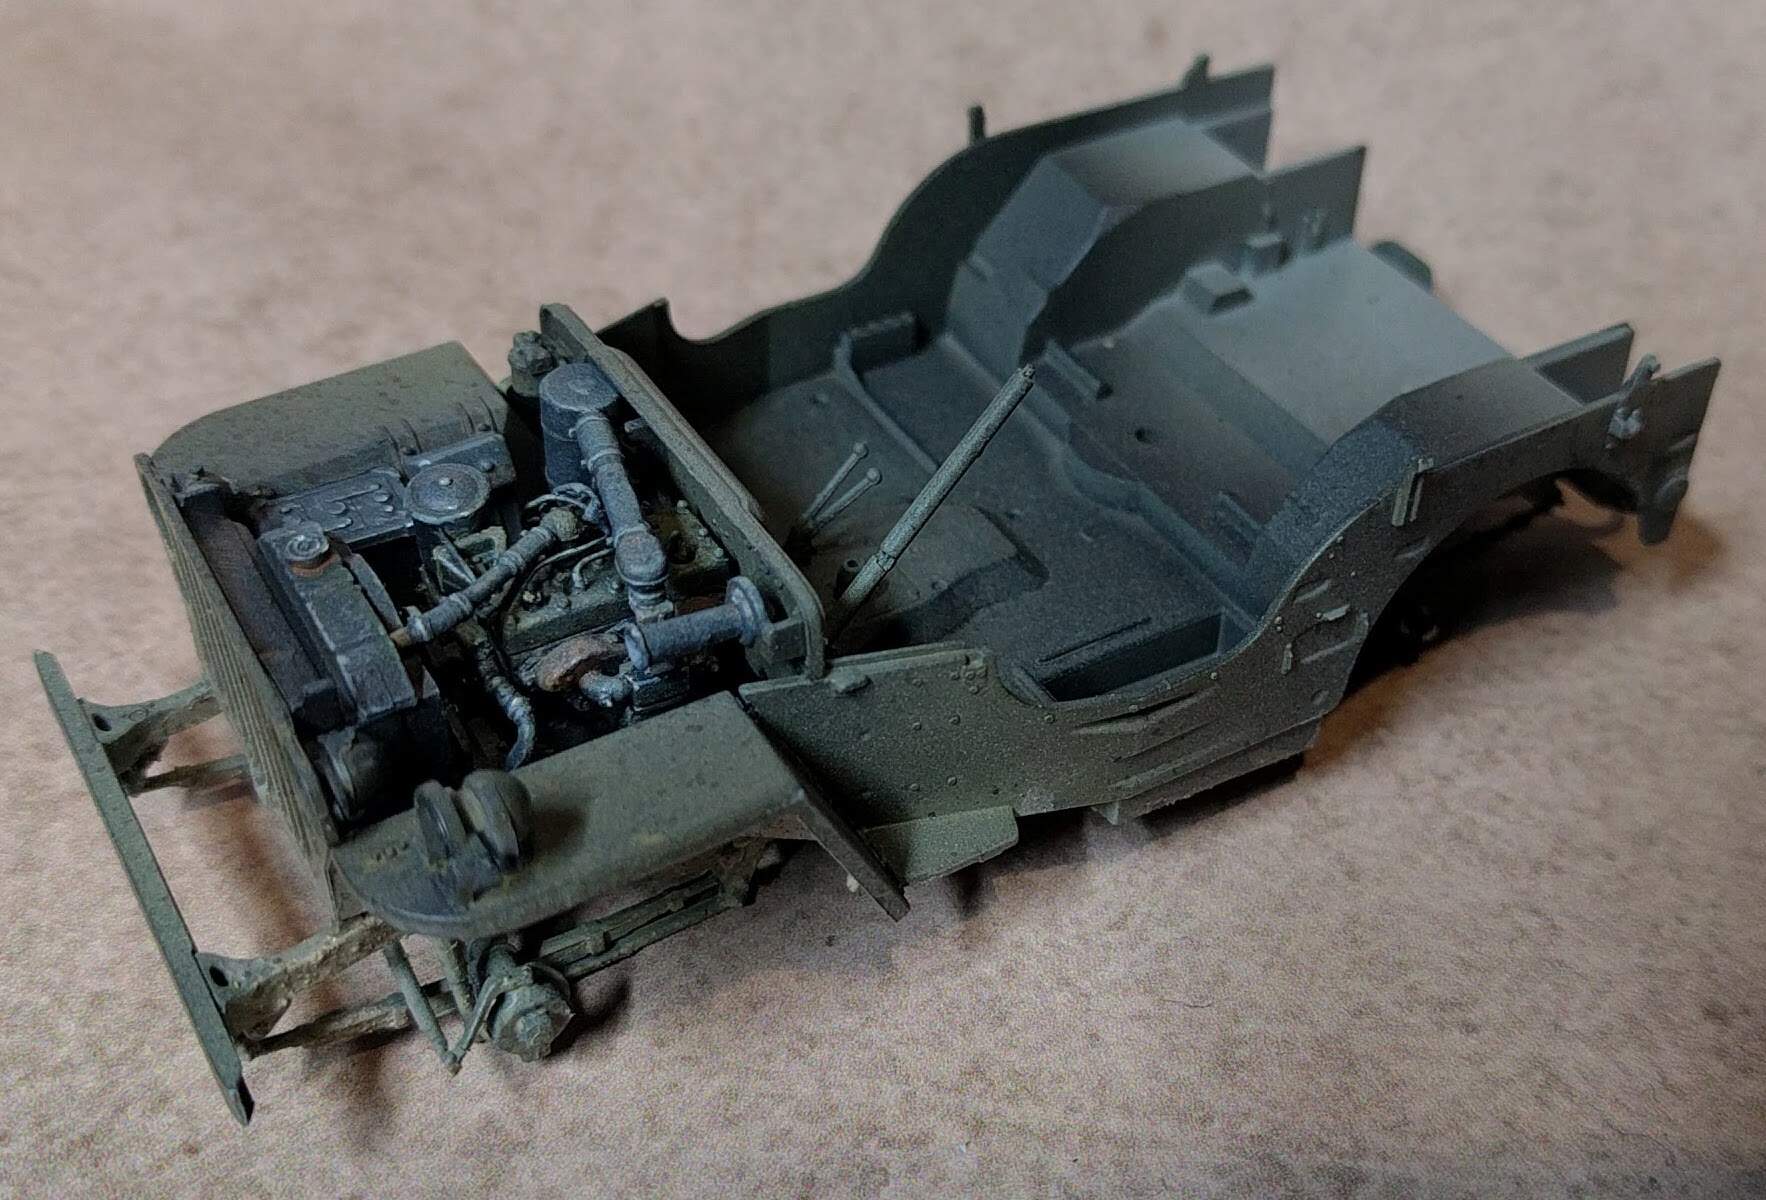
…aaaaand the rear suspension is too far forward…
Also, oddness.
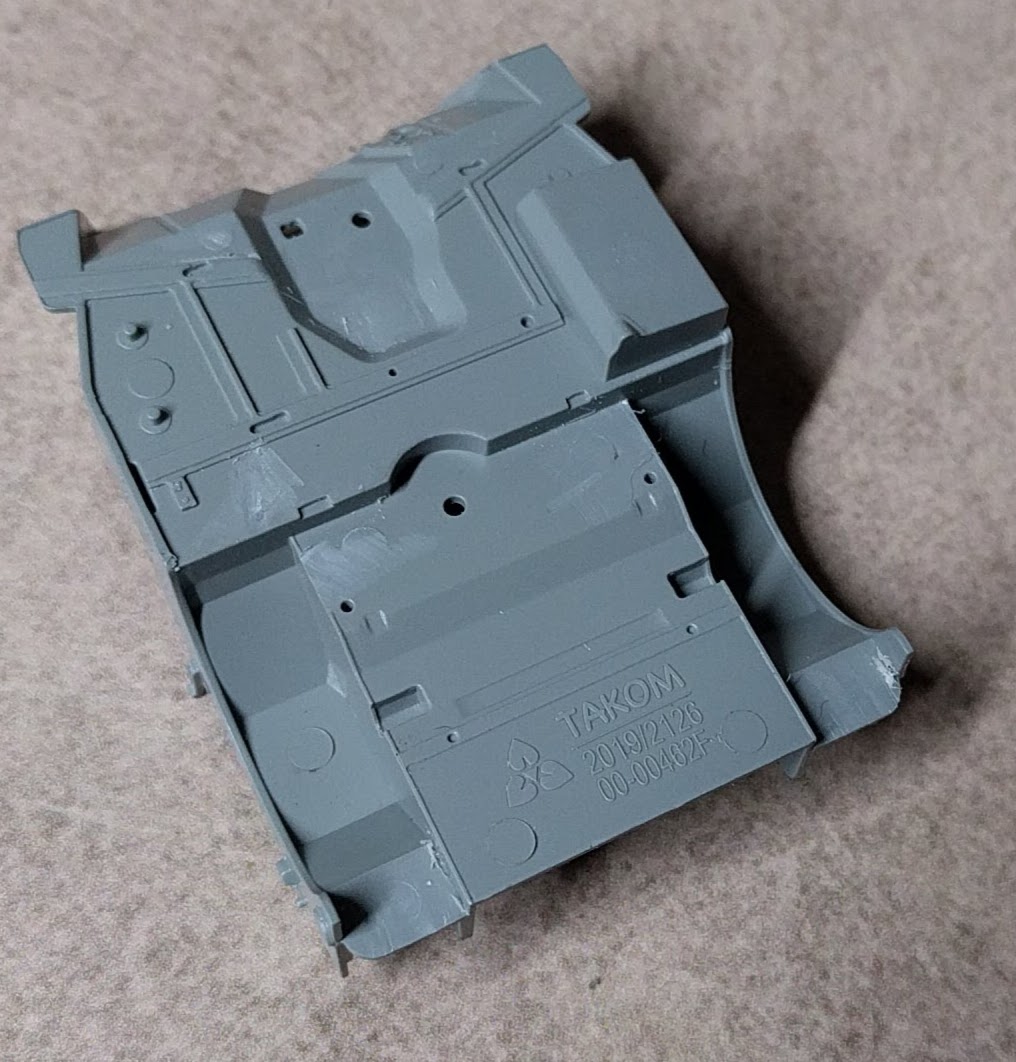
What’s with the in your face branding on the bottom of the body? Meng did this as well. In the same place.
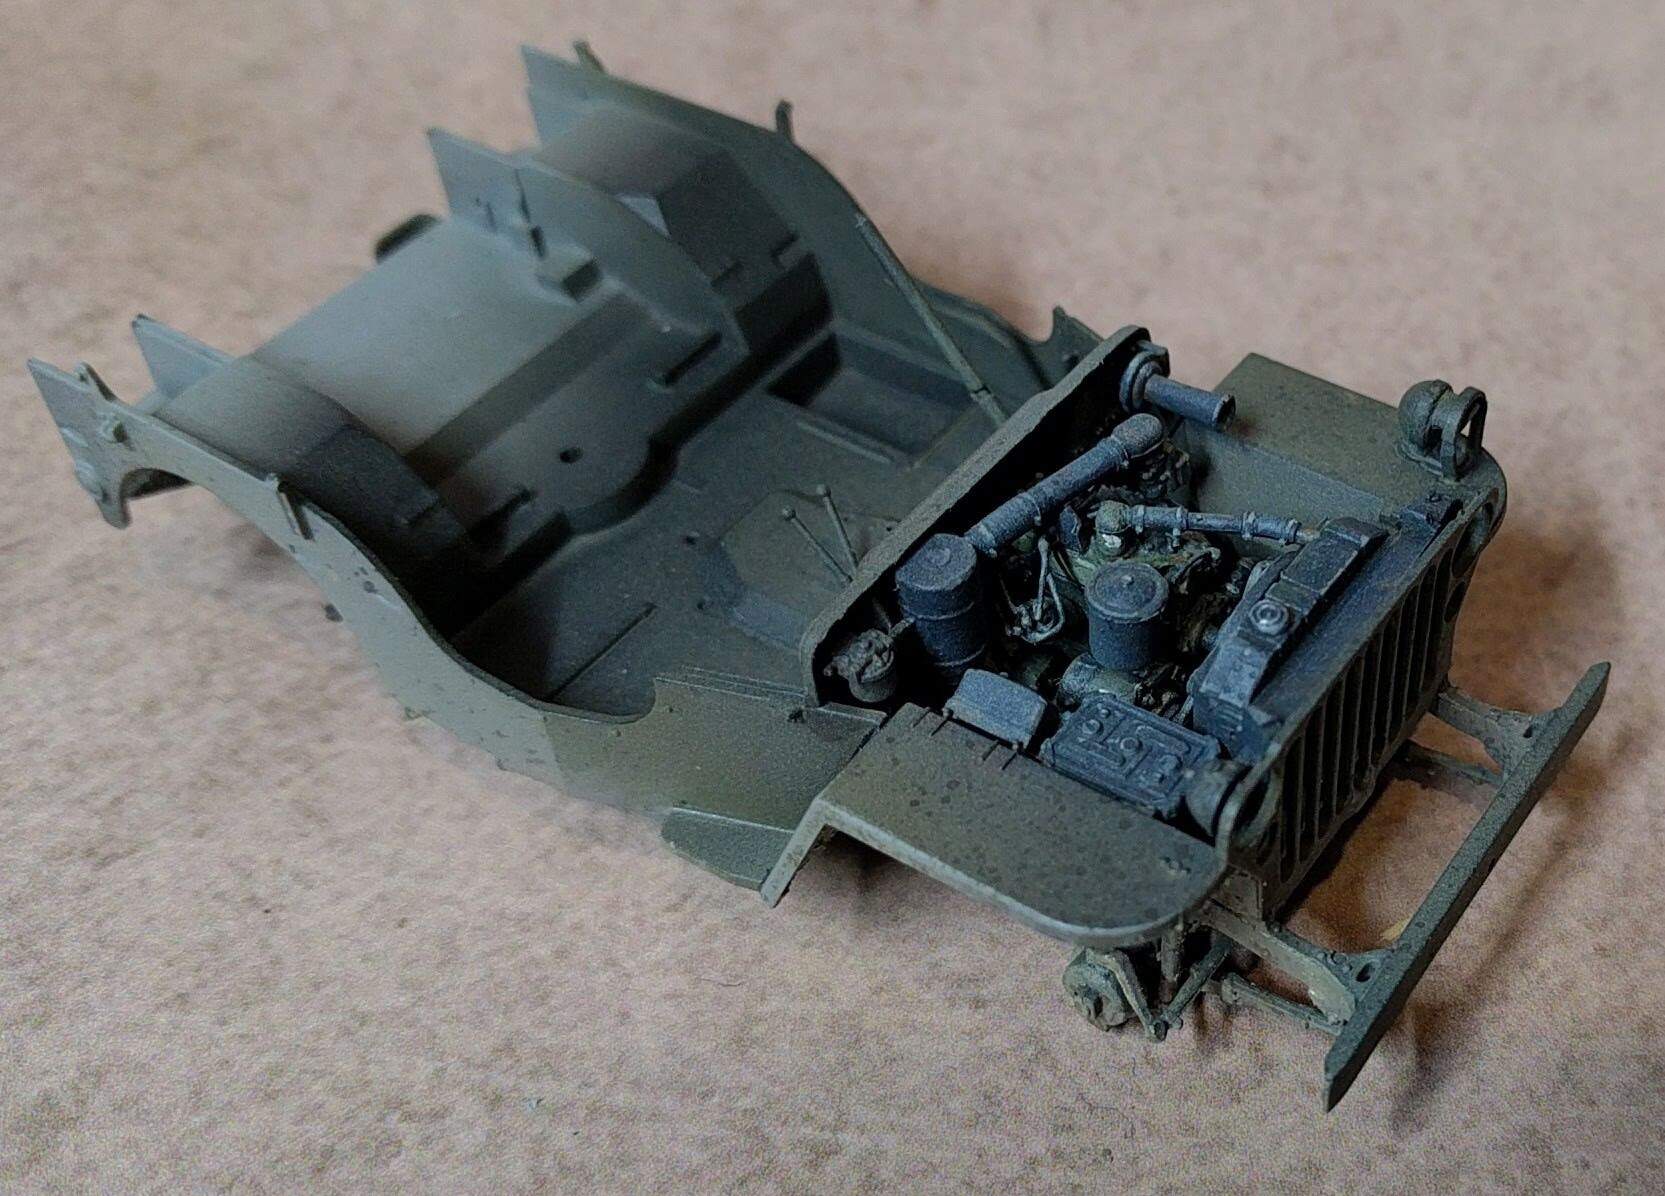
Now with more Olive drab.
Managed to move the rear suspension backwards whilst only sacrificing one shock absorber to the carpet. I’ll replace that later. of course the tail shaft needed patching. It looked straight when I glued it in. Honest.
Still in two minds as to whether or not to close the hood or add ignition wiring and leave it open.
1 Like
It’s a nice looking engine, I would say leave open.
Yeah. going to give it a go. I managed the wiring on the engine for the scammell from thunder. didn’t even drill the holes. just butt glued them on. Hang on, let me find a pic…
*rumagges…
Ah ha! Found it.
The ones on this kit seem like they’ll be a bit finer though.
5 Likes
@Mousemuffins . That engine looks well used and well done.
The wasp is a bizarre looking vehicle. Well done but still dose not look like a fun vehicle to operate
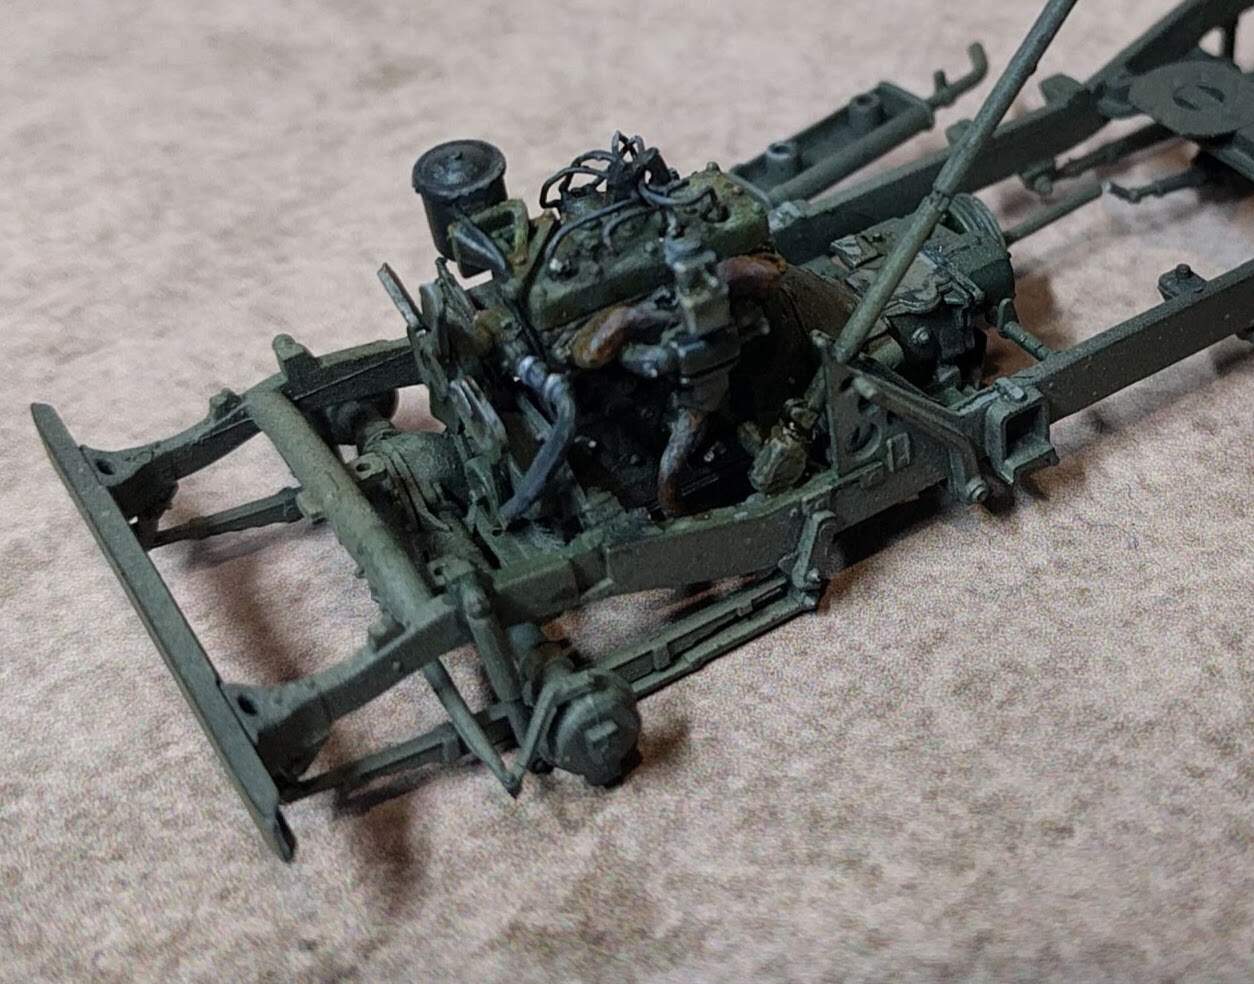
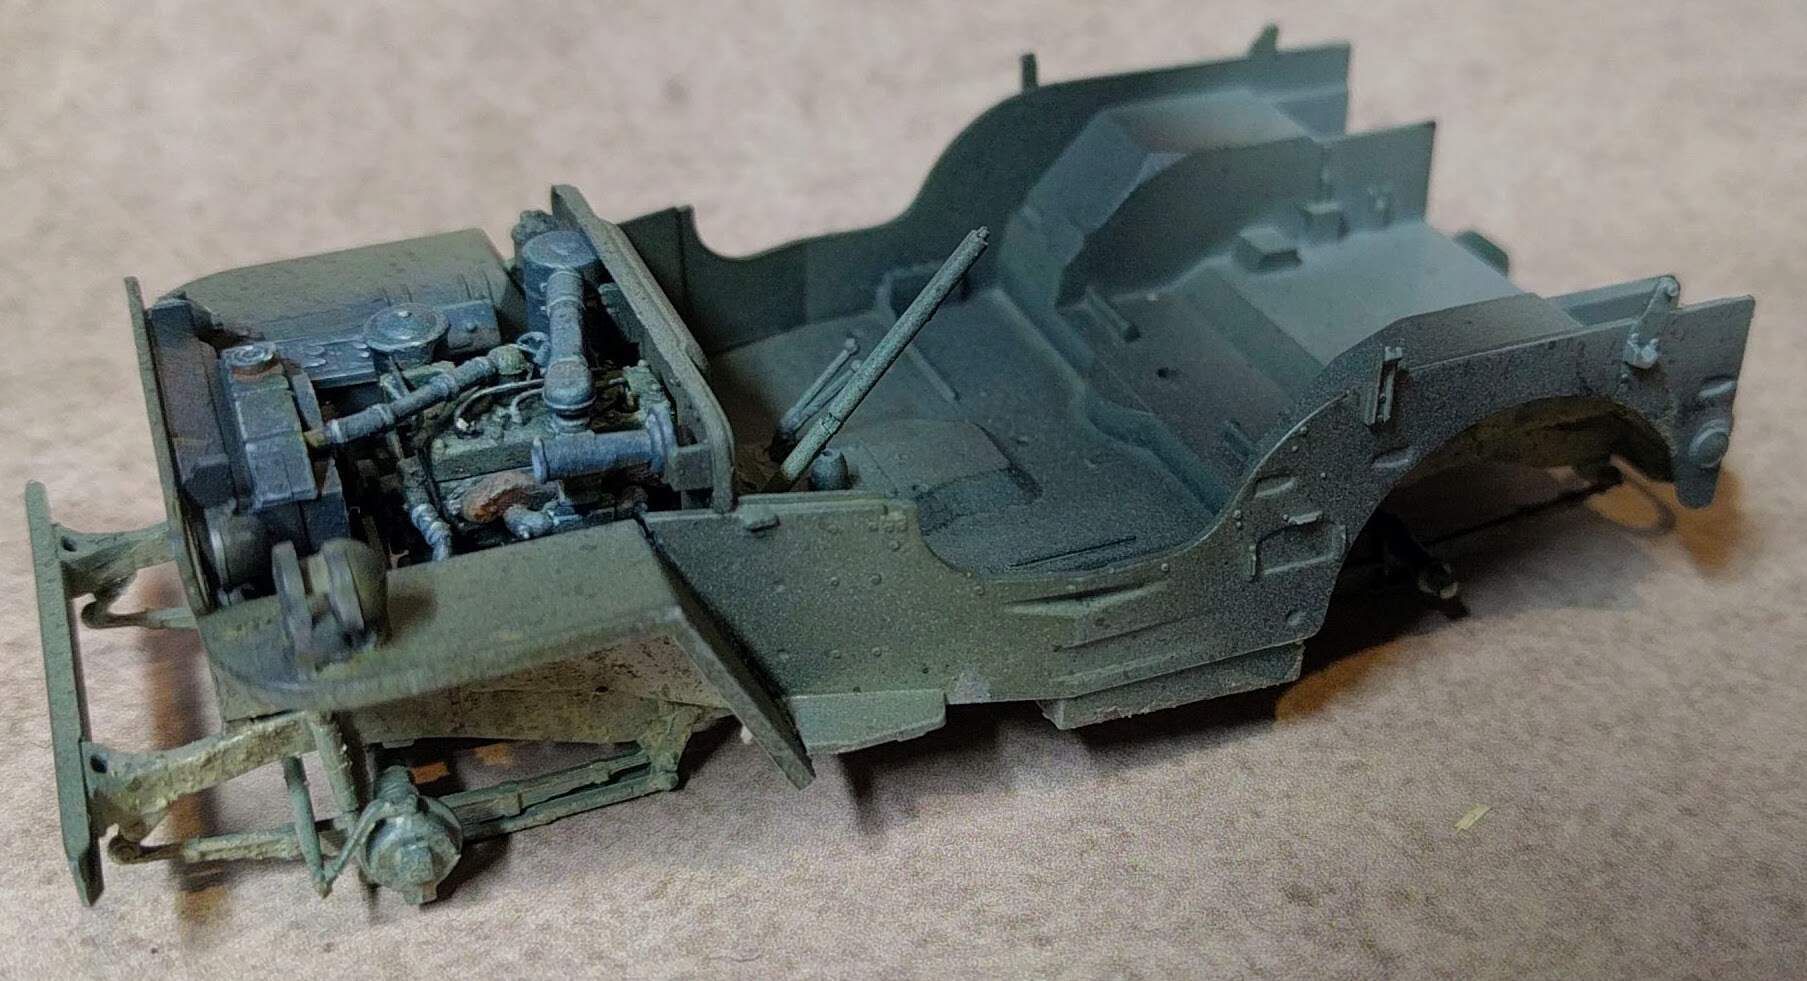
Huzzah. great success.
I was worried when I looked at my references that I would have to make the bracket on the engine and then line it up with the air cleaner pipe before drilling a hole in it to thread the wires through etc etc. turns out is was already molded in place on the top of the motor. Win!
2 Likes
The Air Cleaner pipe, that lines up with the bracket that is part of the firewall that slides into the body that slips over the steering column that is attached the chassis that make up the parts of the Jeep that mousemuffins built.
Seriously. I’m sure this could be easier…
3 Likes
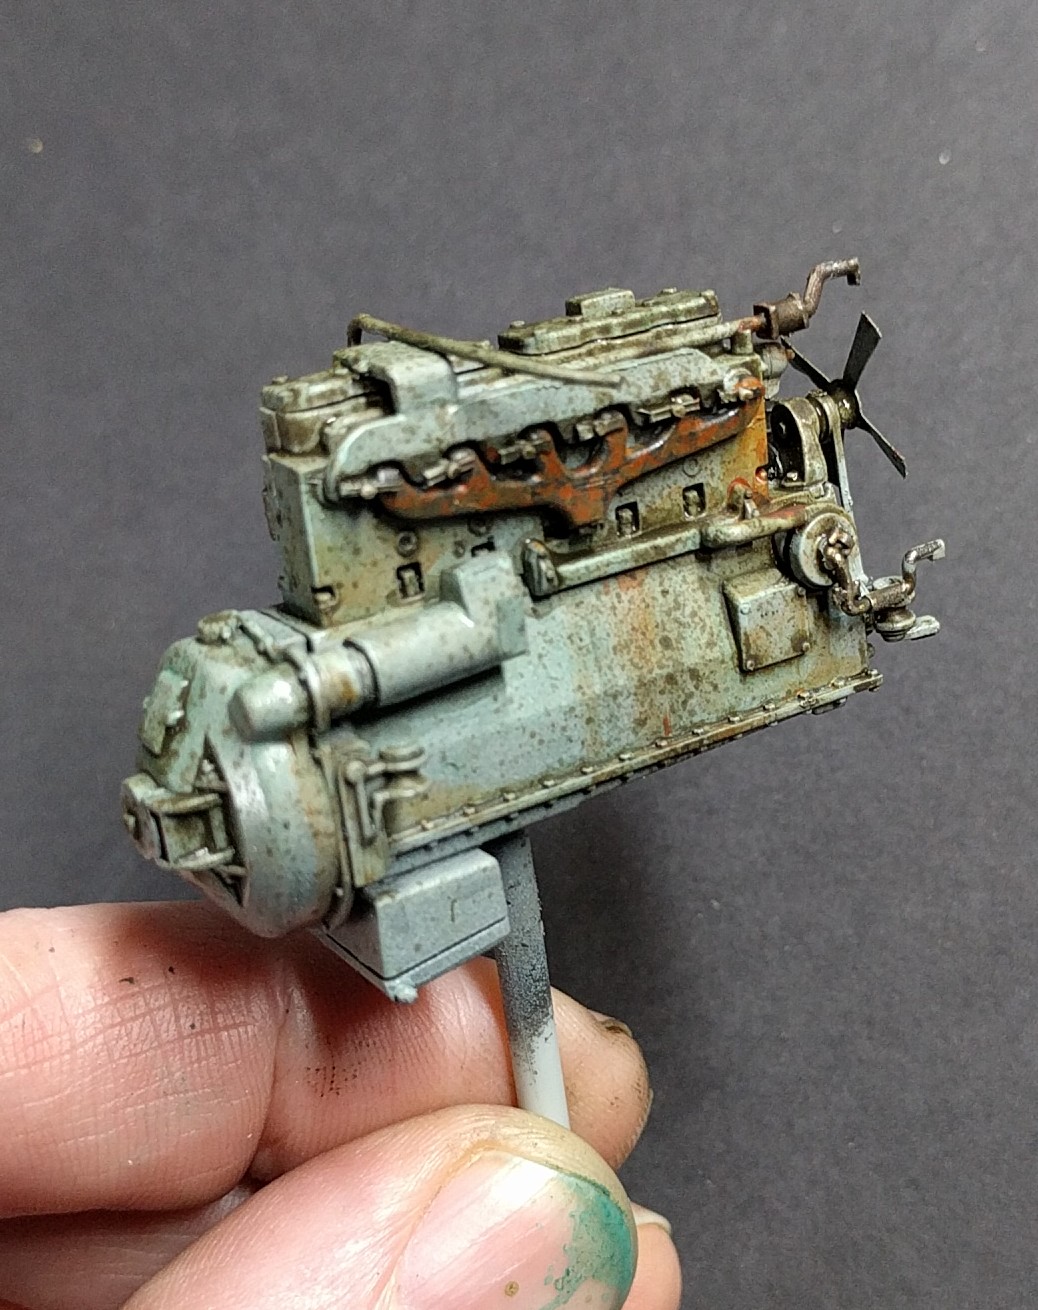
a bit of painting done. Photos are really unkind. and a bit fuzzy. which is probably for the best.
3 Likes
Looks like a nice used engine. You have a loose plug wire in the last photo.
1 Like
Looking really good!
Loose plug wire! No wonder she wouldn’t crank-over! 

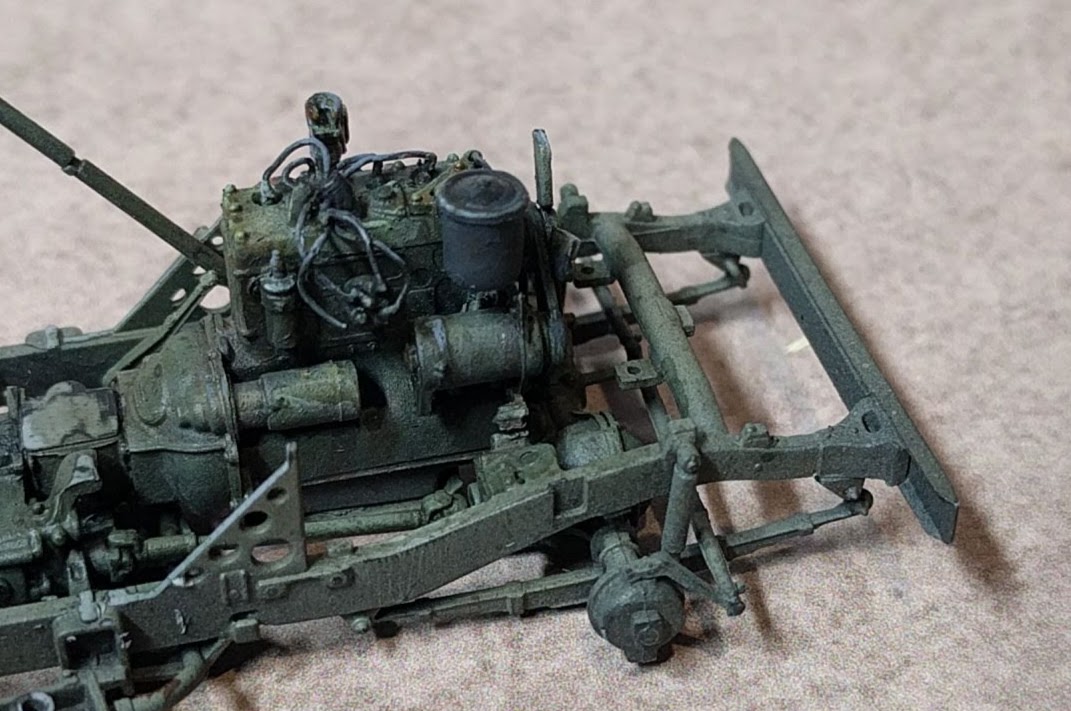
Just wondering why the manufactures put all this nice detail into their Jeep kits only to leave the top surface of the muffler opened-up looking like a snap-kit toy. I understand it won’t be seen but like much of the detail, we know it’s there.
—mike
1 Like
There ARE a few oddities in this kit. The detail level is really high. and then all of a sudden it’s not. The top of the muffler is not visible, but the two connection plugs ARE. if you look carefully. from the side. at the right angle. The Big ol’ brand marking under the floor is reminiscent of hotwheels diecast. Nothing that’s not easily fixed, but odd nevertheless.
Anyhoo, engine compartment basically done. The Rest will be all down hill, Right?
One should note also that I totally meant to have to replace the gear stick with brass wire and scratch-built knob after I totally didn’t accidently on purpose bust off the plastic one. All part of the plan…
3 Likes
Why did you not like the gear shifter? It’s looking good. How will you be marking the Jeep?
Eh. Something to do with a small pinging sound and magical disappearance. It was there one minute, suddenly a quiet 'om nom nom" from the carpet.
I’m thinking something with a big honking white star on the bonnet for markings.
2 Likes