Hello,
Moving into the new forum with a build blog that was commenced at Armorama in April 2017
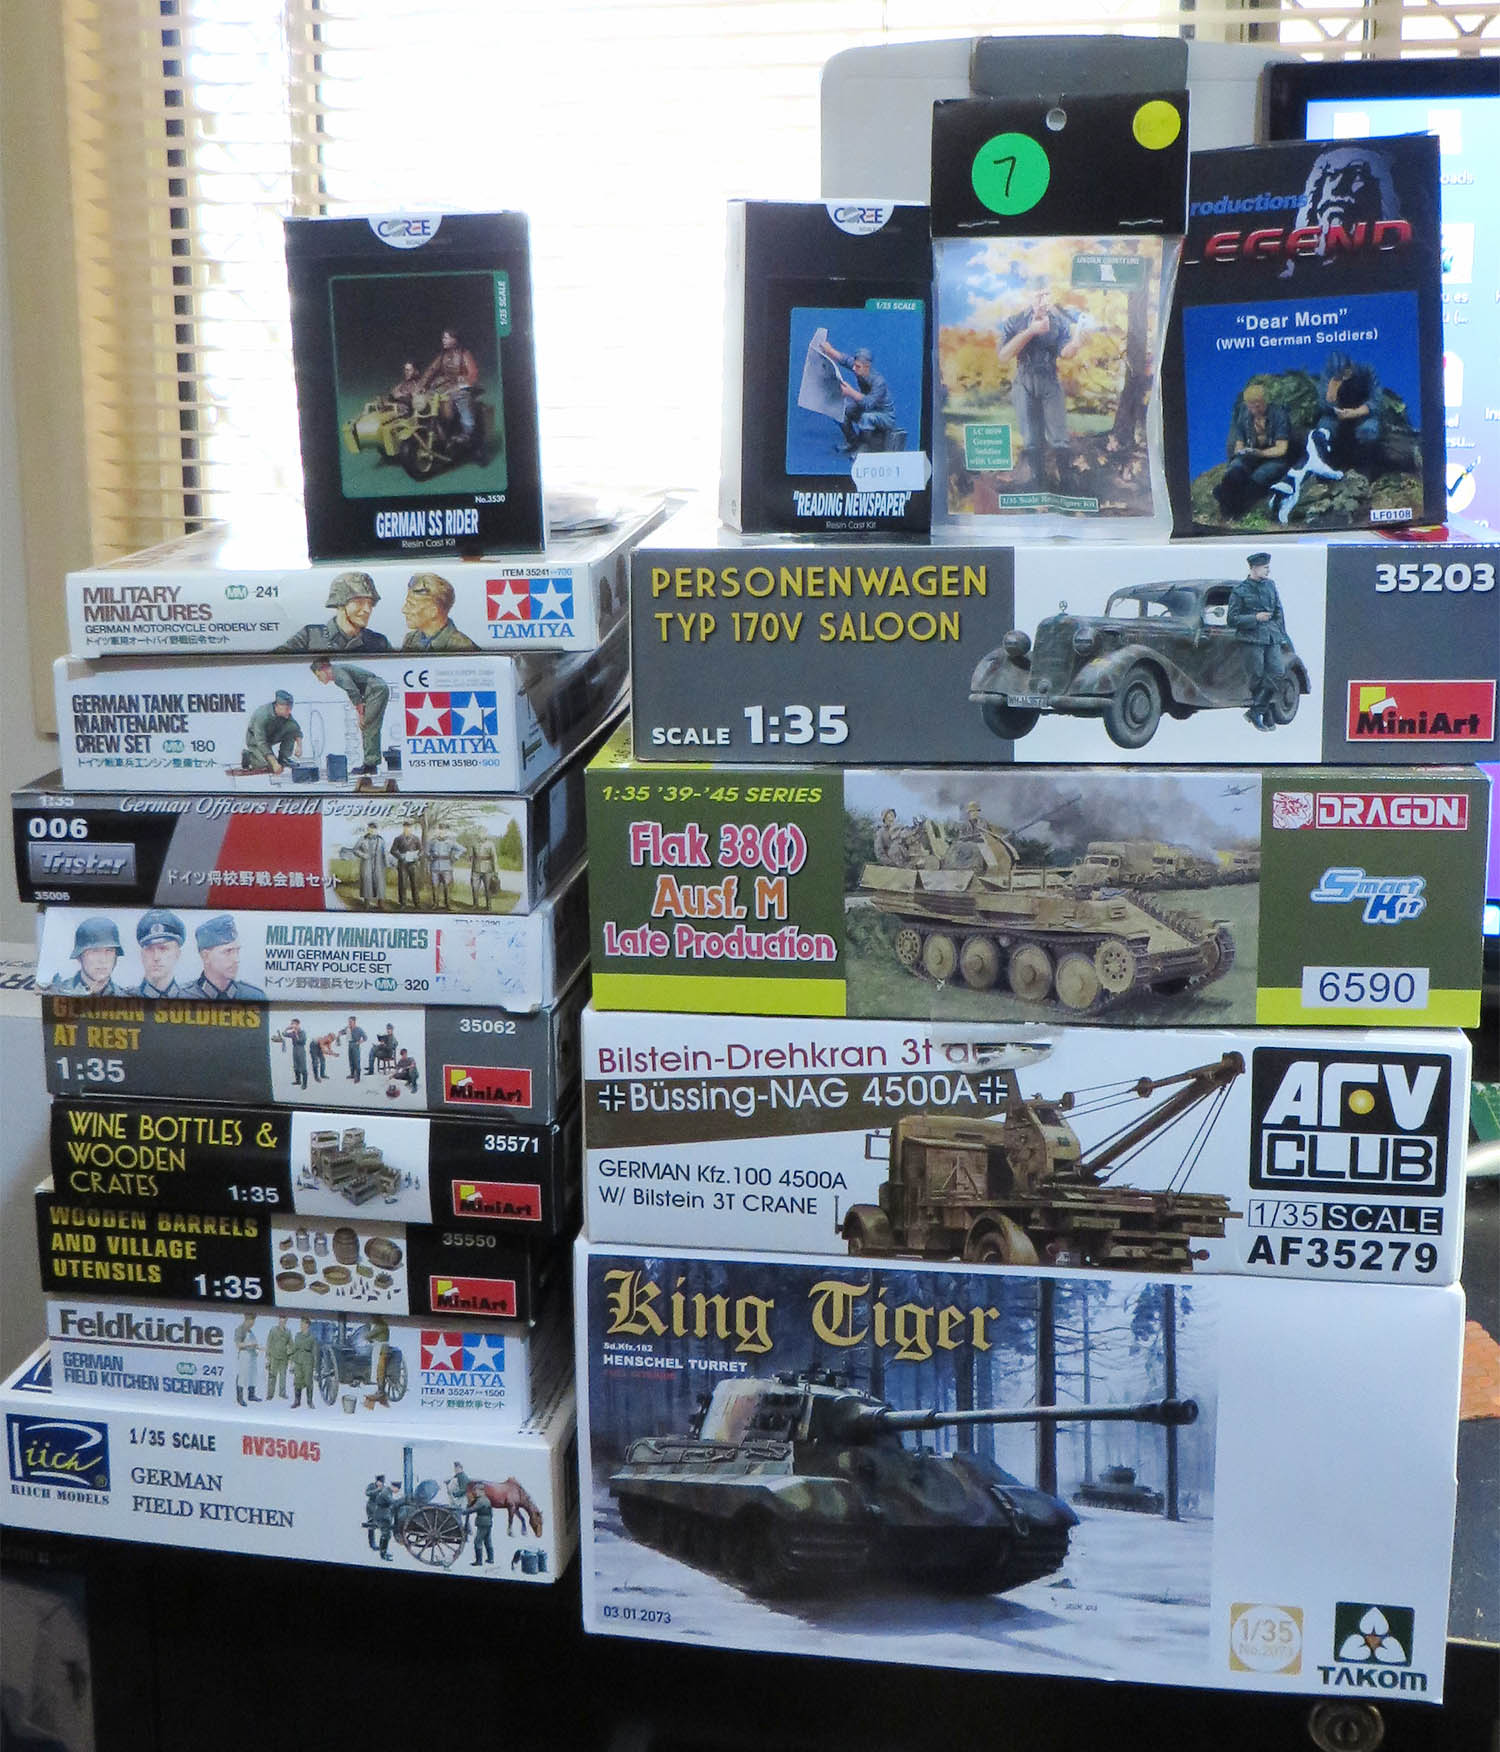
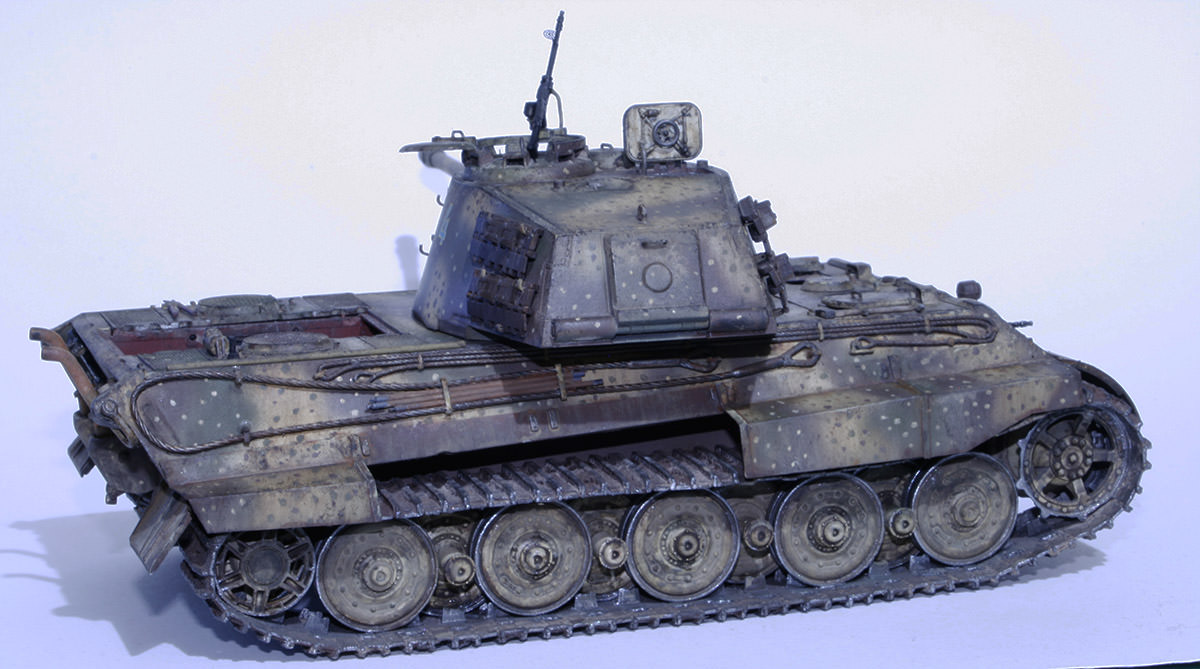
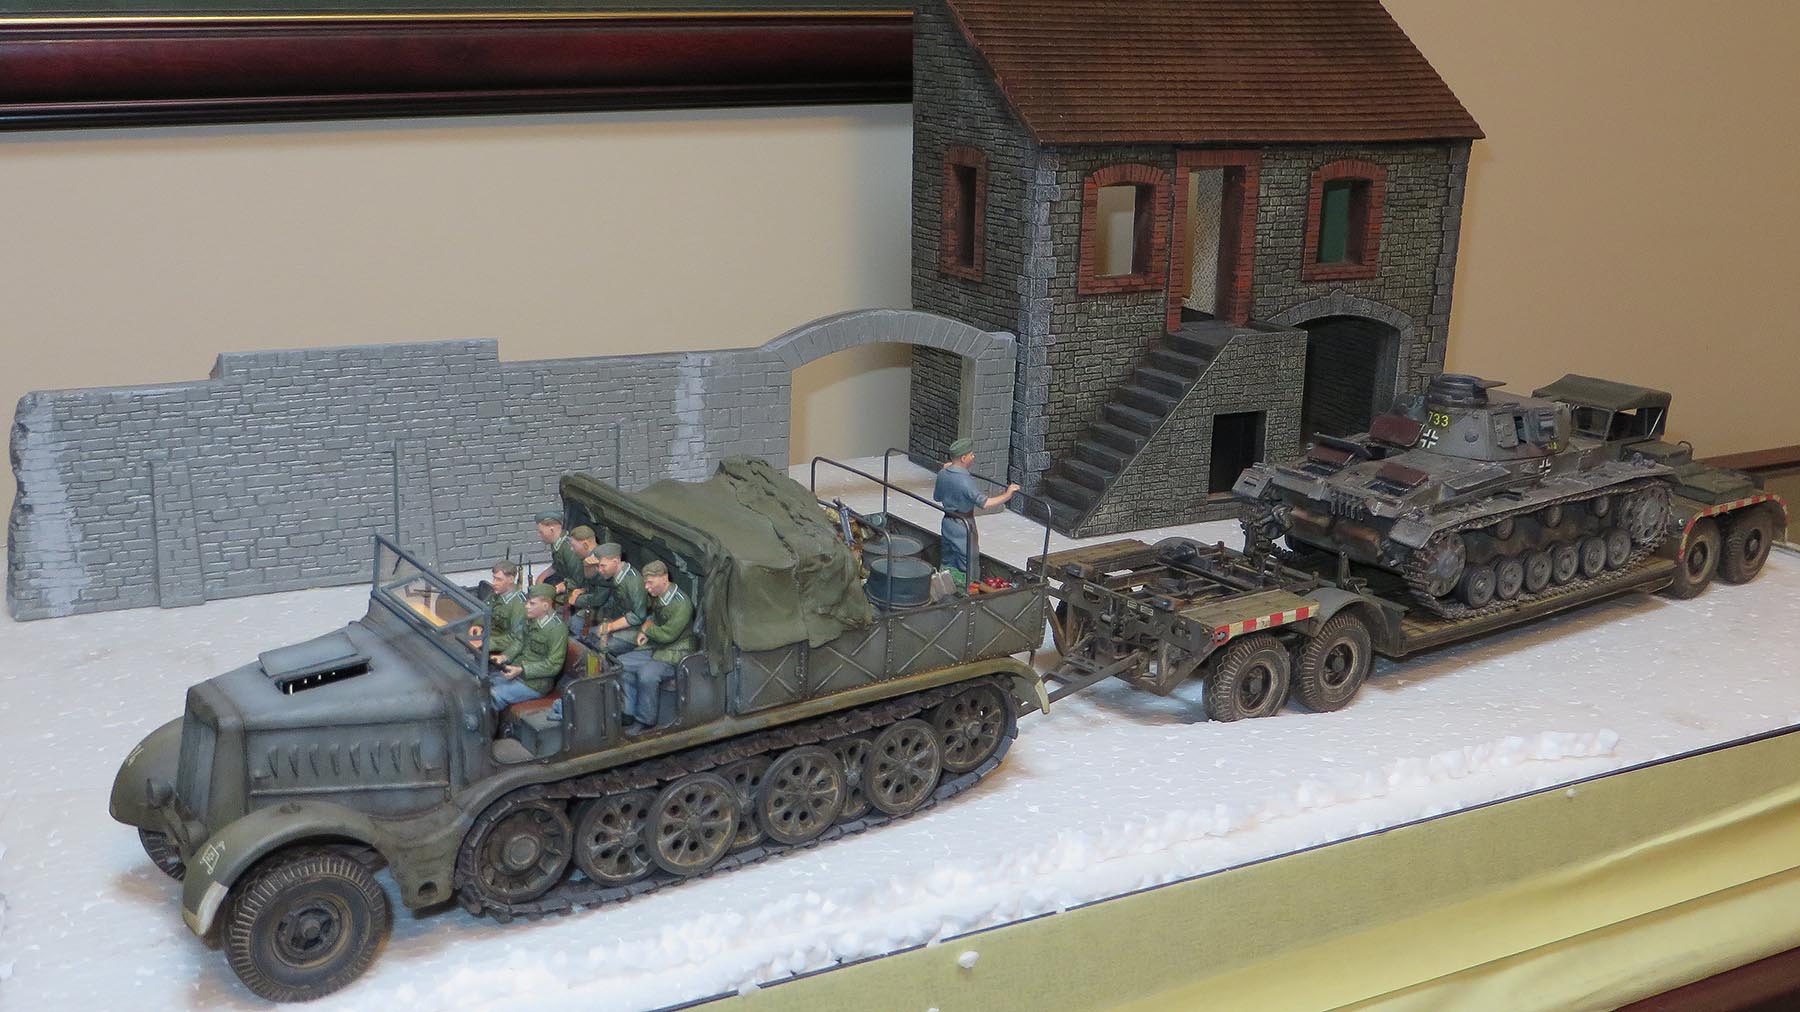
The Takom King Tiger will be the centerpiece of the diorama with a hive of activity around it.
It is the image dump of 3 years worth of building in the first post of 5 pages from the Old Forum.
All bundled into 1 post. ![]()
![]()
![]()
![]()
This like the Famo build has taken awhile to complete. Working on small subjects to make the one big subject and its a labour of love that will be done.
It’s a balancing act to see what looks right and what doesn’t. Some items may be excluded some smaller items may be included. Here is the current work so far.

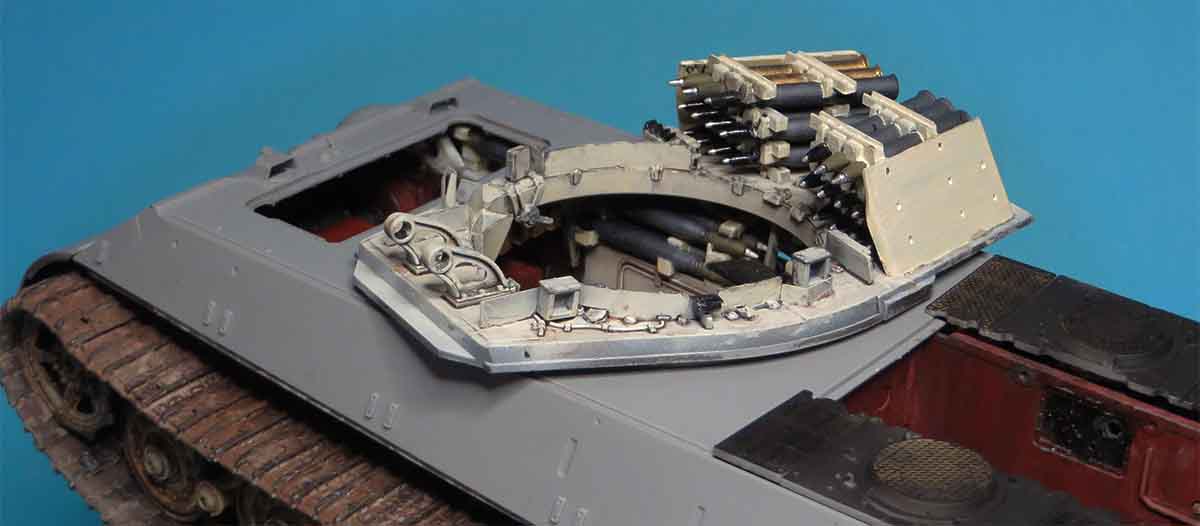
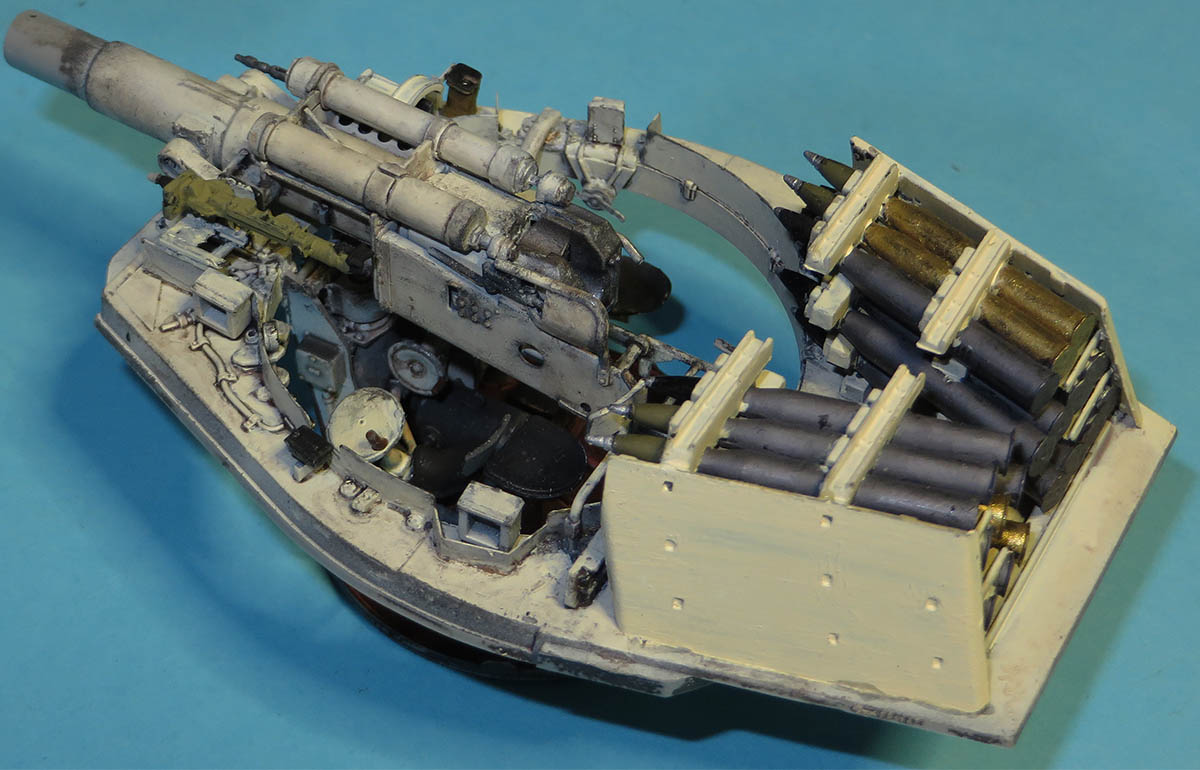
There is also something else which needs to be brought up with the etch 20mm ammo racks.Have not seen this in any reviews on this kit but DML has included all the tool handles inside each rack which is an annoyance that each internal part of the rack has to be trimmed neatly. It is extra work and if Dml added more extra etch brass they could have been positioned into a different part of the etch fret. As below
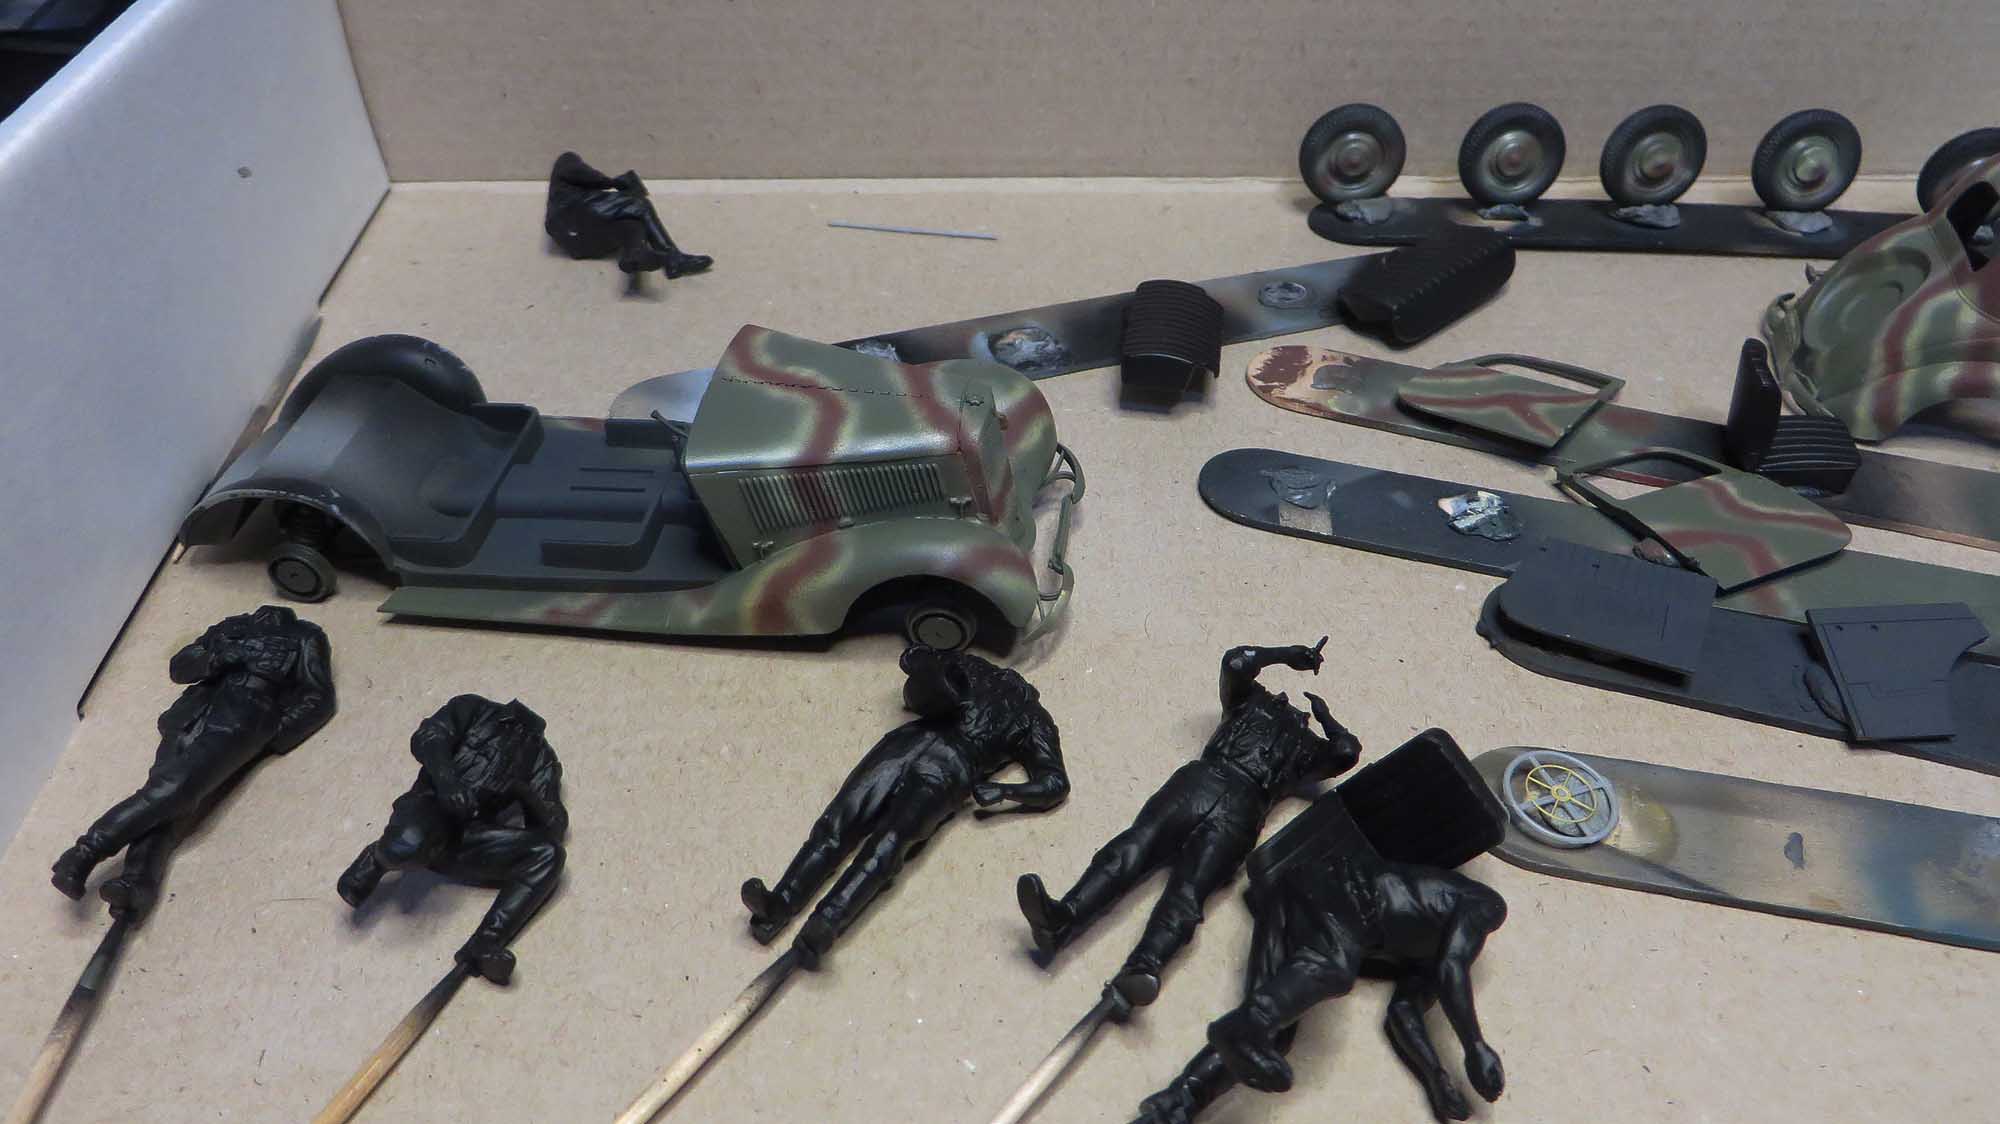
Some of the Soga 2cm crew will be used to man the 2cm. It will depend on the space around the gun on which figures can be used.
With the Flak 38T near completion in regards to the construction side it has been stored in a plastic container free of dust and other particles that form up on the plastic. It is awaiting a 20mm metal barrel. Once this comes in I will get to work with test fitting the Soga gunner to the seat .
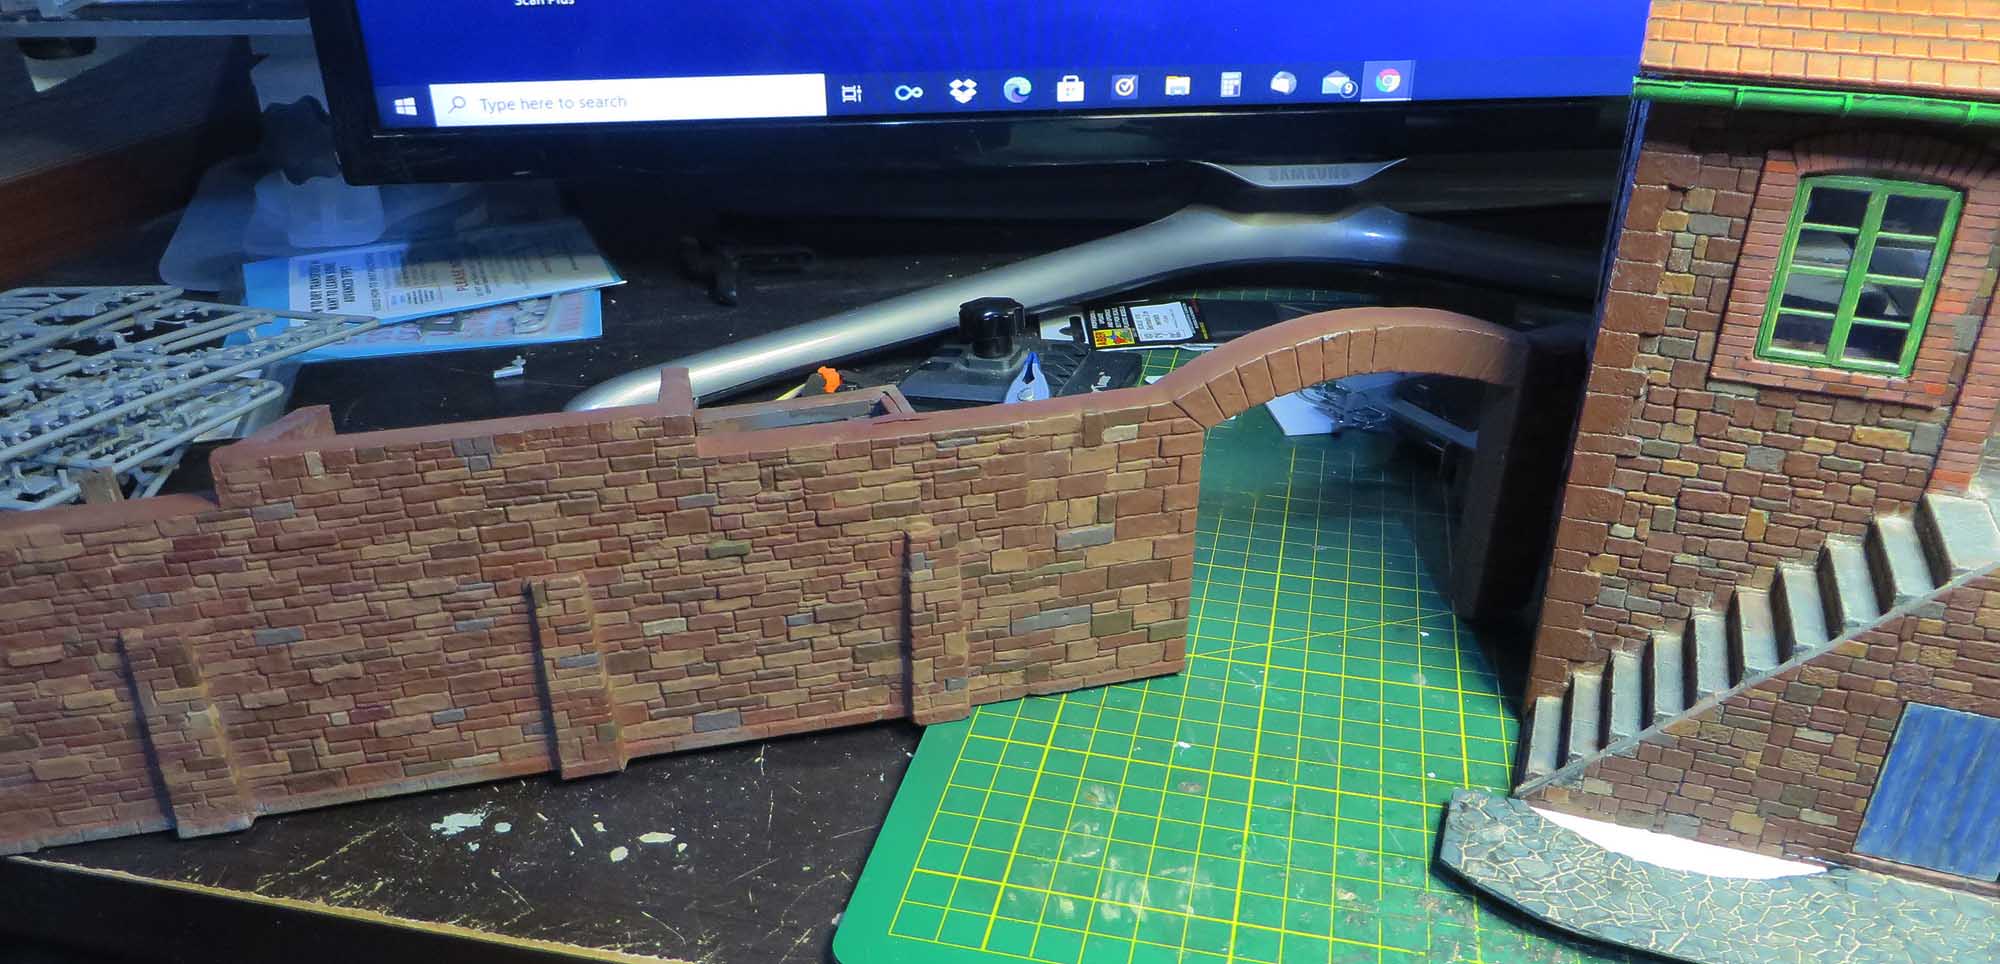
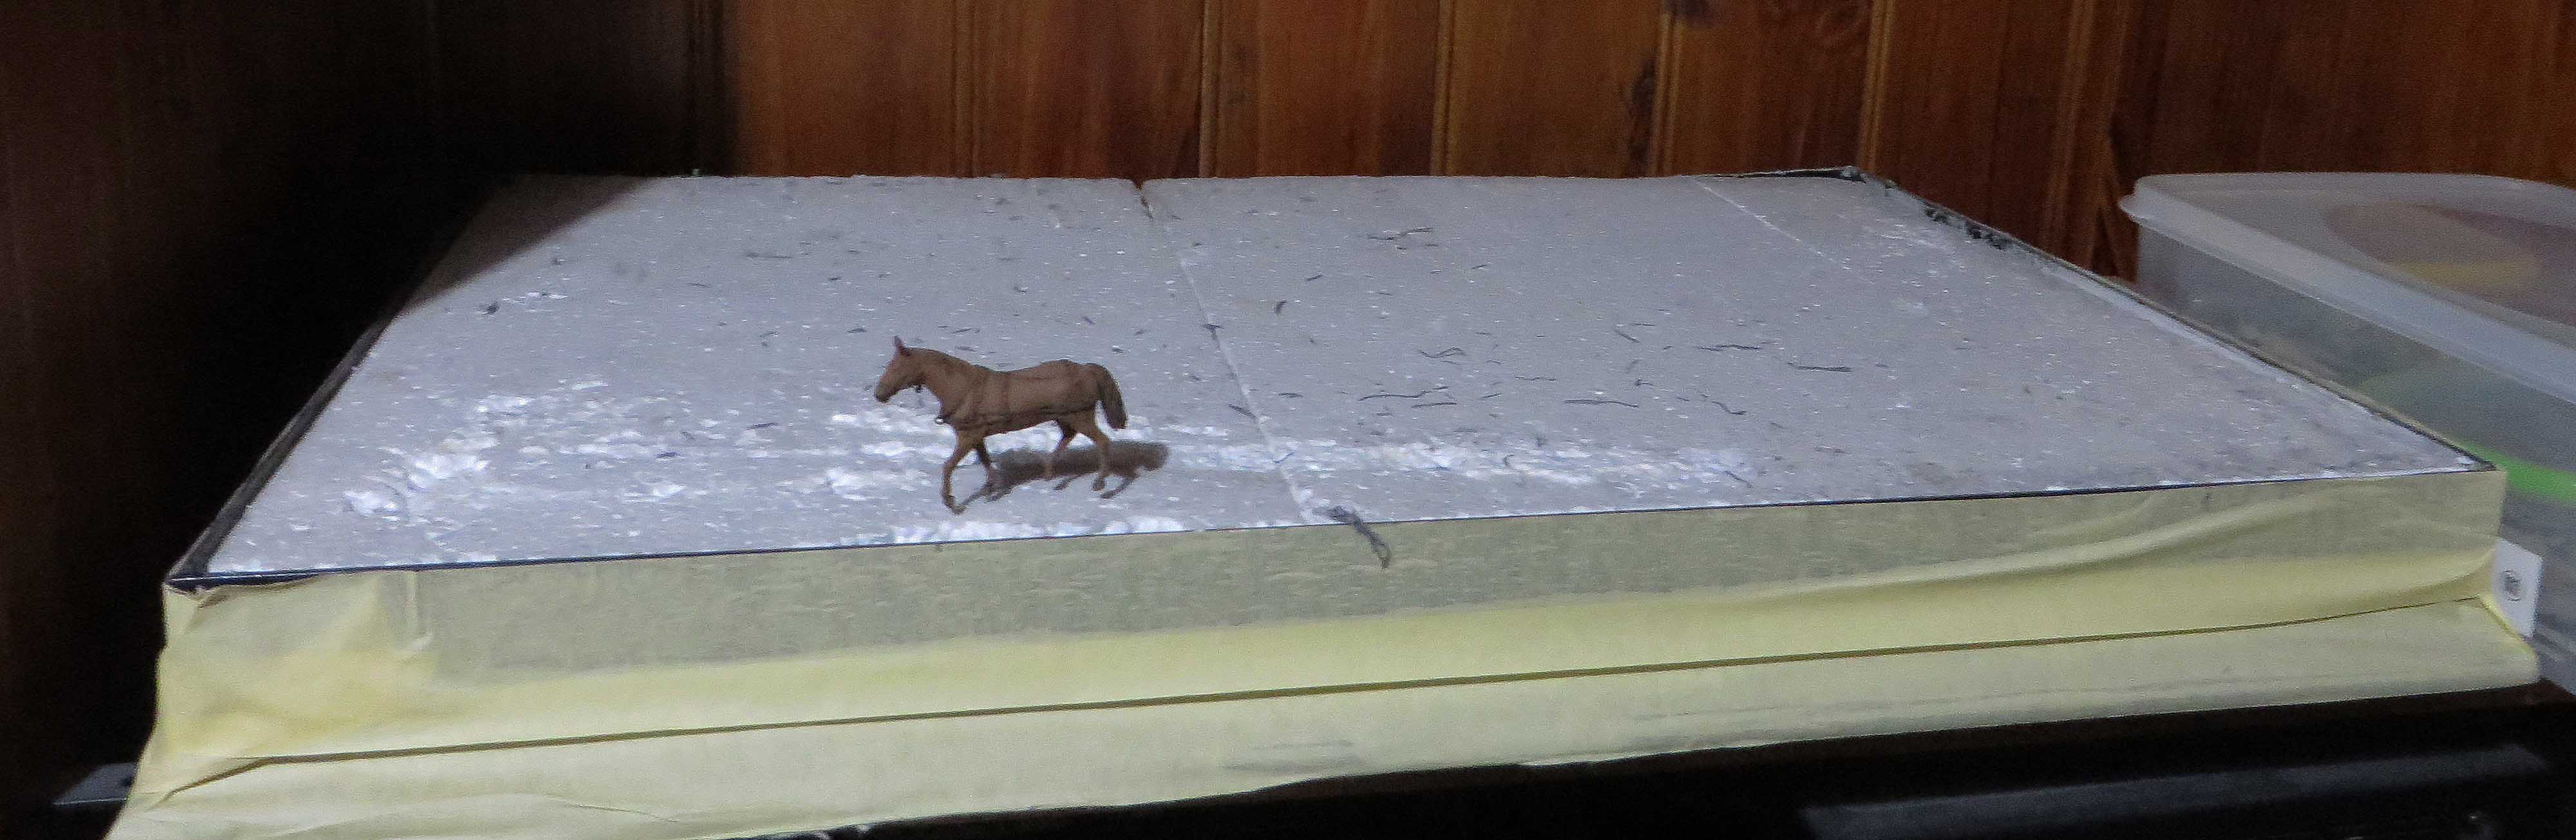
I have moved my attention over to commencing the Bussing nag with the bilstien crane and looking at what is in the box will be more challenging to work with than the tiger 2.
Reason : Way more fiddly parts which can be broken off and kid gloves is a must.
AFV club did a good job overall in replicating the Bussing Nag in detail.
This is not a model for a beginner. The parts are very fine and they will need extra care and attention when removing them from the sprue cage.
I use the No 11 Exacto to trim off the excess sprue indents on the plastic part and found the plastic to be a little soft on the chassis.
Early days so time will tell.
AFV Club added a nice touch by the inclusion of little bolt heads on the sprue cage. As below
lower half of chassis completed and moving onto the tyres and too my dismay all the tyres have cracks in them.
For AFV club to release an extremely highly detailed vehicle the tyres have let them down severely.
Every tyre has a line through them.Ie once fitted the tyre will split at the indent line. Have seen this once before when DML released the BRDM in the mid nineties. We get some fine hot days in Brisbane and the tyres simply split open.
In the meantime other items can be addressed for the build till the def models resin tyres show up.
I can see now why AFV Club chose to have the normal softer plastic than other manufacturers. The items on the sprue cage are extremely fragile and with having a softer plastic it makes them a little more flexible to remove from the sprue cage.
There are a couple of close up photo’s below to show some extremely small D shackles which would scare any modeller away to take of the sprue cage.
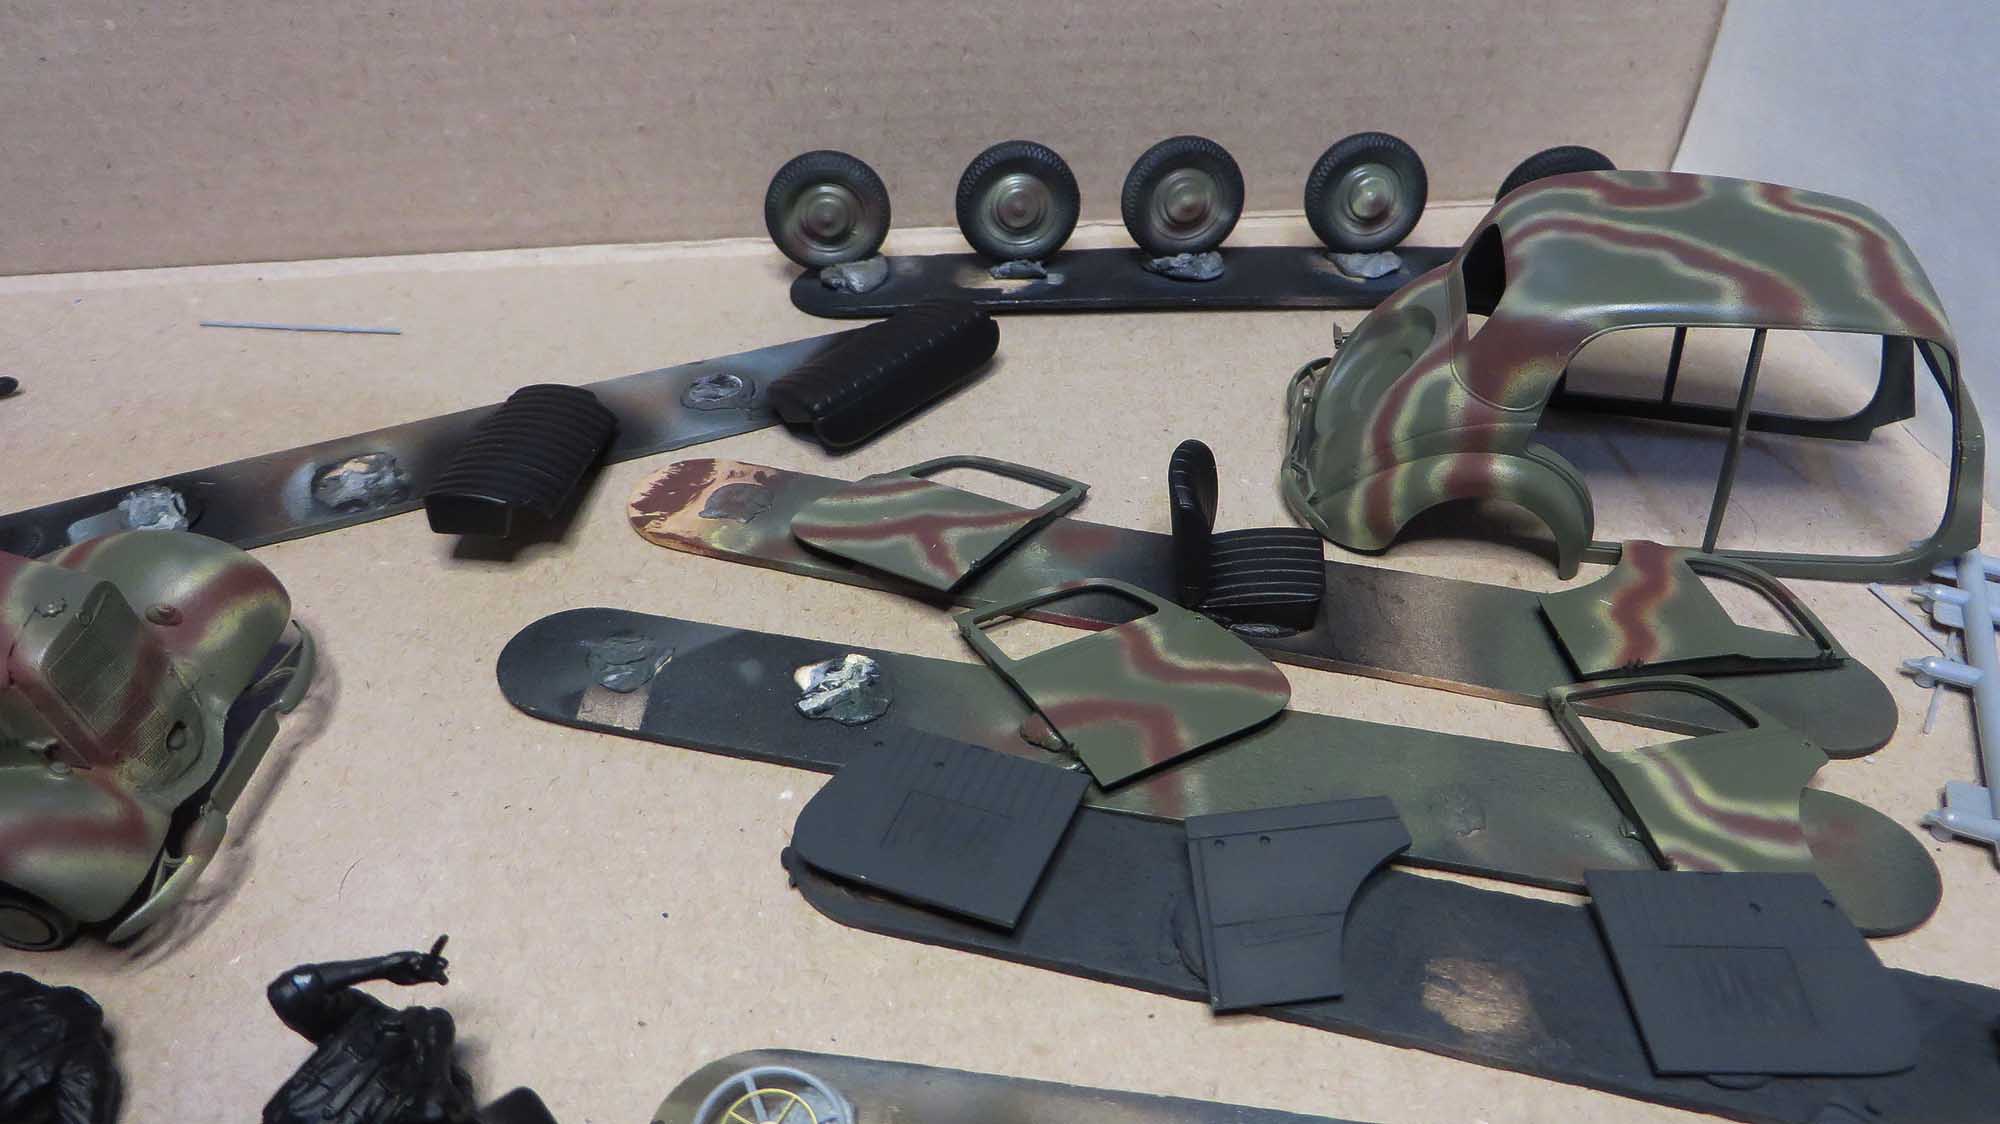
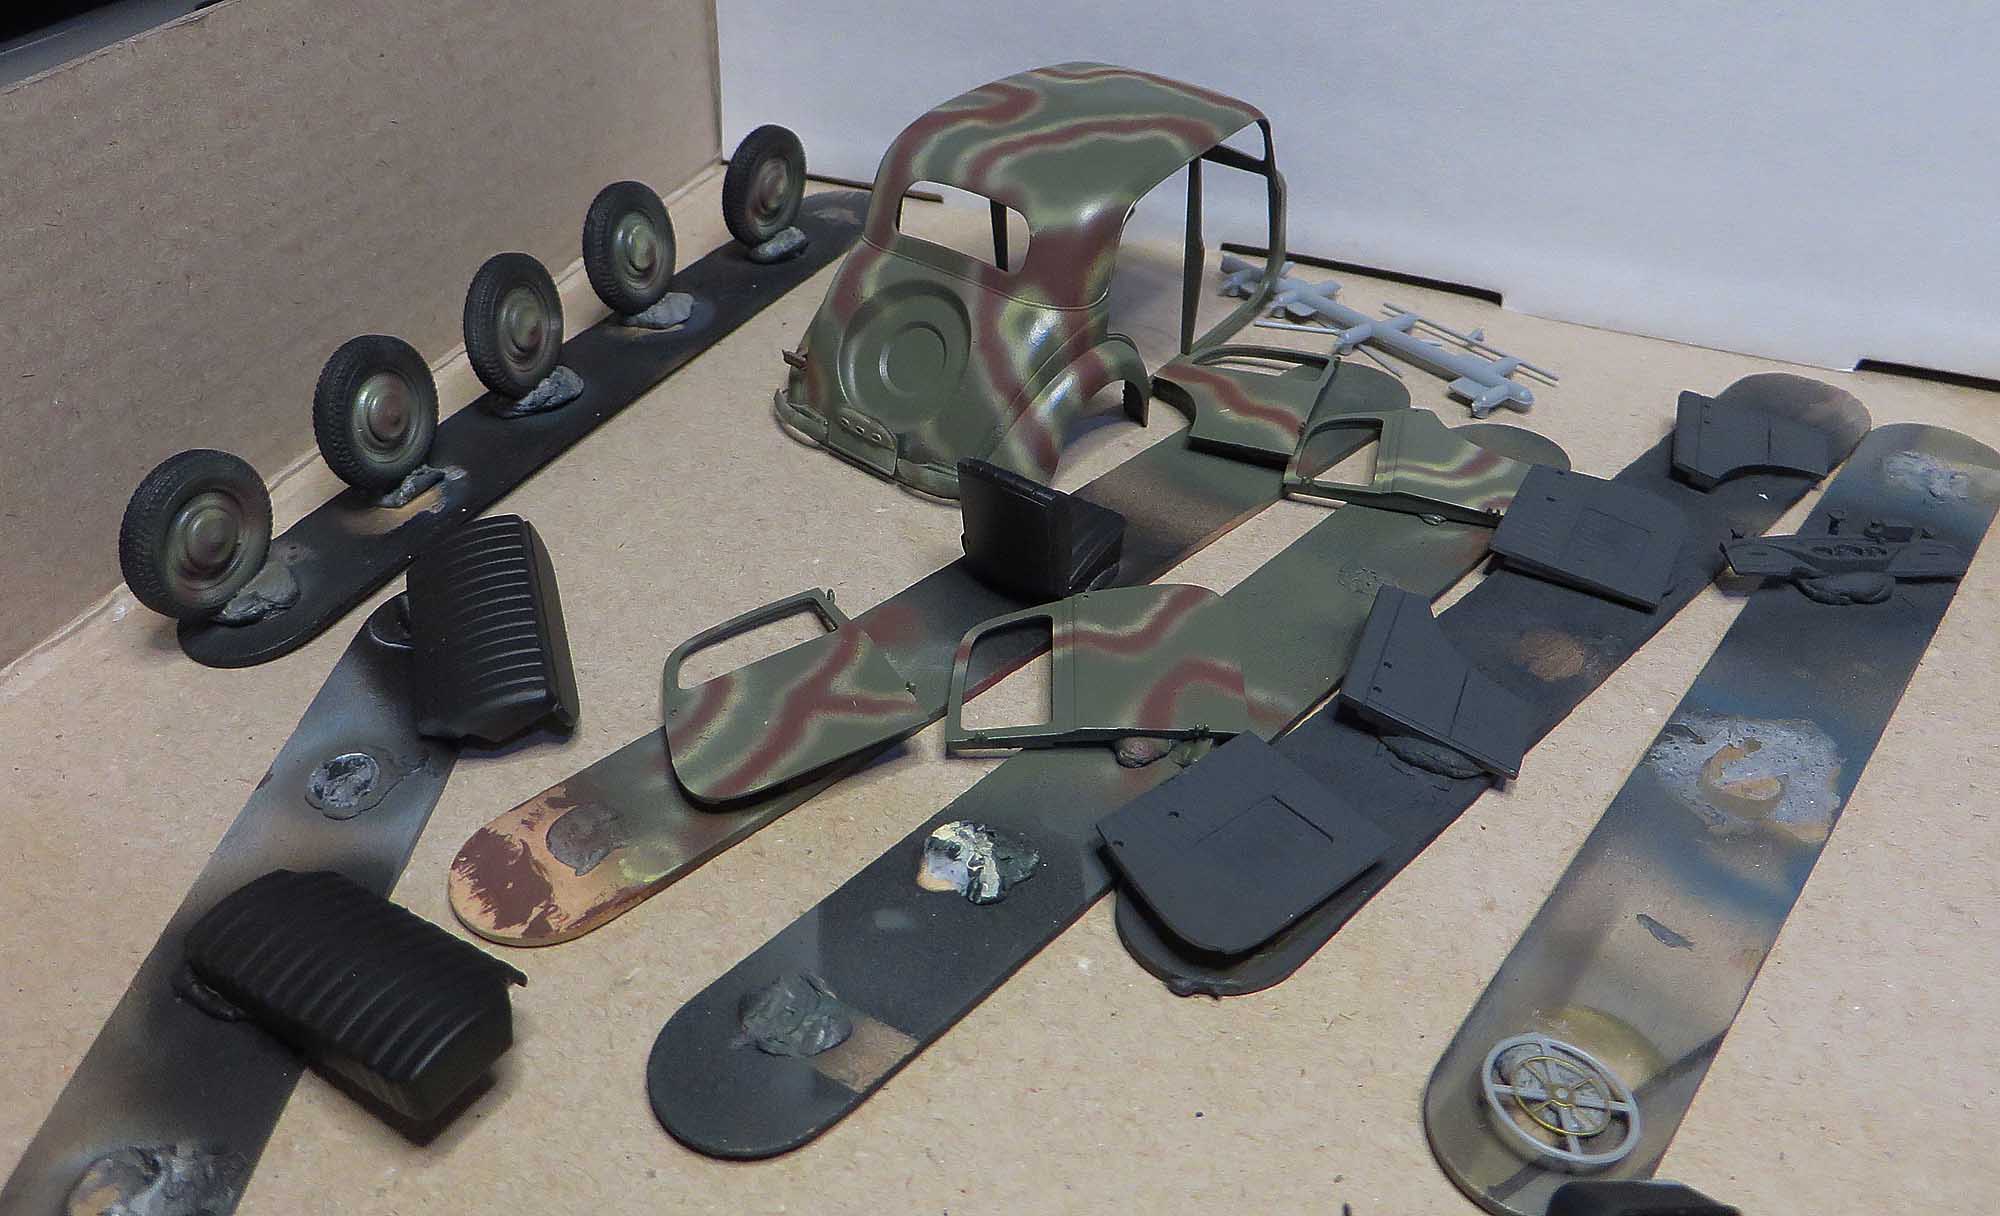
As mentioned before the Bussing Nag is not a shake and bake kit and the best way to takle the painting and building side of it is to build in sub assemblies. It will make it way easier to paint and detail in this format.
Item 20 on sprue cage L is missing 1 side of a shackle. There are 4 sprues and this is a very very small manufacturing error.
All of the 4 L sprue cages have this inconsistency.
Ie: the bottom item in the image L20 is what they should look like.
The resin tyres from Def Models are different to what has been displayed on the box art. The tyres look like the same style of resin the Verlinden Productions used. It is a lot more stronger resin but the box art does not give a proper identification of what’s inside.
This truck is by far the hardest kit built for a long time, very similar to the Mirror models T969 wrecker but way harder with the jib boom.
The work is all around the crane area at the moment soaks up the time with the build. I have painted the interior of the crane as when the dust covers go on they may be some view to the internals of the crane housing. I’m not leaving no stone unturned.
Special attention is required for handling the boom rollers, intricate and easily to break.
Now ready for paint in sub sections, will have to work now with the Takom tiger 2 engine and the crane jib to see if the jib will hold the weight of the engine.
http://i.imgur.com/v5tpYaX.jpg
The Bussing nag packed away from the dust
http://i.imgur.com/HmdO6SO.jpg
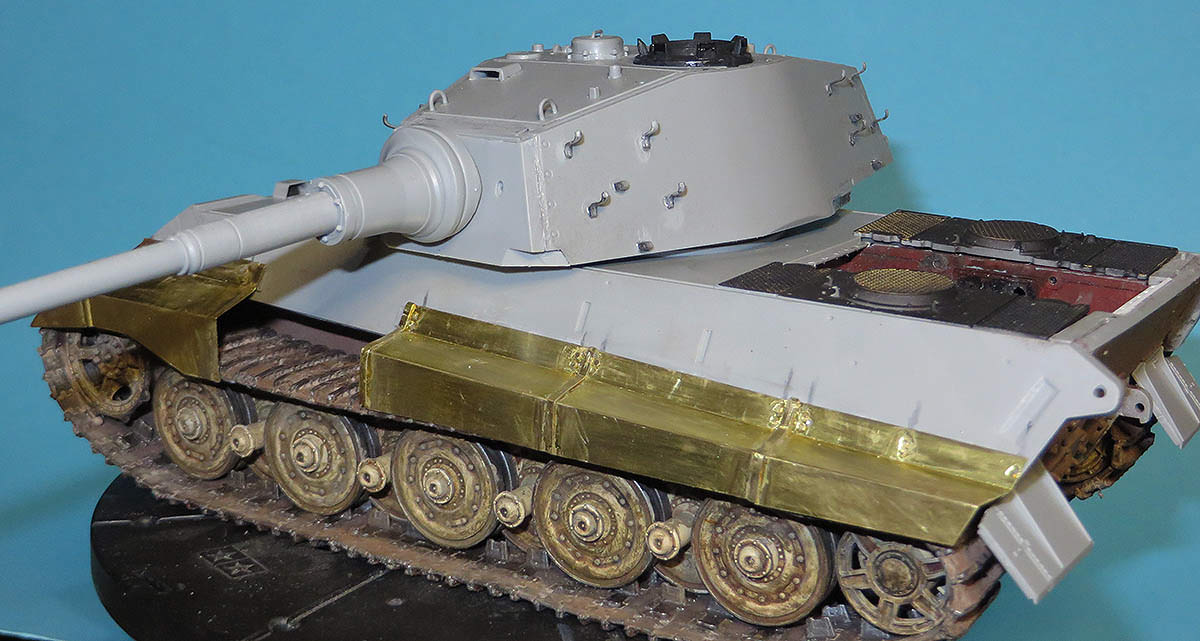
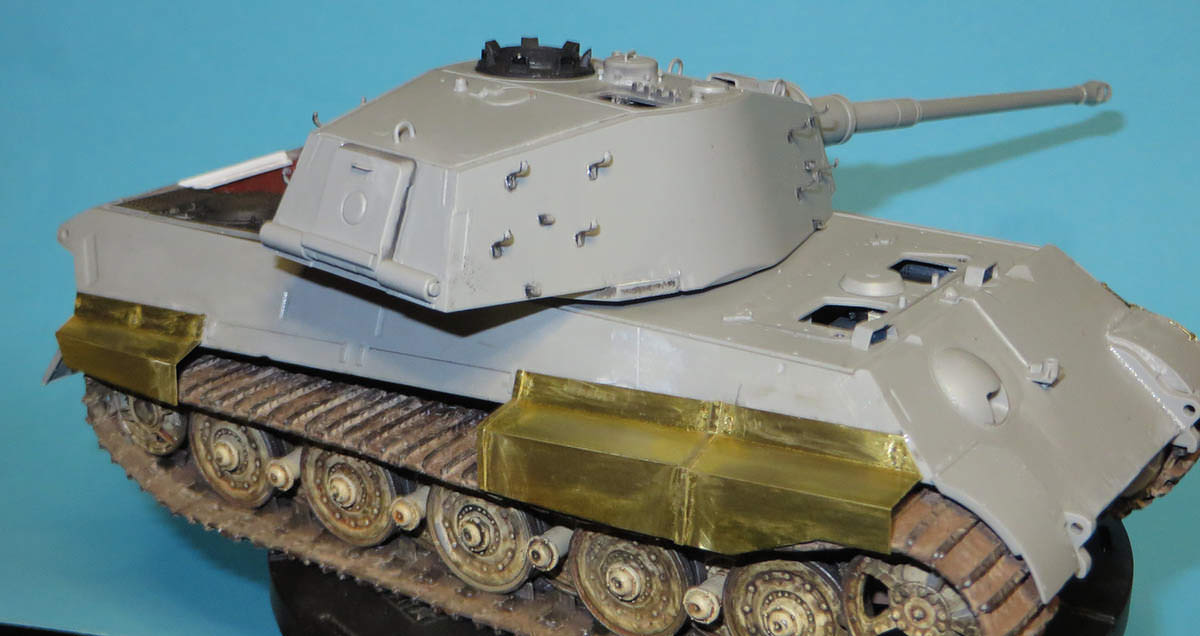
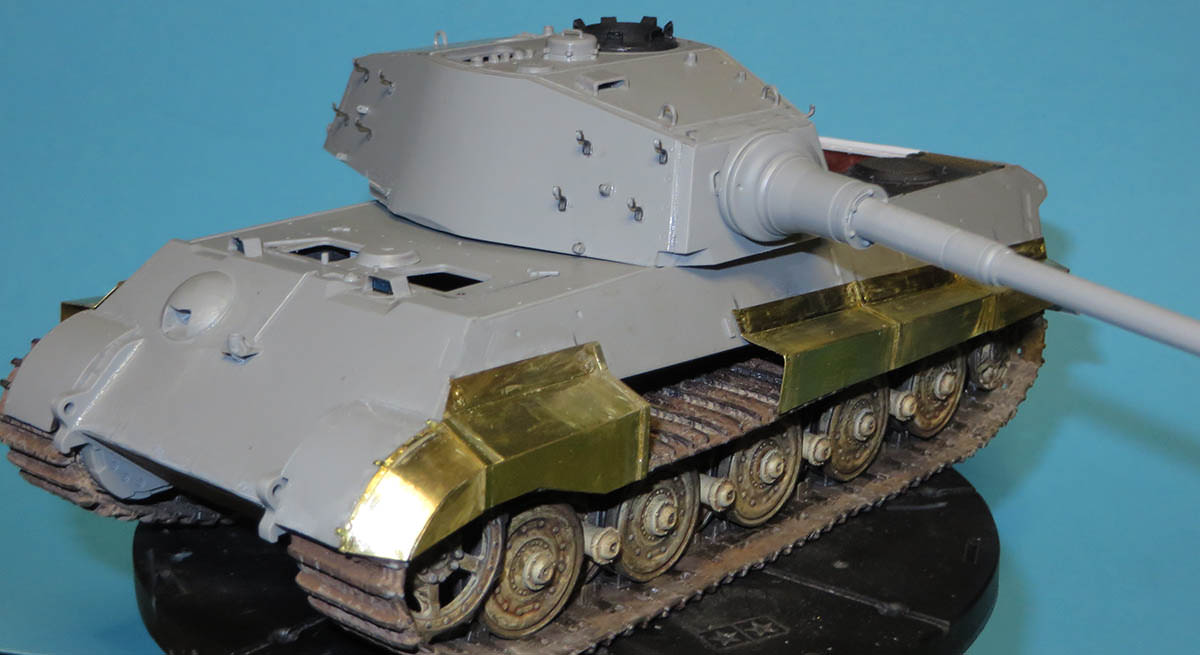
King Tiger build commenced…
The sides are not glued in, will paint and detail before placing together.
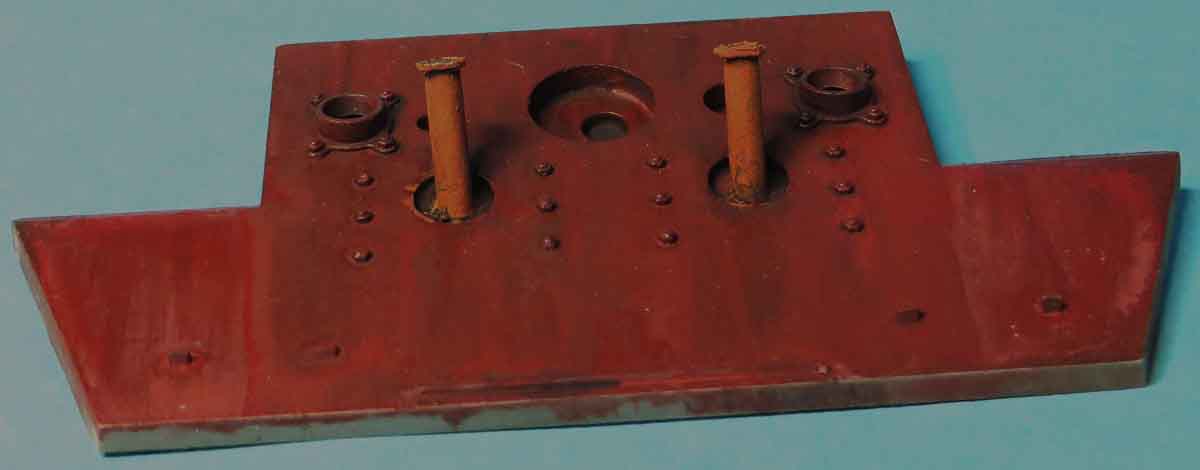
Filled up the whopping big sink marks in the base. Something a lot of modellers have skipped over, I know you do not see it when all the items are together but sink holes stand out like dogs balls when progress shots are being done.
http://i.imgur.com/BbtBh4U.jpg
http://i.imgur.com/ai9cIYf.jpg
http://i.imgur.com/M0qVd7A.jpg
http://i.imgur.com/2FWuF1b.jpg
http://i.imgur.com/4nruLb3.jpg
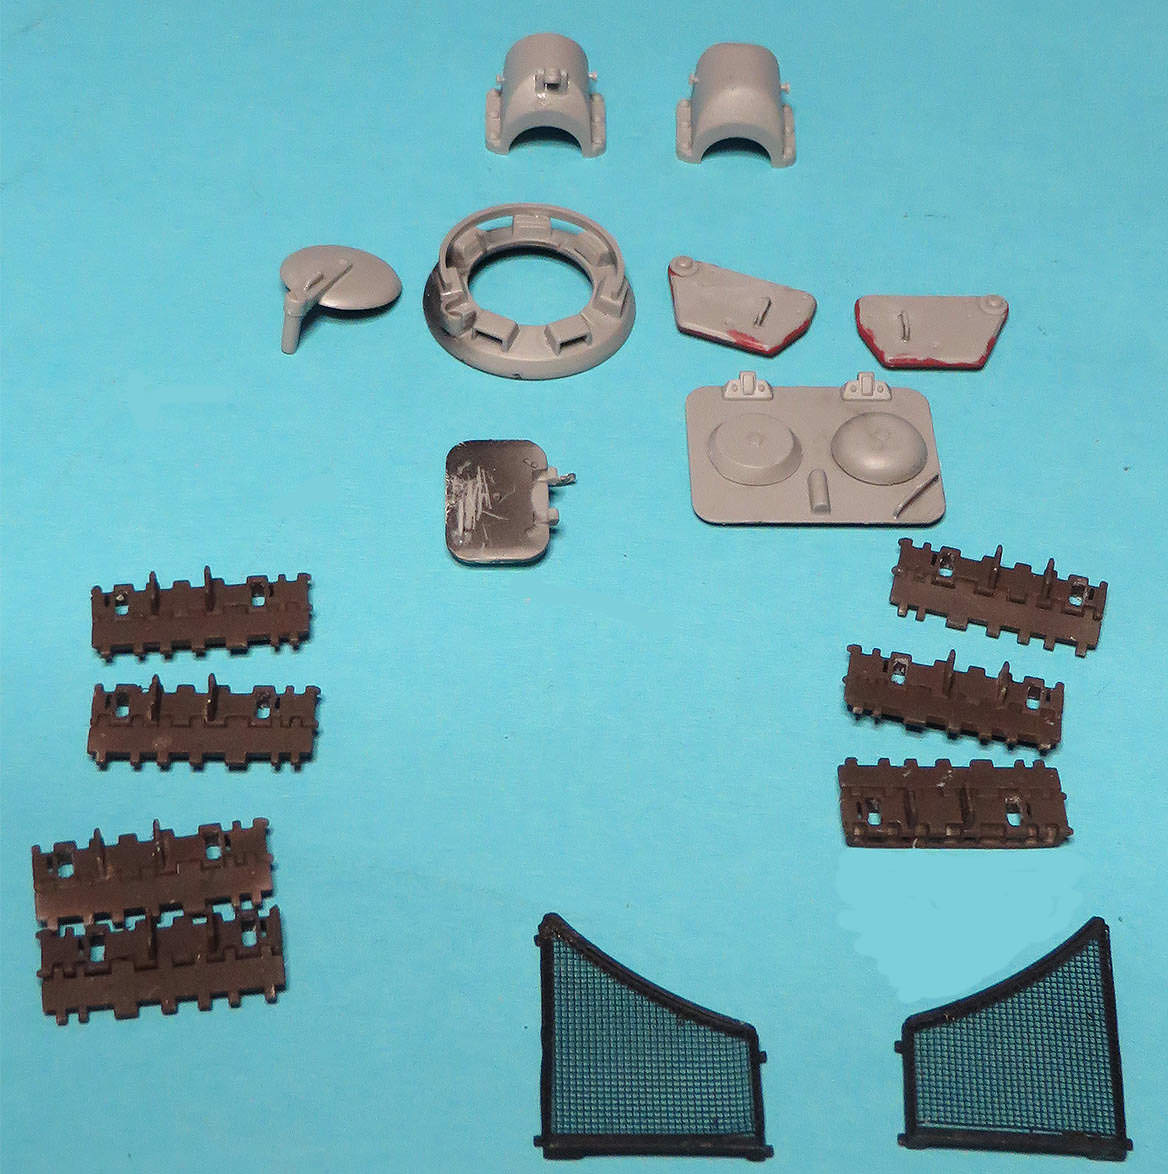
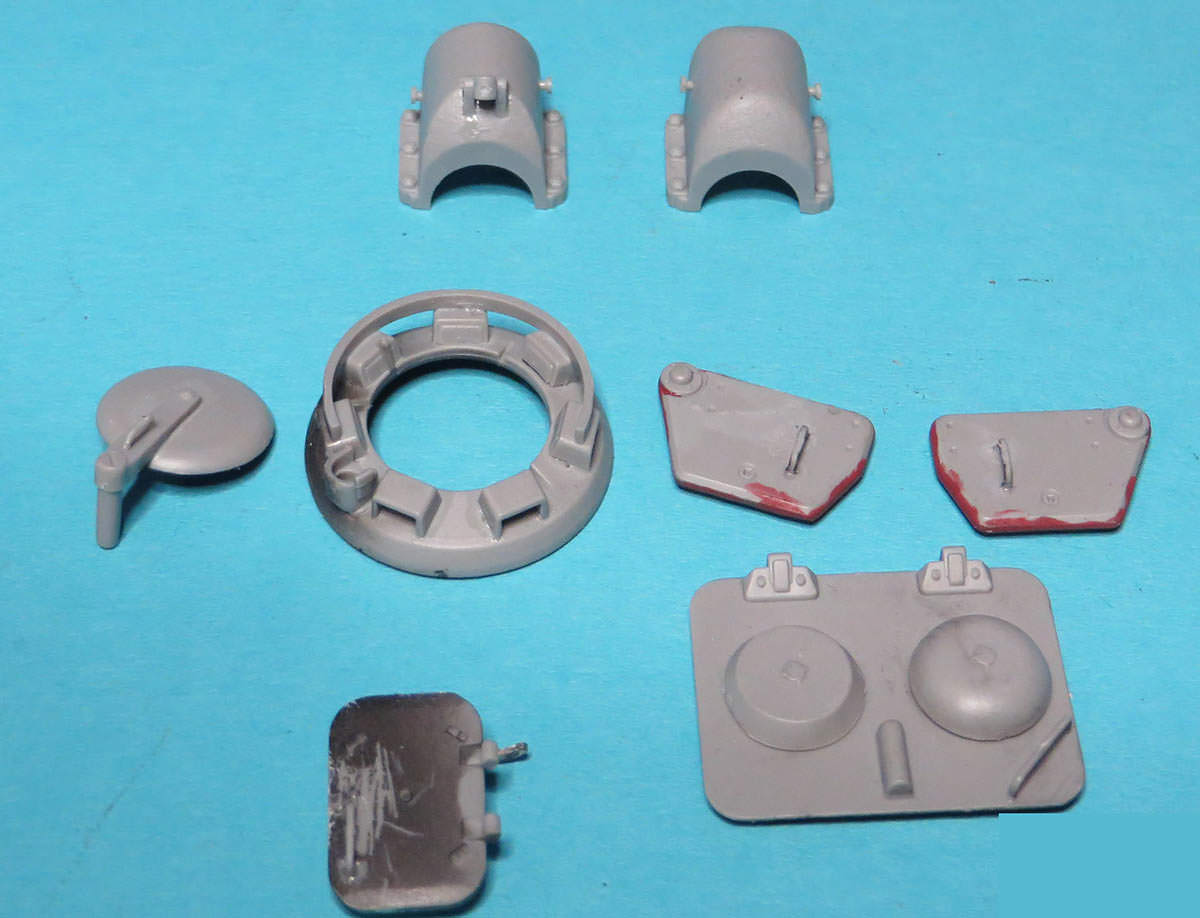
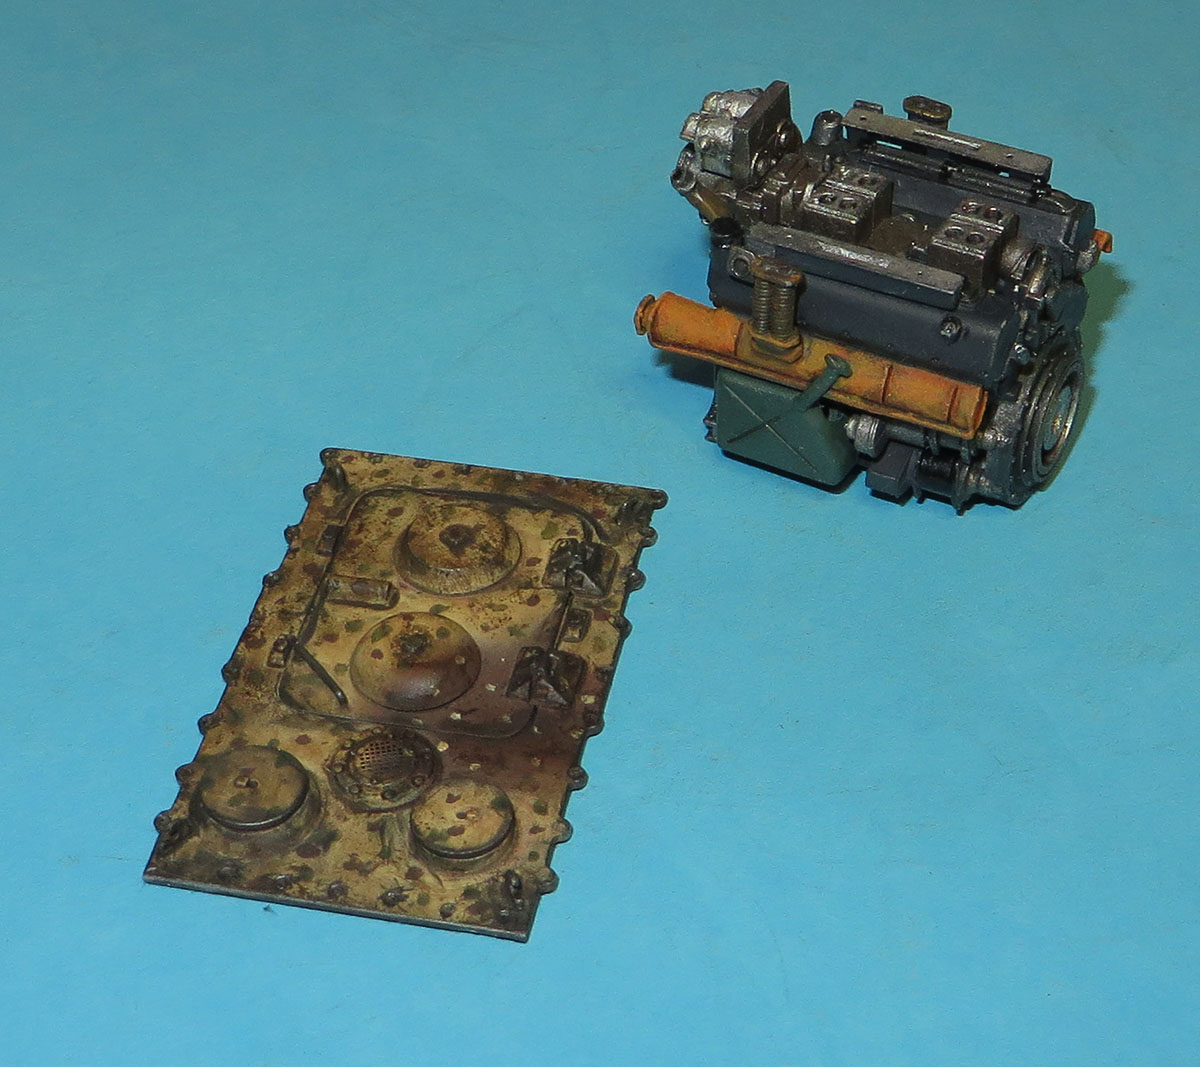
The air filters have been separated and further detailing will be required to enhance them as they will be outside on the ground.
http://i.imgur.com/UZozcE6.jpg
http://i.imgur.com/vOoZvAc.jpg
http://i.imgur.com/z2rF7x3.jpg
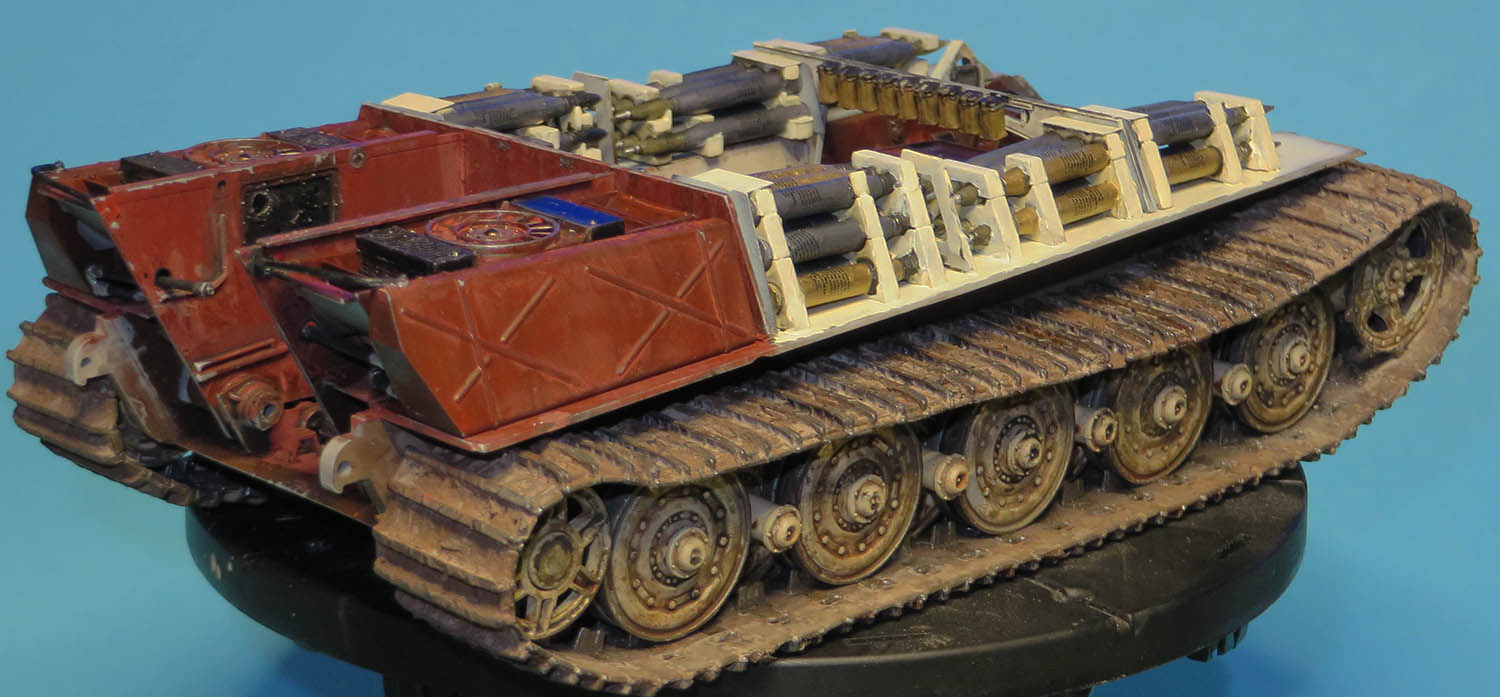
I have got all the brass shell end cap markings on the ammo racks that will sit inside of the lower hull.
You can take the shortcut and not put them on but if they are in the box why not use them, they look good. The stage progress build shots will show the detail. Takom did a great job to provide the king tiger. I think it’s only right we show our models with
what they have provided.
http://i.imgur.com/AyOMI6p.jpg
Removing sink marks
http://i.imgur.com/kRqY59S.jpg
The parts have been broken down to the respective areas in the plastic containers. Reason: to detail each area and make the interior progress images bring out the detail.
The shells have all the brass end caps and are loose for detail painting
http://i.imgur.com/LLbCoHd.jpg
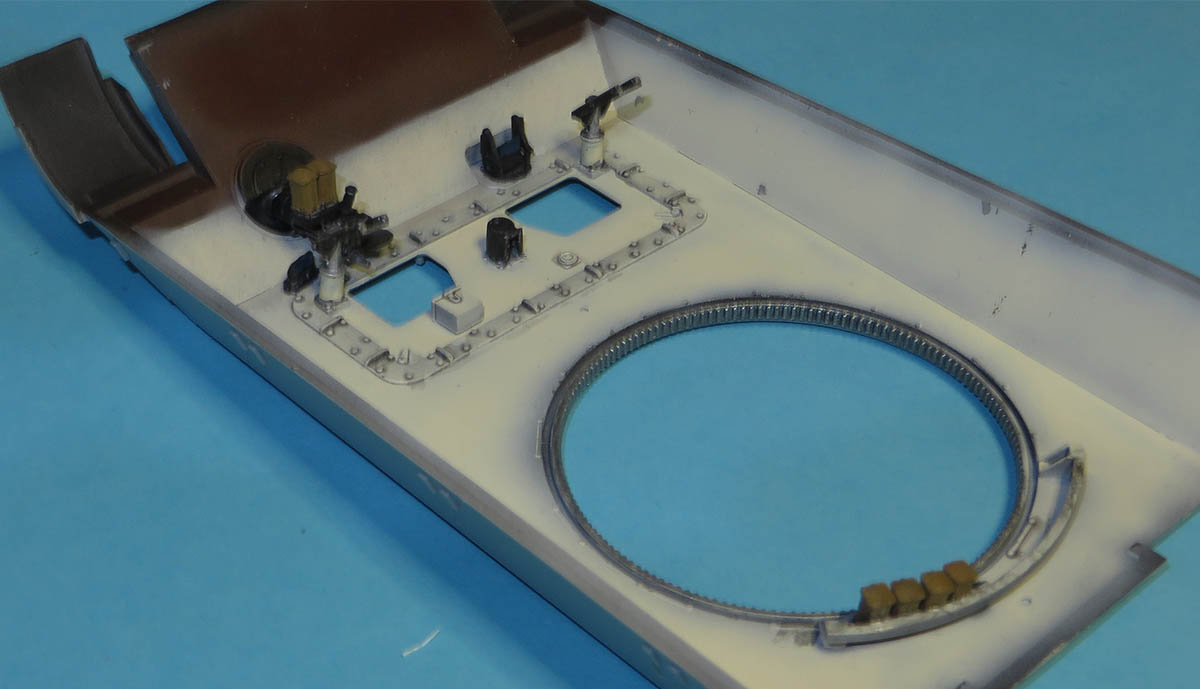
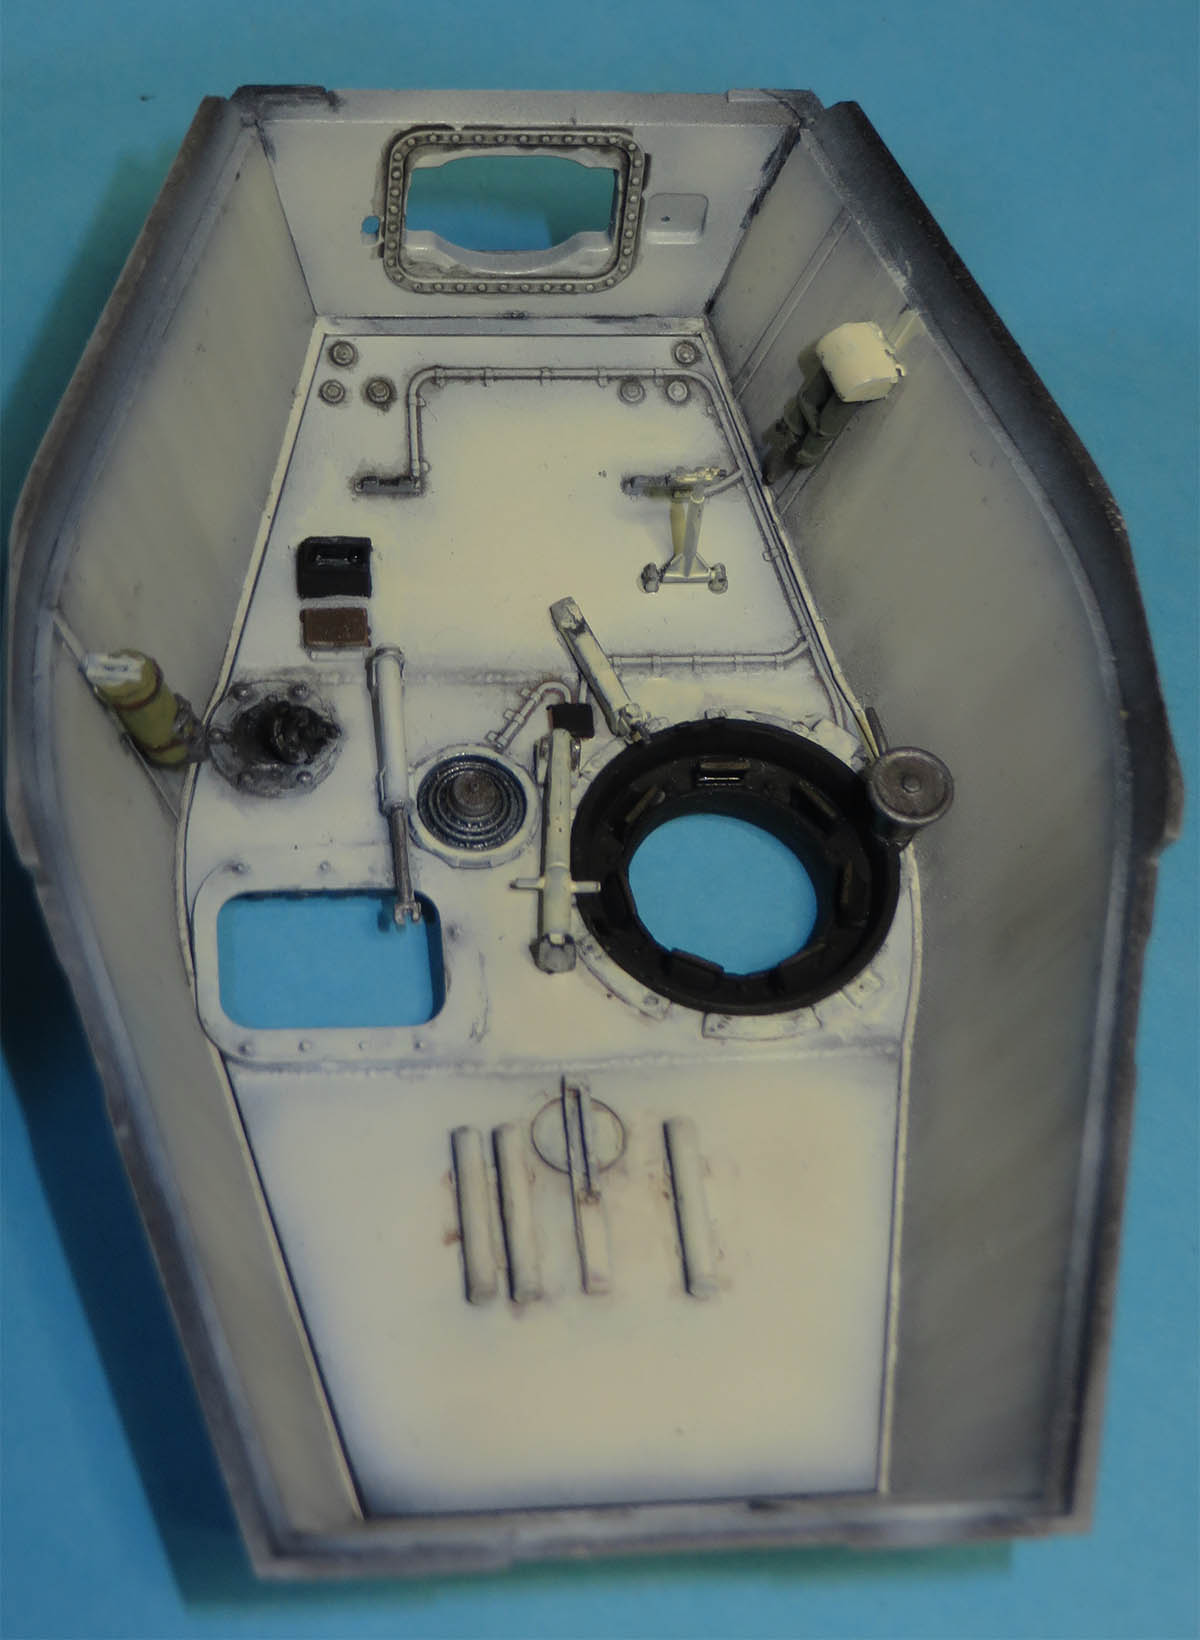
The interior commanders hatch and episcopes received a coat of Matt Humbrol matt and the visor glass was given a coat of the Mig Ammo glass lense colour.
This is to give depth to the visor when looking at it from a distance.
http://i.imgur.com/3PSZNE0.jpg
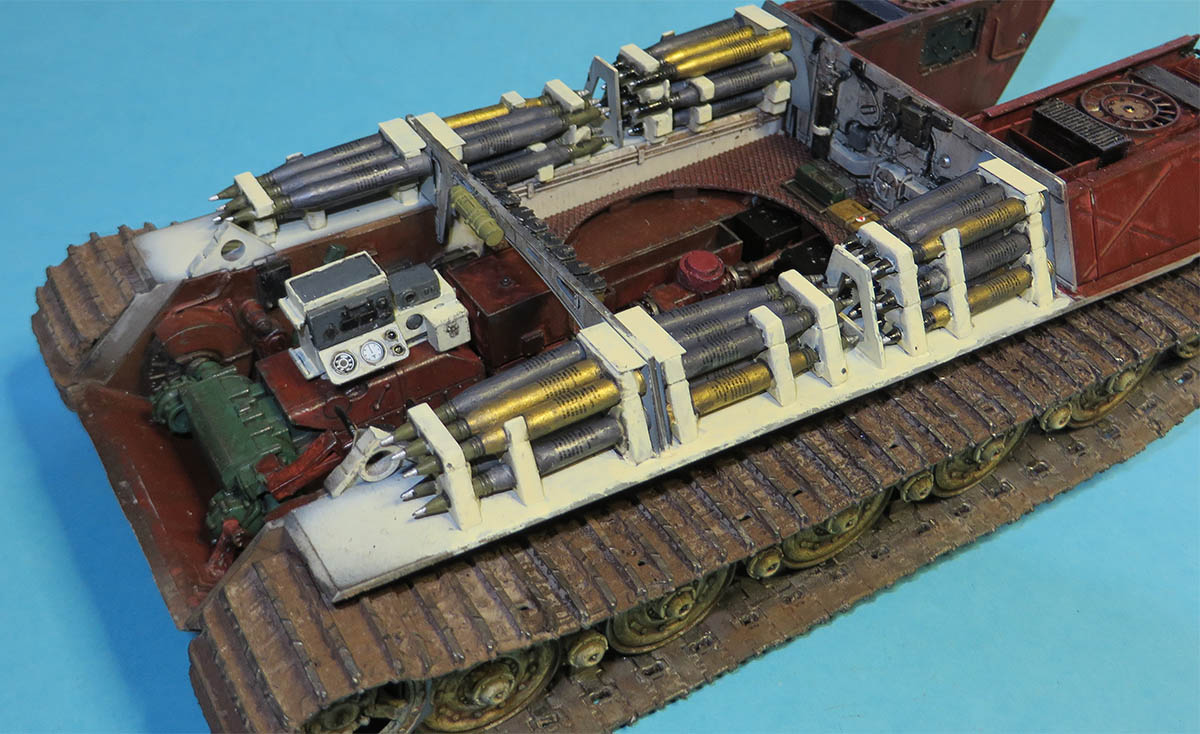
Lastly the overall breakdown of the Takom king tiger, Still more work to do around the turret and externals but this image gives a breif breakdown it is such a huge challenge.
http://i.imgur.com/wmgsgXB.jpg
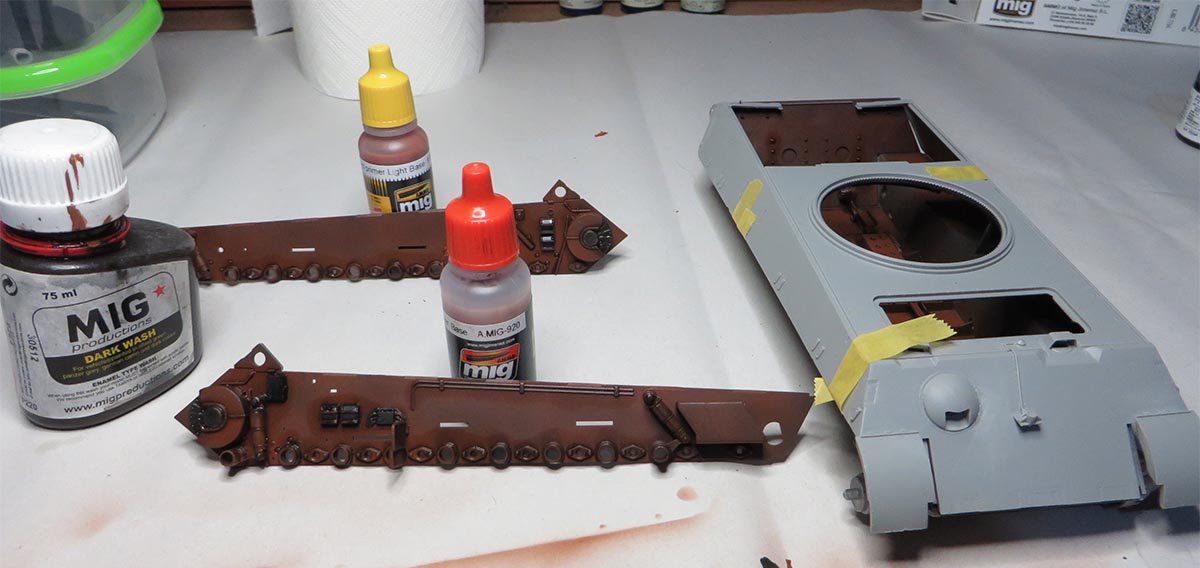
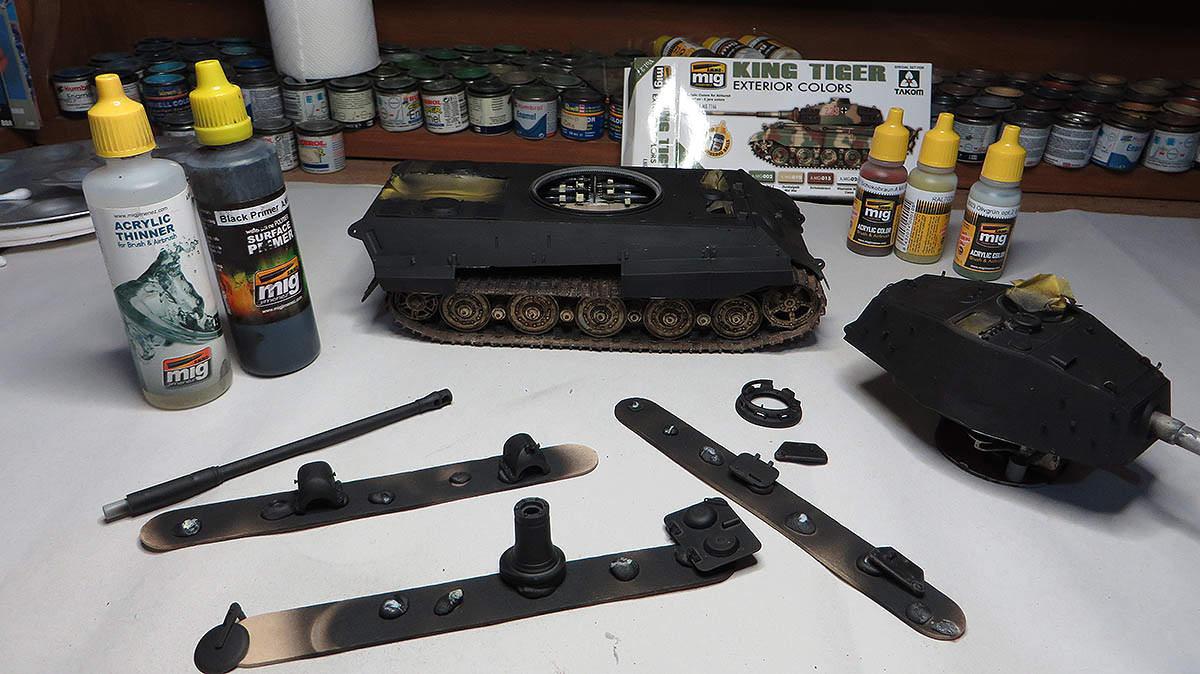
Track tools and cables painted.
By far and an easier way to detail and paint.
http://i.imgur.com/jRi1cAf.jpg
A coat of Mig Ammo primer applied for the first stage.
More items to be primed and it’s early days,the intention is to have the dark primer to create depth appearance when the second coat is applied.
http://i.imgur.com/AGlaqw0.jpg
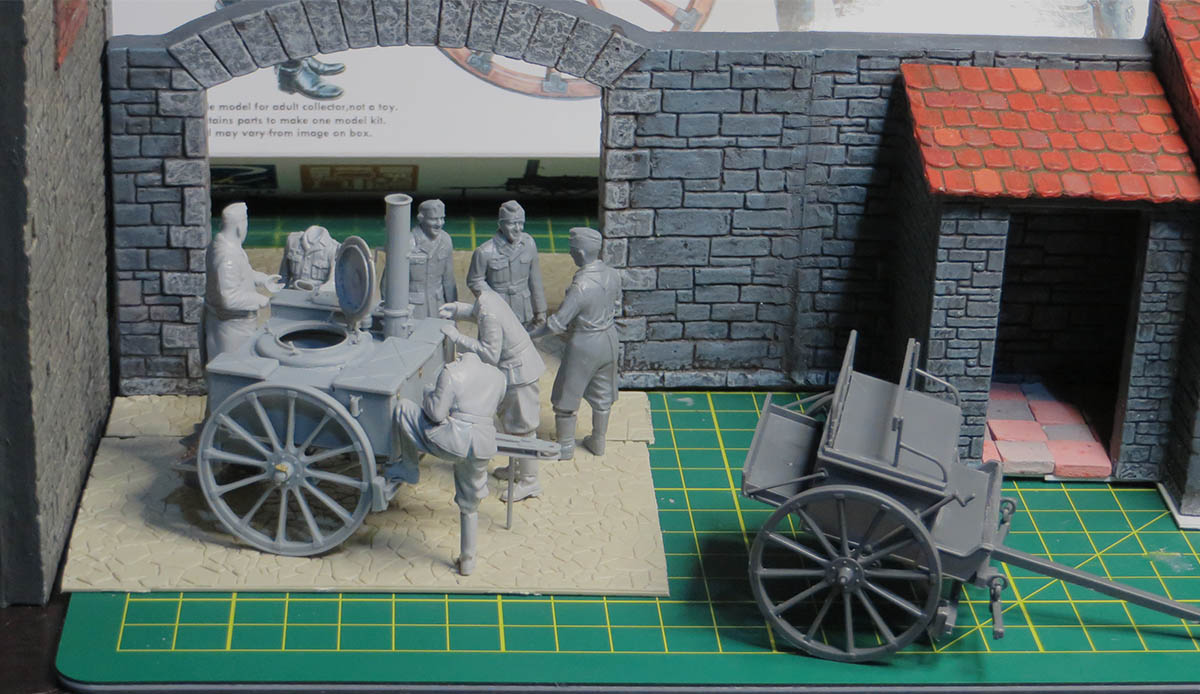
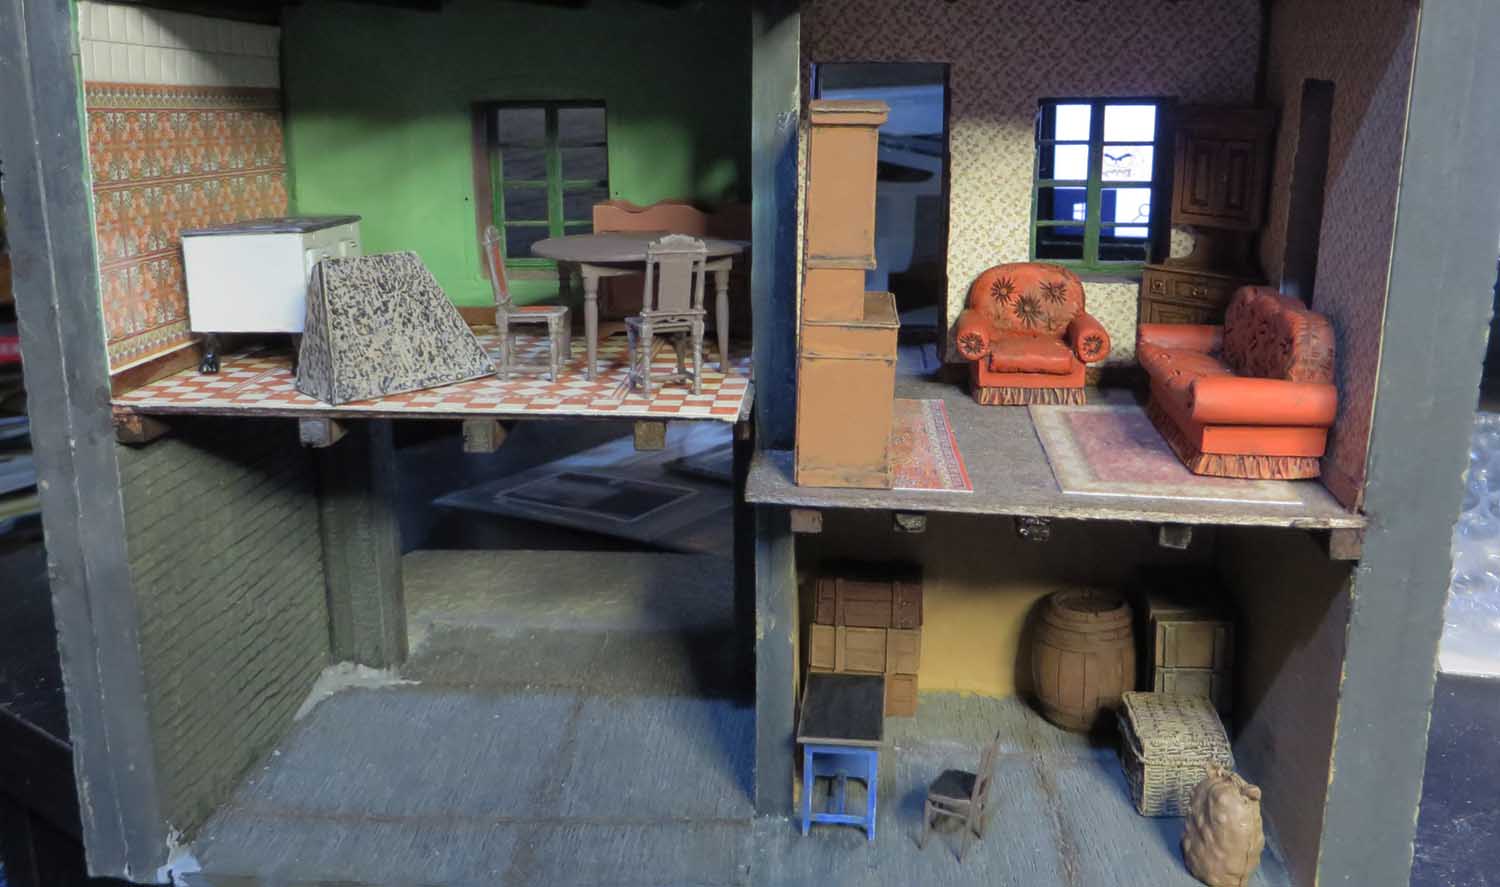
Miniart furniture built and will be slotted into the painting que.
Will have the ground floor used as a storage area with someone looking after the beers and stores.
http://i.imgur.com/0OhgCj7.jpg
The Takom king Tiger rounds painted and ready for the decals, will have to lay a coat of gloss over each round to have the decal sit flush.
http://i.imgur.com/EjnzbGp.jpg
The sub section parts ready for priming
http://i.imgur.com/VGbueag.jpg
And now painted with Mig ammo primer, the calm before all the painting and detailing begins
http://i.imgur.com/dfVdL6o.jpg
The Road wheels receive a coat of Mig Ammo Steel
http://i.imgur.com/hHD624H.jpg
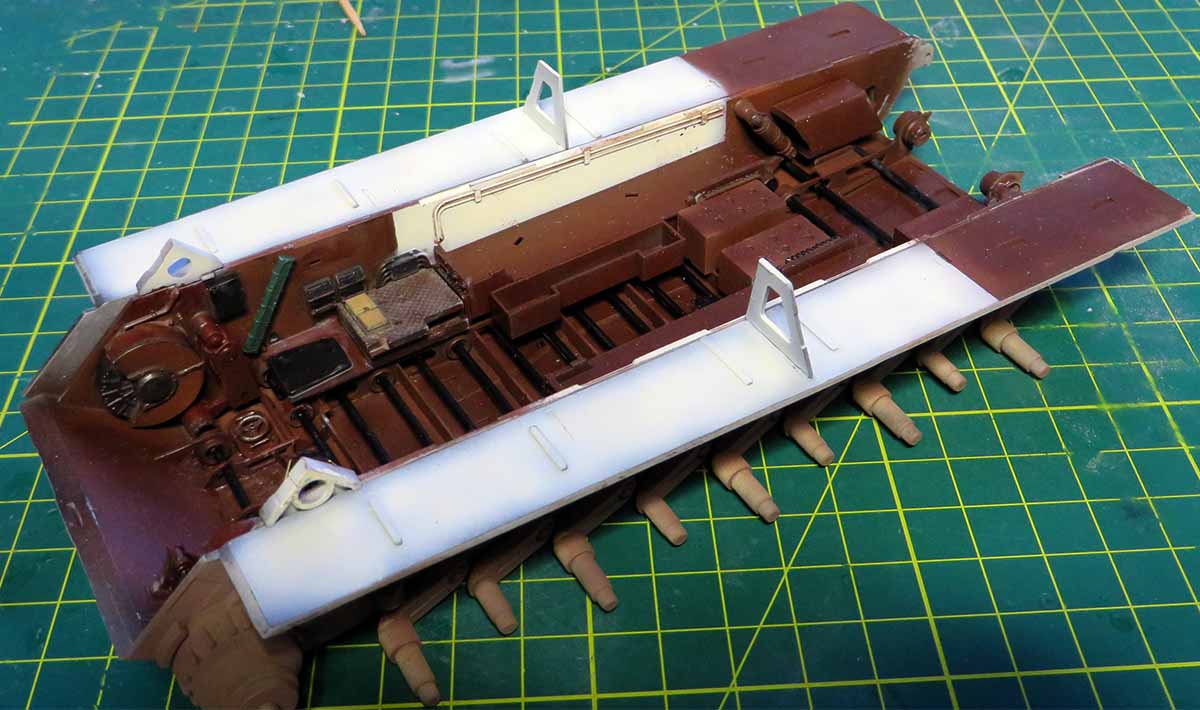
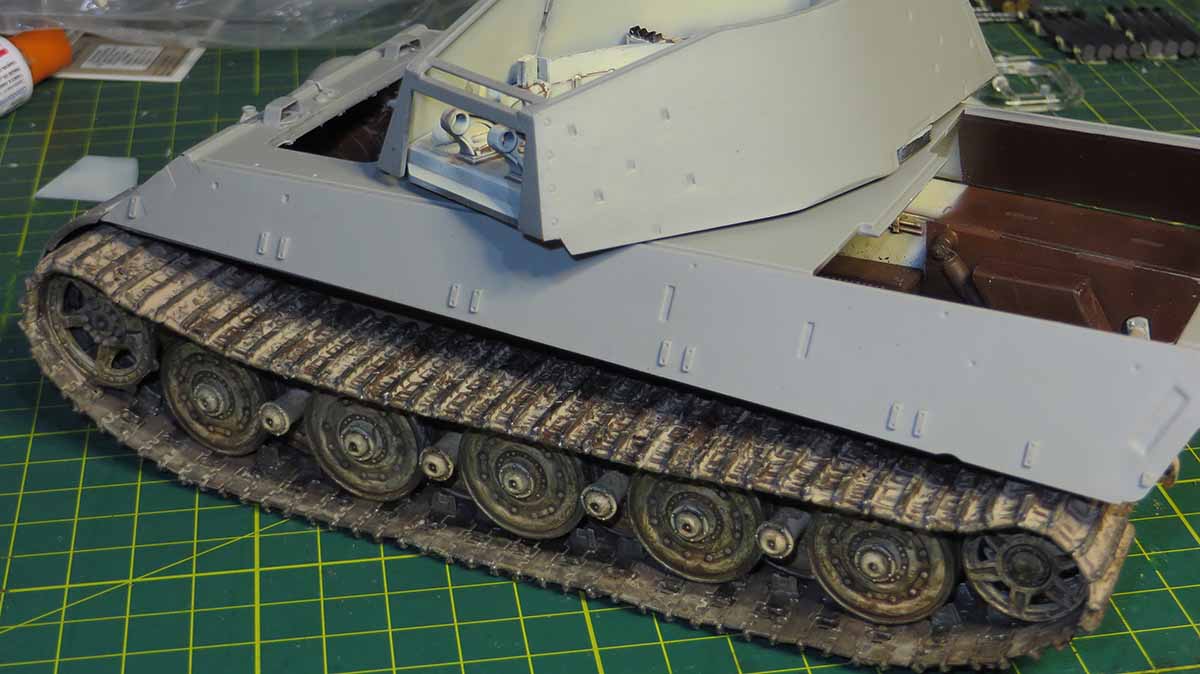
I have turned all my attention onto the lower running gear of the Tiger 2 and will alter from the build instructions.
The first step will have the sides and base of the hull painted before gluing all the running gear onto the tank .
http://i.imgur.com/MQ3Seya.jpg
http://i.imgur.com/g9tBWcH.jpg
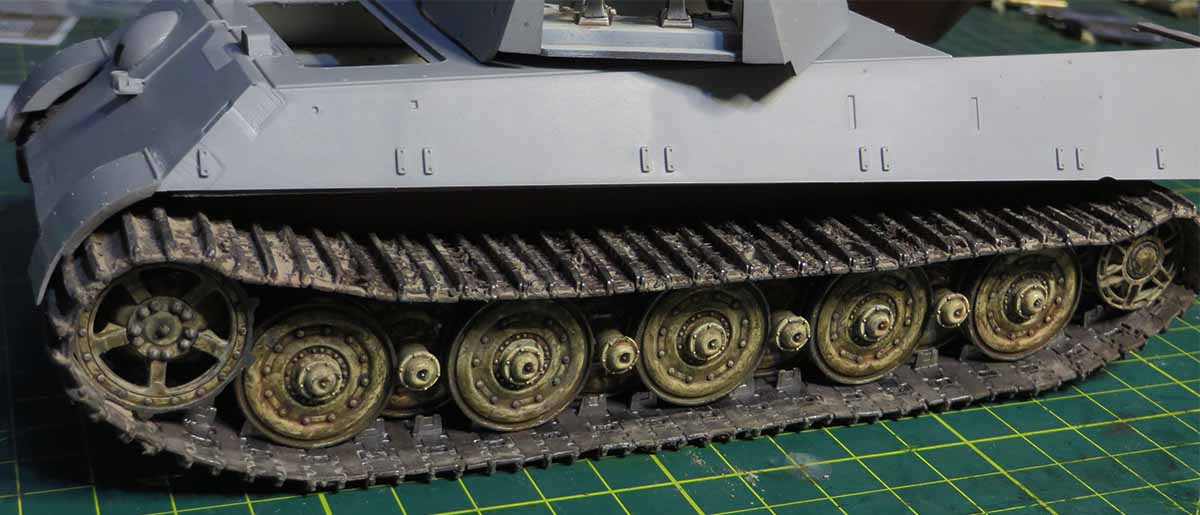
I have test fitted the torsion bars into each side and found there is a lot of flexibility in the wheel arms, there is a lug that apparently is meant to lock the arm in but there is still movement on the wheel arm once inserted in place.
Looking around on the net there has been some horrible build attempts on the torsion bars and it’s with this series of photo’s to show that Takom have manufactured the model correctly albeit with a little sanding on the torsion bar arms.
http://i.imgur.com/lChGfA0.jpg
http://i.imgur.com/fNto6bs.jpg
http://i.imgur.com/ofiuZ2D.jpg
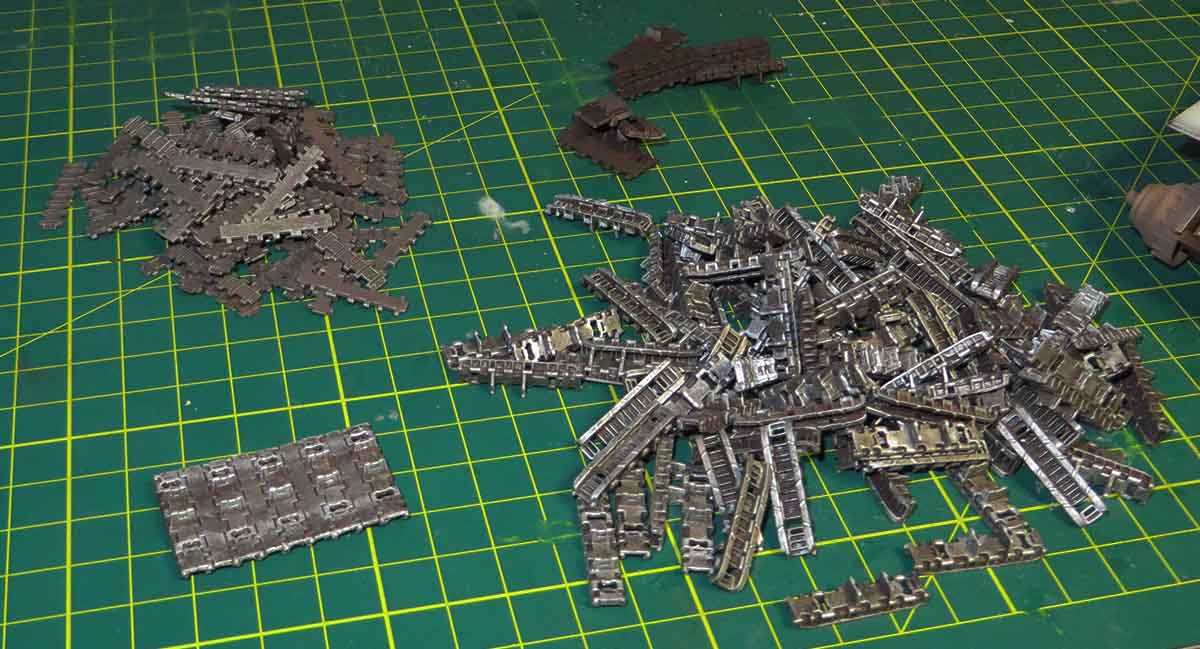
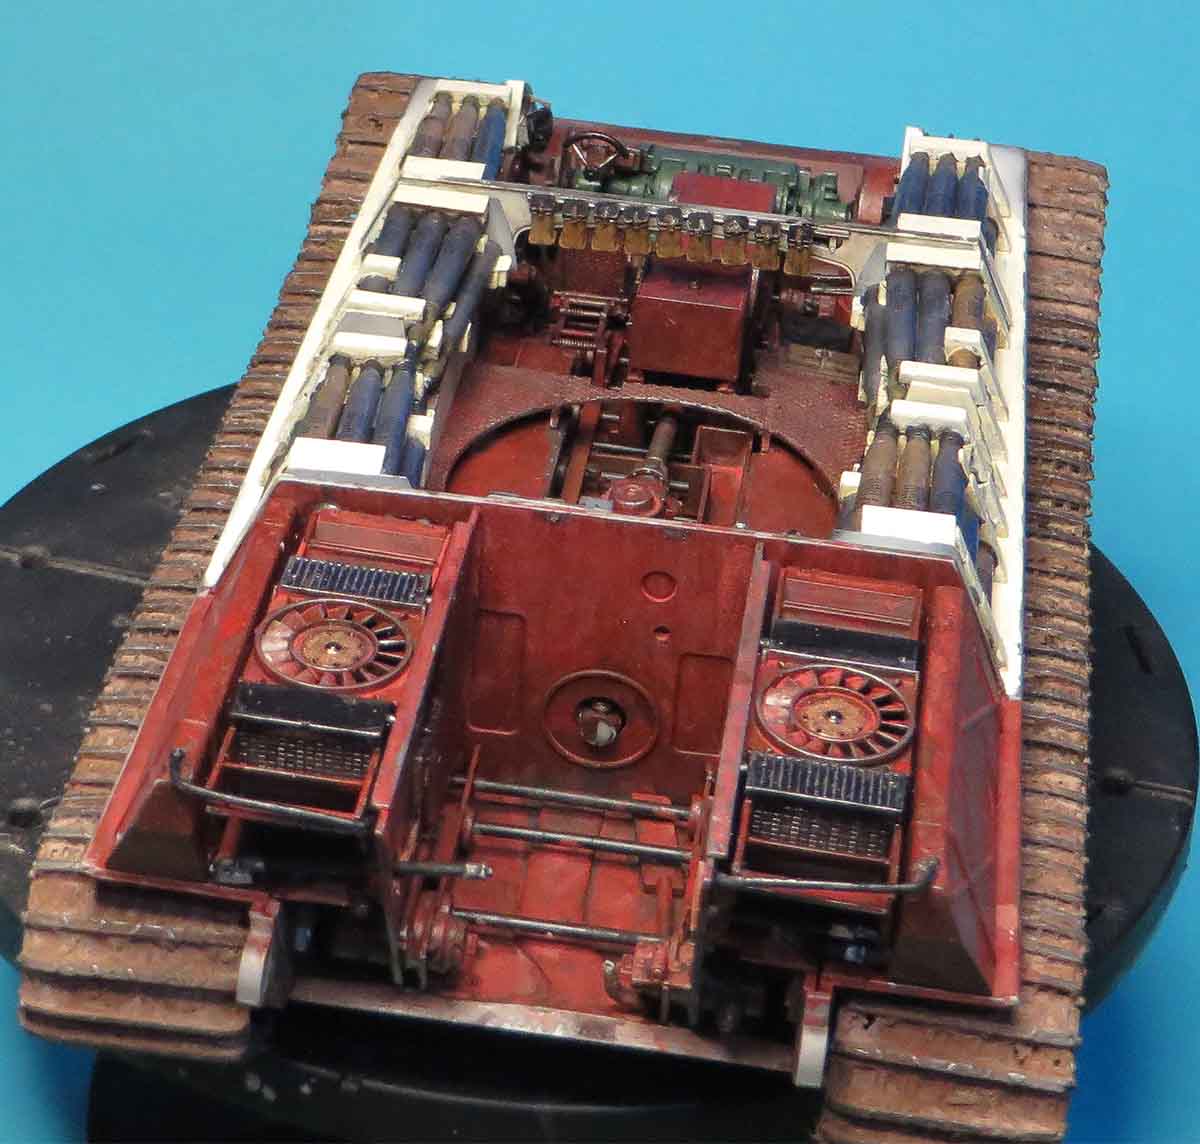
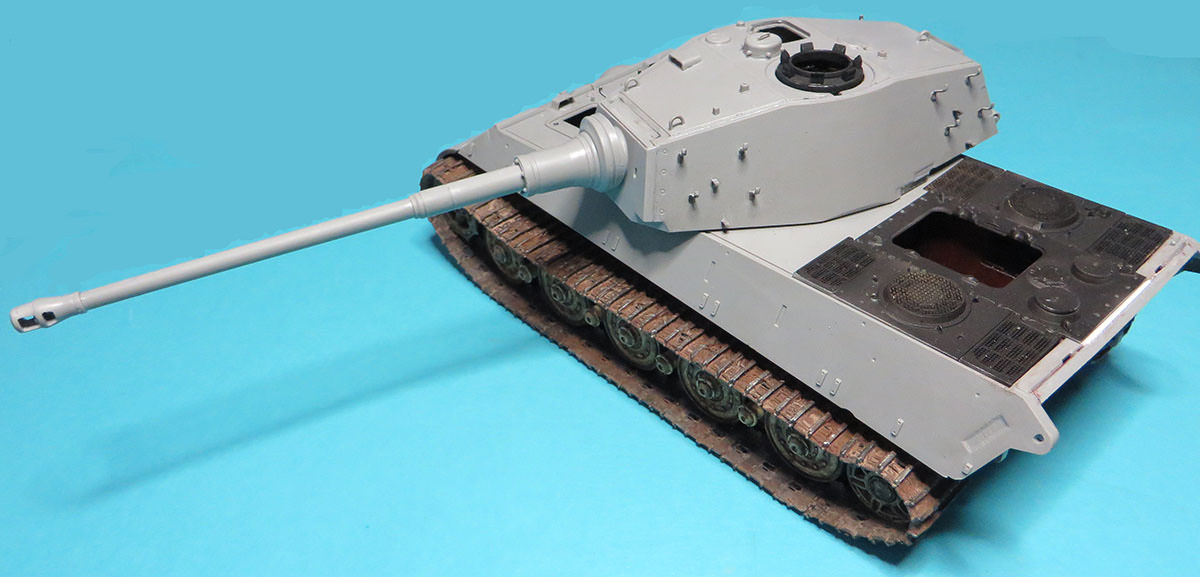
Each track link has been detailed.The links will also have a earth substance from Tamiya or Vellajo to give the appearance of travelling through soft soil.
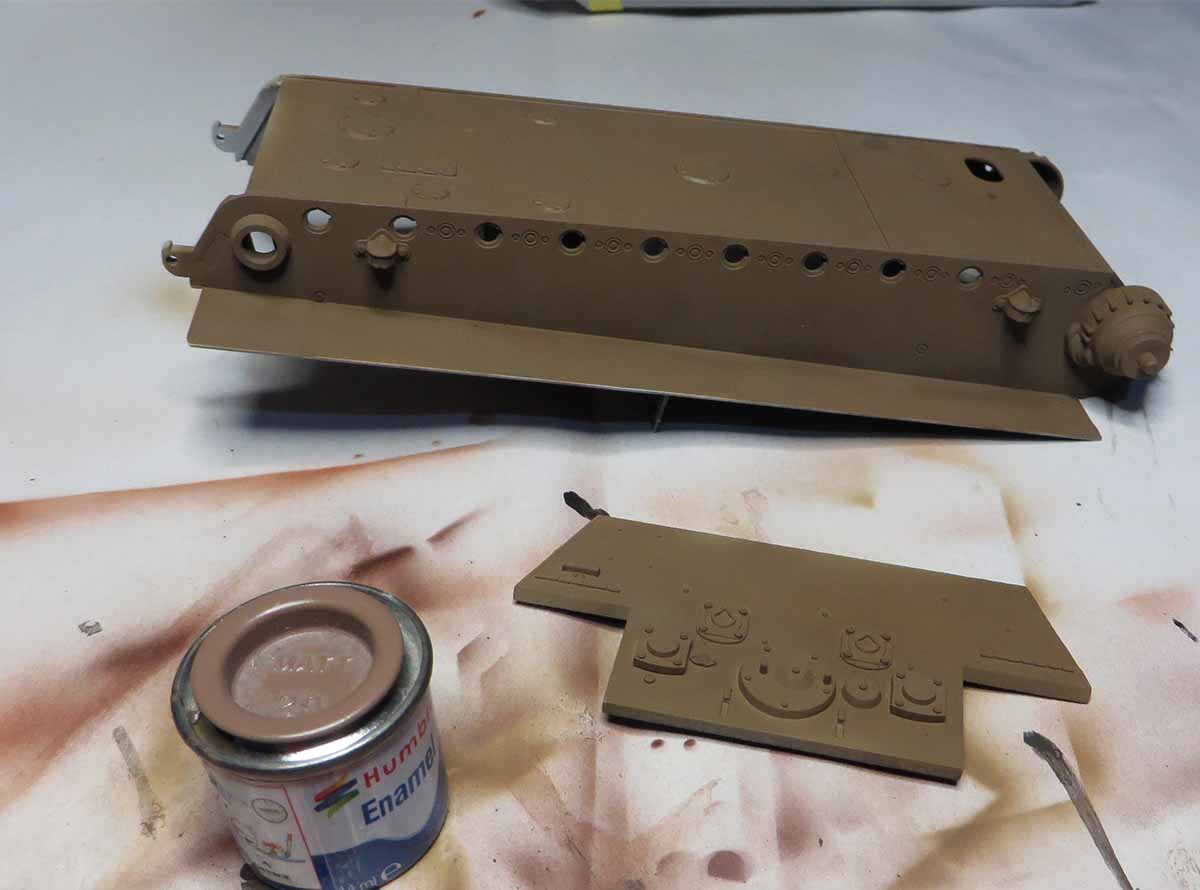
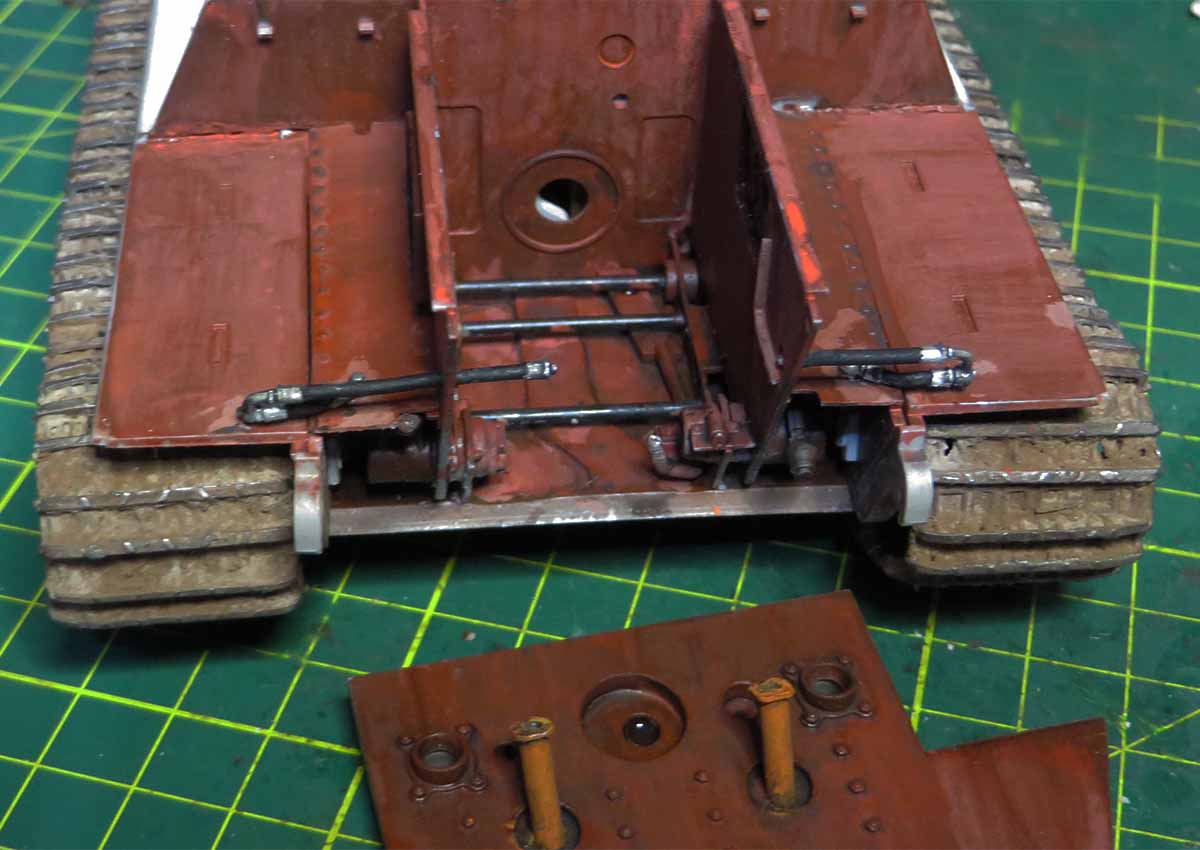
Humbrol Matt 29 earth on the rear and belly of the tiger with a cover coat of Tamiya earth over the hull and drive arms.
Mig ammo red base over Black primer

Mig ammo red primer and creamweiss for the upper hull.
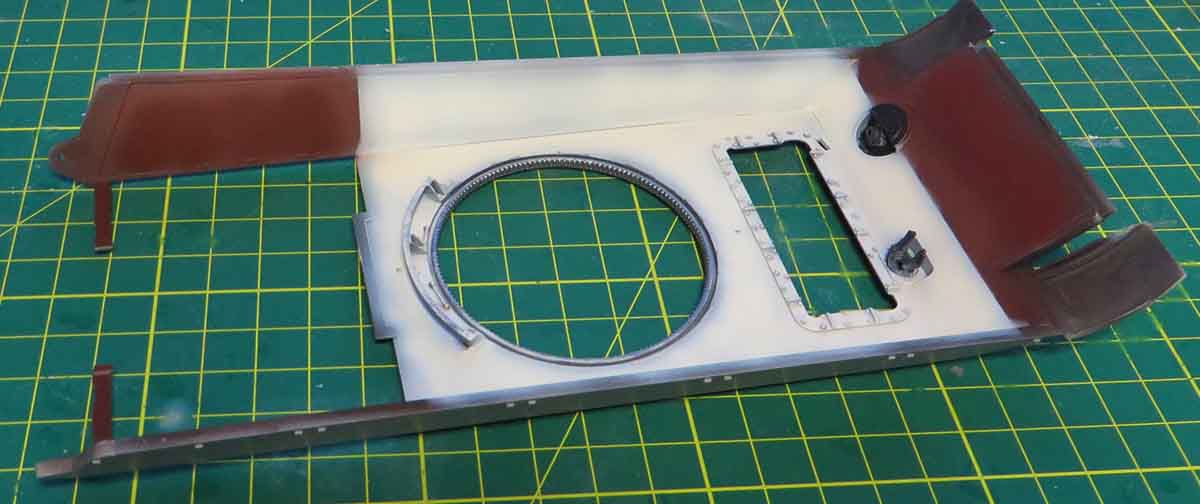
Dark wash applied around recesses of the lower hull
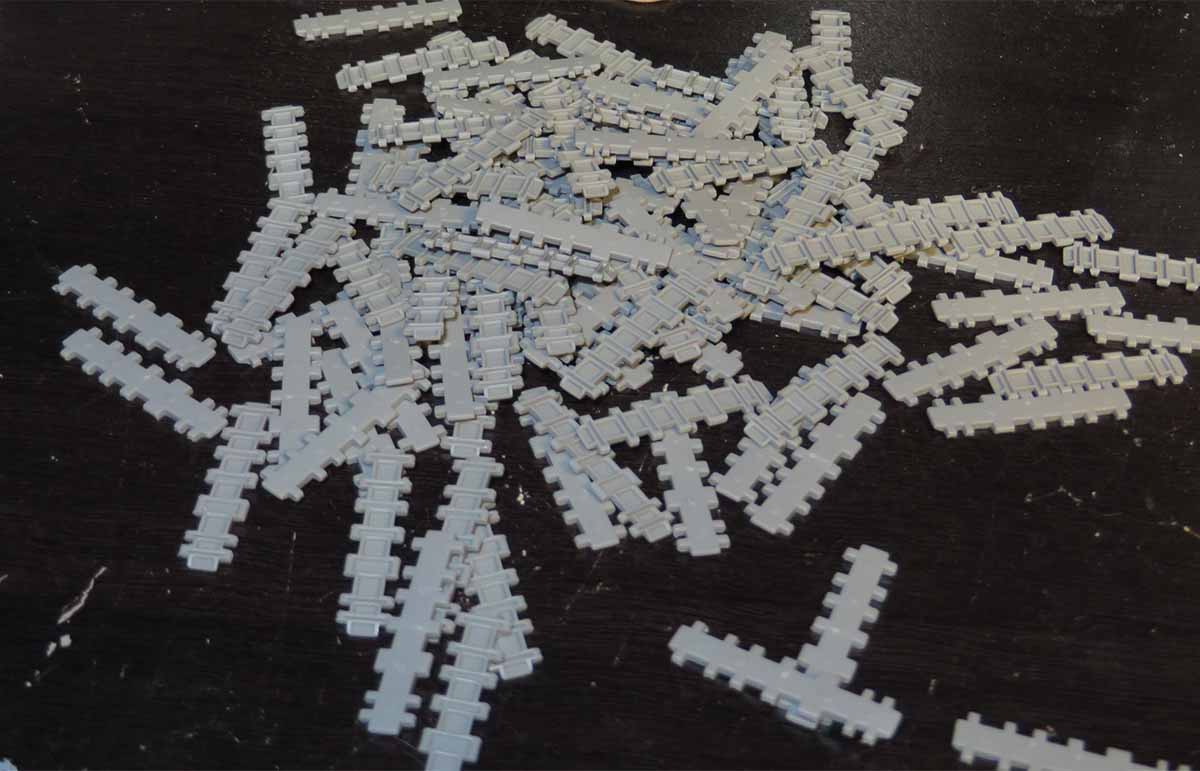
Removing all the raised sections from each individual track link.
Painting each individual track link
Mig Ammo track colour highlighted with Ammo steel and Gunze silver for the extra wear on the track
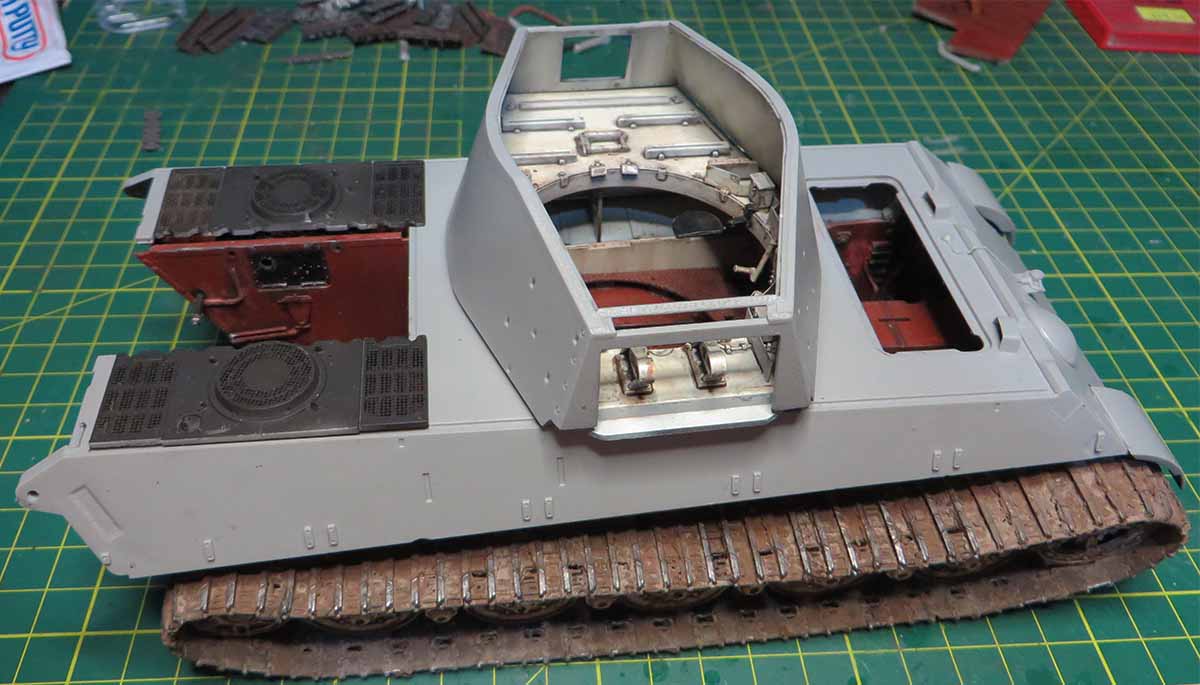
Lower Hull ready for running gear and track to be glued on
Tracks are on the tiger, including the weathering in between each link.

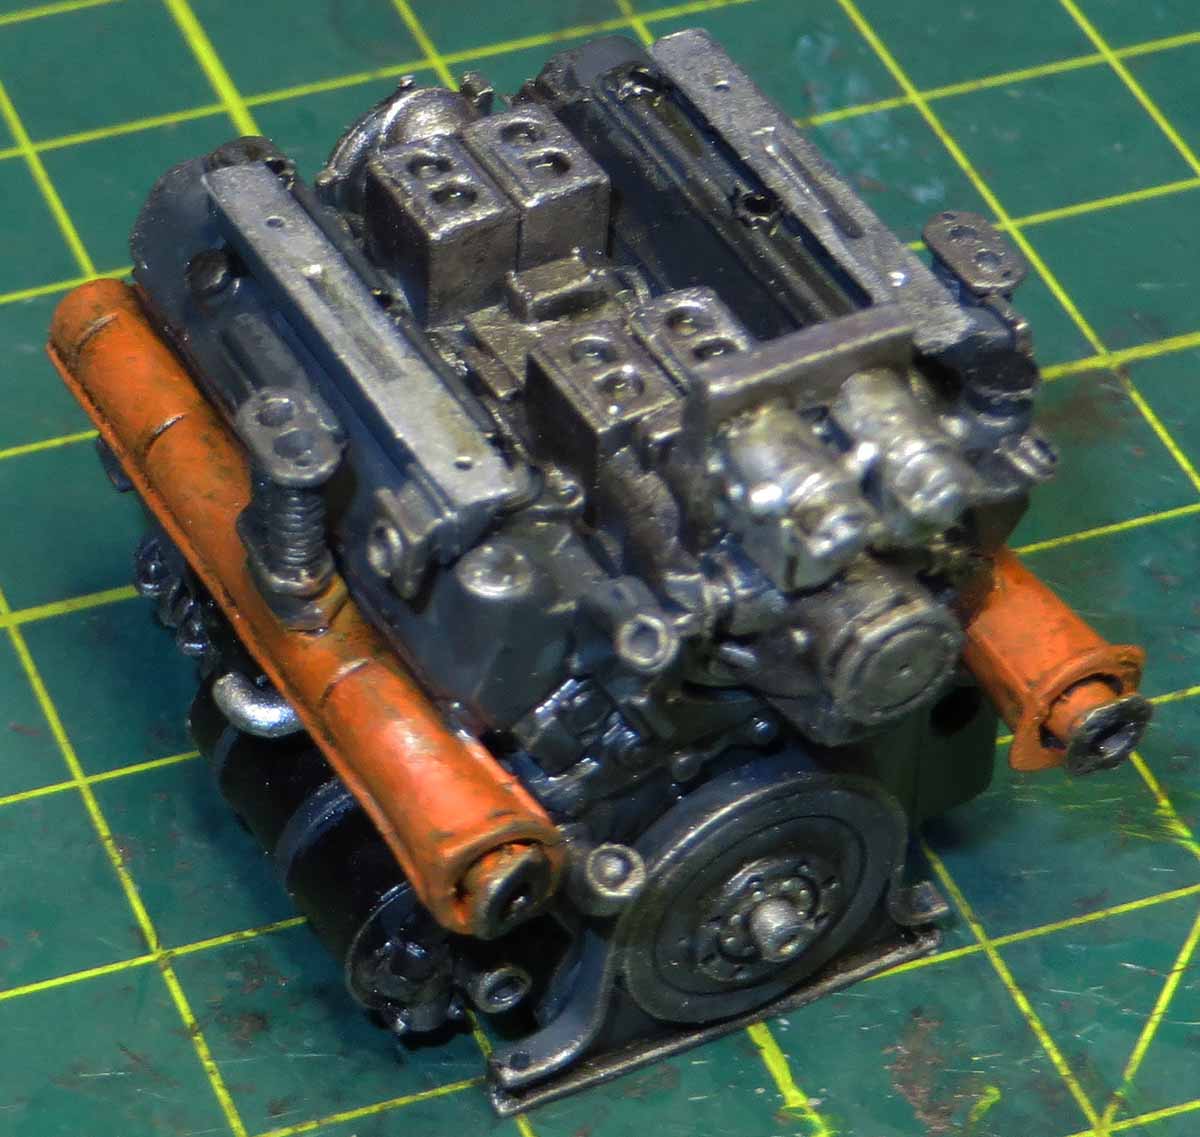
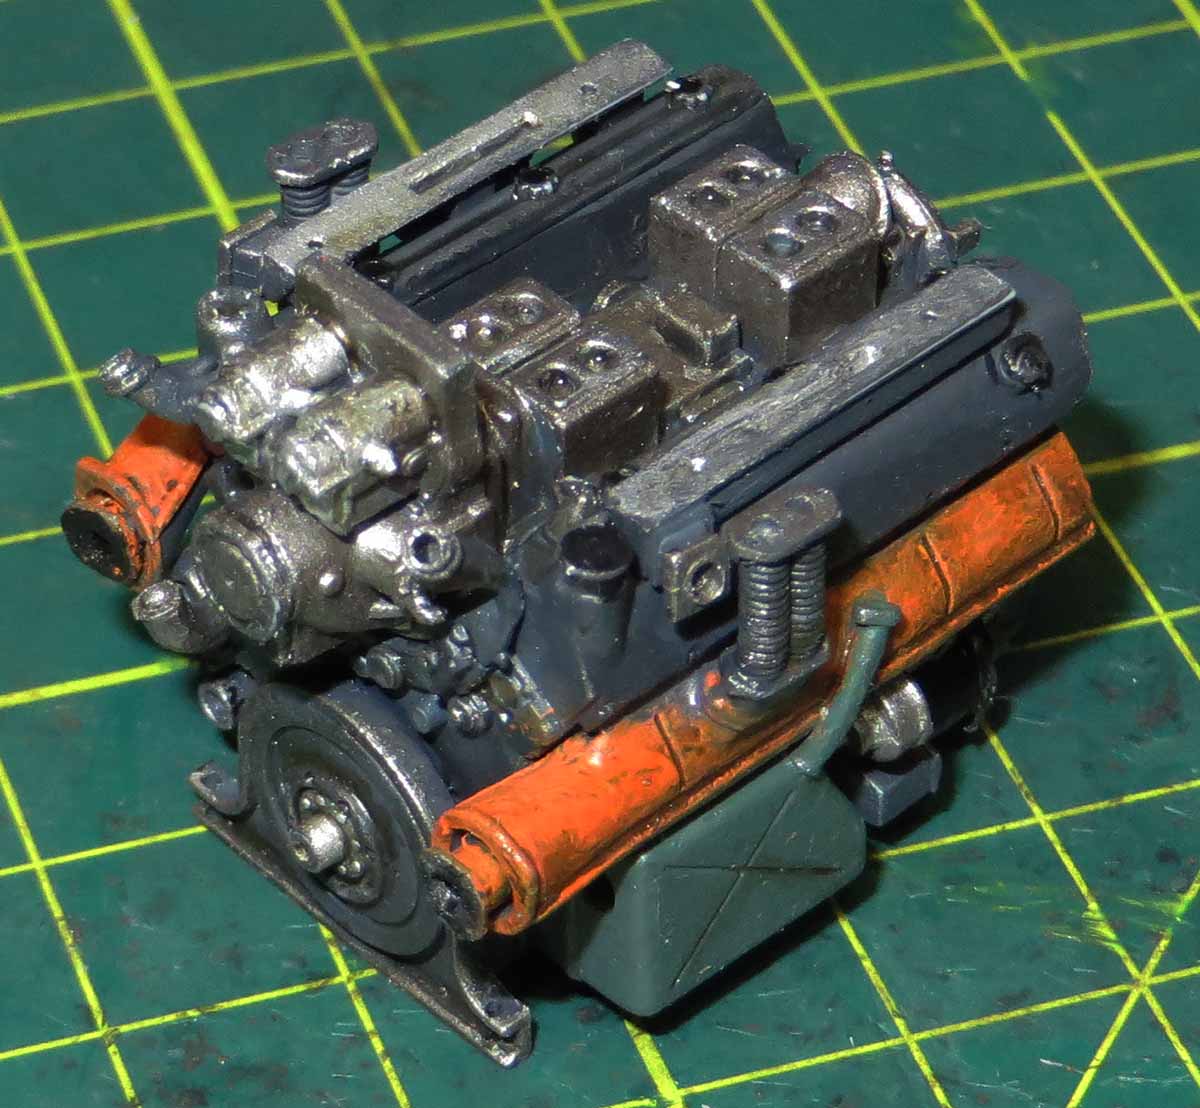
The engine is painted in Vellajo black grey with Lifecololour rust and light rust.
Vellajo wash with Ammo steel, Gunze Steel highlights
This is the first stage of painting with further detail painting of the engine to follow.


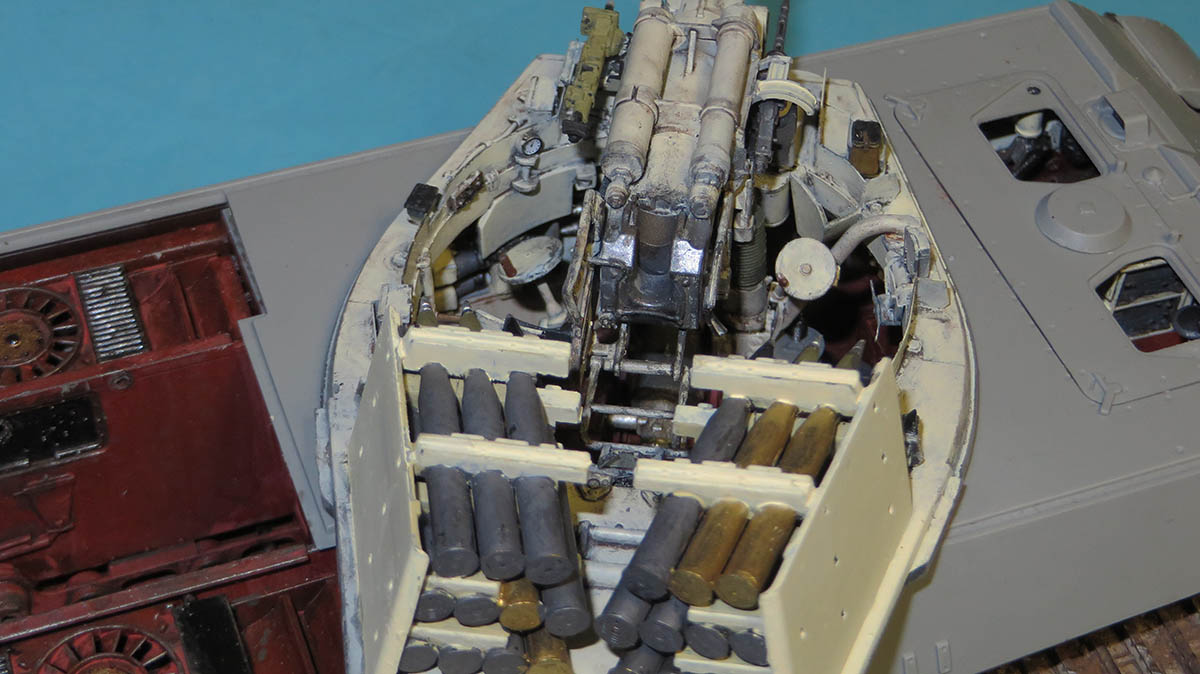
All the 88mm rounds have been detailed and glued into position in the turret and lower hull. Been a long time to get to this stage.
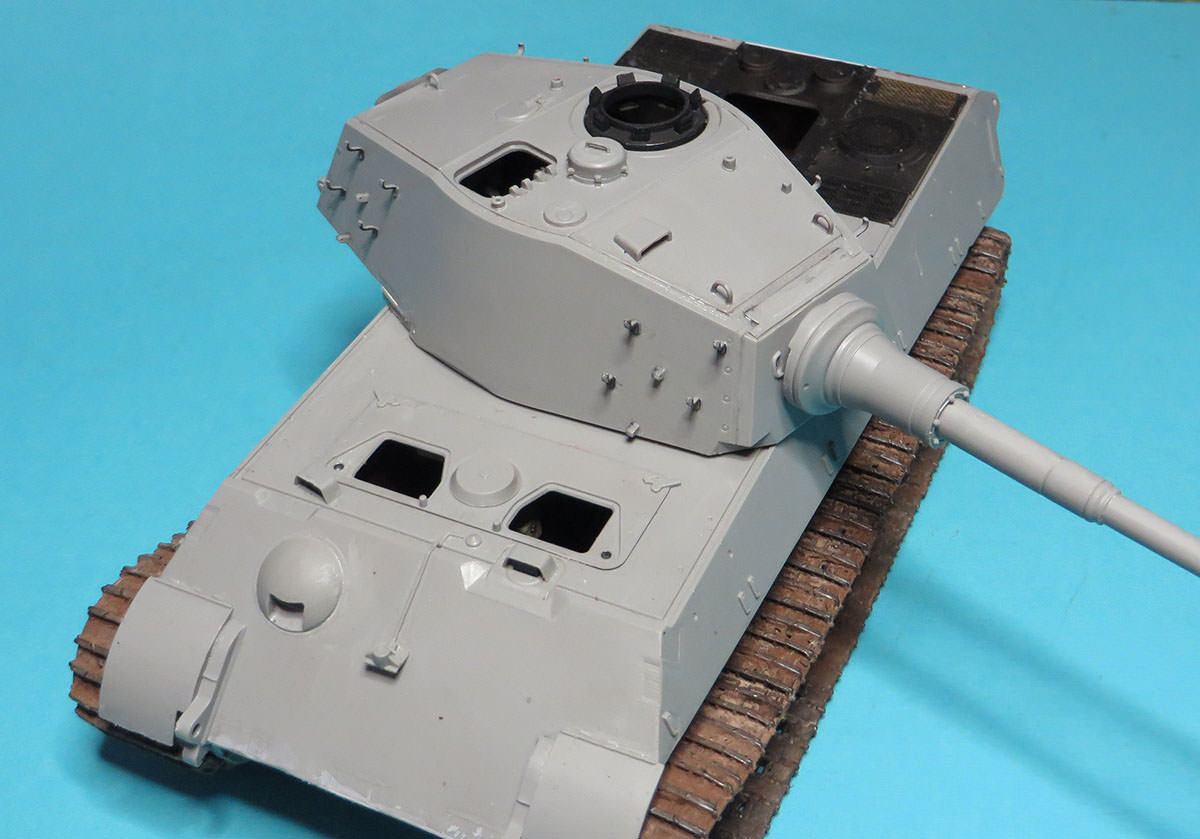
The kit is taking shape, a real tribute to Takom with the immense detail in this kit.
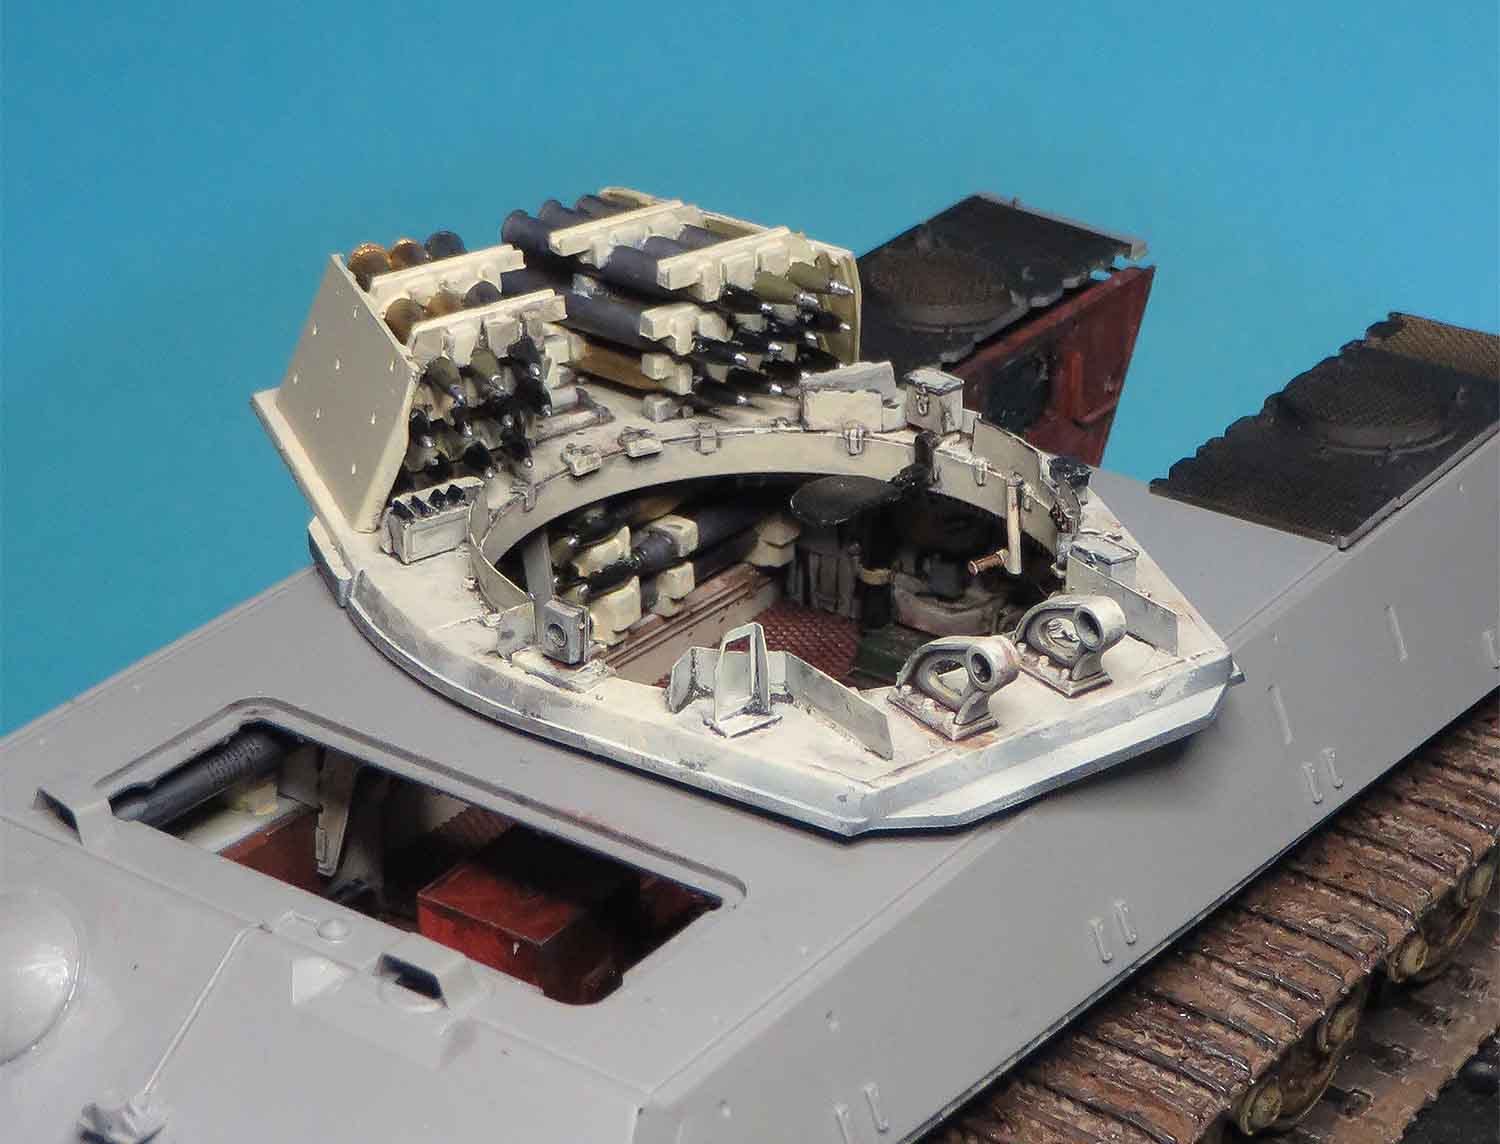


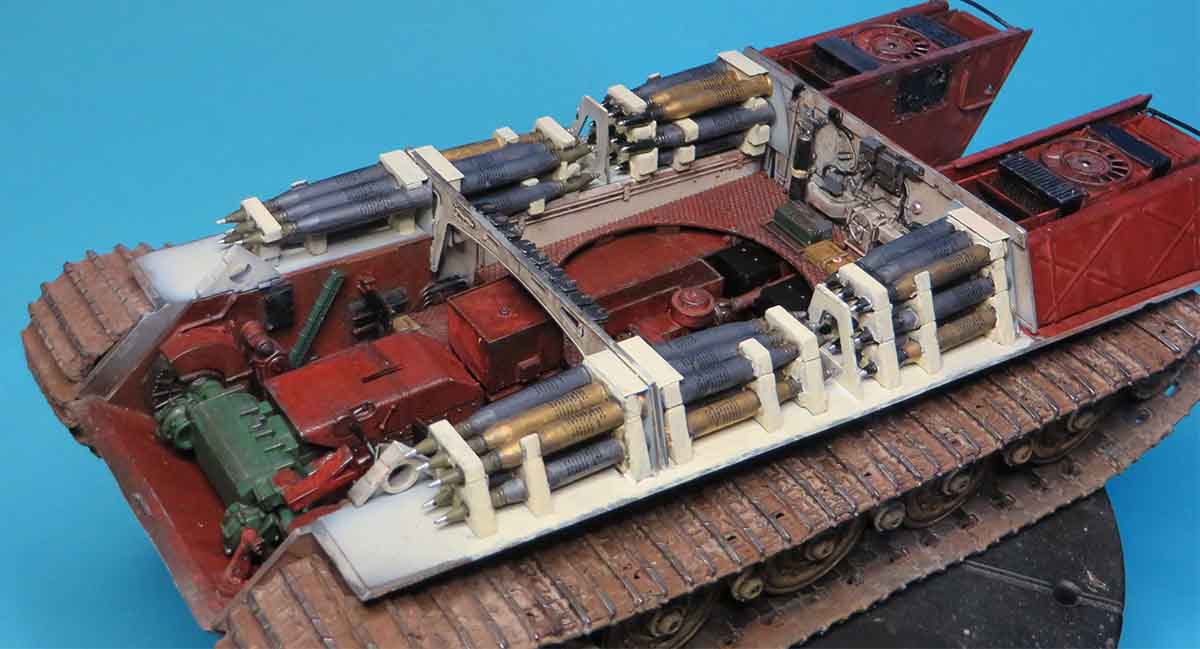
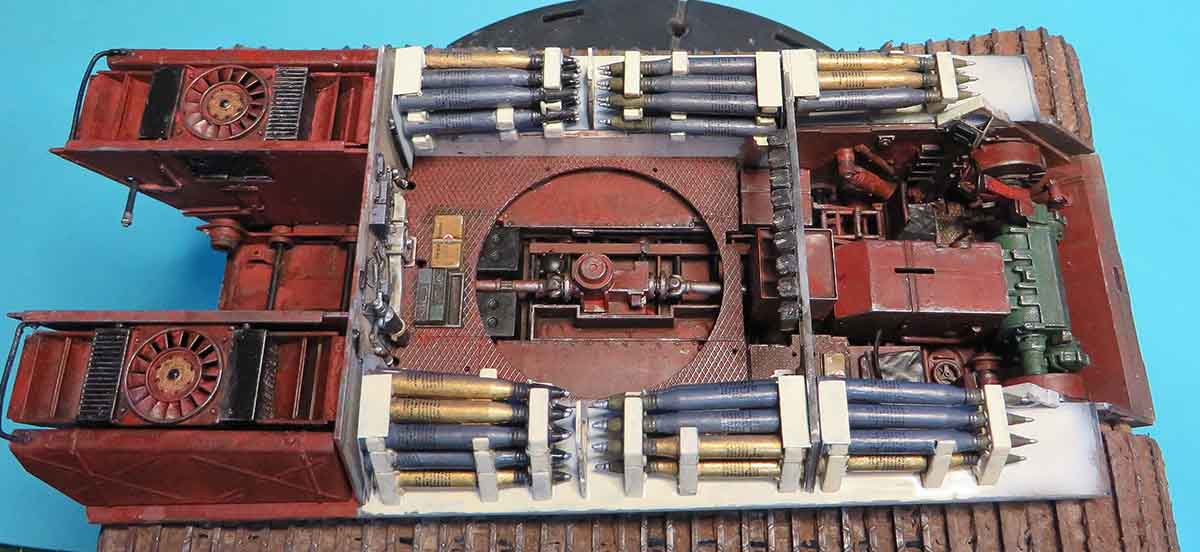
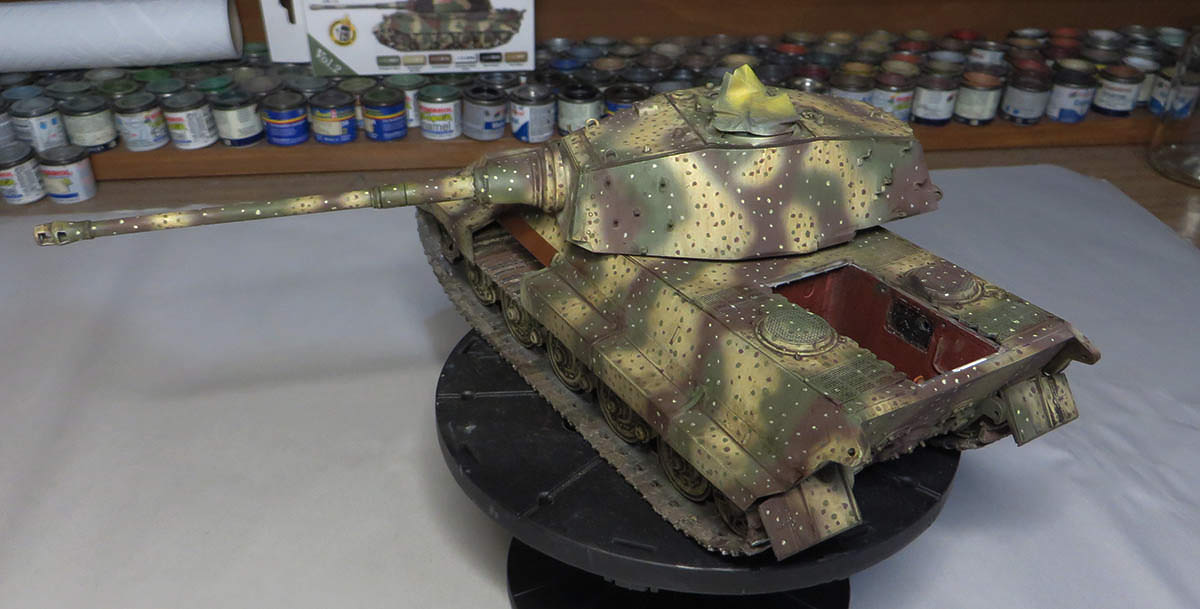
Here are some final shots of the turret and lower interior before being glued together.


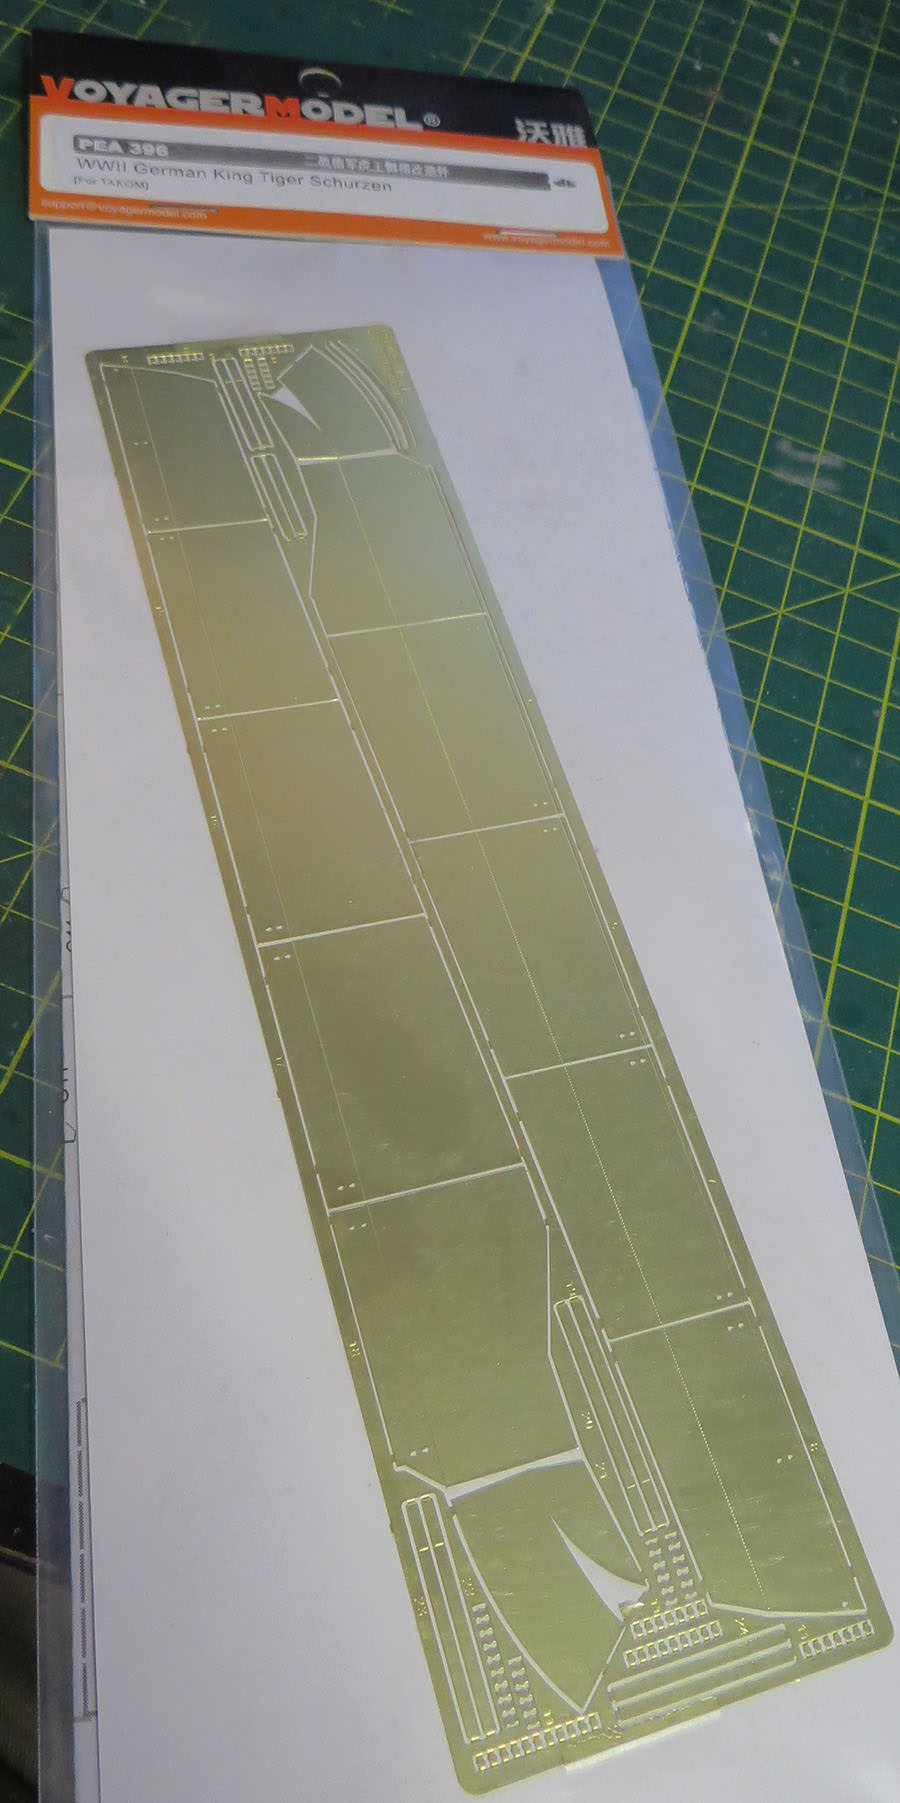
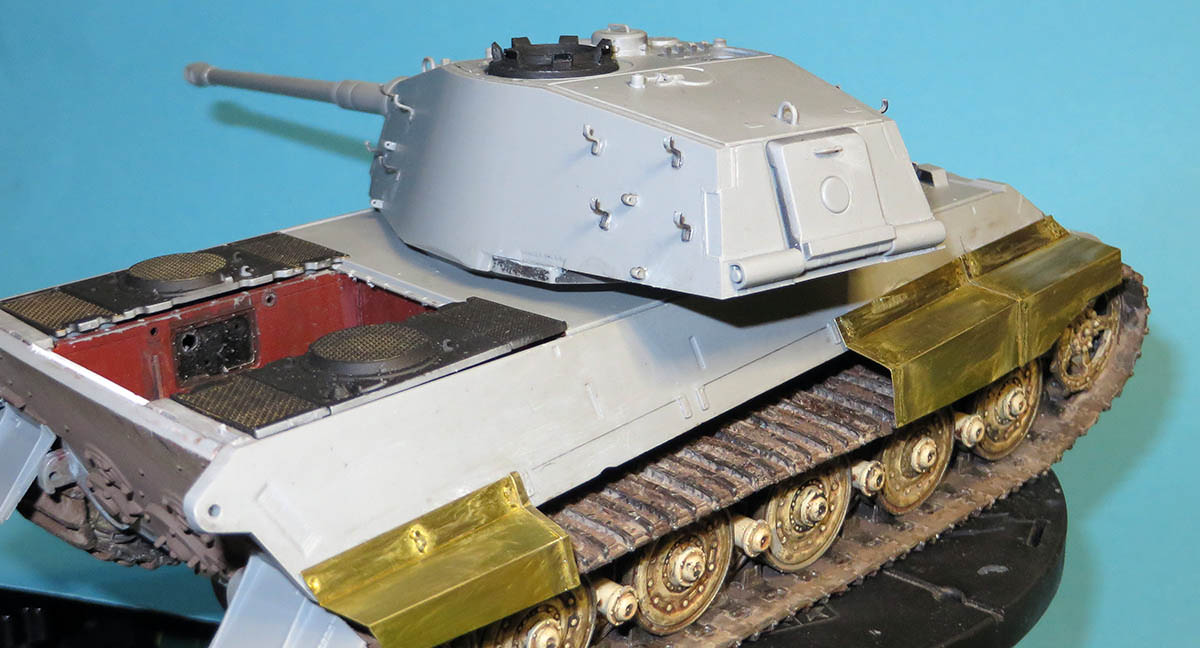
Both the turret and hull are glued together,the the voyager fenders are next and the painting begins.
The parts below are going to be painted separately and then glued onto the hull once intricate detailing is done.
All the hatch’s will be covered up with Tamiya tape before and painting begins.
At the moment I have left the barrel and sleeve unglued, they will be painted and detailed individually and then glued in place.
The 3 front quarter fender brackets are not included in the etch set and had to be robbed from another etch set.
I could have scratch built the brackets but decided that it was easier and quick to put on from a back up Aber set.
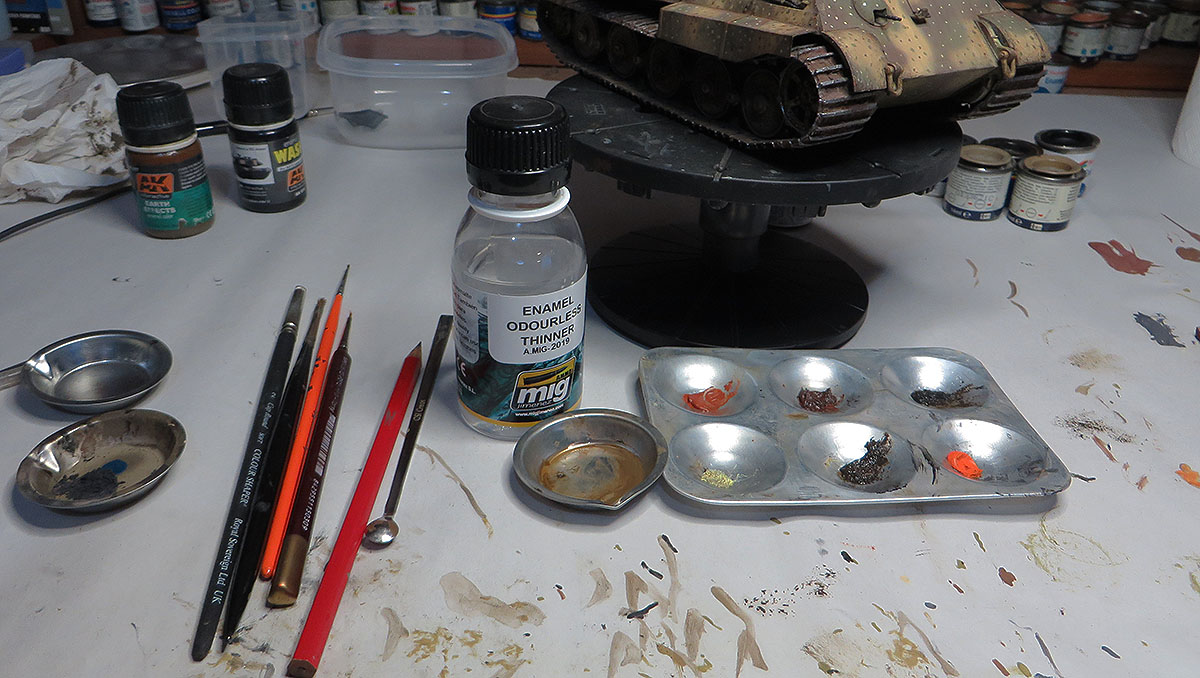
There is still some further shipping with a combination of oils blended down with Mig’s odourless thinner
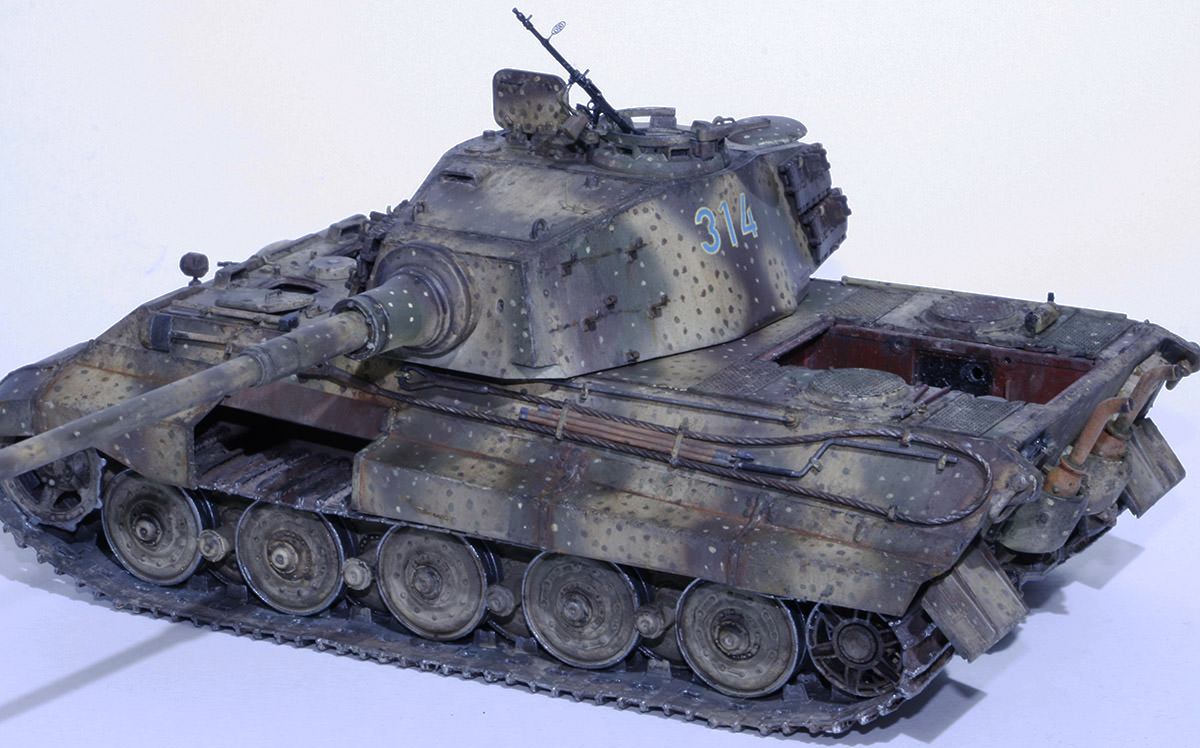
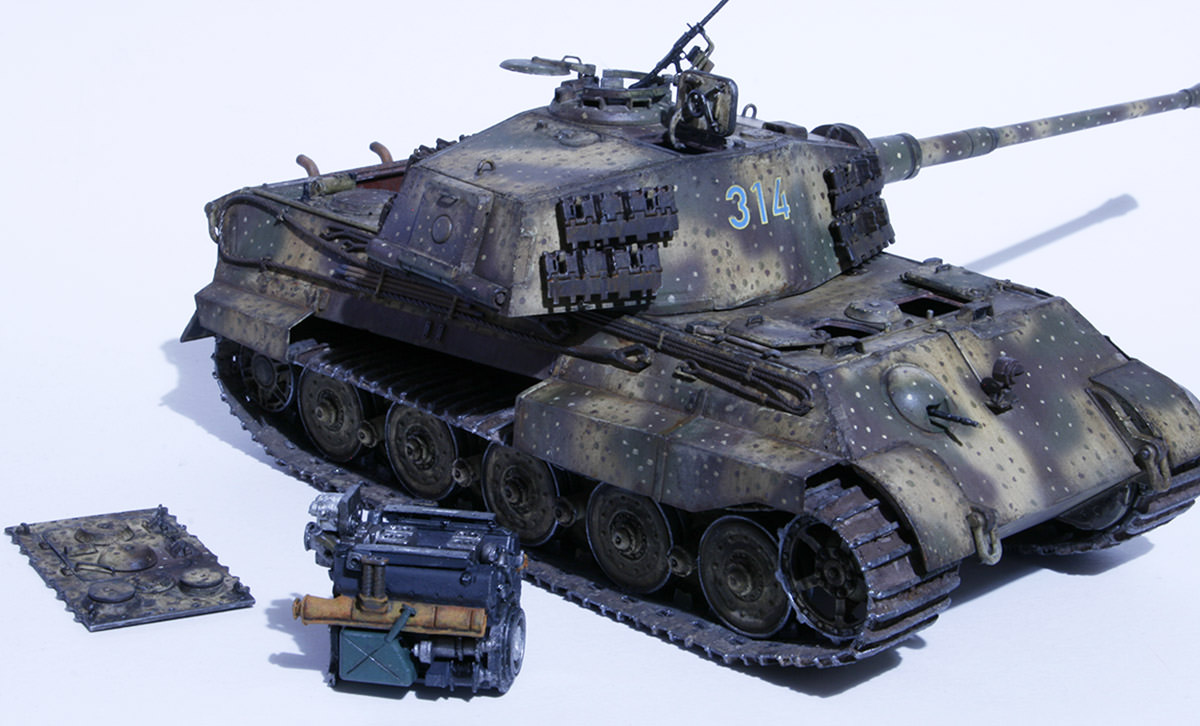
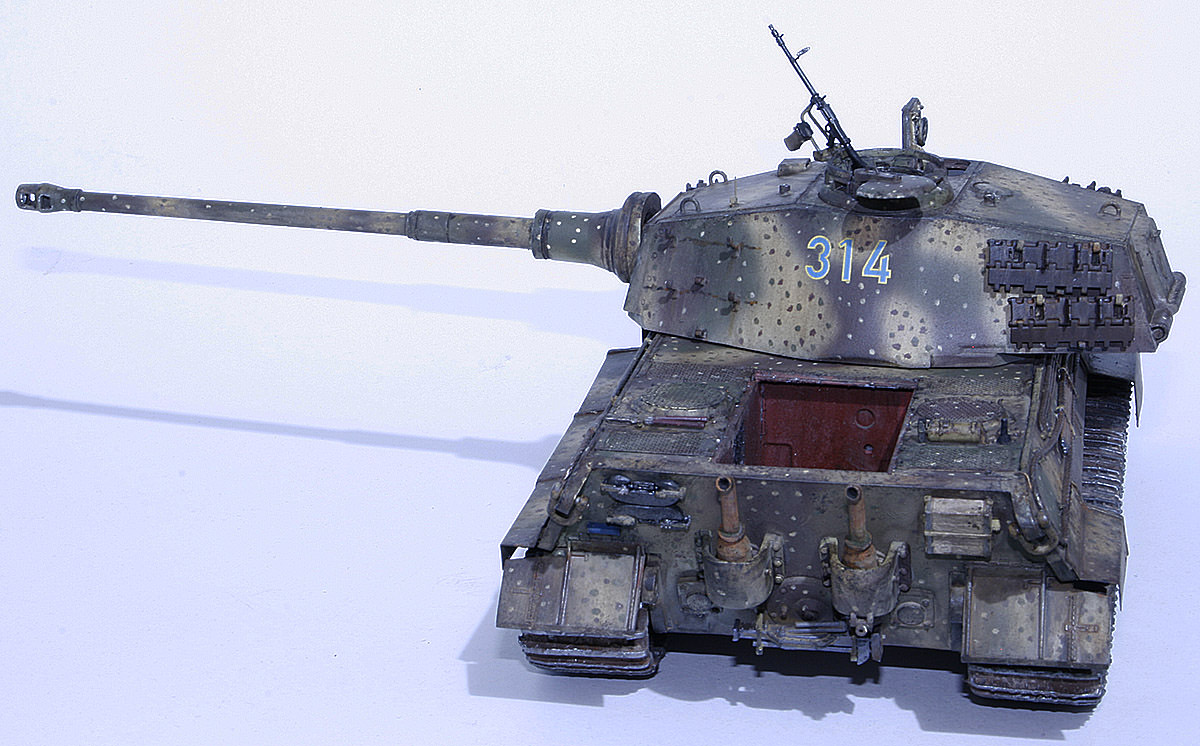
The Tiger will have the rear engine deck off with the engine suspended in the air from the crane jib
The series of images are still WIP with some very minor detailing.

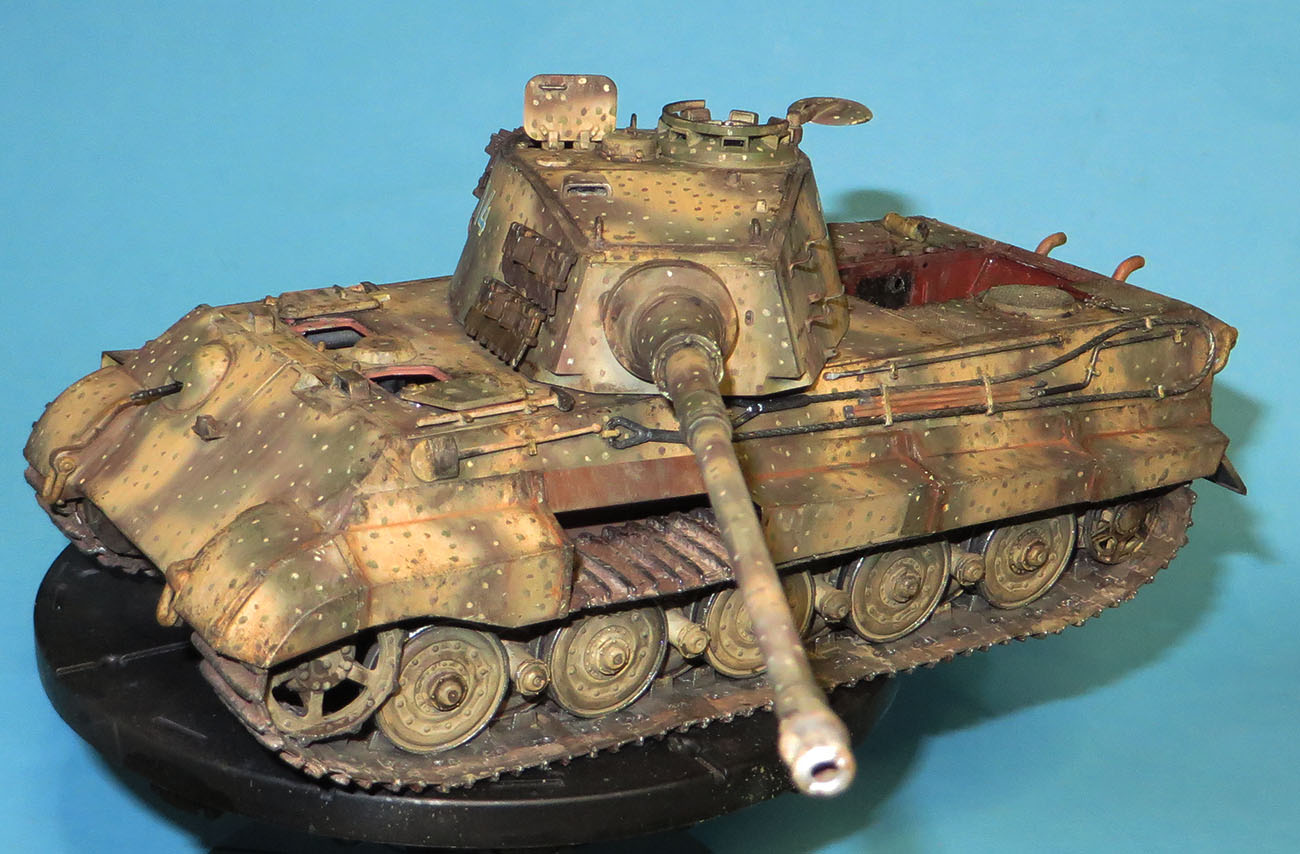
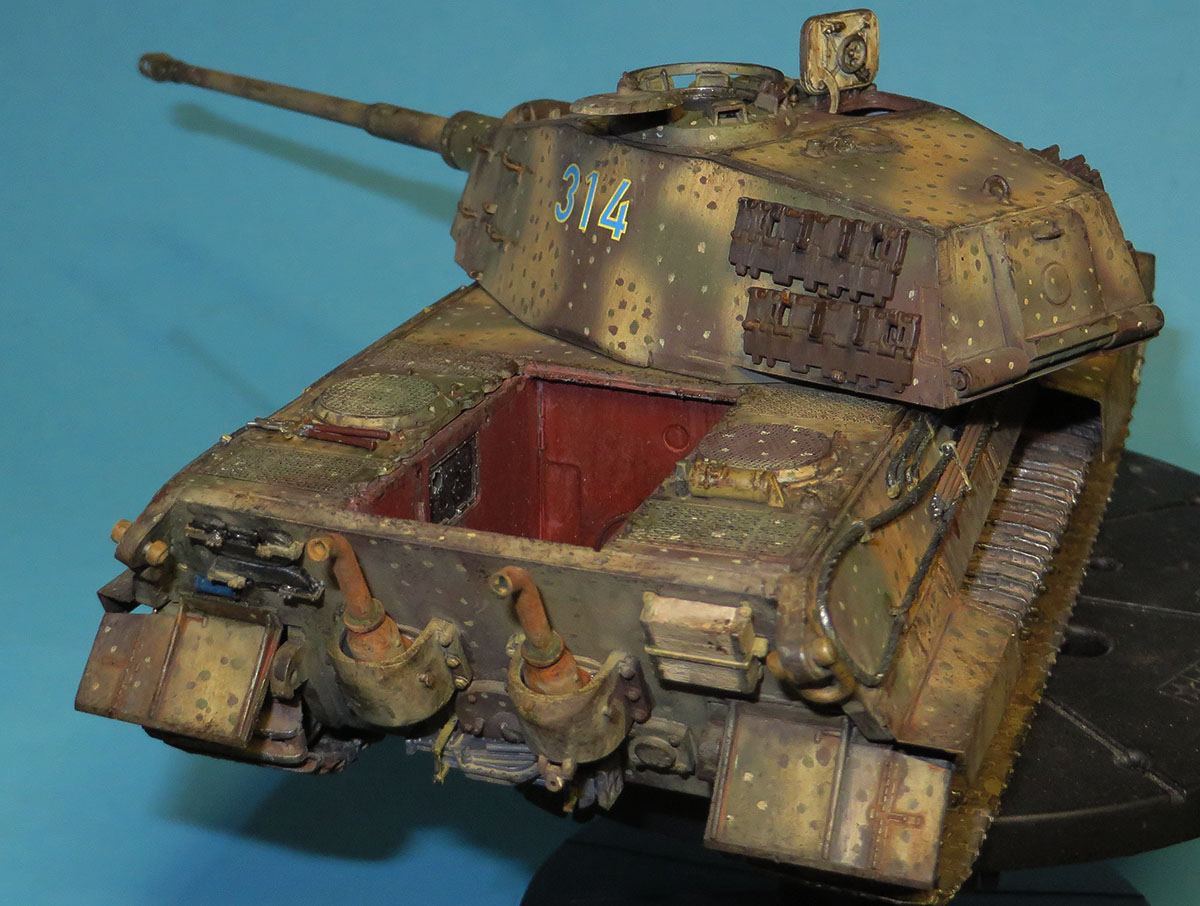
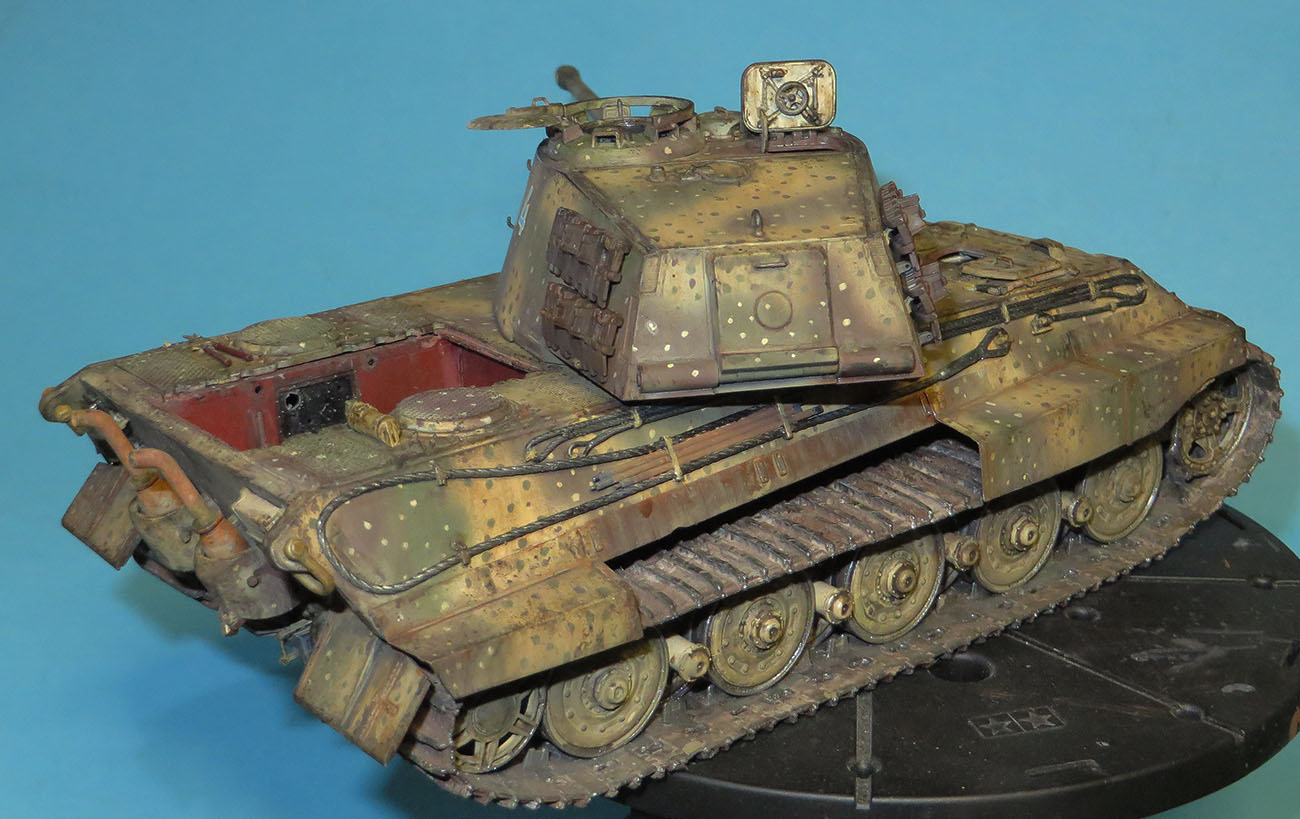

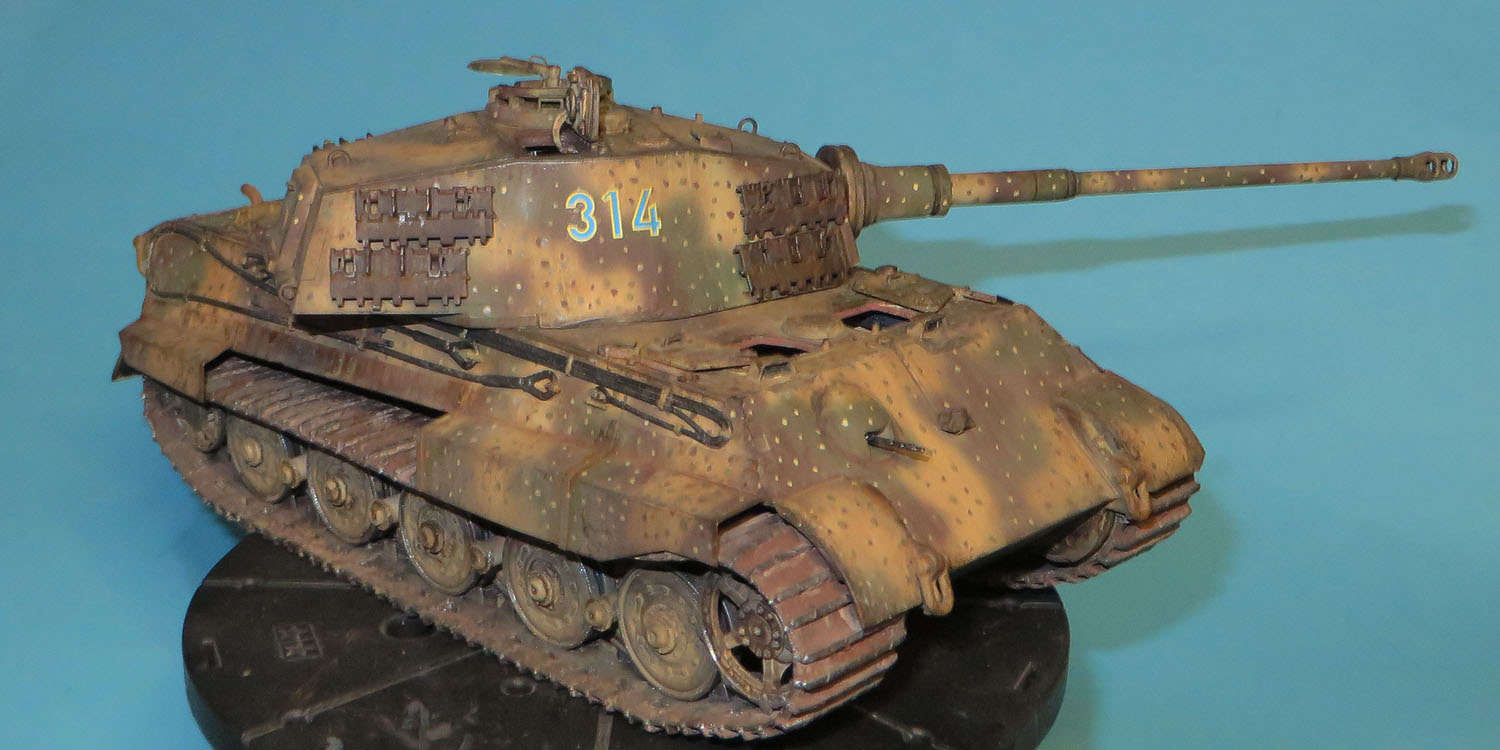
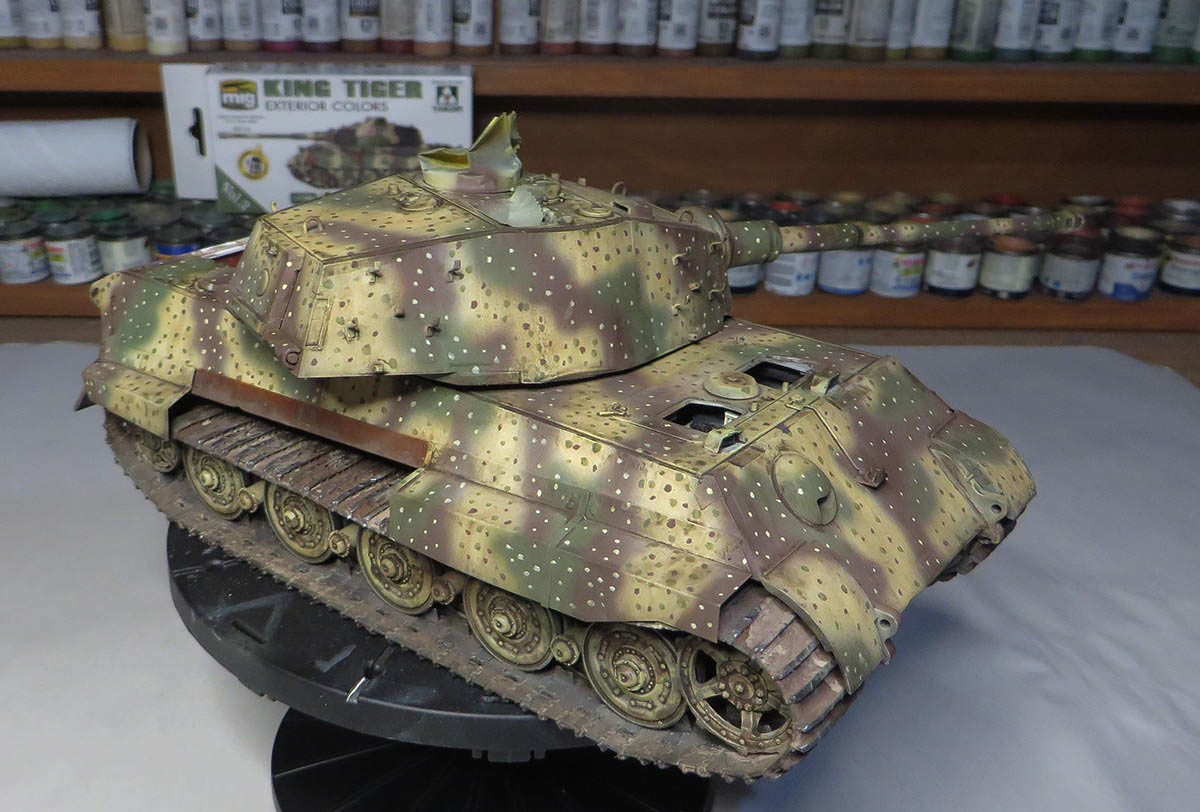
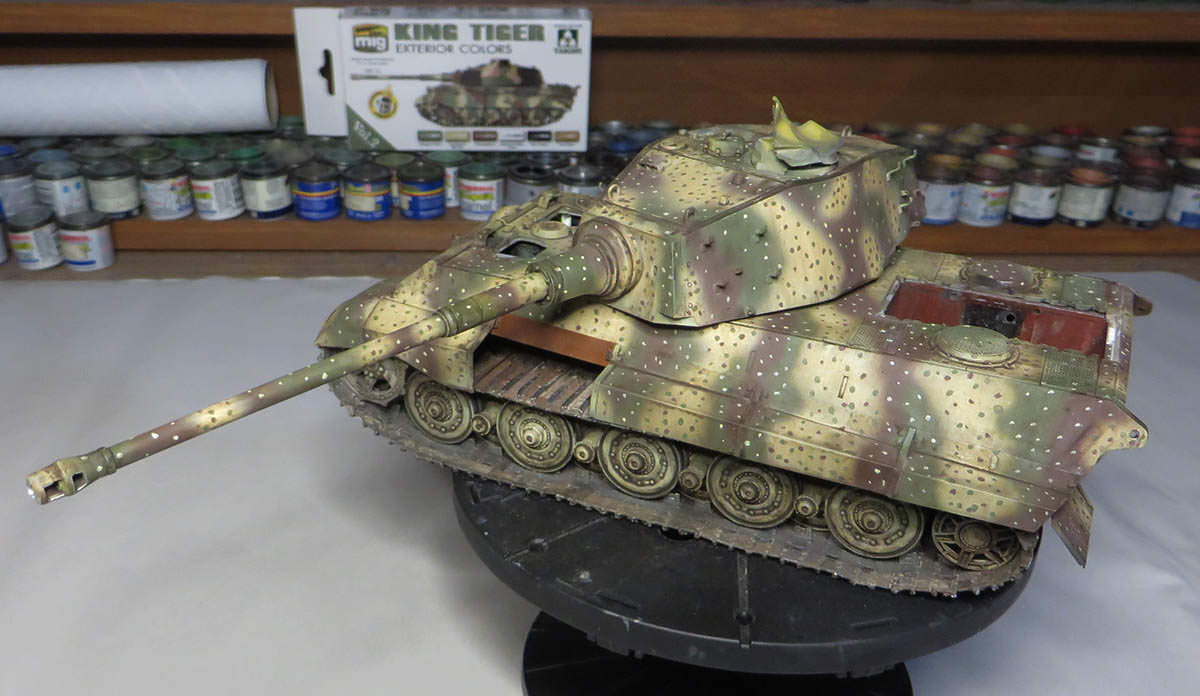
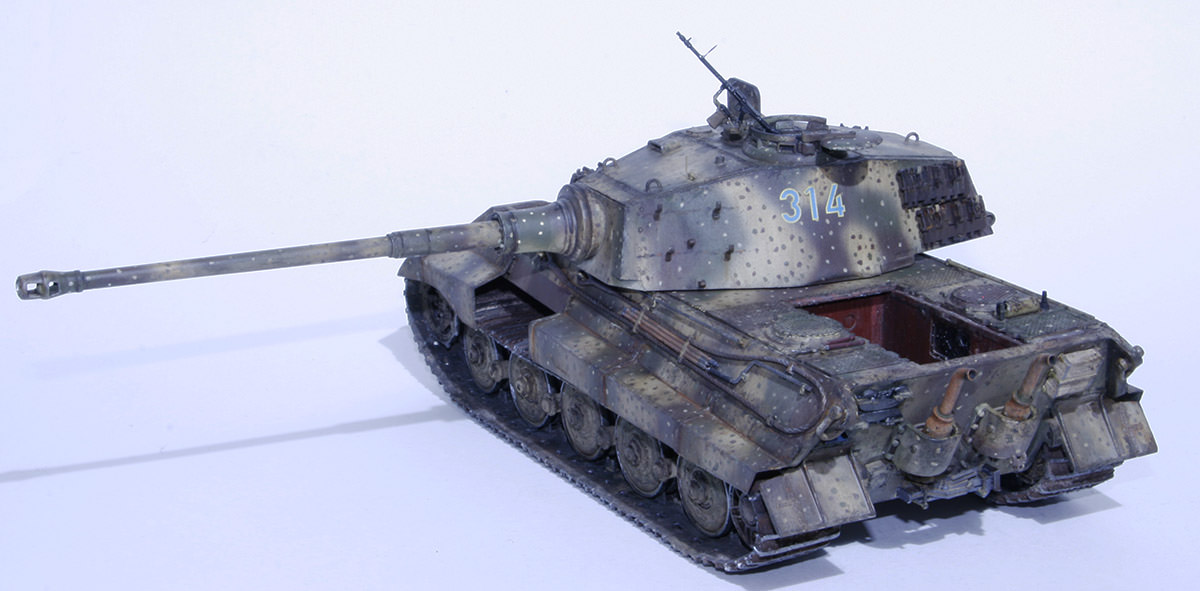
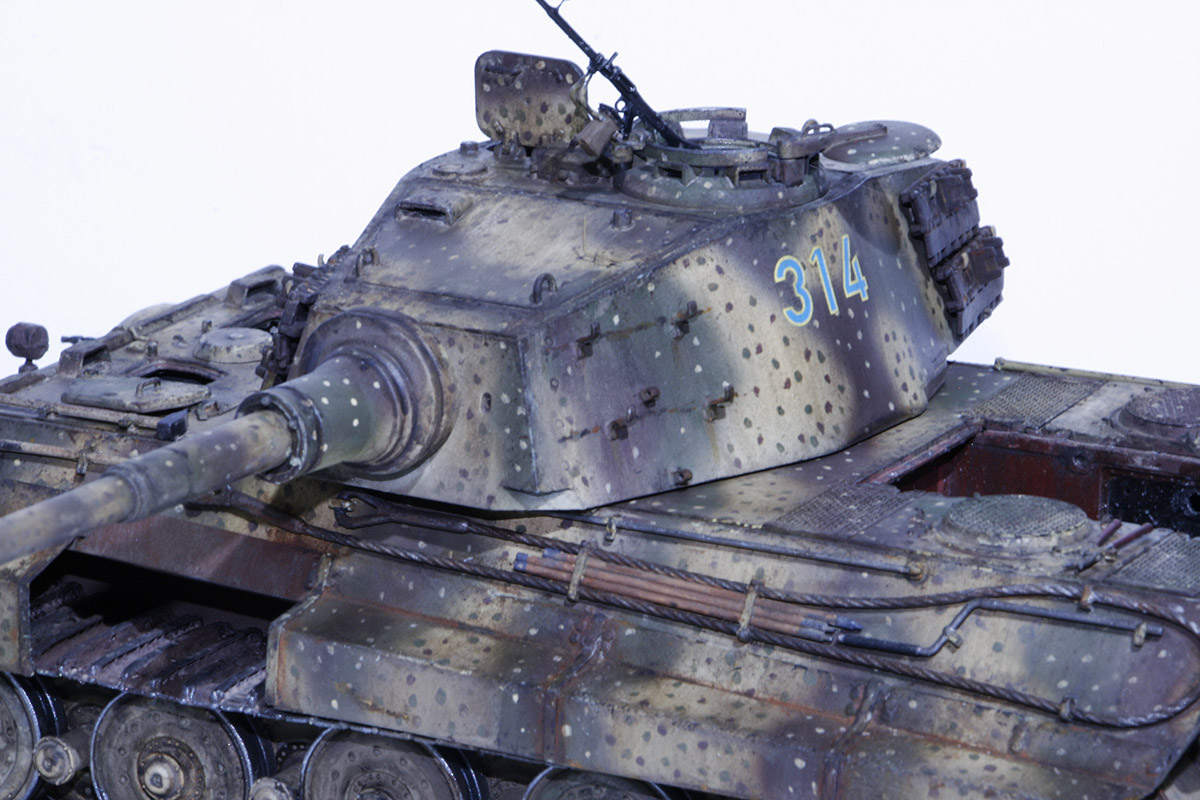
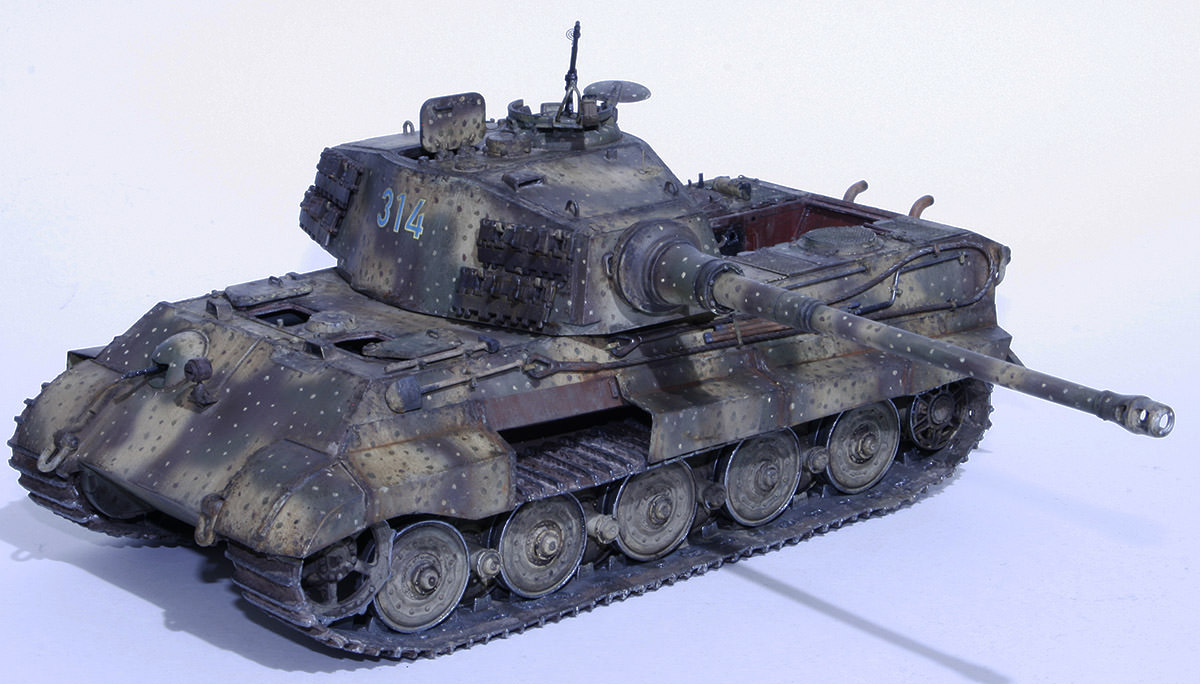
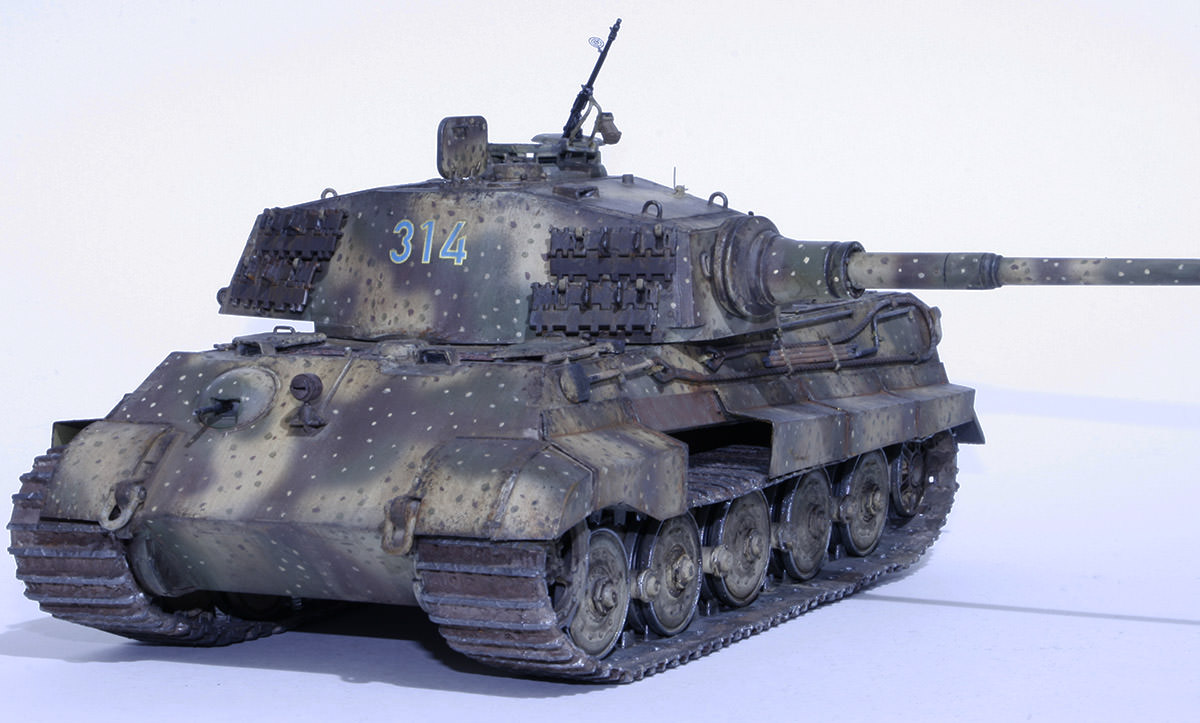
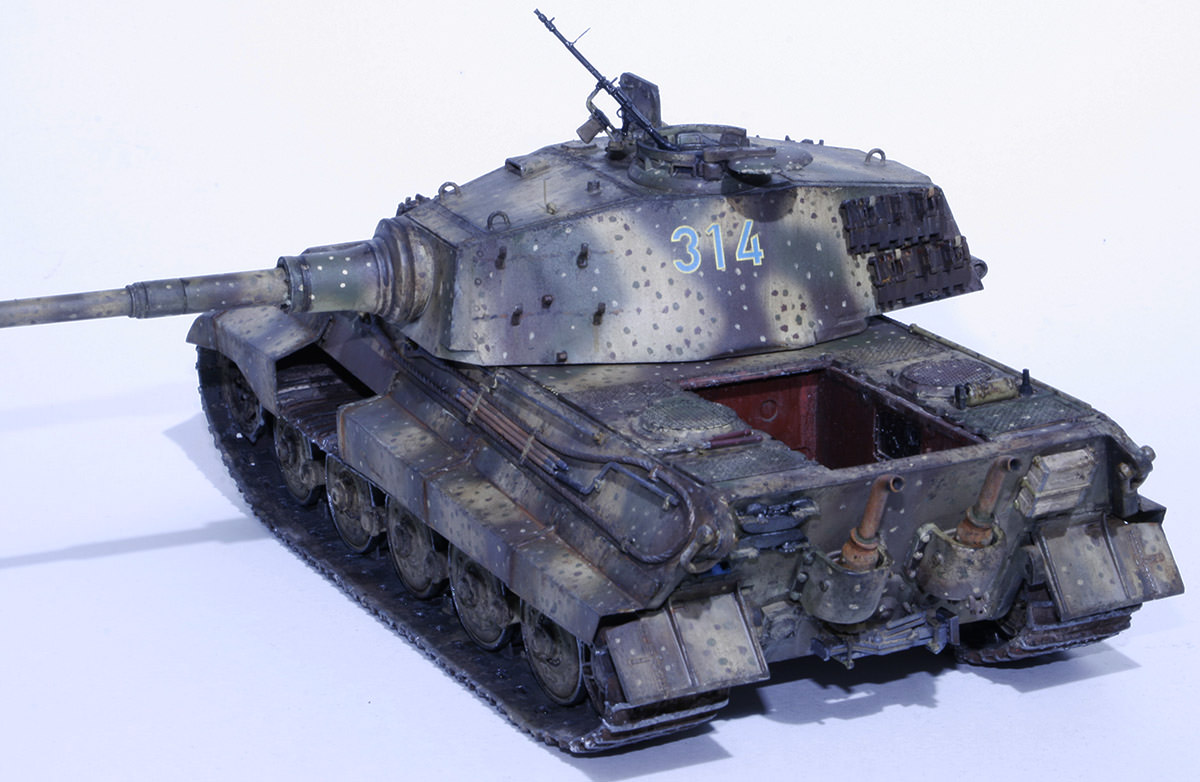
Here are the completed images of the king tiger. Will sit behind glass before being placed onto the diorama.
The Tiger was predominately painted in Mig Ammo acrylics with additional Vellajo, lifecolour and Humbrol enamels.
Weathering was made with Ak Earth filter(wash) to distress the paint from new.
Oil paints for the chipping.


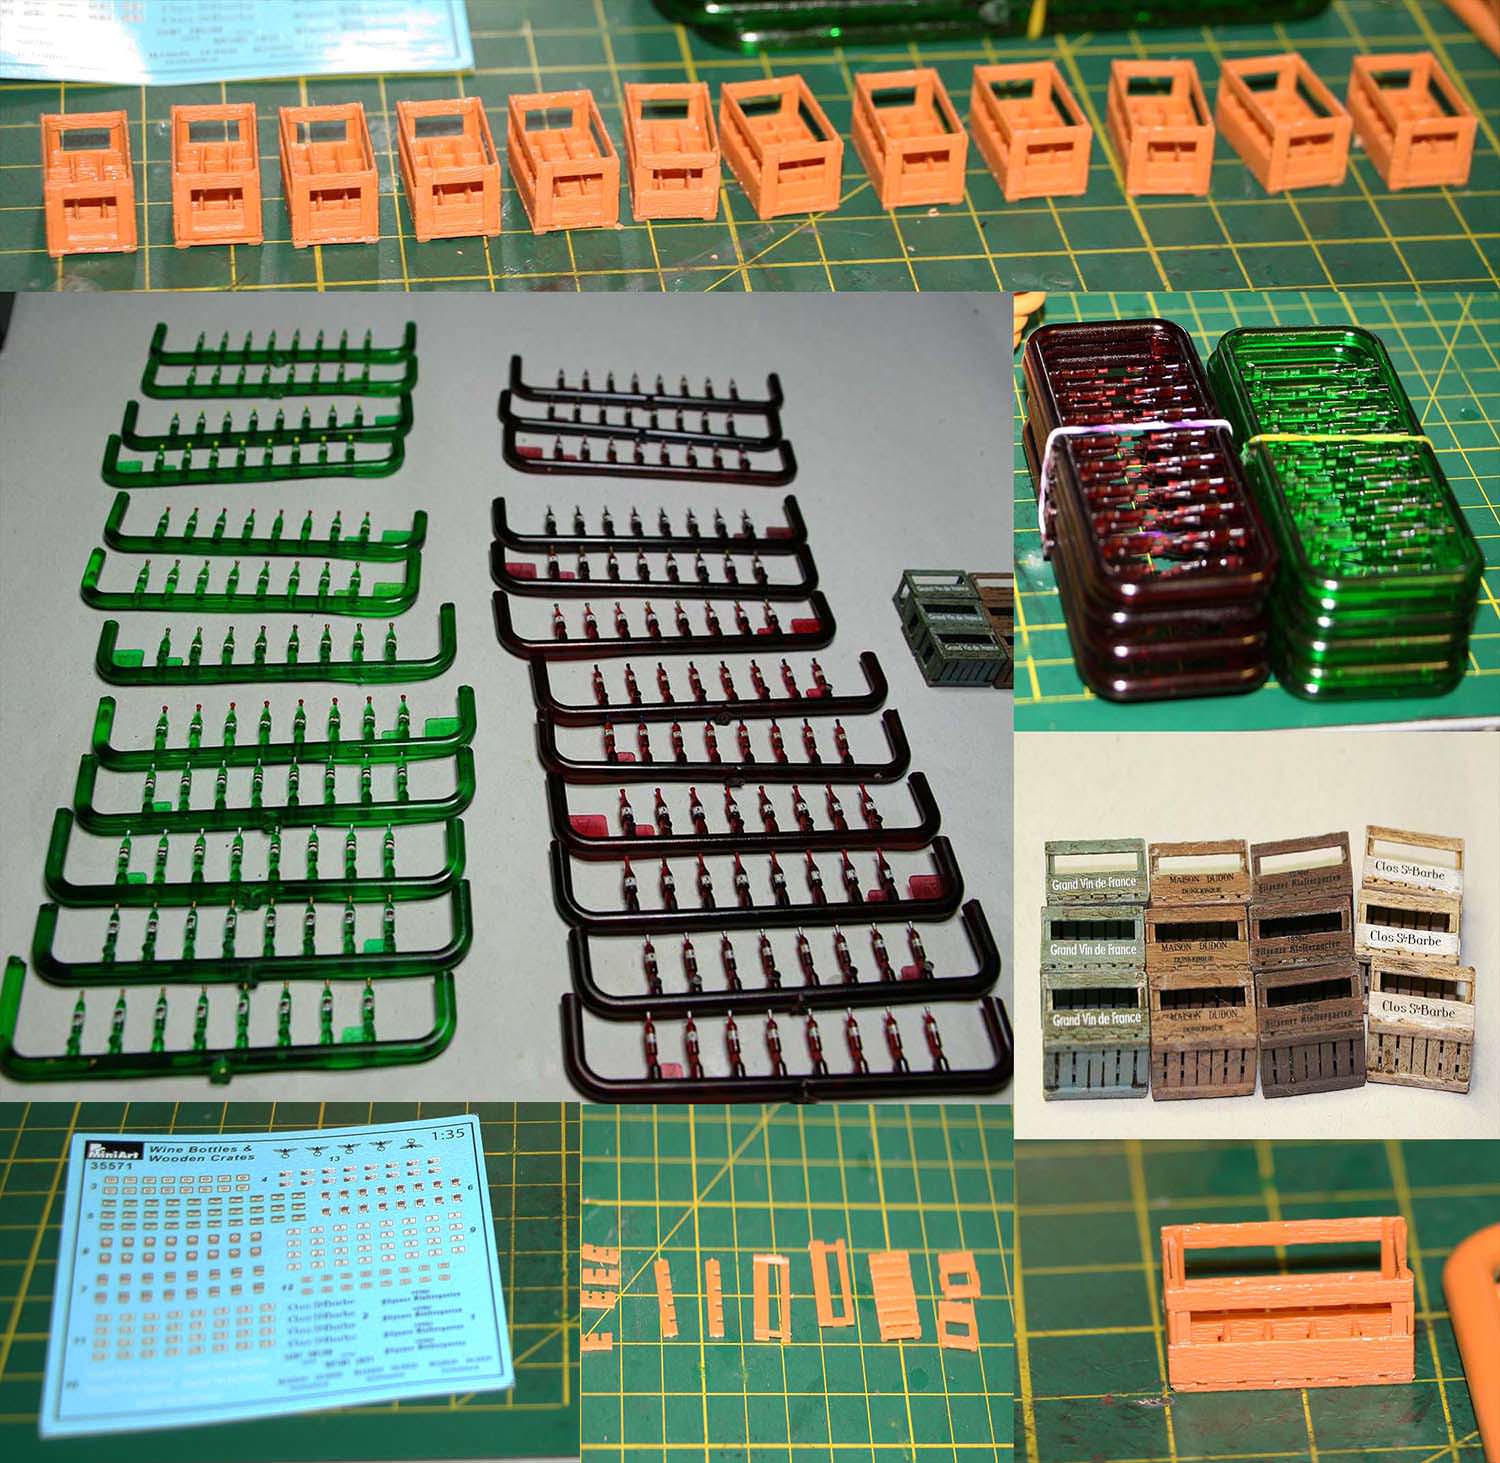
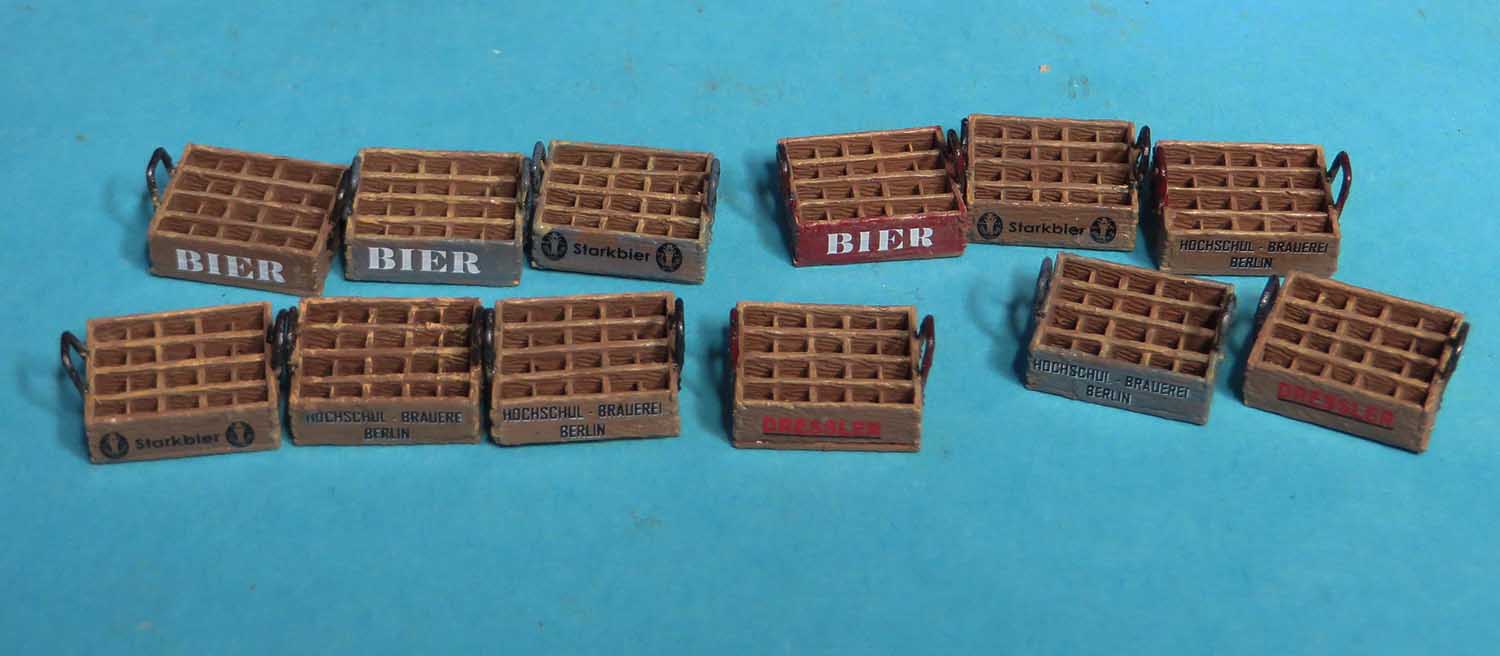
Quite a few hours taken up for all the crates and bottles to be glued,painted and decals applied.
They are all going to be positioned in the bottom corner of the house with other stores.
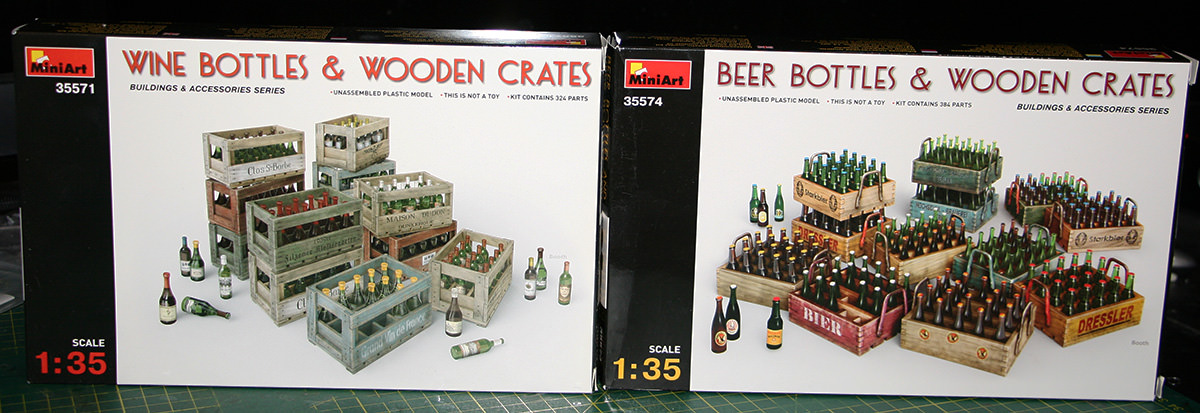
All the wine bottles have the decals applied.
The decal sheet has 2 less than the number of bottles in the box, lucky Archer come to the party with wine bottle labels.
Ripped 2 decals out of the total , I can live with that.
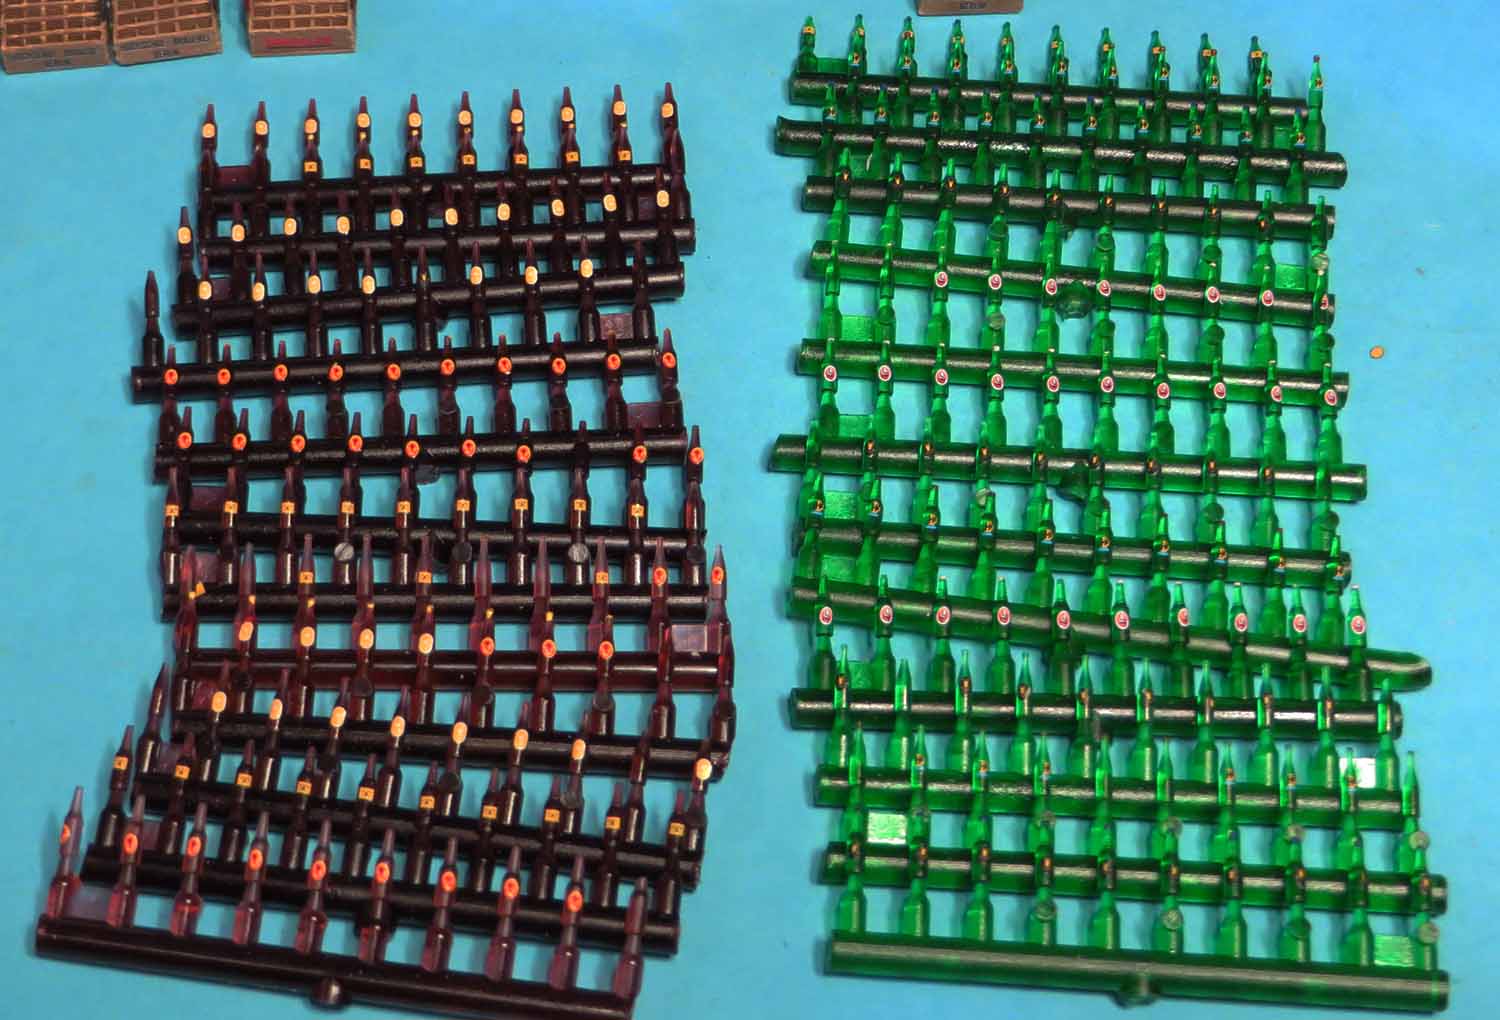
The beer bottles are going to be more labour intensive to complete than the wine bottles.
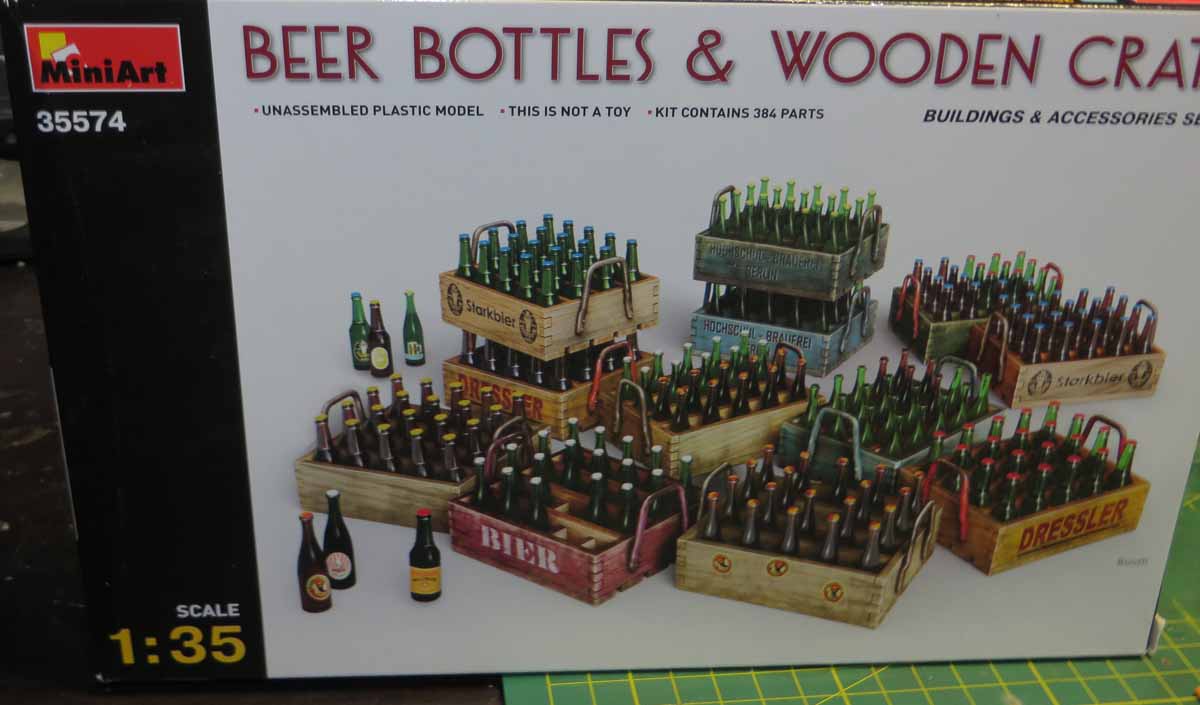

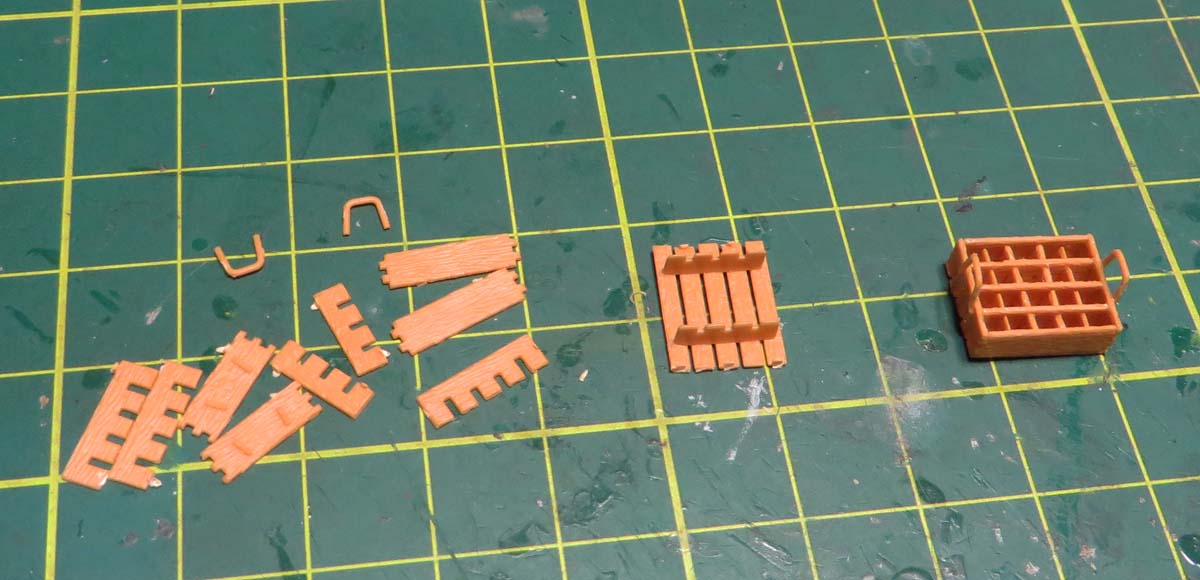
The Miniart Beer Bottles and crates are completed now awaiting a coat of Satin Varnish for the bottles and a coat of flat clear for the crates.
Here is a semi close up view of what the labels look like.
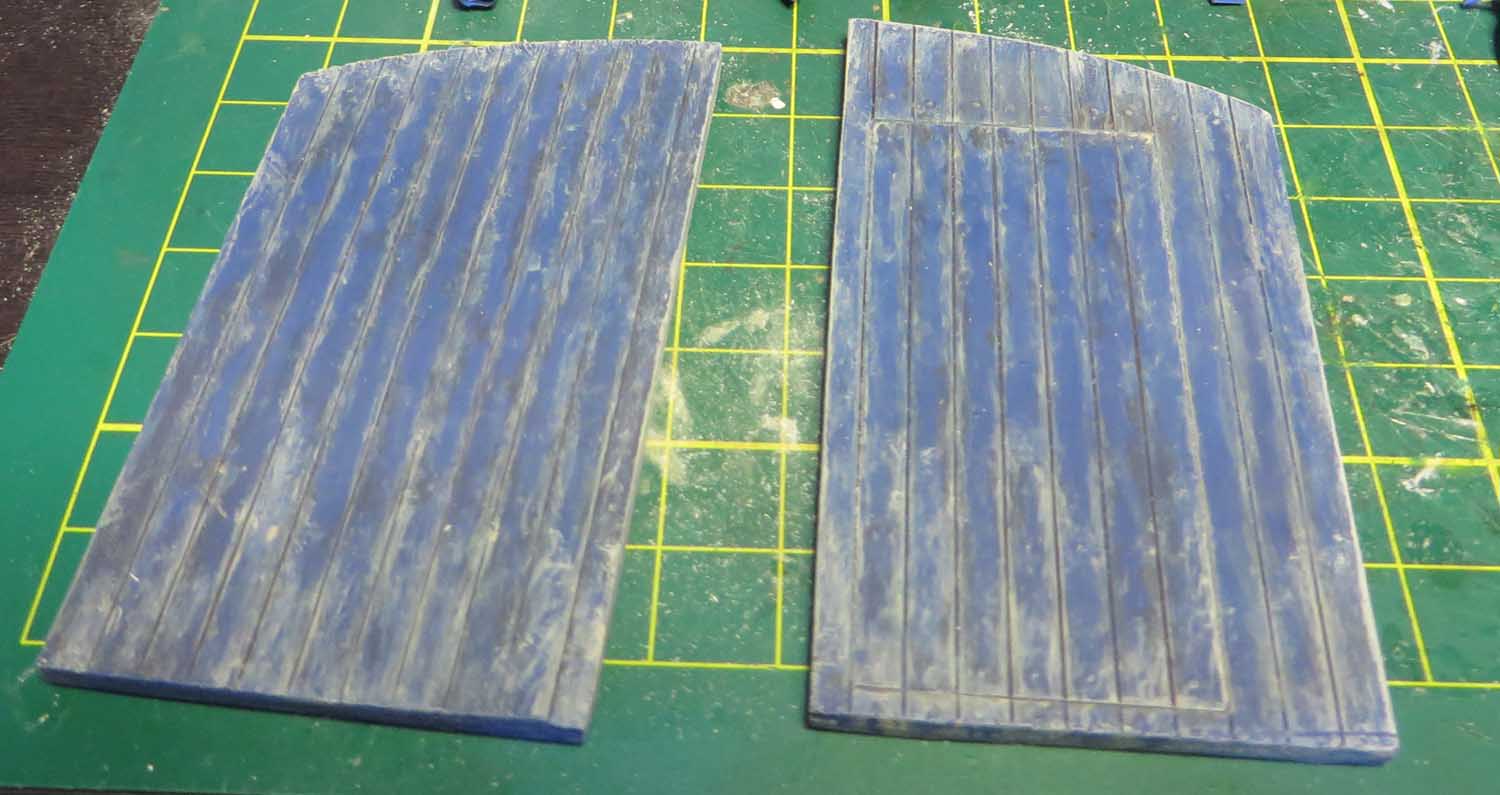
The curtins are completed with foil and evergreen rod and strip.
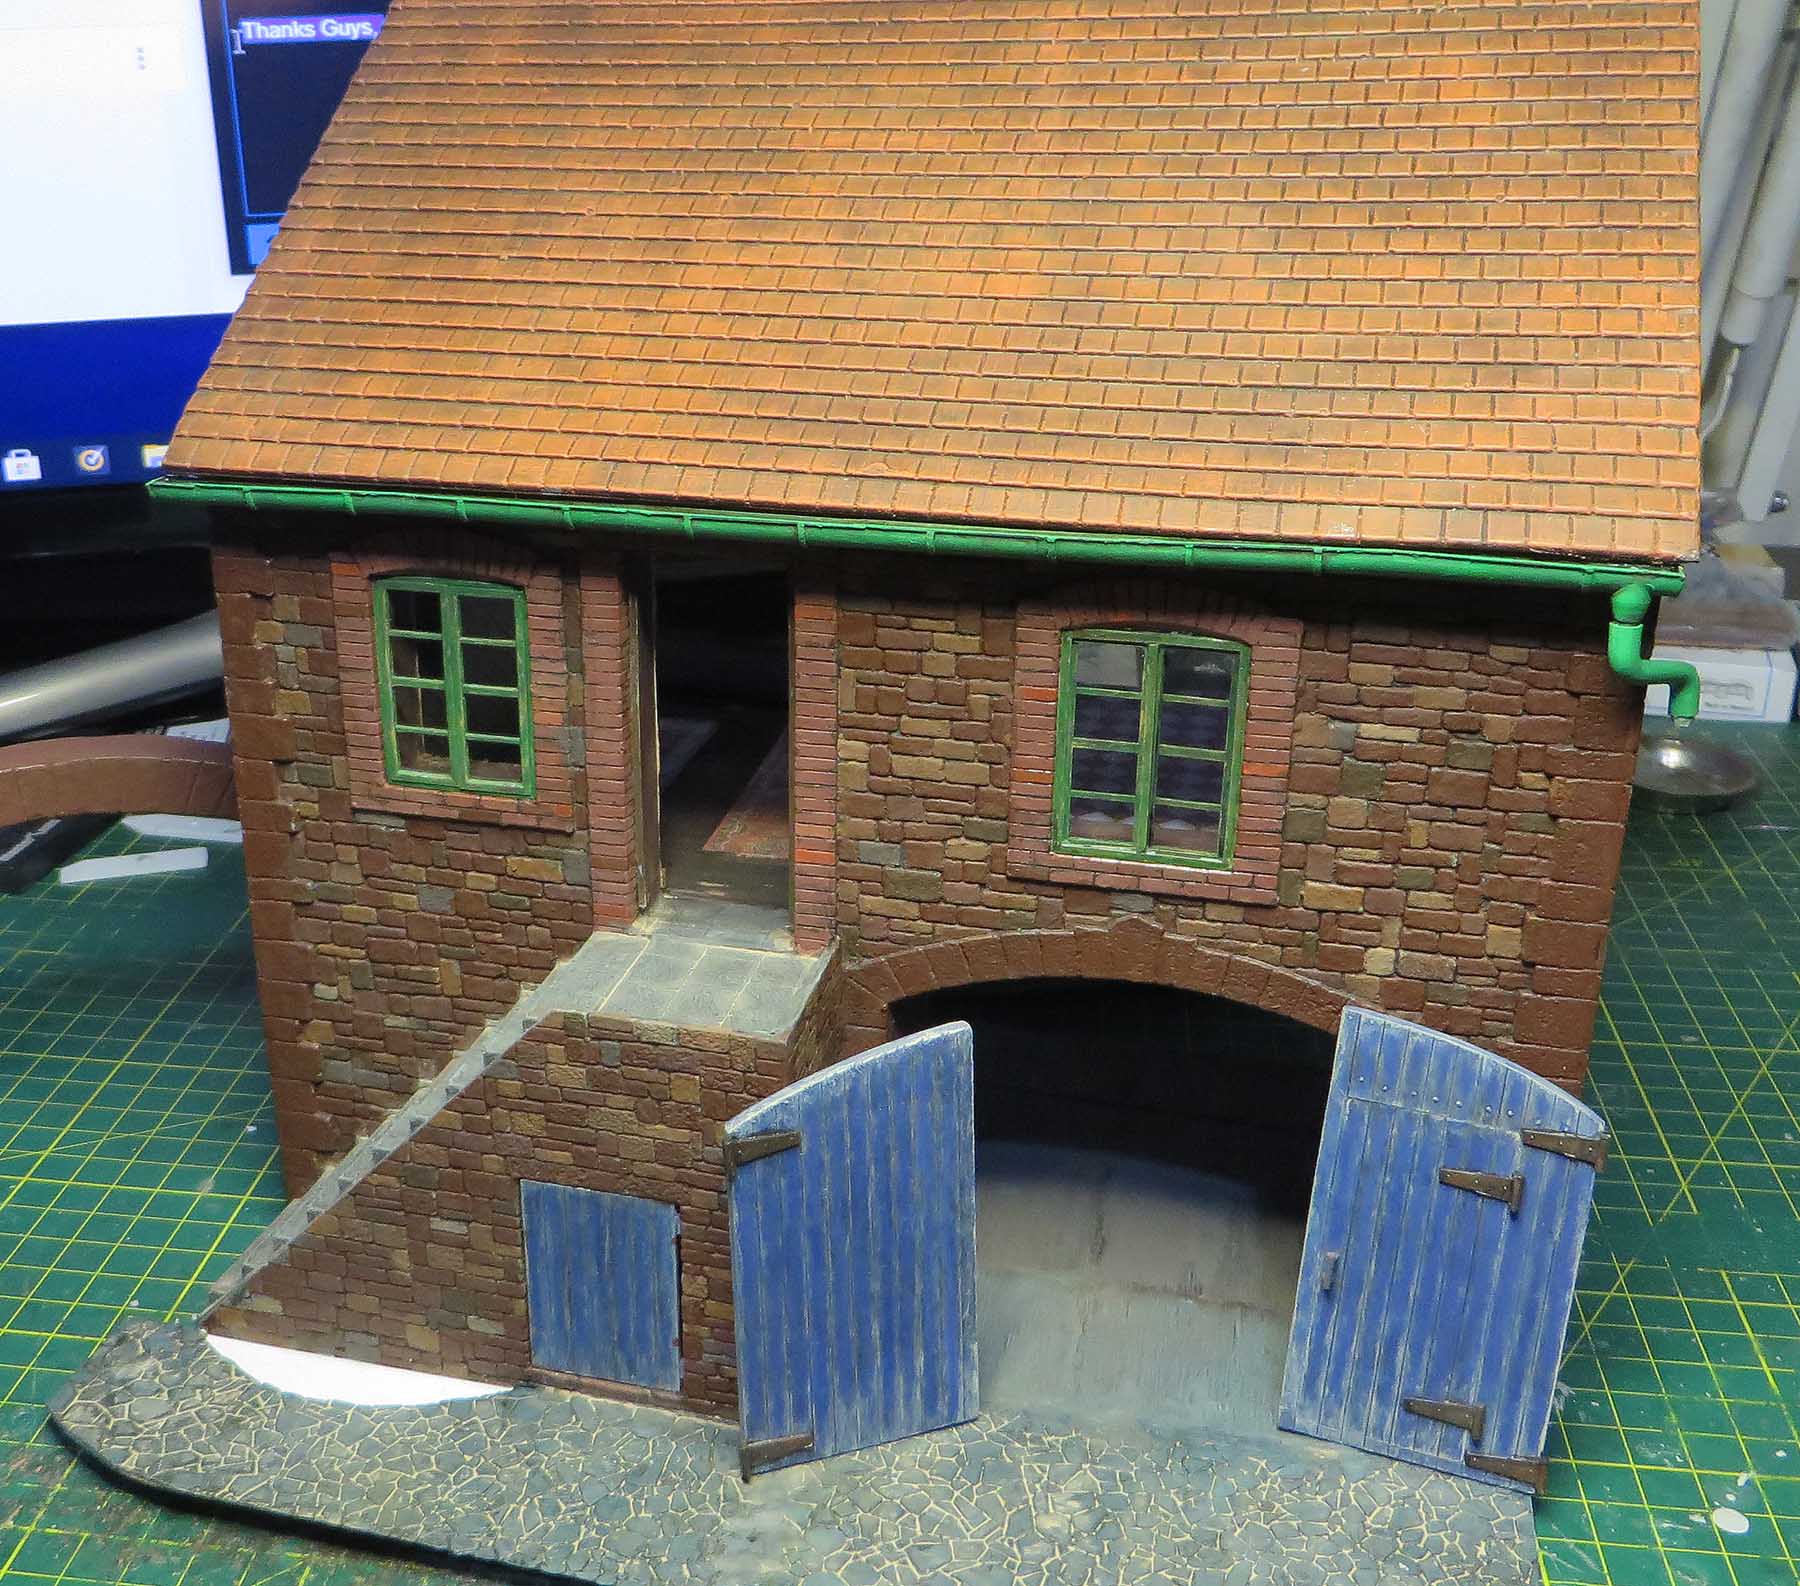
Some minor touch ups for the bottom of the garage doors and the boxes and accessories have been painted ready to be glued in place on the ground floor.

Diorama size
Michael


 )
)