Our model clubs decided to do a group build for Iwo Jima due at our Dec 2025 meeting. I have chosen the Charlie version with FC Model trend track/suspension (not pictured) to help speed up the build and eliminate a good bit of the kit issues.

10 Likes
Ill be watching as I’m interested in the FC set.
2 Likes
Good to have you along Dan. I don’t build as fast or as well as you do.
As I have all 3 current versions, I got three track sets.
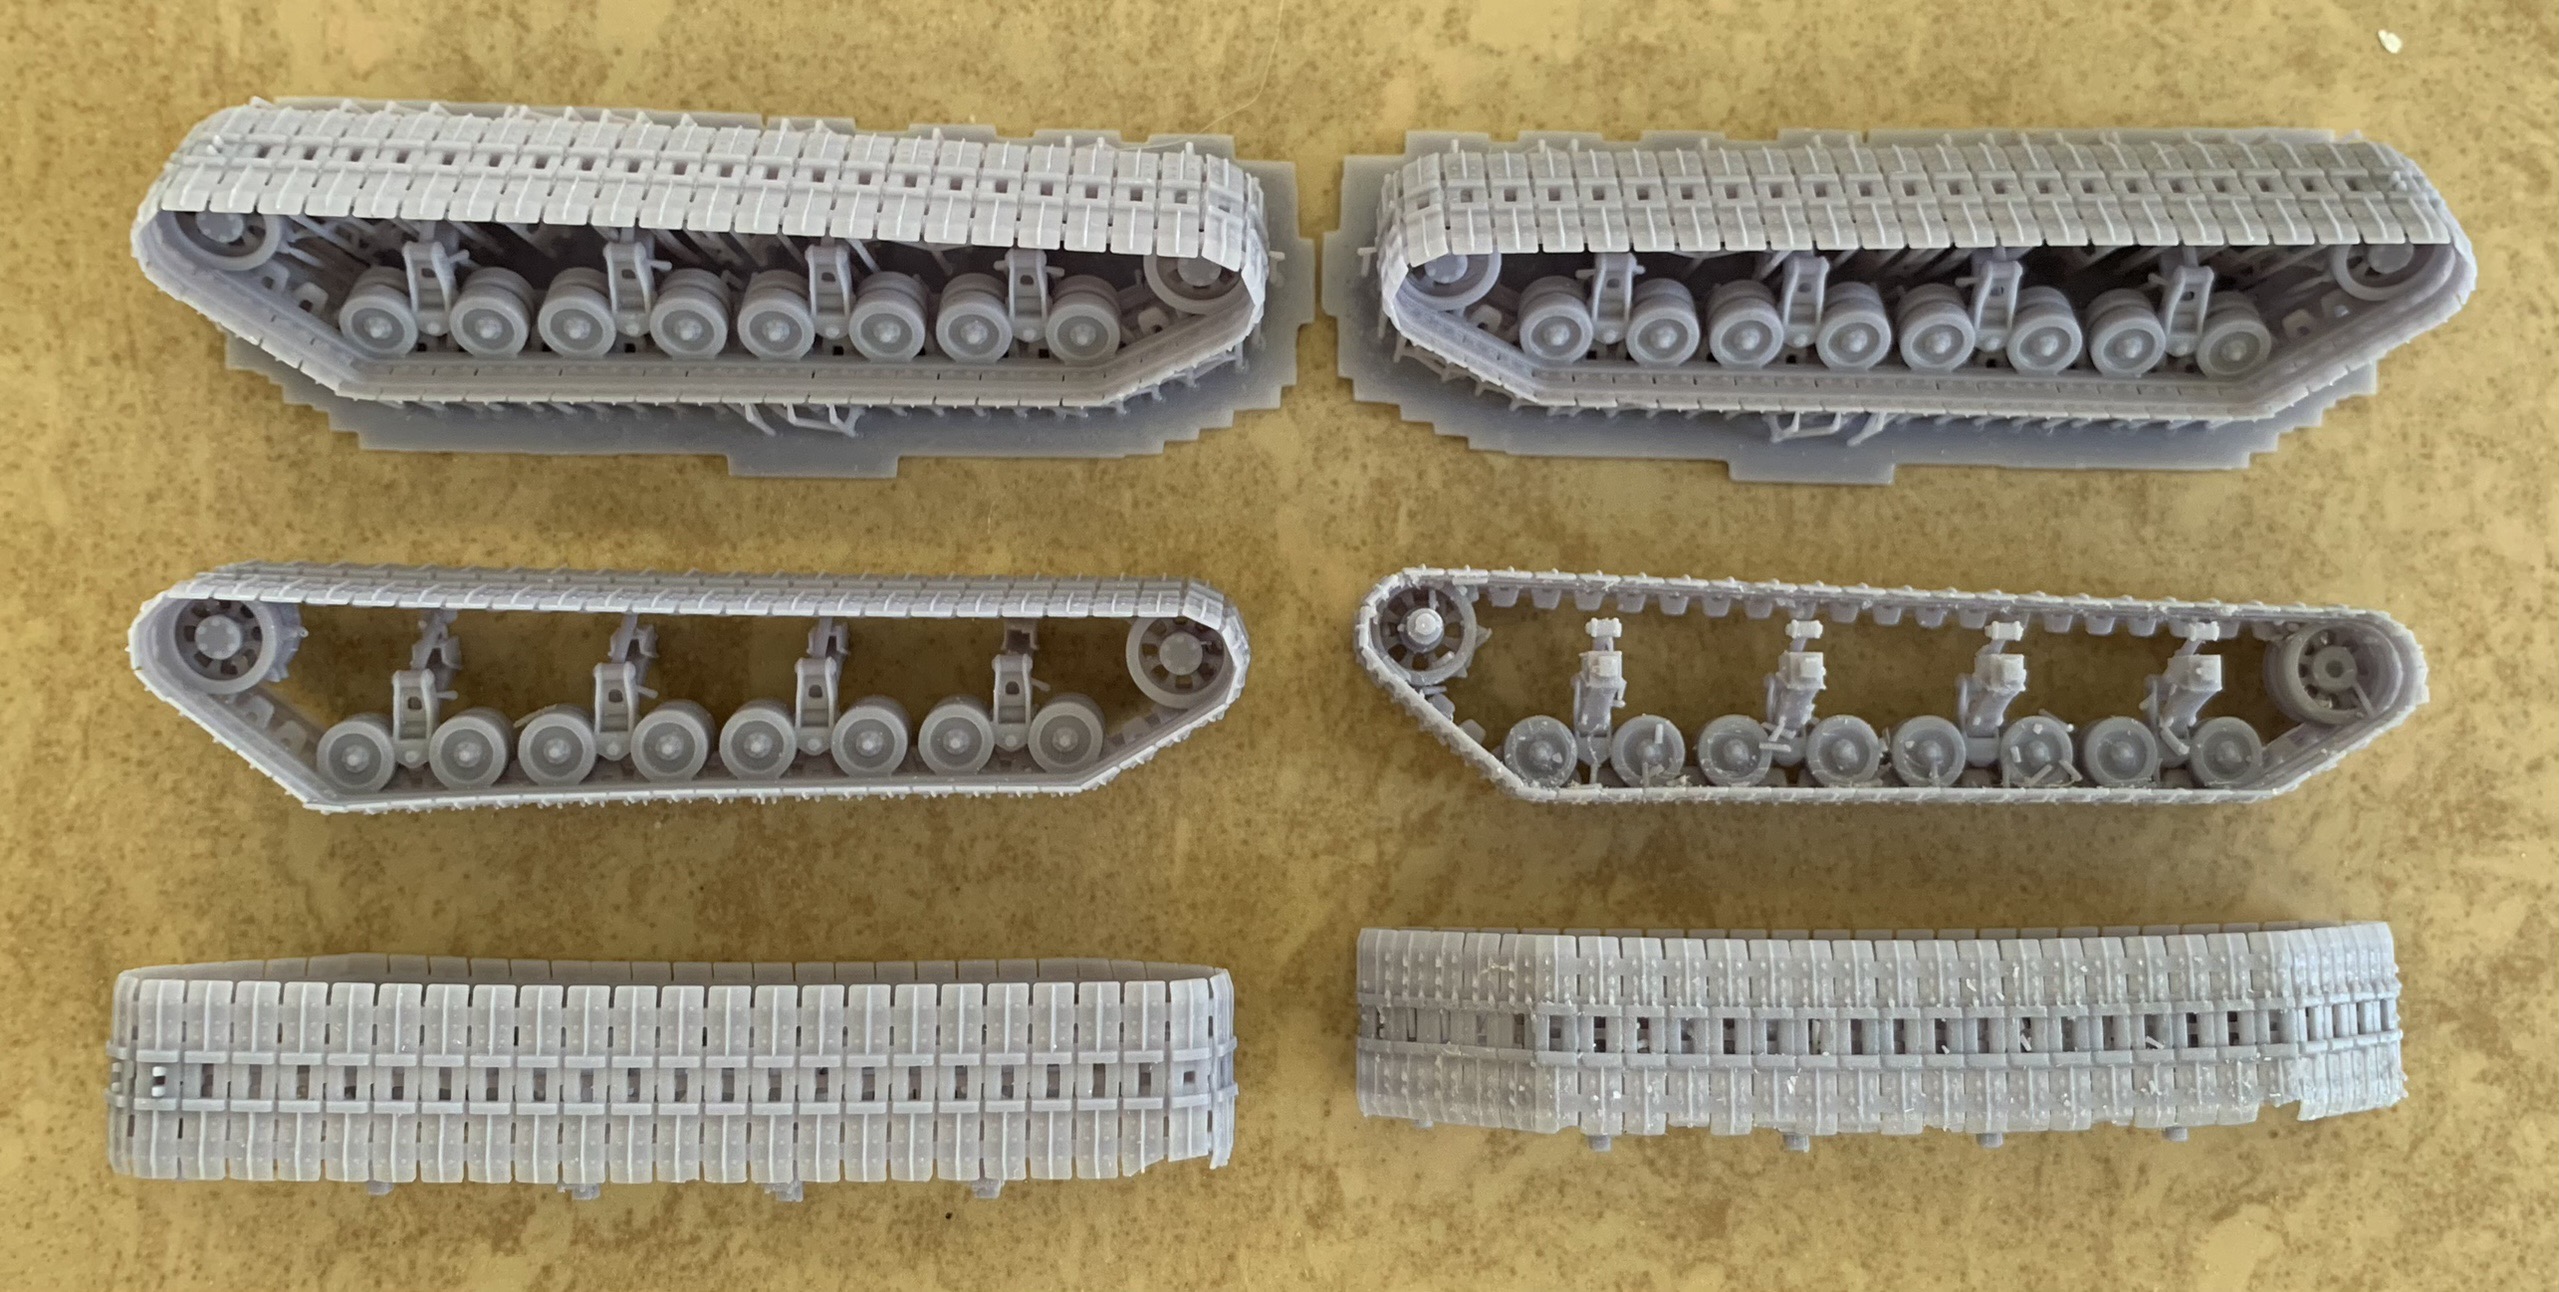
All the damage was user error removing the supports. Not too concerned as they will be covered by the covers and/or terrain later.
At least so far it is well worth the price and saved sanity with about 100 parts removed from the build.
6 Likes
So ‘model masochism’ isn’t your “thing” then?
![]()
4 Likes
I take it you haven’t built a Takom M29 ![]()
3 Likes
So can you show us in detail the FC parts? Where did you get it from? I’m wondering if its worth getting one. Thanks
1 Like
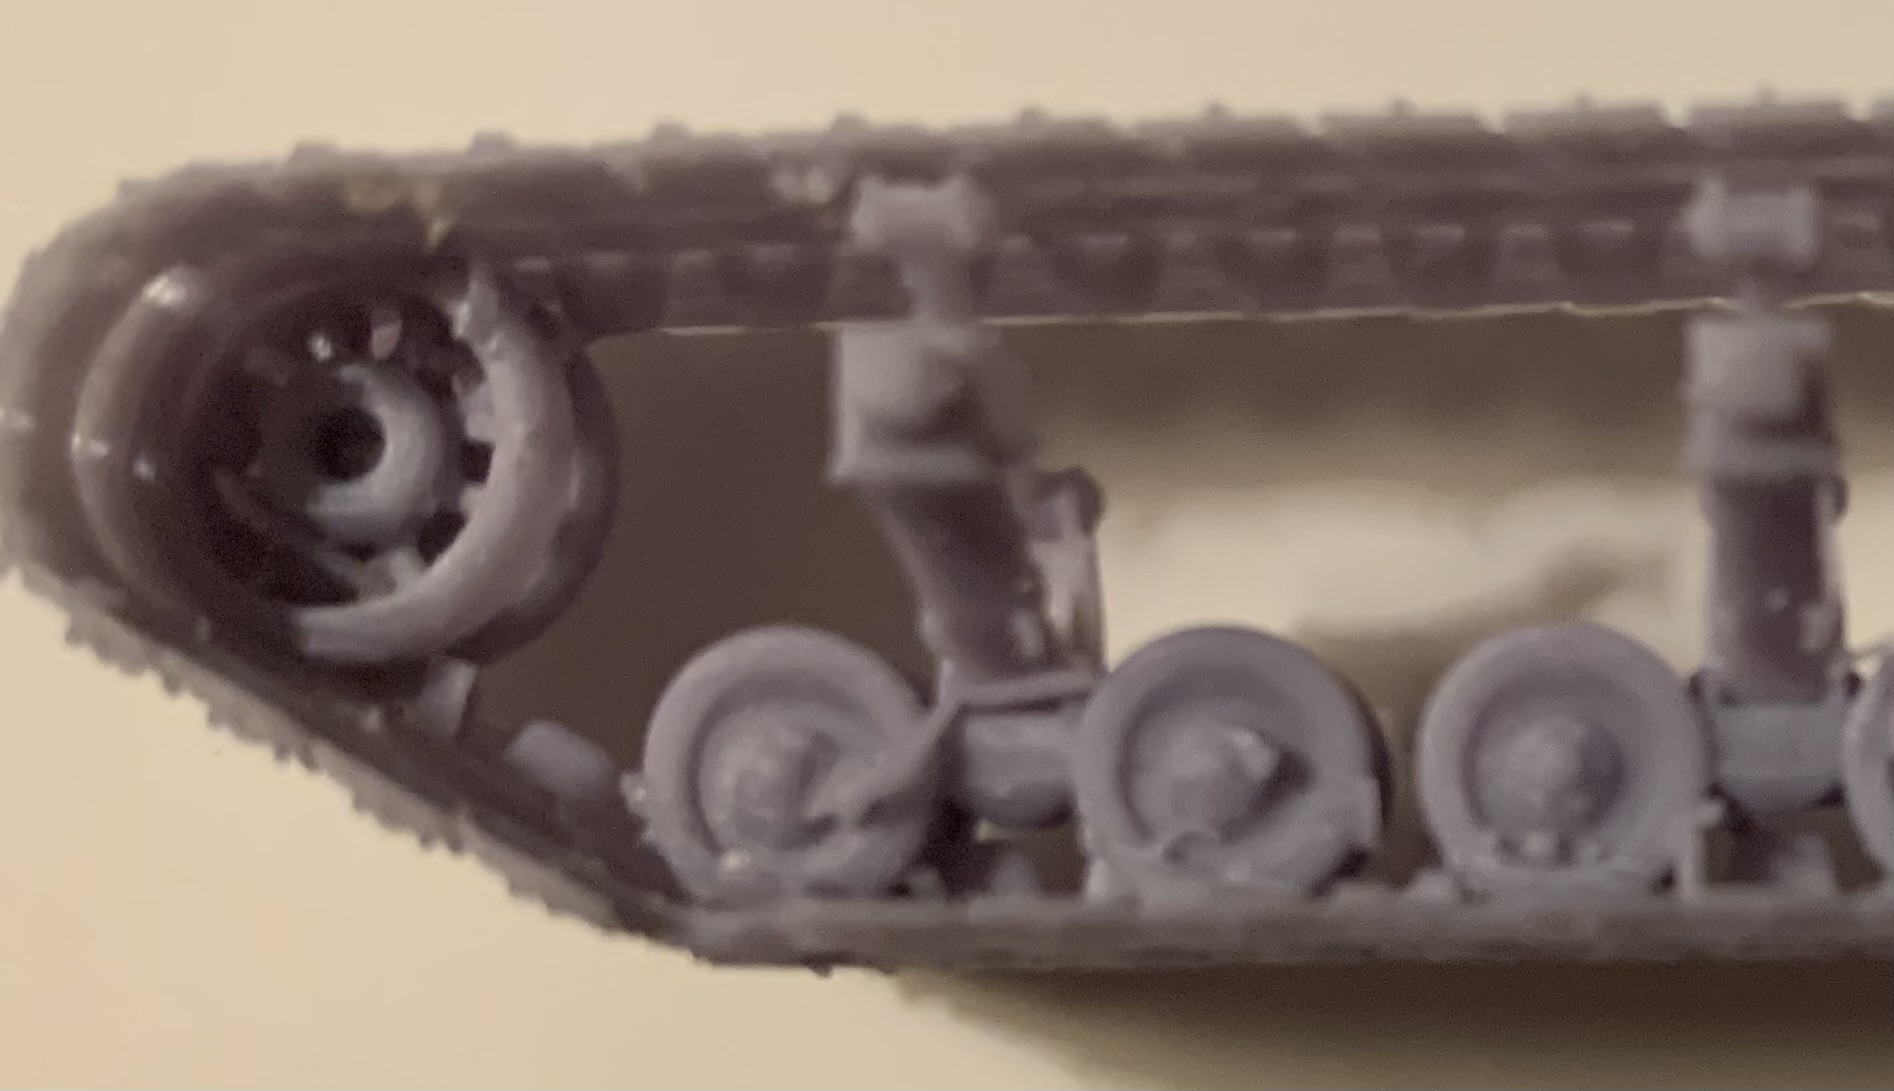
Halfway through one.
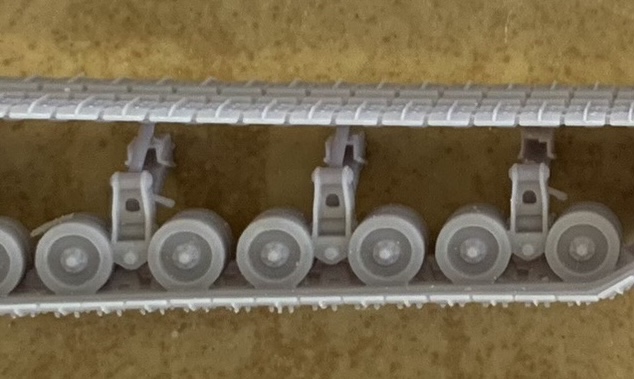
Lots of fiddly bits in the suspension, took some care to line it up.
The fit of parts was very good BUT all mold lines and injection gates
MUST be removed properly.
3 Likes
I can take more later.
I ordered direct.
You can also order through Super-Hobby. I have used them many times out of Poland, good company. ![]()
2 Likes
Not when I don’t have to. Work smarter not harder.
3 Likes
I think Clayton’s issue was the undercut sprue gates were not cleaned up good enough and that compounded his issue with alignment as he went along. Not saying I can do better but am forewarned about it.
2 Likes
The fit on some parts was tight enough that they stuck in position without glue.
Any mold seam will definitely throw off the alignment and fit.
I think the word ‘meticulous’ should be included somewhere in the assembly instructions
![]()
2 Likes
That, and you have to get the suspension arms at the right height — which the kit gives you precisely zero indicator of. If you glue them up against the bump stops, as people are wont to do, your track will be too long (and your model sits too low).
The best way I found to do it, is like this:

- Build two suspension units but don’t glue them to the hull yet.
- Fit the sprocket and the idler.
- Add the track links over the sprocket and leave to dry.
- Put the top run in without glue and add the links over the idler; leave to dry.
- Remove the top run, build the lower run (everything below the idler and sprocket) and glue it in place.
- Before the glue on the track dries, fit the front and rear bogies, set as far down as they will go without breaking the track.
- Leave everything to dry thoroughly and then do the other side.
- Finish the rest of the suspension.
4 Likes
Thanks
2 Likes
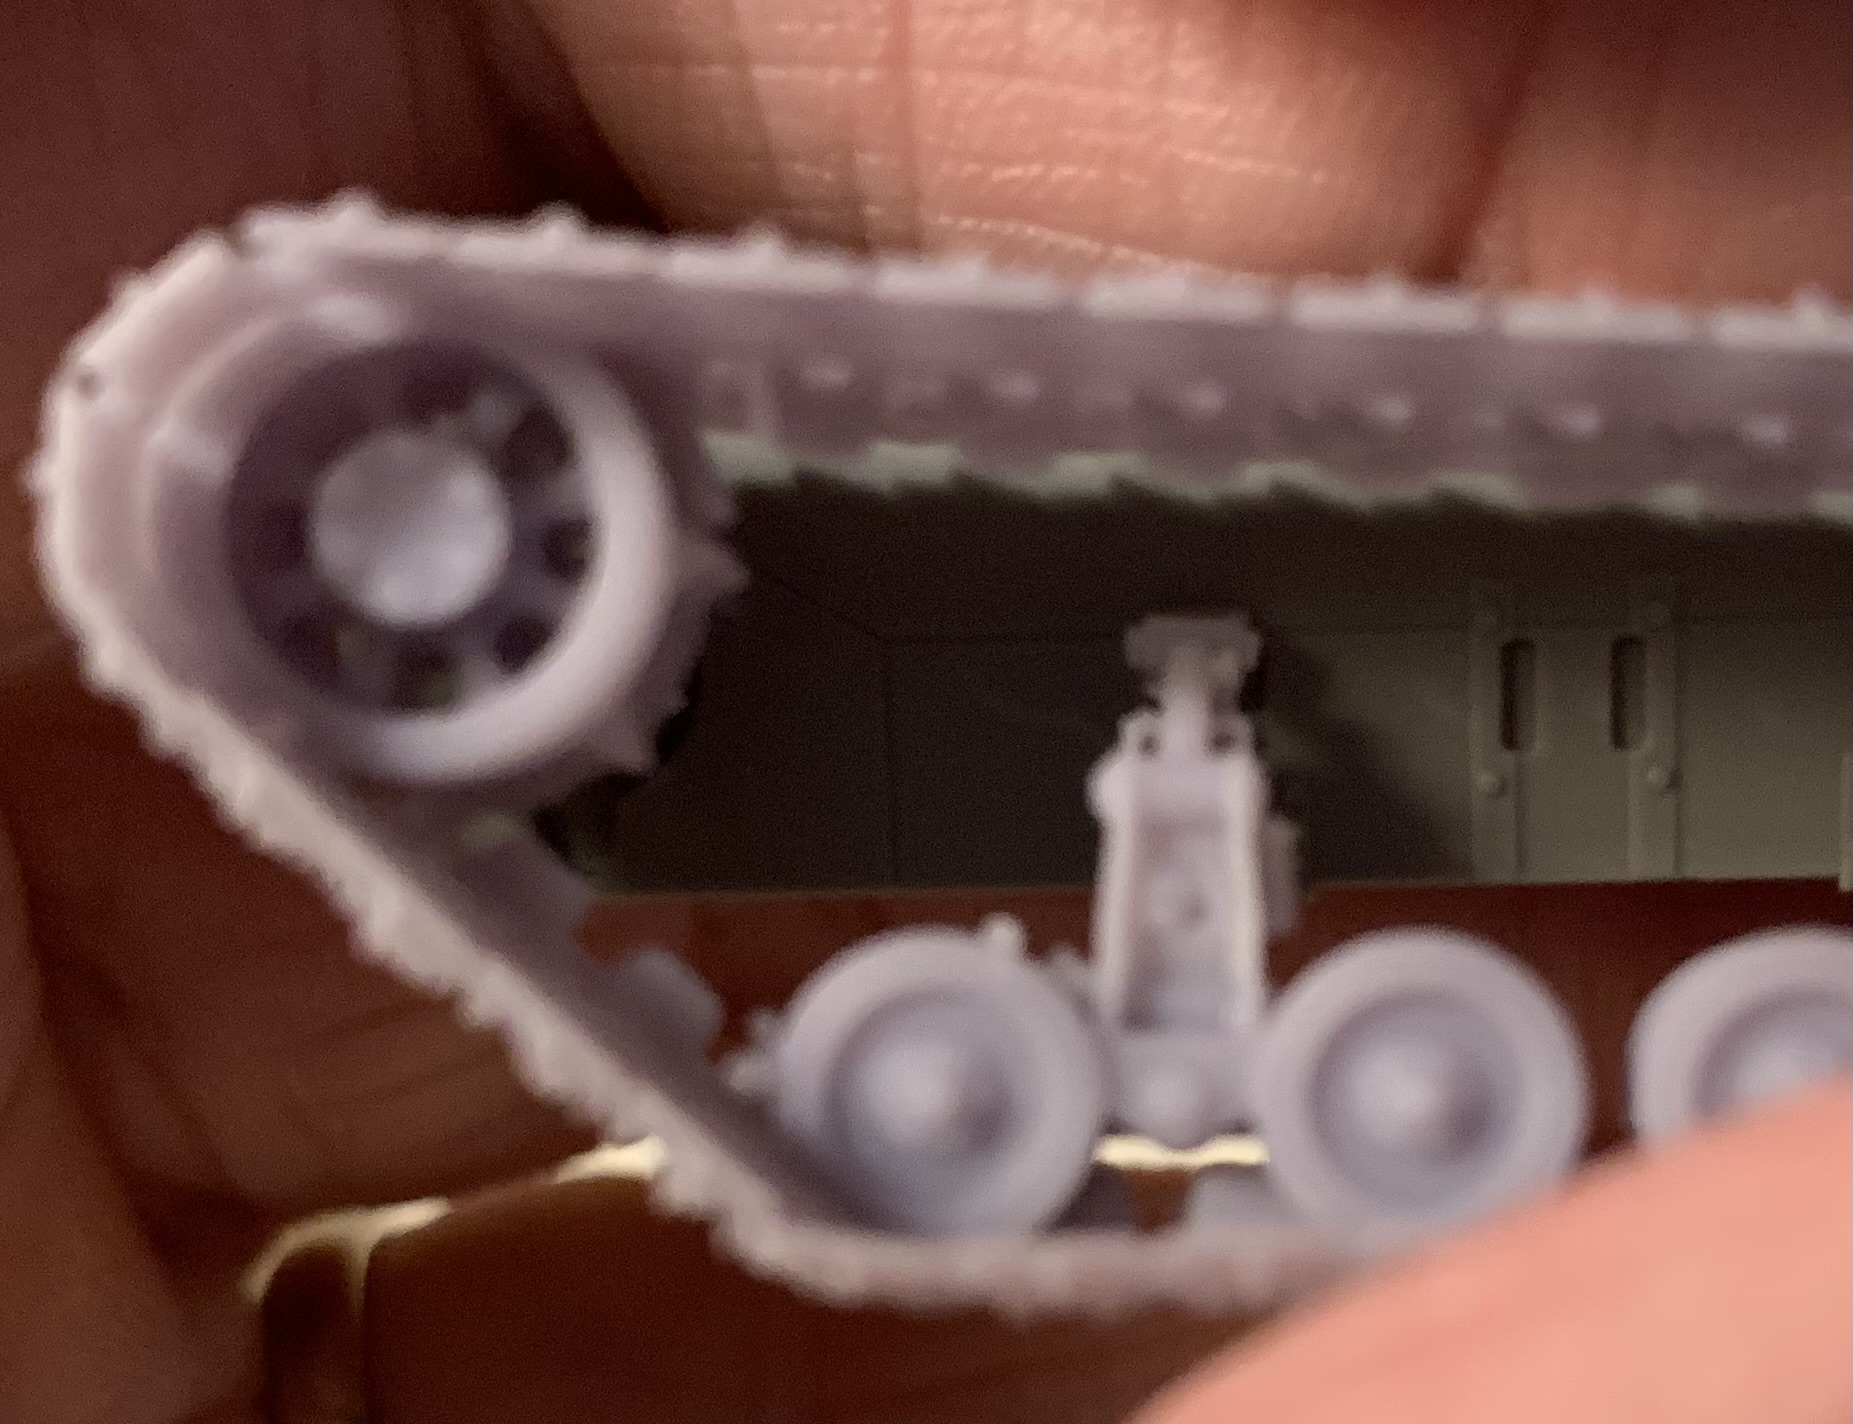
Might need to get better shots.
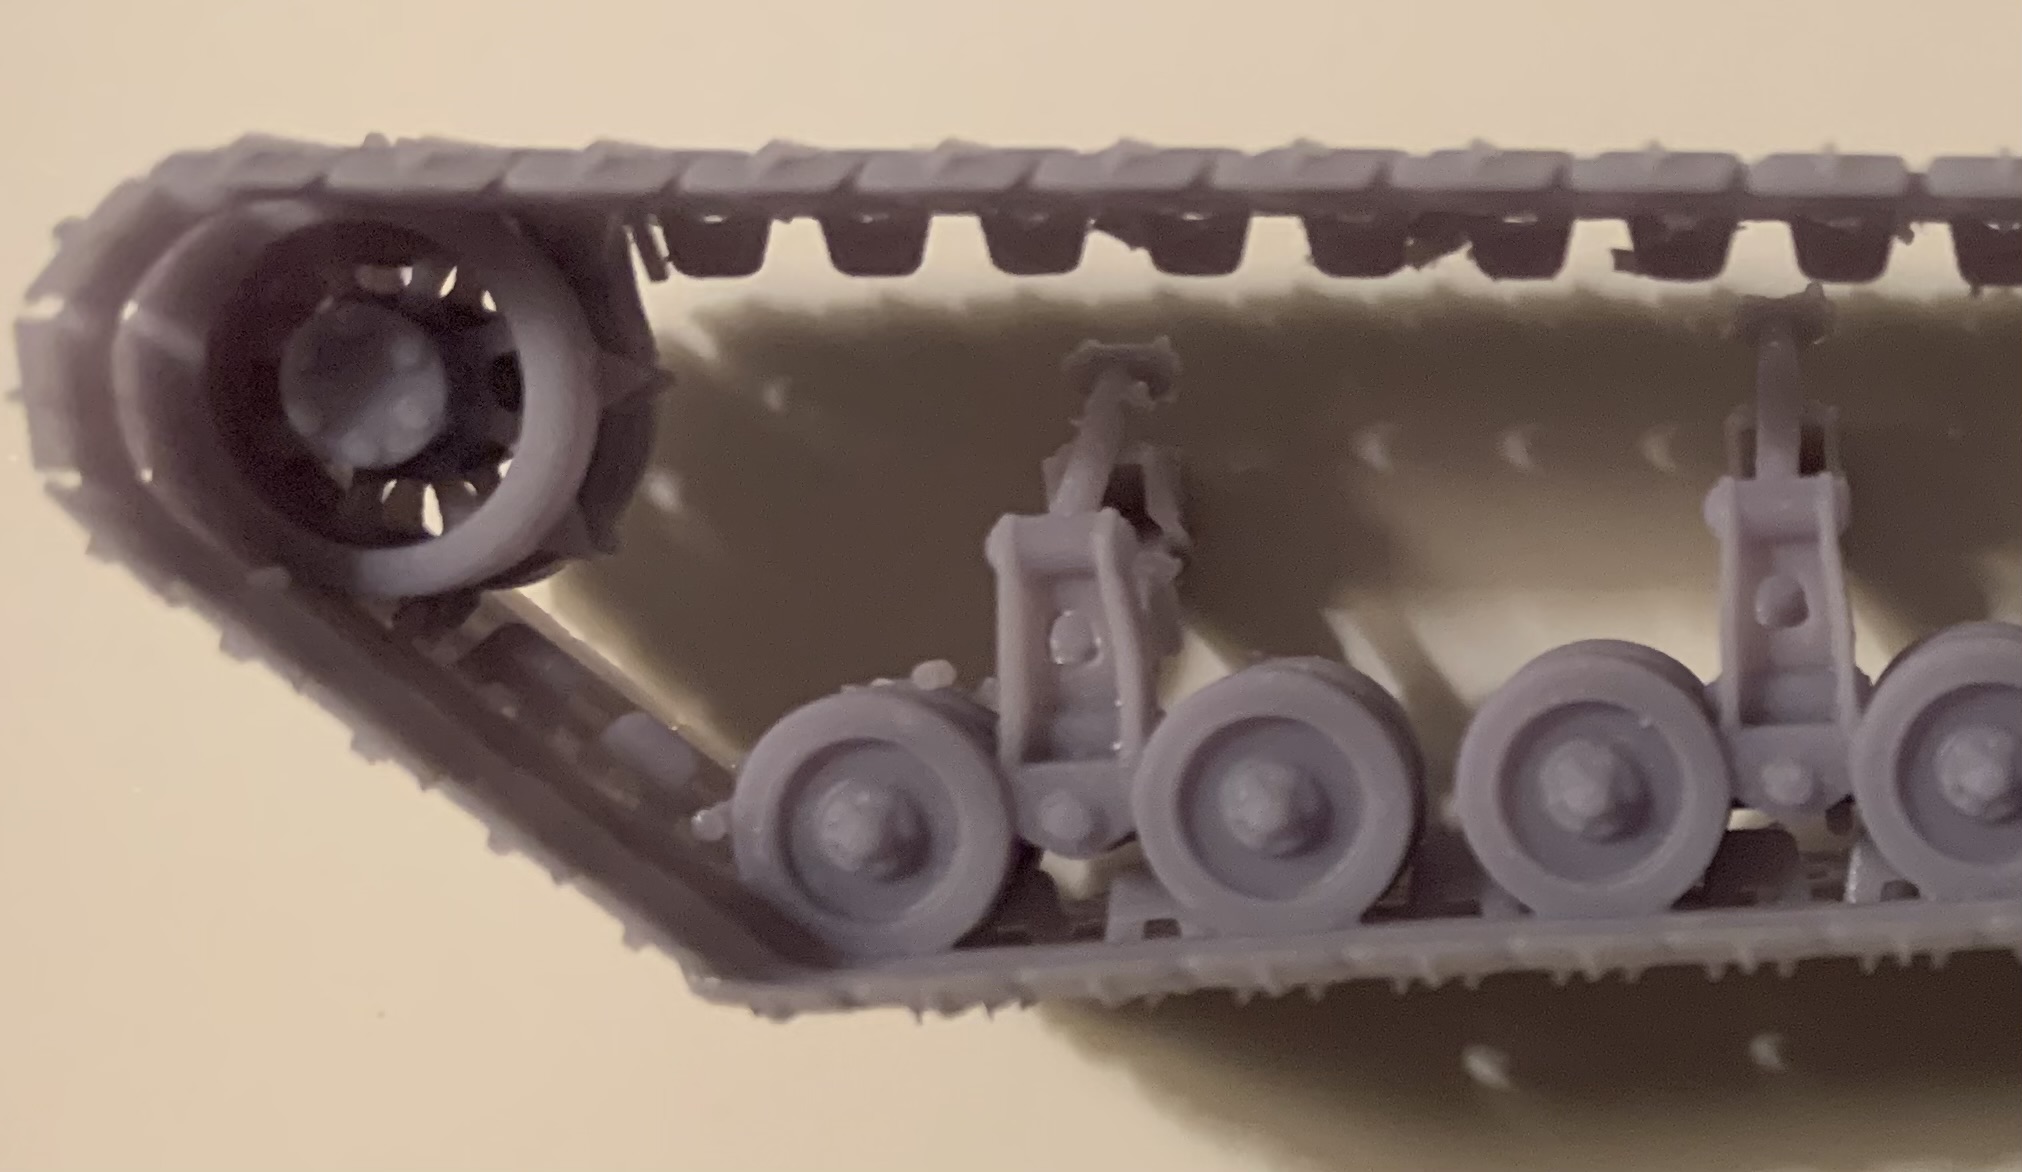
There are a few suspension parts that still need to be added.
Step 1
E37,38,39,40 - A,B
Step 2 A10,11
5 Likes
I’m all in on the FC part if it looks close and drops in the hull.
2 Likes
Slowly bobbing along with this one.

Trying to get the major pieces cleaned up to help test fix parts. Not sure I seeded part c5 (instrument panel top) correctly as I find a small gap along the wall on a test fit.
3 Likes
All of those parts fit pretty tightly. I would advise leaving off the left side (but do dry-fit it while the glue on the other parts cures) until after you put in the driver’s controls, because those are very tricky to fit with the left side on.
BTW, you’ll want to remove the details on the inside of the windscreen where it sits against the engine cover, as for some reason, Takom moulded rivets etc. along the whole of the bottom of the windscreen, even where those get covered. If you don’t remove them, the windscreen will be pushed forward at an angle when it should be vertical.
2 Likes
Thanks for the tips.
2 Likes
Look what popped up out of the water today.
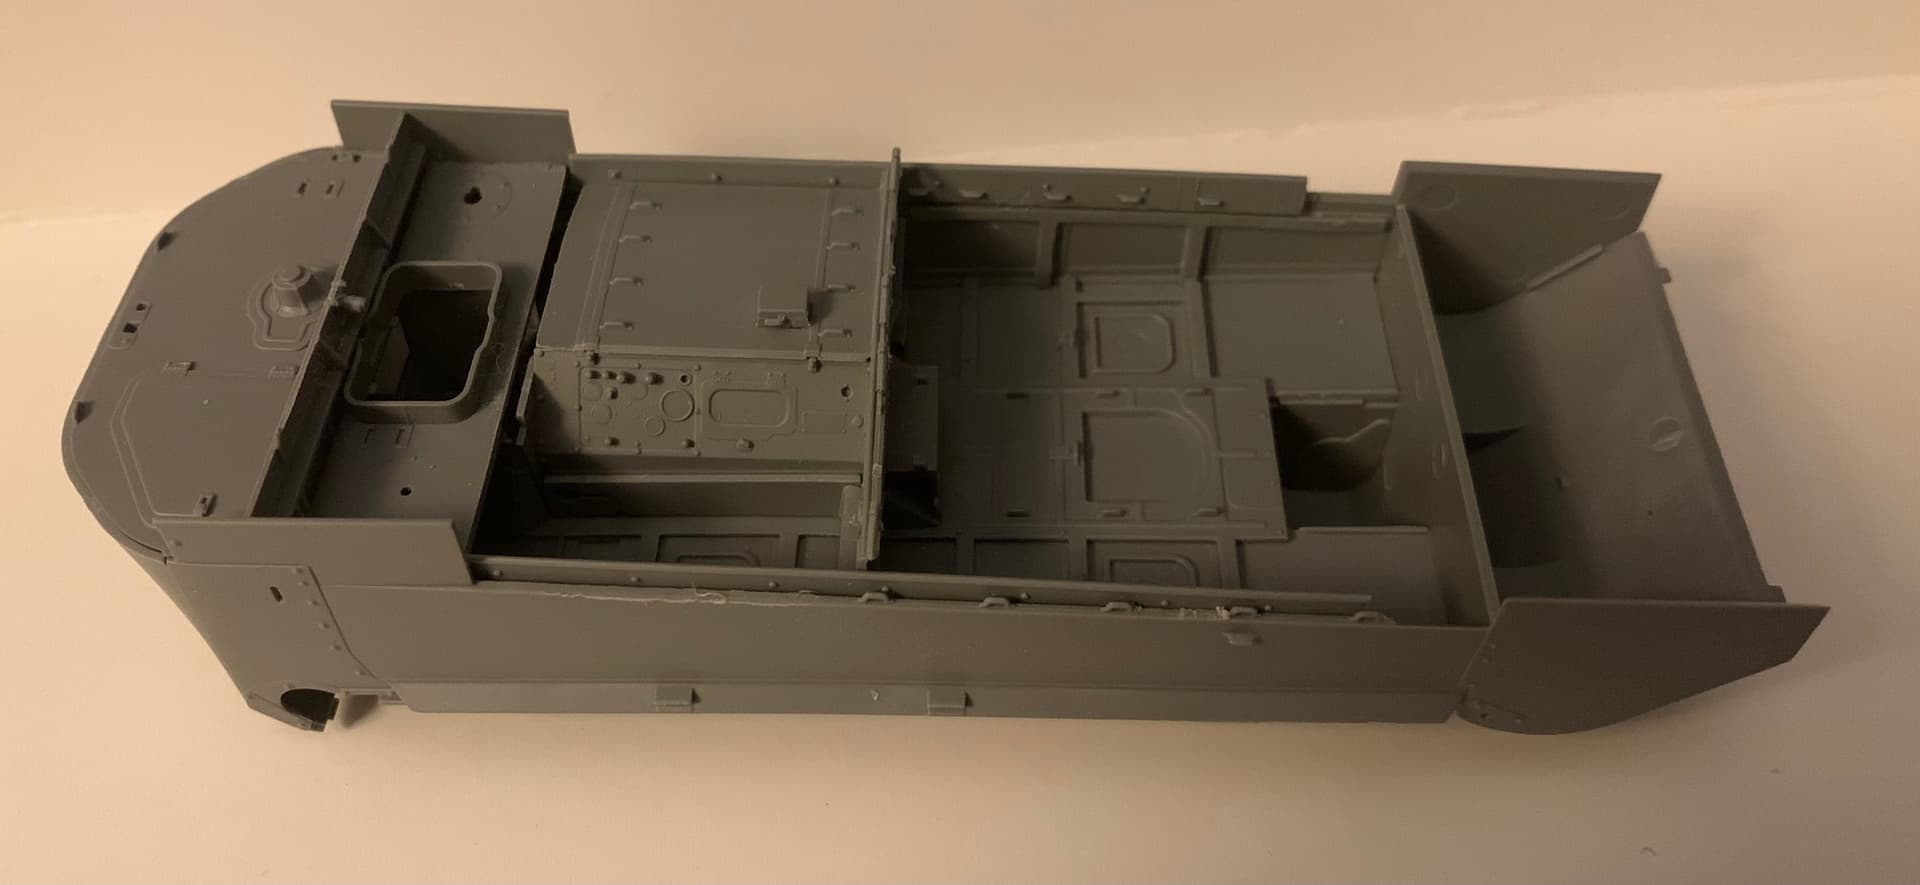
Mostly all glued in and alignment looks ok. No, I am really not sure how I did it. There was some sanding and trimming on the right side in the cargo area and control wall.
3 Likes
Keep going
2 Likes