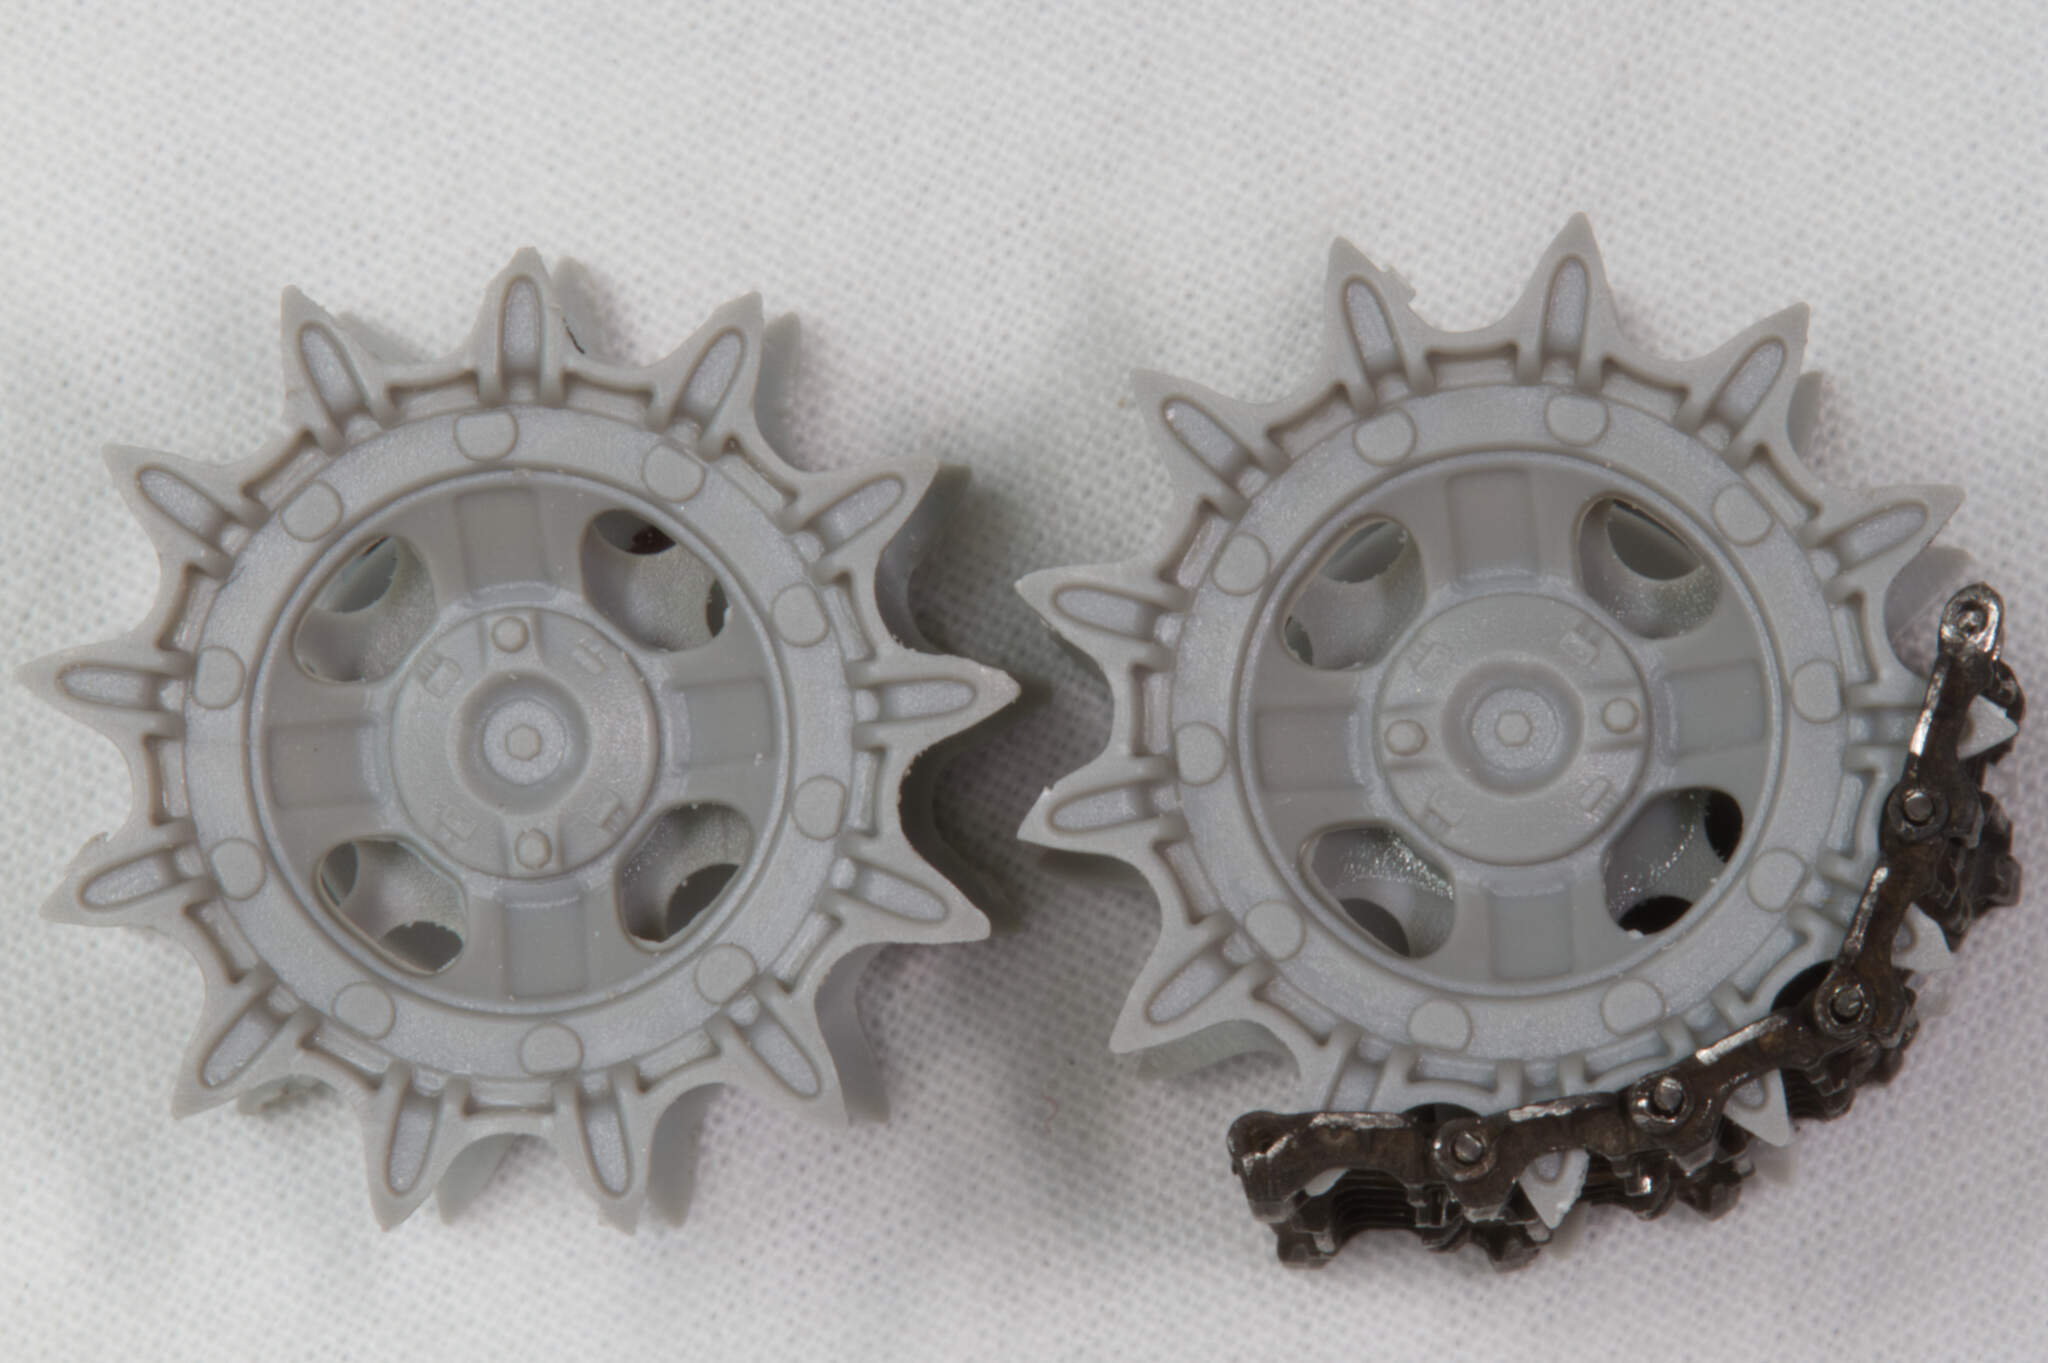
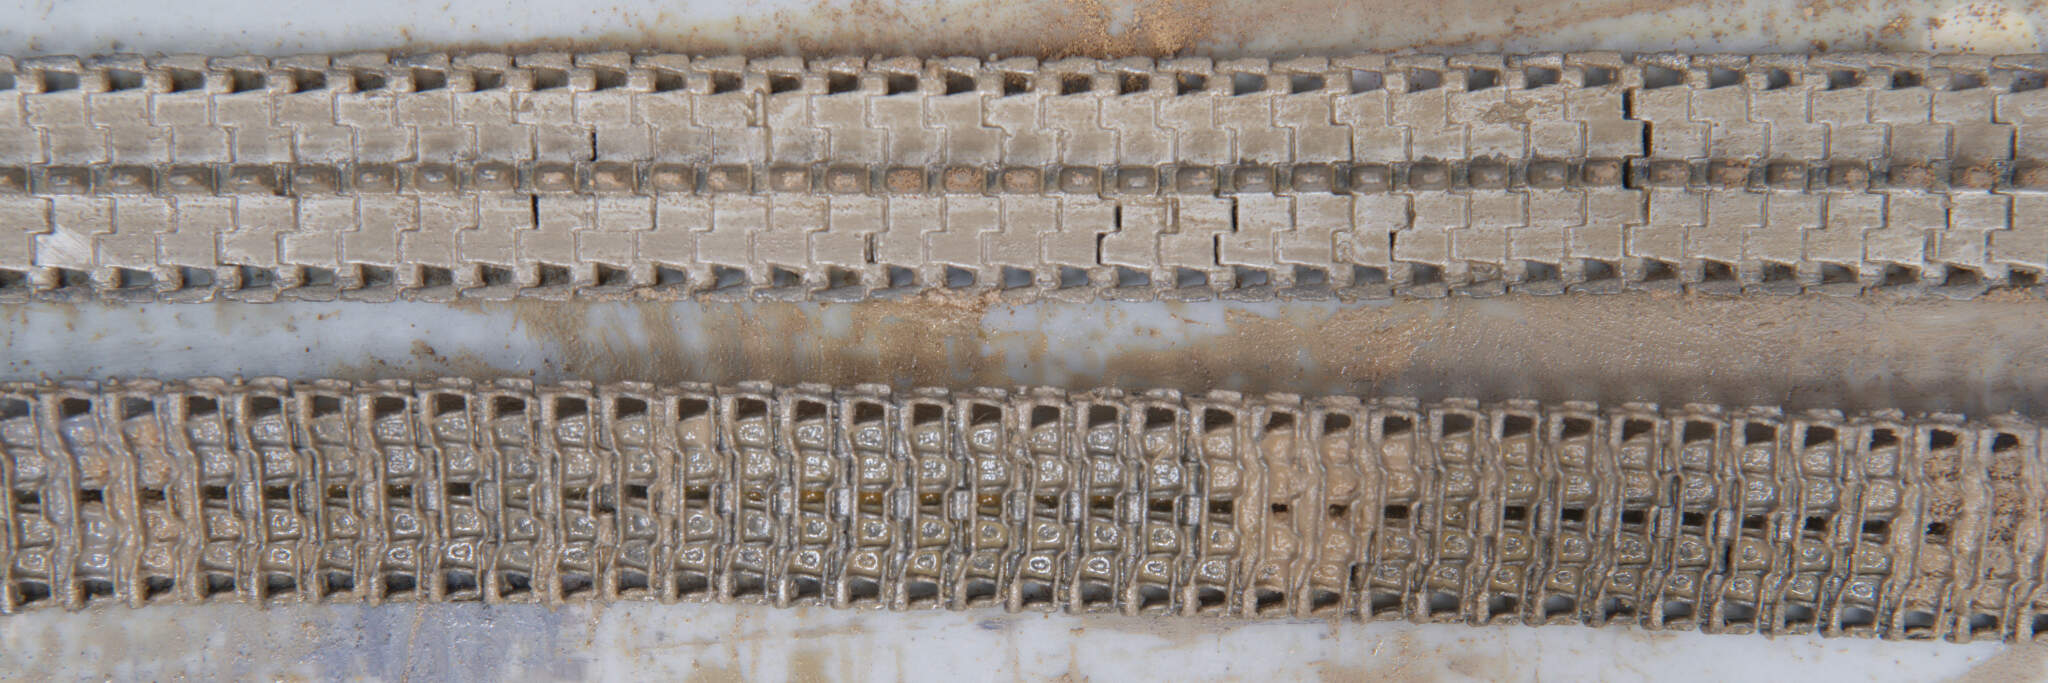
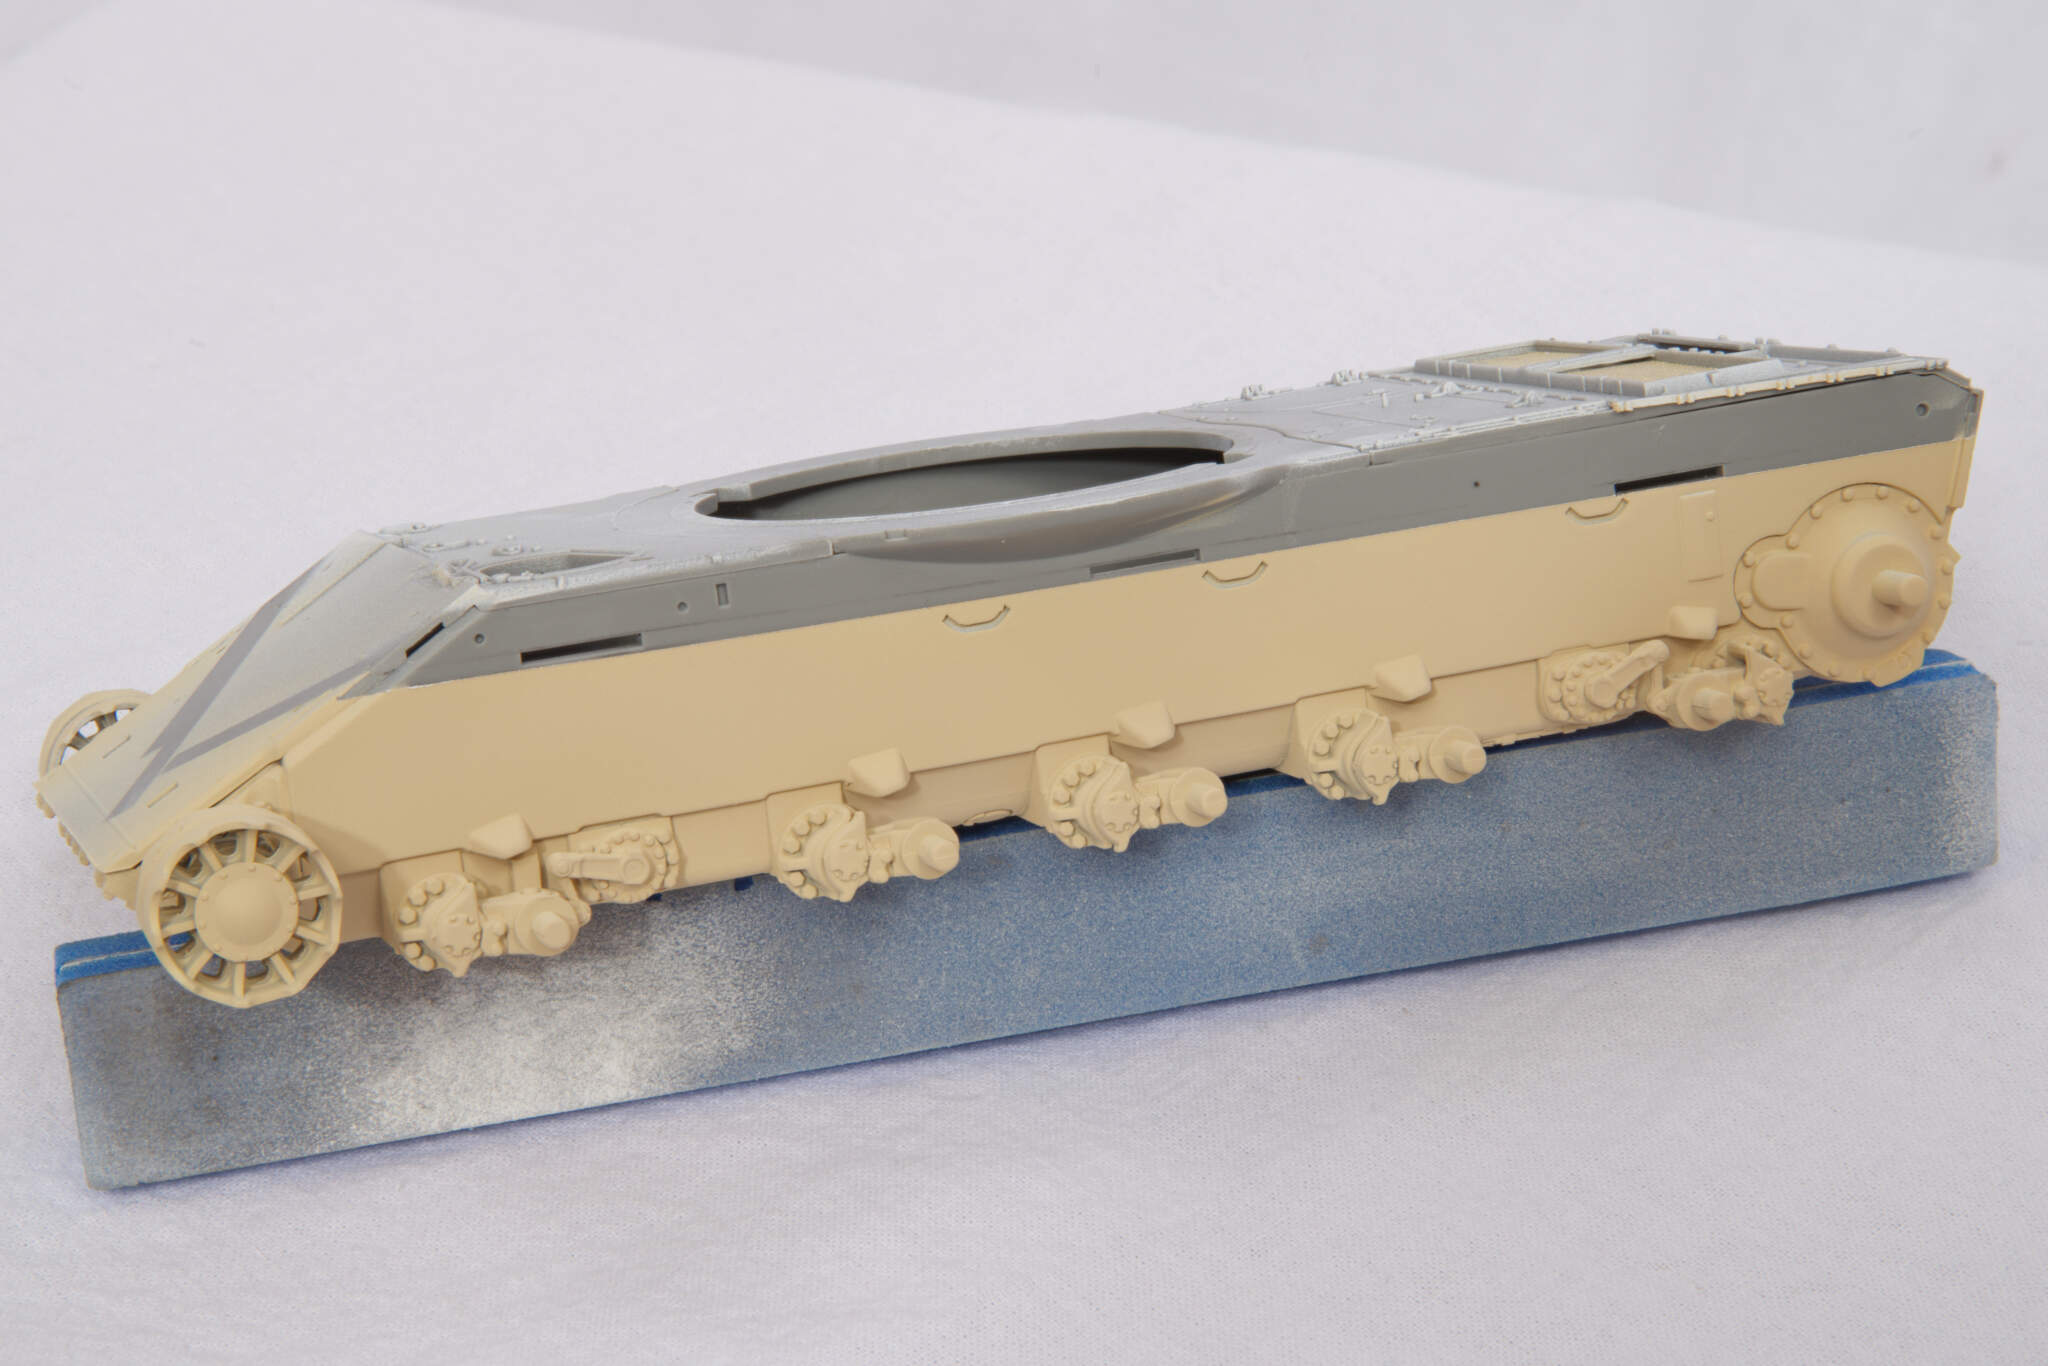
…the kit supplied tracks are OMsh and incorrect for this vehicle. Fortunately Takom supply the 13 tooth drive sprockets for RMsh tracks as well as the wrong 14 tooth sprockets.
I used Masterclub tracks and they were friggin awful. Lots of clean up and drilling.
The resin pins just fell out as I had to drill 90% of holes out even though I used a 0.5mm drill bit and Masterclub said the hole diameter was 0.55mm?
I ended up using dressmaking pins.
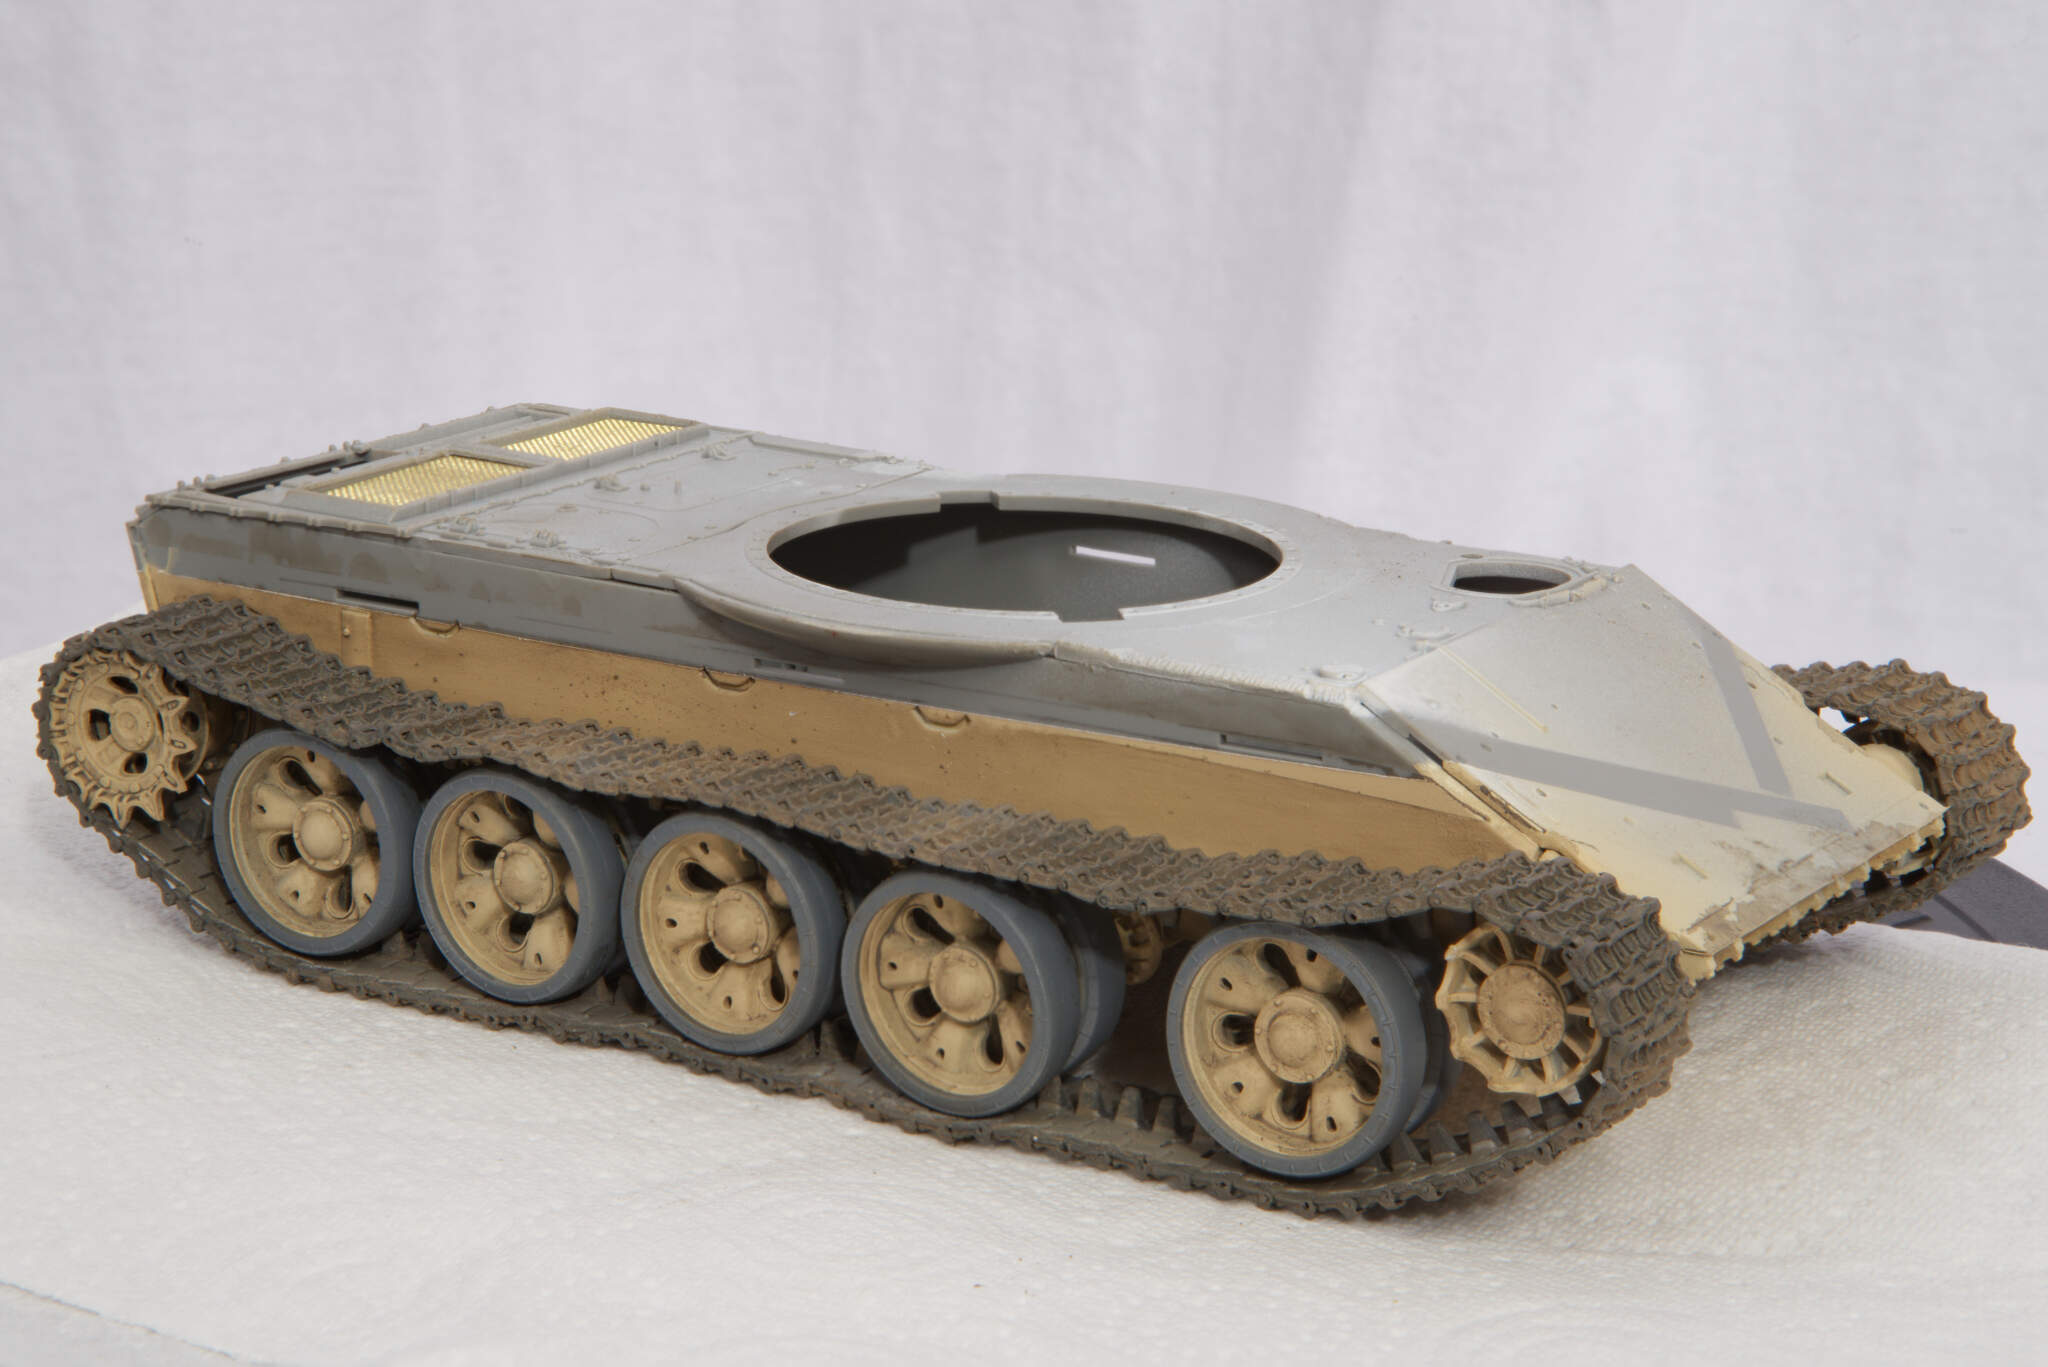
I agree with what @Dan and @metalhead85 have said- the rubber looks ace and with some light weathering (like a light dusting of pigments) they should look very close to those in the photo.
Hi. I had similar issues with master club tracks on my ongoing Takom T-55a (also doing it in Iraqi c1991 markings). Good suggestion on the dress making pins. I had abandoned the idea of getting them to work and was in the midst of working with the kit supplied tracks.
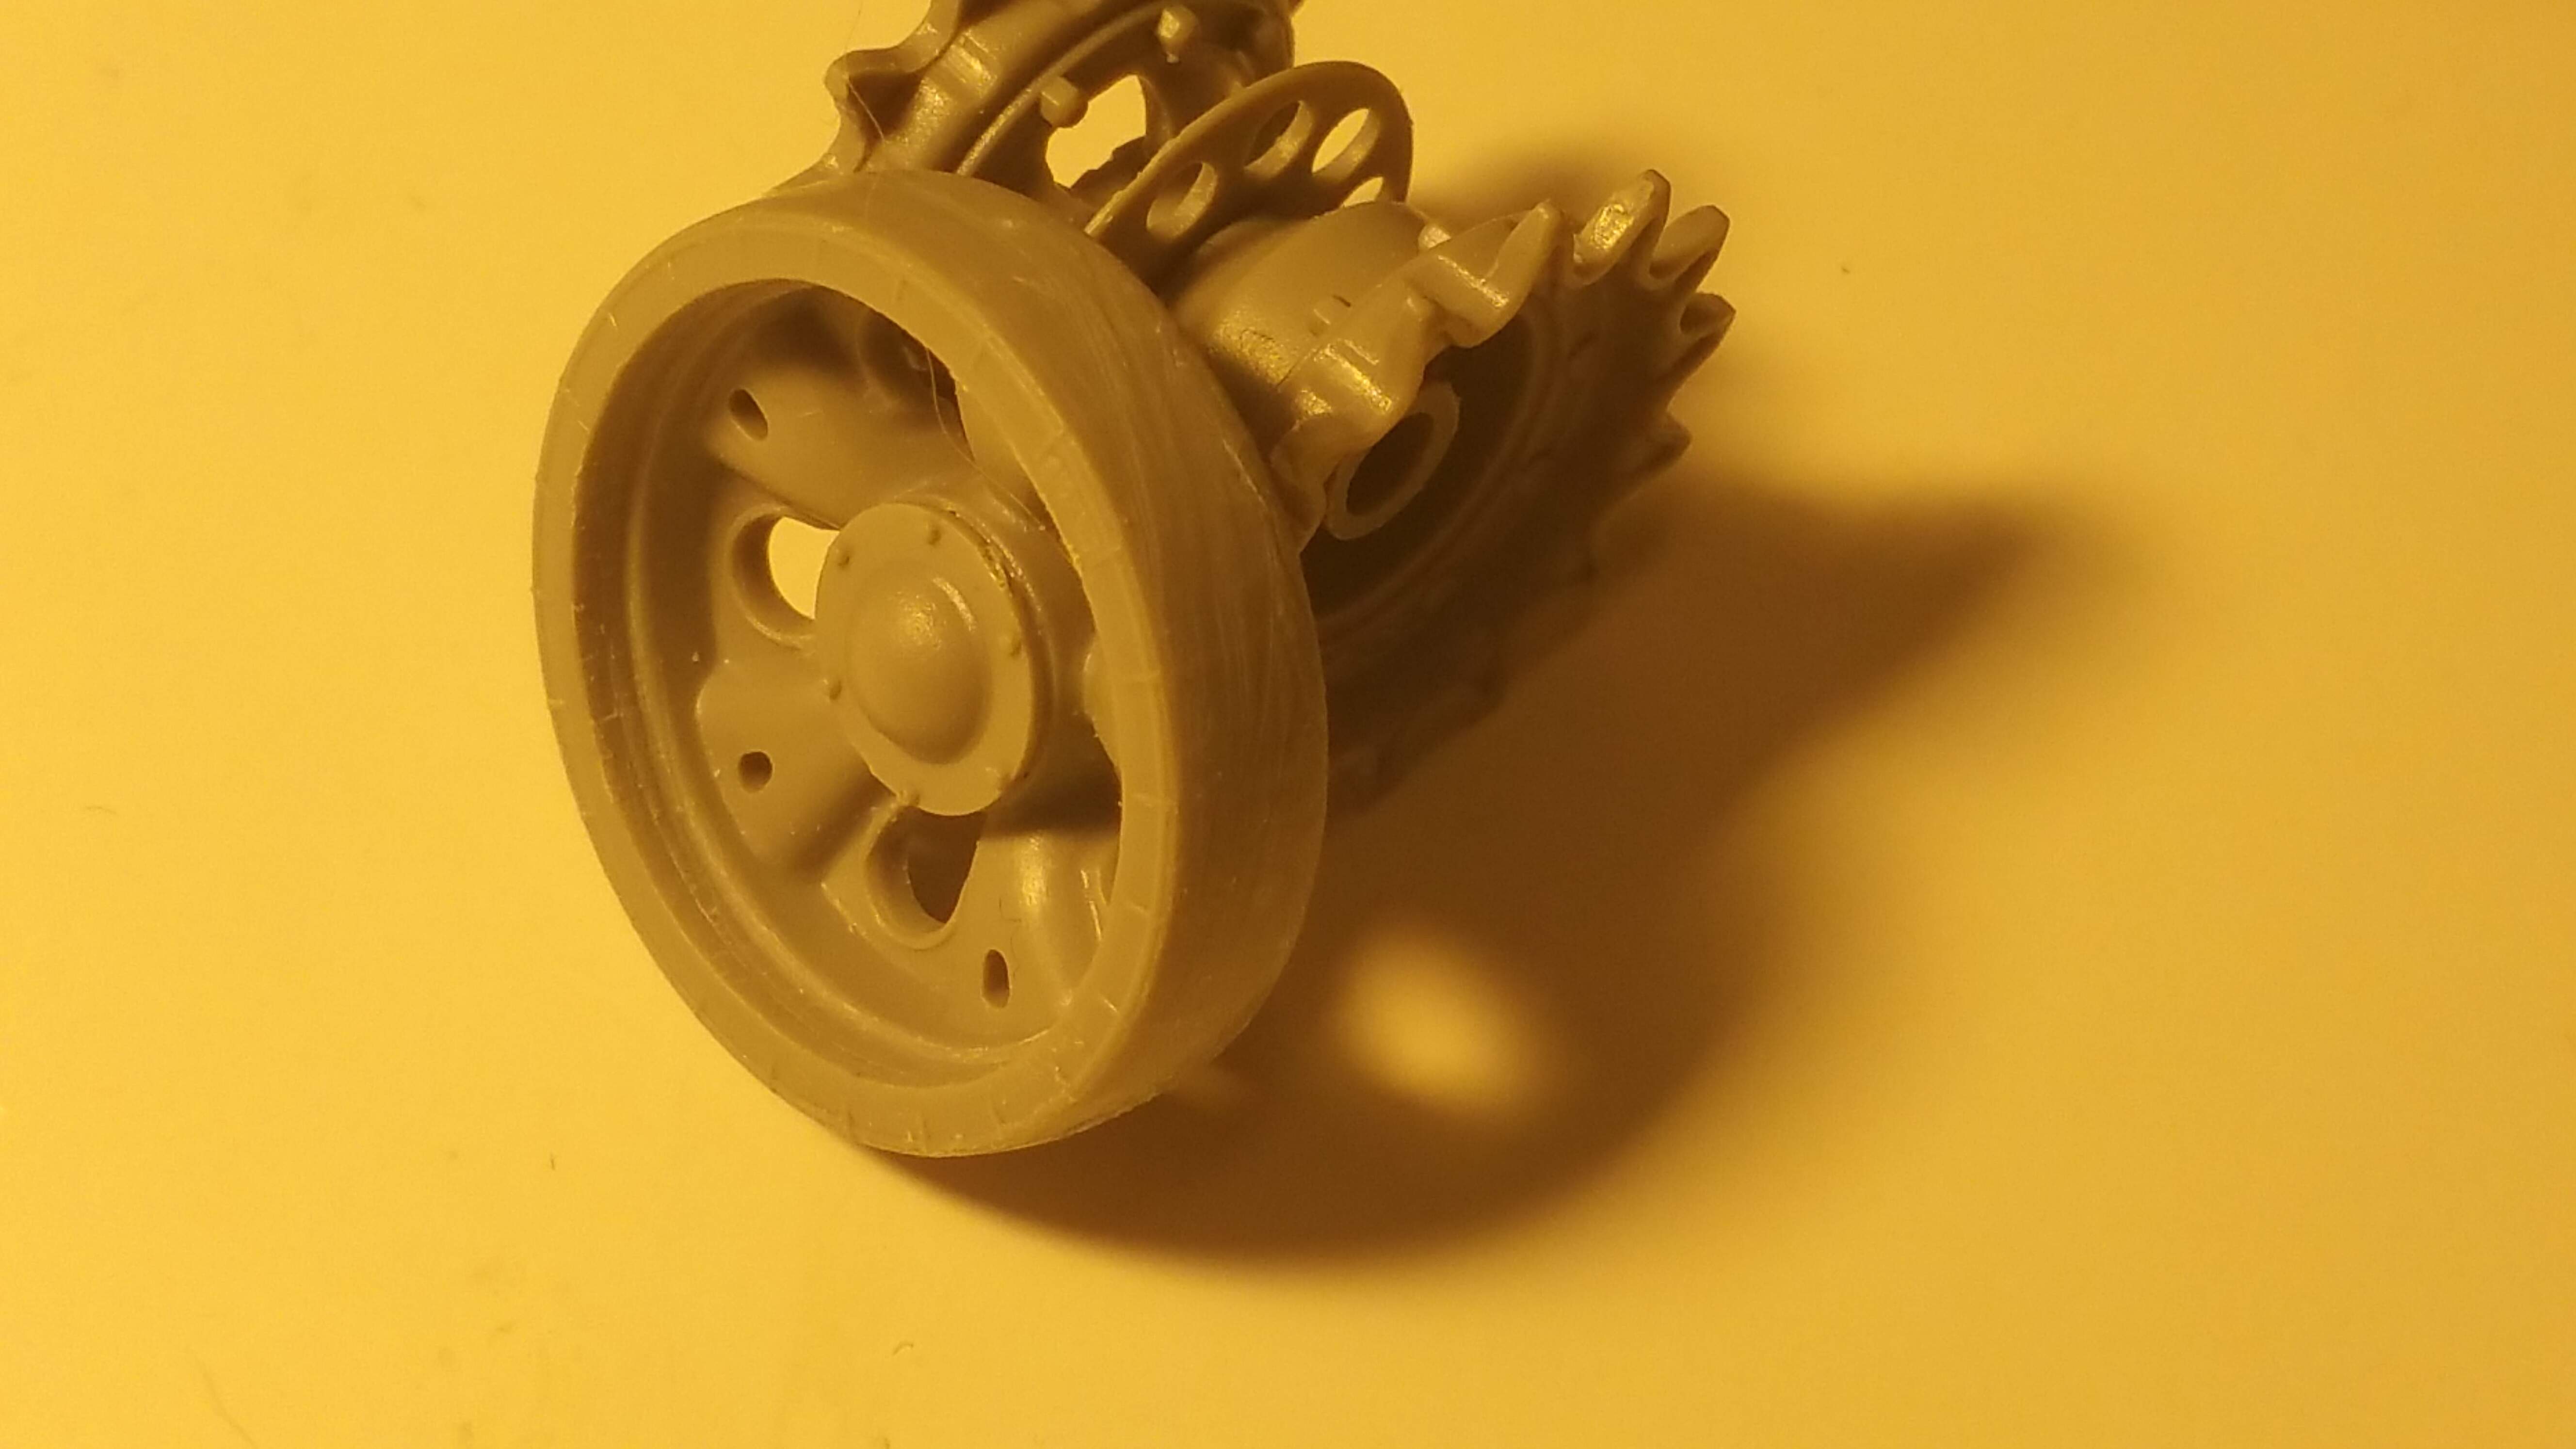
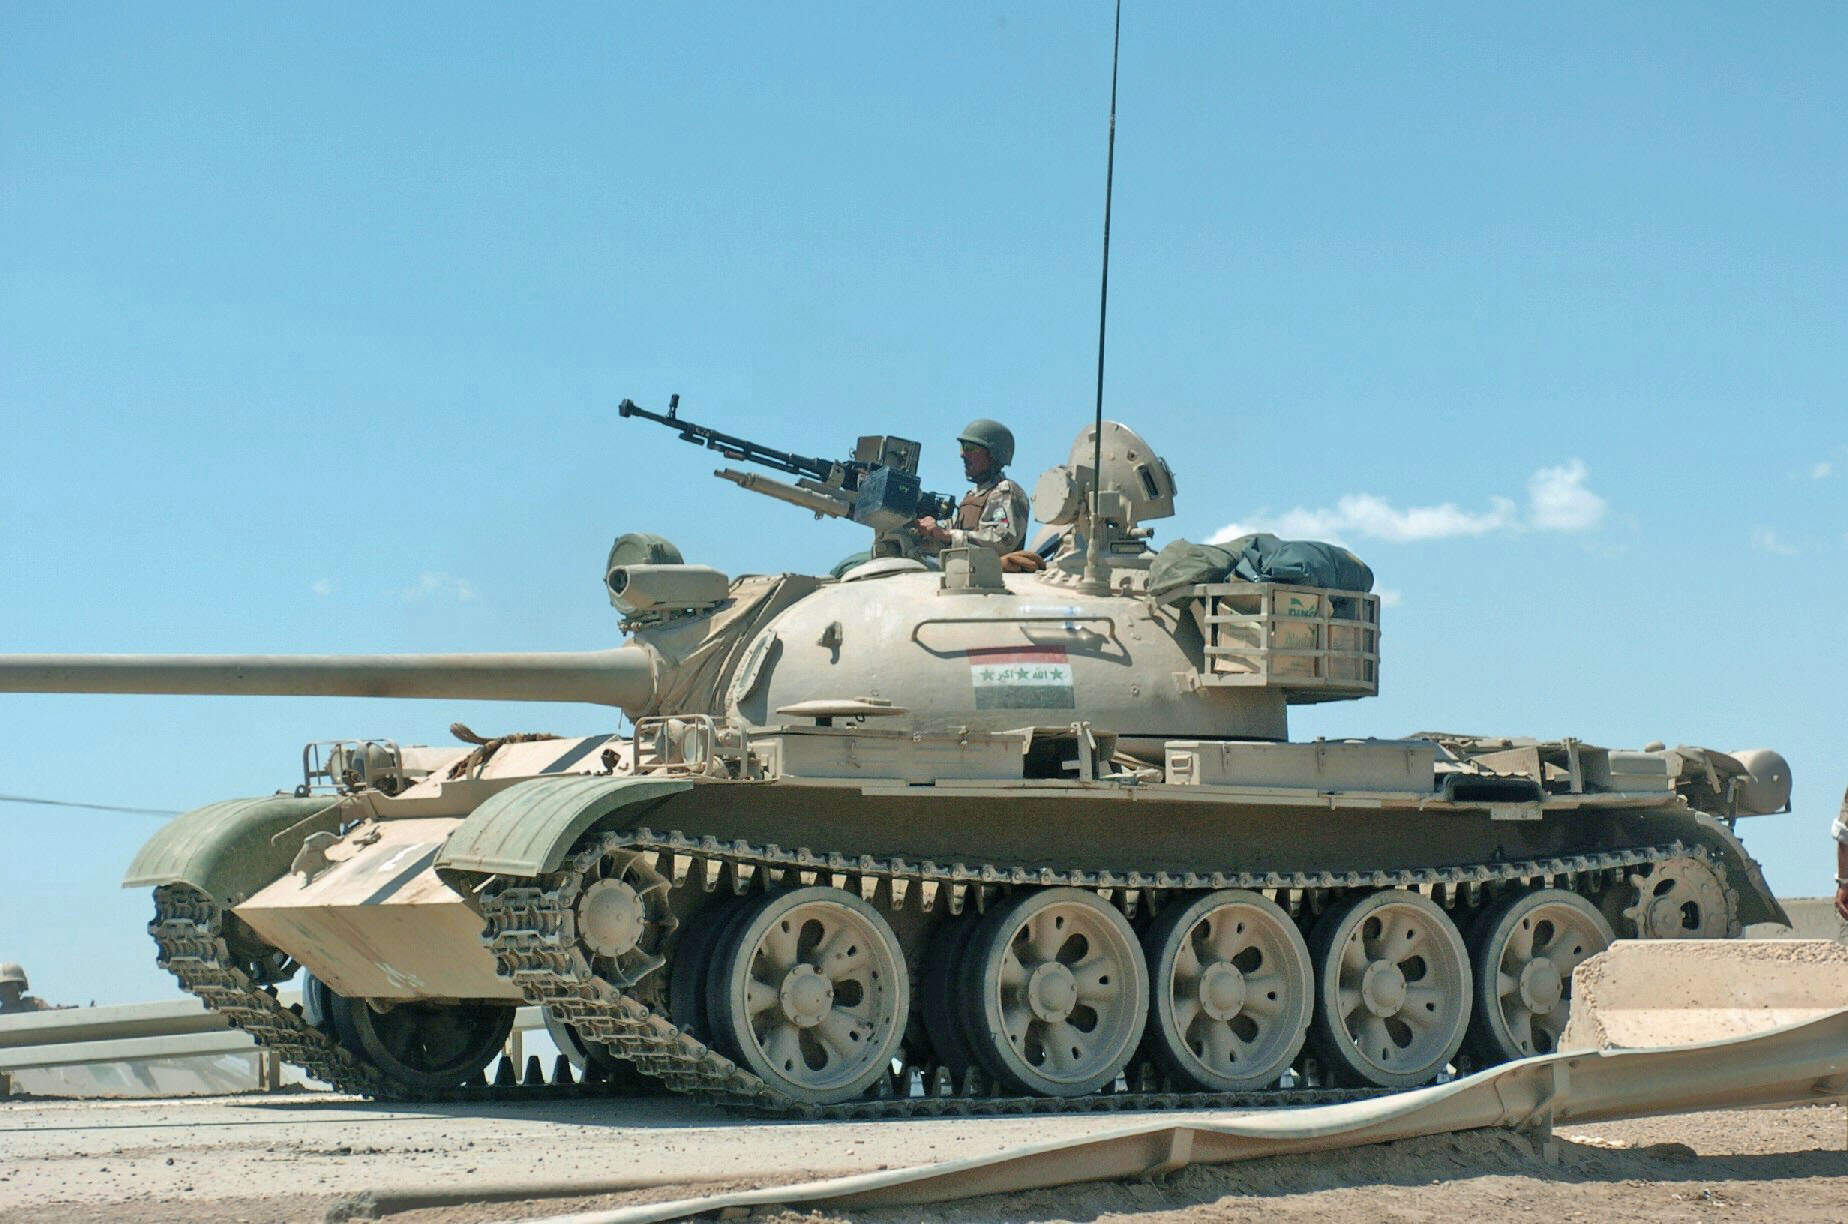
Hi! Just got onto Armorama after a fair piece away, and see that you are building one of those Takom T-55 kits. Turns out, so am I! You look to be fairly early-on in your work, so I hope you’ll be able to fix a problem that I encountered on my T-55 AMV build concerning those road wheels… In the main, I found the Takom kit both fun and seemingly well-done over-all, but the roadies are not. Turns out that you, too, appear to have found or developed the extra “step” inside the rim - created when you mount the styrene tire onto its styrene rim. In real life, like in your provided Iraqi T-55 picture, the rubber tire sits inside a walled-rim - the metal rim extends up the side of the rubber tire a small amount, just like for most other tanks. Takom molded the tires with only the faintest manifestation of these small walls (but look closely and you will see that the side-ribs end and there is a faintly raised rim-wall). You painted your tires as if they wrap in around the rim - they don’t. This problem is easy to fix - just go back and repaint those tires with the small - but - correct rim-wall added in. There is another, more-difficult problem with Takom’s T-55 wheels… Takom did not mold the rim part inner diameter of the tire piece at the same diameter as the inside of the rim piece, so when assembled, you get a very visible extra “step” inside the rim. This is simply “wrong” as the real wheels have one step inside the rim - near to where the “spokes” meet the rim. IF you are seeking a more-accurate wheel appearance, you can scrape the inside of the rim down so that it loses the extra step and presents a single level inner surface from the spoke-edge out to the outside of the rim. Tedious, I KNOW, as I had to do this on mine! Sorry to be the wet blanket, here! But better to catch things earlier than later. Please see the attached pic showing the scraped Takom T-55 wheel…
Meanwhile, I’m looking forward to seeing how your -55 comes together!
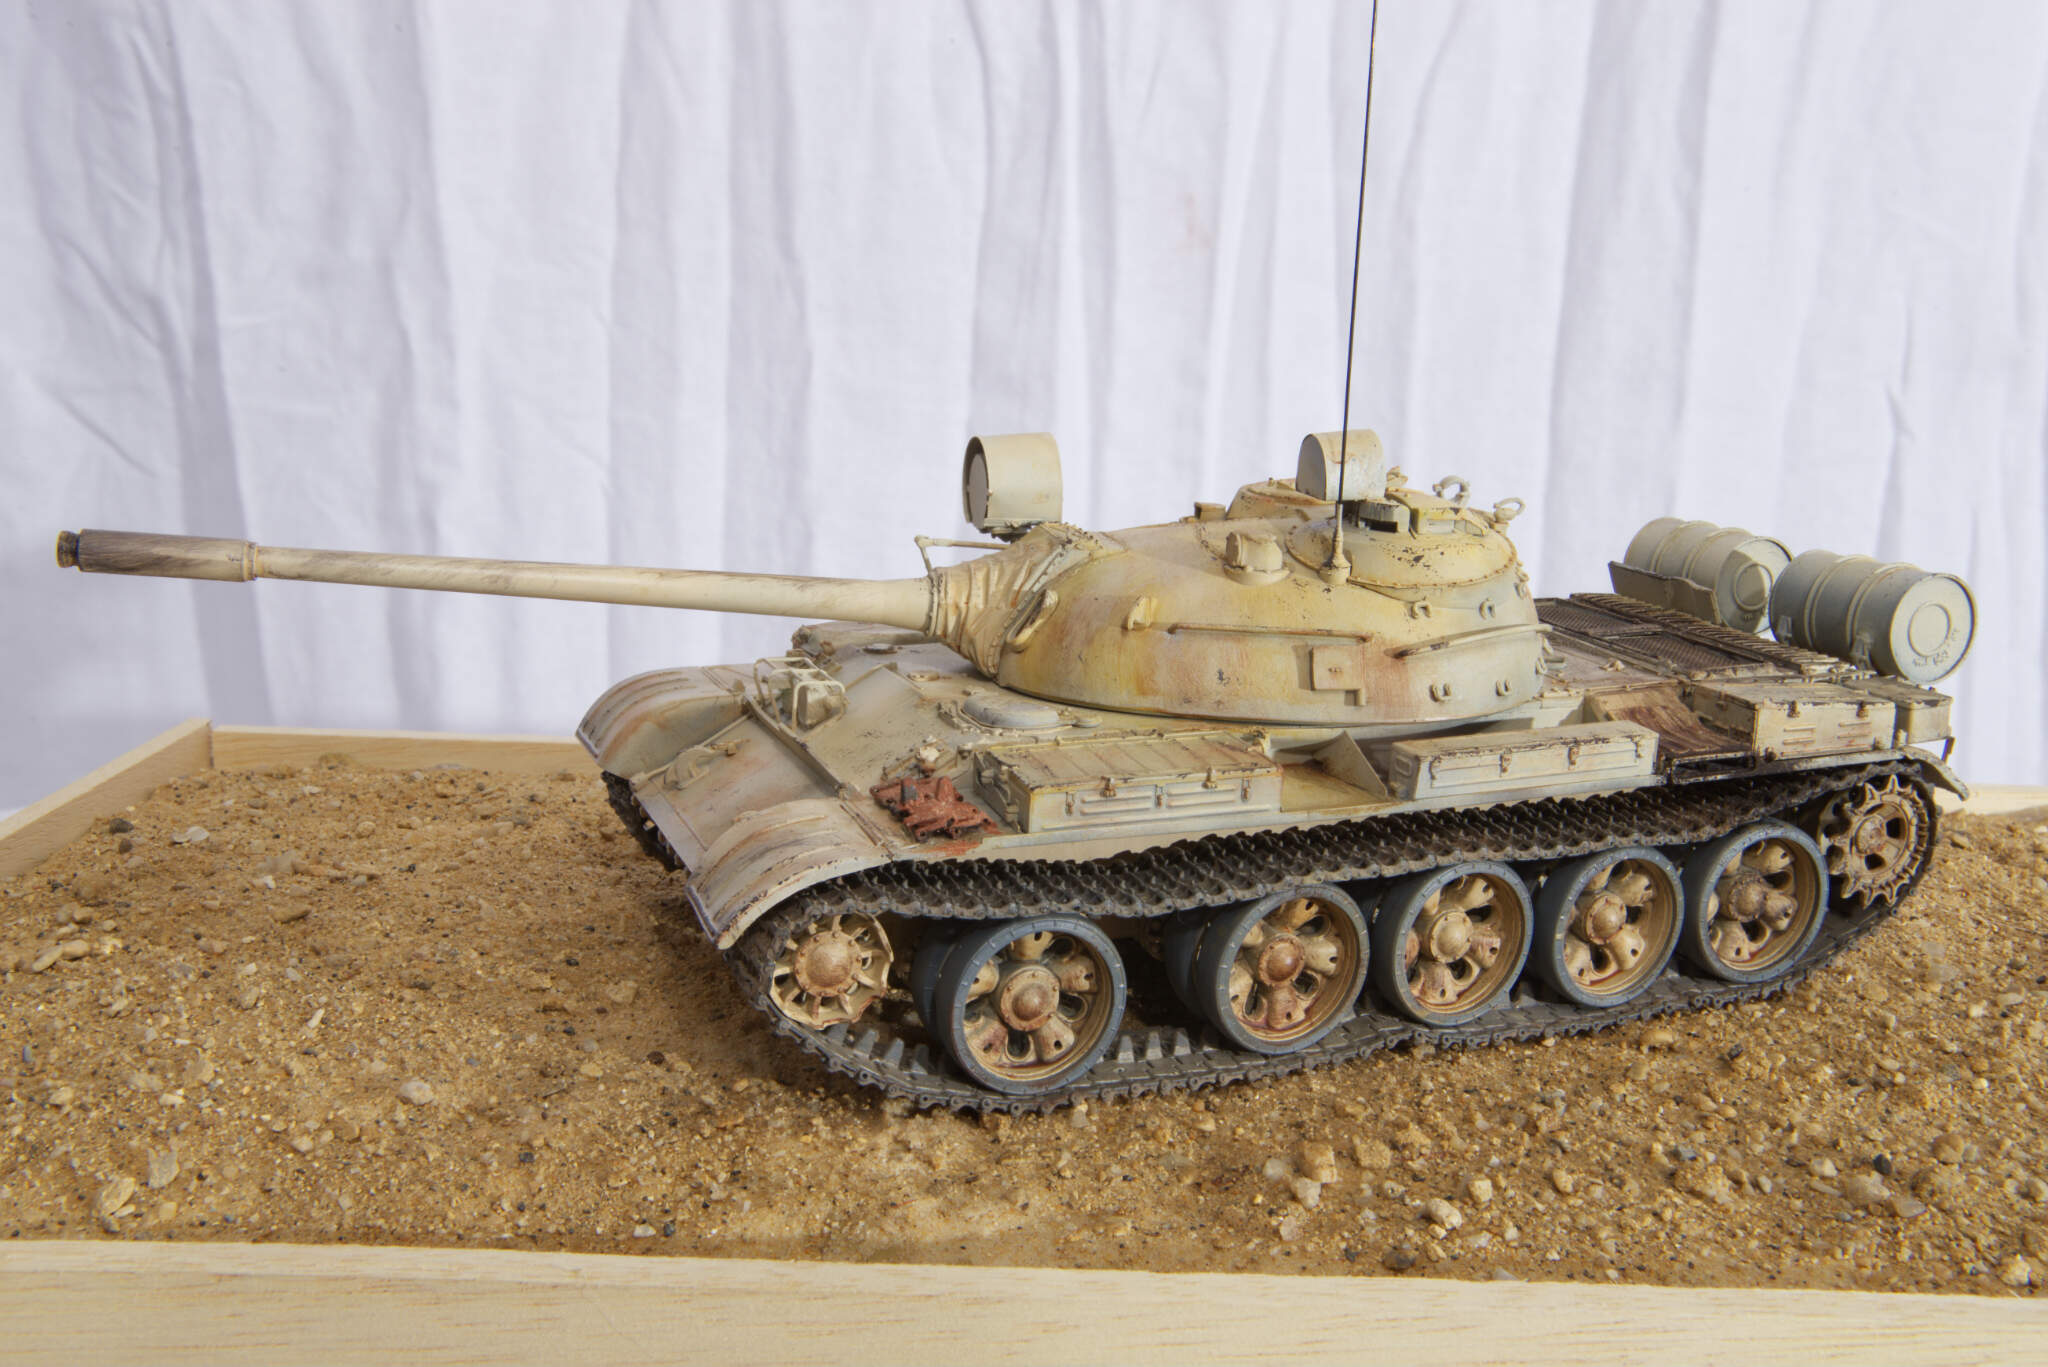
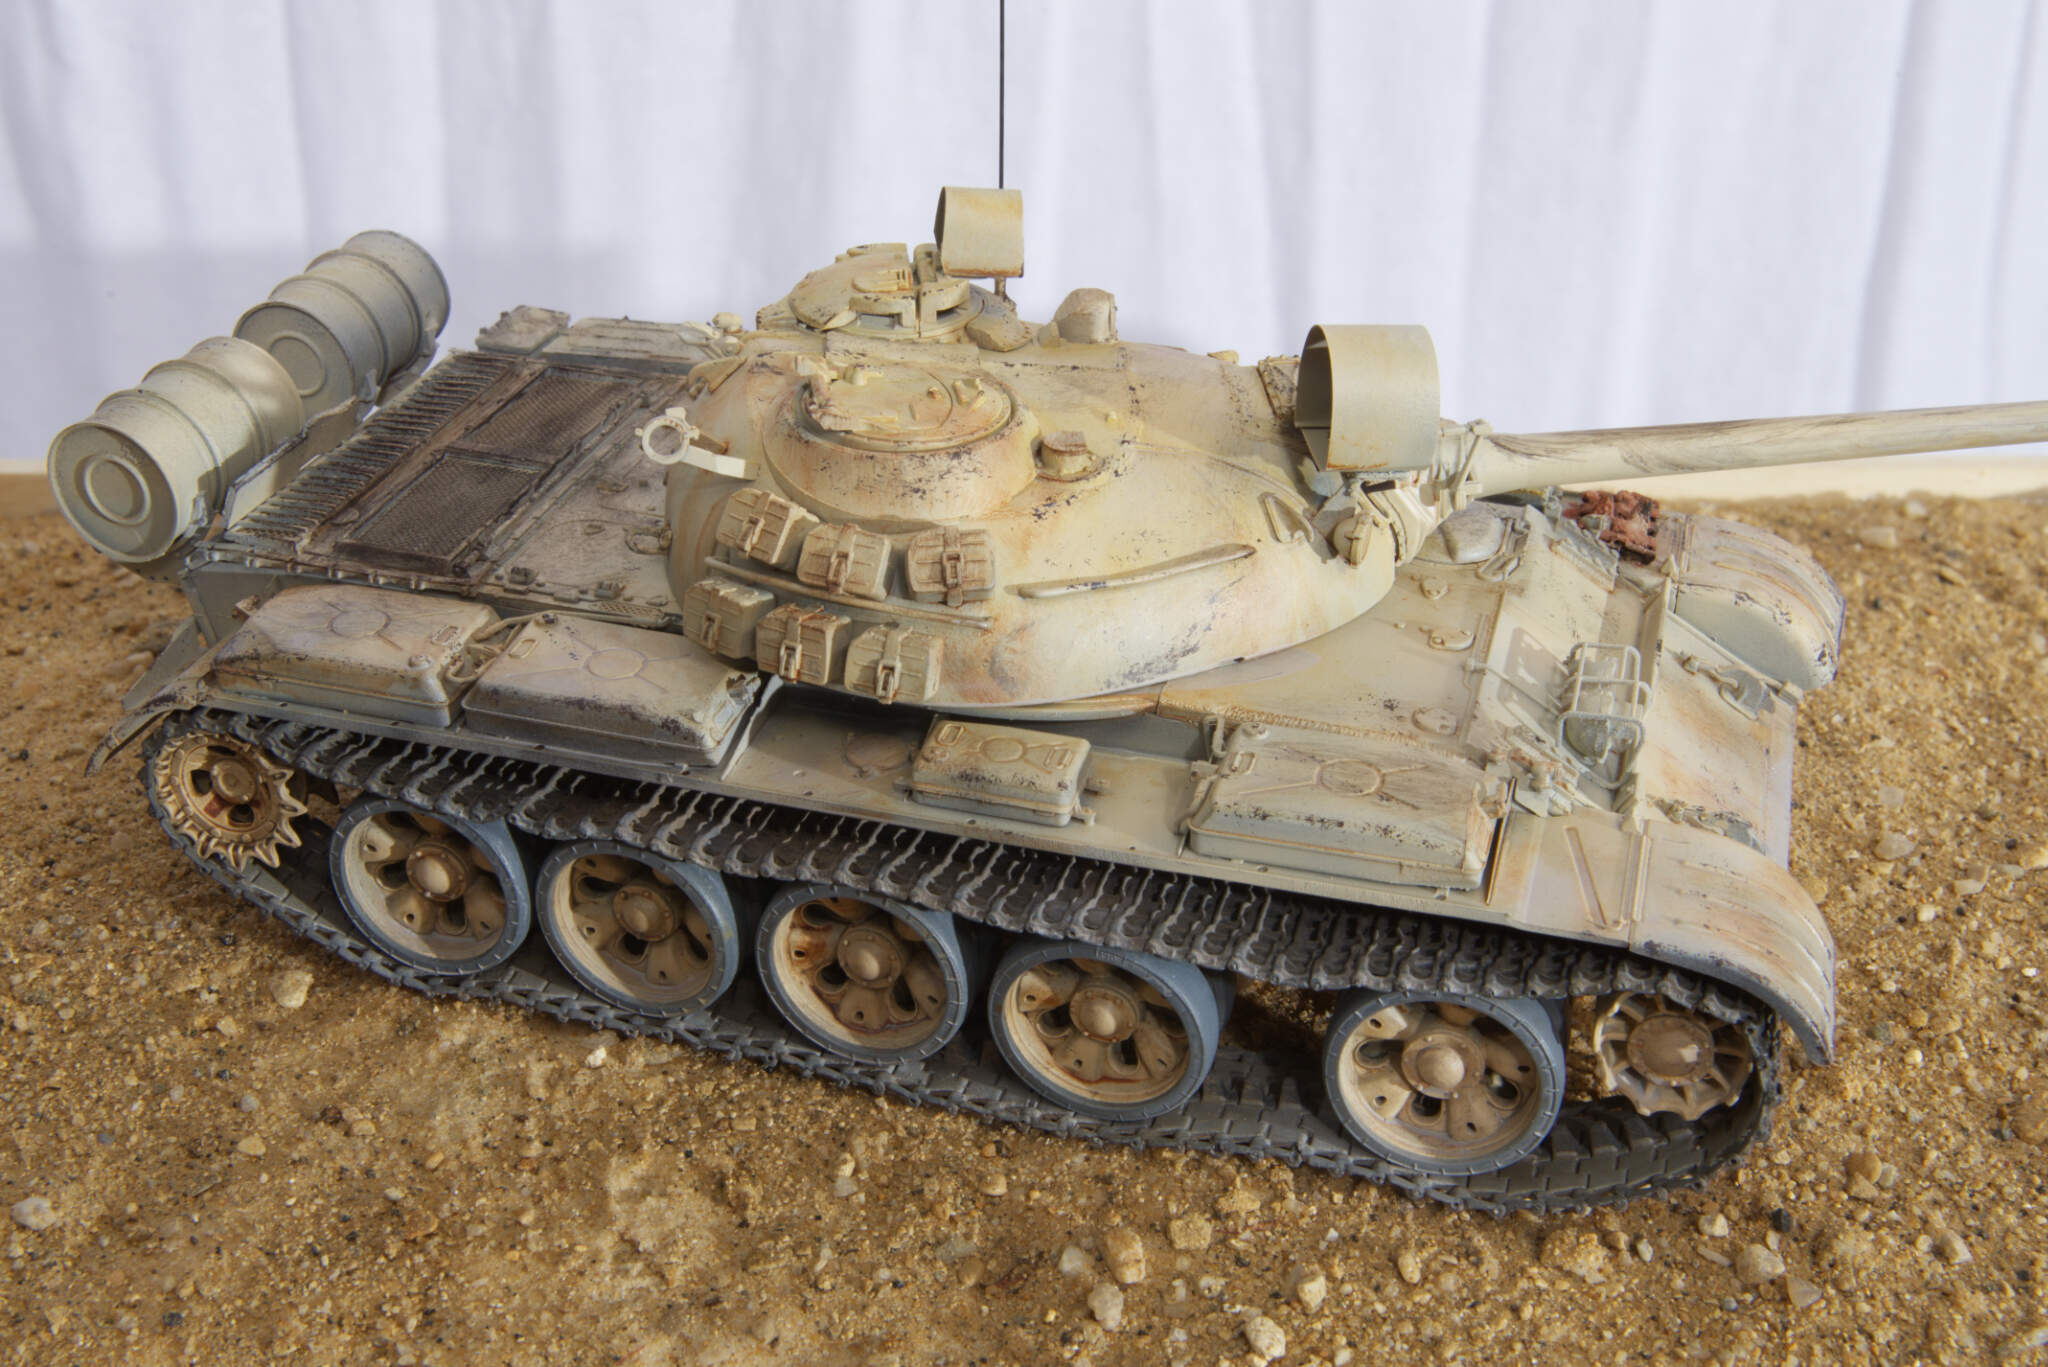
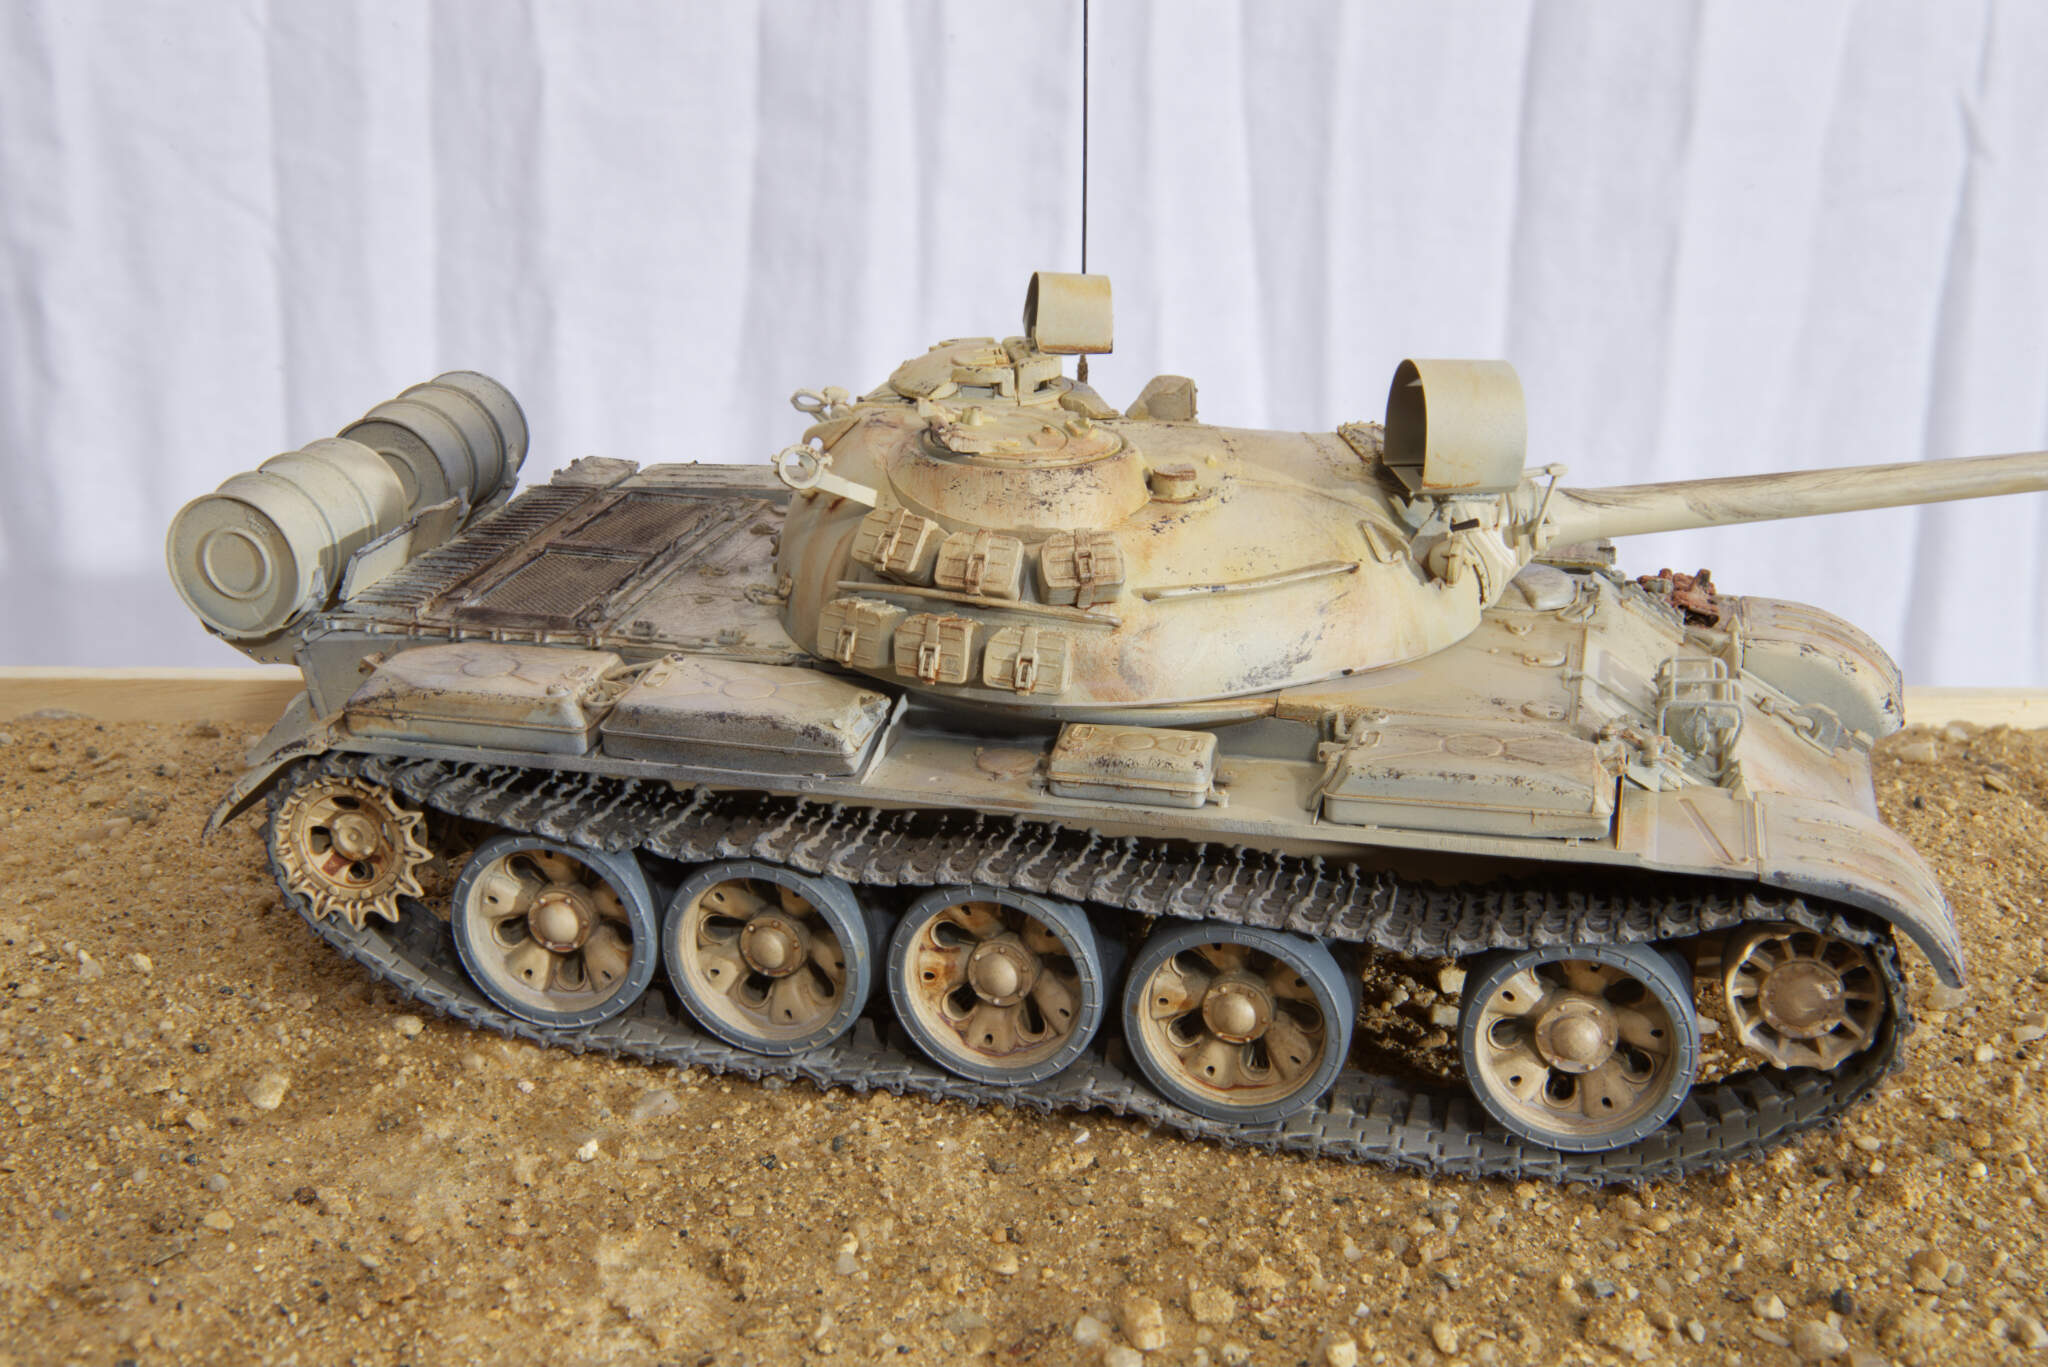
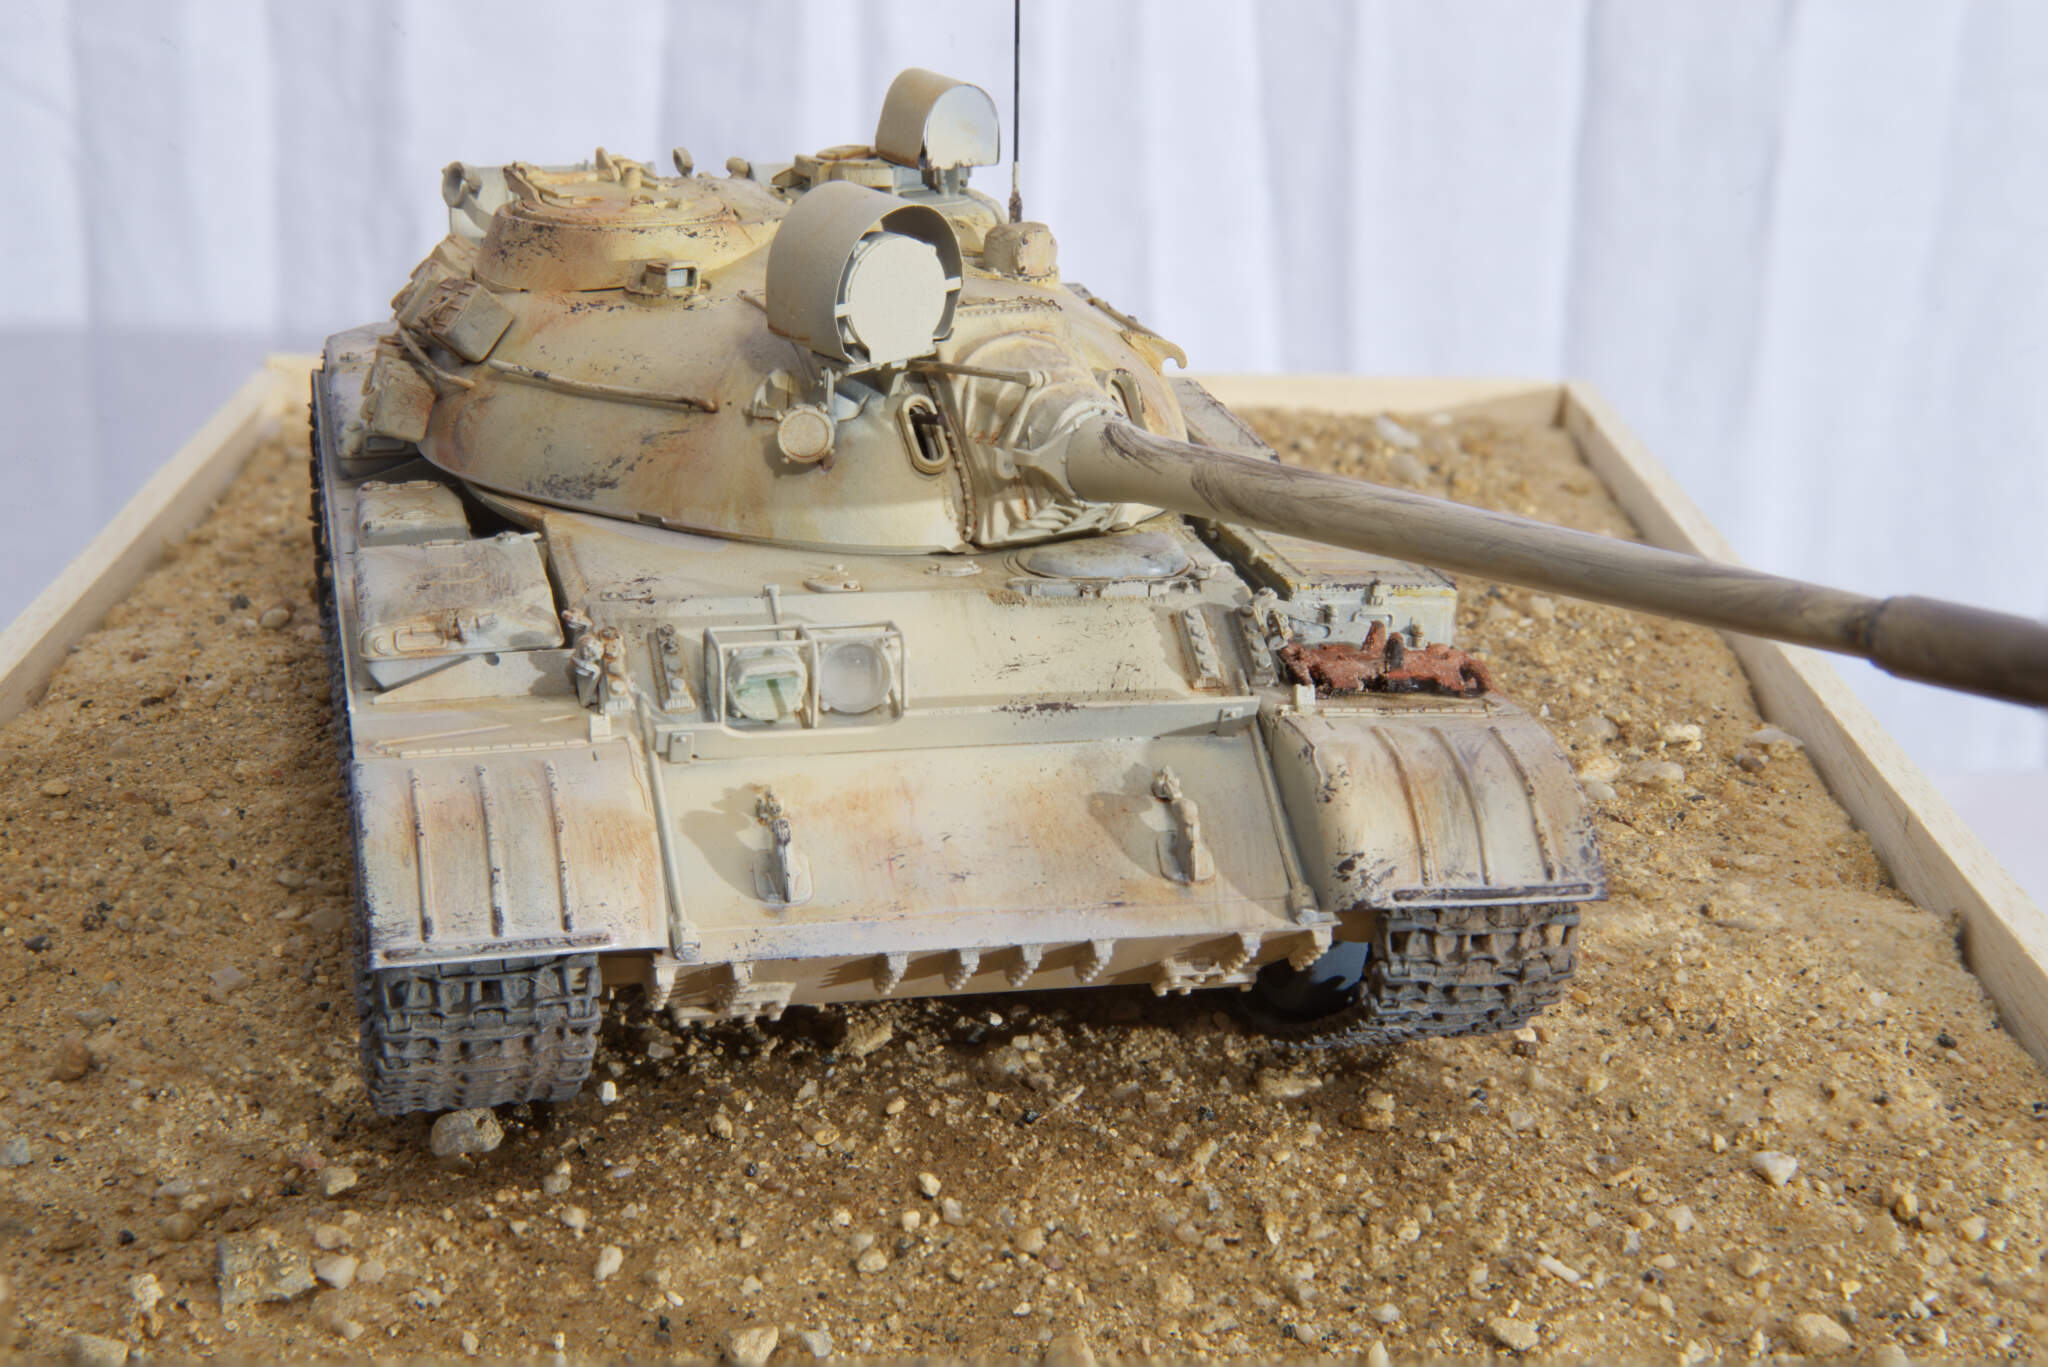
Finally got it finished along with my first attempt at a diorama base.
Making a overall single colour look interesting I found hard. I can’t decide if I like it or not.
Damn, not sure how I missed this one Cats, put it down to old age lol …
lots of great points to it and I think you have done a cracking job from top to bottom. As some of the others have mentioned, I think the tamiya grey is a very savvy idea, looks very good and has the very used faded tone you are looking for.
The simple dio is exactly all it needs. It shows it off on the type of terrain you would expect and that you see out there all over. Nicely done. Only thing I would of done is perhaps level the ground off with the top of the frame, but, that is just me.
I get what you say about the mono colour finish, but, they are what they are and on that type of wagon in that armed force, you have pretty much nailed it. very well done and a really nice looking T55
Thanks John.
Made a nice change from a European multi-colour camouflage.
RFM Panther F arrives tomorrow and it is going straight to the front of the build queue.
Just had a look at the review for it and it looks a very nice kit with some great detailing. I had been thinking about getting this and combining it with an E100 wagon as well. Now I’m thinking about it more !!!
I think you have captured the look of the paintwork very nicely. It may be a single color but the weathering is well observed and creates an interesting, well-used look.

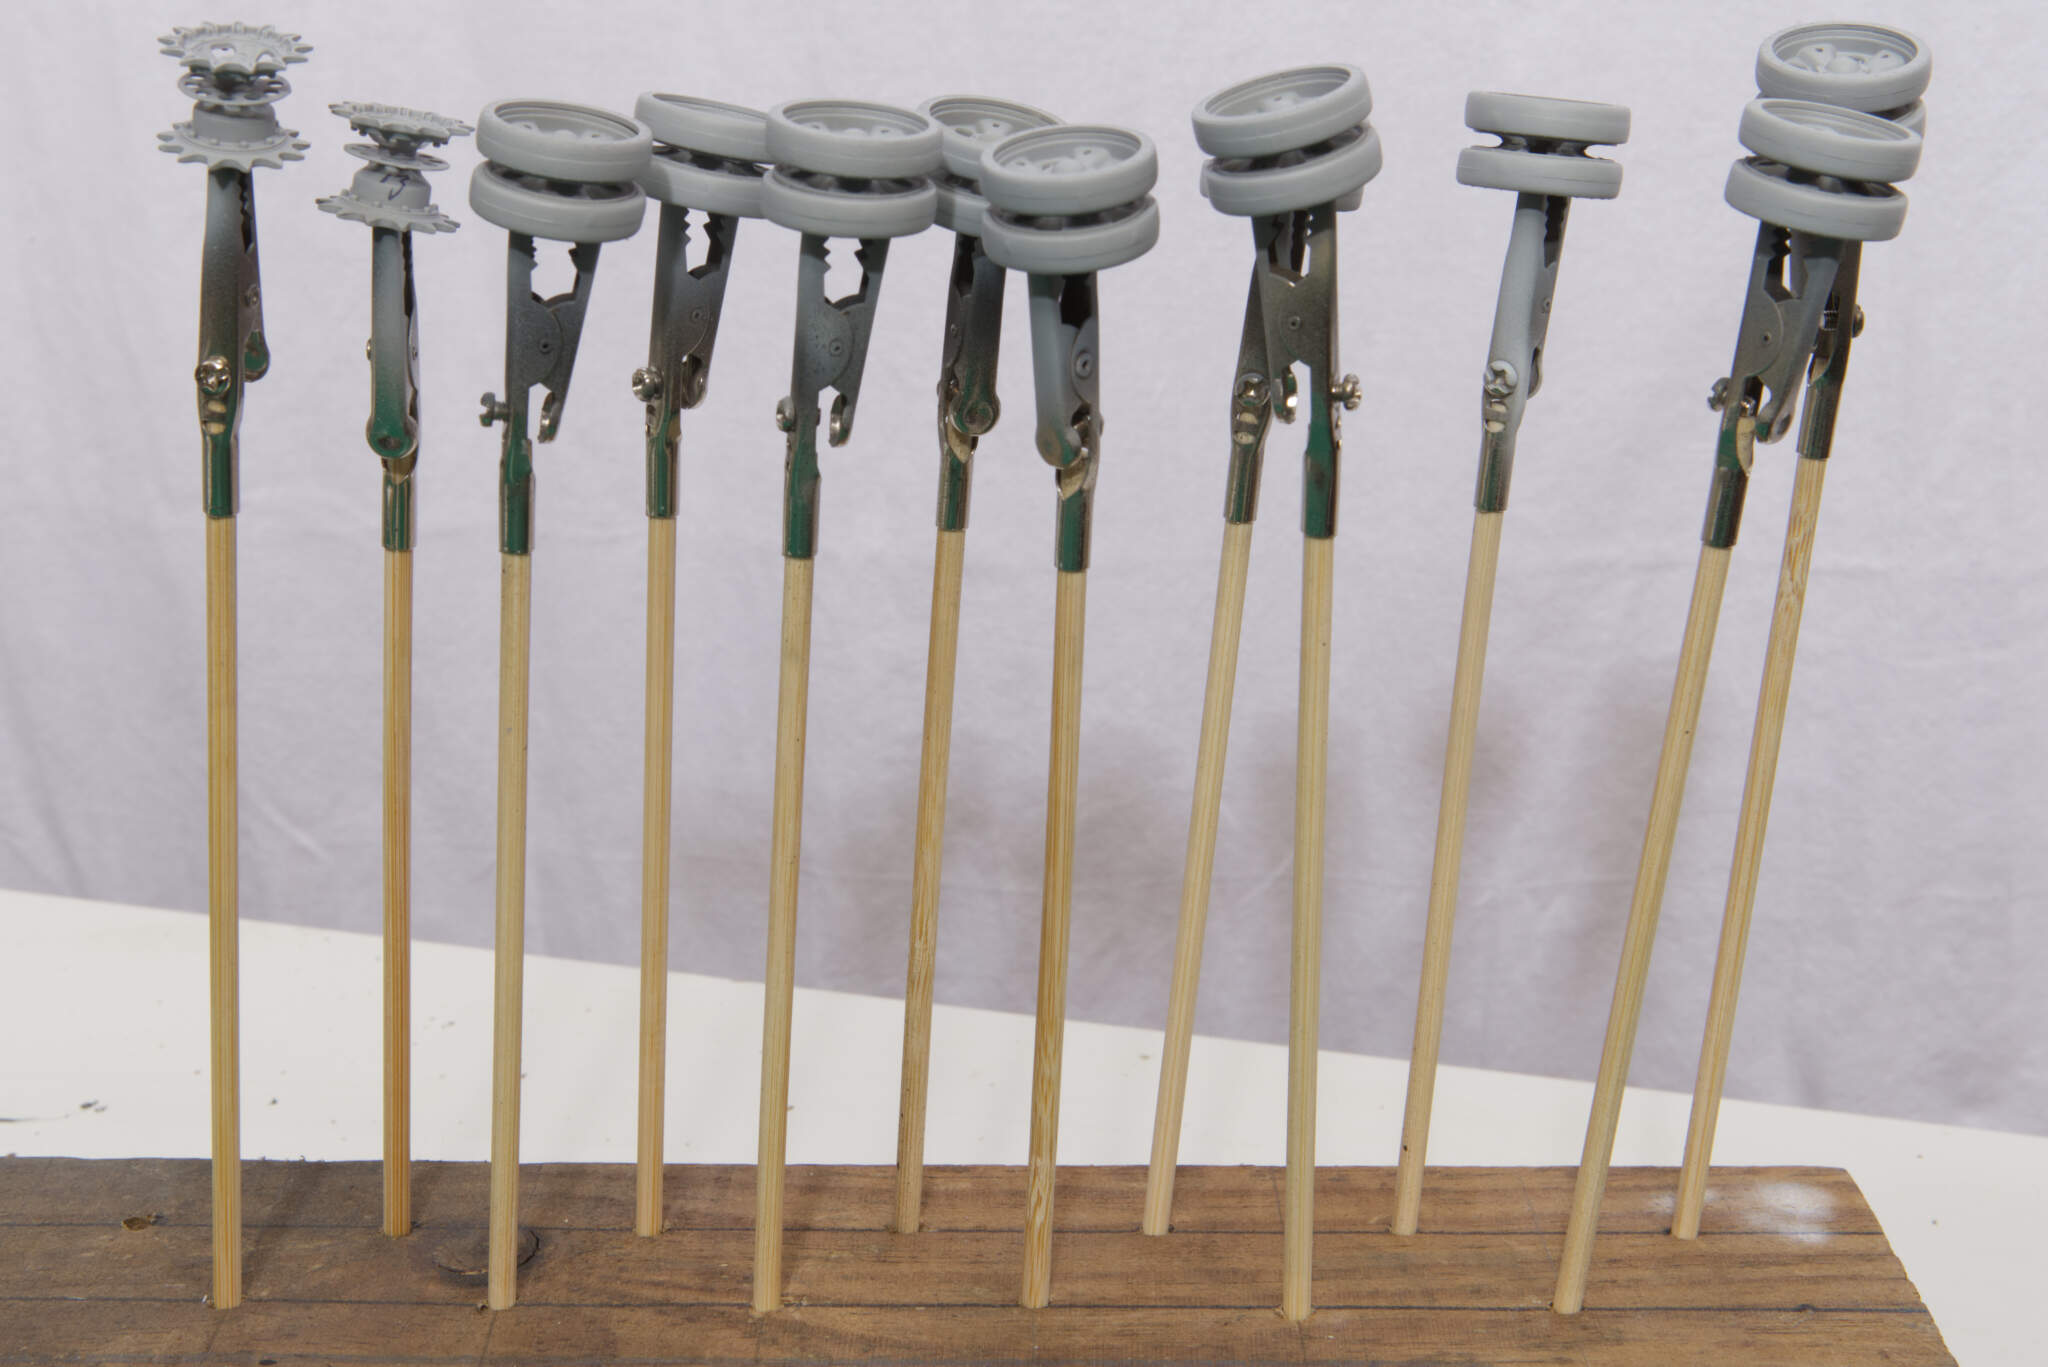

 Sorry to be the wet blanket, here! But better to catch things earlier than later. Please see the attached pic showing the scraped Takom T-55 wheel…