Hi folks,
As requested, below is how I approached the build of the 1/43 scale Leyton House CG881 from Tameo.
Being a full metal kit this kit needs a lot of prep work and you cant really approach these kits like you can with the traditional ‘shake and bake’ plastic kits.
First thing was to do a dry assembly of as many of the parts as possible to measure fit and alignment.

The rear wing in this particular kit was a mess and needed a lot of shaping to look vaguely like a rear wing and also fit as it was very lop sided.

Uploading: IMG_4719.JPG…

Once all fitted and aligned it was off for a wash and ready for priming.


We have a serious shortage of supplies in New Zealand at the moment, so my usual go-to lacquers were not available (at this stage not till something next year) so had to opt for enamels. So Priming was done with a Flatt white base and then rubbed down with Micromesh 4000 grit and then painted.

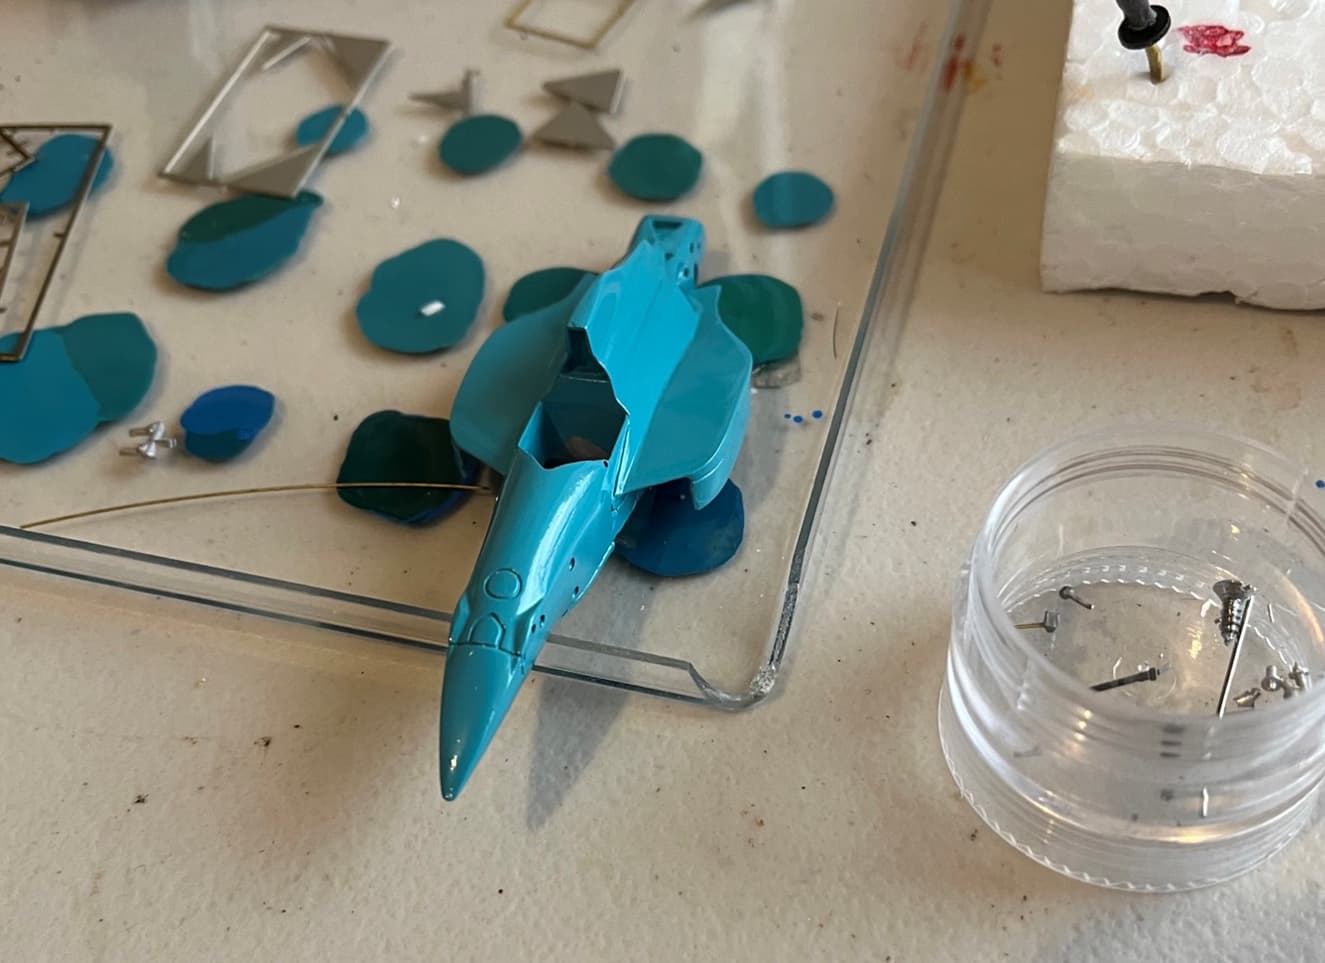
I was fortunate enough to have a part of the body sent to me from the owner of the car to do a colour match, which we got pretty damn close to the original. Tamiya Coral blue is wrong according to this car.

The mix I used was Tamiya Sky Blue as the lead and then Tamiya Green to tint it and then White to pull down the mixture to the appropriate tint level. Lots of spoons were damaged in the process lol. I opted not to clear coat this build - I normally clear coat but didnt think it was necessary this time.
Once painted then left to dry and start the assembly and detailing.

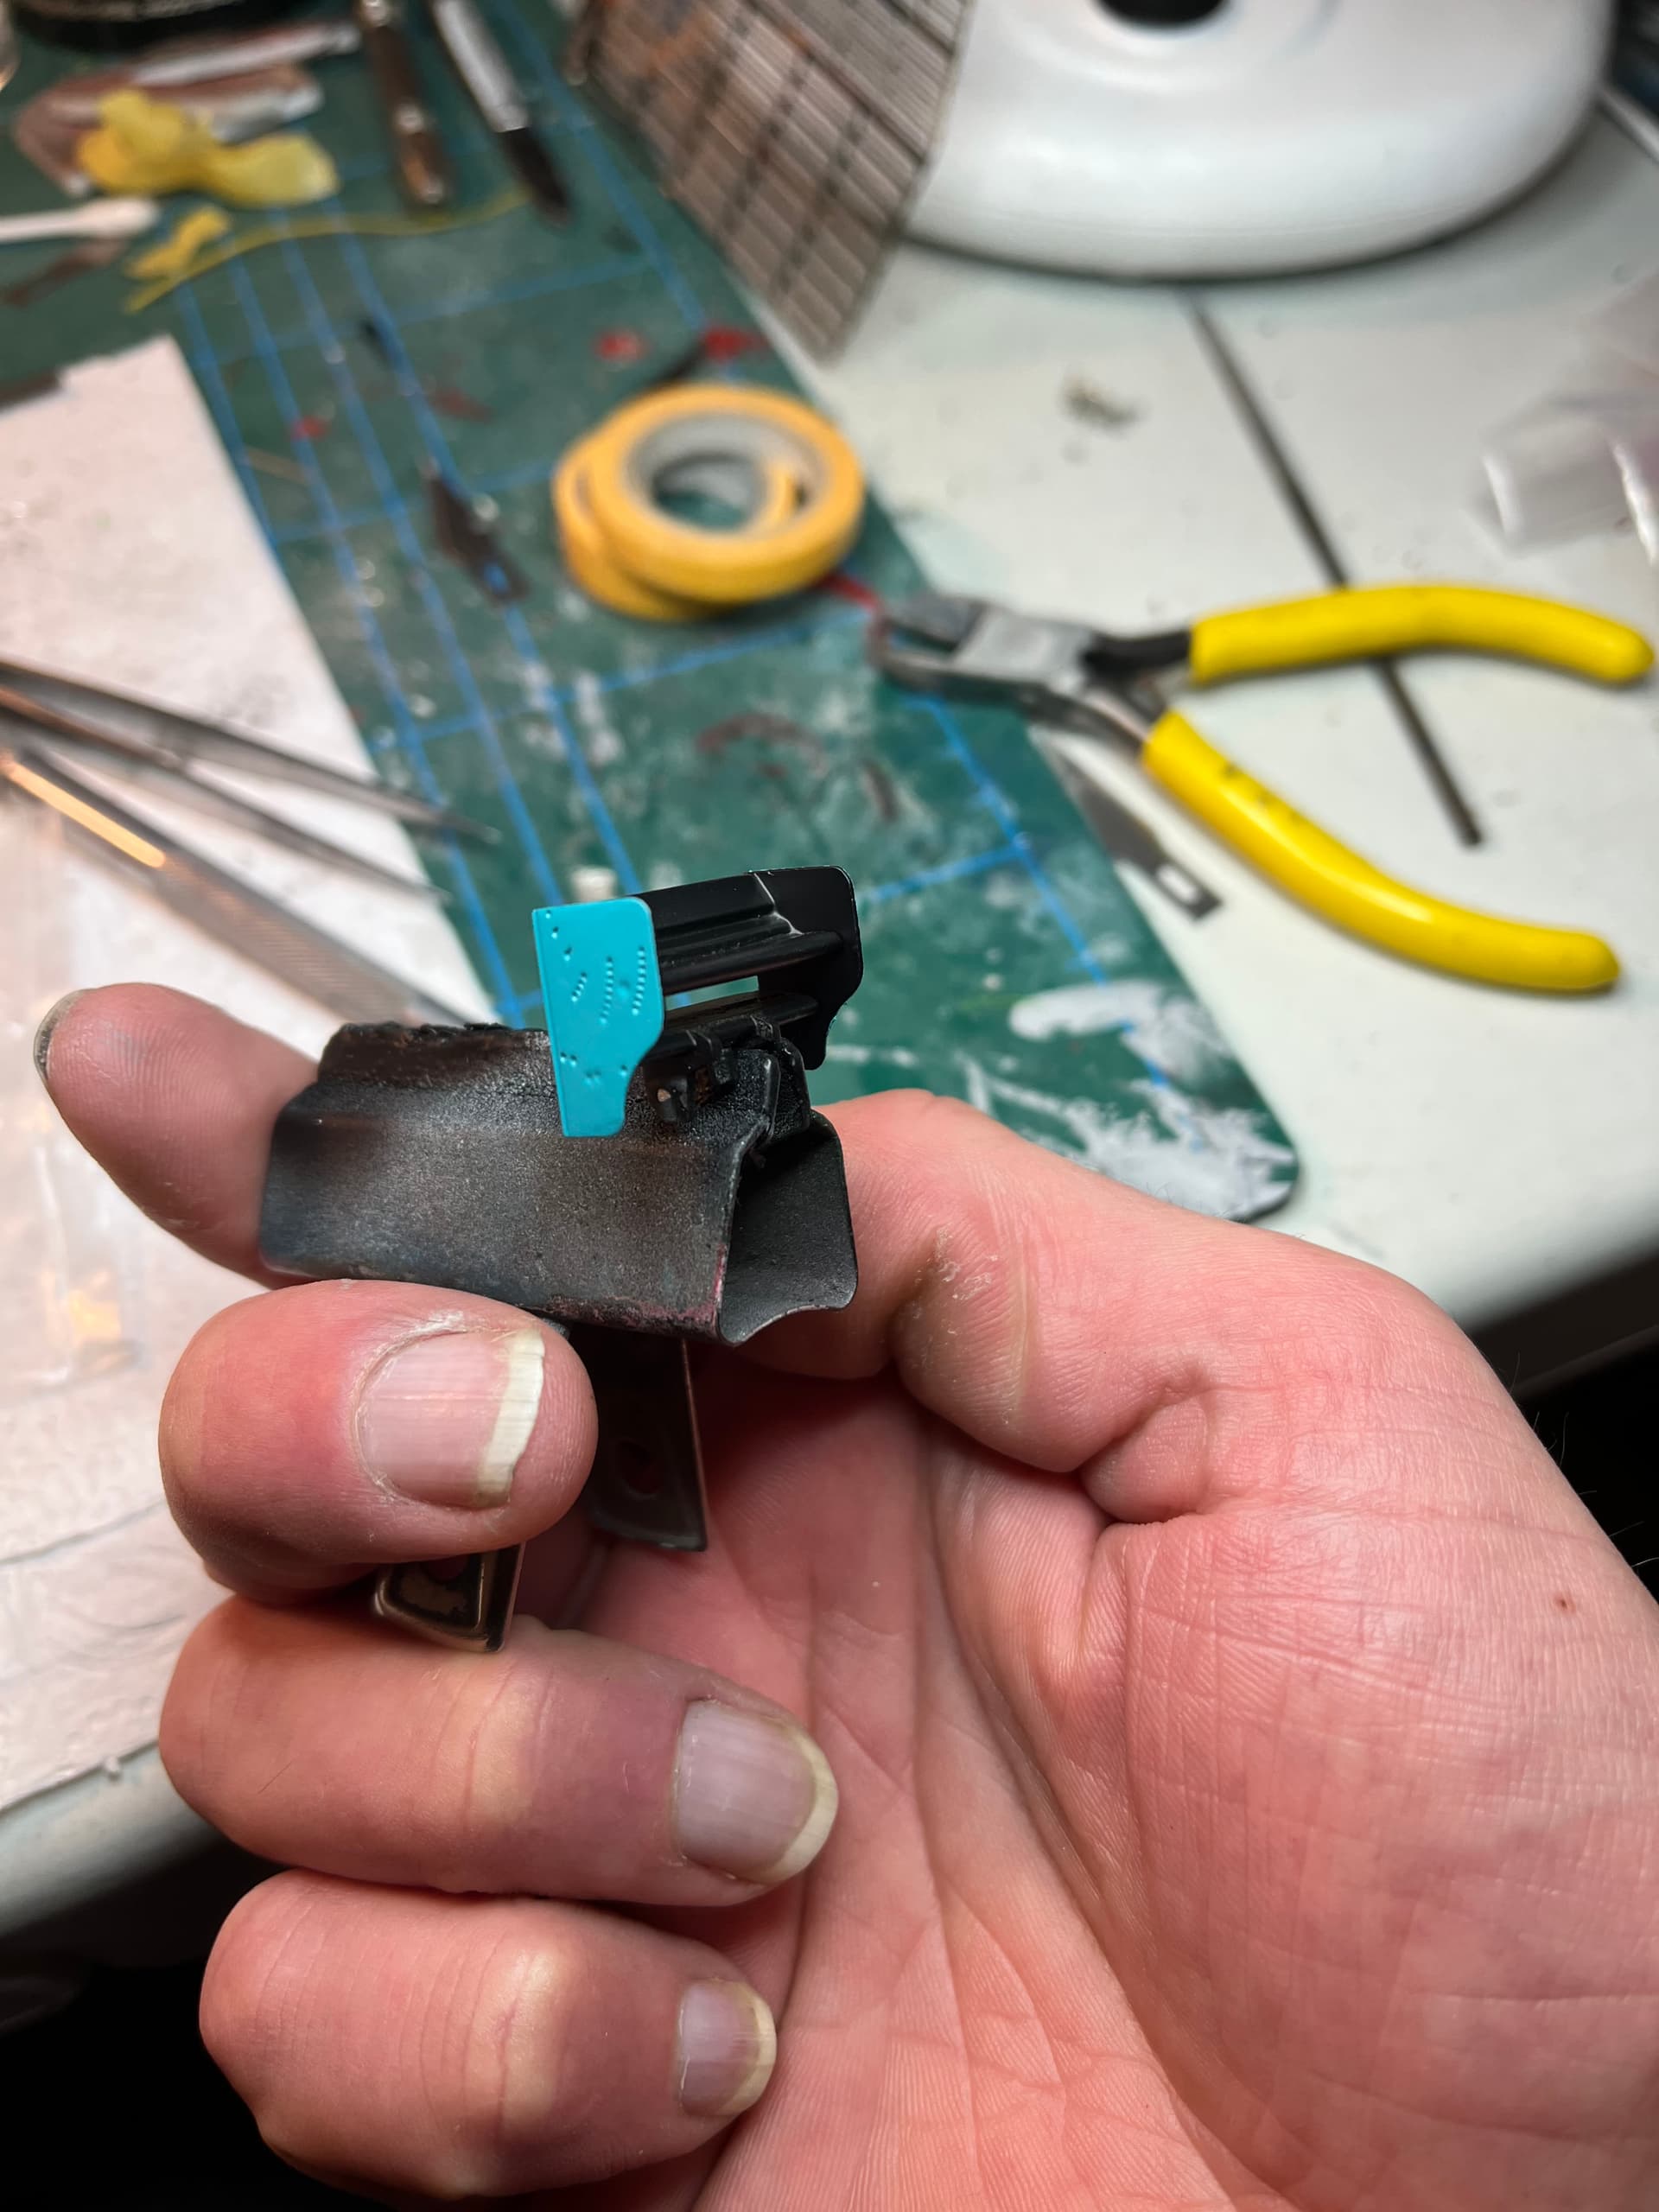


Wheels were detailed by hand, and Tameo only supplied enough Goodyears for the external walls of the wheels. which is very strange as other kits supply goodyears for all sides.
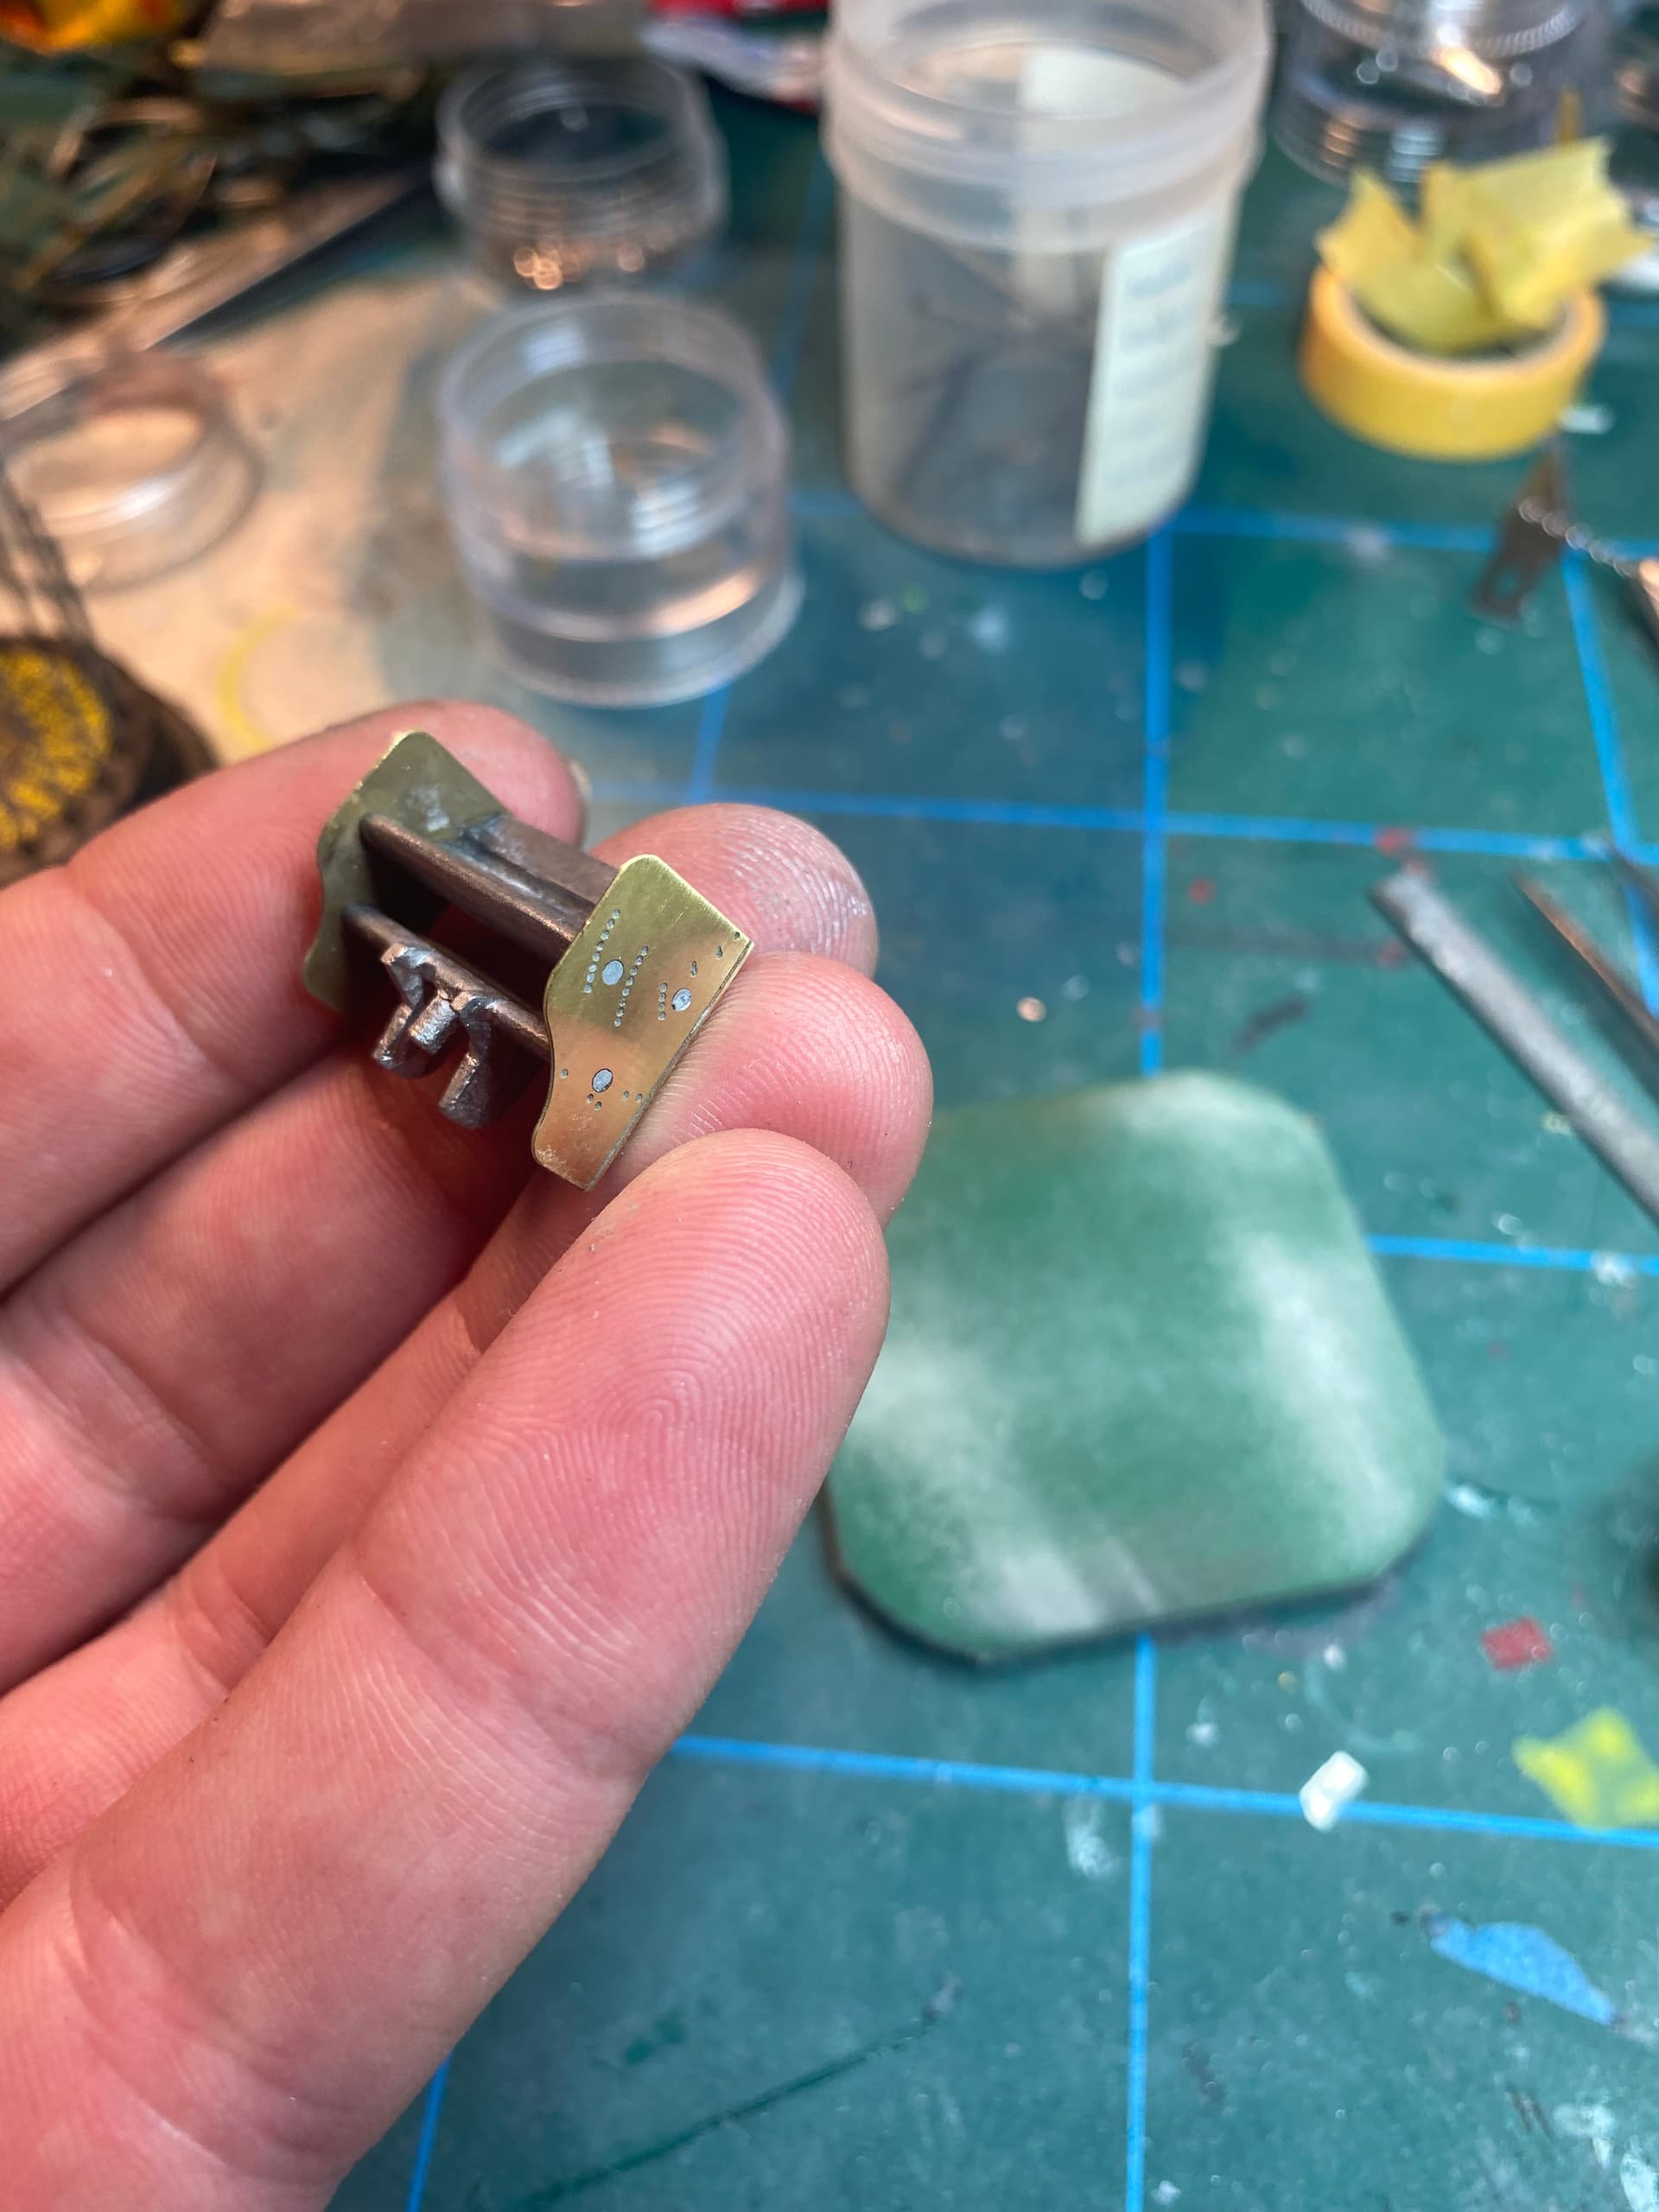
Top studio rivets were used to bring a bit of life back into the body panels

Tameo decals are pretty thick for this scale and generally don’t conform well to contours, so a lot of solution is needed to shape them. And often the adhesion is just not there, so using a small brush with some thinned out Satin clear lacquer can act as a glue.


Front wing was fitted and then stabilizers added and cleaned up.
Additional details are seatbelts, the kit didn’t have any, so made some out of styrene sheet and buckles were made out of P/E Hose clamps cut to shape.