Tamiya 1/12 Katana

I’ve branched this off from the Shunsaku Tamiya Tribue Campaign so as not to clutter up the thread.
So - I bought my first bike at Ft. Devens in 1983. it was a beautiful '76 CB 750 Super Sport. I didn’t even buy it to ride. I had purchased plans to build a three wheeled car that utilized a Volkswagen front end, a KZ 650 rear end, and lots of building foam and fibeglass. I naively thought I could just start building it in the team house.
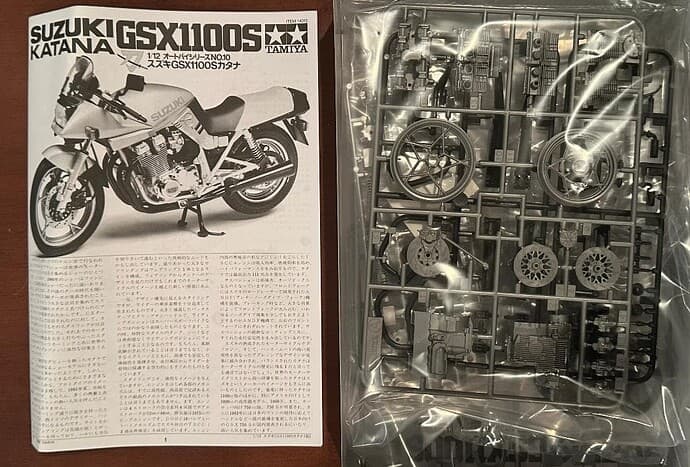
The guy who sold it to me gave me a brief class on how to make it go, and somehow I made it the twenty miles back to Ft, Devens without dumping it. I was hooked. By '86, in Berlin, I was already on my fifth bike, Now I’ve owned some pretty nice bikes over the years, many of them ground breaking bikes during their time, but the Katana was always my favorite, When the campaign came up, I had a choice of several Tamiya kits to build, including four bikes. I chose the Katana because we have a history, and because of the four bikes, this one seemed to come from the “right” period of Mr. Tamiya’s reign.

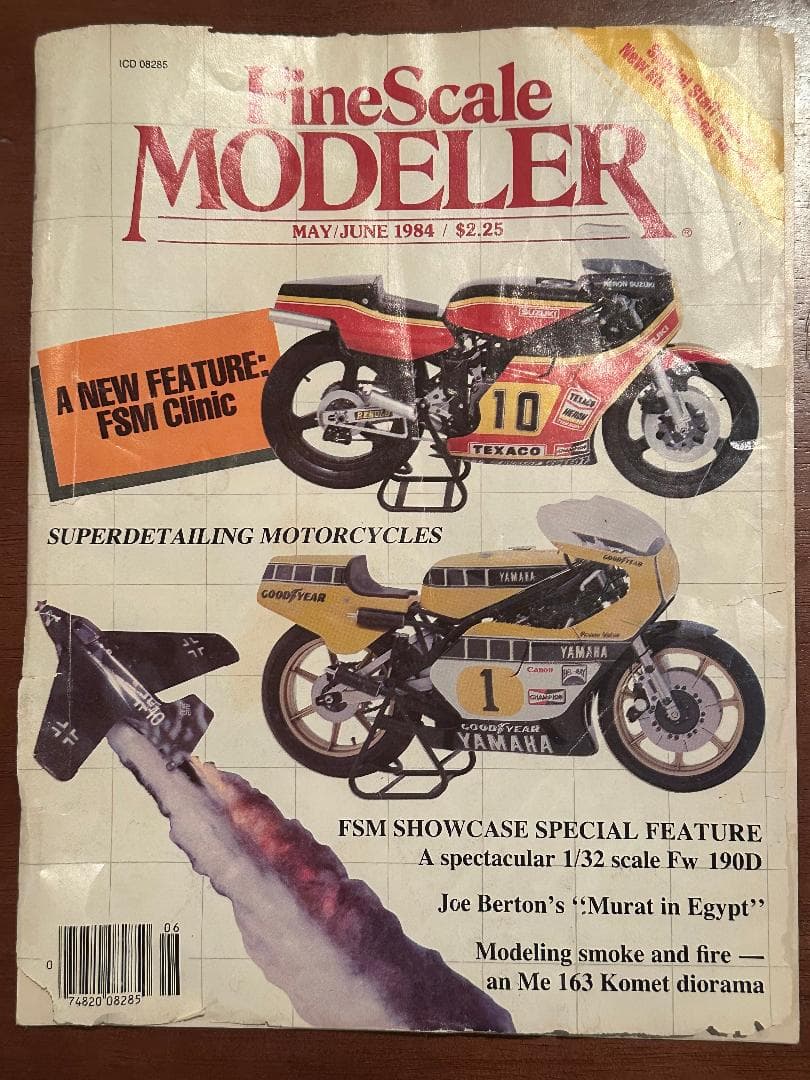
In addition to taking young ASA gals out on rides to South Post, I still tried to maintain another hobby I was fond of - modeling. I’ve had this issue since '84. I learned a lot about making motorcylce models better, and to this day still learn new techniques.

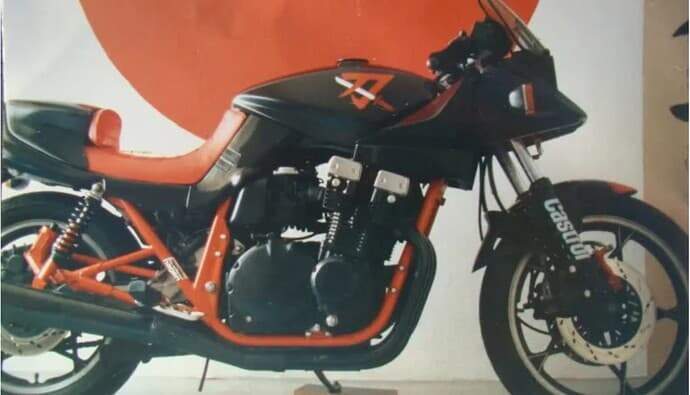
This is what I’m shooting for - My Katana from Berlin. Shortened frame, aftermarket Speer sitzbank and fender, Marzocchi gas shocks, and a simple, badass paint job:

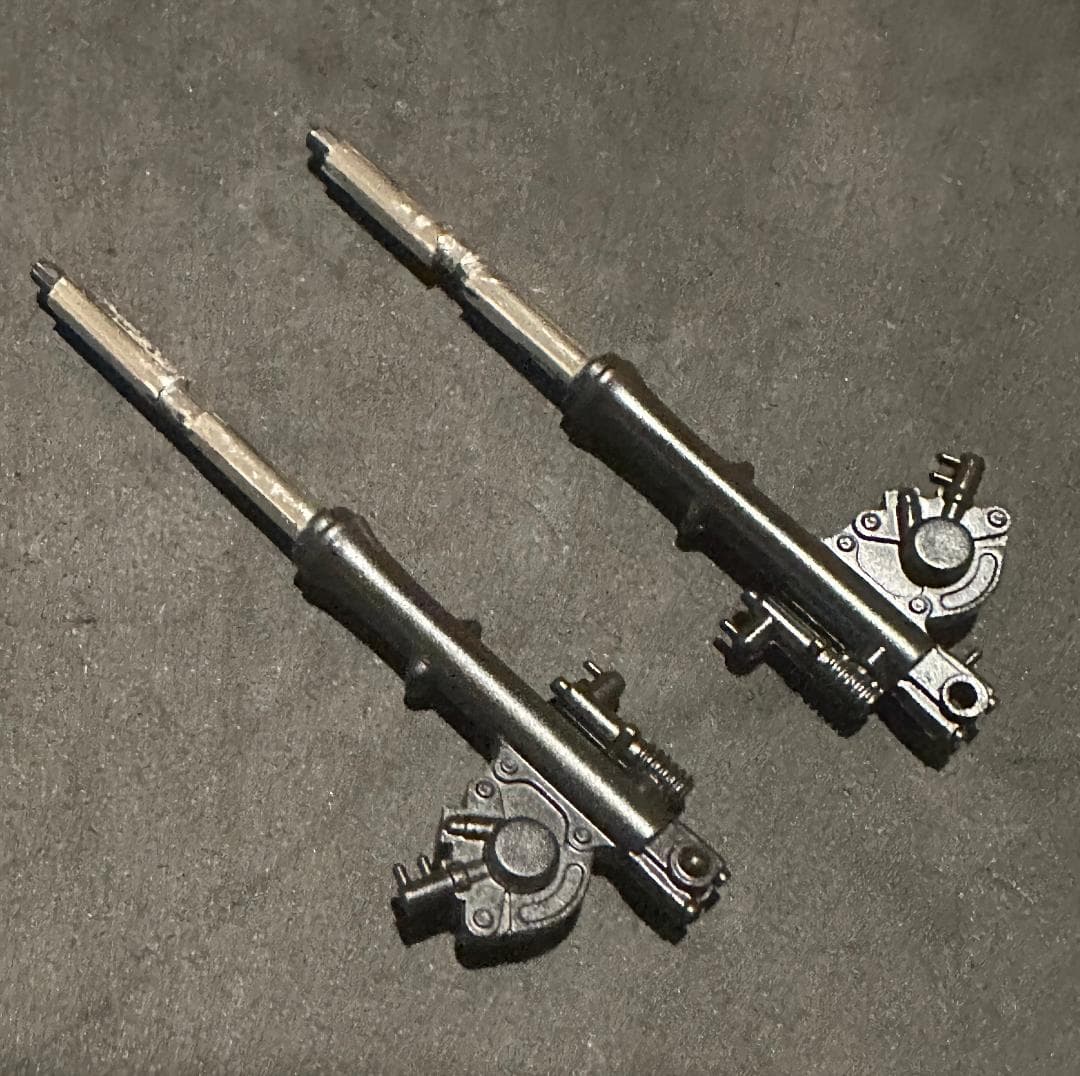
The kit has ridiculously few pieces.

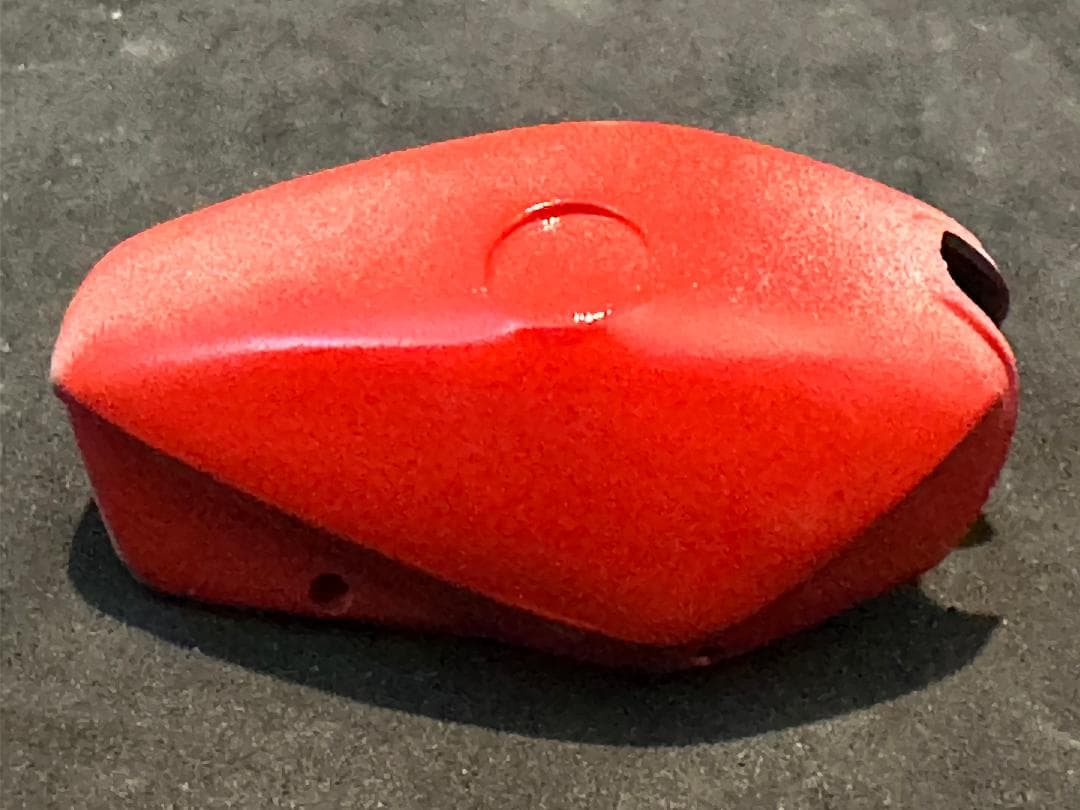
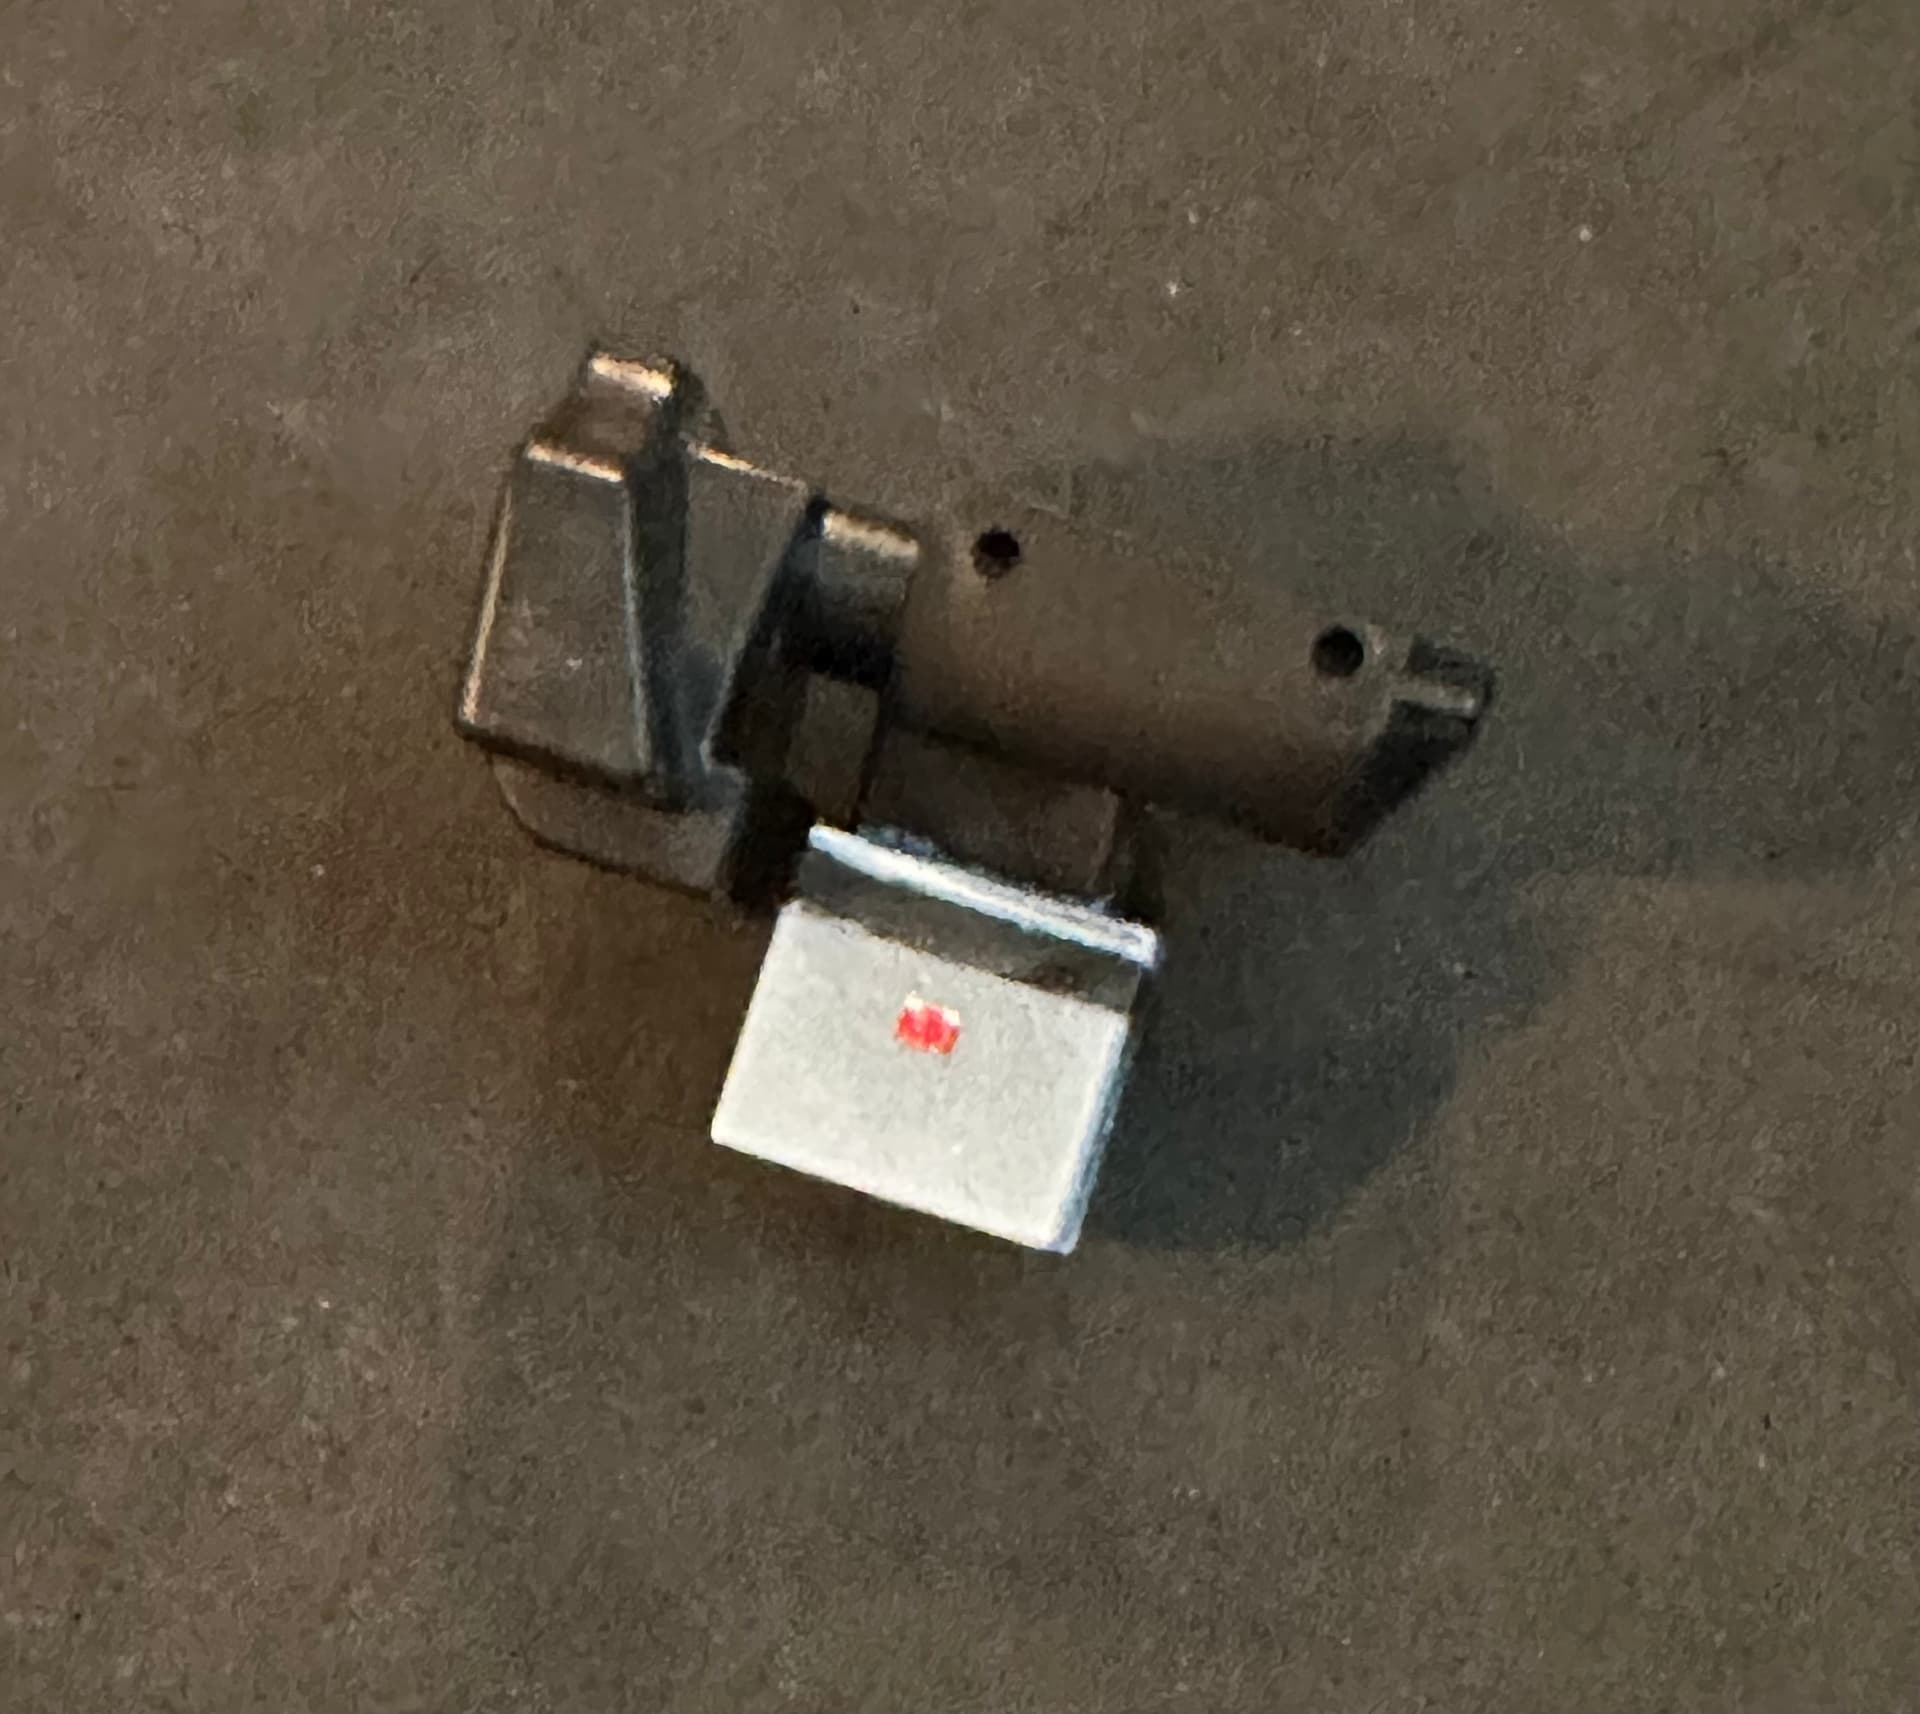
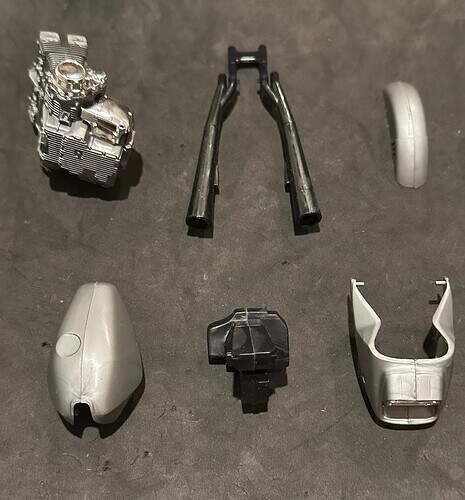
I am not one of those Announce on Friday, post Photos on Monday kind of modelers, but in twenty four hours all of the sub-assemblies are complete. The big hold up at the moment is finding the correct shade of red:

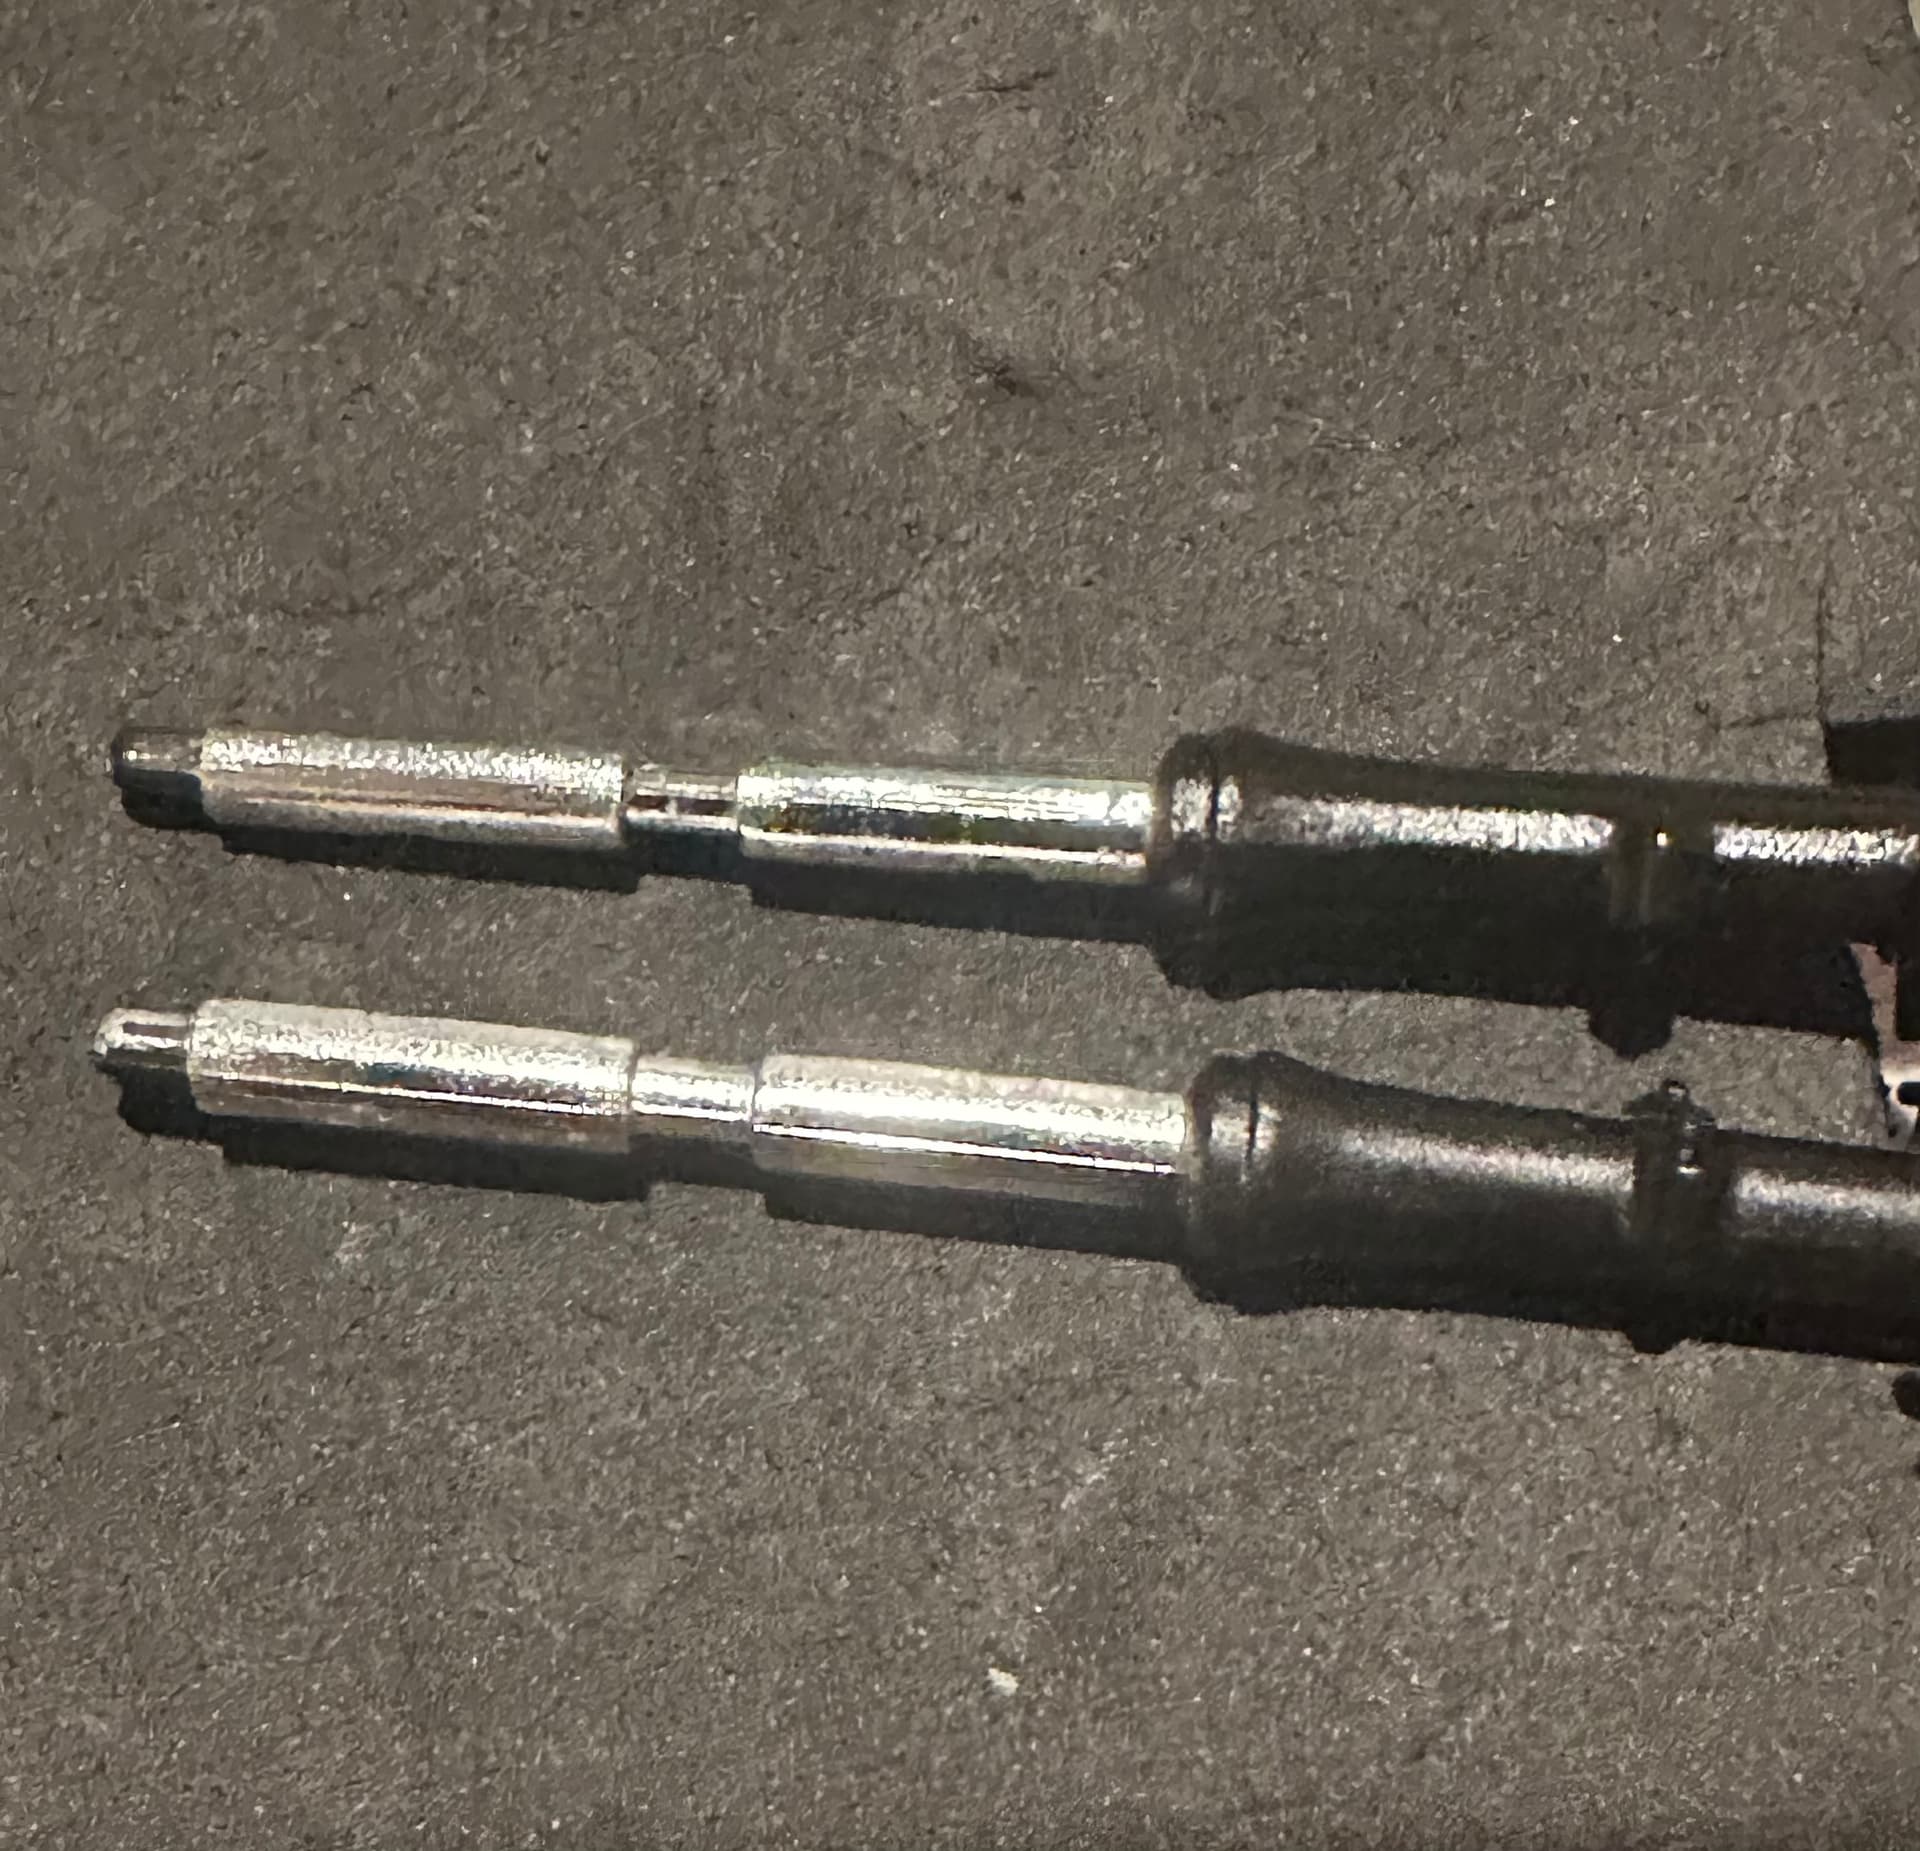
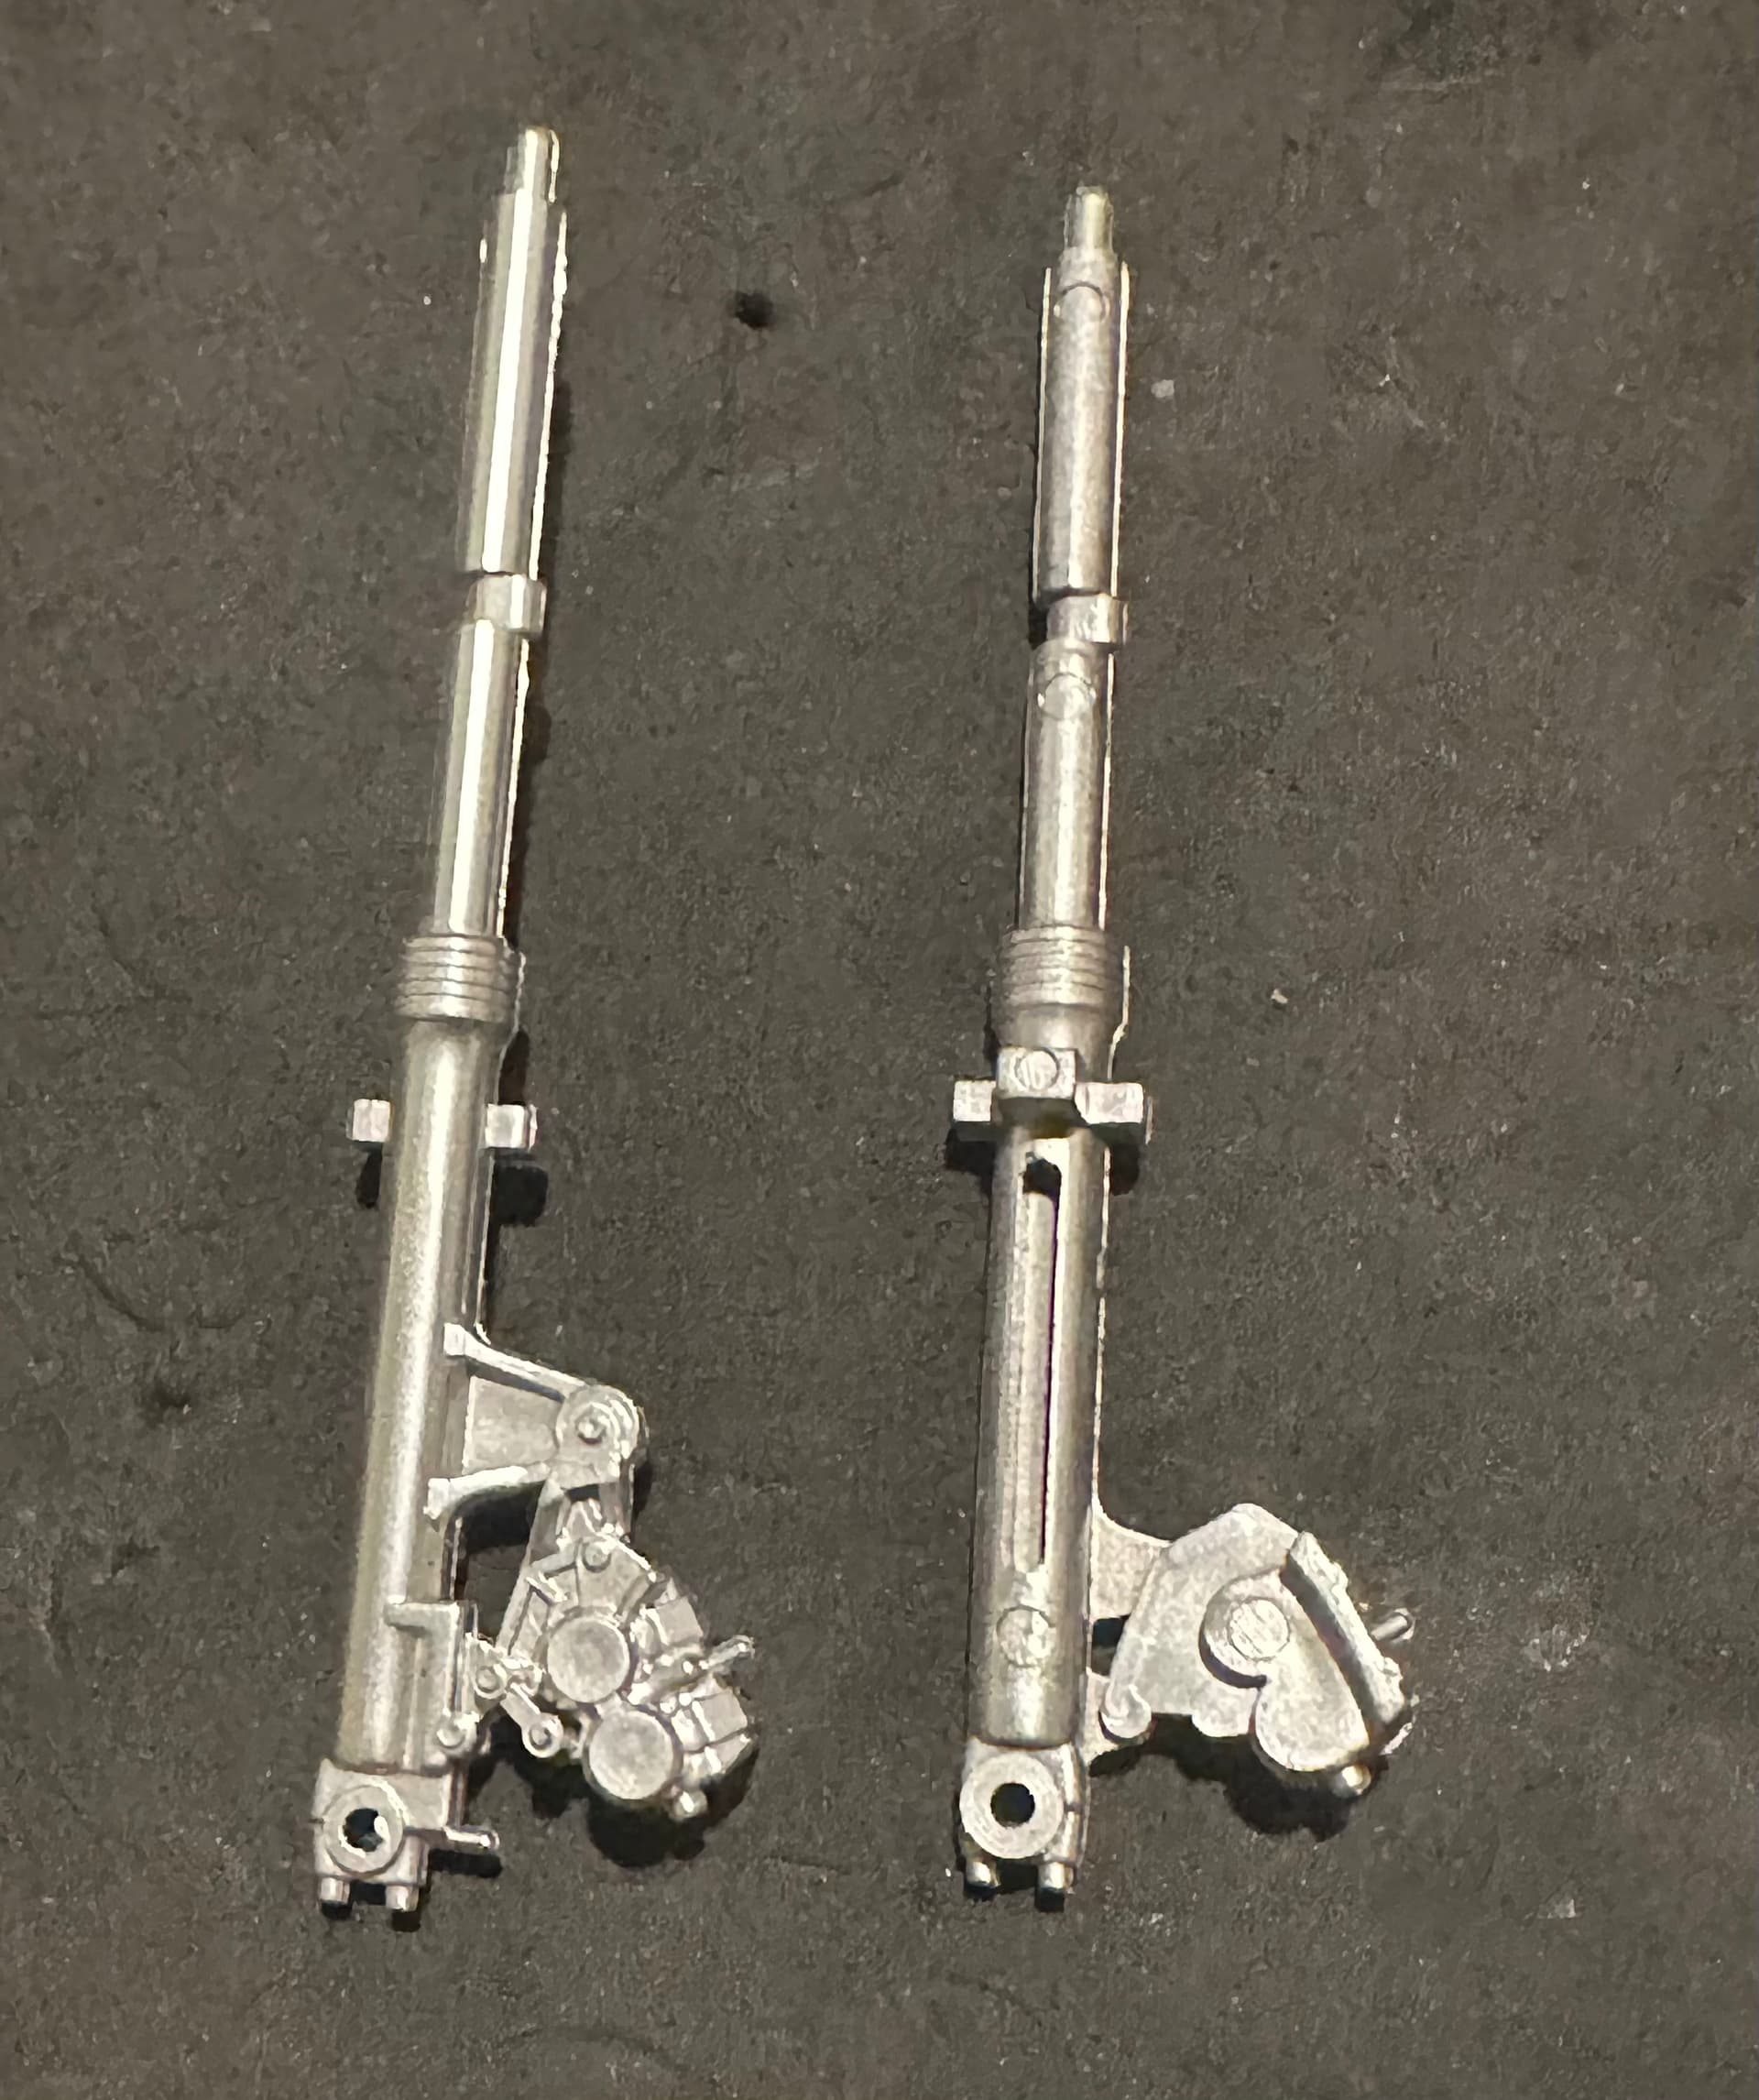
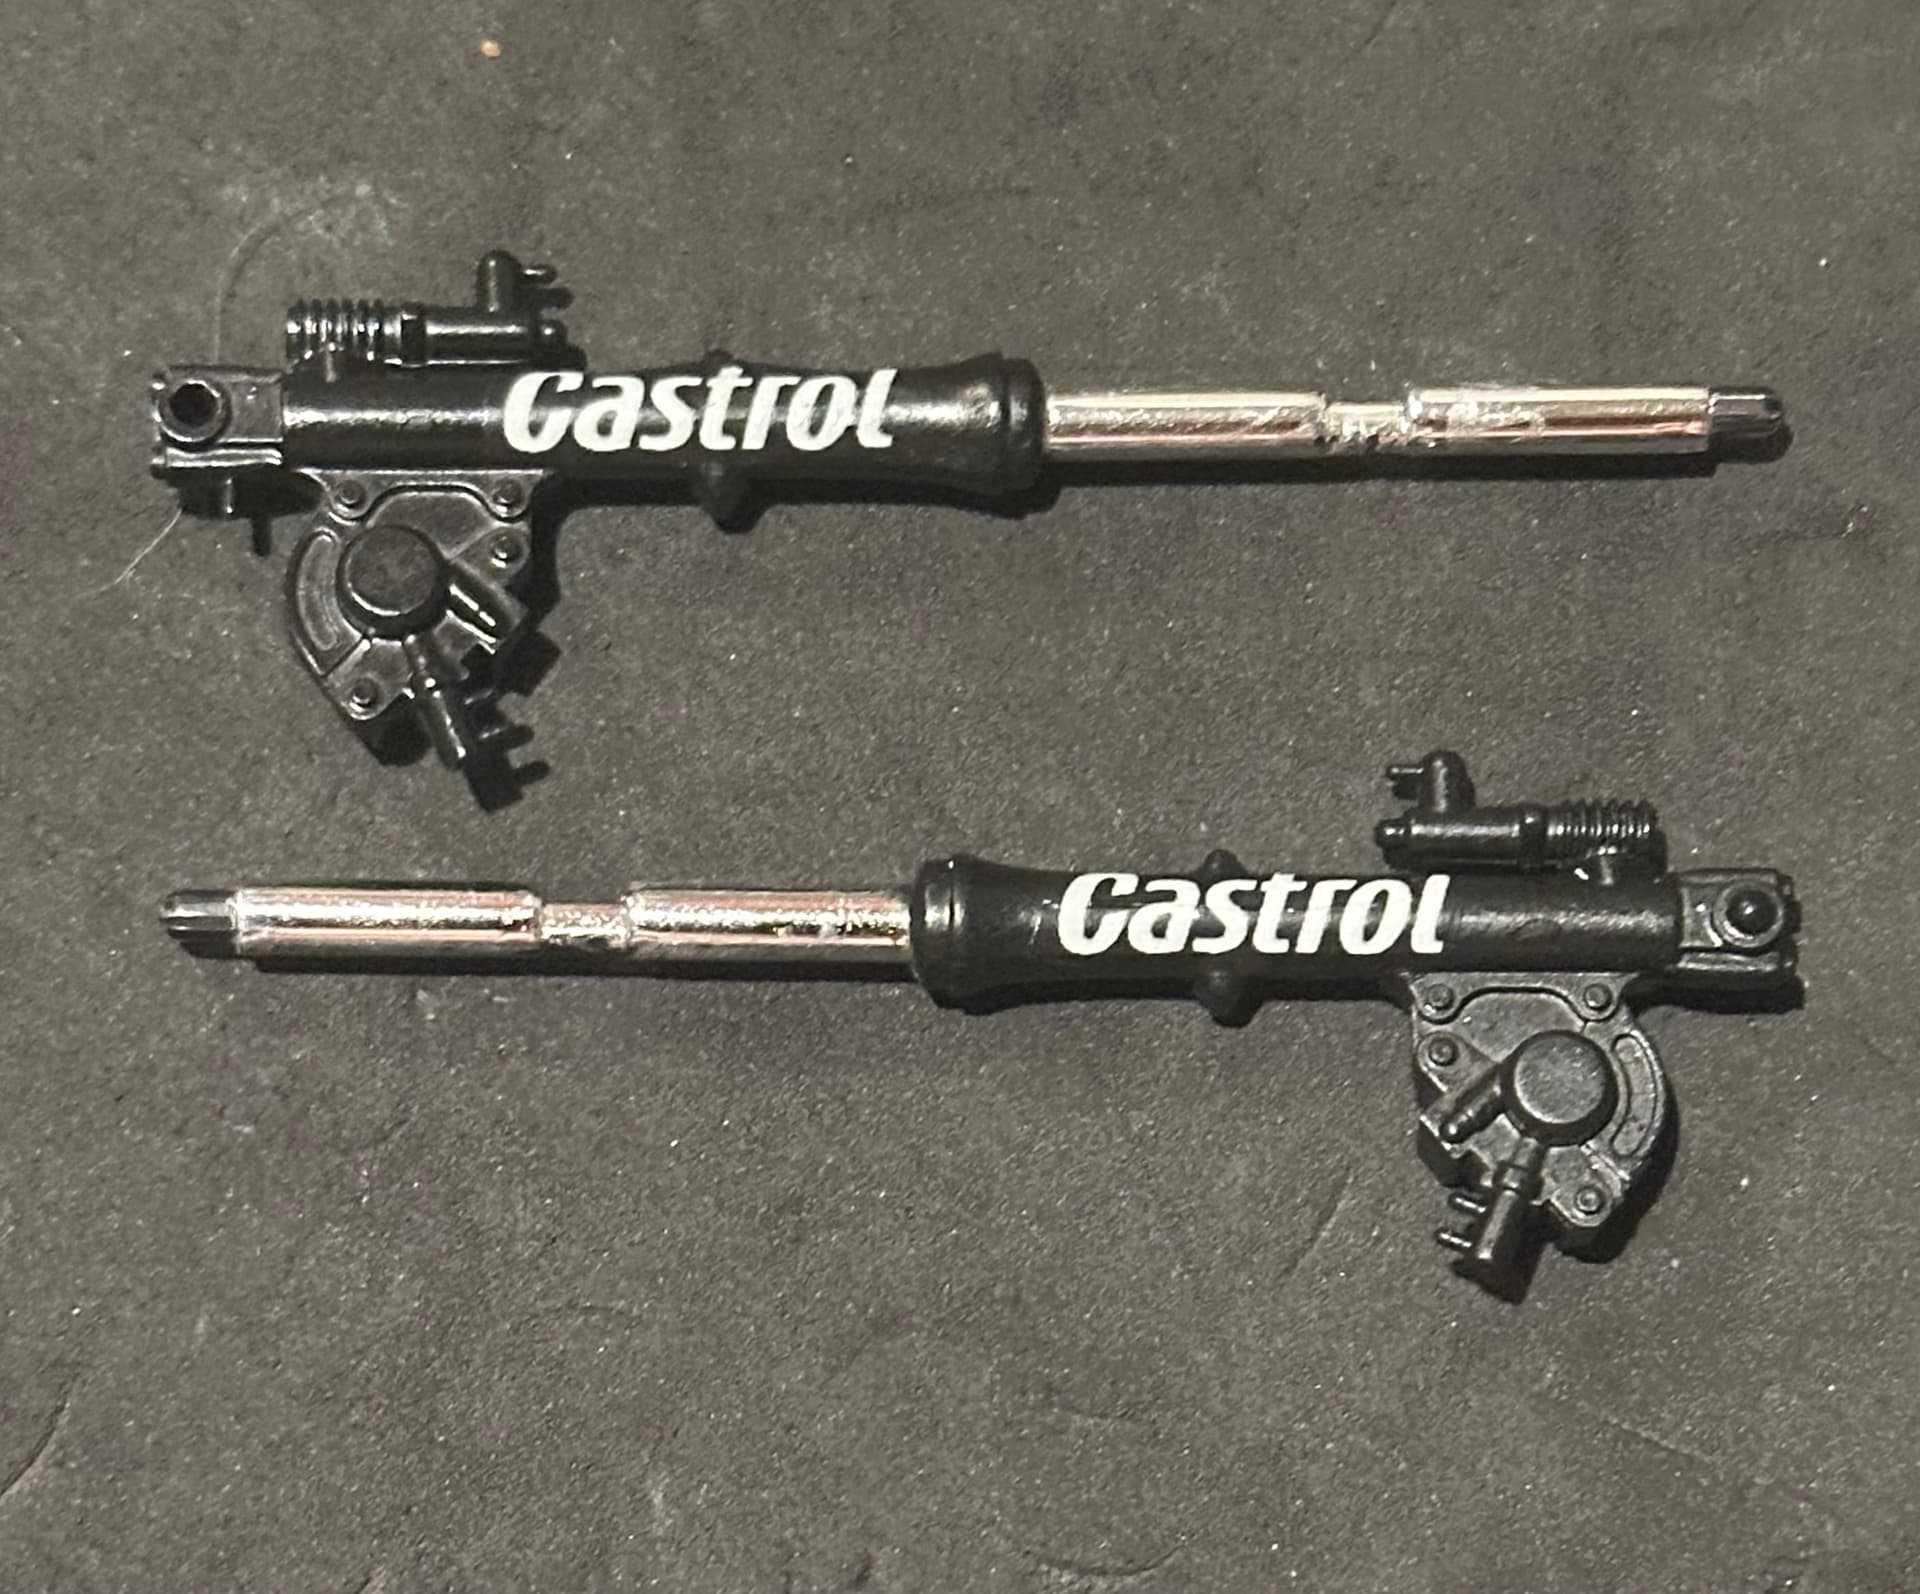
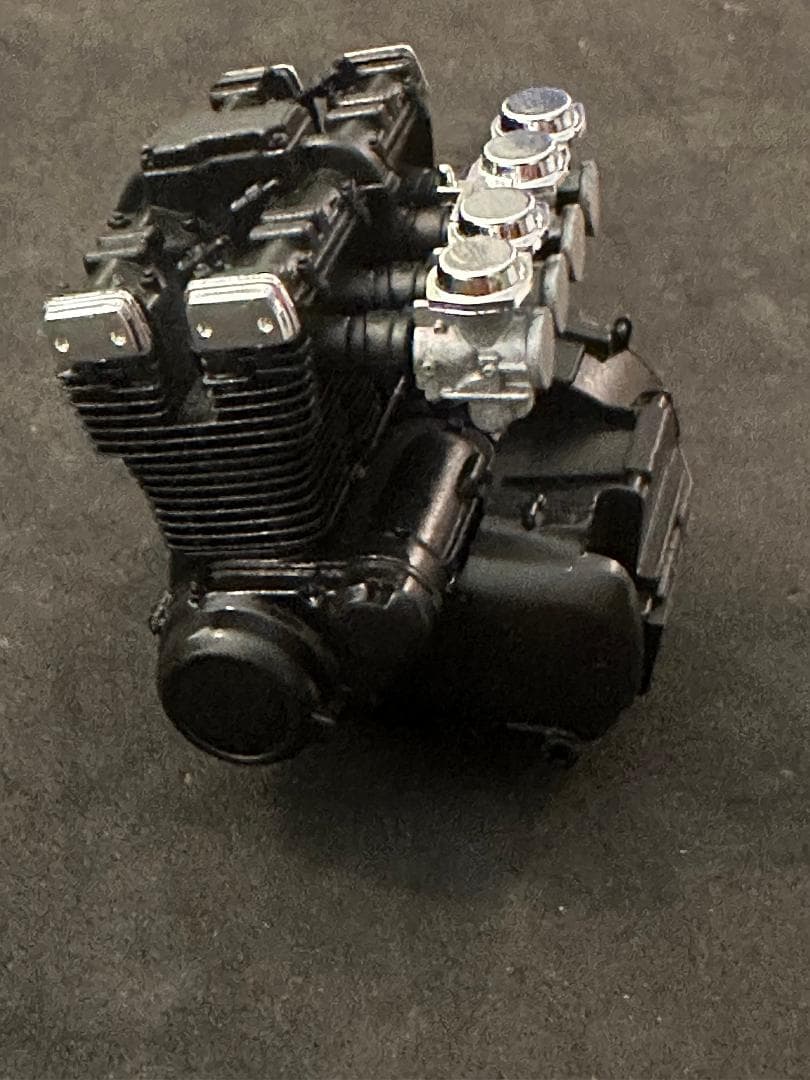
The great thing about motorcyles is the variety of finishes. There’s not just black. There’s matte black, gloss black, semi gloss black, faded black, satin black. Same with the metals. You’ve got stainless, aluminum, copper, chromed steel, titanium, various colors of heat treatment on the pipes.
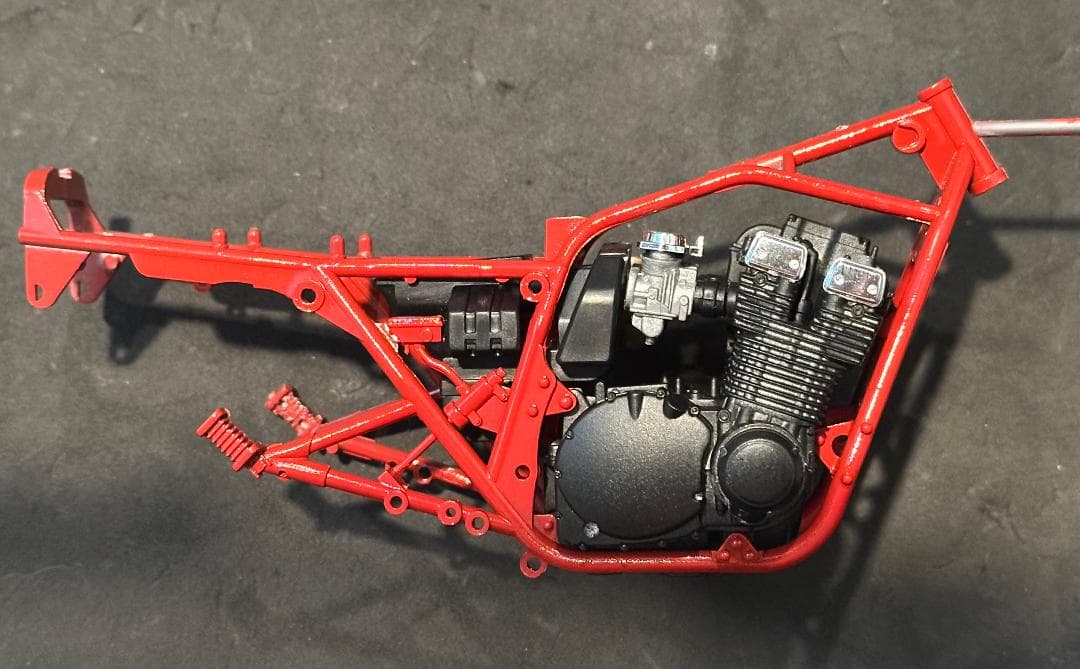
On the 1:1 build I used barbecue grill paint for the motor. I painted it in the frame. In fact I painted the frame with minimal disassembly as well. So hopefuly this conveys the look of the motor:

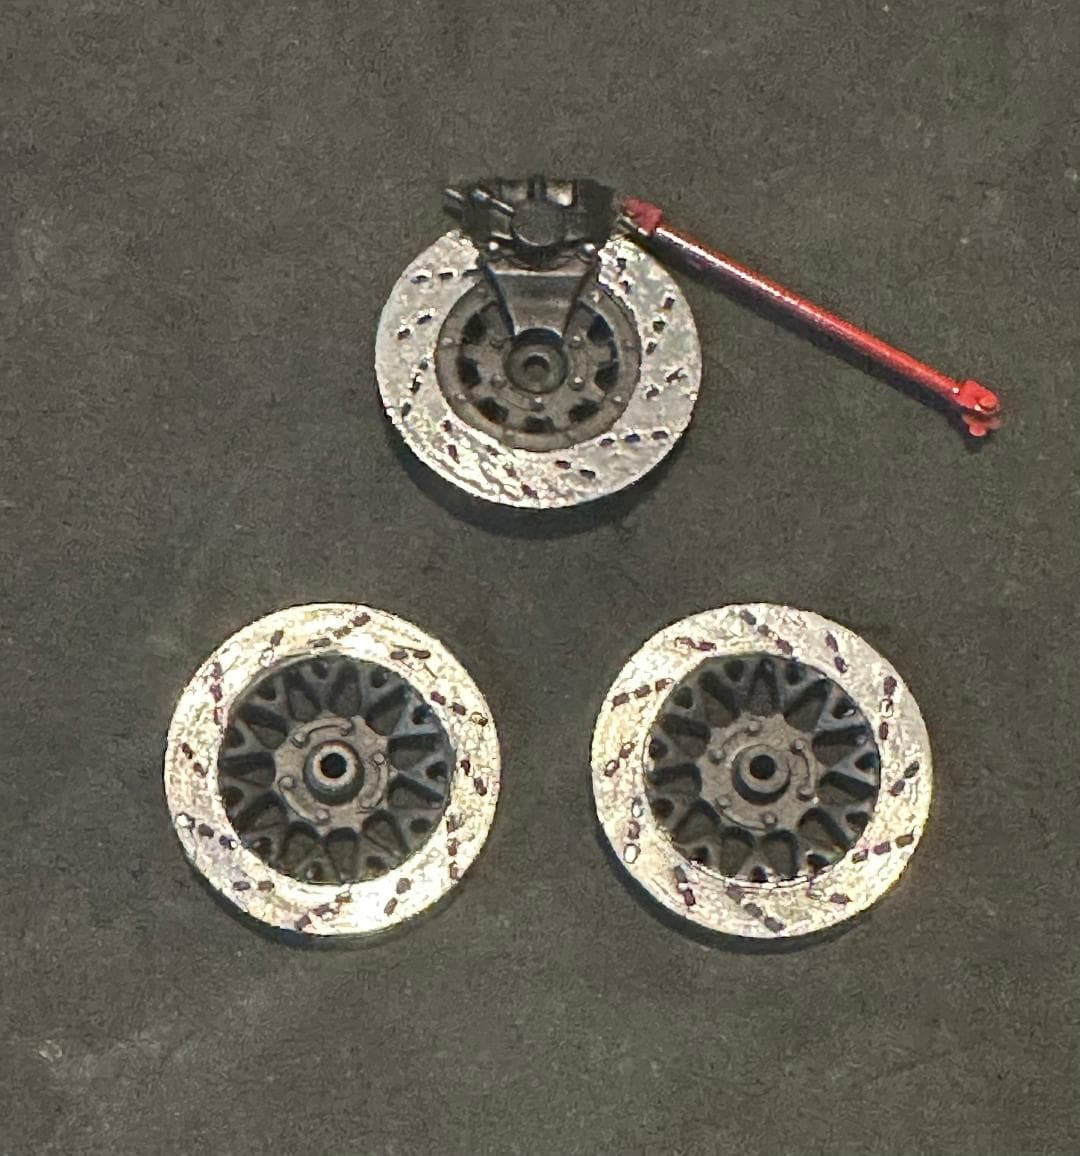
Of course I still have to scratch the seat, front fender, and gas shcoks, but it’s coming along nicely.

11 Likes

Get some

1 Like

I found a red that I like. Tank seam has been polished, the whole thing primed, and red color laid. Now to let it cure a good three or four days before masking.

6 Likes

Test fit:


Engine mounts need to be painted black. Passenger pegs will be removed.

4 Likes

Looks great, looking forward to the final product

1 Like

It’s coming along slowly. I was going to assemble the front end but I cannot in good conscience use the forks the way they are. I should have dechromed them first, but in any case the mold seams are horrible and had to be removed. I’m thinking of using the dull side of aluminum foil the cover them. It’s about the right sheen.

Fortunately I have a spare set from another kit to practice on.

4 Likes

Good idea

1 Like

Mylar from balloons makes good wrap for hydraulic shafts .

1 Like

℧ β !!

The “lines” you now see in the photo are just reflections. Obviously that’s not where molds seams would be. Now to work on that tank.

2 Likes

Working on several things at once, but didn’t want to neglect this project.

This is the air box assembly. Had I kept the bike I would have eventually eliminated it in favor of pods or even velocity stacks, but I want to keep it as true to the original as possible. The instructions don’t even mention it, but that’s the battery underneath. There are no decals for it, so I used some 35 year old locomotive data decals. It’ll barely be seen, but if it can be seen, I’ll spend the time on it.

There should be an overflow tube as well on those old school batteries. I’ll use the vinyl tube that came with the kit. It’s about all it’s good for

4 Likes

Still making progress.

4 Likes

I can’t find a photo of the other side of that bike, but I imagine it looked like this:

4 Likes

These are the inboard faces of the front rotors. They’re largely unseen. Still, I can’t just unsee those pin marks. They’ll have to go.

The outer faces didn’t go as well as I liked either. For one thing, the vent holes are oval shaped so drilling them wasn’t an option like it usually is. The weird thing is- Tamiya must have used a well ridden bike for their research. The scale rotors have grooves worn into them just as the real ones might if the pads hadn’t been changed out in time. This makes it hard to get a nice, shiny finish on them. I should have polished them smooth. I may still do so.

I’m not usually one to wish for a PE set every time a kit comes out, but if someone had done these in stainless I’d have snapped them up regardless of cost.

4 Likes

Closer every day. Maybe I’ll add my face thirty years later.

4 Likes