Torsten,
Thanks for checking out the shell with the decaling. Can’t wait to polish it out and see how it looks.
OMG!! How do I get a ride on their plane? I love Gummy Bears and Gummy Worms.
joel
Torsten,
Thanks for checking out the shell with the decaling. Can’t wait to polish it out and see how it looks.
OMG!! How do I get a ride on their plane? I love Gummy Bears and Gummy Worms.
joel
Looks incredible Joel, you’re the king of decals.
Jesper,
Thanks for my new title, but most of you decal as well as I do. My title should be finding these outrageous racing car schemes that actually have decals for them.
joel
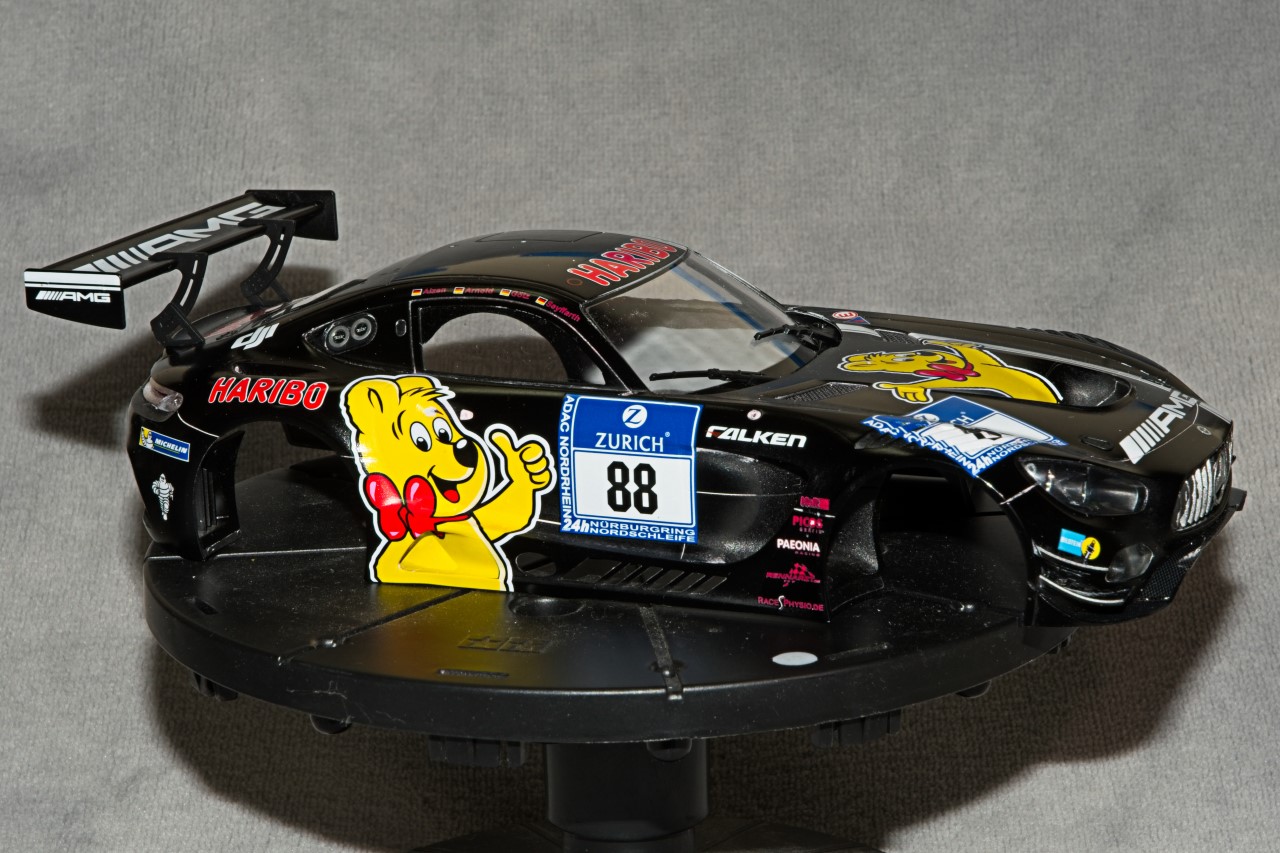
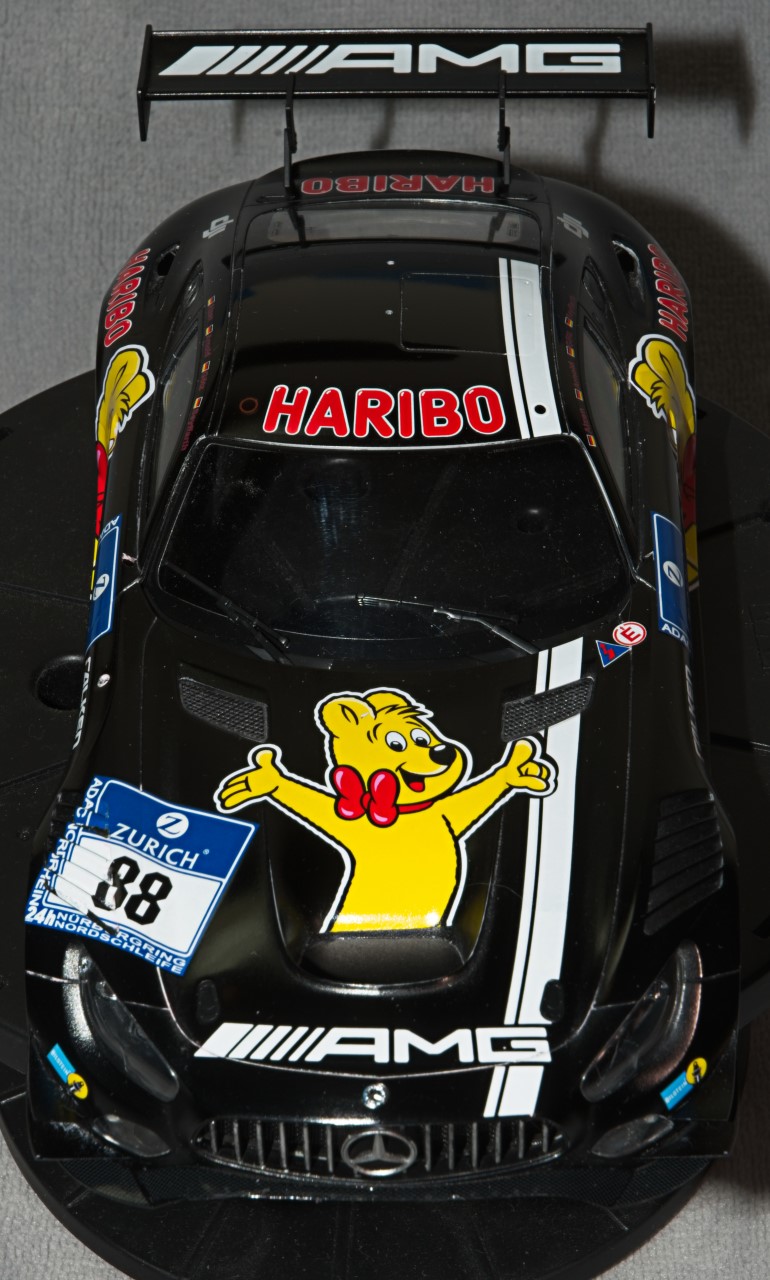
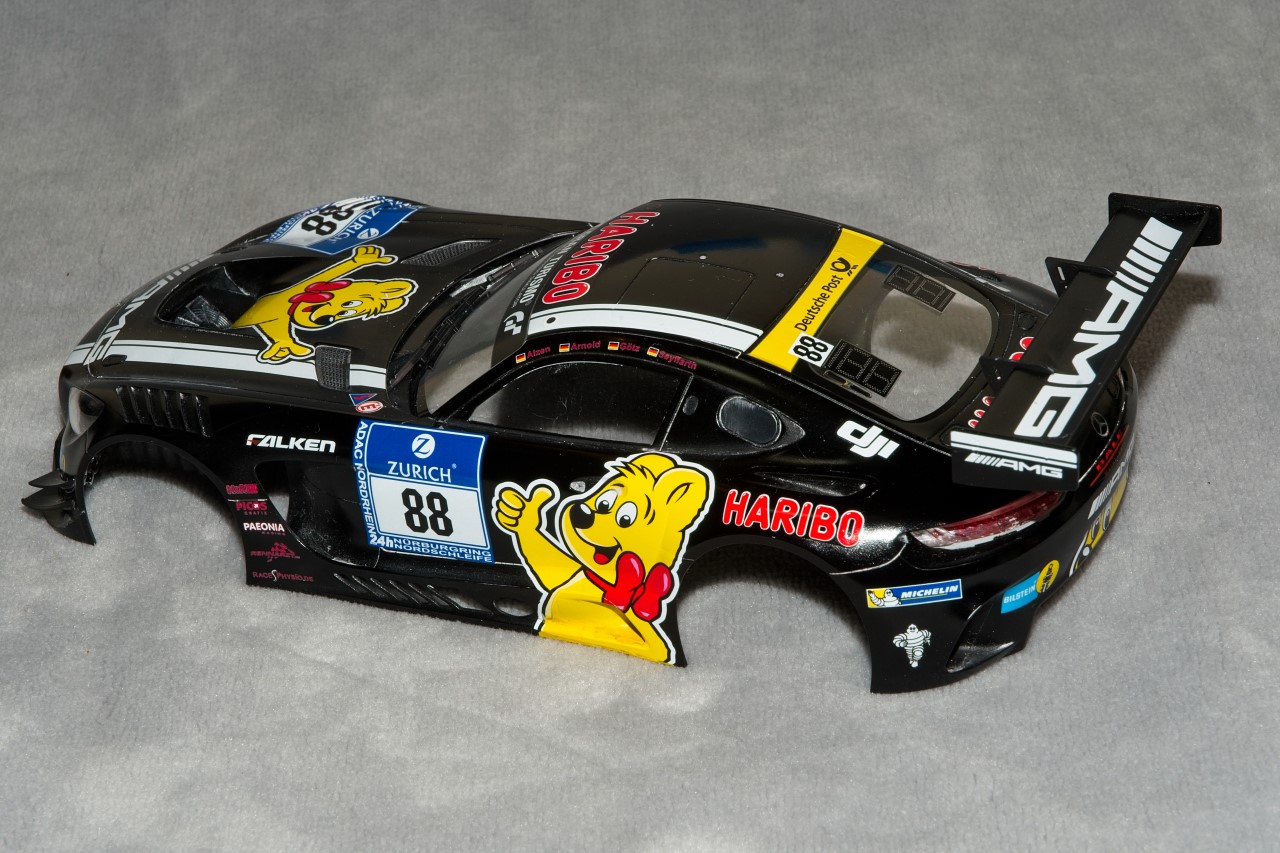
Work has continued on finishing up the body minus a few very small parts till the last step as I’m sure that parts like door handles, antennas, etc. surely would get broken as fast as I glued them into place. I glued up the rear wing and struts but just dry fitted the wing to the body for now.
The body shell was polished with the Gravity 3 step system, followed by their wax.
The front windshield/side windows (one piece), and the rear window were masked with the excellent Tamiya masks, and were air brushed with Mr. Finisher’s 1500 black primer. The next day both were installed using Revell Clear glue. I was really surprised at how well it worked.
The top half of the front splitter is the bottom mounting points for the body were polished then I added the Tamiya kit Carbon Fiber decals. Really not worth the effort as they’re basically gloss black and so is the body.
I painted the intake radiator Matt black then dry brushed it Aluminum, glued it to the lower half of the radiator shroud, then glued that assembly to the shell.
Next up was the multi piece front and rear bulb housings, bulbs, and clear glass. Typical Tamiya engineering as everything fit like a glove.
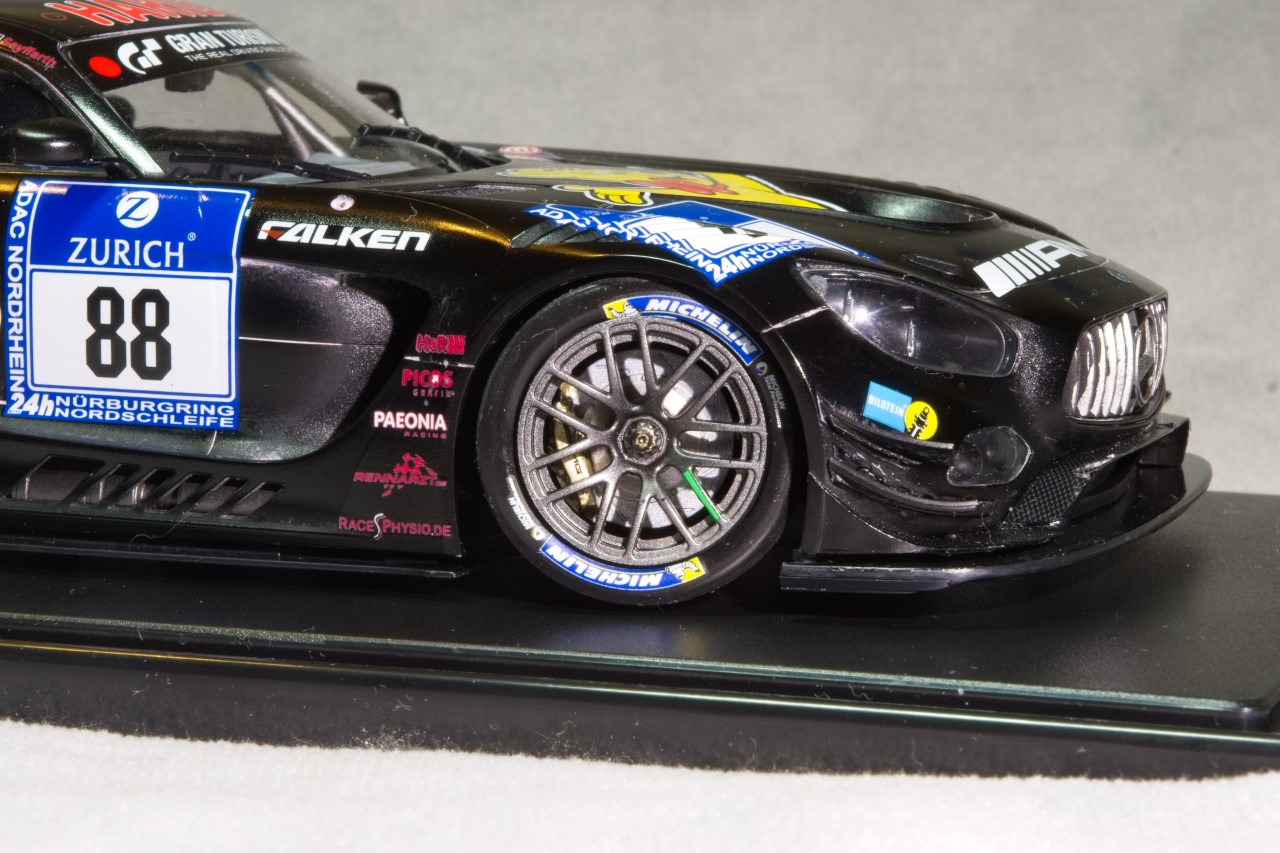
Finally as a change of pace, I air brushed the mag wheels a metallic gun metal color, then glossed the tires, when dry I pushed the mag wheels through the tires then added the Tamiya tire and wheel decals. I gotta say that the newer Tamiya decals are pretty nice. A lot thinner then they use to be, and a lot easier to work with. Finally, I added a brush applied coat of Micro Matt.
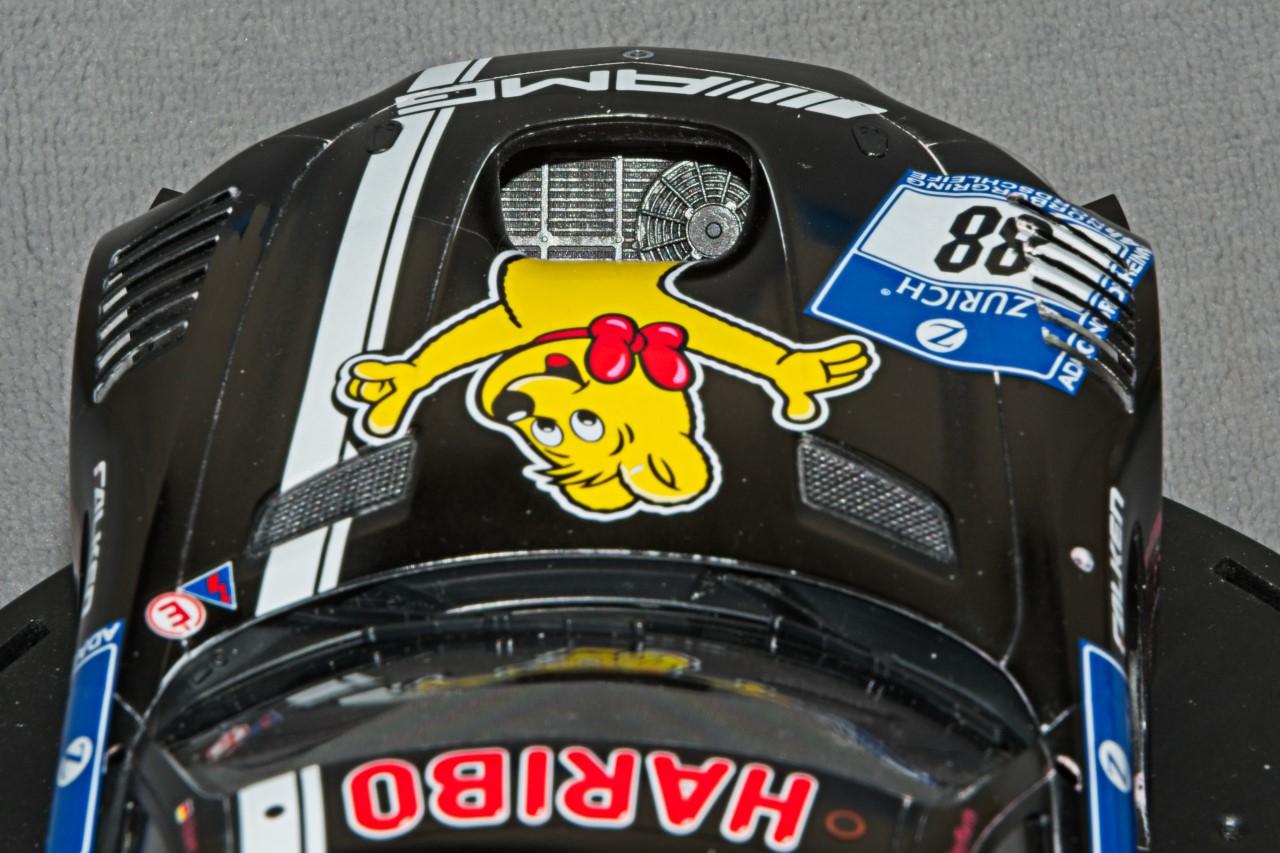
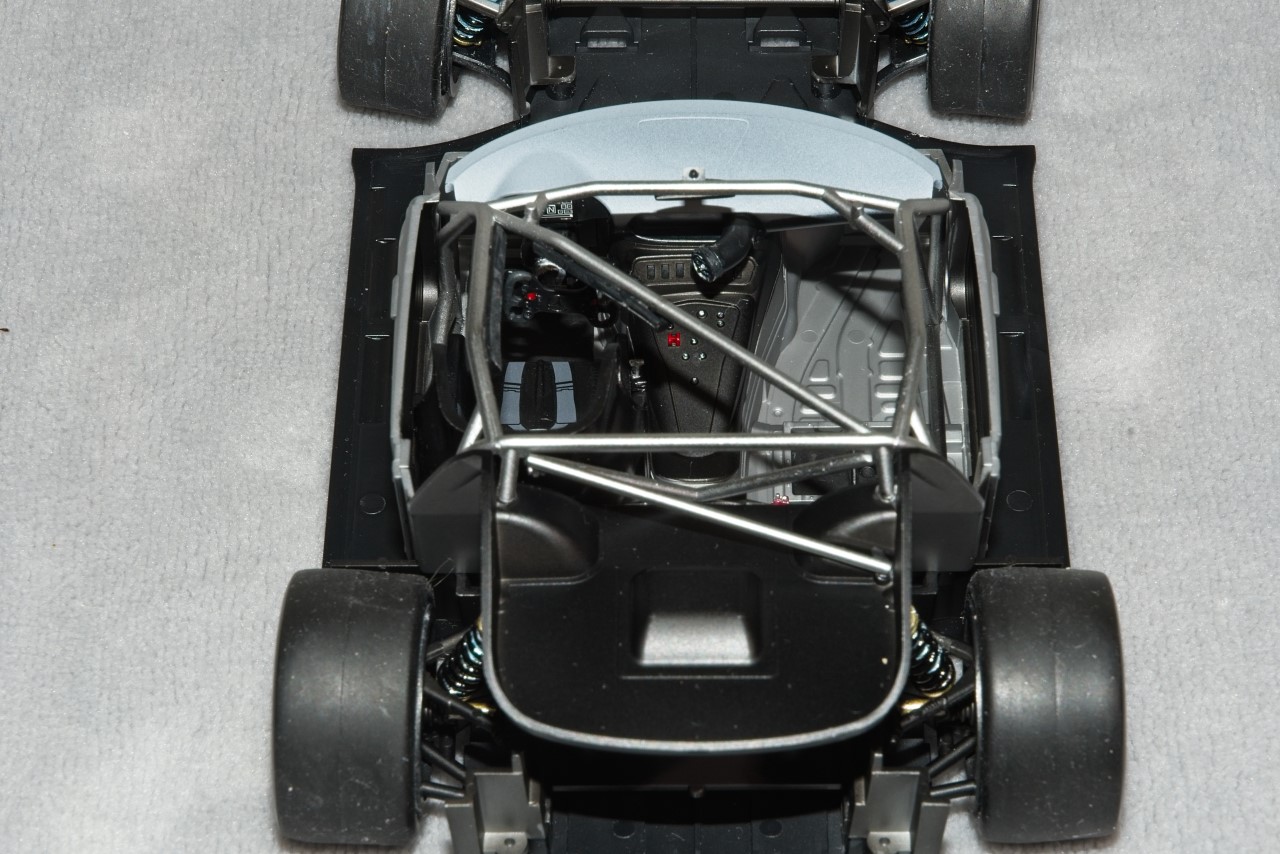
And finally a top shot till the next update.
joel
Splendid work, Joel! Love it! 
Torsten,
Thanks for you thumbs up. It’s always much appreciated.
joel
Hihi, it’s great to know we’re looking at the same photos at the same time but we’re living half around the world. While it’s 8:30 pm here, it’s 2:30 pm at your place. Wonderful!
Torsten,
Now ain’t that the truth. Just think how we could fit Damian into our little group as he’s way down south in Australia.
joel
It was 4:30 AM here, I was dreaming of 57 Chevys and going fishing. ![]()
An hour later and the alarm went off and I was rolling out of bed to hit the road to the office. ![]()
Great work Joel, the combination of Tamiya engineering and your skill is coming up trumps!
Cheers, D
That’s our everyday fate, buddy! Same here, 5:30 am and the night is over … ![]()
Not me. I’m retired, so everyday is a vacation day. Of course don’t mention that to the head of the household, as my Honey to Do list is long enough.
D,
Glad that you like my progress on the big Merc to date. While basically a curbside on Steroids’, Tamiya’s usual attention to every detail makes it a challenge to keep ones interest till you cross the finish line.
joel
Been nearly 2 weeks but I’ve once again i’ve finally got enough done to post another update.
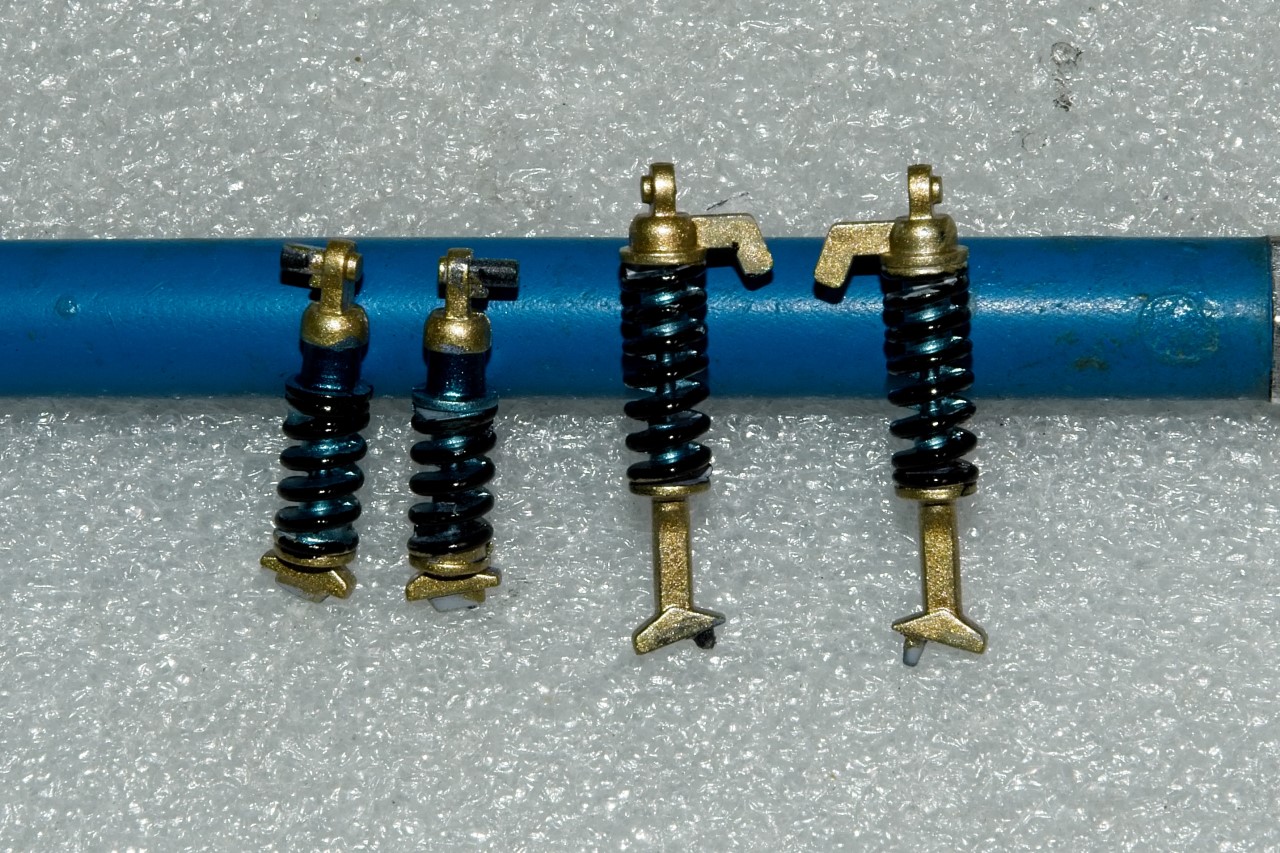
Time to tackle the 4 coil over shocks. Nothing special as even Tamiya molds them as one piece, but they all fit the super simplified suspension perfectly. All the detail painting was done by very shaky hands as I have to kind of feel for the part and where I want to apply the paint. Needless to say I make more mistakes then I’d care to admit. Removing the paint and starting over has become a whole new facet of the hobby for me. Here’s the 4 shocks ready to be installed.
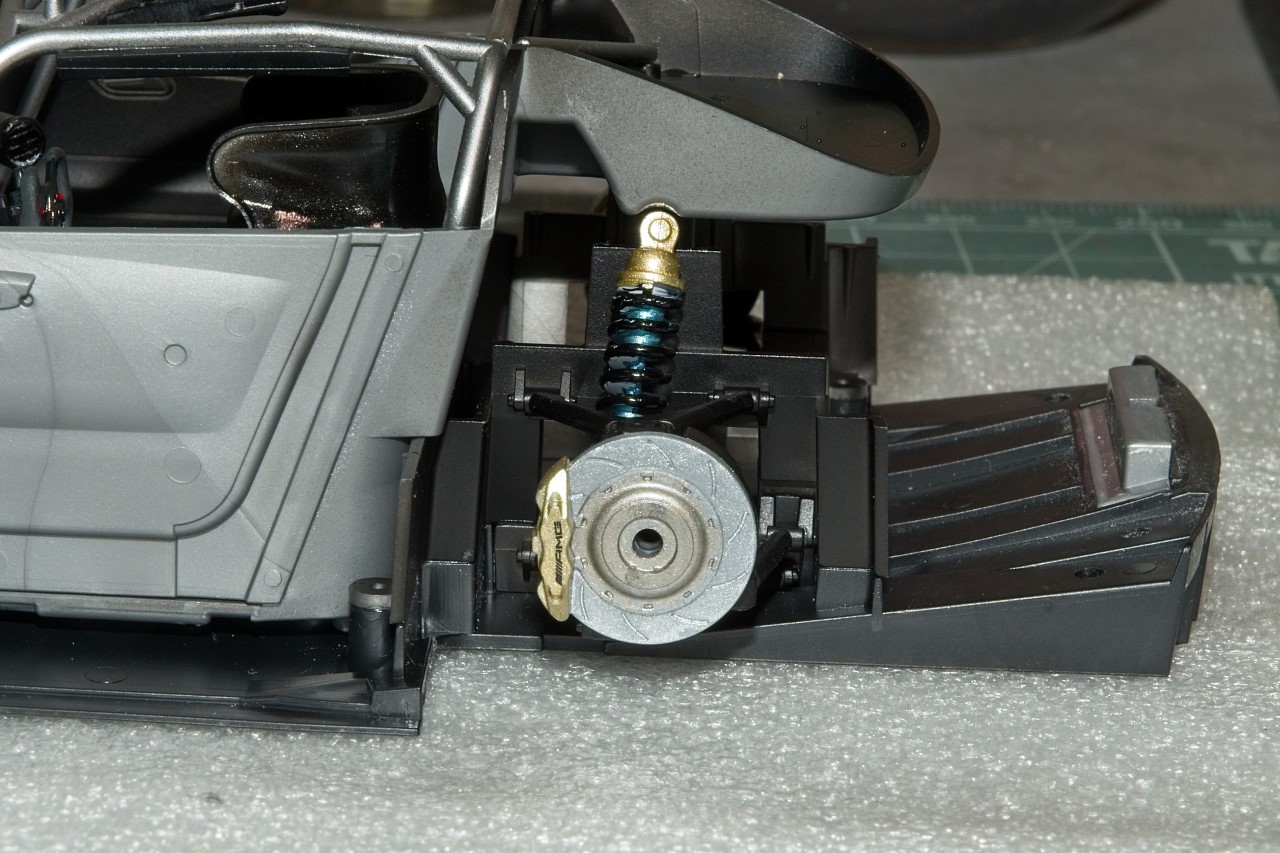
The simplified suspensions were built up with the disc brakes on all 4 corners, then the shocks installed.
joel
Great update Joel, everything is slotting into place really well on this build and it’s looking really good!
Cheers, D
D,
Thanks so much for stopping by and checking out my progress on the big Merc. Glad that you like what you see.
She’s just about at the finish line at this point, so it’s time to start thinking about my next build. Here’s where even a small stash like mine becomes a real mind puzzle deciding which of all my collected favorites will hit the bench next.
joel
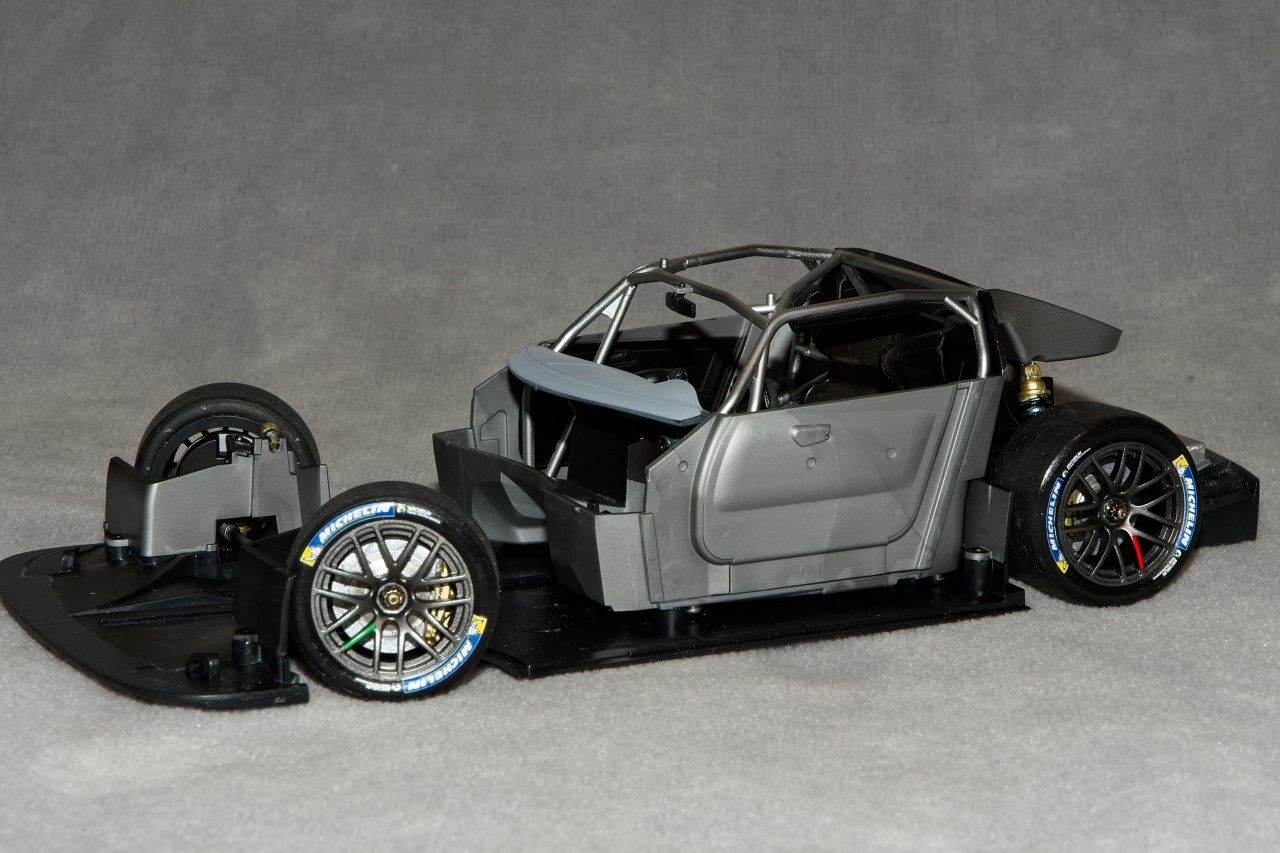
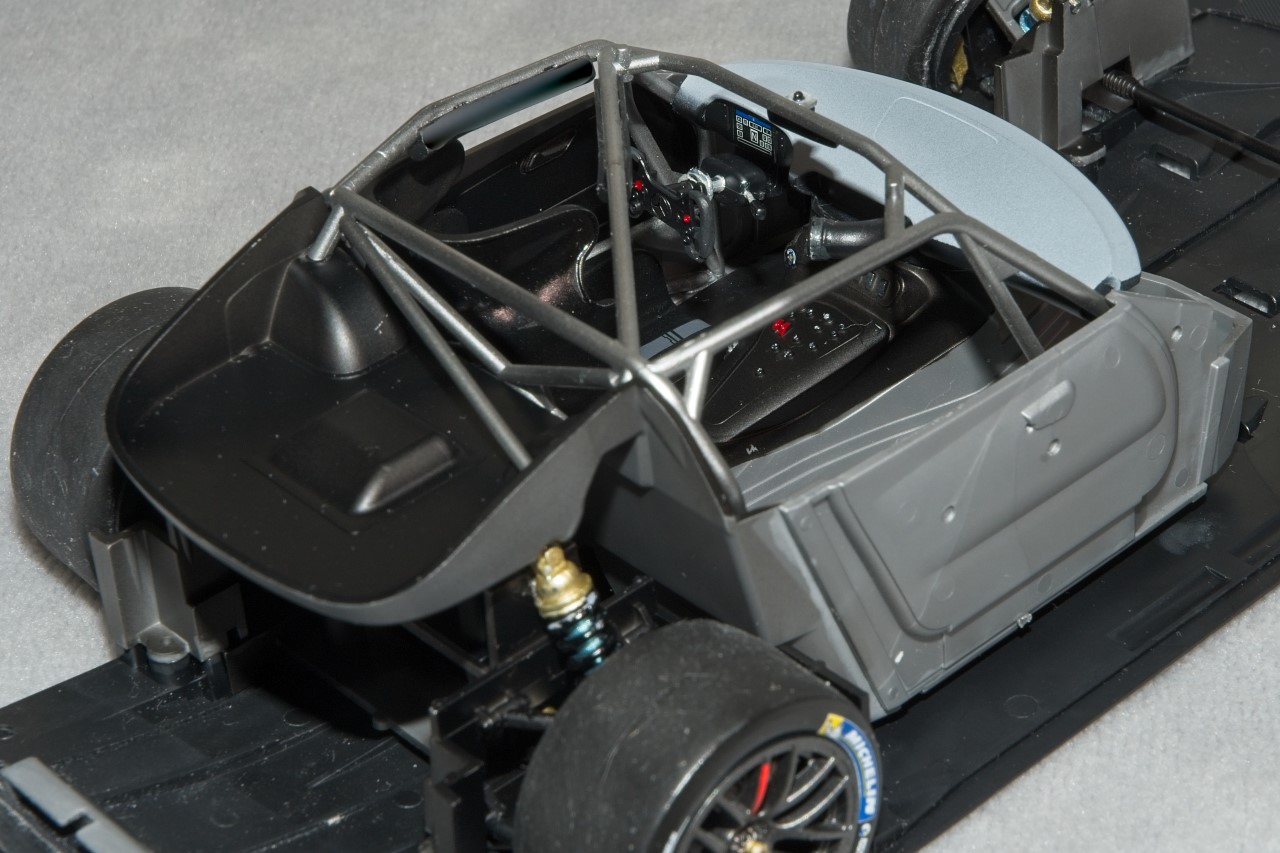
Rolling chassis and interior look great. A shame Tamiya don’t provide an engine to view. And seeing you have almost completed this in a month is impressive build speed.
cheers
Michael
Michael,
Thanks so much for stopping by and checking out my big Merc AMG GT3 build, it’s always much appreciated. Actually, I’ve got about a little more then 2 months into the build, but these days I manage to get to the bench about 5 or 6 days per week for a few hours at a time.
It does look like Tamiya has gone the way as most of the Asian model car companies and stopped molding full engines, trans, and suspensions, focusing more on the overall view of a curbside display model many of their newer kits. My thinking is that it helps to keep the rising retail costs down some, and most people seem to like the concept of just lower exposed sections of the engine and suspensions.
joel
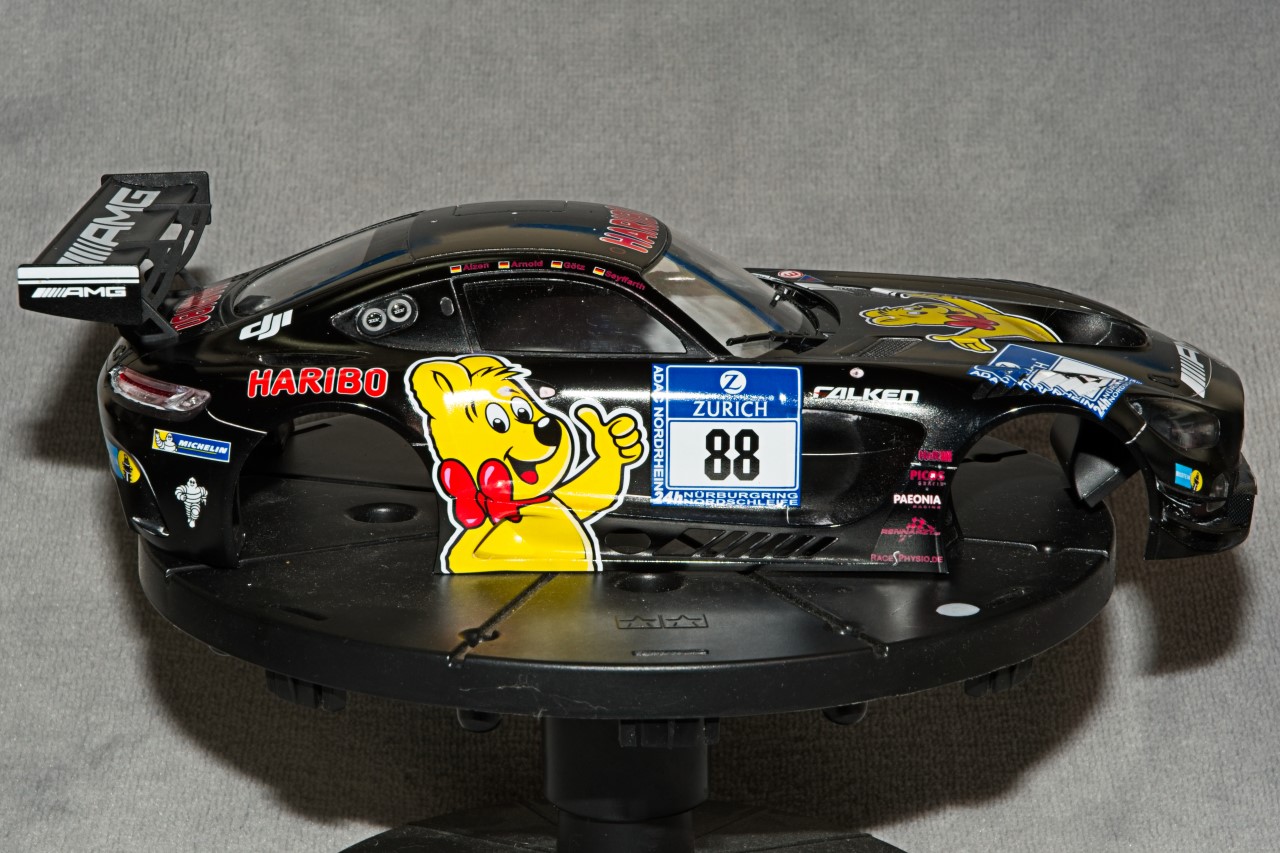
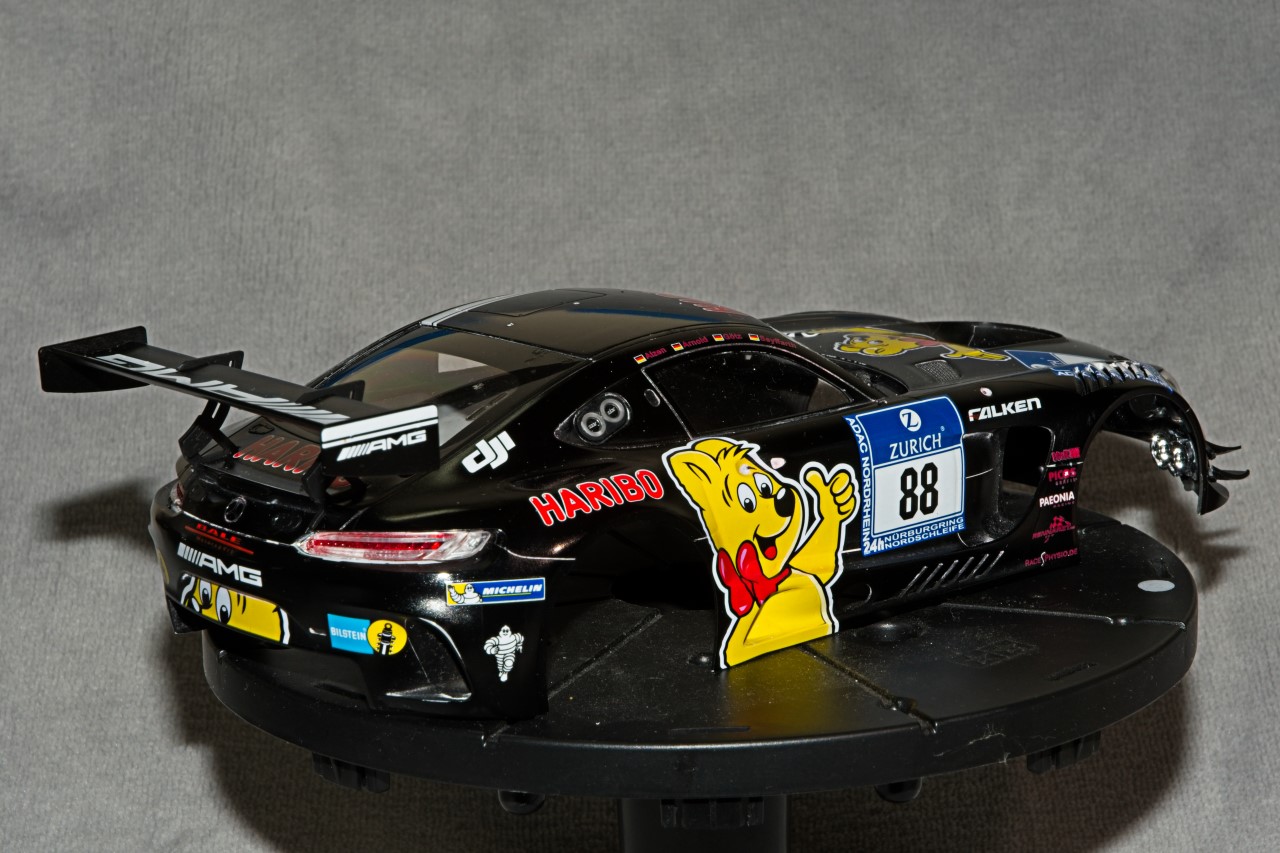
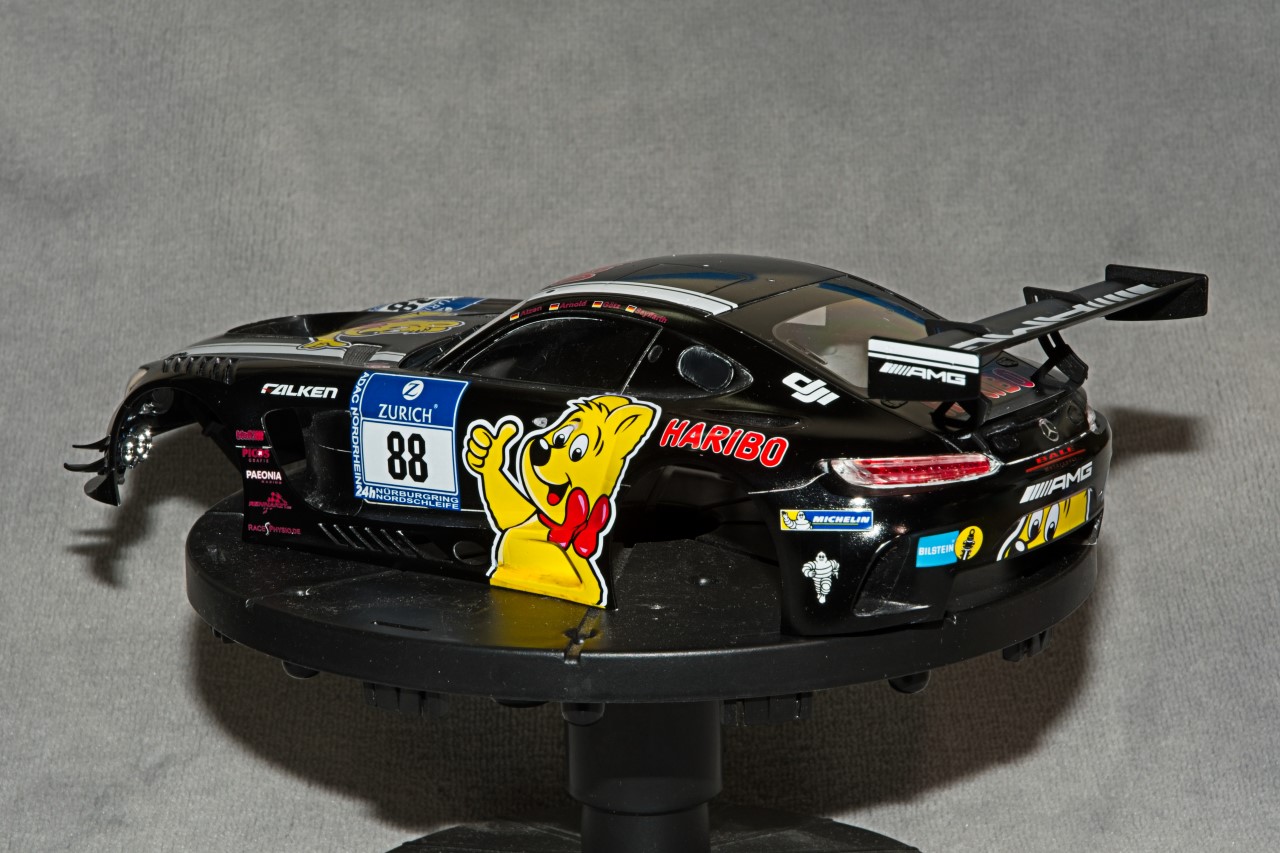
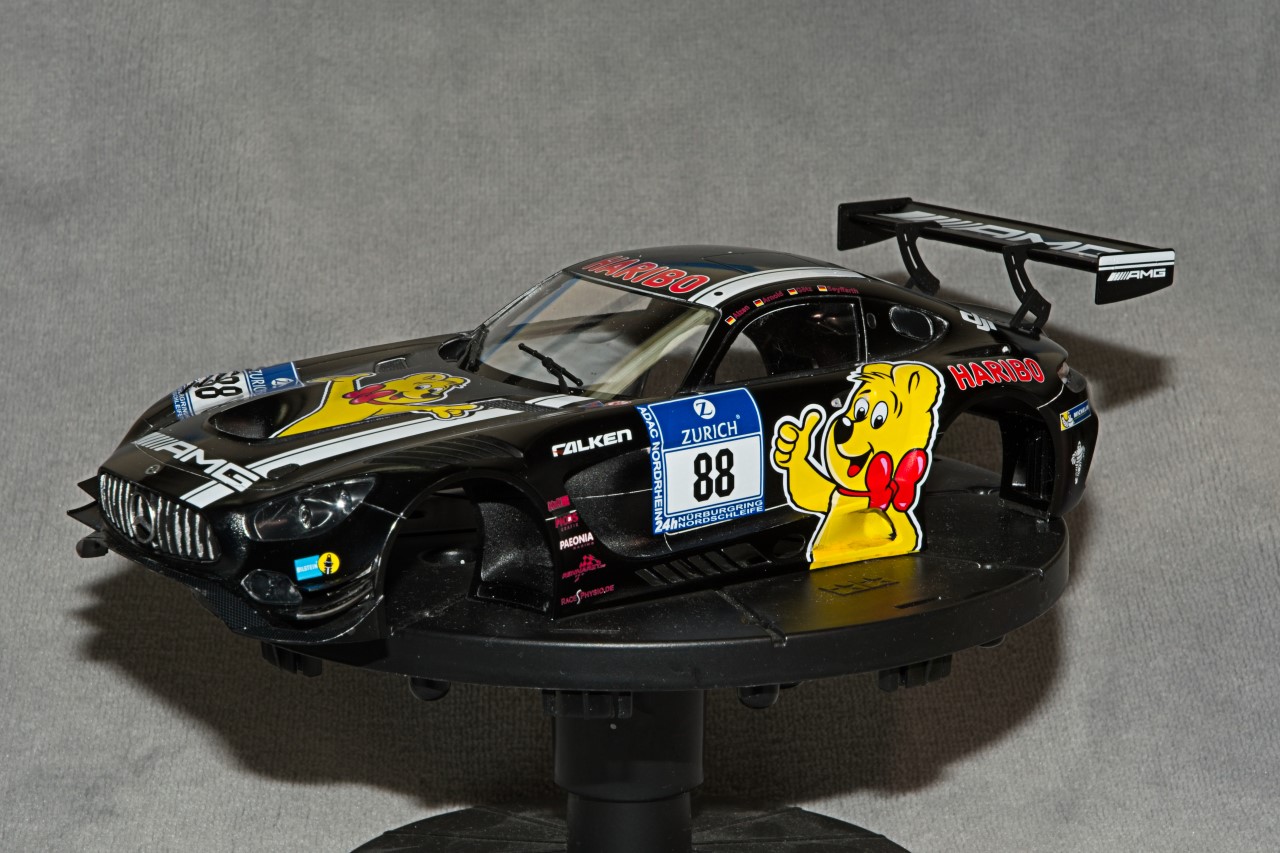
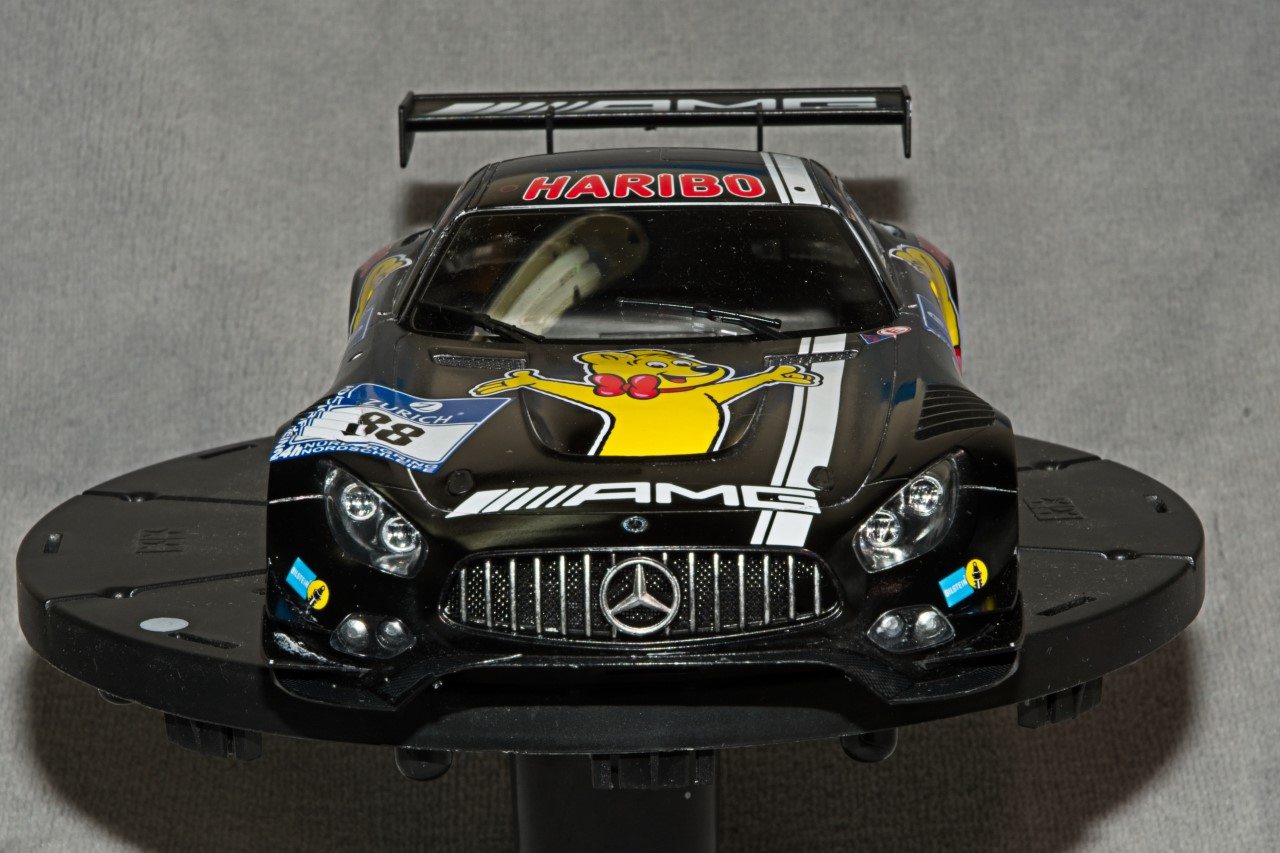
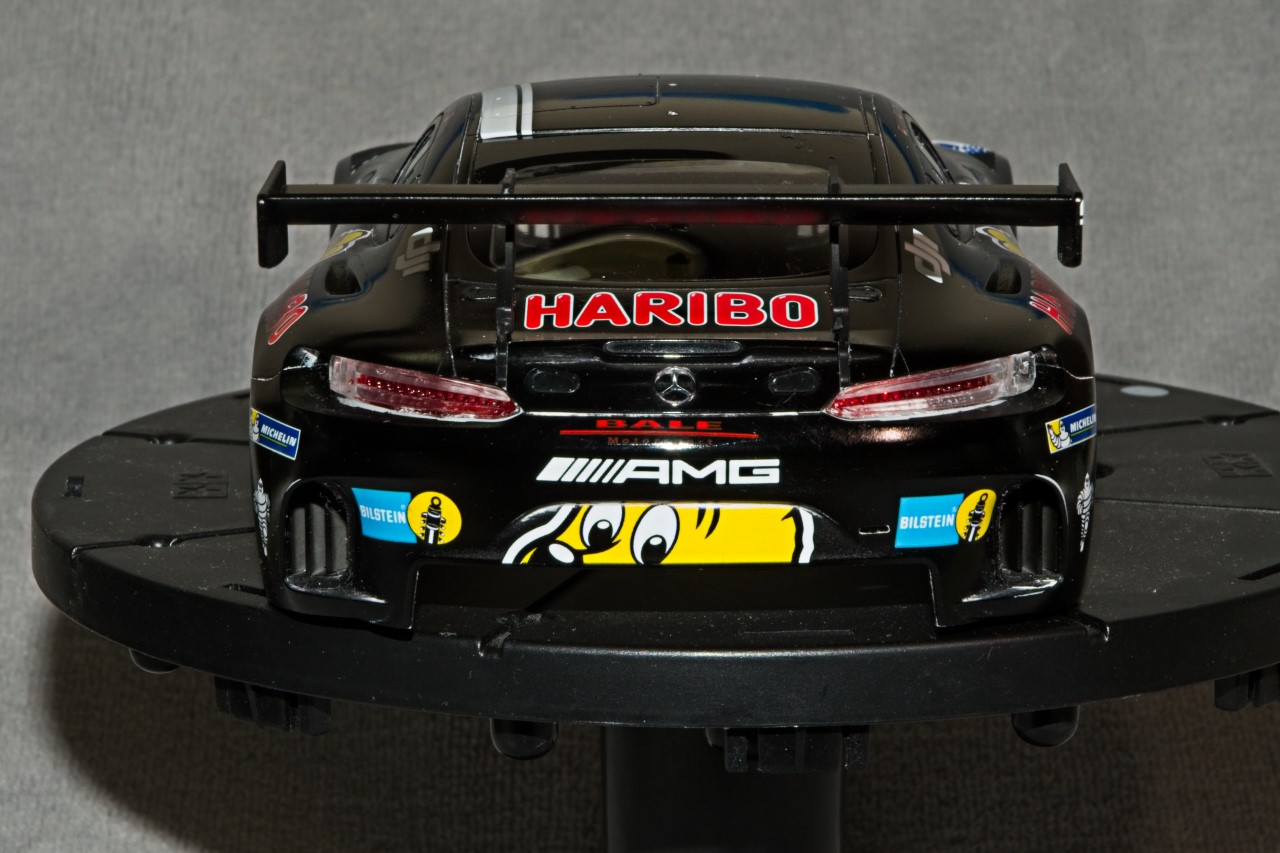
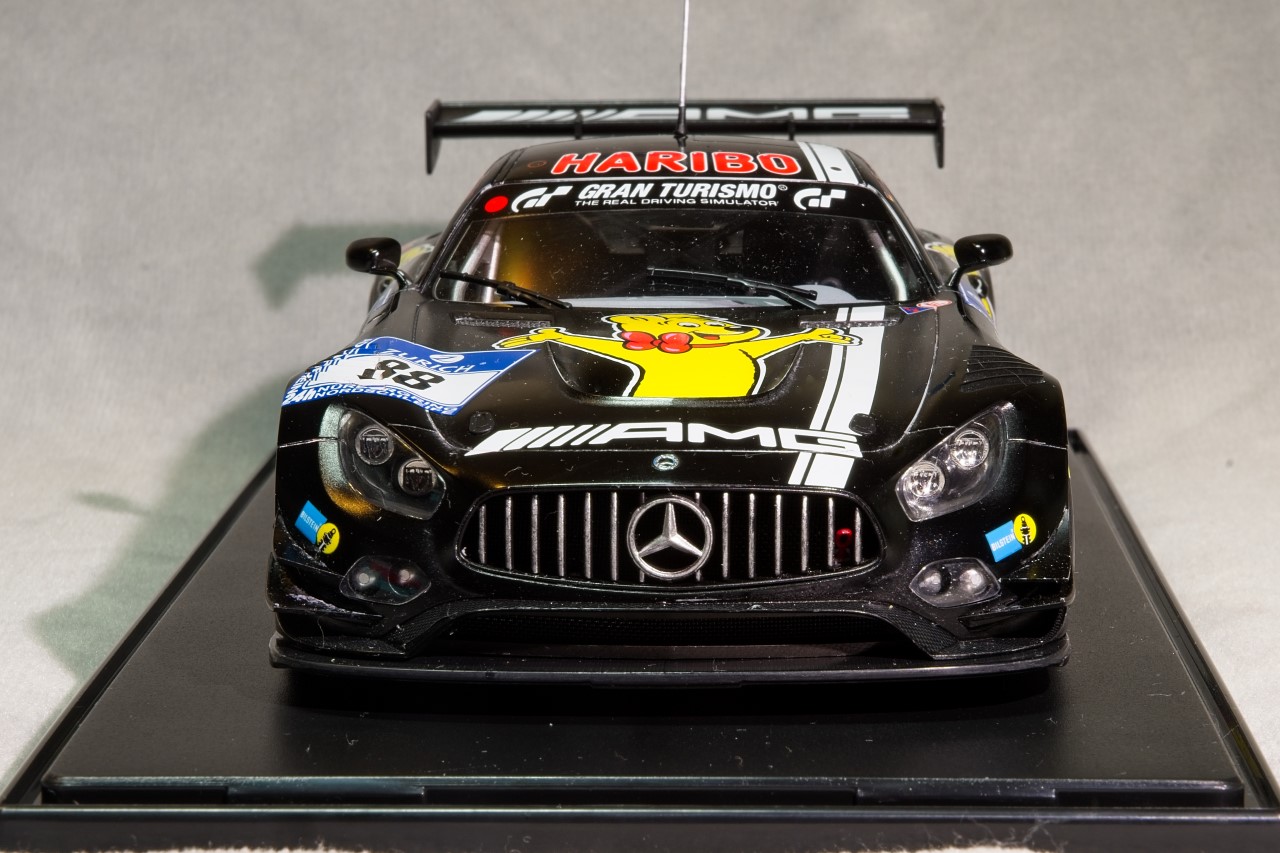
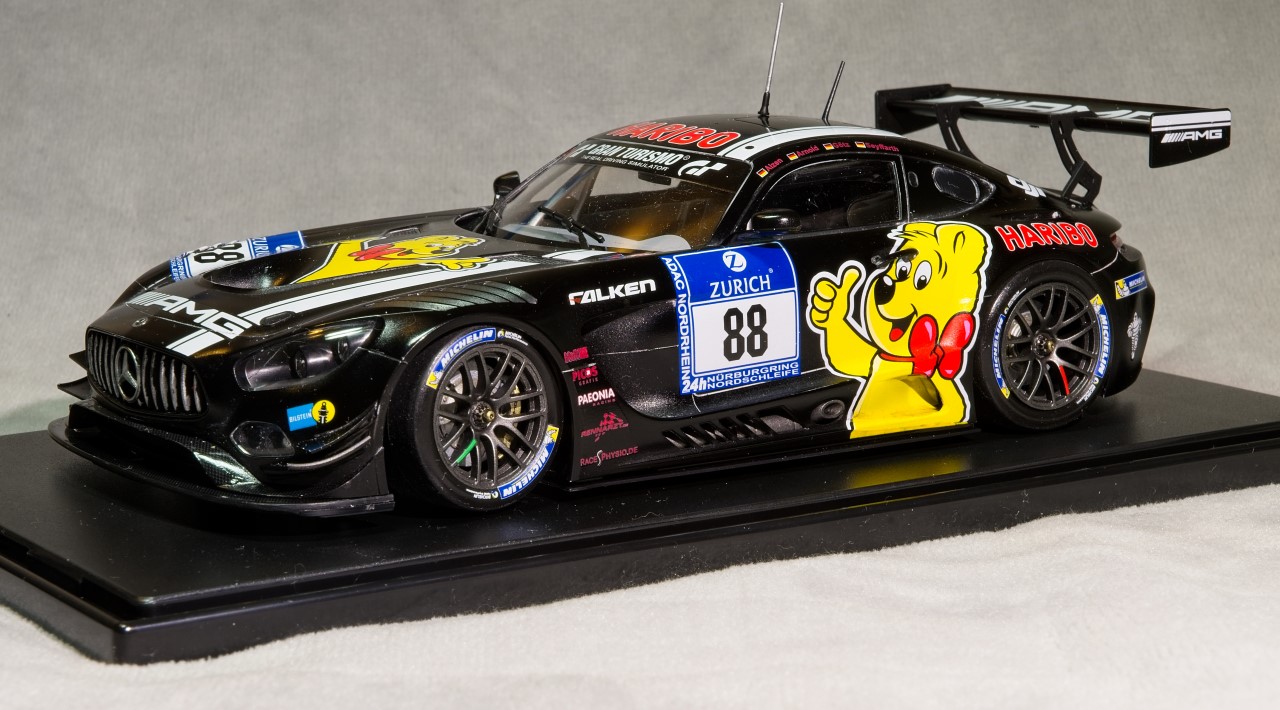
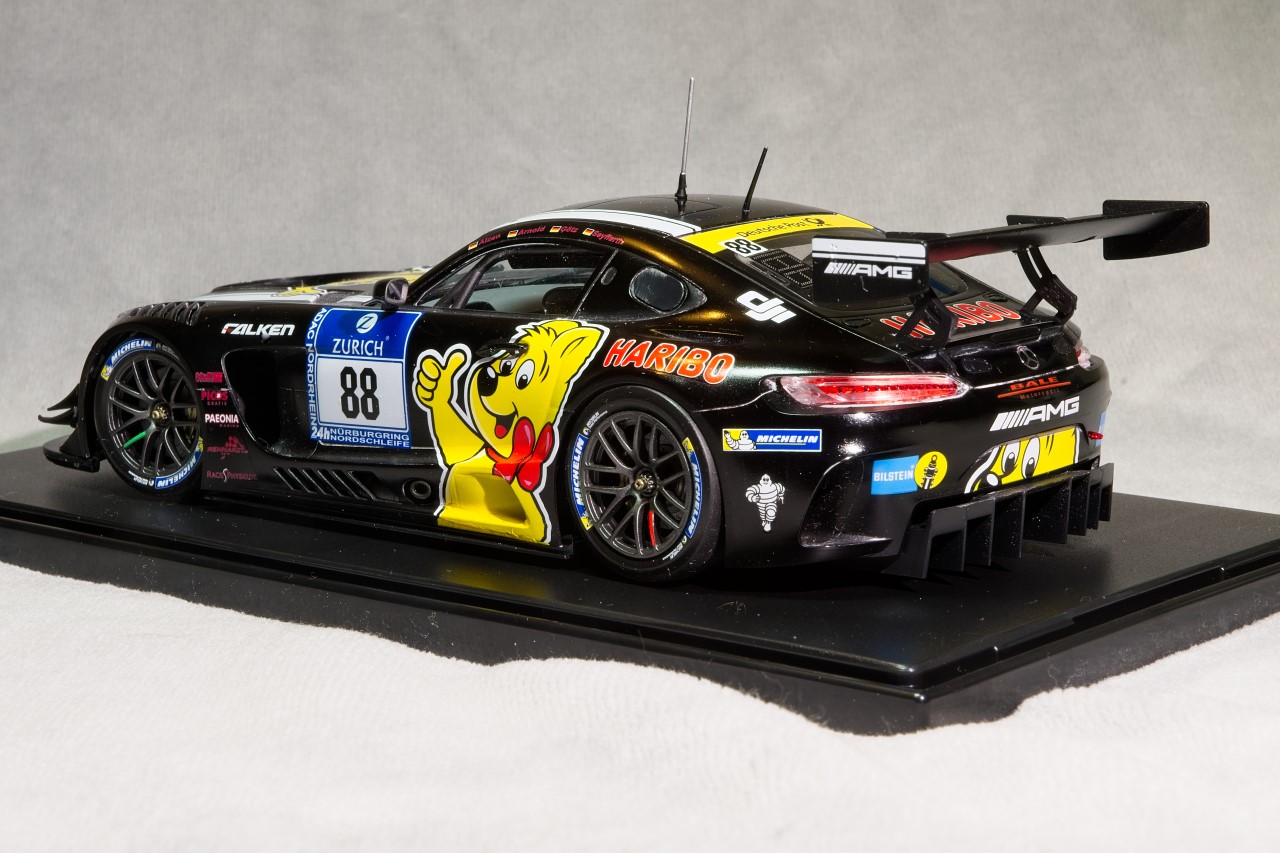
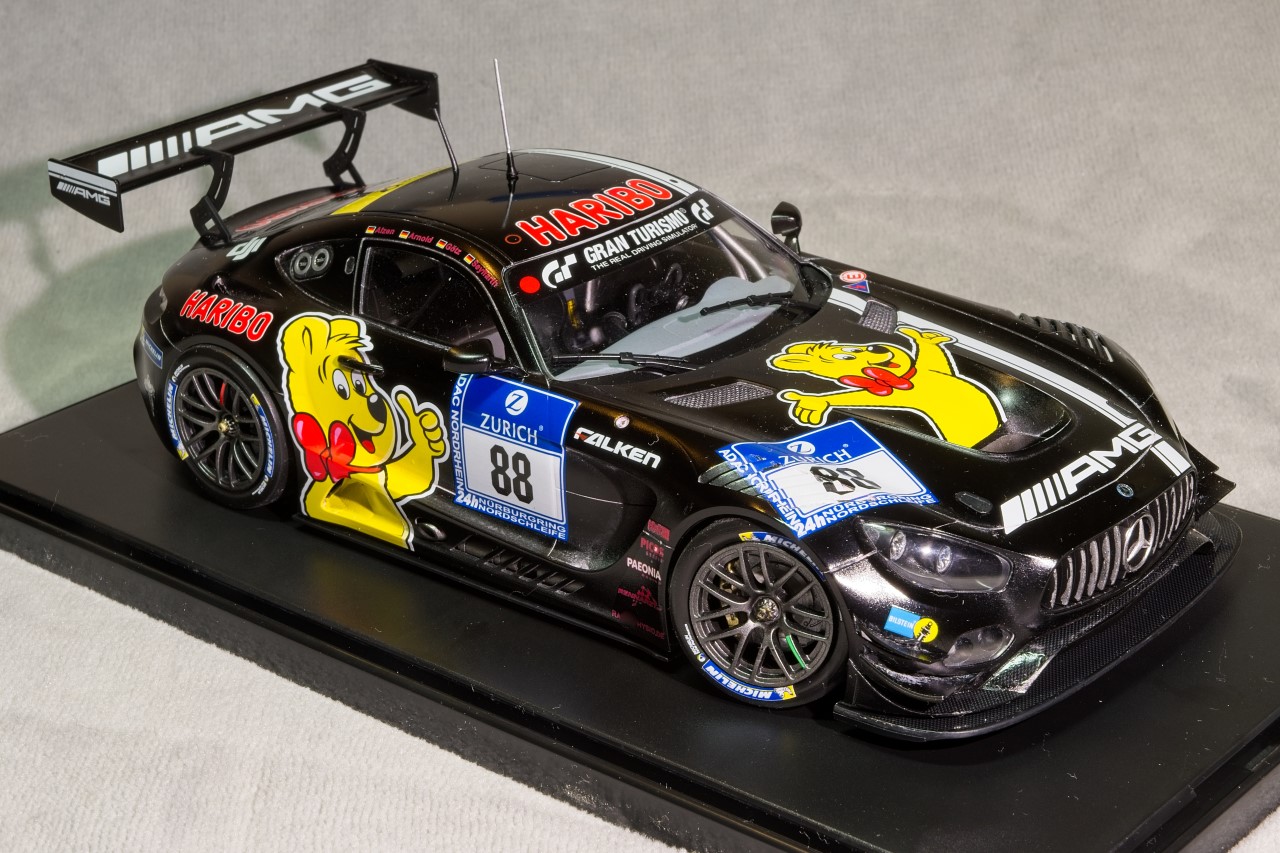
Well it’s time for my final update as the big Merc AMG GT3 finally crossed the finish line. All the last min bits and pcs were added, and then the body slipped perfectly over the chassis/tub/roll bar, then clipped into the front pins and glided right into the rear slot without any needed additional effort from yours truly. At least for me this isn’t an every model occurrence by any means.
So here’s 10 pictures of how the Merc looks finished, but still battling the dust issue as Gloss Black is just a dust magnet.
And a special thanks to those of you that have stayed the course of the build, and posted your comments from time to time, as always it’s greatly appreciated.
joel
Stunning work Joel.
Looks like a nice easy build with no issues.
If mine turns out half as good as yours I will be happy.
Andy 
Andy
Thanks for your thumbs up, as I always appreciate you stopping by. And yes, the kit is certainly up to Tamiya’s standards in terms of fit and current detailing. Yours should turn out just as good if not better.
My only issue with Tamiya is that they seem to be going along with the rest of the Asian Modeler manufactures of no engines/transmissions, or full suspensions which i really feel is a mistake. This was one of the reasons why I always prefer Tamiya kits over all others. At least their Ebbro sub division is still producing fully detailed 1/20 scale F1 & F2 cars, plus late this year their 1st brand new 1/12 F1 kit that I’m betting will be an instant sellout: Senna’s Yellow Camel Lotus t99. I don’t build 1/12 scale but I’ll be buying and building this one for sure.
joel
Another great build Joel, and a really striking scheme that will look awesome in the display cabinet (away from that dust!).
Like you said, it would take it to another level to have the bonnet up and see the powerplant as well, disappointing that Tamiya are moving away from that on some of the new kits.
Cheers, D