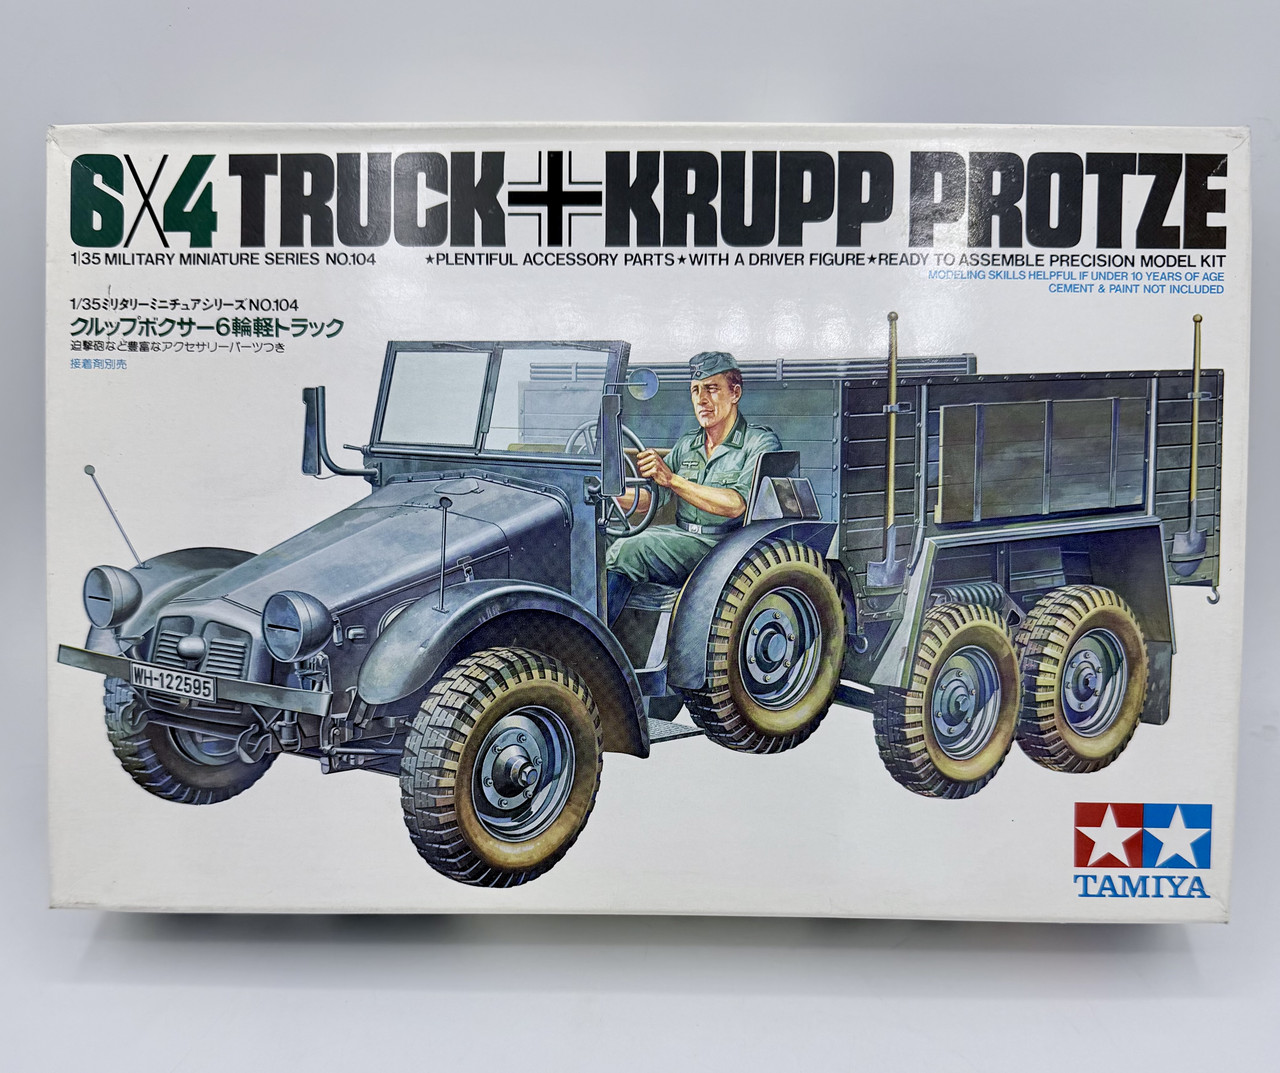
I started this kit at last month’s AZ AMPS meeting, for something simple to work on during the club meetings. Like with my just completed WC-51, I felt like doing another wheeled soft skin project. This time it’s for the other side. This kit is typical 70’s Tamiya, being easy assembly, even if a bit simplified in some respects. That does mean rapid progress.
Last month I got the chassis part way built and started on the cab area
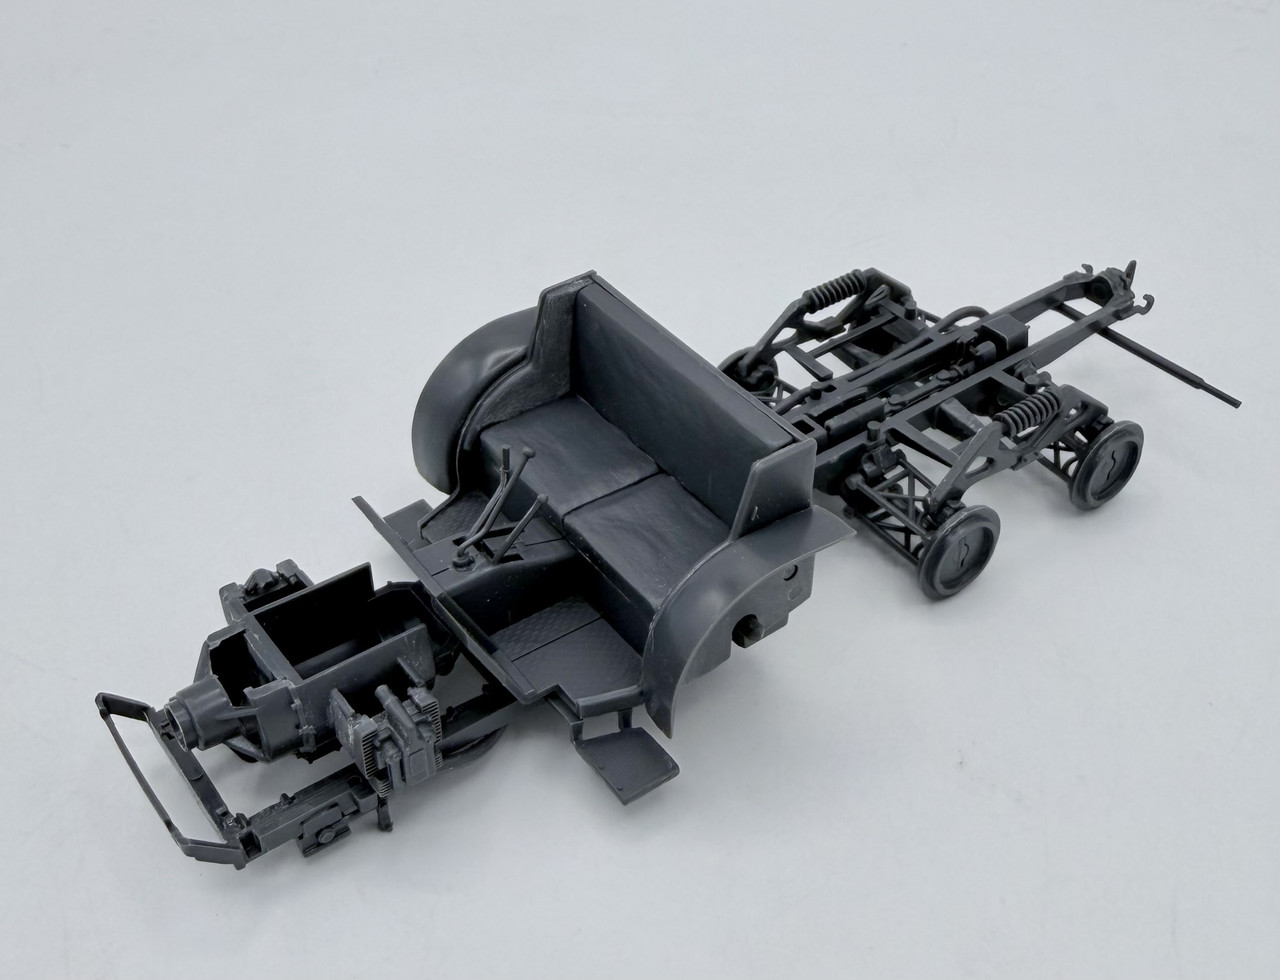
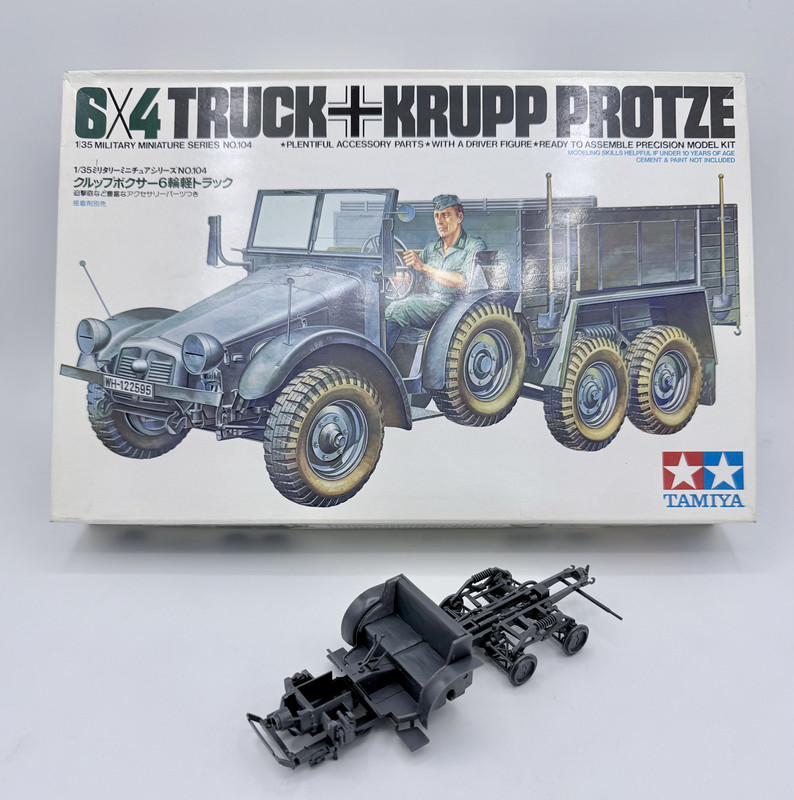
Not bad for 2 1/2 hours work
This past Saturday I finished up the chassis, assembled the cargo bed, and completed most of the cab aside from some breakable detail parts…. another 3 hours work…
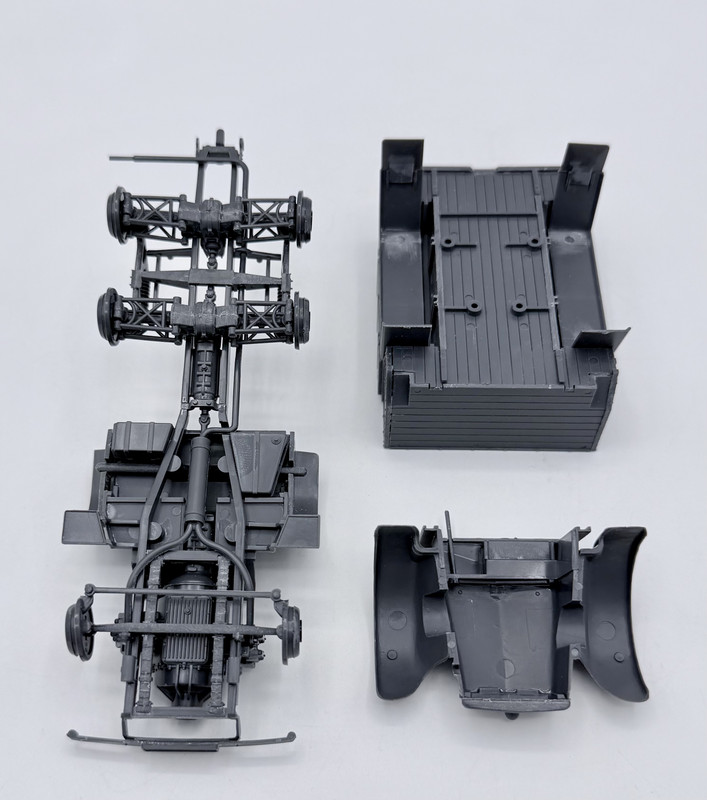
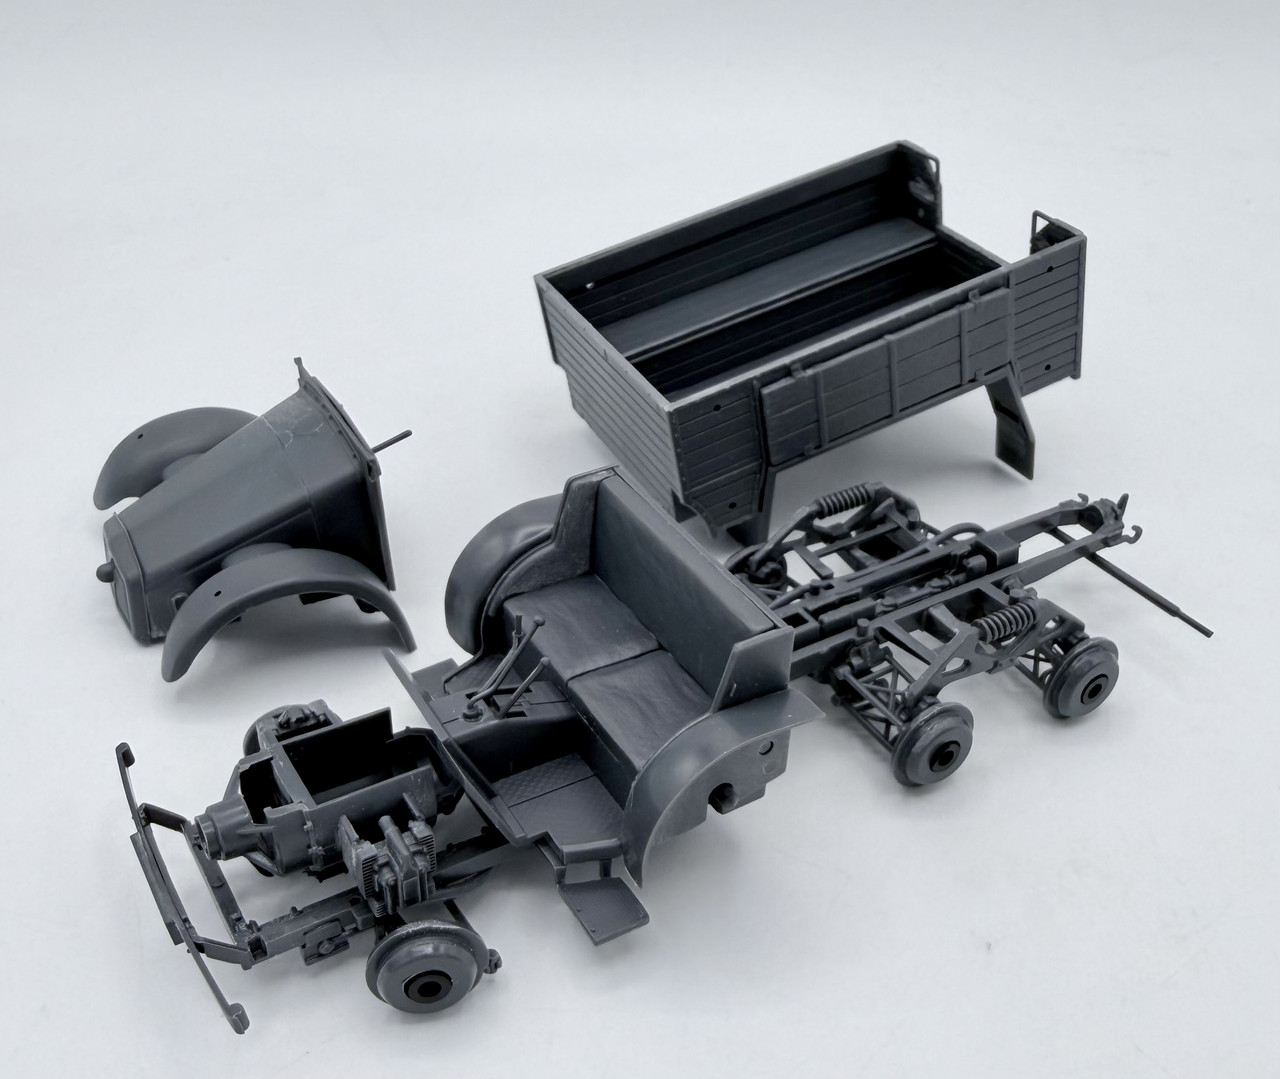
Everything fits nice and snug on the chassis frame
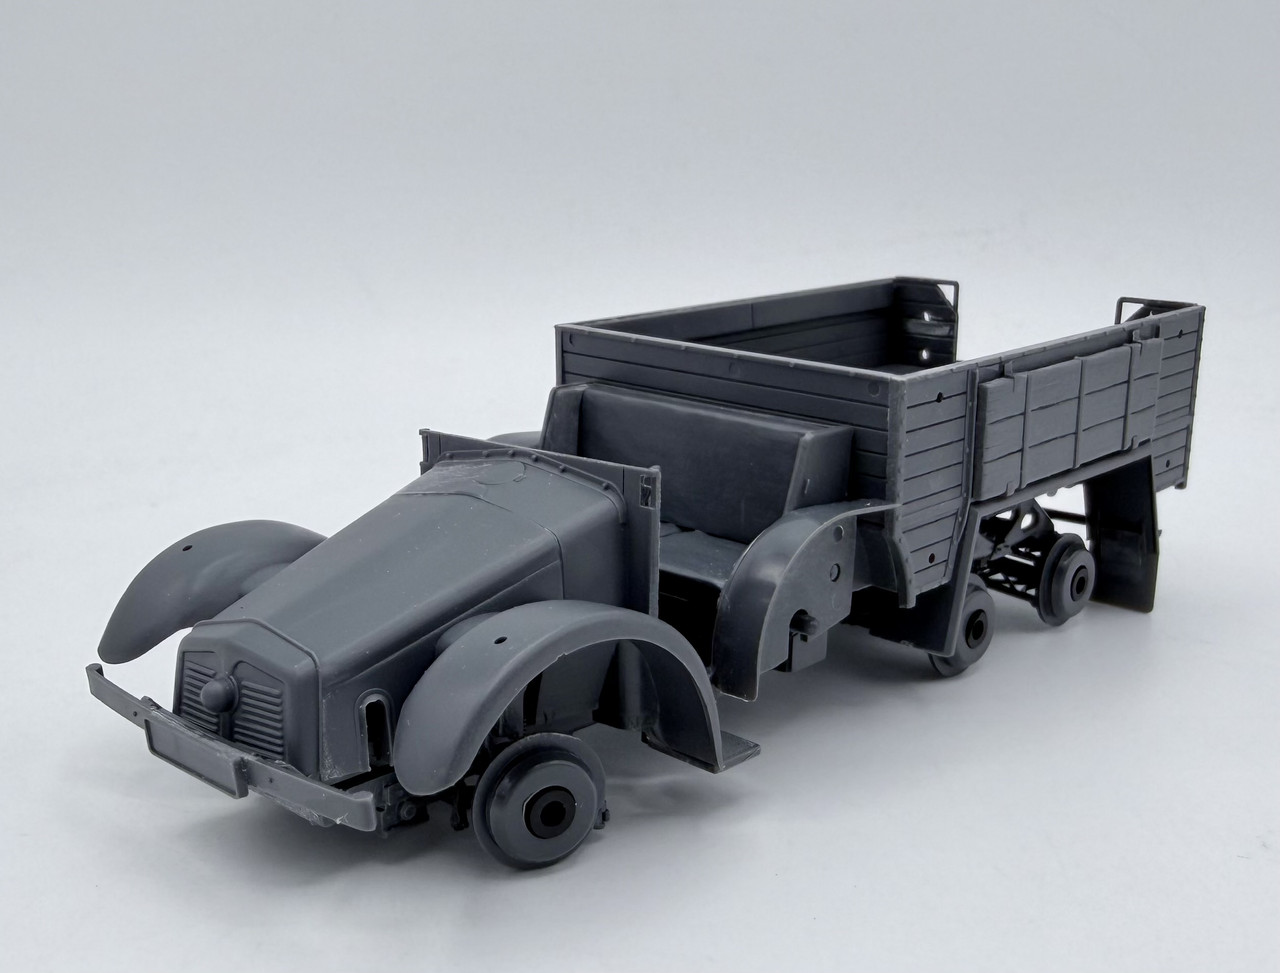
It’s just about ready for basic paint at this point and then to do the final major assembly. I’ll be making this in colors and markings for Eastern Front Summer 1942, during the Don/Stalingrad campaign… more to come…
16 Likes
Love those old Tamiya kits, have done quite a few of them
3 Likes
Yeah, this one sure is a nice easy project so far. Of course one of the guys at AMPS was working on the same kit and went on and on how its missing the steering wheel linkage arm, so now I have to come up with that missing detail… 
4 Likes
Hi, that Tamiya 6x6 Prote truck is a good, fun, easy build. All but one was early war, the lone not German Gray..did one DAK. Have done maybe 7-8 over the years . I saw in the pics on certain parts, the many ejection marks on the those parts…to me the only drag part of the kit. Enjoy ur build Mike.
1 Like
Did they ever make a 6x6 version and did you scratch build the front transmission or did you find a AM kit to make the changes? That would be interesting to see.
1 Like
Jack, I’m not aware of that. I guess the Protze wasn’t a true 6X6 , just a 6 wheeled vehicle  My bad didn’t mean to mislead or speak incorrectly . Plus, 80% of my builds are out of the box, not into to much aftermarket , other than stowage, gun tubes, replacement resin wheels, tools and the like. Plus I like to do dio’s/vignettes…the Protze is handy for those . Mike.
4 Likes
Thanks for looking in and commenting guys!
Yes, most of those ejector pin marks will be hidden by weathering, or parts once the build is completed. But those ones on the front of the cargo bed I need to deal with… 
1 Like
The funny thing about this kit first released in 1978 is, it still holds up today. She isn’t the “prettiest” belle of the ball but was and is one of Tamiya’s early/mid releases. And at the time with the 5.cm mortar and Panzerschreck it was a cool offering.
3 Likes
Agreed… although the Panzershrek does not go with the gray vehicle schemes. It will go nice in my spares bin for something that will work better.
1 Like