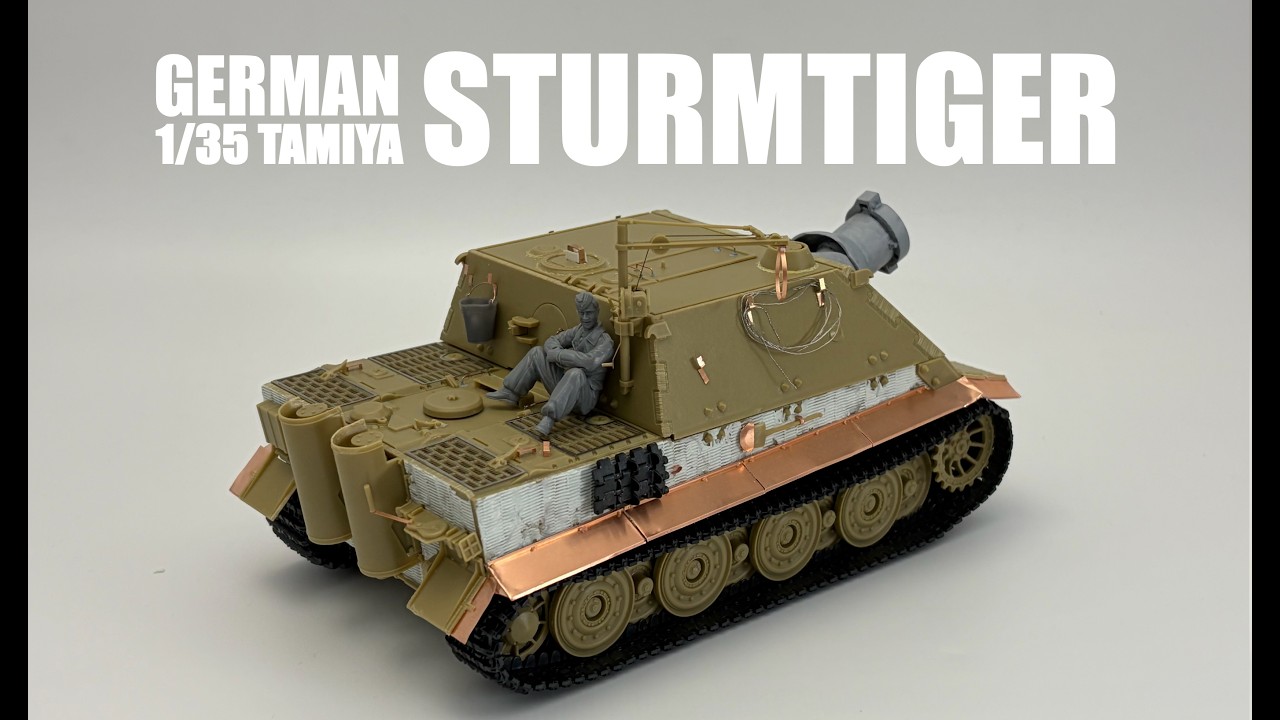
reat build! I use Tamiya’s Zimmerit decals too — such great quality. Metal tracks are on my list to try someday, they look fantastic. And yes, totally agree on the loading lash — would have been a great kit inclusion. I ended up scratch-building mine from copper sheet this time!
I got a cheap one from my club, it was already started but I can finish it (along with a crusader from tialeri and a flakpanzer from tamiya and I also got a firefly from dragon and cm 33 tankette)
FYI One thing I realized late in the build is that Tamiya didn’t take the thickness of the frontal armor into account when molding the opening for the sight. It looked wrong. I used.010 styrene to flesh out that opening on all four sides. It was worth the effort and greatly improved its appearance.
Glad I could help. Tamiya’s mistake was how they molded the back edge of the opening. They did it at a 90 degree angle when it should’ve been slanted back much more. I used the armor molded onto the outsides of the fighting compartment as a guide to the ‘thickness’ to get the proper inside measurements.
I have a question about re-ammunitioning the Sturmtiger: now, I’ve seen the photo’s of rounds lined up on the ground to be hoisted up and stowed. Does that mean the rounds had to be off-loaded from a carrier first? The hoist doesn’t have enough lateral reach to hoist them out of a vehicle, even when parked right against the tank (I’ve tried it with model trucks, and halftracks), or was the real hoist extendable a few more feet in able to reach? Has anyone seen pics of lifting rounds directly from another vehicle to the Tiger?
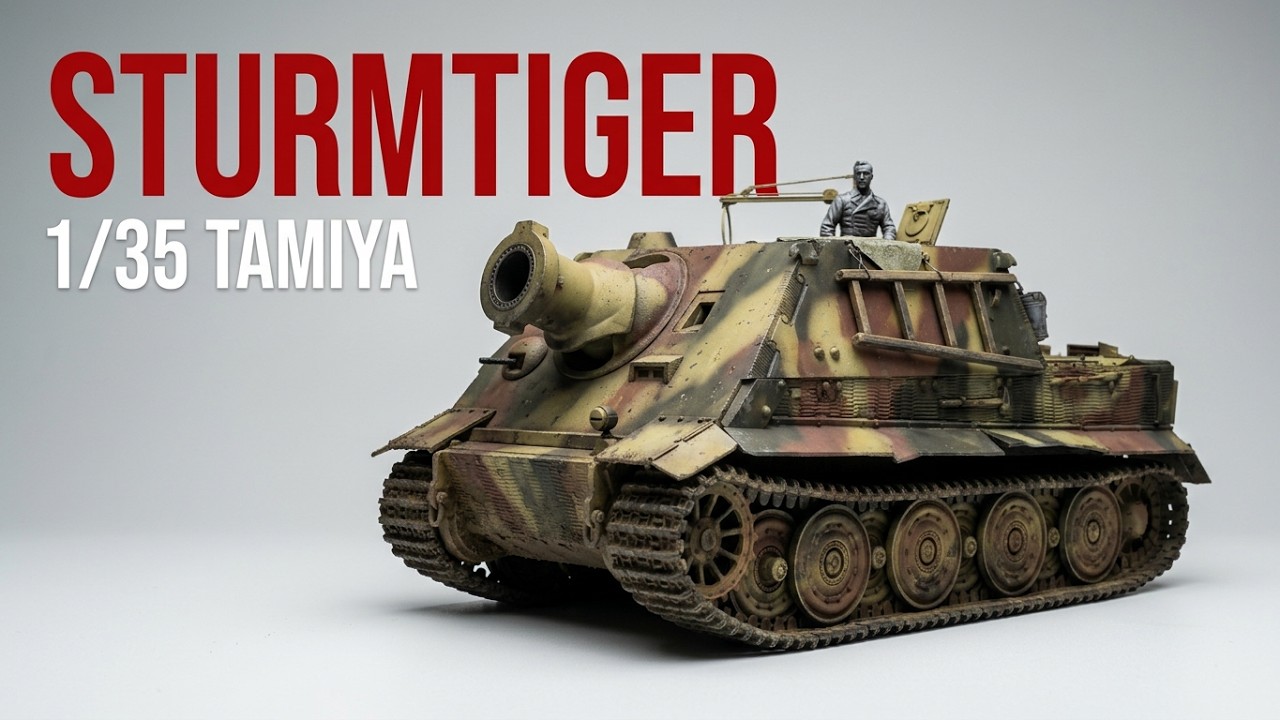
Following up on my build post — the Sturmtiger is fully painted and weathered now.
Went with a three-color camo (Dark Yellow, Red Brown, Dark Green). First time doing Zimmerit with putty and I was surprised how realistic the handmade texture turned out. Also scratch-built some small handles from copper sheet — thin, easy to bend, and looks much better than plastic.
Kept the weathering and stowage relatively minimal to let the camo pattern read clearly. Panel lining with AK enamel washes, sponge chipping, oil dotting, and pigment for the final dust and grime.
This one had a lot of firsts — Zimmerit, copper scratch-builds — and honestly it was tough. I did cut a corner on the painting side and skipped custom color mixing, going straight from the bottle. Not my proudest moment, but the whole build taught me a lot that I’ll carry into the next one.
Full painting video here if anyone wants to see the process:


 .
.