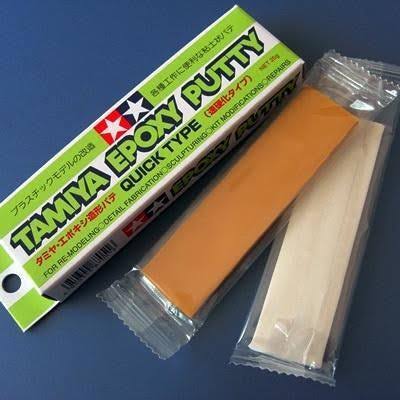
Hey, quick question. I had a bit of a go at making weld beads for AFV’s last night using Tamiya 2 part epoxy putty.
Worked OK, but wasn’t easy. Firstly boy that stuff is sticky when mixed. Anyone got any tips to handling it and manipulating it? At the time I used Tamiya Lacquer Thinner to keep it ‘alive’ while working it and to stop it sticking to my fingers etc, but after a while the thinners gave me a headache so don’t want to do that again.
Would water work? Any pro tips welcome!!!
1 Like
Water is the key - keep your rolling surfaces and tools wet .
I think their packaging is terrible.
2 Likes
Any chance to see the weld beads you came up with ? Its something I struggle to get right so usually avoid it
1 Like
These would be mine - credit for technique belongs to a you tube video I found - I’ll try to find it and link it .
5 Likes
I would be very happy with those 
2 Likes
Same but went with Archer weld details but my stock will dry up at some point as they are now closed.
2 Likes
In the middle of watching the vid link above … its very good … Thanks for posting it Richard @RDT1953
2 Likes
Strange to not hear, the newer “Hello my friends” opening line.
4 Likes
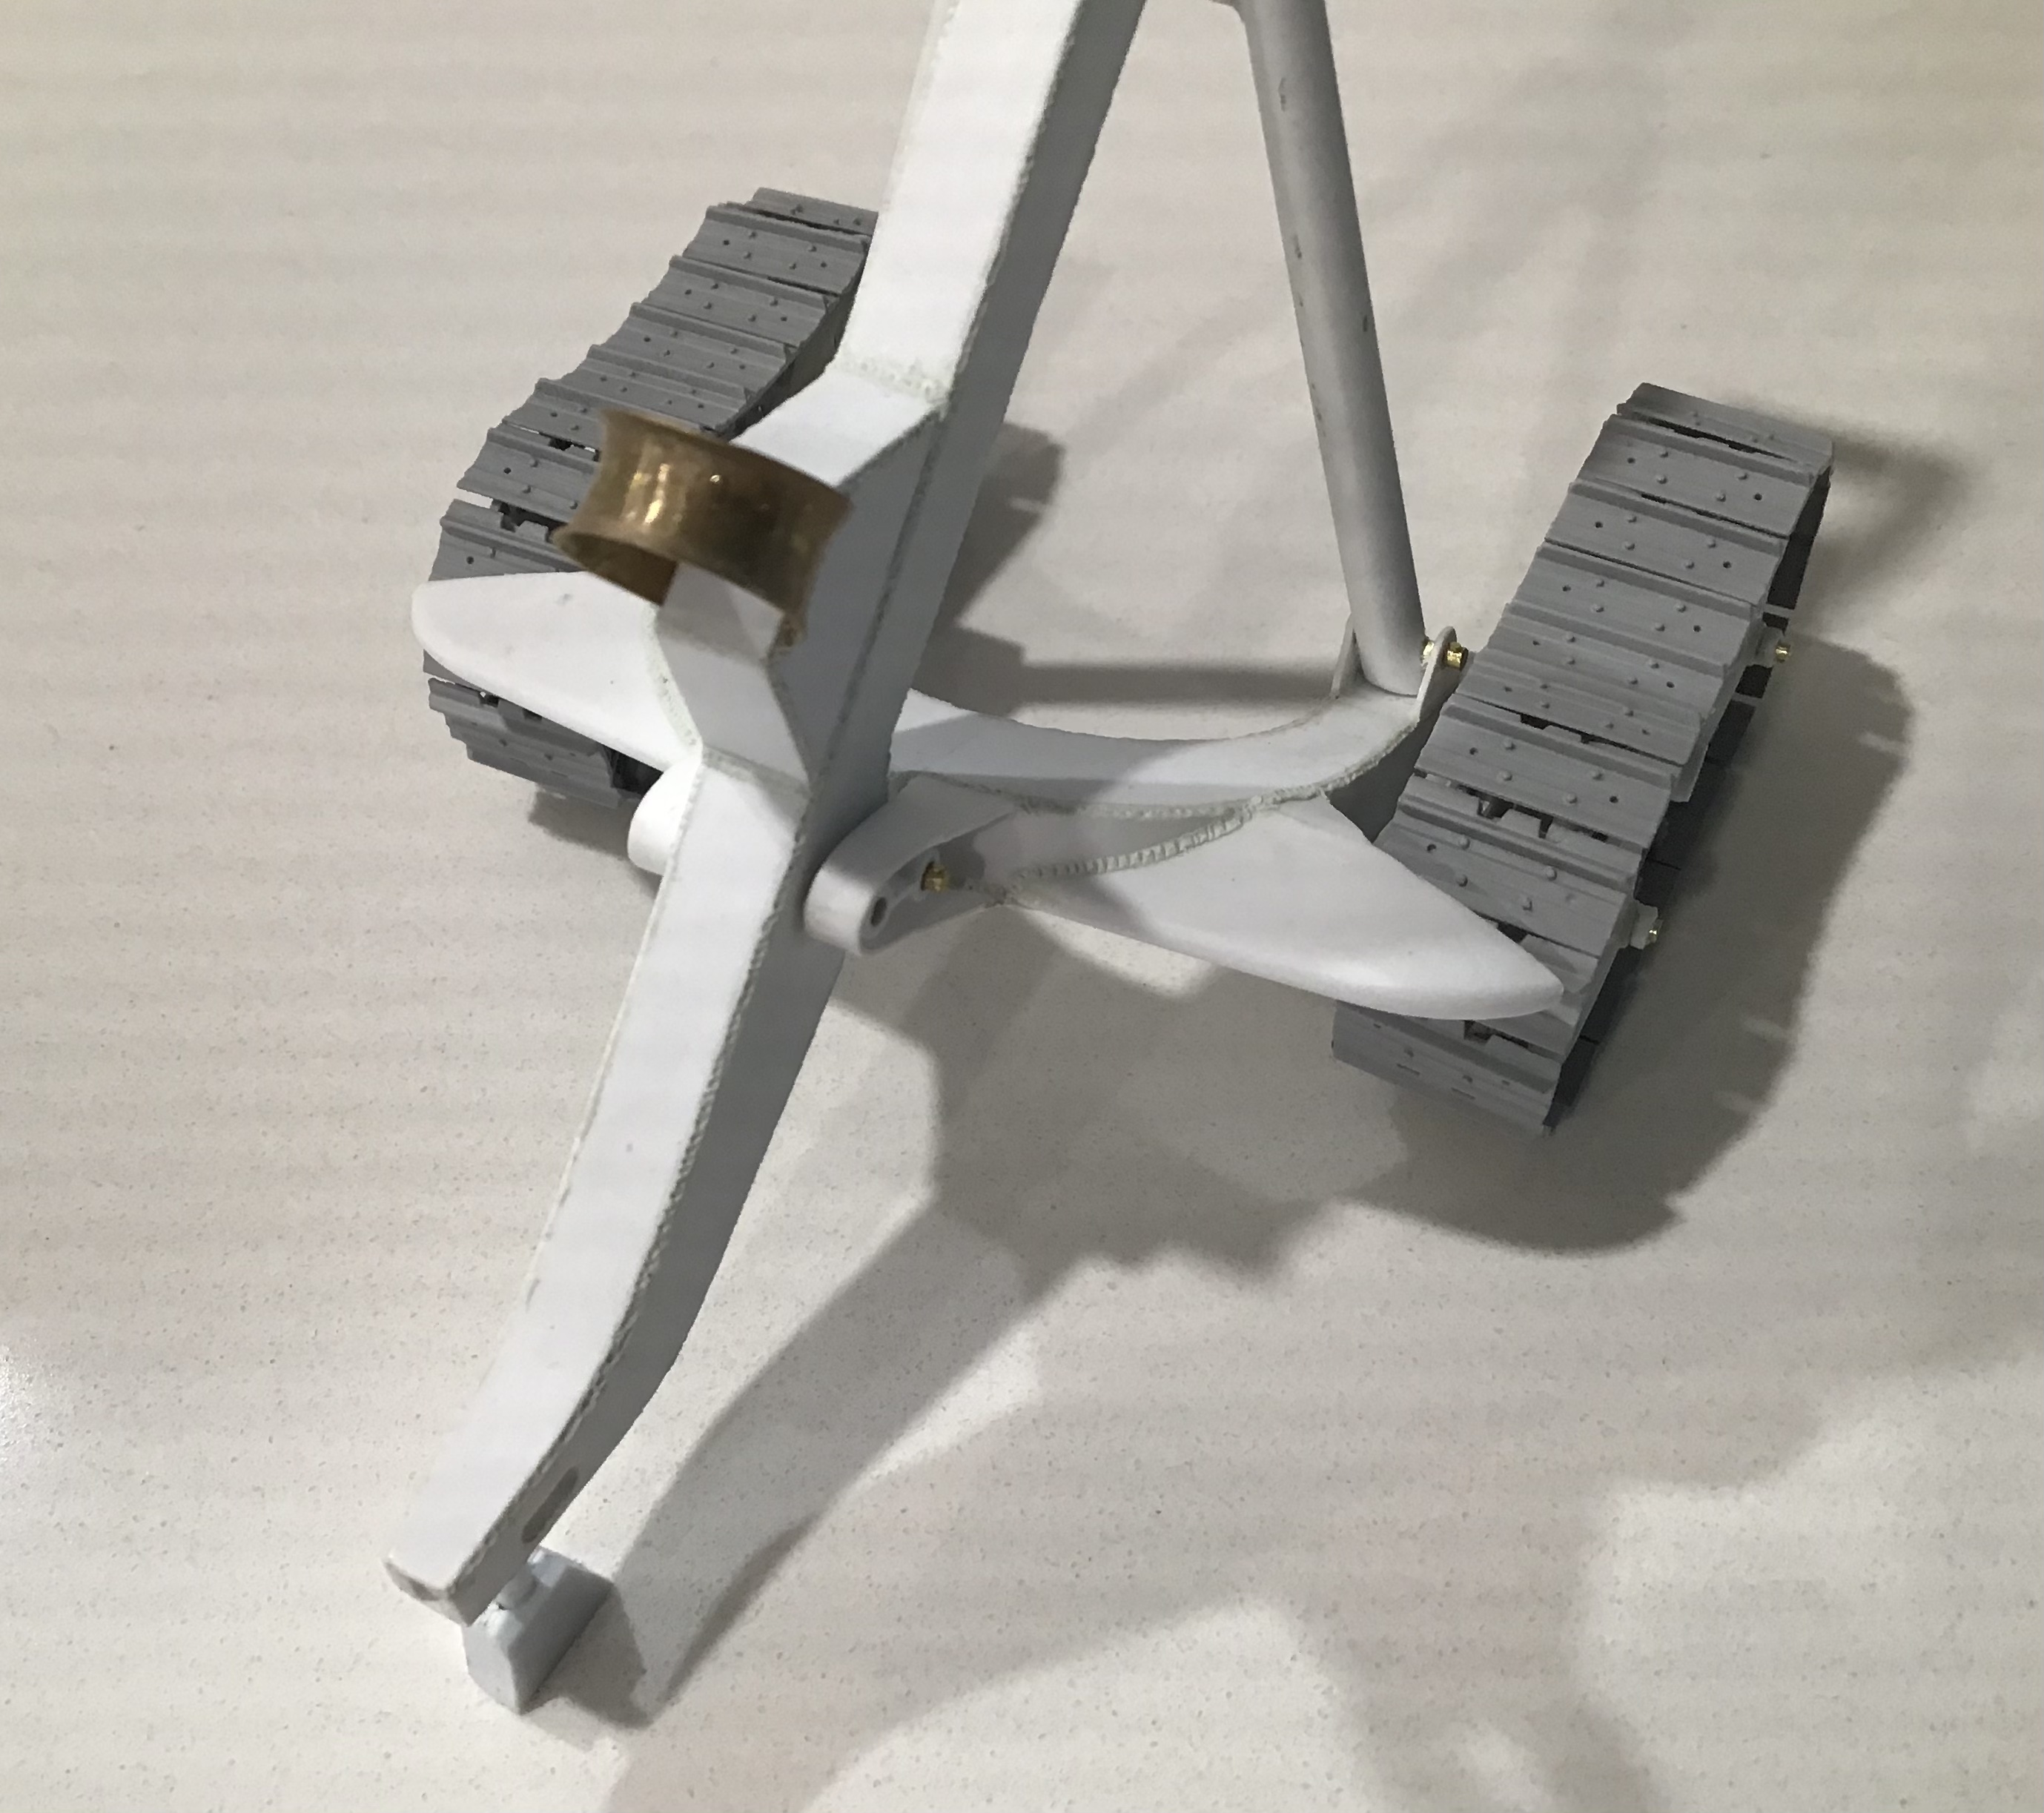
Hi Johnny, photo below is my attempt. Front end of a sturmtiger. I duff’ed the build and needed to reinstate the seam (that was provided by RFM but I had mucked up). Firstly I carved out a 1mm wide groove, about 0.3mm deep. Then rolled some putty and laid into the groove to make the bead. I’m ok with the outcome… took a long time… but wasn’t ok with using the thinners! i’ll try water next time
5 Likes
Cheers Dave. I would be well happy with that. I think it looks really nice and even along the whole length …
2 Likes
Thanks Richard, just watched that Nightshift video. He makes it look so easy! But lots of useful stuff in there, cheers.
5 Likes
Nothing wrong with those - nice work !
3 Likes