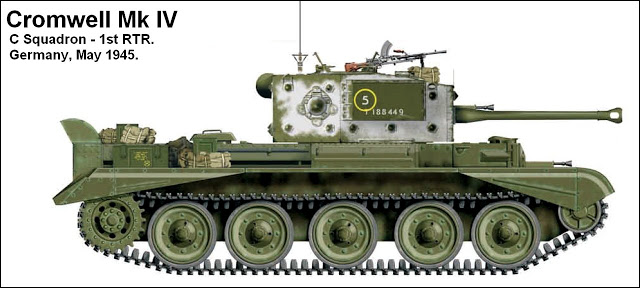
After finishing my AFV CLUB Churchill tank I am planning on a simpler Tamiya kit for a change of pace. I bought a kit that came with Bison Decals and noticed a scheme that has only a white washed turret. This interested me as I am keen to try the hairspray technique for white wash. I have tried to find reference pics for this tank but haven’t found any, only illustrations like the one below. Does anyone have any info on this example and hull type etc. I want to build this straight out of the box the only addition been p.e mesh screens and turret stowage boxes. (No modifications). If this scheme isn’t appropriate for the Tamiya kit I will pick another scheme. Any help is greatly appreciated.
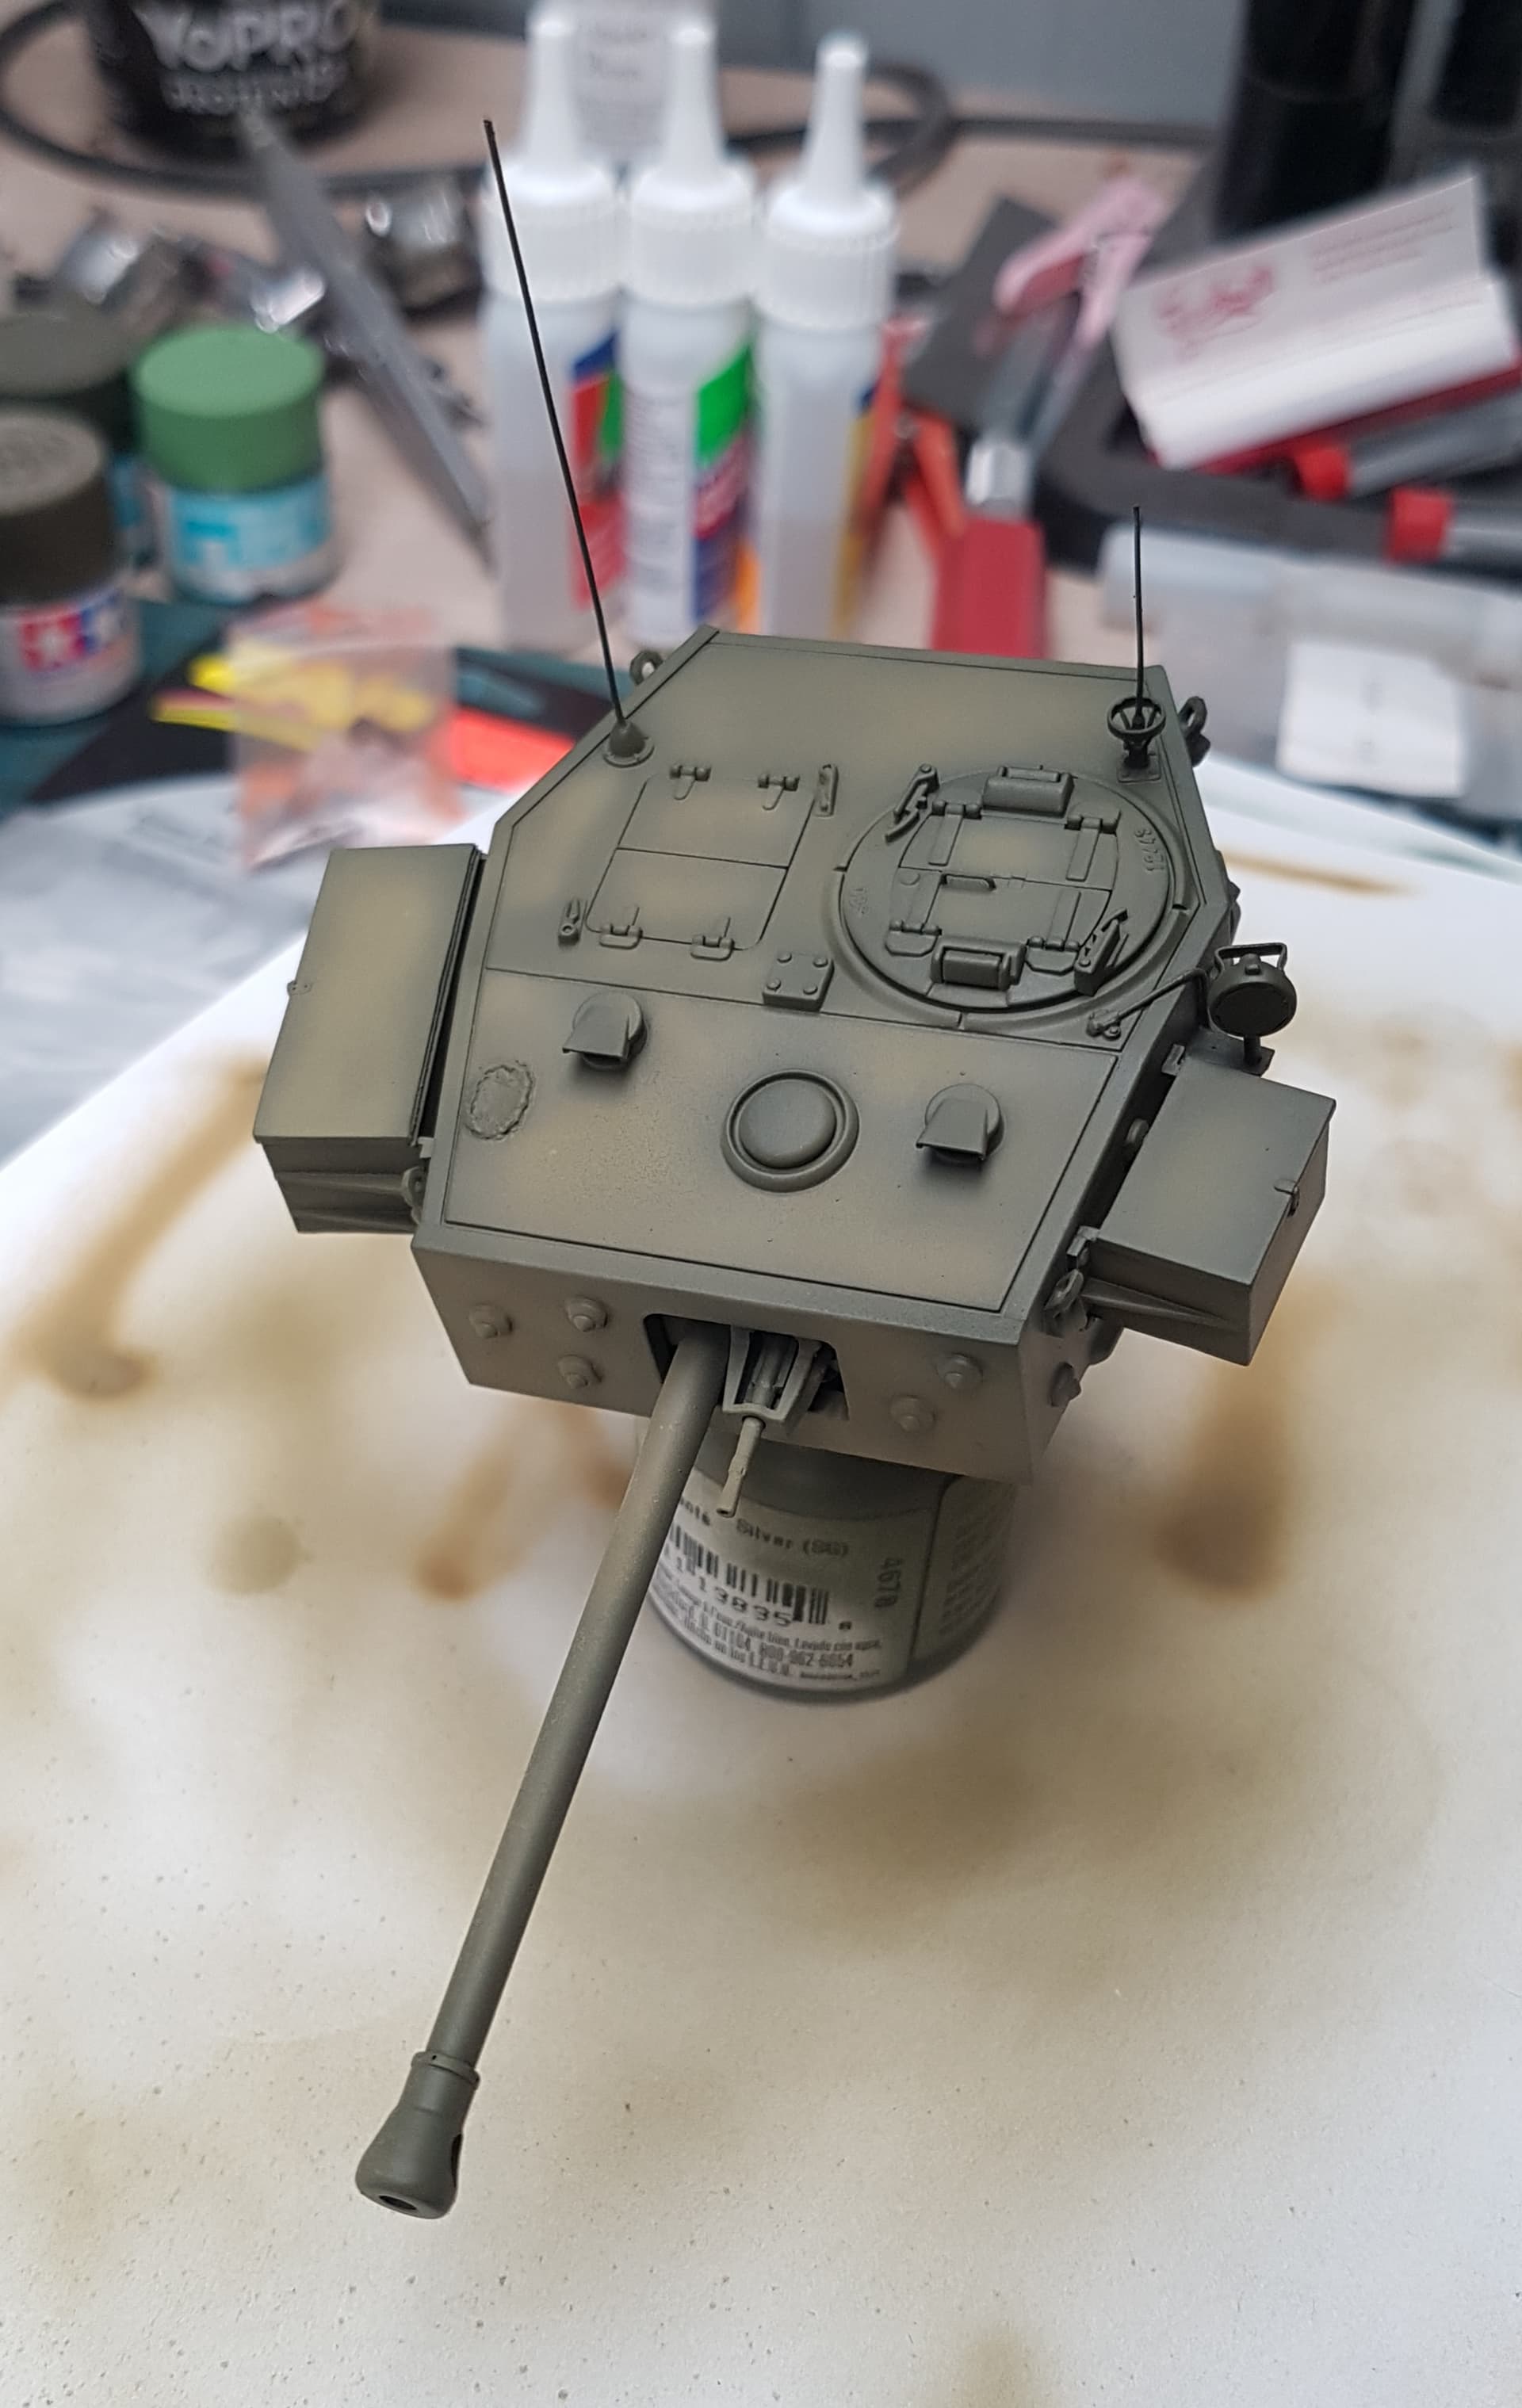
Tamiya’s kit is based on the Bovington Museum example, which retained some early characteristics. It has the C type engine deck, and the early cupola with fore and aft periscopes only. These were both dwindling in number as early as D-Day, when the D type engine deck and the all round vision cupola were both more common. These were “drop-fit” upgrades that any maintenance unit could perform, if they had the parts on hand. The turret stowage boxes were adopted for the Type F hull, which had a side-swinging hatch added to the right hull side for the driver. The fender stowage box had to go to make room, so the turret boxes replaced it. The SKP kit depicts this version.
Accurate Armour offers resin replacements for the cupola and engine deck, or the complete F-Type Hull, if you want to go that route (since the engineering of the SKP kit is poor compared to the Tamiya version).
This was also one of the two big disappointments with the new Airfix tooling - they made the same type as Tamiya’s although the pre-release blurb suggested a later hull type.
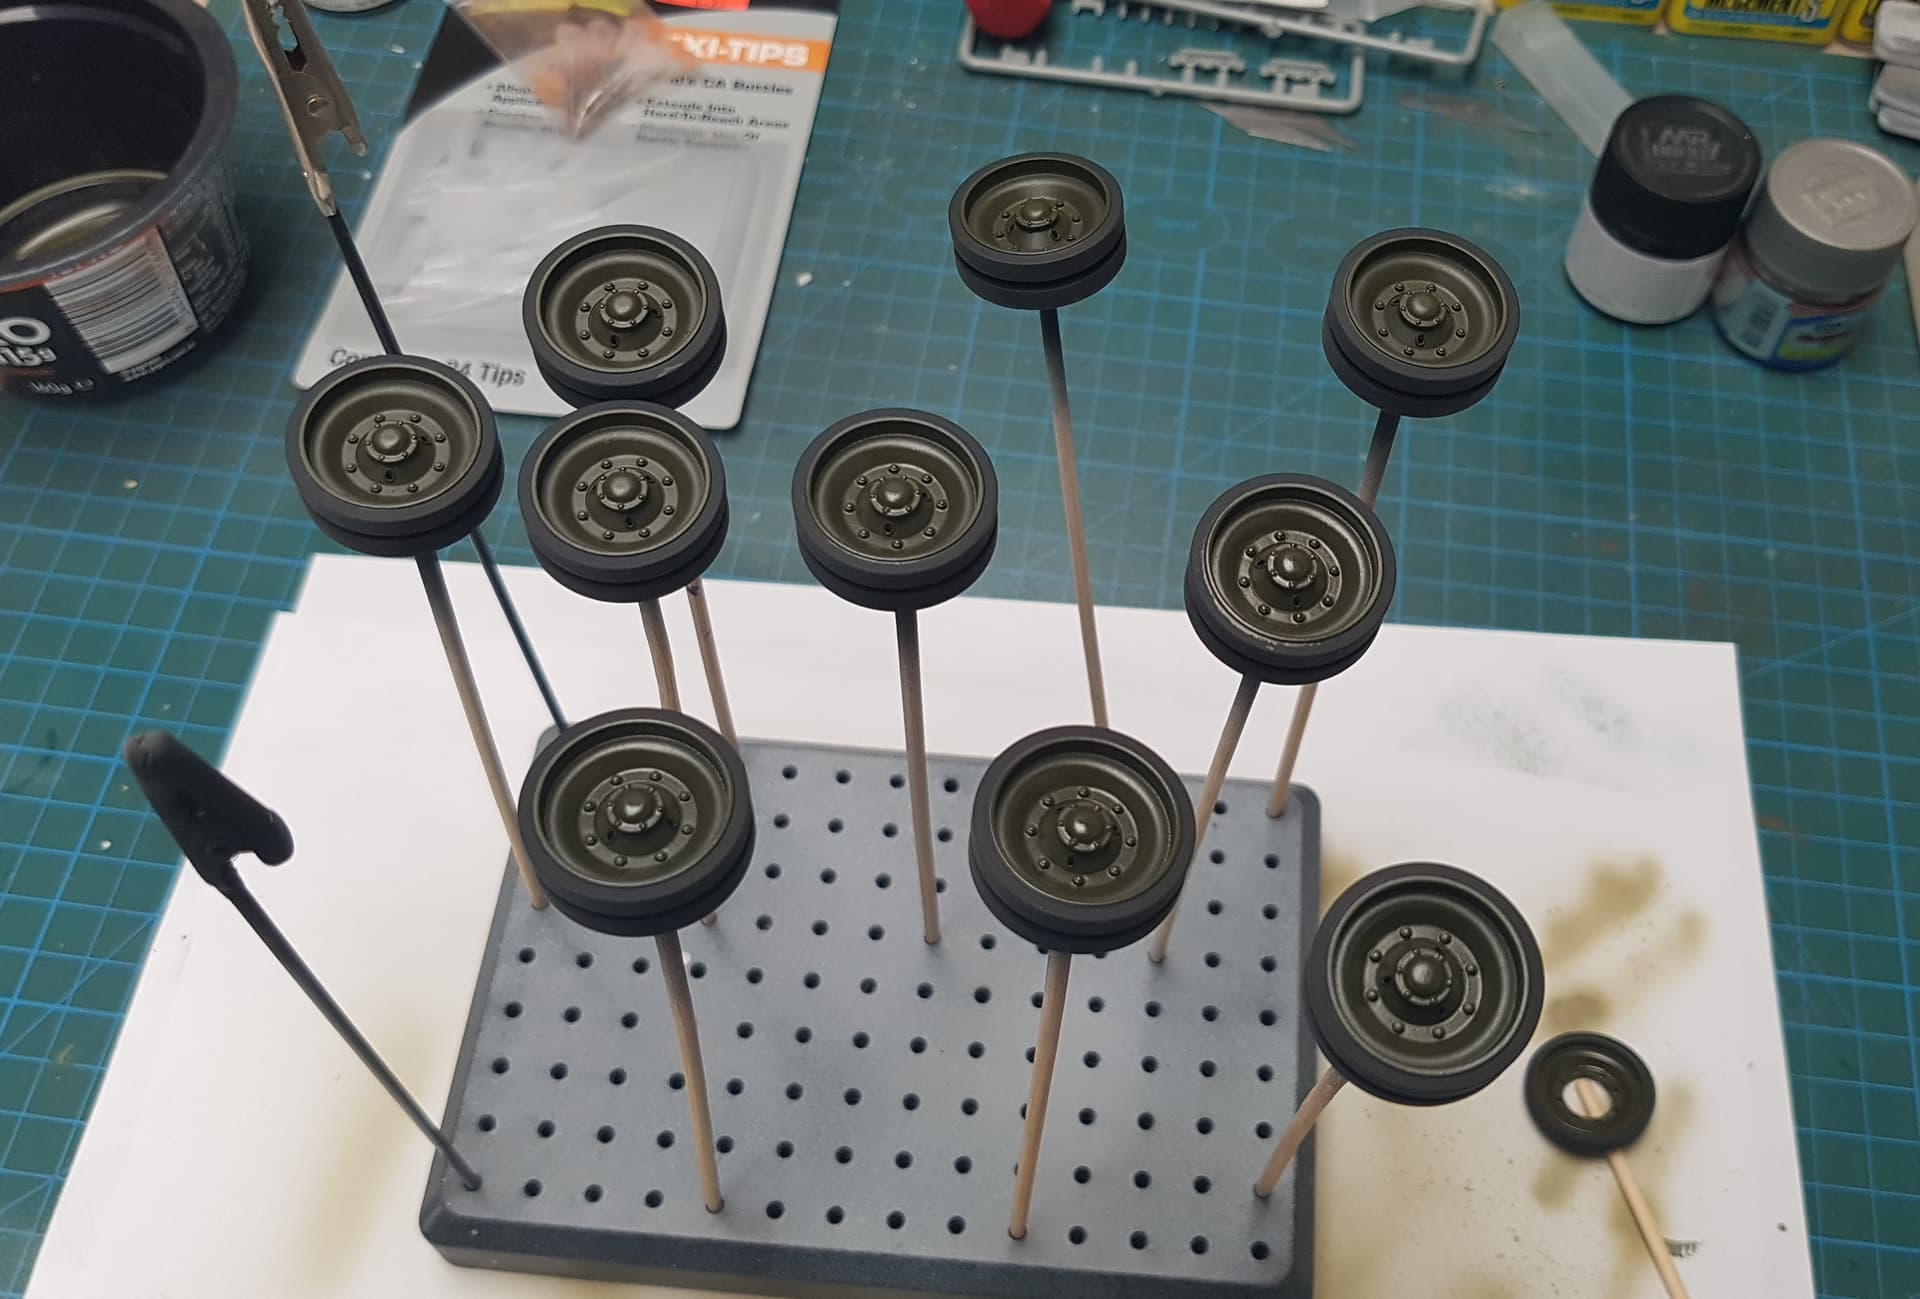
The second disappointment was the wrong number of bolts on the road wheels.
Damn @petbat I just bought these haha . So guess this isn’t going to be an OOB build lol. Ah well, time to work on my diorama while i wait for these to arrive.
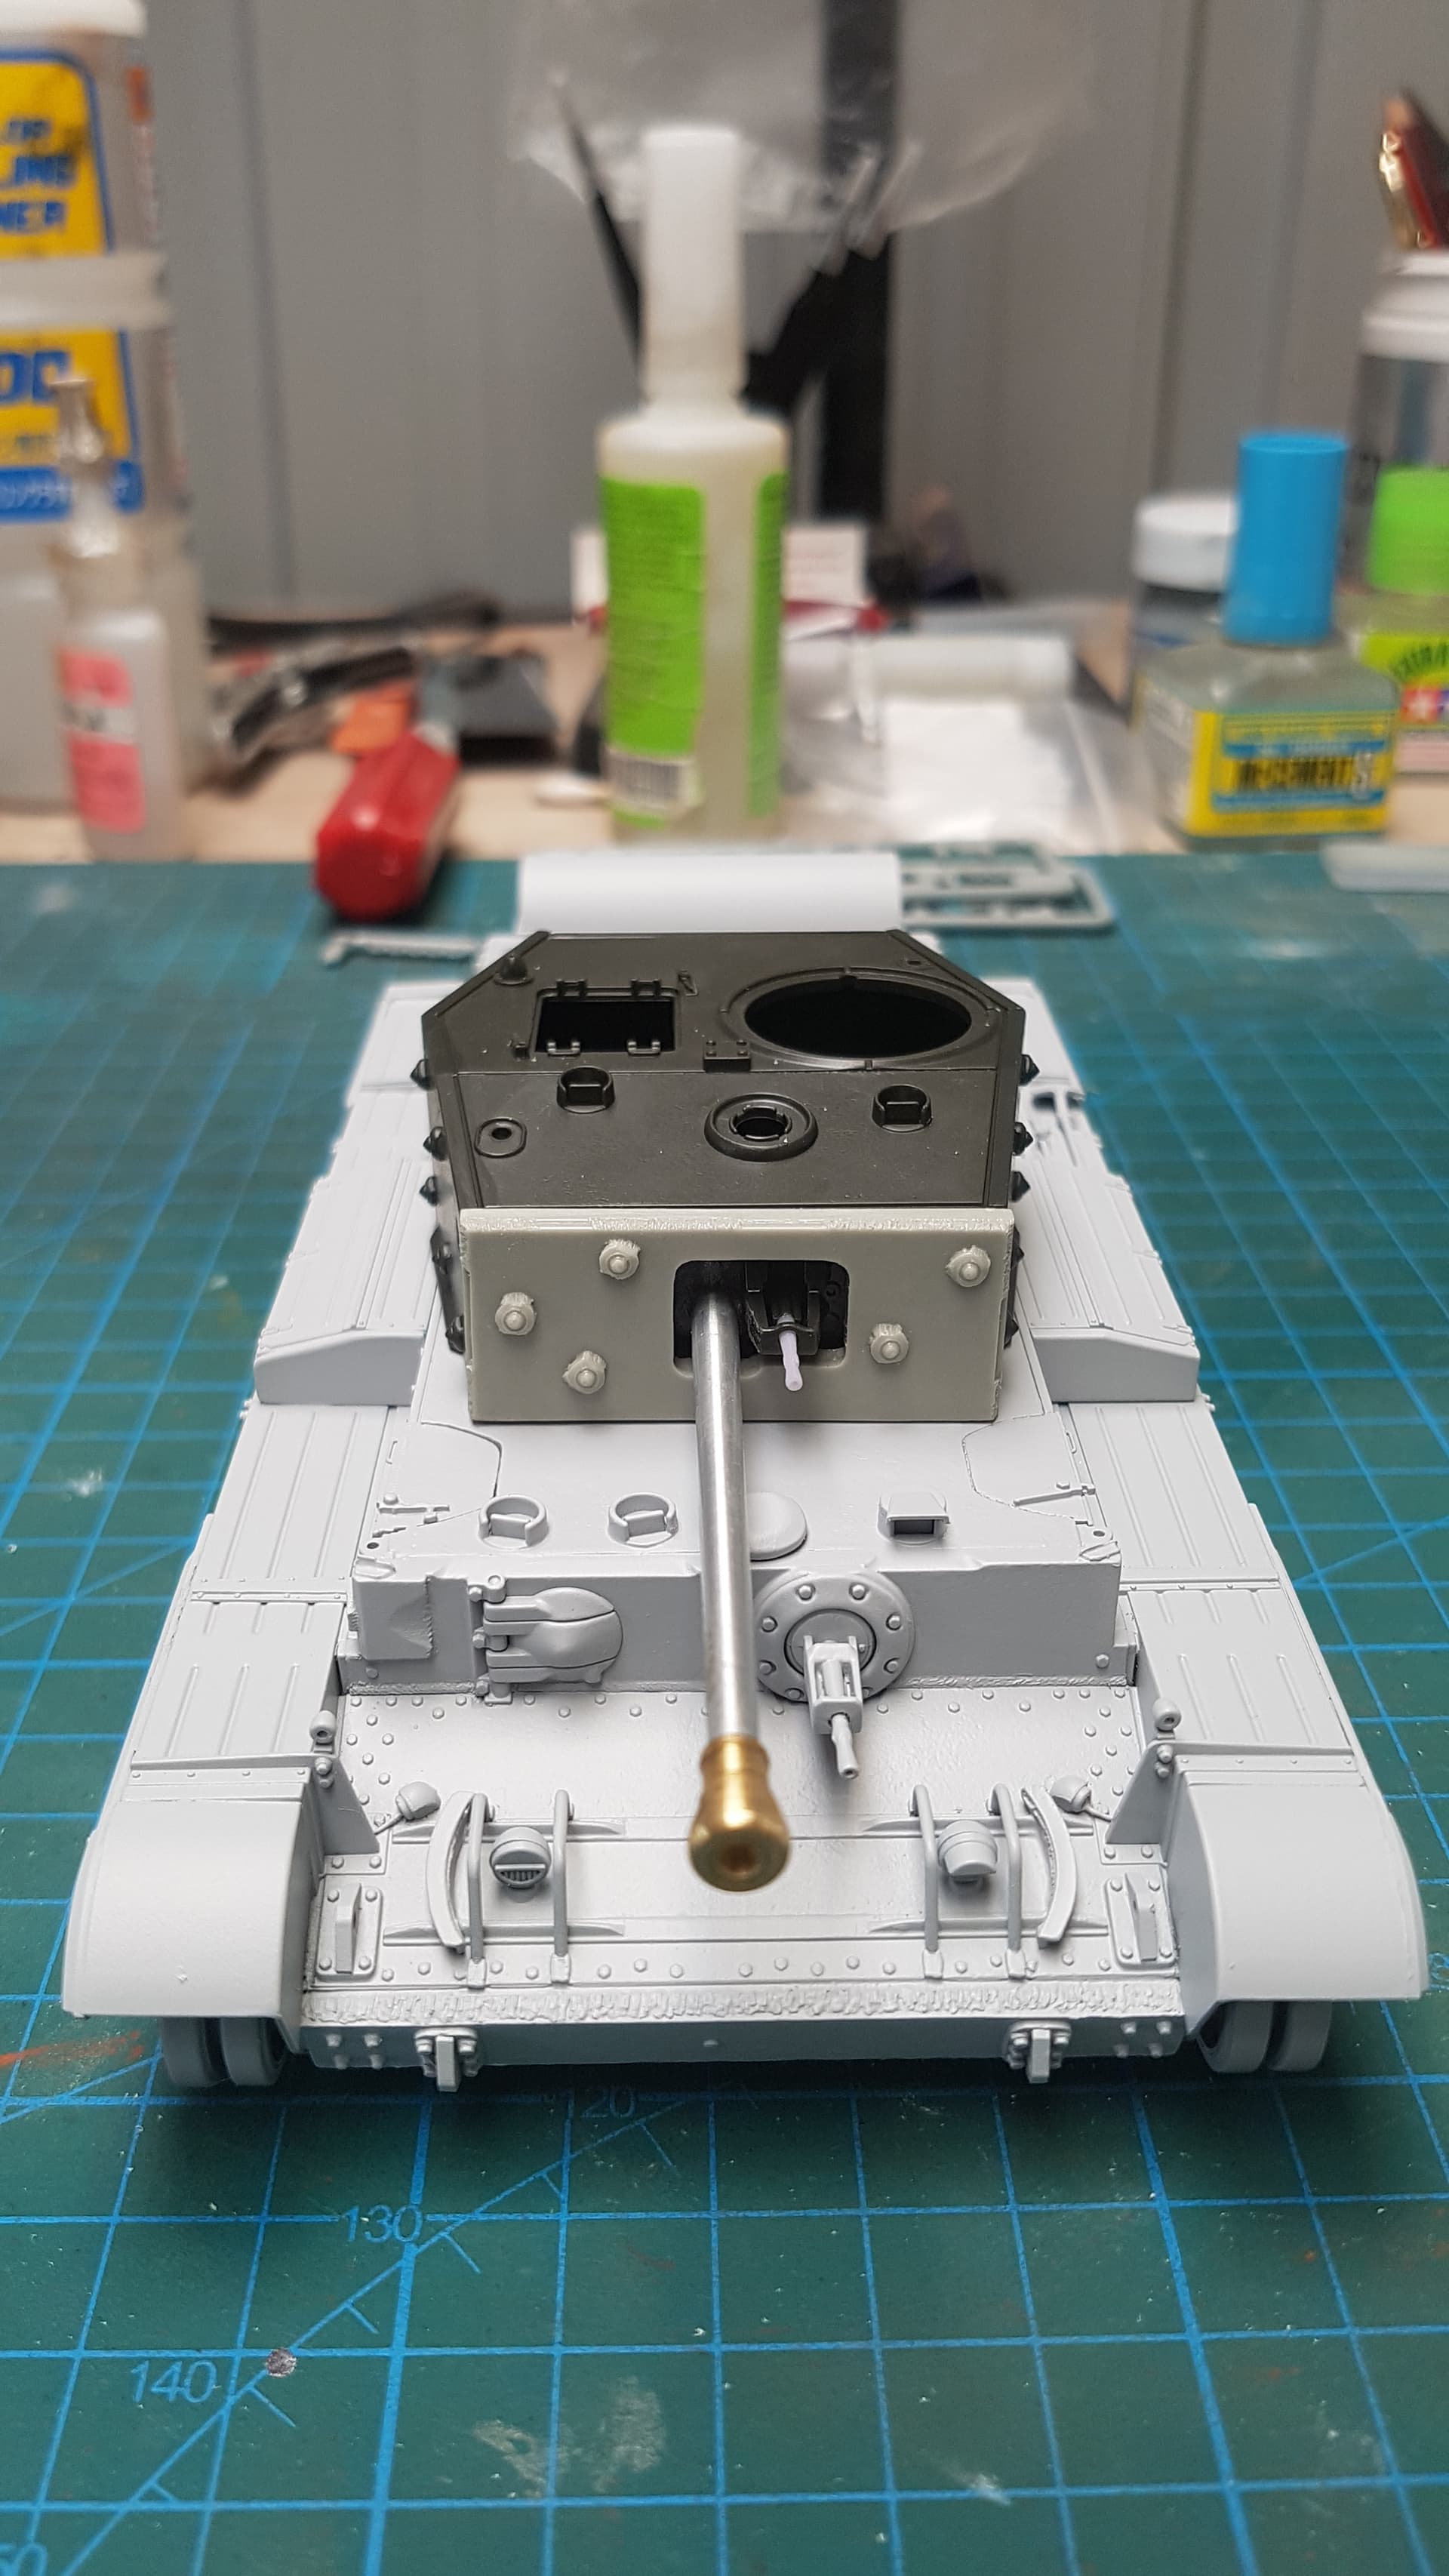
Made some progress on this kit. I will have some bench time this week thanks to bad chainsaw accident at work (25 stitches later).
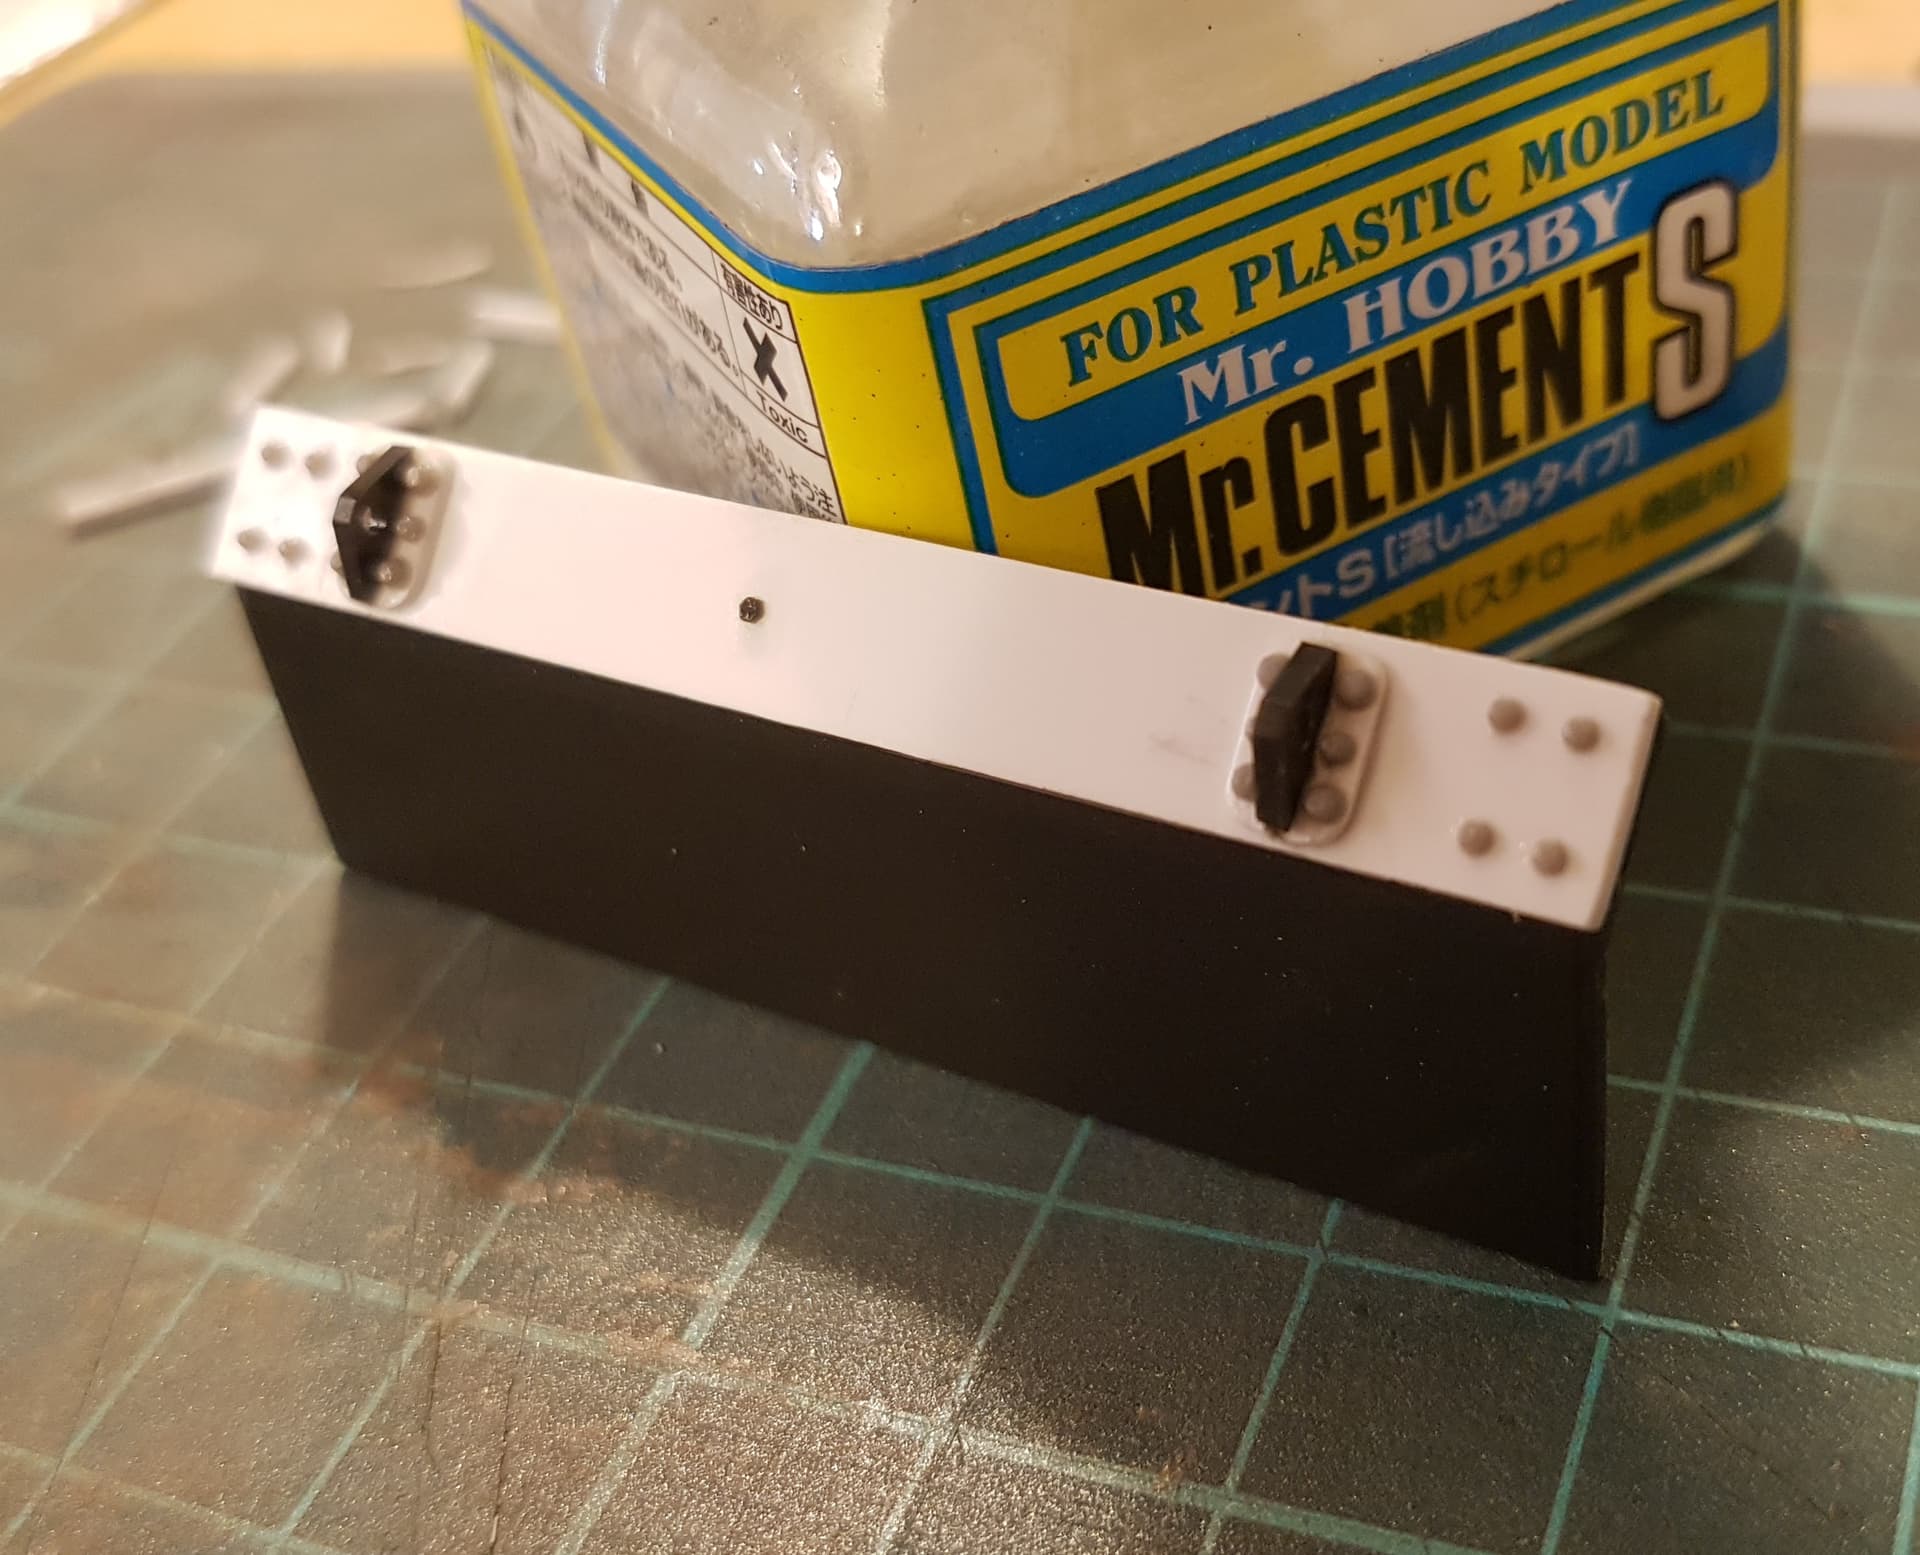
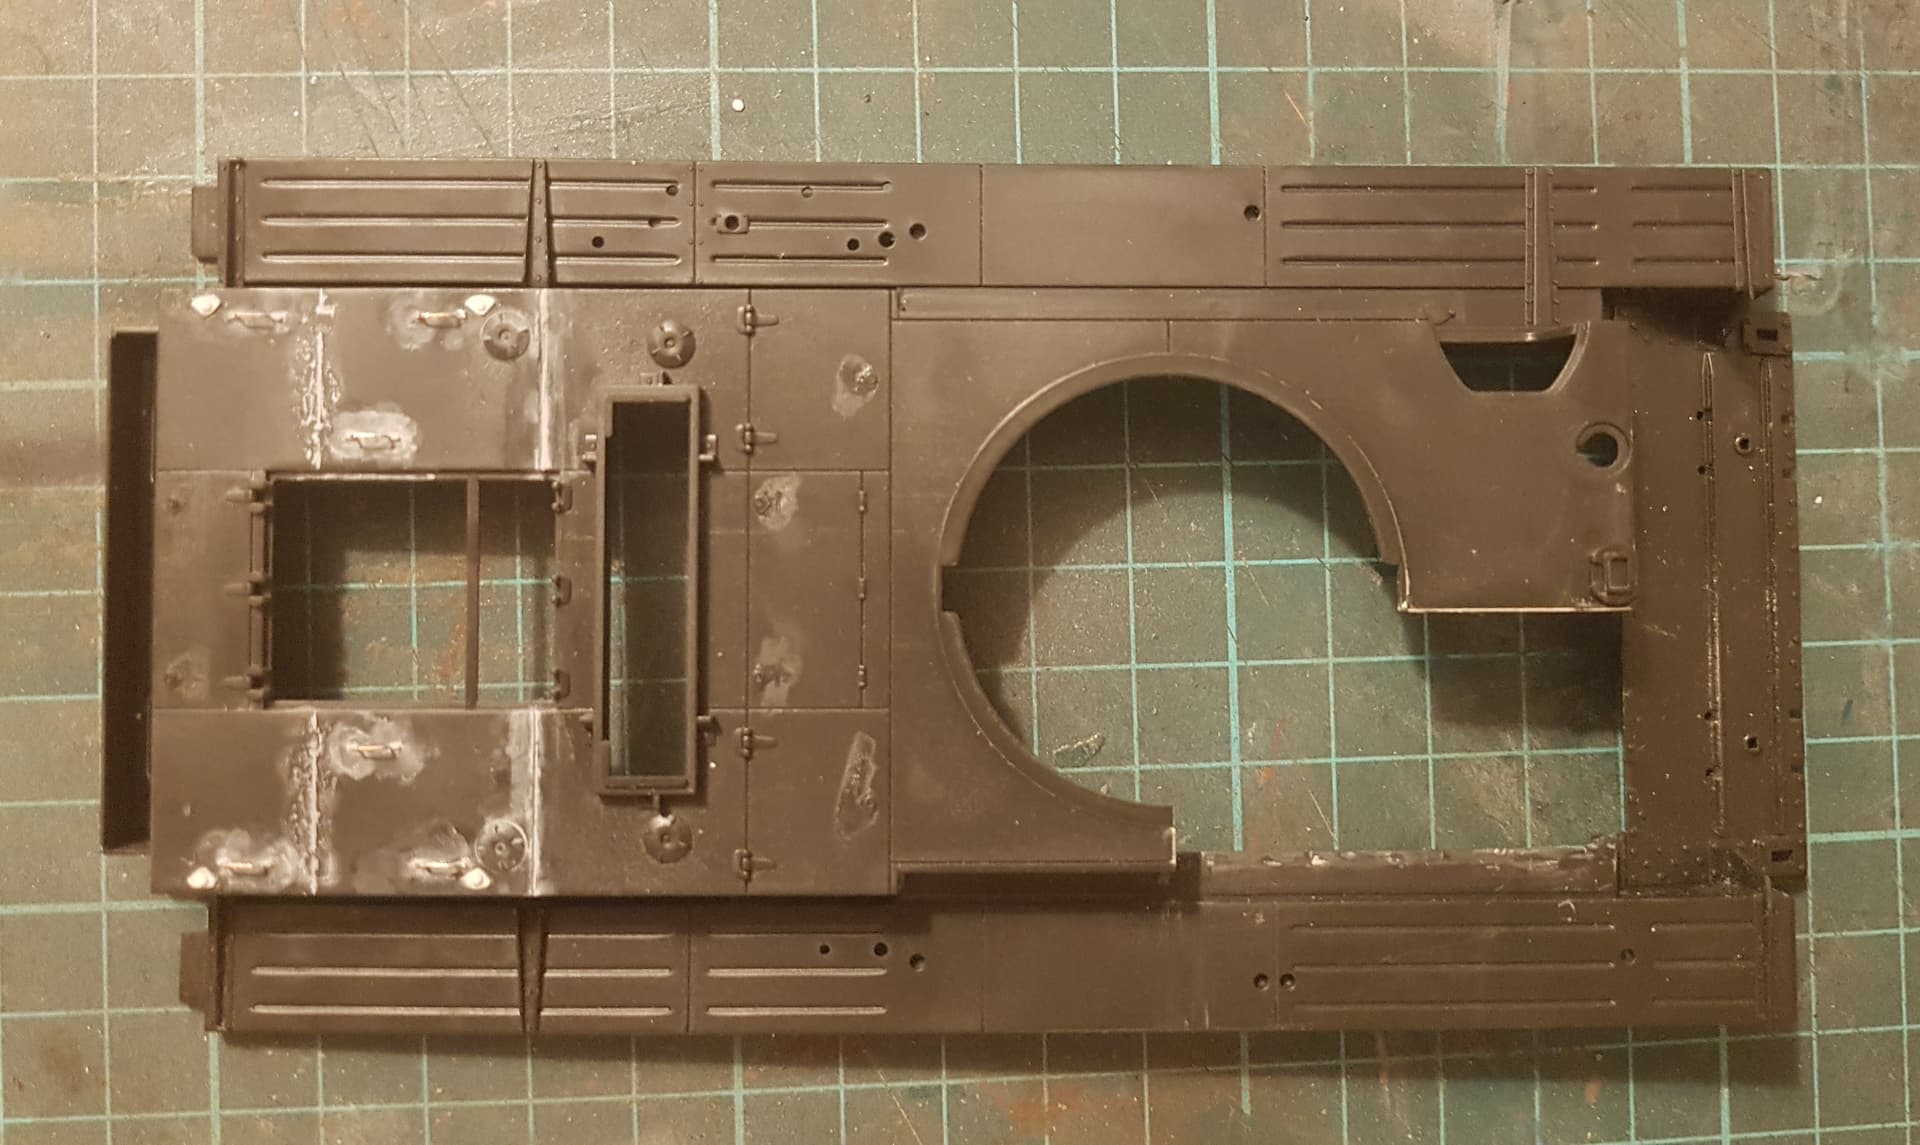
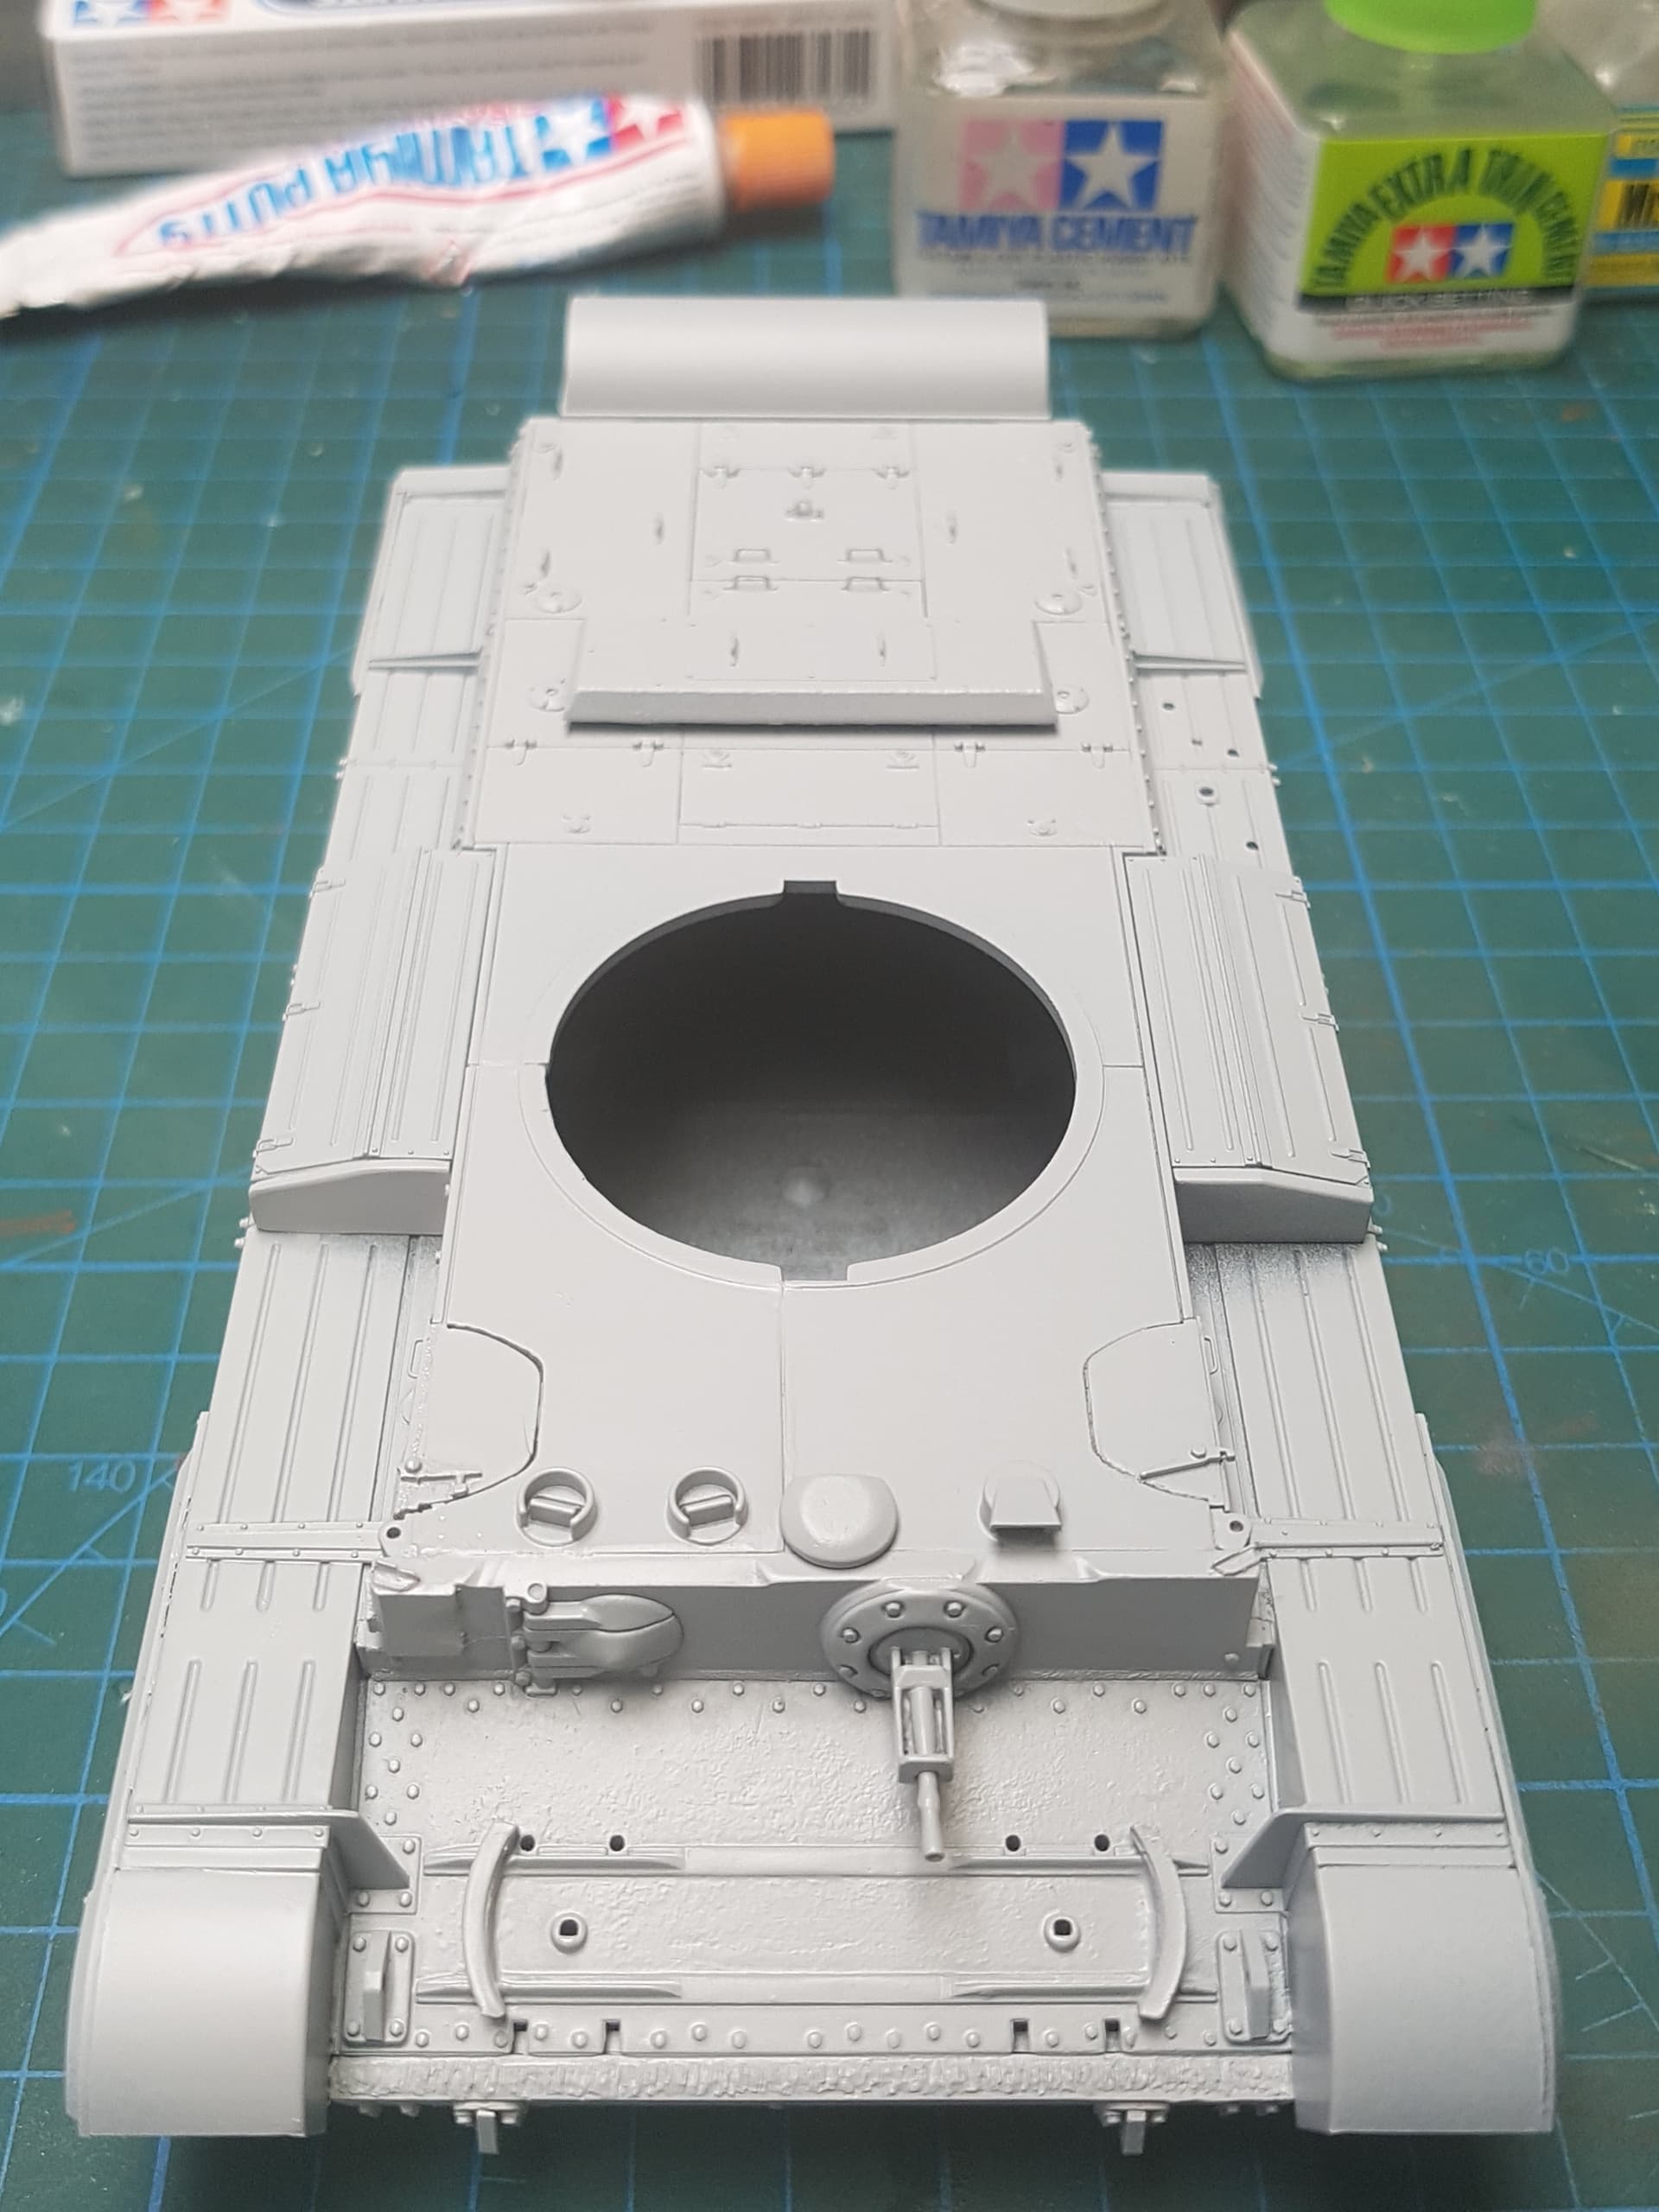
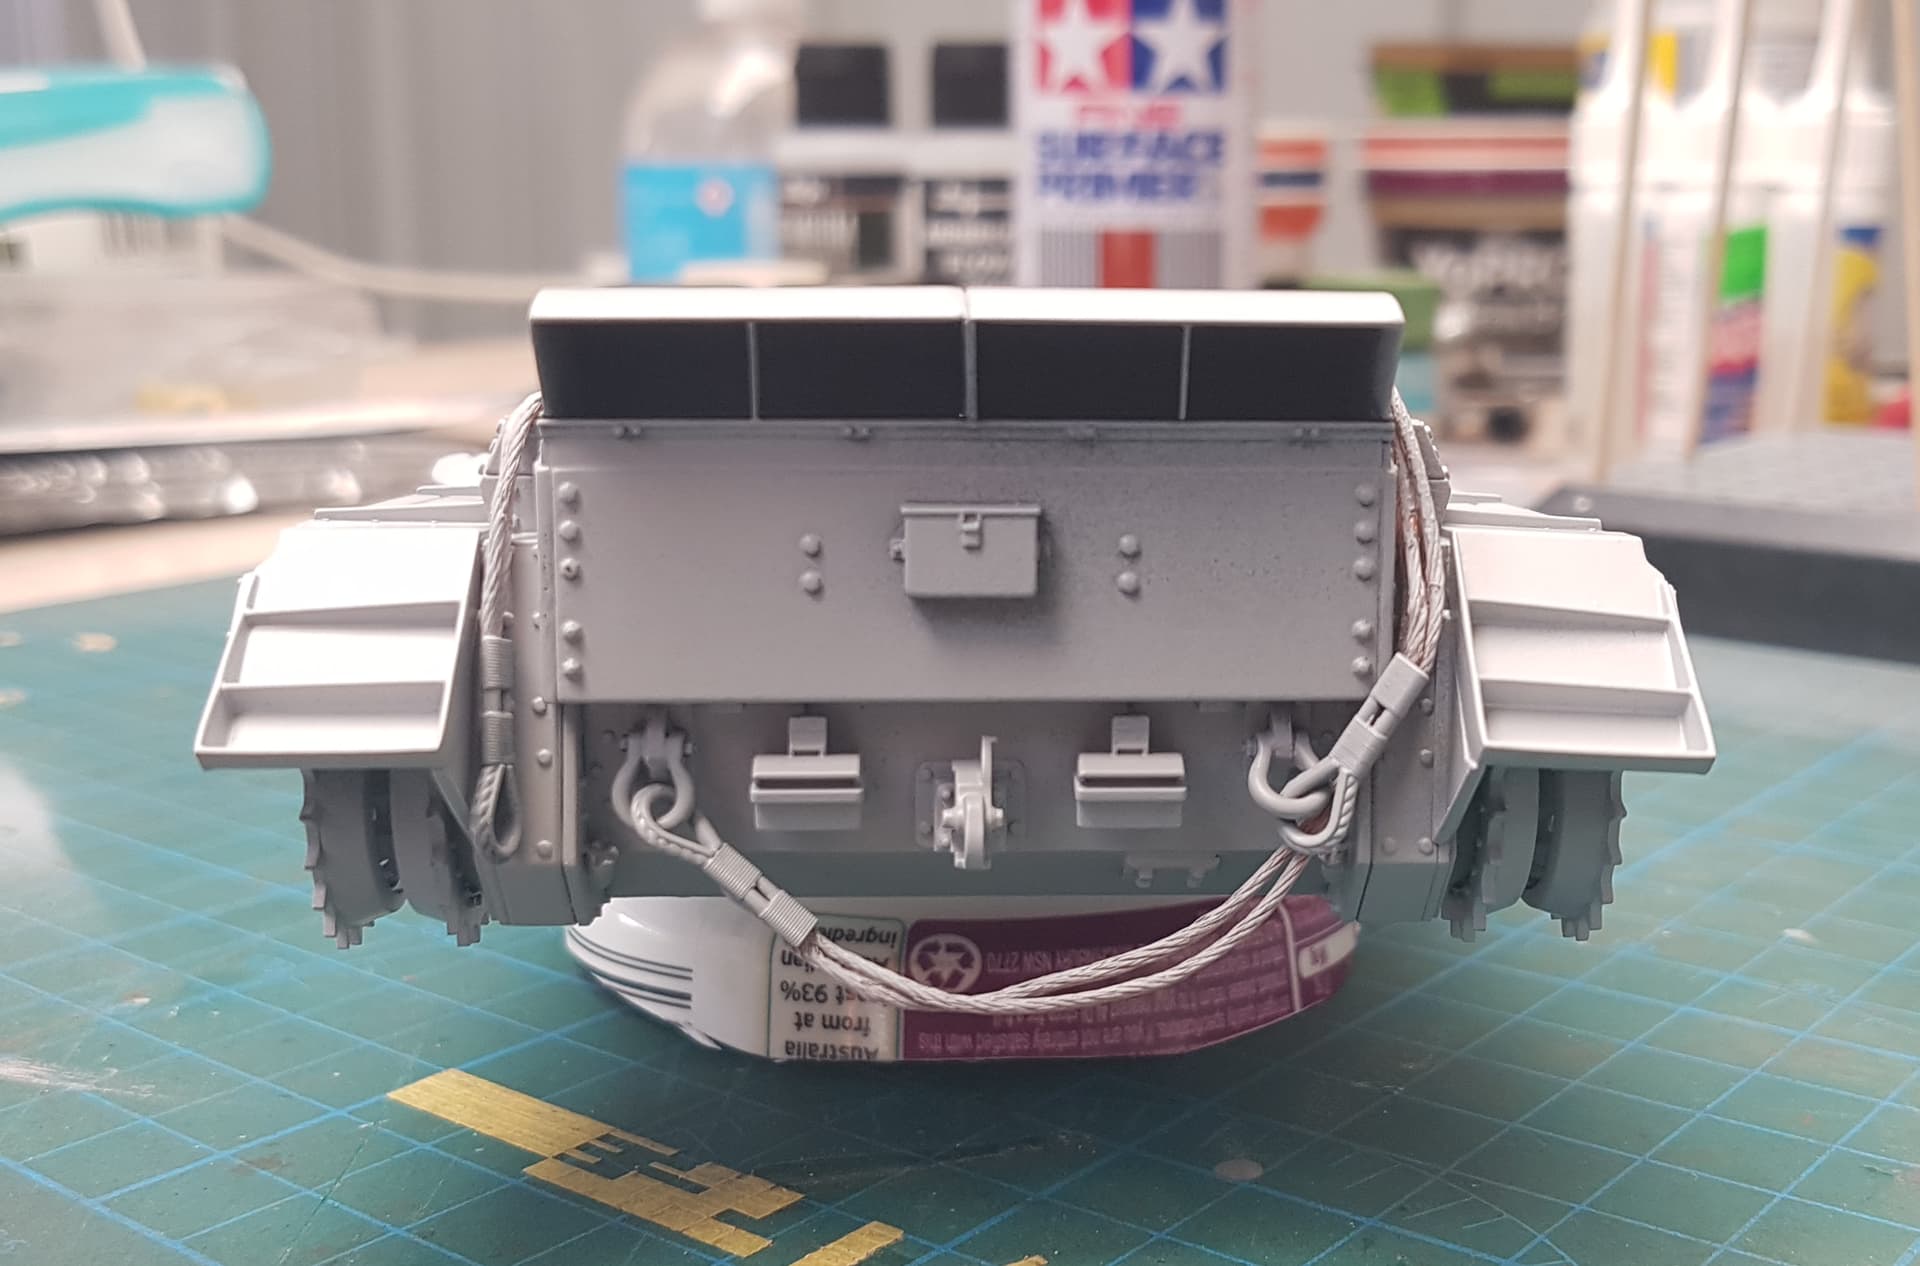
So after stewing over my references, I removed the Normandy cowling and cut it in half. I added the internal supports from sheet stock and reinstalled. I added the tow ropes to the lower hull around the Normandy cowling. I primed the road wheels, lower hull and turret with Tamiya light grey rattle can primer.
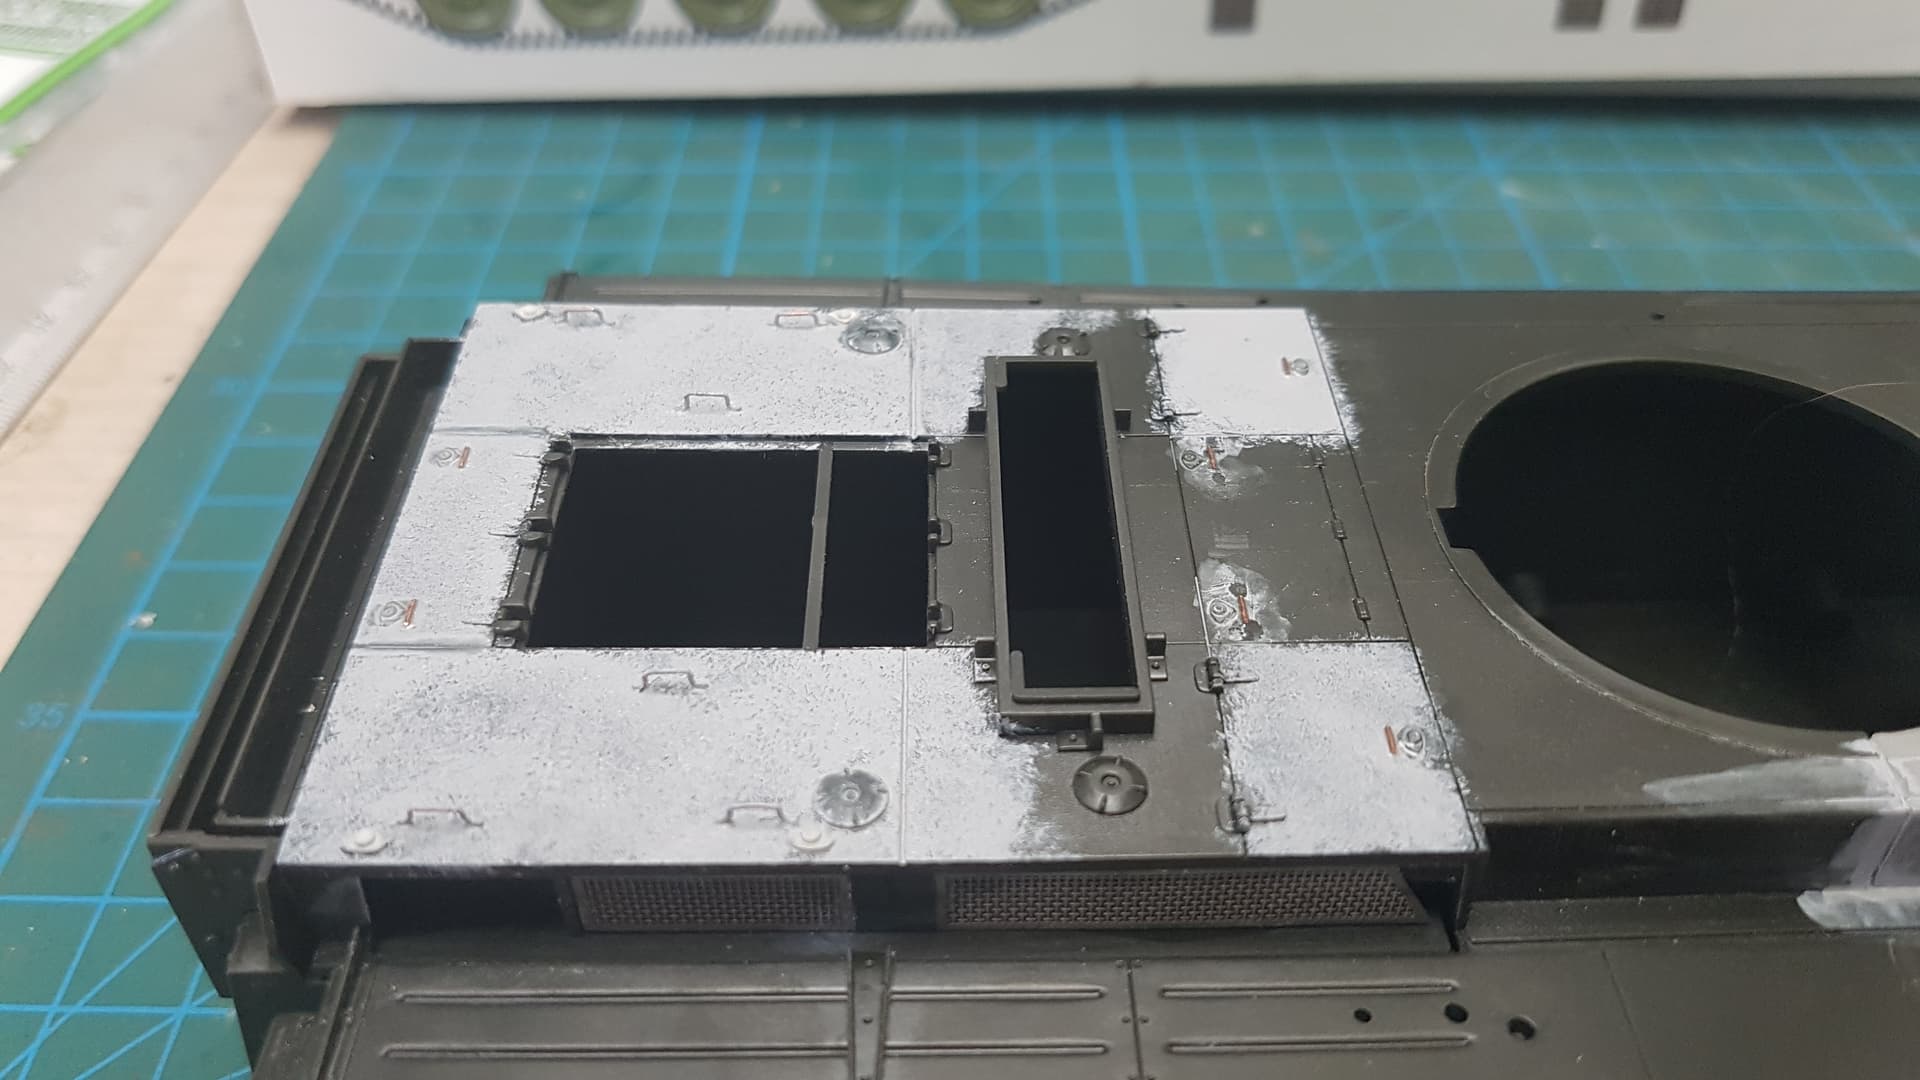
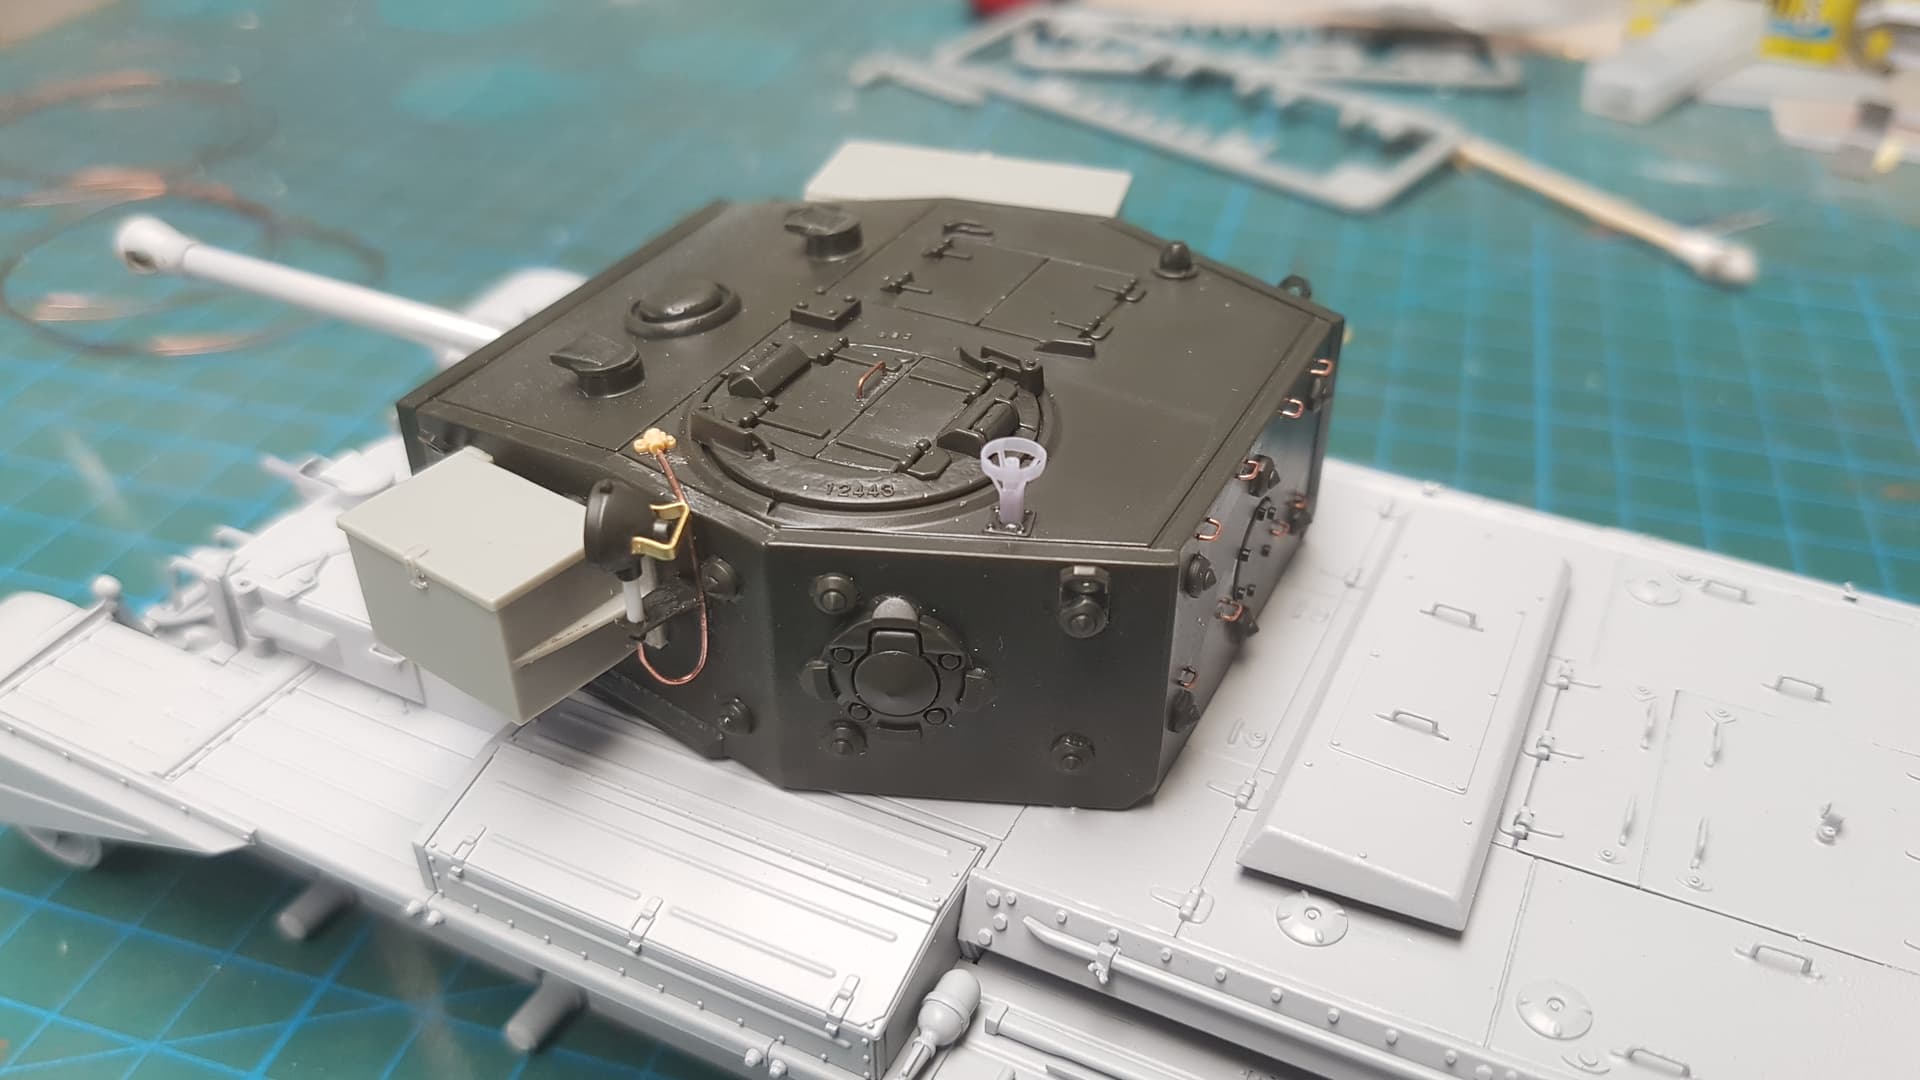
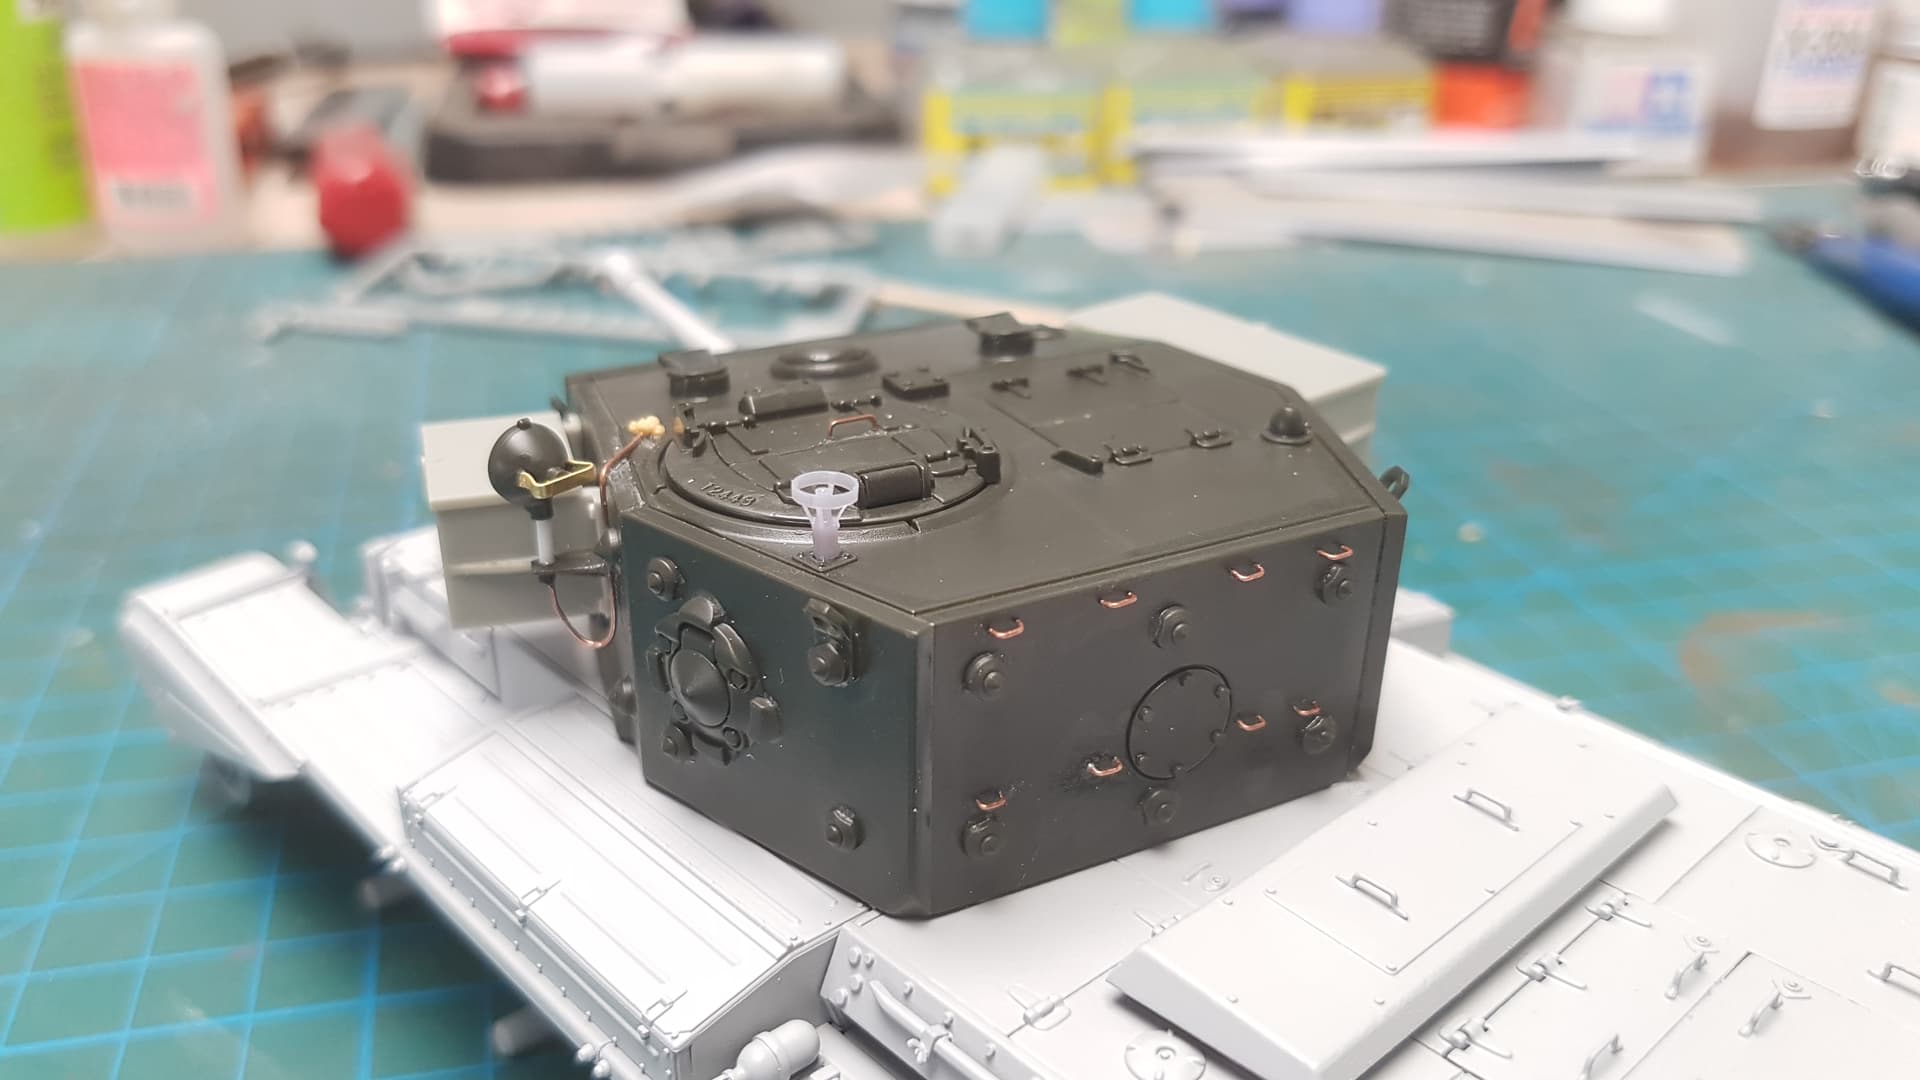
I have hit all the primed parts with AK Interactive’s Real Colours S.C.C No.15 laquer paint. I thinned this with Mr colour levelling thinner and added some paint retarder from Vallejo. I will let these dry for a few days in the tupperware container.
Thanks @JC212. Its been an enjoyable build so far. I may do a bit of colour modulation today. Ah great point, I missed my femoral artery by about 2 cm so am very, very lucky.
That was cutting it AWFULLY close.
My brother almost nicked my eyebrow once, the chain took 4 hairs and a tiny little scratch of skin but yours was worse
Now my rudimentary biological know how tells me the femoral artery is quite close to other important parts of the anatomy… and a part of my anatomy puckers at the thought of that… Glad you are okay.
Ironically that’s what I told the Dr. when he 1st saw me, he didn’t see the light side of it.
Na thankfully it was just above the side of the knee on my inner thigh, like I said, very, very lucky.
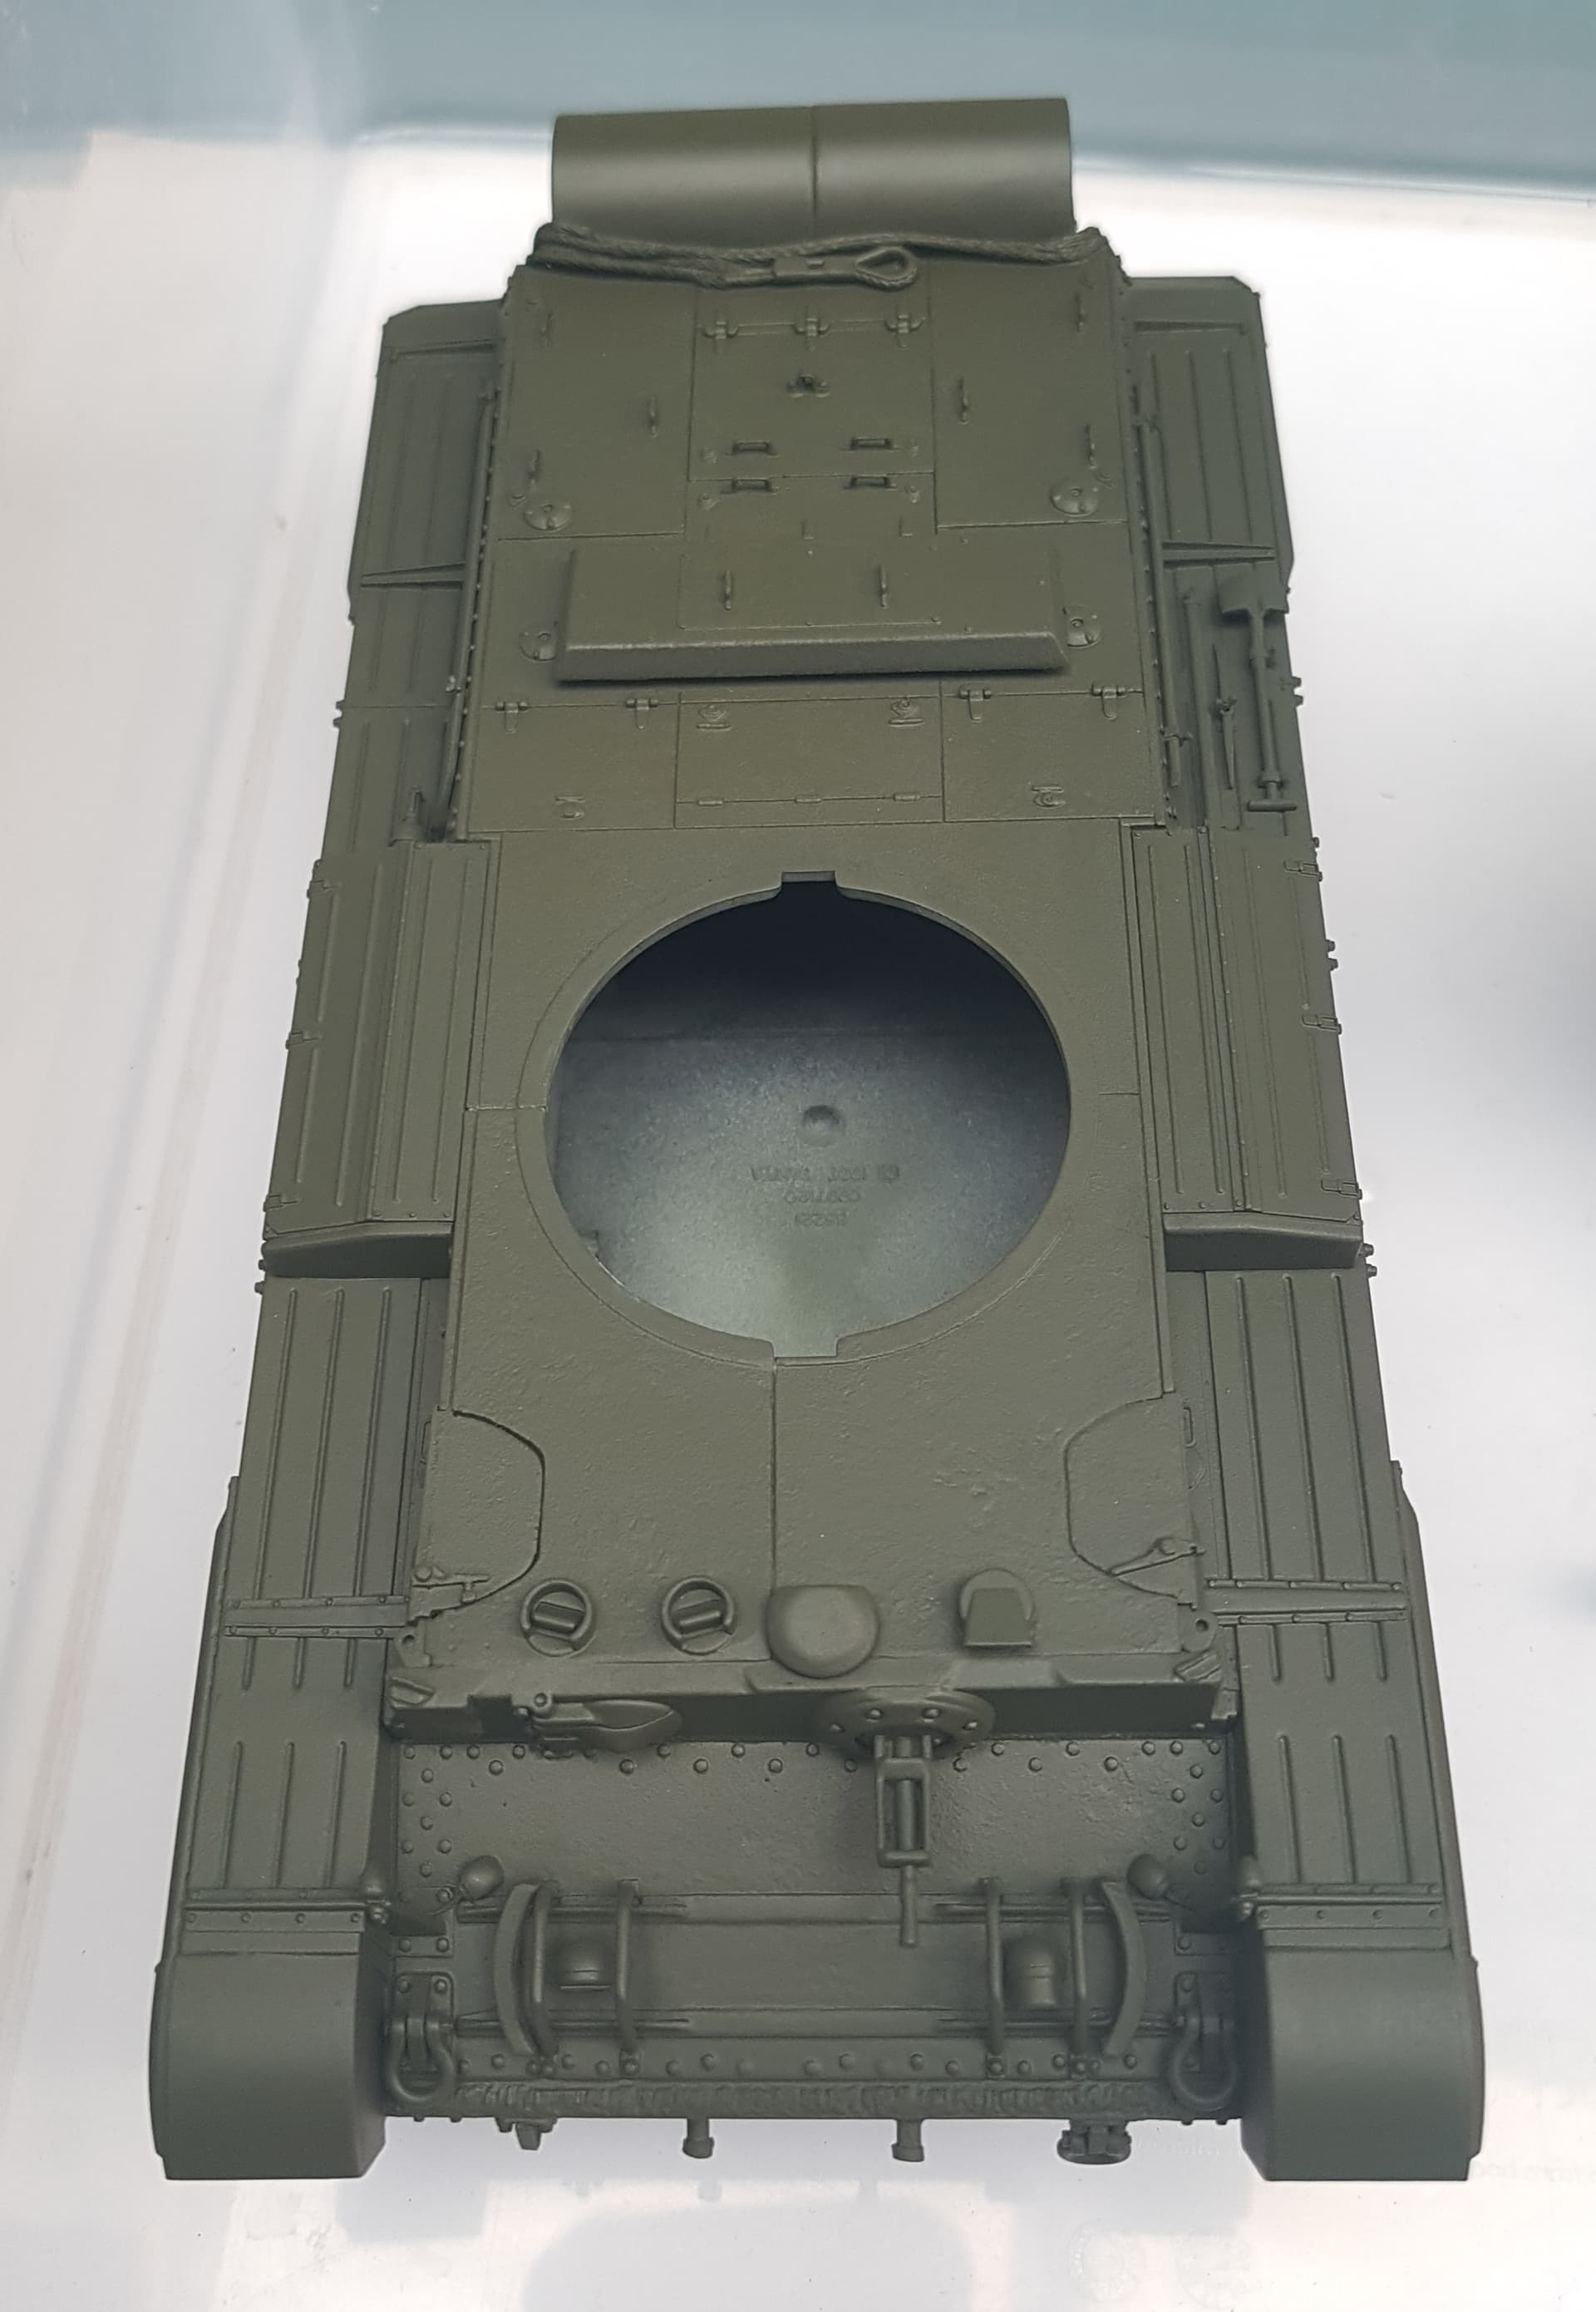
Thank you. I managed to get a bit of fading done using AK Real Colour faded olive drab. I will let this dry and then put a gloss coat all over before decals.
I have this kit and would love to tackle it but too many projects in the pipeline for now. Love the color modulation. Really gives the model depth. I bought a bunch of those AK RC but have not tried them yet. They look excellent, any problem spraying them ??
They are great kits. There are a few details lacking but it is an easy fix. I have another Cromwell and a Centaur in the stash for future projects too. The AK RC paints went down really well. I thinned them with about 60% Mr colour levelling thinner and added a few drops of paint retarder due to the temperature and dry heat when I sprayed. This was a test and the 1st time I’ve used them, but I will be buying more of these!
Thanks @Armorsmith. I think I will have minimal stowage on the vehicle so not to hide all the modifications I’ve made and to show the paint finish…if it turns out well in the end.lol
 . So guess this isn’t going to be an OOB build lol. Ah well, time to work on my diorama while i wait for these to arrive.