Did the same thing on my archer! It works a treat doesn’t it?
Much faster and no nasty ends to deal with
Did the same thing on my archer! It works a treat doesn’t it?
Much faster and no nasty ends to deal with
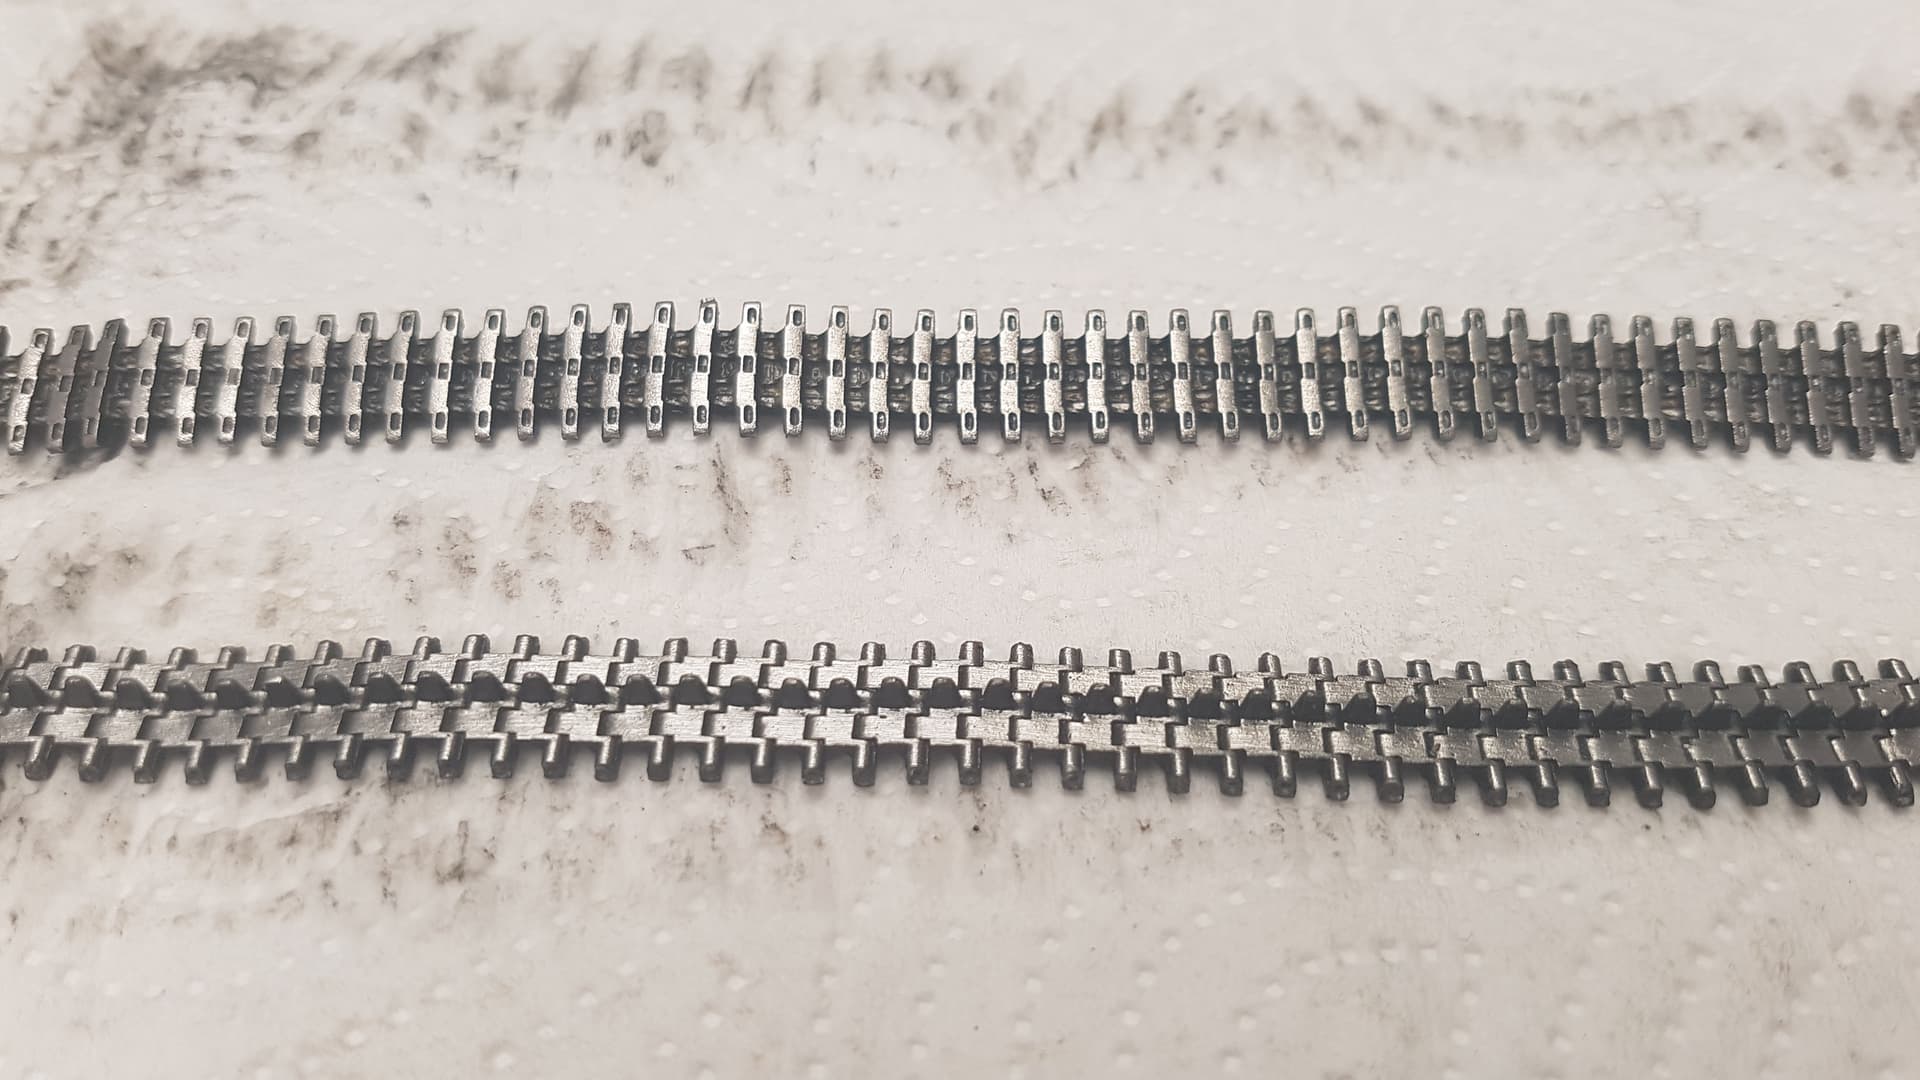
@Mead93 its so much quicker!! And neater! I tried both ways and have commited to doing them this way now. The tracks go together really well and the wire is quite strong. I have assembled about 40 links as a test and they wrap around the drive sprocket perfectly!
I think my track building speed nearly doubled once o found reference to this method online!
Builds looking great! I’m a sucker for British armor.
Yeah this is definitely going to speed my future metal track link construction a lot quicker. Less tedious and more enjoyable now may I say. I have a few packets of Churchill tracks from the same company and I can highly recommend them!
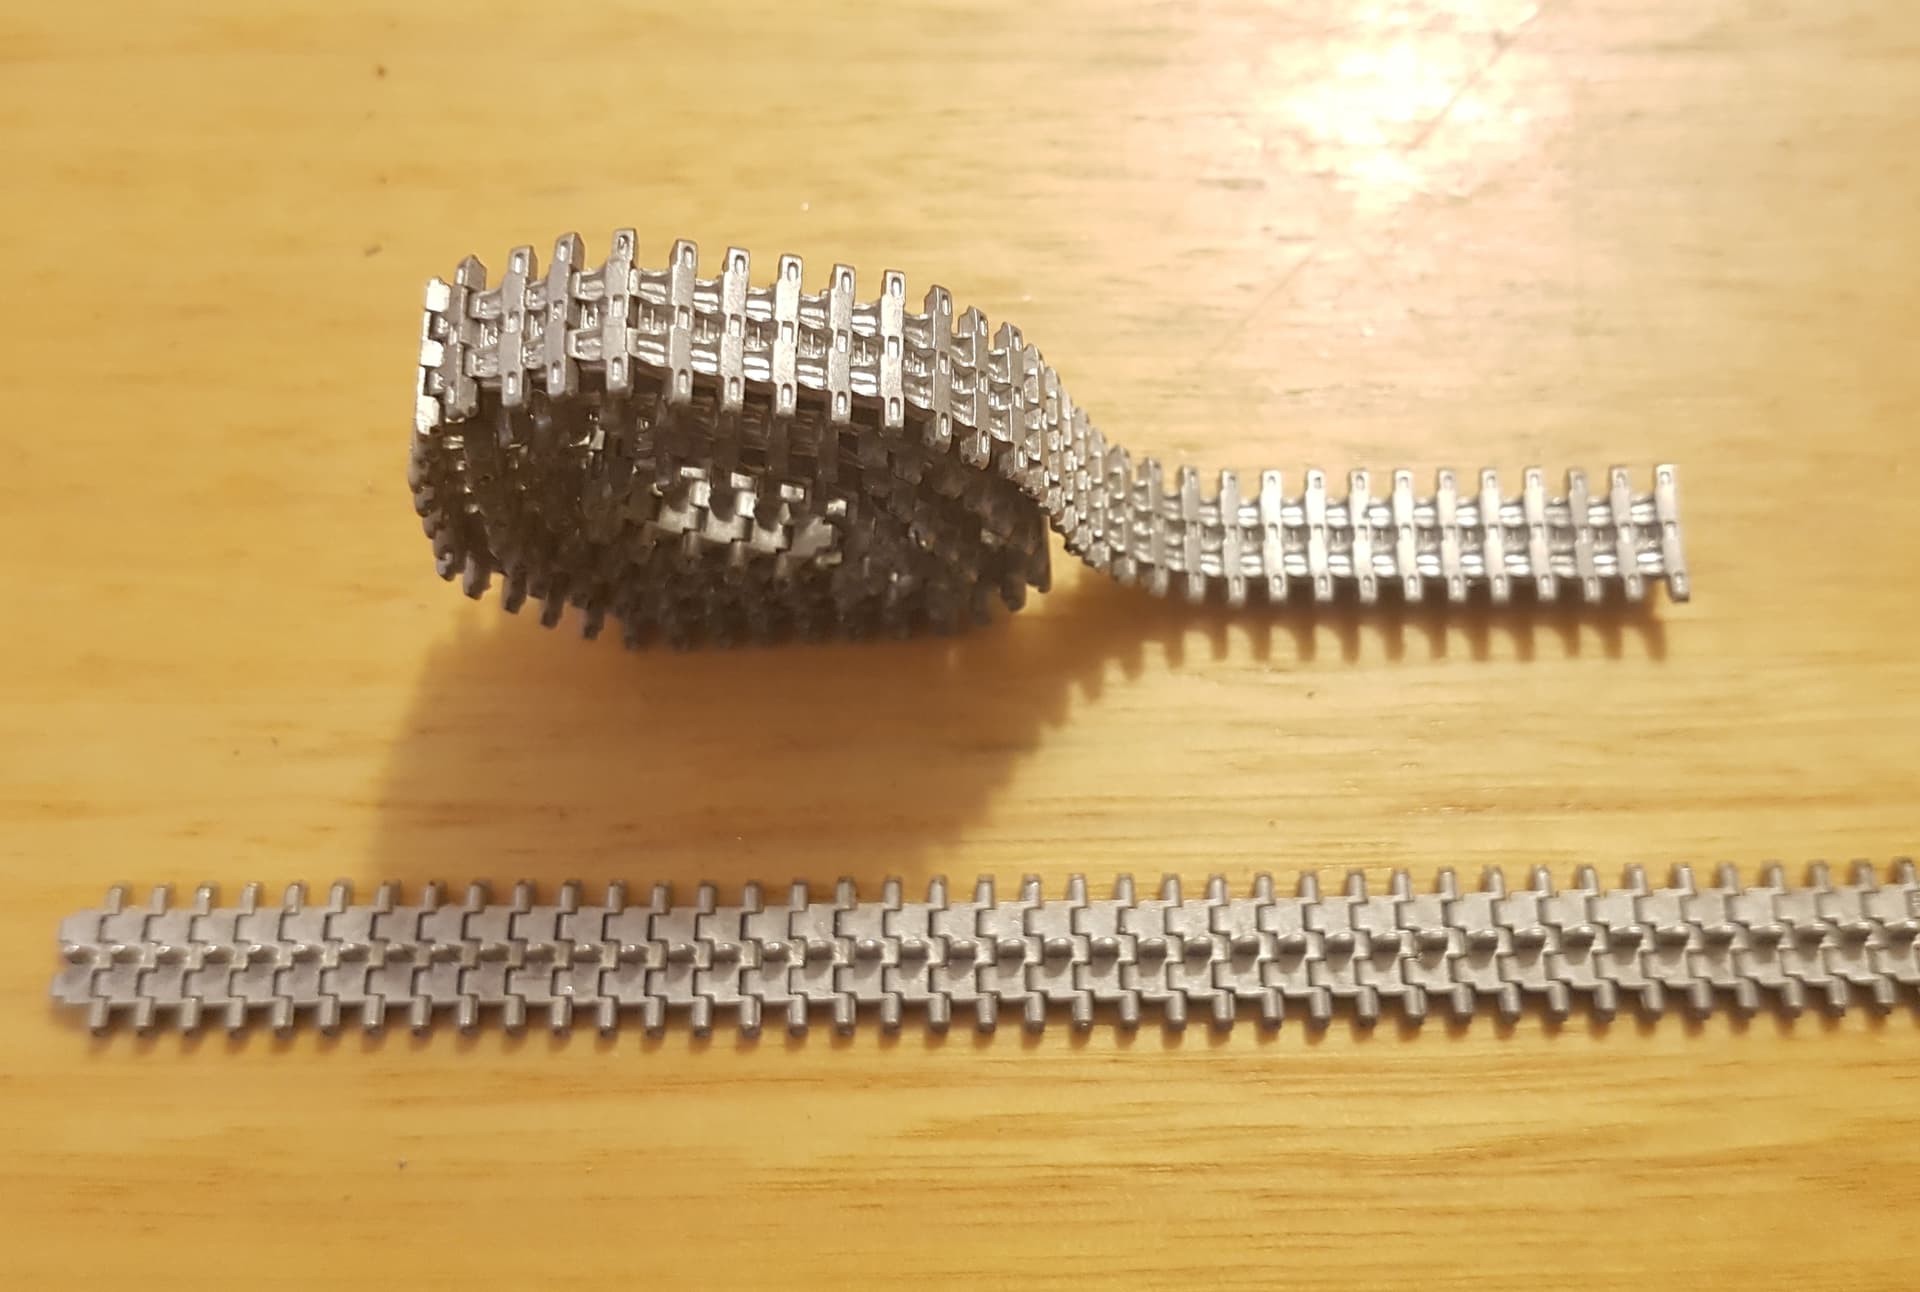
I have made one length up of 121 links. I test fitted these and 120 was too tight and didnt touch the road wheels, 121 is just perfect and touched the 3 inner road wheels. I started the 2nd length and my drill bit for clearing the link holes snapped…have ordered some new ones. Will need to wait a week or so for them to be delivered.
EDIT: I FOUND A RIGHT SIZE DRILL BIT HIDDEN AWAY AND CAN CONTINUE!
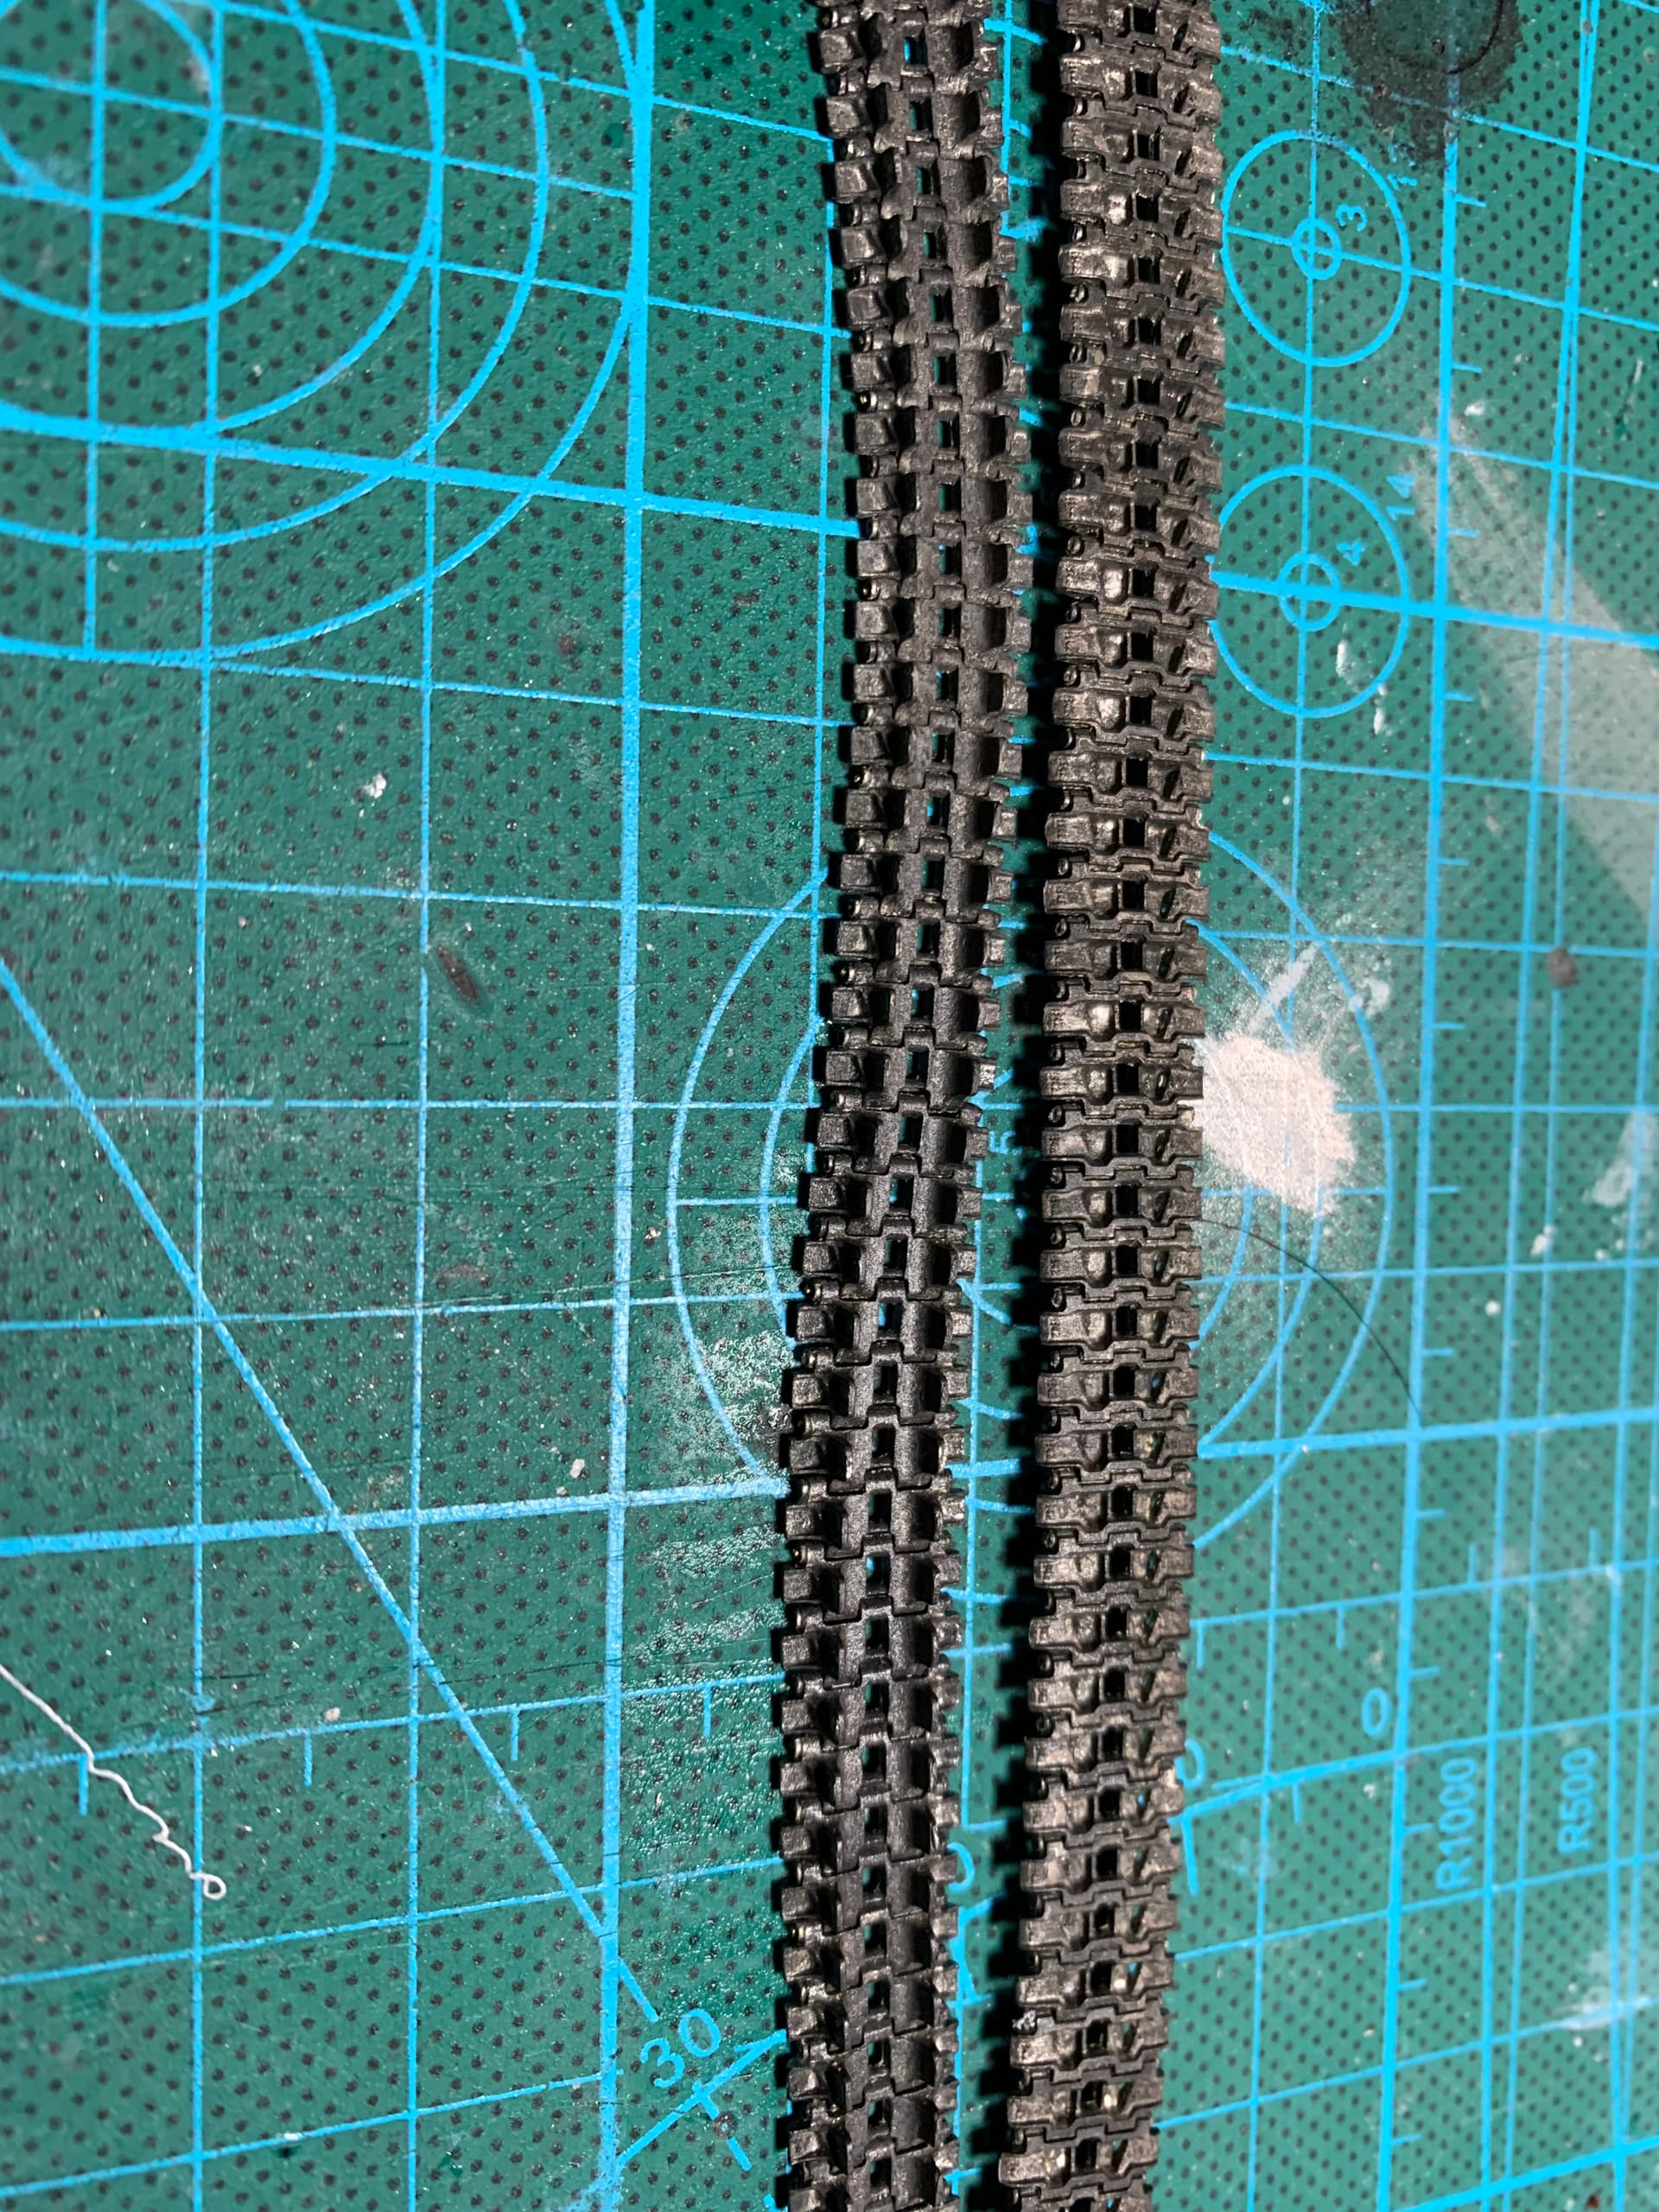
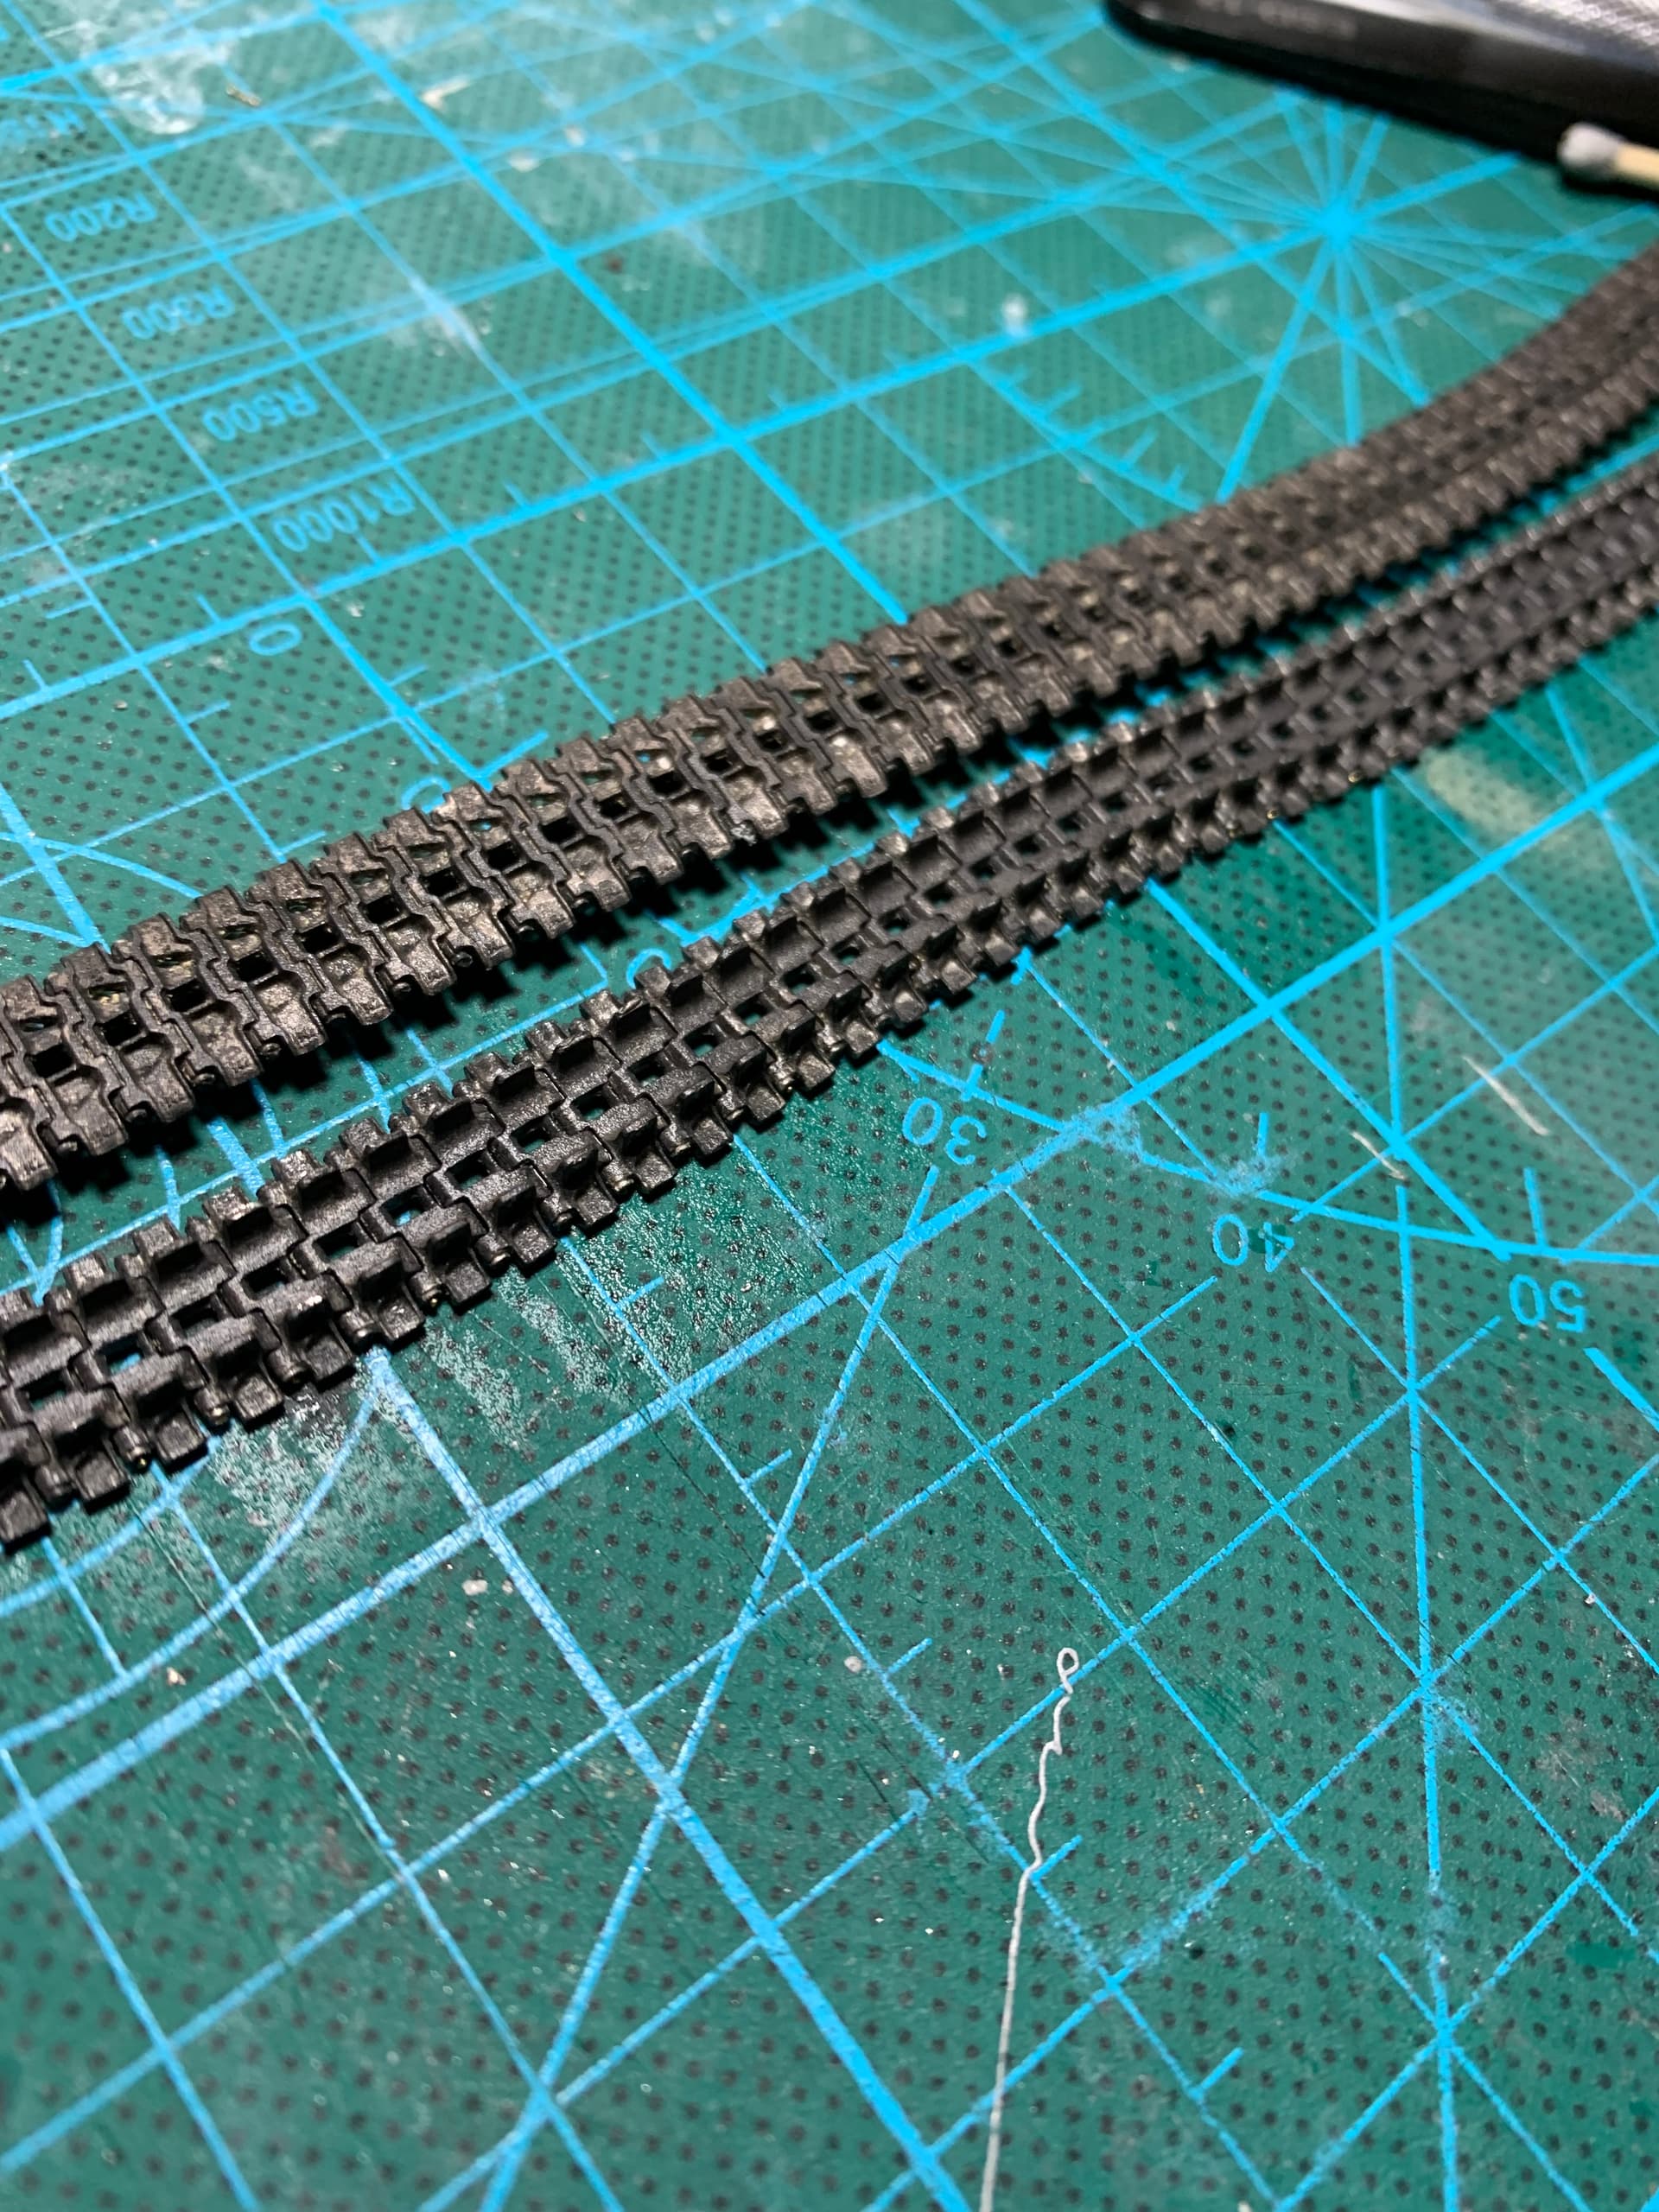
The 2nd length of tracks fell together very quickly and easily. I assembled 5 x 20 track links and 1 x 21 track links then put the smaller lengths into 1 bigger length. This made assembly a bit easier. I will let these dry for a while, I have VMS Black Track Pro 2.0 that I will test on the few links that didn’t work out for me. I want to see how it reacts with the links and super glue. I’ve never used a track blackening fluid before so any hints or tips are greatly appreciated.
Looking good! I just did my first track blackening myself. It was fairly straightforward! A couple tips
safety PSA. Where gloves, blackening solutions are usually strong acids that cause rust to form (the black is a special form of rust) and are usually caustic
not sure if this happens with all solutions but in addition to blackening my tracks also developed a chalky residue. Scrubbing with a tooth brush after blackening was necessary.
once they are as dark as you want, immediately rinse with water. It will stop the reaction and they won’t get any darker.
Aside from that, just dunk them in and then keep an eye on them. Mine took about 15 minutes to get to the color I wanted. I was very happy with the result. Very natural finish
@Mead93 they look amazing!!. Thank you very much for the hints and advice. I will definitely take it on board. May I ask what blackening fluid you used and track brand?
I have watched and will rewatch the VMS YouTube video regarding the blackening fluid before I attempt this process.
Also same with the pigments. I have been looking at reference pics and the flat lower hull sides may not hold much mud. Im trying to decide how much weathering I want to have and look realistic.
No worries! I used Bircheood casey super blue for gun bluing, tracks were Friul. The superglue won’t react with the fluid at all, so a quick touch up of iron colored paint on the glue may be required.
Currently researching weathering for my archer myself.
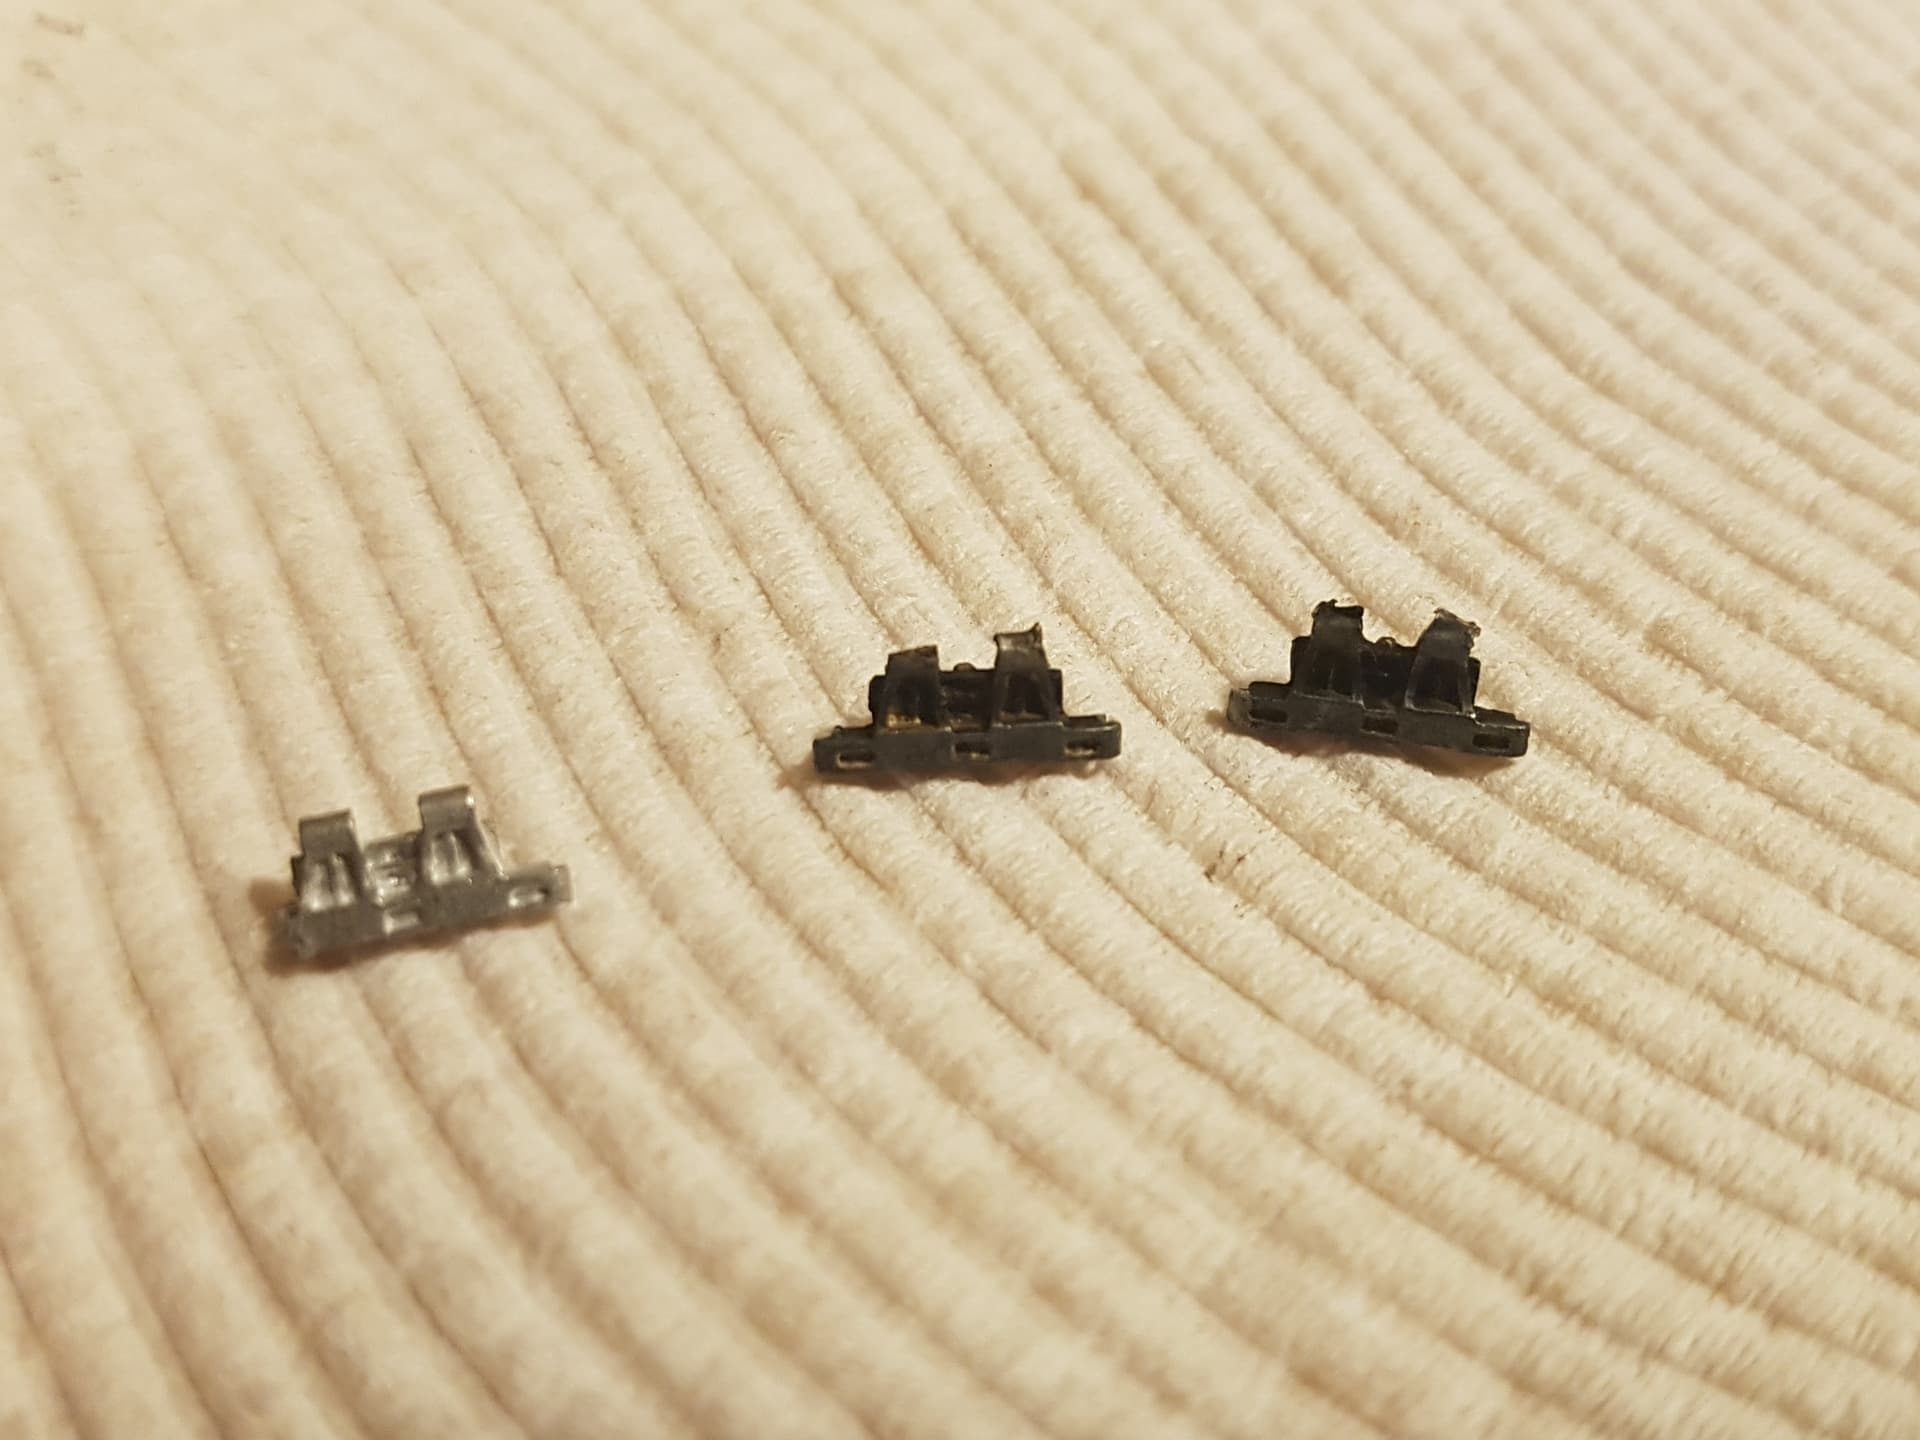
Not the best photo sorry, but I did a test of the track blackening fluid on a few damaged links that didnt work out for me.
On the left is a link straight out of the packet, in the middle is a blackened link, the right one is a blackened link with quick scrub to reveal some “worn” metal.
I am very happy with the test results!
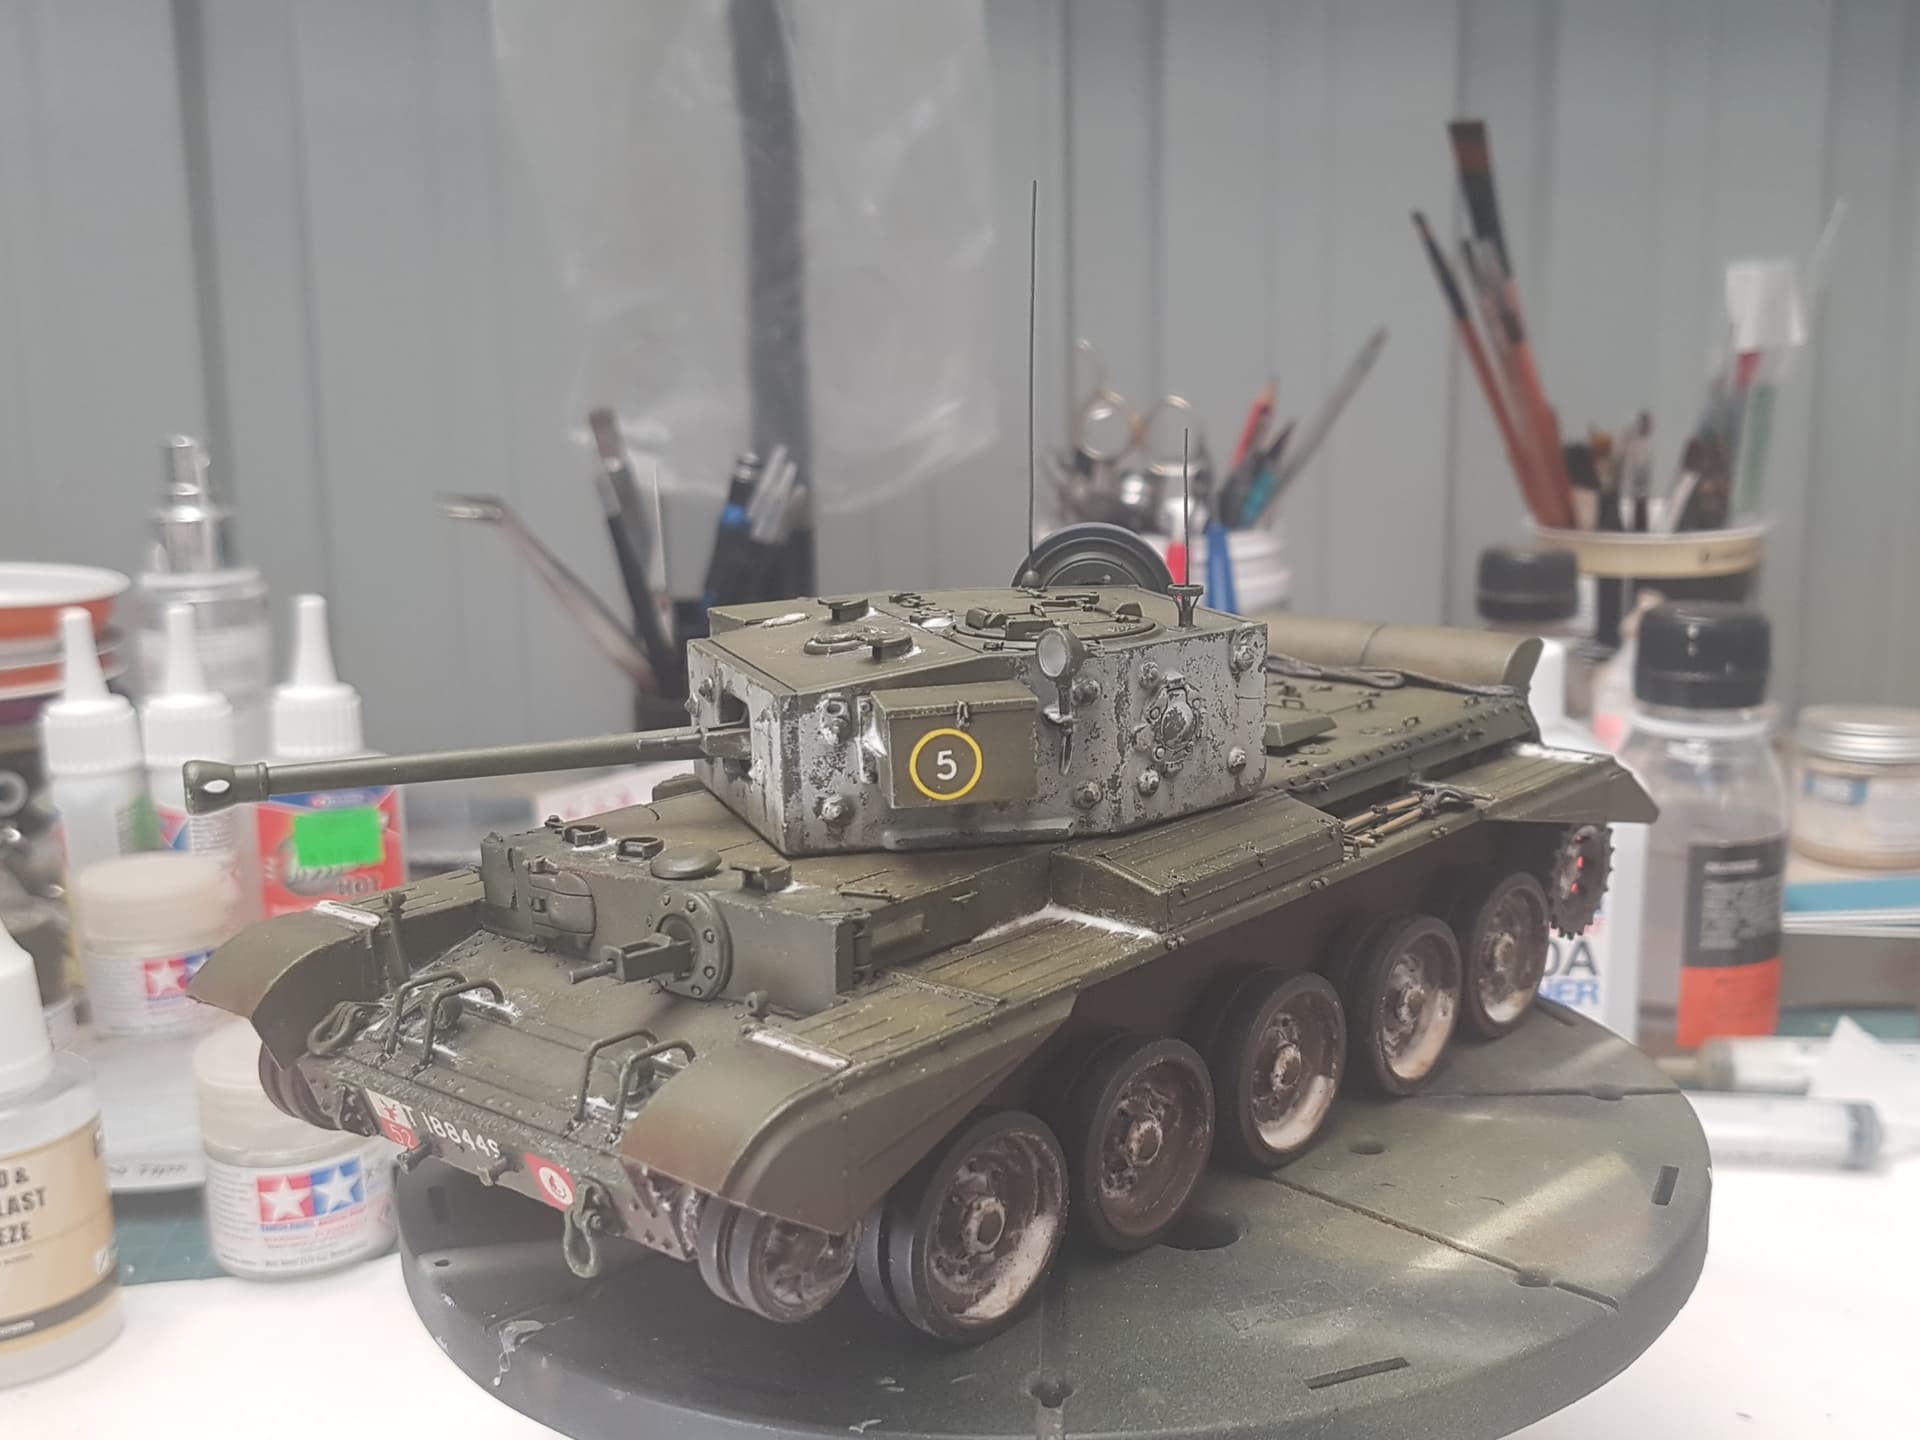
Tracks have been blackened and burnished. They came up really well I think. They are going to get some dusting and weathering (snow) before installation.
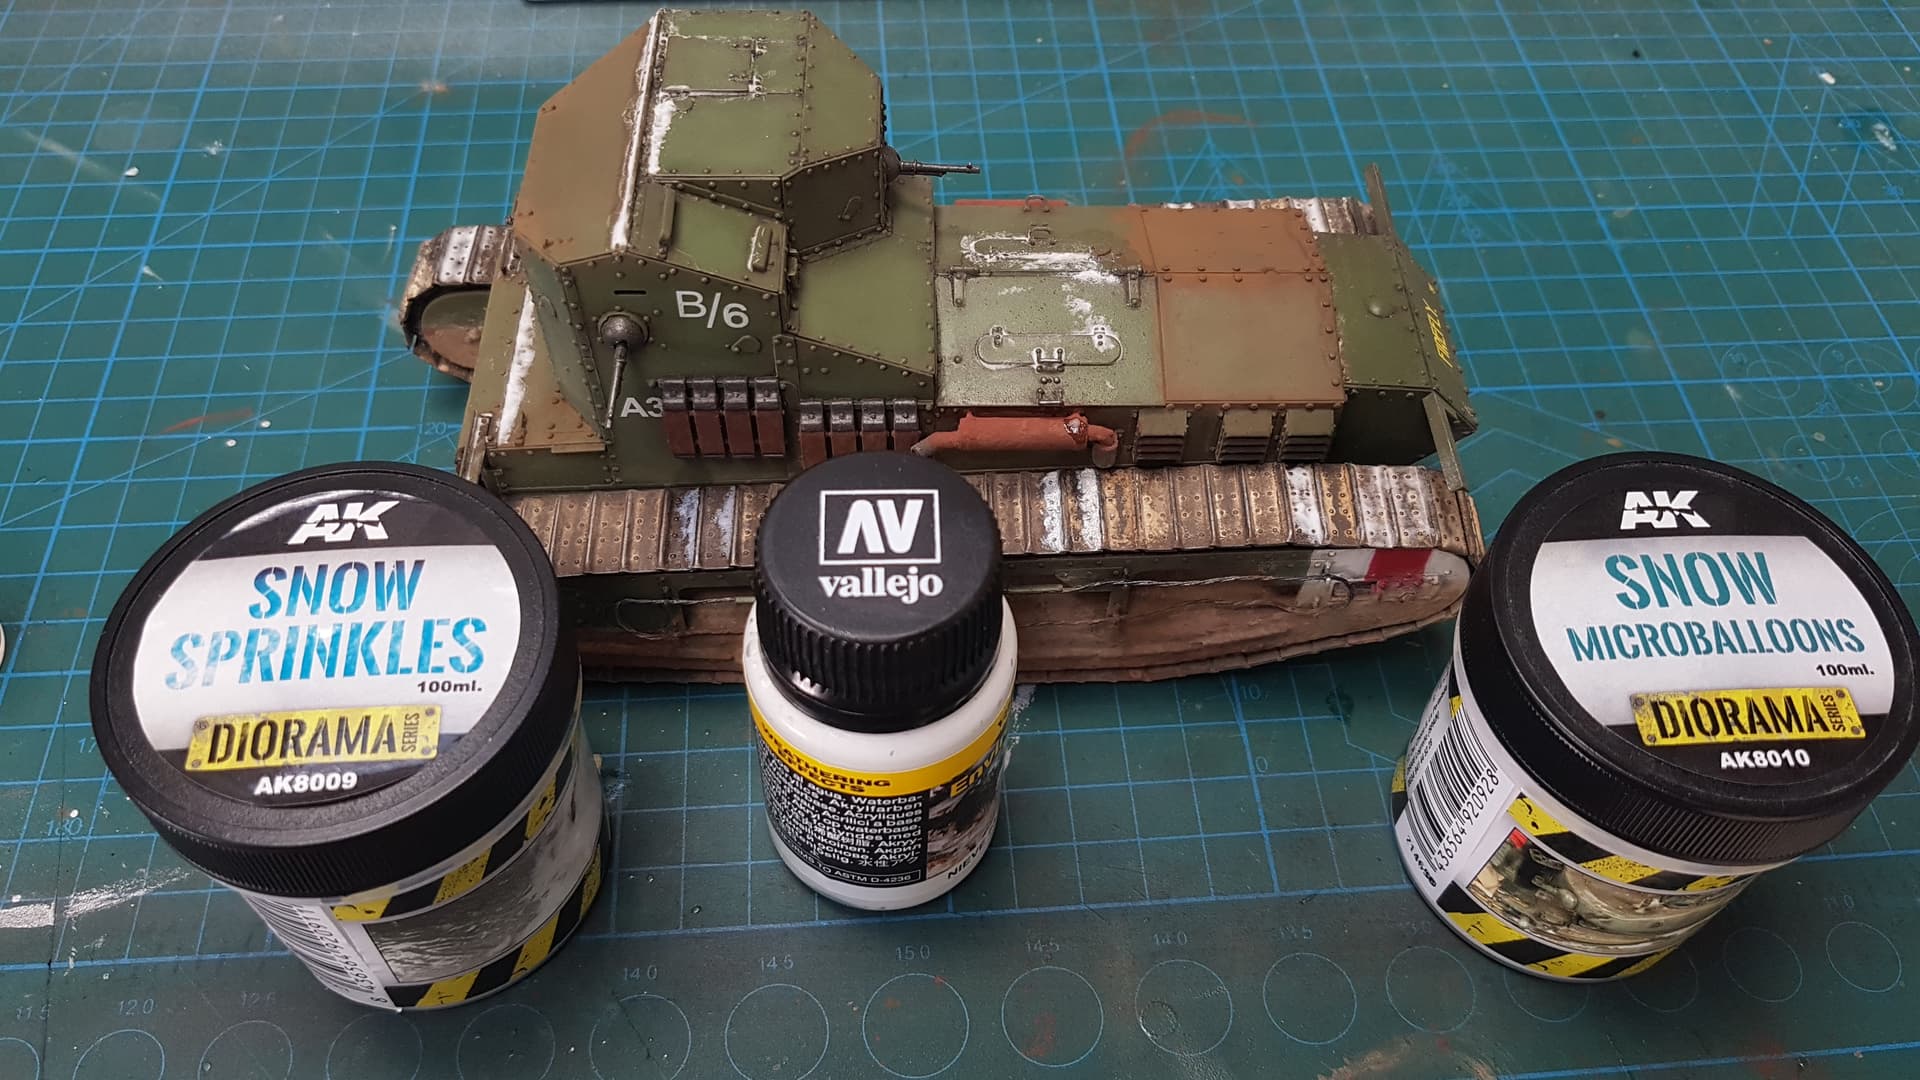
Just doing a bit of snow product testing.
AK SNOW SPRINKLES looks more like heavy snow/ice than snow sprinkles to me.
The VALLEJO Snow doesn’t look very realistic to me. Its too thick and dried that way.
The AK SNOW MICROBALLOONS is the most realistic and lifelike product. It looks like fresh powdered snow, and its a very fine product (don’t sneeze). I applied it numerous ways to see the best effect:
I brushed some Tamiya acrylic thinner onto the tracks, then light sprinkled some microballons onto the thinner. Then I added some more thinner on top using a capillary action and a pipette. This worked really well, and can be refined once dry with a dry brush.
I also made up a snow slurry using tap water into a mixing dish. This was then brushed on to the tracks and it settled more like a wash. This worked well for getting the snow into corners, but the unfortunately wipes away too easy and doesn’t stick to the kit.
I also tried using VMS sand and ballast freeze but this was too thick to use a capillary action, but making a slurry works a lot better. This would be better for a heavier build up of fresh snow.
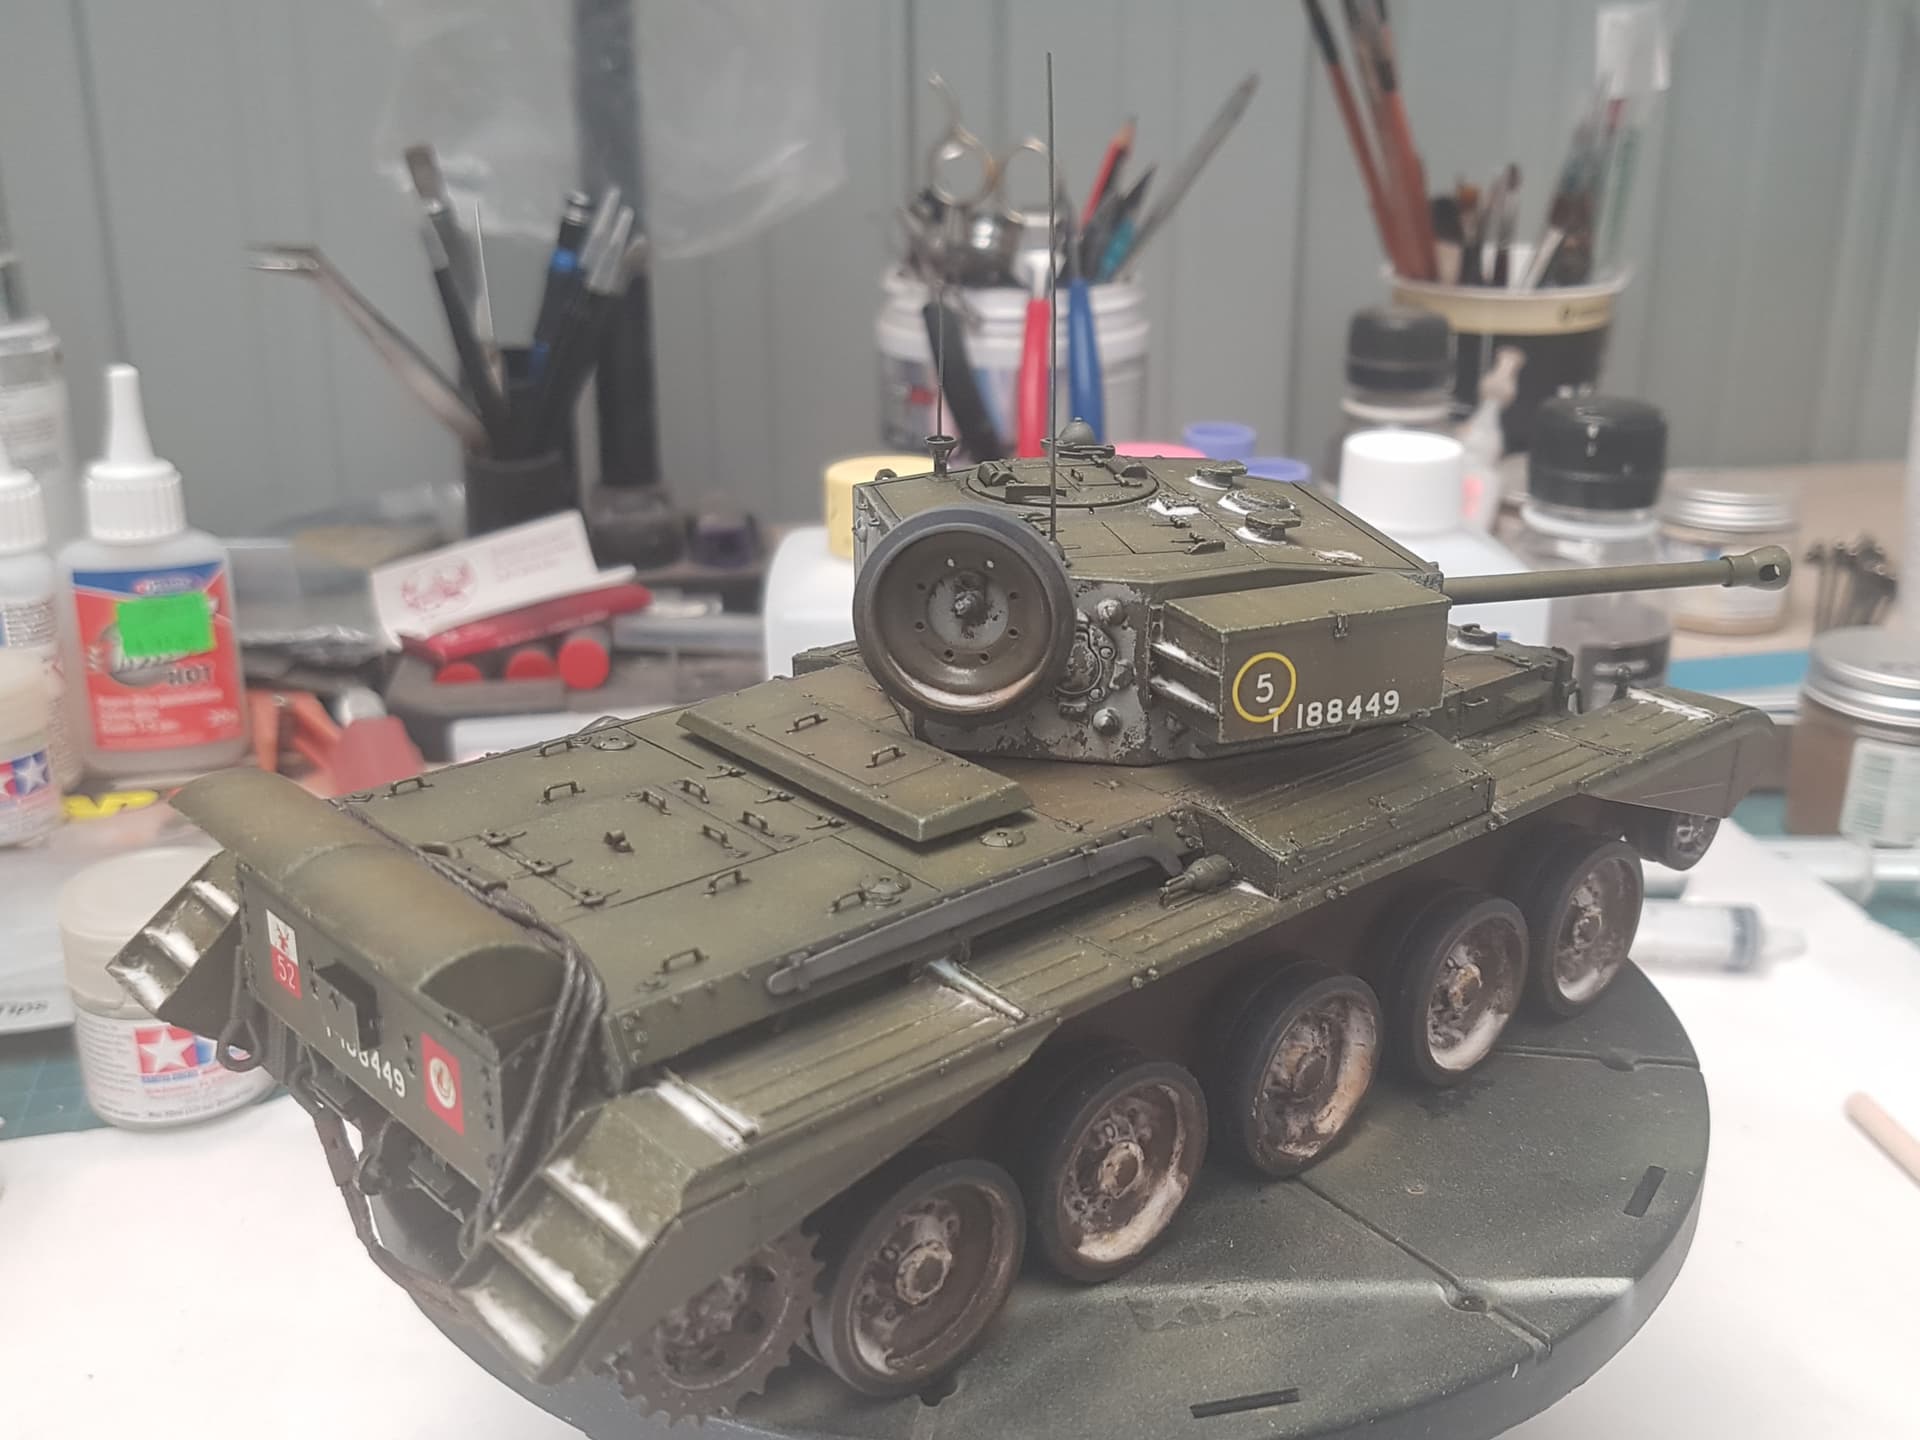
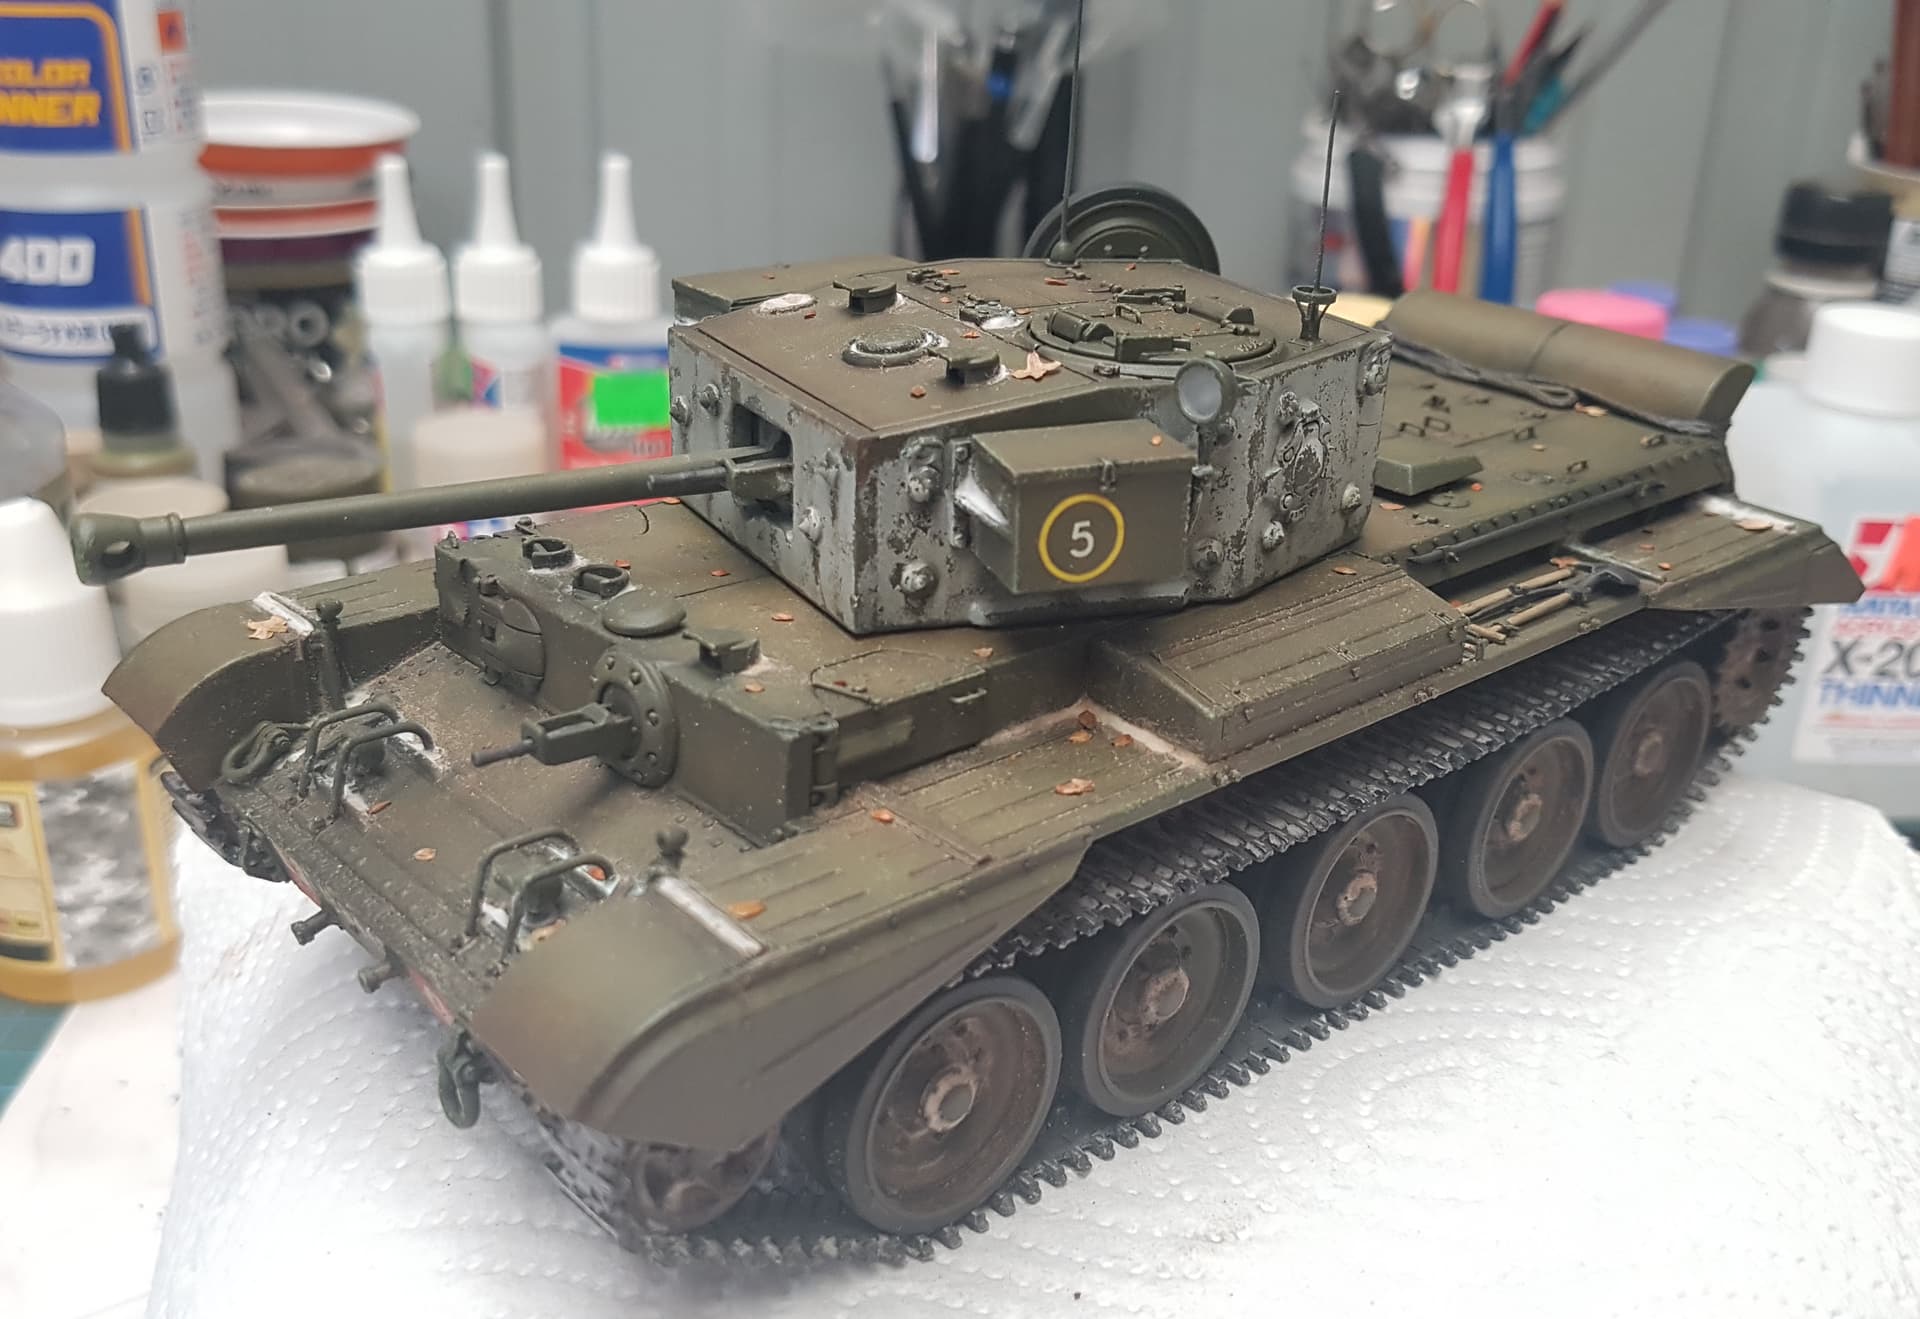
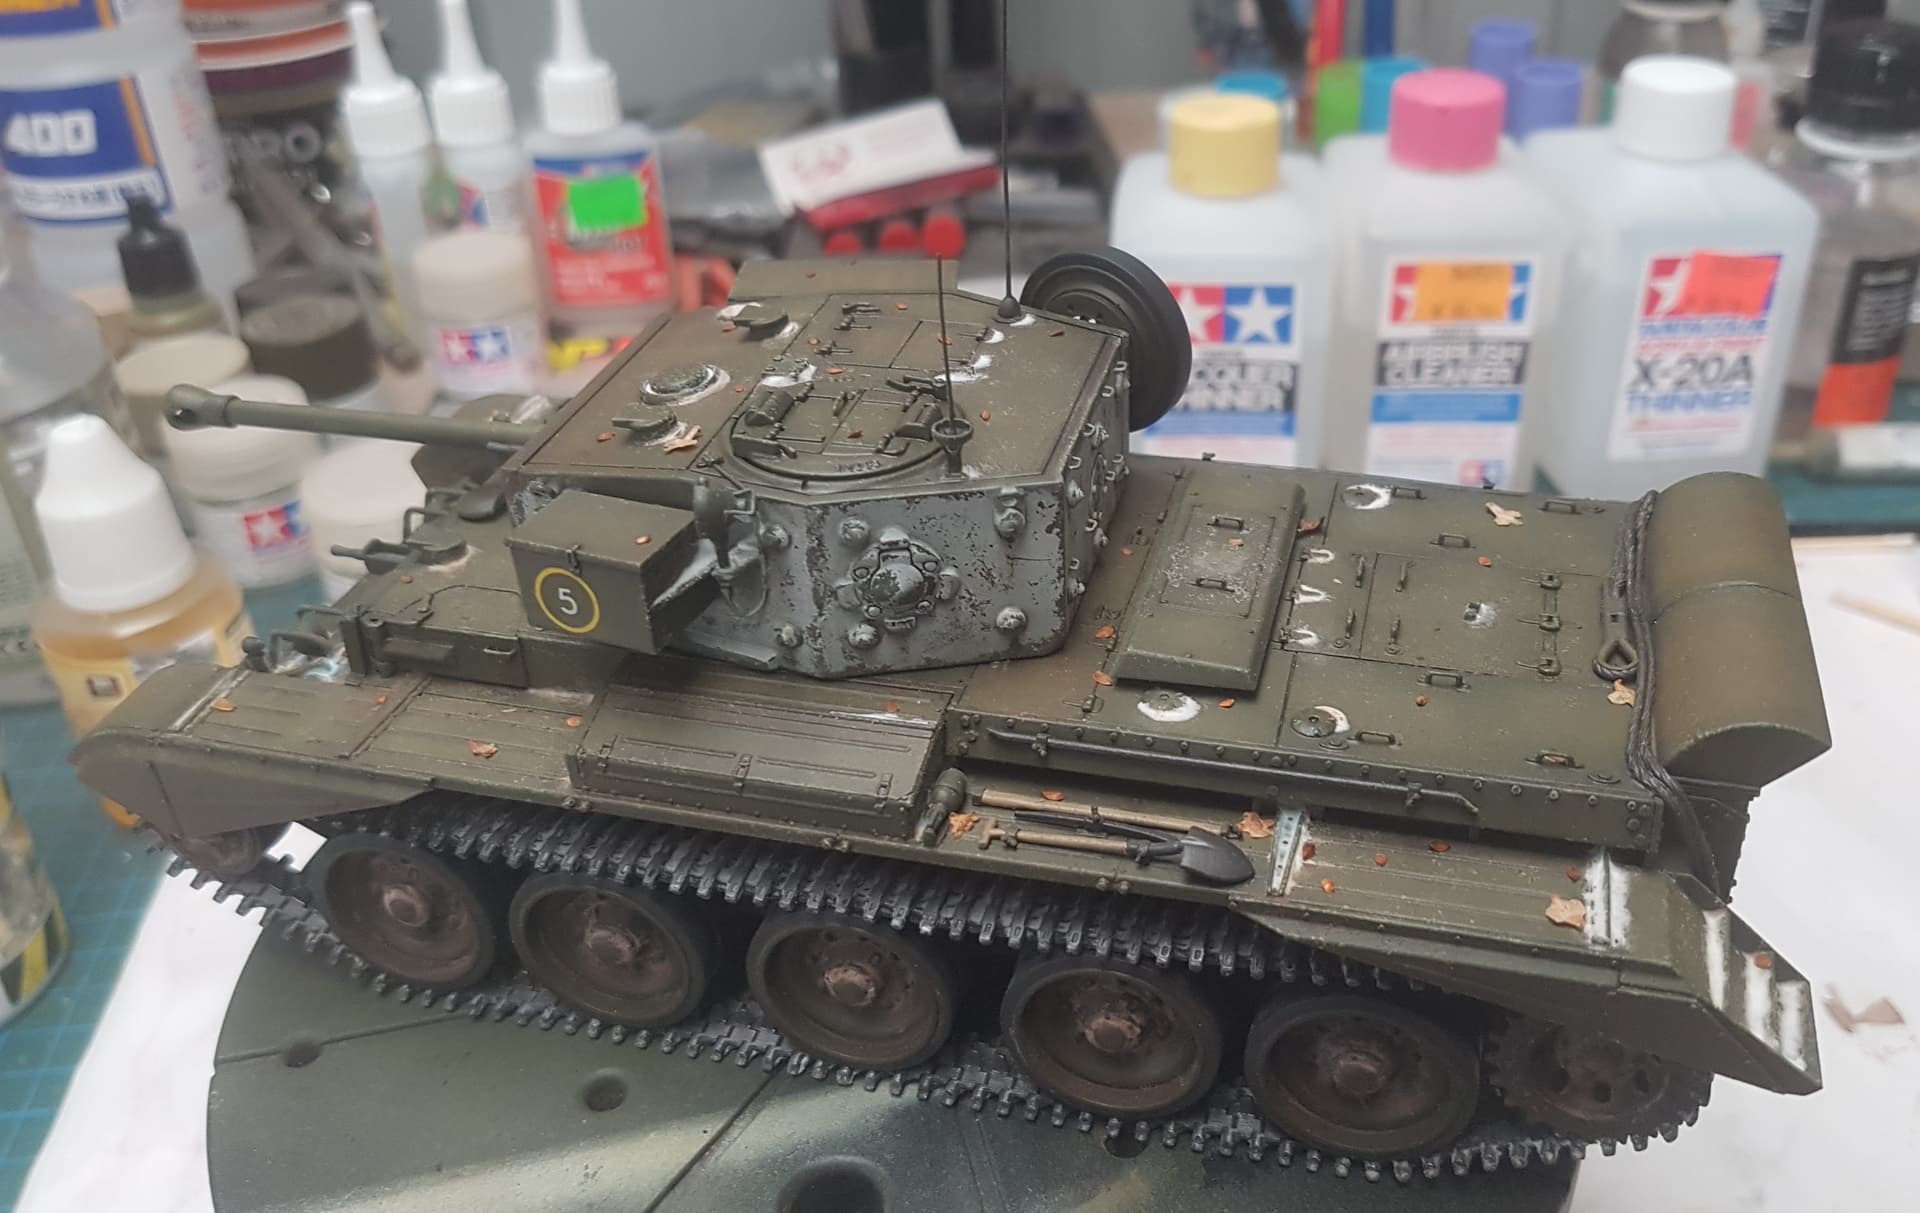
Had a good few hours at the bench today. I used AK Interactive’s microballons to make the fresh powdered snow look. I wanted a minimalistic look, not covered in snow. More like its thawing out.
I also added an oil leak to one road wheel on the right hand side.
Feedback welcome.
EDIT: I’VE REMOVED THE BIG CHUNKS OF SNOW FROM THE ROADWHEELS. AFTER CHECKING MY REFRENCES I DIDN’T LIKE THE LOOK OF IT.
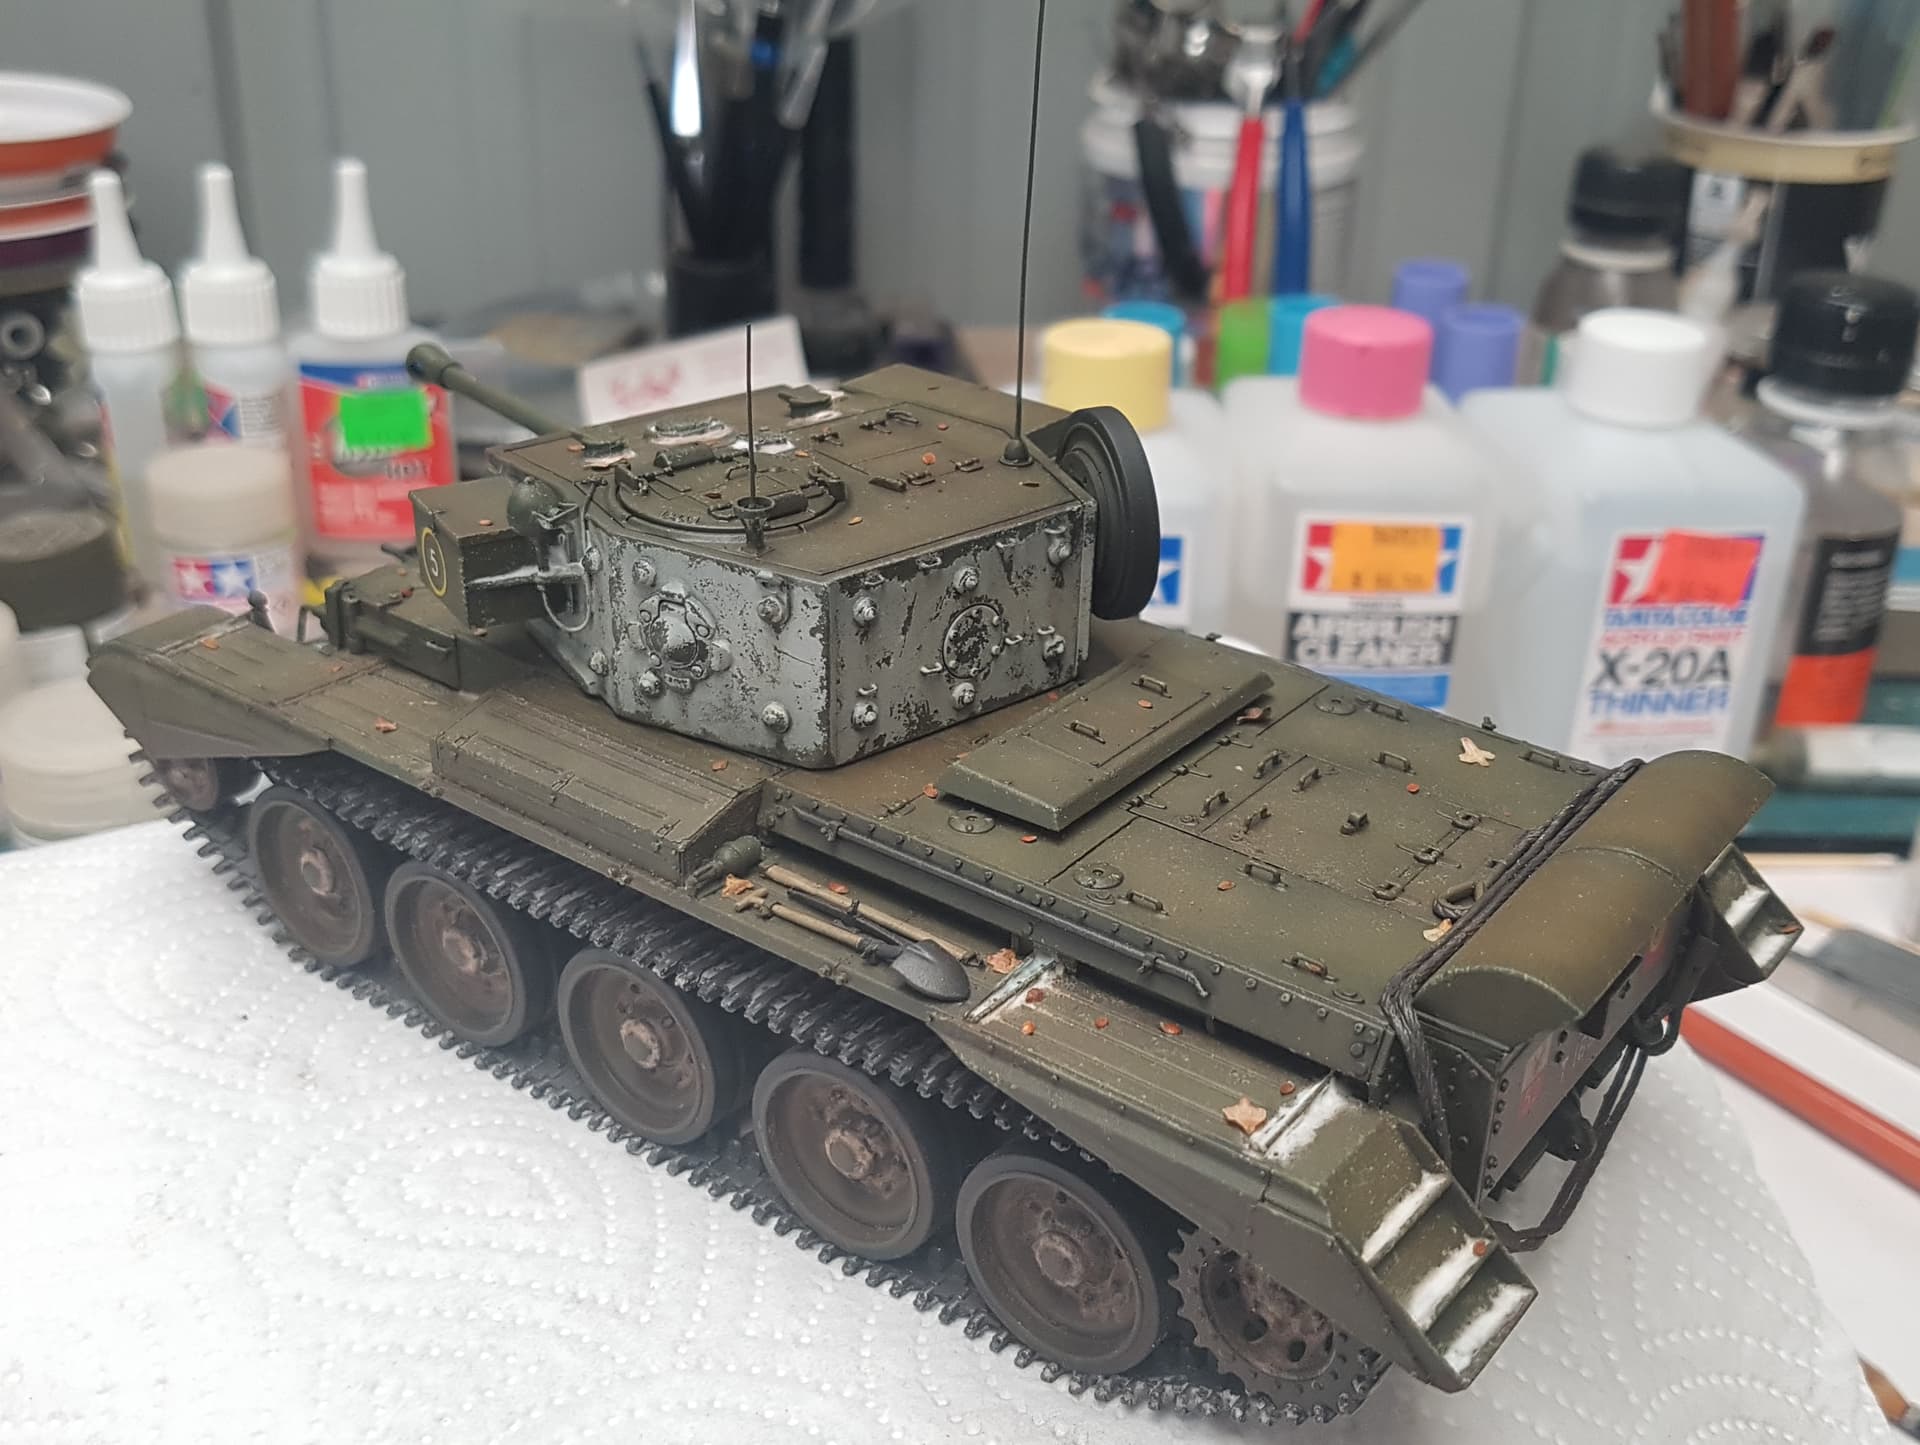
One step closer to completion. I removed the large chunks of snow from the road wheels from the last pictures.
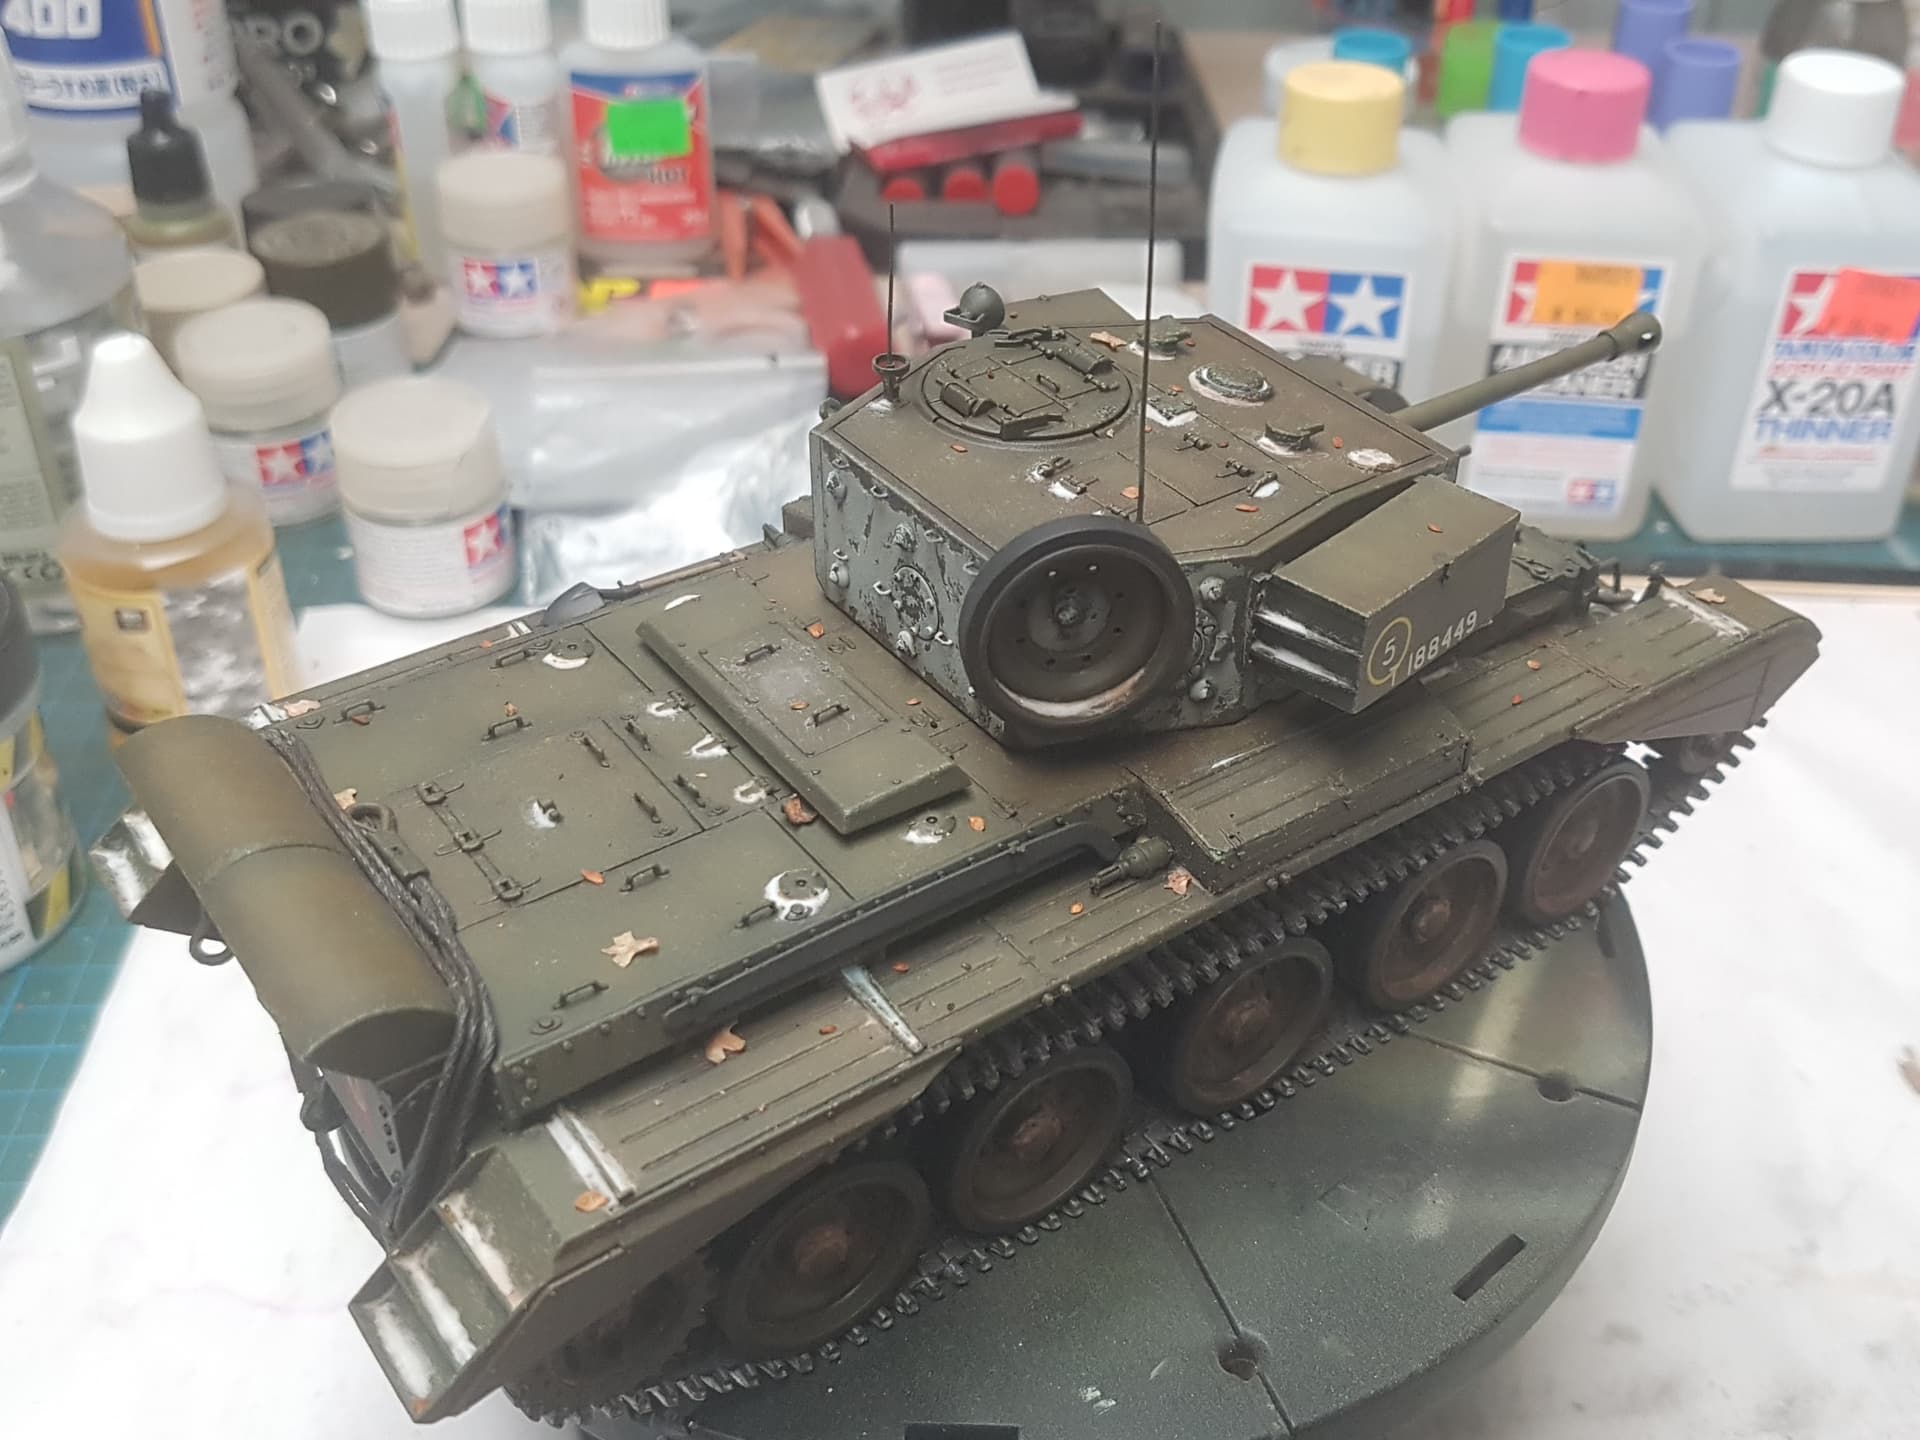
I have added the snowed up metal tracks and flat coated the whole model. I then added dead leaves 1 at a time to the flat surfaces for some interest. Not much left to do!!
Nick that’s looking really really nice. Have you thought of adding a little snow accumulation to the rear deck, maybe near the wading gear?
Thanks Don. Yeah I’ve been looking at spots to add some snow to the rear deck. Maybe around the fuel caps (I think they are fuel caps), and around the handles on the outer side covers near the handles. I won’t add any near the Normandy cowl due to their purpose of deflecting smoke and flame.

I still need to paint the light on the hull at the front and the episcopes too.
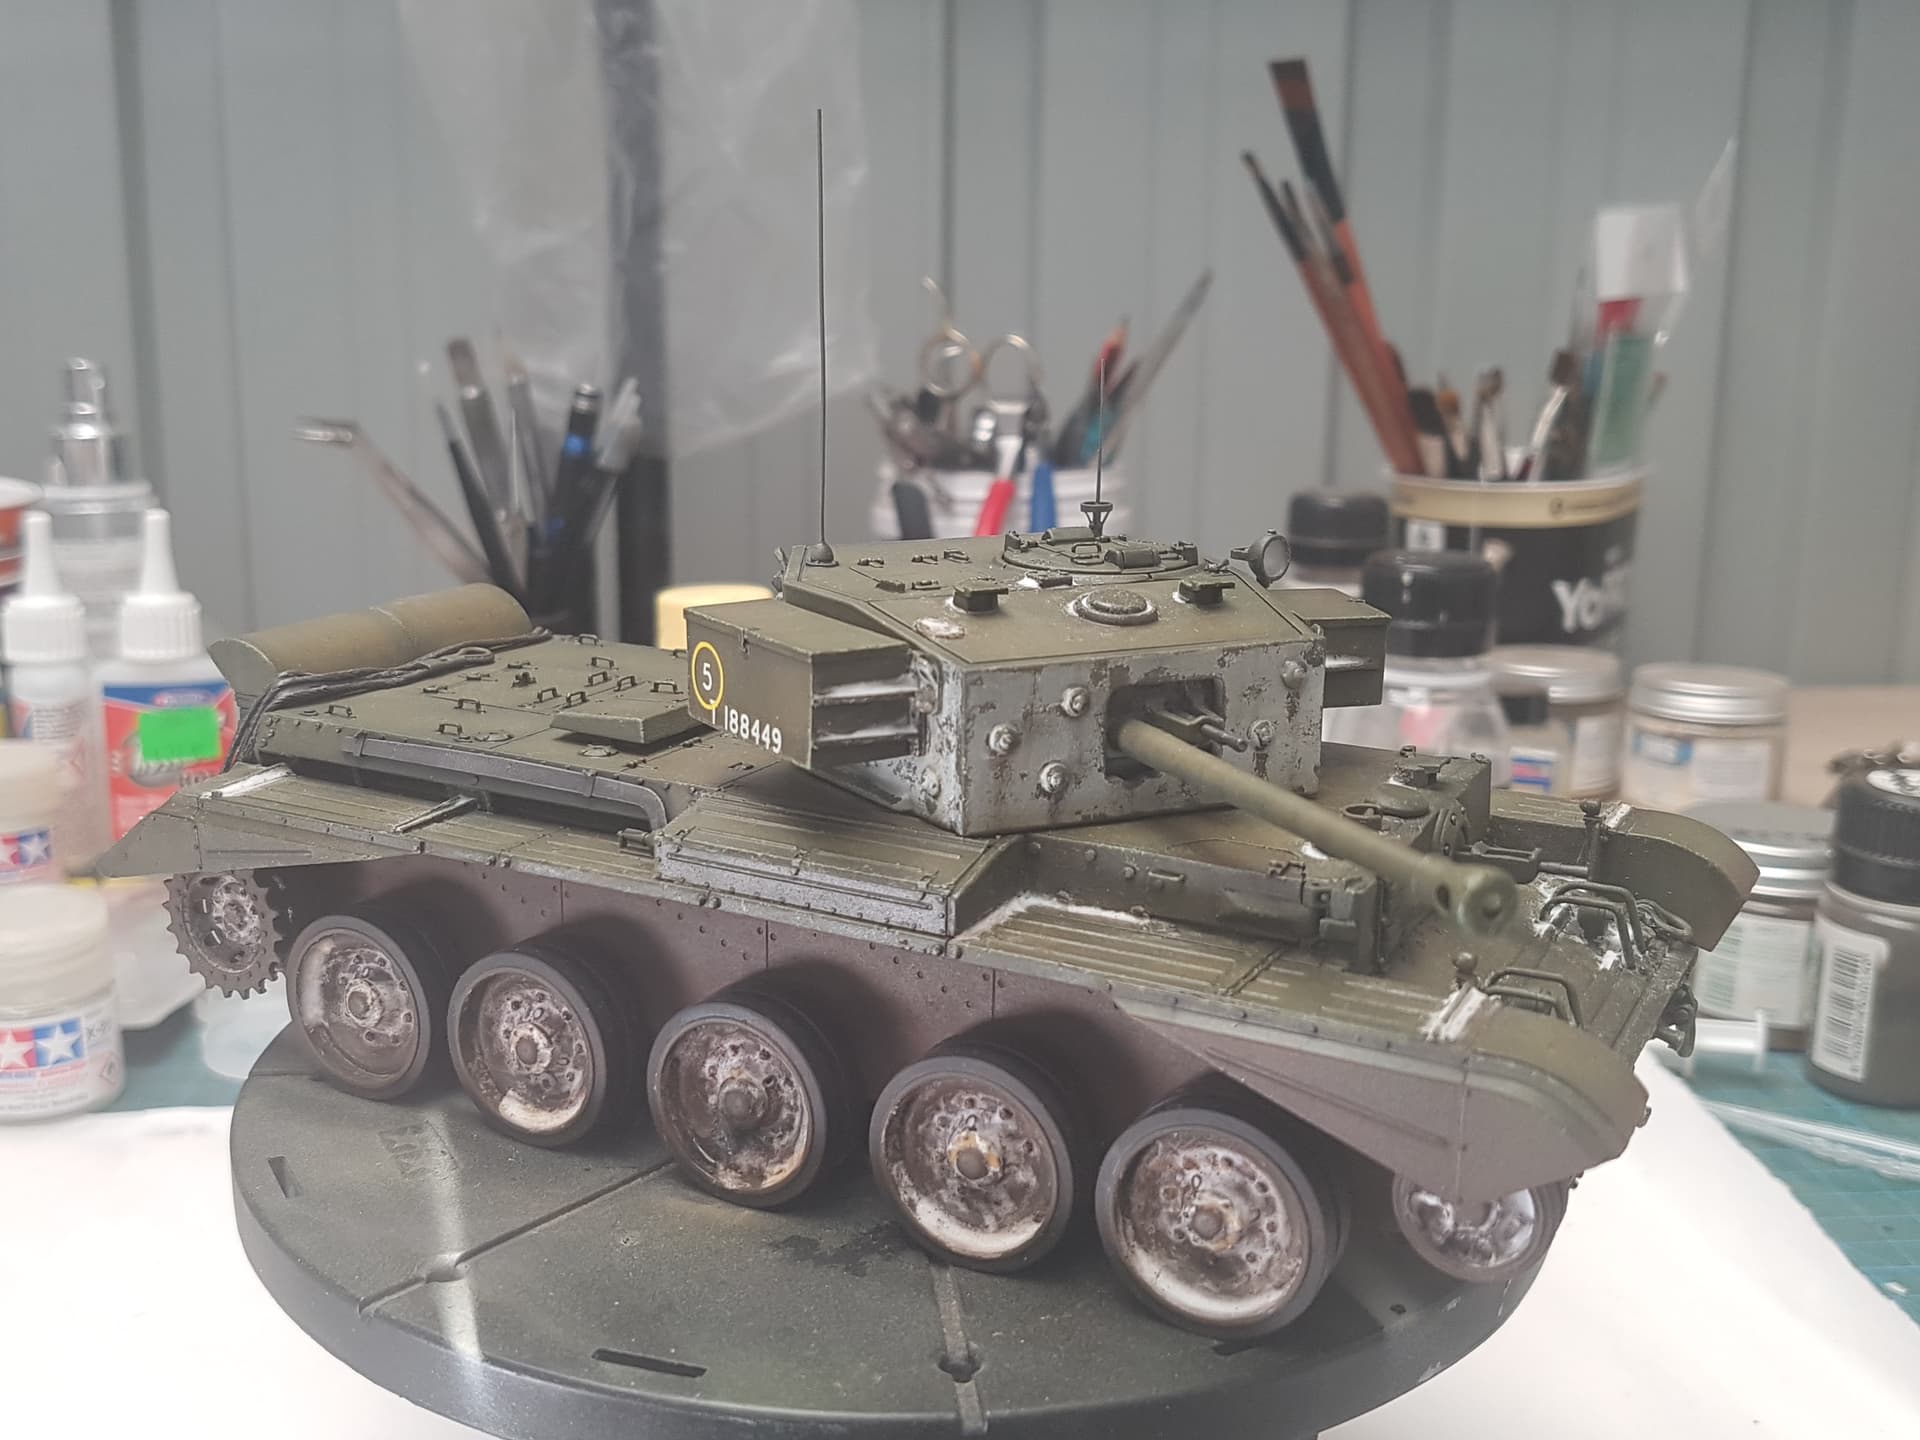
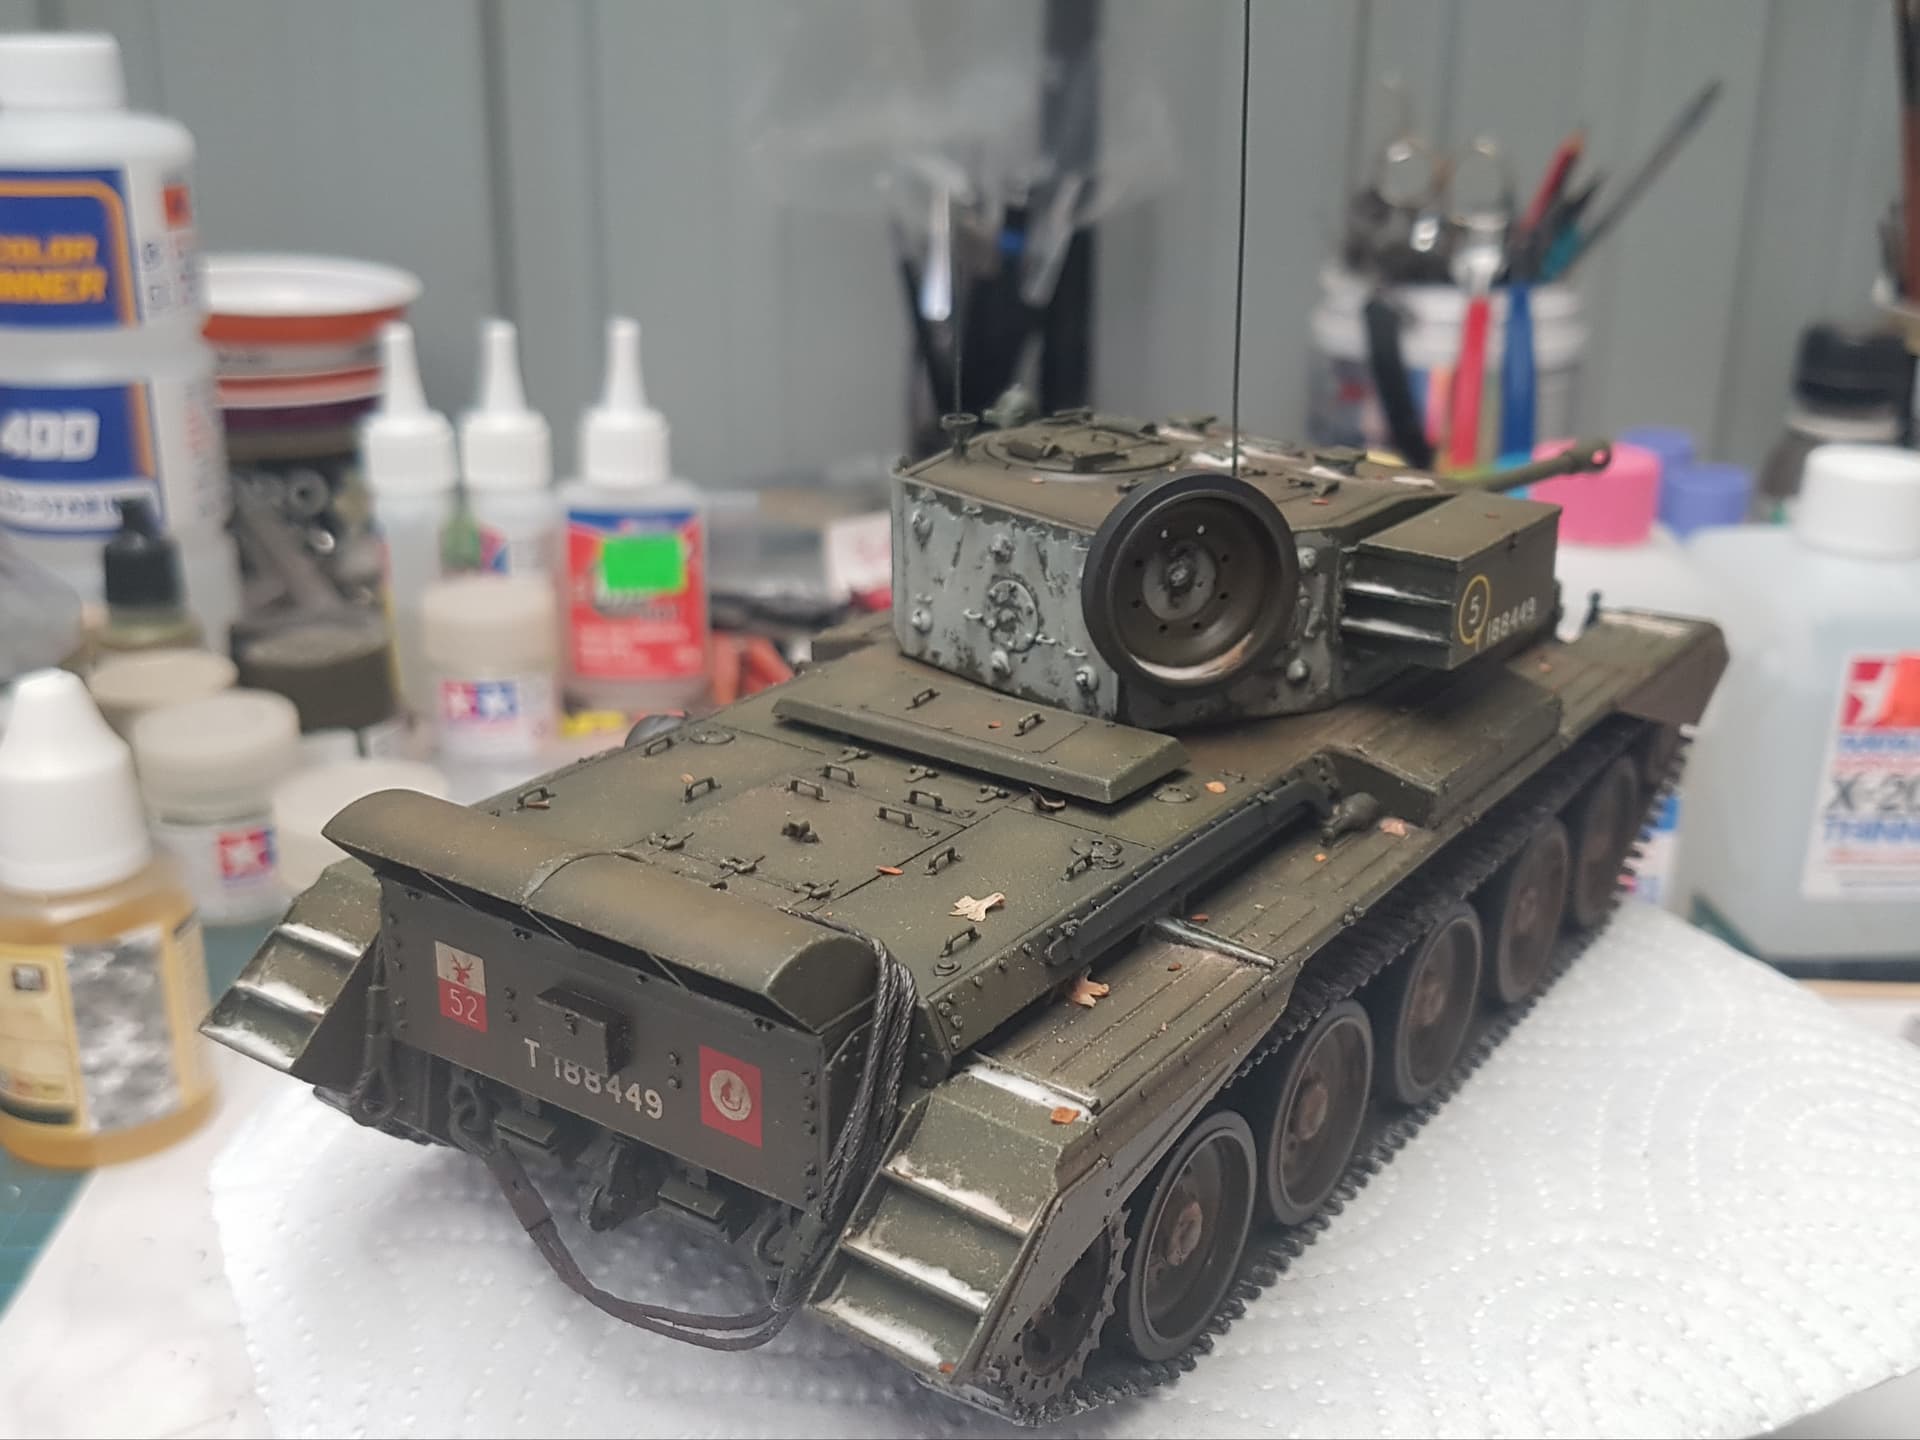
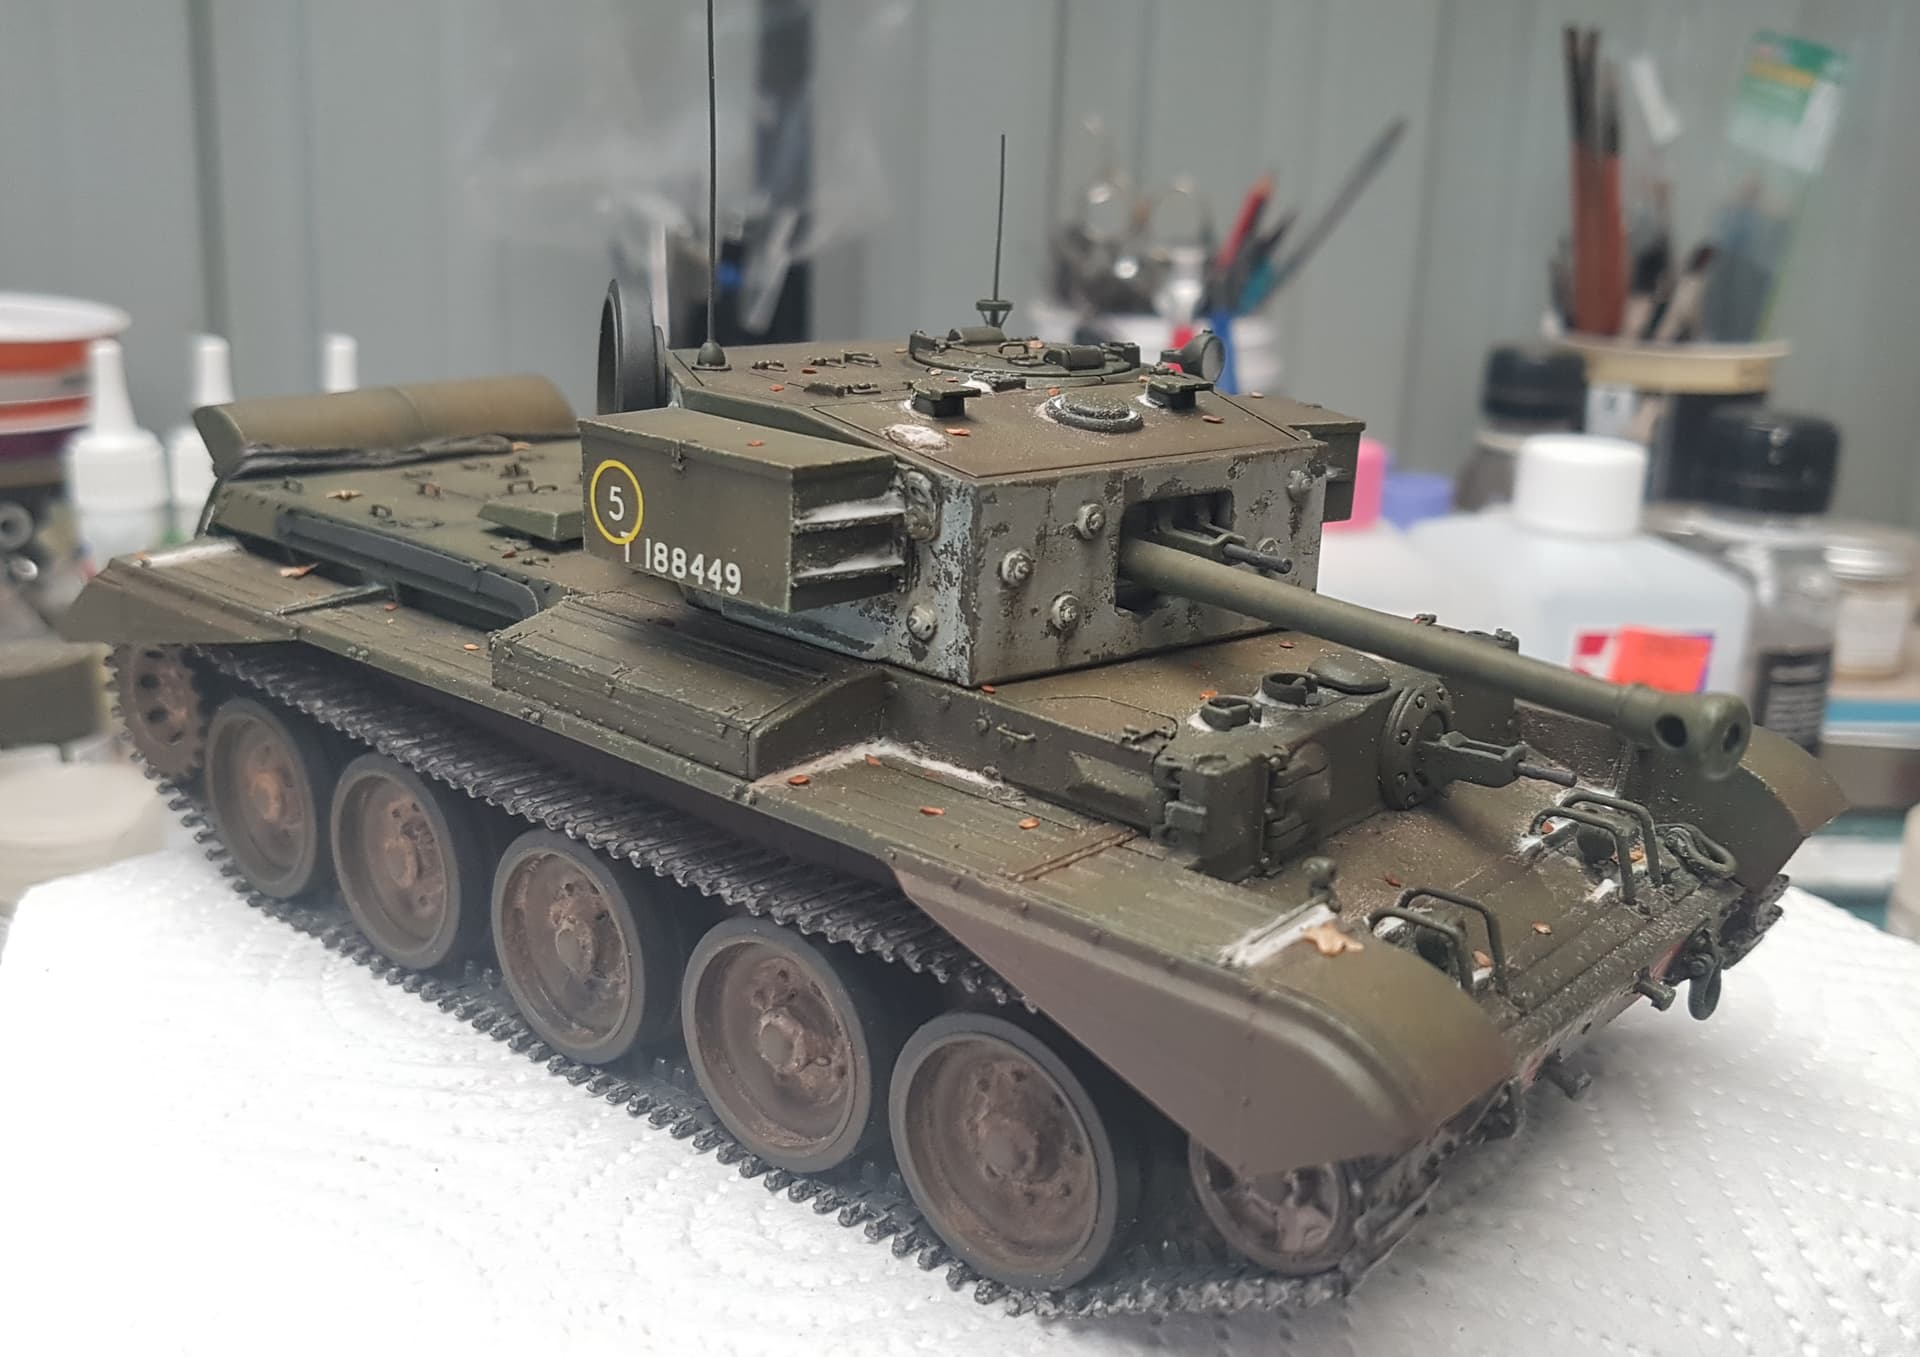
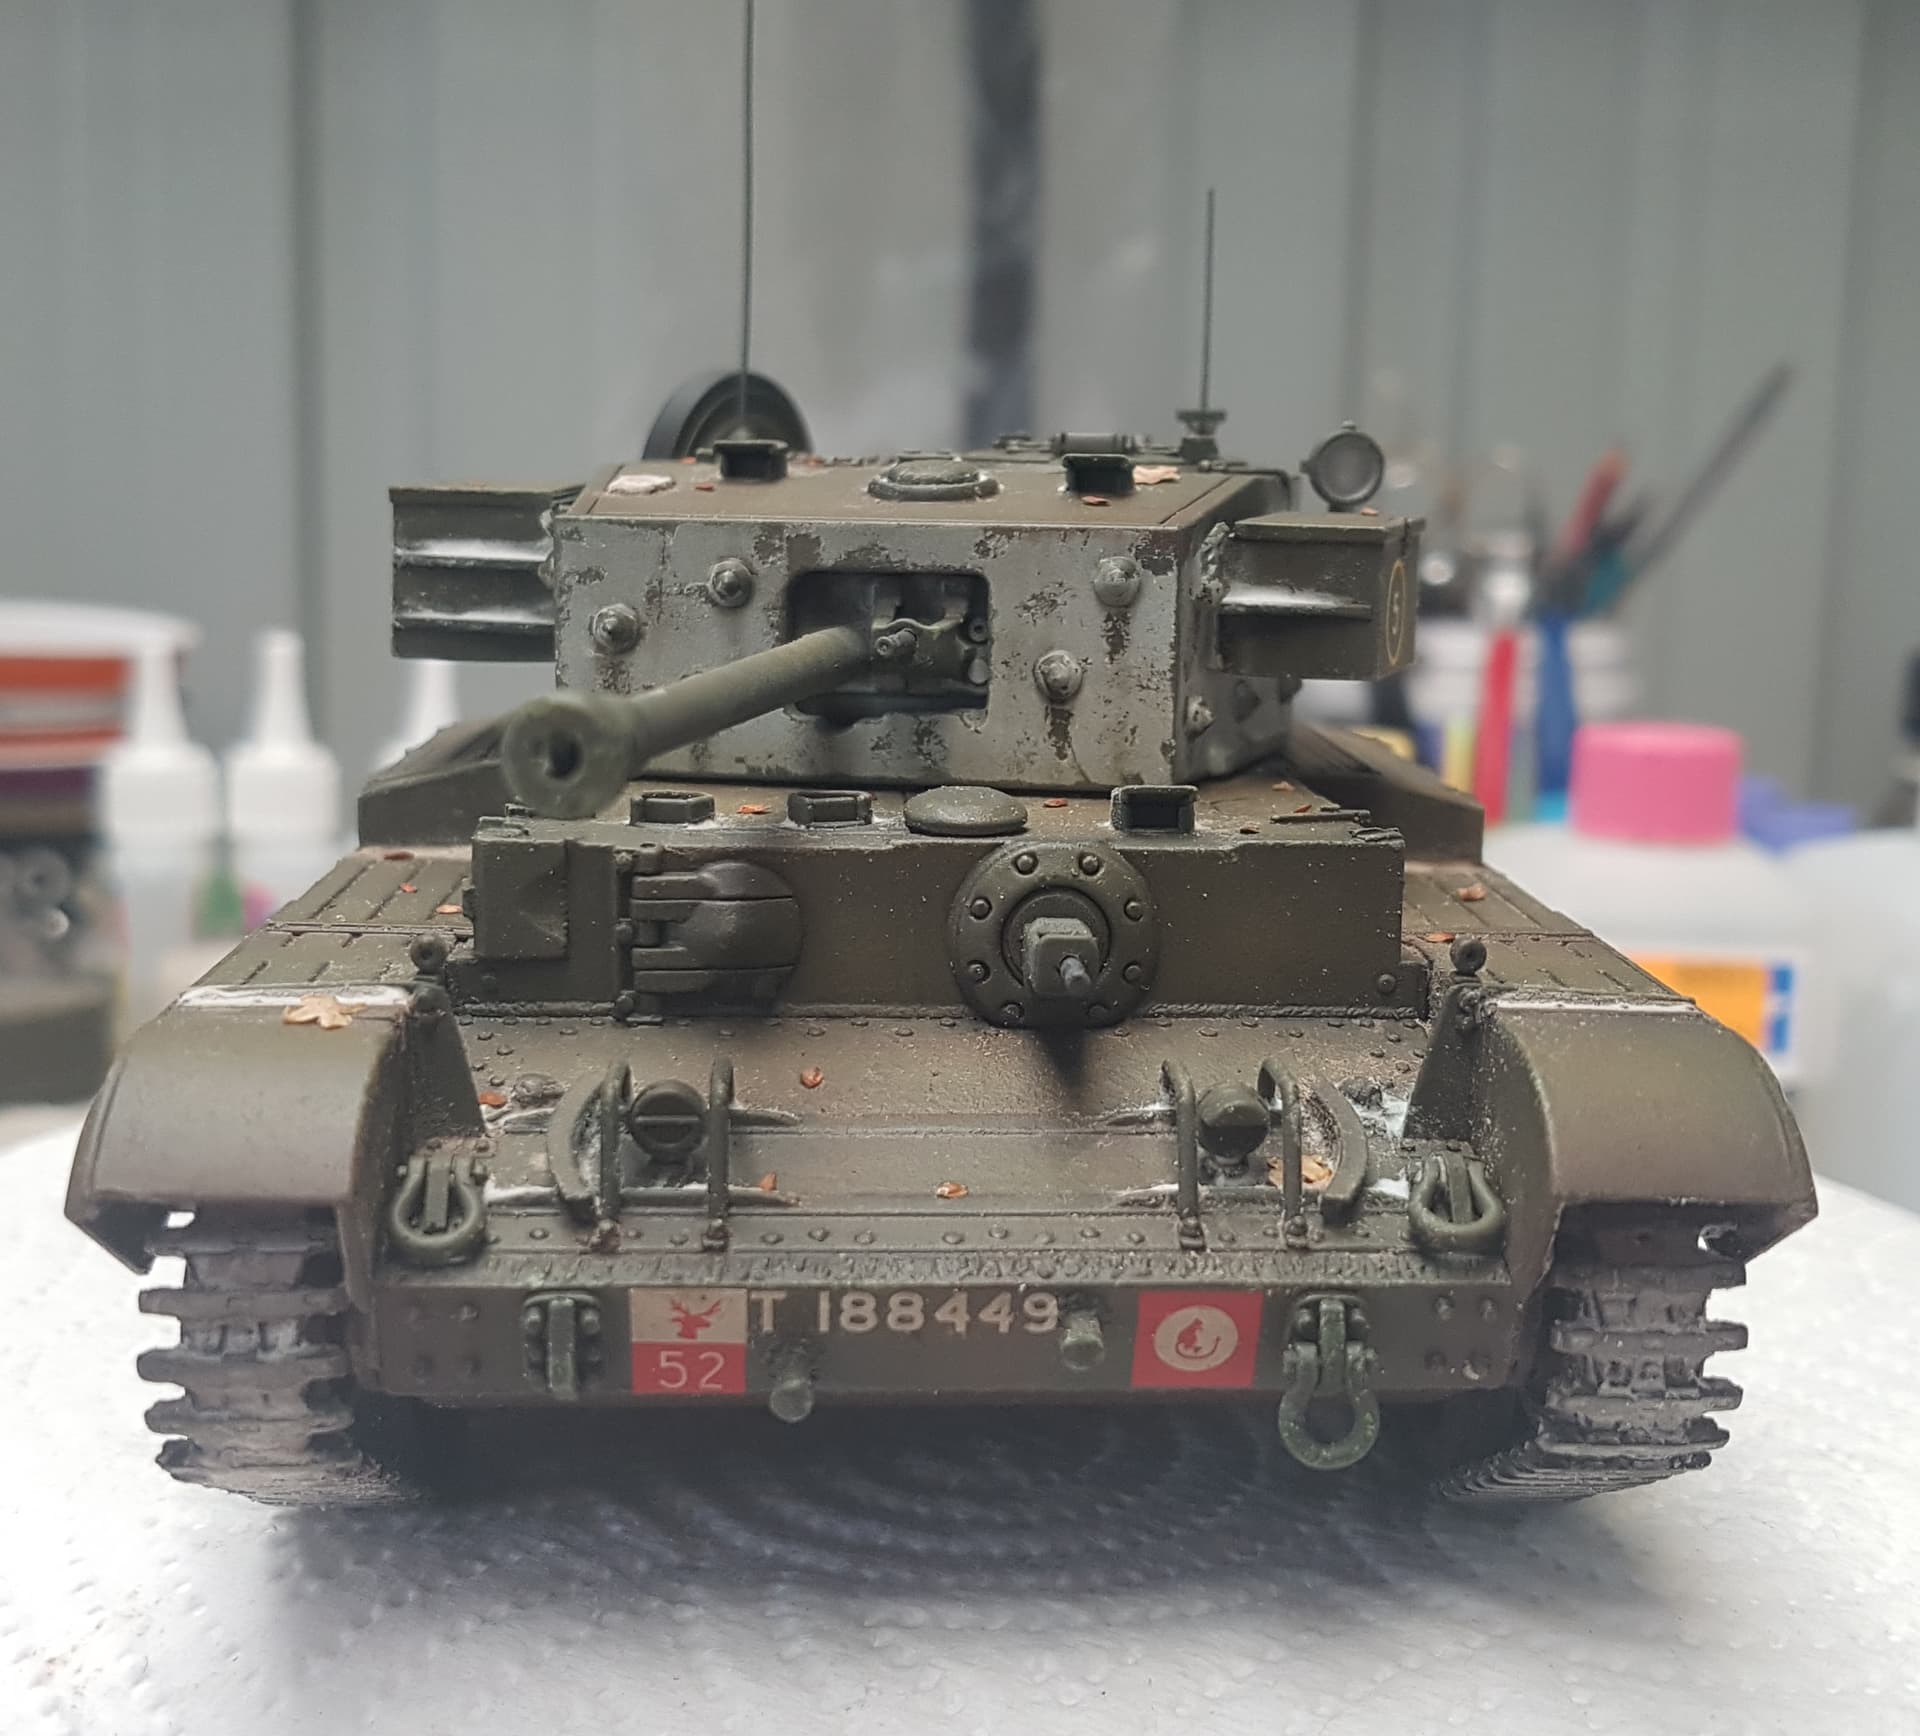
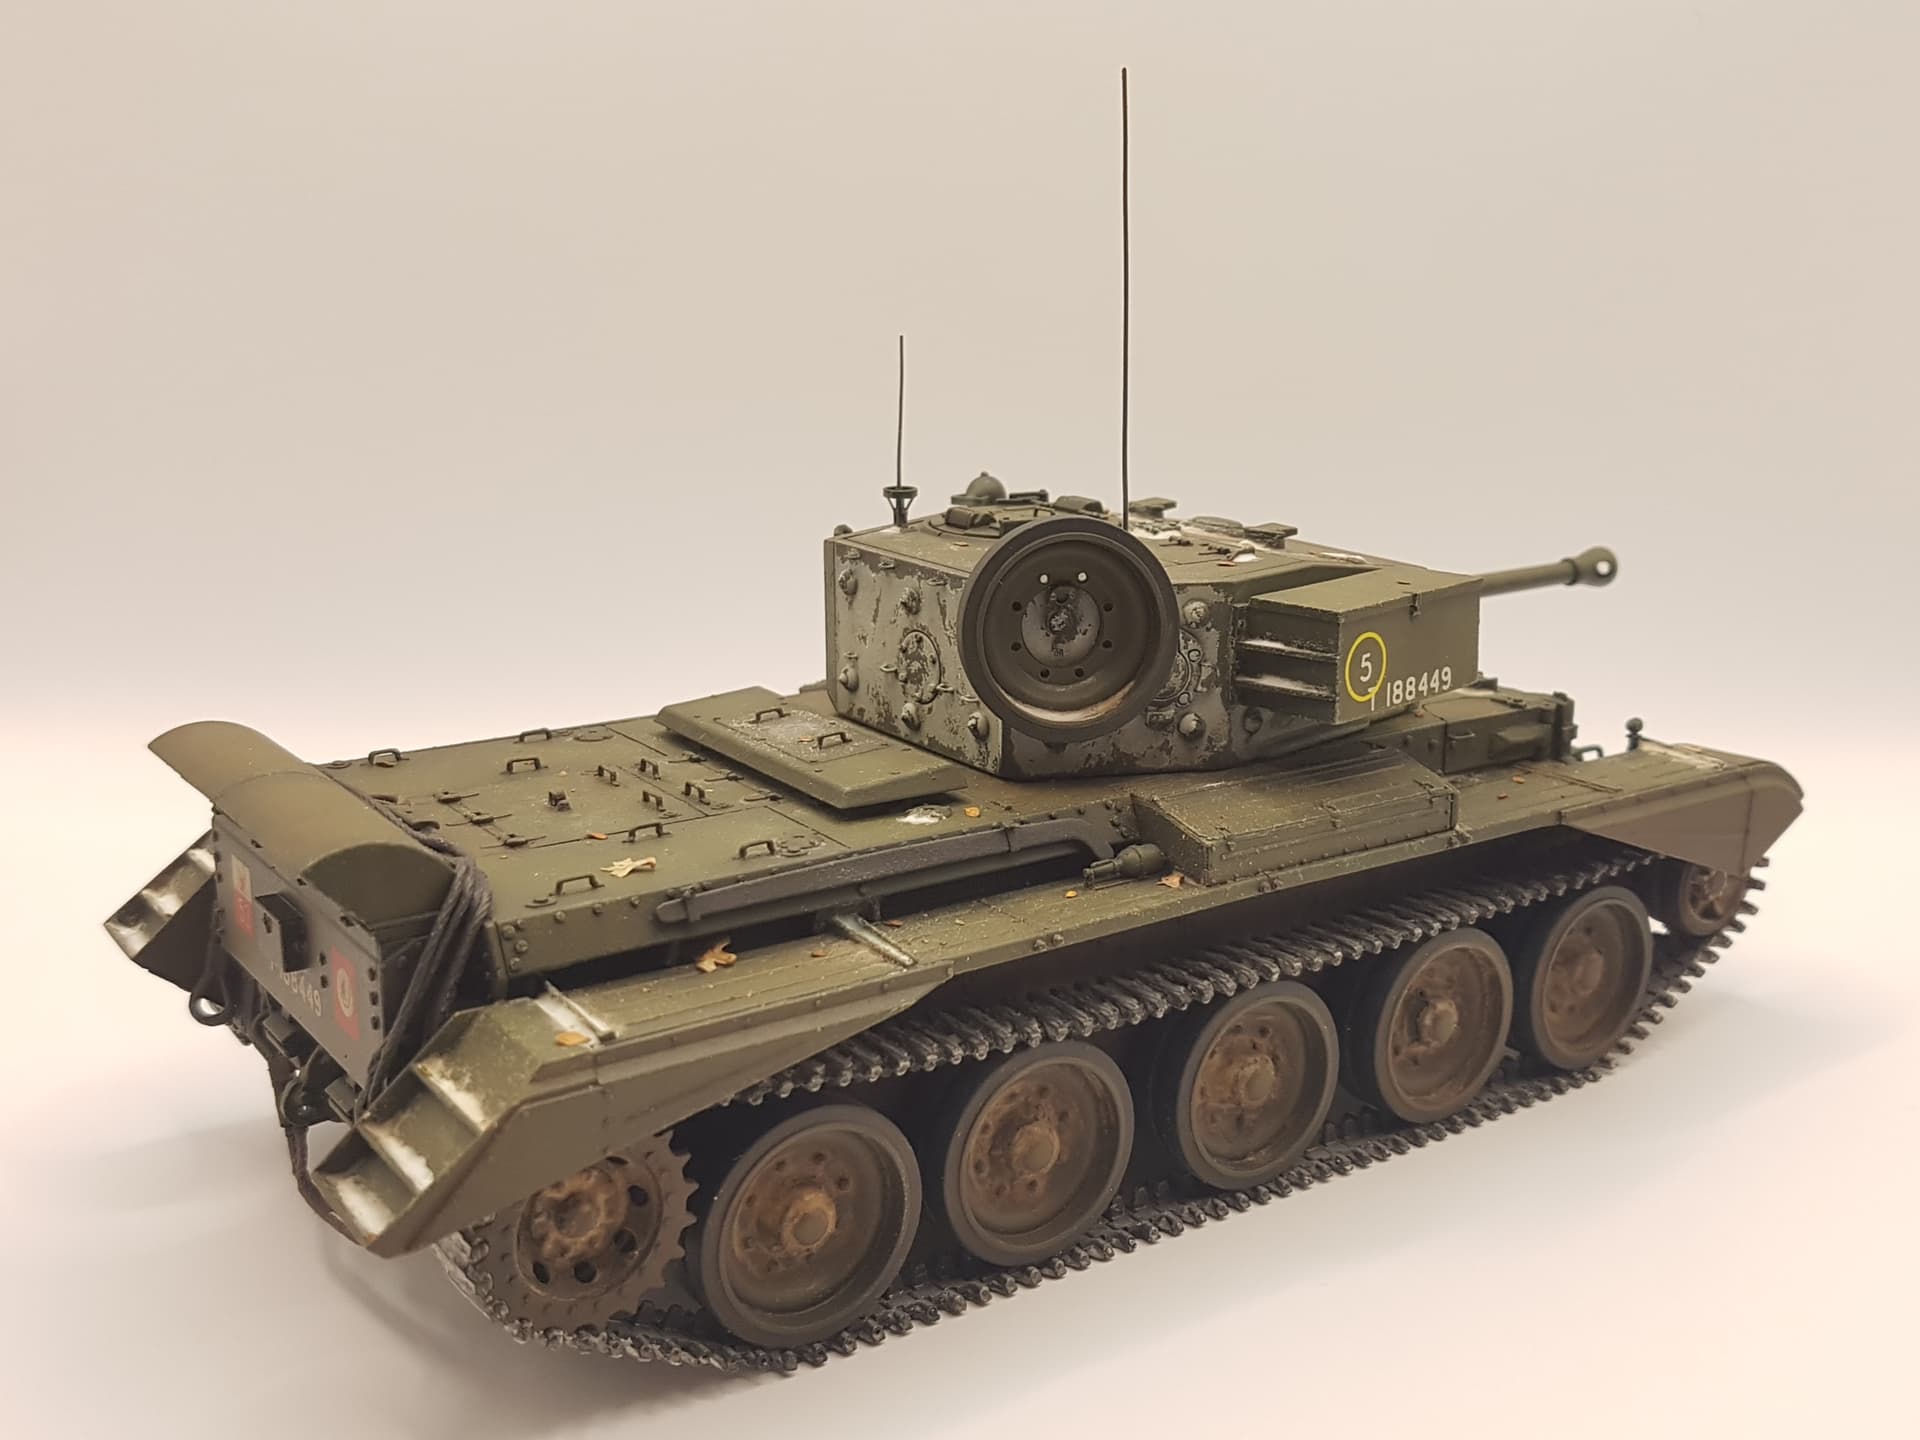
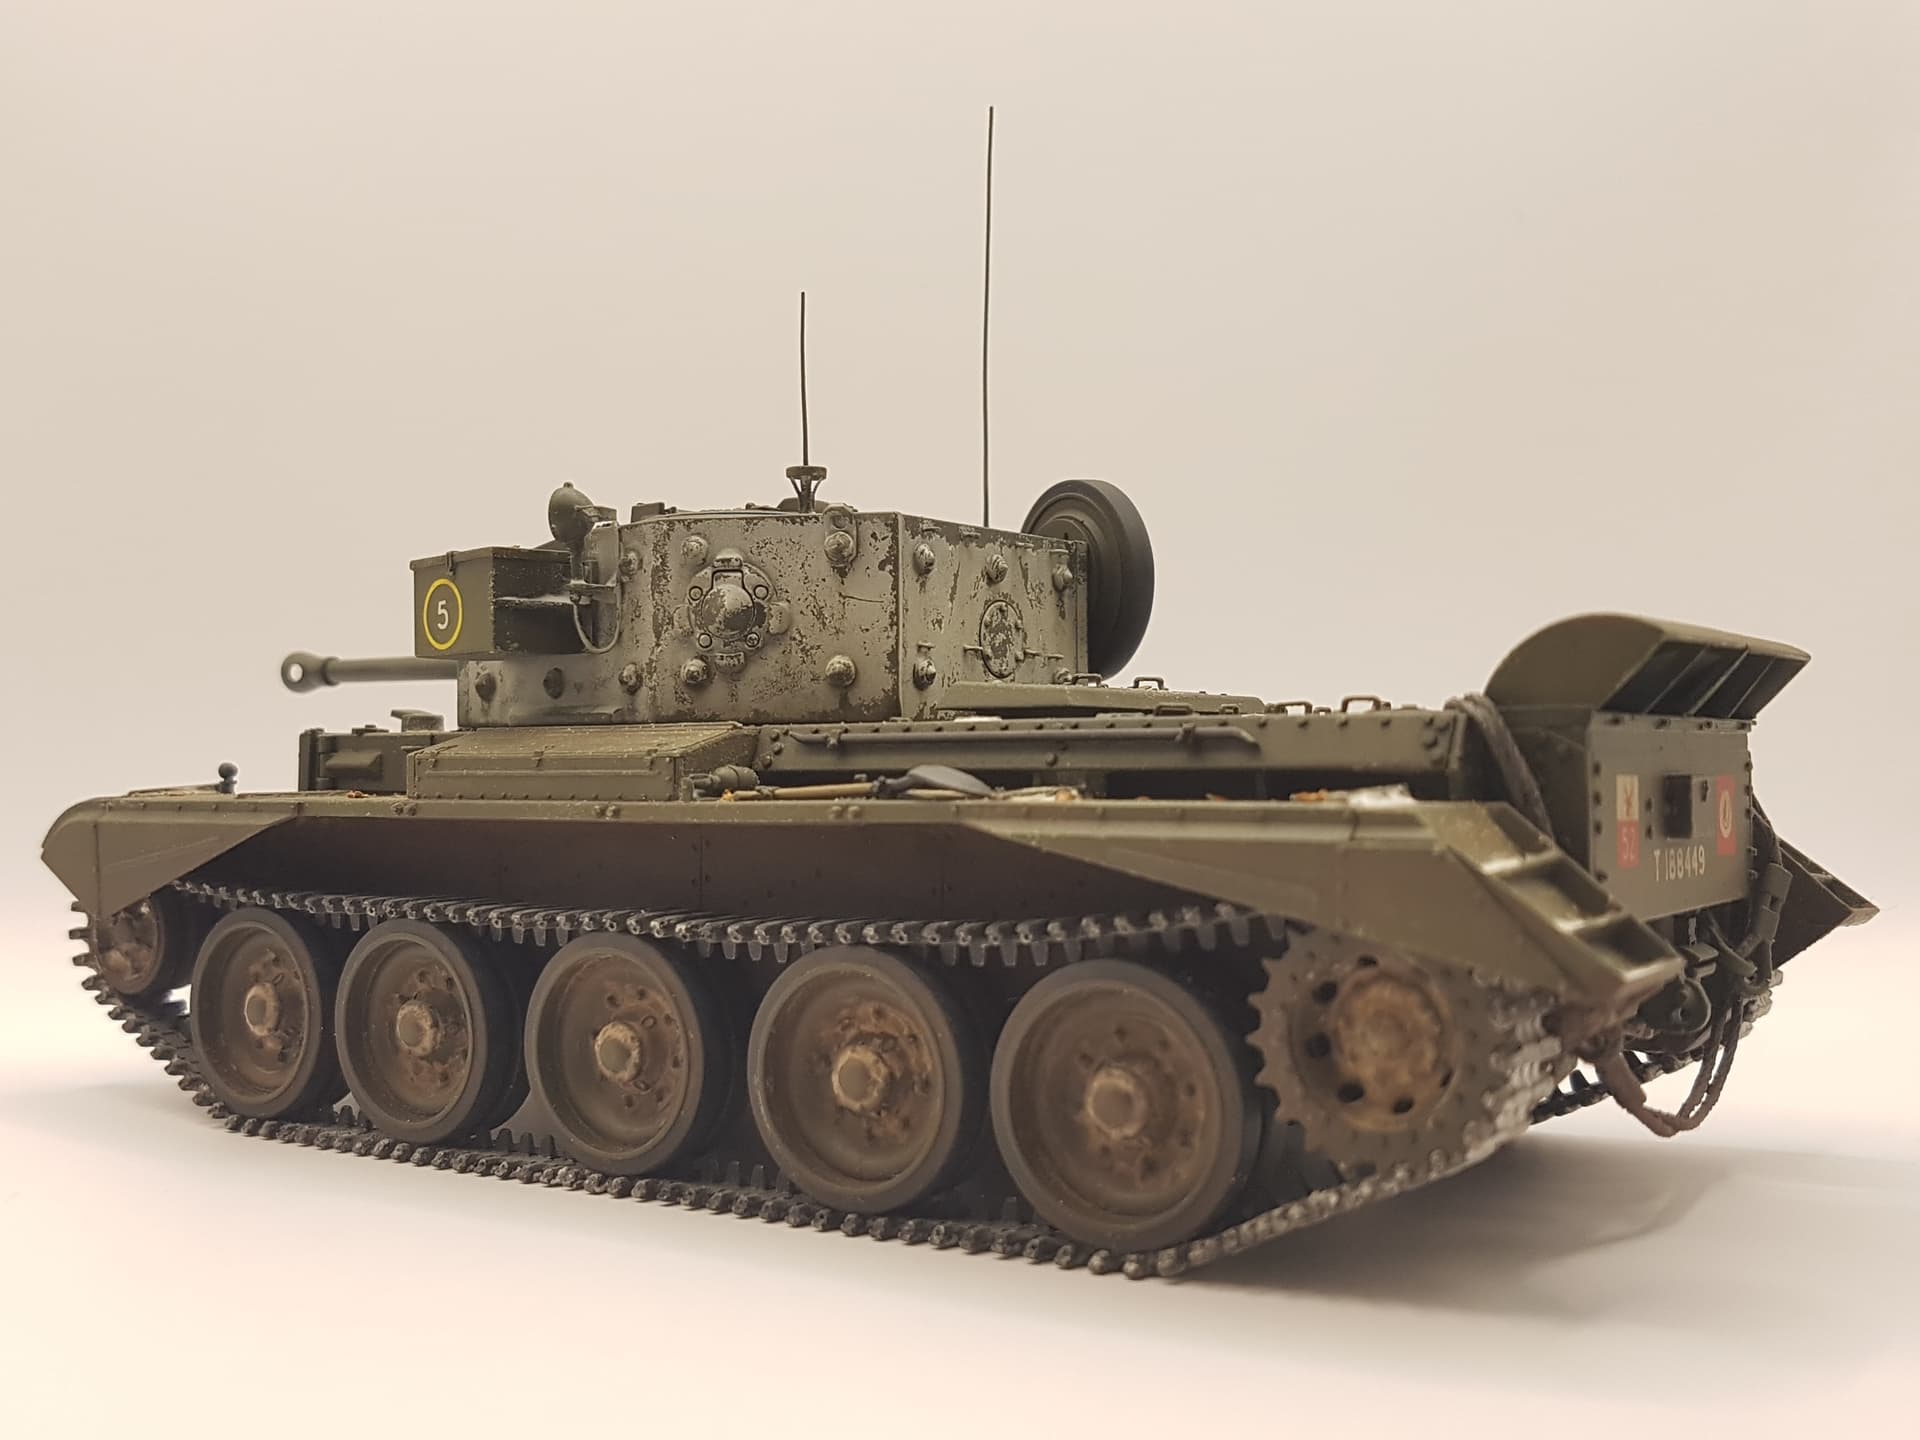
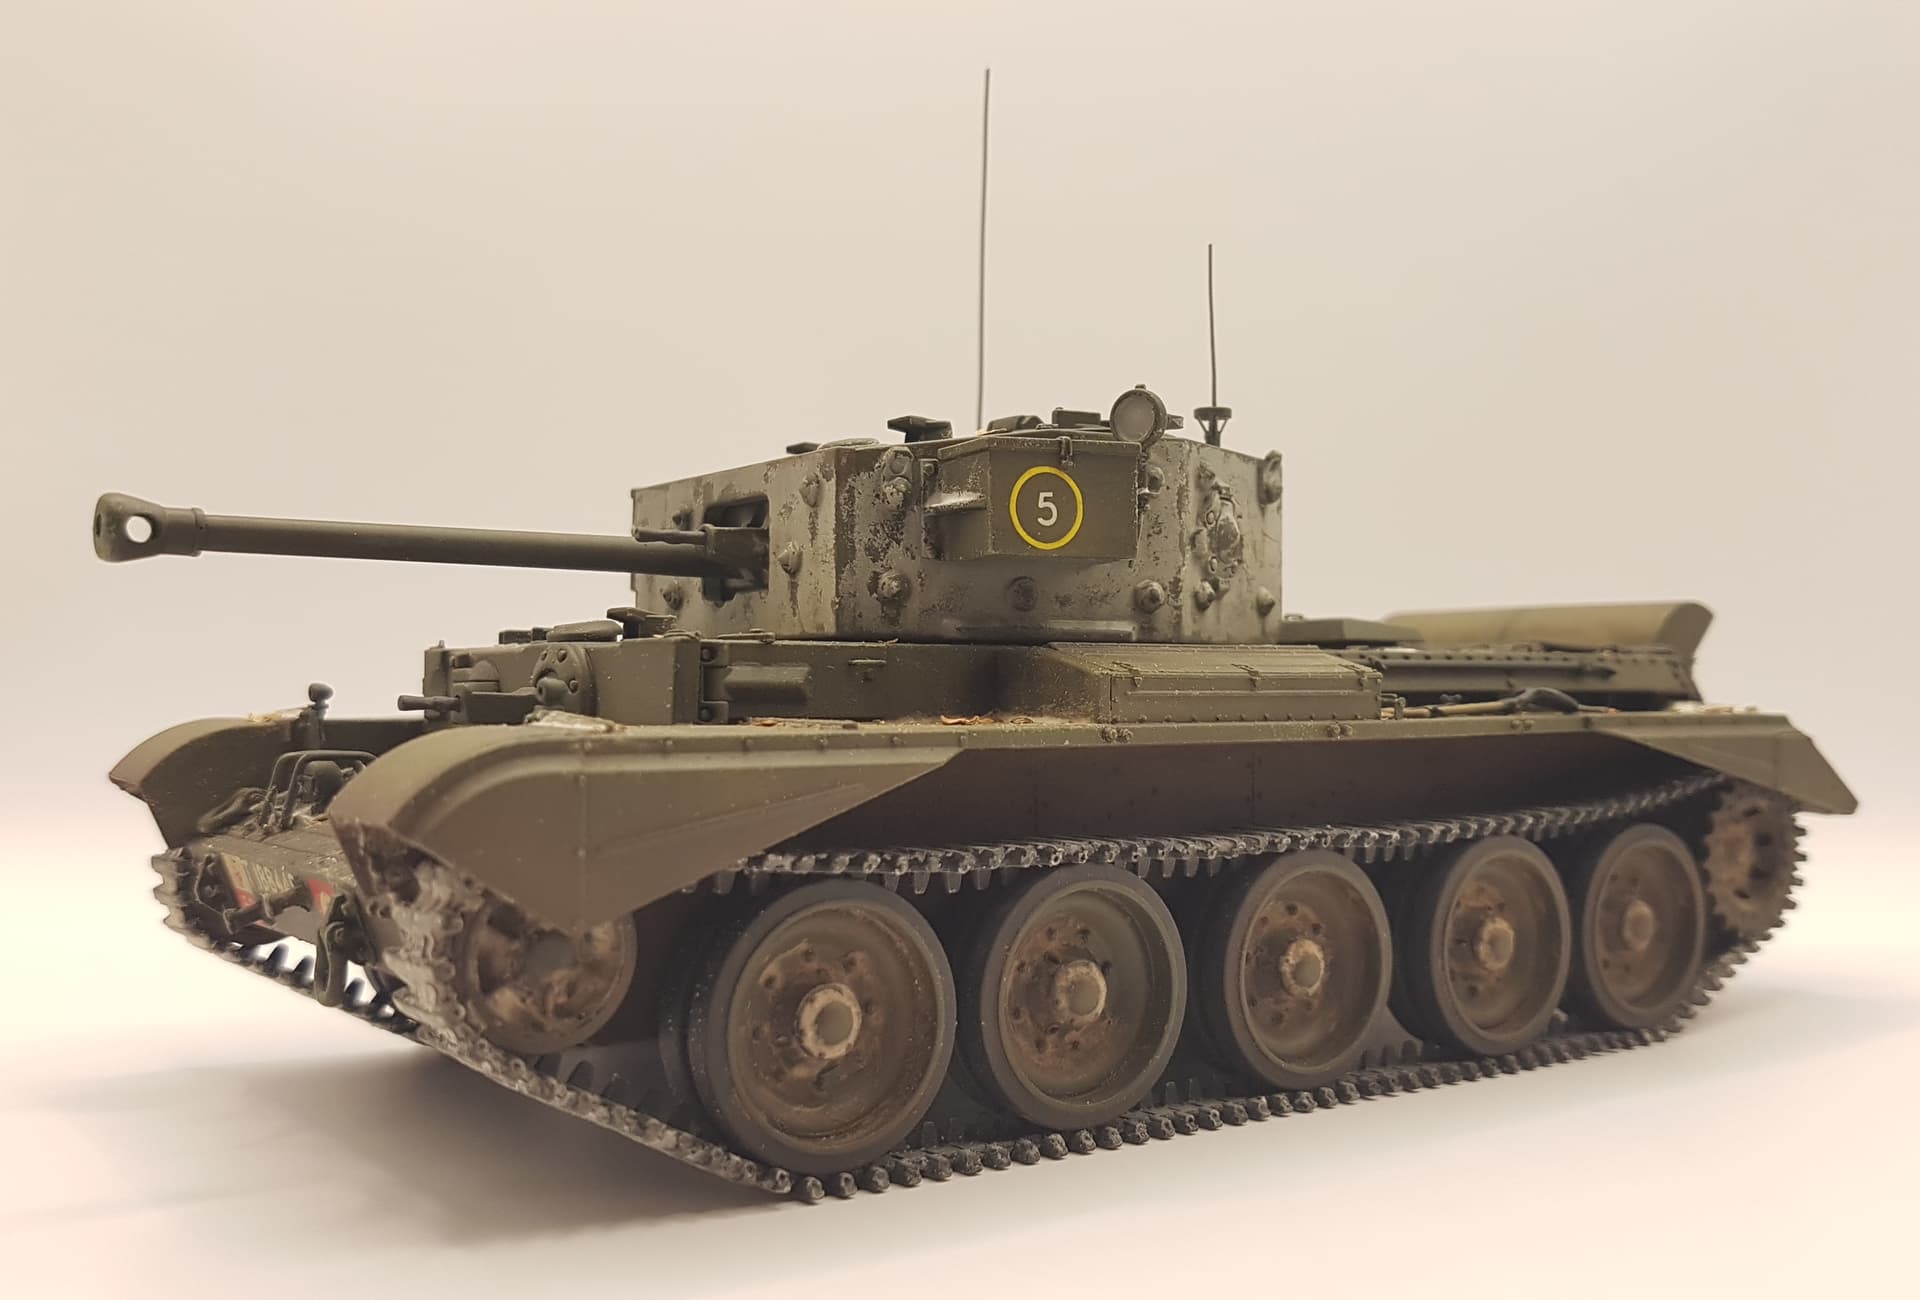
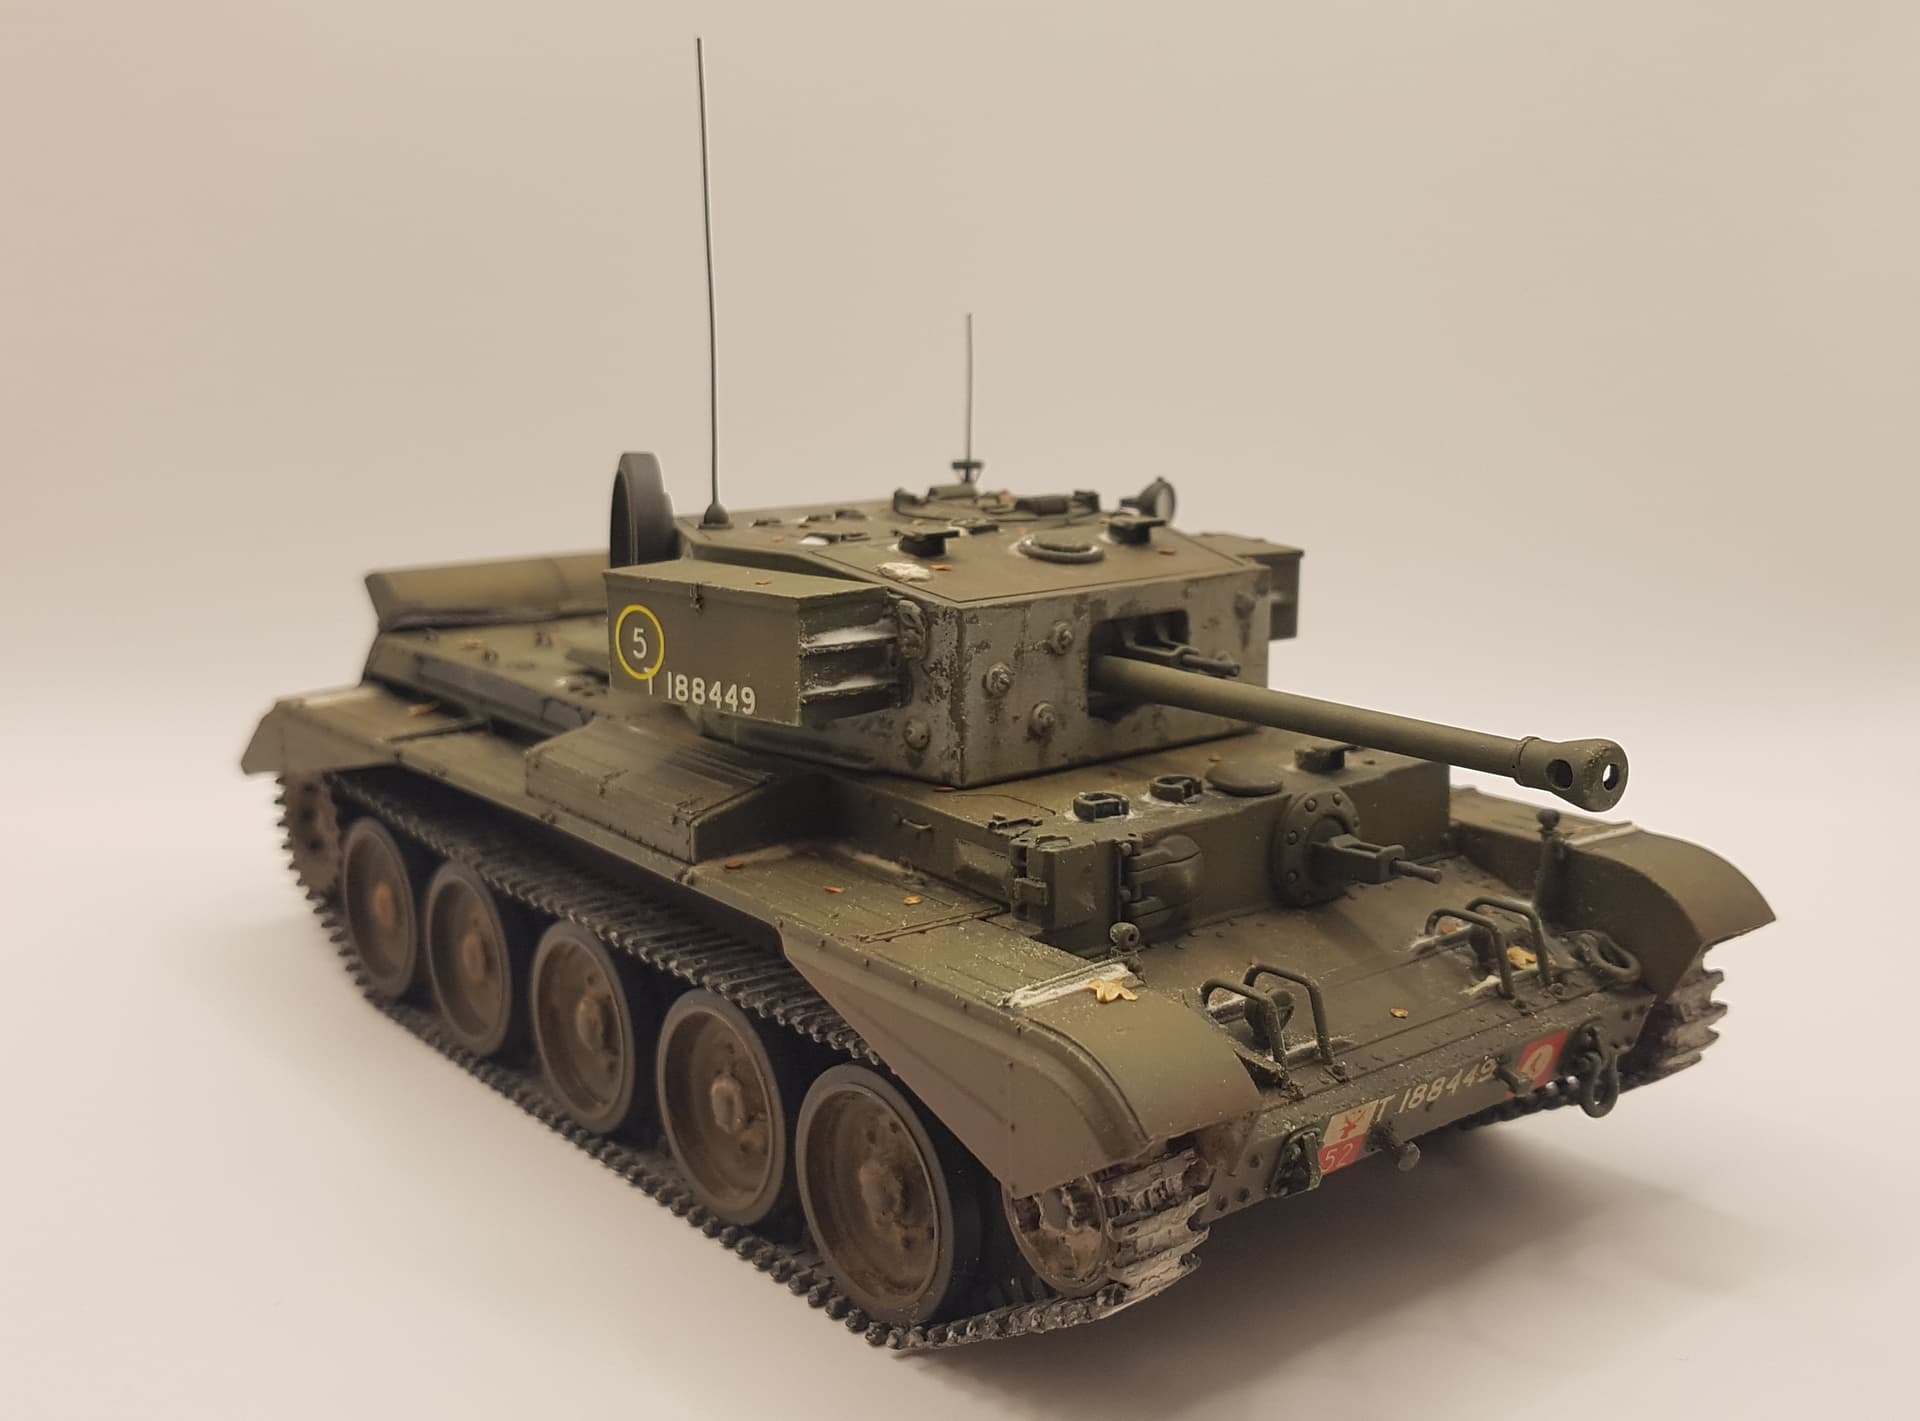
And I’m calling this done (apart from some stowage and maybe a base). The tank itself is done. I added some snow to the rear deck and to the rear of the turret around the aerials and hinges.
I have also painted the headlight and the episcopes.
Got myself a new toy…an LED photography lightbox. Its so much better than what I had…which was nothing. Took these pics on my phone in 5 mins of setting it up. I am keen to play around with it a bit more and learn.
@Nickpal01 Nick,
Very impressive Cromwell!
A++
Thanks @Armor_Buff for the kind words!