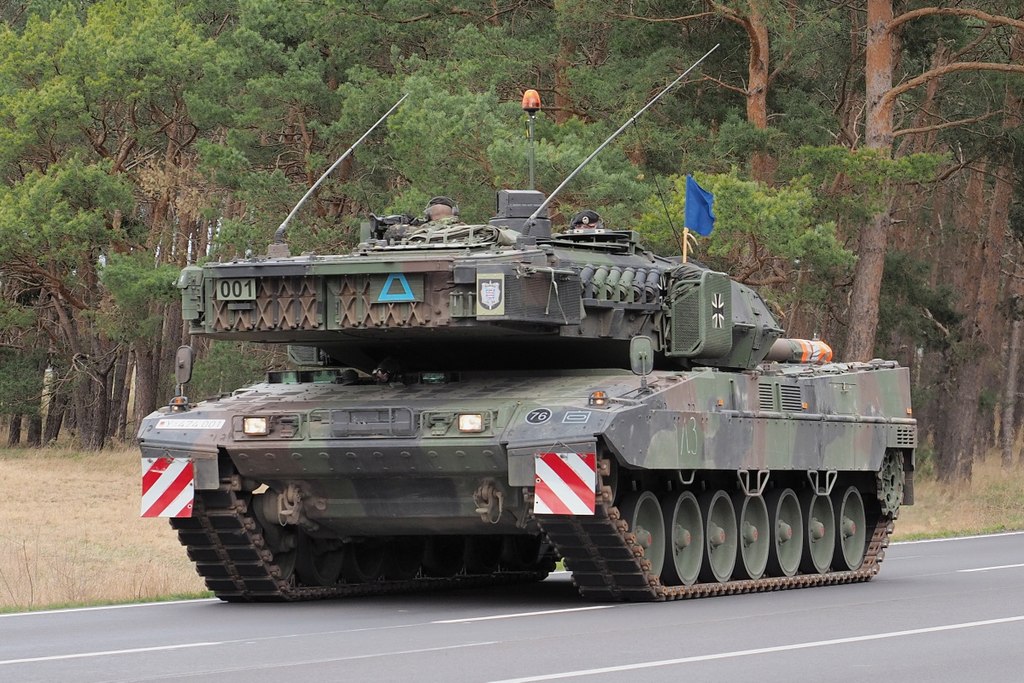
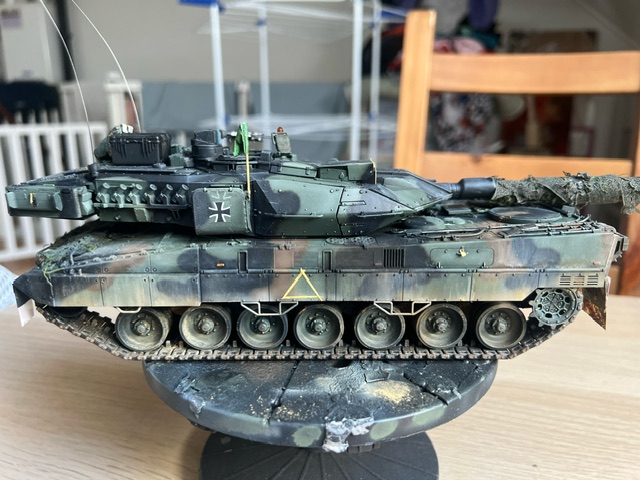
As part of the ongoing diorama I am building, tentatively called “BOYS WITH NEW TOYS”, which features a Faun SLT-56 tank transporter, a Puma IFV and a Leopard tank, I thought I’d share a build log of the smallest and least complicated of the three main constituents.
Please forgive me if this is a little repetitive of the Canadian Leopard 2A6 I did a while back, it is a very similar model and the techniques were similar too so hopefully this isn’t too boring.
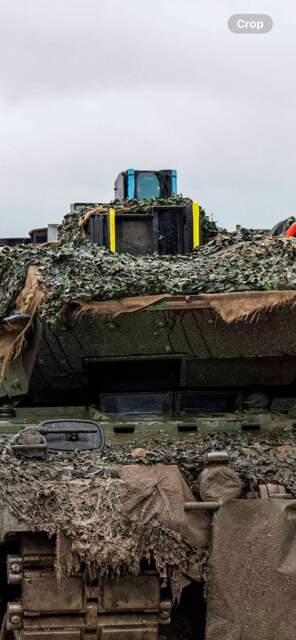
I had the Tamiya Leo 2A6 in the stash and intended to build this for the dio but I couldn’t resist the new 2A7V kit and so decided on that instead.
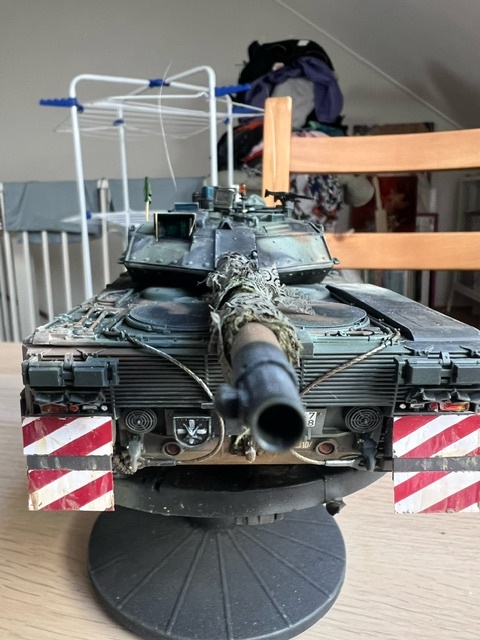
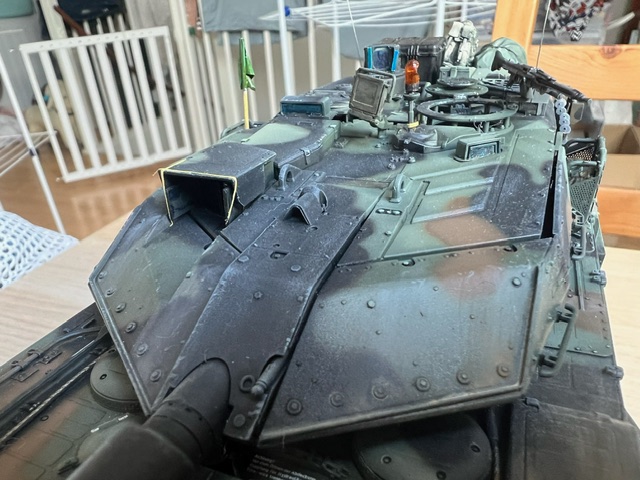
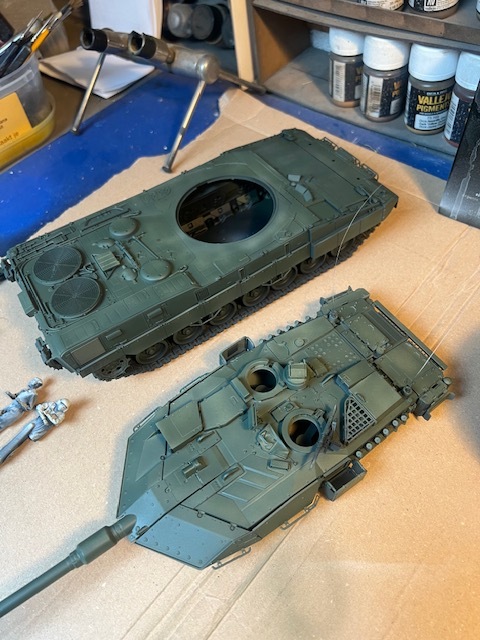
Build was your usual Tamiya goodness - not over-detailed and with a low parts count but the effect of the top end molding and crisp finishing is that it looks more complicated than it is. Assembly was about 12 hours and it is a superbly enjoyable kit in all respects. It isn’t as simplistic and “shake and bake” as some of their older kits and there are some genuinely challenging parts and aspects to this that keep my enjoyment levels up. I never got bored with this, quite the opposite actually. I used cat whiskers for the two aerials as usual and left off the lights until after painting.
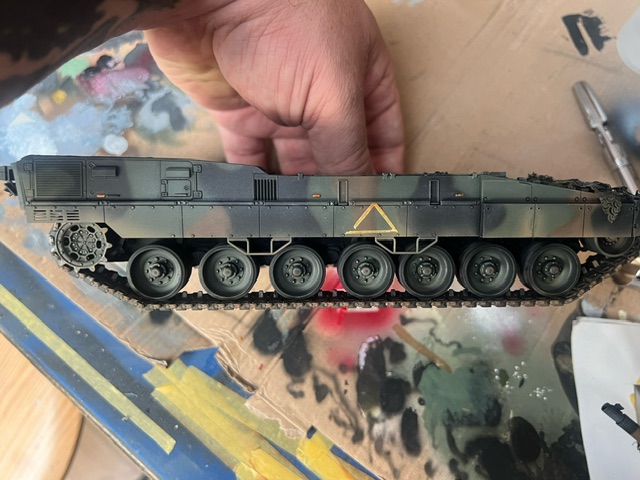
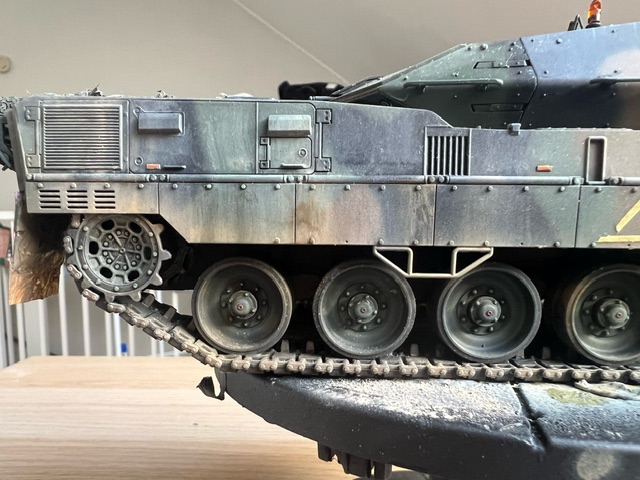
The tracks especially were superb - I wish more OEMs would do this clever hybrid of link n’ length and workable indy link. It’s such a clever solution and lightning fast to do. Both runs took less than three hours from start to finish.
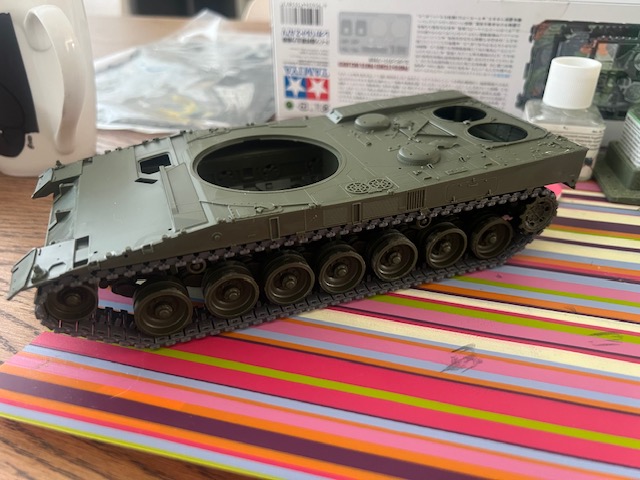
I realise my approach of building and painting the model with the tracks attached isn’t for everyone but for this kit it works fine.
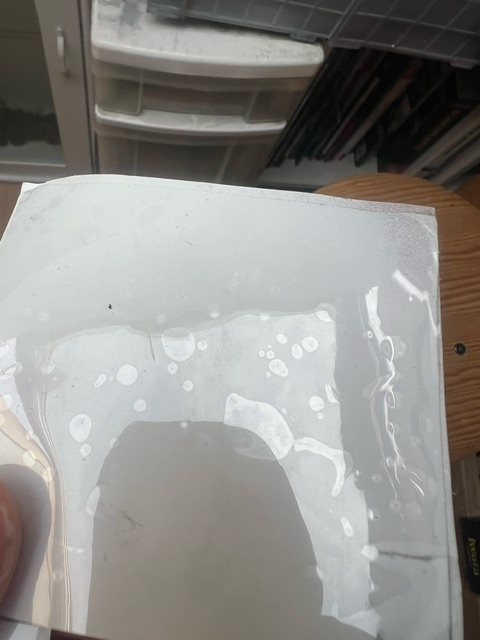
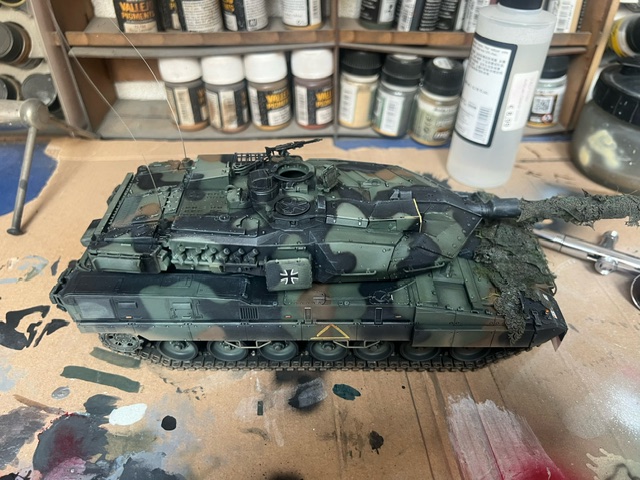
Once assembled I primed in flat black from Mig One Shot. I know most don’t like this stuff and you hear horror stories abound of clogged airbrushes and whatnot, but I swear, if you get the thinning right it is amazing stuff. Levels off like you wouldn’t believe. Its fab. Anyway, after that I added pre-shading in grey-white VMA to the exposed areas to help create highlights for the incoming base coat.
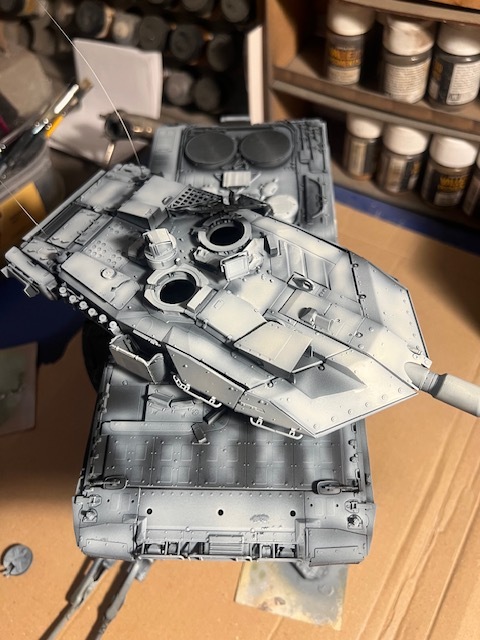
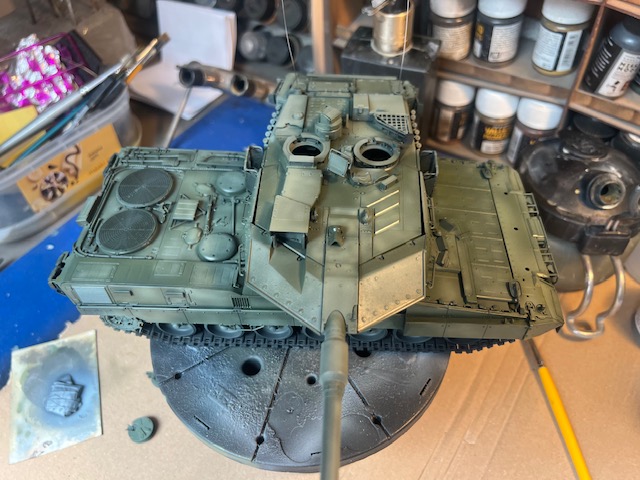
After that it was a base coat of NATO Green. I wanted to darken it down as the highlights might have made it too light so I added 30% black-green from VMA into the mix and in hindsight maybe should have gone 50/50. This went down in three coats of very thinned paint. I used a Creos 771 with a 0.15mm needle for the whole model by the way - just goes to show how versatile the Creos is even with a thin needle in.
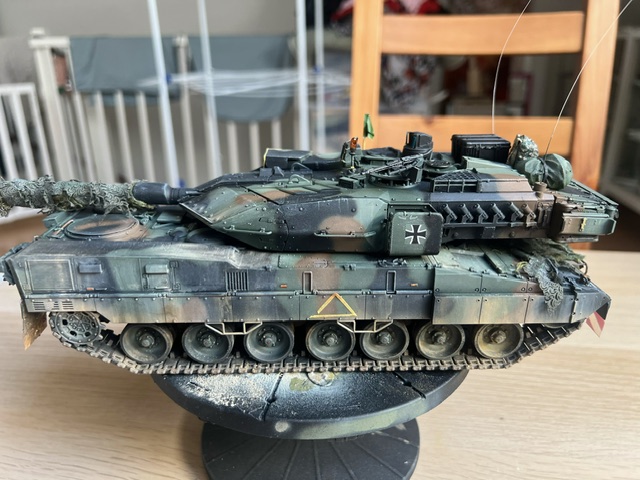
After that I did two highlight coats in progressively lightened NATO Green (first was just VMA NATO Green and the second was the same but with a 20% of USN light grey as a lighting tone) to add highlights.
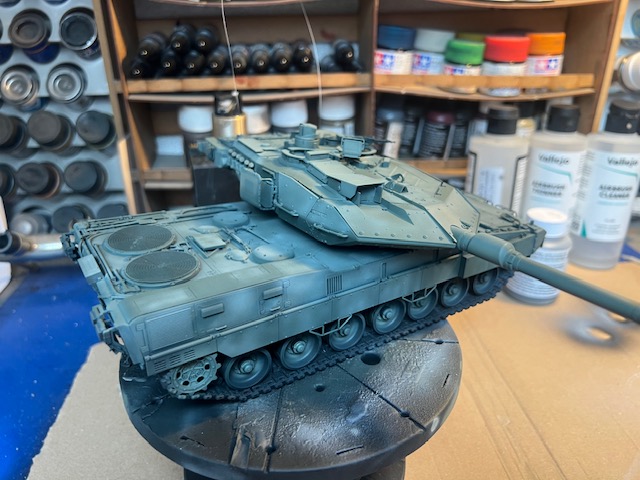
As I feared, this went too light and I diffused it right back with two coats of a dark green enamel filter which gave a much nicer result.
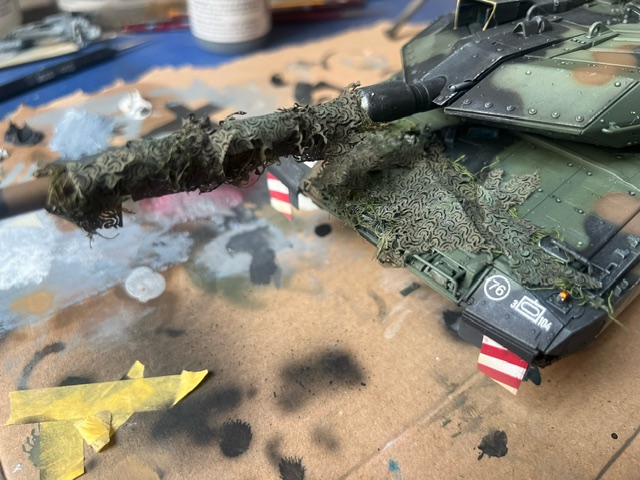
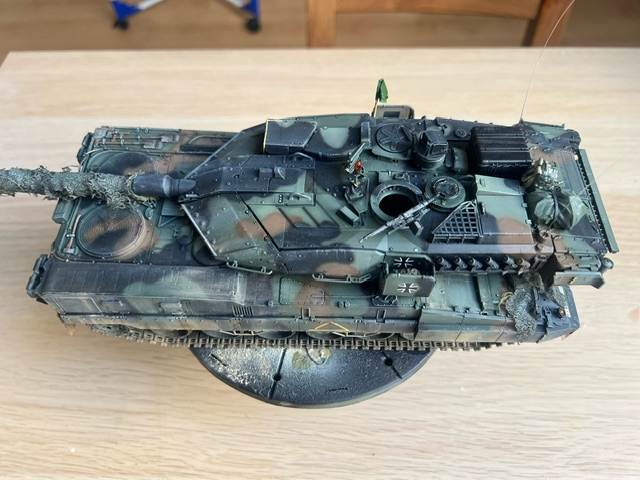
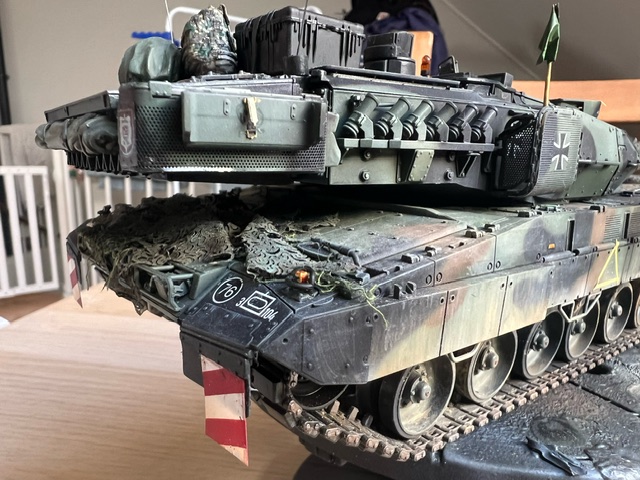
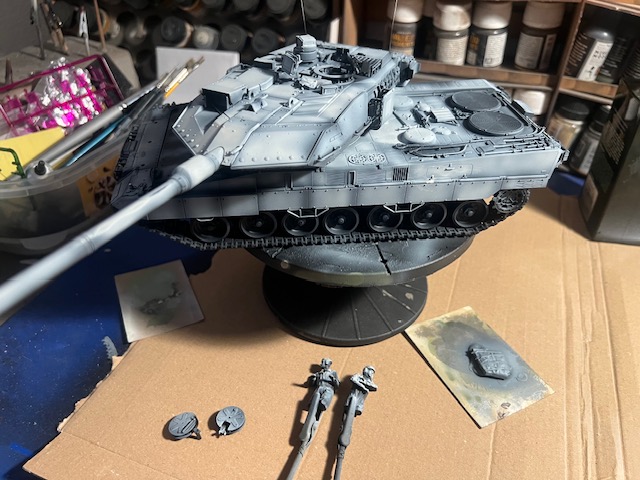
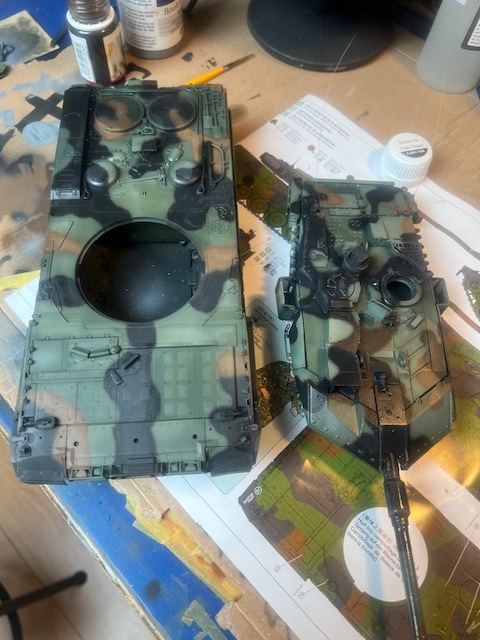
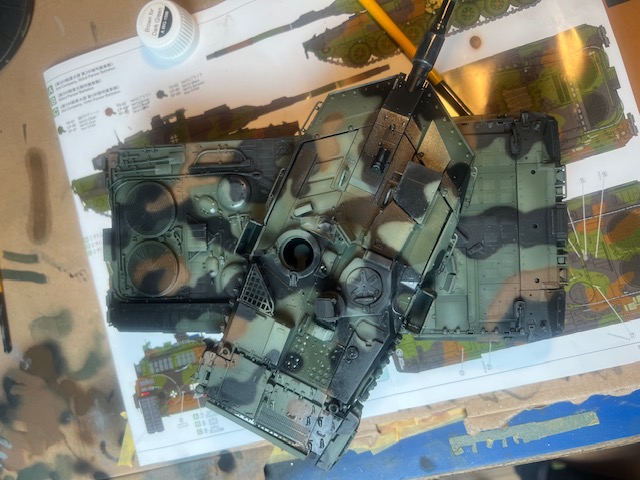
Next up was the camouflage. This took well over 10 hours to freehand. I’m one of those guys who has an aversion to all the issues modelling putty brings and who believes that if you thin the paint well enough and add enough drying retarder into the cup, ensure it is well mixed enough and have a nice thin needle in a really good detail airbrush, and you take your time and mark your lines out with pencil… that hard-edge camo is just about achievable, freehand. It isn’t absolutely hard-edged but is almost, and I quite like the effect of the almost part. It looks less manufactured that way. So I did the camo freehand and it does take a long time. Tip drying is an issue even with the retarder and you have to get really close in to the model on a low pressure setting to make it work. Filling in the areas inside the lines is better done at a higher pressure to get a more even coverage so it is best to do the outlines first and then go back to fill them in later. I also added highlights for the NATO Brown and Black at this stage as well, and added another dark green filter to unify the effects a little. After that it was a gloss coat and 24hrs to dry.
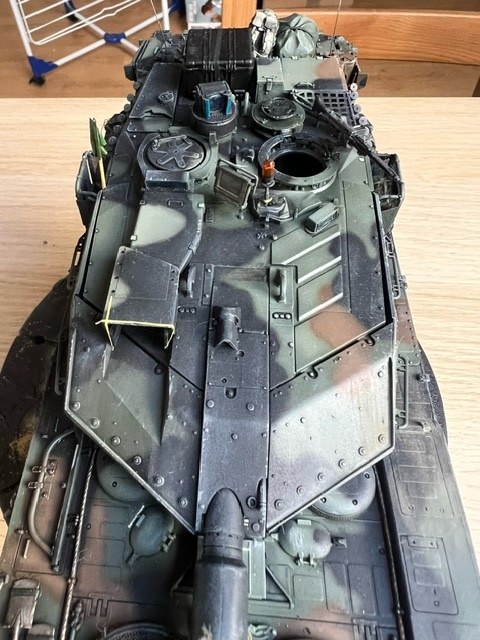
I set about doing the last highlight pass - brush painting the bolt heads and so on with IJN Green. I have no idea why this works but it does. You can see here I picked out the bolt heads on the road wheels and it really makes them pop.
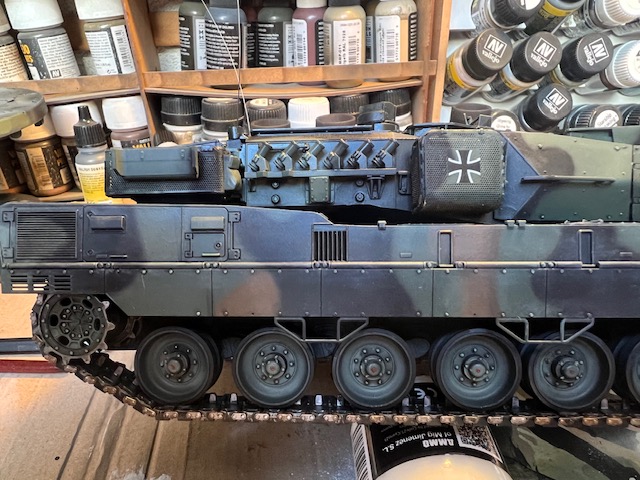
I used Tamiya black panel liner on the main cracks and crevices and MIG Black Night as a gentle dark wash in shadowy areas, almost like a fake shadow filter almost, just to highlight the panel sections and make the model look bigger than it is. I also used some dark grey and brown panel liner washes in various parts and added some violet and dark blue Shader tones to add more different colours in the shadows and darker areas.
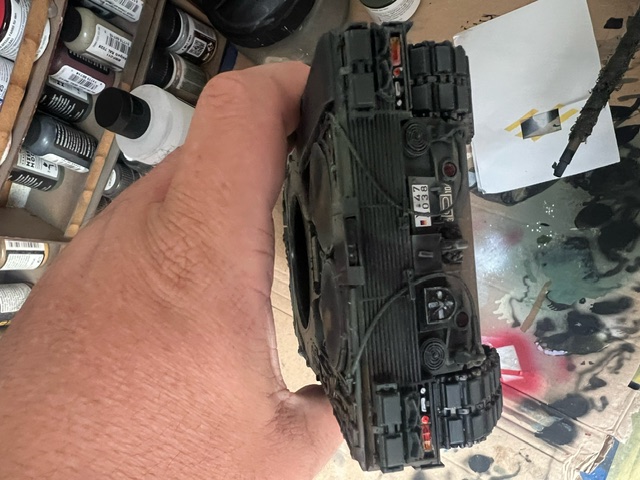
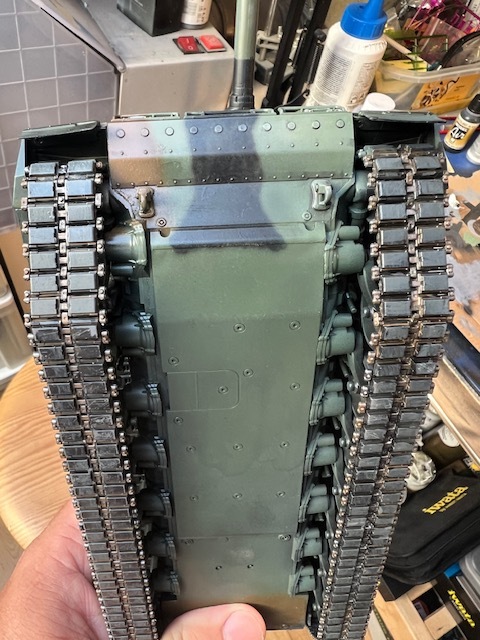
Next up was the tracks. These were just plain black from the primer layer and I dry brushed the track pins, the pin connectors and the track piece centre sections in a mix of 50/50 Steel and Gunmetal, being careful not to touch the track pads. Then I used a lot of Tamiya brown panel liner to make the effect look less factory fresh and added black washes in various places too. I also highlighted the track pads with a 70/30 mix of NATO black and a mid grey colour to make them stand out. I’m going to use a light grey 000 brush to add scratches and wear on the pad blocks later on. The decals went on at this point as well.
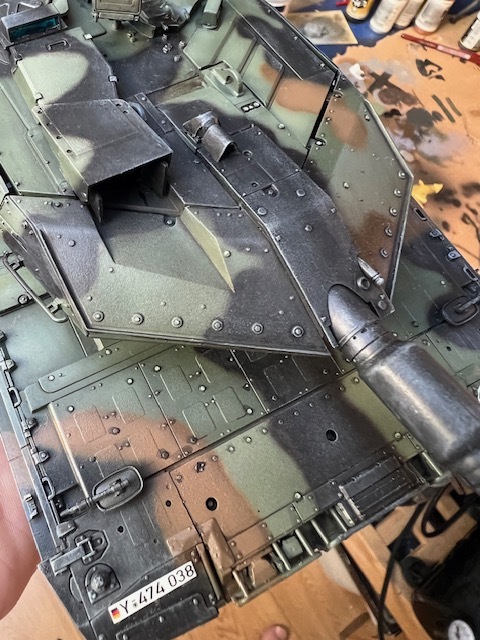
After that I hit the oil paints. First up was a mix of white and grey VERY lightly dry brushed onto the exposed areas to create another highlight layer and this came out beautifully on the NATO black parts.

More to come. Stay tuned.