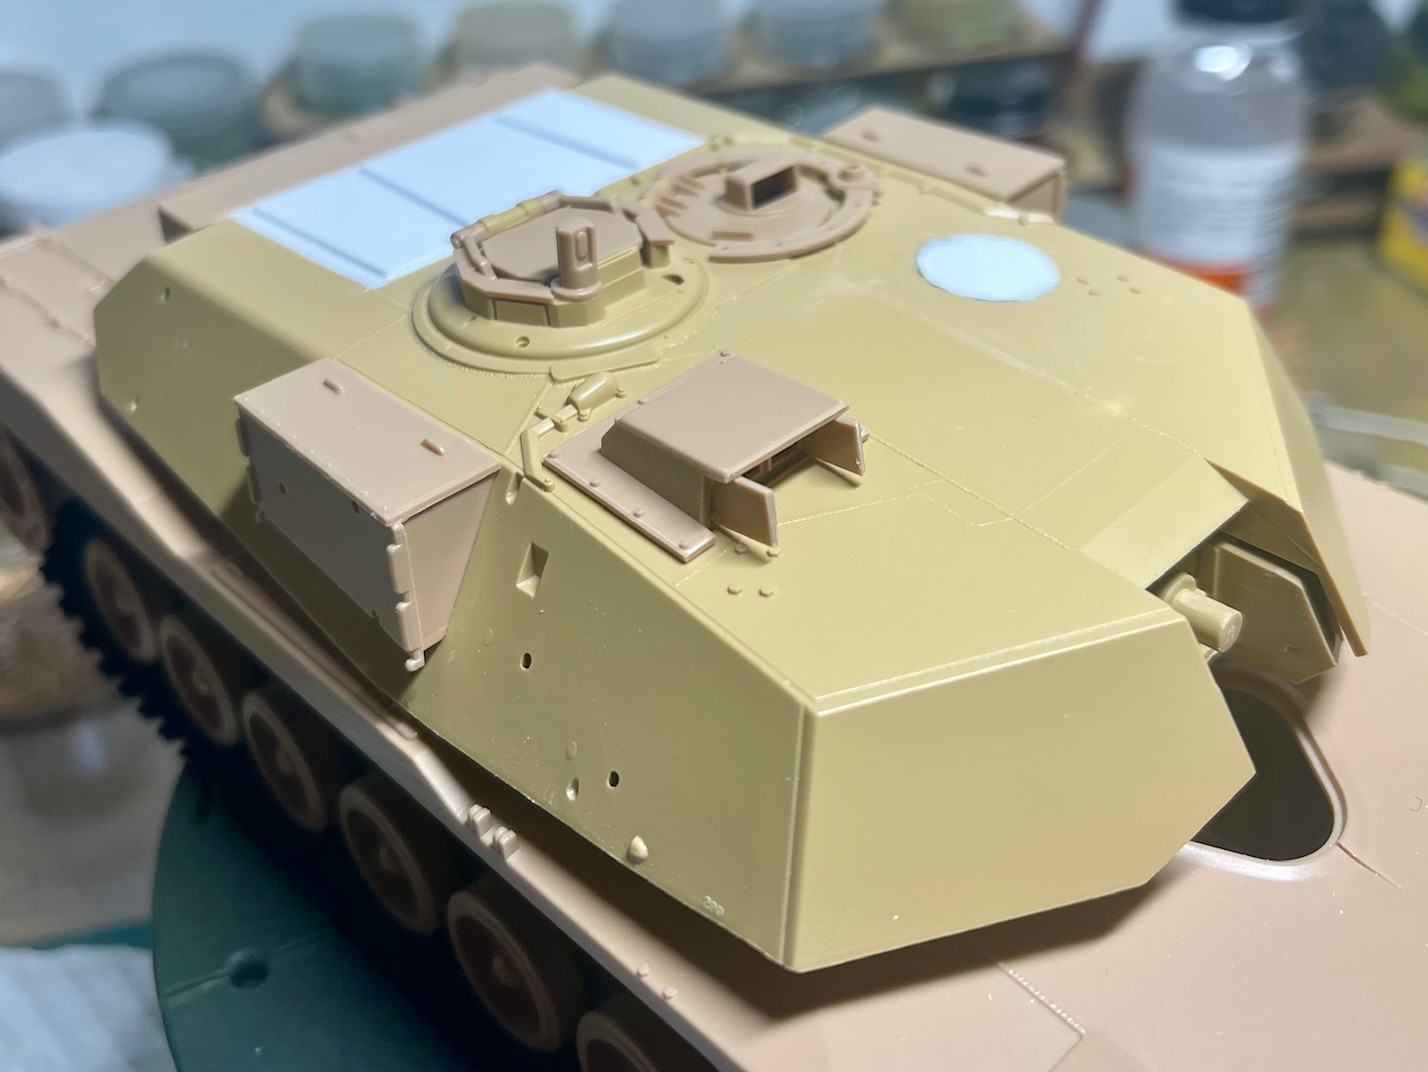
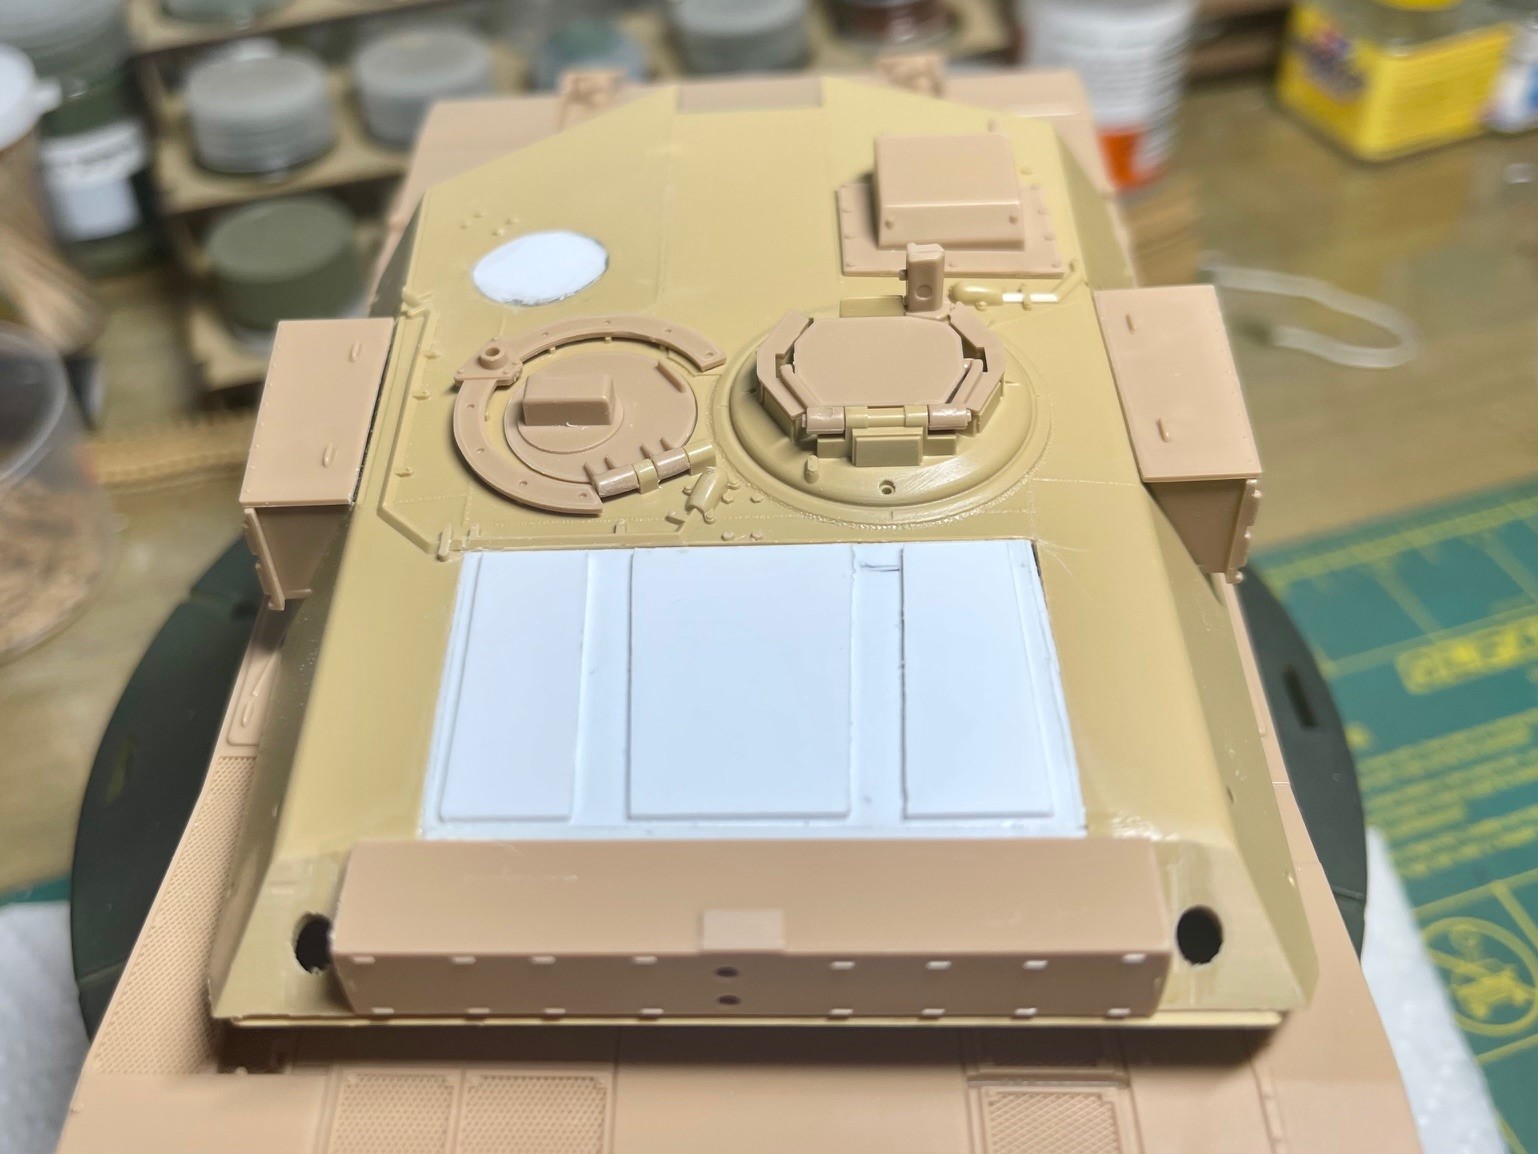
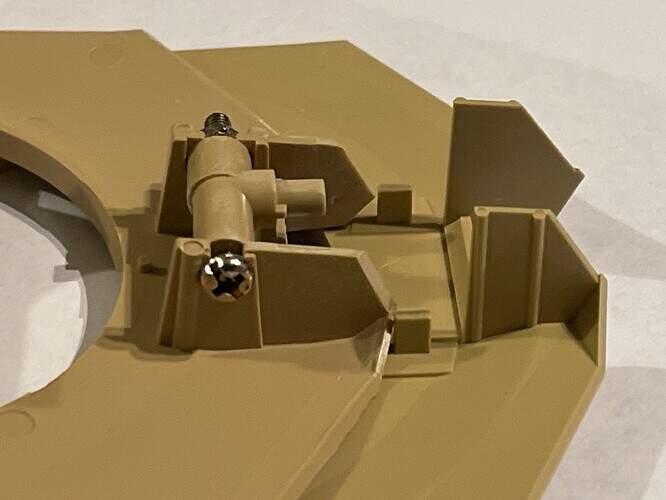
More progress this morning, focusing on the blast panels, stowage bins and hatches. The bins are glued in place while the Tank’s Gunner Sight and hatches are dry fitted to make sure everything does into place.
In comparison to the original kit. Not too bad IMO. I could add the bolts on the panels for added detail. I used .030 sheet styrene for the blast panels and .040 for the turret roof. The ga between panels was filled with some scap styrene and blended to match. Still have to add some Mr. Liquefied putty to make everything flush; but I’m getting the geometry done.
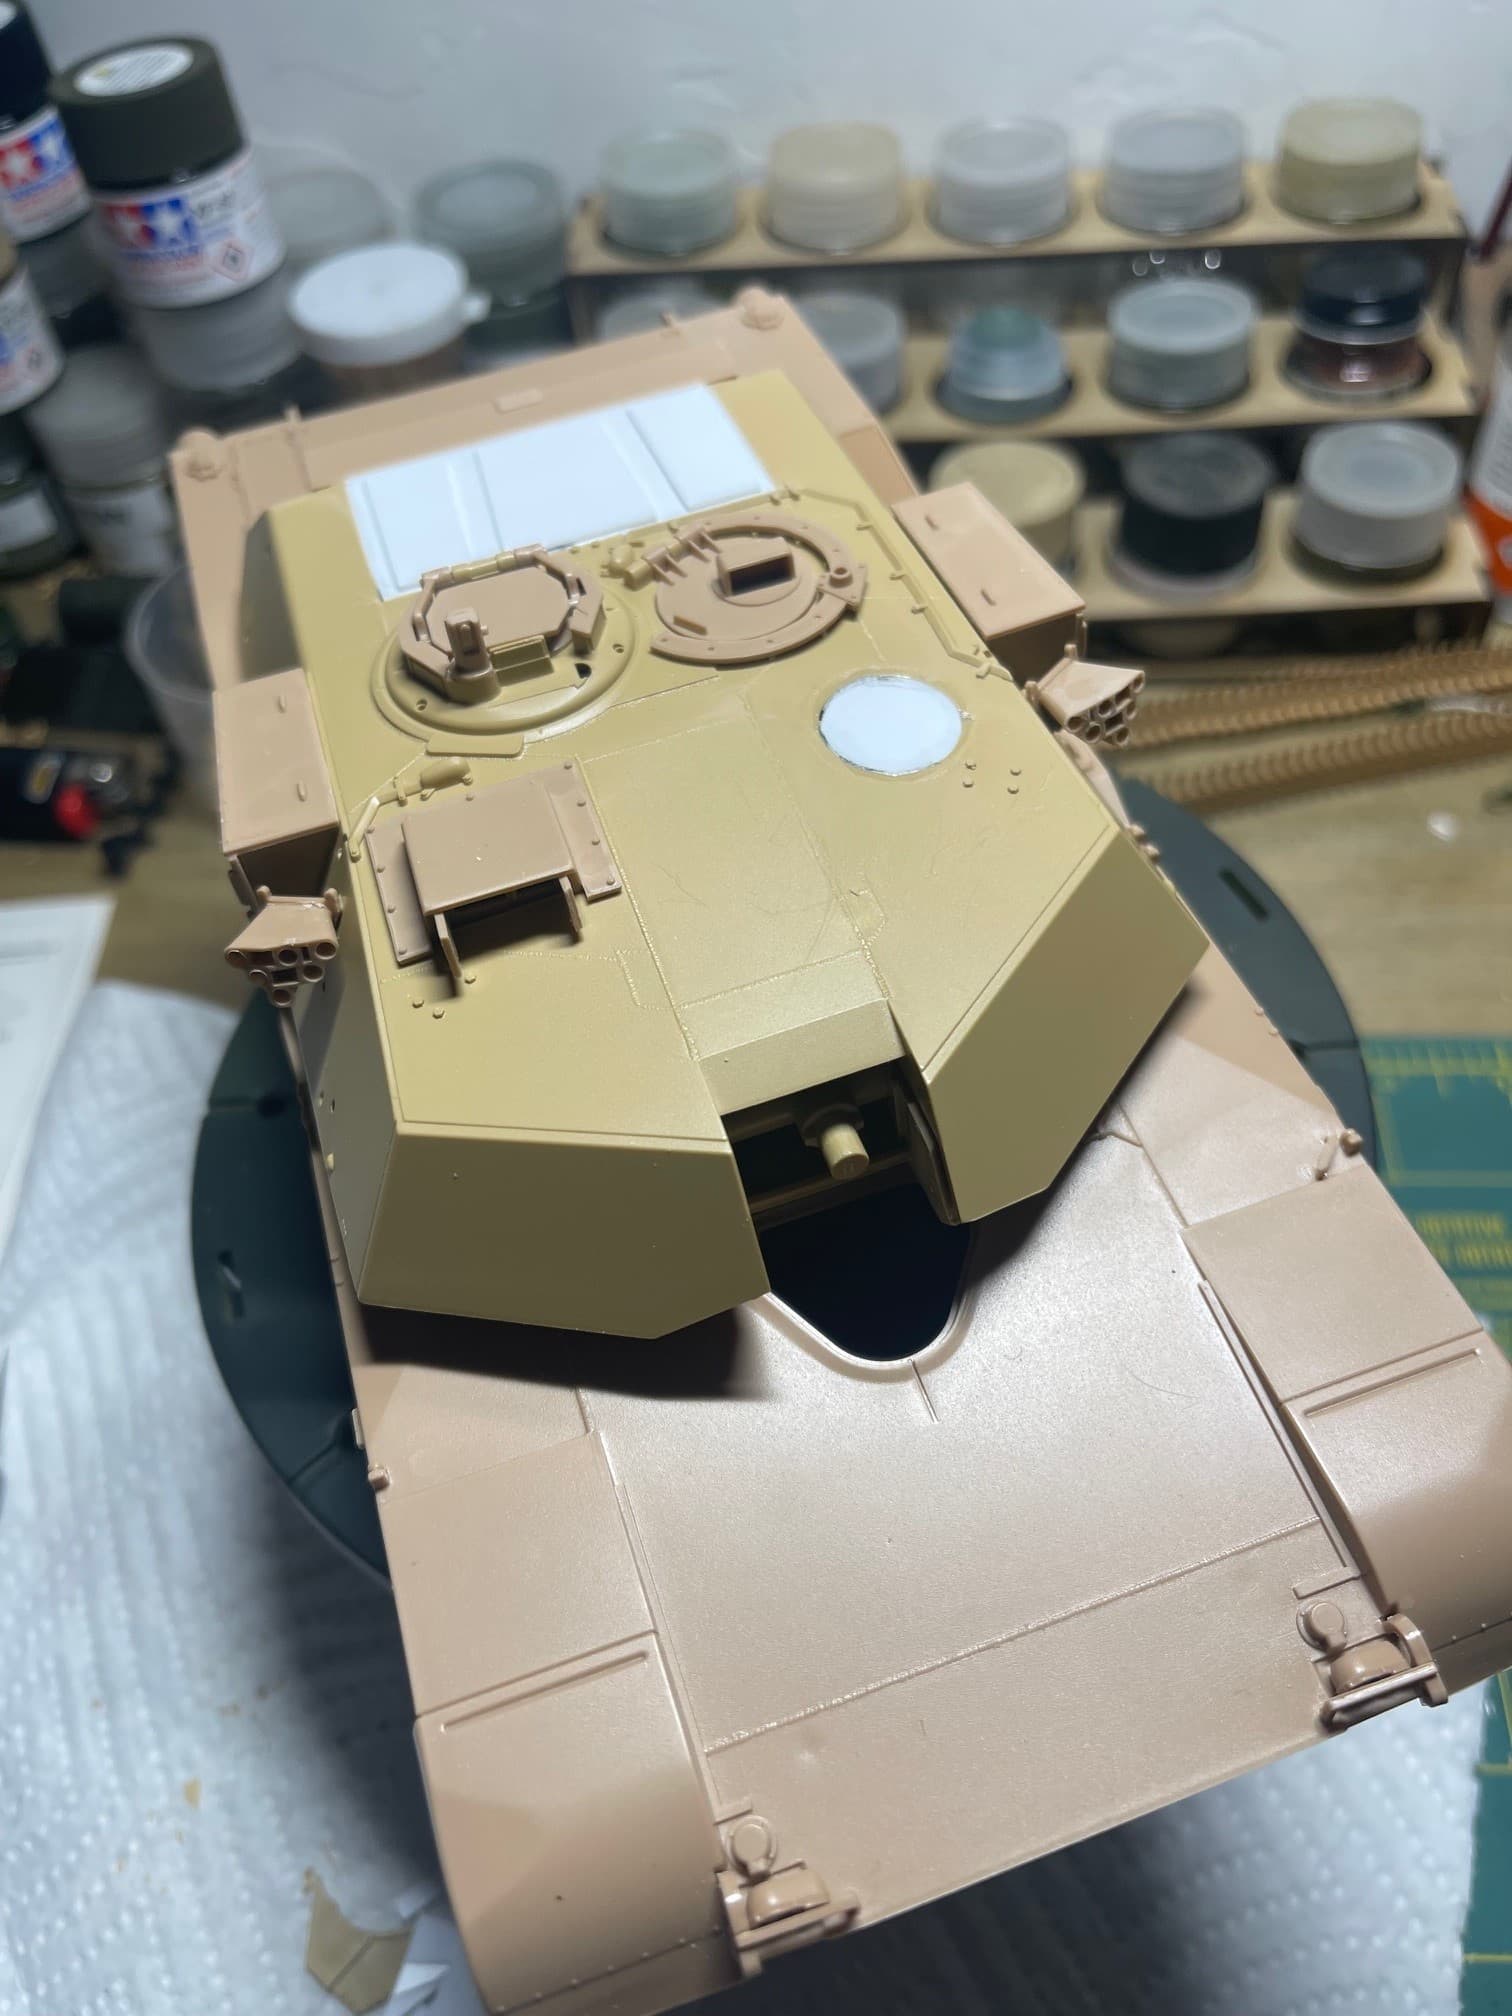
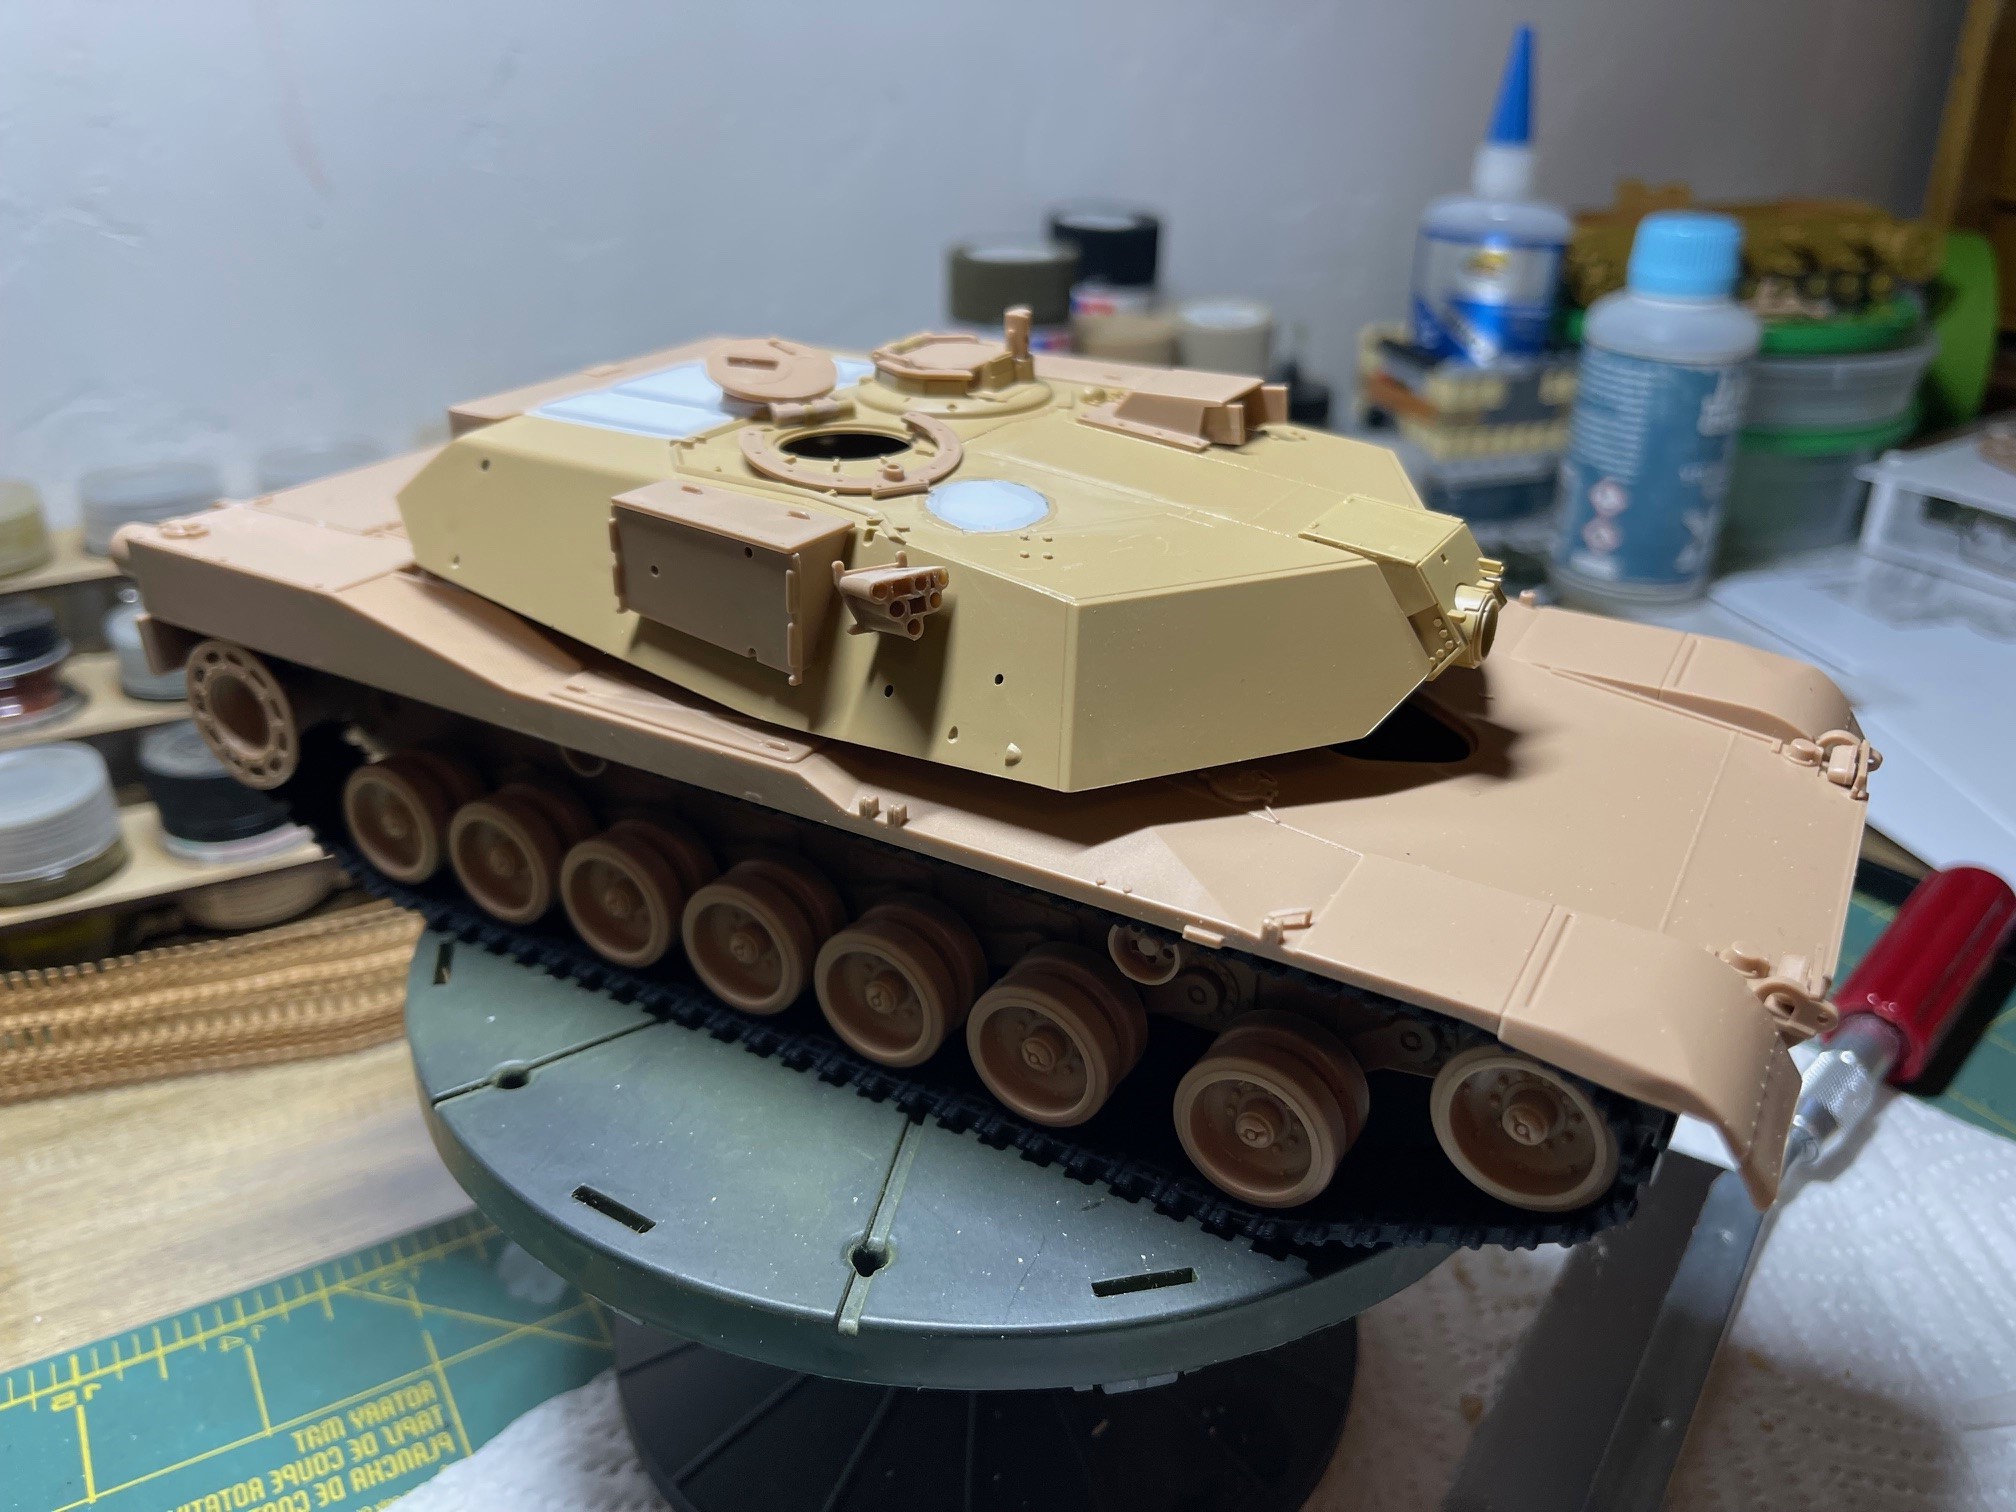
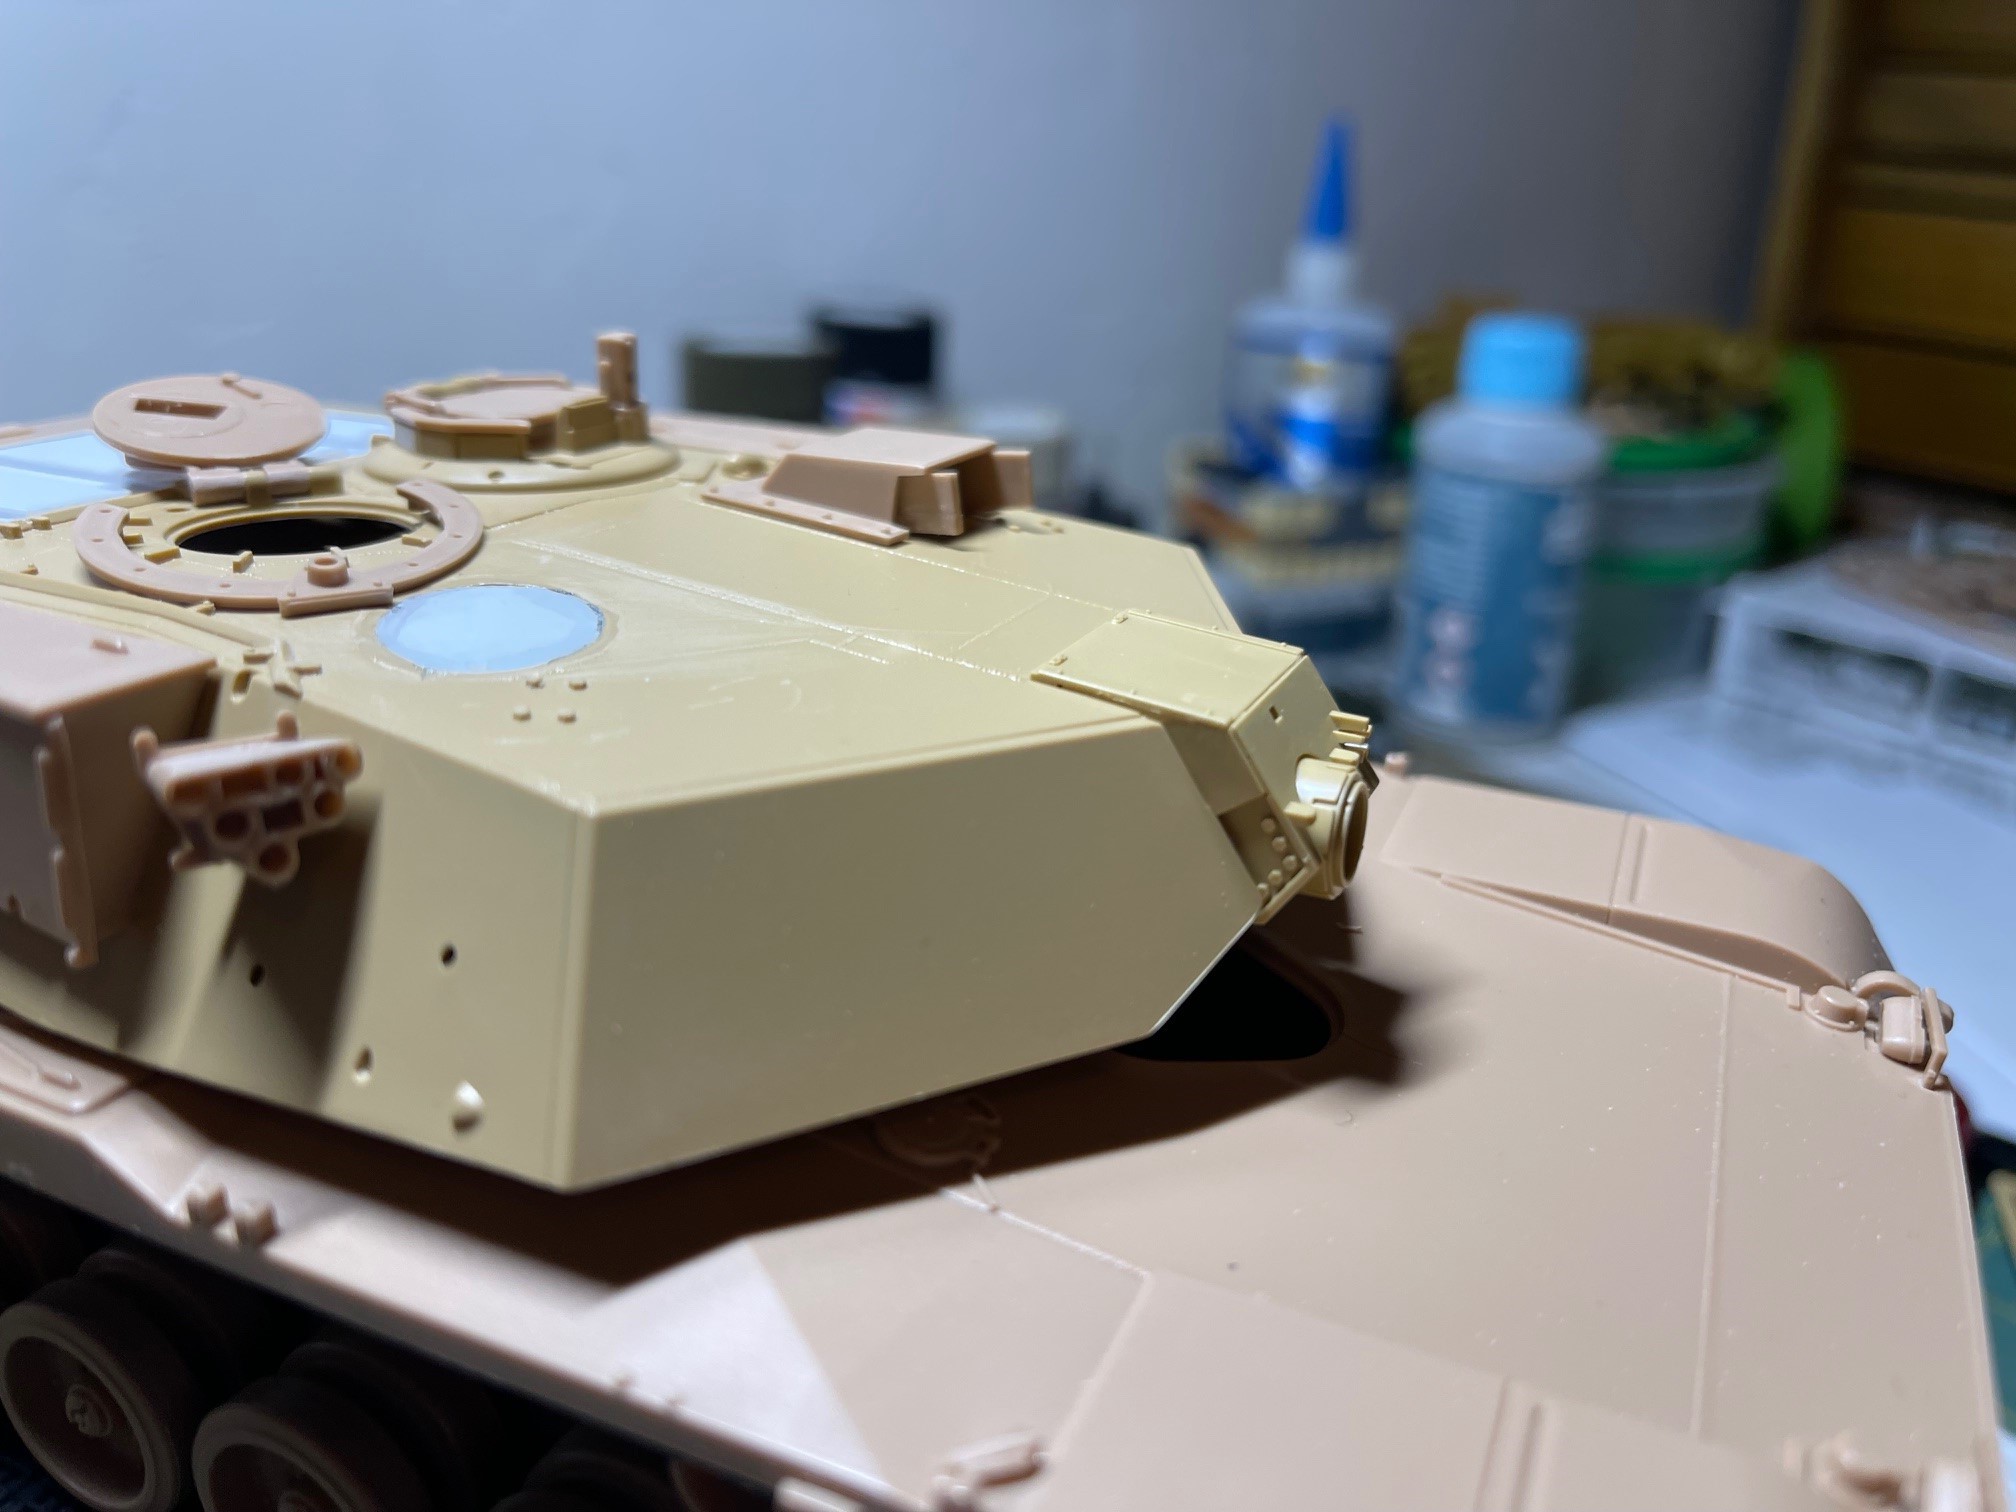
FInal detail to add was the M250 Smoke Launchers. My concern is the location of the smoke launchers on the A1 turret and that it may interfere with the location of the middle bustle rack bar. I’ll figure it out when i get home.
My new conundrum will be the rear bustle rack. Can’t seem to find a Tamiya rear bustle rack on eBay from my usual parts vendors; they do have available parts from Ryefield and Meng, but the parts are for the M1A2 SEP, which have the panel on the bustle rack for the APU.
I could use the rear bustle rack from Dragon’s M1A1 AIM set, but my concern would be the dimensions on that kit versus the Tamiya kit. ’
I just want to try and find the bustle rack parts from Tamiya’s M1A1 120mm kit (35156), or the “Ukraine” rebox (25216) or the Tamiya M1A2 “OIF” kit (35269).
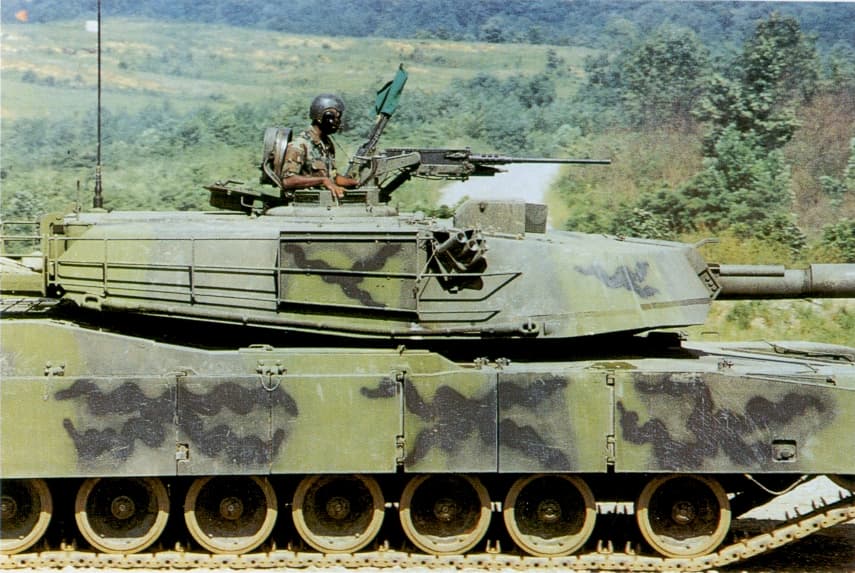
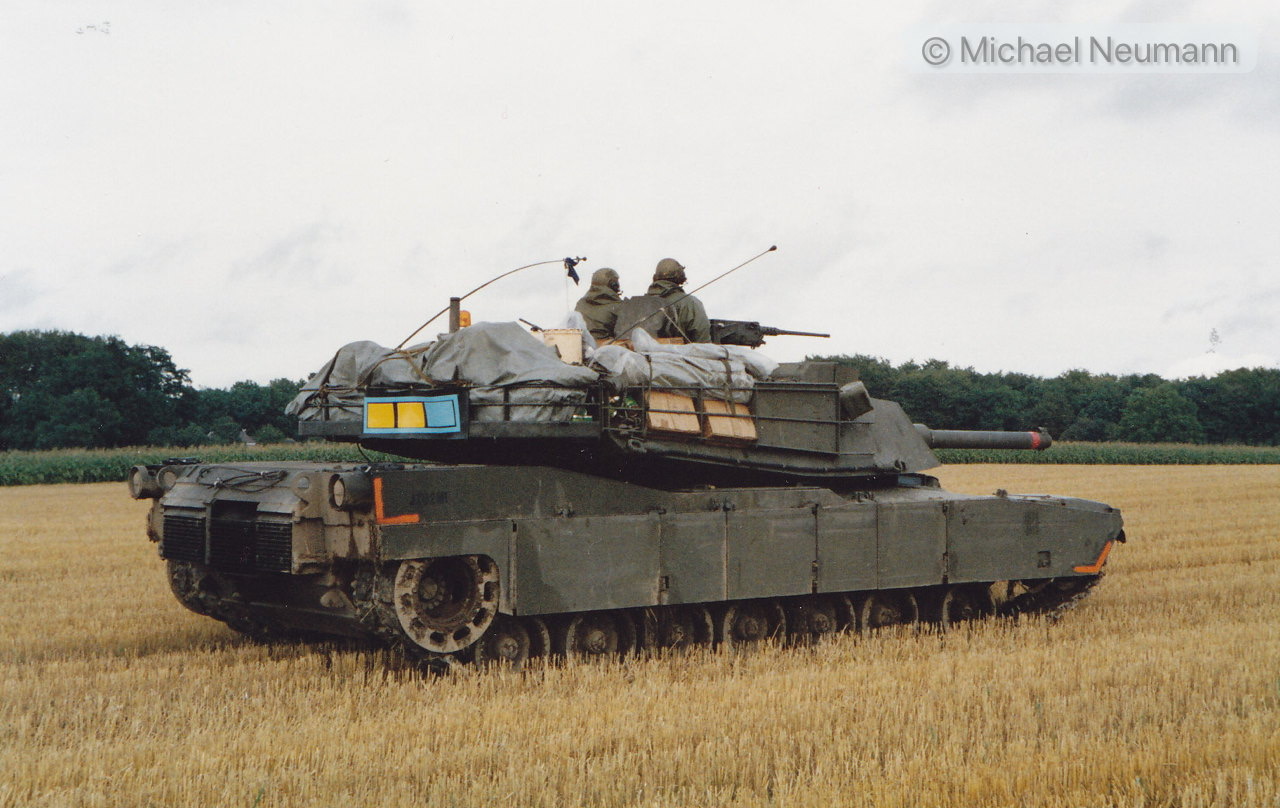
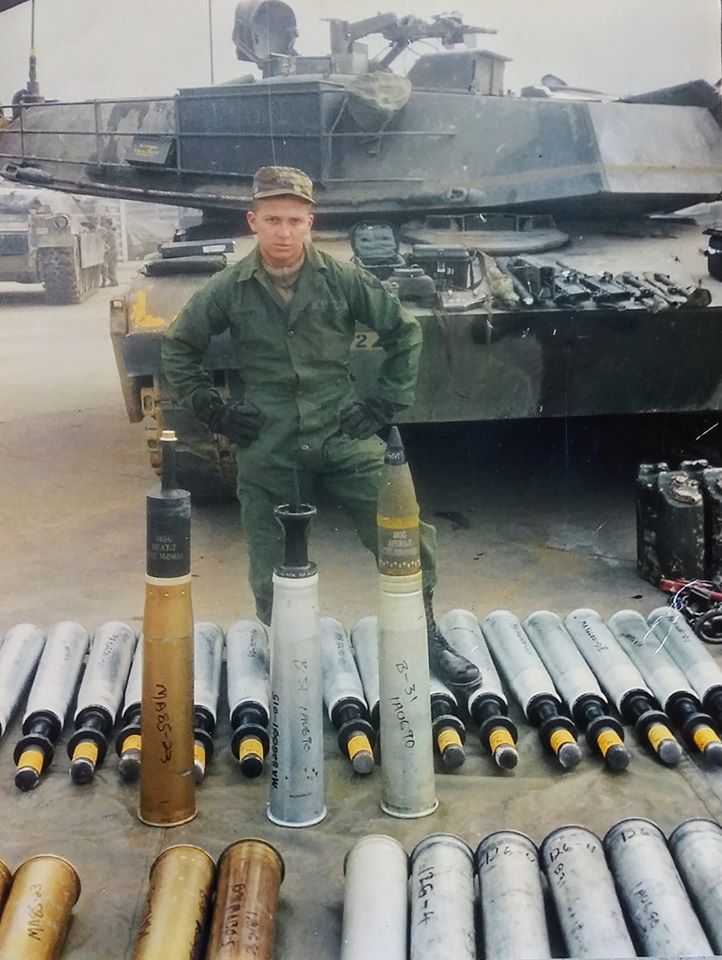
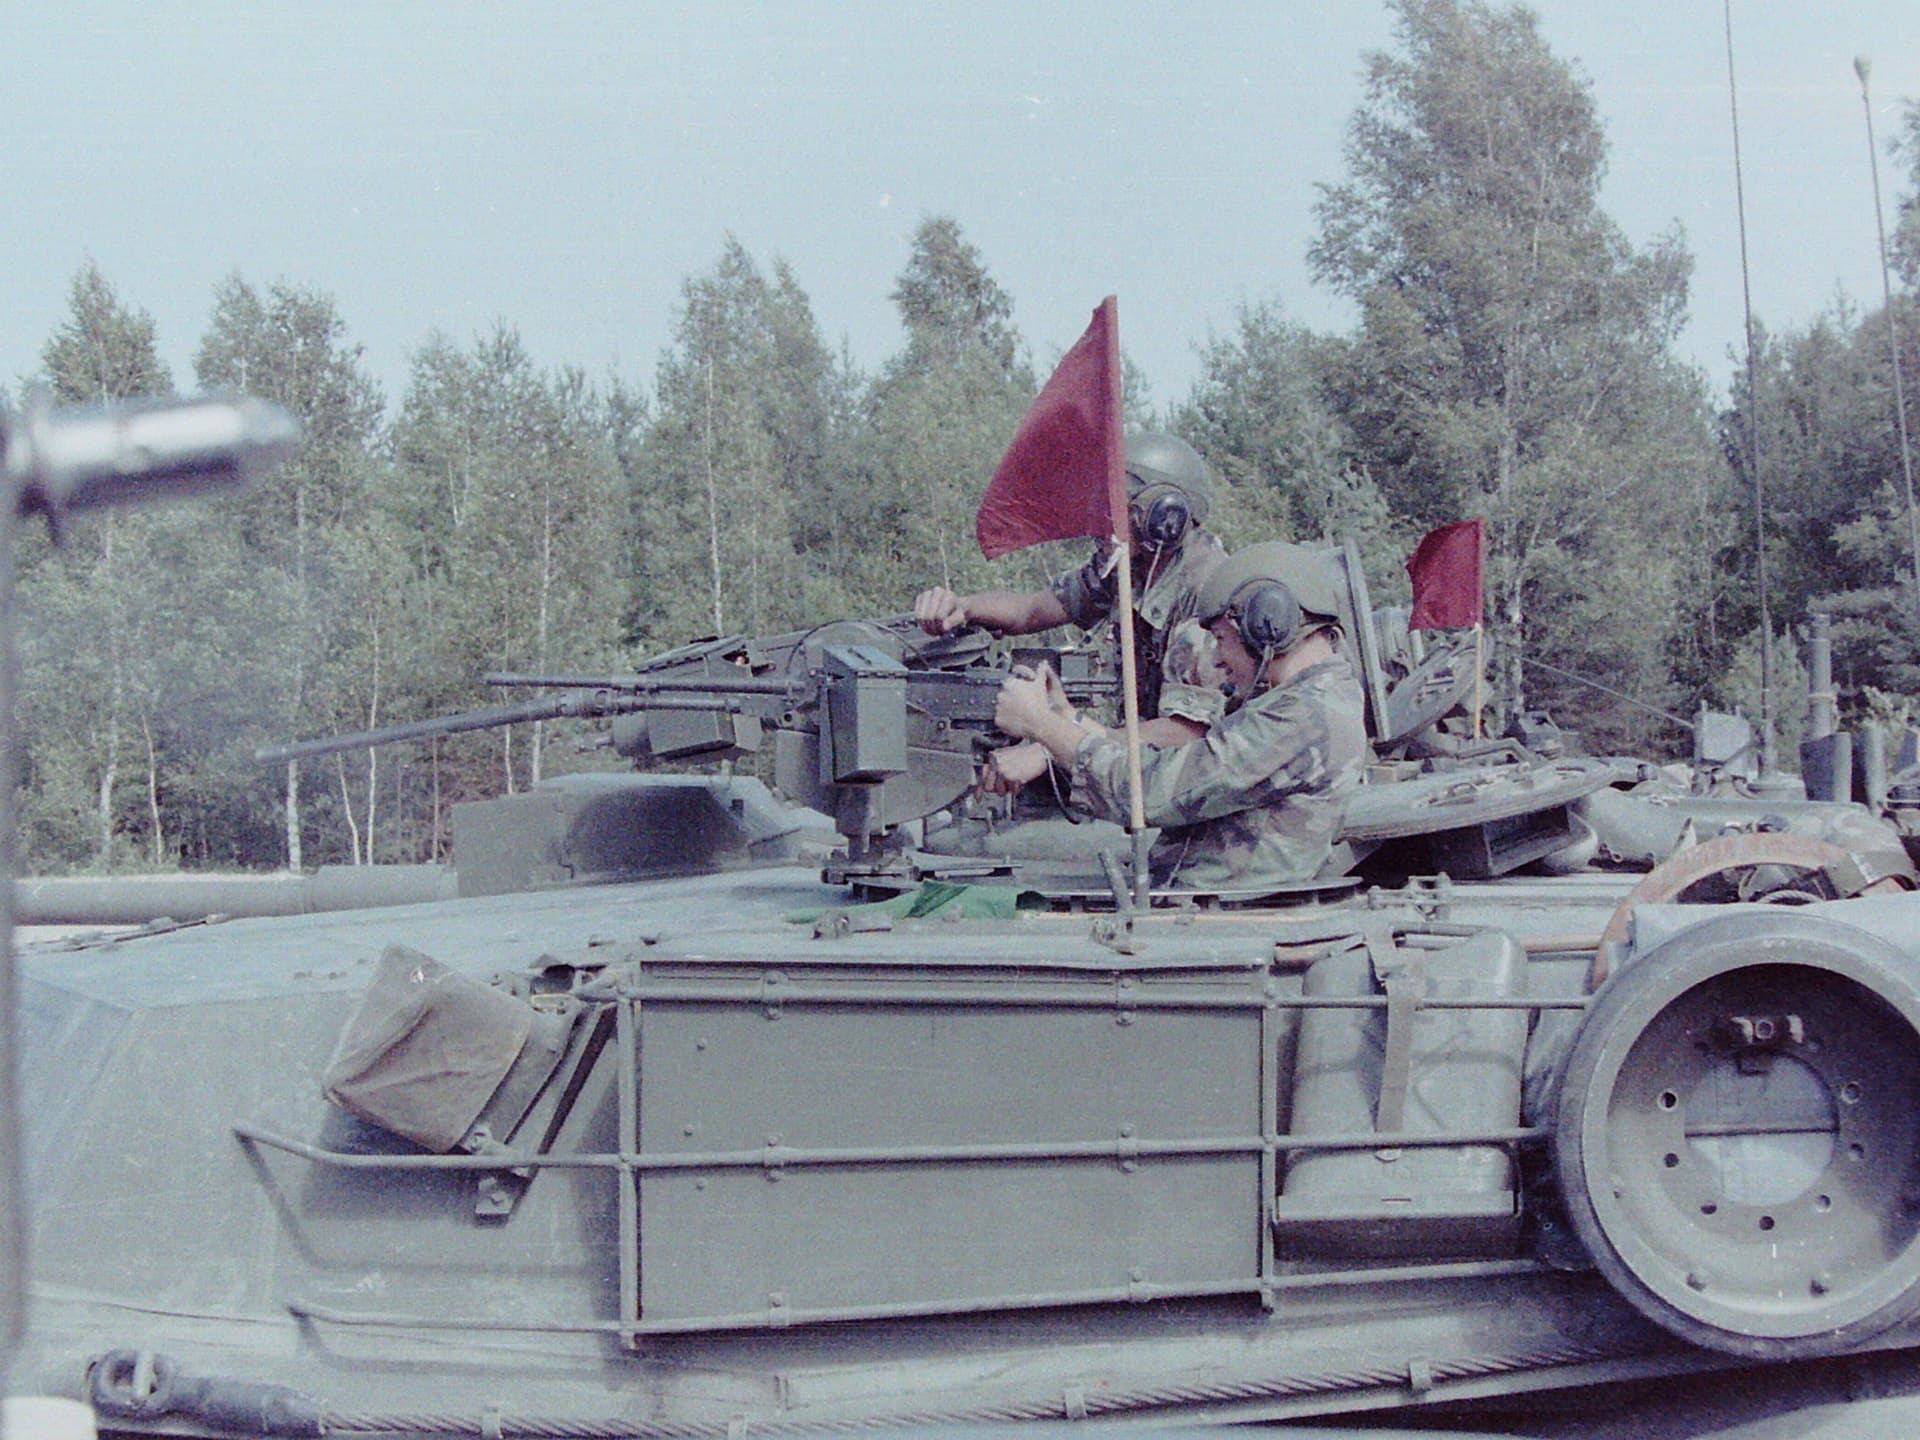
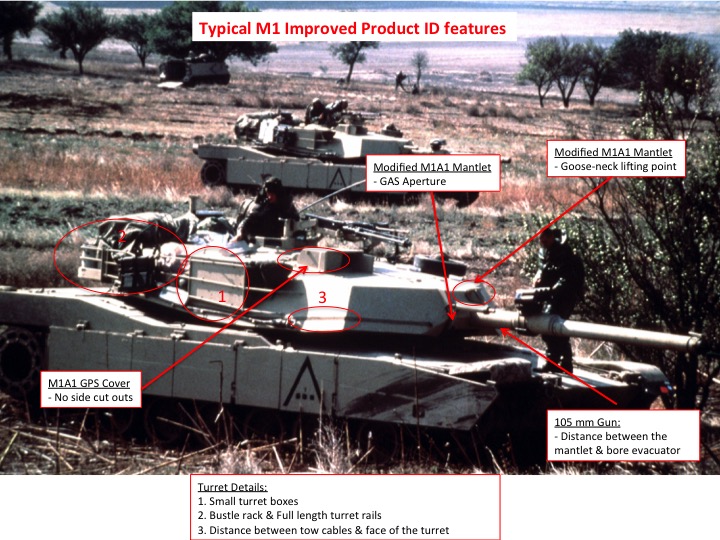
One thing I will point out, in the bottom photo there is a call out that states “M1A1 GPS cover - no side cut outs.” But if you look at the photos I posted, a couple of them do have the old style GPS with the cutouts.
My main sticking point right now, along with what i posted earlier will be the main gun mantle and gun. On the kit, bot the M1 and M1A1 mantlets fit the same way, but the M1IP mantlet obviously sticks out a ways from the hull, so i will have to ass a piece of scrap .040 styrene as a "spacer to make the mantlet stuck out, alonf with modding the M1 Mantlet with the M1A1 mantlet parts, as well as mill out the GAS port out.
You shouldn’t have to modify the mantlet at all. The M1IP and the M1A1 used the same mantlet. Thats one of the key ID features between the M1 and the M1IP. The only difference was a spacer for the gun itself, since the 105mm was smaller than the hole for the 120mm.
Unless the mantlet you have is not sized/scaled correctly.
Ken
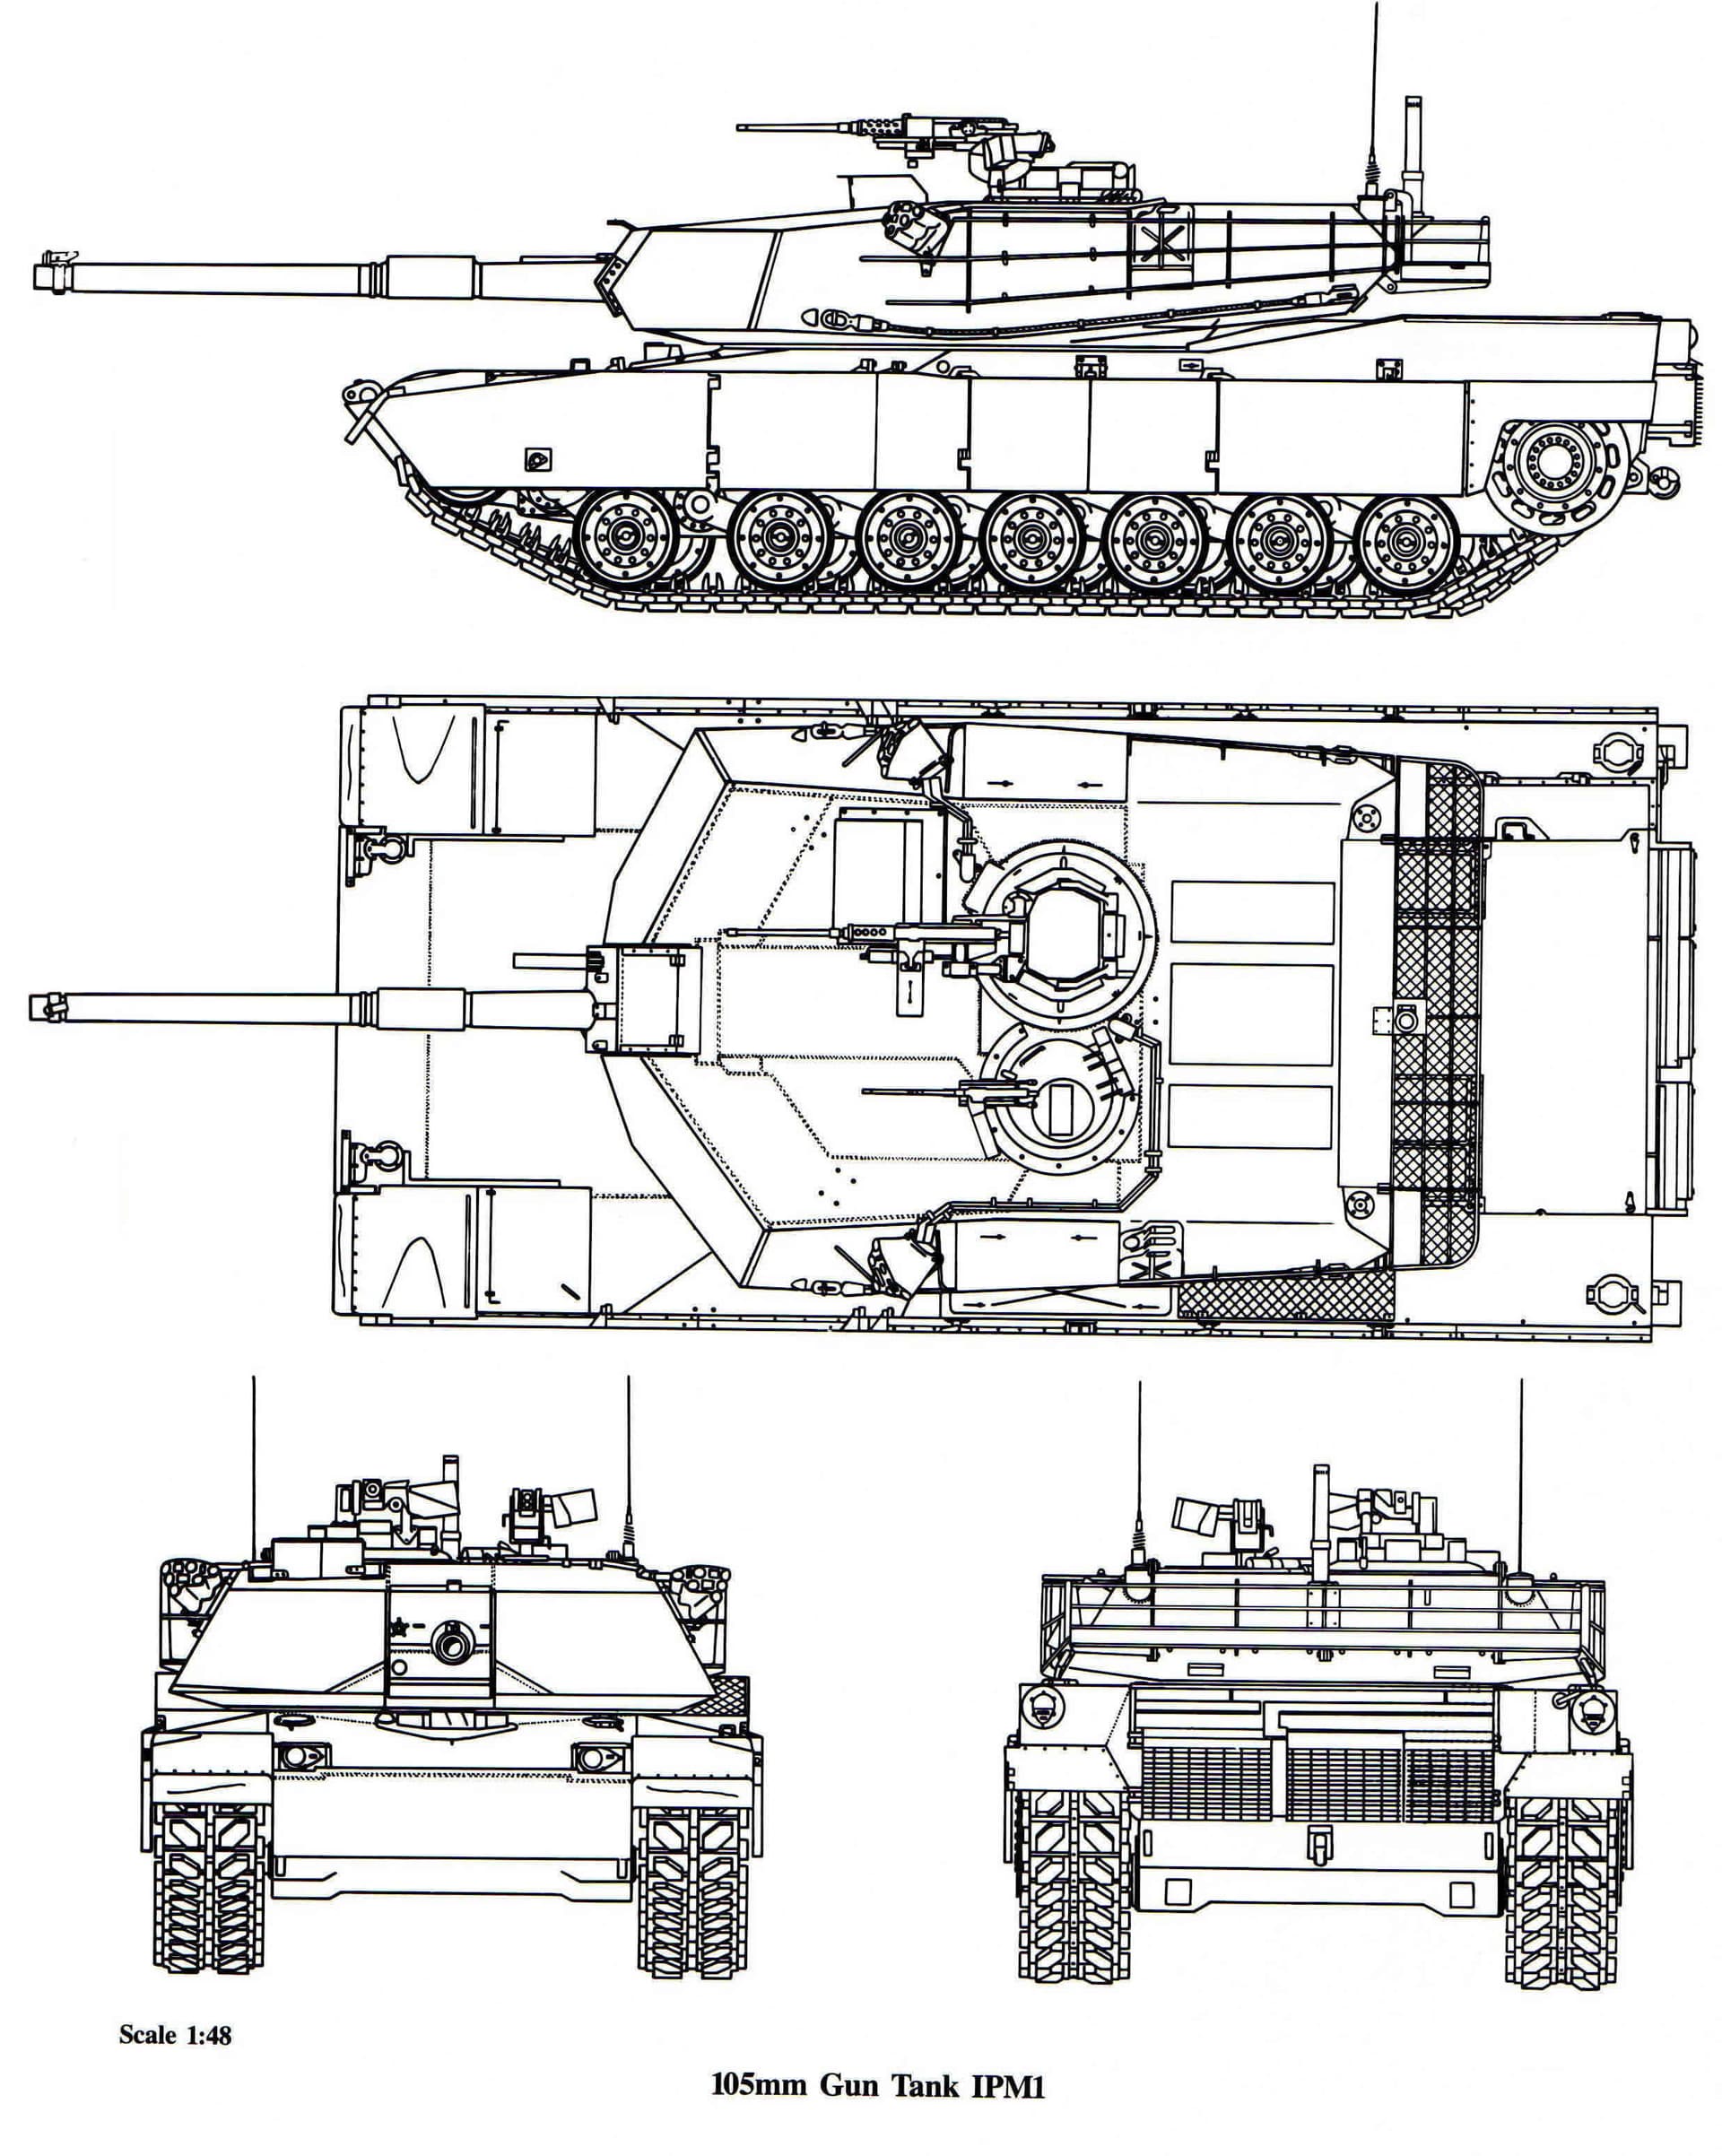
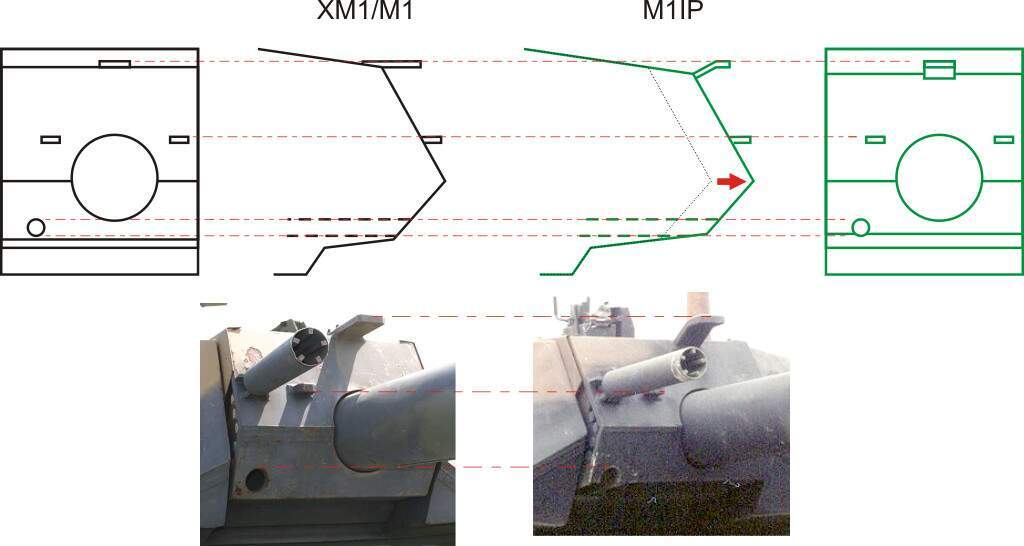
Gino explained it at lenght. The main differences between the M1 and M1IP (Improved Performance), was the addition of armor on the turret front glacis plate (Short box/Long Box turret), because of that, the mantlet was also modified, with the M1 mantlet having a basic straight steel tab on top, and thew M1IP having a more gooseneck-like piece, which was adopted by all other variants. Also, the Gunner’s Additional Sight (GAS) port has a cut in the bottom that runs the whole length of the mantlet, as opposed to just the hole.
Starting with the M1IP, this mantlet was used in all later variants.
The mantlet from an M1A1 or A2 should work just fine, but you need a shim or spacer to fit the smaller gun.
According to @systemic Tamiya’s mantlet for the M1A2 is good, but the A1 is incorrect.
I have the mantlet for the M1A2, which i will have to mod the interior by grafting the plug that goes into the attachment on the M1A1 turret. More surgery; glad i have enough styrene and glue.
An American M48 dispatched a VC machine gunner with one round of flechette… The Platoon sergeant stood over a random spot and said “HE was standing here…” I assume there wasn’t much left of the poor sap, except a red smear on the dirt.
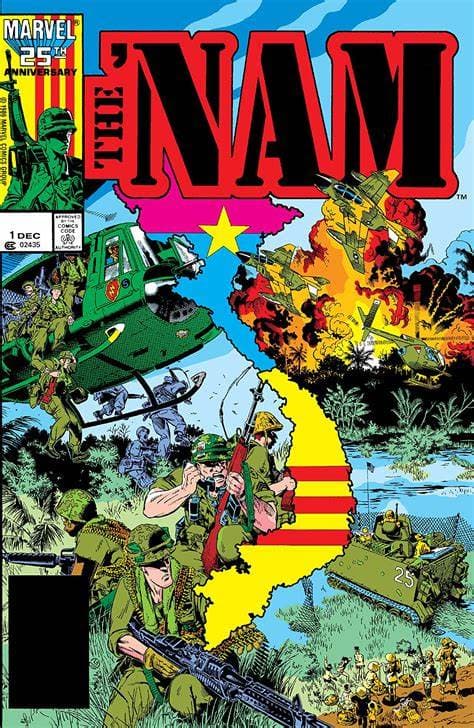
You need to graft or somehow duplicate the gun mount shown on the left of your photo so the Tamiya M1A2 mantlet sits back far enough in the Tamiya M1A1 turret.
The mantlet feels like it sticks out just a little, but I was focusing on the bolts on the side as a guide. I think i did pretty well for all being free-hand.
You’re far more ambitious than I - I think I’d have done away with the mount completely. I might possibly have cemented a block of styrene at the back of the mantlet, perhaps not. But I think I would have decided beforehand what angle I wanted the gun, and would just have installed the mantlet so that it protruded the correct amount at the correct height, and at the angle I wanted. But I’m kinda lazy that way.
Since both the M1 and M1A1 have the same way to mount the main gun; i decided to not overcomplicate things and just do all the modding on the mantlet, that way, If I had eff’d it up, I would be out a mantlet and not a lower turret; plus, it kept the mobility on the gun, though i would’ve be like you and glued everything down to keep the gun at a fixed point.
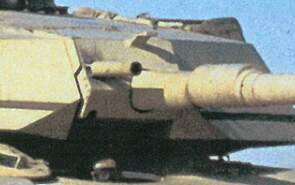
Now, the main focus will be to modify the mantlet to take the 105mm gun from the kit. I will have to also cut down the rear portion of the gun, behind the bore evacuator to make it the right length; and I’ll cut the muzzle down and graft the muzzle of a spare Meng M1A2 SEP TUSK i have, so i can add a more detailed muzzle reference sensor.
Looks good. Regarding fitting the 105mm, will it fit in the collar molded into the mantlet ? If so remove the protruding sections of that collar flush with the mantlet faces , fill the seam around the collar and you should be good to go.
the M1 barrel in its current stage will NOT fit the barrel collar on the M1A2 mantlet will grind out the collar and use some tubular styrene from Plastruct or Evergreen to make it all fit, then fill and sand everything to match.