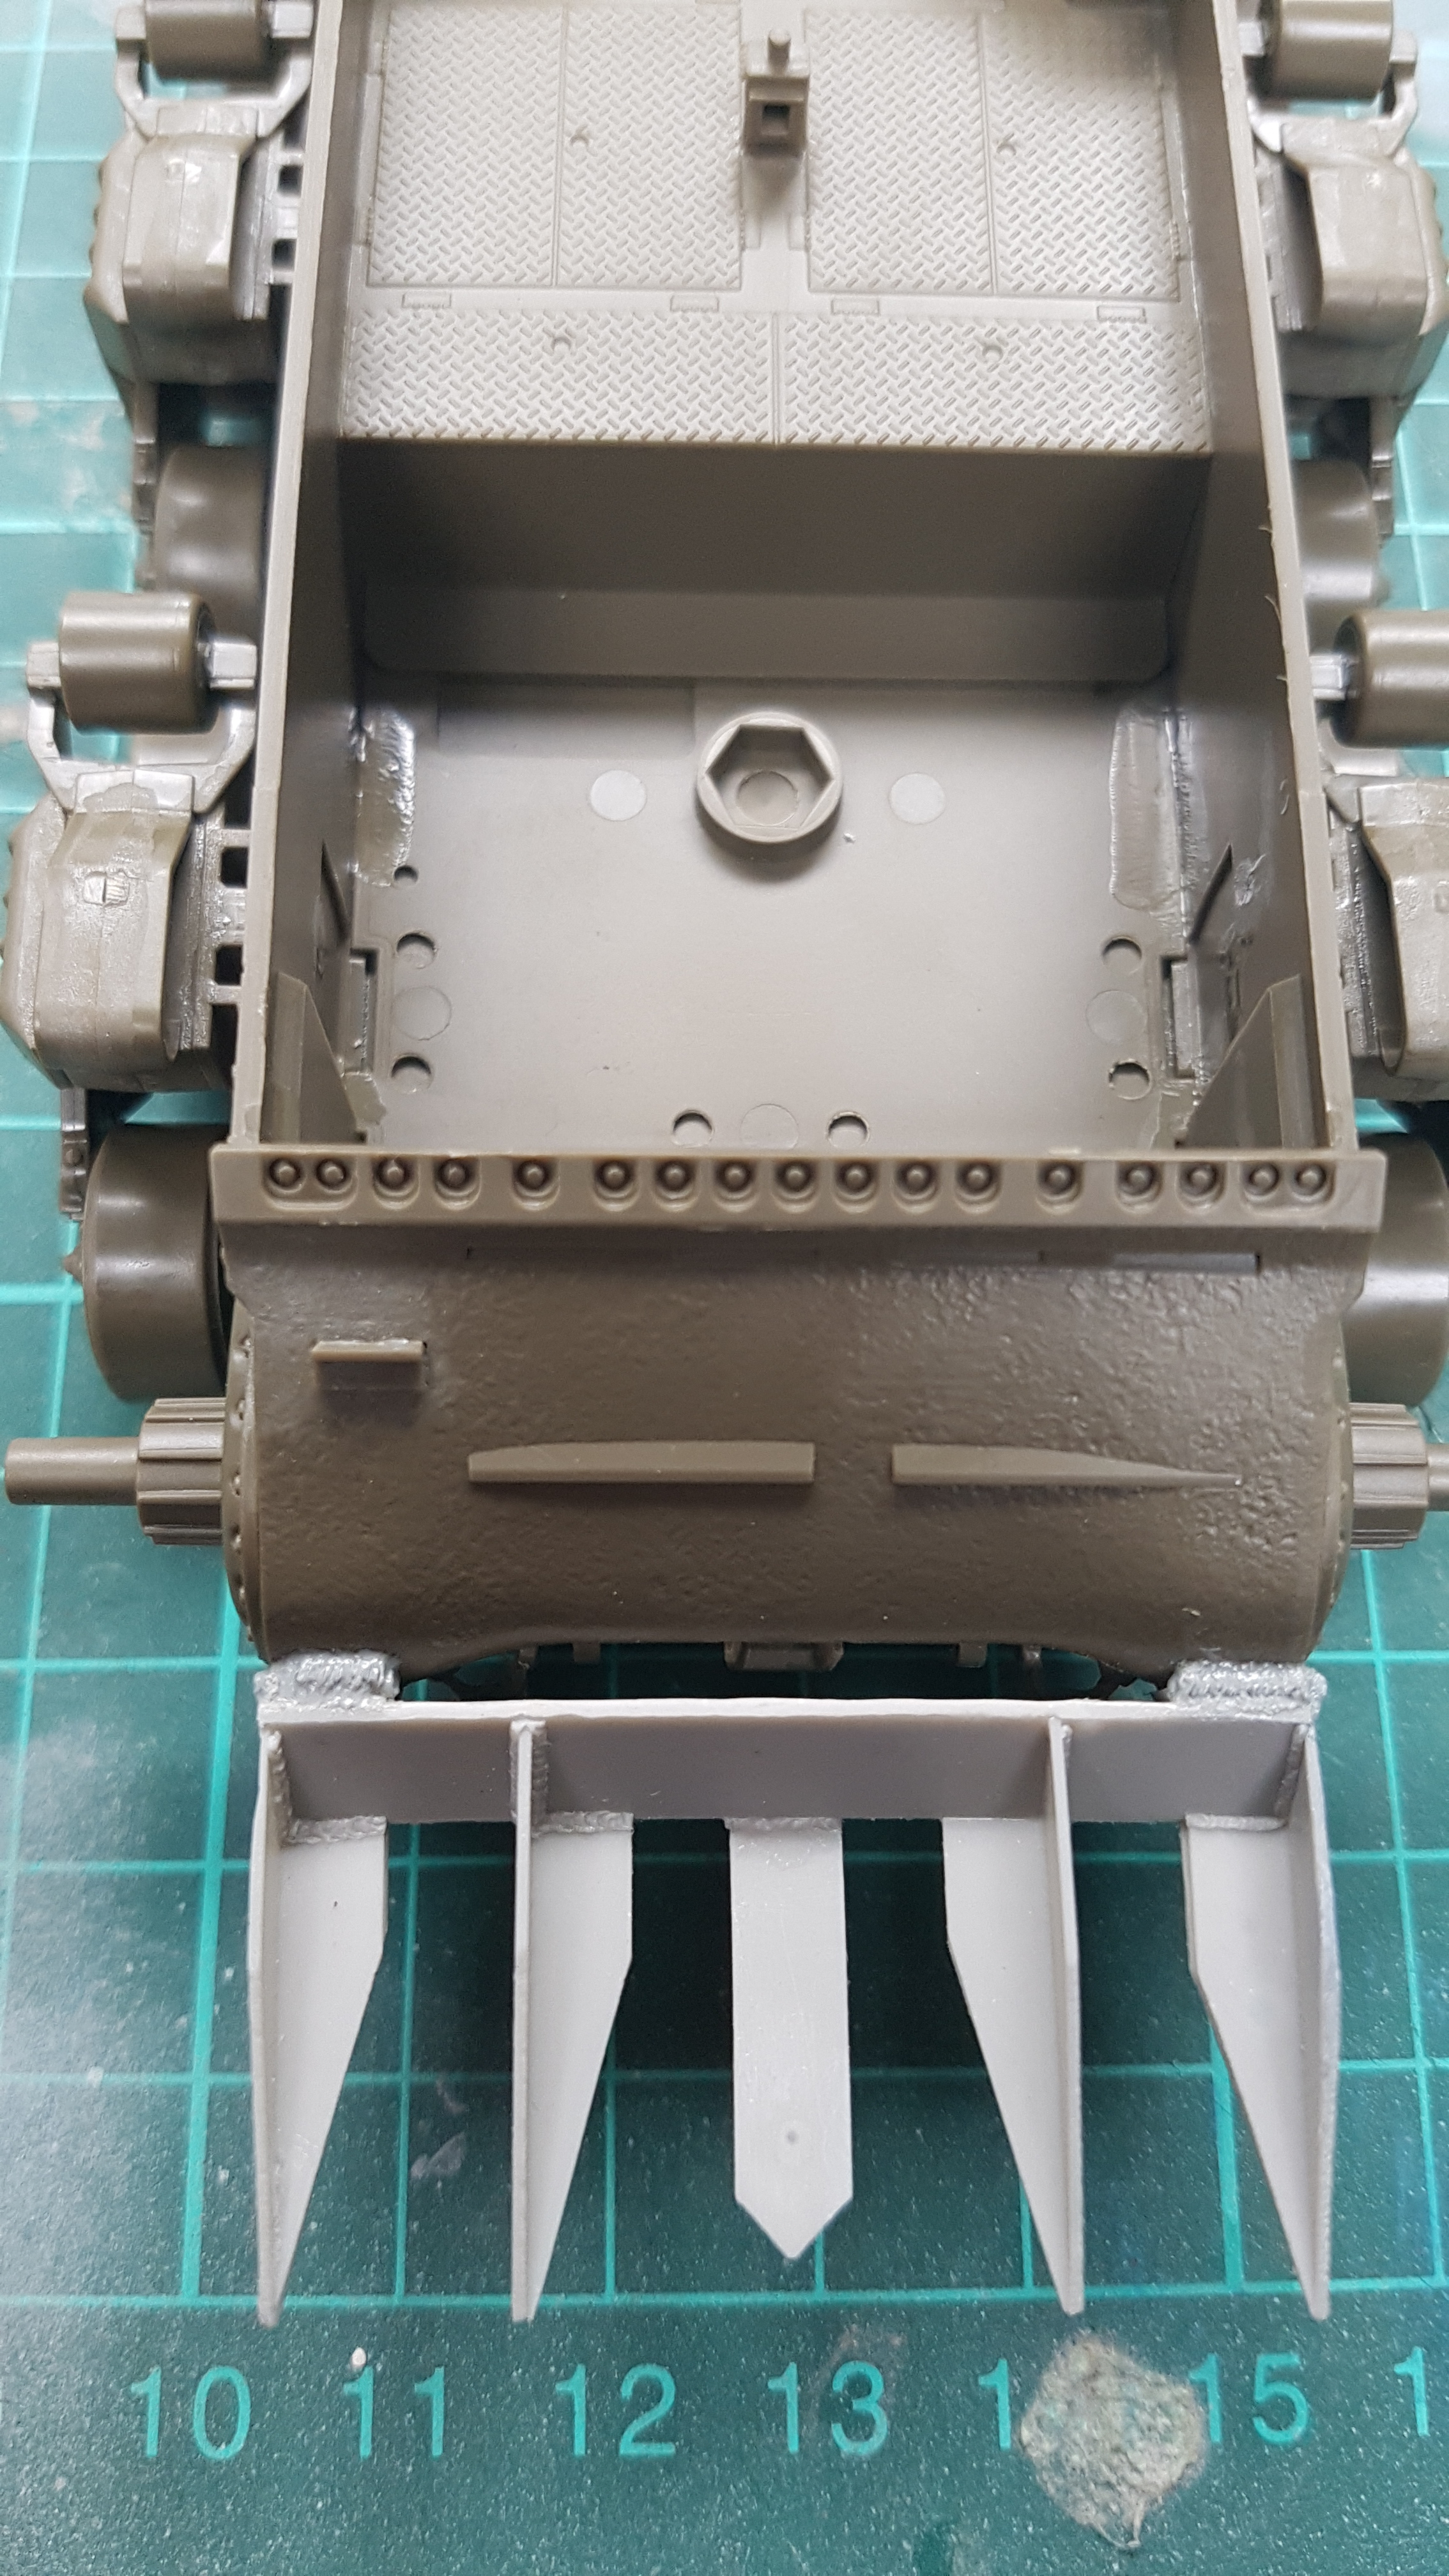
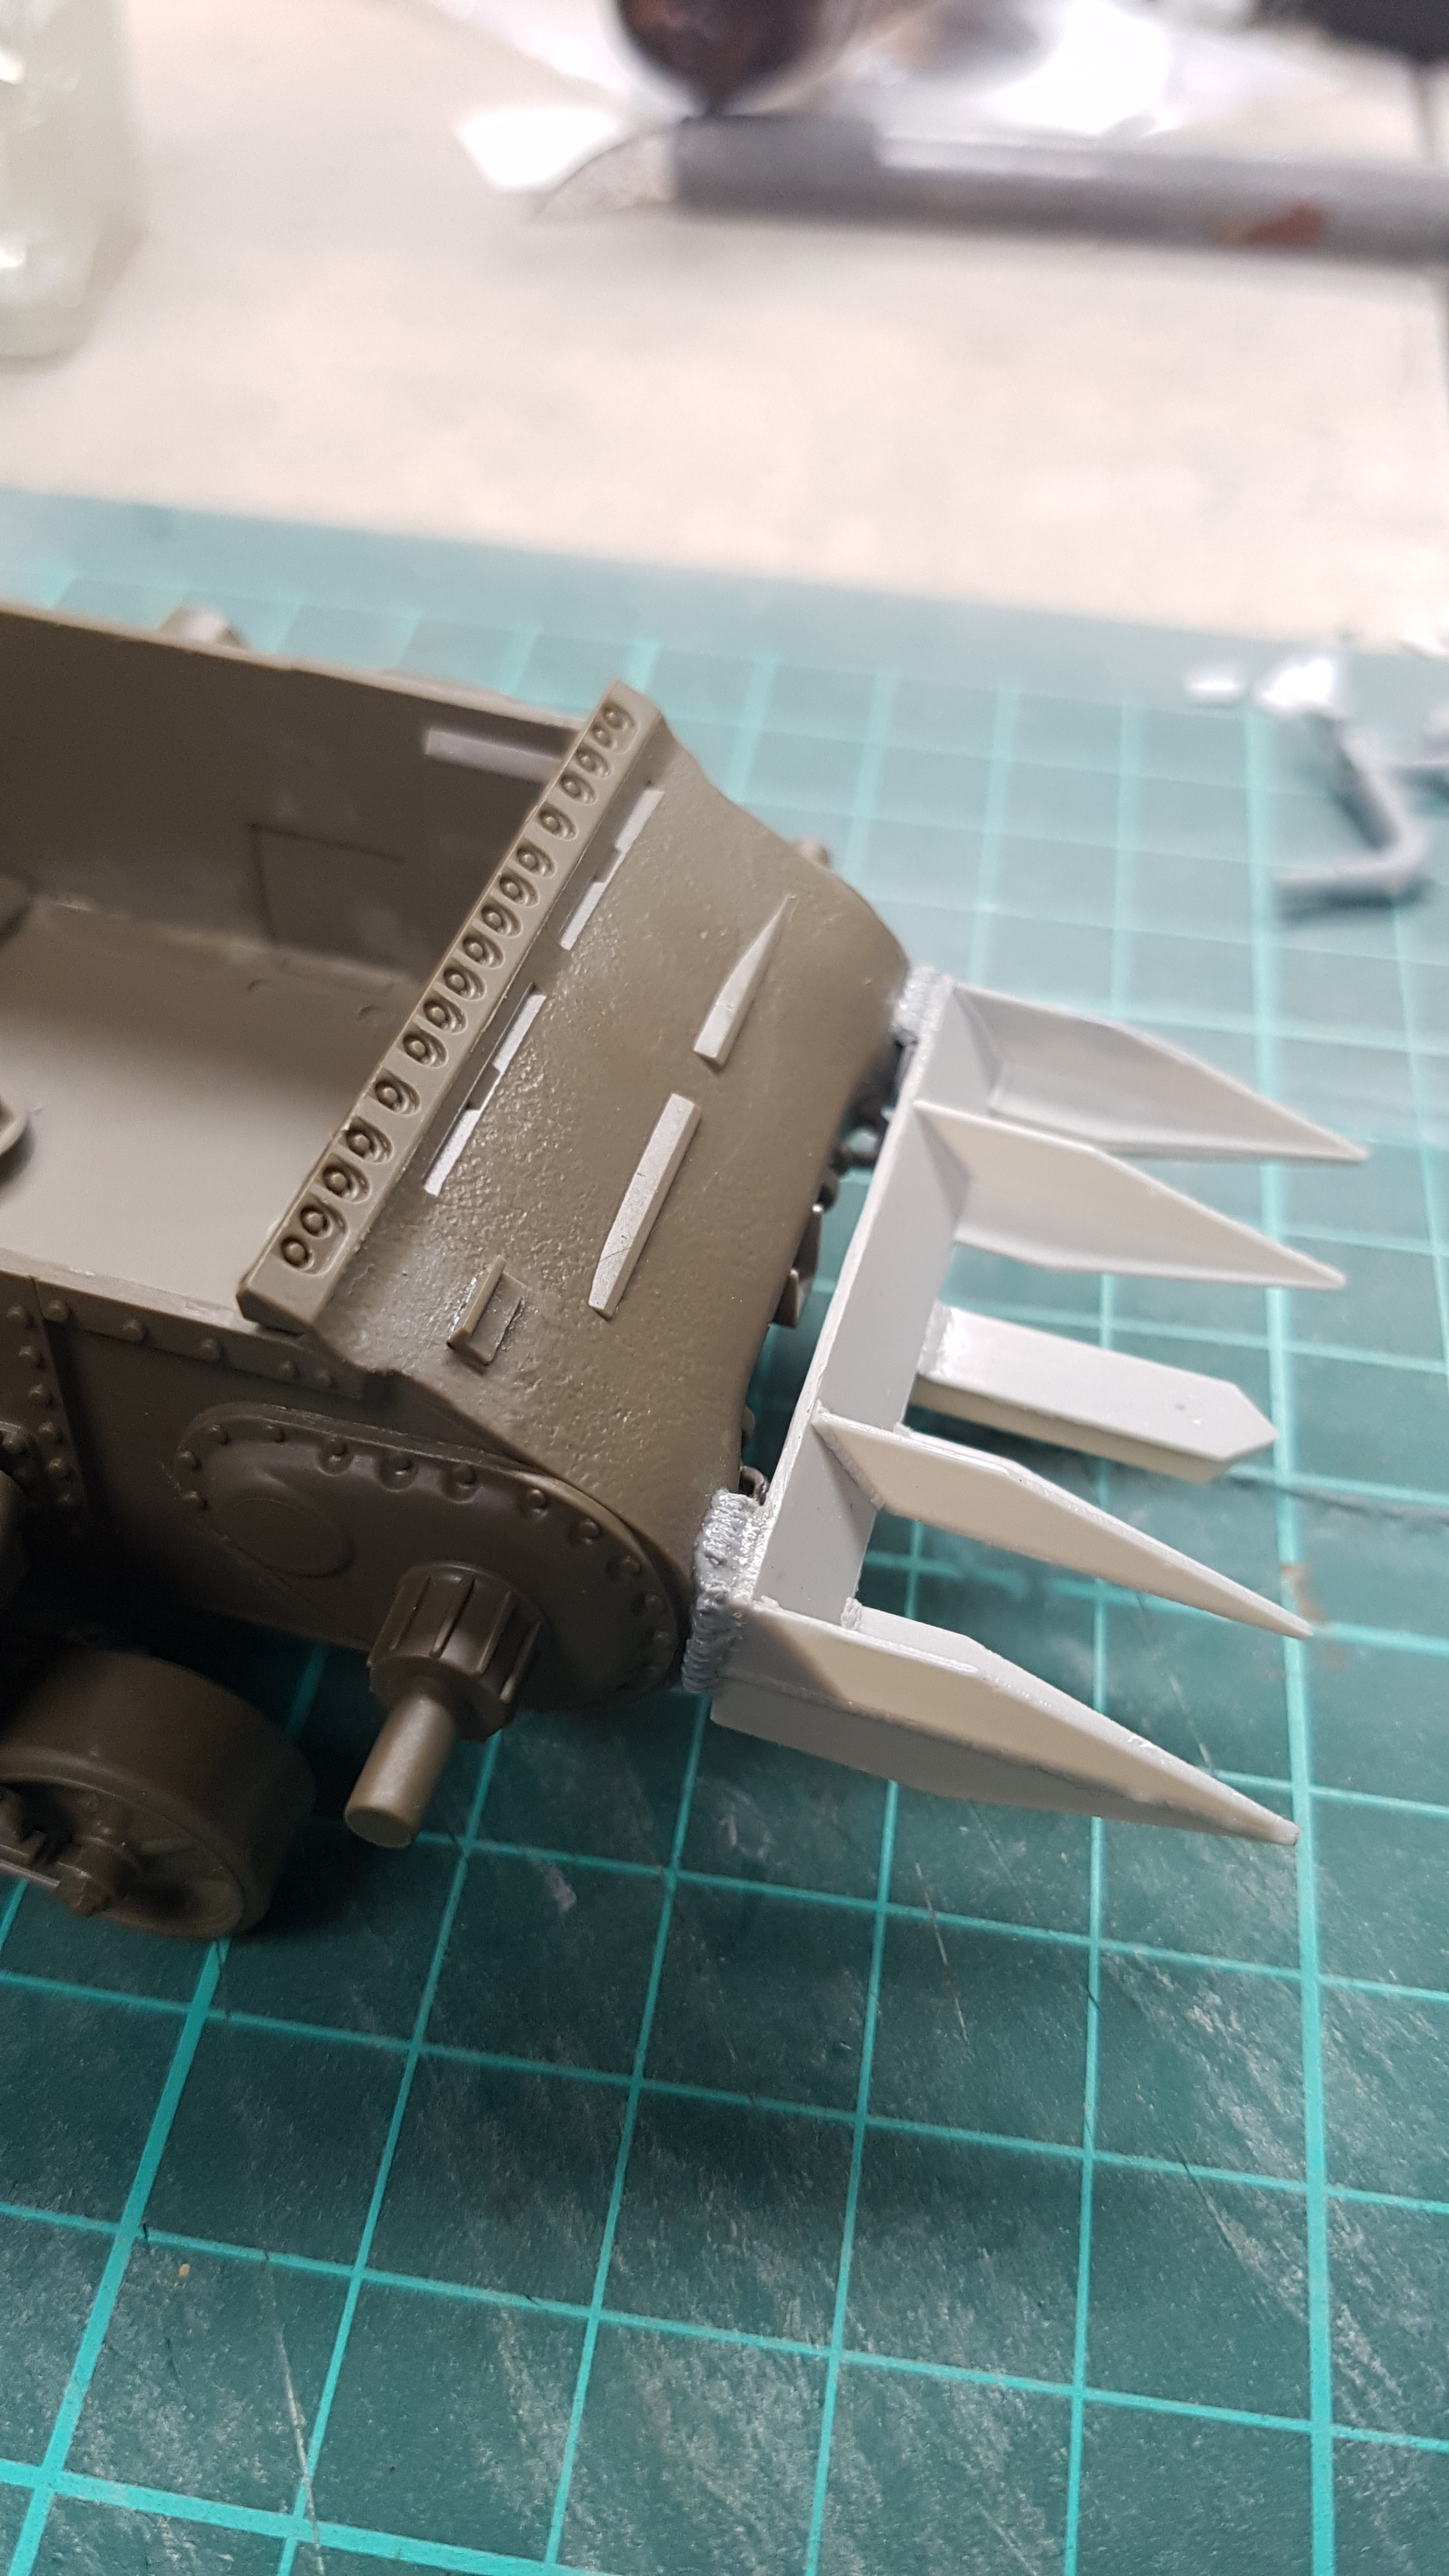
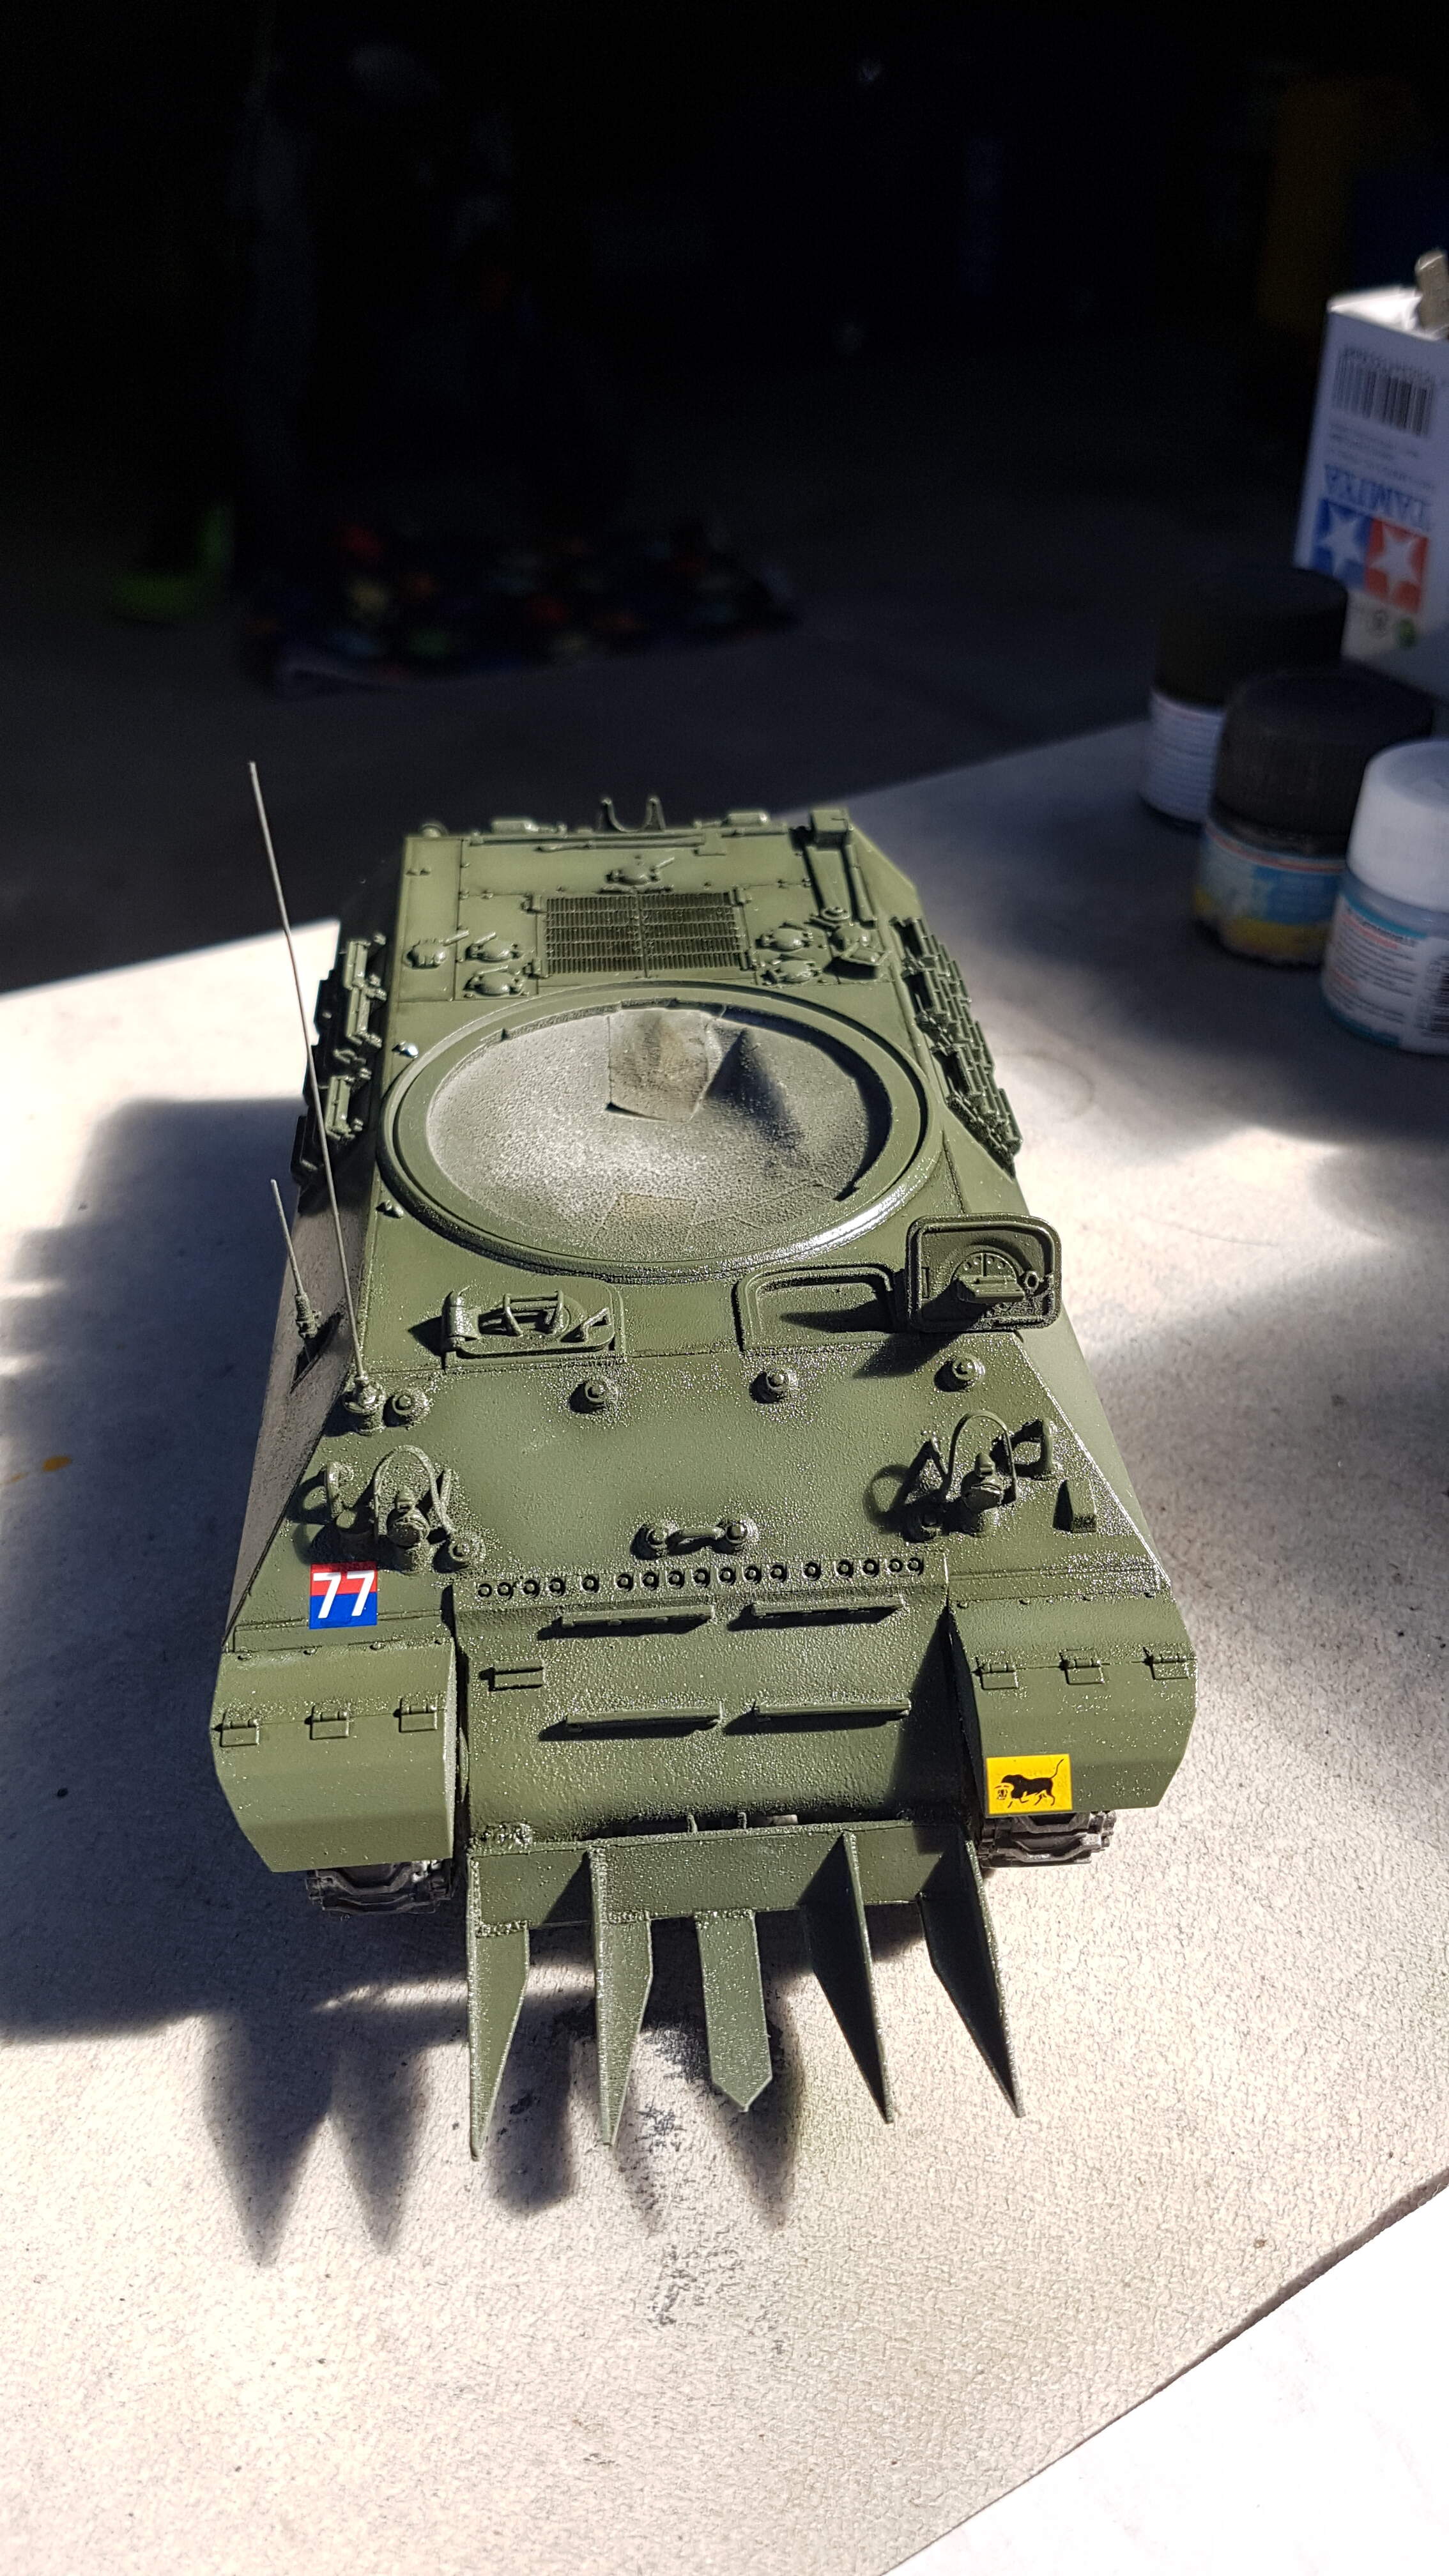
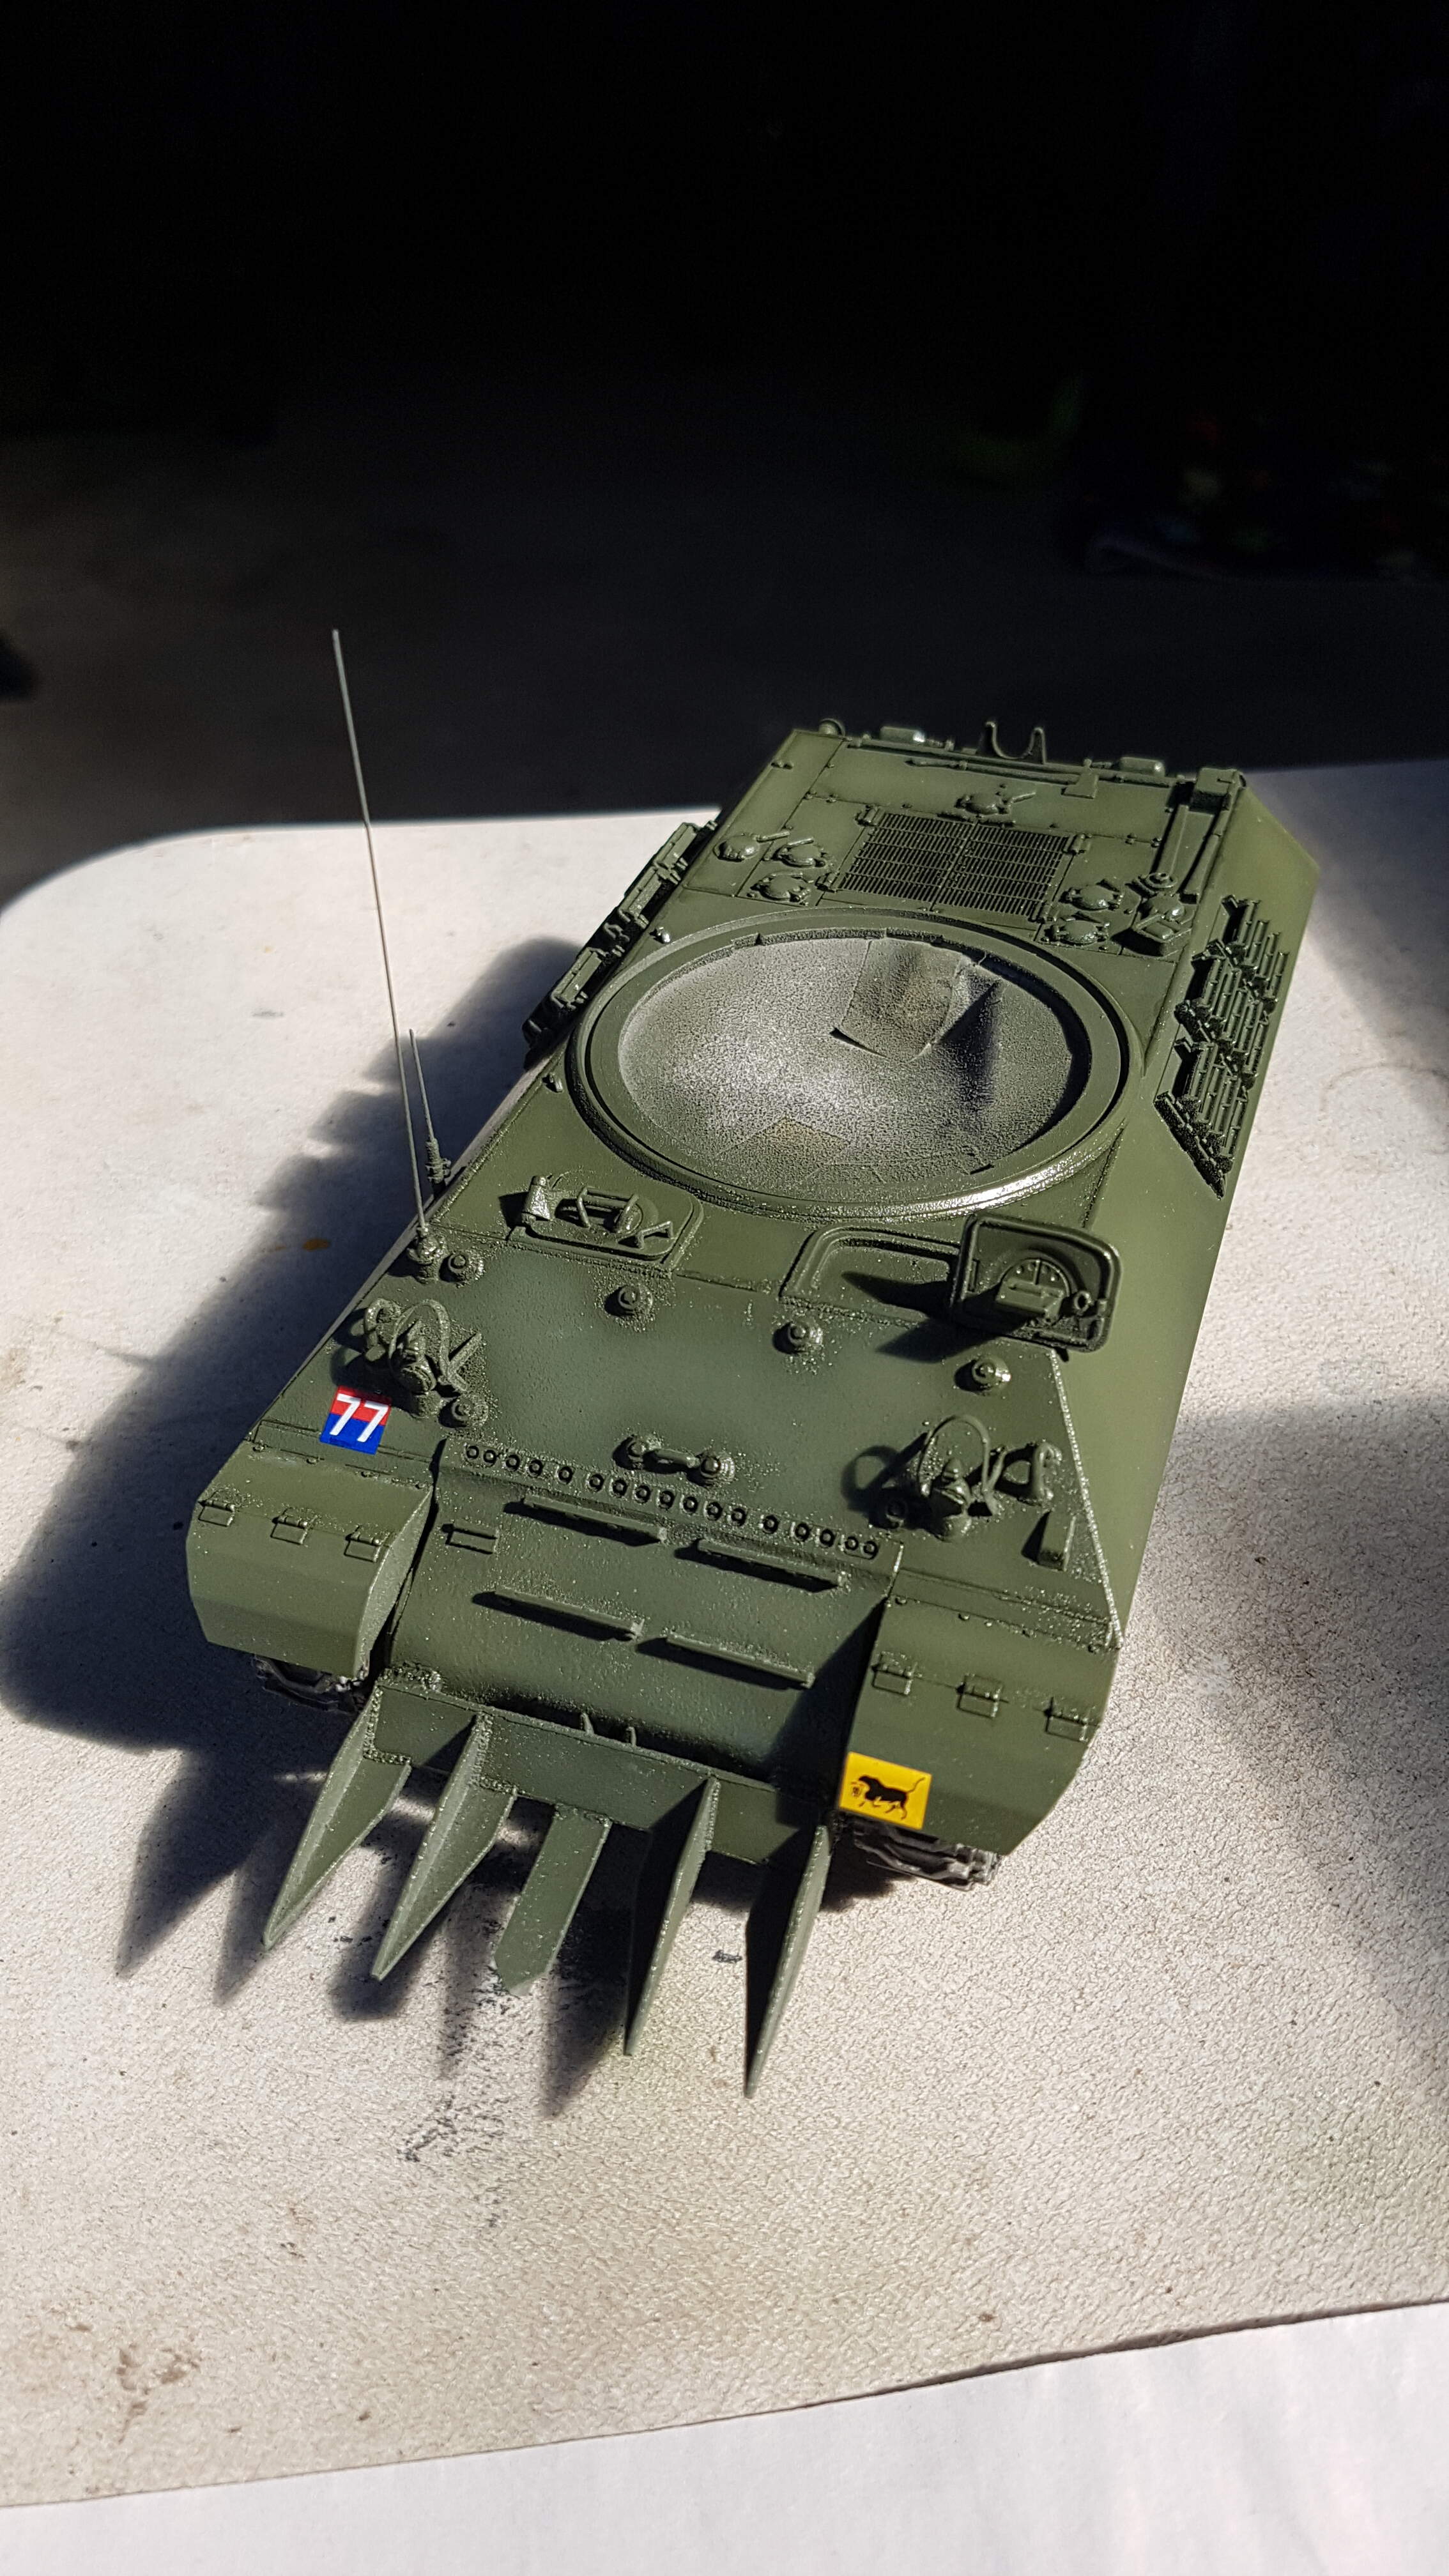
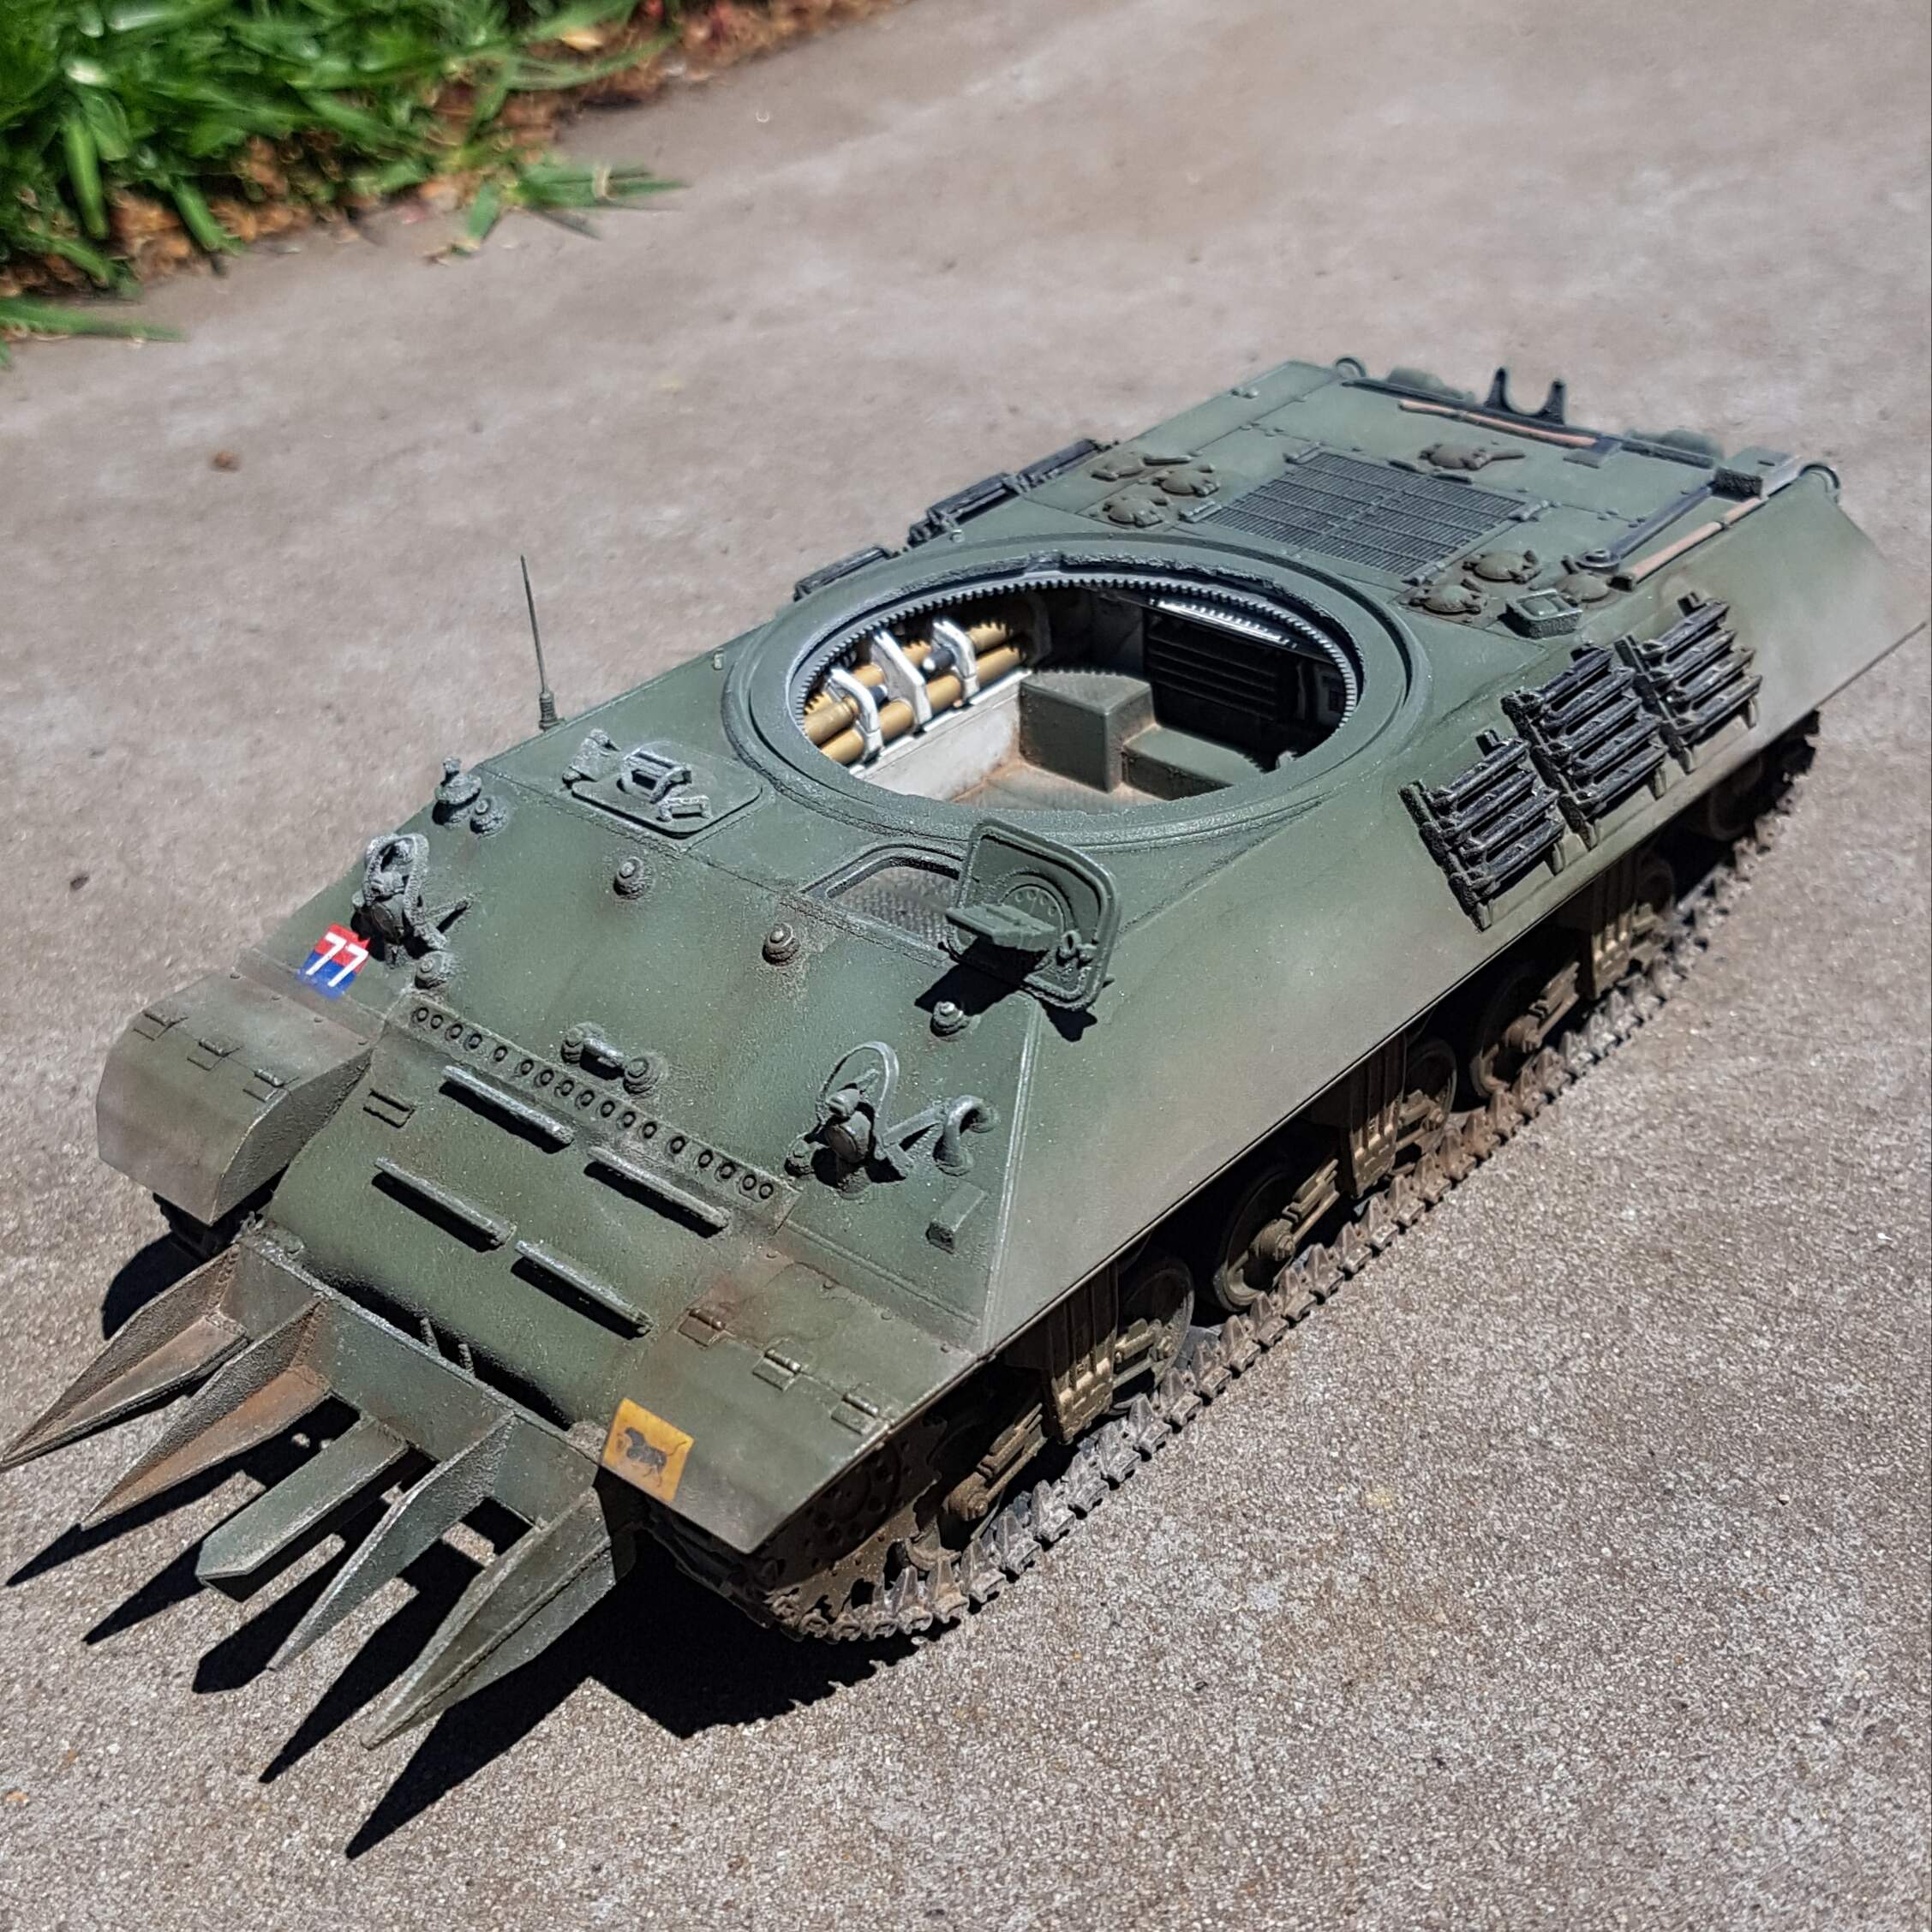
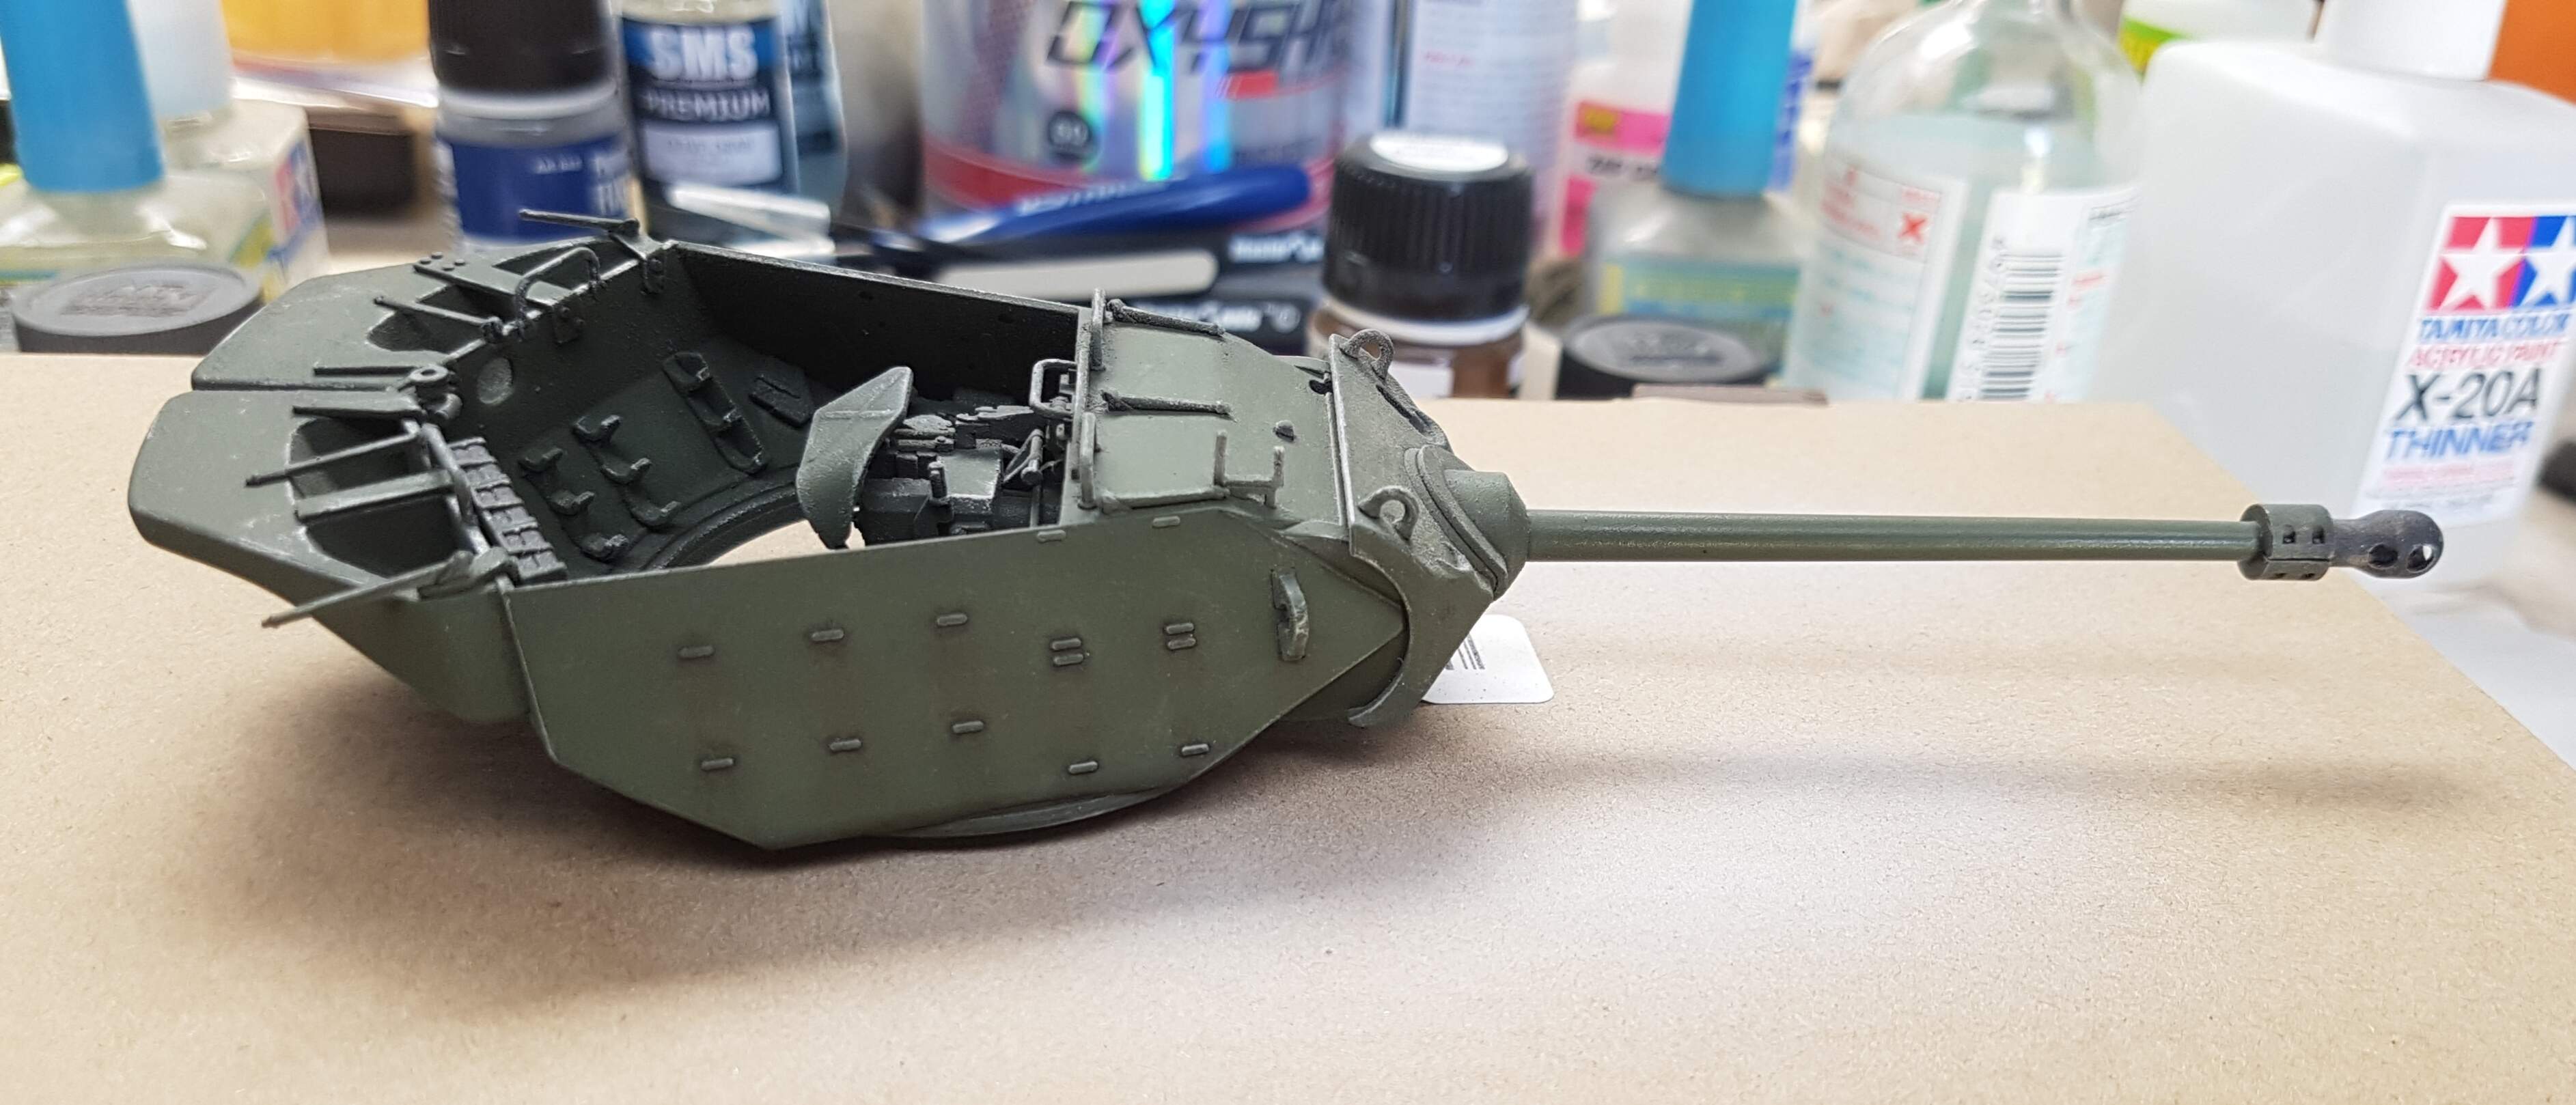
Here are a few WIP shots of Tamiya’s excellent 1/35 kit. I have also added some bolt heads to the inside of the counterweight supports in the turret and added 2 resin aerial mounts as per reference pics. I have just primed it up so will try to add a few more pics this weekend.
4 Likes
Looks good. Hope to see more soon
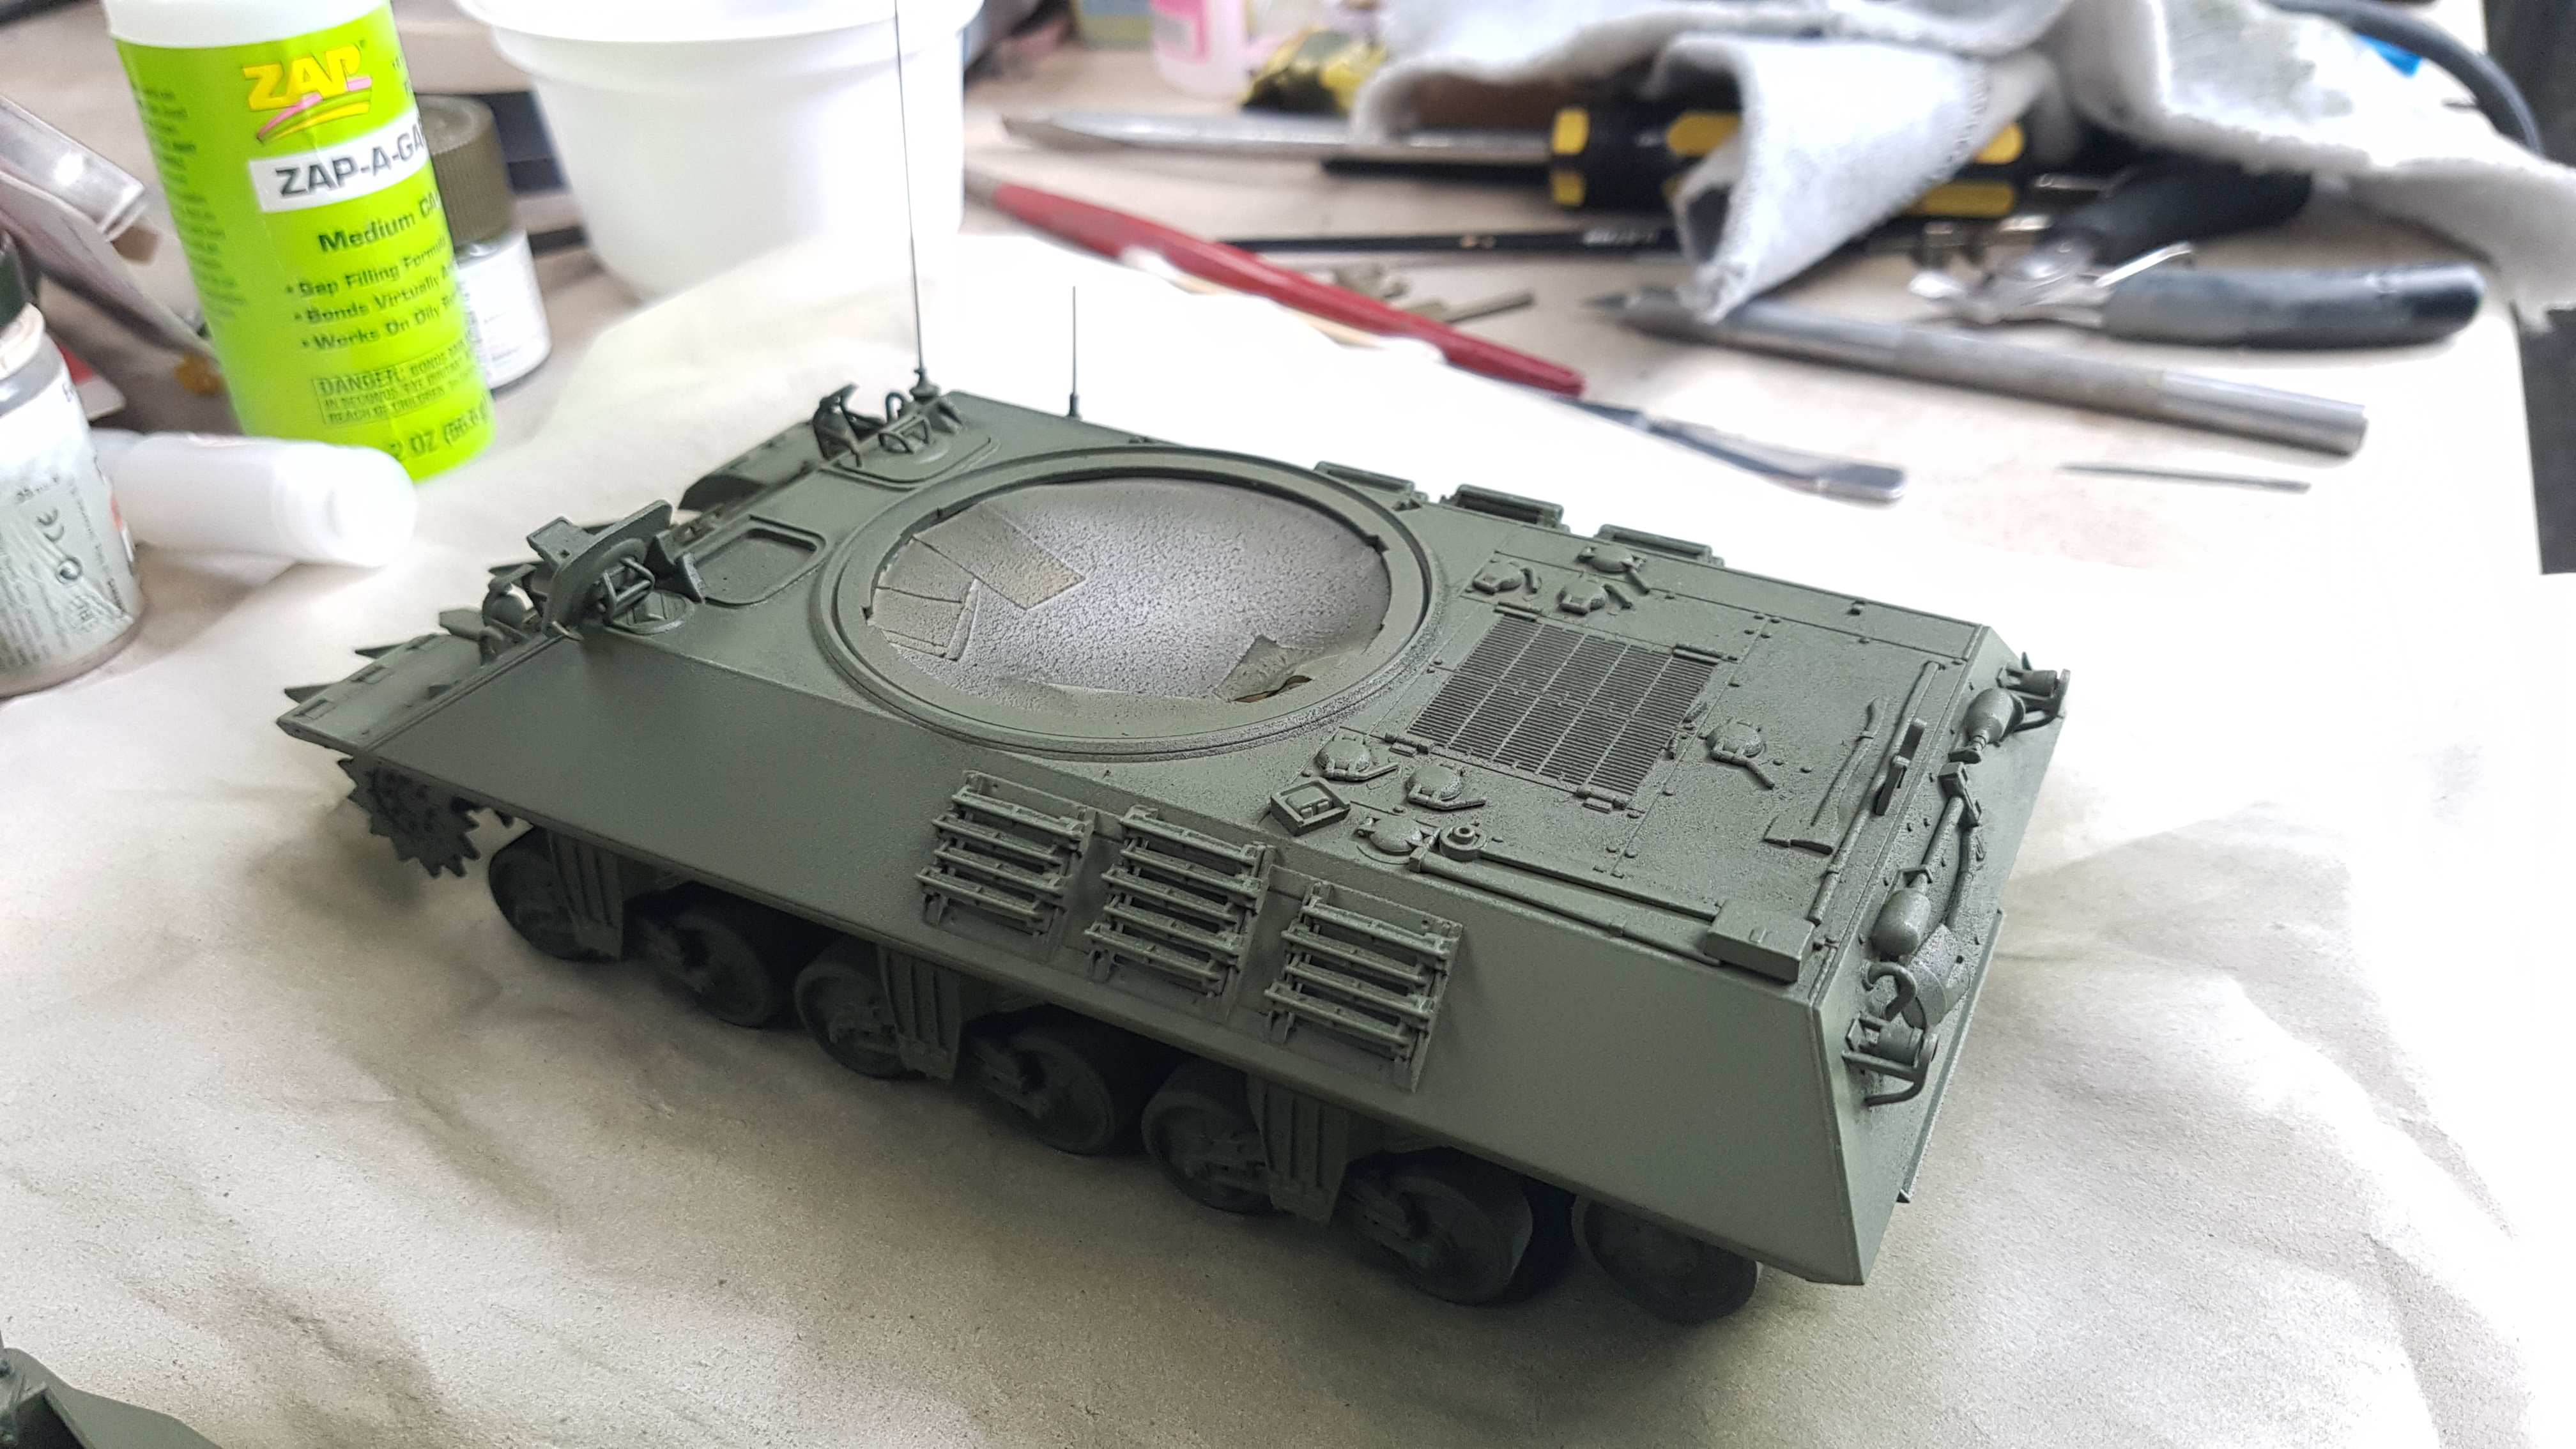
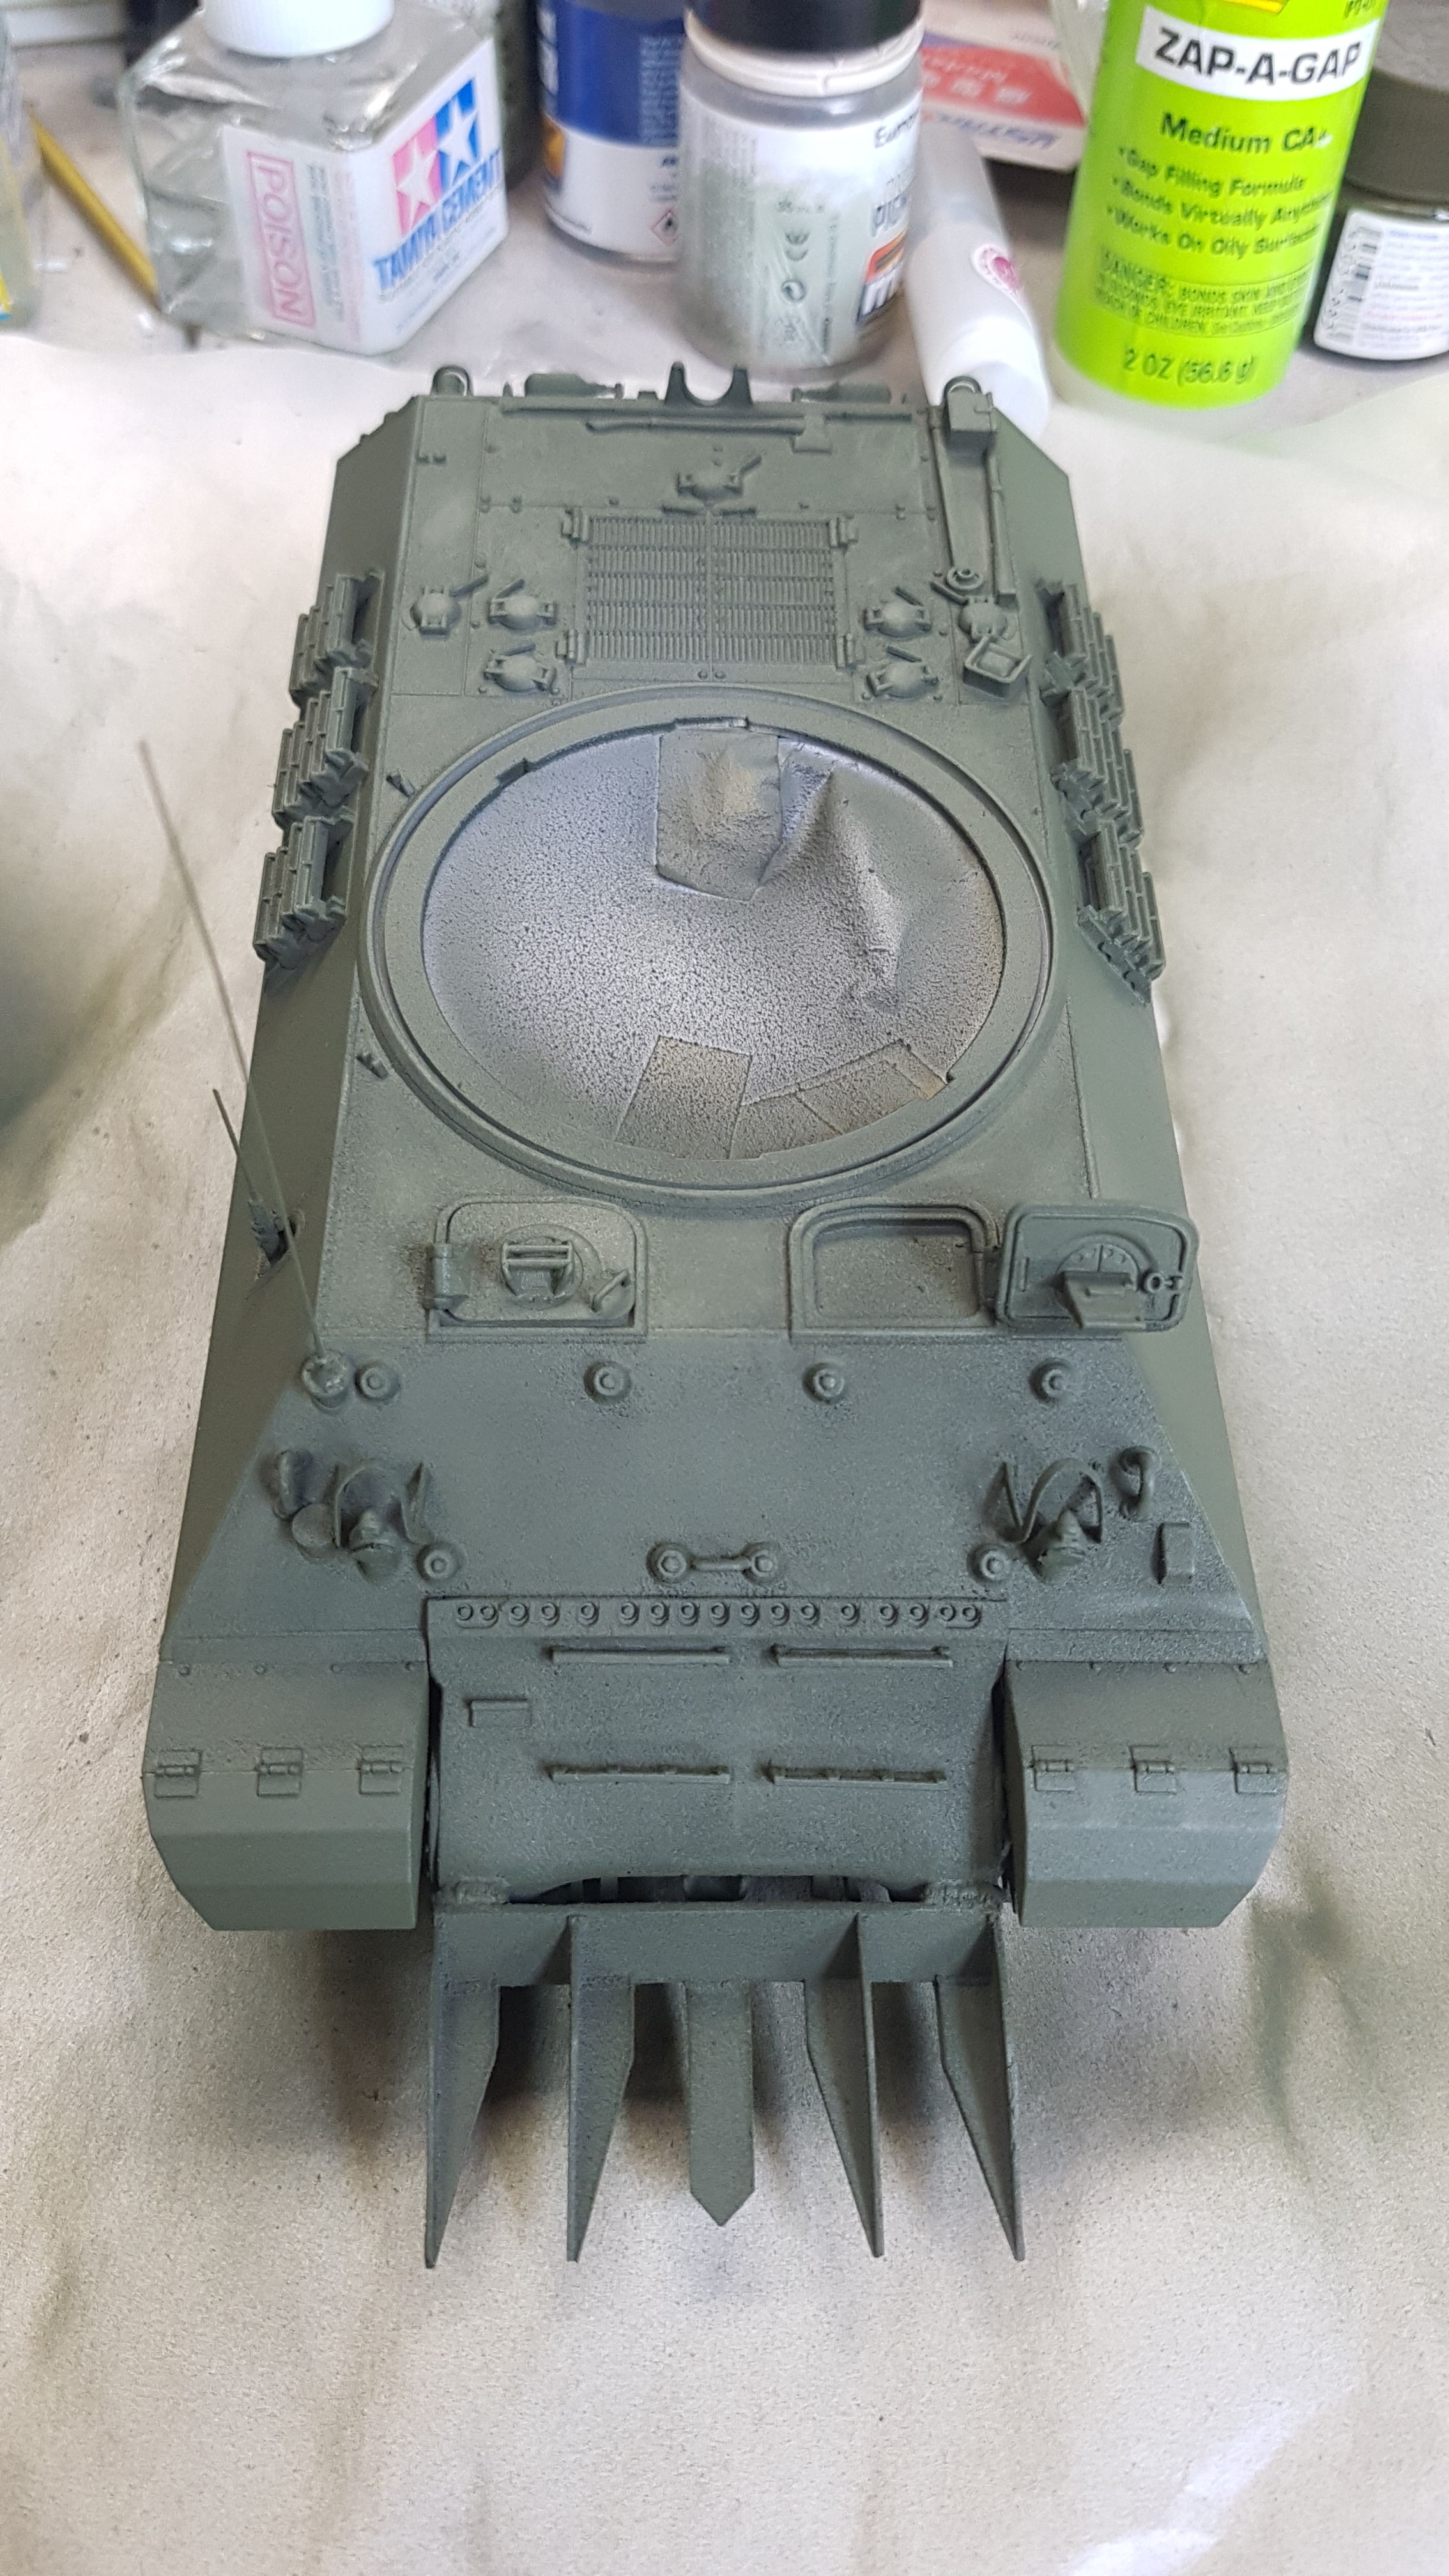
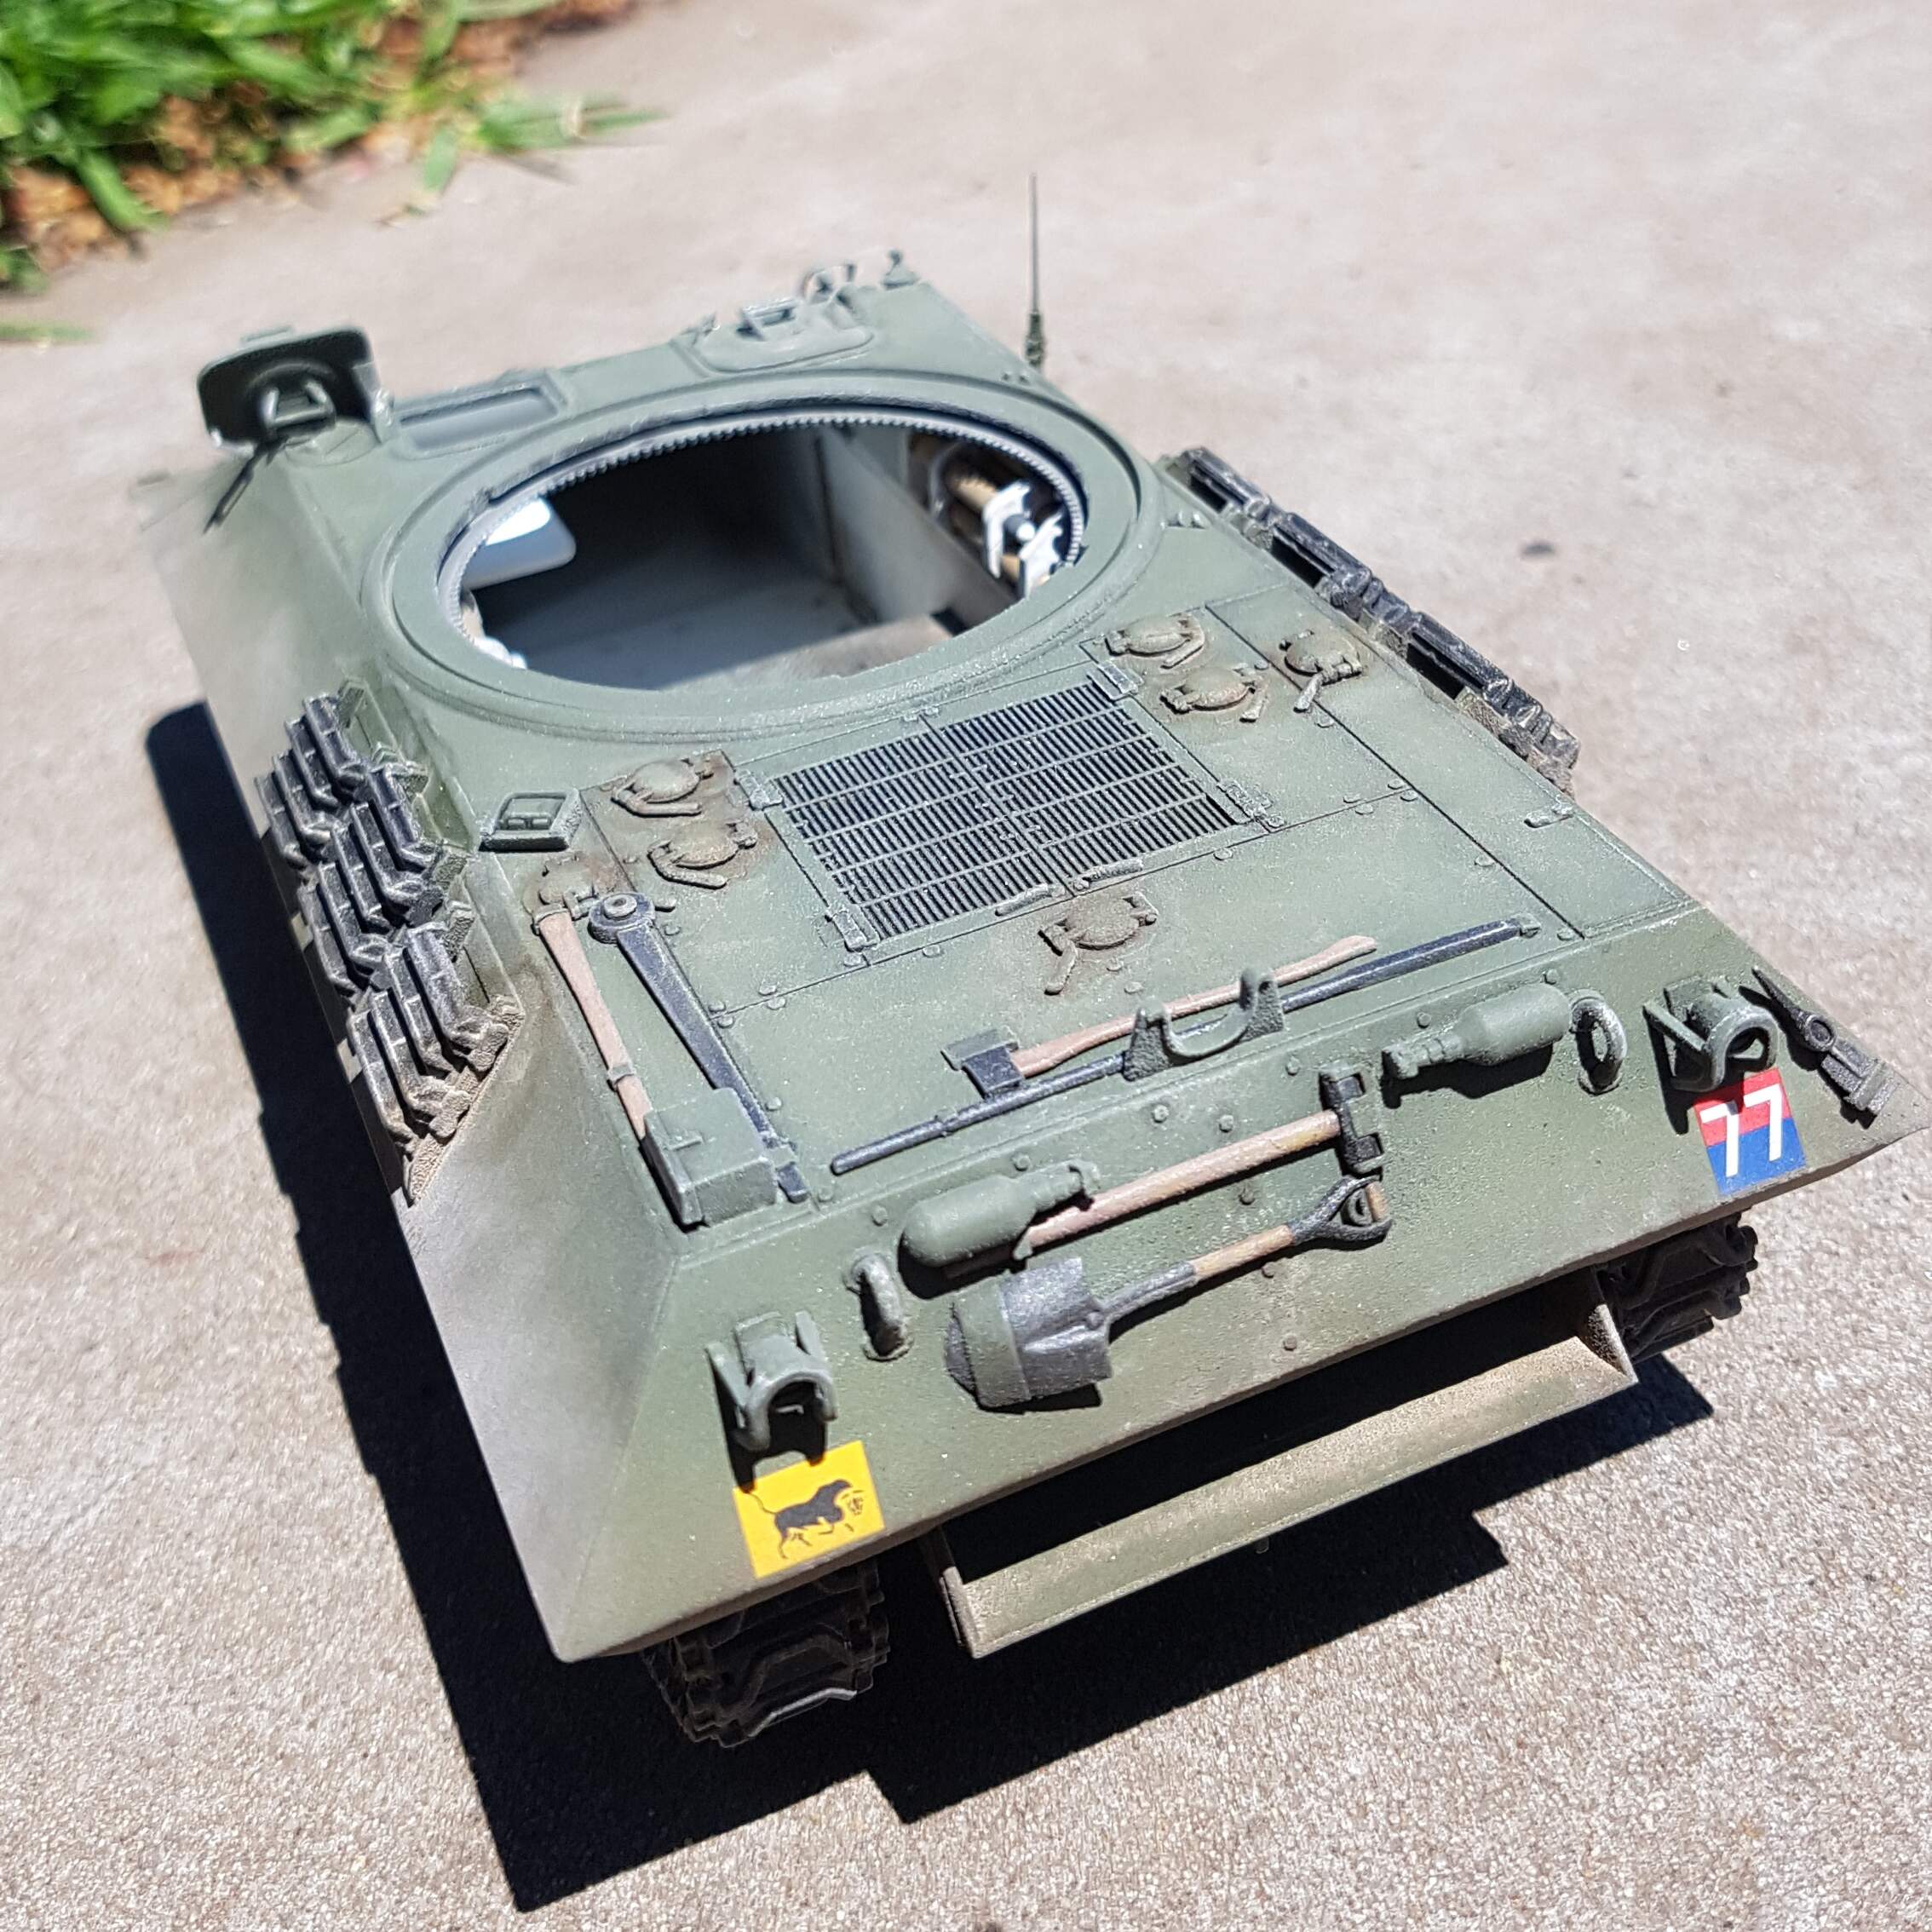
Managed to get in an early model session this morning and apply the light 1st coat of scc. No15. Im trying a new brand of paints I have just discovered, a locally made Australian paint company, The Scale Modellers Supply. So far I’m very happy with the quality of these paints. They are ready to spray straight from the bottle after a good shake. I 1st used the paint for the interior and was very impressed. It can be thinned more if needed butbut i found the consistency really good.
Here are a couple of pics. (Sorry for the poor quality, not the best natural light in the shed this morning)
2 Likes
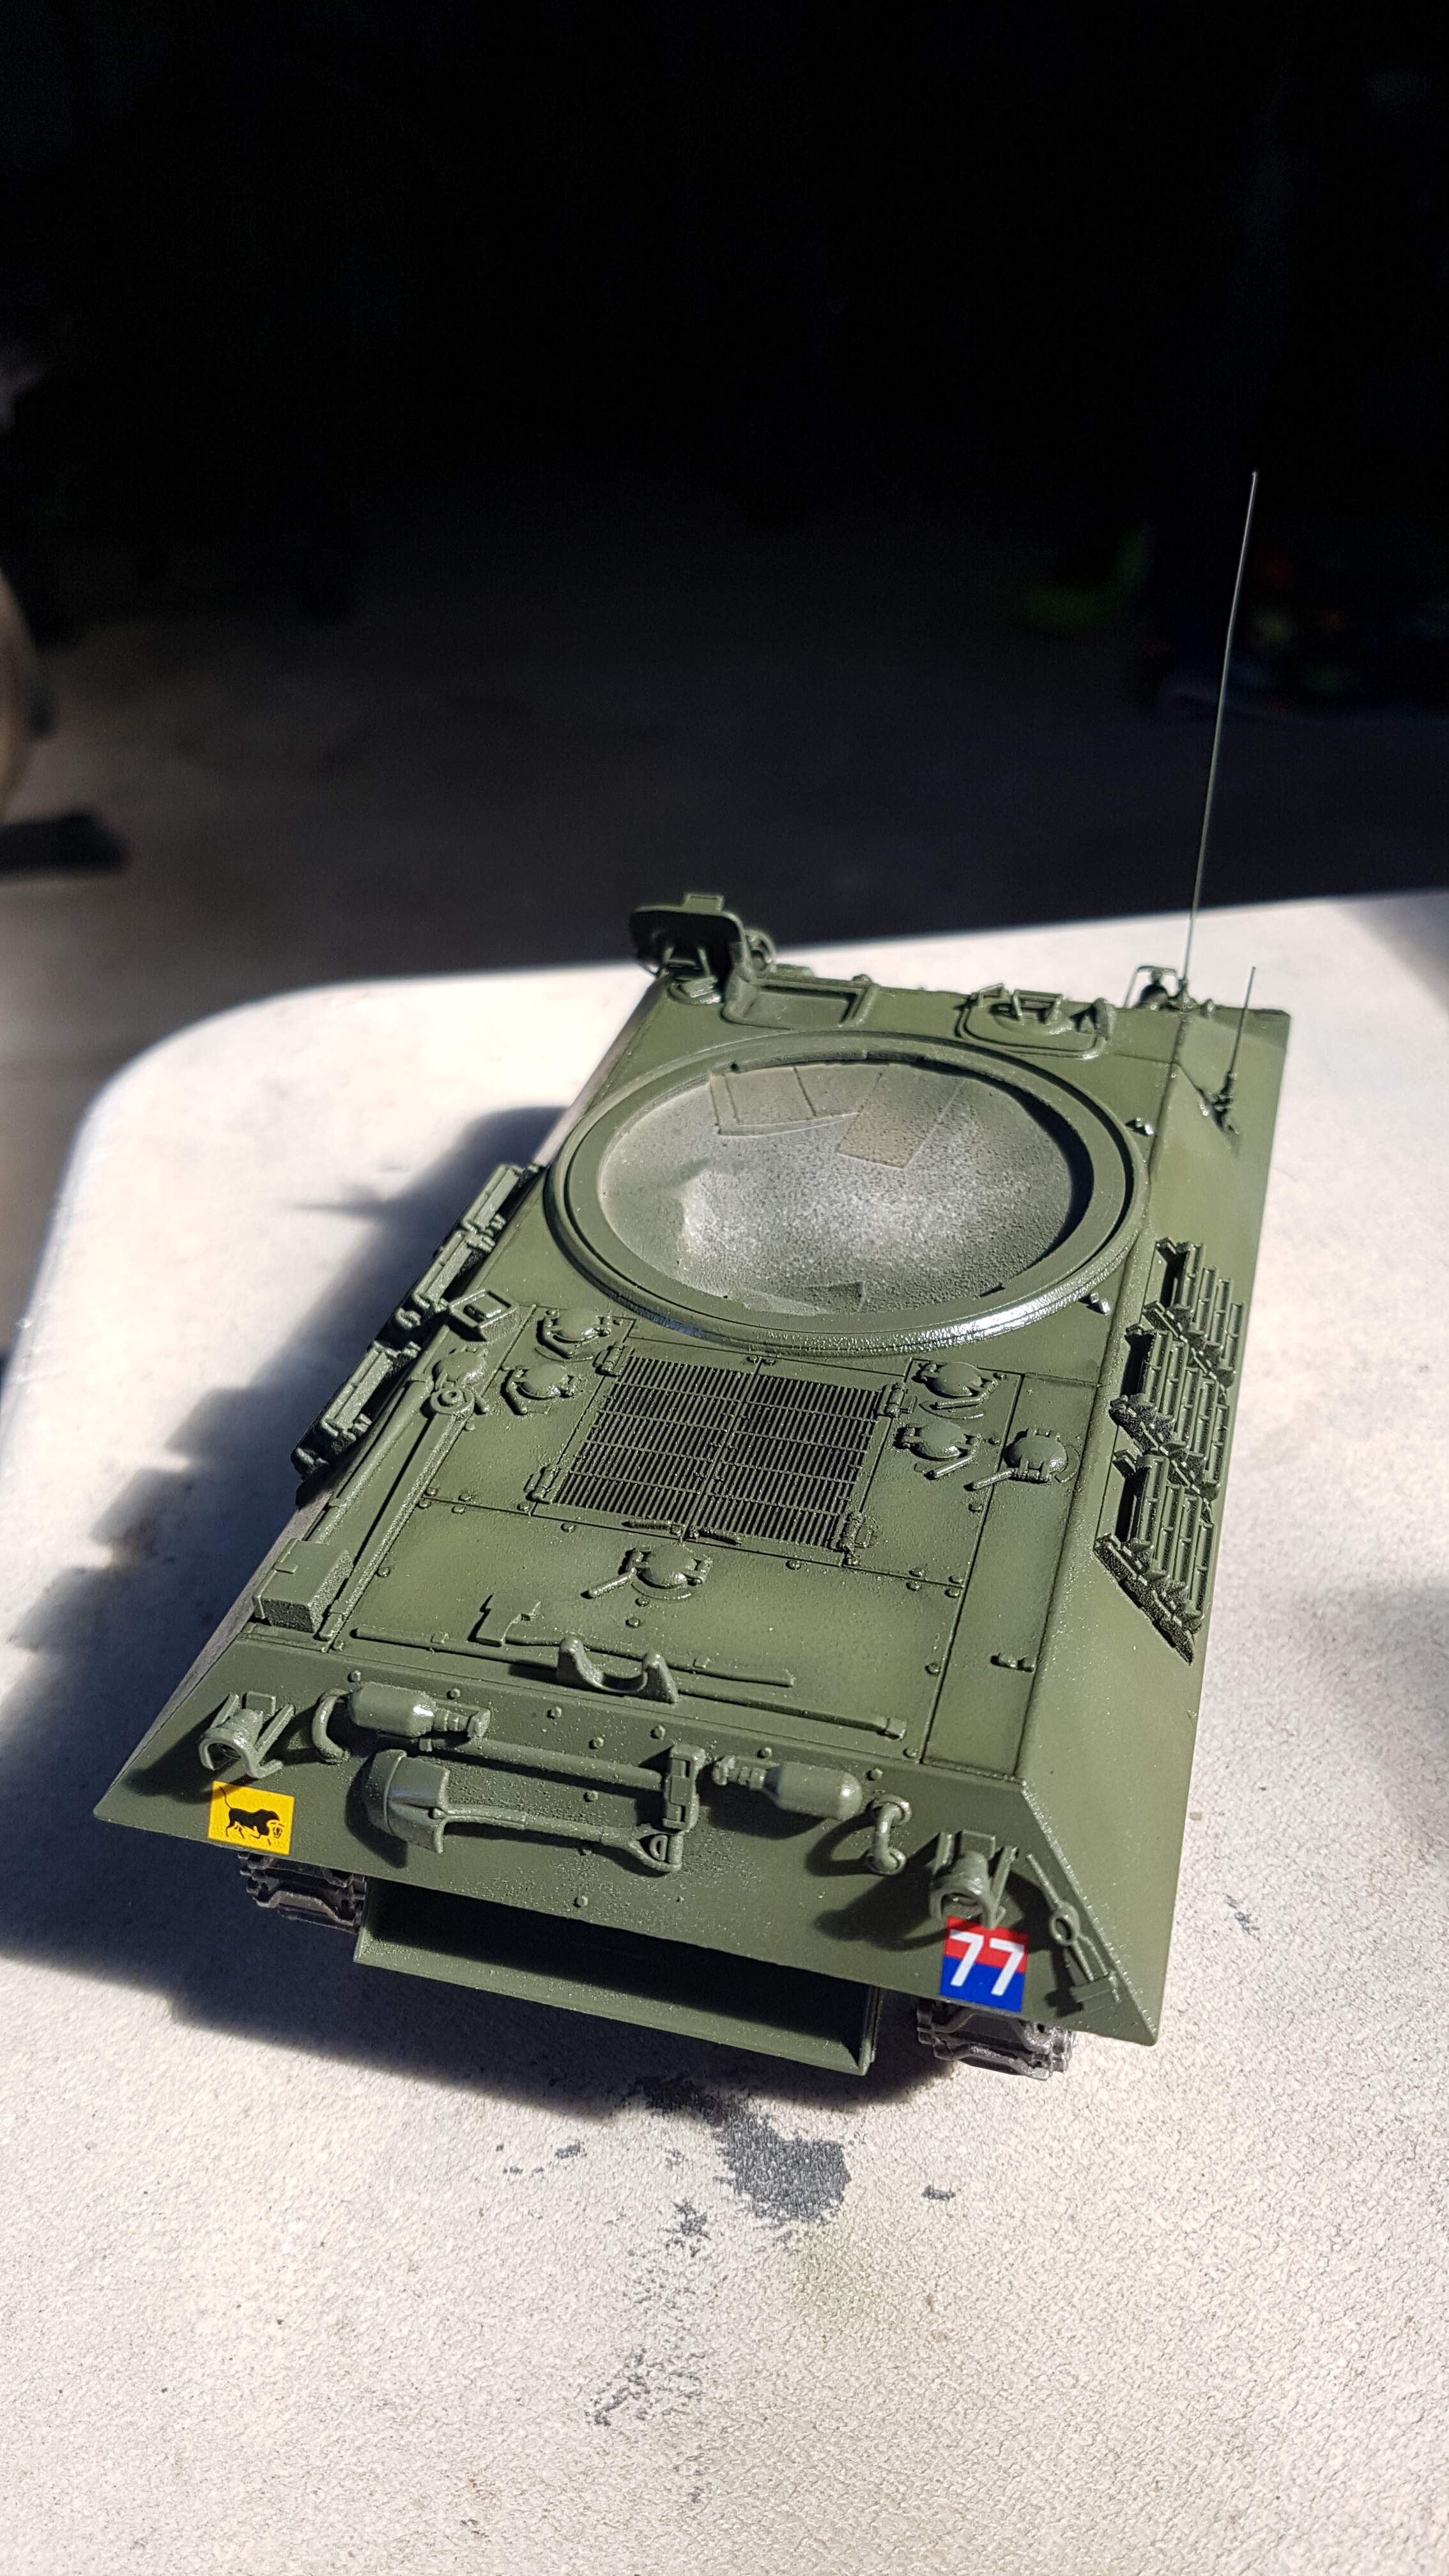
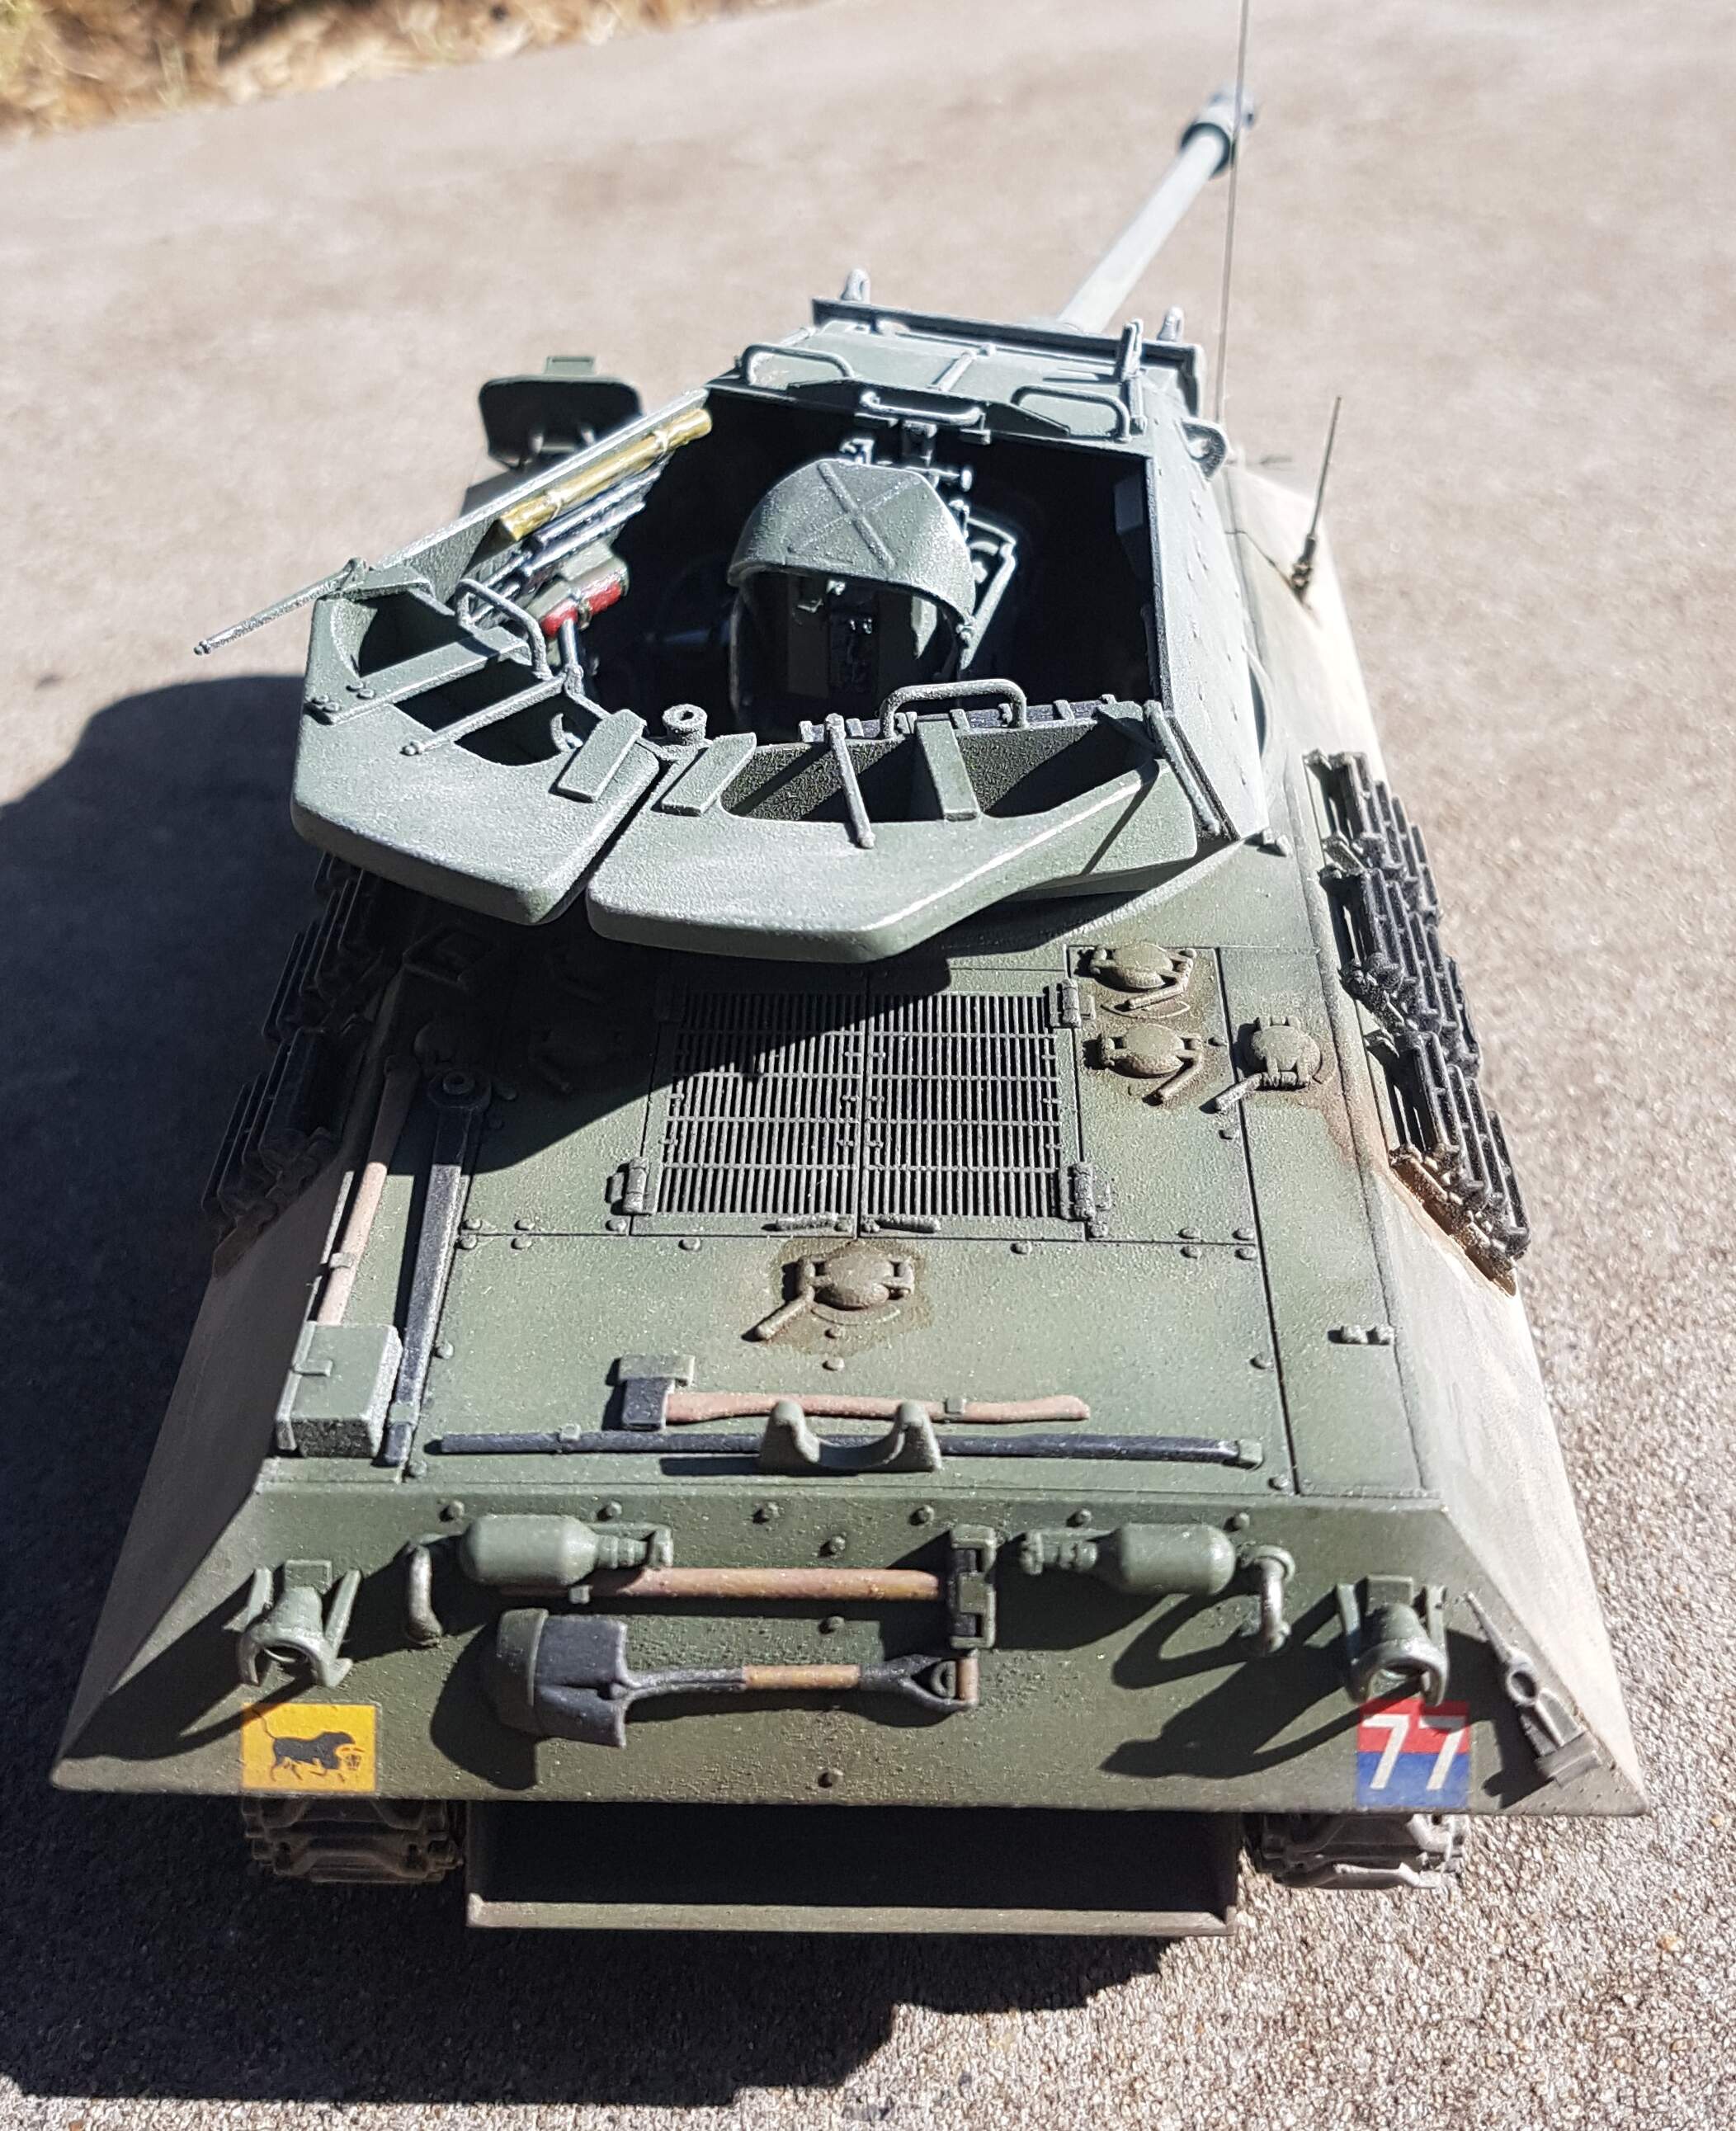
I have managed to get a bit done in the last few days including some colour modulation and added the decals. I still need to paint the tools and grousers on the side (hopefully today) and weather and chip. I plan on adding this to a Normandy diorama which im yet to build so I don’t plan on weathering or chipping it too much. I will do most of the weathering with pigments when I do the diorama so I use the same colours.
2 Likes
Bit of an update after some weathering and a clear flat coat. Ive added a few light steaks and an oil stain on the front left fender. Lightly dusted the hull but that is about the extent of the weathering for now. Onto the turret.
2 Likes
I like the weathering! just the right amount and in the right spots!
1 Like
Thankyou, I didn’t want to overdo it after studying some reference pics. I might add some small amounts of grass to the hedgerow cutter and the tracks but only minimal amounts.
that would be a great idea. I can’t imagine that thing would be in good shape after use. Might want to check out similar farm equipment or construction equipment and see how their blades wear, just a suggestion.
That’s a really good idea, thanks! I’m fortunate enough in my line of work to be the operator of some heavy equipment so I may have to have a closer look at the machines I drive lol!
1 Like
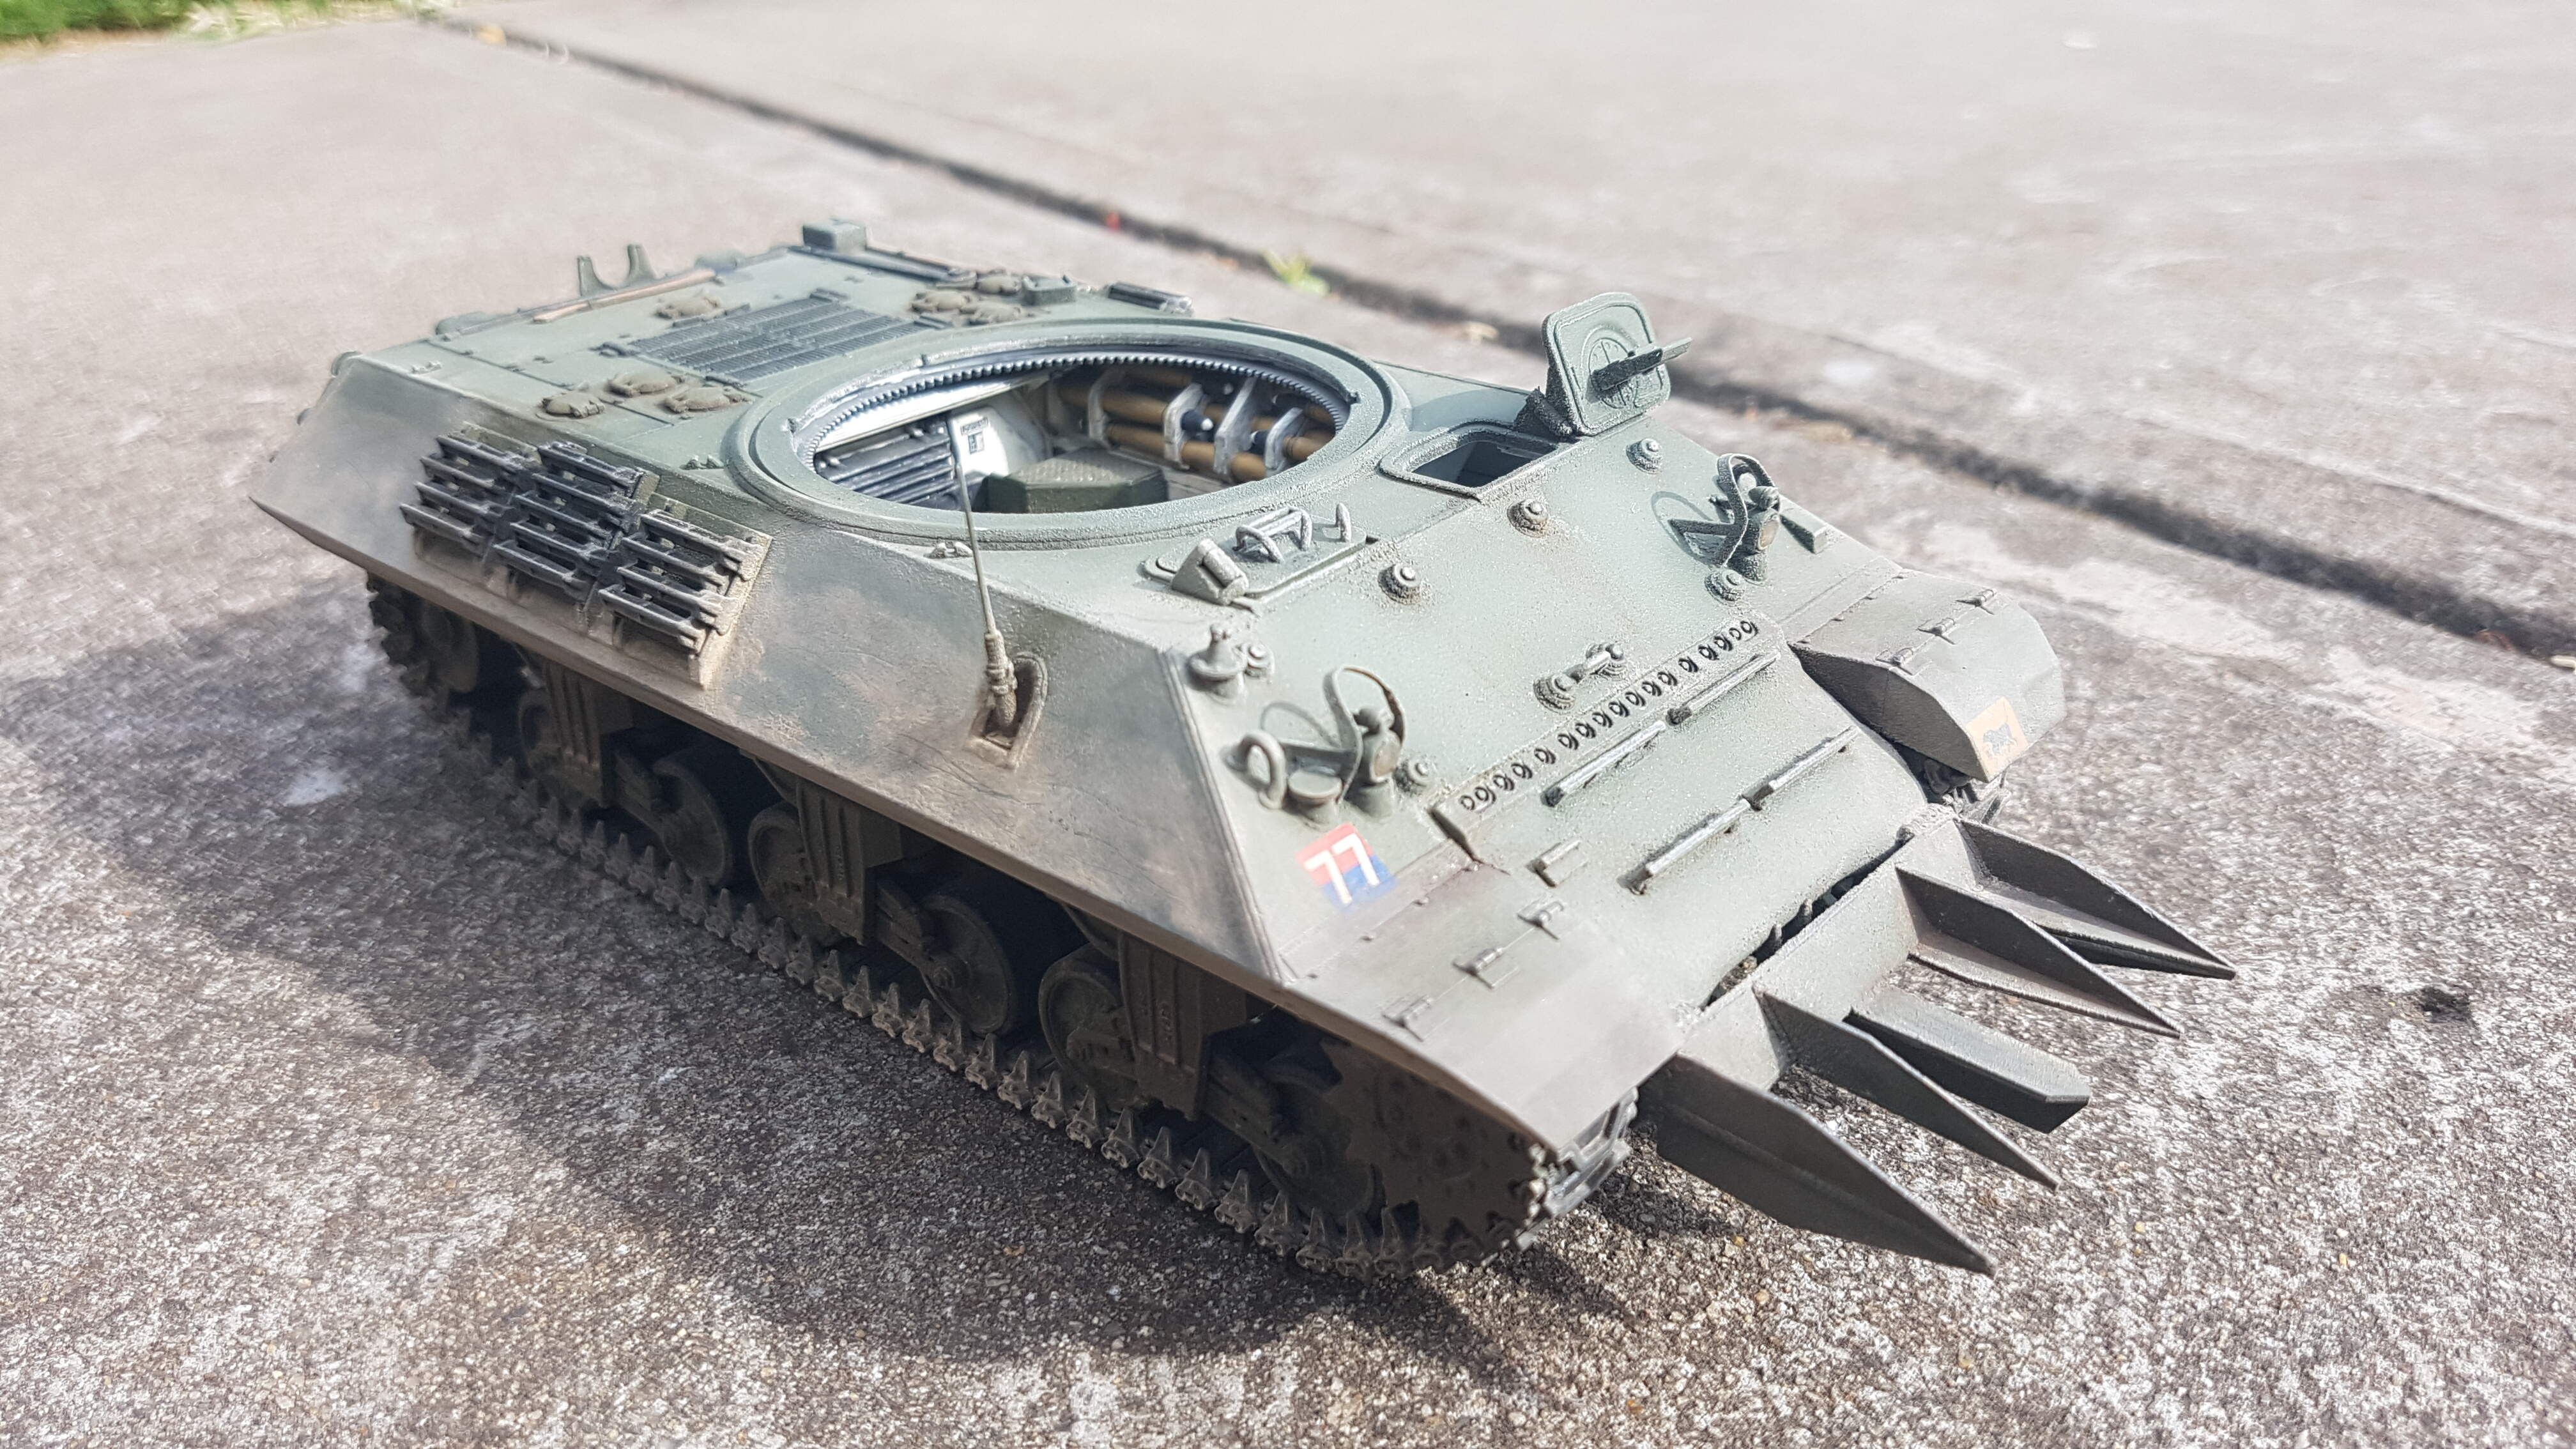
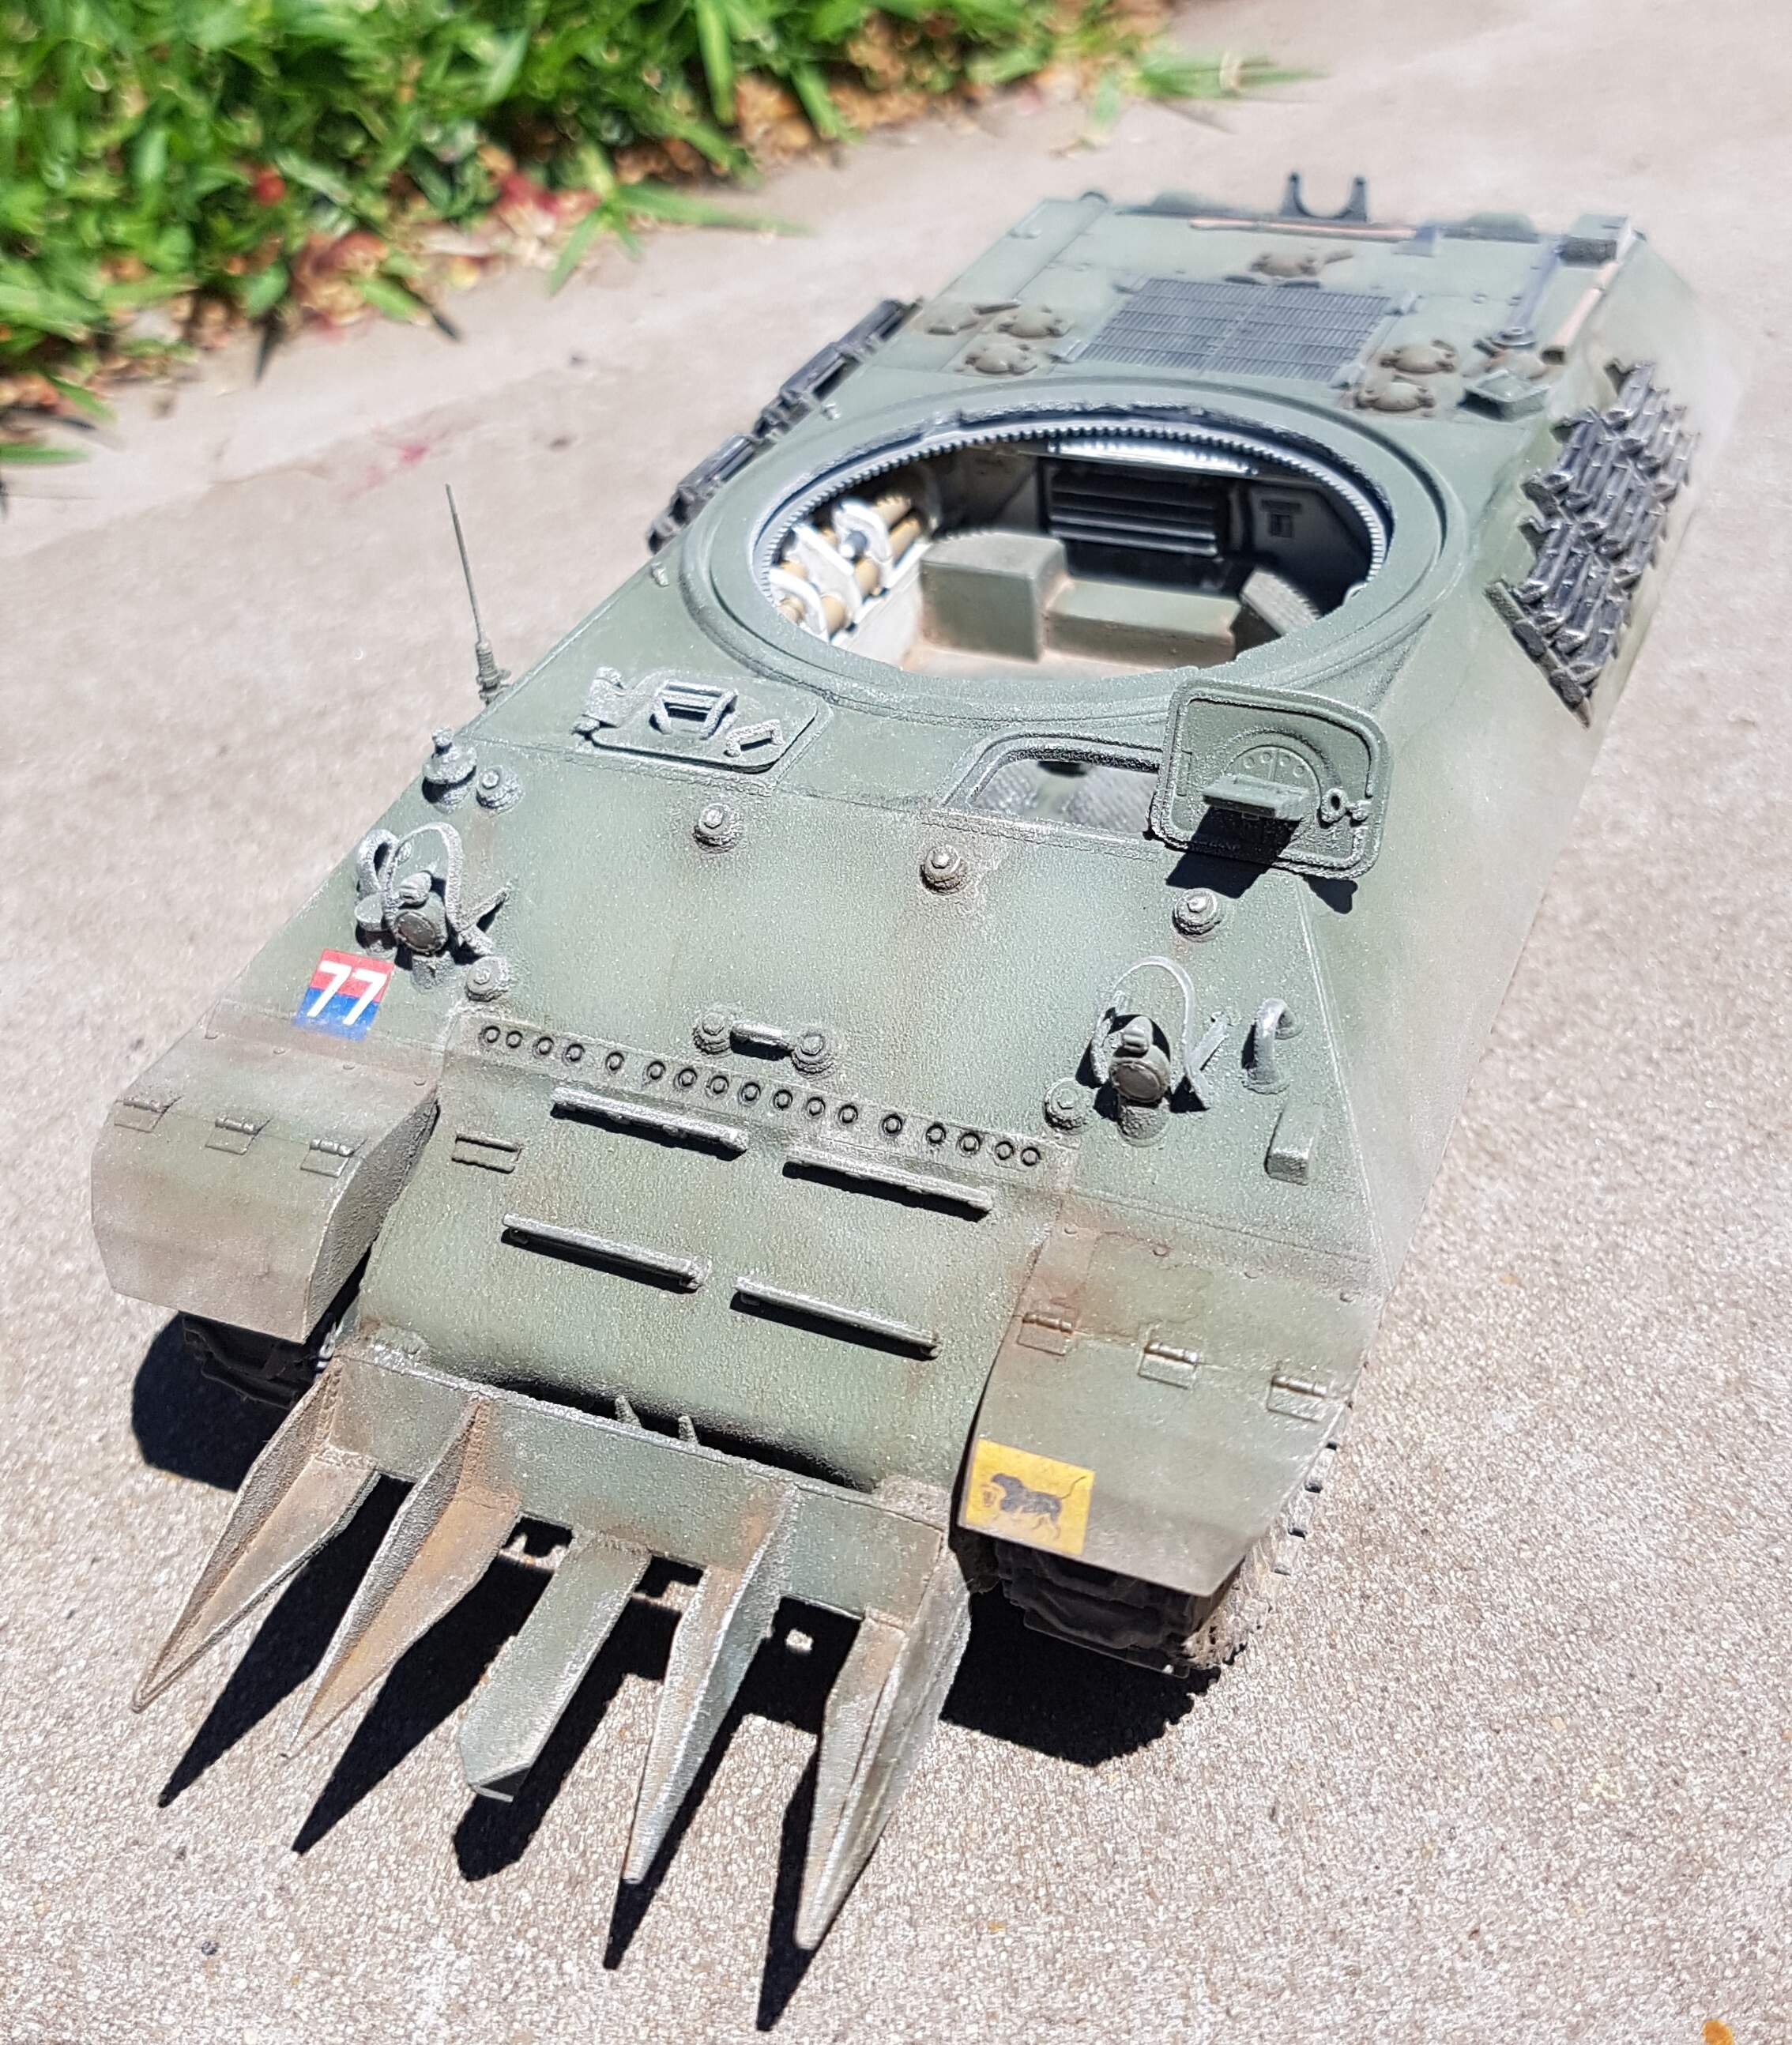
I have built up the weathering and have added some scratches towards the front of the hull sides. This will be all for weathering the lower hull maybe except for some oil/fuel stains. The turret will only have minor chipping and some streaks because the stowage will cover a lot of it.
1 Like
Nick it looks great! I like the small streaks down the side there by the antenna. Looks like it just made its way through a hedgerow! I’m ready to see the turret!
that looks awesome. just all the weathering and paint brings it to whole new level.
1 Like
(a whole new level.)
Thanks for the kind feedback. This is my first model back after a few years away and its good to be getting back into the swing of things.
Unfortunately, but fortunately I will be away from the table for a few weeks as I will be taking my camper trailer away and having a much needed holiday.
2 Likes
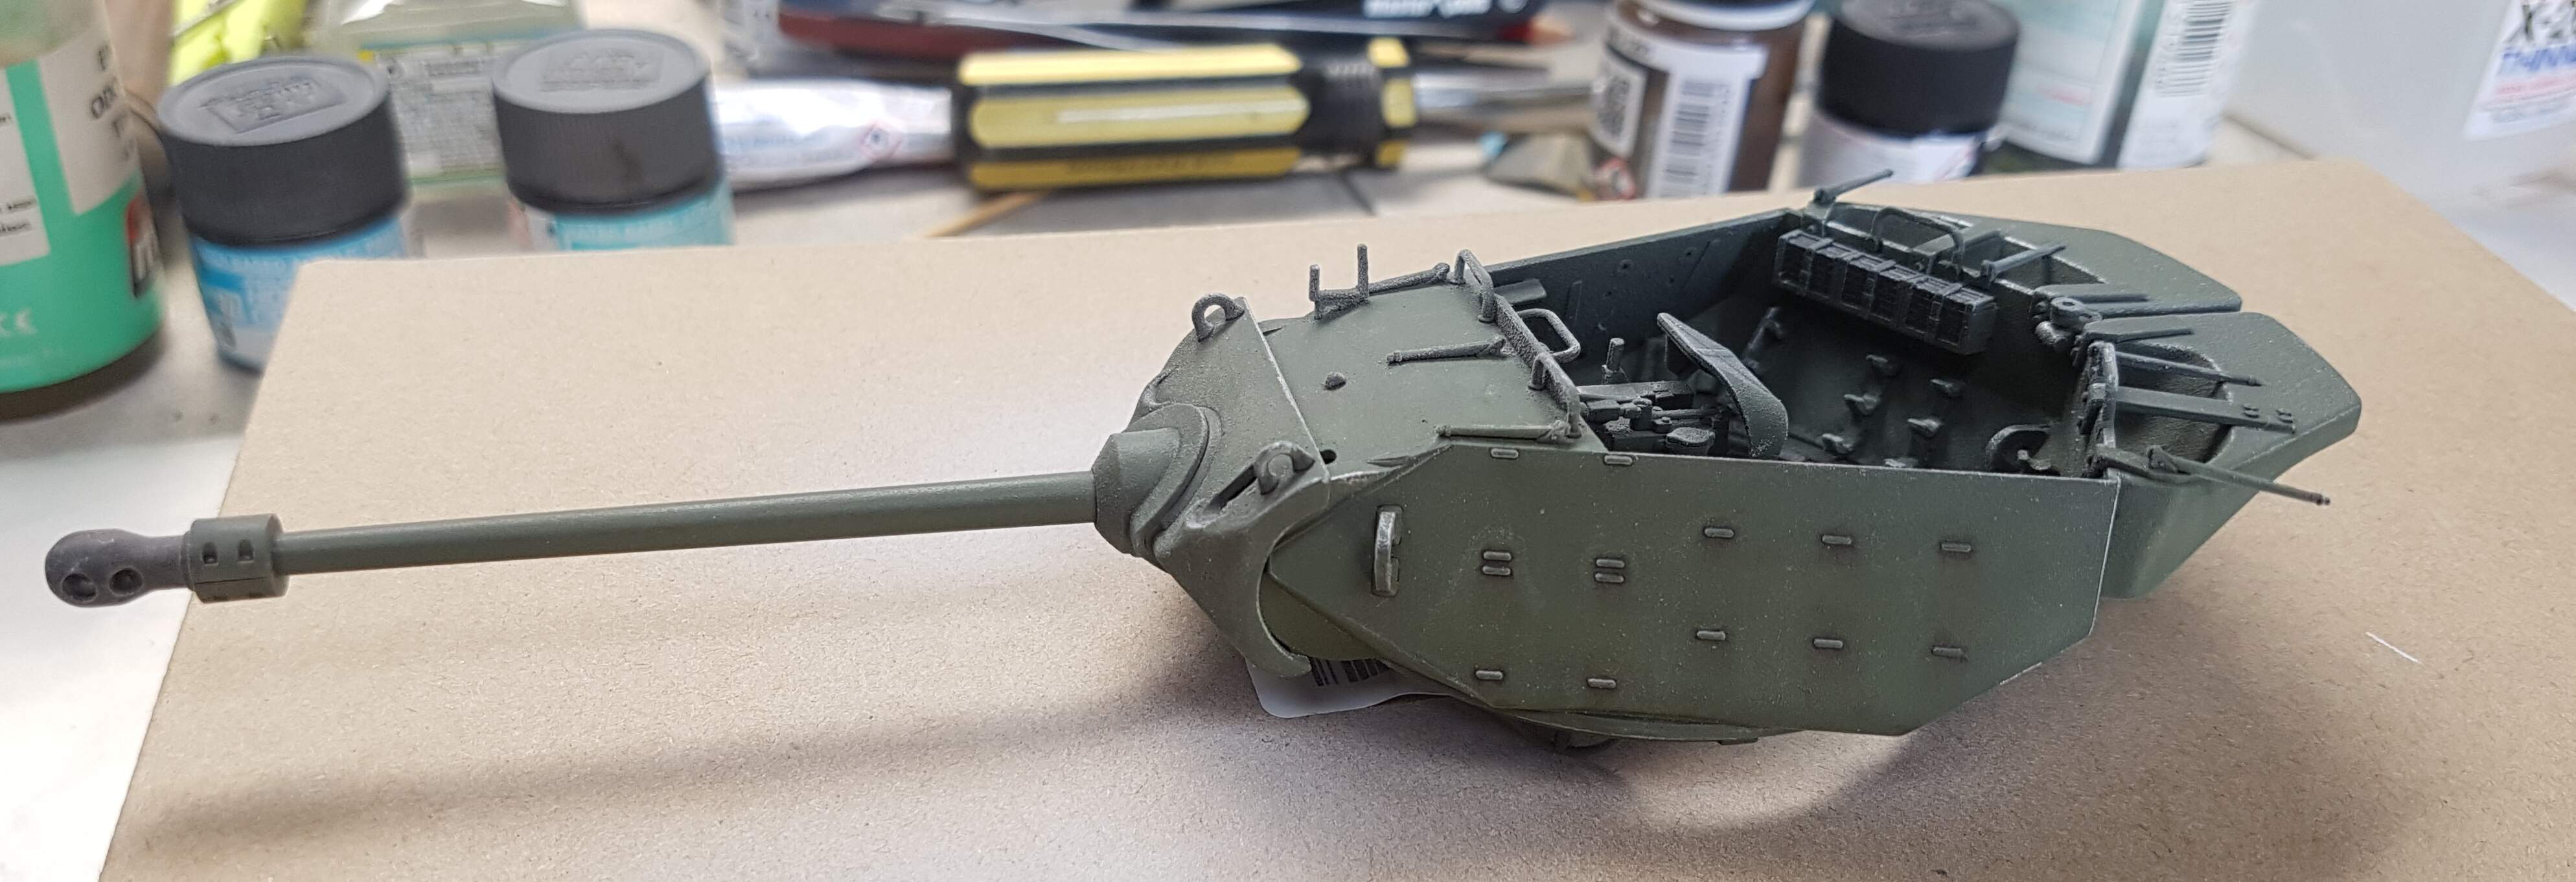
Been able to get a bit of weathering and detail painting done on the turret. I still need to paint the rounds and personal equipment stored in the turret. I also need to paint the .50cal and add all the spare .50 cal ammo boxes.
1 Like
So this is 99% done!! I am just finishing up the .50 cal for the rear of the turret. I will add crew gear and acessories once I’ve built the diorama so i get the overall look and placement right.
Any feedback or criticism welcomed.


4 Likes
Your weathering is very subtle but effective. Your washes came out excellent. I like the built up mud and streaking.
1 Like
@Nickpal01,
nothing bad from me. looks great!
1 Like
Thankyou very much gents. I may add more weathering once i build the dio but would rather not overdo it until then.
nailed it! looks great Nick!
1 Like