Hey folks. It’s been a while since I got a build log up and running. I saw that there was TD Campaign going up again too. Since I got two of the new Tamiya M18, I decided to document parts of my progress with the build.
Here’s the box - very nice, par for the course for Tamiya
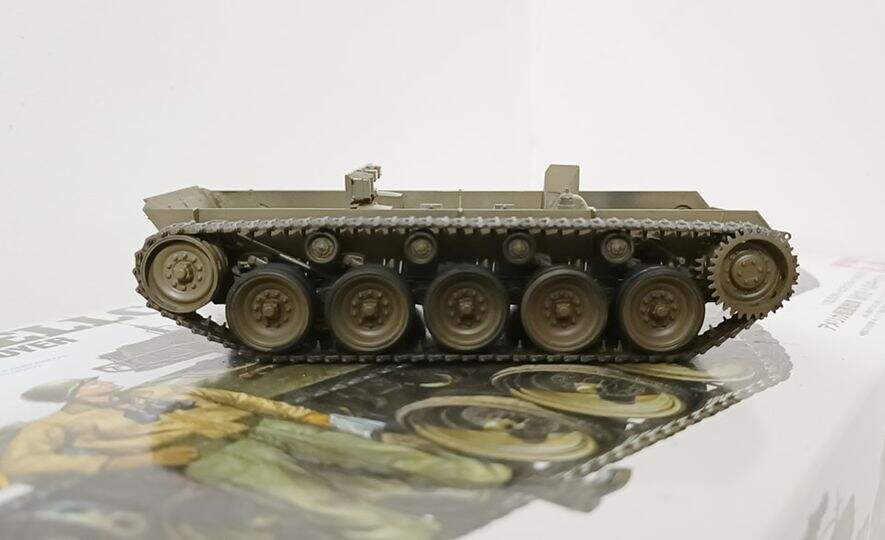
I personally found the Hellcat’s running gear surprisingly complicated. While the fit still remains good - the small nature of the suspension arm means you need to be careful when gluing and aligning them together. I found the arm for the rear idler wheel for both sides a bit tricky to glue - the part needs to be attached to three parts but since the pegs of the arm were pretty small - it can be tricky lining them up properly. I would definitely recommend taking your time here and dry fitting before the glue. Once everything has dried, the suspension does seem like it’s robust.
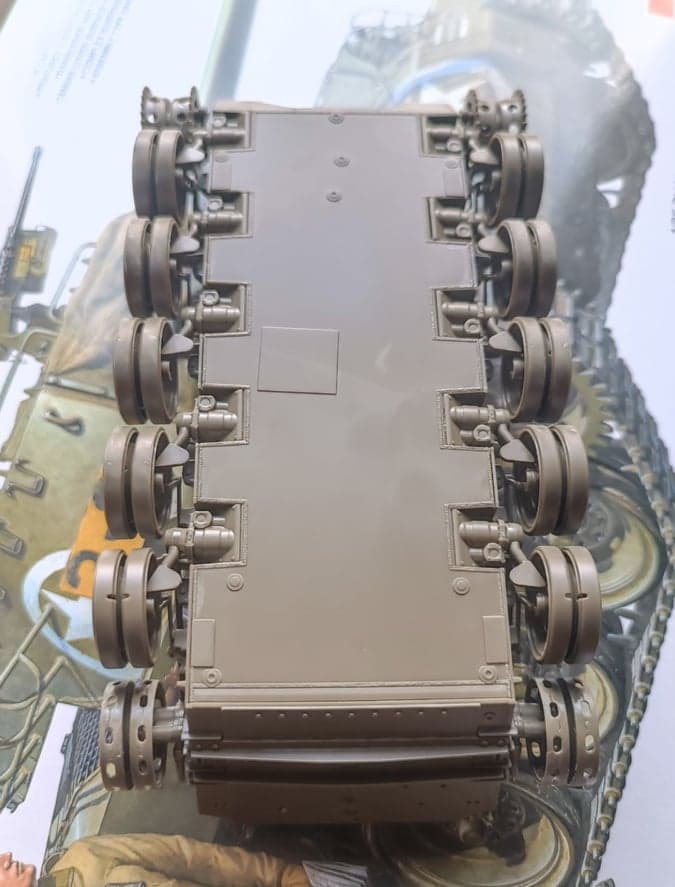
One final note - careful with attaching the wheels of the tank - one pair of them have a hole at the bottom which facilitates the attachment of the link-and-length tracks. They have to be glued at the right idler arm which has a keyed peg which properly aligns the wheel so that the guide hole for the track is facing down.
Here is a photo of the belly of the hellcat that also shows the hole in the rear wheels:
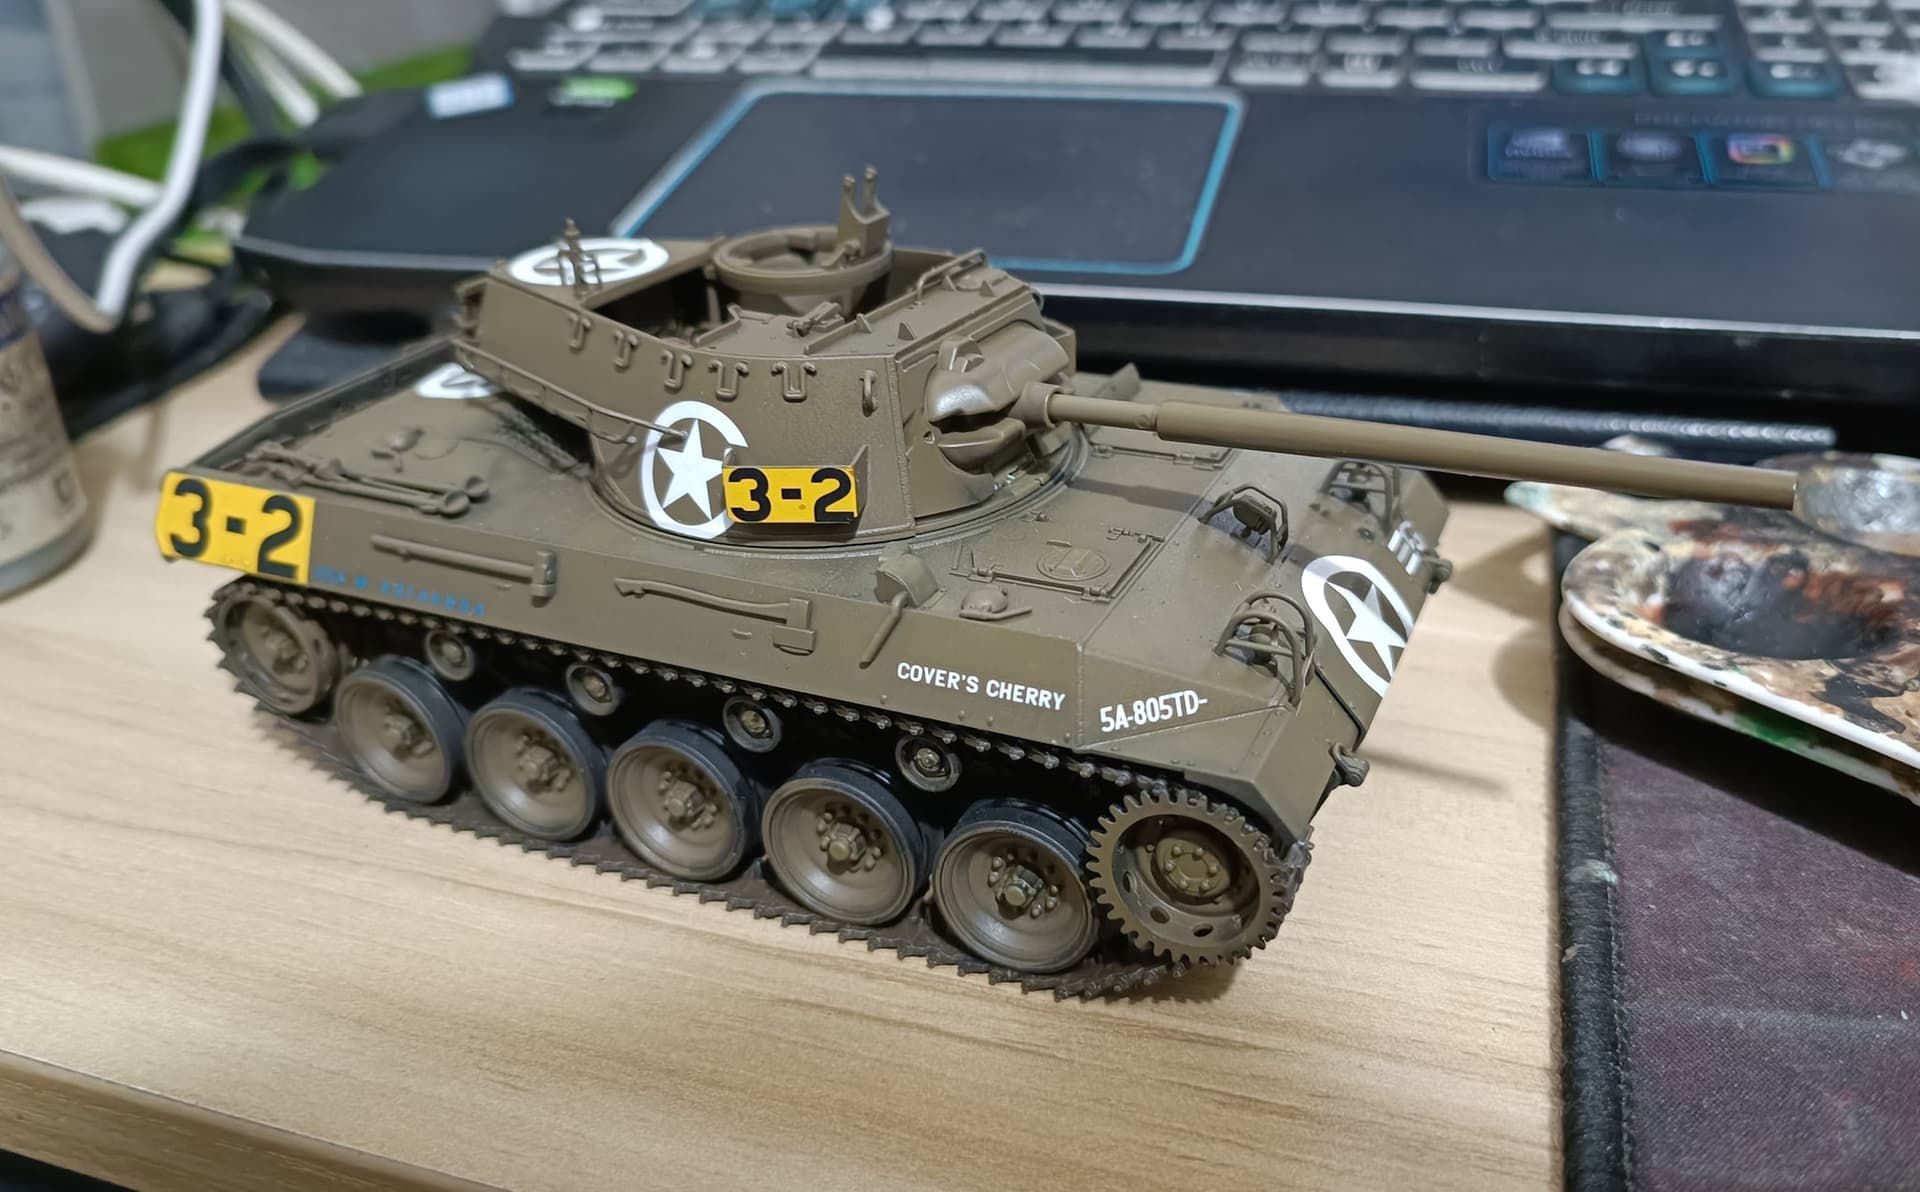
Happy Holidays everyone. Took it slowly during the holidays. Here’s a quick update to the build
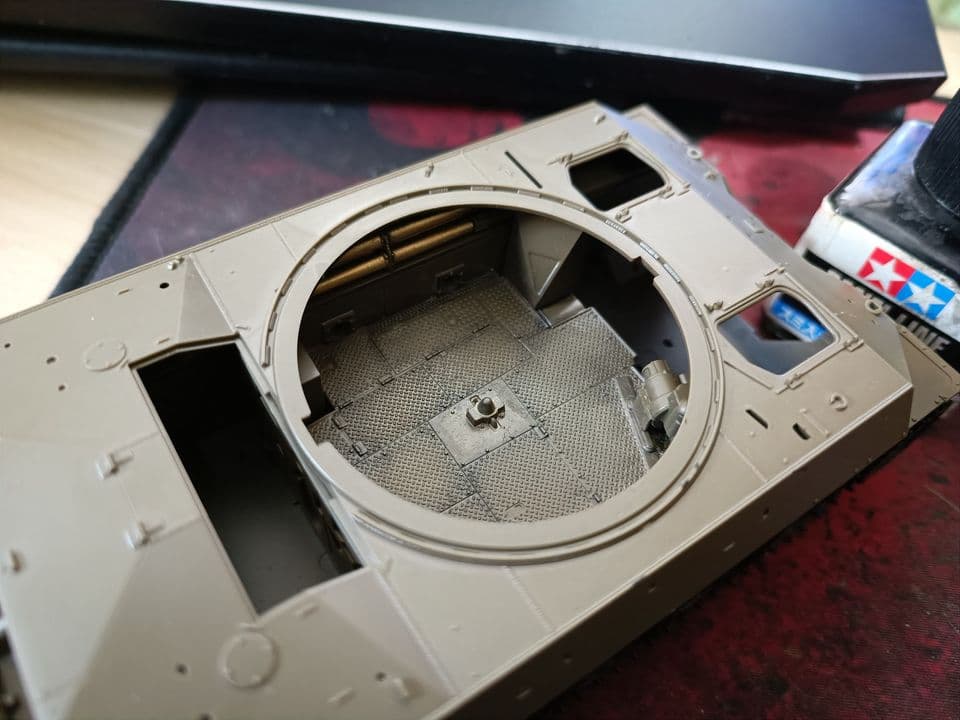
The sparse interior was painted with olive drab so I can close the upper and lower hull together. Some washes were applied to give it some life.
The link and length tracks fit like a glove, but would be difficult to paint if the upper hull is assembled on top. Next time, I might leave the tracks and wheels off for painting and weathering
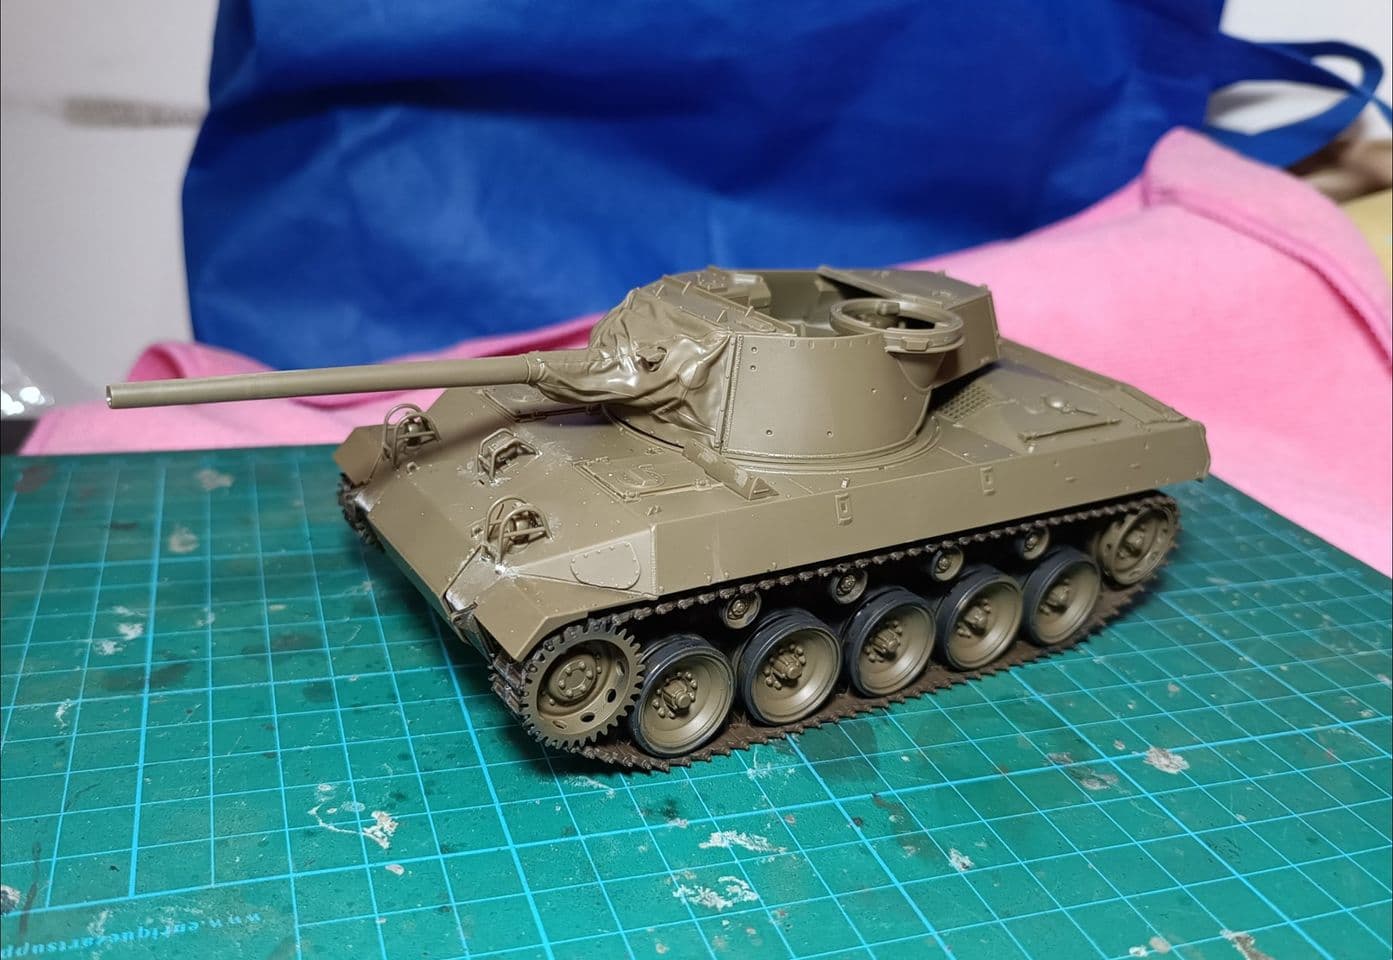
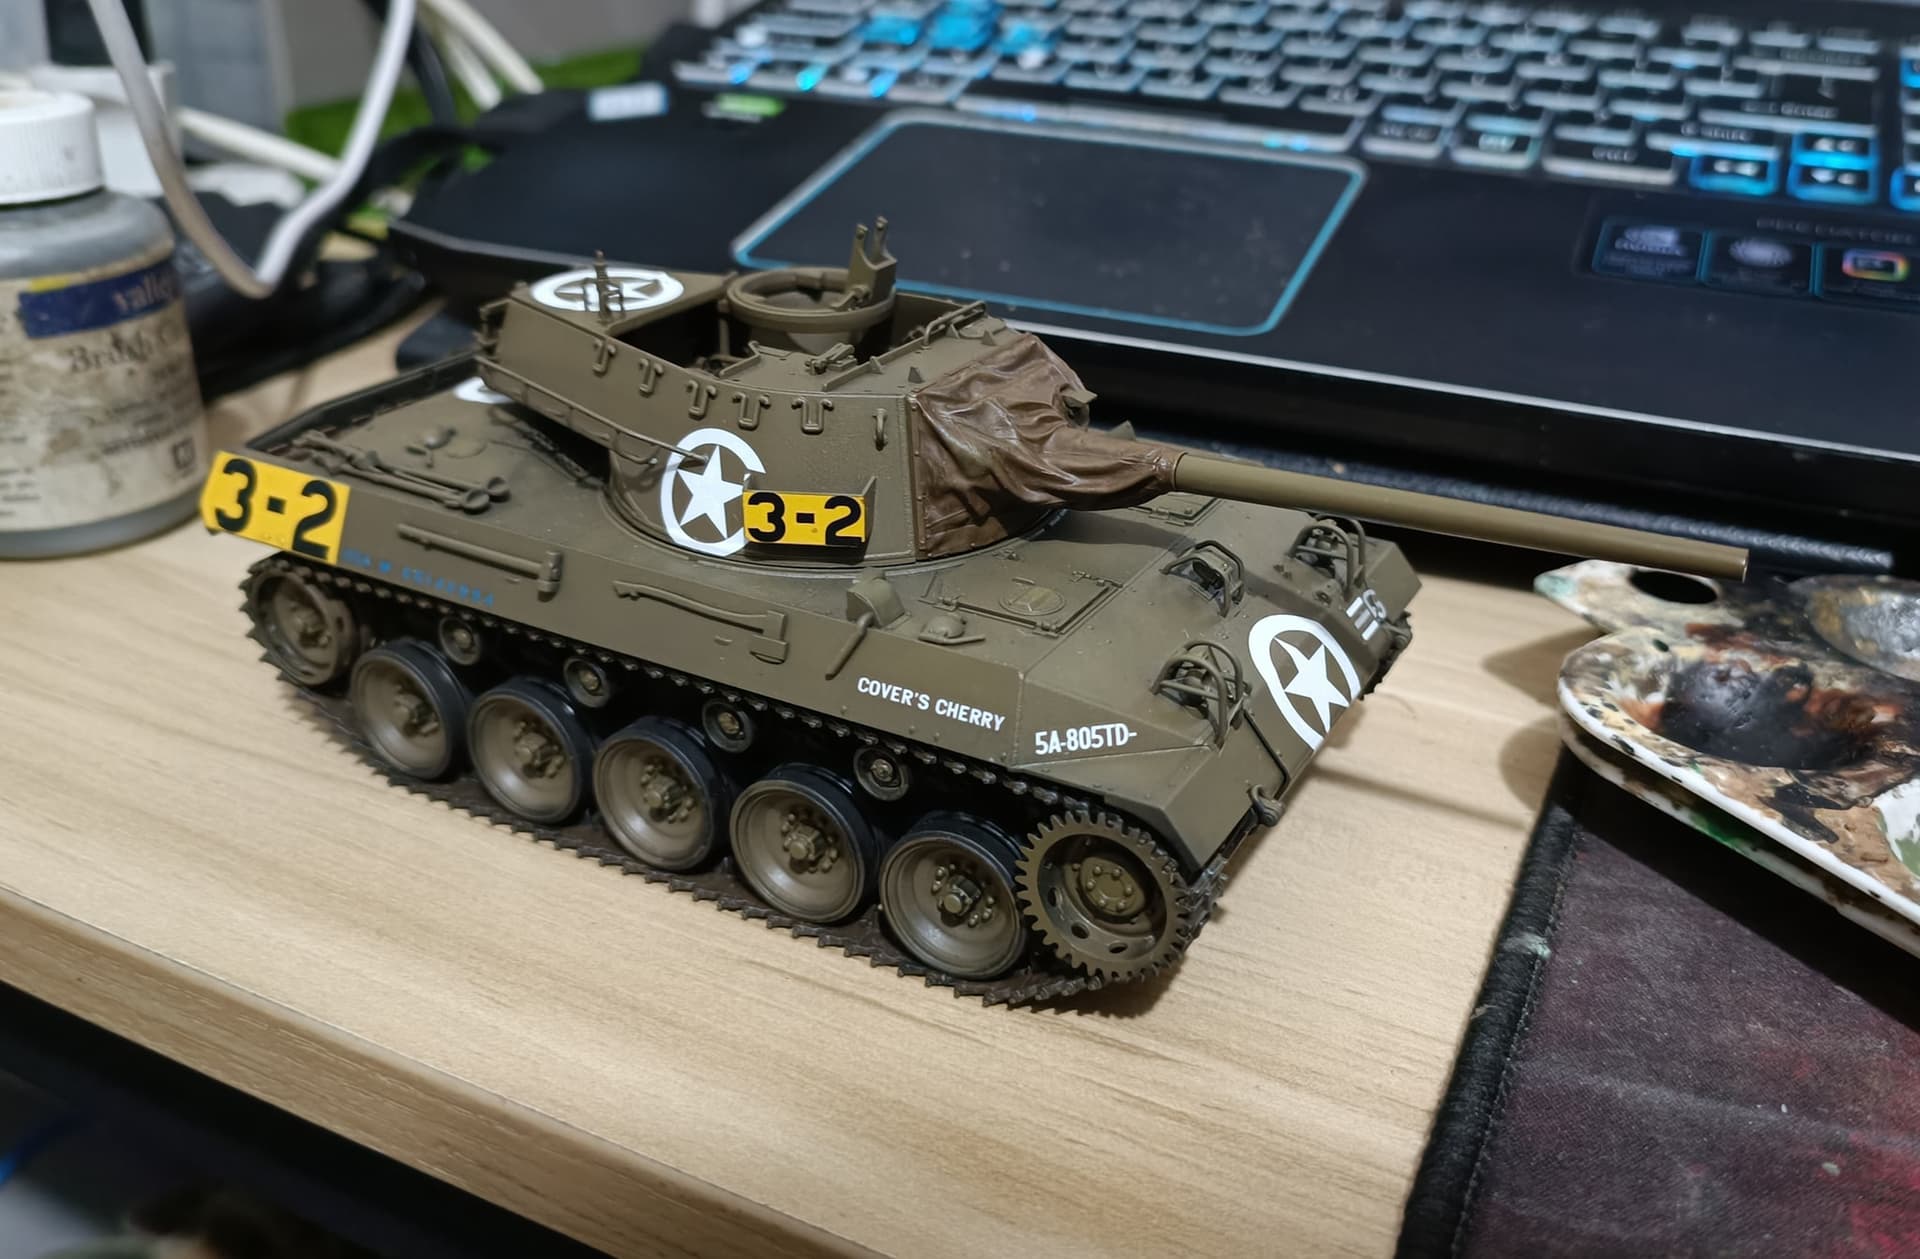
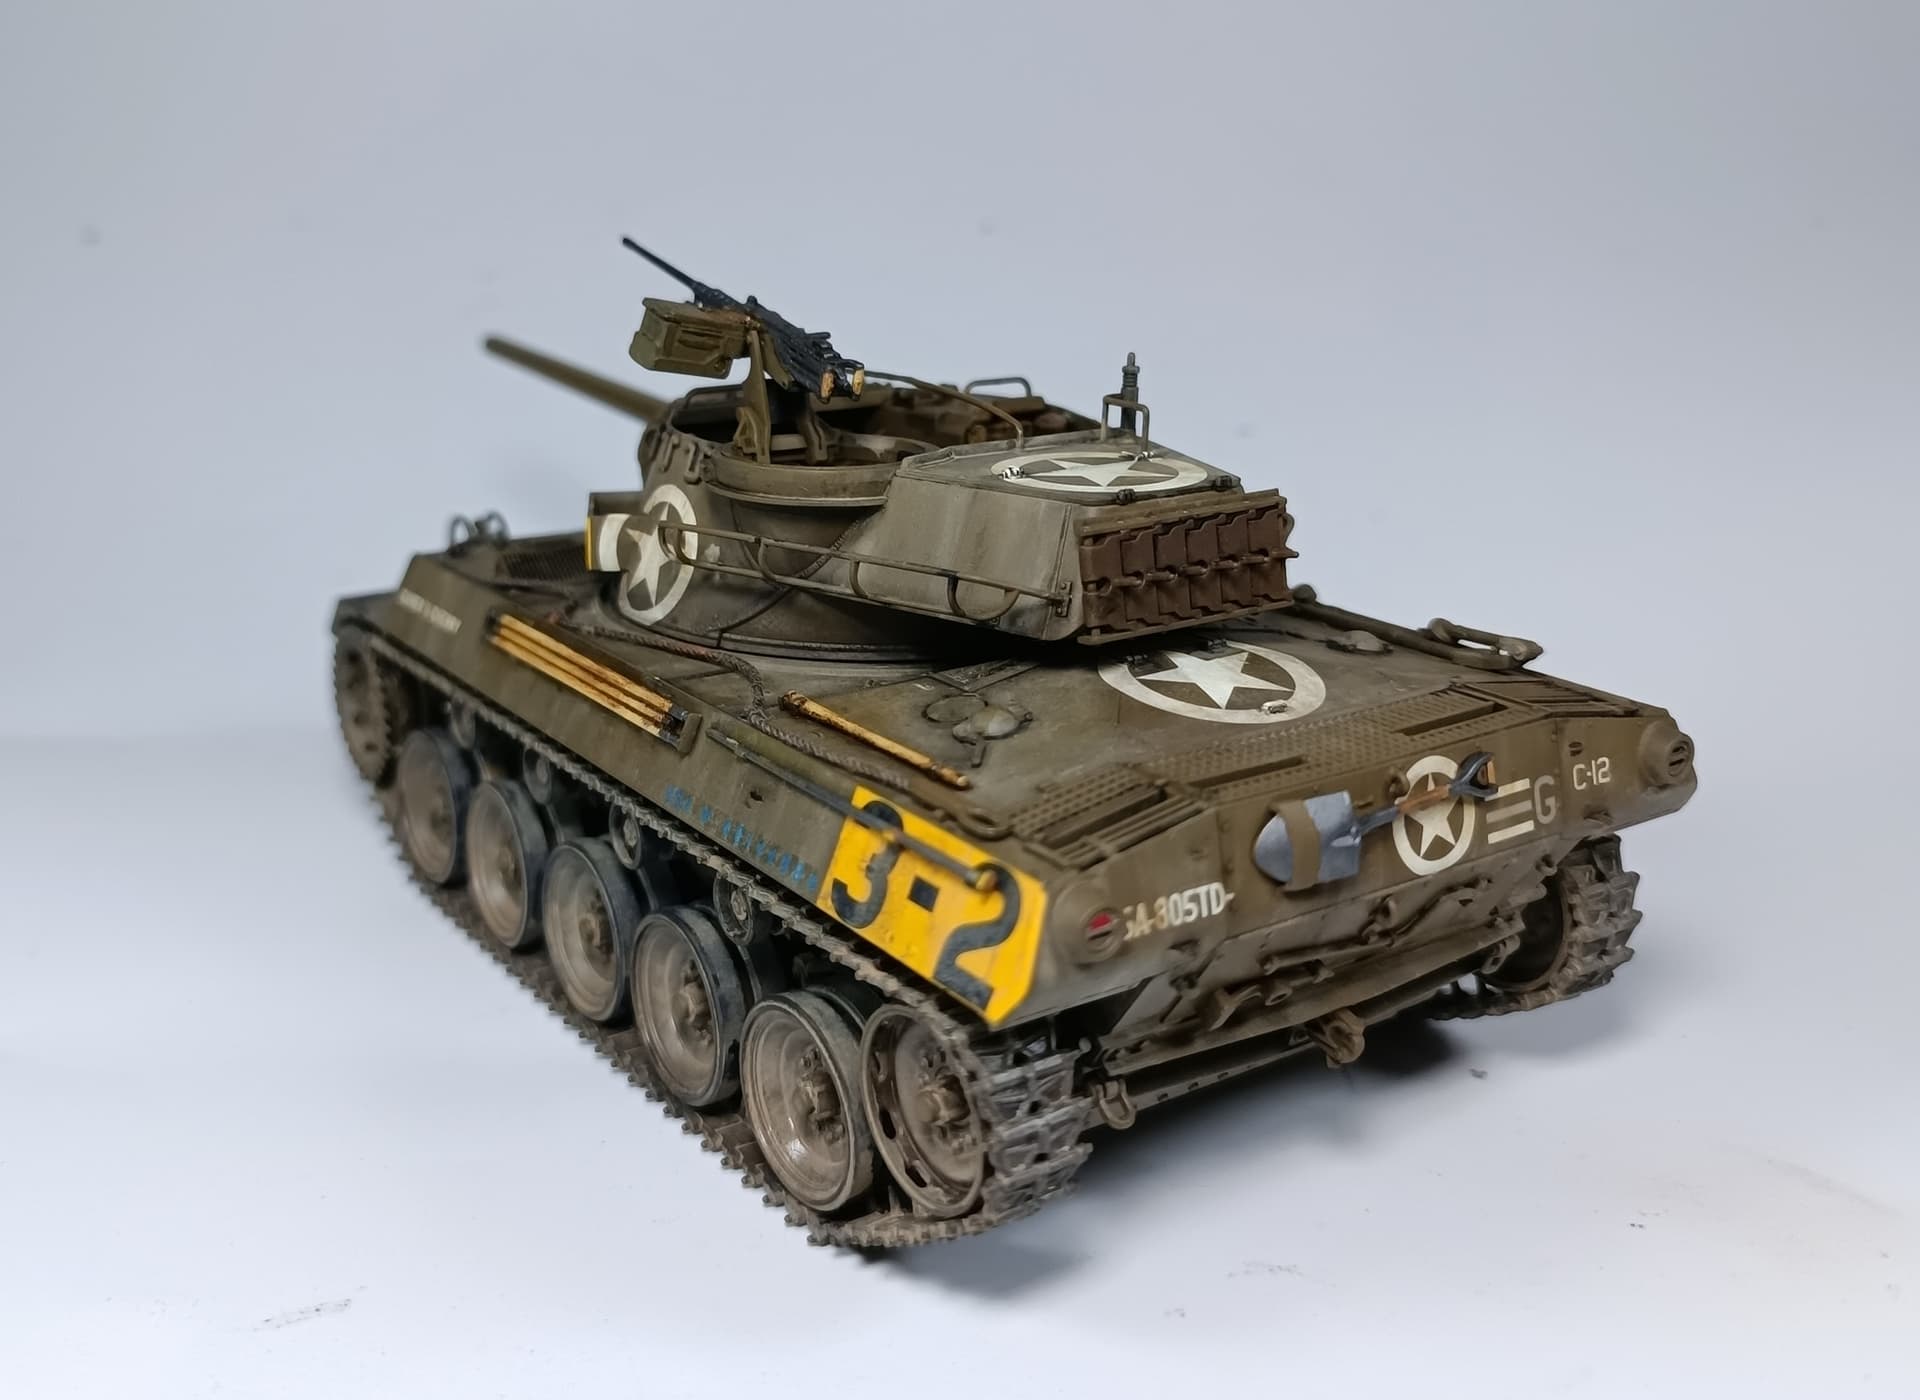
Not really a huge fan of interiors but there’s no way to hide it on this kit. I’ve decided to build the turret up into some subassemblies so I can take it apart for paint. The fit remains good but the attachment points again can be quite thin in some places so dry fitting is key. The canvas on the turret is pretty great though - hopefully we get more of that in the future (looking at you, Centurion tank kits) There’s also a grill that just shows an empty space beneath it, so I ended up gluing sandpaper behind it to hide the lack of detail
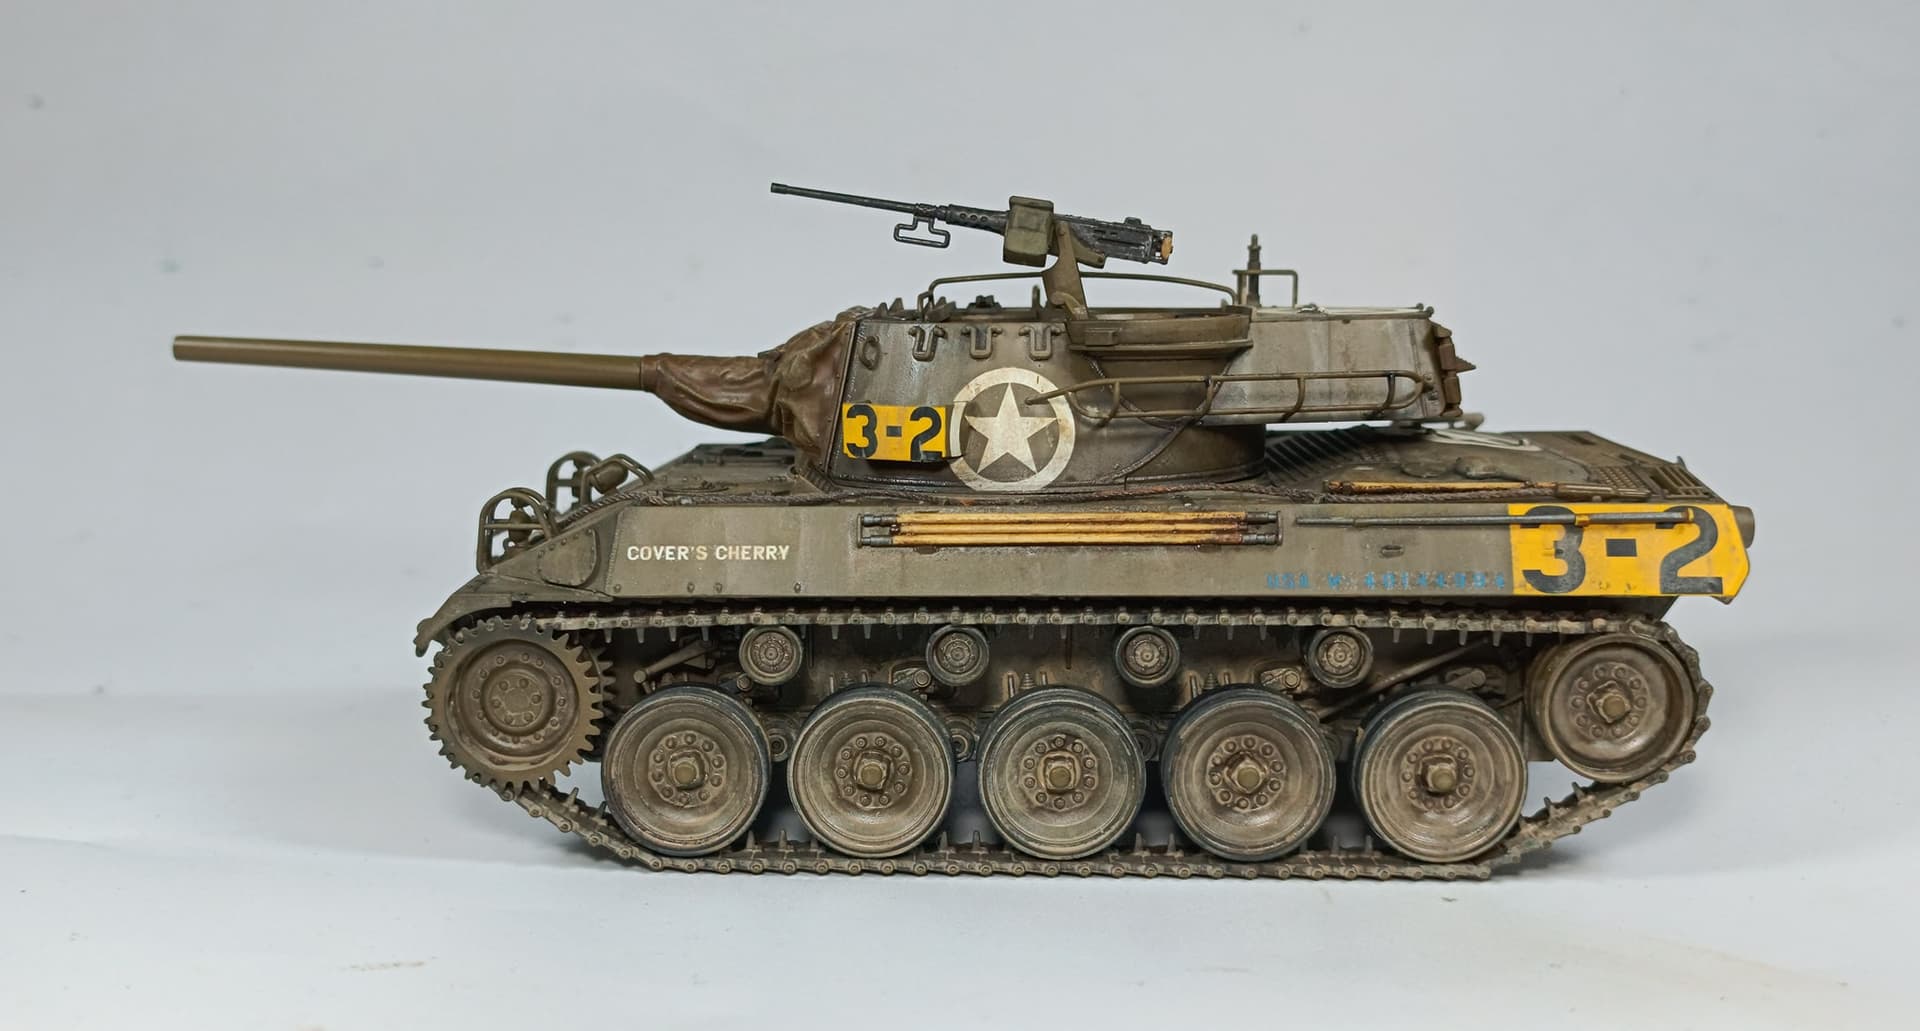
Thank you. Yes, the barrel is one long piece that actually has a snug fit through the canvas and the mantlet itself - I could technically leave it with no glue. Alas - it also has one of the few things I wish Tamiya did differently - they provided you with the early 76mm M1 gun with no muzzle break or thread protector. I wish they also gave you another barrel with the latter so that you get more options with what vehicle you can model.
Ah yes, I forgot about the missing muzzle brake.
Wondering if any aftermarket M1 muzzle brake can be used and simply attached to the kit barrel?
Sure, one can go with a complete aftermarket barrel but then the fit between the kit canvas and barrel may not be as snug as it could be.
Nice! That sure looks like a straight forward replacement.
But as I have a few aftermarket 76 mm muzzle brakes lying around I may try to see if any of those will work.
Time to dig out my M18 Walk around book…
The Tamiya kit has a very realistic looking canvas mantlet. However, unlike the Academy kit, there is no option to build the kit without it. You would need to kitbash or source after market parts including the barrel if you want it bare.
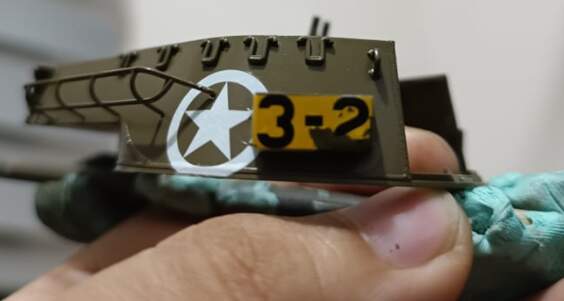
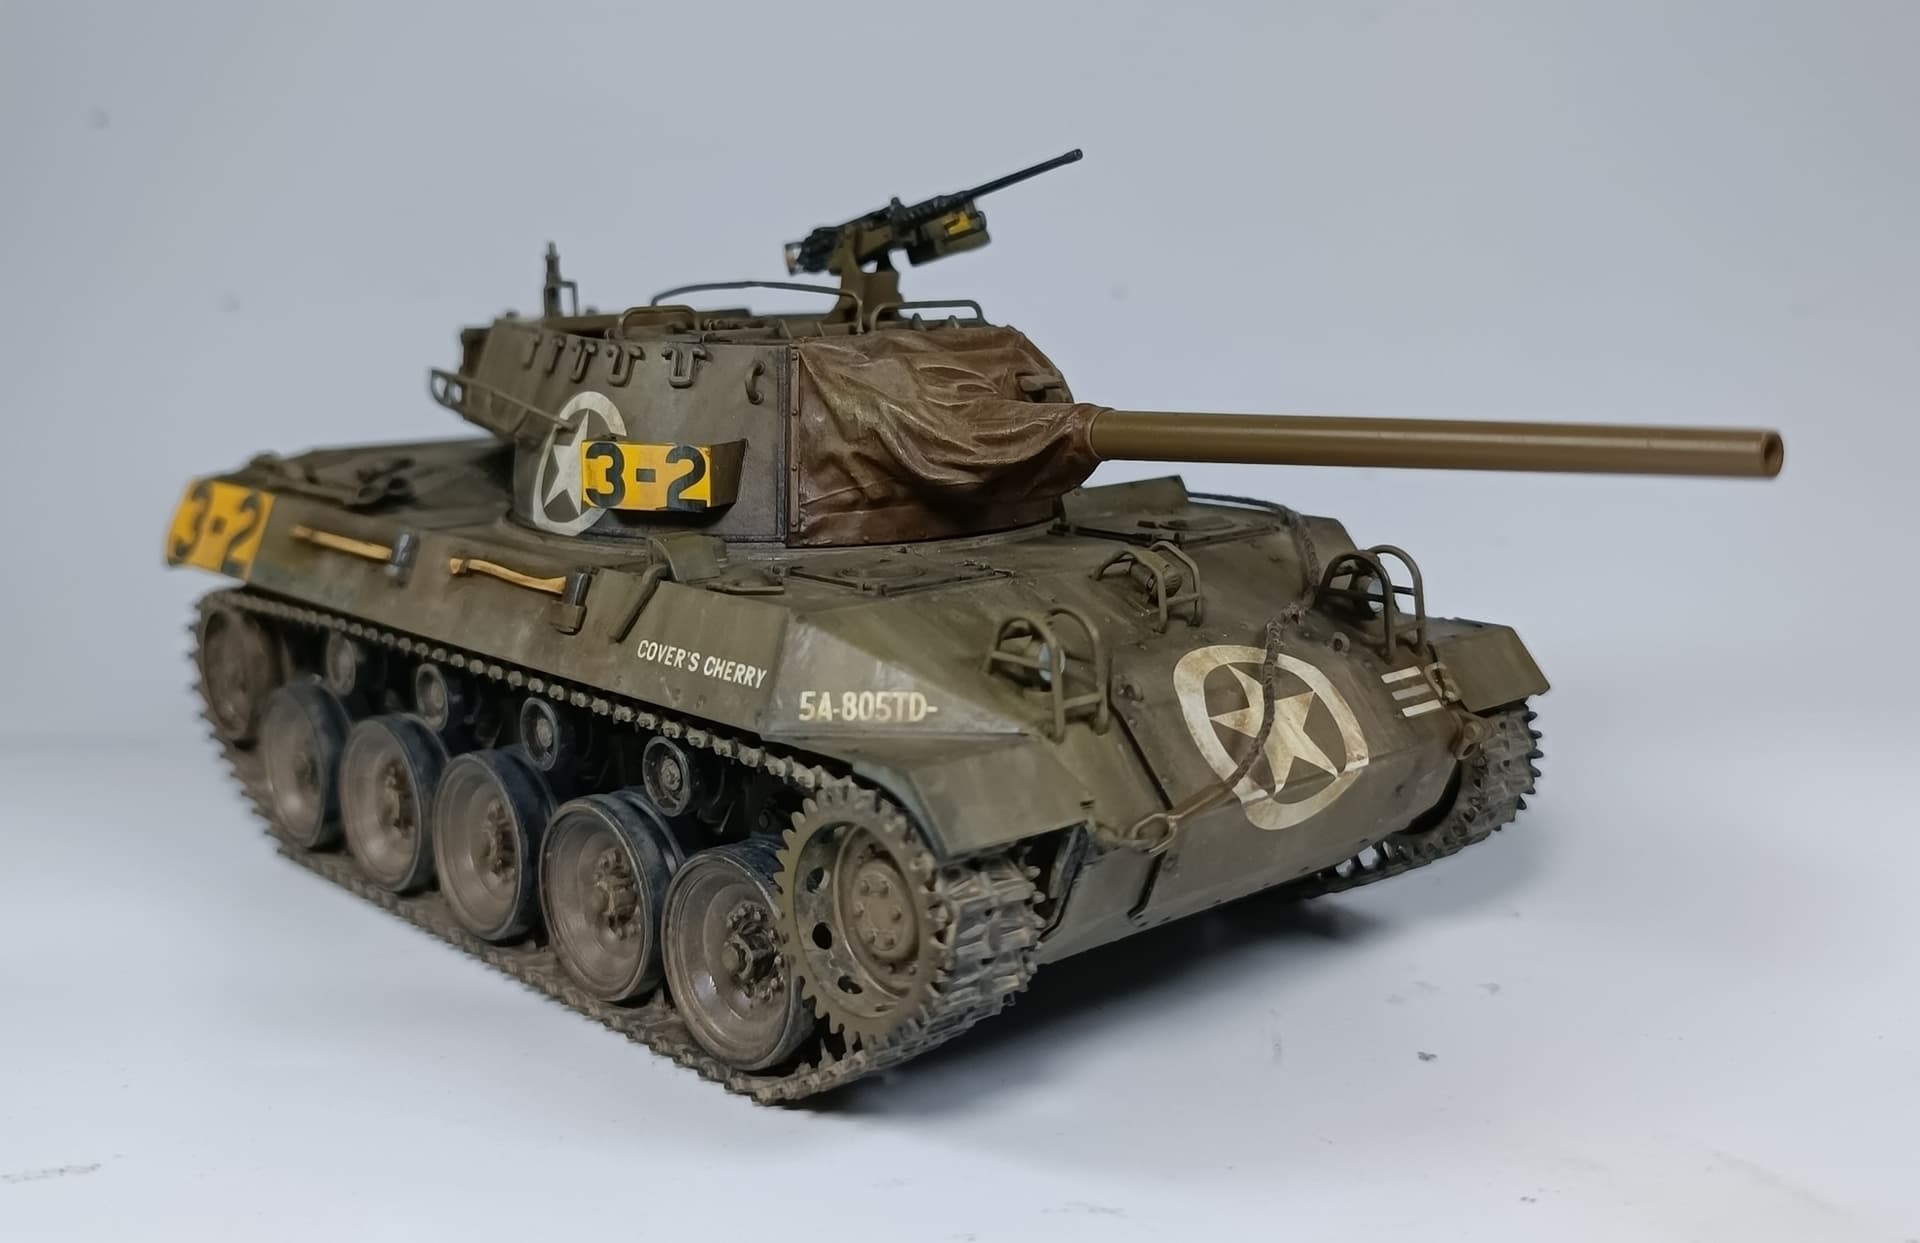
Hey folks! I’m 95% done with the build! Unfortunately, I broke the long handle bar on the turret as I was cleaning it up, it kinda looks bad on closer look. I’m still thinking about adding a few more layers of weathering and perhaps painting the metal tools at the rear of the vehicle.
Wow! Build came out great, Kunjuro! Thank you for taking the time to document and post, especially the tricky aspects of the build!! This kit is definitely on my list…
Can I ask what brand and shade of Olive Drab did you paint your M18 with? Paint and weathering also look great.
Keep up the good work, thanks again, and Happy New Year!
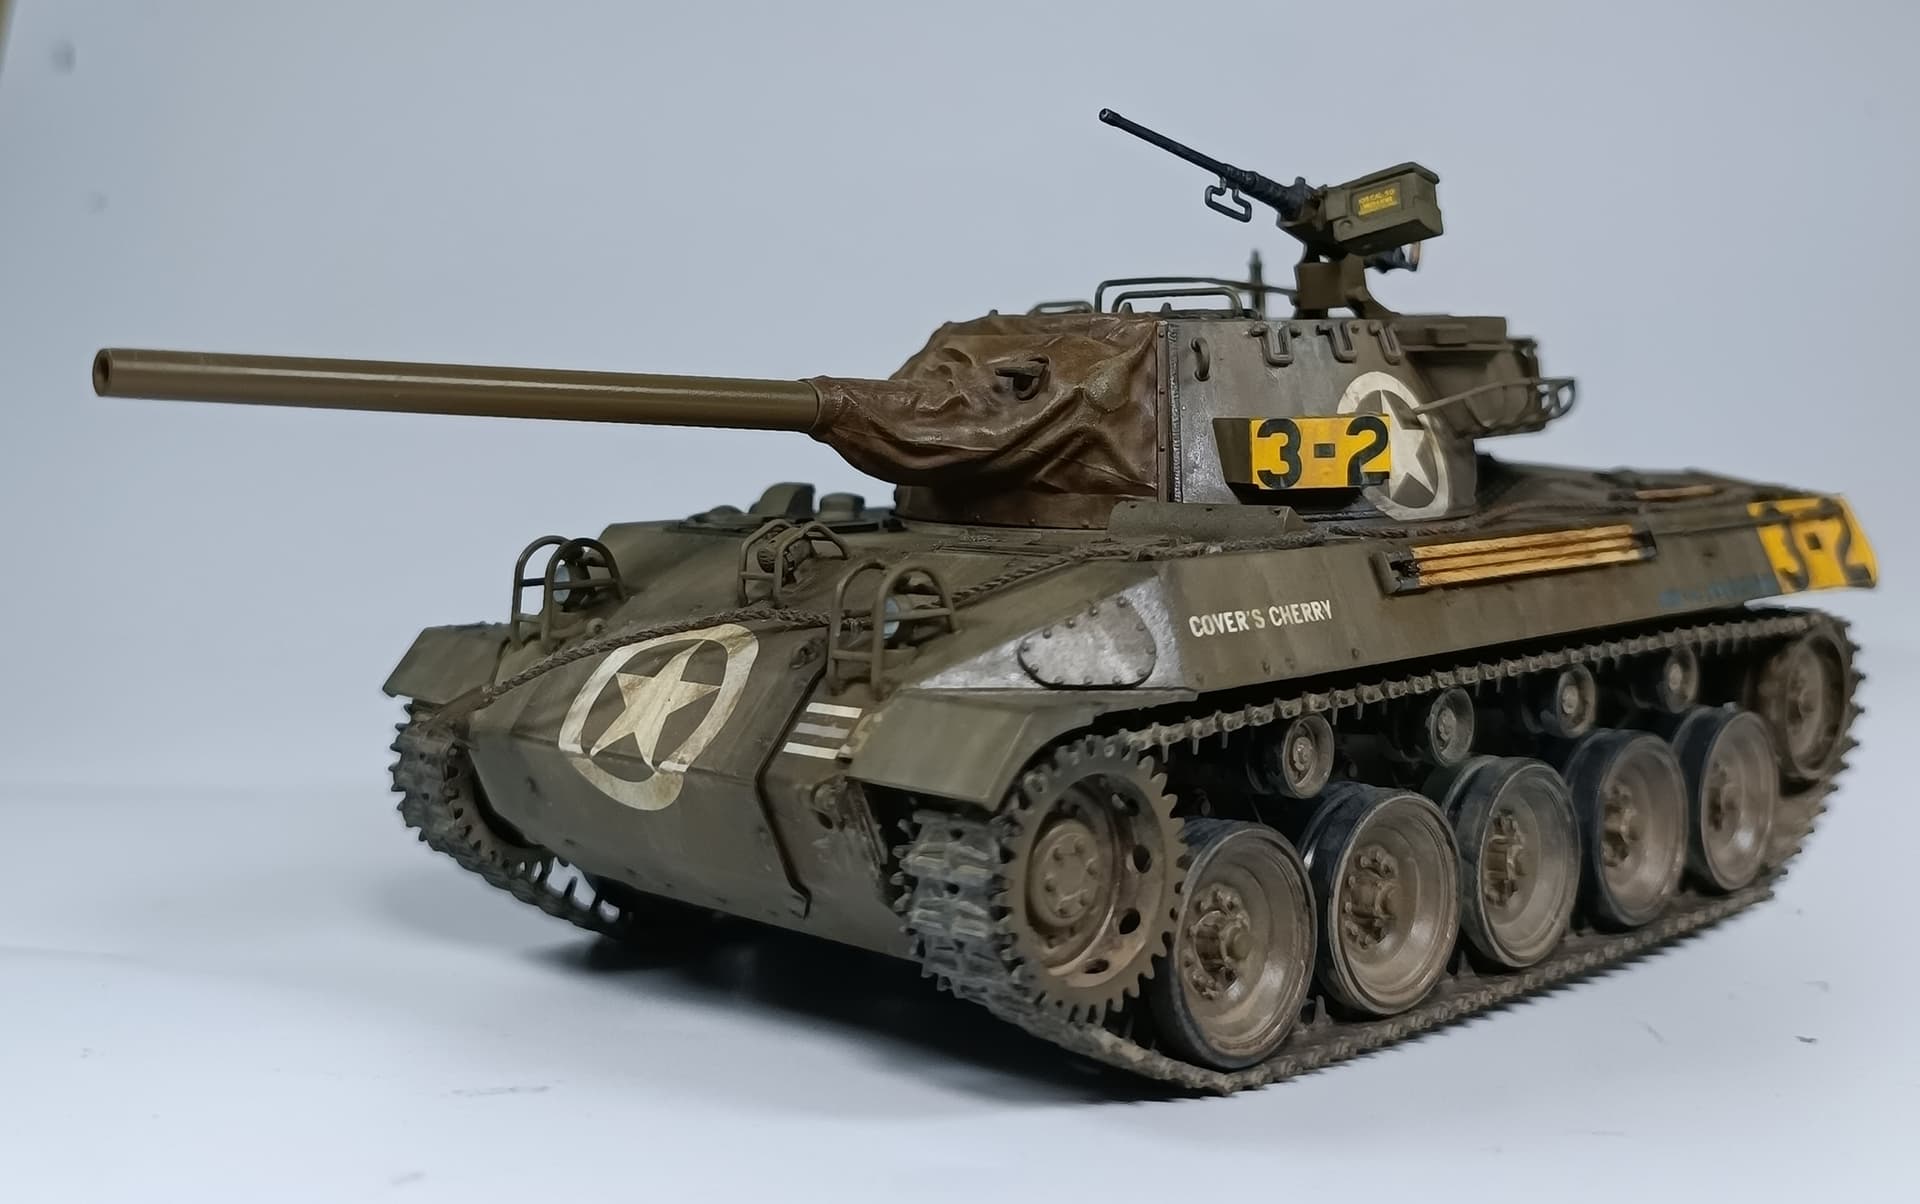
Thanks Johnny! I used Armored Komodo Lacquer paints - it’s mostly only available locally though (Philippines)
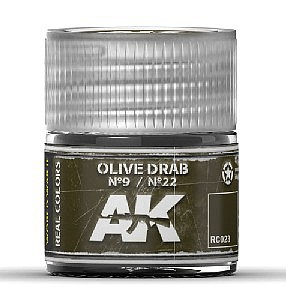
However, the maker of the paint adheres much to the shades used by the AK line of paints - this one is close to their US Olive Drab N22 which replicates fresh OD as used in WW2 - I really like this color (both the Arkom and the AK one).
Thanks again and I hope you have a fantastic year ahead!
Thanks @Armorsmith I’m either going to leave her as is, or add a few more layers of weathering + some stowage especially on the broken handle bar to hide the damage. Will see depending on how motivated I am in the next few days hehe


 I’m either going to leave her as is, or add a few more layers of weathering + some stowage especially on the broken handle bar to hide the damage. Will see depending on how motivated I am in the next few days hehe