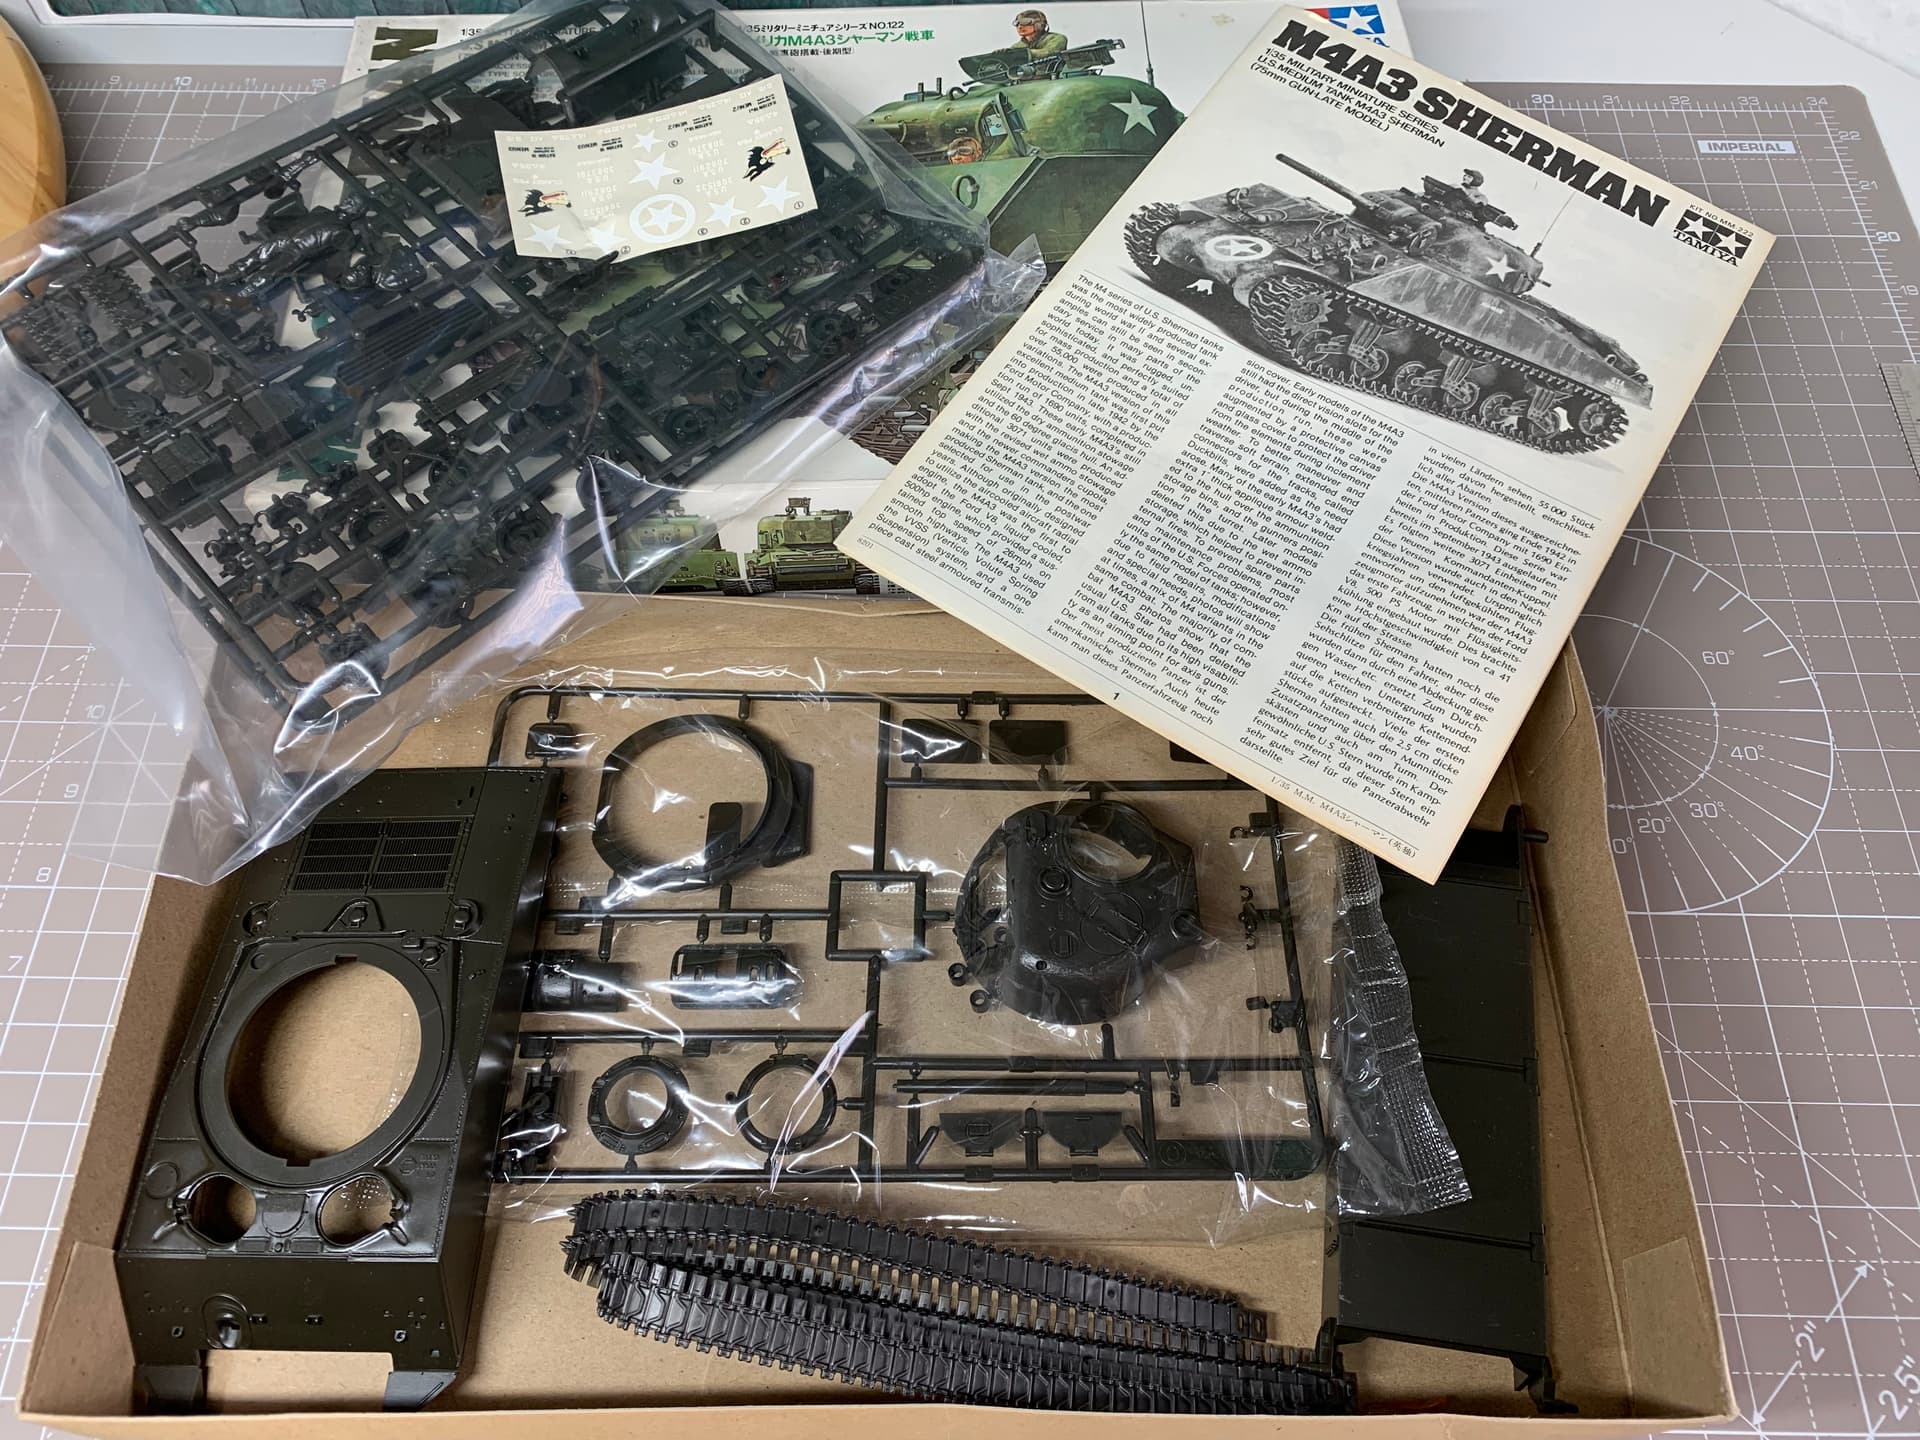
This was the first kit I built on coming back to the hobby as an adult over 20 years ago. Spotted this one on the bay and paid 15 quid for it. Trying to get my mojo back so this will hopefully be like a reboot for the modelling part of the old noggin’
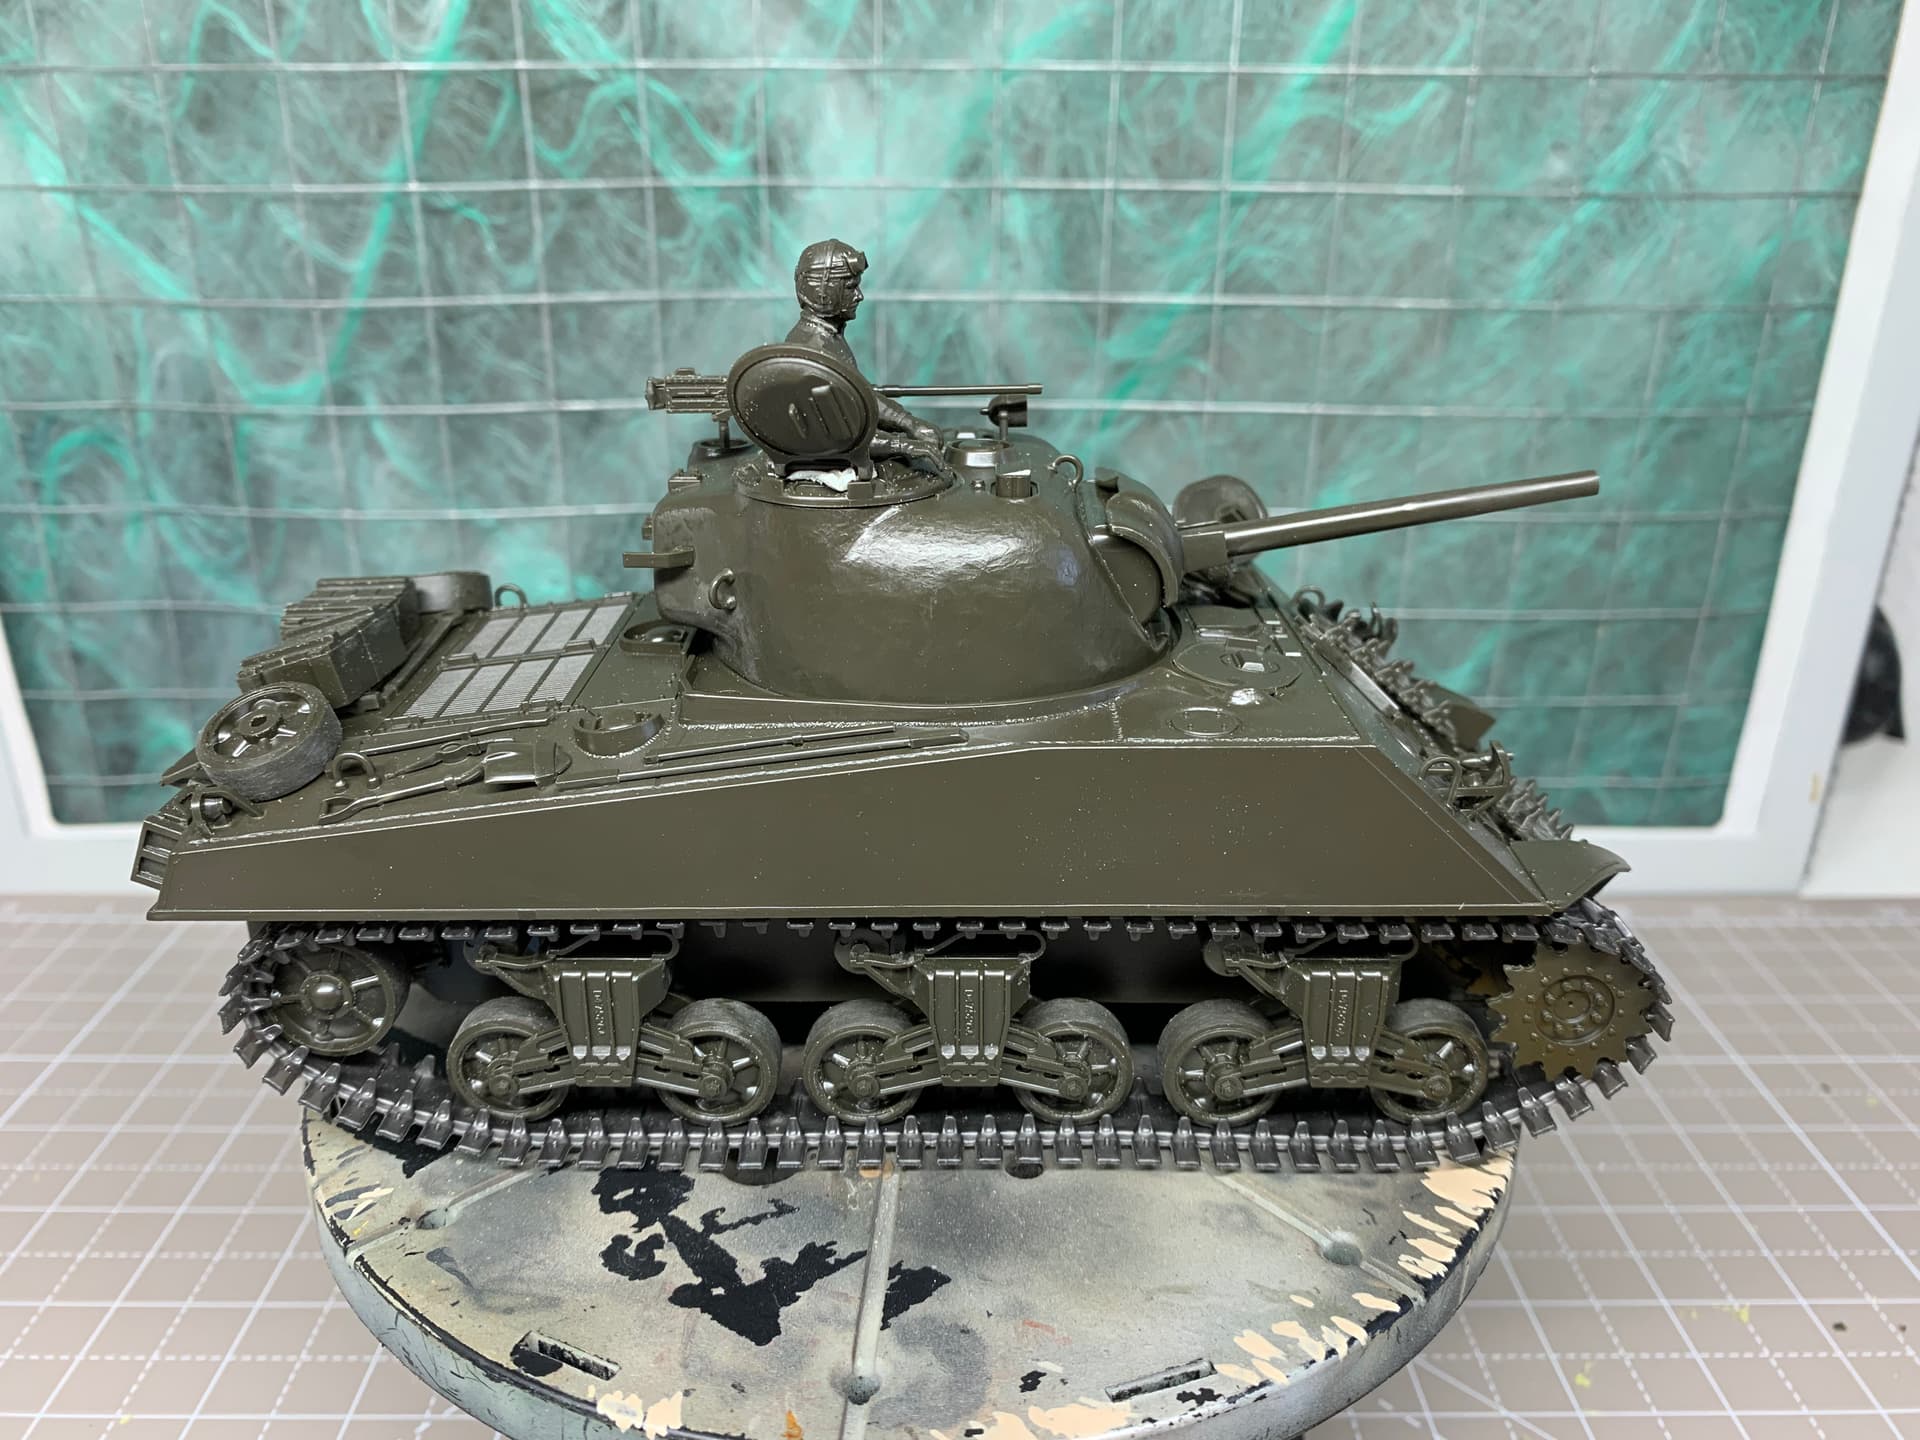
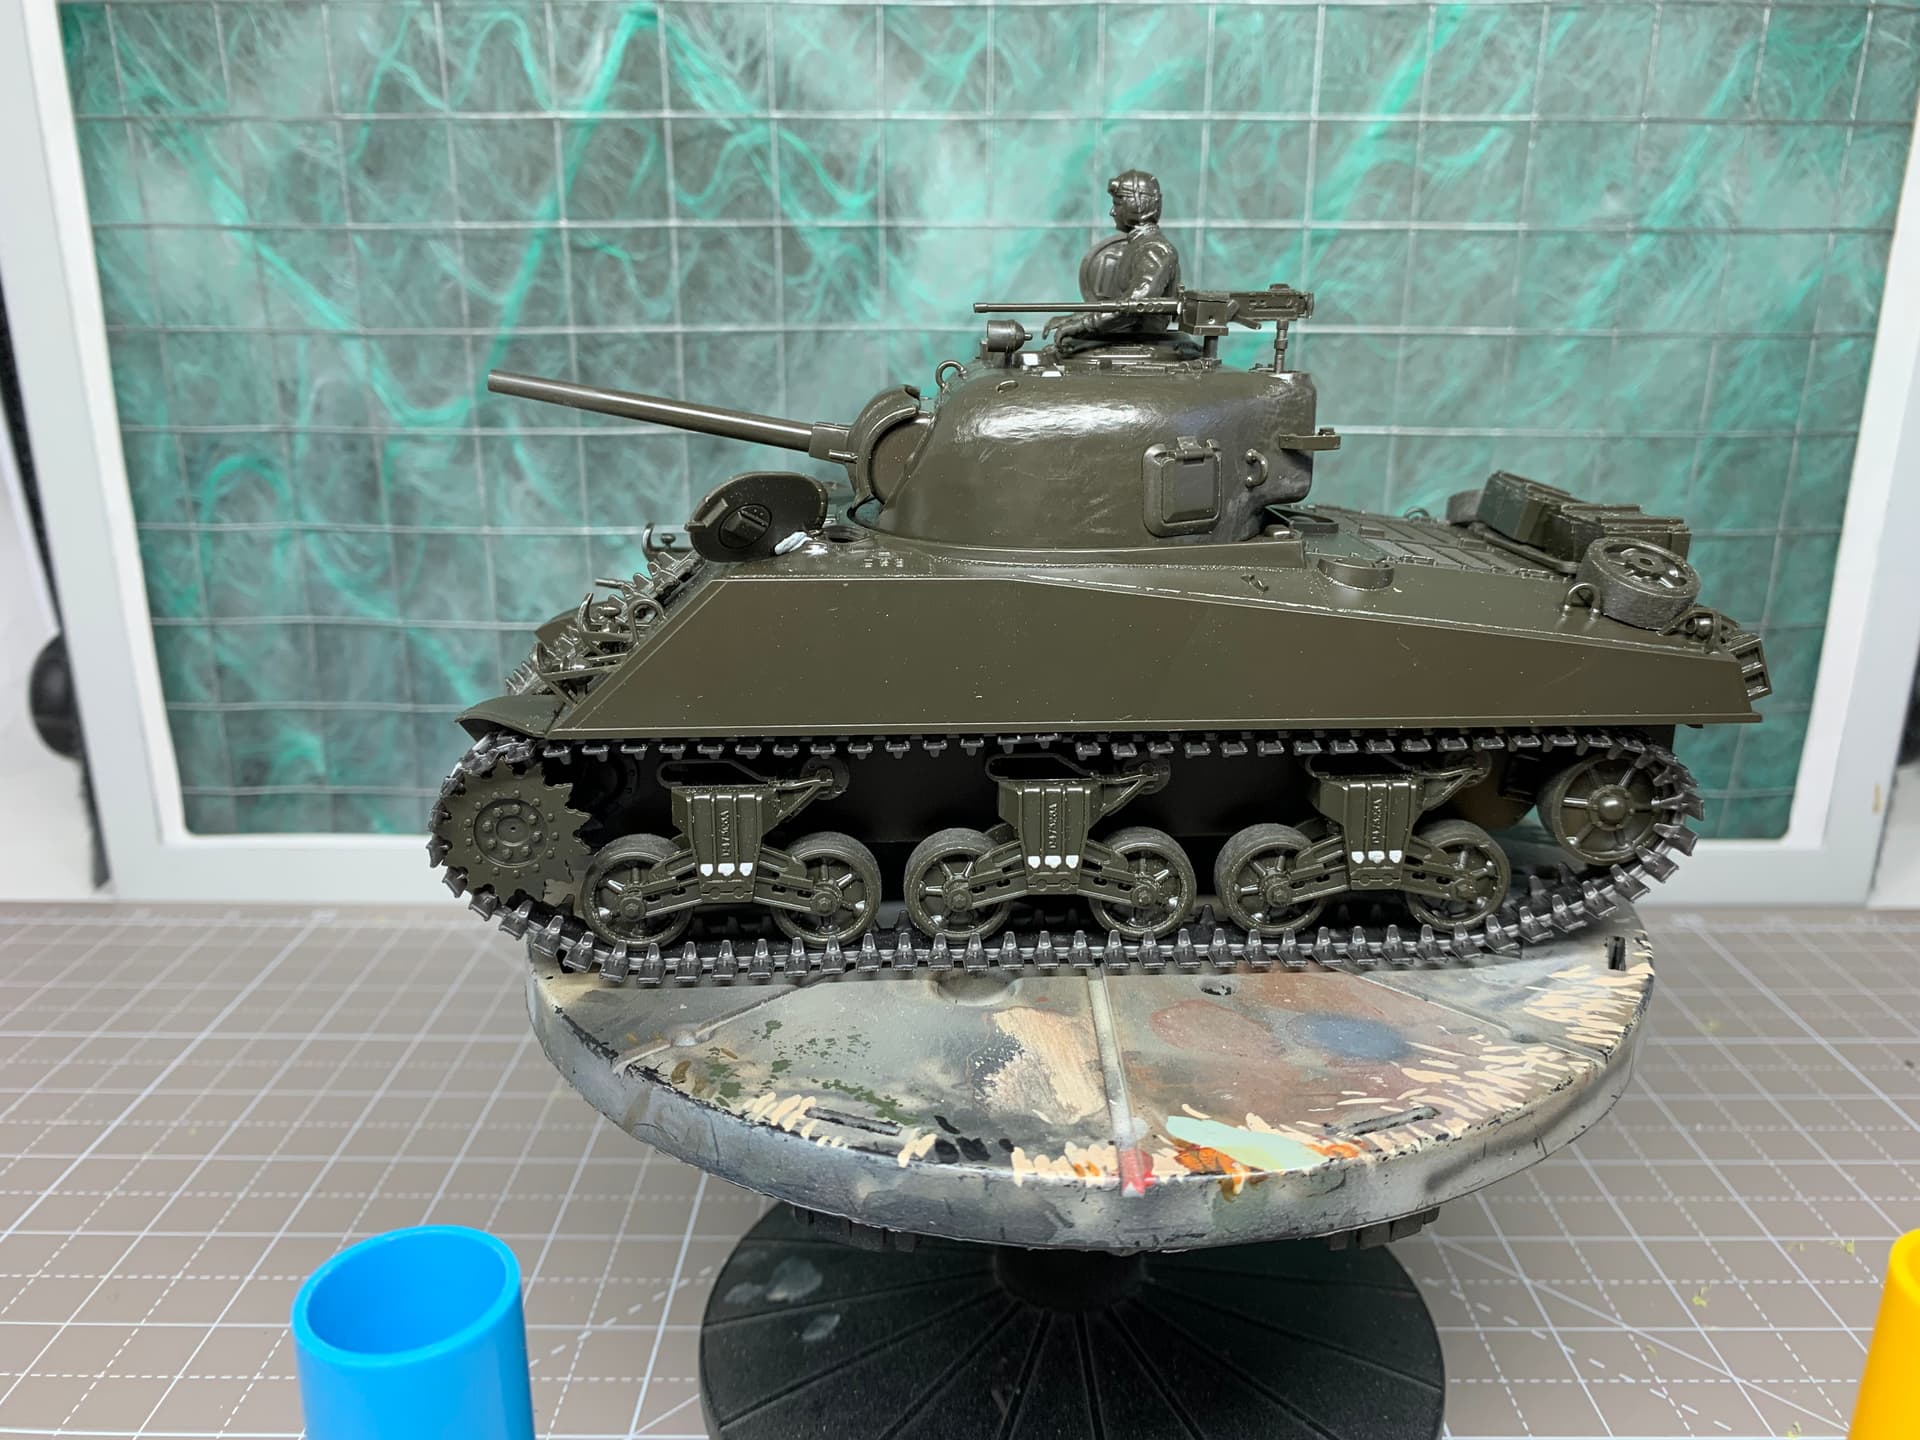
Built up the kit, no messing around, just removed all the seam lines and sink marks I could be bothered to and glued it together. The build part is not my best attribute but learn more with every part messed up!
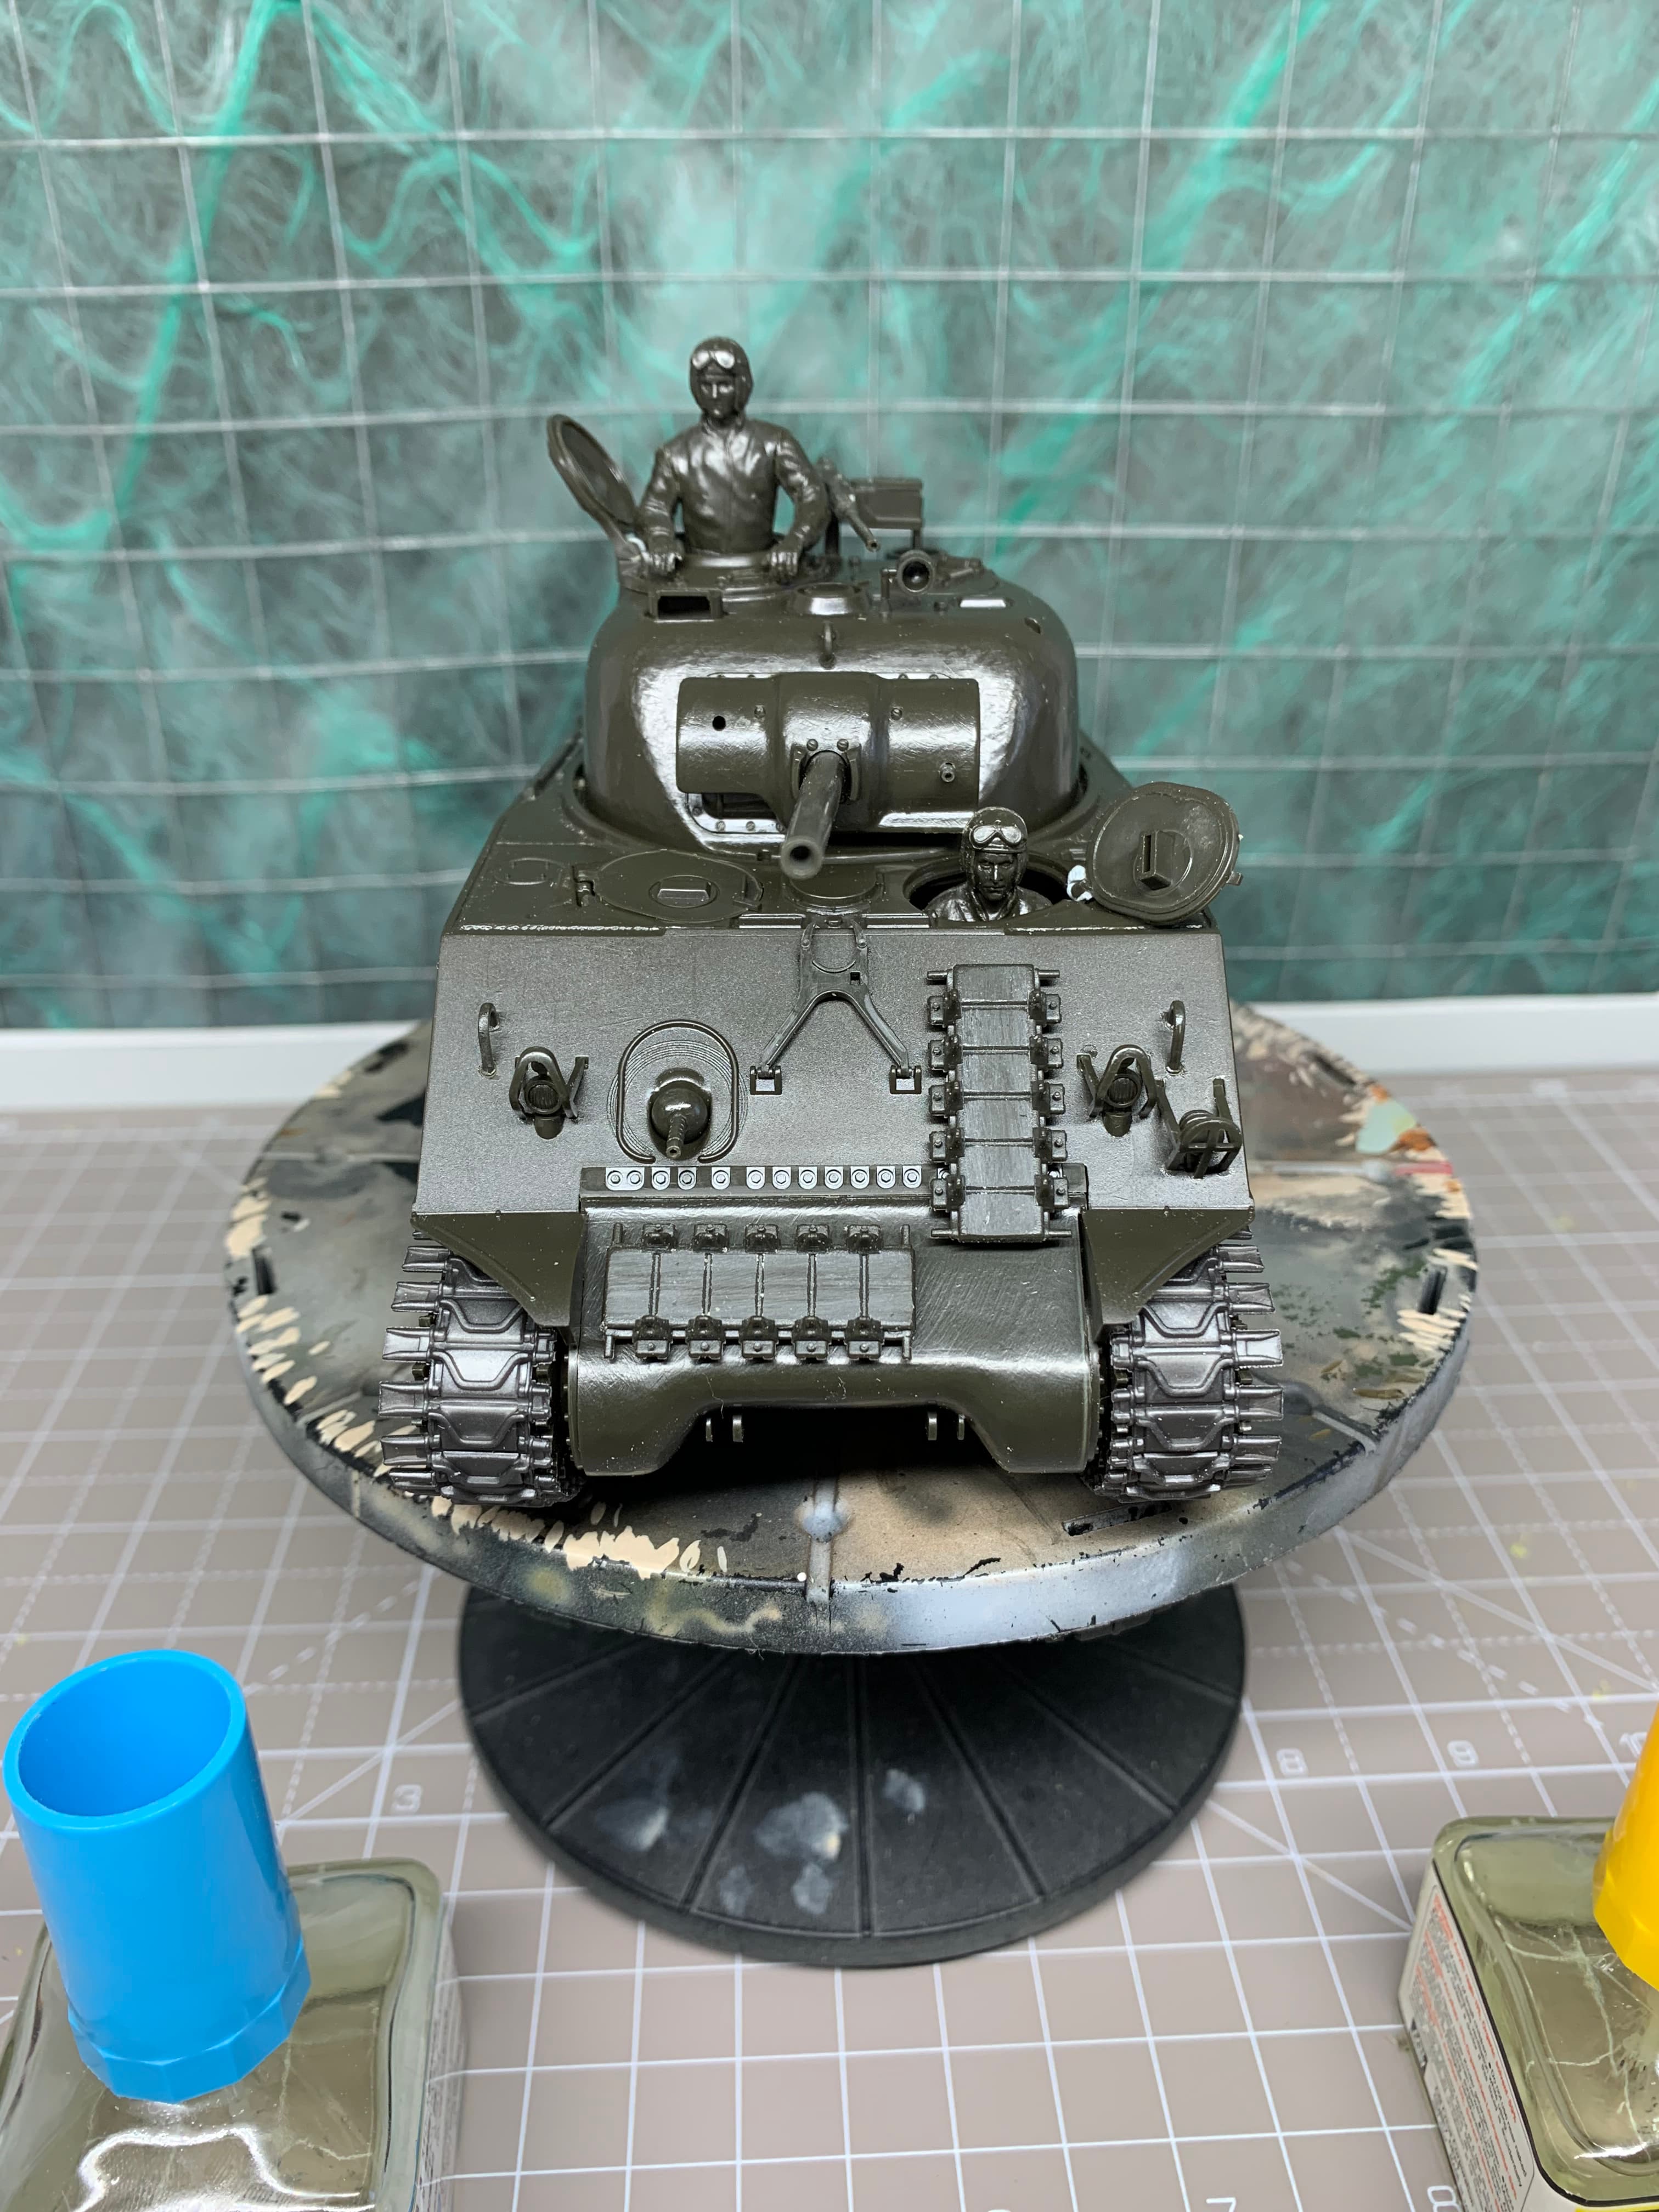
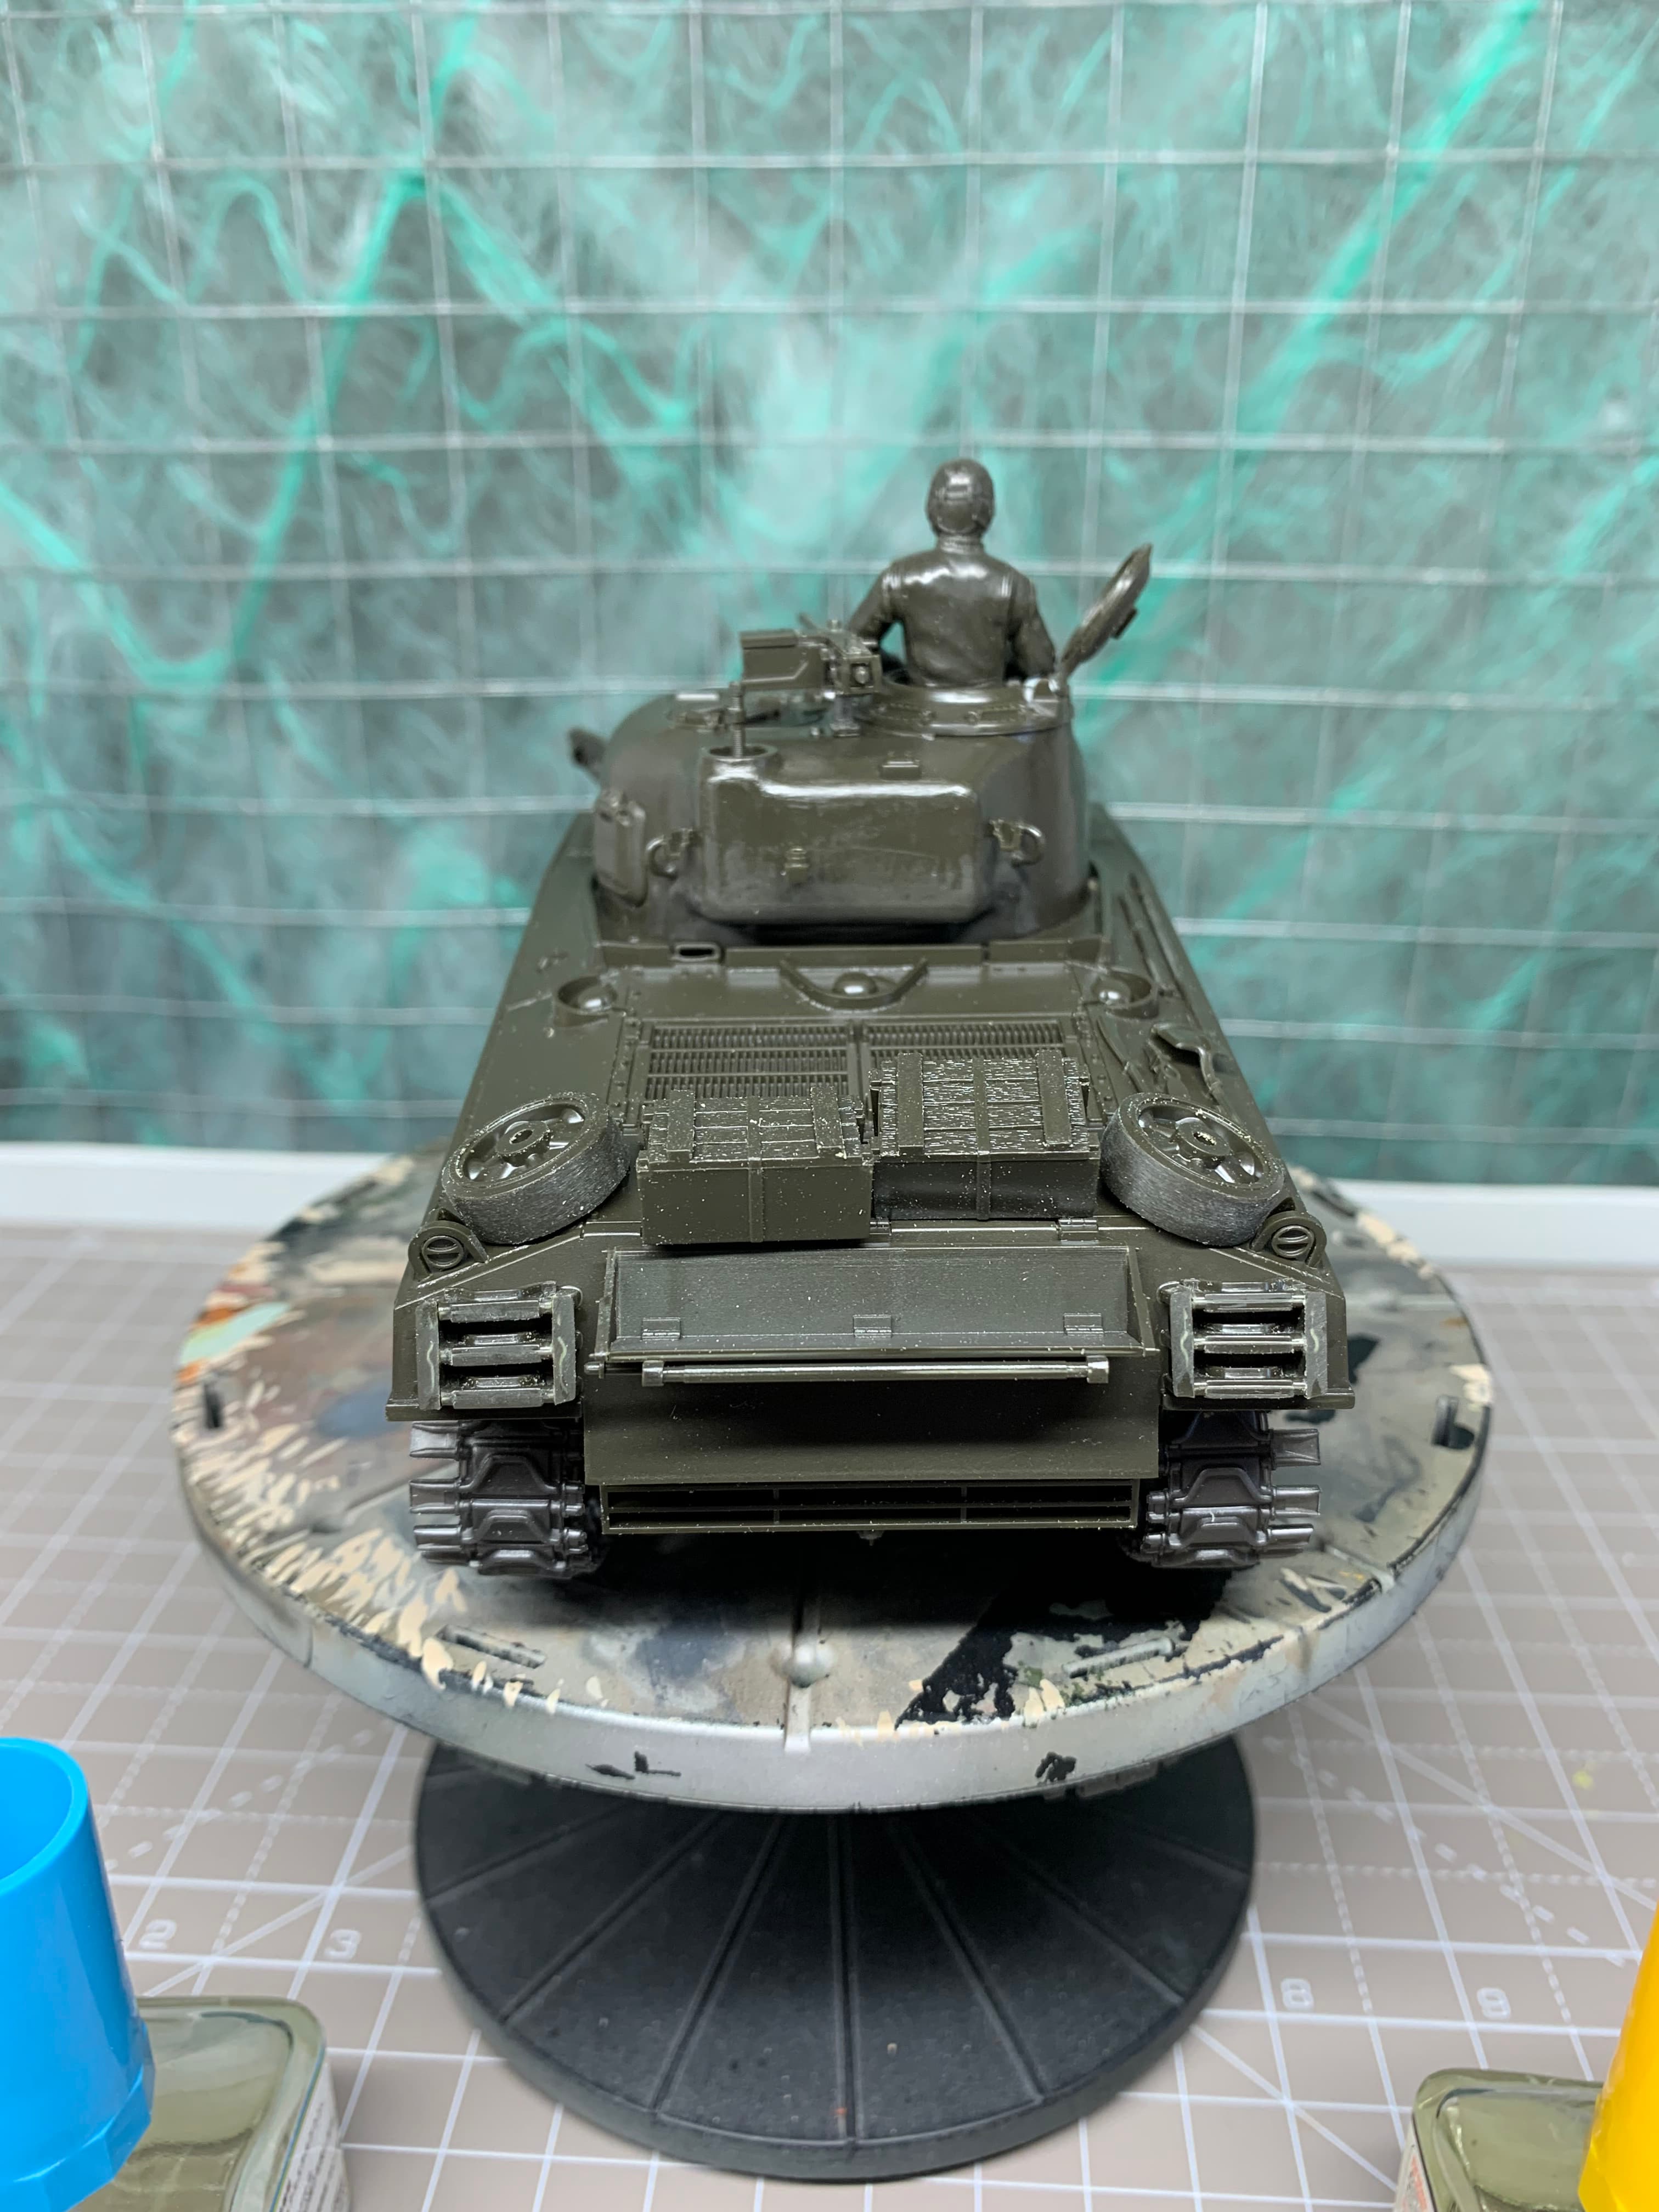
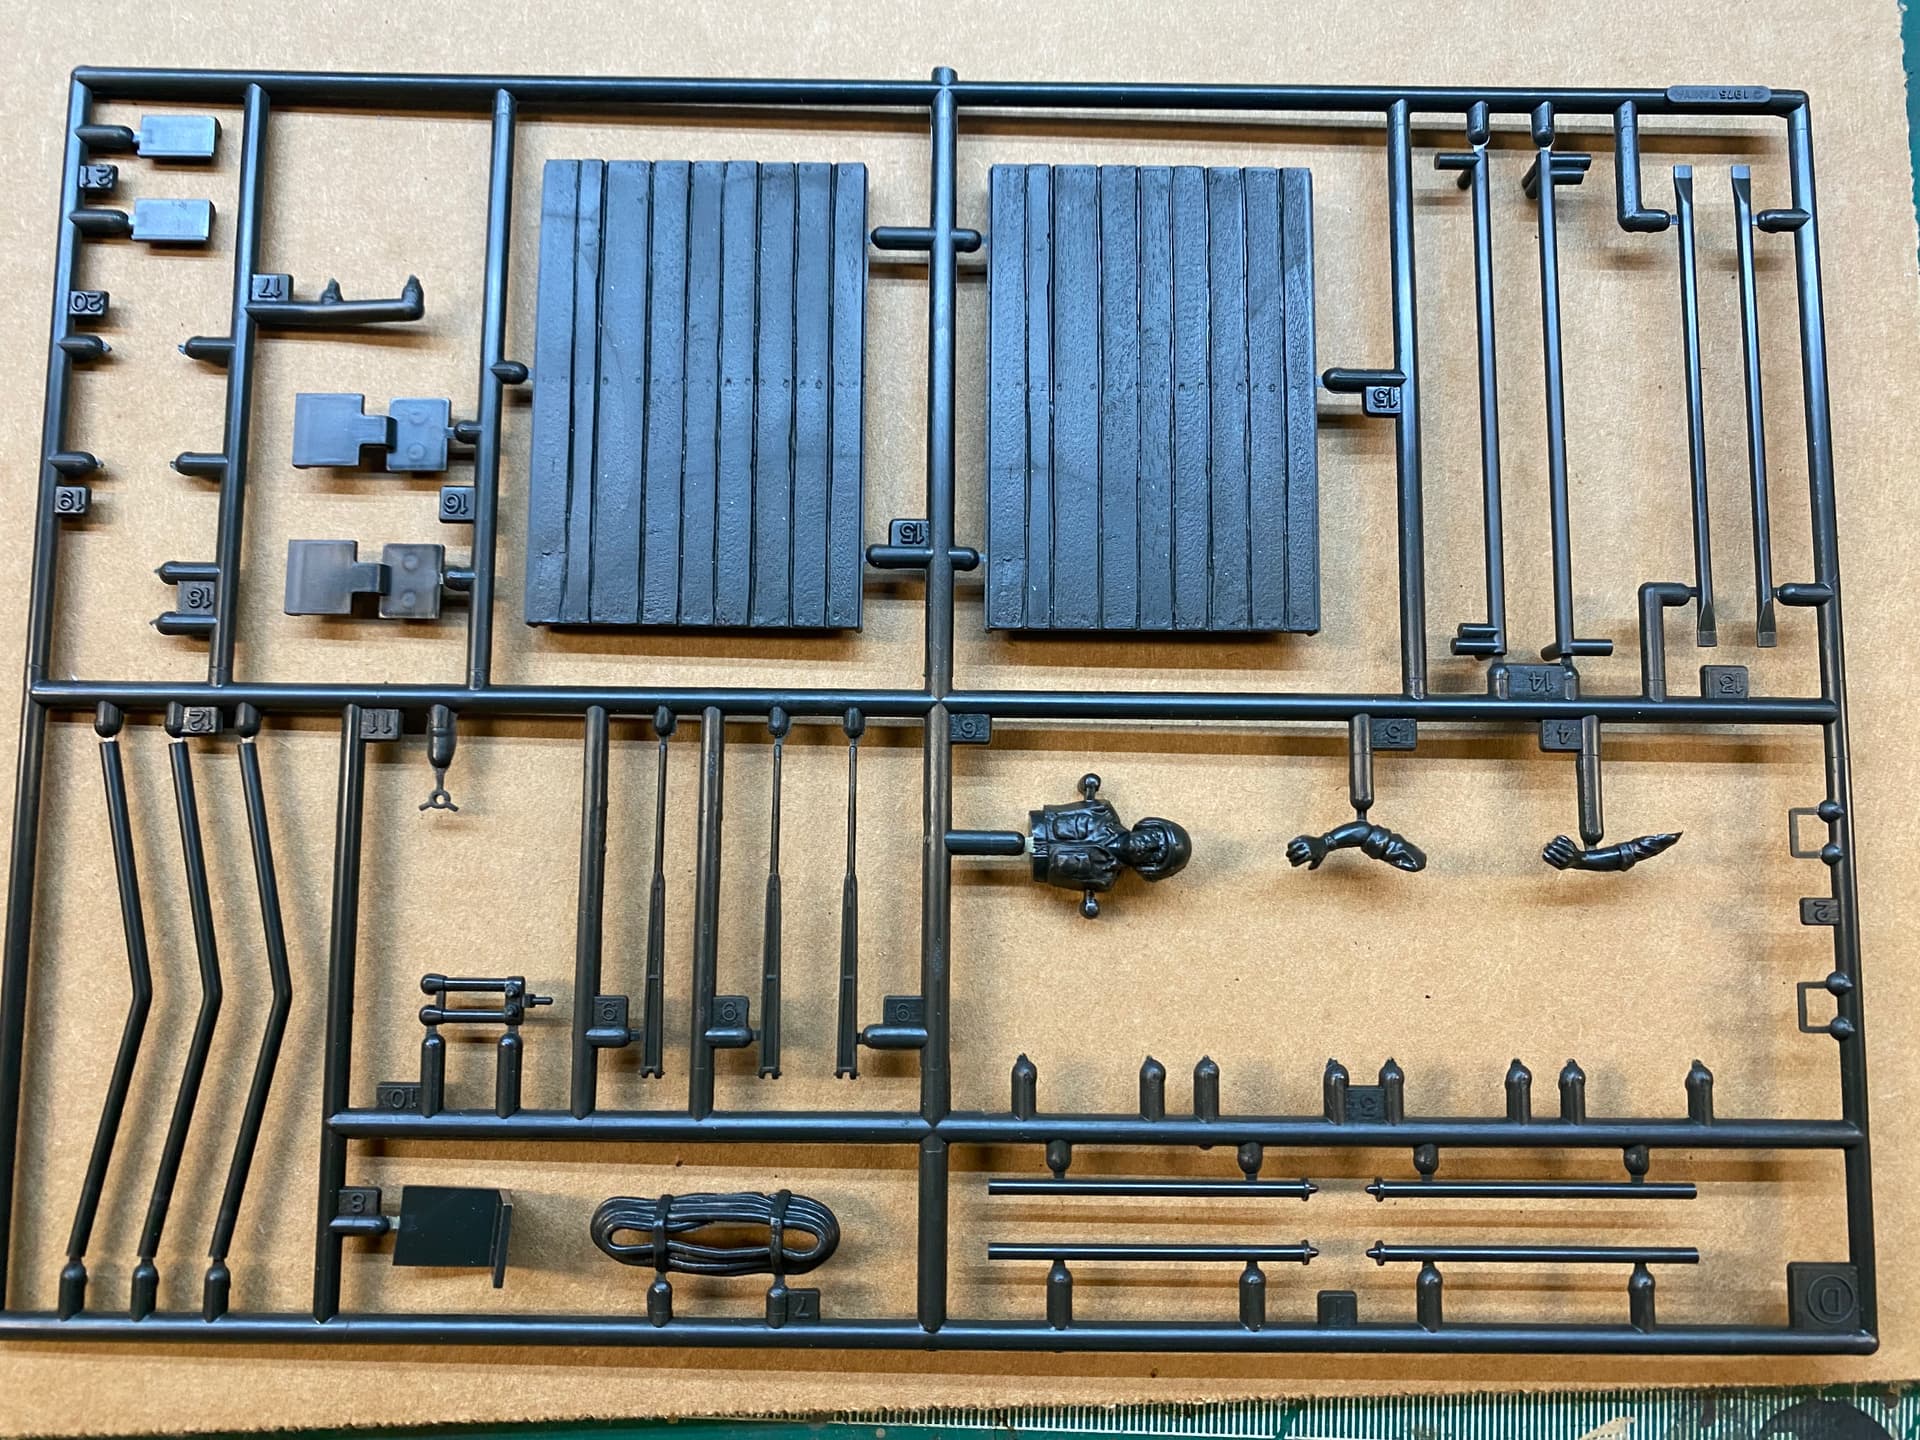
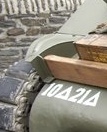
Have put figures together but may just close the tank up, as they are pretty bad, also you can see the missing sponsons through the drivers hatch.
Crates, spare road wheels and track links came with the kit. Bits are just blutac’d on at the moment.
Shiny plastic is going to get a wash and then on with the paint…
I do like that old Sherman … I have a done a few in the past. It is just a fun quick build. yours has gone together nicely … simple OD finish and some weathering ?
Thanks John. Yeah a simple paint job, but might try out some new to me techniques.
The kit certainly shows its age, but ends up a nicely Sherman shaped lump in the end! The upper and lower turret parts have a horrible join, experimented filling with stretched sprue from the kit and a bit of glue and sculpting, so a new experience for me already!
Ive never tried that stretched sprue trick, but may try it on the F16C I am getting into. The paint finish on the Sherm is the only dull point really, for realism, and in date settings, you are pretty much tied to OD … lighter OD , … slightly darker OD … or OD and toned down black …
There is that one that had a crazy paint job half sunk on pacific beach I think, that would be laugh trying to do that one
Nothing like a Tamiya kit to get back into building again… Really nice looking Sherman, and sure like the look of that old model of yours… lovely dirty thing…
I like the kit and your build. It’s Tamiya kits like this Sherman I recommend for people wanting to get into scratch building as it’s a nice canvas for learning and doesn’t break the bank doing so.
For the sponsons, my buddy Norm made this template for the kit.
Yeah John @Johnnych01, OD it shall be, but will play with tonal variations, and practice my weathering, which might prompt me to finally finish the Leopard 2A7+!
Thanks Bert @bwilt, I was pretty happy with the old one way back when, but looking forward to see what I can do with the same “canvas”.
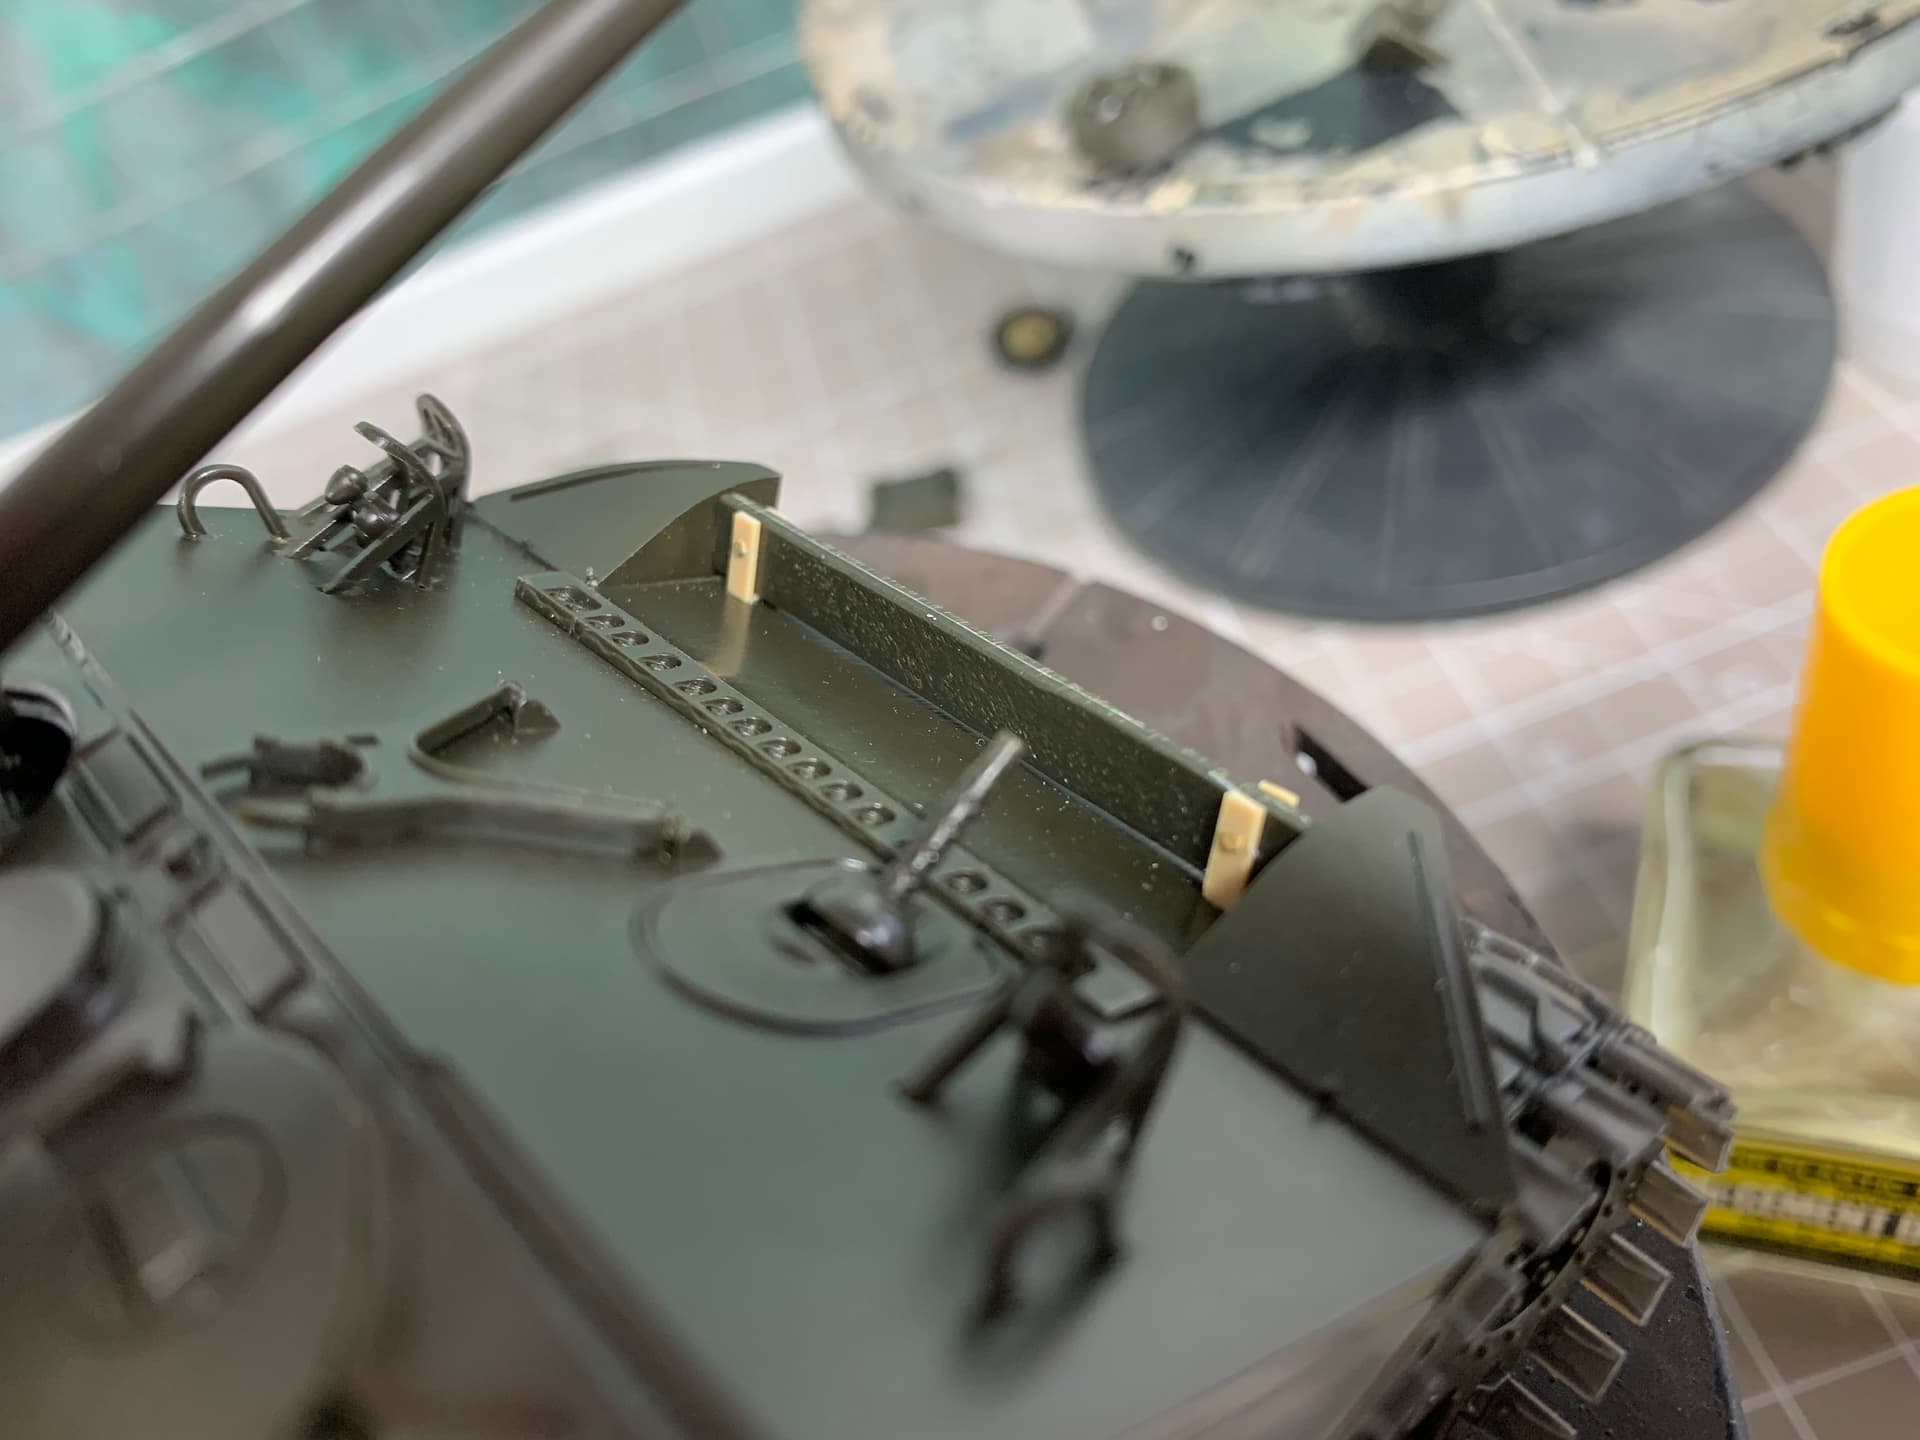
Thanks Ryan @Tank_1812 , and thanks for the link, a very useful tool for future builds. I did contemplate filling in the sponsons but have just made a blanking piece around the driver with a couple of spare Churchill front fenders.
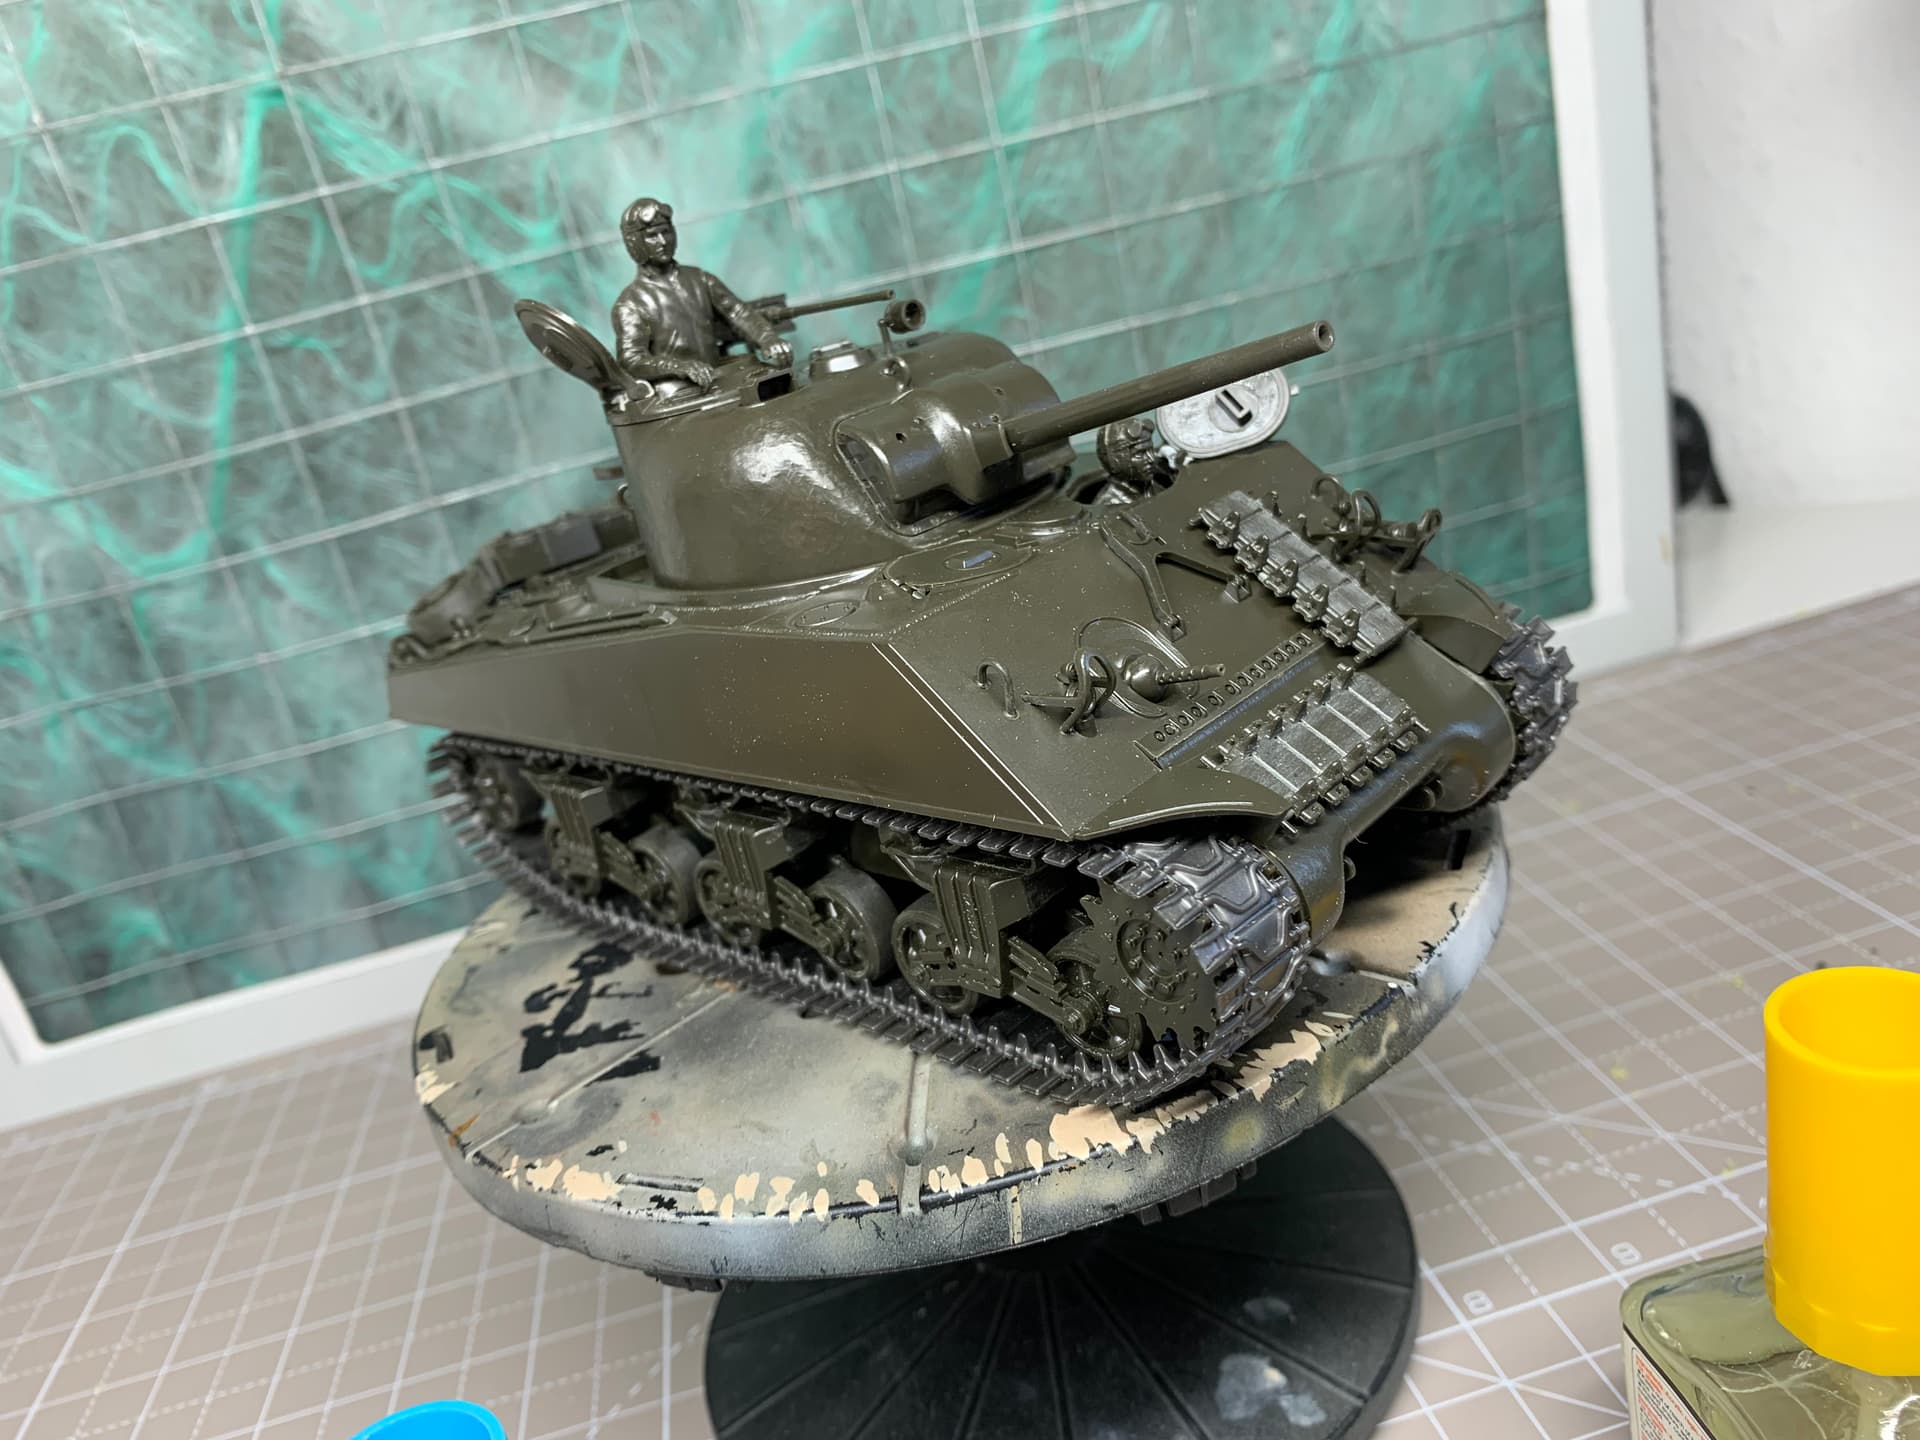
Have filled the gaps in commander’s arm joins, still not 100 percent about these figures but used them before so should continue with them for the full retro experience!
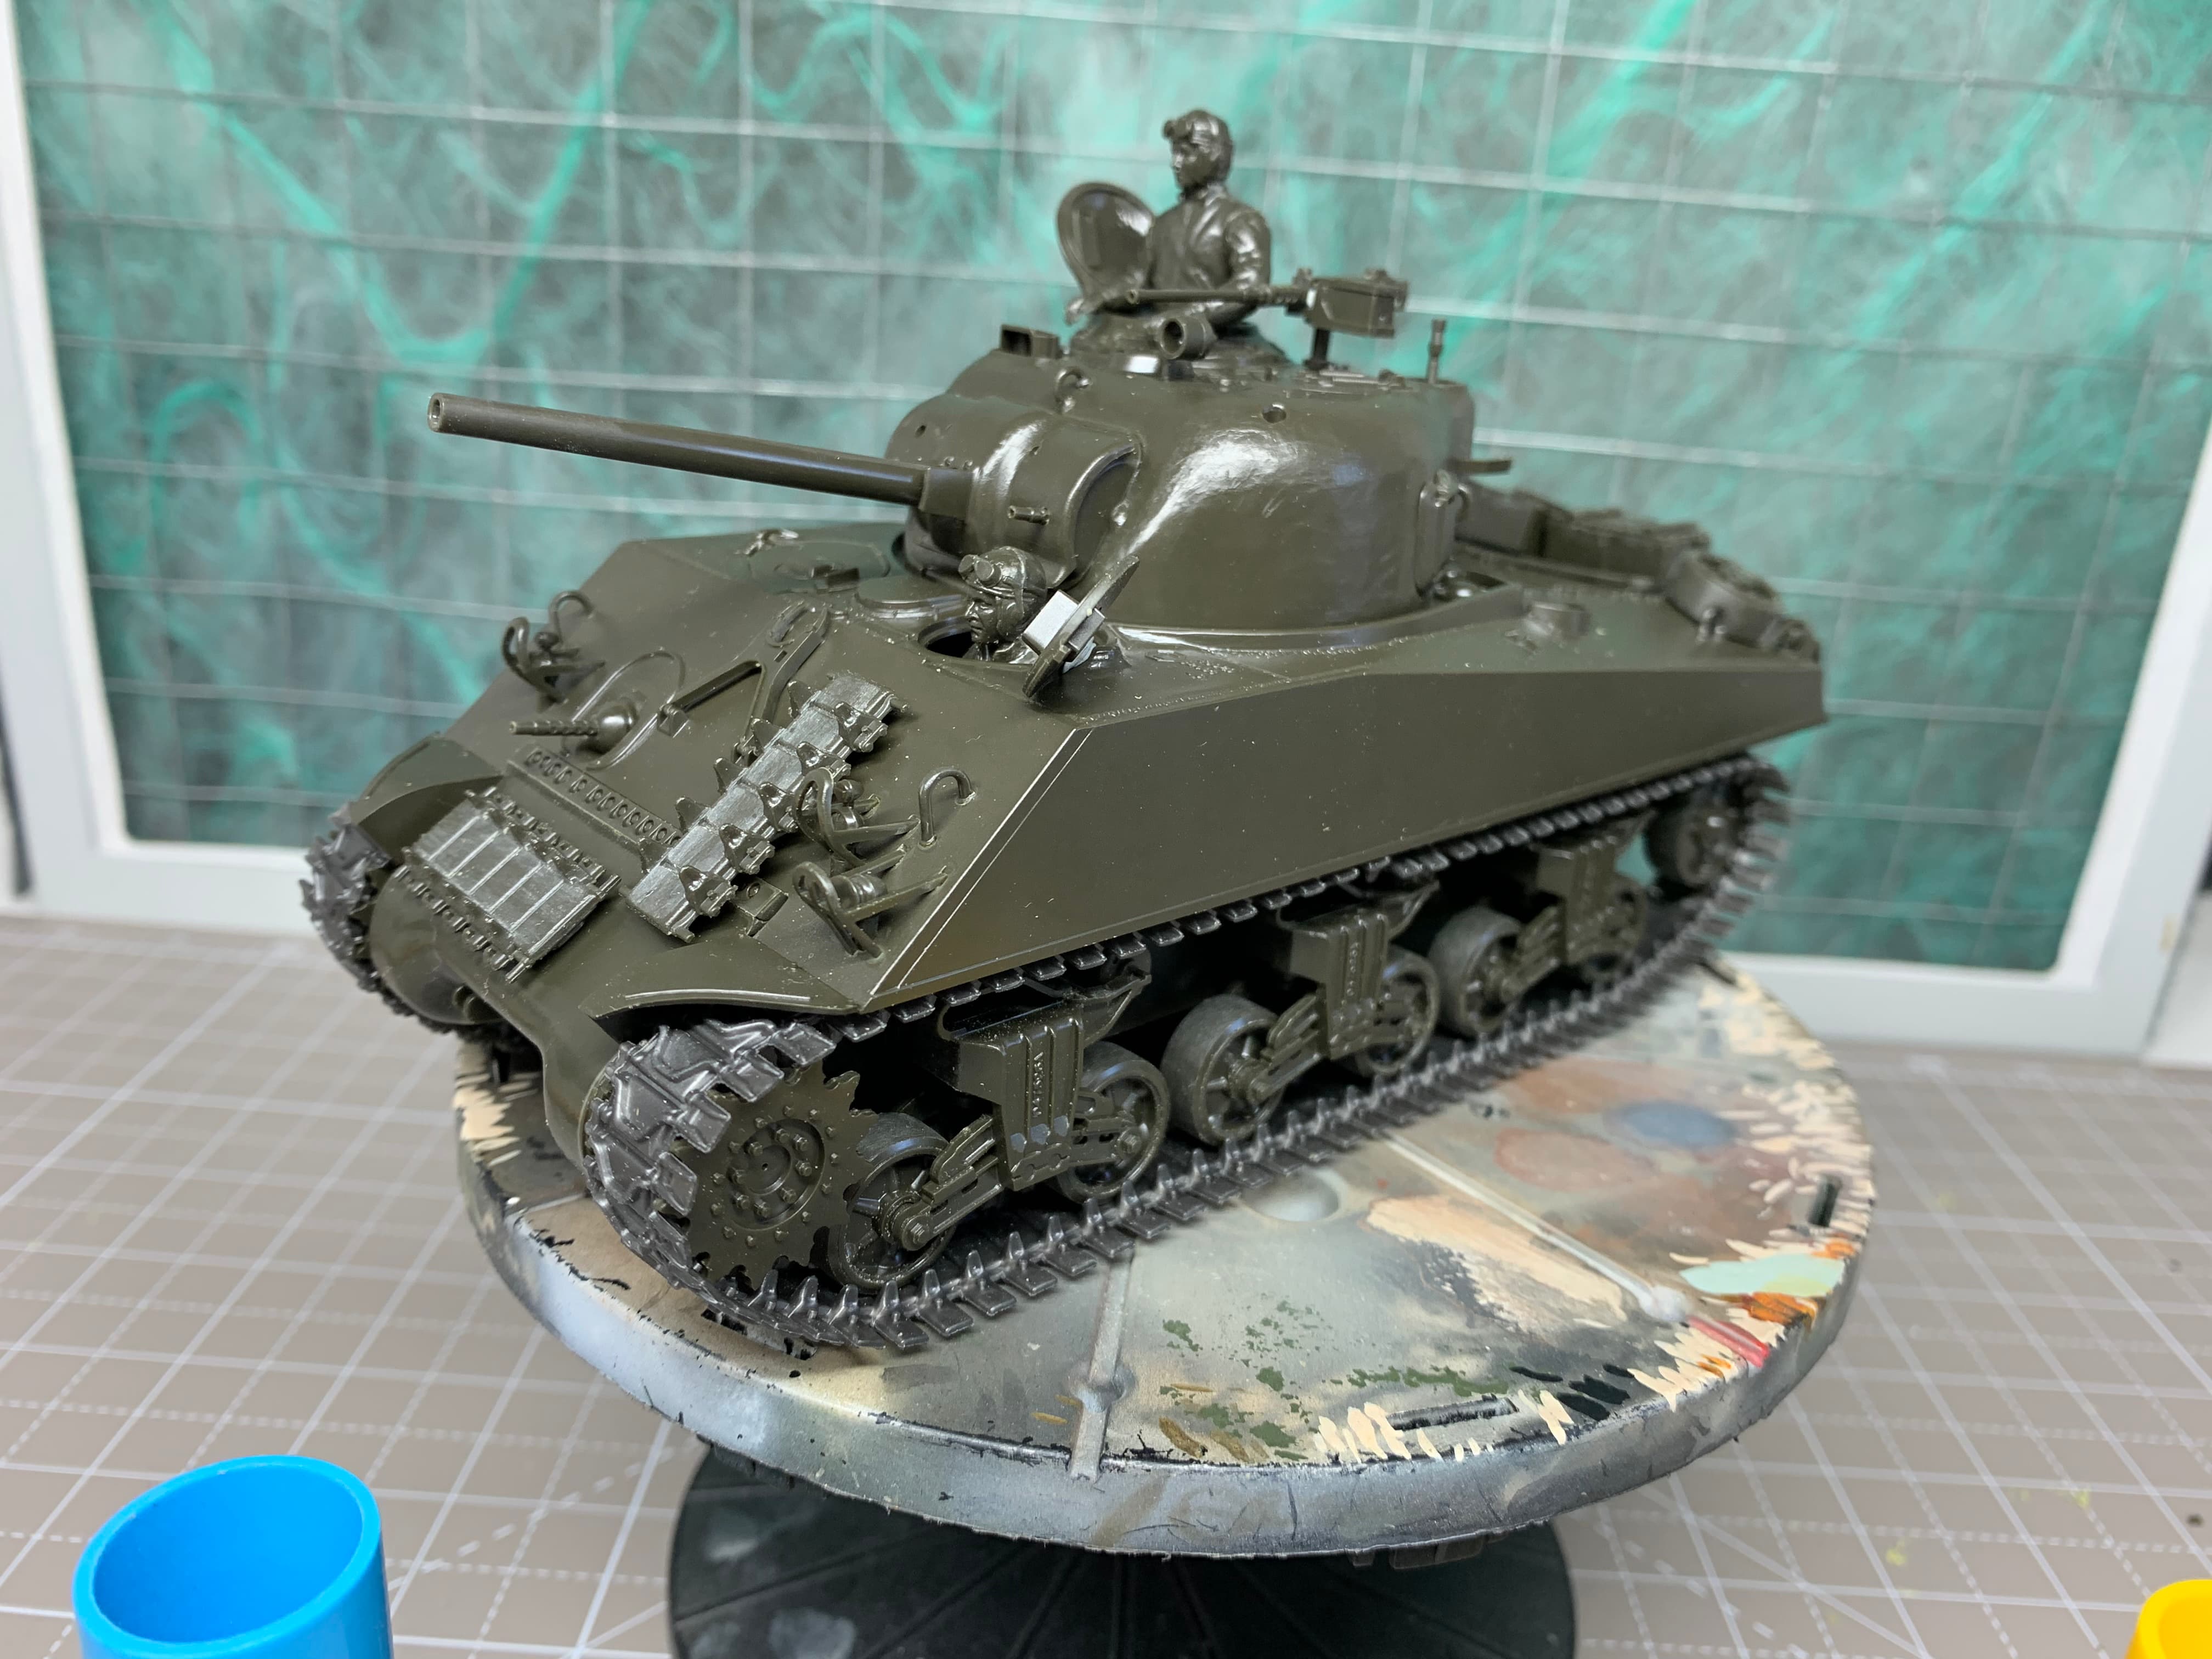
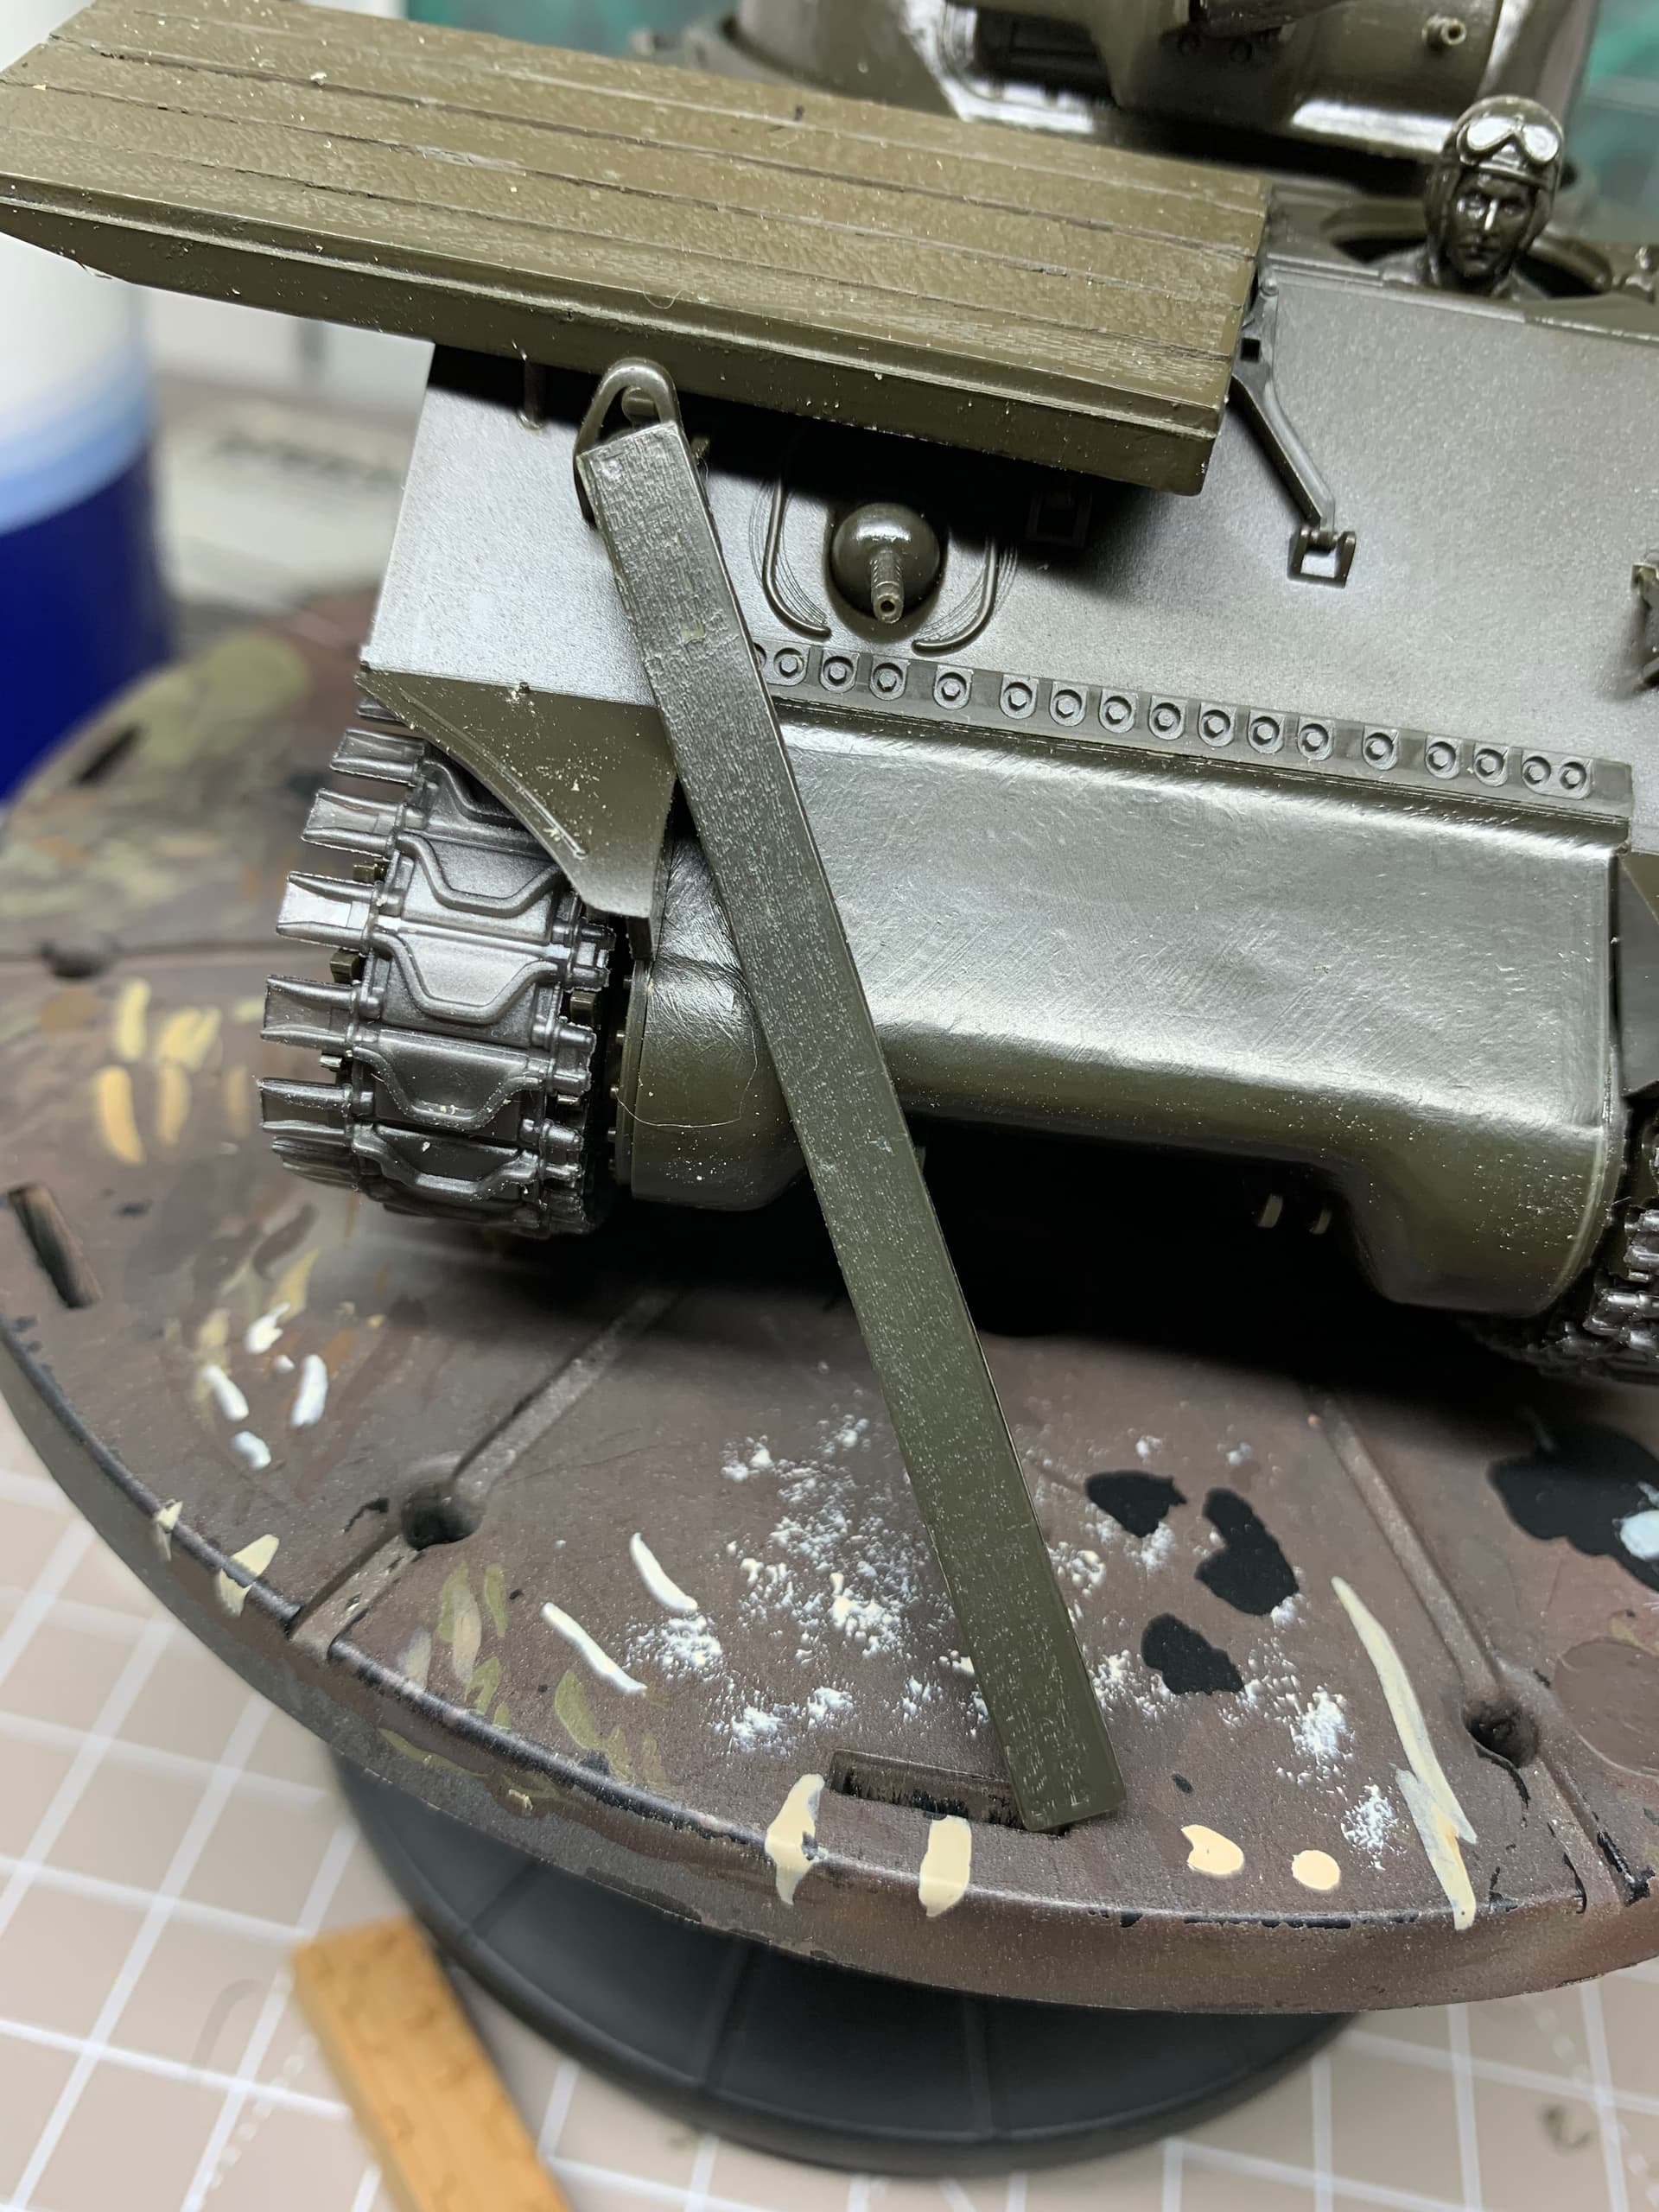
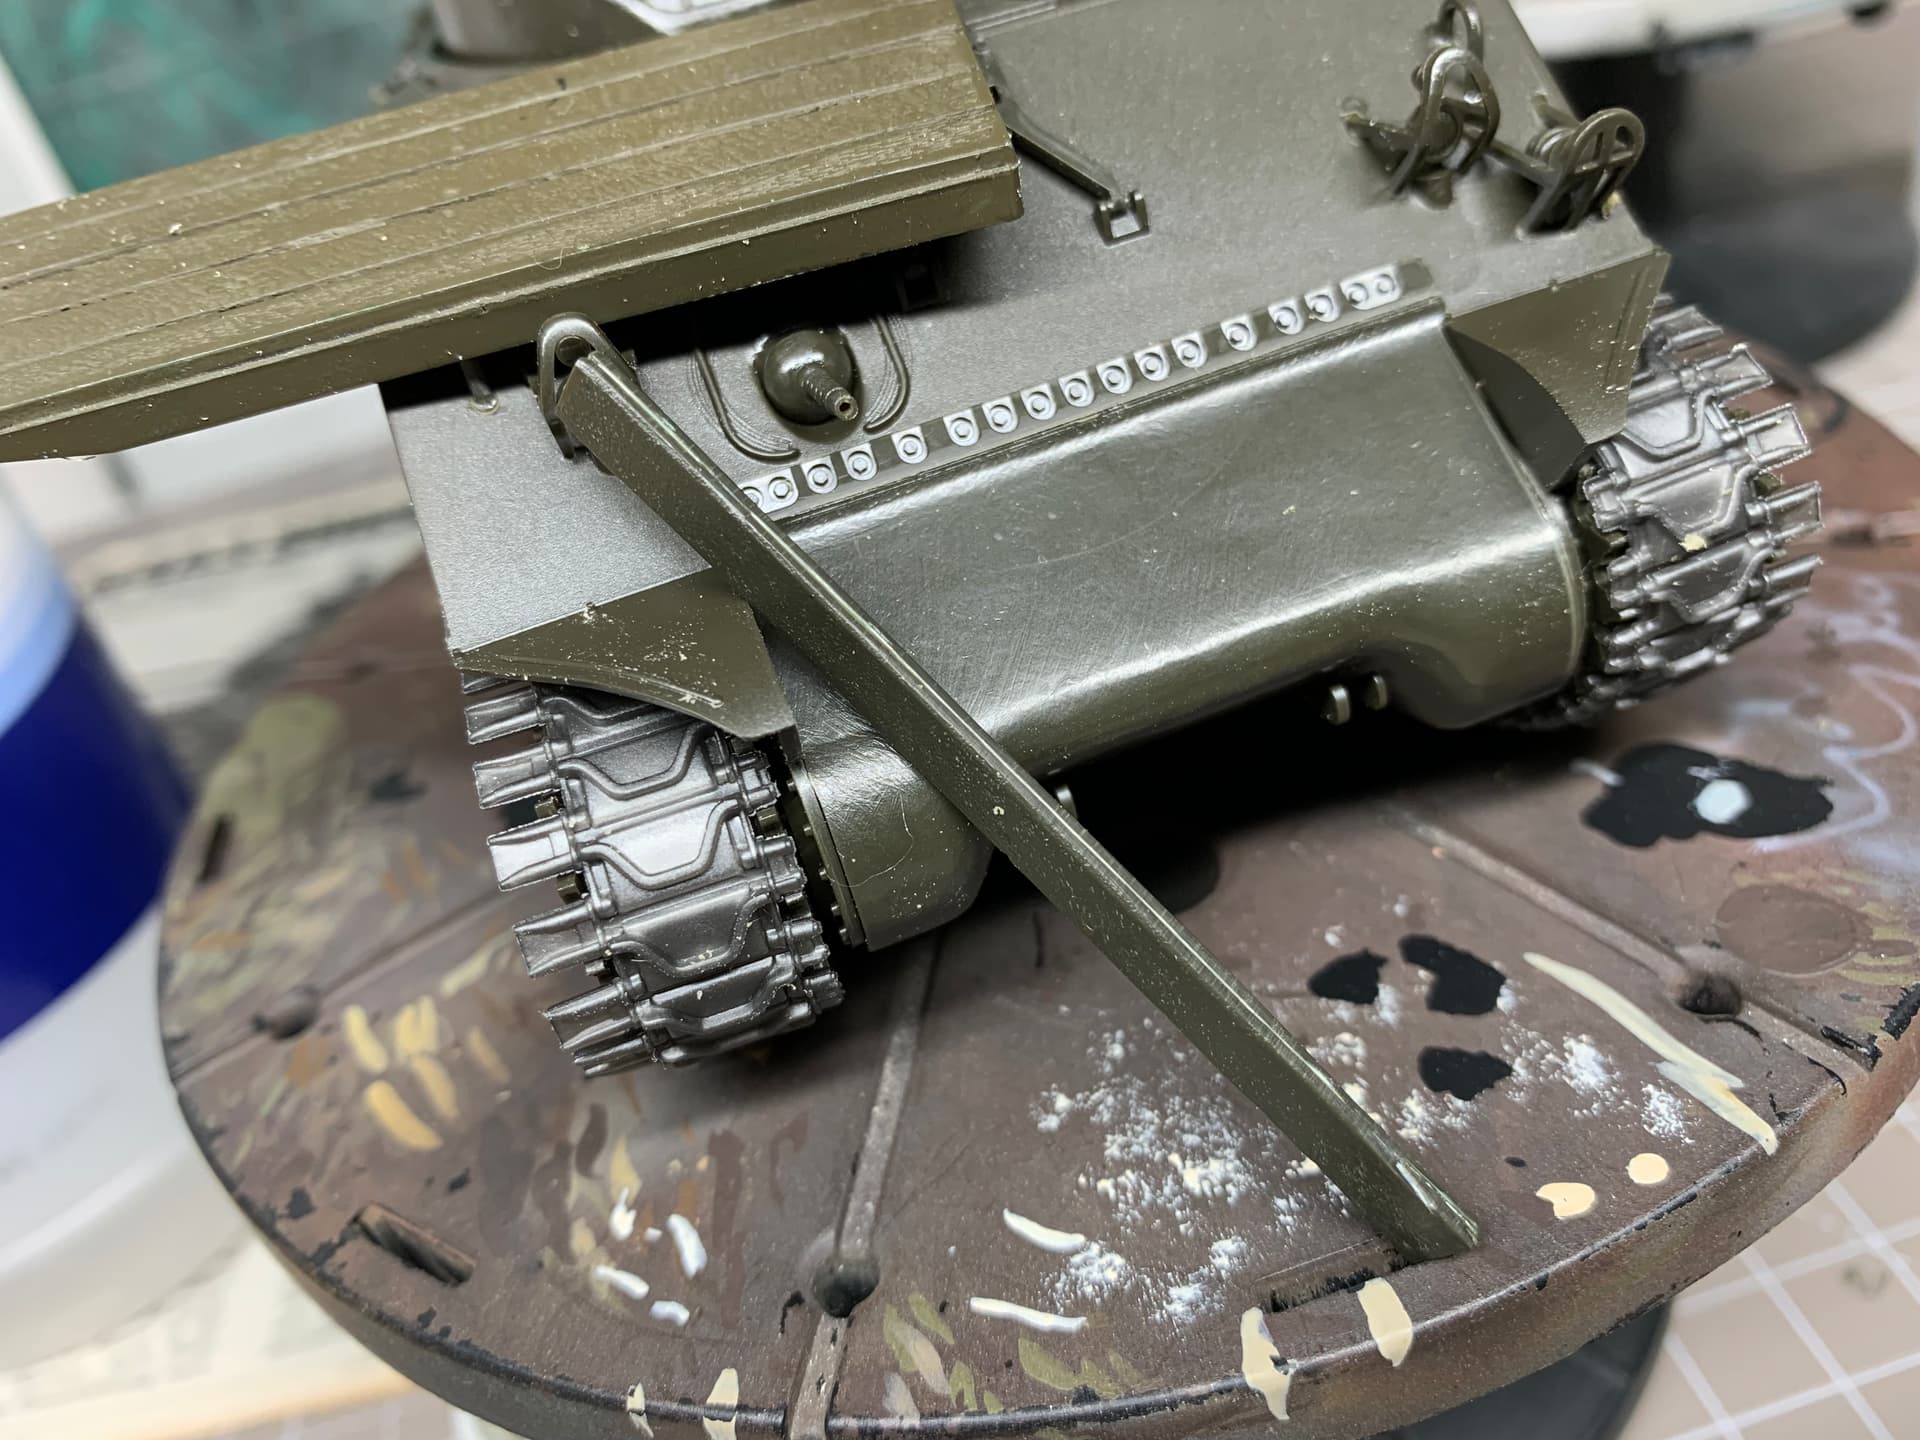
Ok, so after saying OOB for this, I’ve just spent a ridiculous amount of time making up a plank for the storage on the front of the tank after being inspired by @mclee ’s M4A3 build.
Kudos if you can guess where the donor part, remains of which are in shot, came from. Cut two lengths from the panel, thinned, glued together, filled gap, attempted to add saw marks on edge. Still to cut to length and make up brackets.
U brackets made from bits from spares box, one day I’ll learn to do weld beads, need better magnifier for that, weathering will hide my sins! Timber piece is removable for ease of painting and loading options.
Need to source a set of ww2 equipment to load up the thing appropriately.
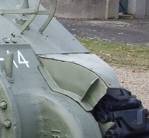
Jim, I think your mod with brackets looks cool but the sherman didn’t need additional brackets, the front brackets that held the two front dust guards is is what held those boards in place on the real ones…I’ll see if I can find a picture to show you, these old Tamiya shermans lack the proper brackets but you can easily create your own using styrene strip…
On the top photo you see the bracket has a verticle section for stability on the second phot you see how they just jammed a board between the two fenders brackets…
Excellent info @Shermaniac, thanks for the pics too. I will certainly be doing that with my next Sherman build, and with the 1/16th I’m hoping arrives before Christmas.
Shall leave this one as is so I can get on with a bit of painting and weathering practice before committing to a more detailed build of one of the more modern kits. It’s all washed up and waiting for it’s first coat of paint…
Yeah, don’t change it, those brackets you made with bolt heads look really cool and show the caliber of your scratch building skills…
Sherman kits in 1/35 scale didn’t include this detail until the Tasca kits started coming out in the mid 2000s…even the newer Tamiya shermans still don’t come with it, like the M1, M51, and the M4A3E8 all came out after Tasca started including them but Tamiya kept leaving them off…
I believe the new Meng and RFM shermans have them but don’t quote me on that I haven’t built one, I have no idea if the new Zevezda Shermans includes this detail…
Here’s a picture of a build I found online, this modeler built the brackets using strip styrene the way I do, you just lay down a strip from the end of the fender to where the fender meets the transmission cover, then you add a vertical support parallel to the edge of the front fender…
BTW, I’d be fairly surpised if your 1/16 scale kit didn’t already include this but on the off chance it doesn’t I hope this helps you