Evening all!
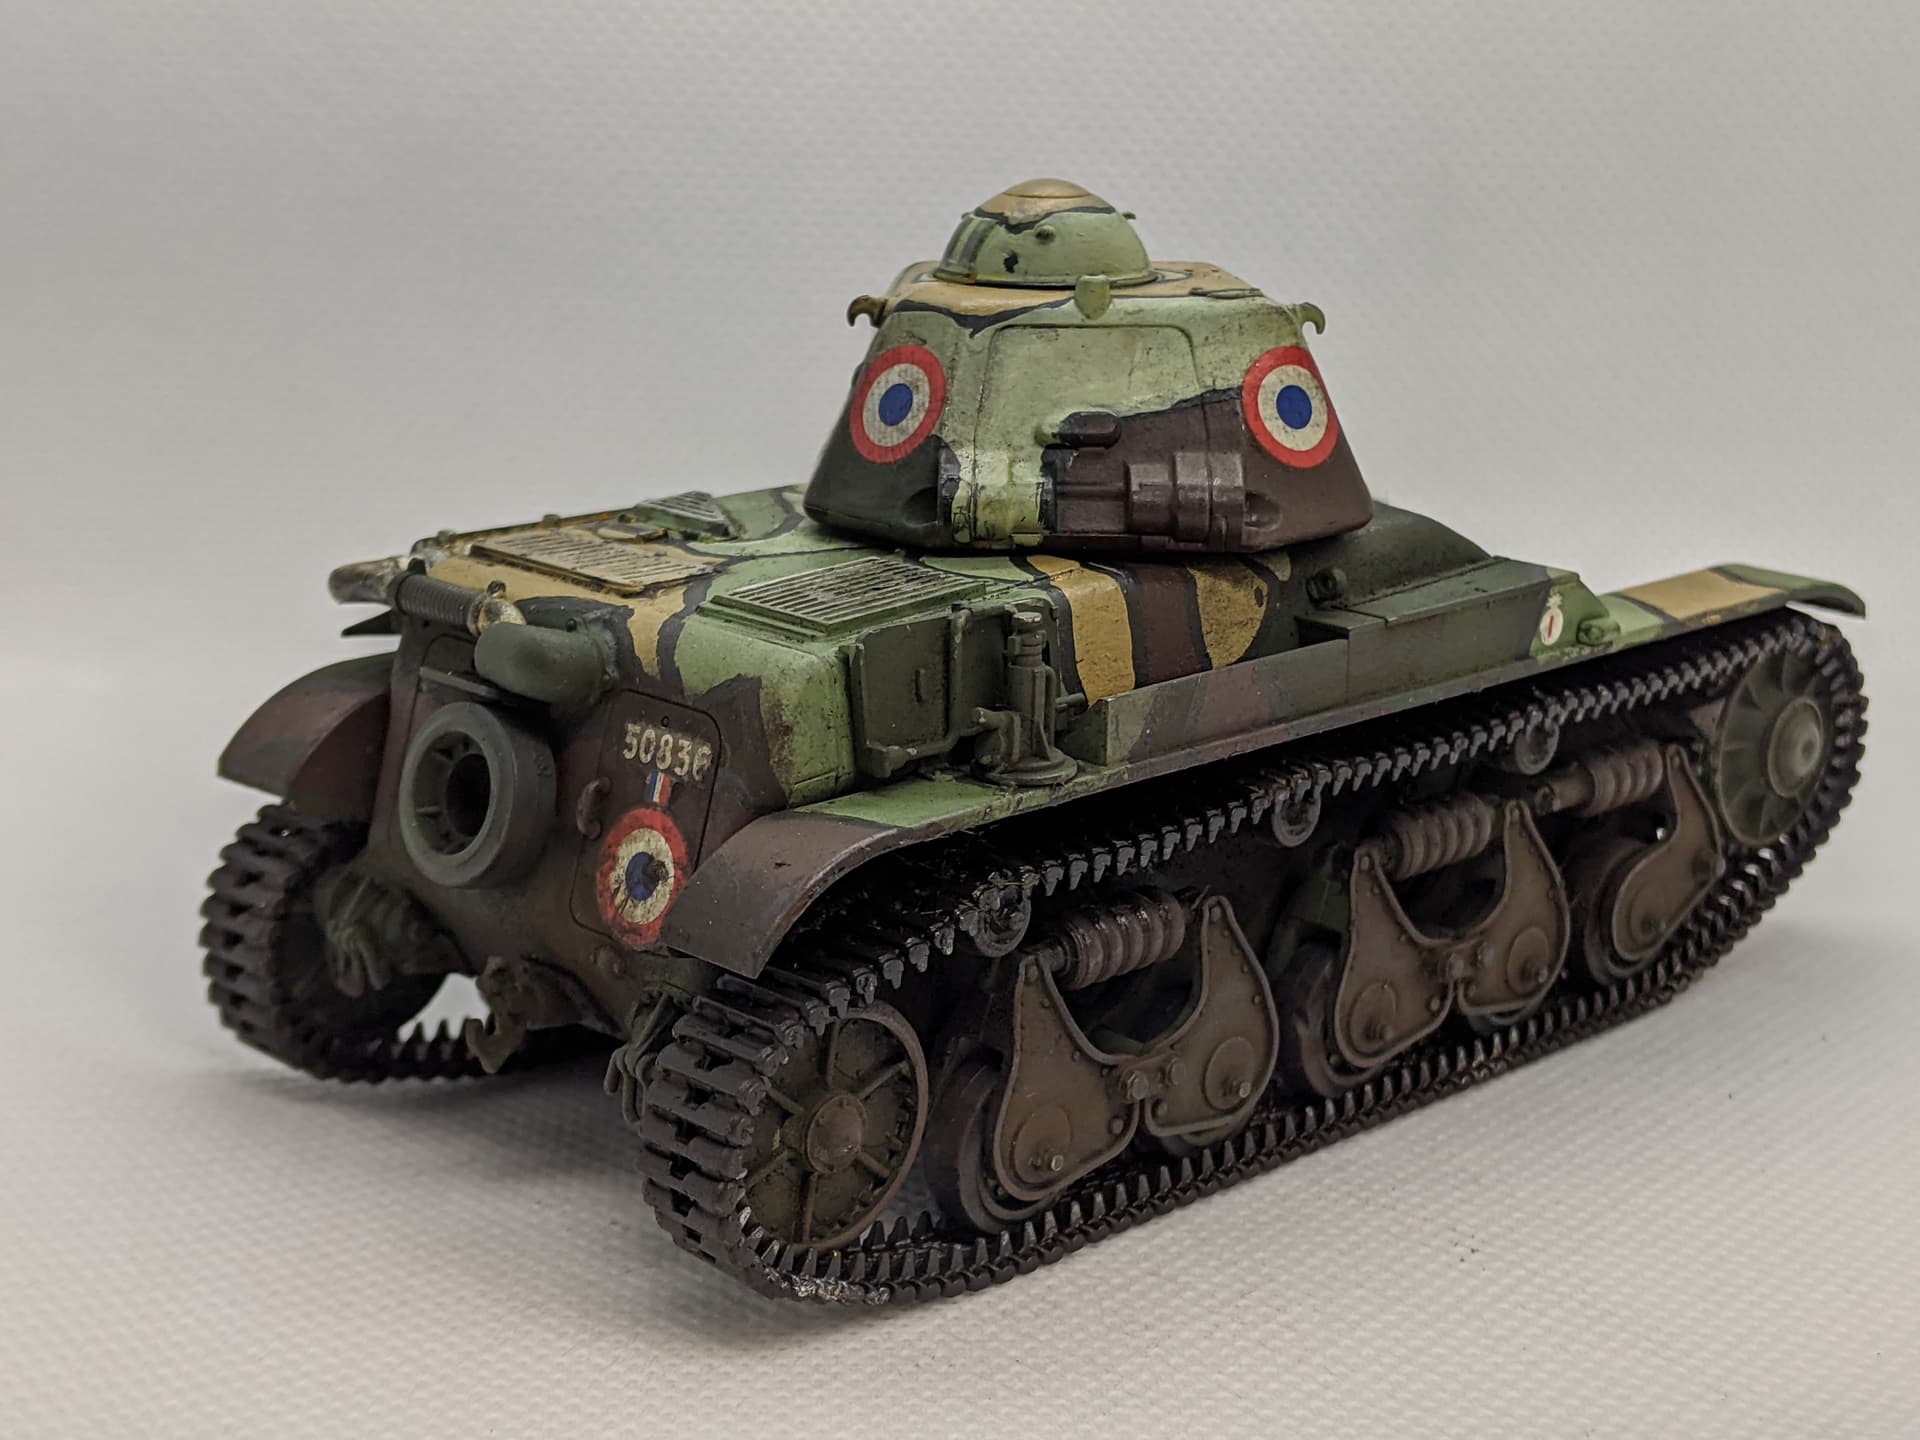
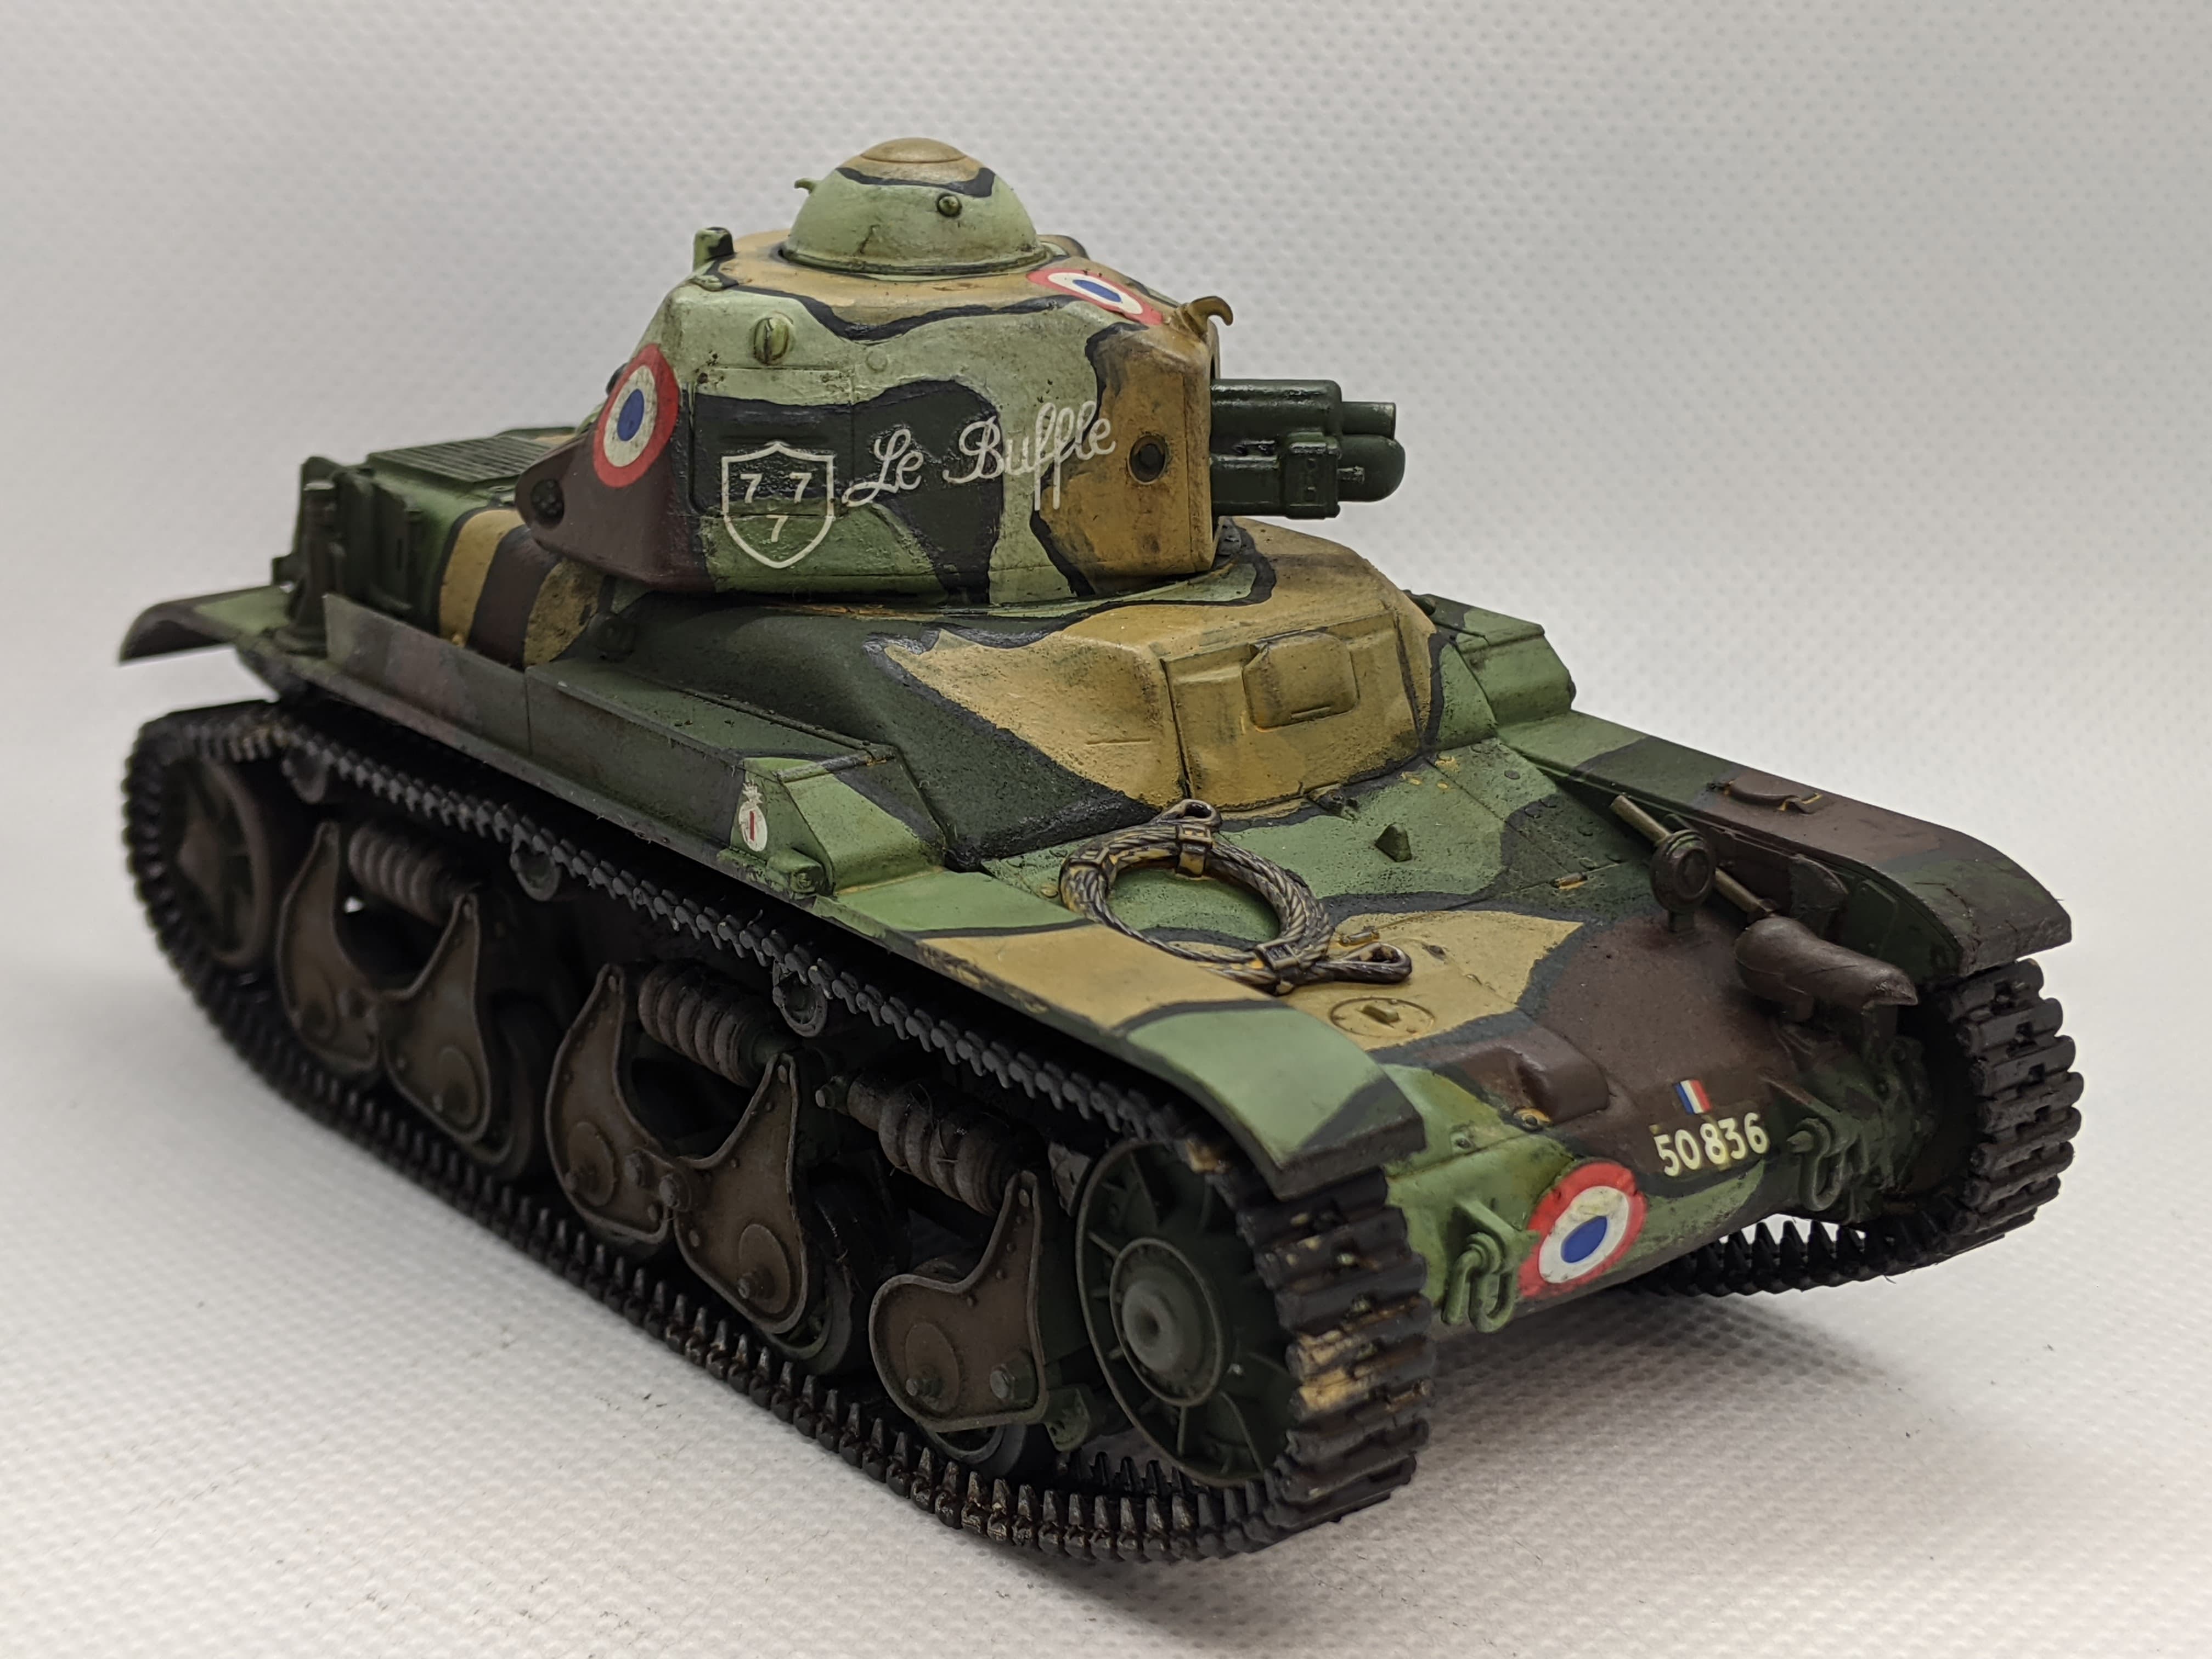
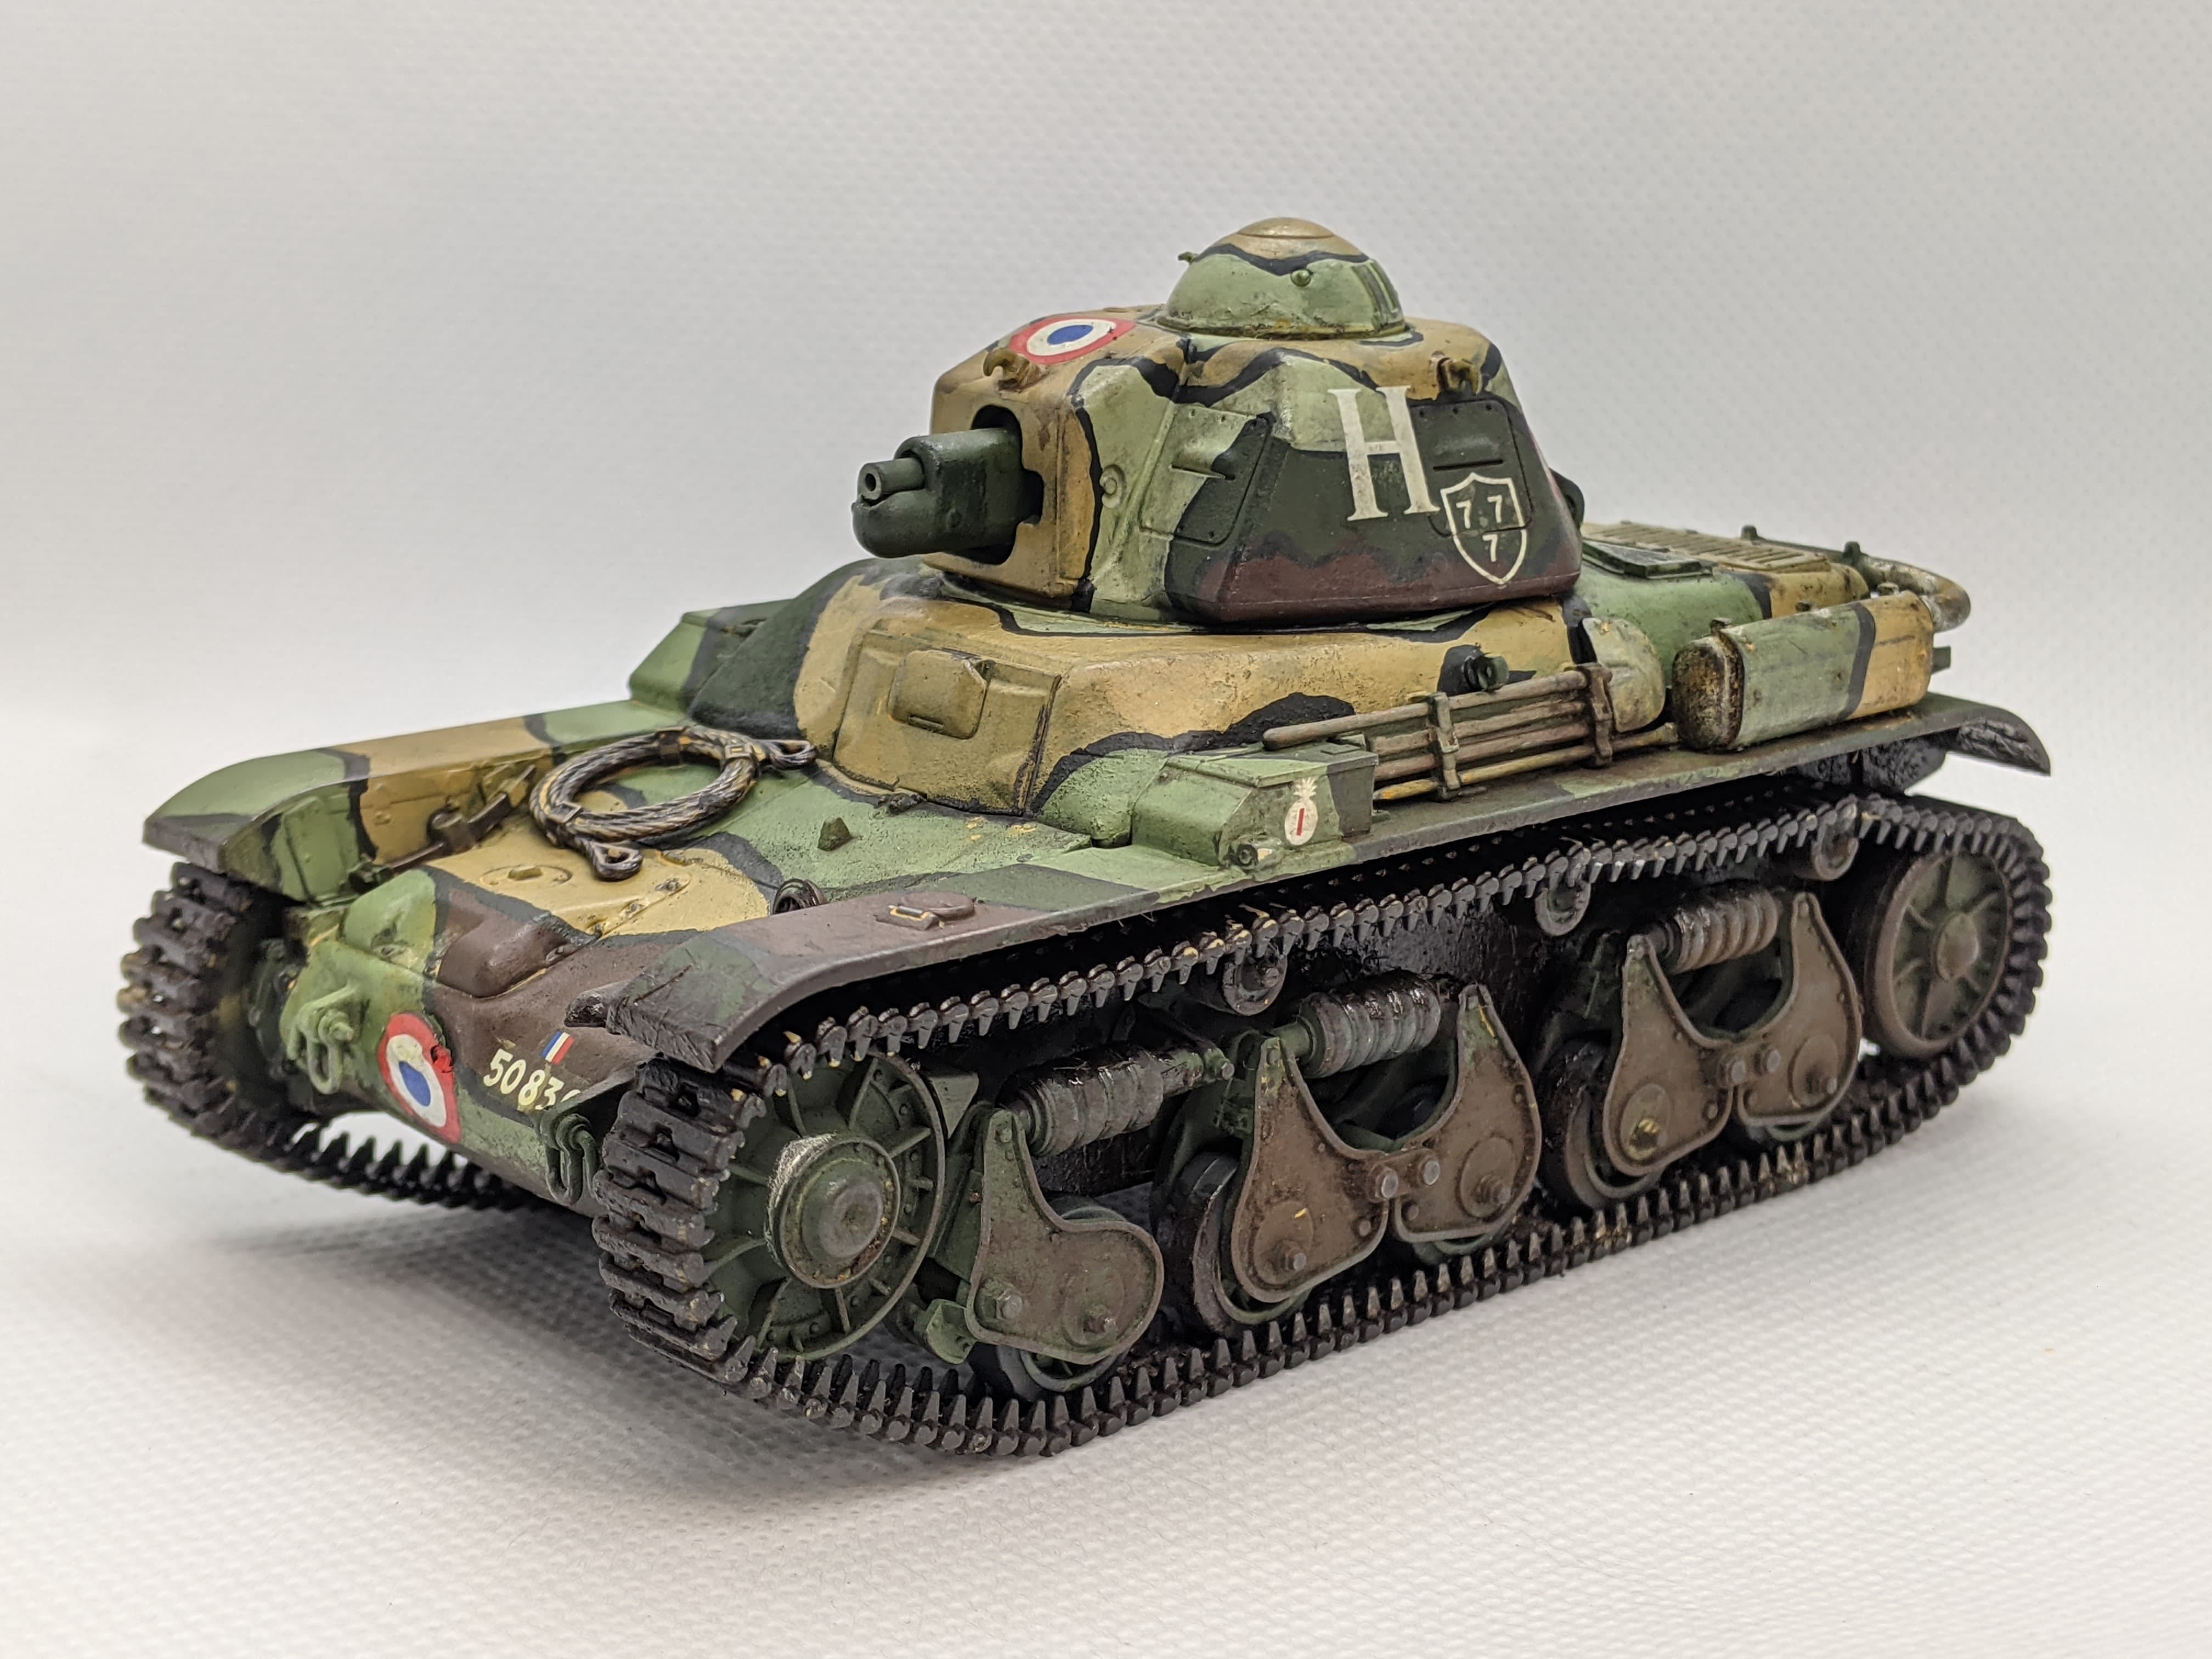
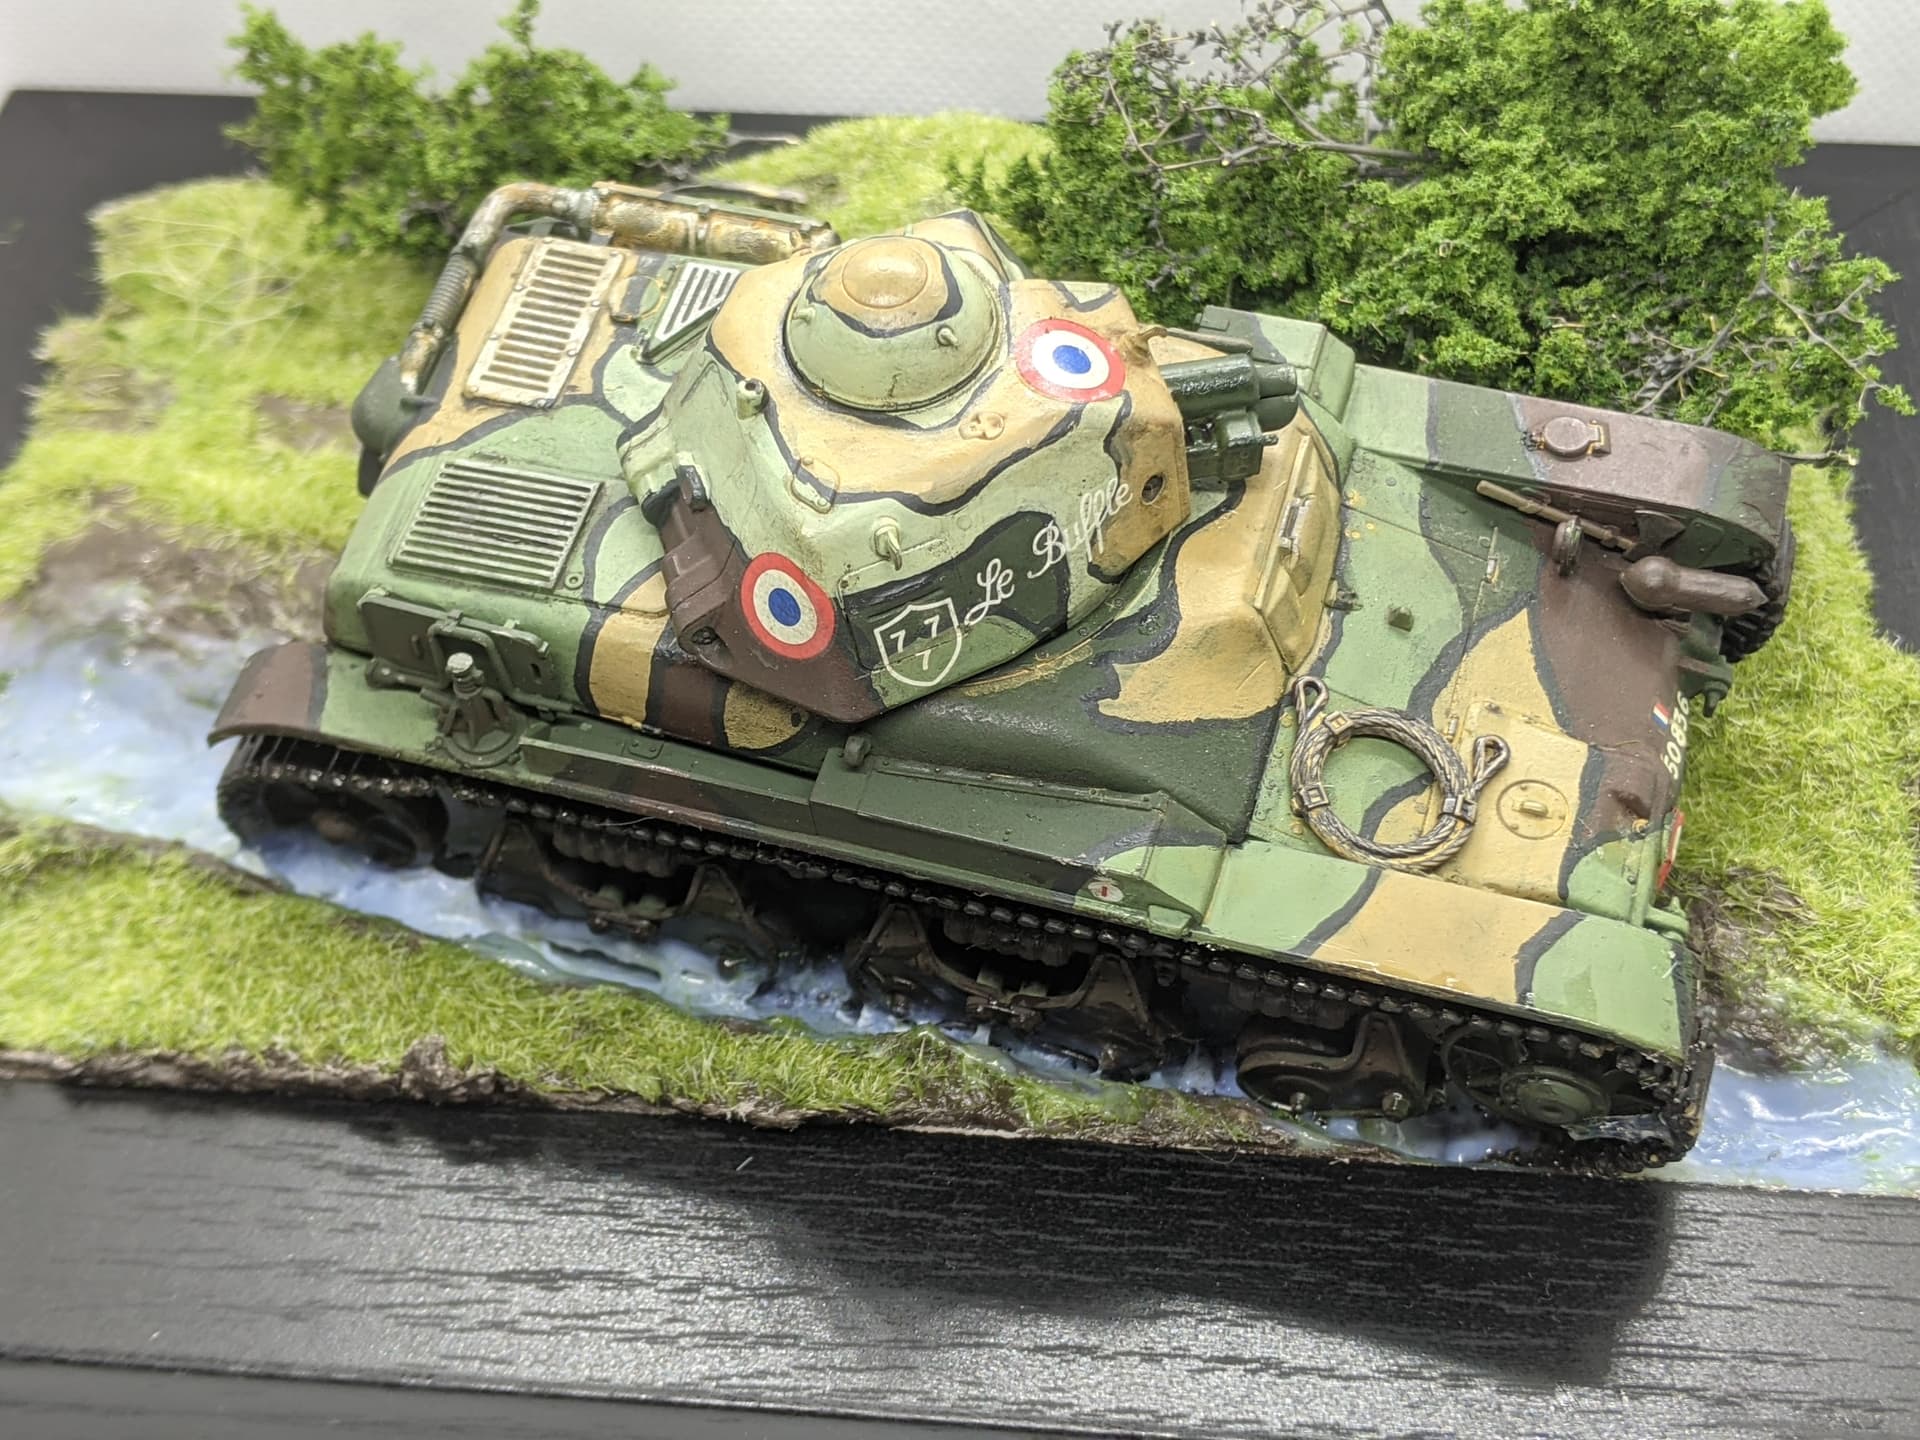
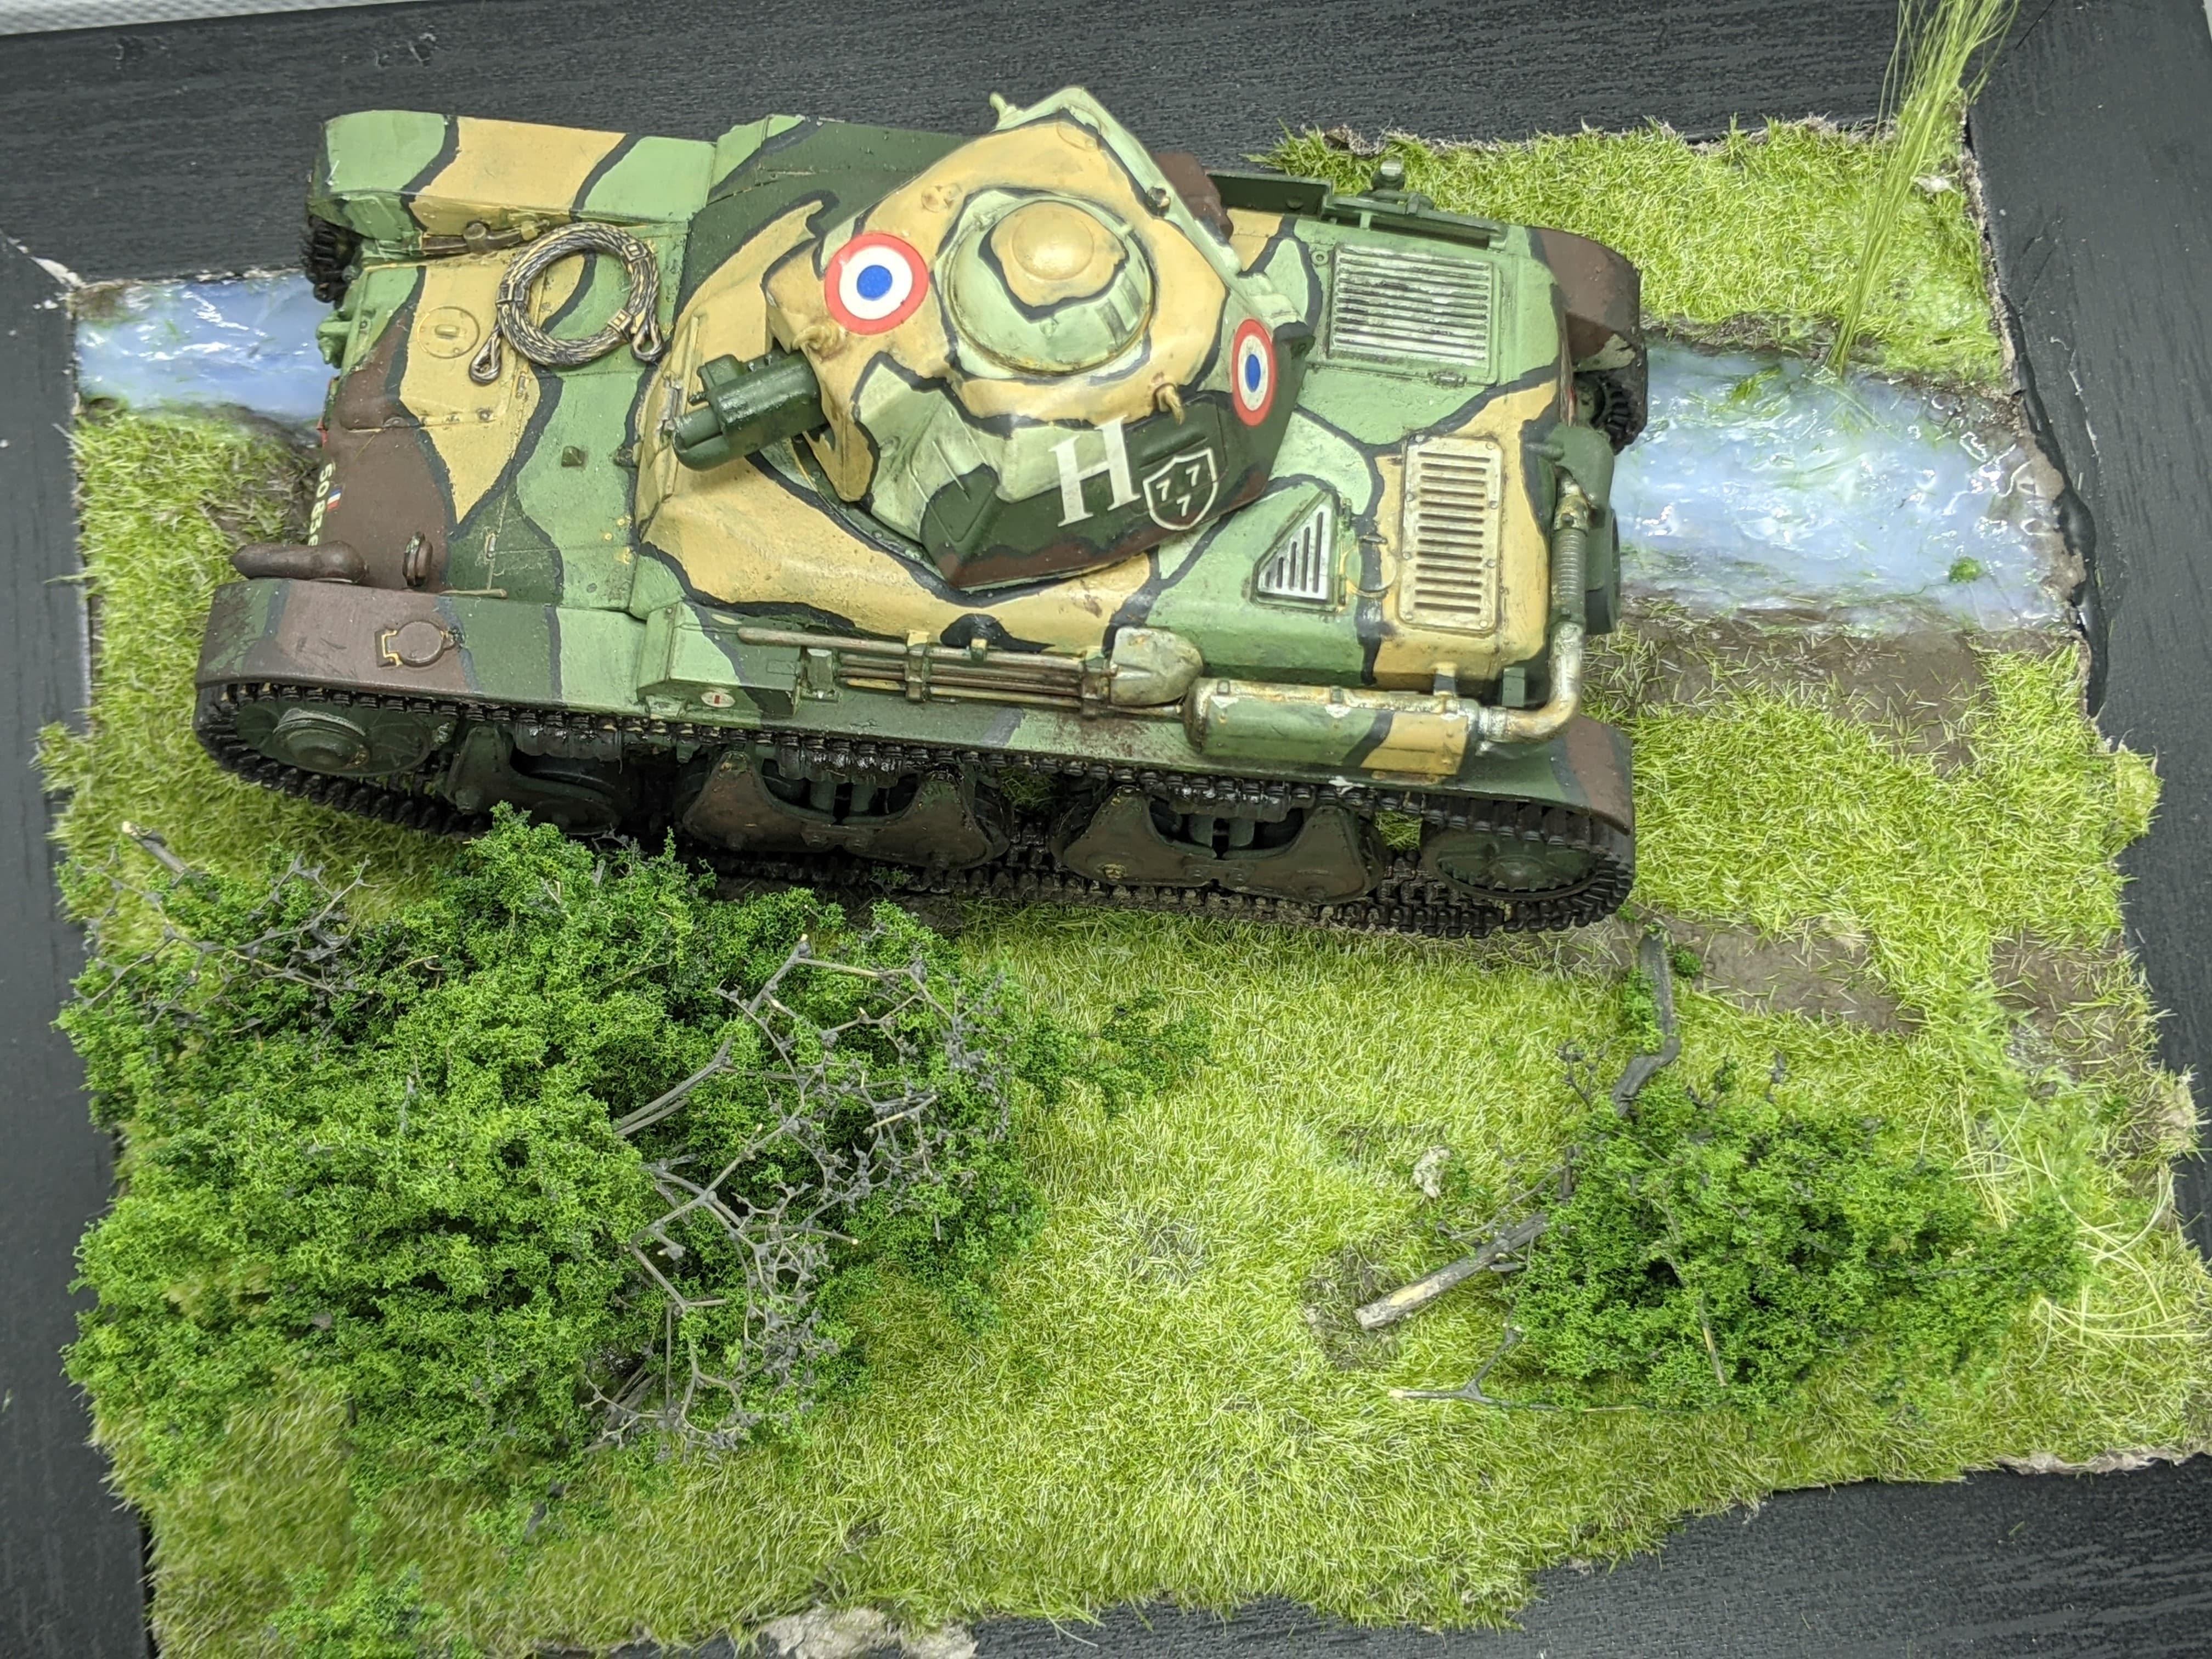
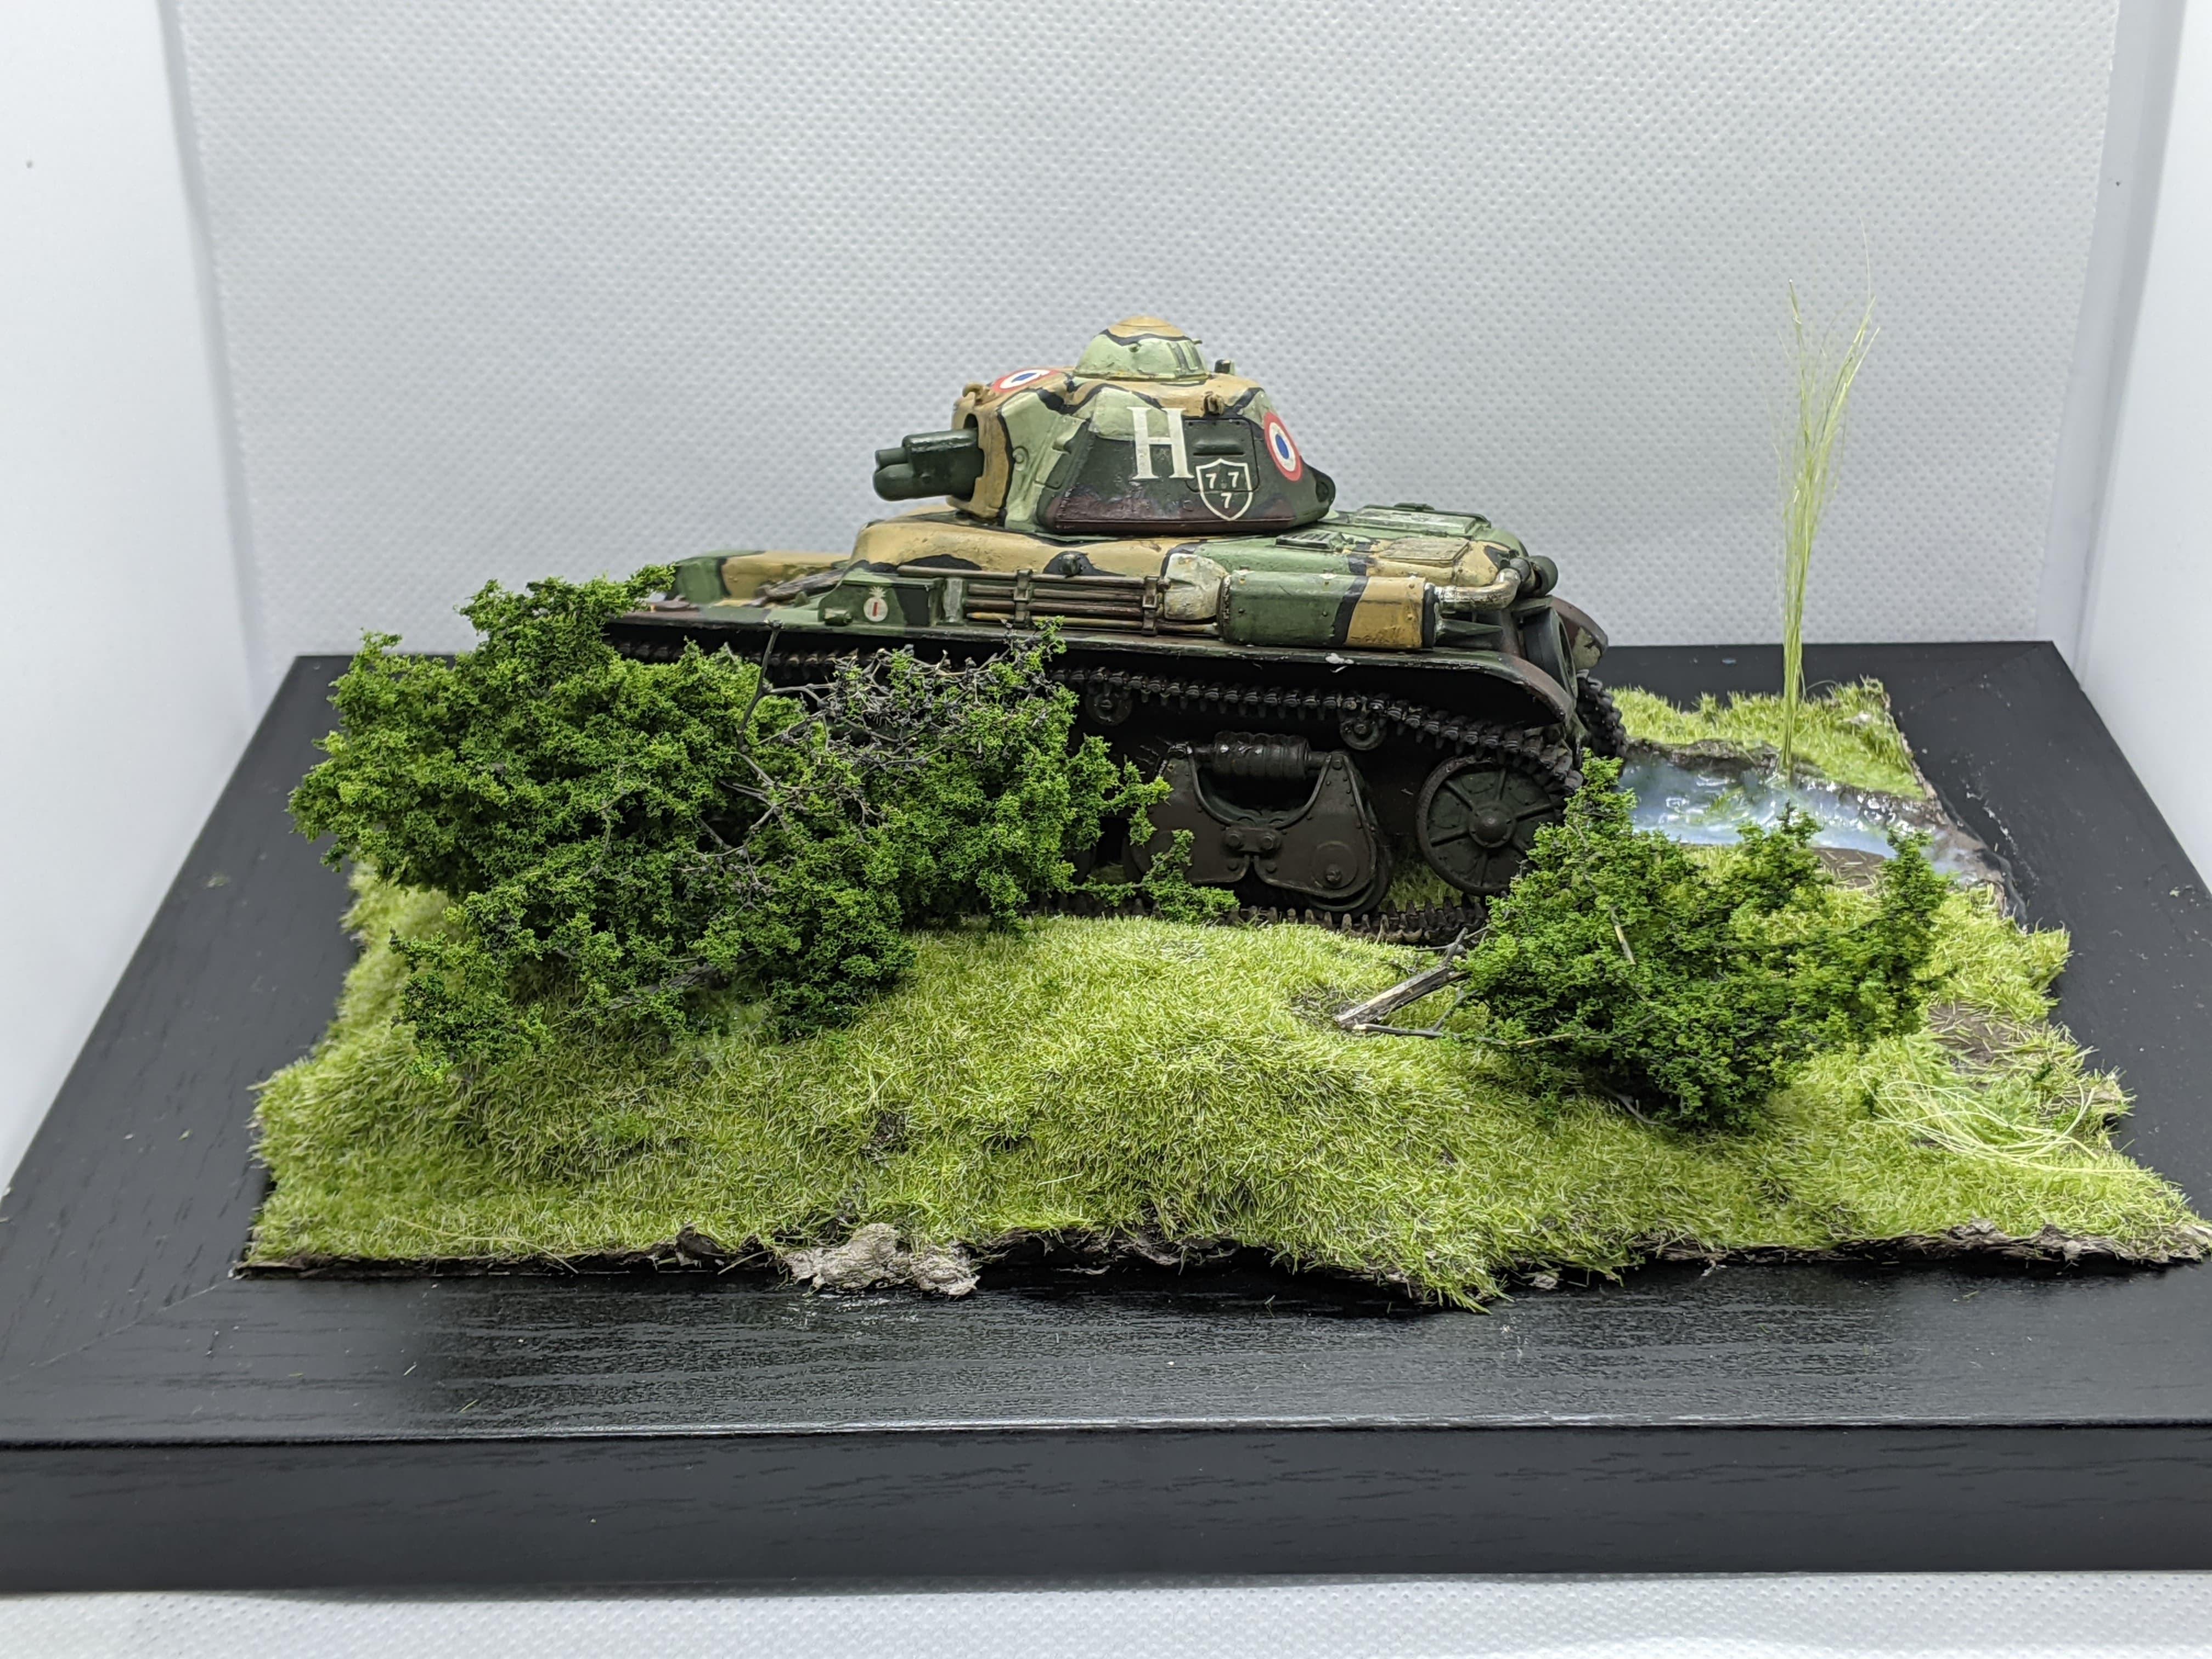
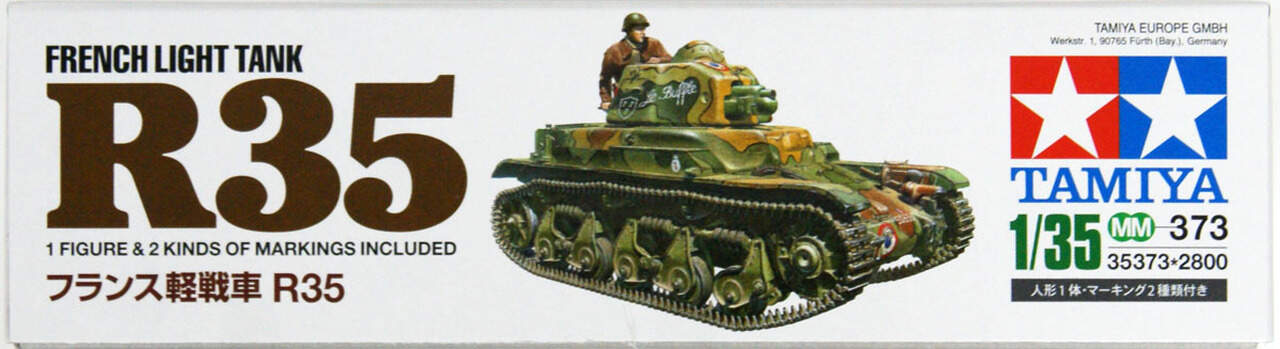
Well, here we go again. I just took issue of this new kit from Tamiya (only $15 my price!). After seeing it in the stack of models that were to be shelved, I knew I had to pick up the R35. Just LOOK at that camouflage!
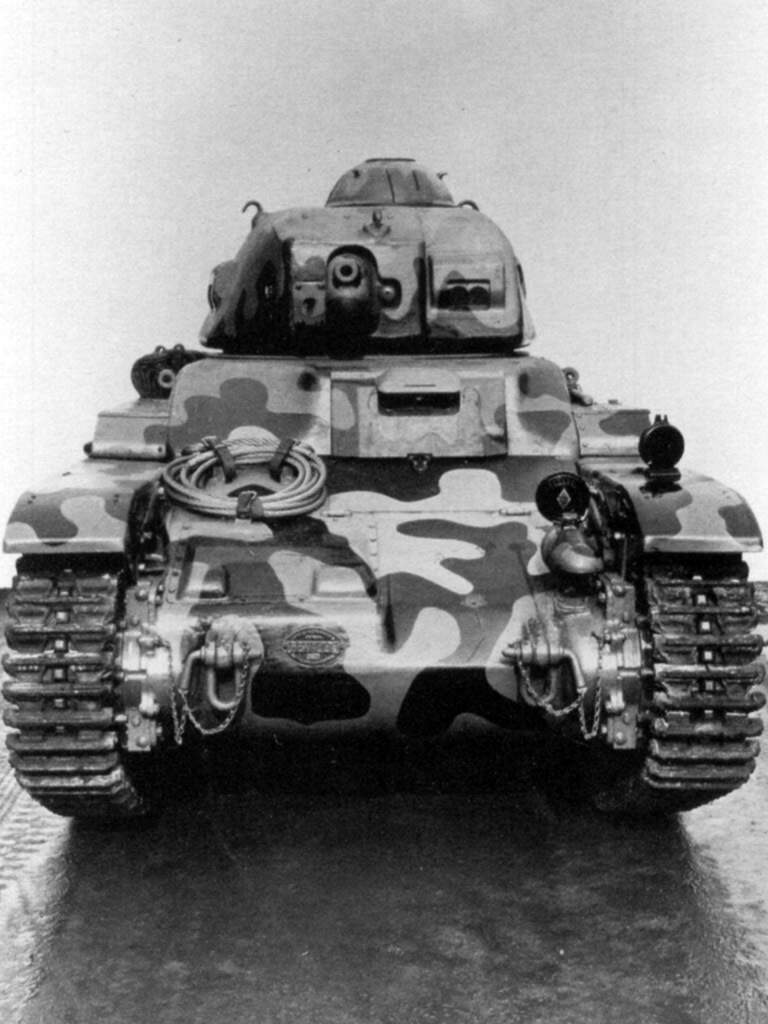
I’ve always had a bit of a soft spot for the French aesthetic when it came to their tank design, with all that curvy casting and art-deco ornamentalism. But before I show you guys how this kit is coming along, here’s a very brief overview of the R35.
From Wikipedia:
" The development plan of 1926 foresaw the introduction of a char d’accompagnement, a cheap mass-produced light tank to replace the Renault FT of World War I vintage…
Designed from 1933 onwards and produced from 1936, the type was intended as an infantry support light tank, equipping autonomous tank battalions, that would be allocated to individual infantry divisions to assist them in executing offensive operations. To this end it was relatively well-armoured but slow and lacking a good antitank-capacity, fitted with a short 37 mm gun."
The R35, to put it simply, was a two-man operation, running bone-stock equipment with an emphasis on ease of mass-production to be distributed organically amongst infantry units to provide basic armoured support. Kind of like an assault pillbox!
Tamiya is not the first show in town when it comes to the R35. Off the top of my head, I know both Bronco and HobbyBoss have made their share of these tanks in 1:35 scale, and I’m sure Heller must have at some point as well. So, of course, I ignored these other options and went with the Tamiya offering. Because I have a problem when it comes to Tamiya products.
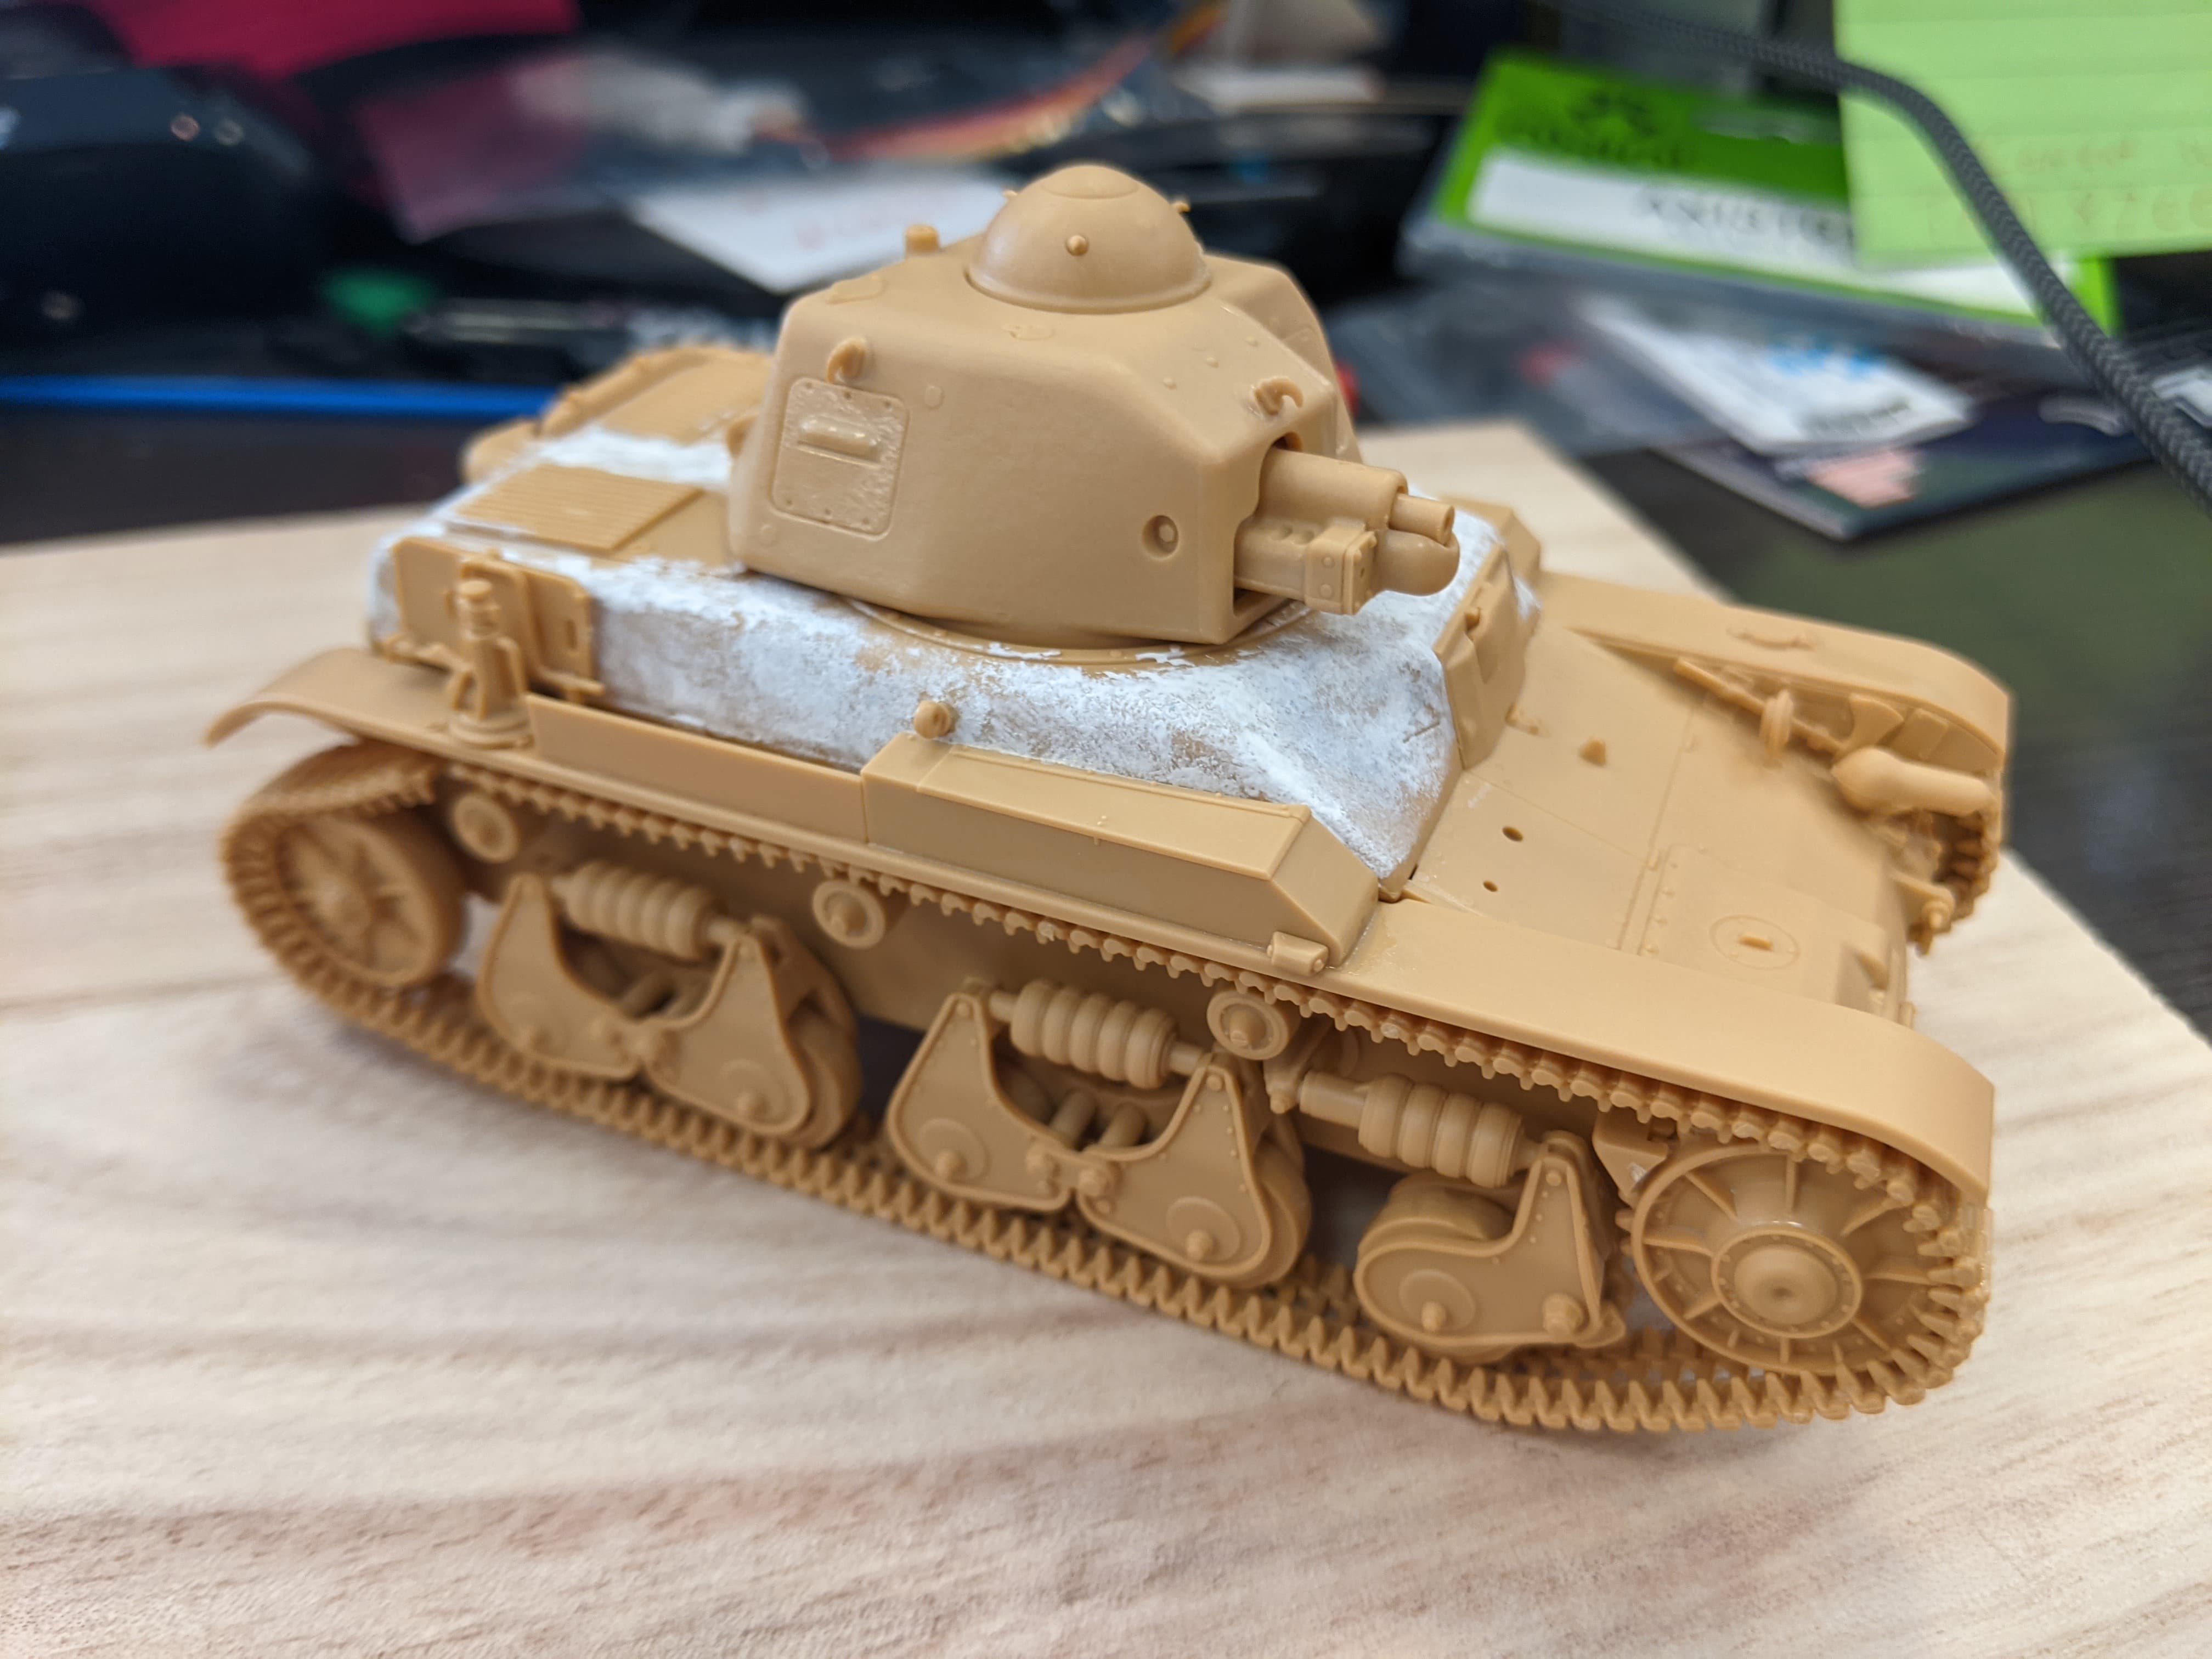
So what do we get with the kit? Well, if you like multimedia, you get nothing! If you like clear parts, nada! What you do get is four sprues of tan plastic which contain some of the best moulding I’ve seen on an armour kit in a long time. The cast texture of the steel is moulded on very subtly, and all the parts click together with ease. The tracks are link/length as well, which is a plus for me.
So, with that in mind, the build begins.

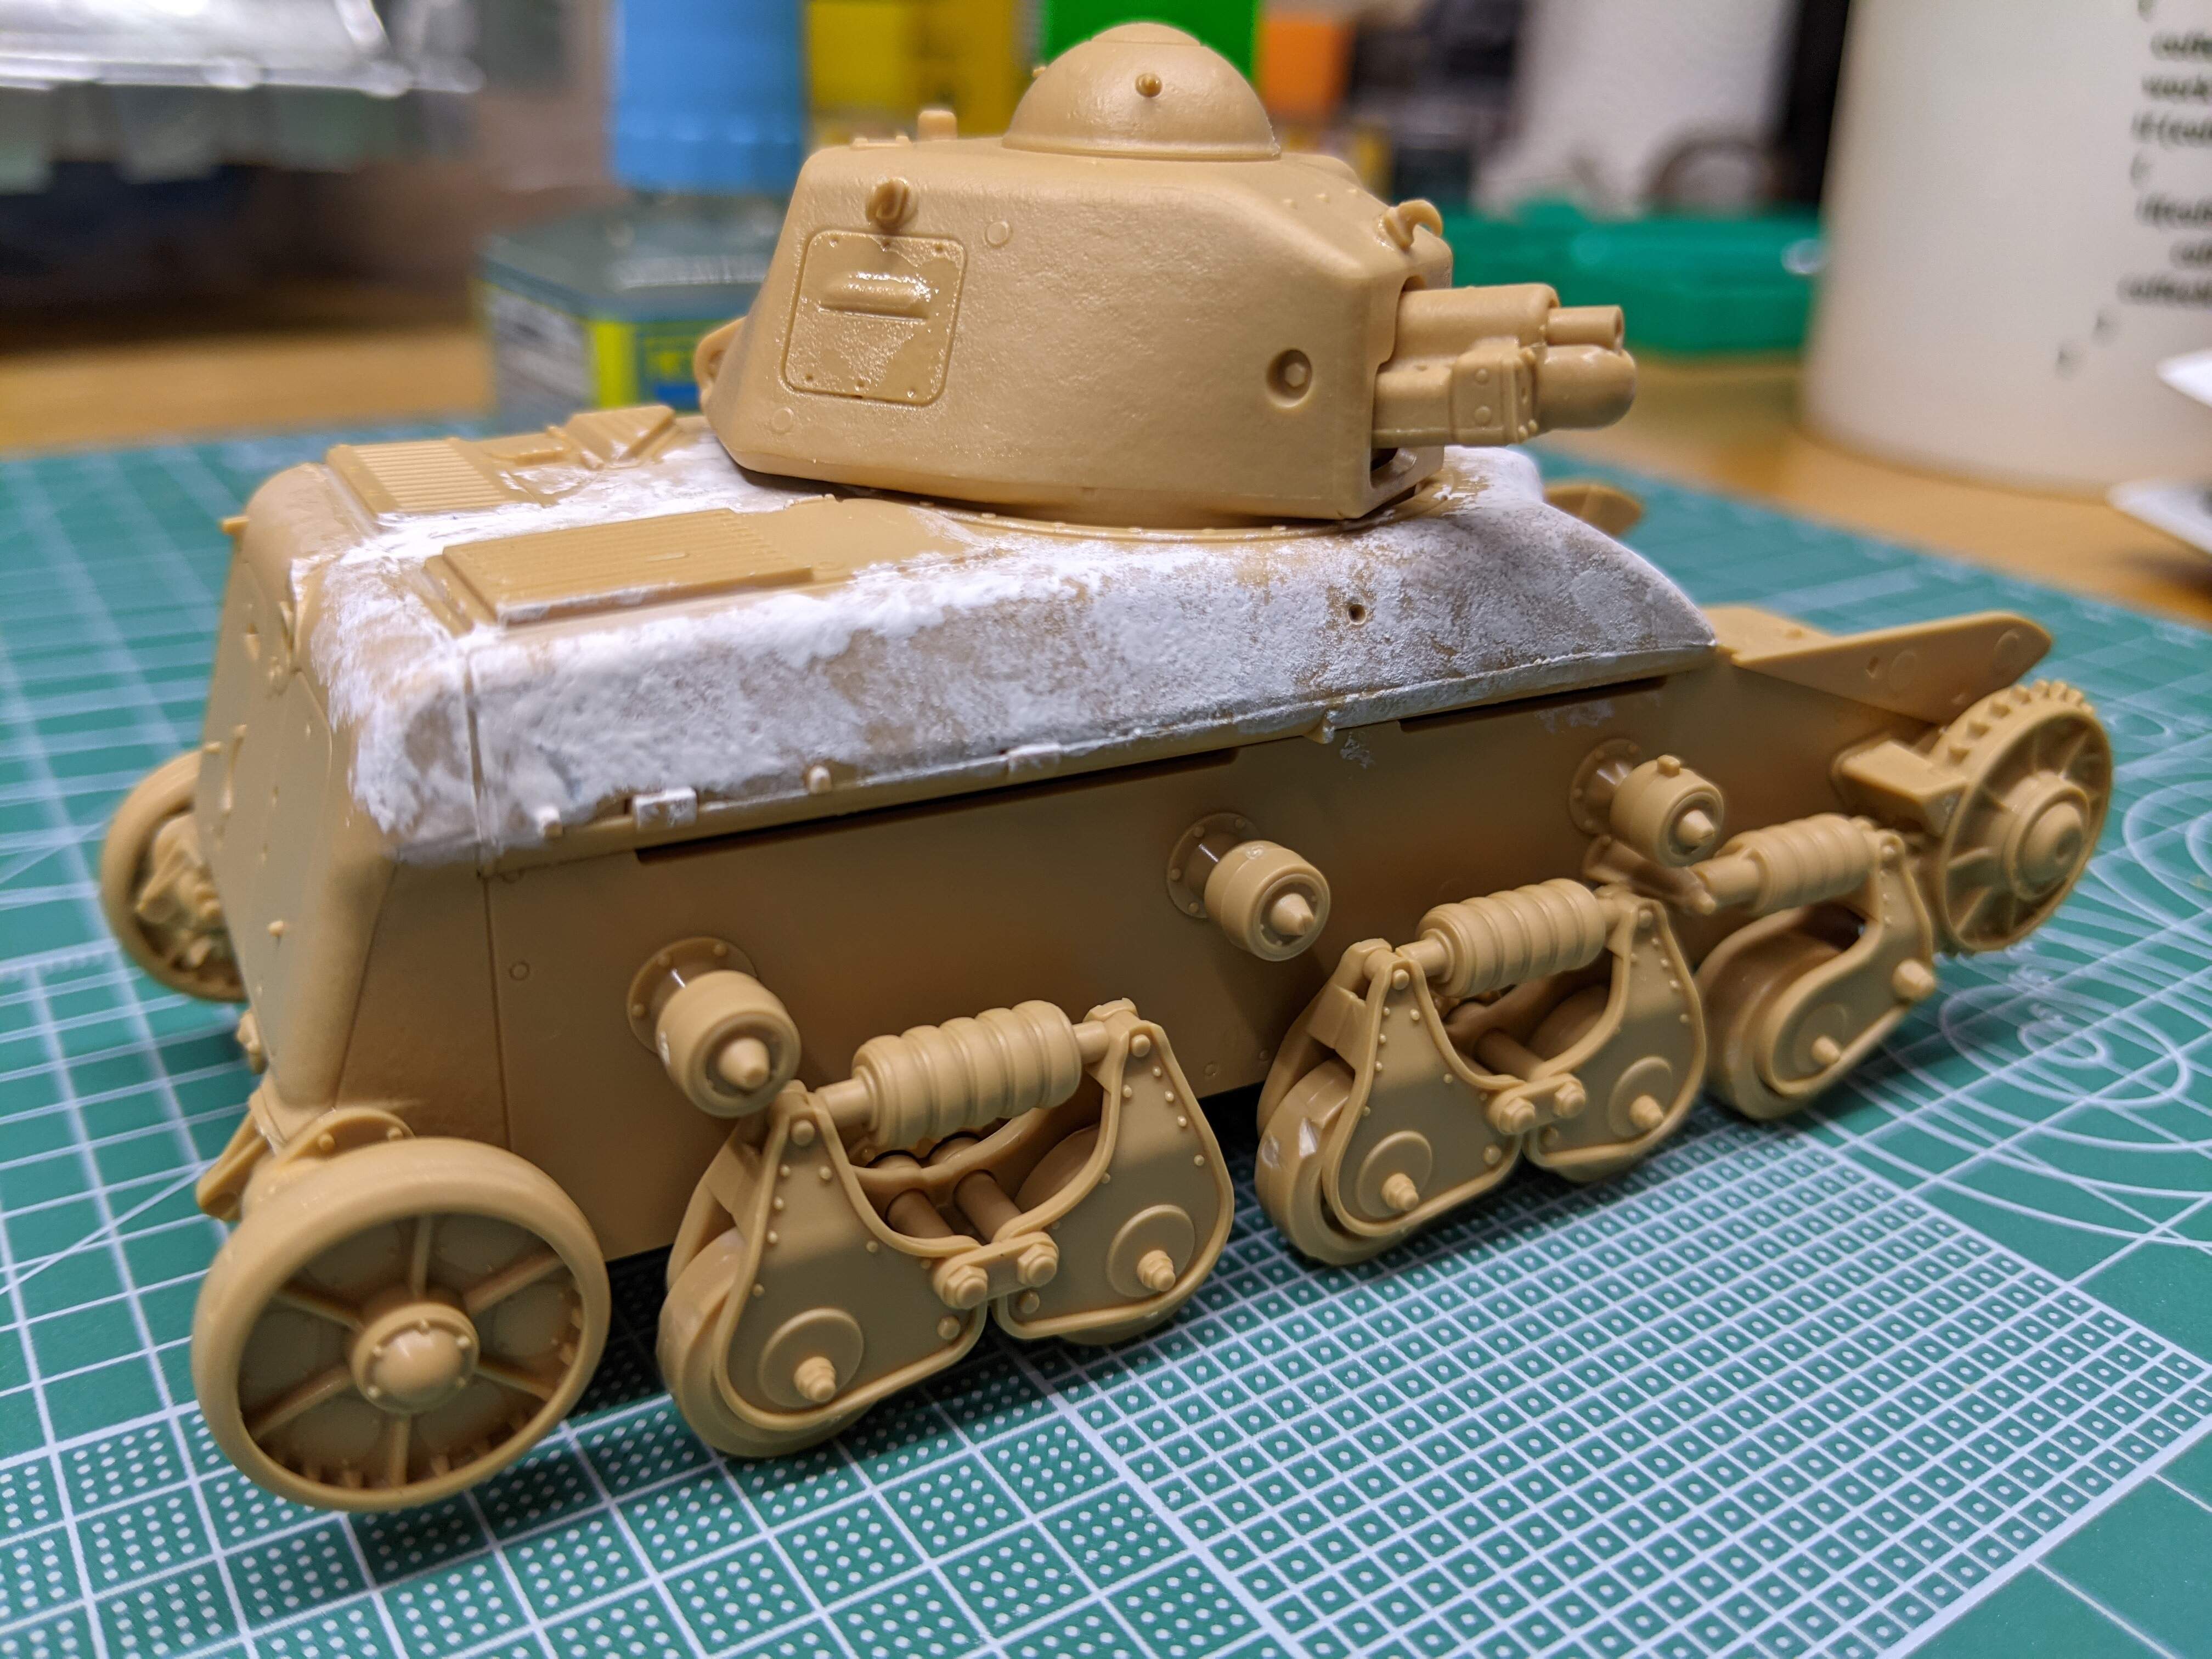


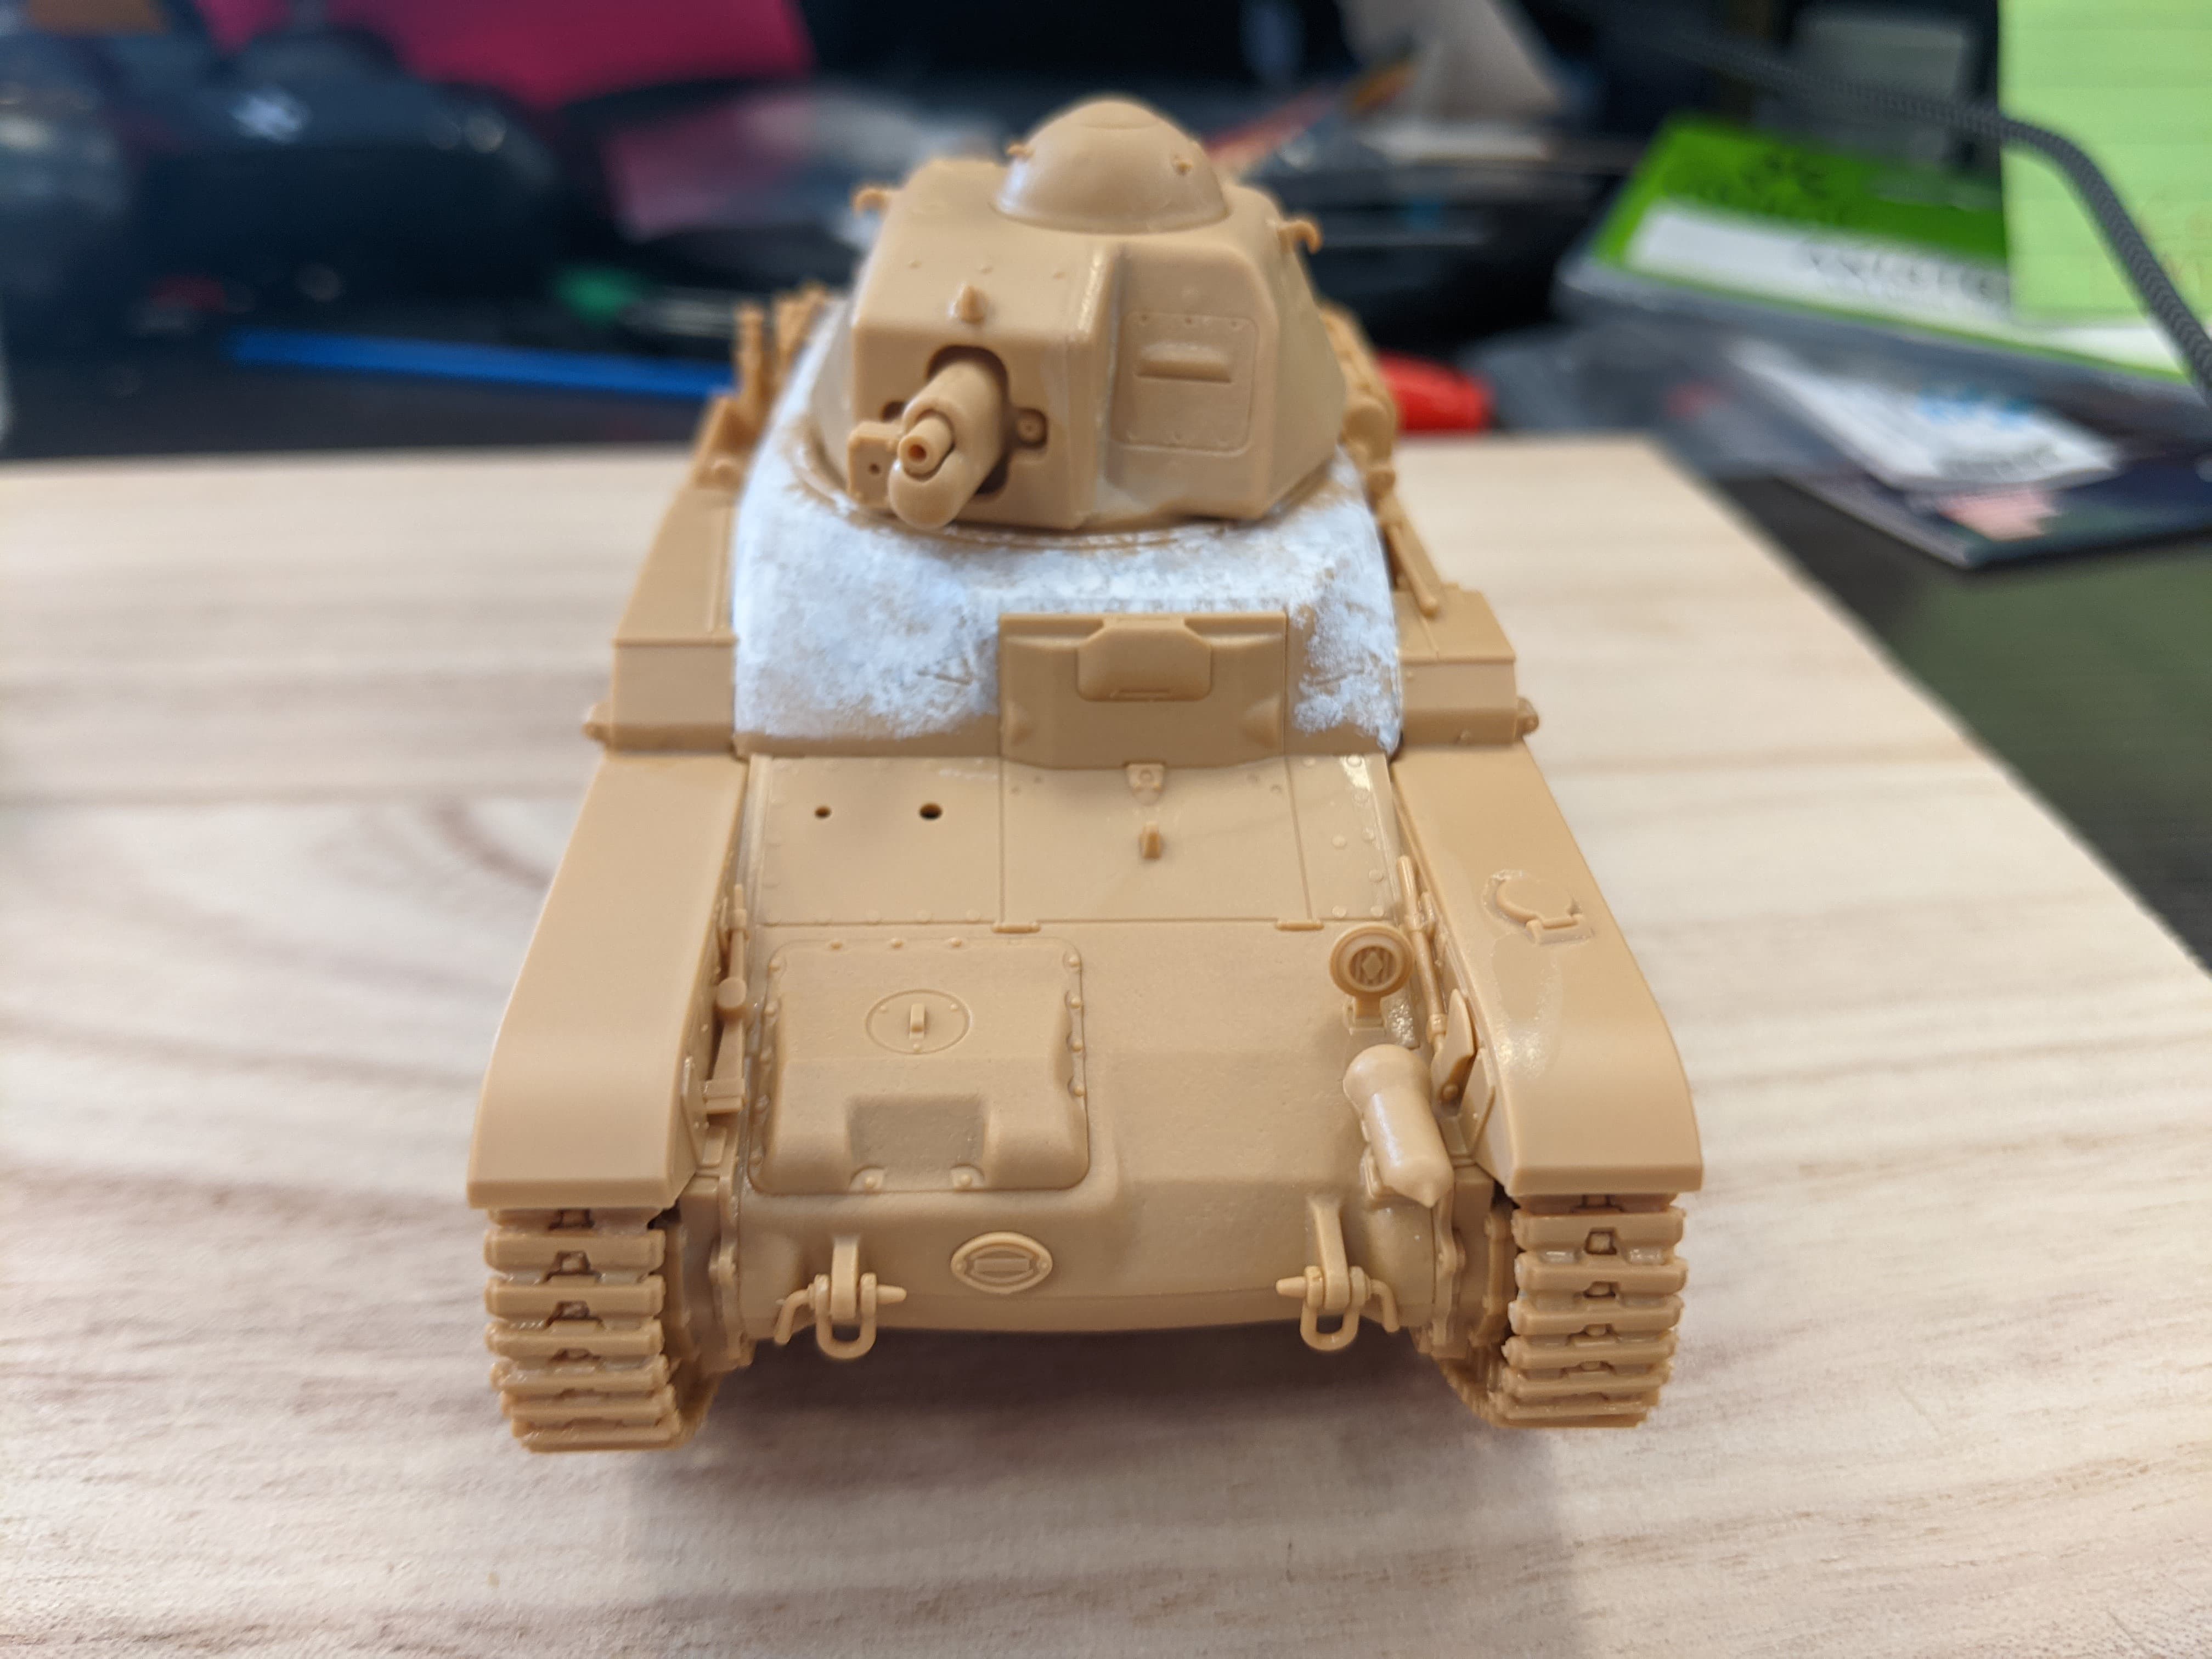
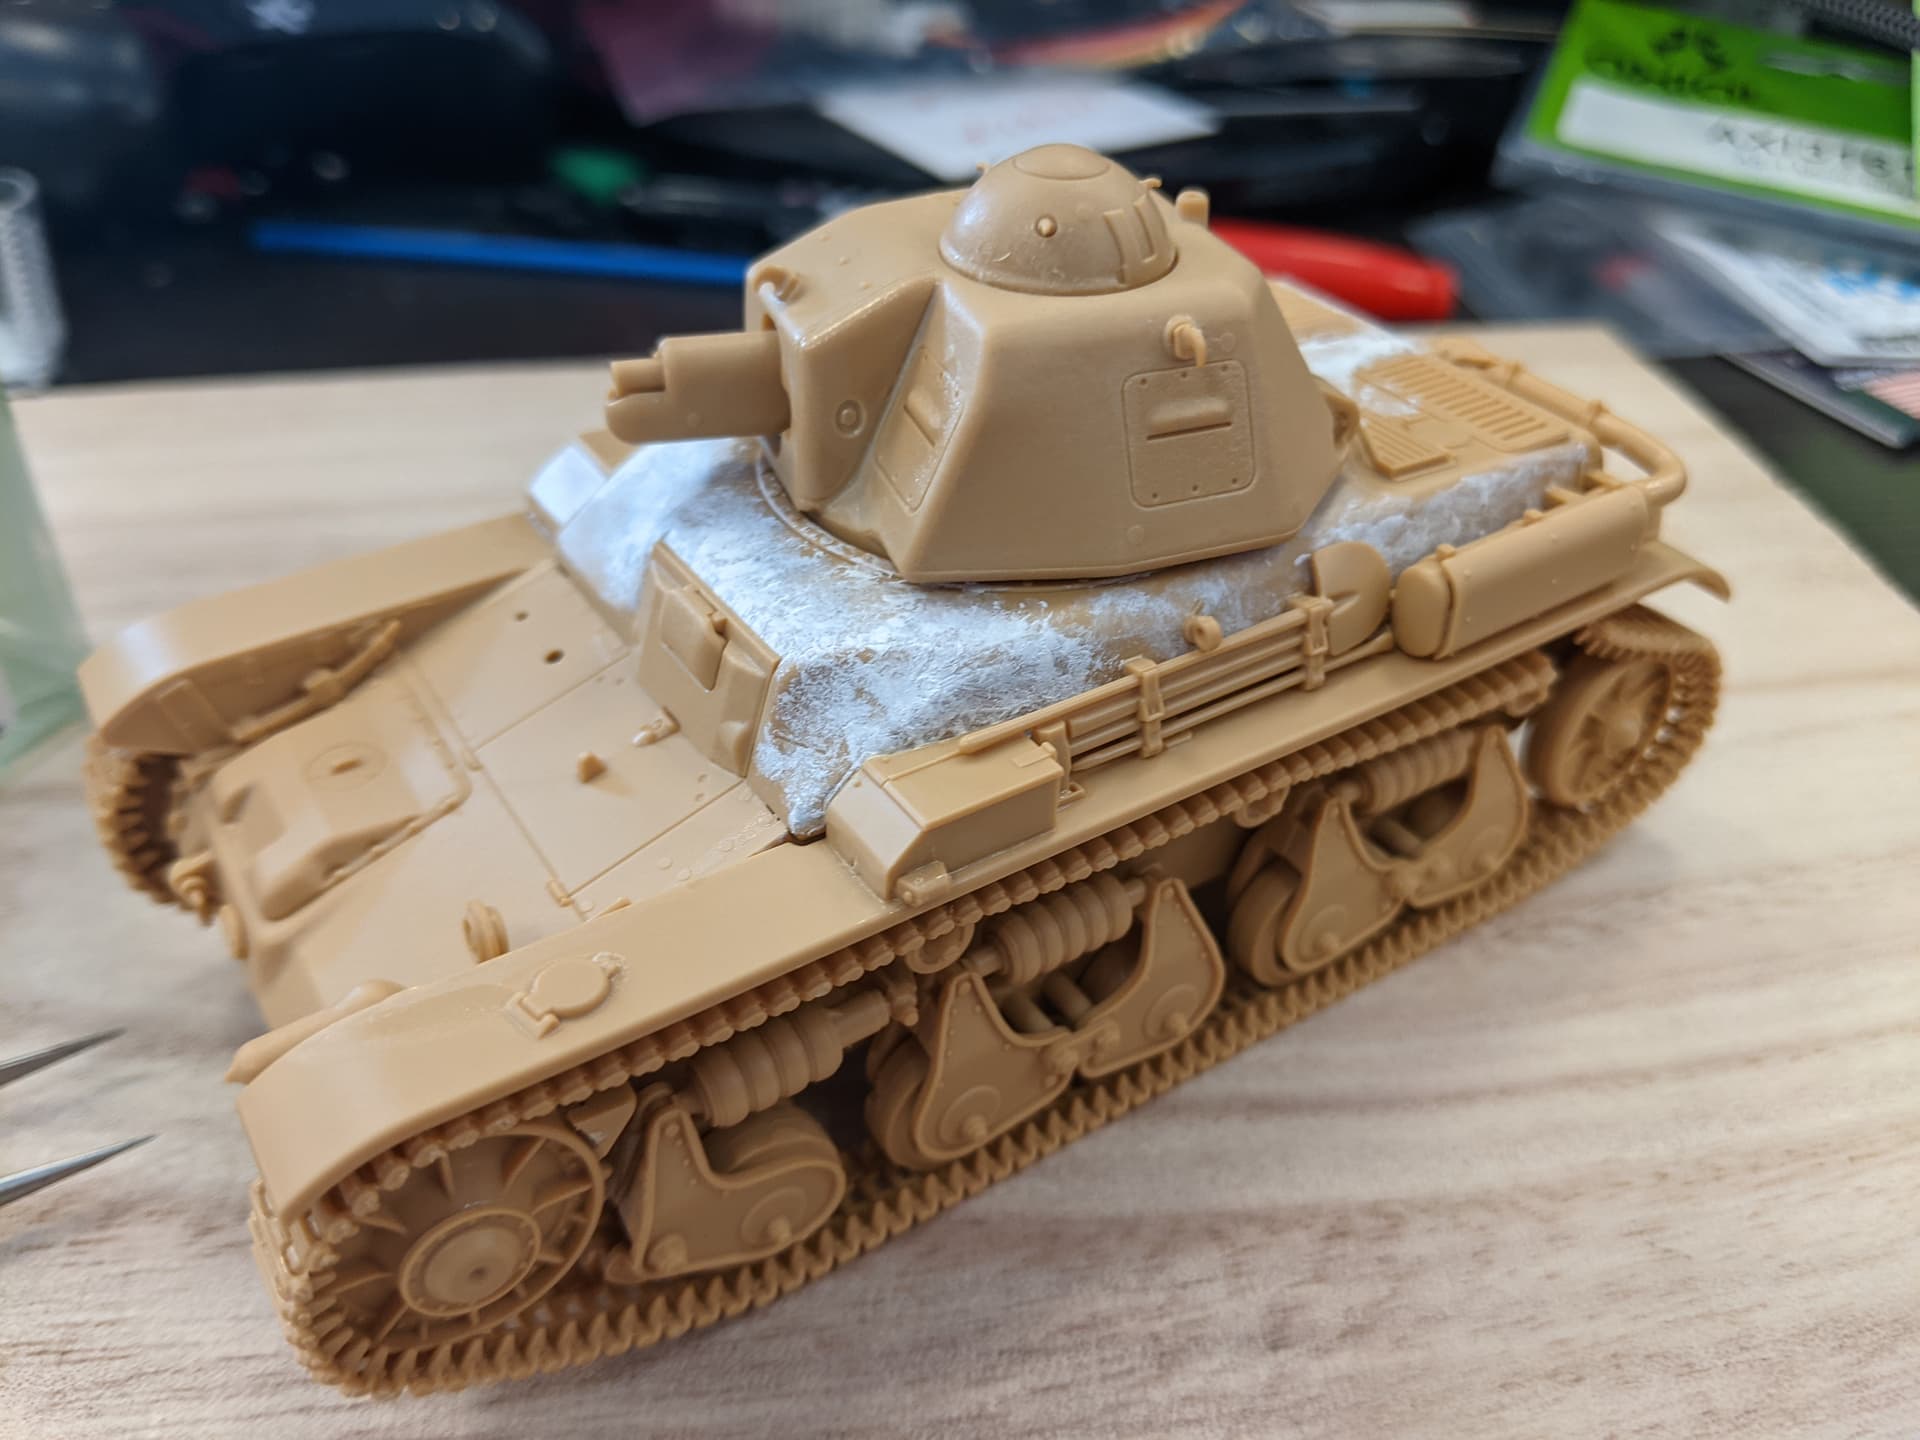
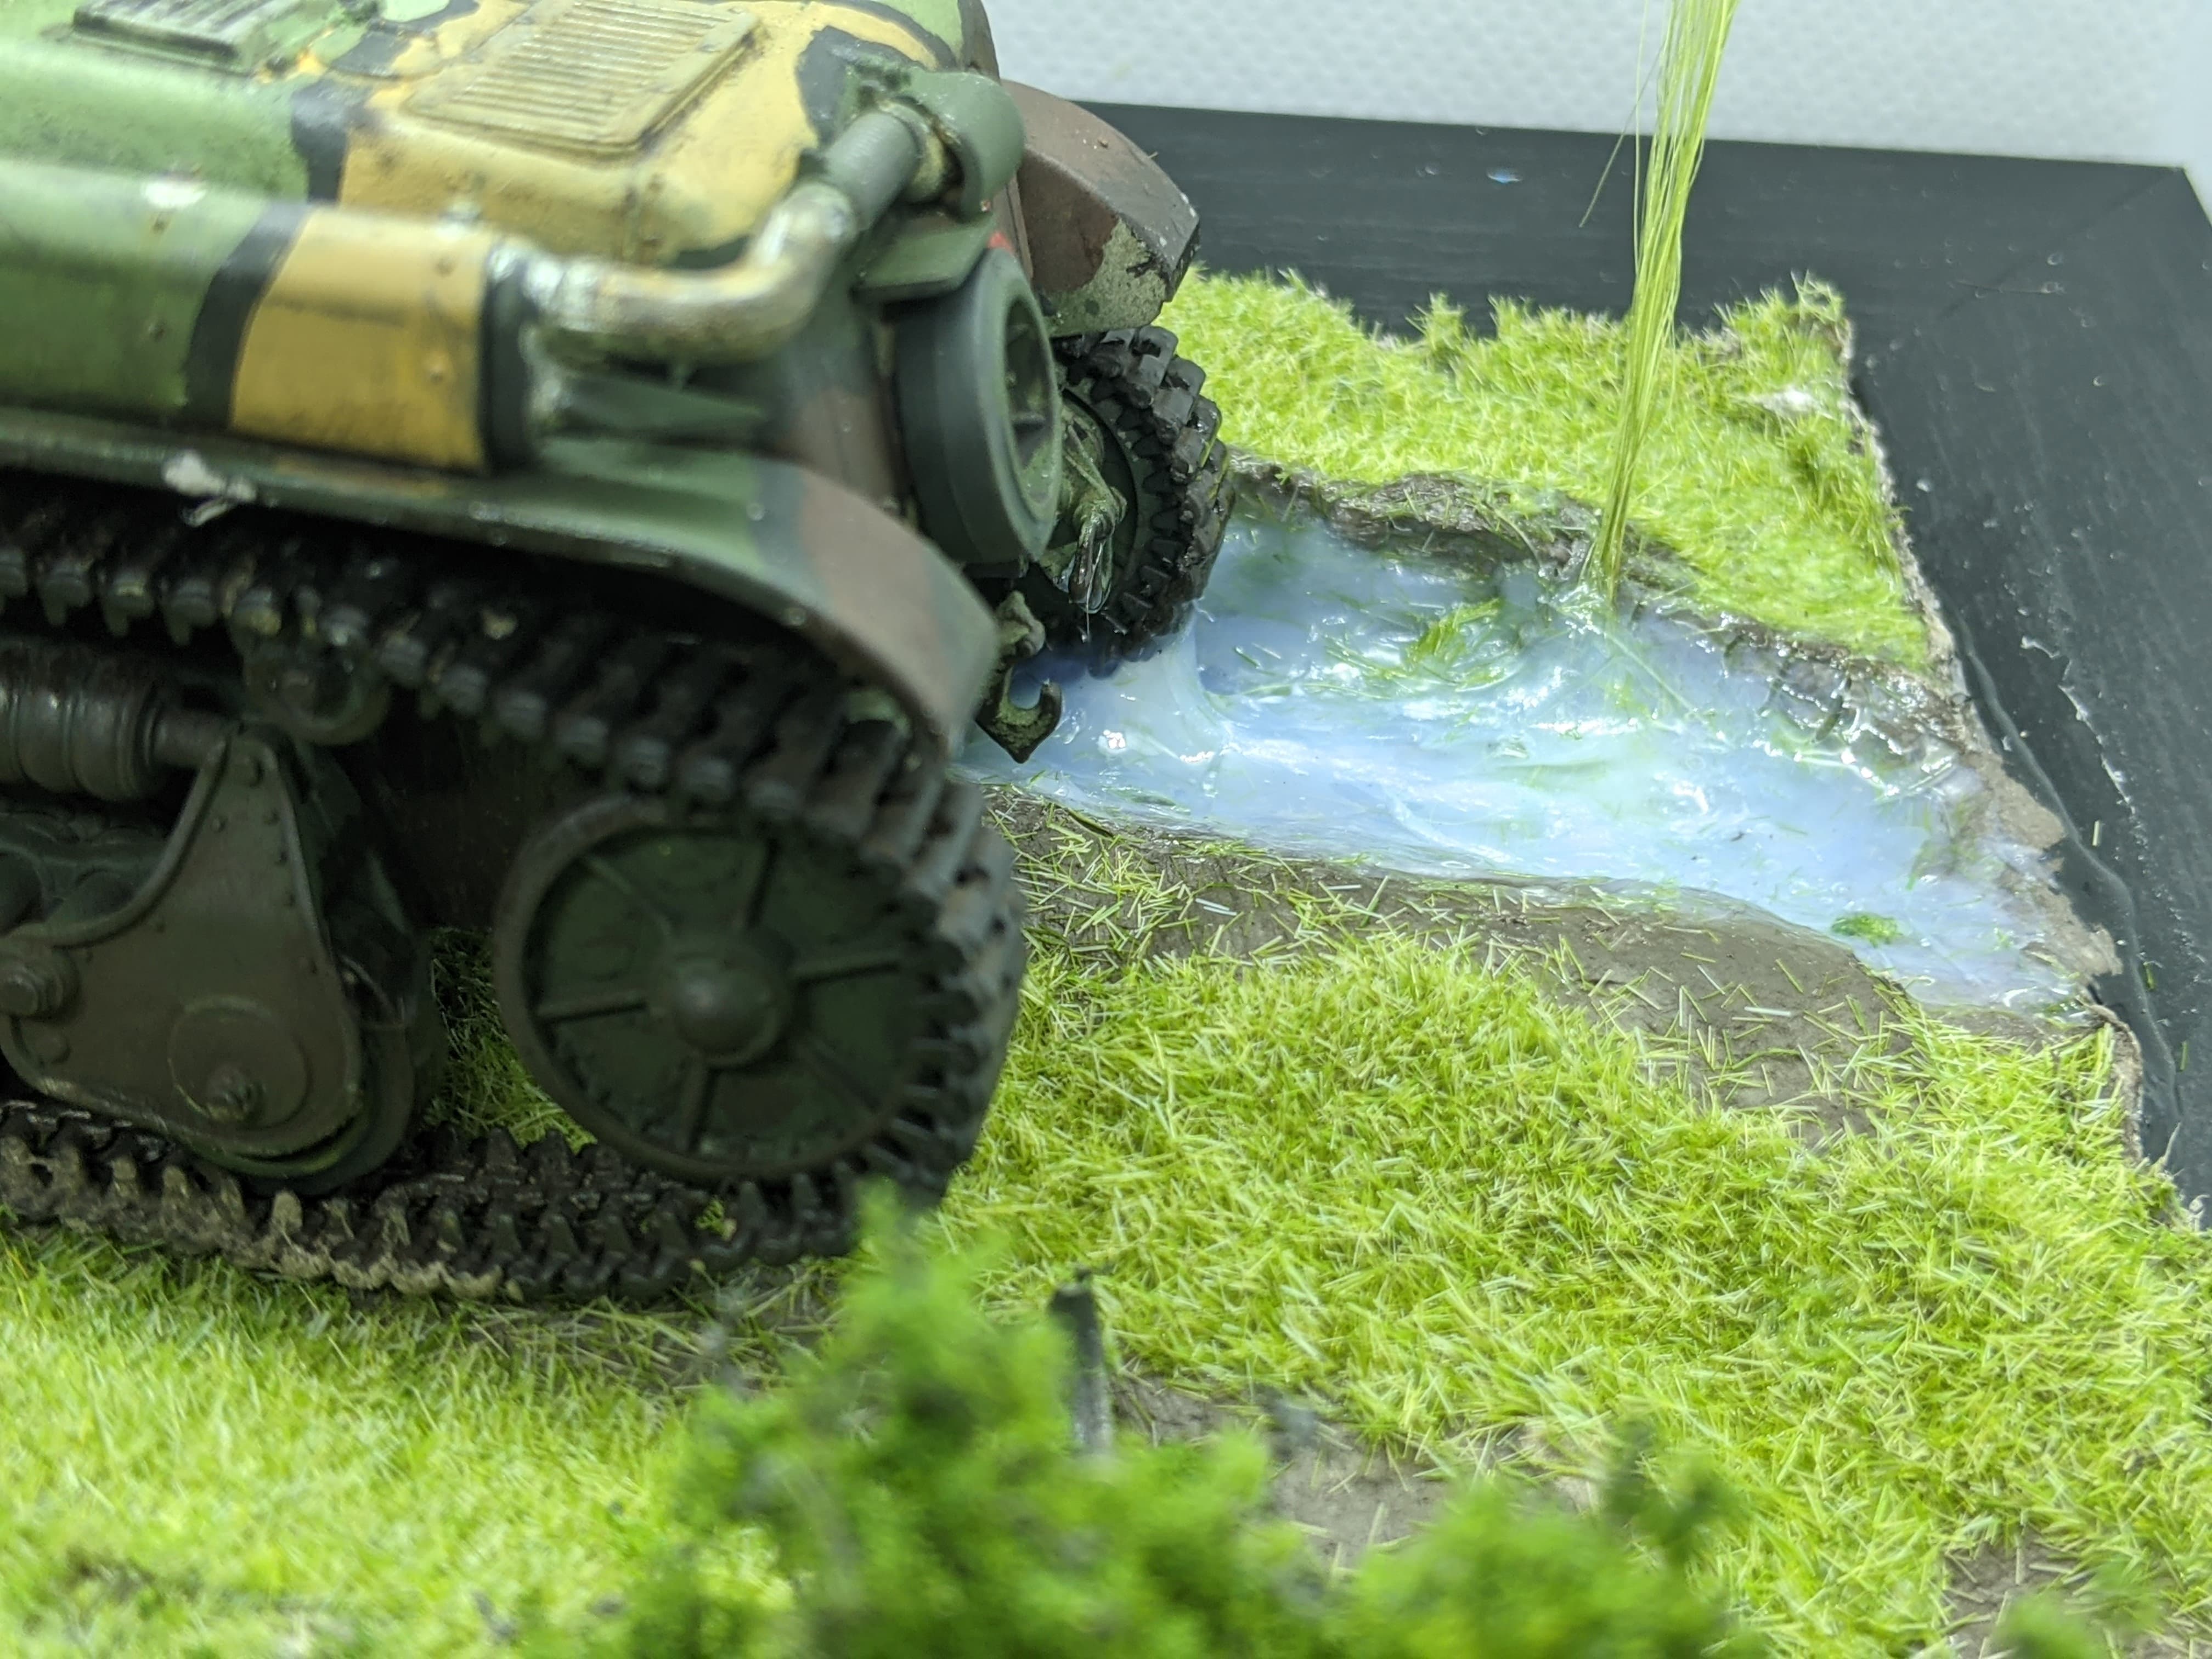
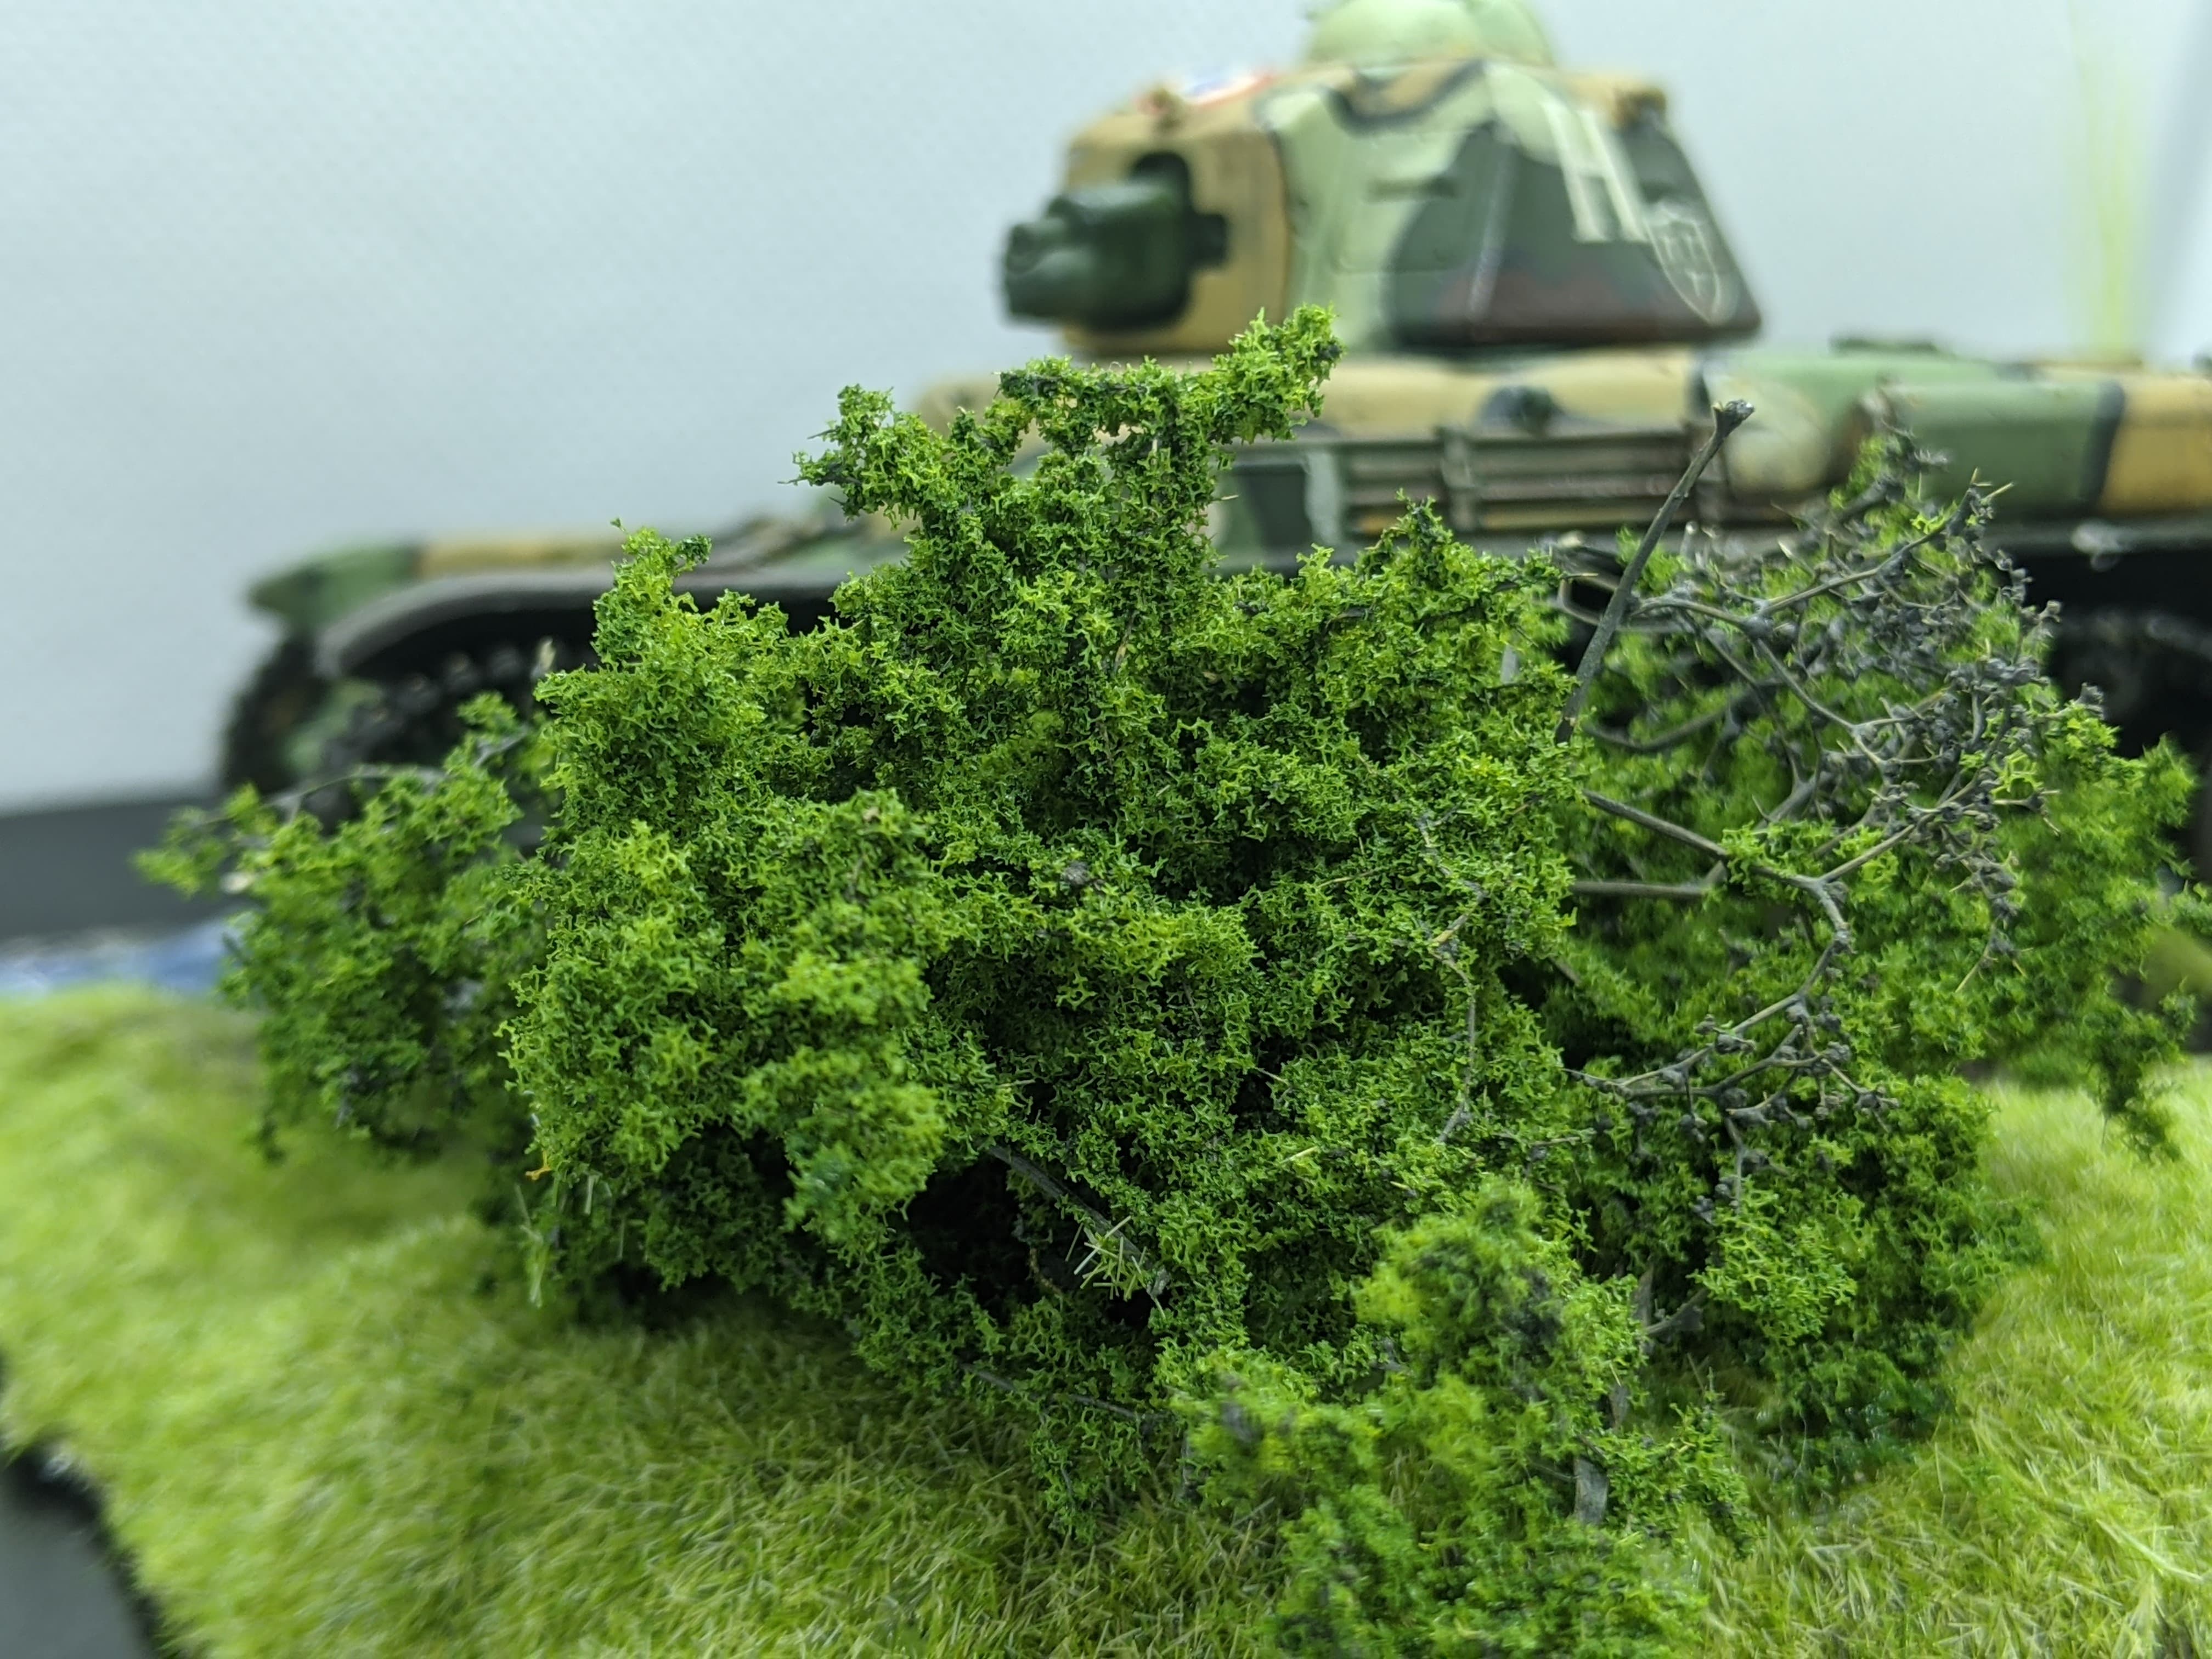
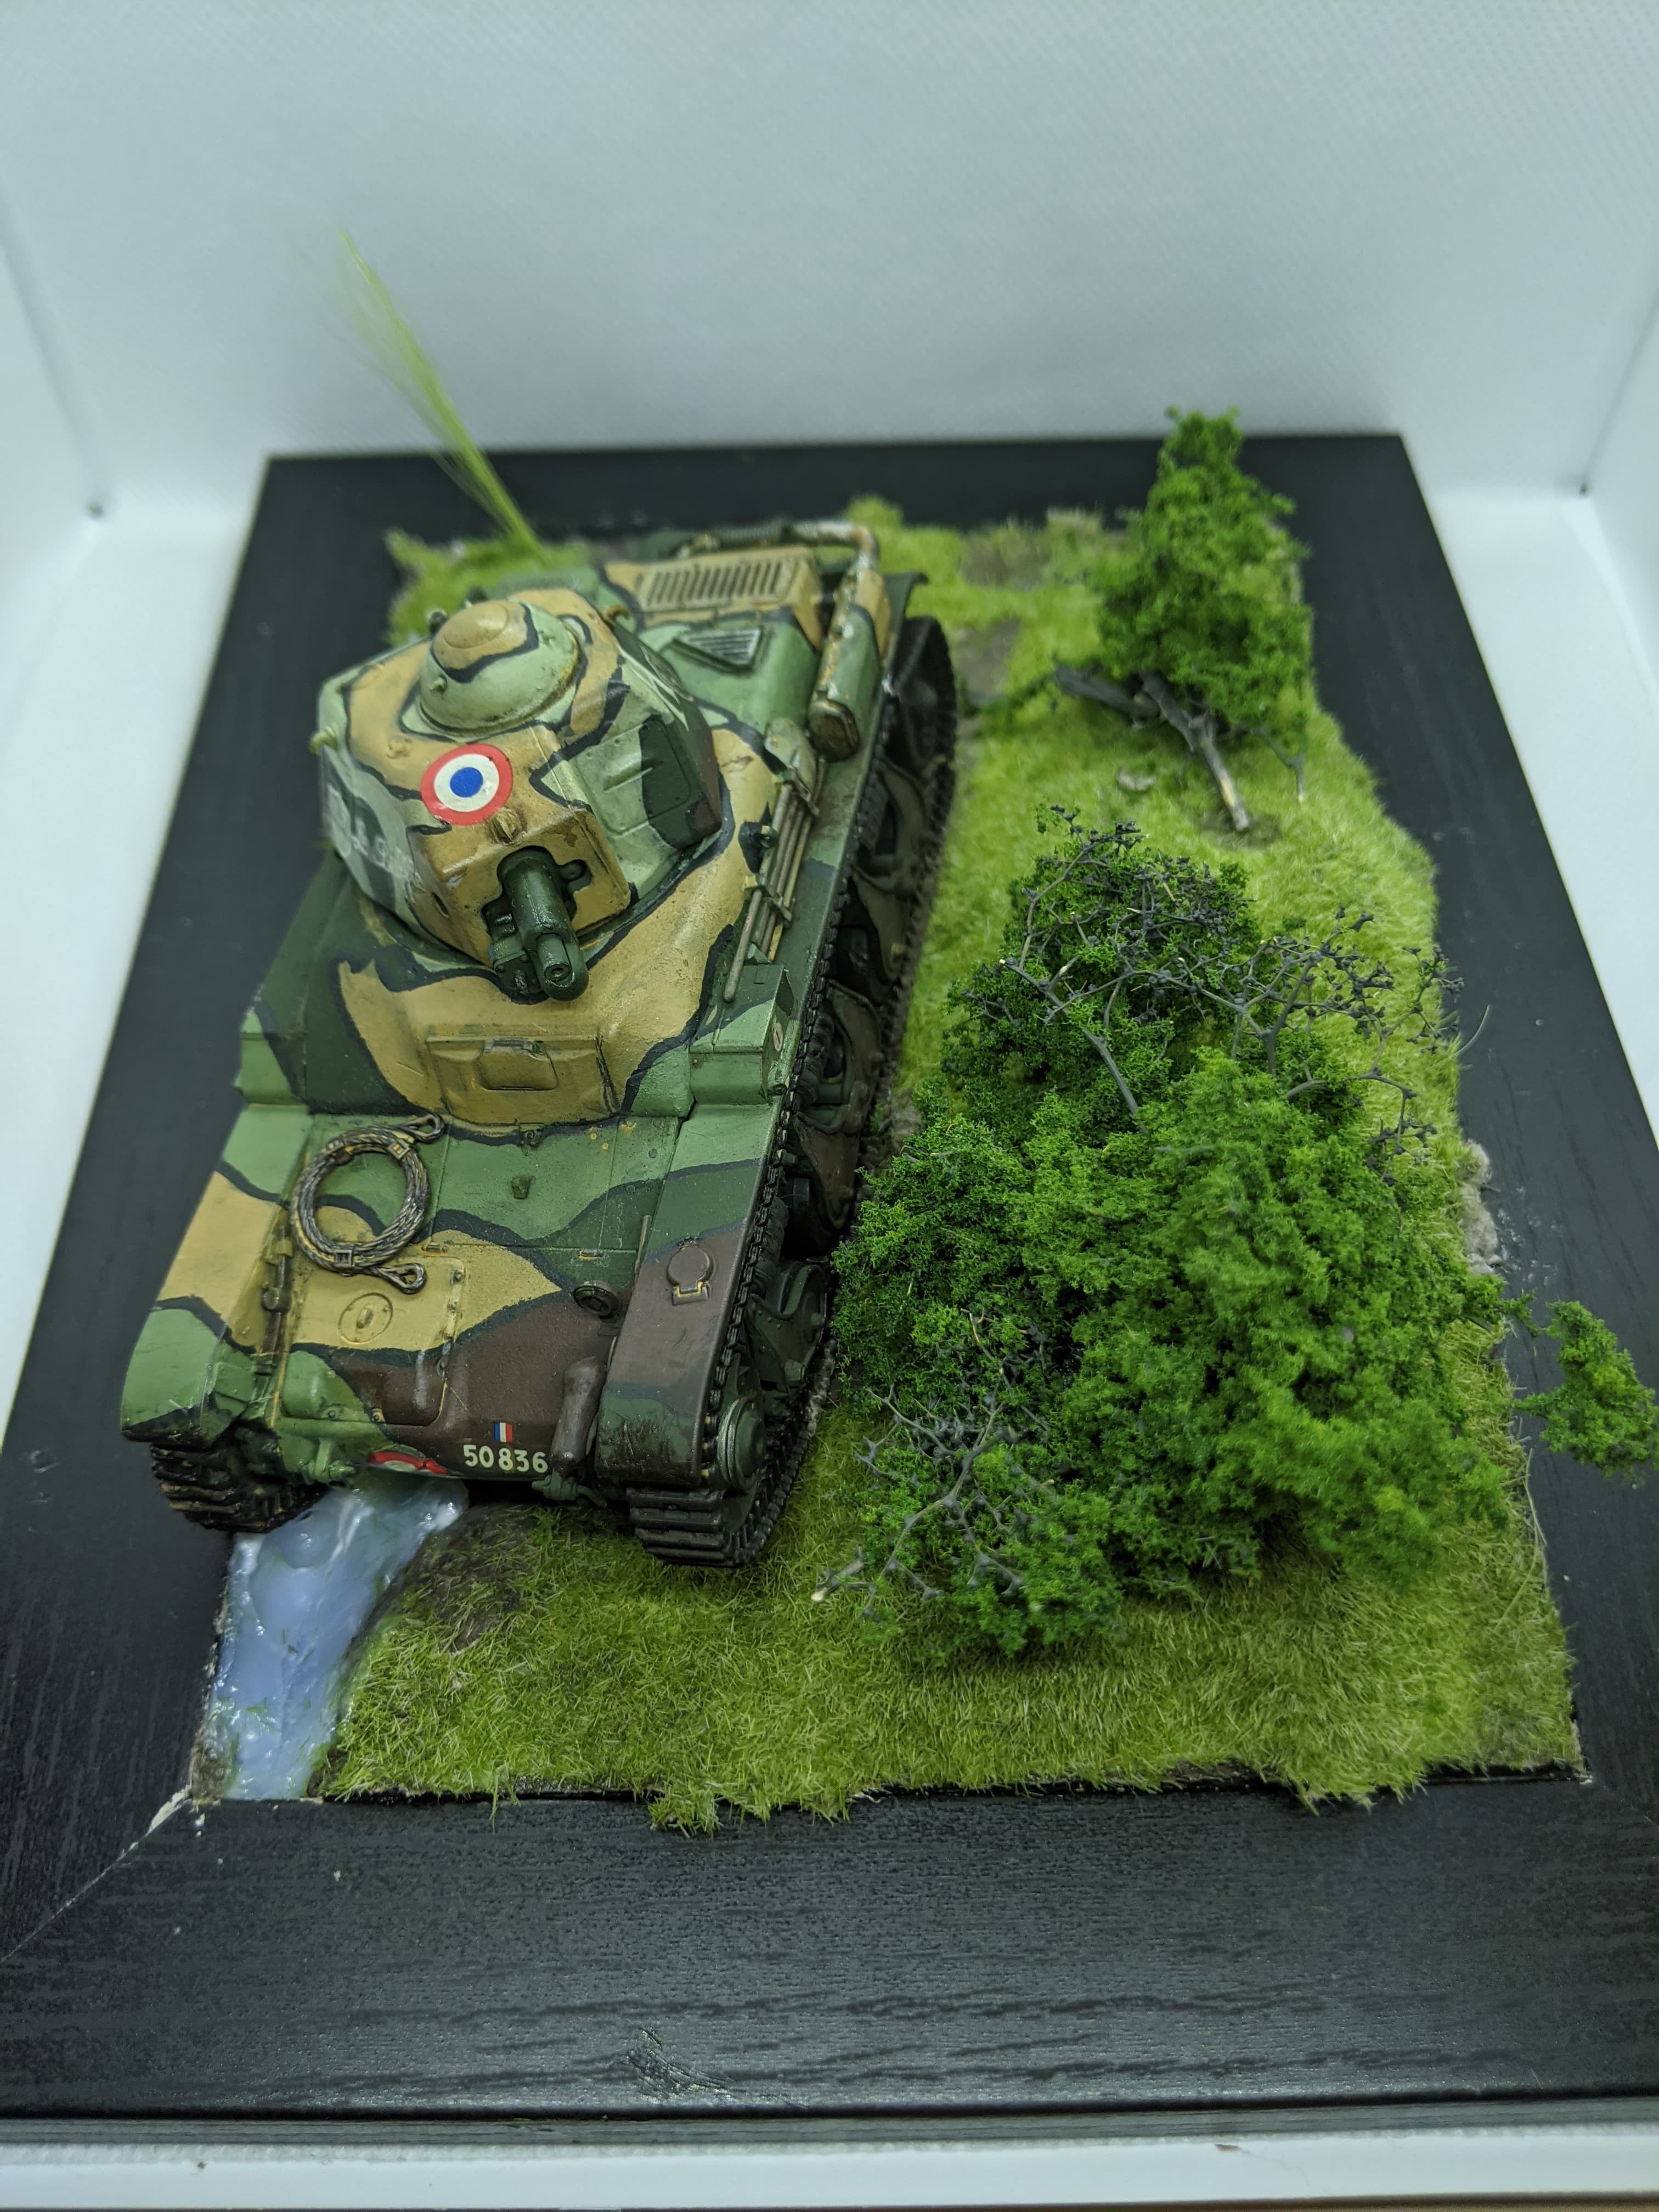
And after only one session, I already have much of the major assembly complete. I chose to close up the turret, as I may put this in a combat diorama in the future. Note the damage I’ve applied to the rubber on the road wheels. Note also the putty I’ve applied to the upper hull, though I haven’t finished yet. I figured it could be taken as an upper hull with poor casting mated to the rest of the tank, showcasing the less than stellar casting Renault suffered from. The kit is falling together, and in another session I will surely finish the hull. I intend to add some chain and other basic accessories, but otherwise this kit will be built OOB!
Dennis