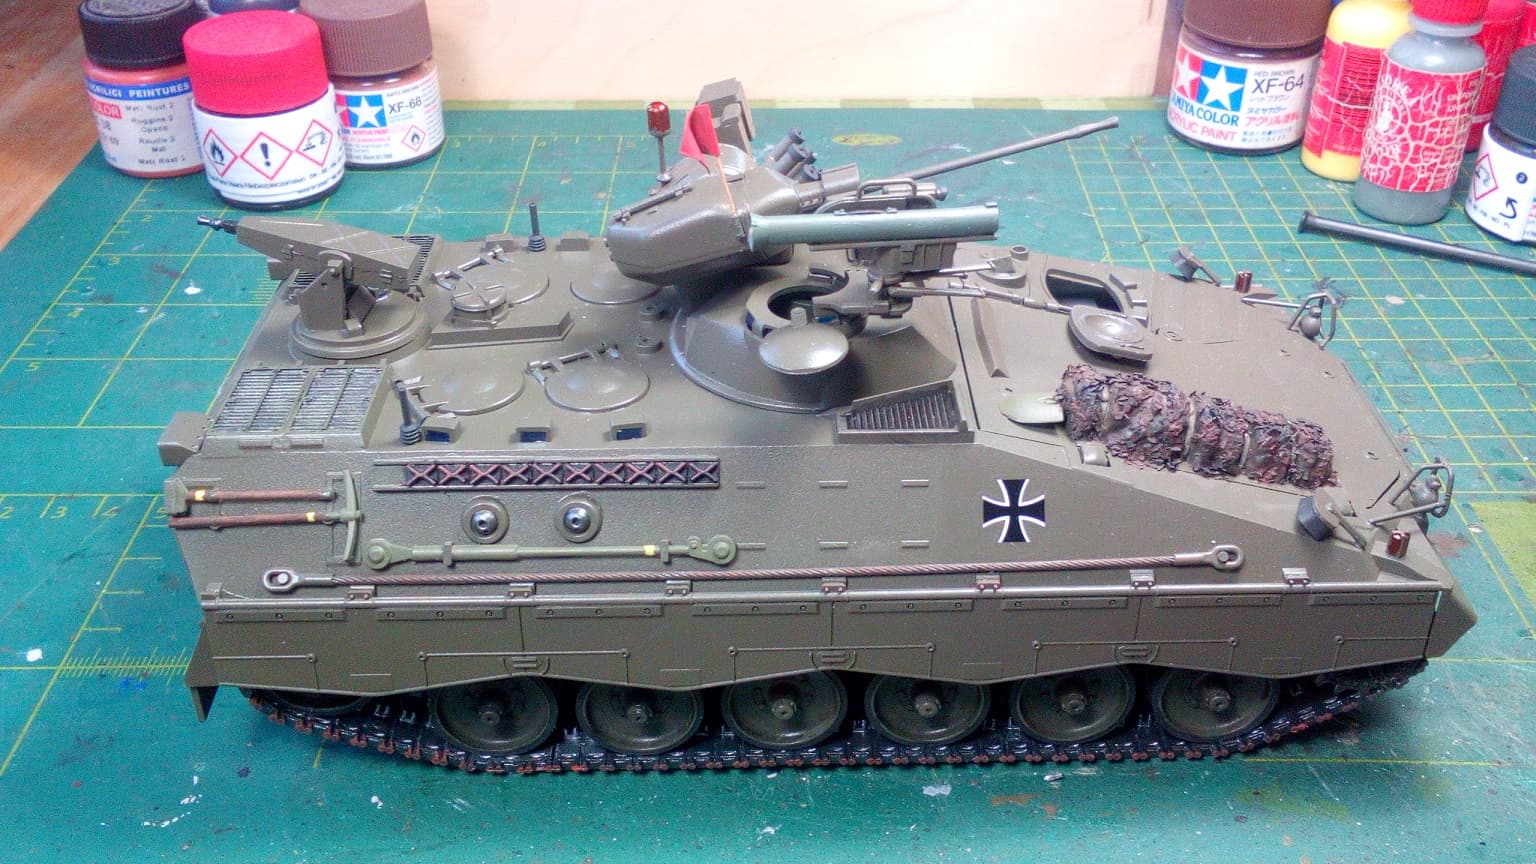
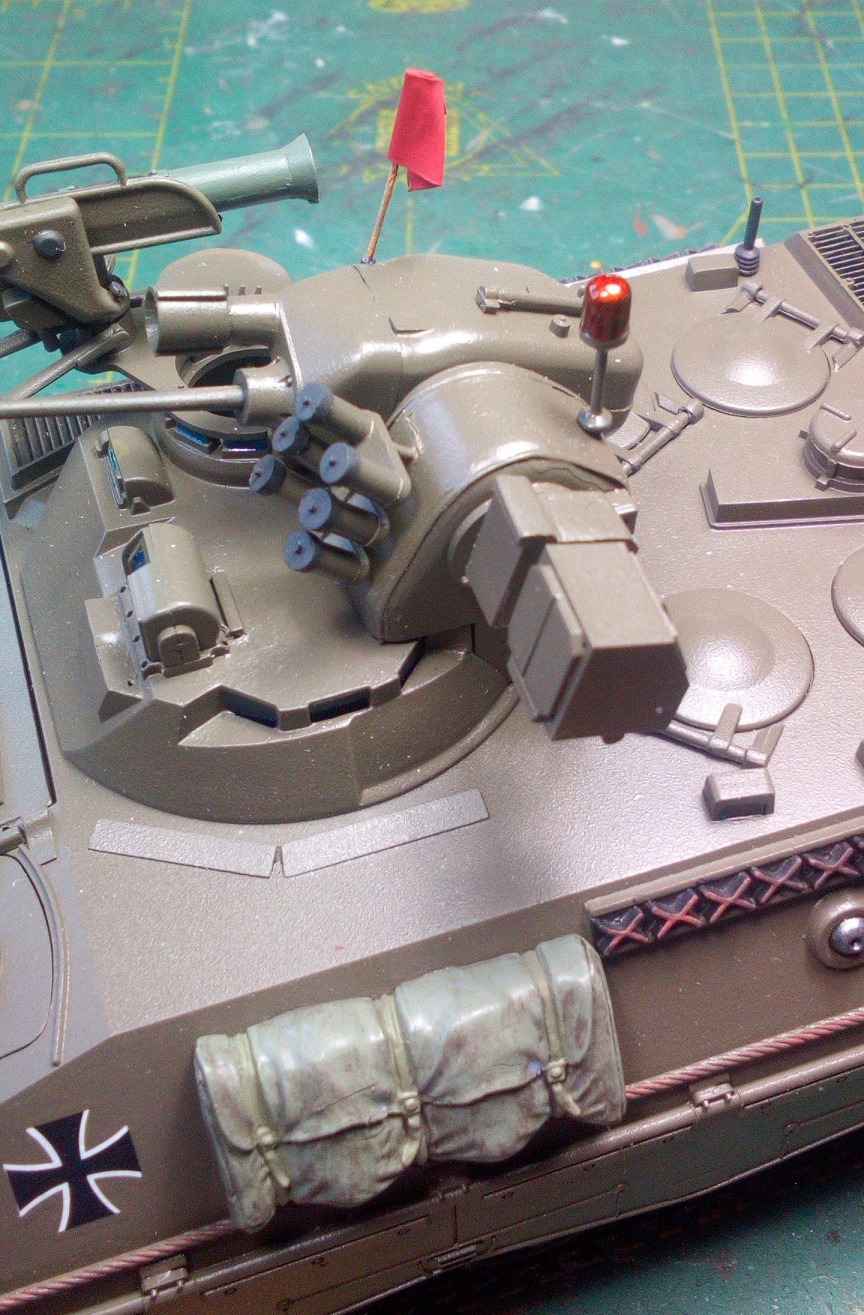
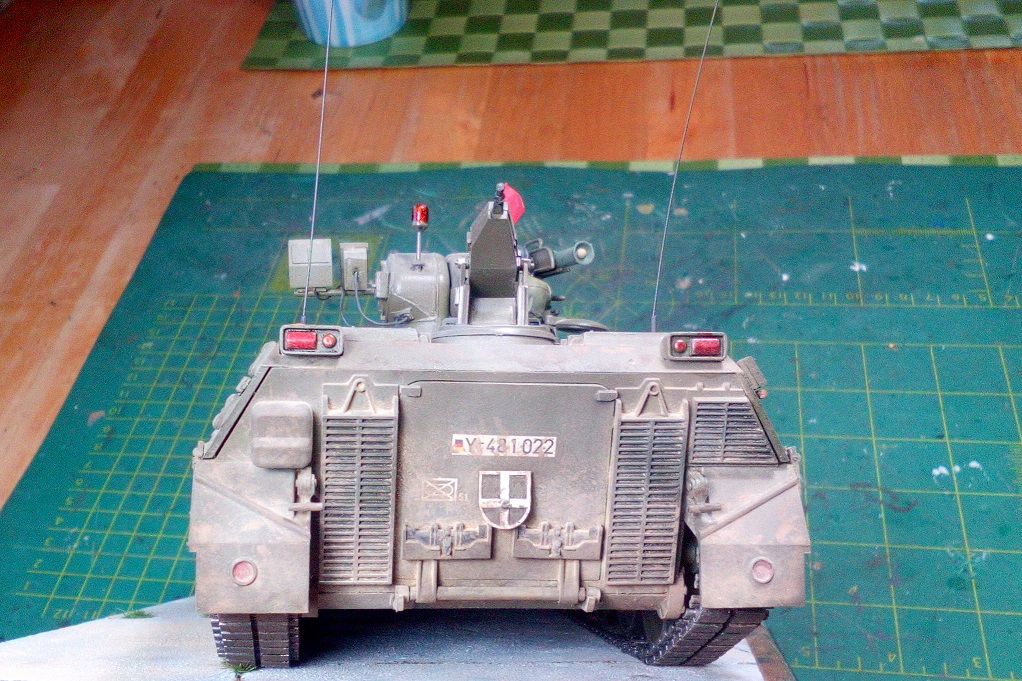
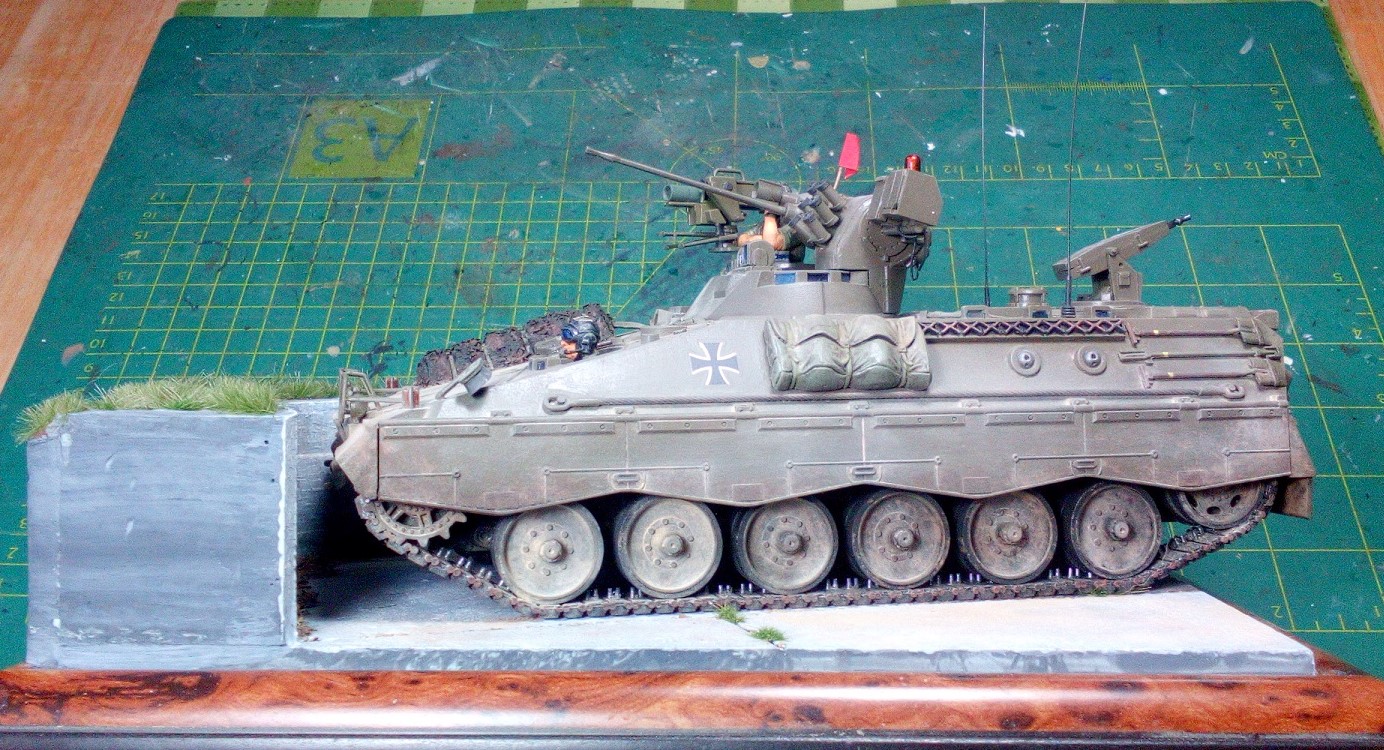
Fase 2, the detailpainting, is done.
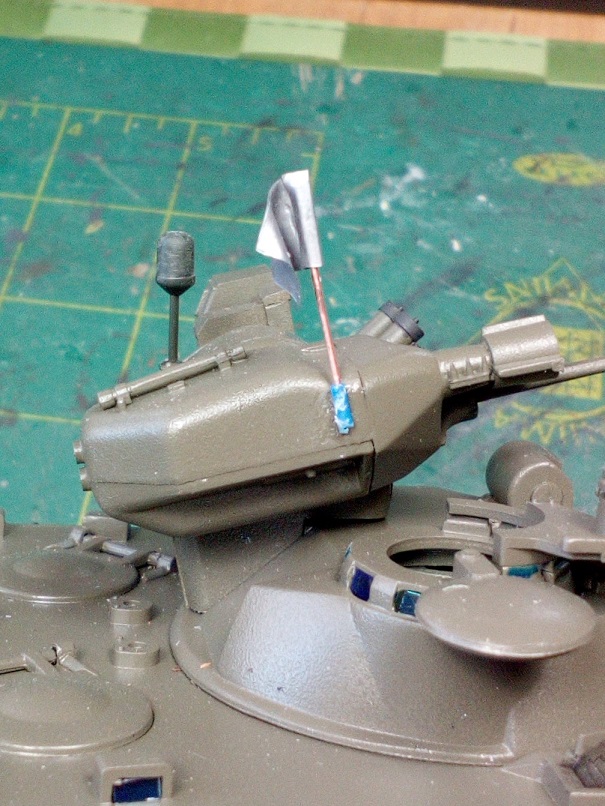
I added a orange flashlight and a red flag (live firing warning) plus antennabases.
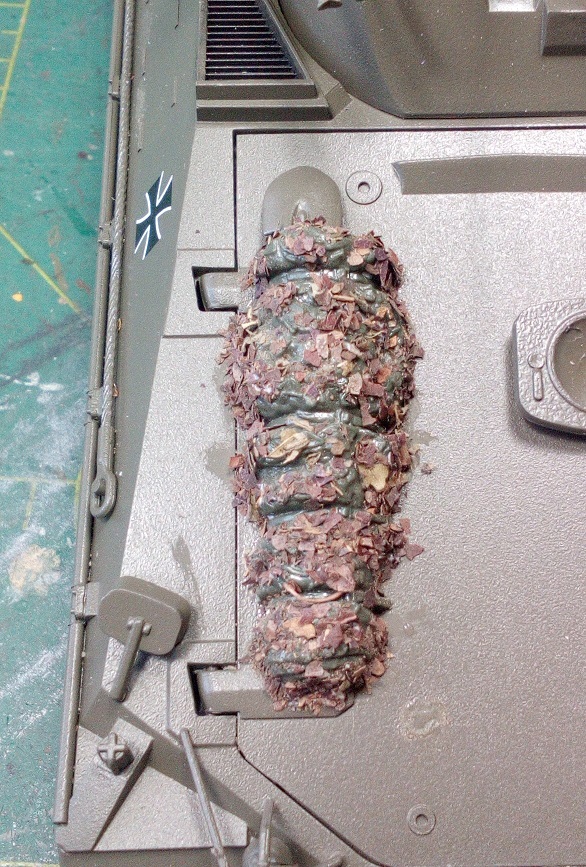
I also added material to the camouflagenet to make it look like a net instead of a chunk of plastic.
Next fase figurepainting:
Fase 2, the detailpainting, is done.
I added a orange flashlight and a red flag (live firing warning) plus antennabases.
I also added material to the camouflagenet to make it look like a net instead of a chunk of plastic.
Next fase figurepainting:
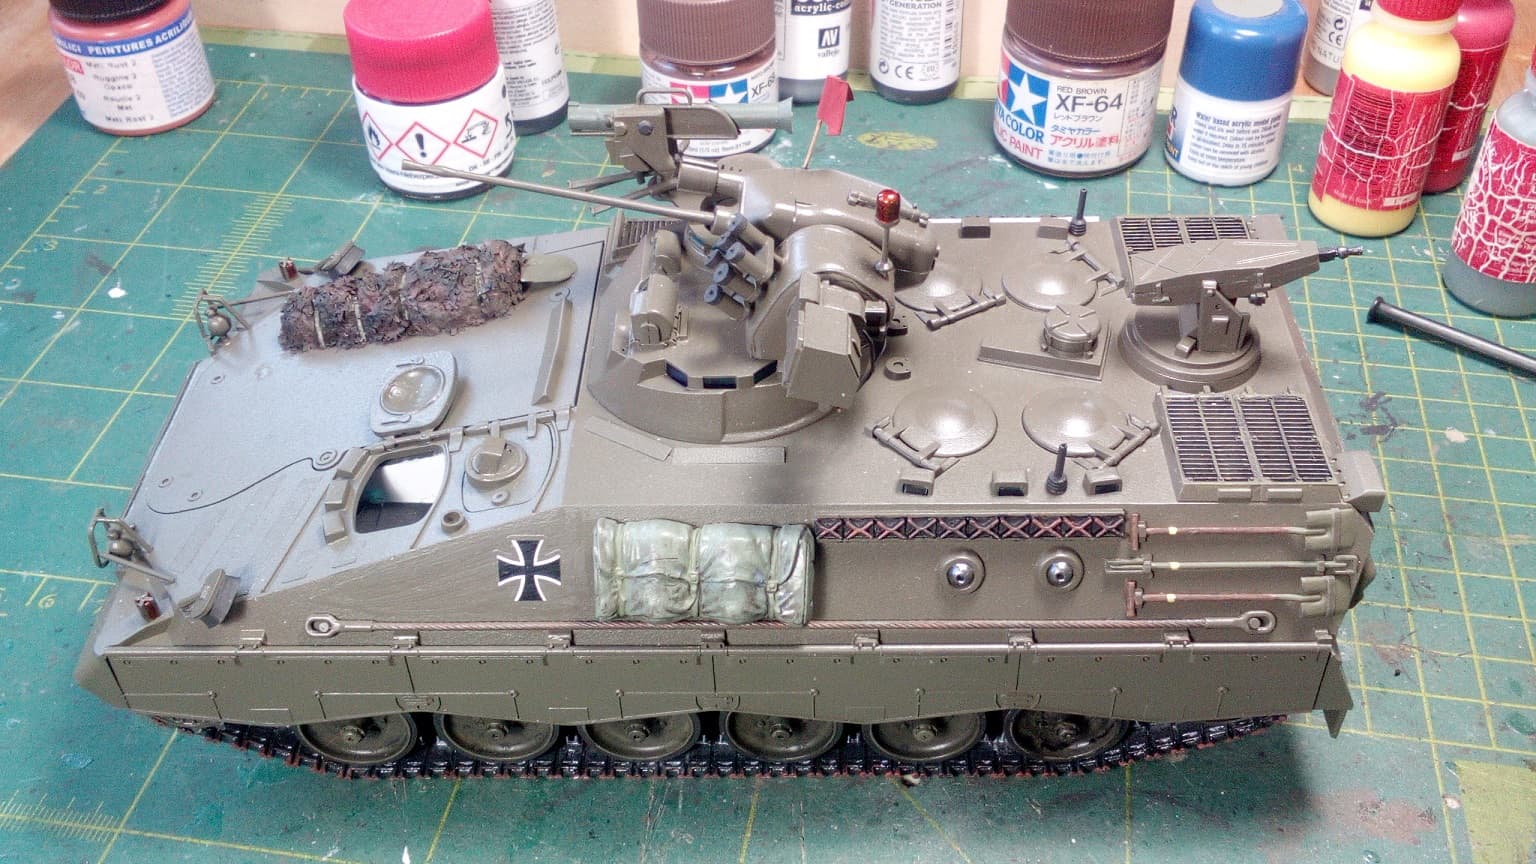
The flashlight = gunmetal + 2 layers of Tamiya clear oranje. The same goes for the directionindicators. Rearlights = gunmetal + clear red.
The camouflagenet = dark green base + random blotches of black and brown, followed by a dark wash. A drybrush will follow when completely dry.
Straps are olivgreen.
We had a bit of a crisis here, this morning. My daughter’s sweater caught a corner of the base with the Marder on it and the while thing ended up an the floor!
Damages were rather easily repaired and one thing let to another…
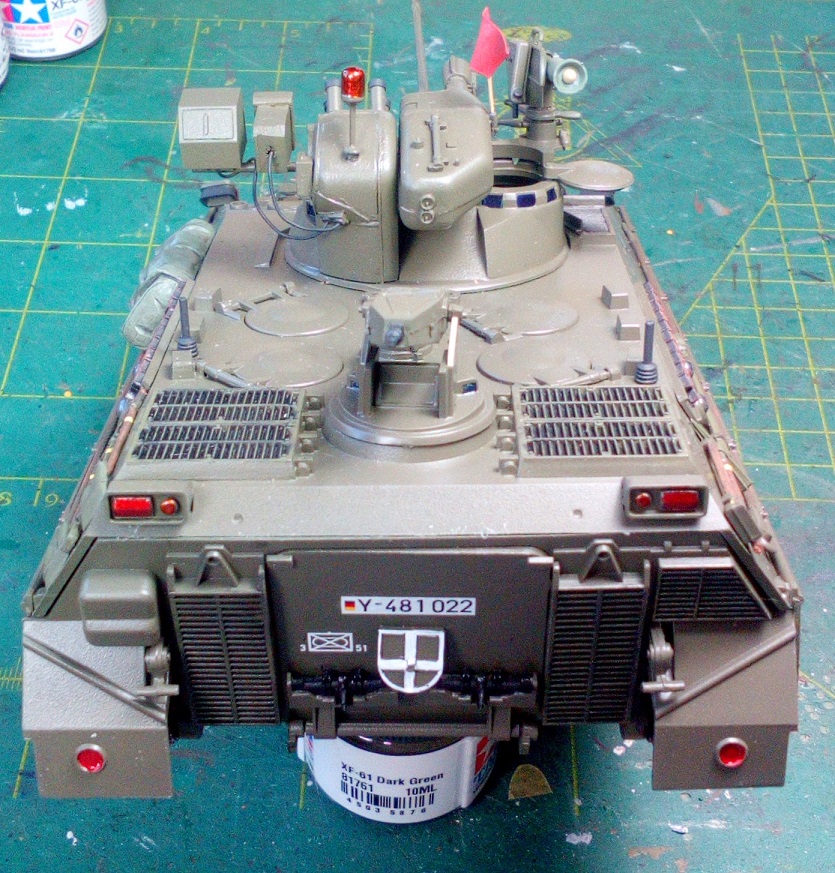
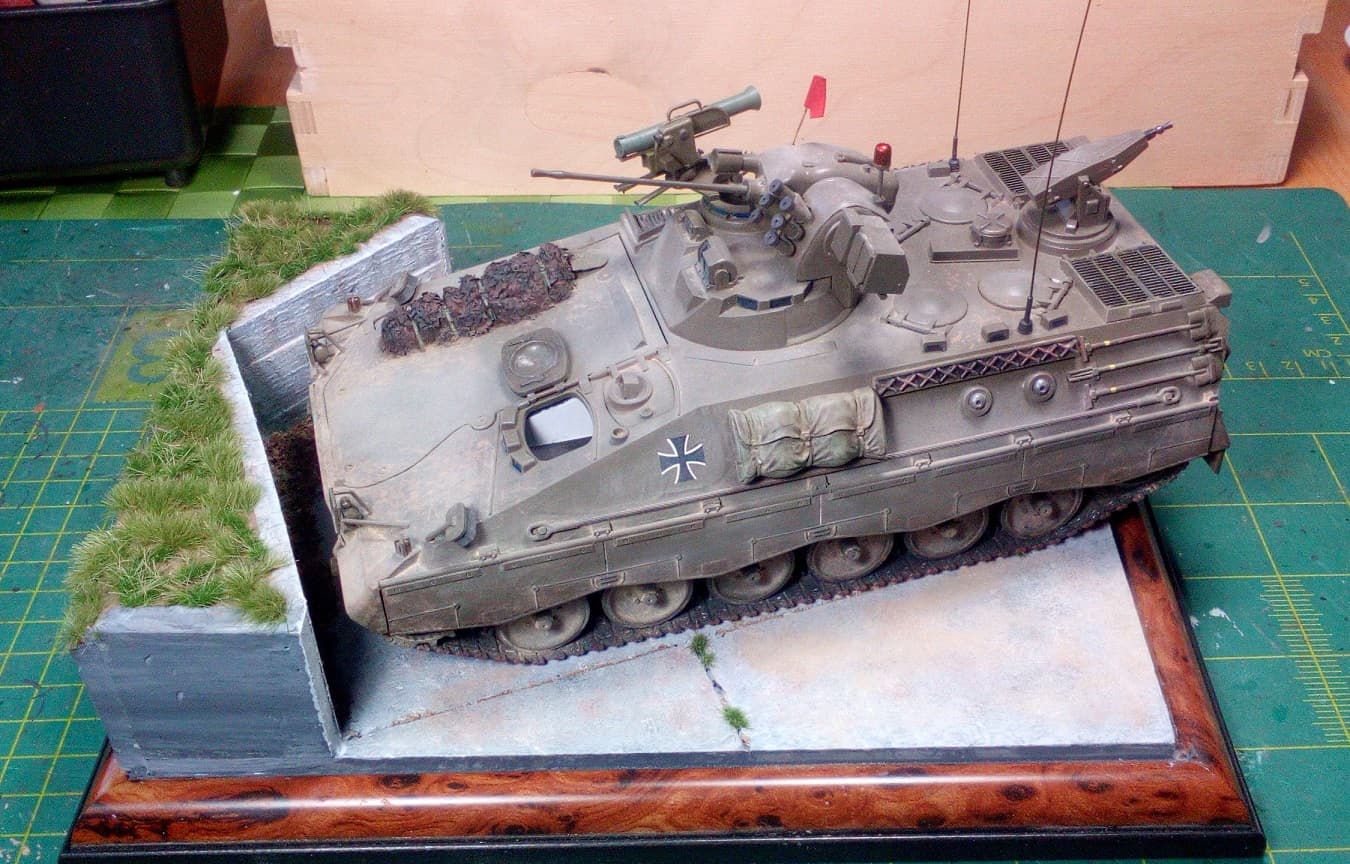
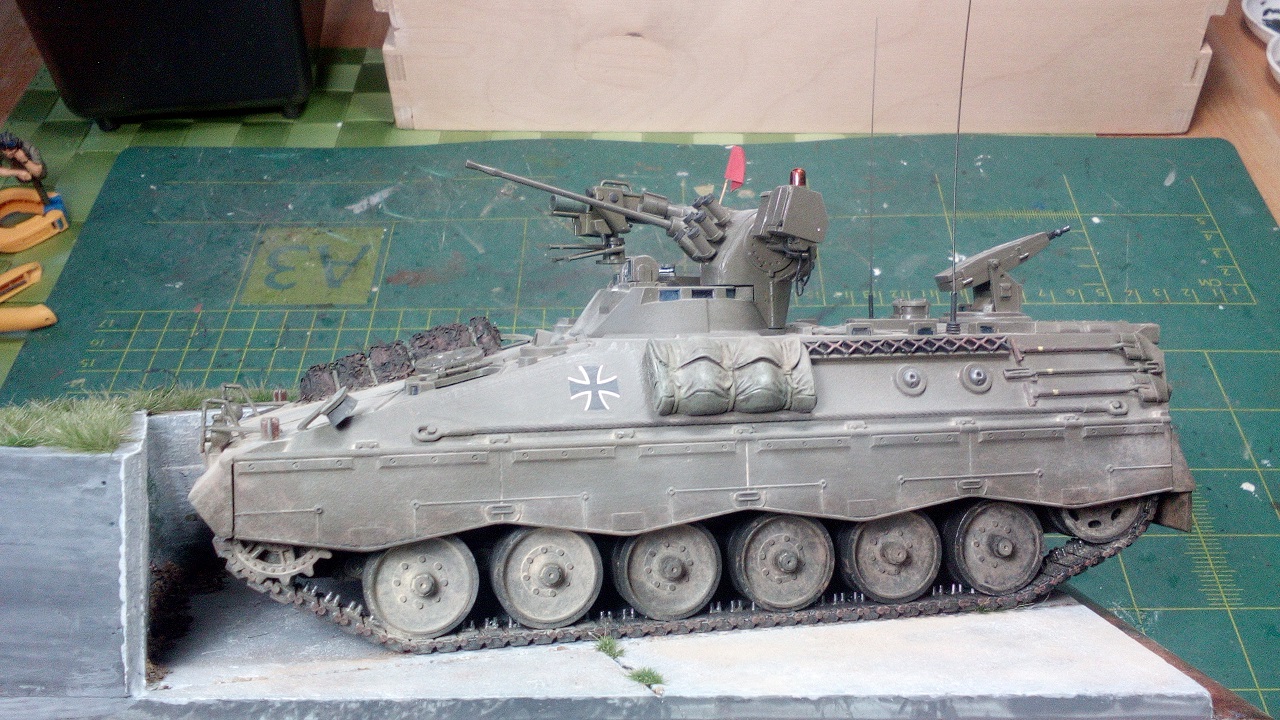
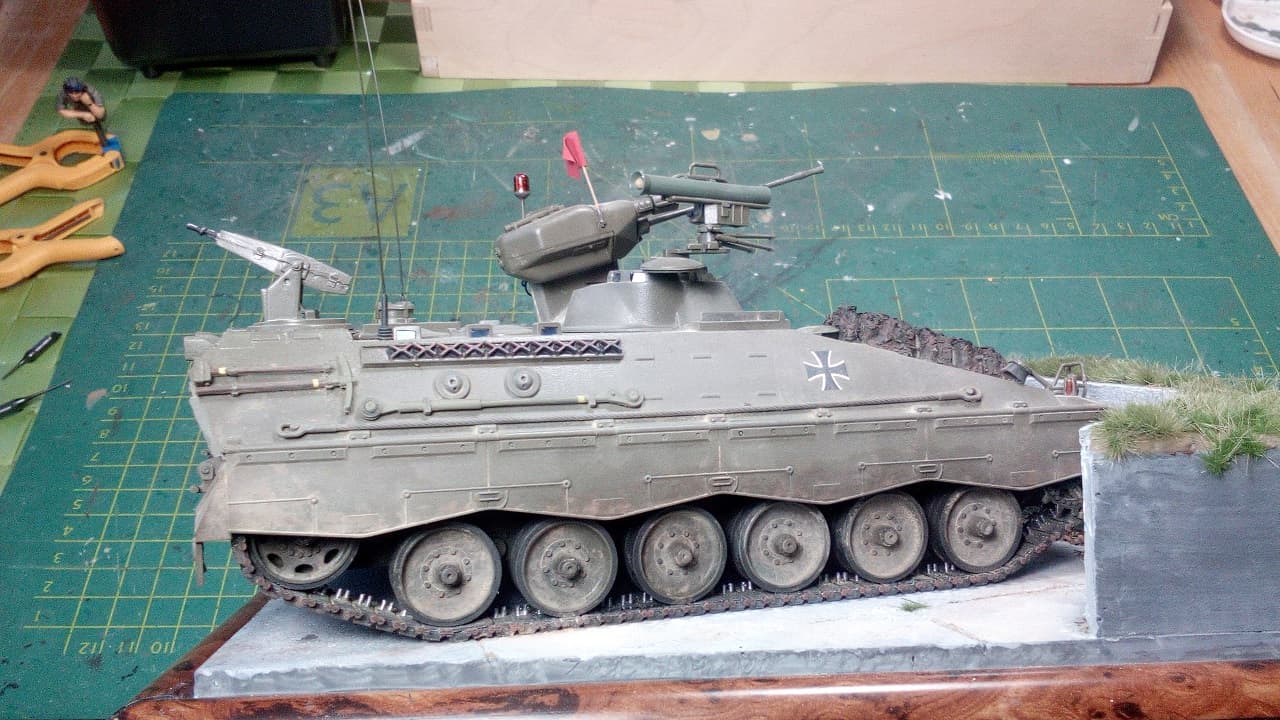
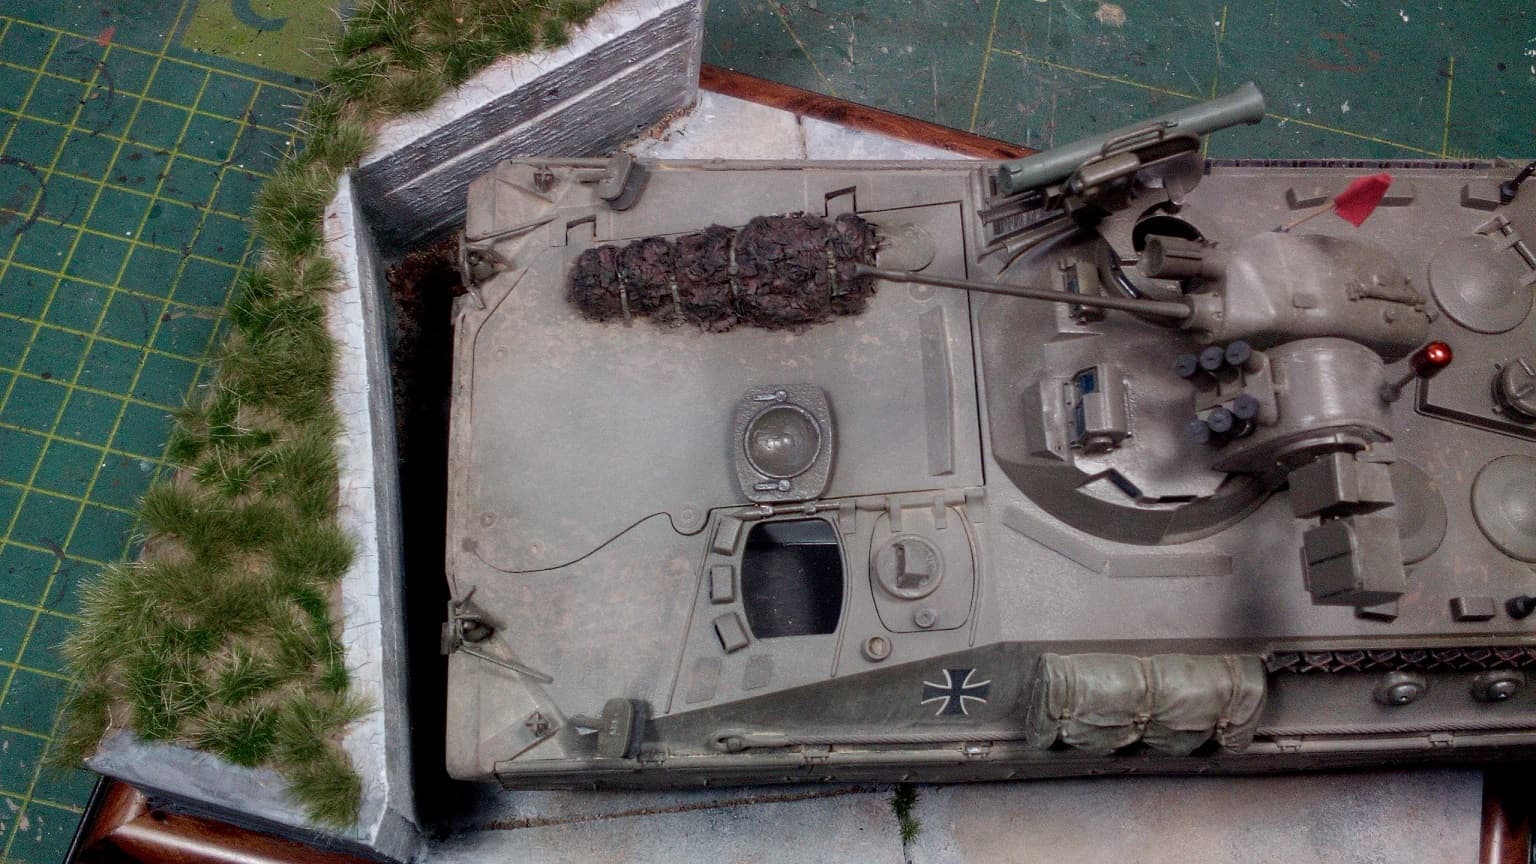
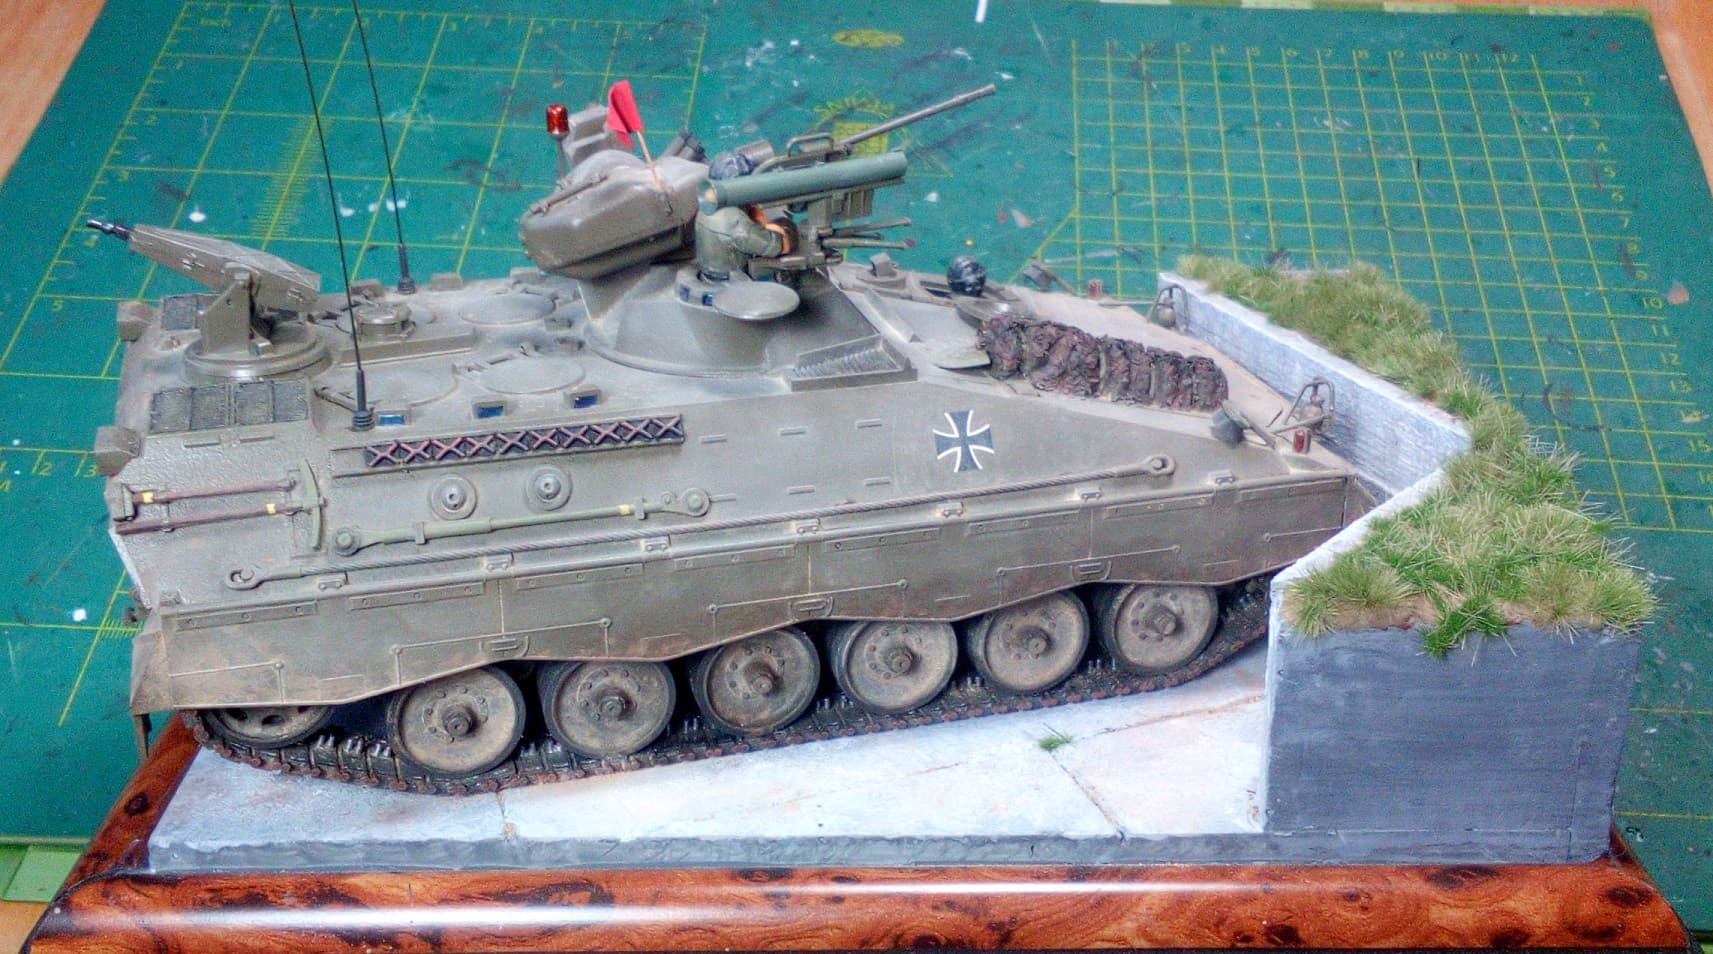
The Marder is now DONE!
But first things first.
Fase 3; the weathering.
I used all pastelchalks for this one; darker colours in wet to suggest dried up dirt and splash, followed by lighter, dry chalks to suggest collected dust.
I kept the whole thing light and (late) summer-like.
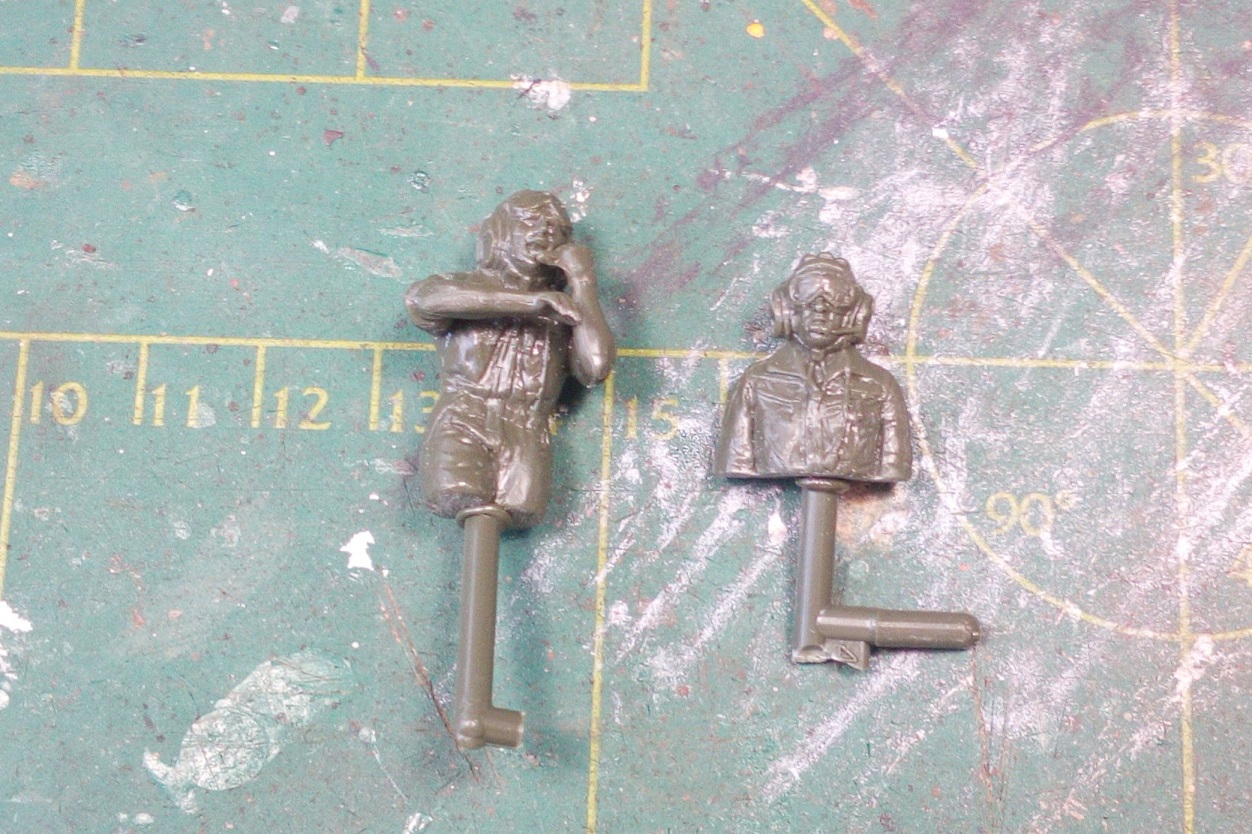
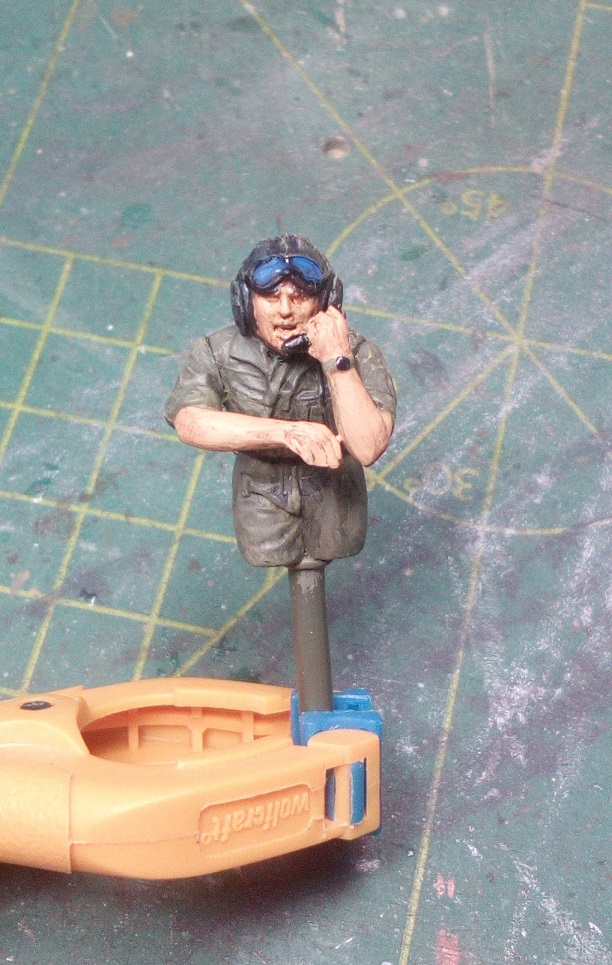
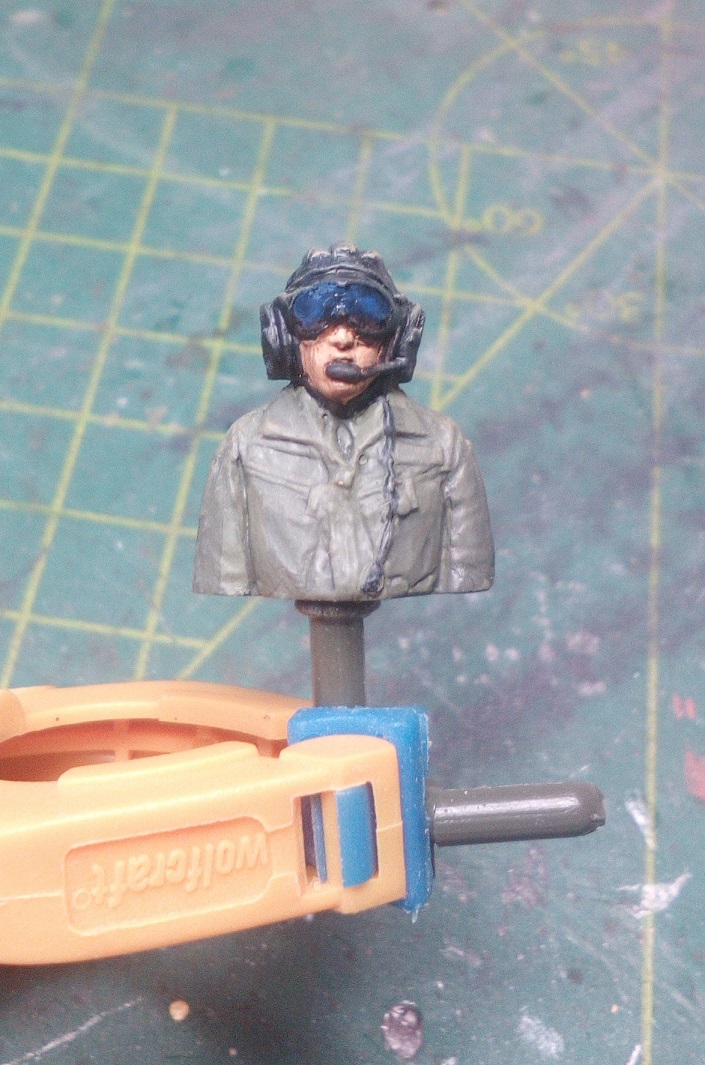
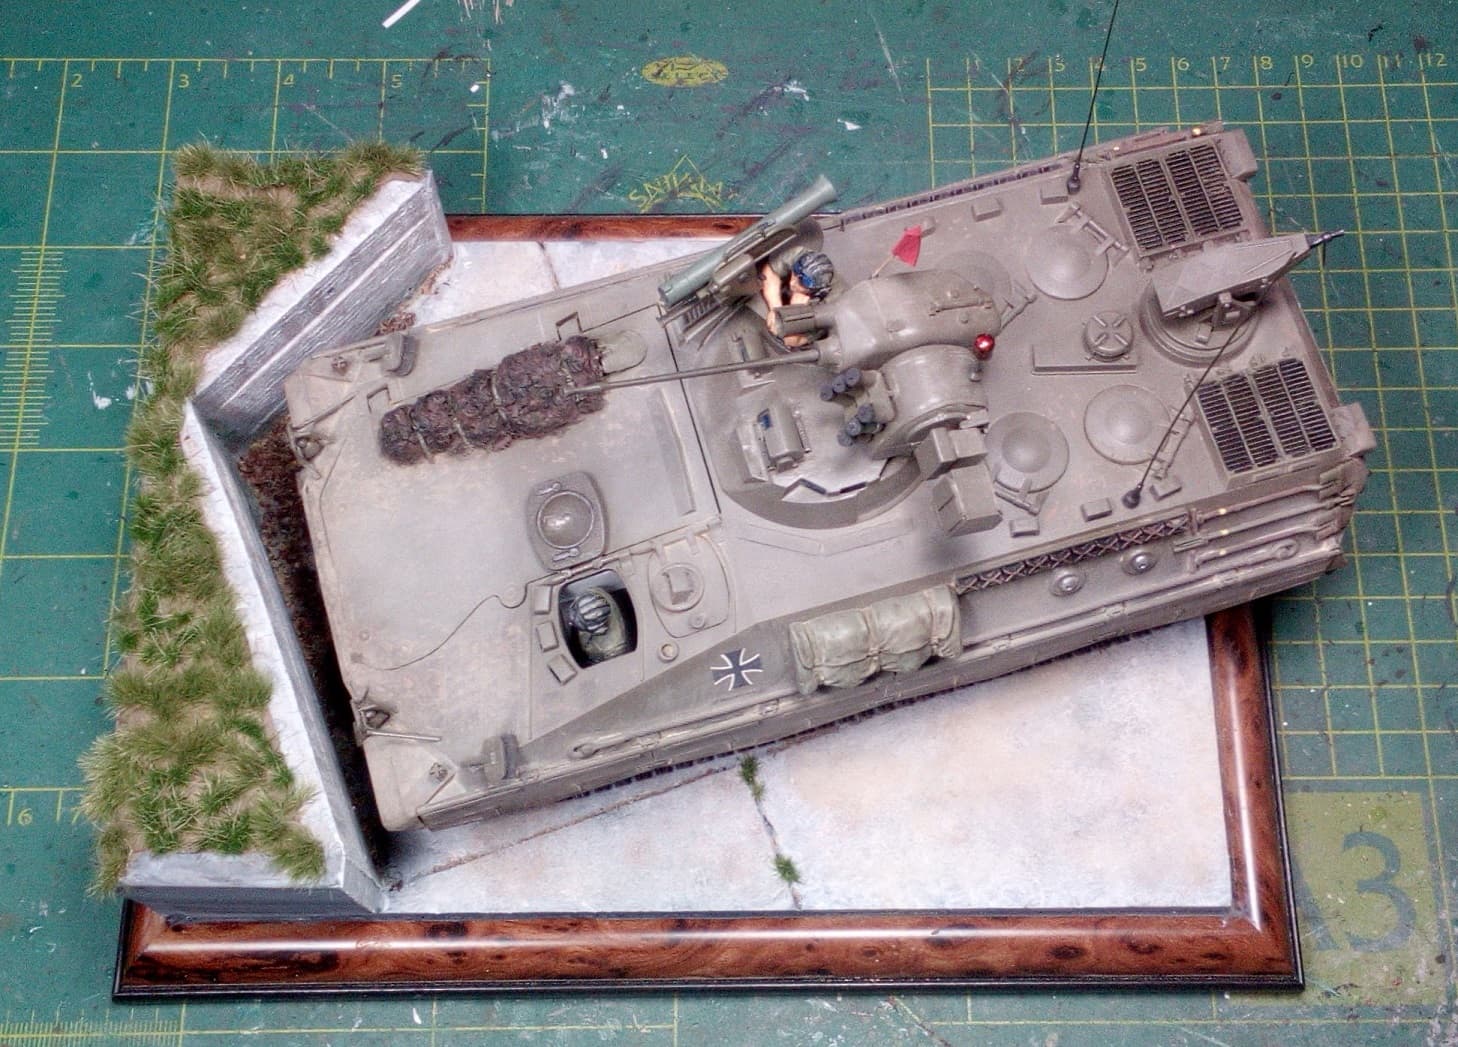
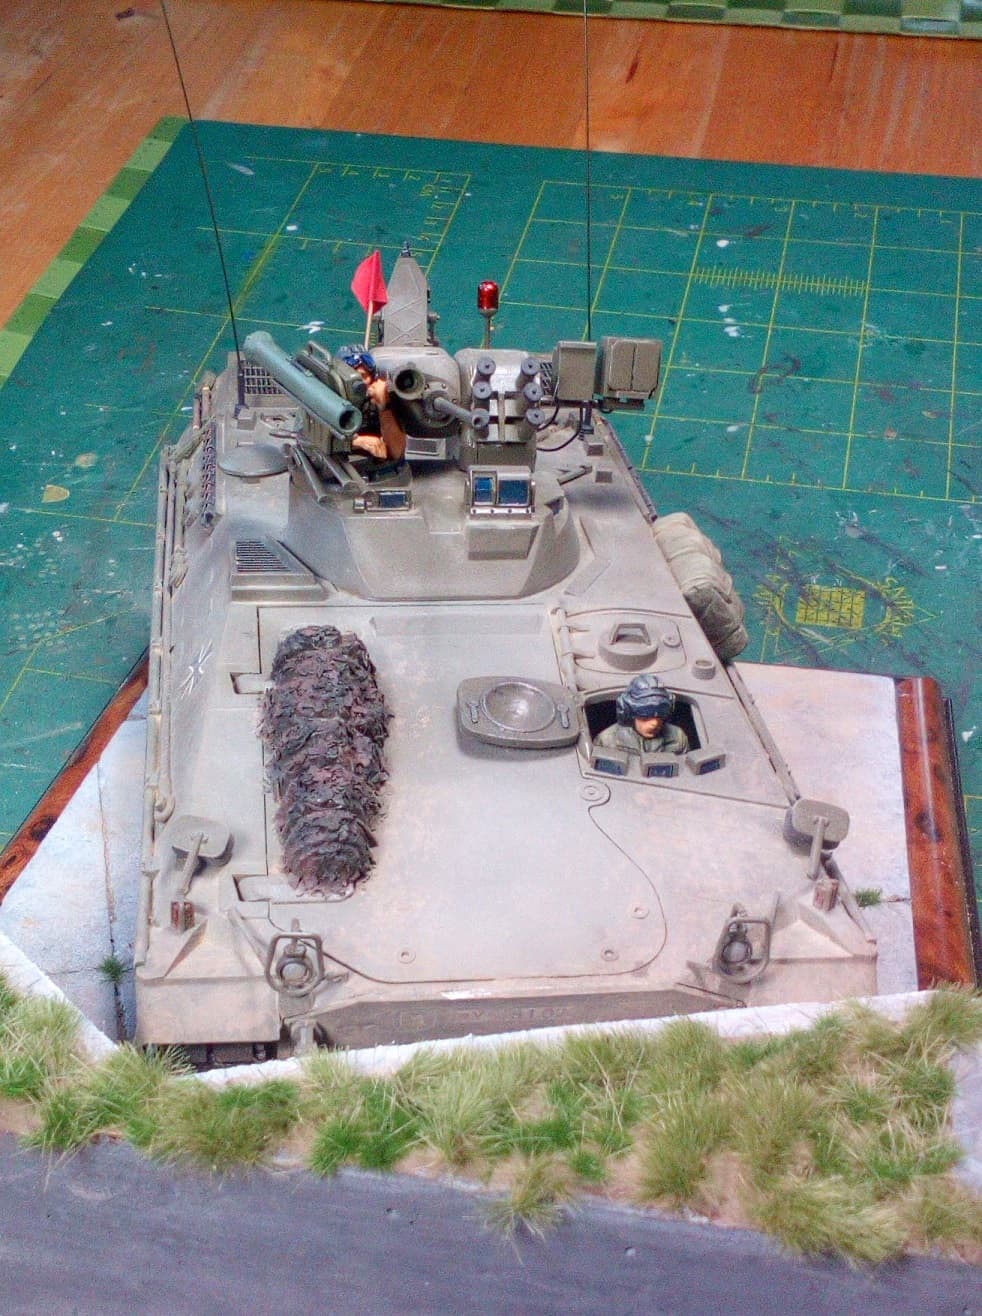
Next is fase 4; the figures.
These are typical 80’s Tamiya gardengnomes; soft on details.
Painting was kept simple: US uniform green for the overalls, black for helmets and accessoires and medium skintone for well… the skin.
Overalls; base colour, shadows base colour + bit of black, applied as a wash, highlights = drybrush with base colour + skintone.
Helmets; black + skintone mix, highlights = drybrush black + more skintone
Accessoires = pure black, highlight = drybrush with skintone.
Goggles = pure black with blue was on glass, finished with a drop of gloss varnish.
Skin = medium skin, followed by a brown wash.
Very nice Ron, you have captured that perfectly. It was a great build and you have finished it just right, a nice gentle dust layer. Nice work on the crew as well.
Question on the drivers hatch while I think about it, would the hatch have had a different coloured pad in the center ? and the handles – Veh colour or red ends like some UK ones ?
Thank you!
I completely forgot about the padding!
Found some pictures that look like foam or something?
The handles are vehicle coloured, but I could have added extra detail there too.
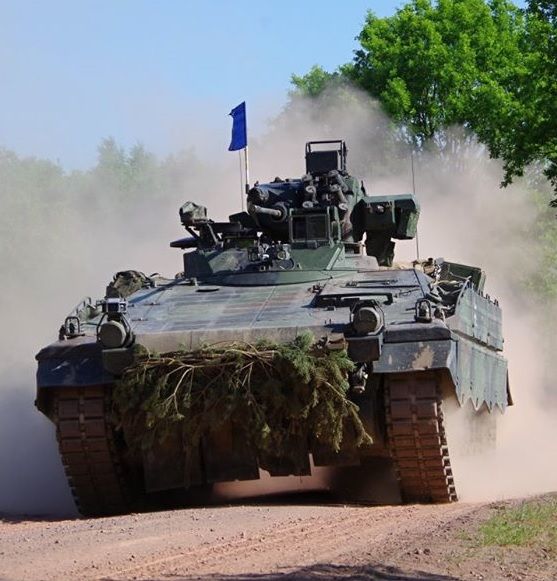
Looks amazing; I love the tank defilade look. Keeping the vehicle under cover, but leave the turret up and on target.
Excellent Ron.Ive always liked the Marder.Would be great to see some company do some nice kits of them.Ive seen a fair few on youtube videos of the real vechiles on exercise in Germany in 1990s.
Richard
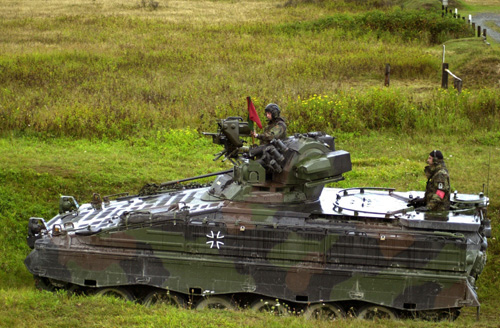
Ron, the postion of the red flag is wrong. The 3 studs behind the m.g. mesh are actually tubes to put the flag(s) in.
Nice job on this oldie.
You should add the seal at the front of the Milan missile. A thin circle of styrene is good enough.
Olivier
Merci!
I shall fix that.
Really nice looking scene.