In the Dutch Twenot-forum we have started an oldschool-Tamiya-fastbuild, meaning an old kit, no AM or PE, a base and to be done within a month.
We started on the 10th and my contribution, even though slightly unqualified due to age, was accepted.
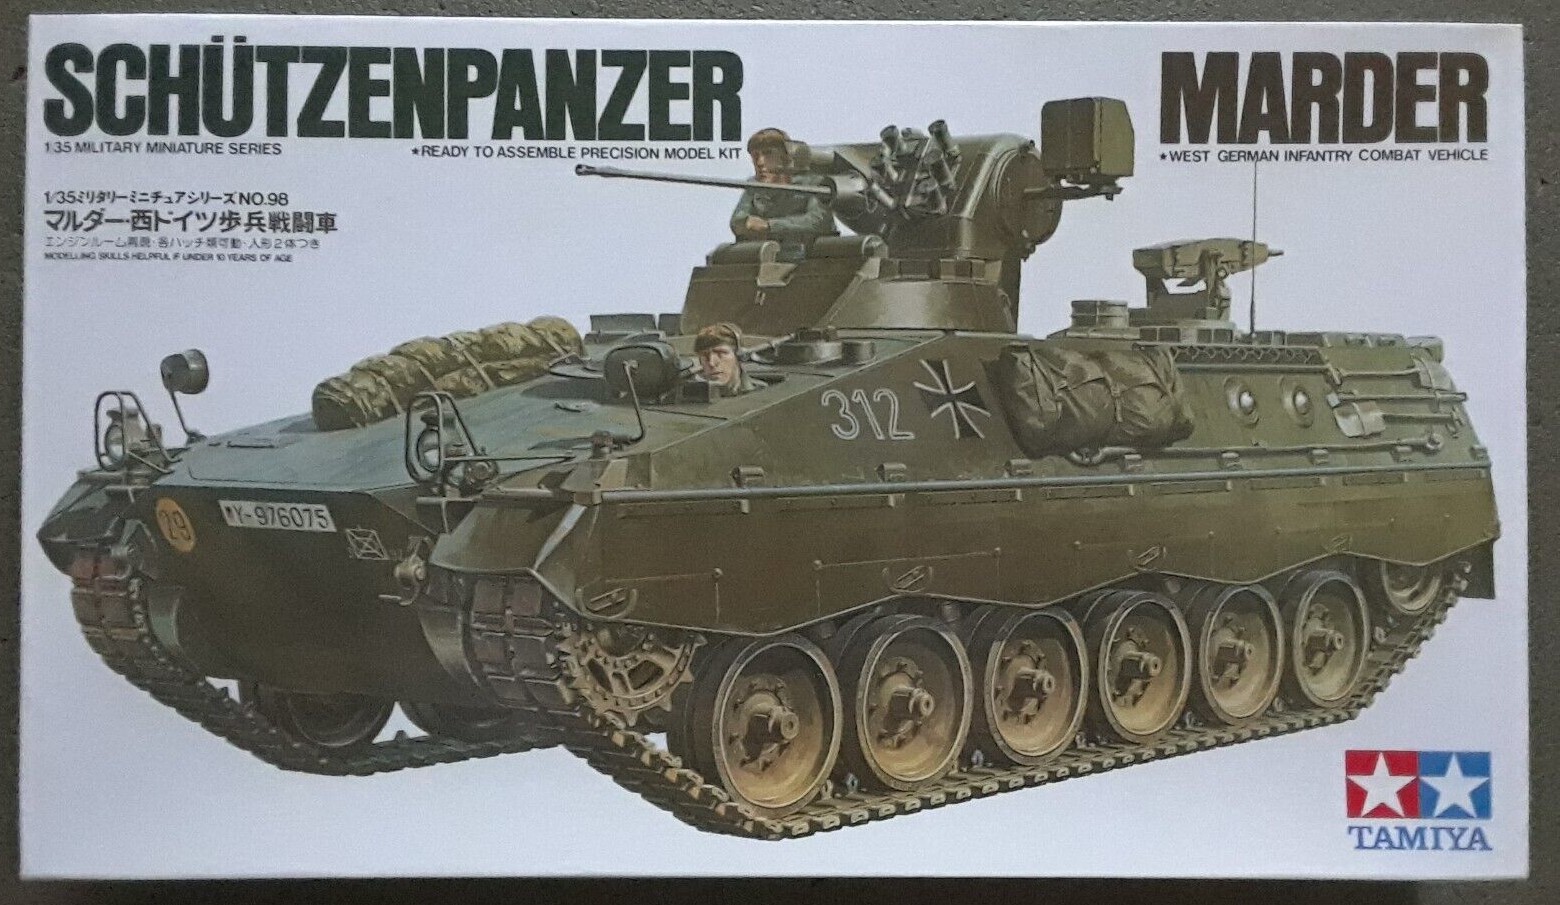
I am going for the Marder 1A2 kit and backdating it to a 1A1+ version. That means some details, like the protective cage over the left enlarged periscope, had to be left of and some, like the rear MG-turret could be added.
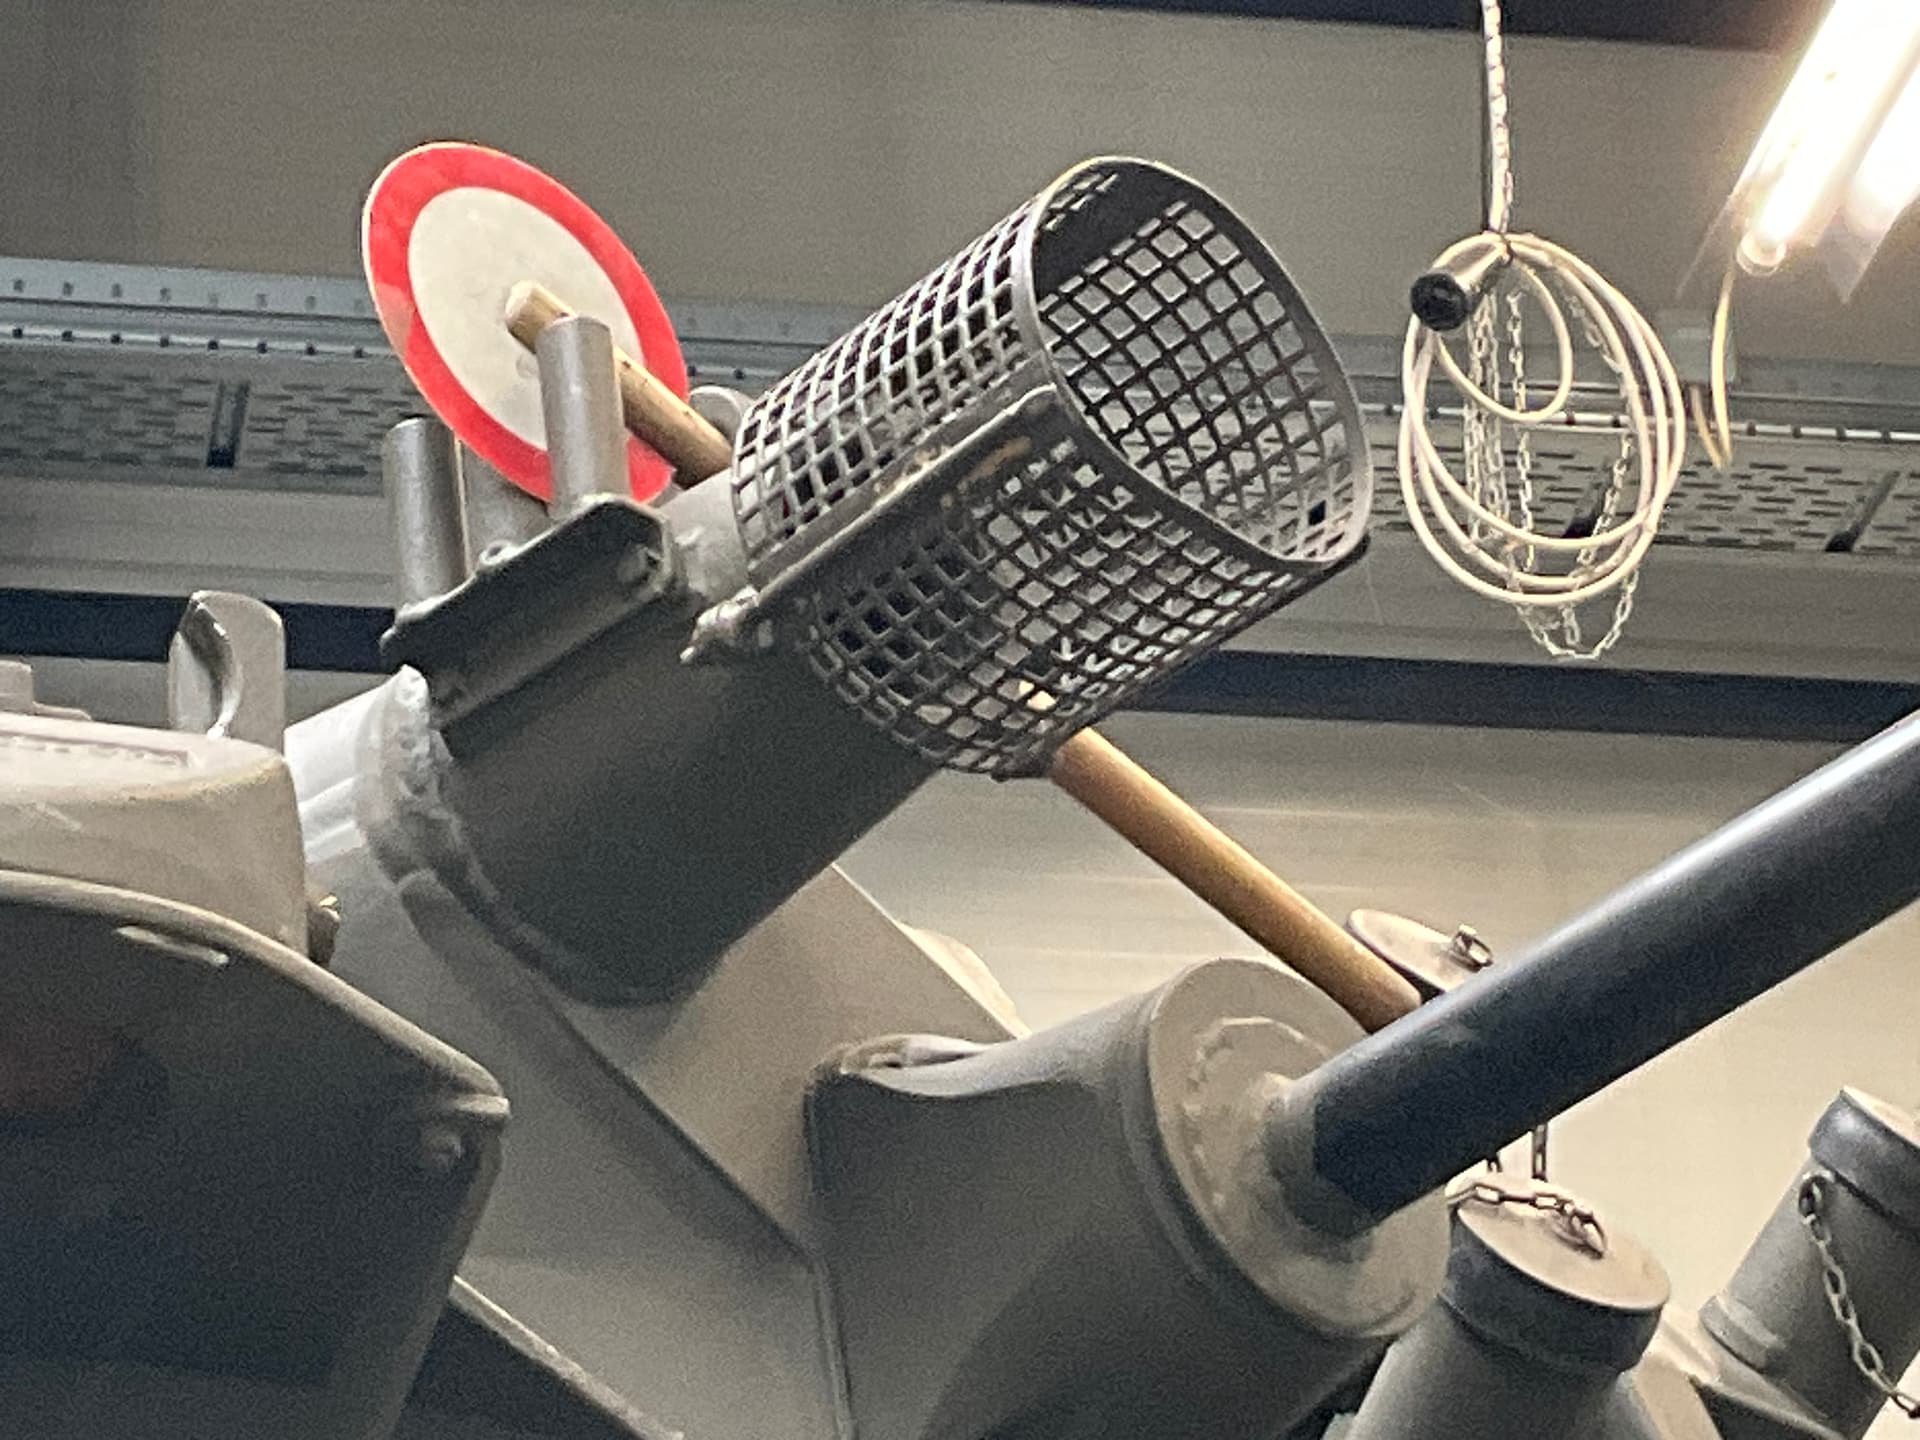
It also needed a heatseeking camera, which had to be scratchbuilt.
Sideskirts could be added, as well as the MILAN and long towing cables.
I always wanted the early kit, but could never find one (reasonably priced).
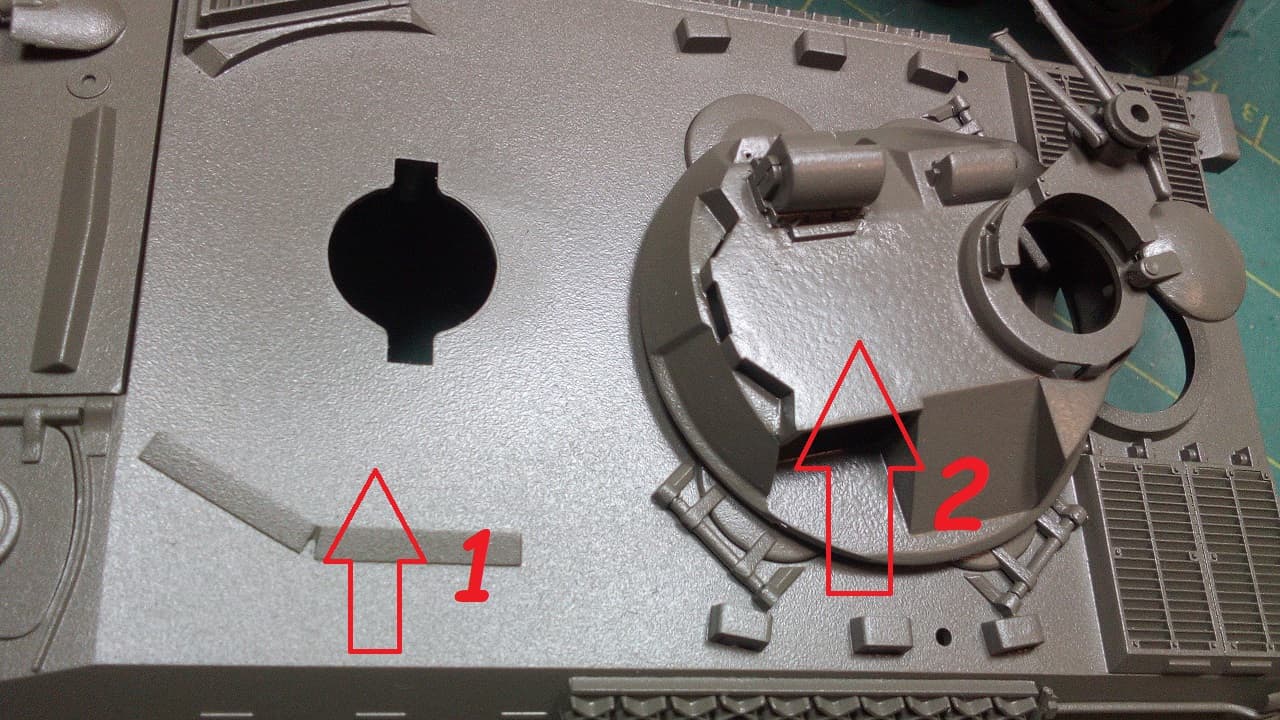
While building it I noticed that both kits shown are NOT identical!! Which I assumed they were with some add-ons for the 1A2-version. As it turns out the turret in the latter has been reworked!
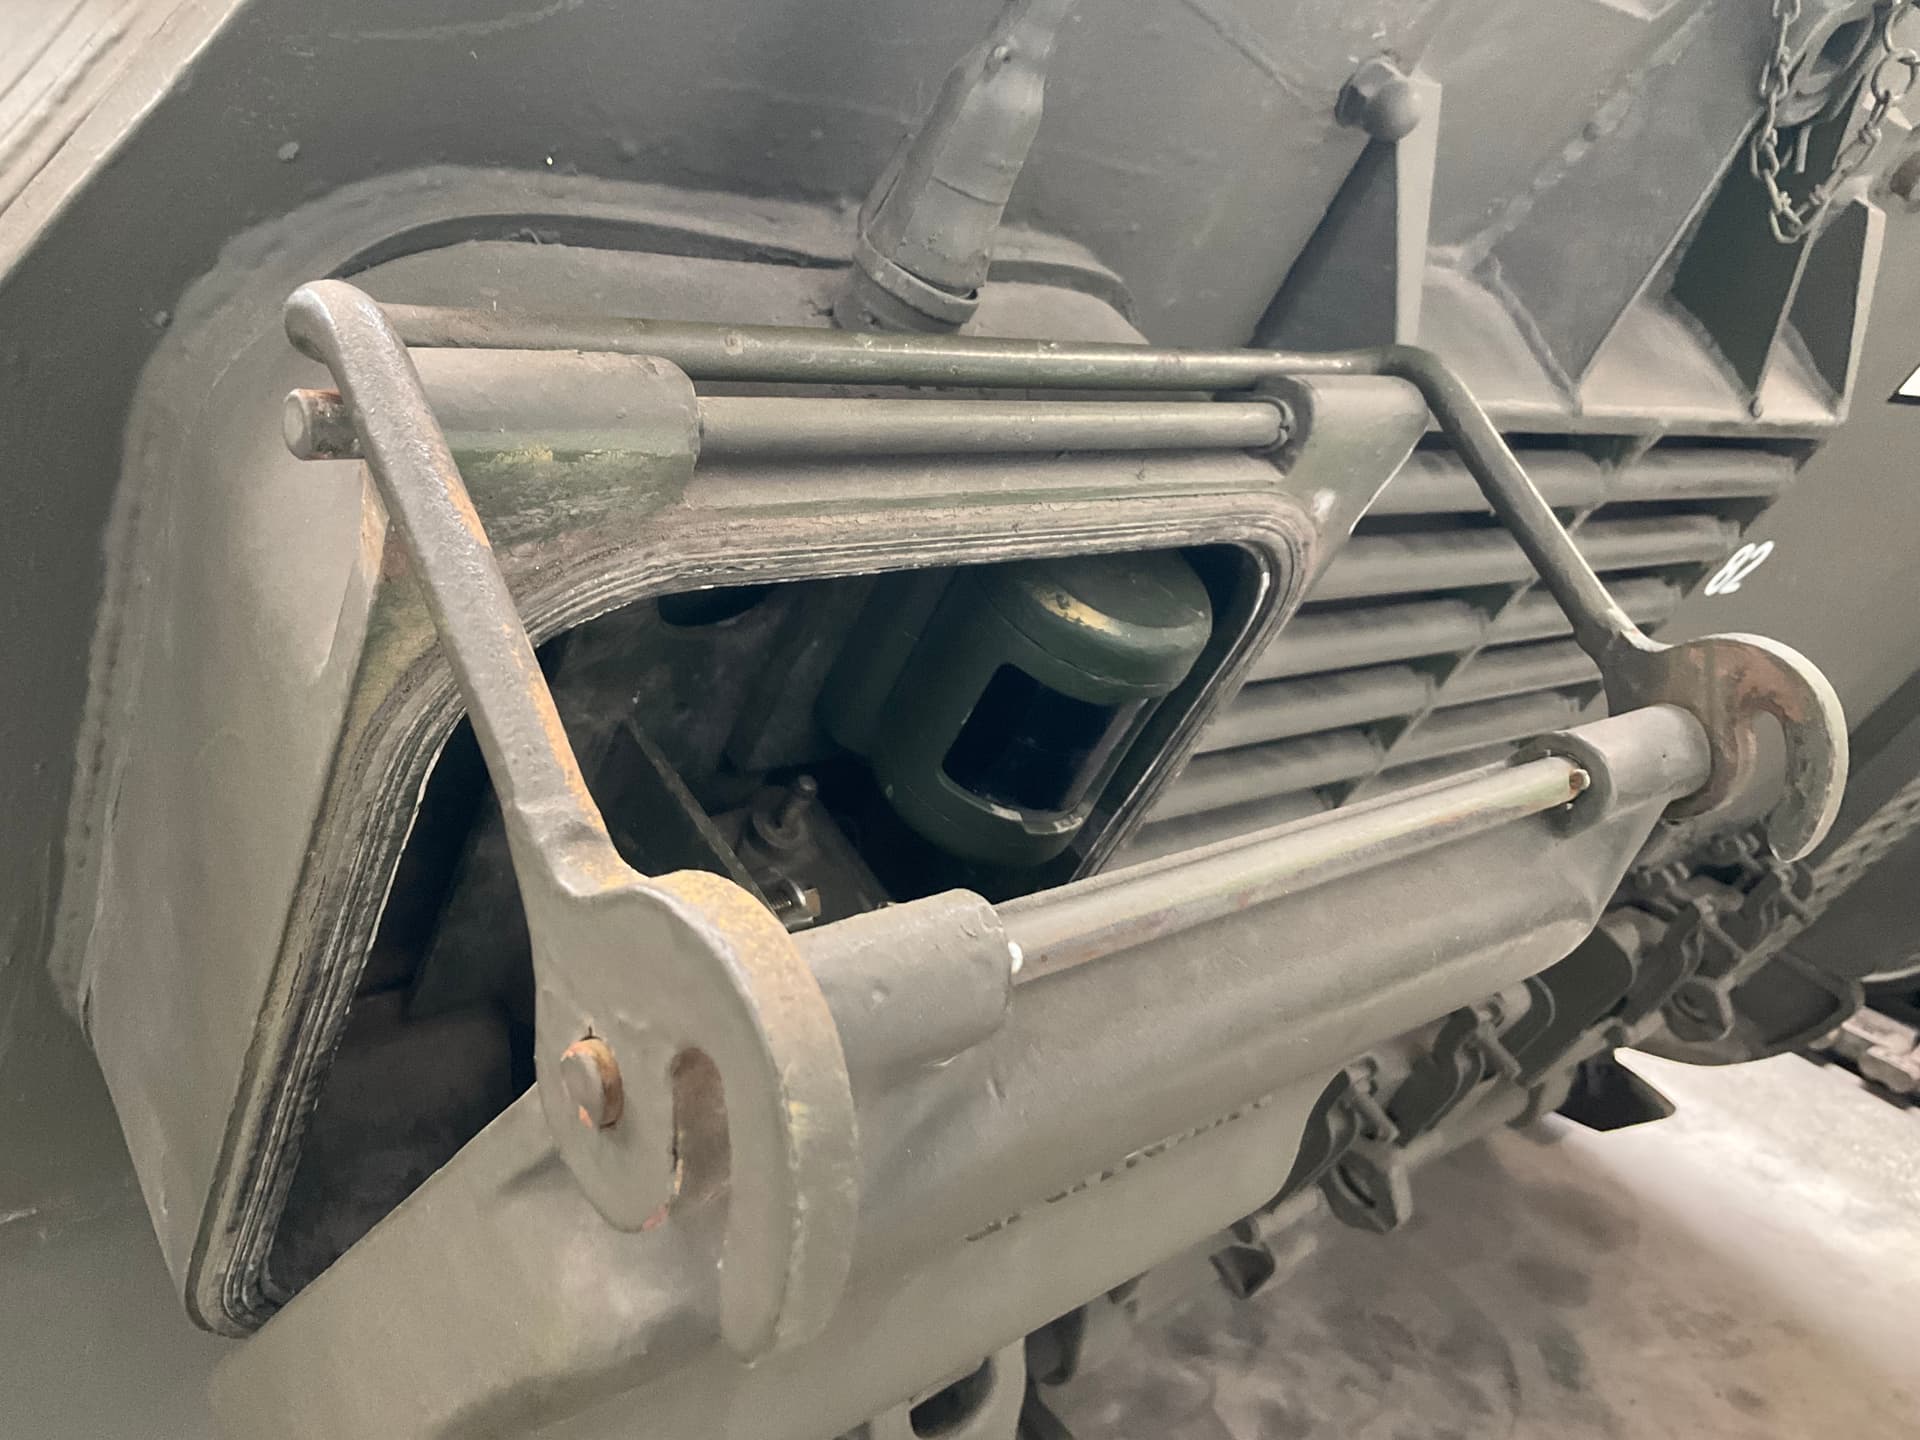
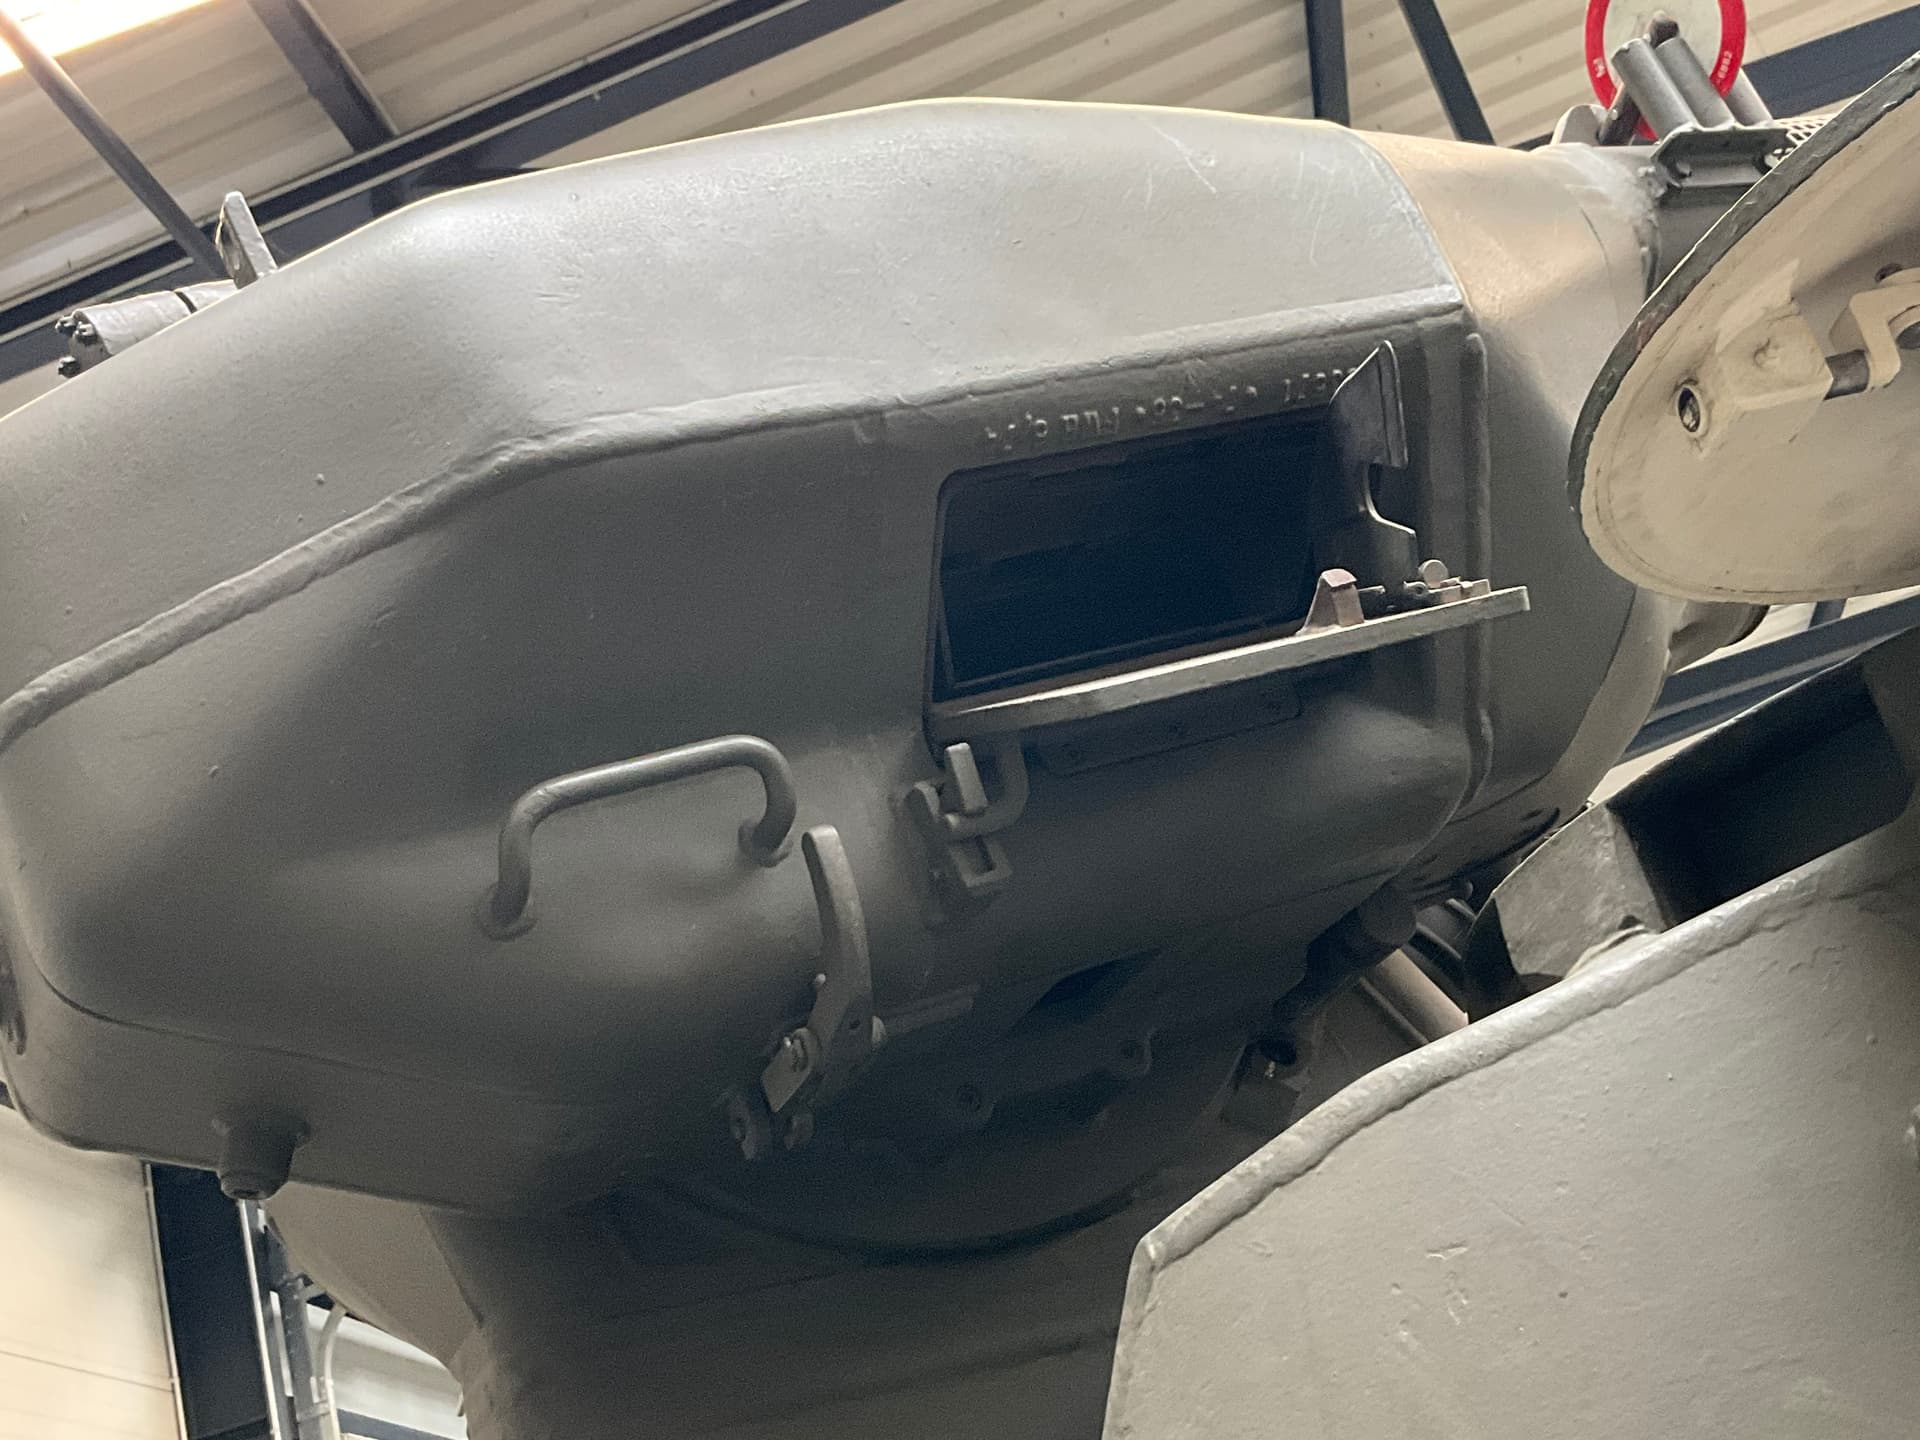
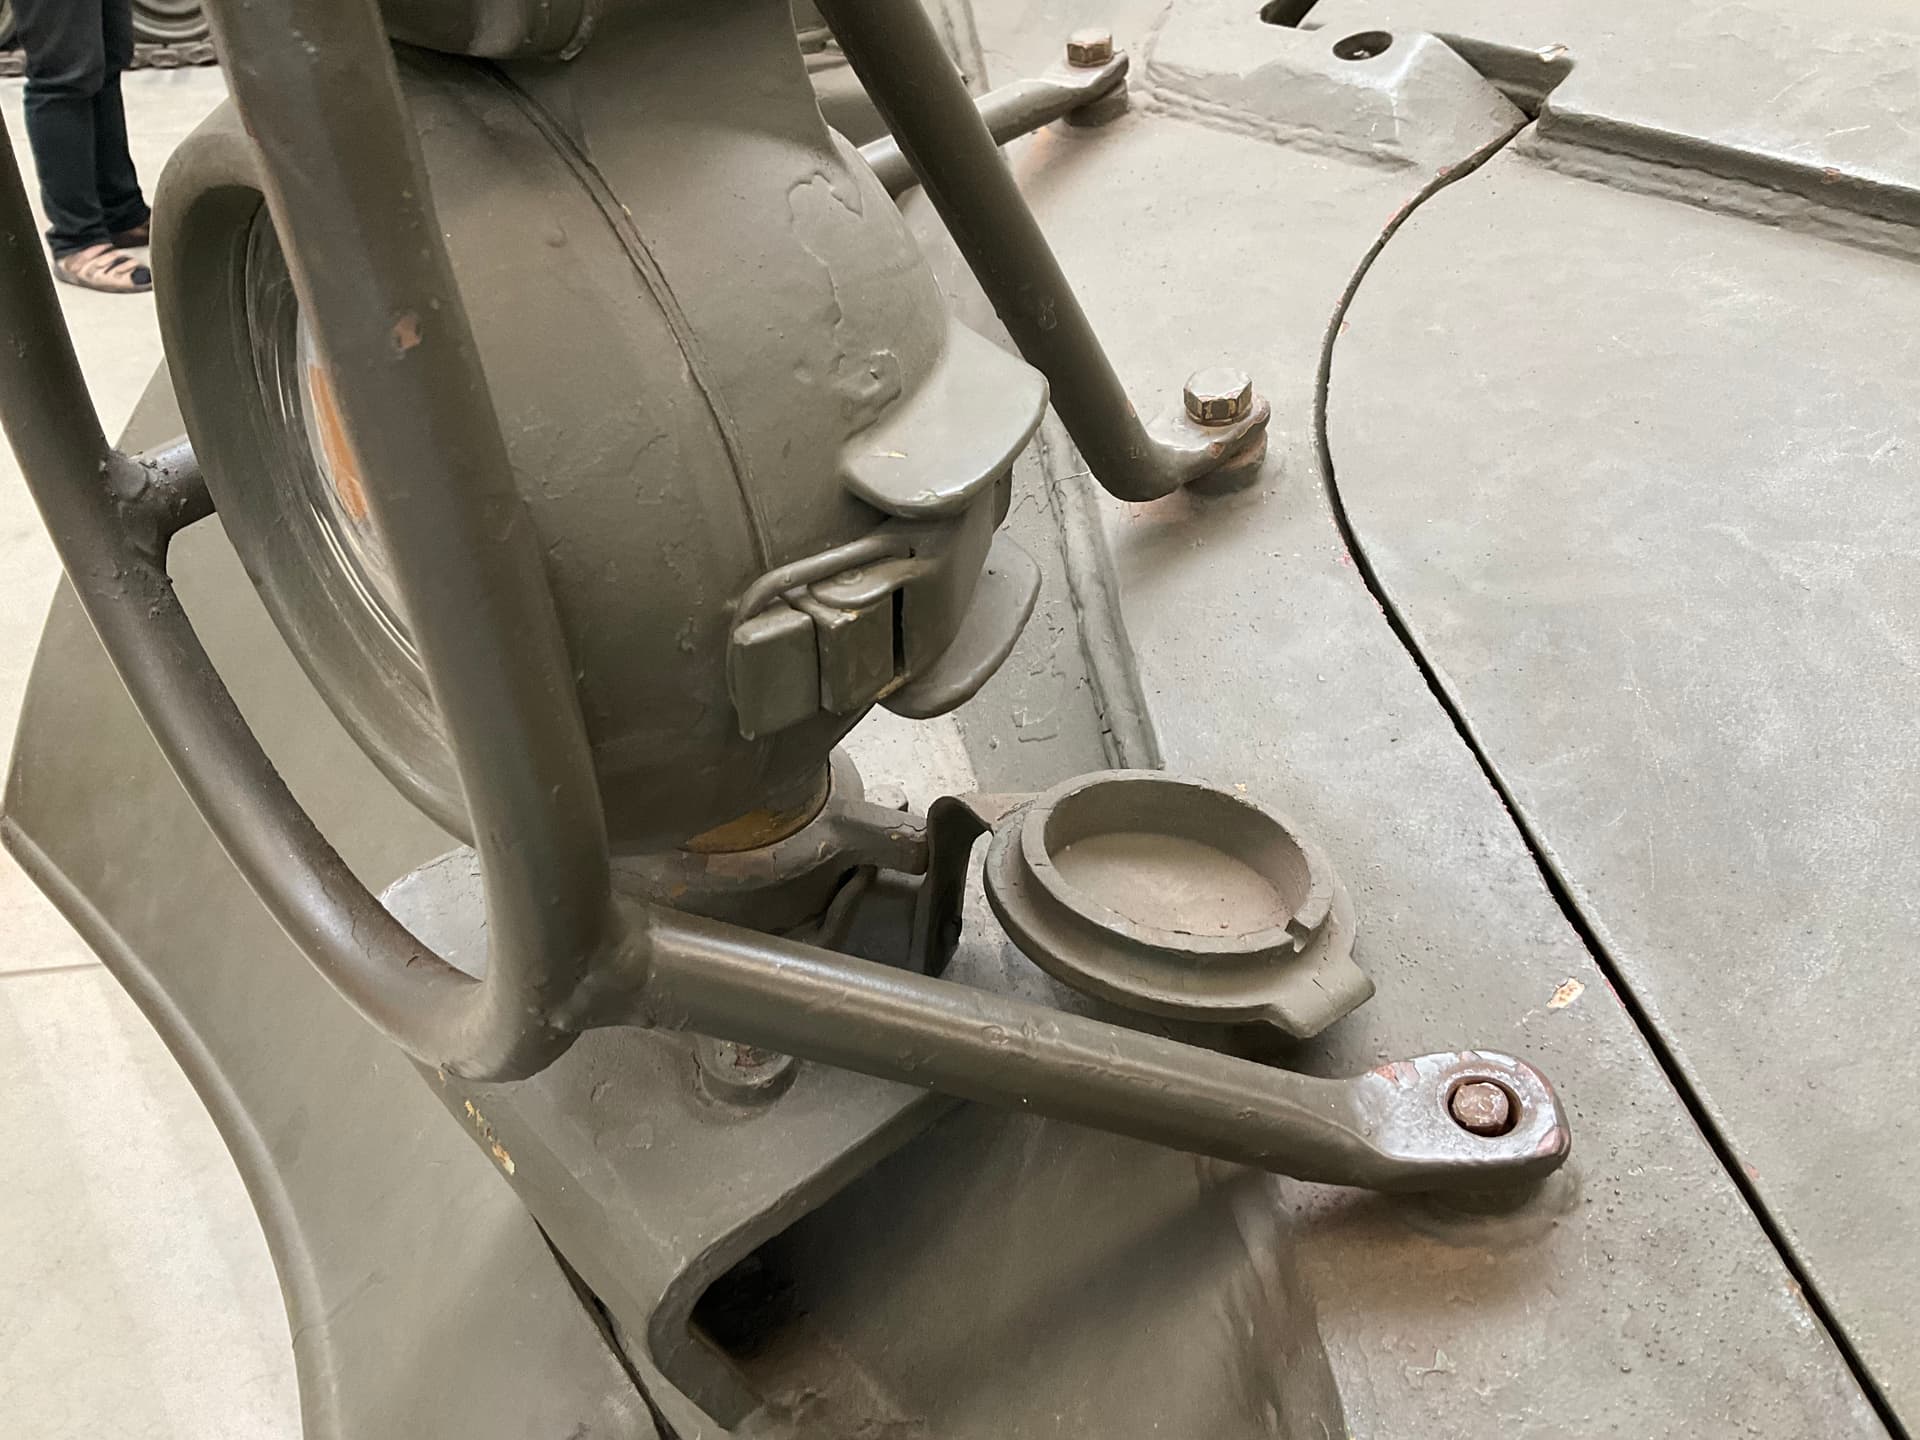
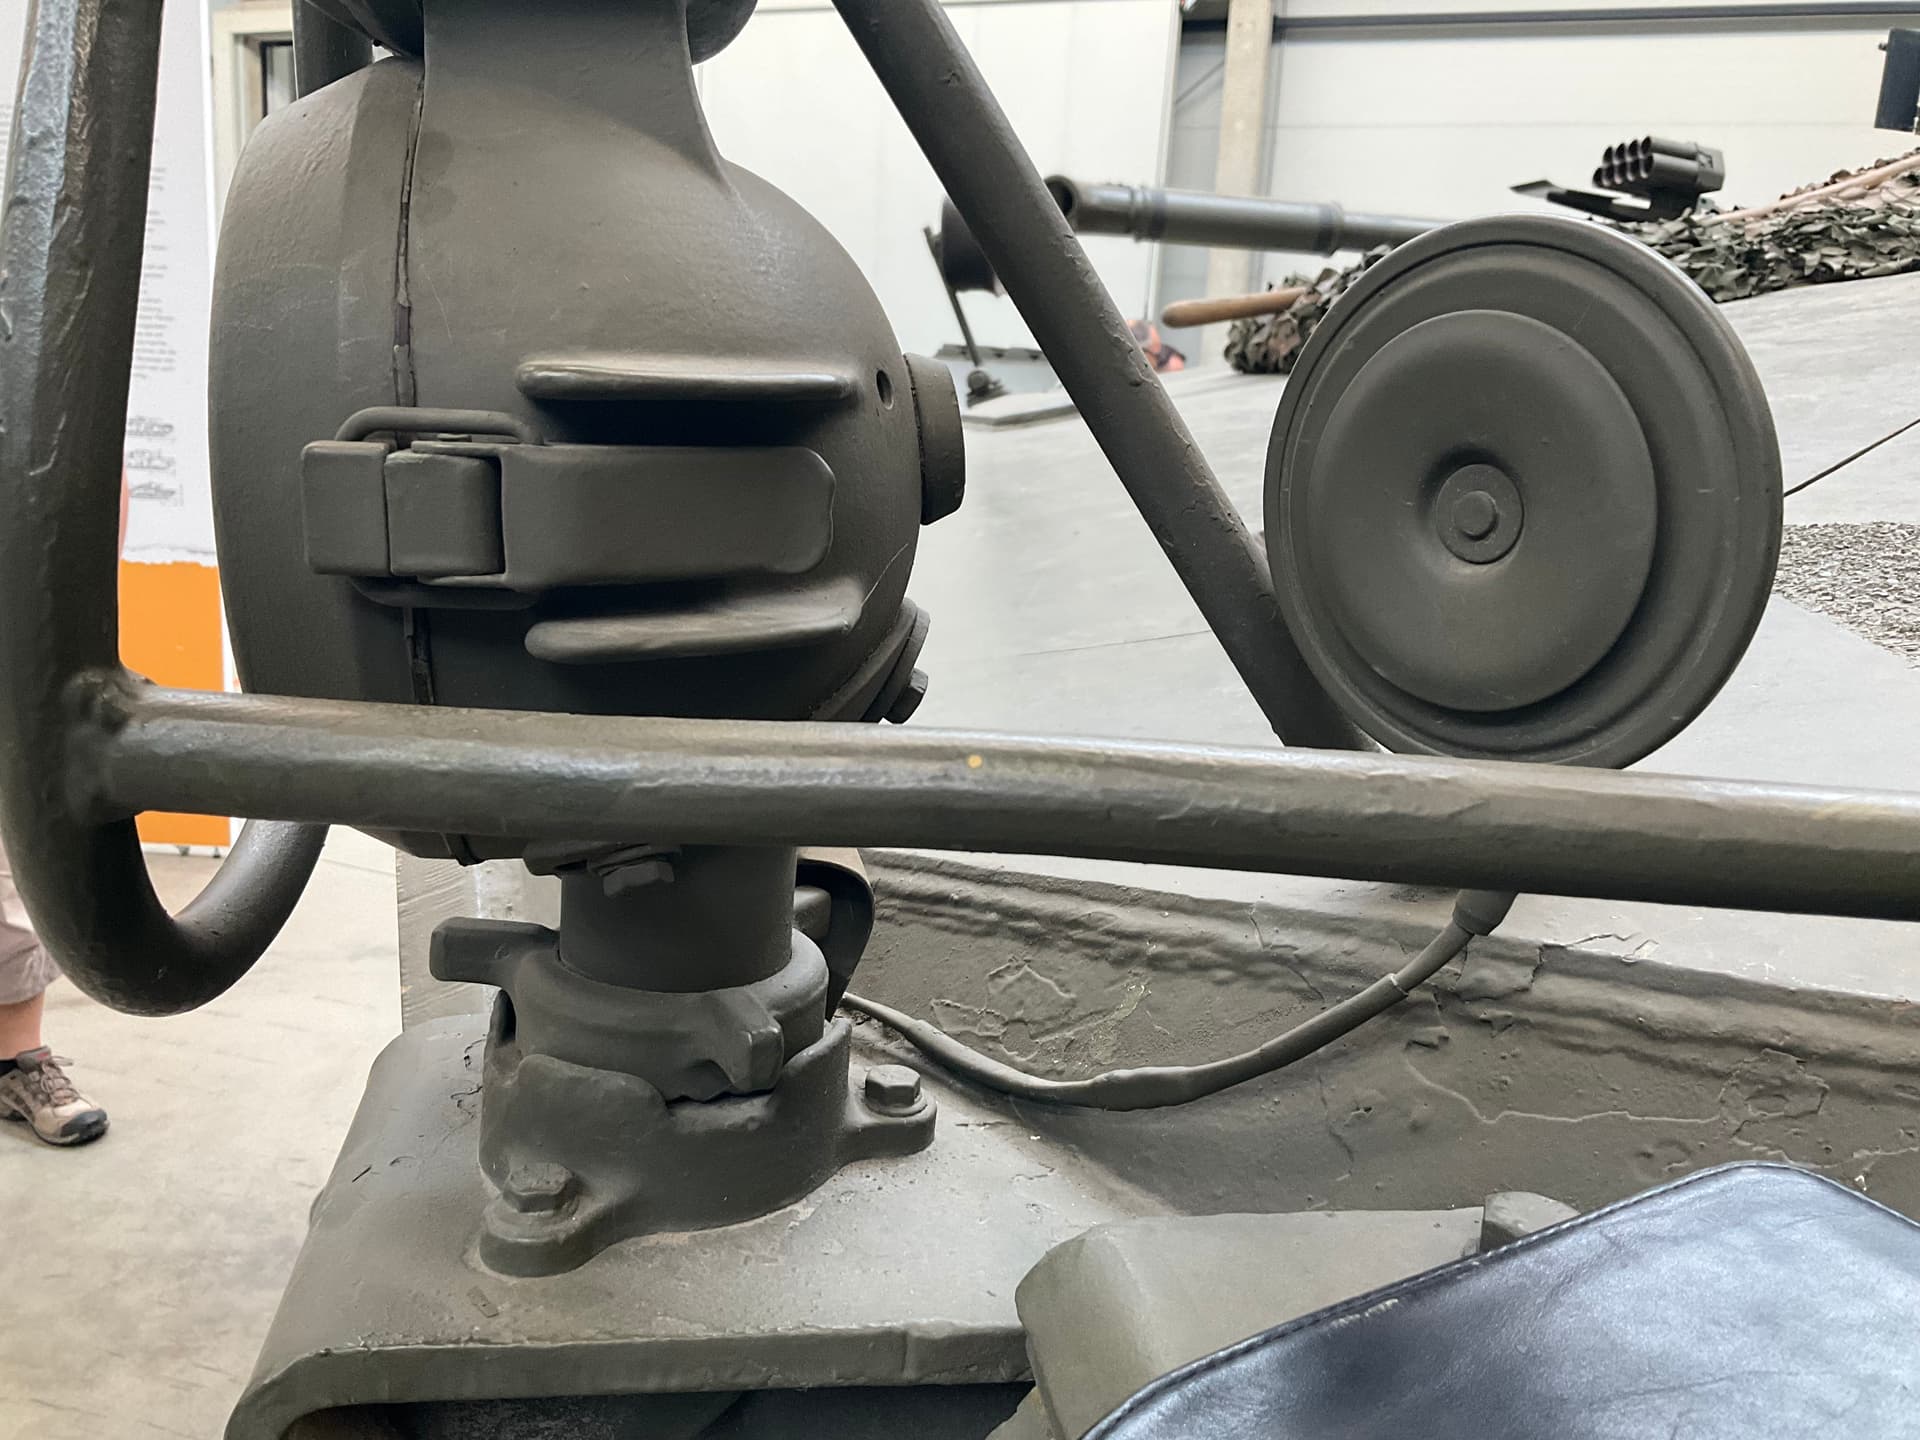
The old one has 2 same sized periscopes, molded in place whereas the 1A2 has the newer, larger periscope with separate protection cage.
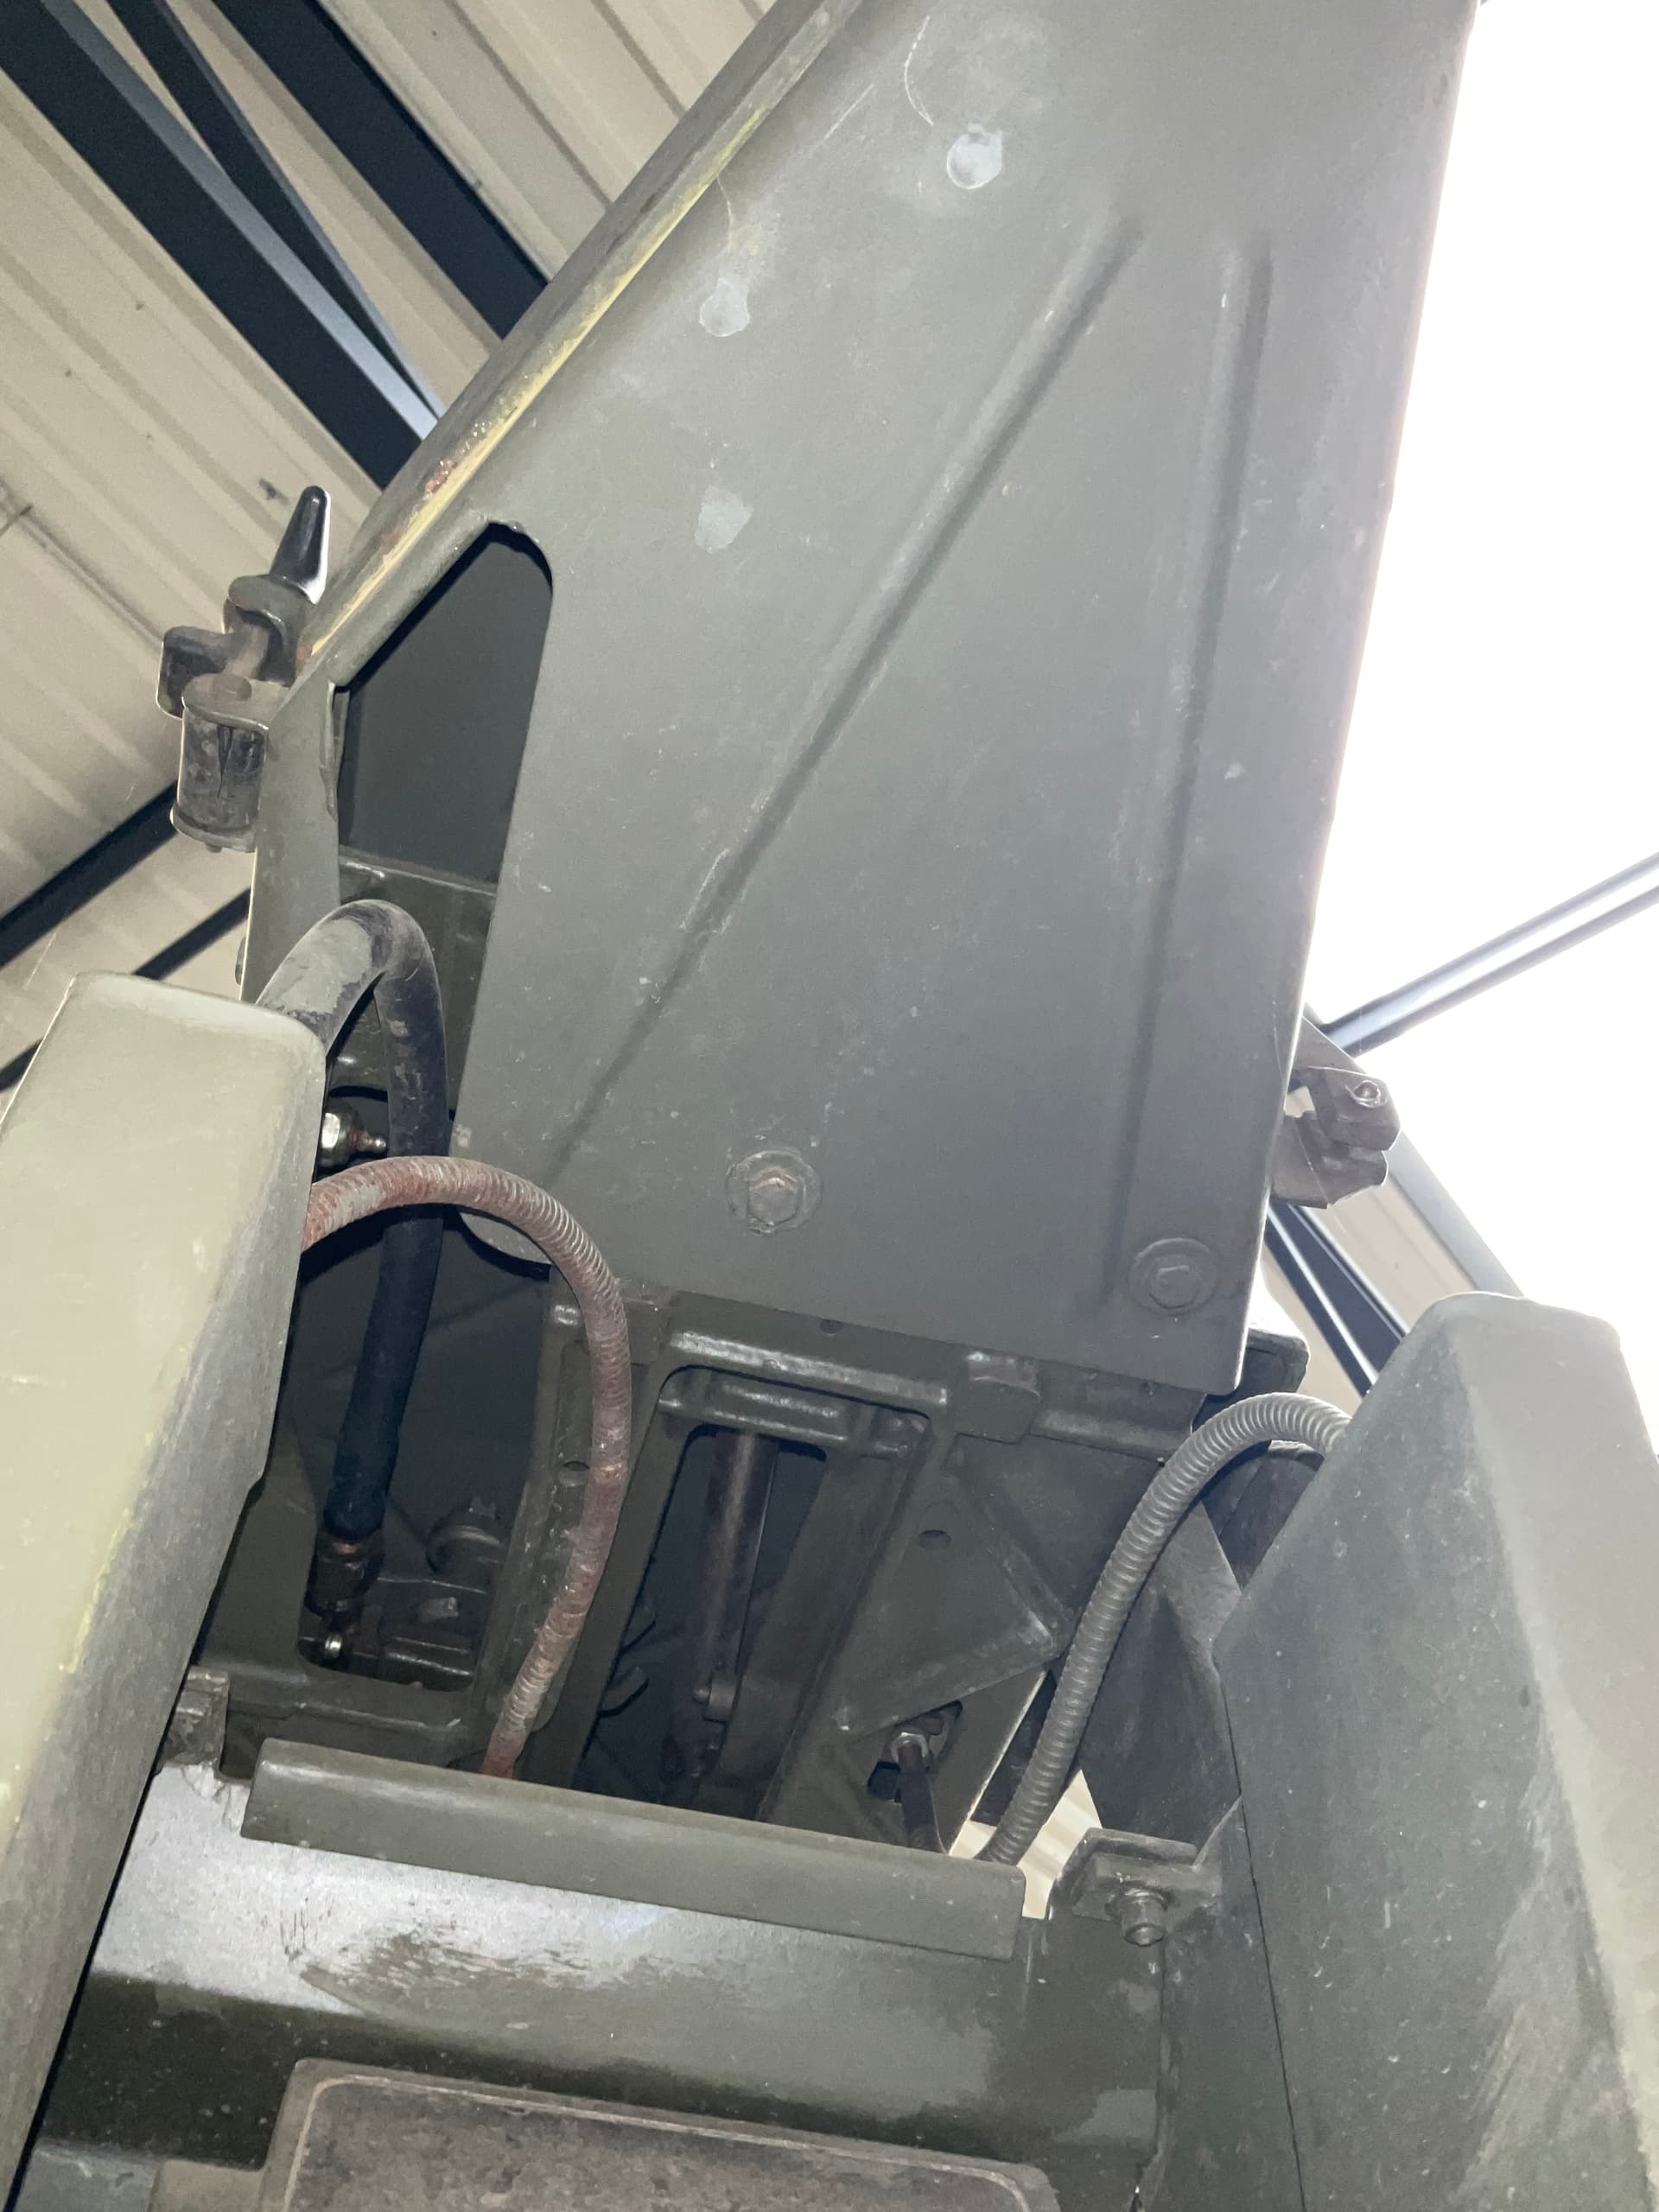
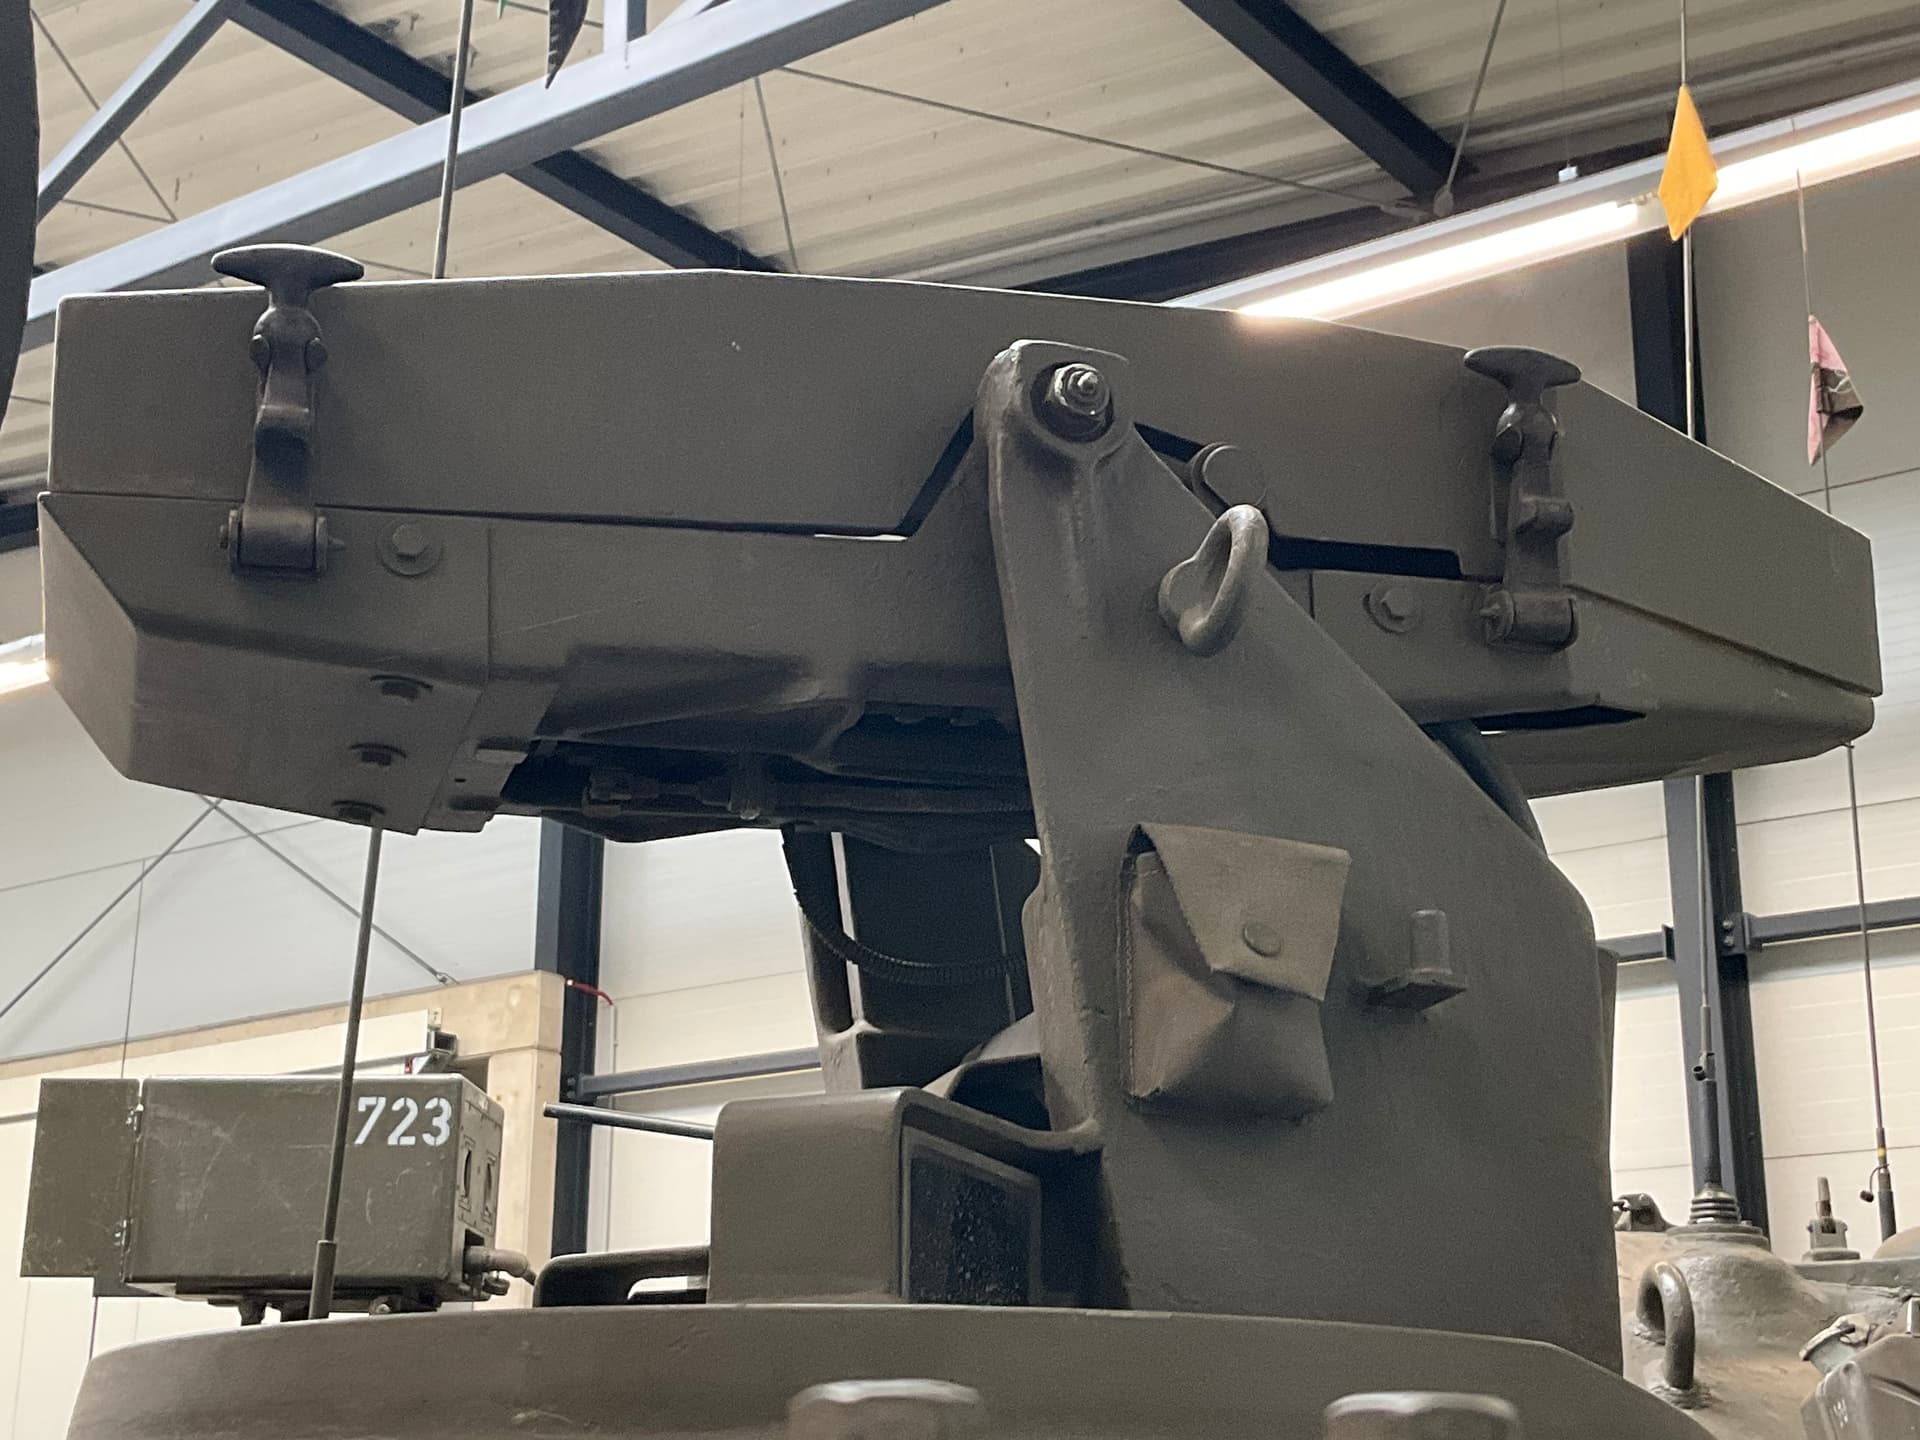
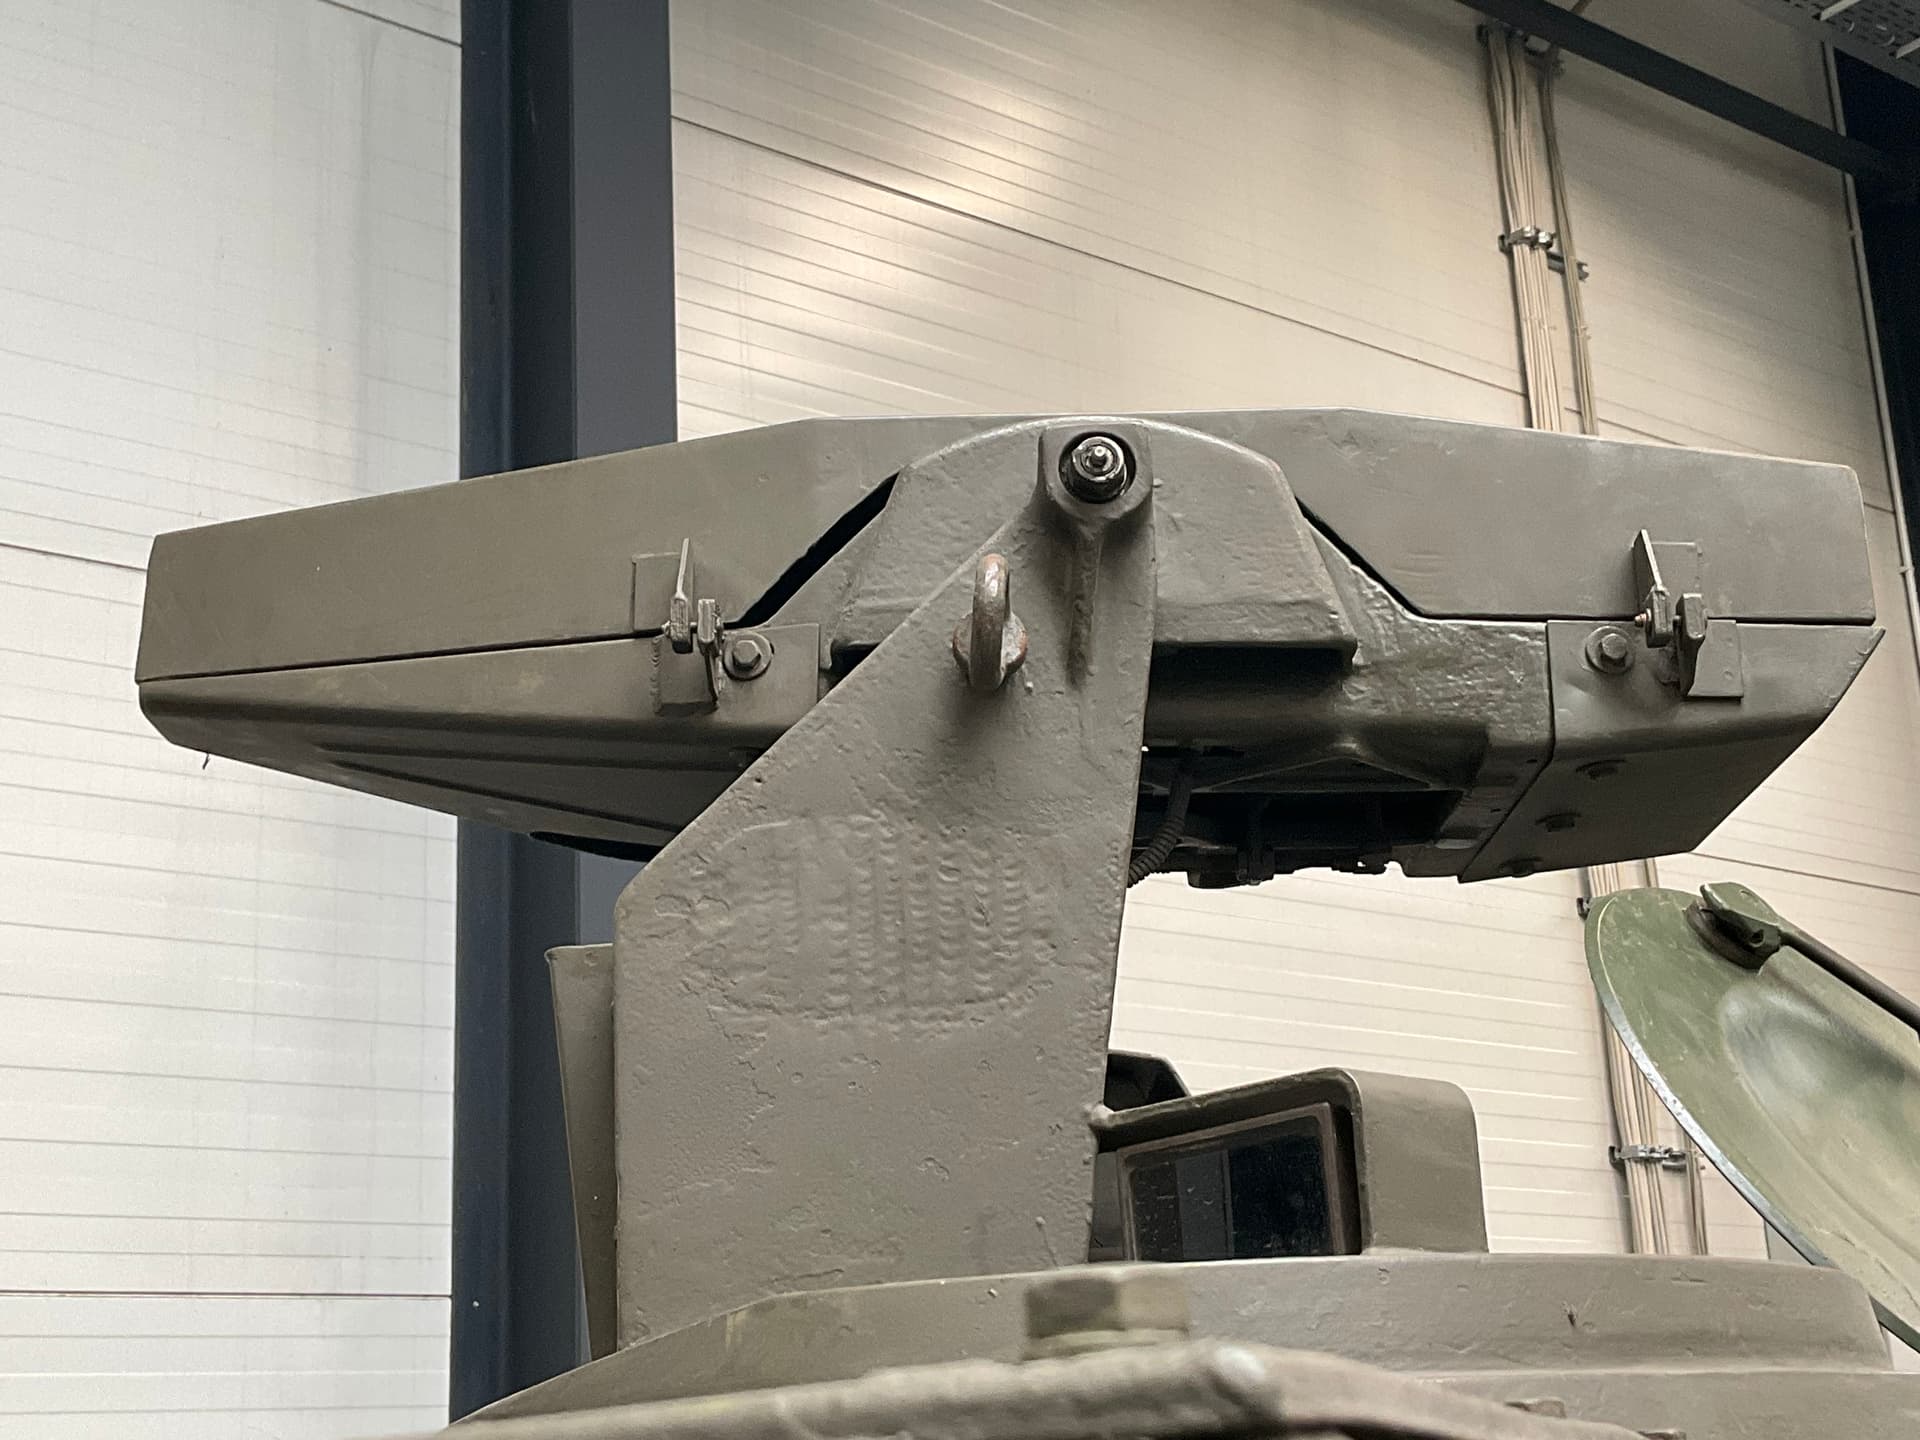
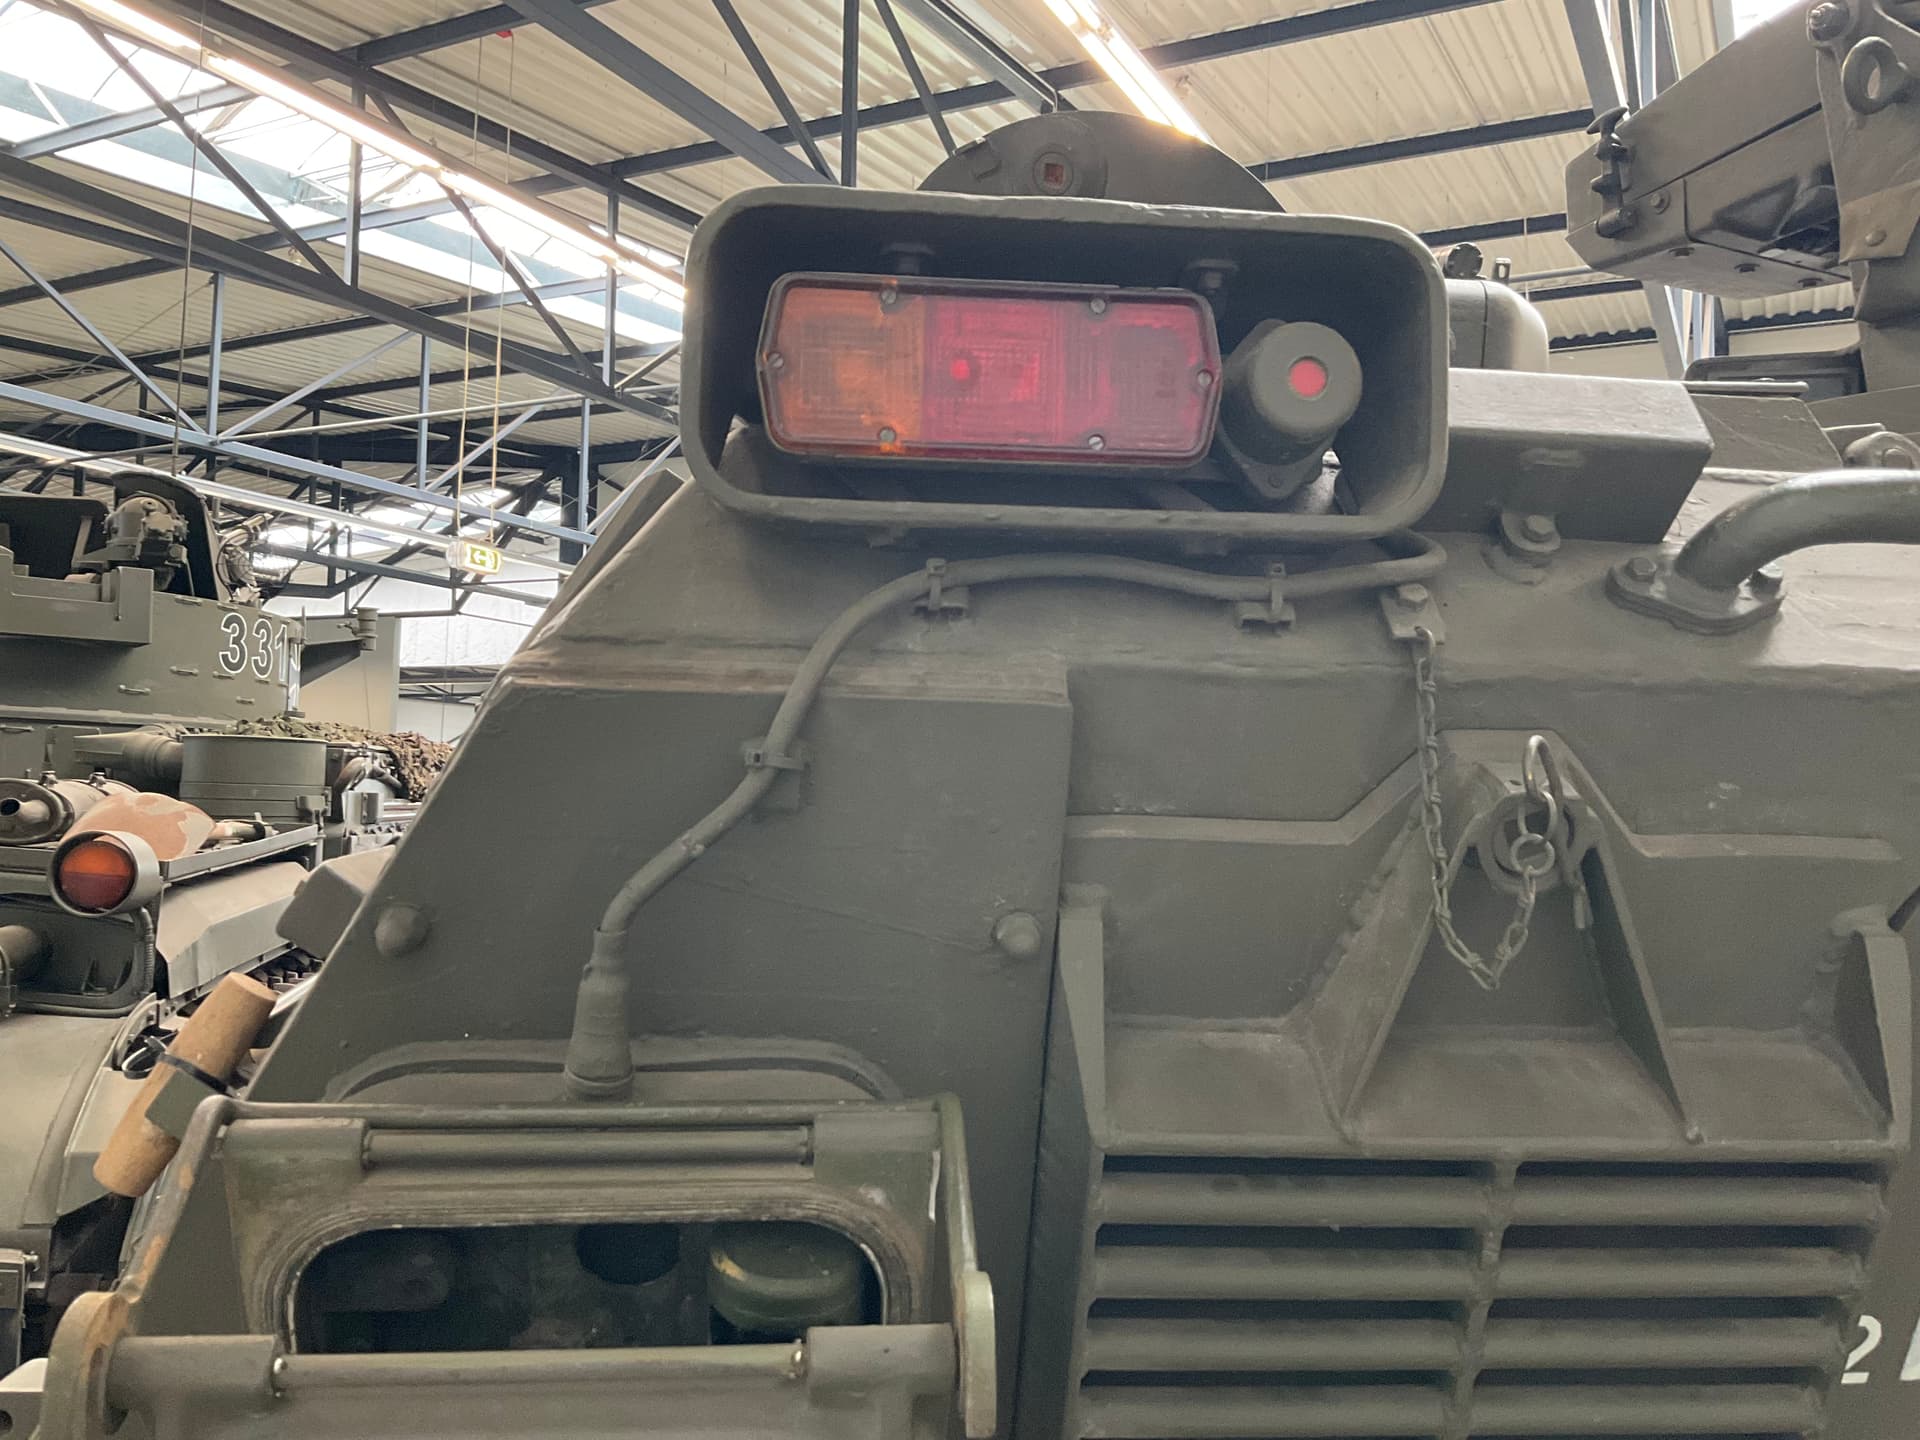
It also removed the extended bar, carrying the searchlight and has a closed shield/end cap instead.
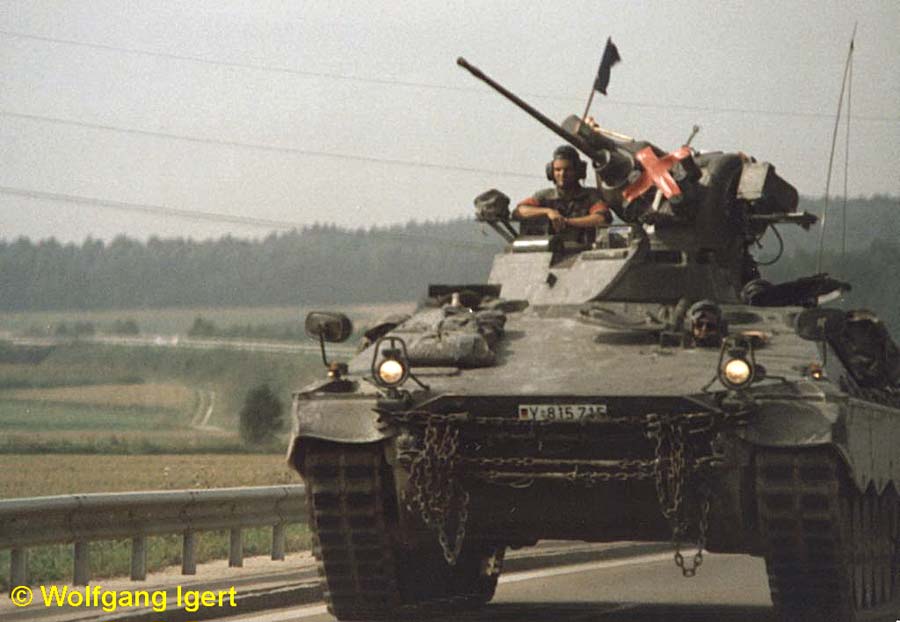
The 1A1+ also has a heatimage camera mounted next to the searchlight, so that had to be made, as well as the extended bar. I could not find any clear images, so had to guess a lot and went for a general shape.
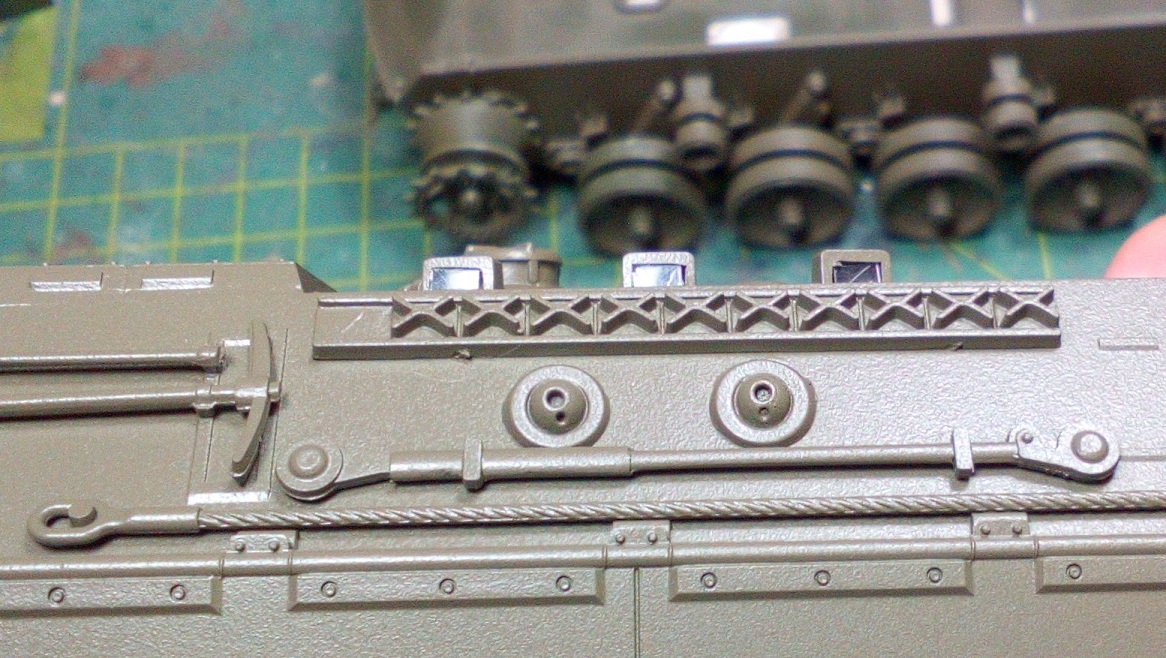
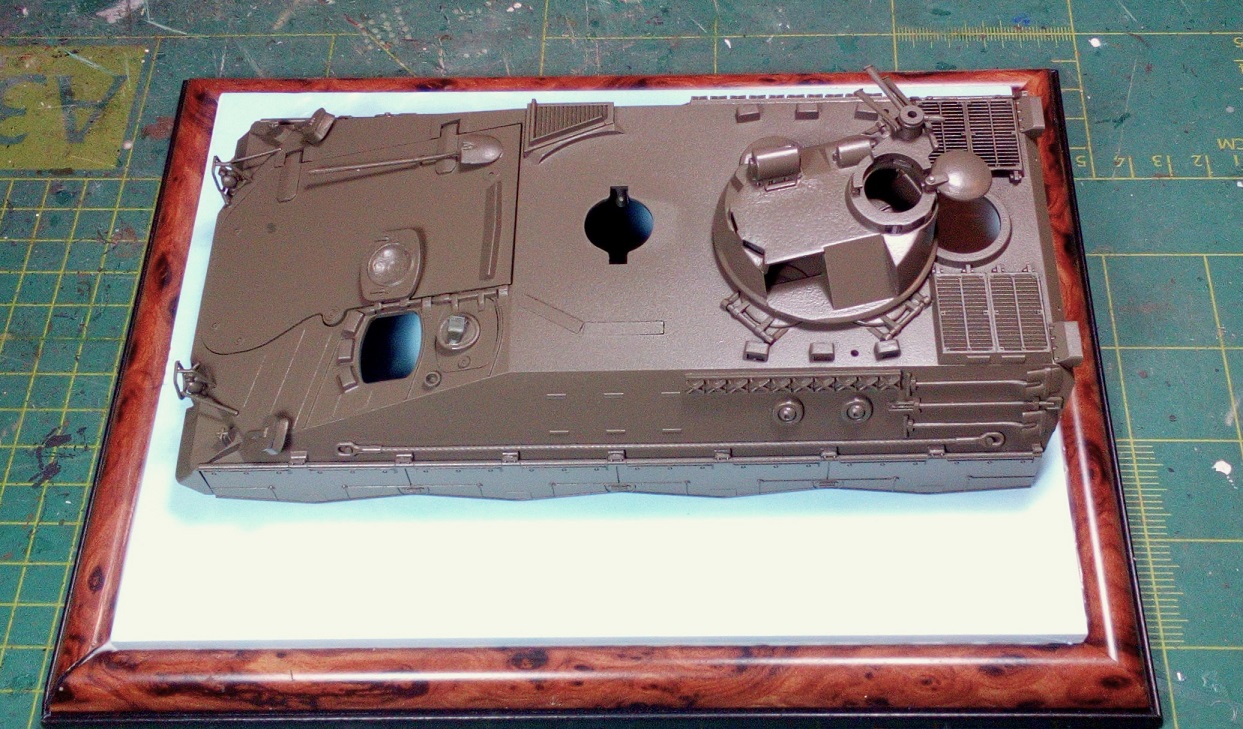
So, with much vigour and affected by the group’s enthusiasm, I managed to put it all together in about 4 days. That is including the extra parts and details, such as weld seams on the turret and some cables.
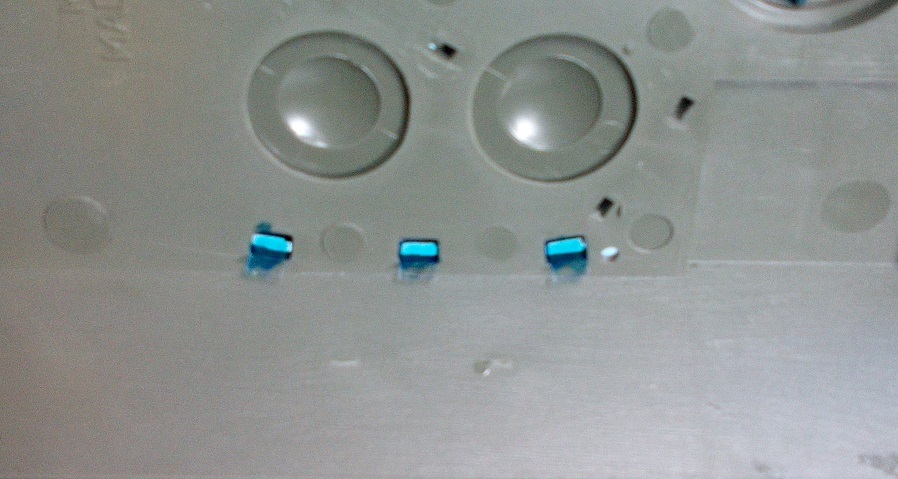
I also fixed a glaring omission in the kit; visionblocks! There are empty covers, showing holes where there should be glassblocks. I made these by adding strips of transparent plastic sheet from some packaging.
For paint I opted for Mig’s gelb oliv, since that was the only option for that colour.
And it did not turn out well!
Even after much shaking the paint would not catch well. It would pull together, creating small puddles. So I washed it all of and washed the kit with lukewarm soapy water, thinking it might be a release agent issue.
Looking in the pot I noticed that most of the pigment had caked together at the bottom and had to be scraped loose. So shake again, try spraying the bottom, same issue.
I decided to try another Mig paint, both as test and as primer, being Zashchitniy Zeleno, a Russian green. That worked a lot better and I noticed the different consistency of the paint being thicker. I scraped out the oliv gelb again and this time I dislodged the mixing ball, which has been stuck. More violent shaking and the paint mixed better.
A second coat of paint on top of the green and the results… varied!
In some places gritty, in some resembling walsed steel-like.
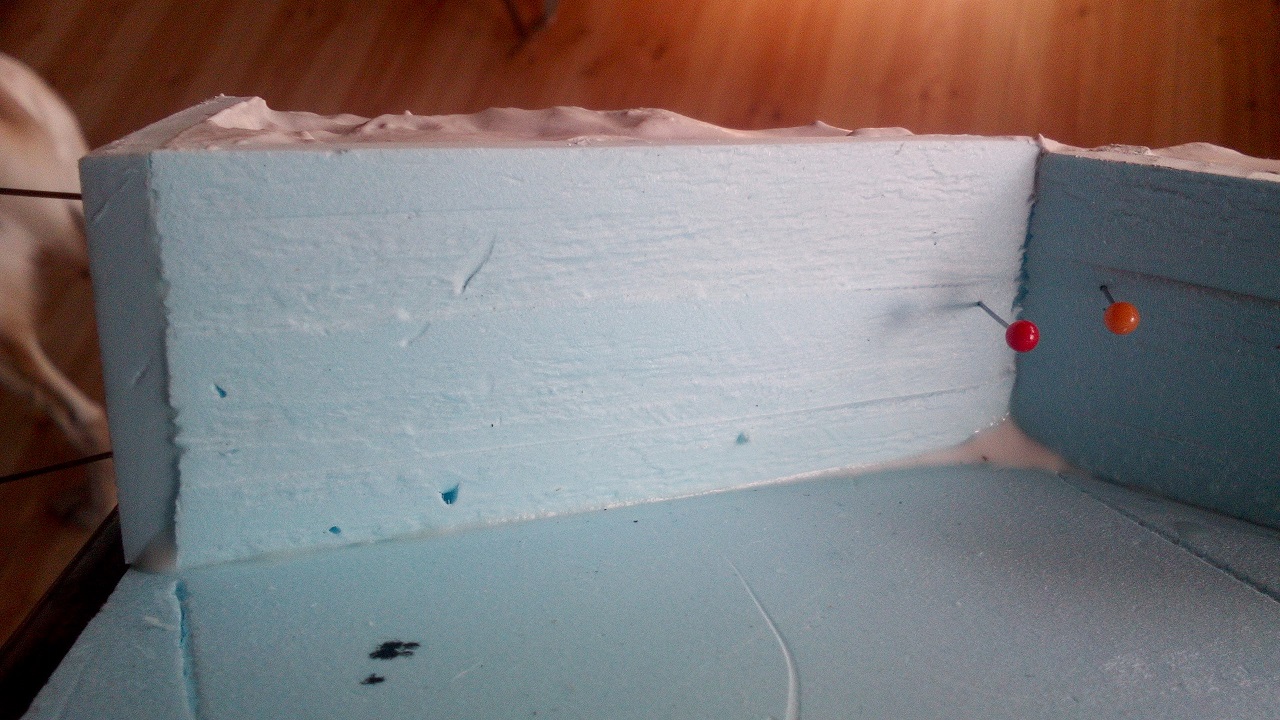
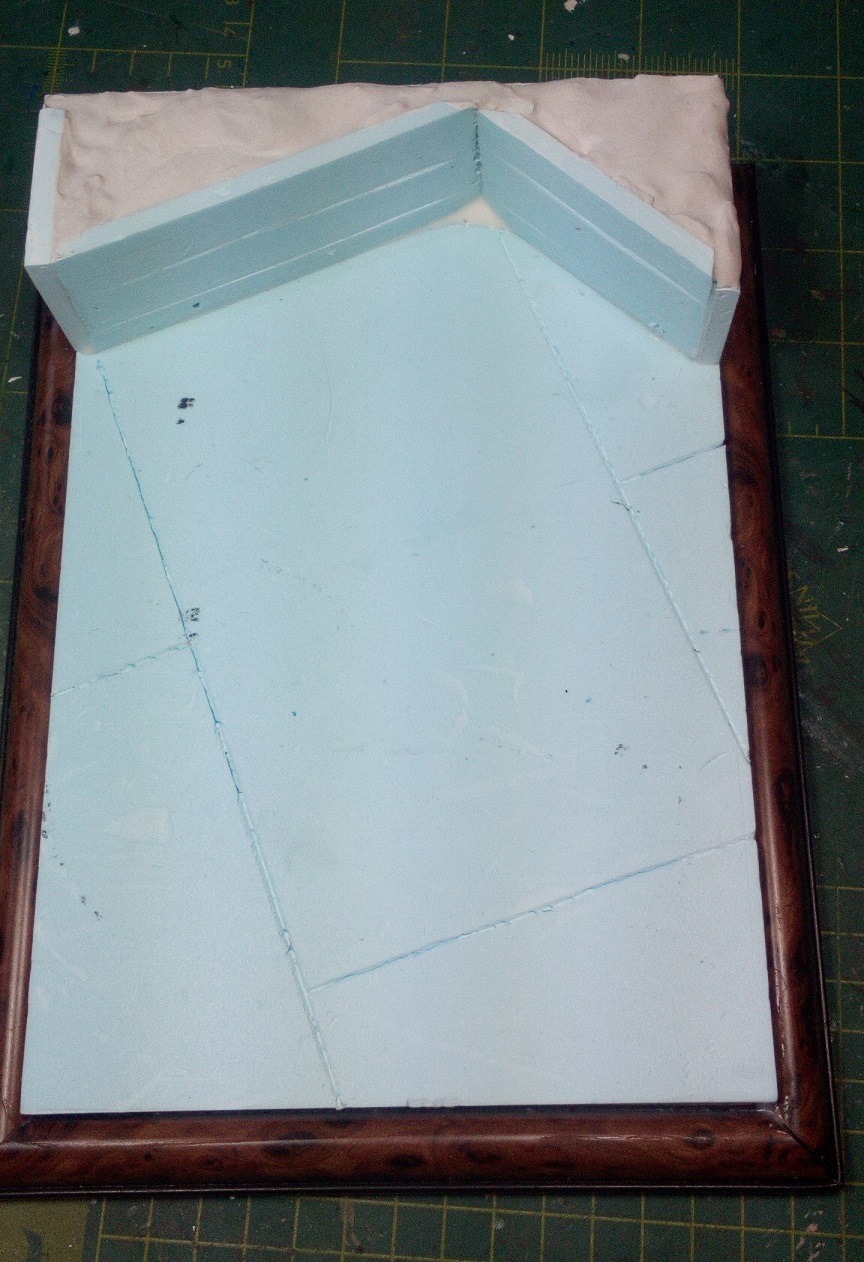
Working on the base.
I suggested the wooden castingside for the concrete by pressing a rough wooden side into the foam. The pattern is hard to catch on camera.
I then fixed all te pieces in place and secured them with copious amounts of white glue and extra supports on the corners. I then filled up the empty spaces with leftovers and filler on top.
Luckily I had not glue the bodyhalves together yet. Looking through the driver’s hatch there is a cavernous emptiness underneath with a view of the tracks!
So I had to get creative.
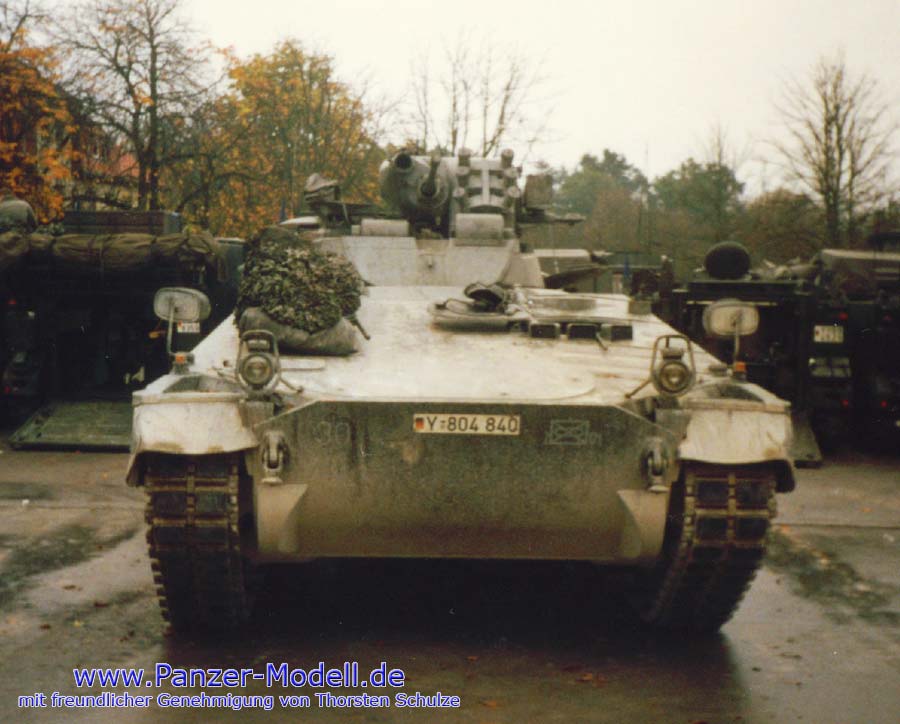
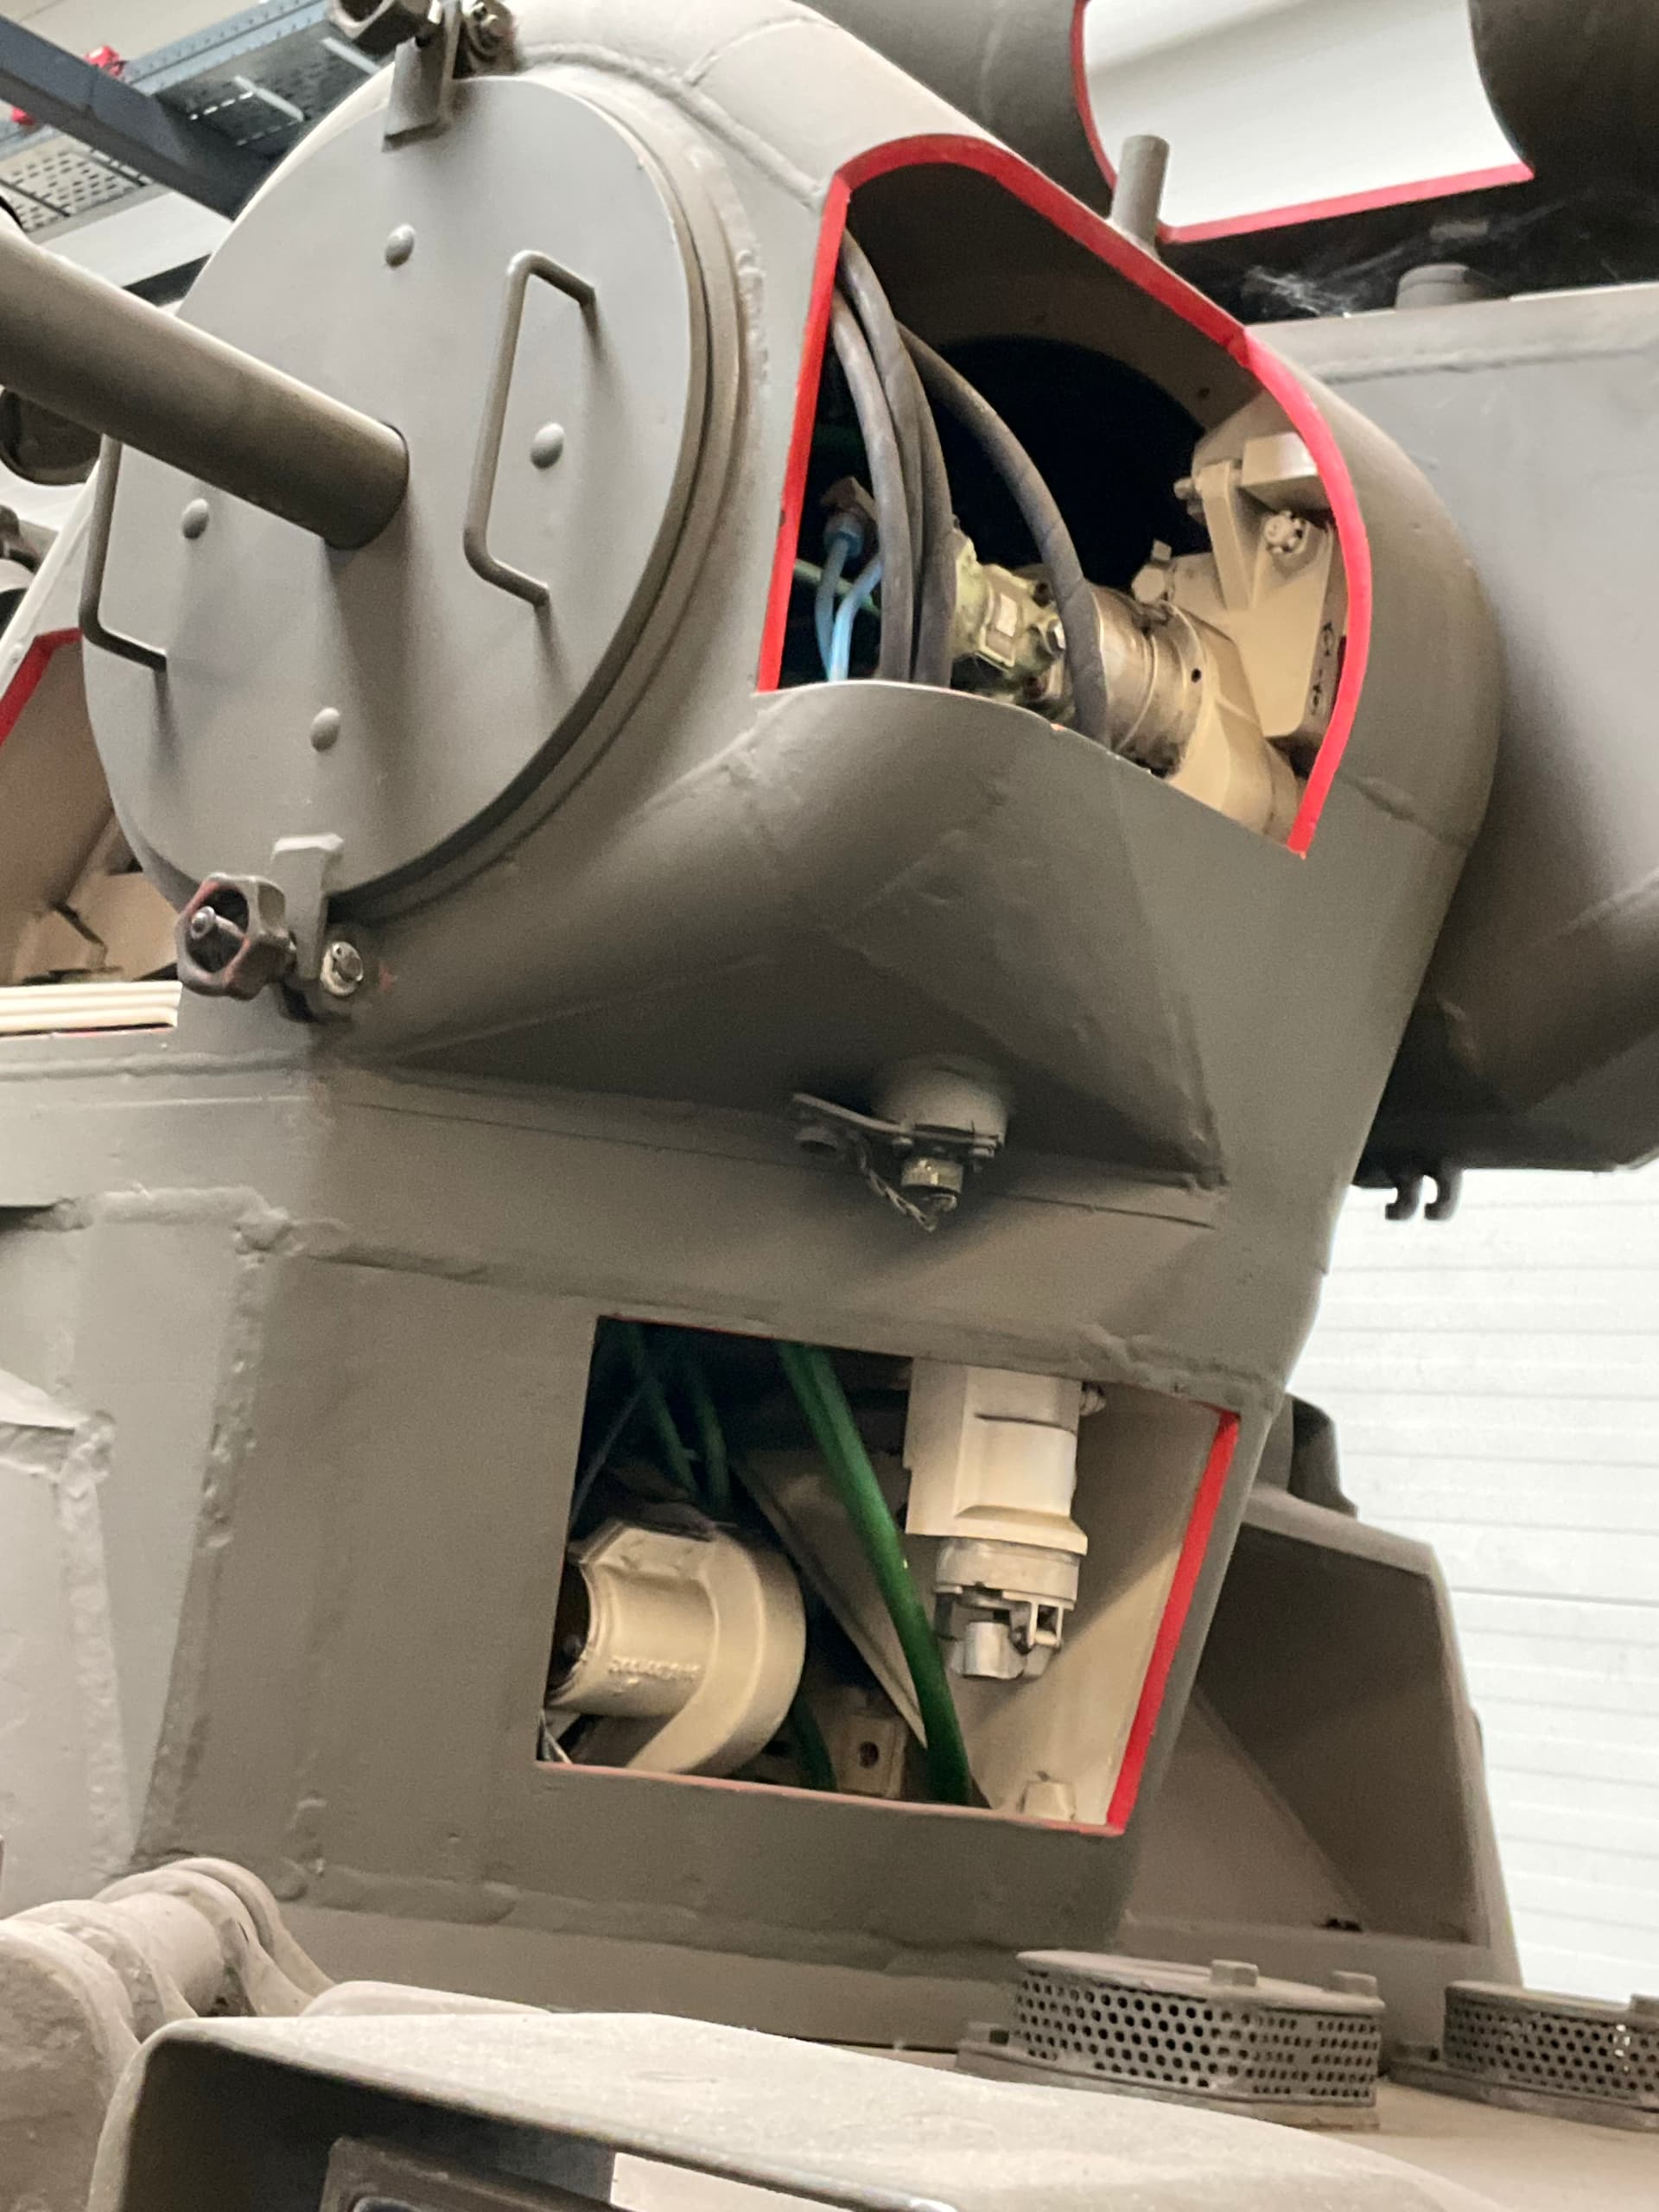
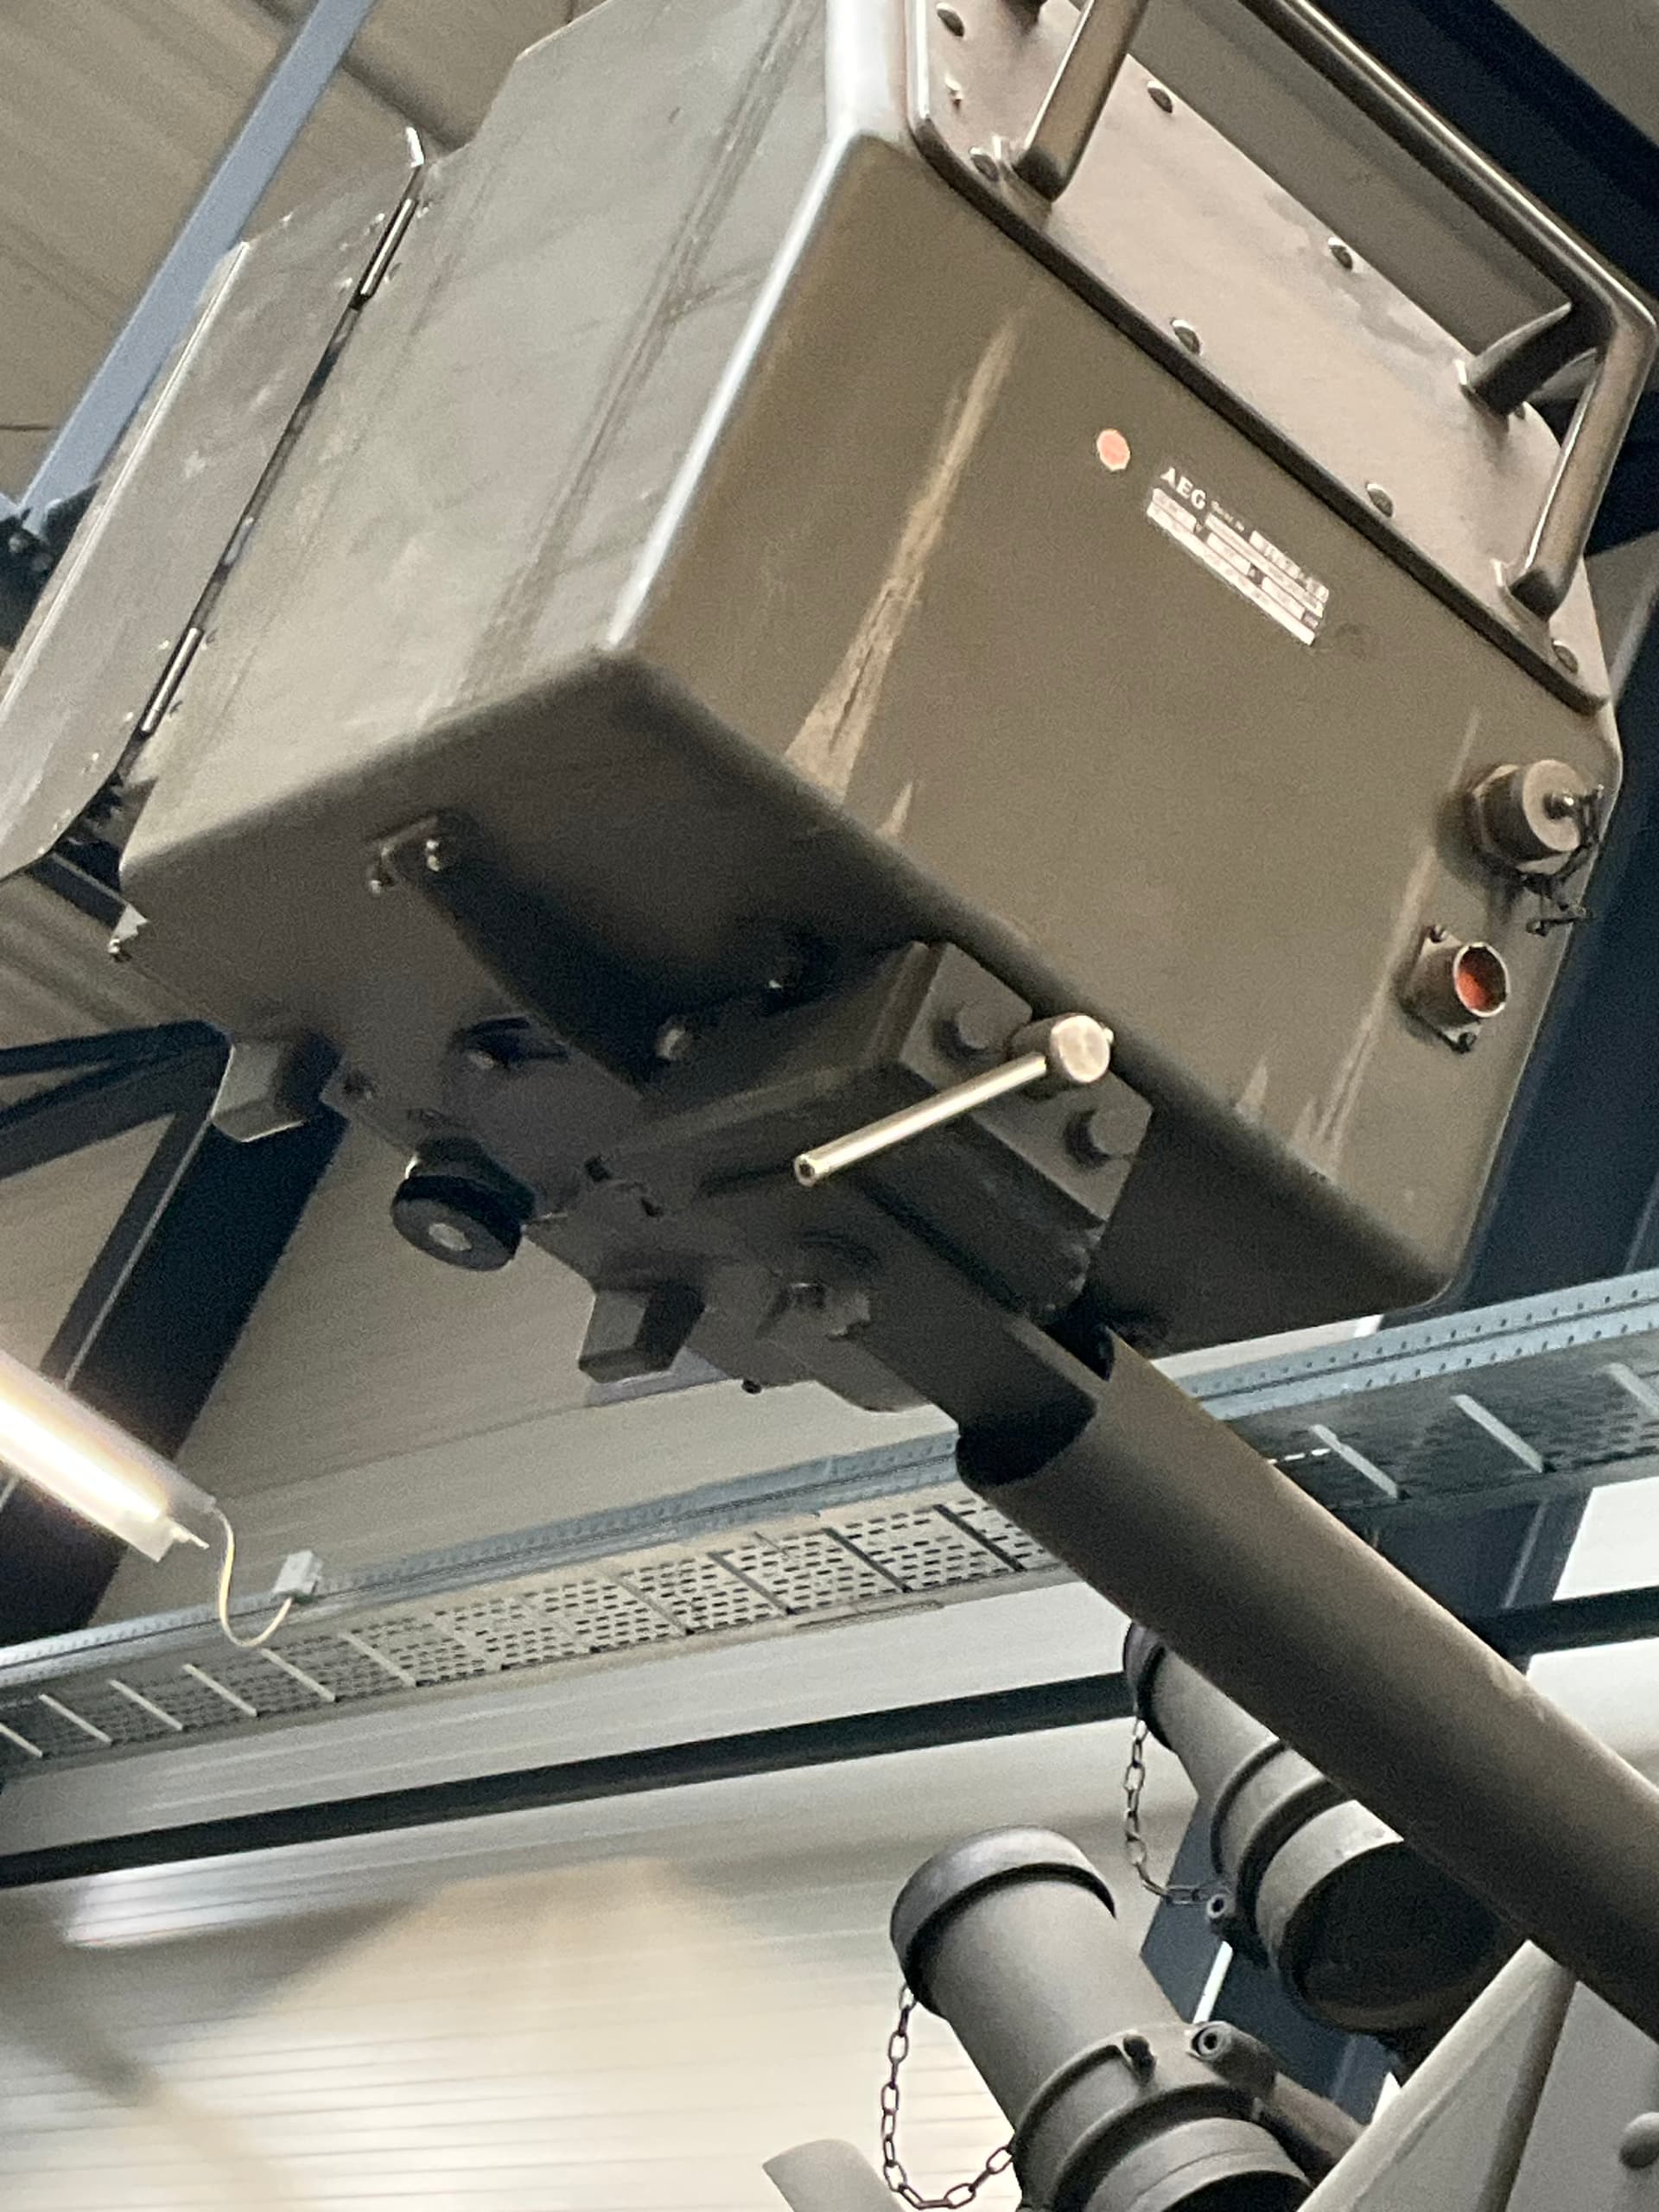
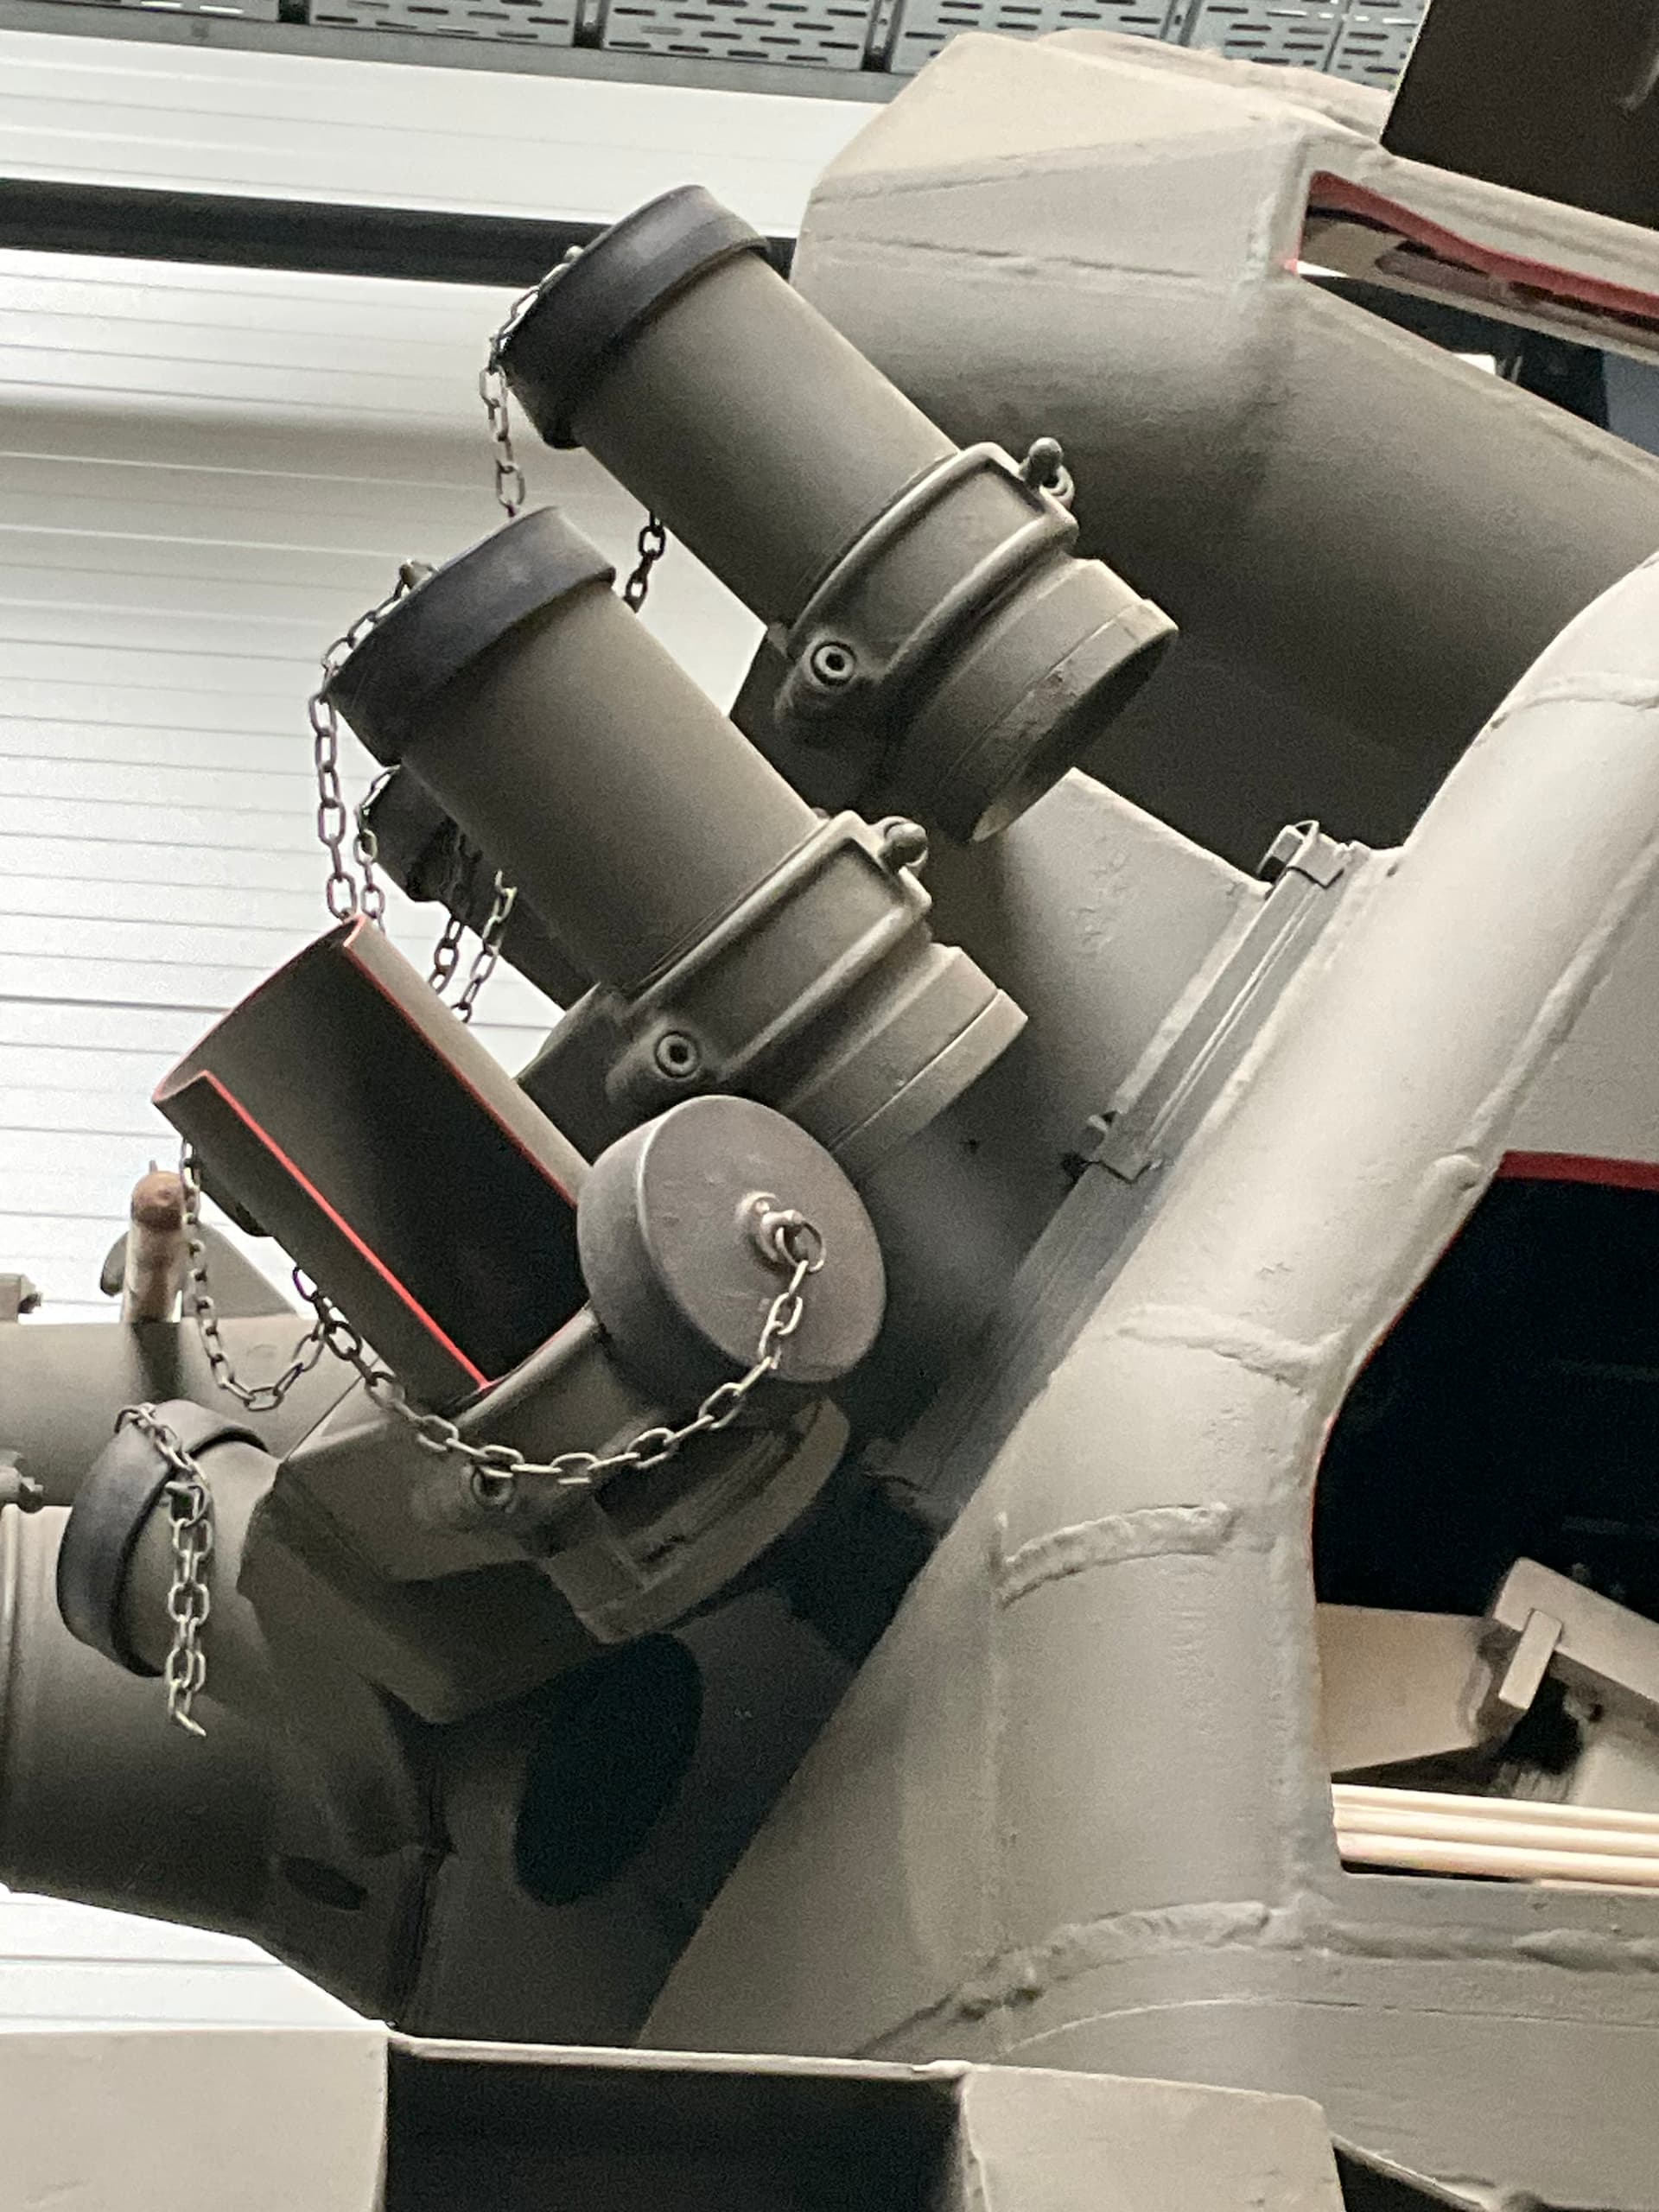
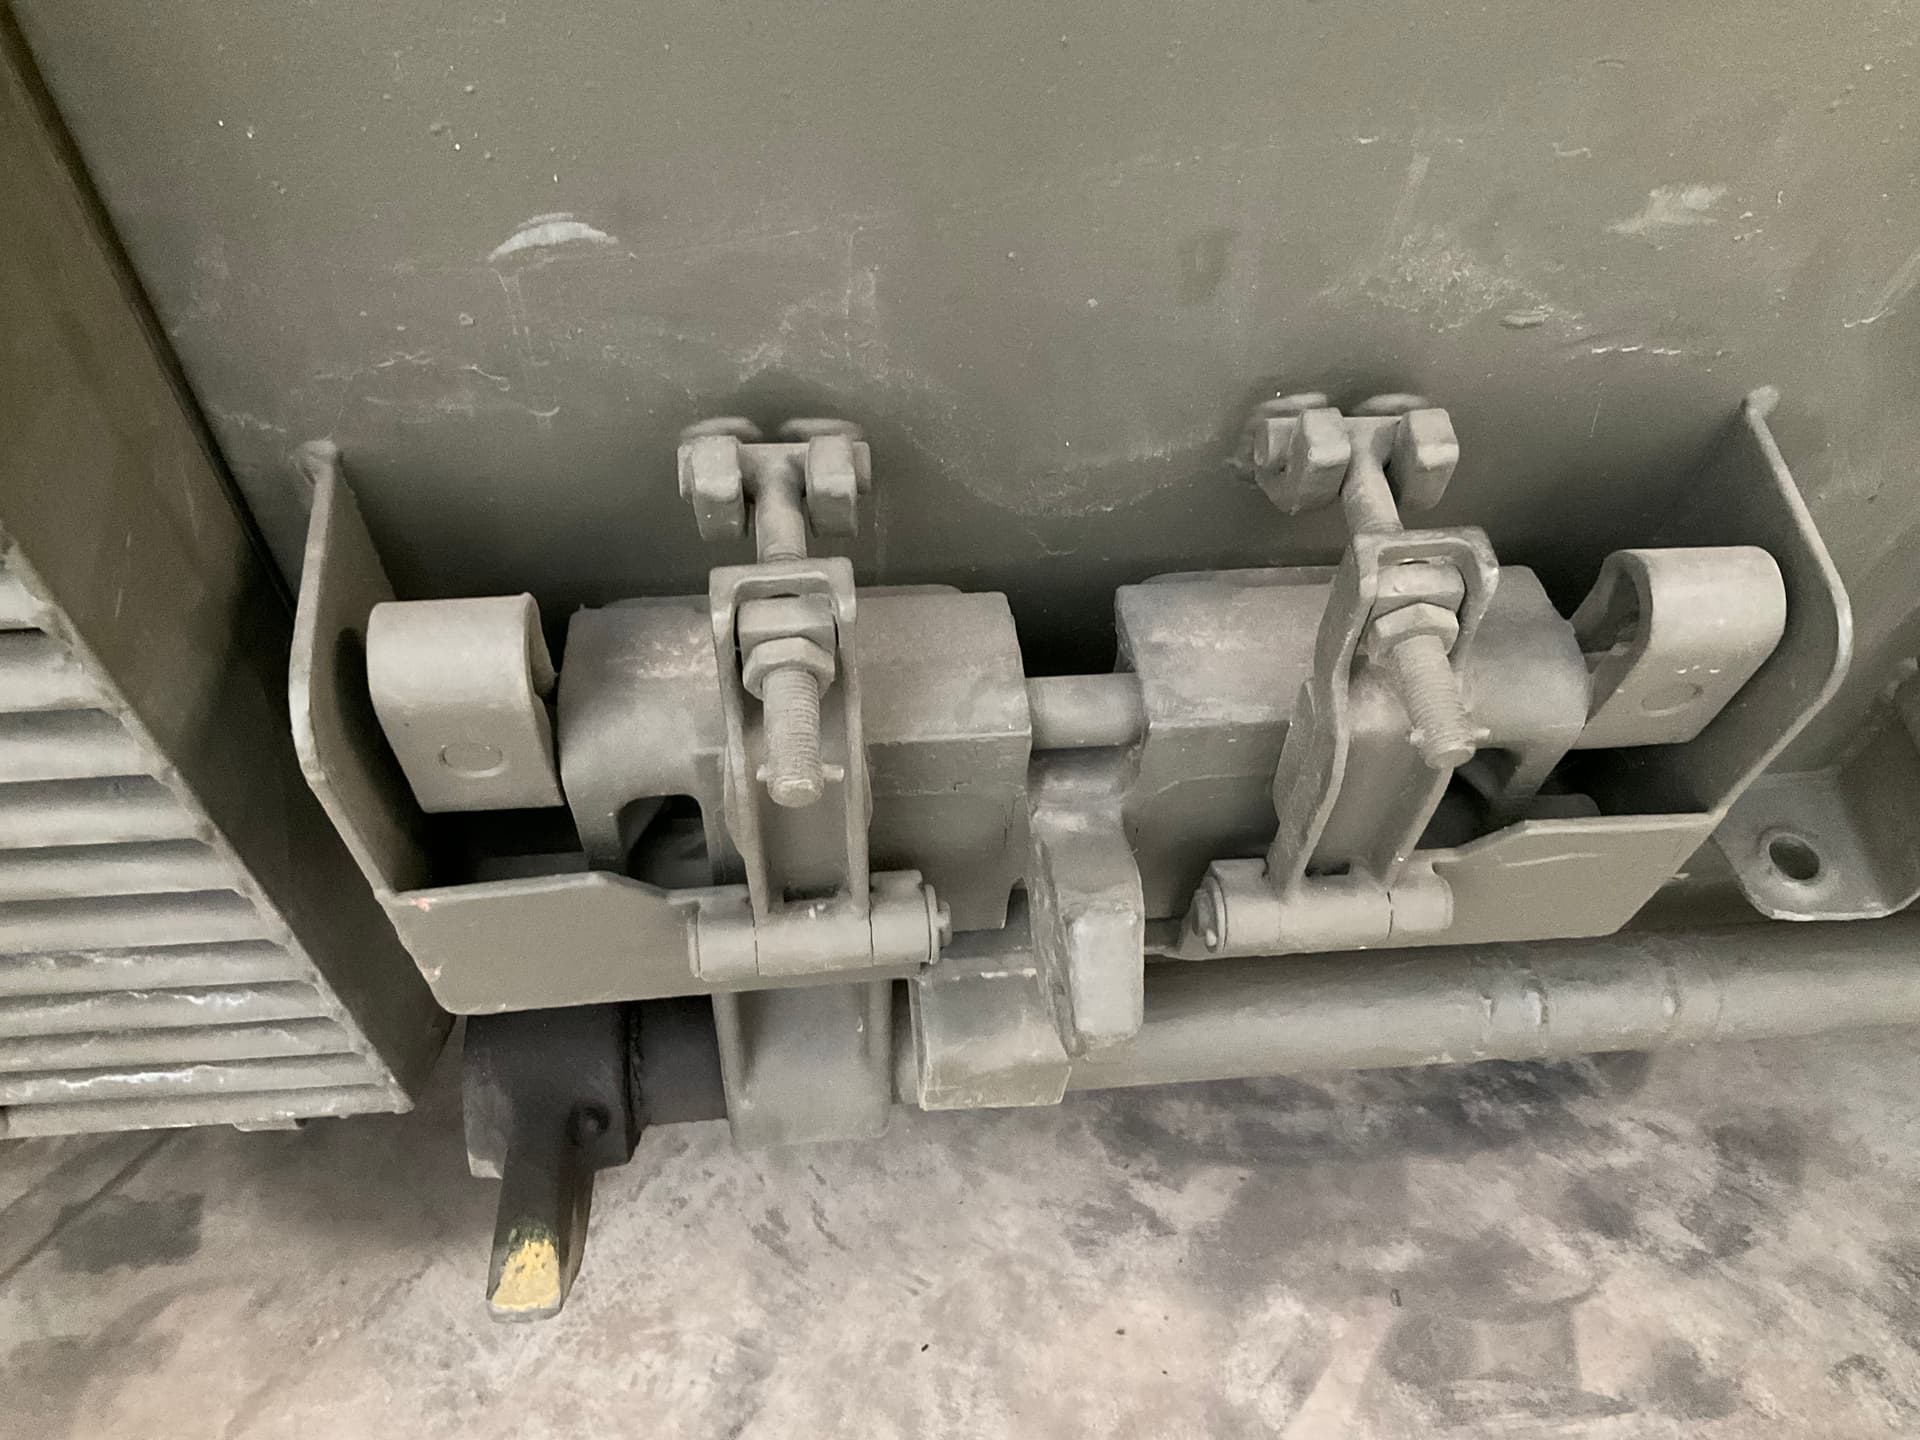
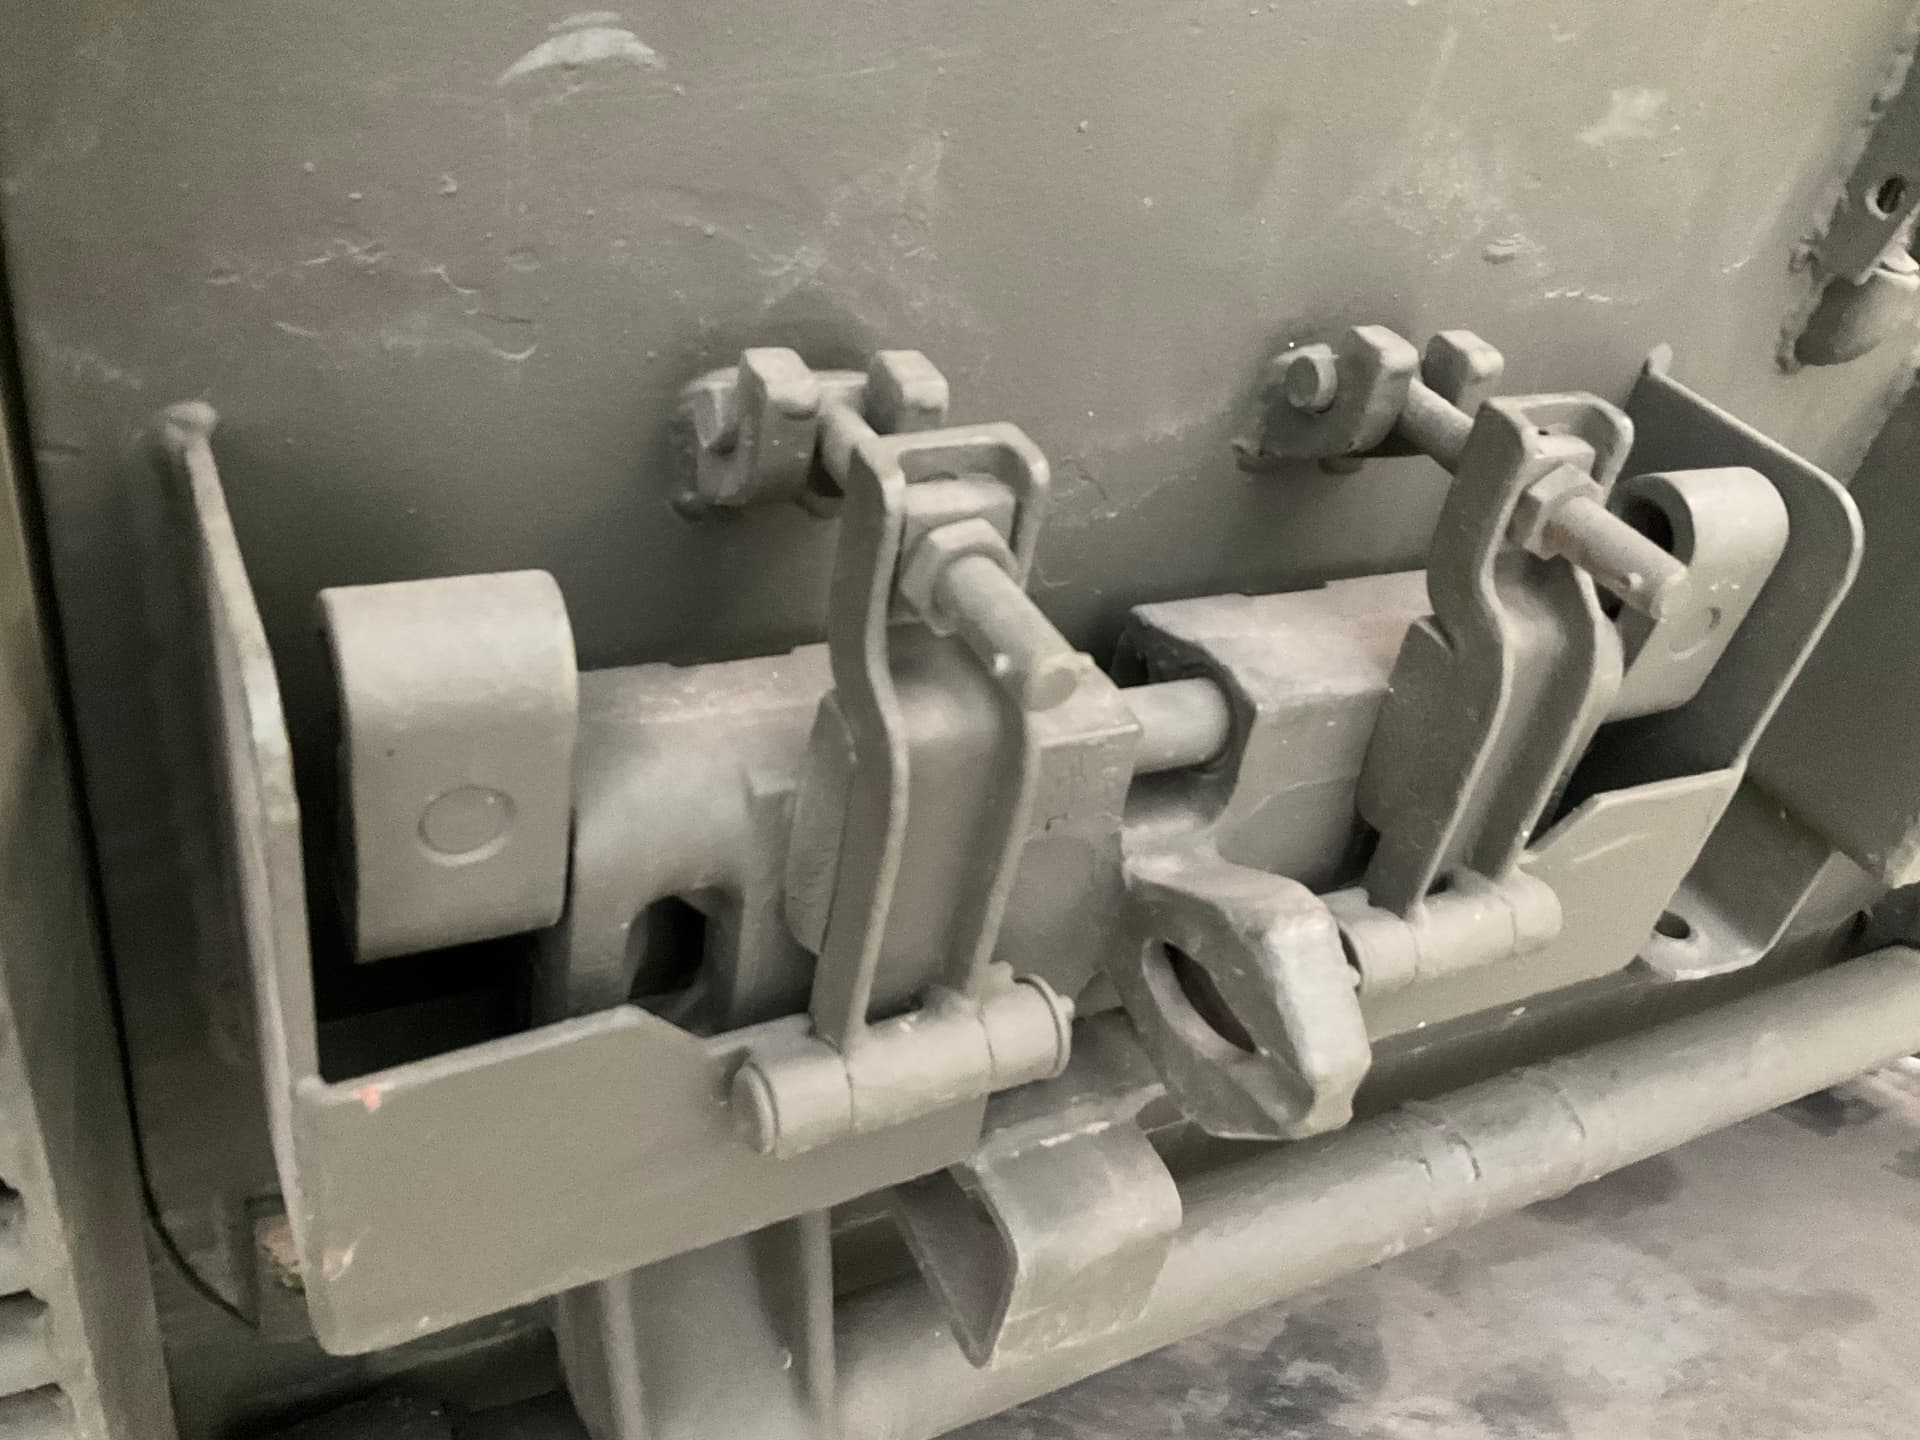
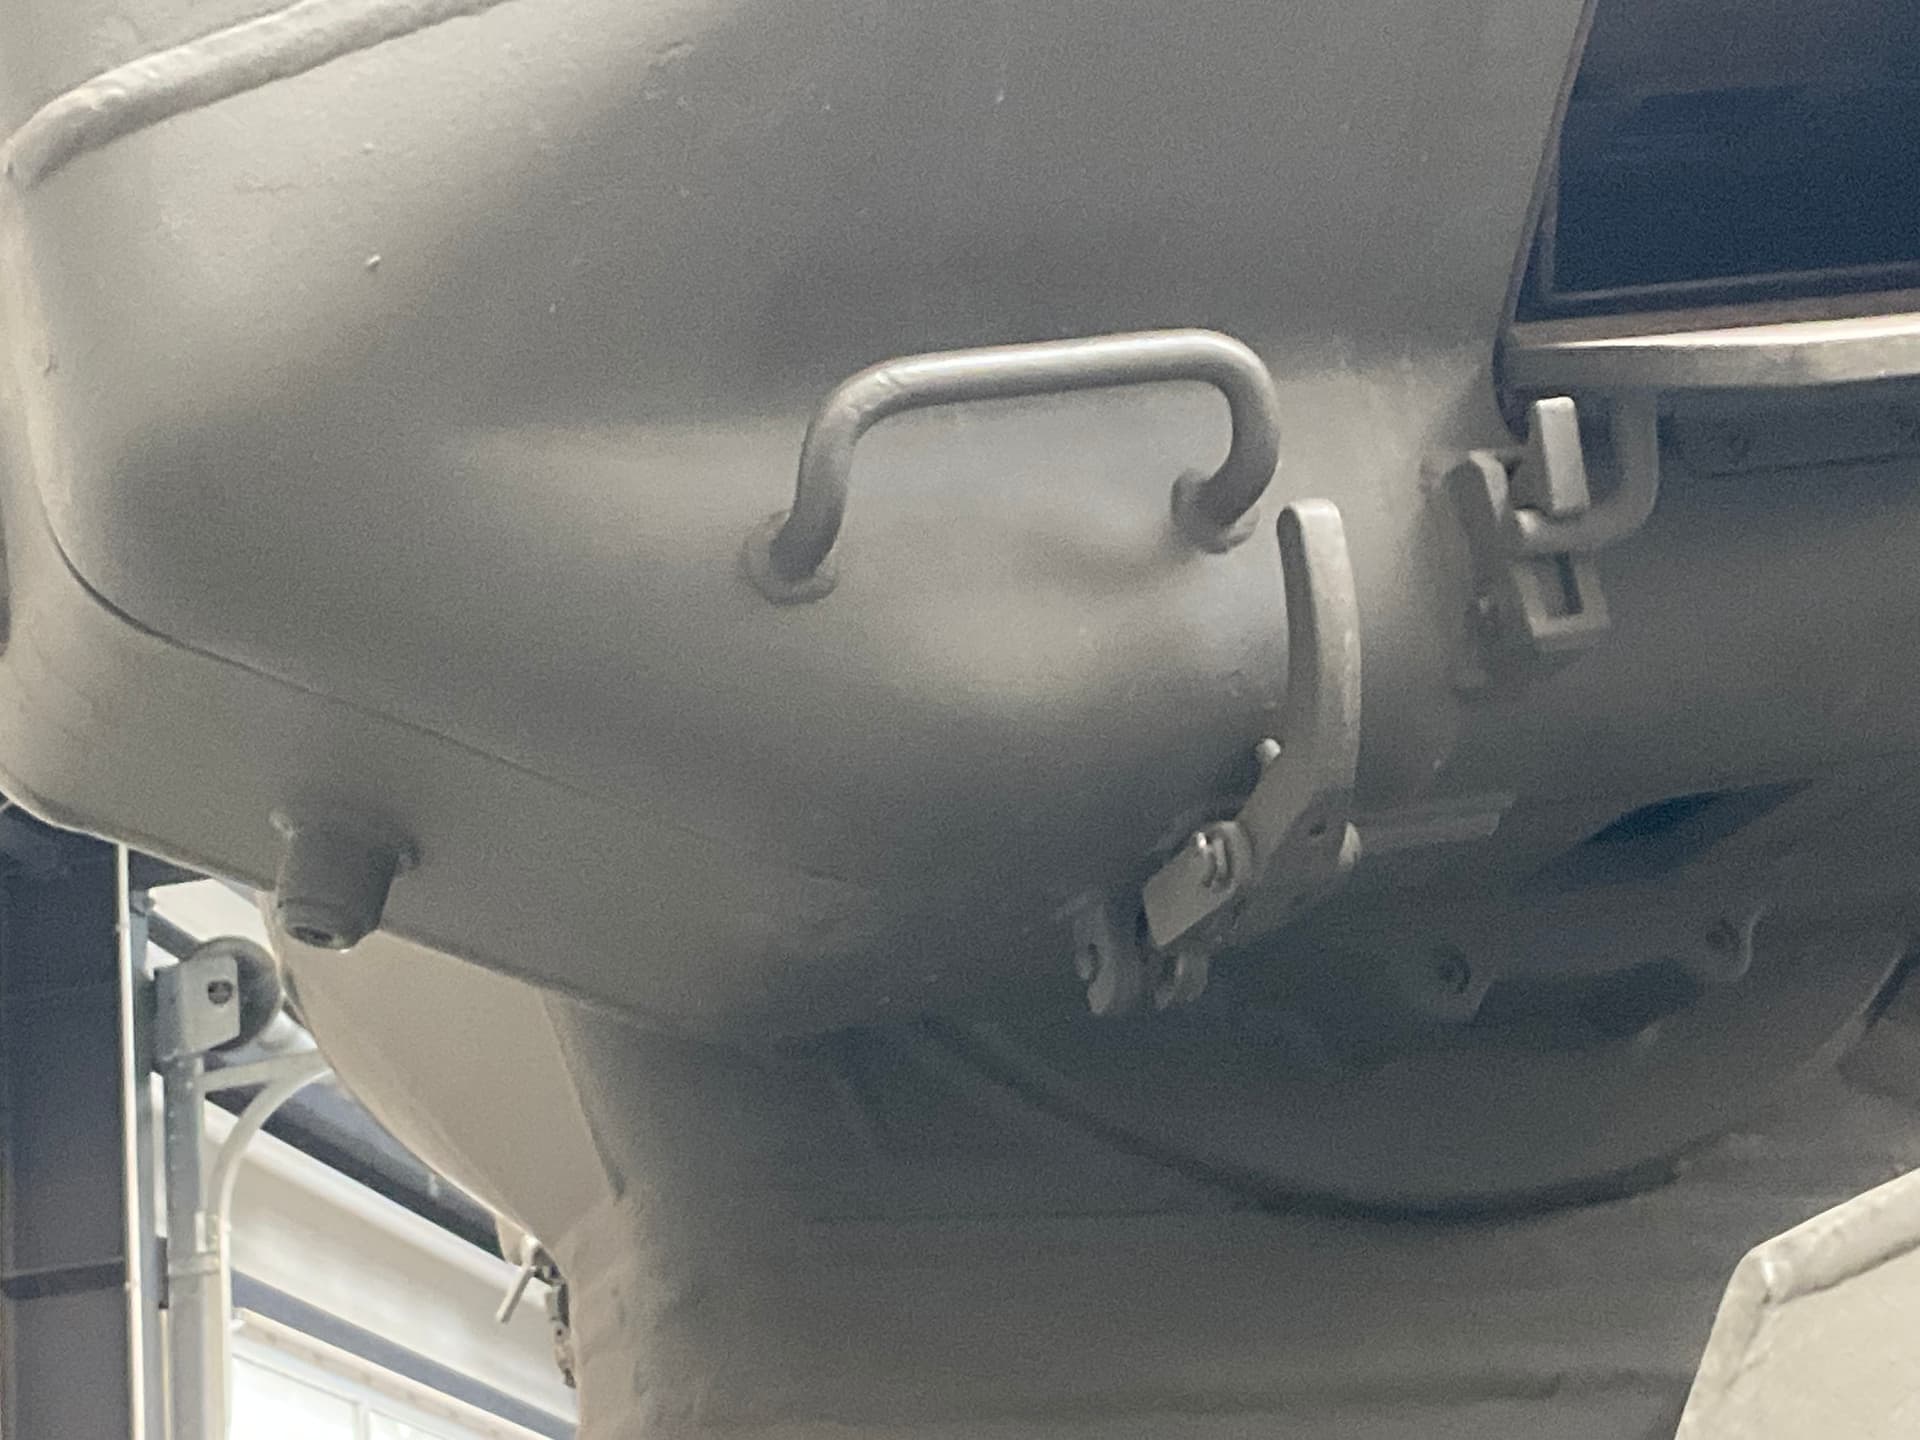
For correctness sake, it´s not Schützenpanzerwagen but Schützenpanzer Marder. Another kit that needs to be transferred into 21th century. @petbat Thanks for the detail shots. They will go into my collection. I found a Marder 1A2 in stash that needs a treatment.
The paint I used initially was of such a low quality, such as I have not witnessed before. It just would not cover the surface and kept separating the pigments and water. After layer 4 I just dulloped it onto the base and dotted it into place with a large brush. Even when that dried the previous layer would show through.
I then confiscated my wife’s paintsupply, which is of a significantly higher quality, and used it sparingly by pouncing it with a sponge.
First I drybrushed it all with a very light grey and then used the sponge, alternating between raw sienna, burnt umber, yellow ocre with or without small amount of white and black.
Next I added a wash of sap green in the lower corners to simulate algae and used the leftovers from the previous step as washes of Tamiya’s flat earth (the top)
the old AK real colors had that color
gelb oliv early RC086 RAL 6014
gelb oliv late RC087 RAL 6014 late
Sadly i dont see them listed under thier revised line it looks like they phased out all the moden Bundeswehr colors you might still be able to find them