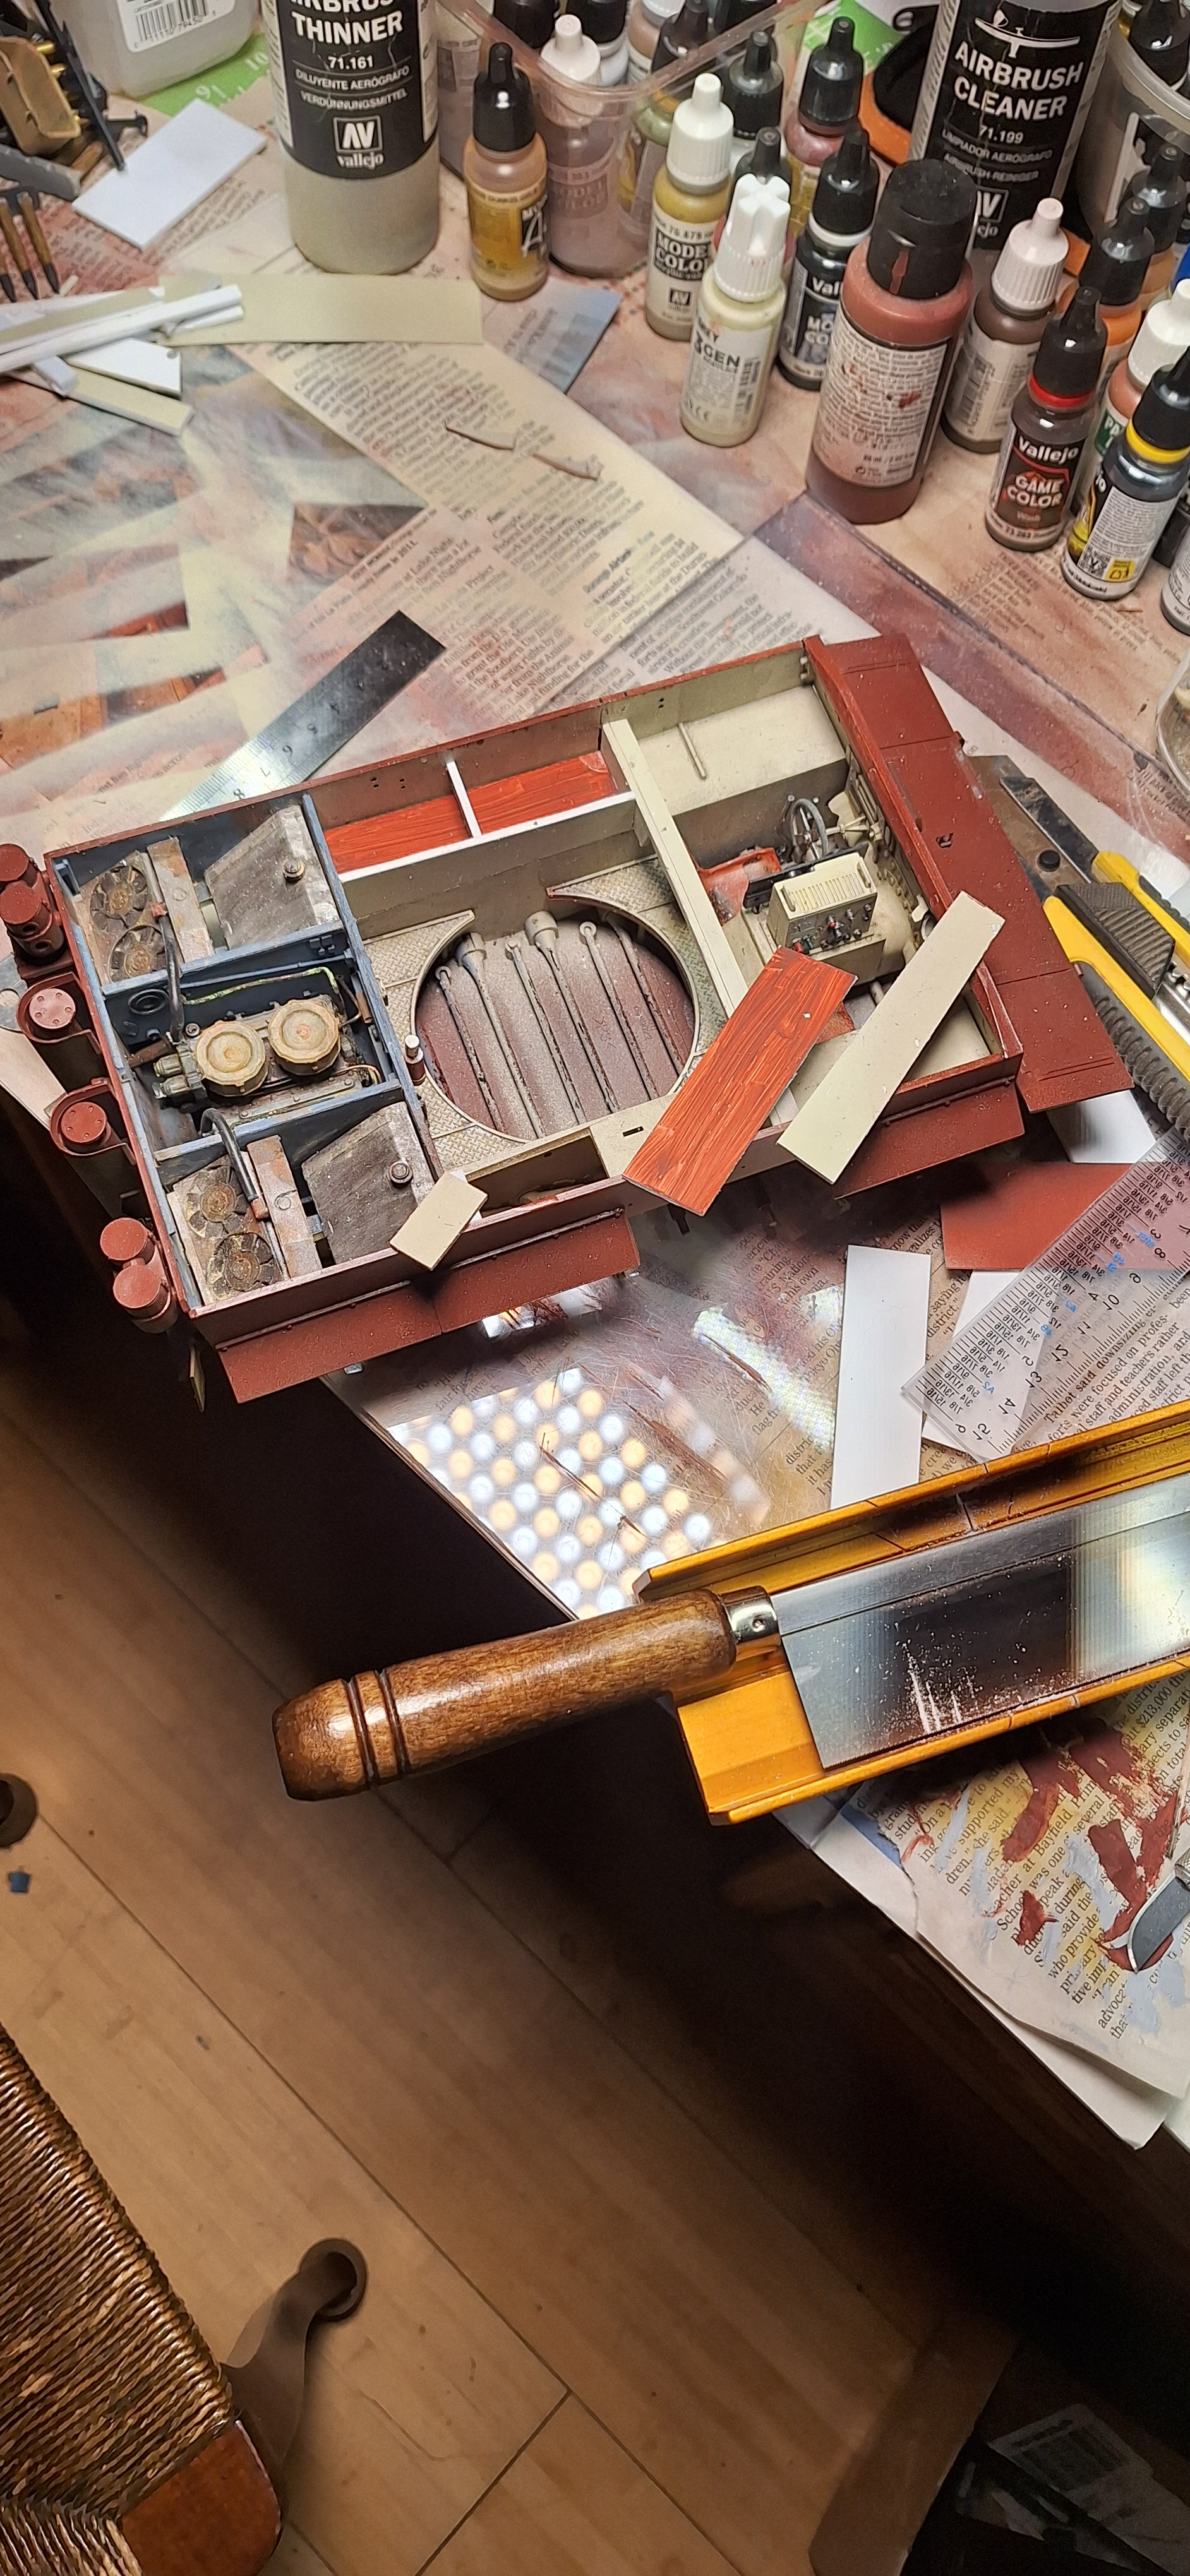
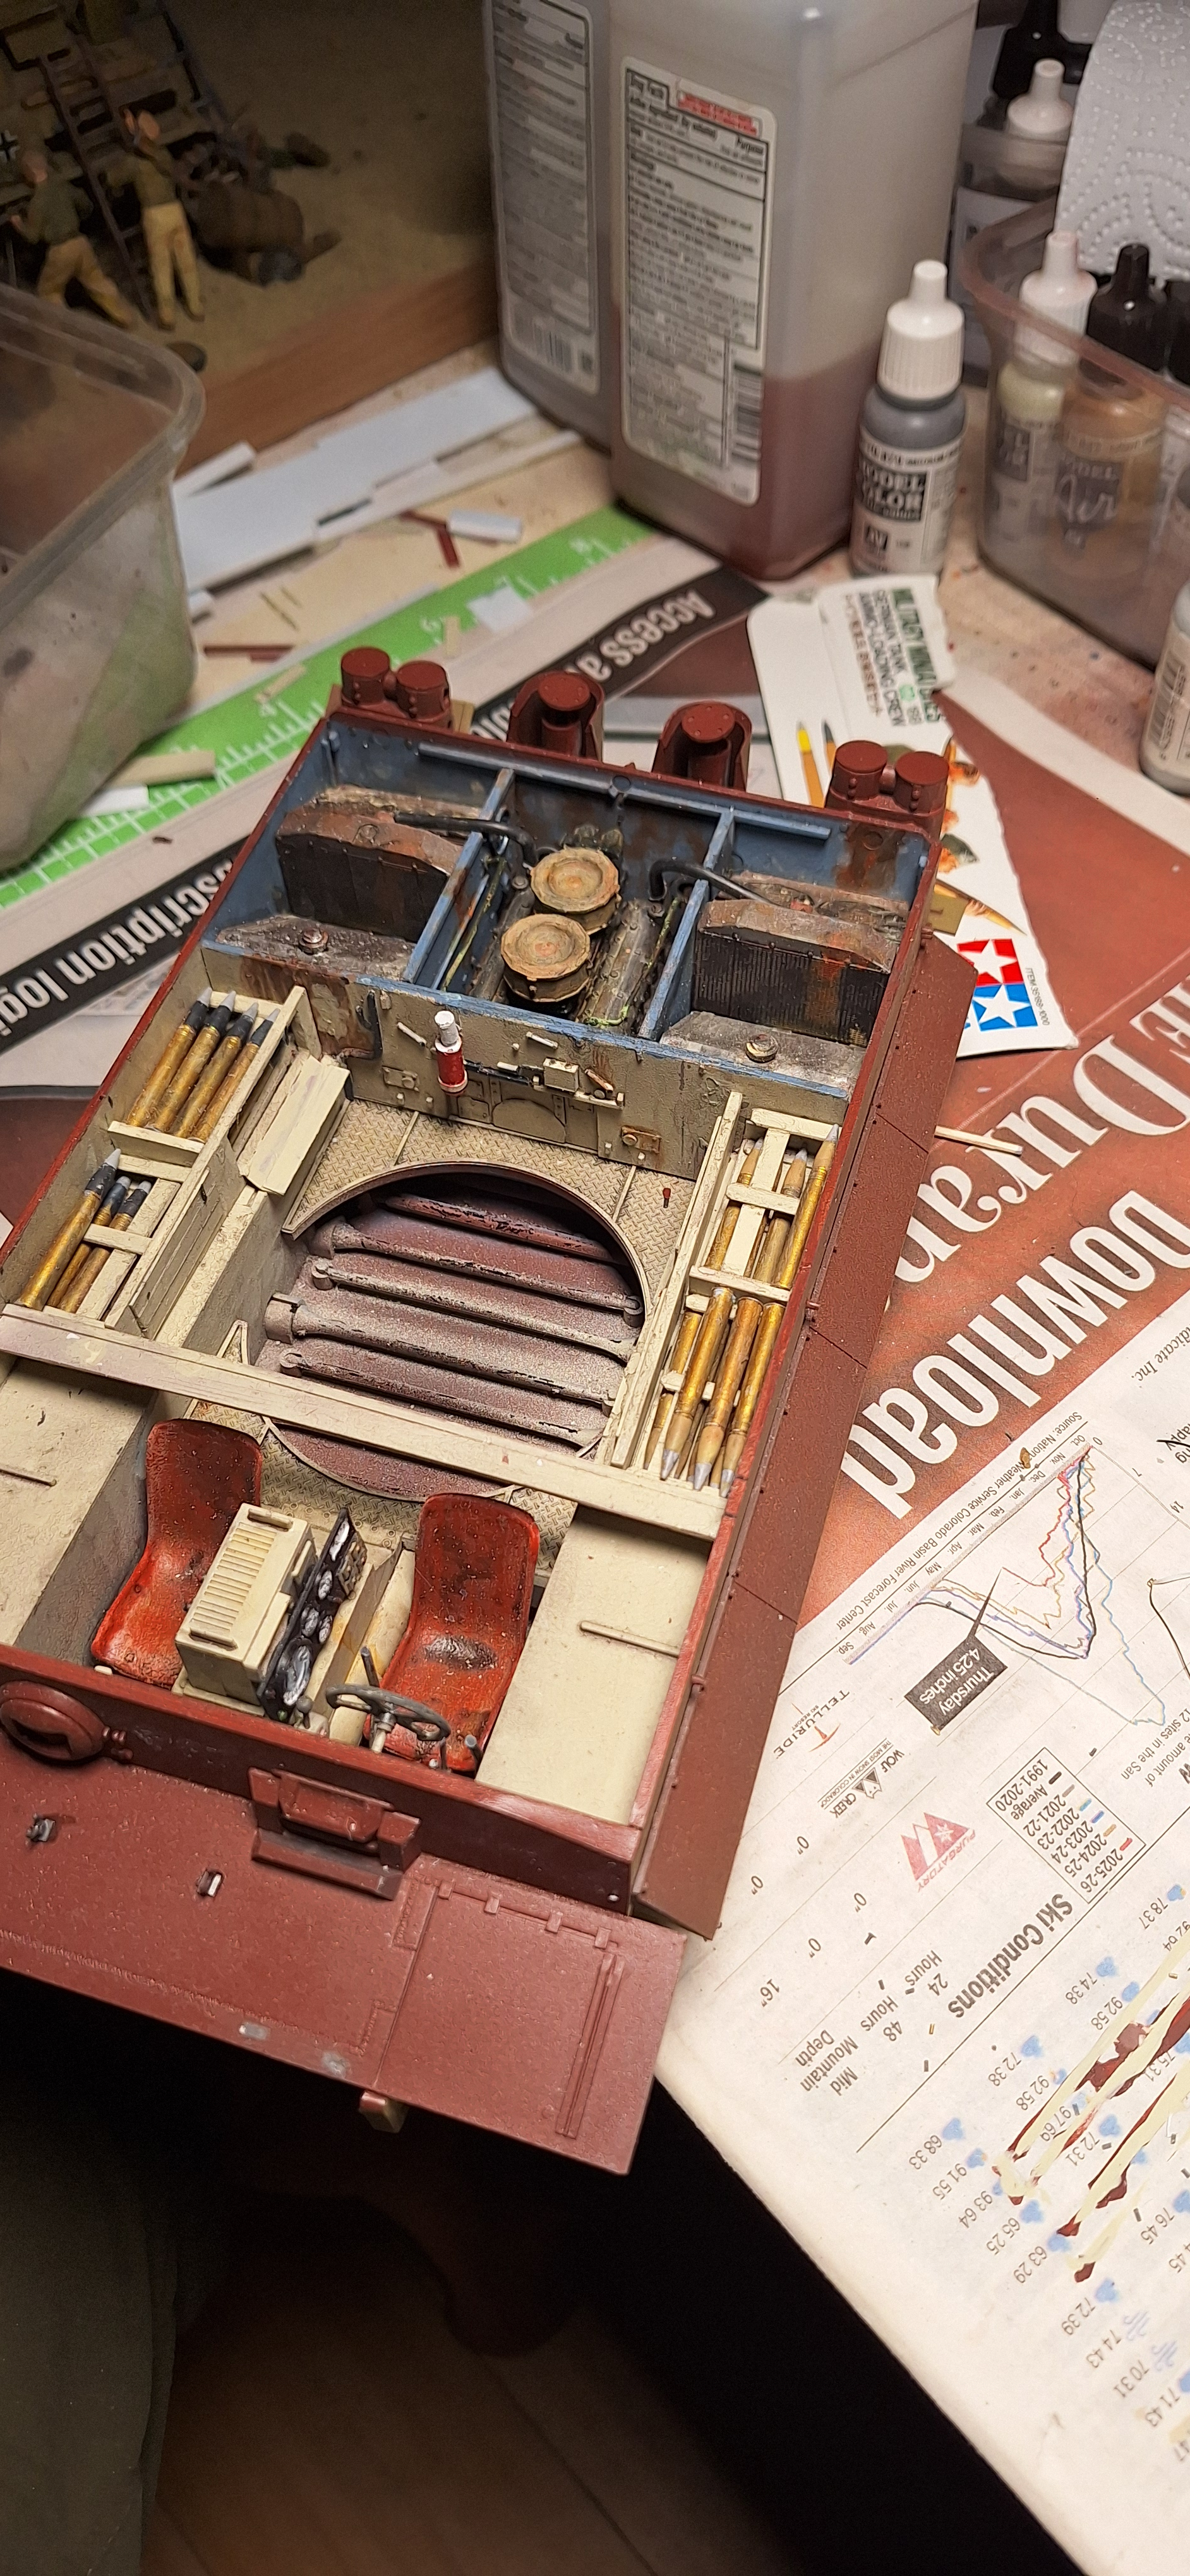
I appreciate the welcome. I have taken on Tamiya’s version of Tiger 1. For those familiar with the kit,and those that might be interested, I have to wonder, at this level of scale, why Tamiya didn’t spend more time with interior detail. There’s a relatively nice driver and radio op detail. There is a decent rendition of the turret base and torsion bar suspension. But it stops there. So…
After a complete engine compartment from Z-Panzer…
We start with ammo storage for the '88. Basic styrene rough stock from Evergreen Scale Models. And ammo from Model Monkey.
So far so kinda good. Here’s where Tamiya’s attention to engineering begins to falter. For those who have built a RFM Toger 1 you can appreciate my dilemma. But therein are the challenges. On to the
drivers and radio ops positions and the detail outboard. Radio ops I get. Ammo for his MG. Drivers side not so much. In a recent post by BGT, he asked for and received a lot of good info on Tiger 1. It was this post that encouraged me to tackle my Tiger 1. In his build are 2 items to the left of the driver, sitting on the sponsons. What are those? Next is turret details but we’ll get to that.
Do not also forget that the Tamiya Tiger 1 mold is 45 - 55ish years old, depending on which kit…while RFM is a few years old…big leaps in molding technology and competition to compare the two.
If your talking about the right side of the radio operator, I believe there is main gun cartridges just like on the drivers side, and extra MG34 canisters/drums for his gun. As well as extra radio equipment and converters if it was a command vehicle. I’m sure others will correct me if I’m wrong, but I think that is what’s on the radio operators side.
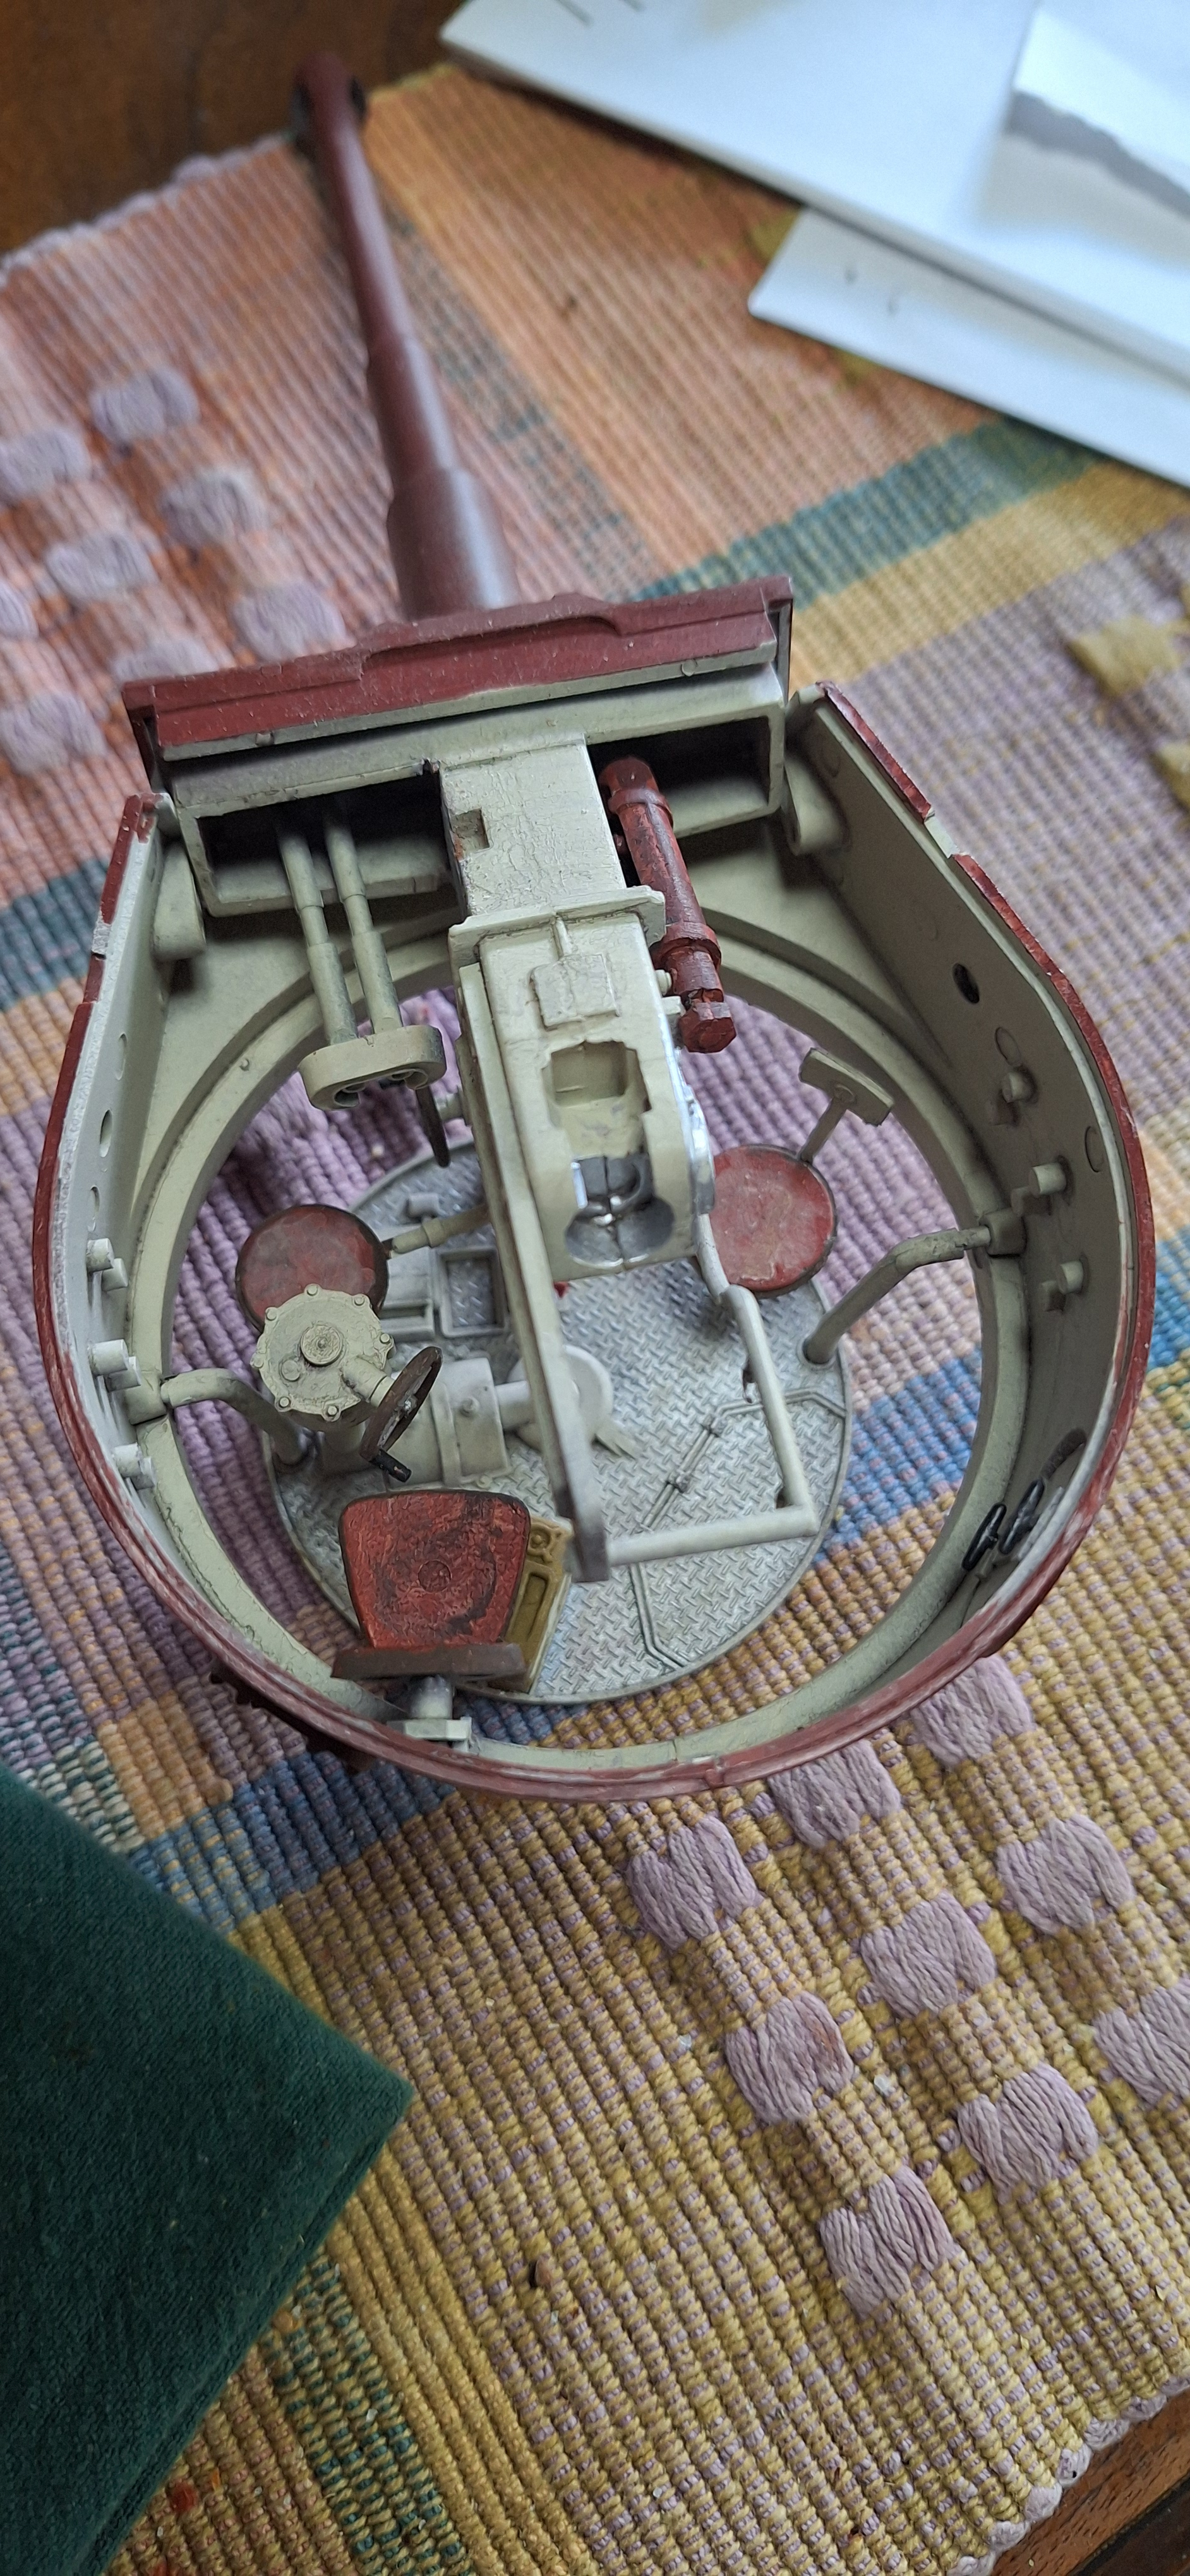
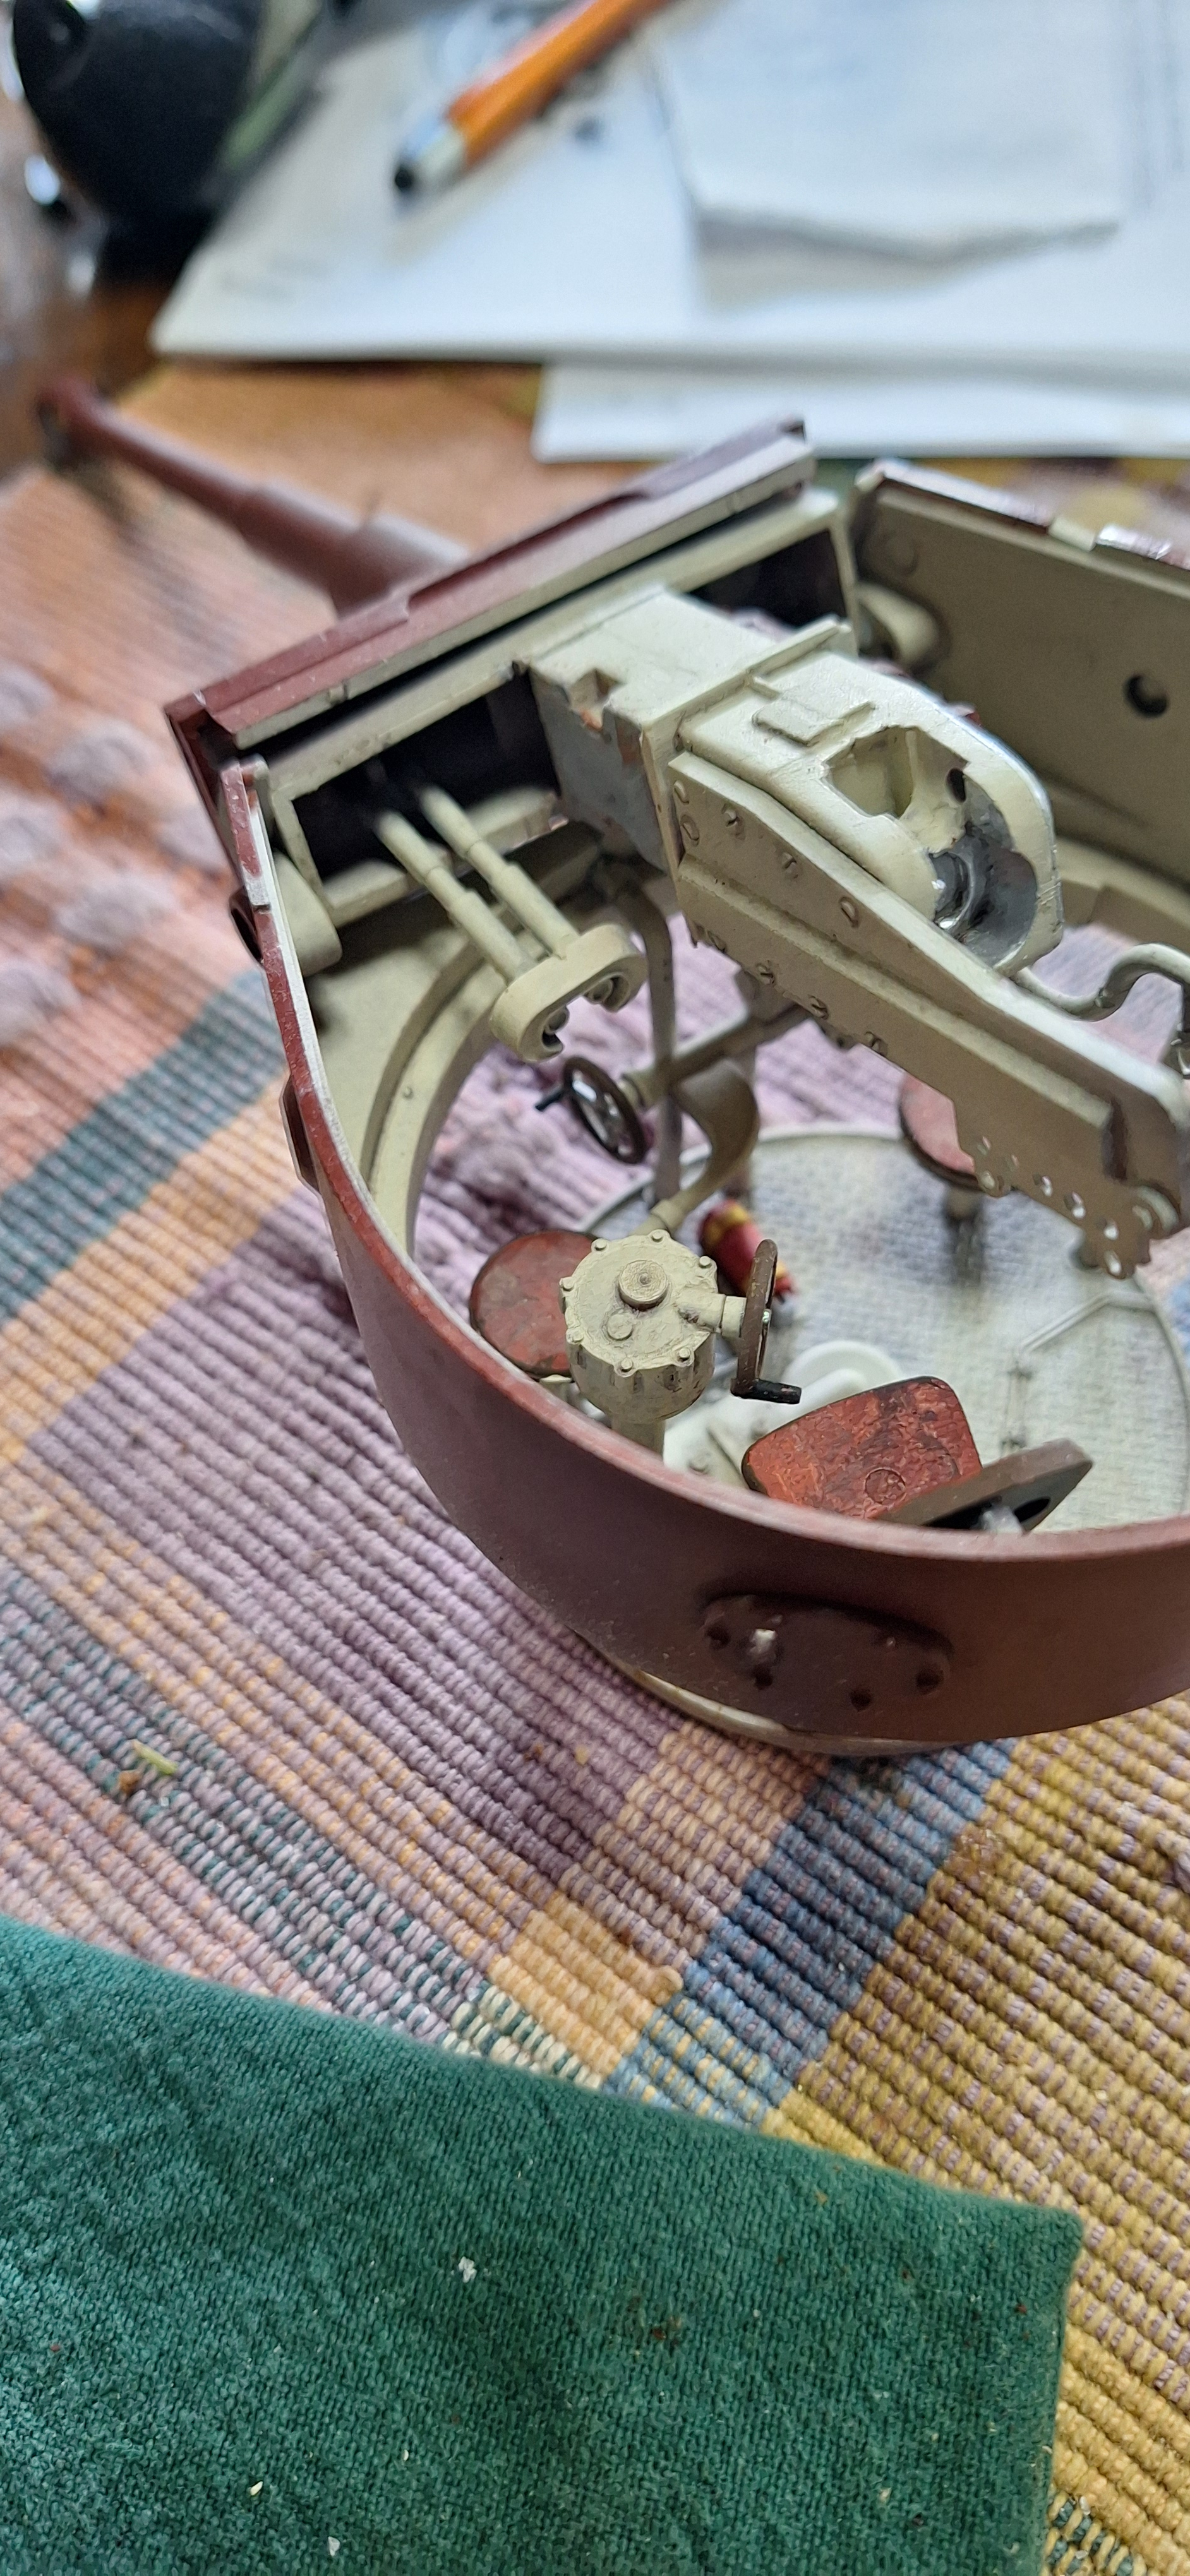
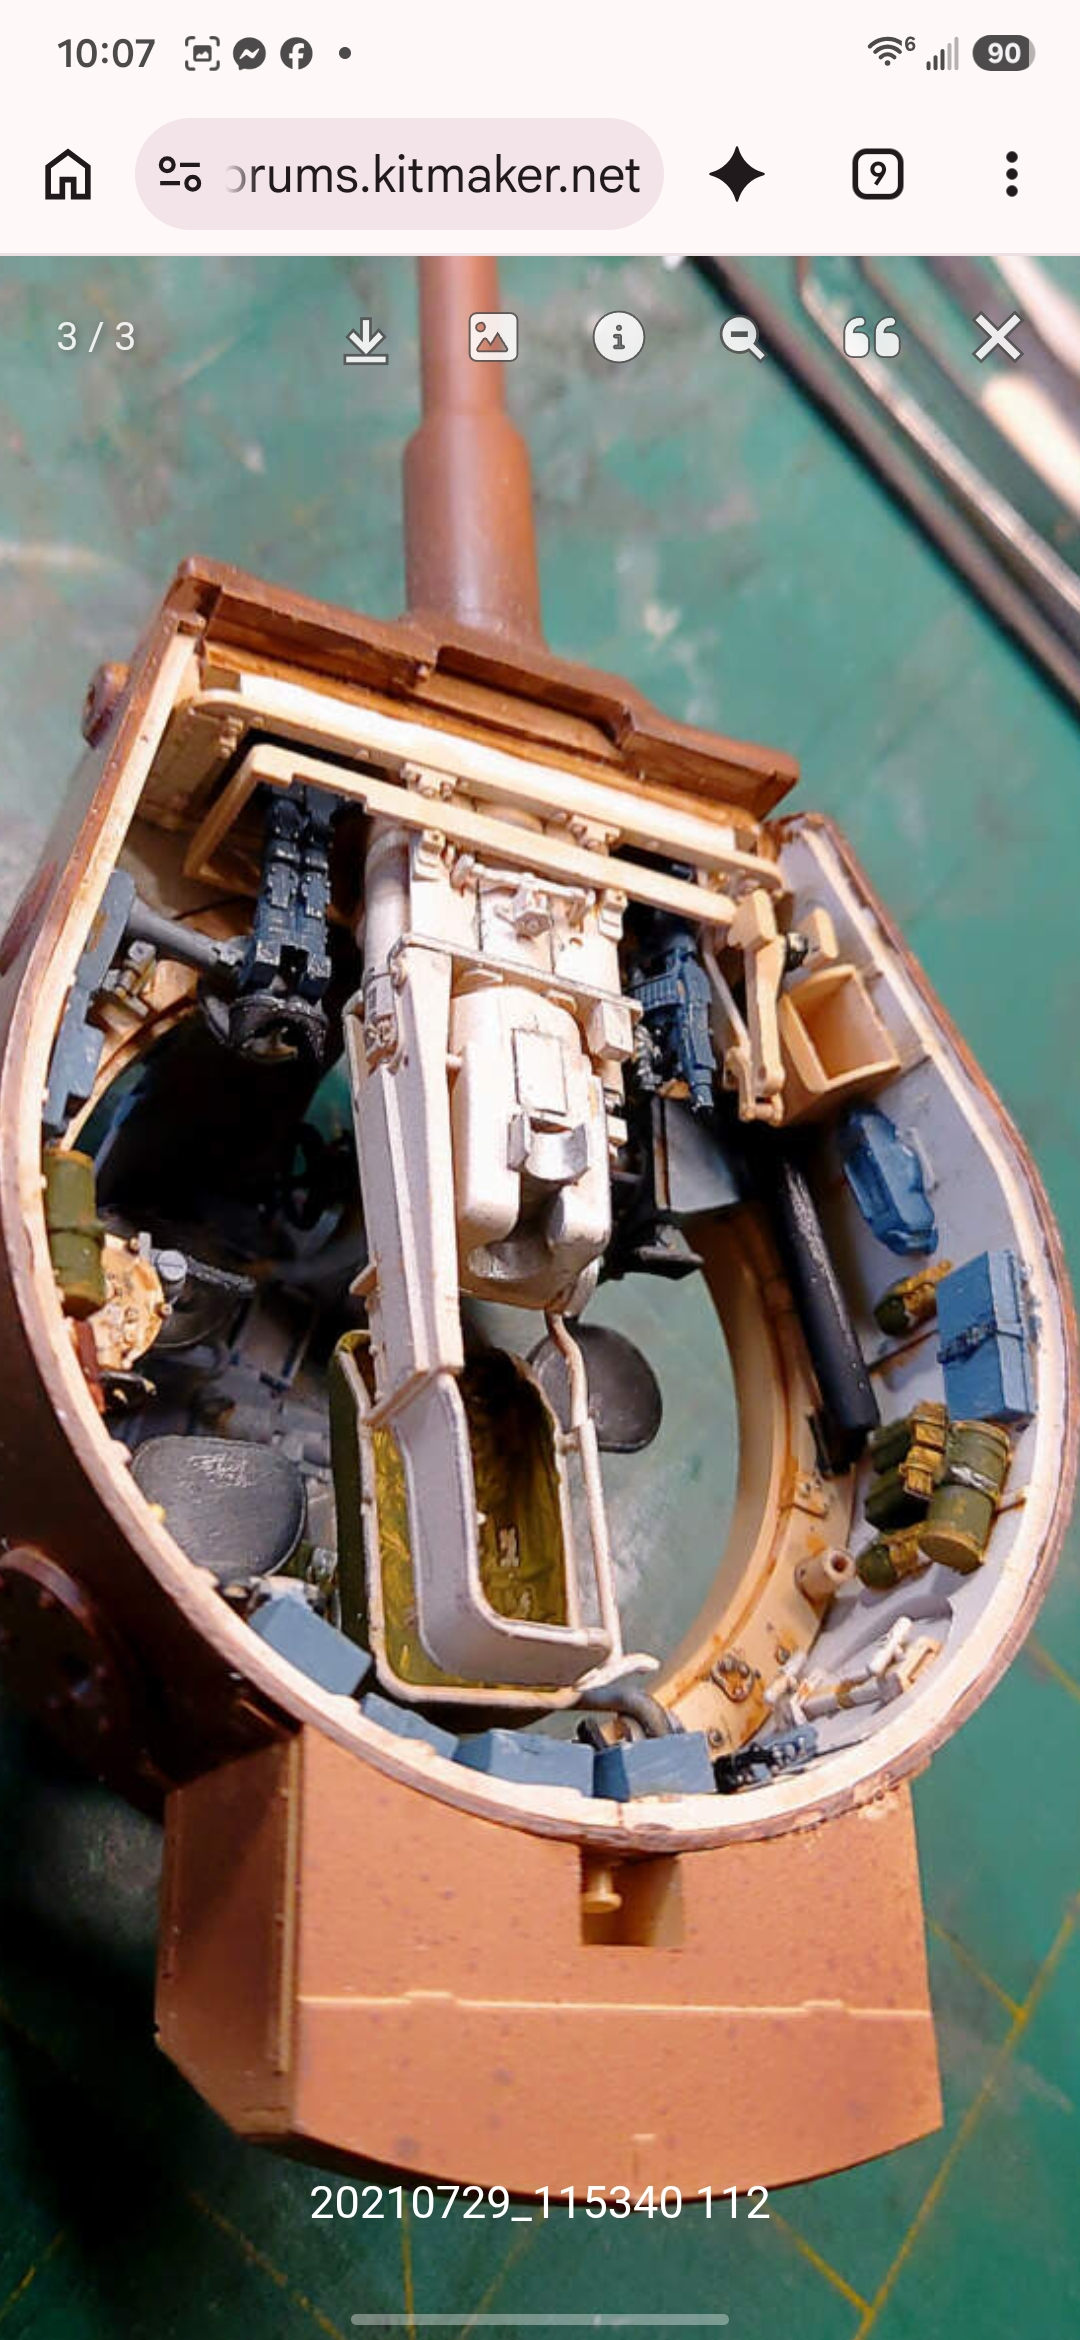
Ok time for the turret upgrade. Tamiya did a good job with the turret floor and not a bad one with the gun breech. I have an extra kit for parts and I’ll need the left side piston? for the 88.
for instance, the "container " next to the MG? By the way, this RFM build, from BGT is very nice. Thanks, BGT. Your modeling gave me the incentive to DIY the interior details of my 1:25 Tiger 1
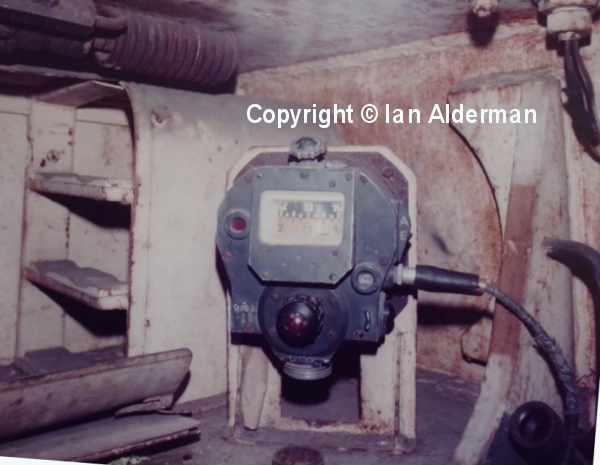
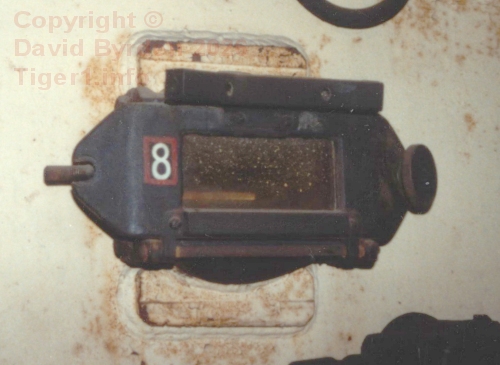
This one is missing a thumbwheel (in Tiger 131 before restoration).
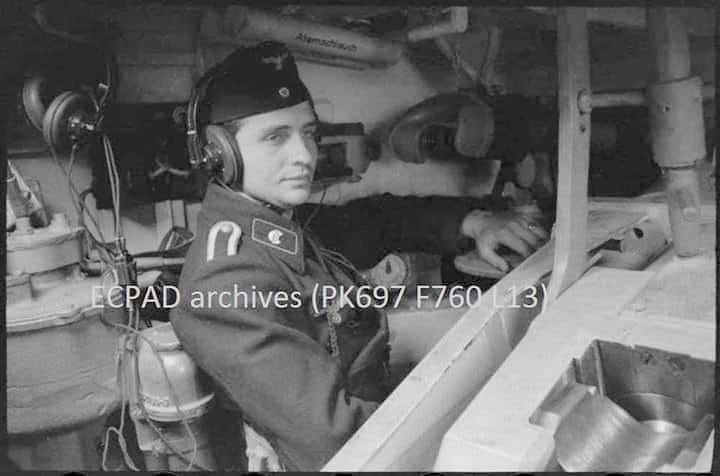
For all Panzers up to the middle of 1943, they used black paint on the machinery in the upper part of the tank that was painted “Ivory”. Anything with moving parts, or that you interacted with, got black paint.
After mid 1943 they left most of it in the “Ivory” paint. This is a “Mid” Tiger. You can see the same vision port just behind his head. It’s “Ivory” now, except for the rubber strip at the top.
Nice work so far. The extra interior detailing really shows what Tamiya simplified compared with RFM. Looking forward to seeing how you tackle the driver’s area and turret details.
This has already been mentioned by one person, but I’ll repeat it, if this is the most “recent” Tamiya Tiger I, the molds are in the neighborhood of 40 years old. One of their older Tiger kits is over 50 now. When the newest ones were released, they were state of the art. There were VERY few armor kits of any scale that had interiors at that point in time.
I just saw this is about the 1/25th kit, my bad. That means this kit is over 50 years old.
Maybe I’m not understanding, but are you saying that you NEED a left side piston? I have a tiger 1 with interior that was partially built and I haven’t jumped back into it. Let me know if you need any spare parts. I can send some. Not still on the sprue, but I can easily break off any parts you need or just send you subs already assembled and you can scavenge it. Let me know friend…
Thank for all the good info. Also, thanks for the offer of extra parts but had bought the 1st kit from an eBay seller and wasn’t complete. Bought anotherso have parts.
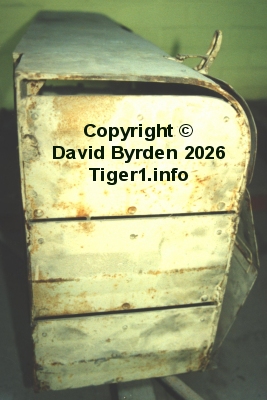
Yes, there are identical view ports on left and right… you can see them from outside. The round bump with a slot.
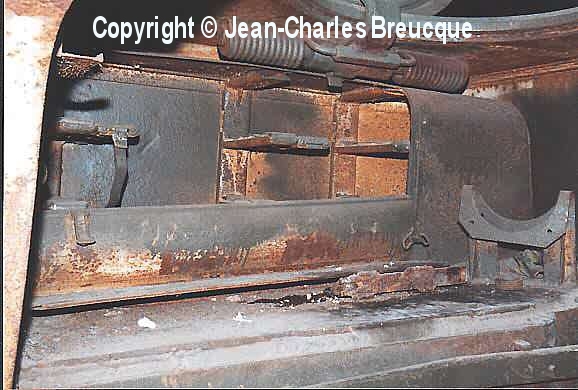
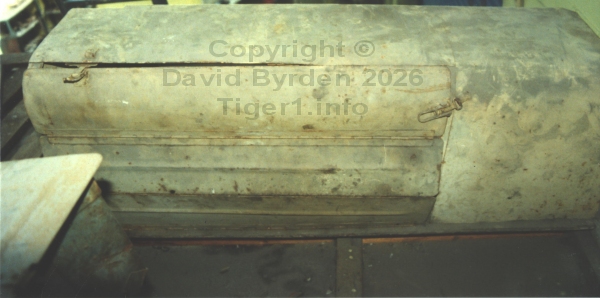
The long cylinder contains the counterbalance spring for the gun, and there’s only one of that. In the “new” turret (with the different cupola) it was moved to a standing position beside the commander.

 That means this kit is over 50 years old.