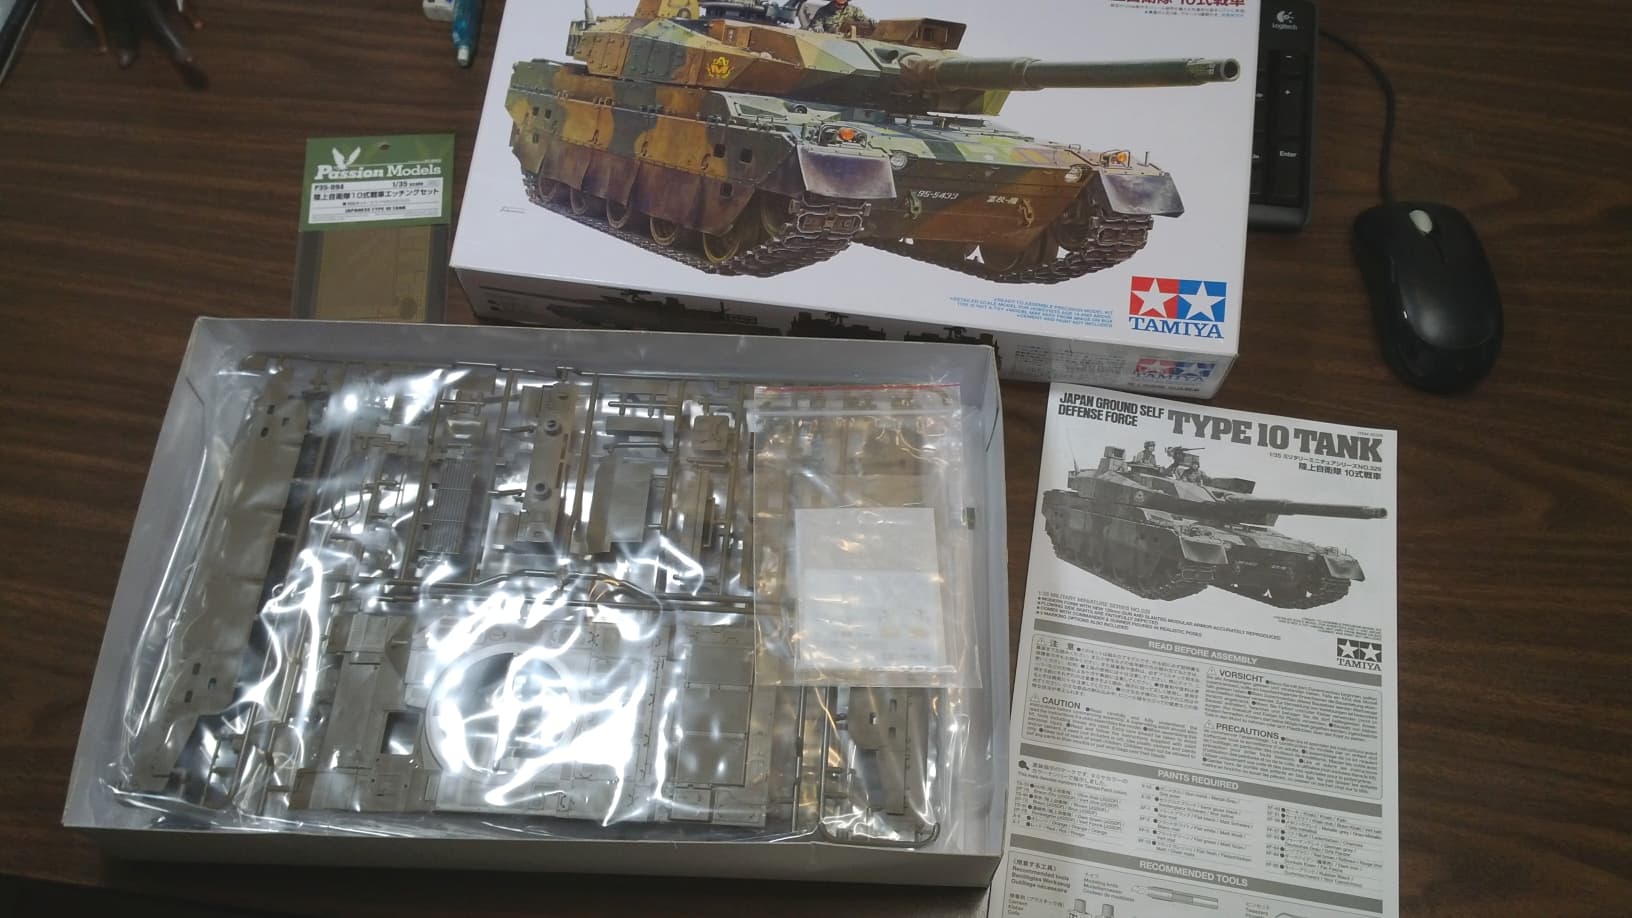
I’m building a 1/35 Type 10 Tank from Tamiya, with Passion Models PE set. Since I’m a rusty newbie, I’ll try to keep things simple and keep detailing to a minimum. My past 4 tank models have been Tamiya’s offerings from the 80’s and earlier, and I’m fed up with all the flash and gaps from the old molds, despite them being Tamiya. I got this kit mainly because I just want to experience the true Tamiya “shake and bake” experience, from one of their latest and greatest!
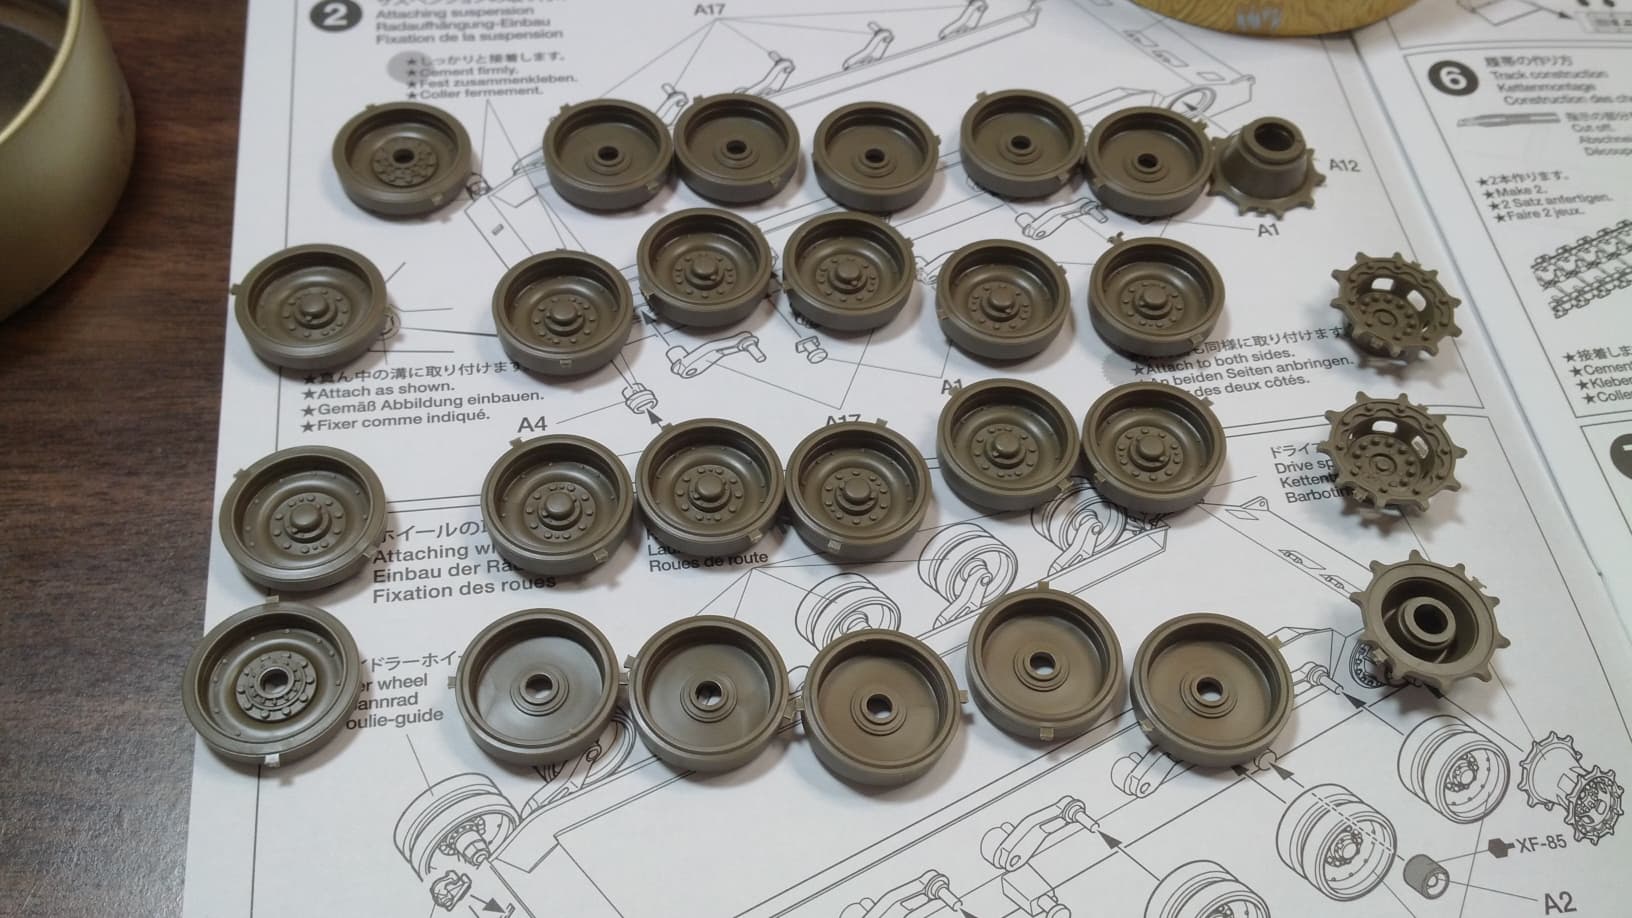
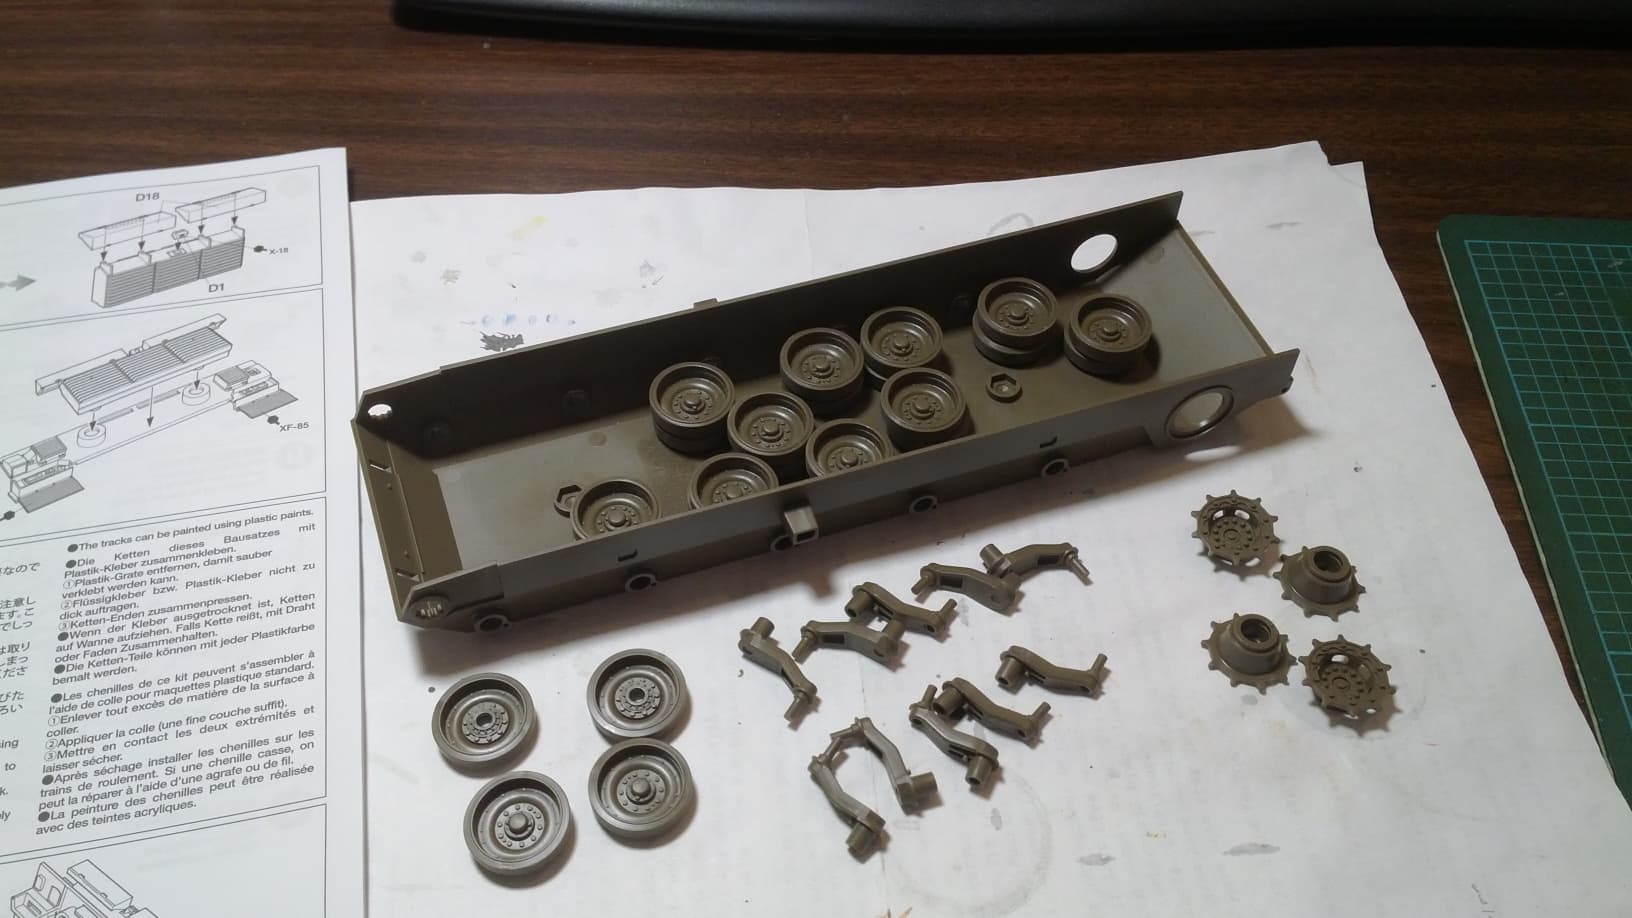
Wheels… ugh wheels, always my most dreaded part of any tank model. Good thing this tank has long side skirts to cover them up, so I don’t have to clean them neatly.
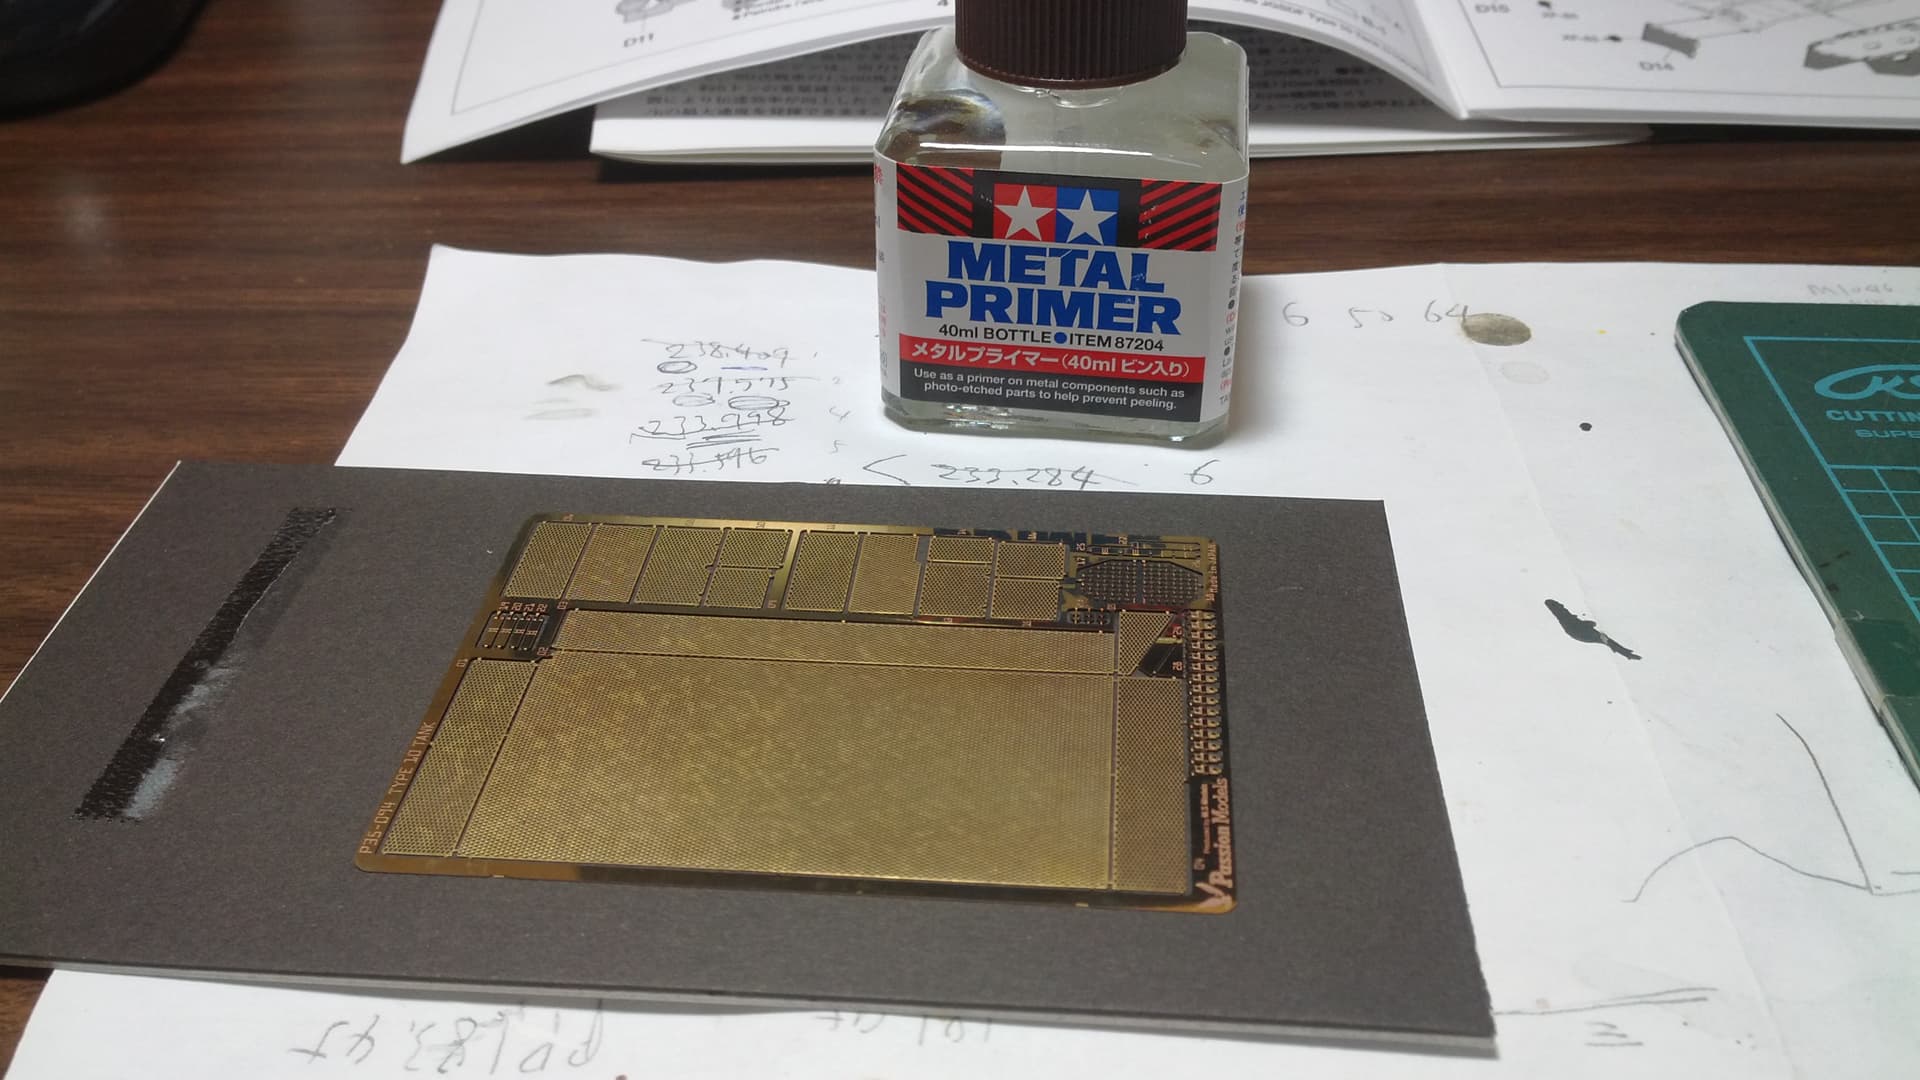
I’m trying Tamiya’s metal primer for the first time. I’ve seen most people use the Gunze Mr. Metal Primer, but I’ve never seen people use the Tamiya counterpart. Oh well, time will tell.
There are surprisingly few build blogs of this tank online, especially ones with aftermarket PE applied. I feel like I’m figuring out a puzzle every step of the way. Any feedback will be greatly appreciated.
Adding PE to experience a ‘Shake n Bake’ build … Ha ha. That is like saying you will just put a band-aid on a cut, then giving yourself 5 stitches… without any numbing.
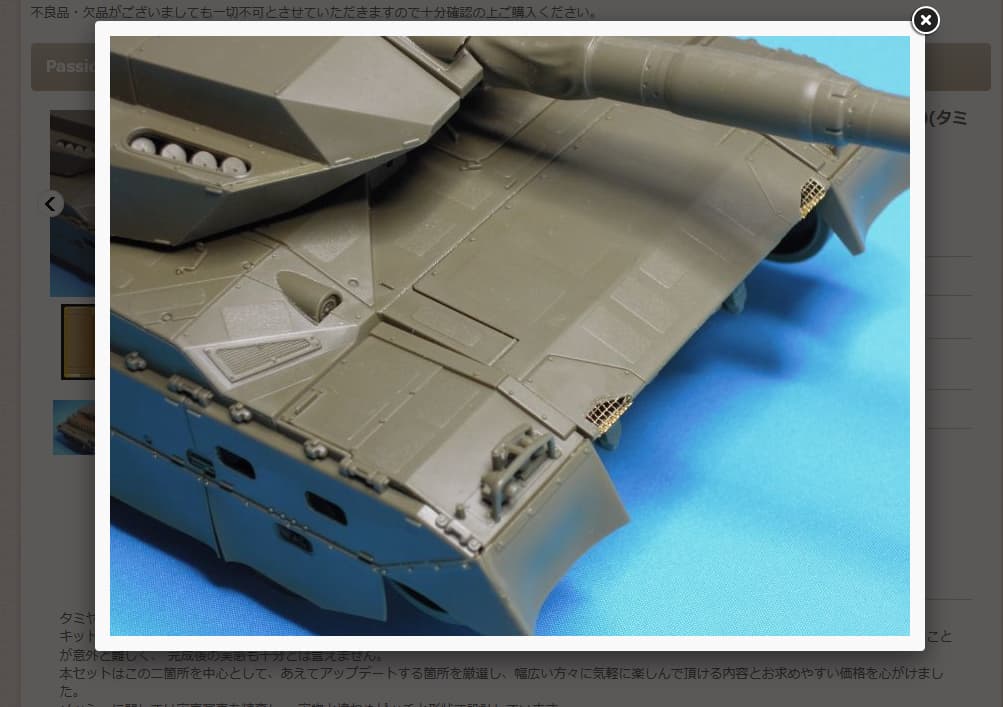
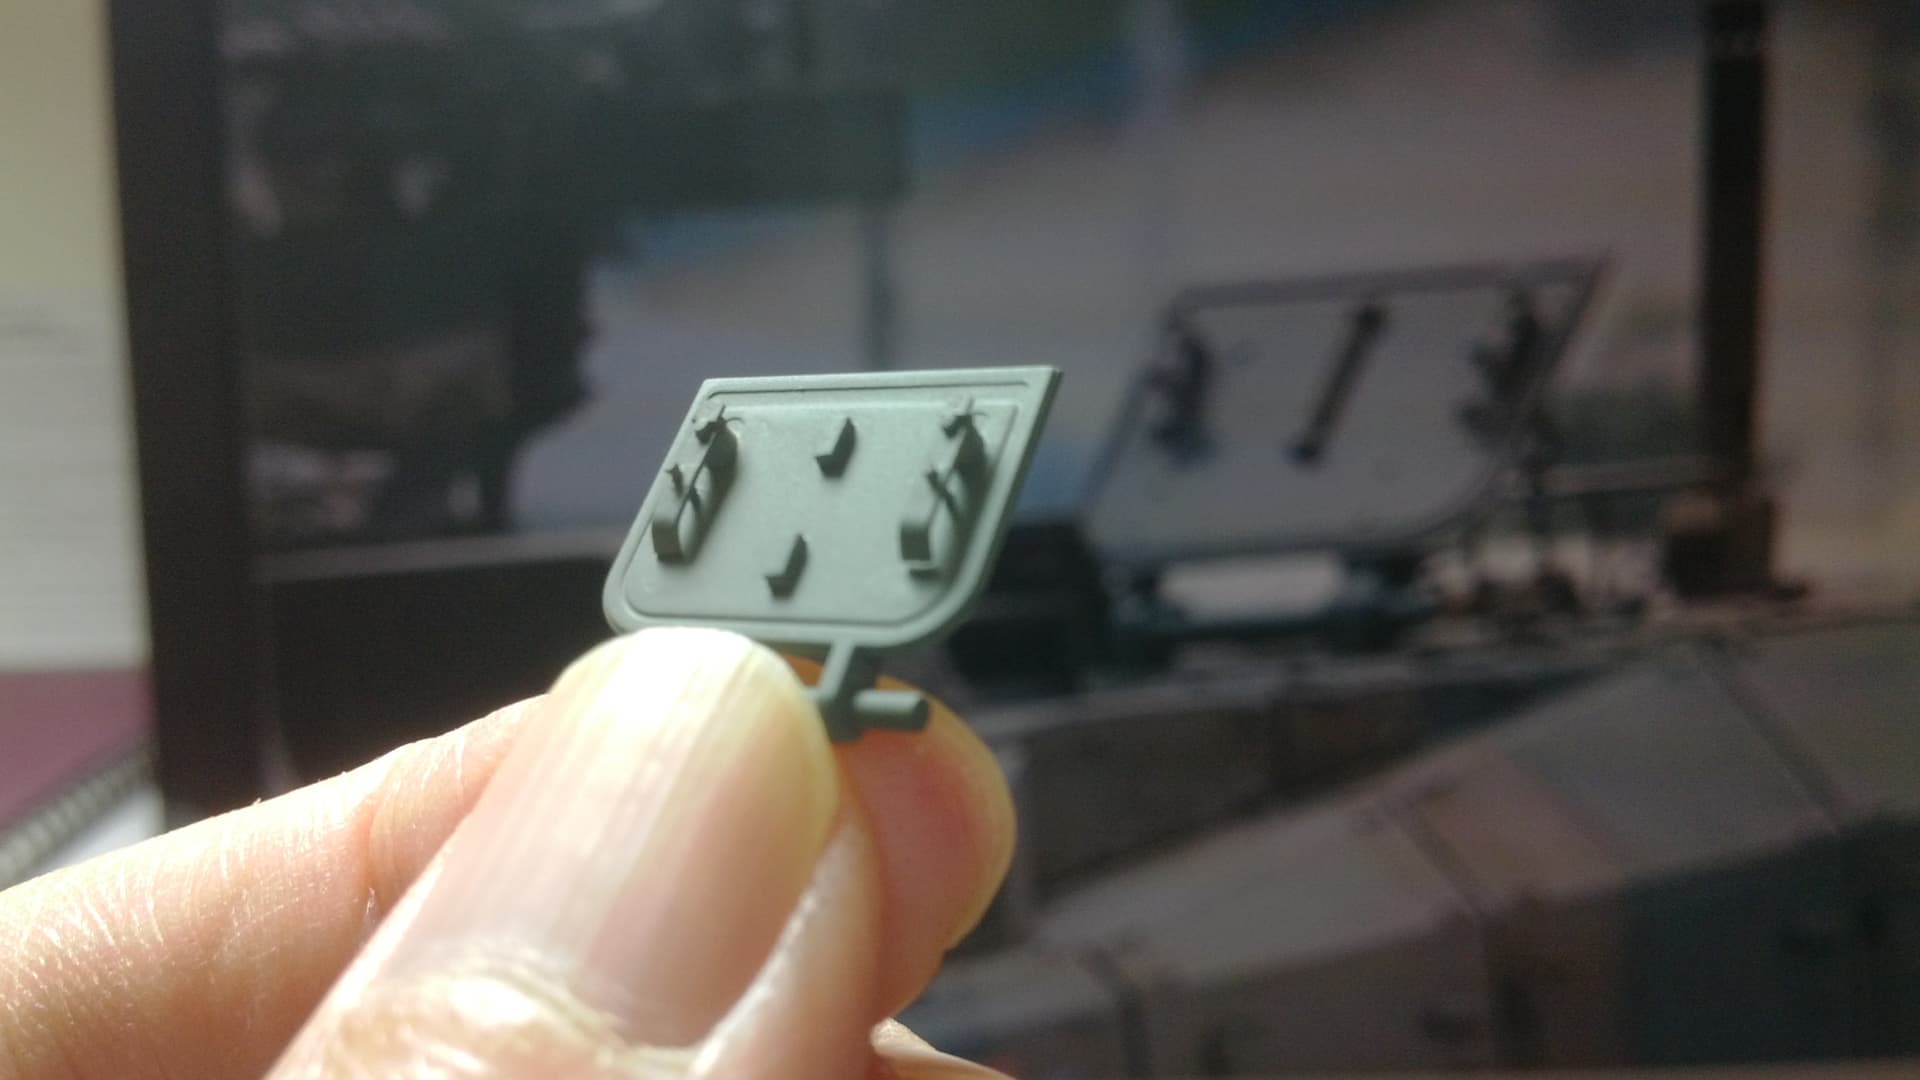
Ah, I just realized the paradox… I think I got the PE set because I couldn’t stand the cheap looking nylon mesh in the box. In my opinion, the turret basket is a prominent feature of this tank .
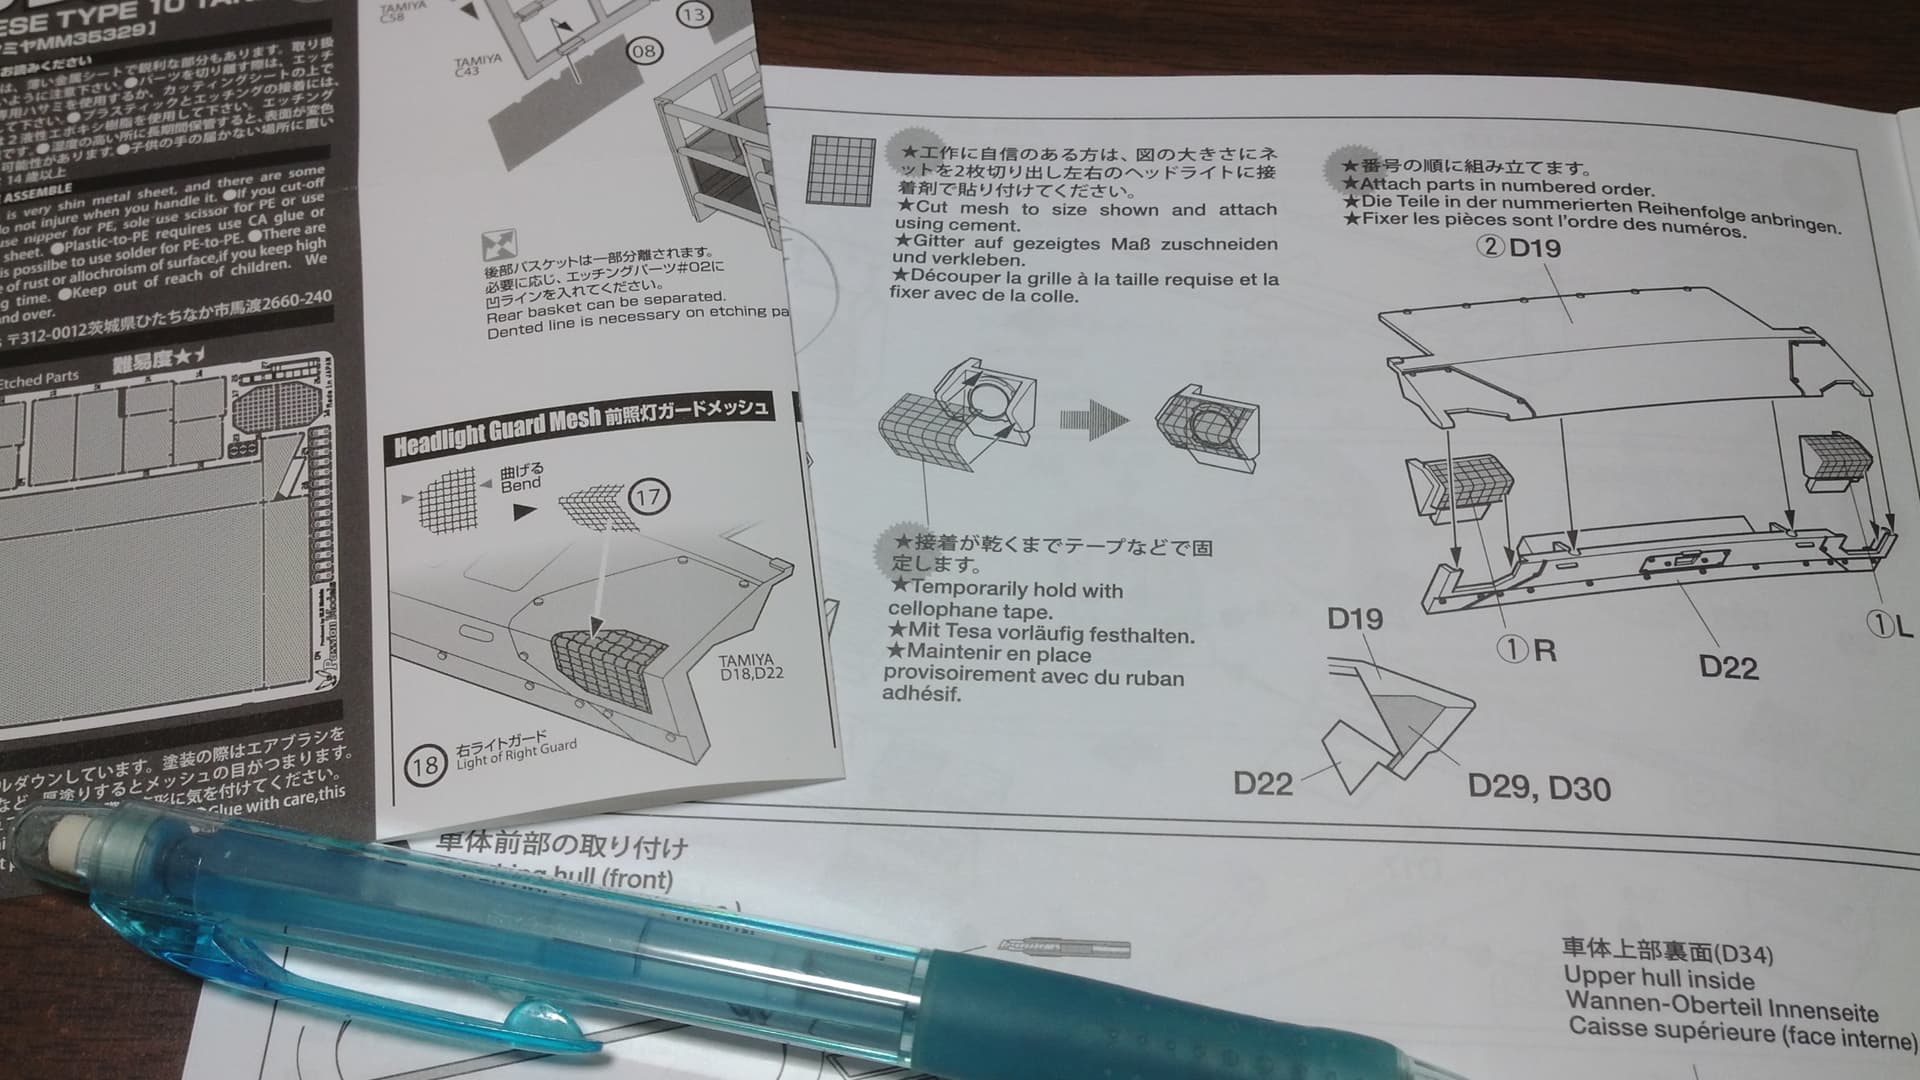
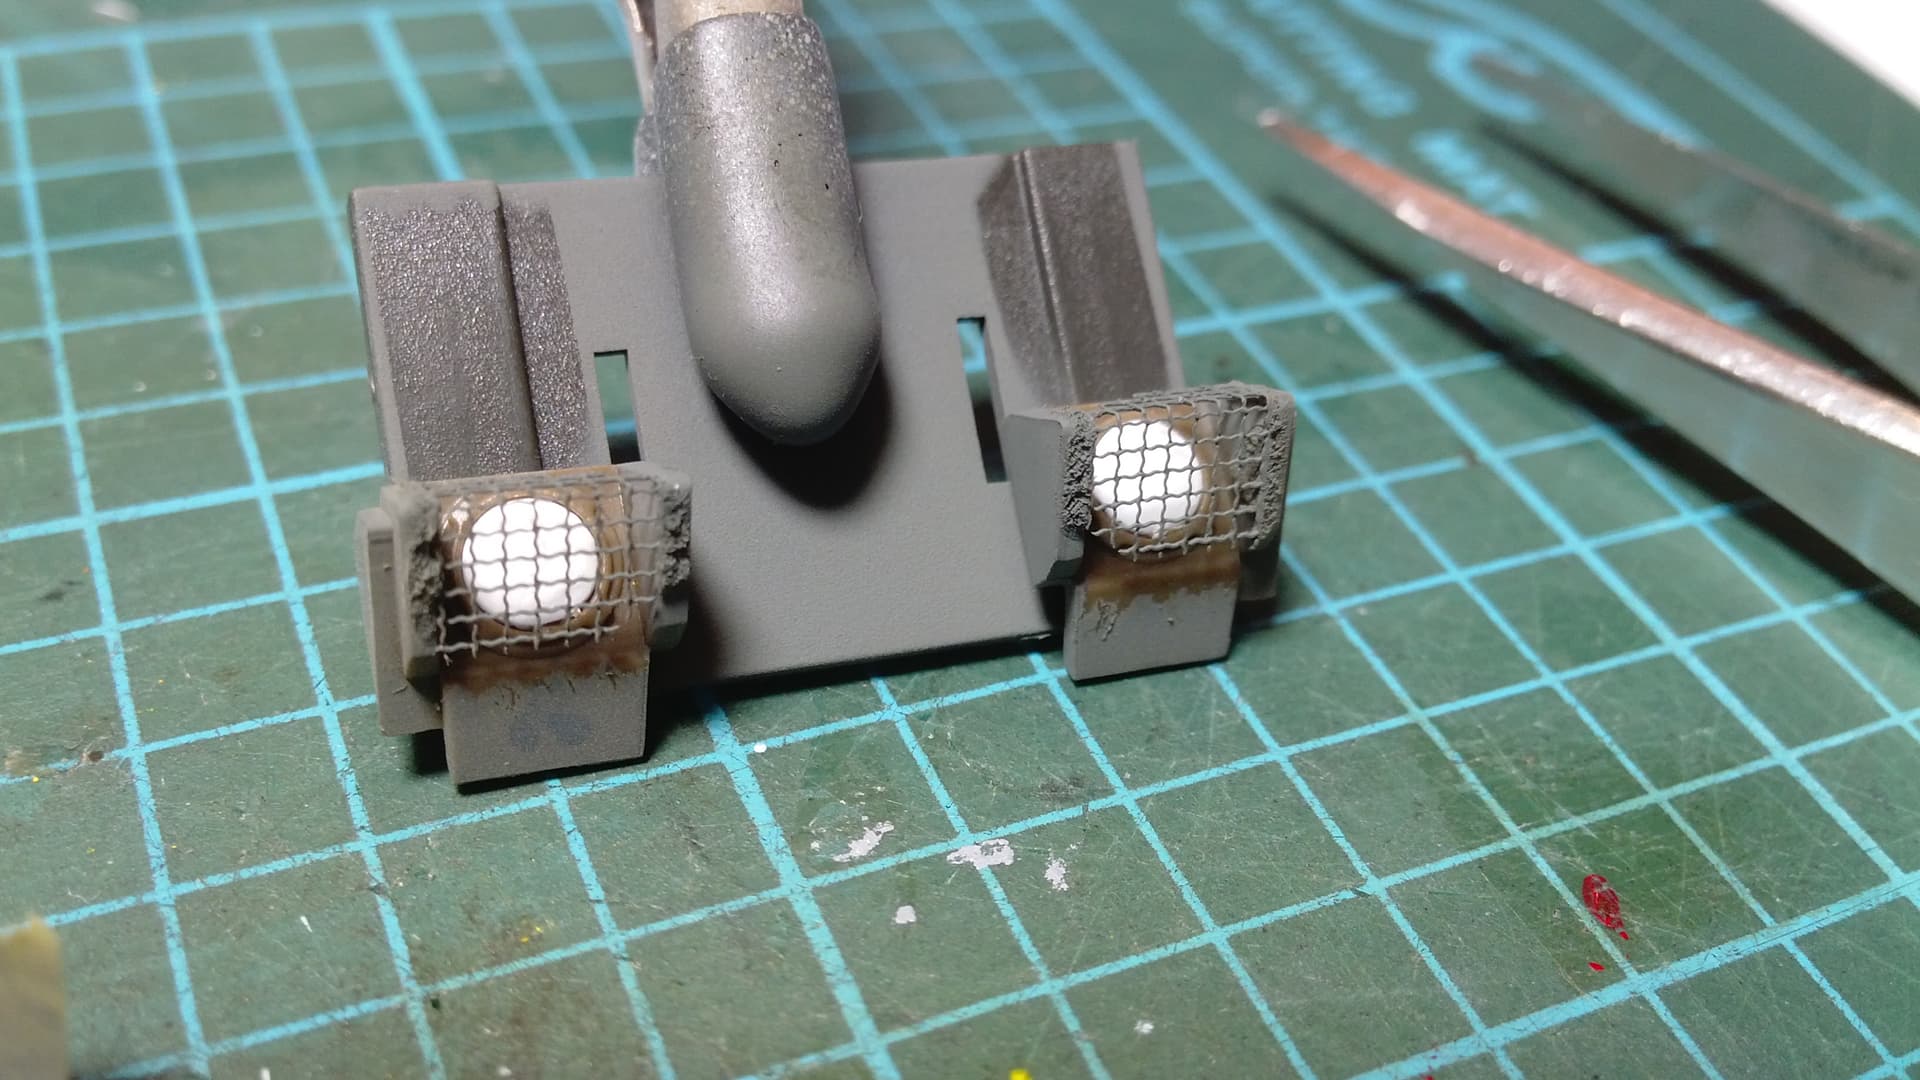
Tamiya instruction tells me to glue the nylon mesh on the headlamp inner frames, while Passion Model tells me to glue the PE directly onto the exterior casing.
Although Passion Model’s way is more realistic, I found it absolutely impractical and impossible to follow. The problem is that there is no foothold for the fragile PE meshes to glue onto. They made the meshes exactly the same size as the holes. How the hell is someone going to glue them on without making a mess? The sample on Passion Model’s website looks ‘okay’ from a distance, but if you look closely, there are superglue residues along the edges, and the meshes are a little crooked.
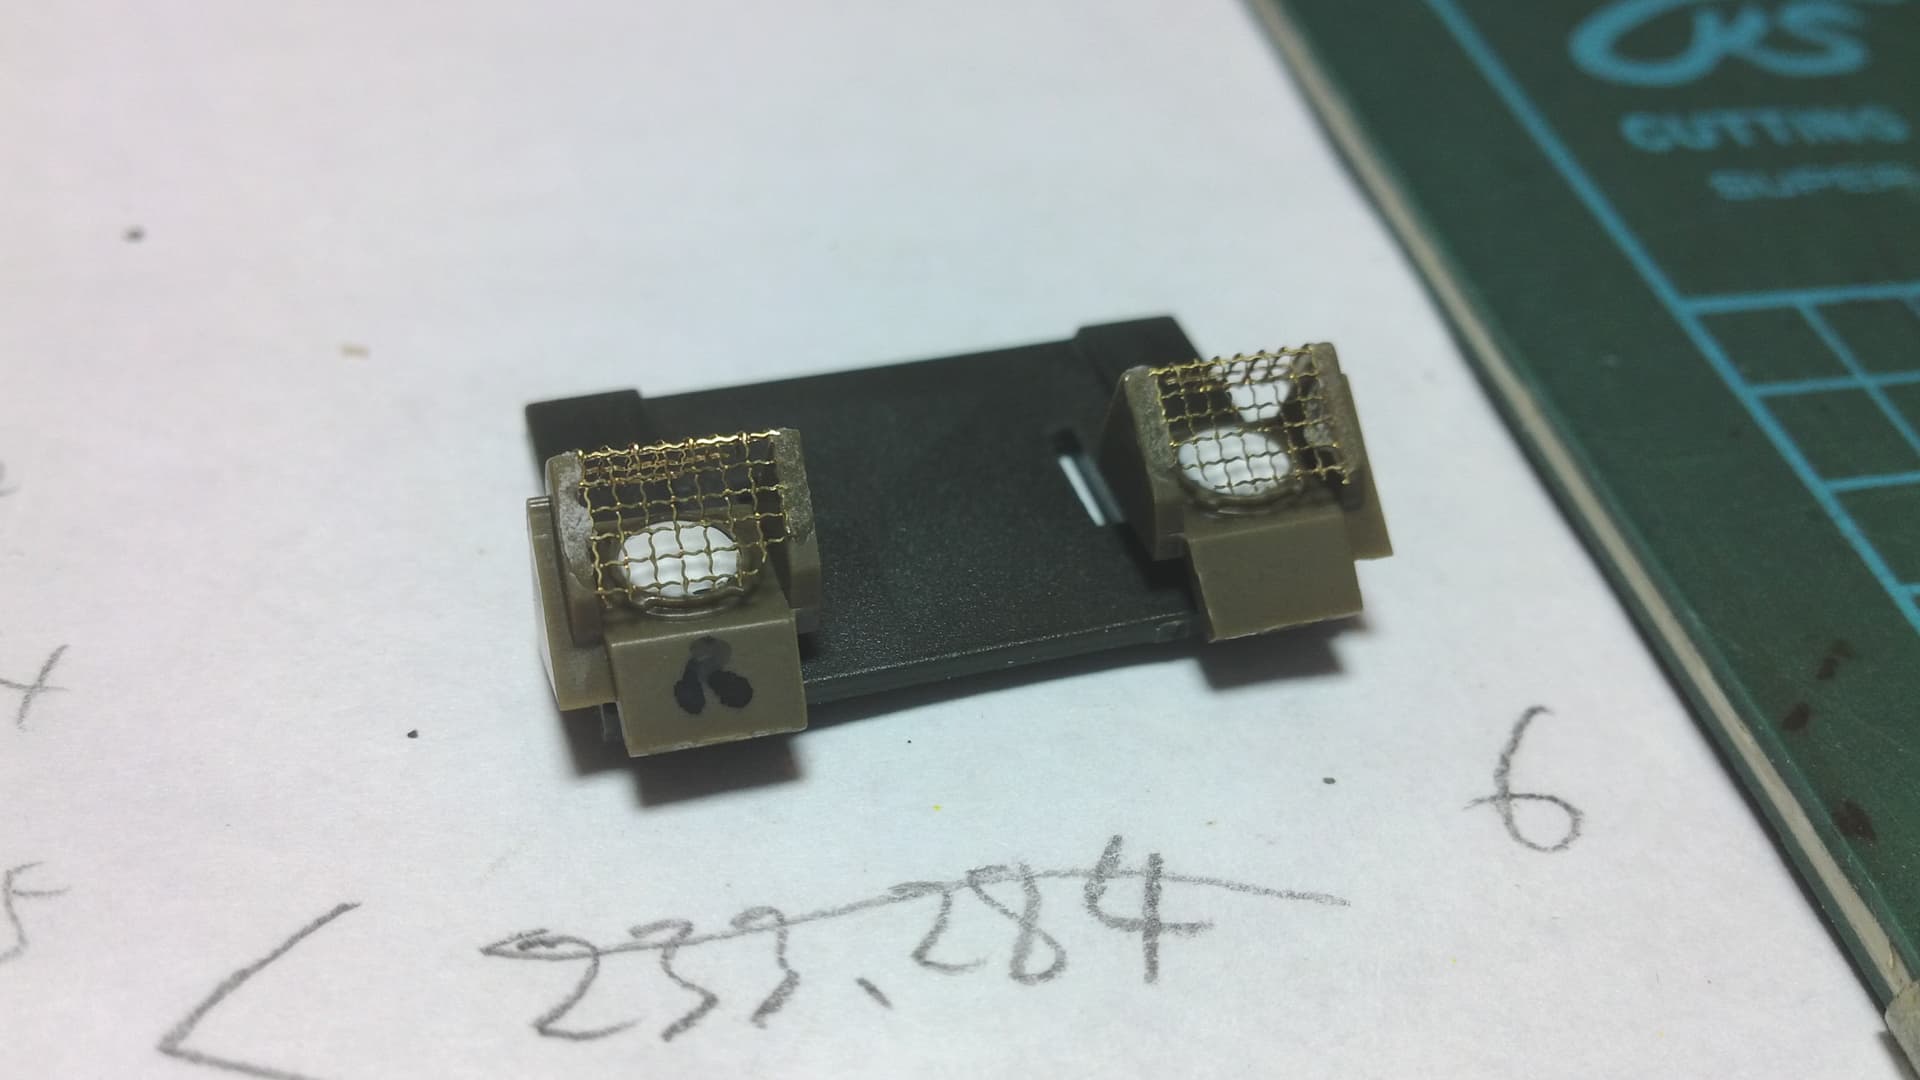
So I decided to glue them the Tamiya way … a decision I would regret later. Even here the meshes barely had any foothold. I had to flood the rims with superglue before I put the PE down. As you can see, I accidentally applied too much, and left an ugly white blob on the inner side:
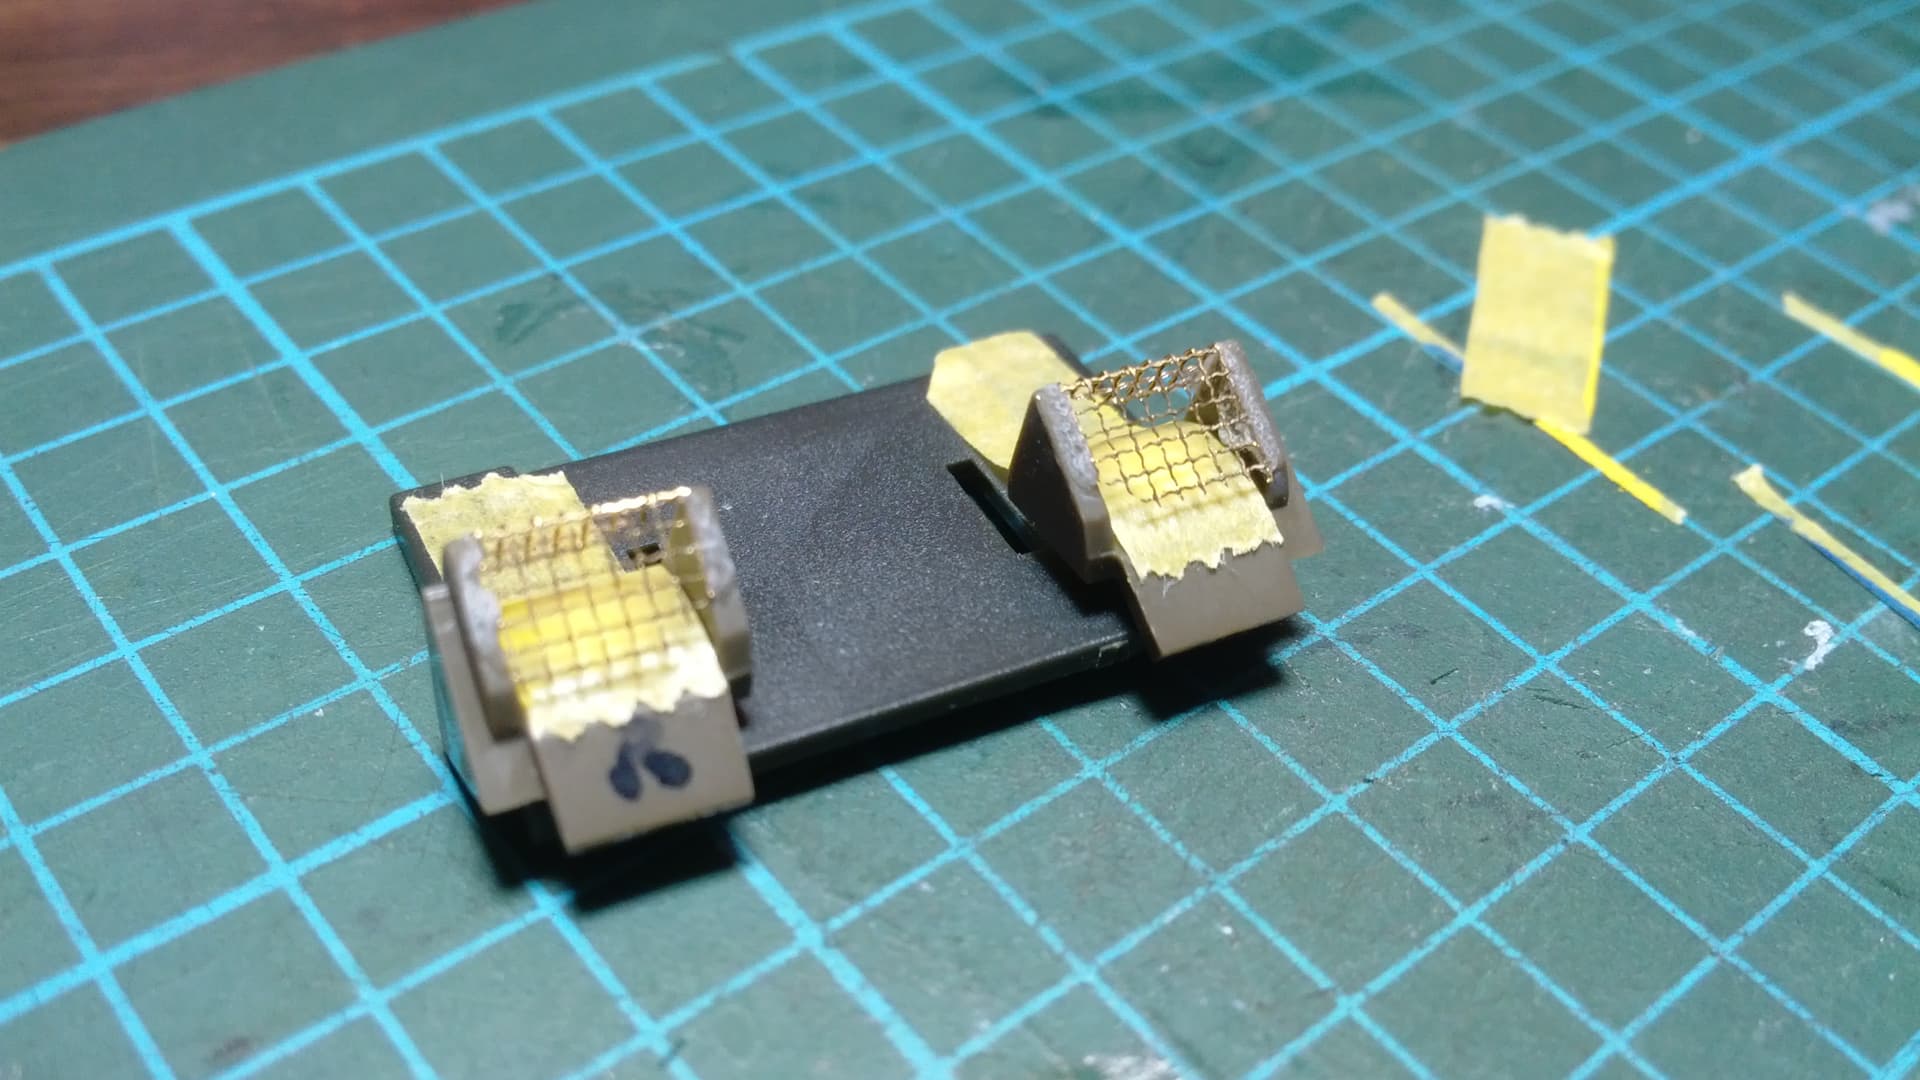
First glance… not bad eh? The white blob is not visible anymore! But notice how the rims look very rough from the superglue residues. I thought the outer casing would hide all these imperfections, right? WRONG! They still show through on both sides!
Arrghh!!! And the meshes are so recessed from the outer casing they look nothing like the real thing! At this point I stopped giving a sh*t and decided to carry on.
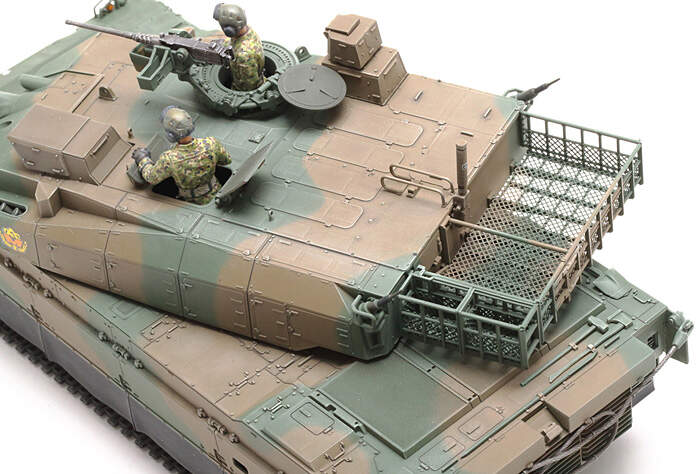
I want to build the model with turret hatches open. The gunner’s hatch has two latch mechanisms on each side and a fabric strap down the middle. I don’t know the proper name for the latches. Apparently they are called “hatch dogs” on maritime hatches. But I’ll just call them latches for simplicity.
Tamiya’s kit has some simple detail for the commander’s hatch, but the gunner’s hatch is completely blank! (see Tamiya’s official pic below). It’s a shame because even their Type 90 tank is more detailed in this respect. Come on, Tamiya San, why are you cutting corners?
The little ‘pins’ in the middle sort of look like golf tees on the real tank. I was able to produce the taper and flat top by melting the tip with plastic cement, then tapping it down with a flat object.
Oh… F&ck, looks like I made them 20% oversized! Oh well, that’s what happens when I eyeballed everything. I don’t have the precision tools to make them any smaller anyway.
To be honest I had fun scratch building this part. It’s good enough for me.
Things I learned:
Use a caliper next time.
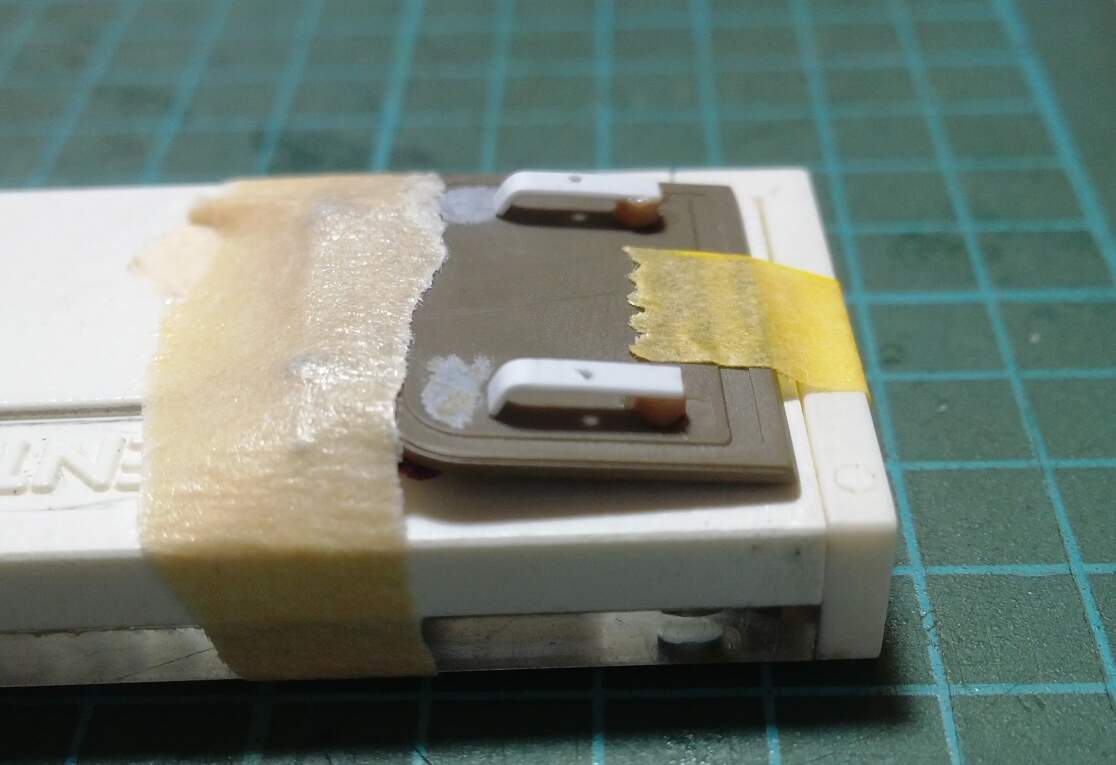
It’s easier to handle small pieces by taping them to something larger.
It’s easier to pick up tiny pieces of plastic with a needle than with tweezers.
The cement melting and tapping trick mentioned above can be useful for making mini knobs, etc.