It’s great stuff! Make sure it is shaken/stirred really well though, or else the pigment and metallic compound seem to separate giving a slightly more gritty finish.
2 Likes
Have you tried thinning and airbrushing the brass? Got mine today, might try that later
No I haven’t. I’m not used to airbrushing Vallejo. But I’m sure it can be done. I’ll probably give it a try the next time I need shells painted.
On this build the shells have handles on them to make loading easier. They were black and the shells brass so I had to hand paint the shells after spraying the whole thing black
1 Like
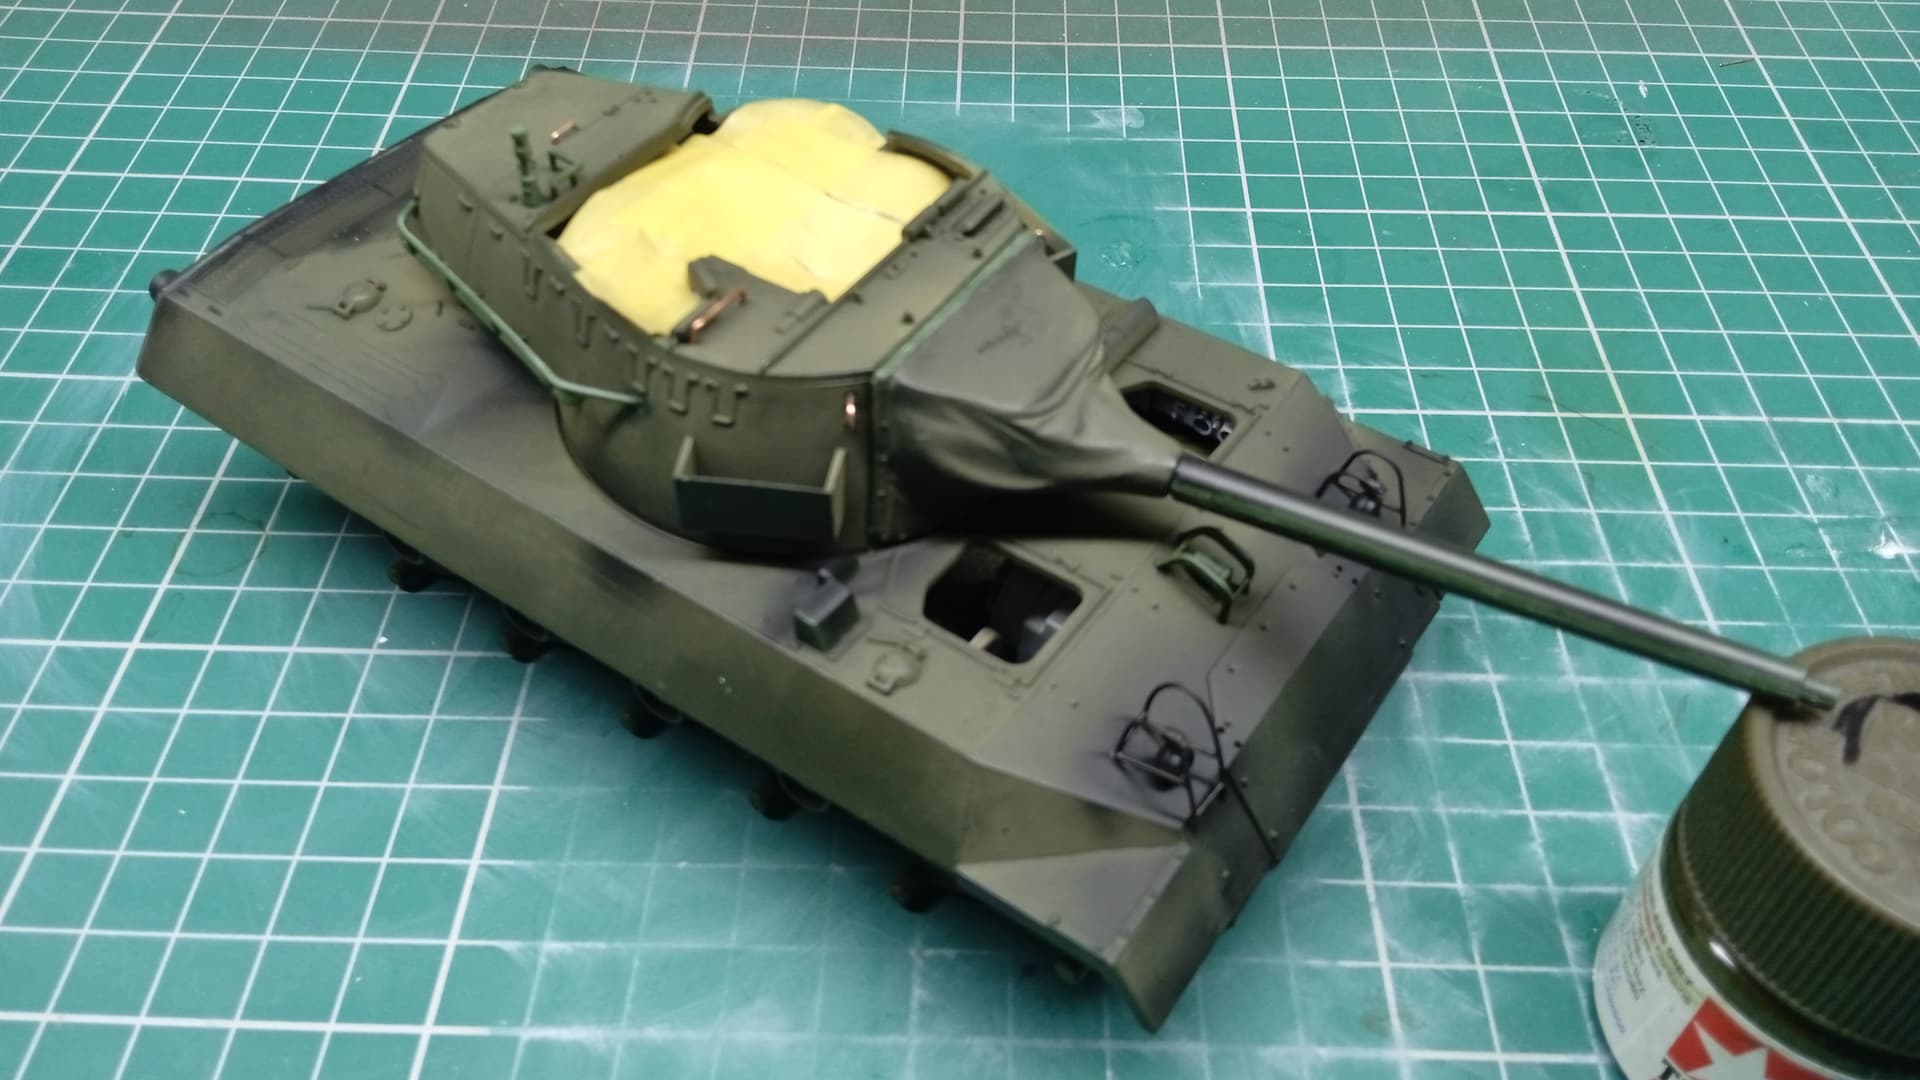
Some more progress. The 2 halves aren’t a great fit…or perhaps because the top was a bit warped. The mantlet cover was a bit smooth & shiny so I lightly roughed it up a wee bit…think it’s helped the look of it. Wasn’t a great fit either so quite a bit of material removed to let the upper edge sit flush. Of course I bust the headlamp fenders so had to fabricate new ones. They’re not perfect, but with my eyes I’m happy enough  . Grab handles in copper wire. Lots of warts but hey, it’s a fighting vehicle so damage expected. BarreL only sitting there for show atm. Soon be time to paint!
7 Likes
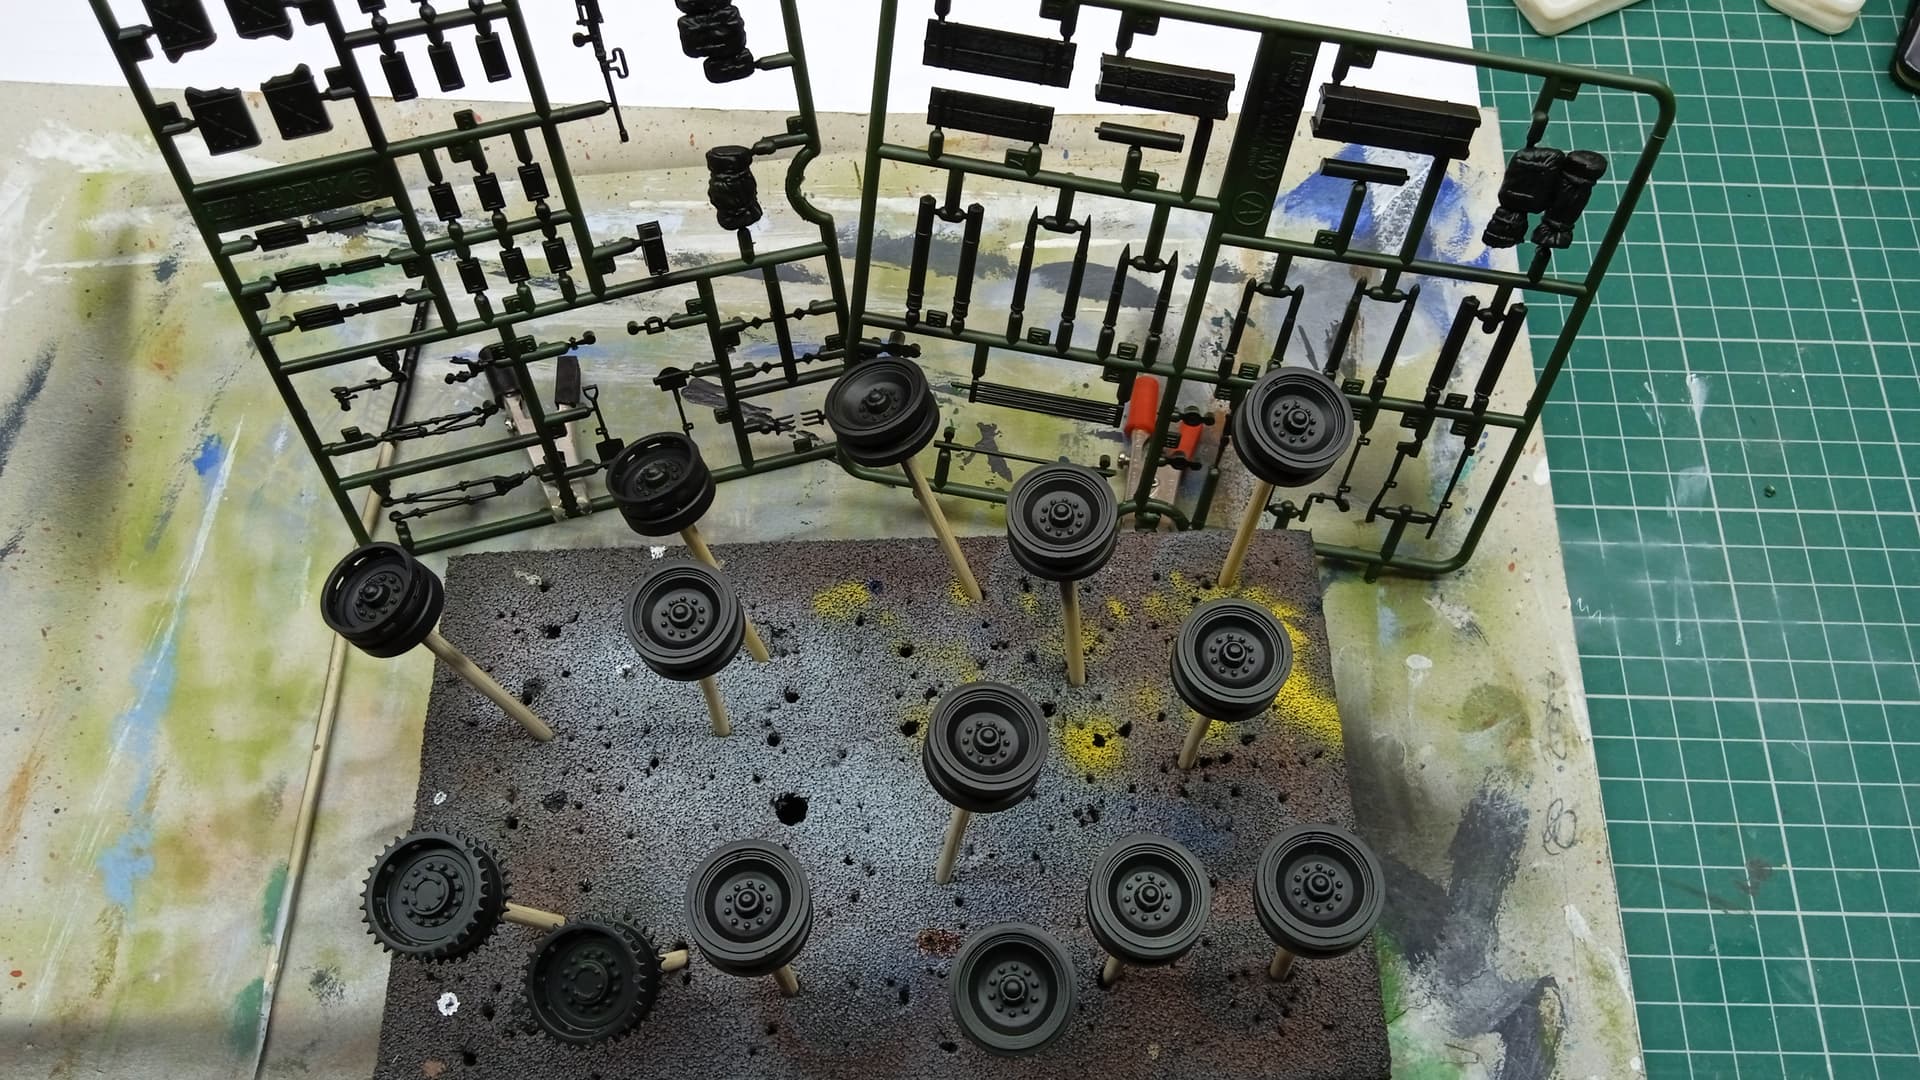
Don’t know if this is a recognised ‘technique’ but I wanted to simulate some wear on the road wheels and tyres. I put the sticks that the wheels were on for painting through a wee piece of PVC tubing that I had and let a small burr on the rotary tool spin the wheels freely as it as it slightly abraded them. May never be seen but I think it looks ok?


6 Likes
@PeteDoc
For my part it seems to be original idea. This will, in my opinion, the needed used look.
2 Likes
That’s smart Pete. I’m gonna give that a go on my centurion I think.
1 Like
I’ve seen it suggested but I’ve never been brave enough to try it. Looks great! Might have to give jt a practice run on an old kit
1 Like
Damaging the tires gives a nice operational/realistic look to a model. It’s even better when you also do the same to the rubber pads of the tracks. When I do this I prefer to use a triangular file or a hobby knife as you can more easily master the effect.
Keep on the good job Peter.
Olivier
1 Like
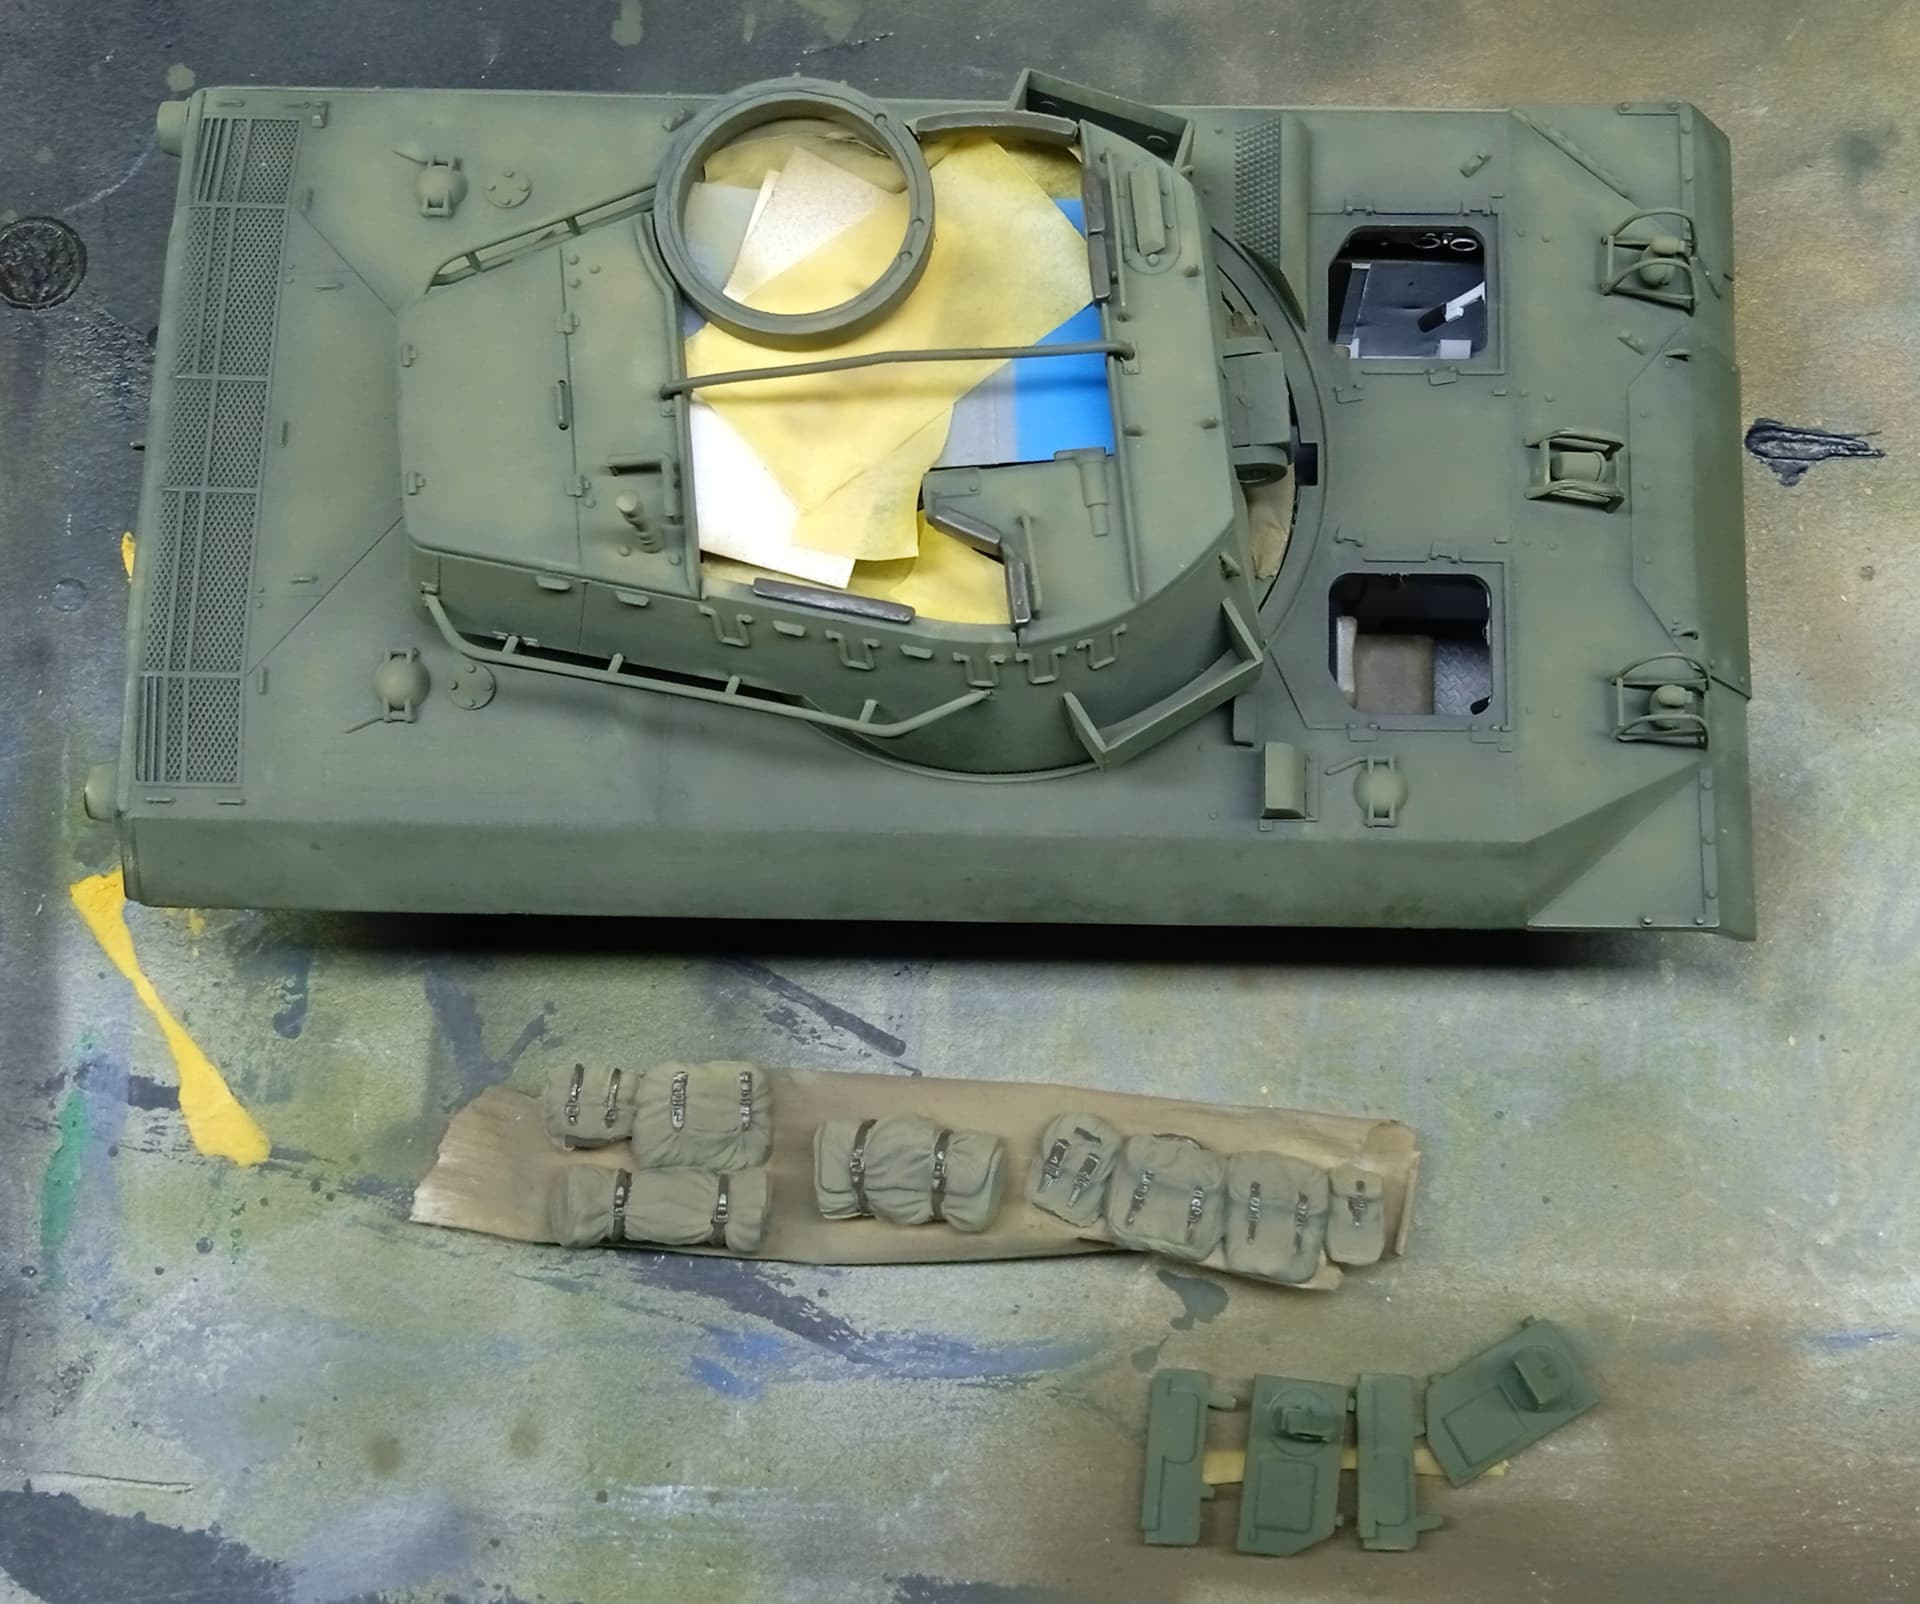
Base coat is down now. Thought I’d try some post shading using the mig ammo shaders for the first time. They’re very subtle. So subtle in fact that after 24 hours I can barely see it, even with the naked eye.
Looked good when I first laid them down, but disappeared after 24 hours drying  . Probably need to experiment with them more and suspect they’re work much better on lighter paint tones.


10 Likes
My bad that’s for the other future Tank Destroyer campaign, hard to keep them all straight. 
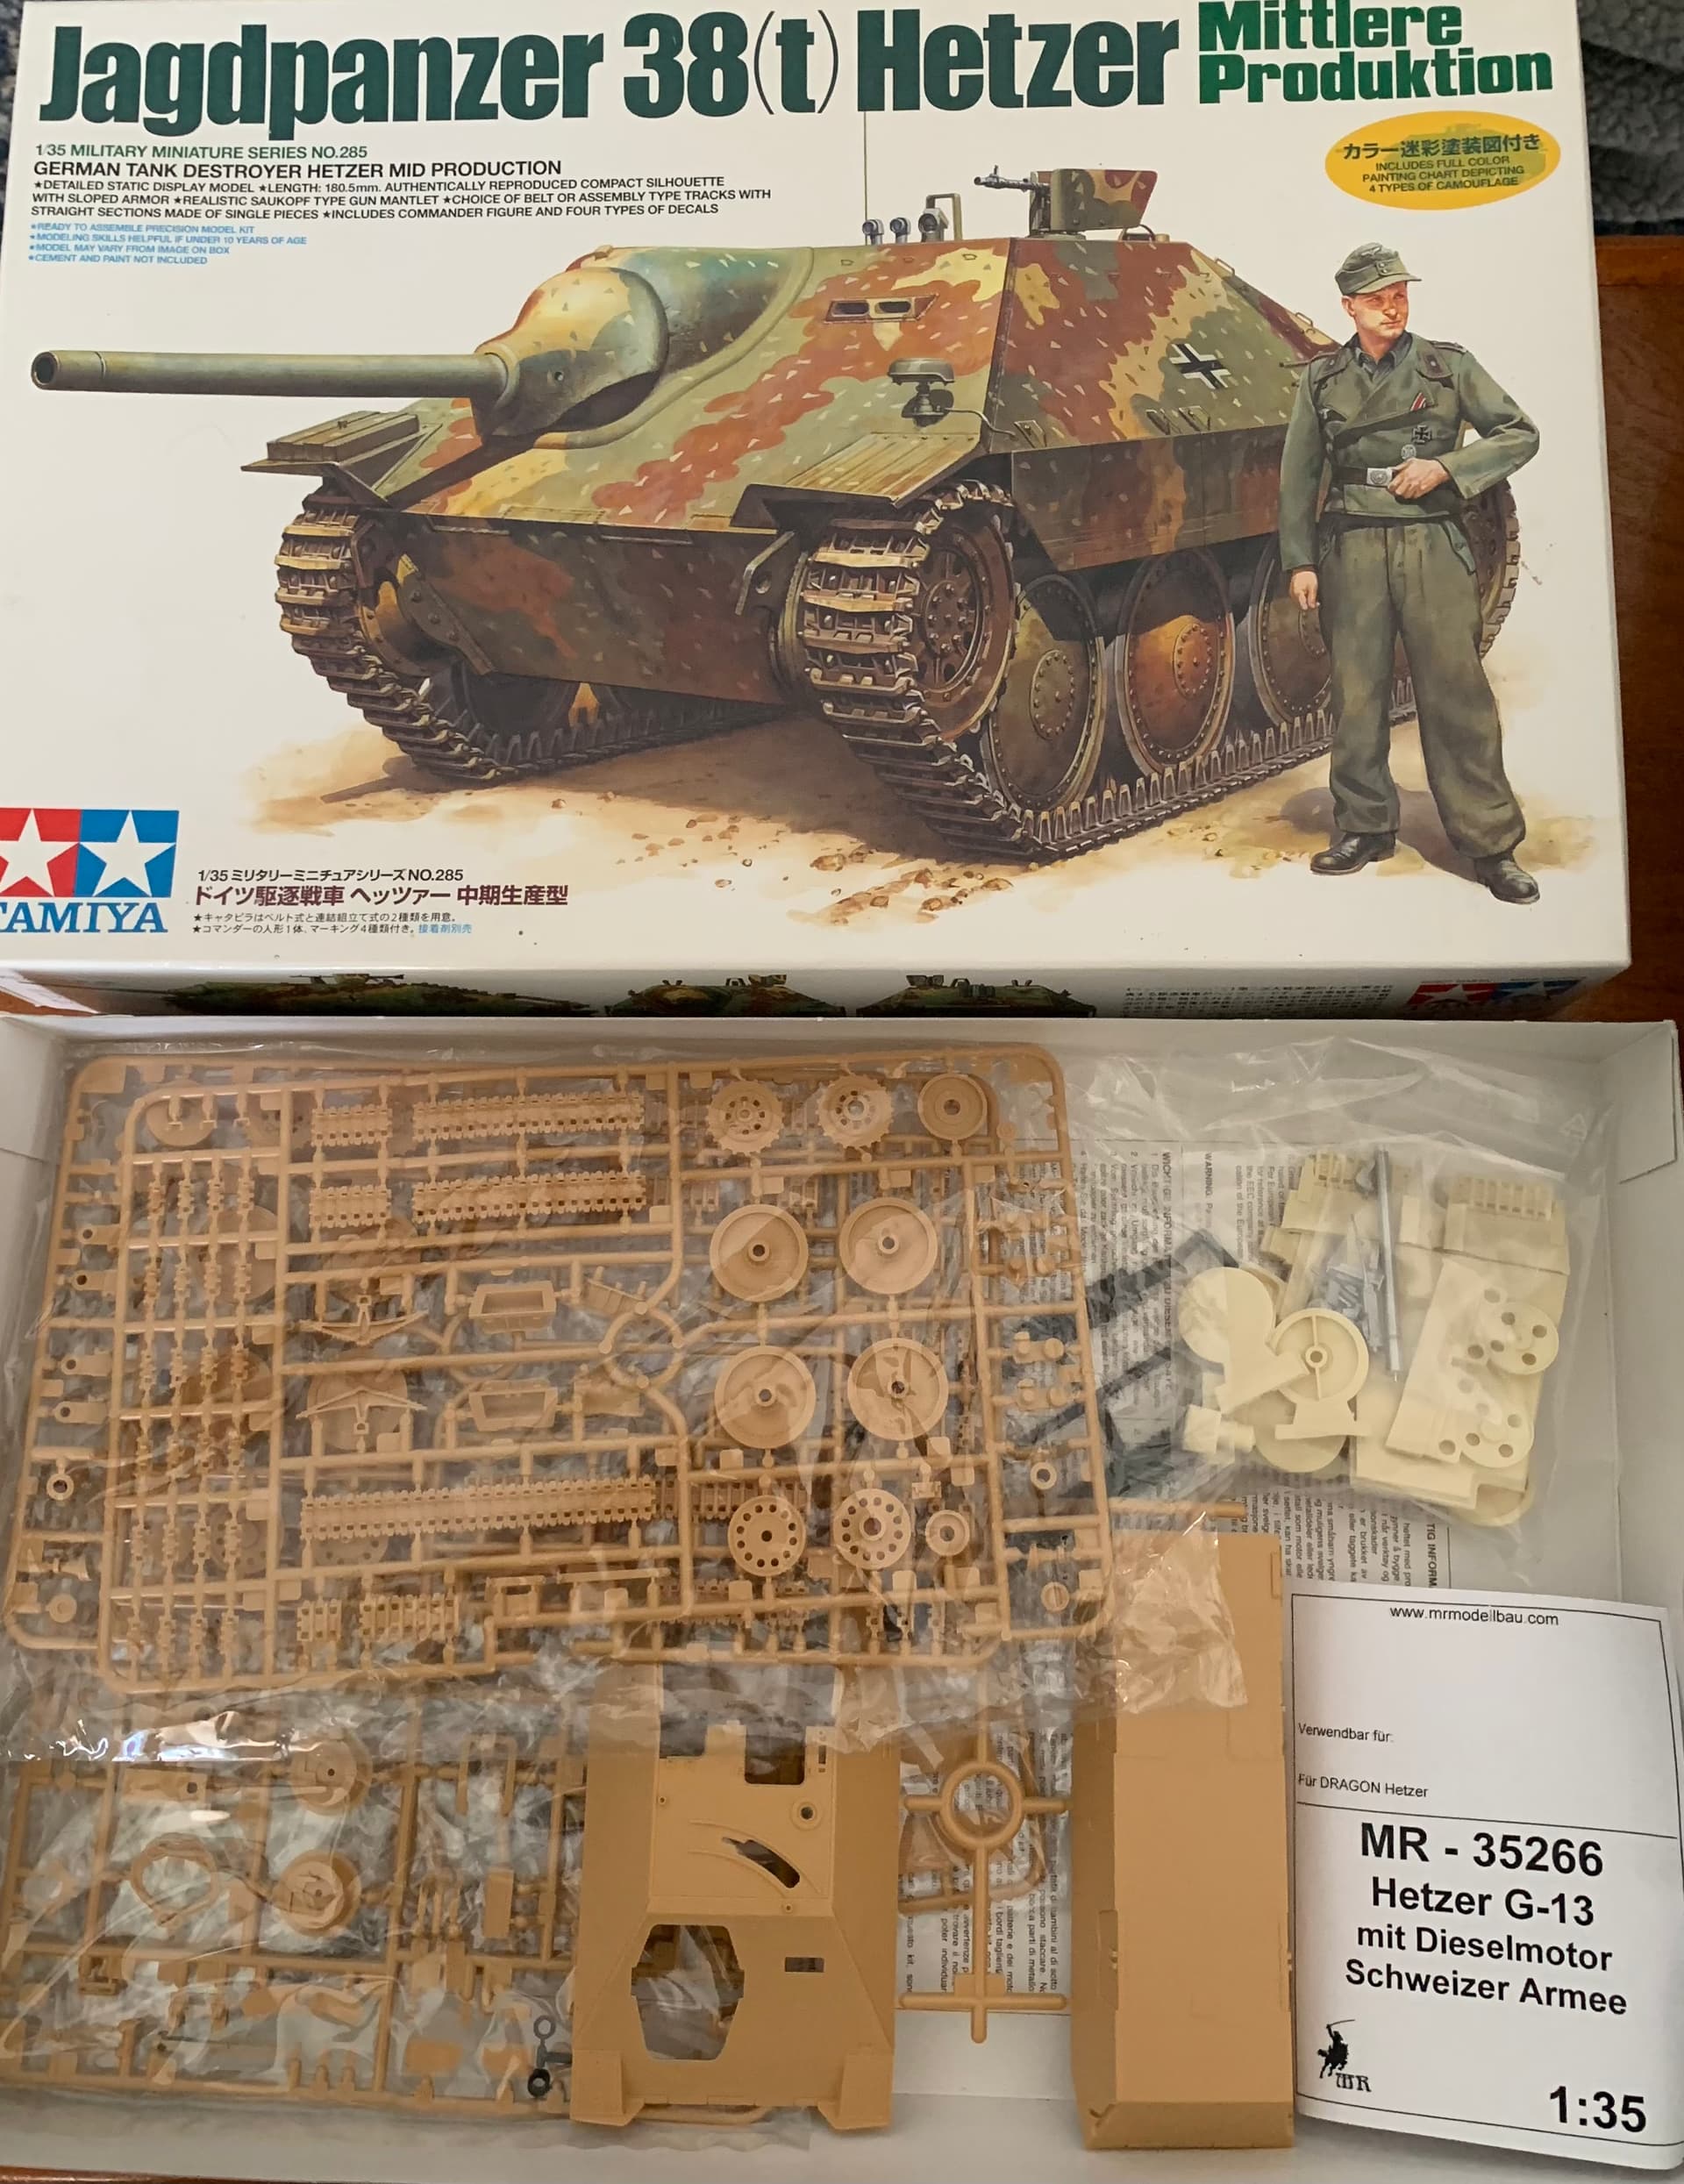
For this campaign I will doing a Swiss G-13 with the Tamiya Hetzer and MR Modellbau G-13.
4 Likes
Starting to get some colour variation in. Been having problems with my Patriot AB … doesn’t seem to like the OD mix I made up. Went back to my Iwata HP C+ which I hadn’t used for a looong time and it’s spraying it ok. I think I originally stooped using it as the Badger is super easy to clean. Oh well, let’s see how it goes 
6 Likes
I already did this combination and it’s not the best one. MR Modellbau conversion is designed for a Dragon model. Many resin parts do not fit well and require a lot of work to be used. The metal parts are not great. The AA MG can’t be installed on the Tamiya rear deck. If I remember correctly the spare track links holders are longer than the vehicle sides which is an issue as they are metal parts.
I have a build article which could help if you’re interested in. G-13 Tamiya + MR Modellbau conversion
Olivier
2 Likes
Thanks for the article. I was looking for it again before posting. My choices on hand were the Tamiya and Academy kits. Hopefully if mine is half as good as yours I will be happy.
1 Like
Just realized I posted this in the wrong campaign, doh! must of been thinking about Oliver being French idk reposting here.
Removed the casting block and everything is just resting in place. Not as good as Oliver’s but I will take it.

Somethings are different in my kit then Oliver’s in that the tracks are resin and not metal, however I was sent two tracks lengths less and one less idler wheel set. I have an email out to them today about replacement. I do have other options if the need arises but I would prefer not to have to use that option.
The sides appear the same but you seemed to have removed the pour block better then me as your gap doesn’t seem as bad.
Always, been using the other two unpainted photos on your page to help along with images @smolensk sent me.
Forgot to added that I heard back from MR and he will be sending me the parts. Good customer service in my book. ![]()
2 Likes
Ahh crap… was all going so well… gloss coat down, decals on…but they are awful! So thick, , almost like a vinyl mask…ok maybe not that thick. I put more gloss layers on top in the hope it would even out. Not happy. Do I strip back, repaint and try to make up or buy some star masks?? Are bought masks reusable? 
Think some masks are at least. I’ve seen Panzermeister36 reuse masks in his videos. Off the top of my head I can’t recall the brand. Will have to take a dig through his videos again.
1 Like
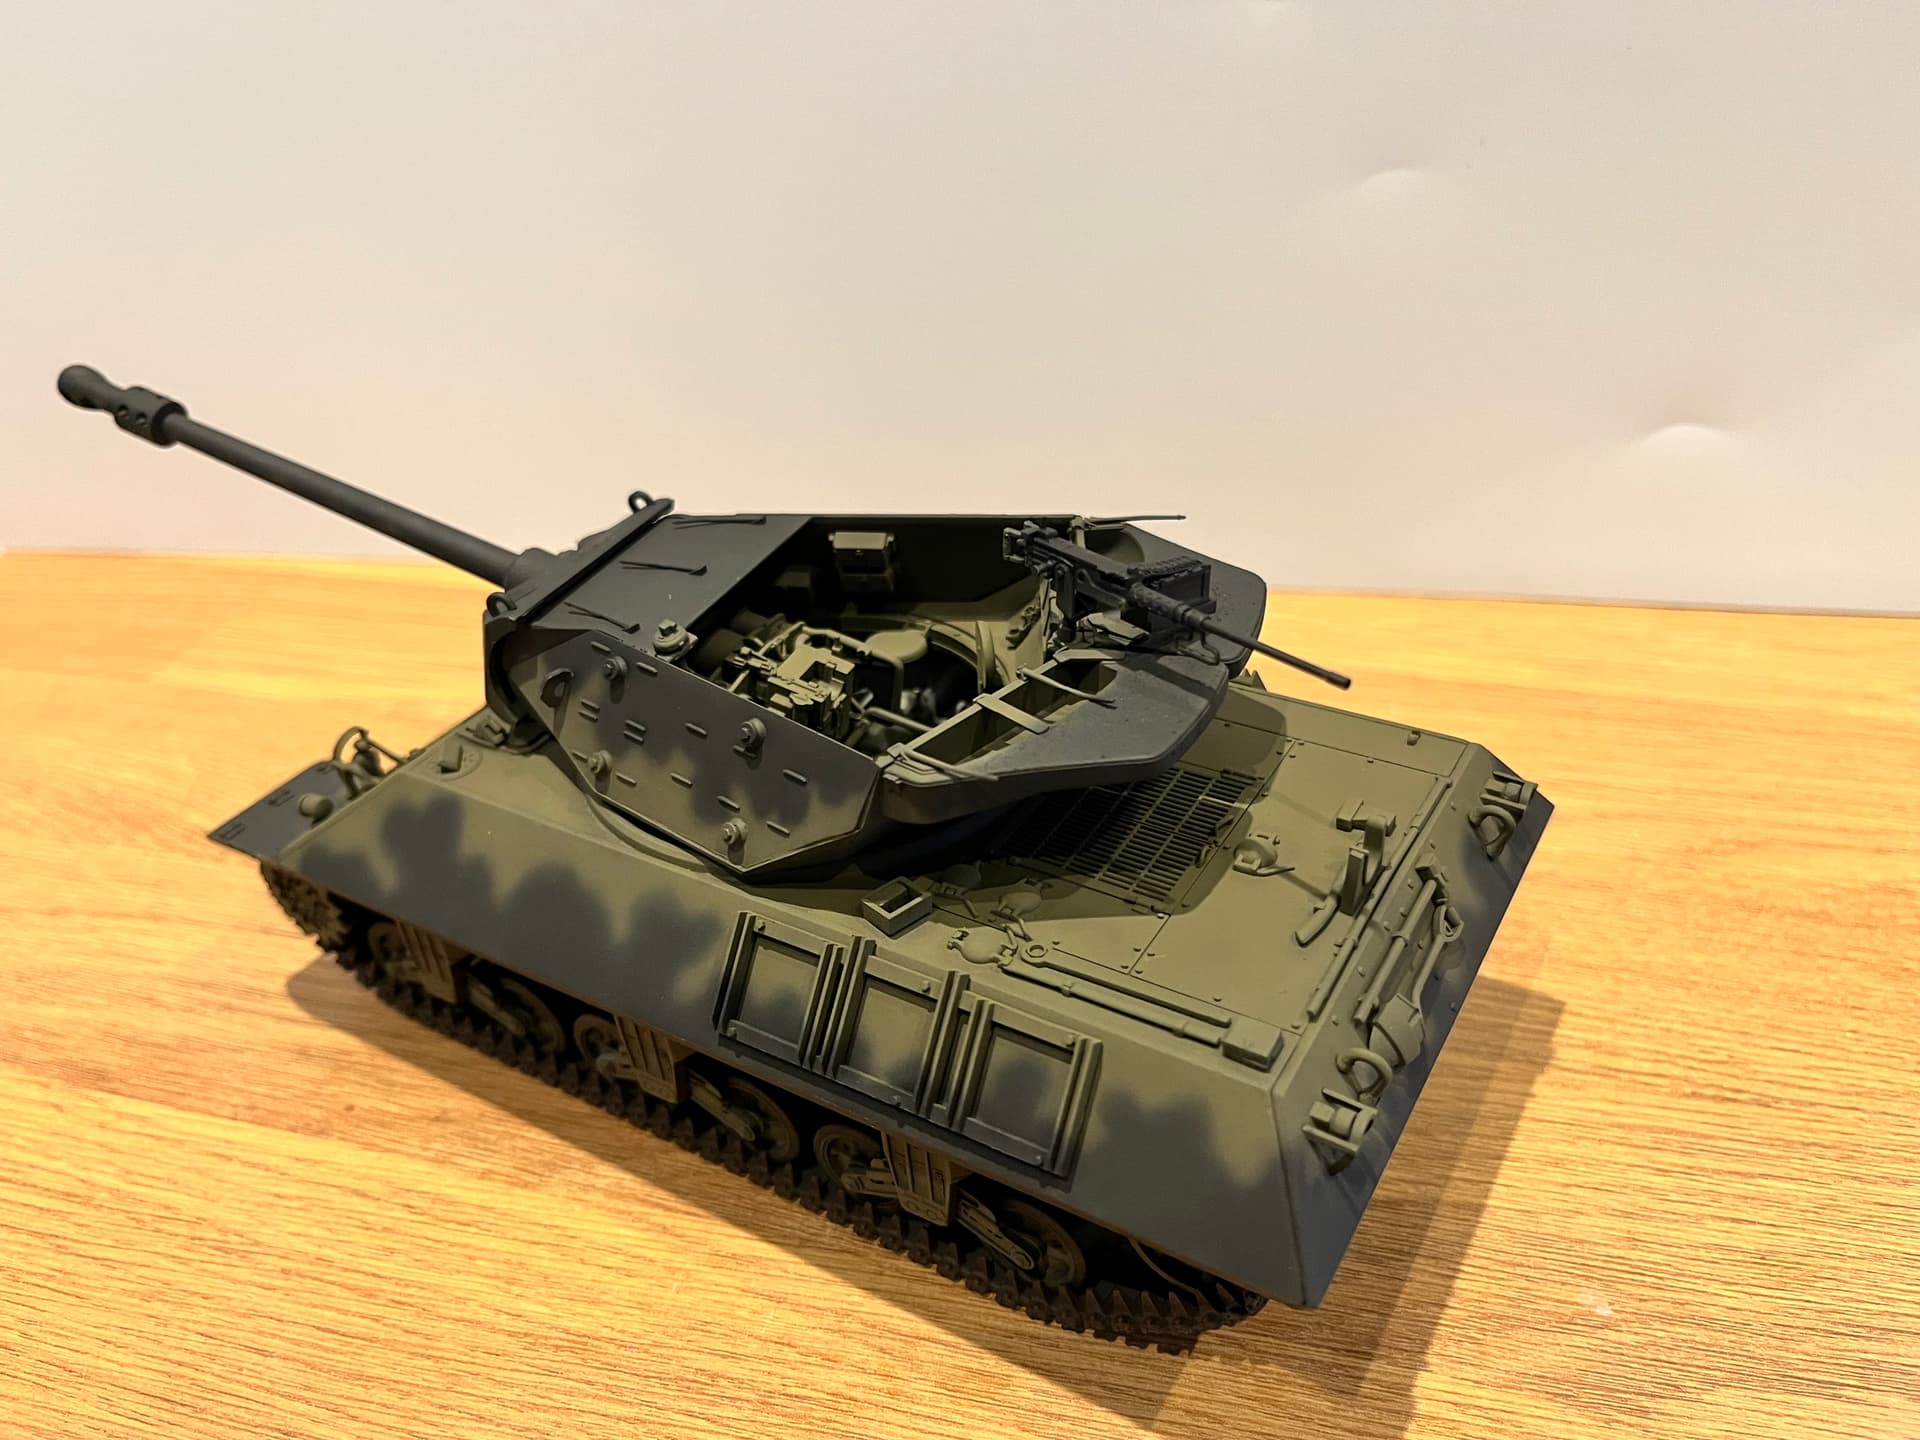
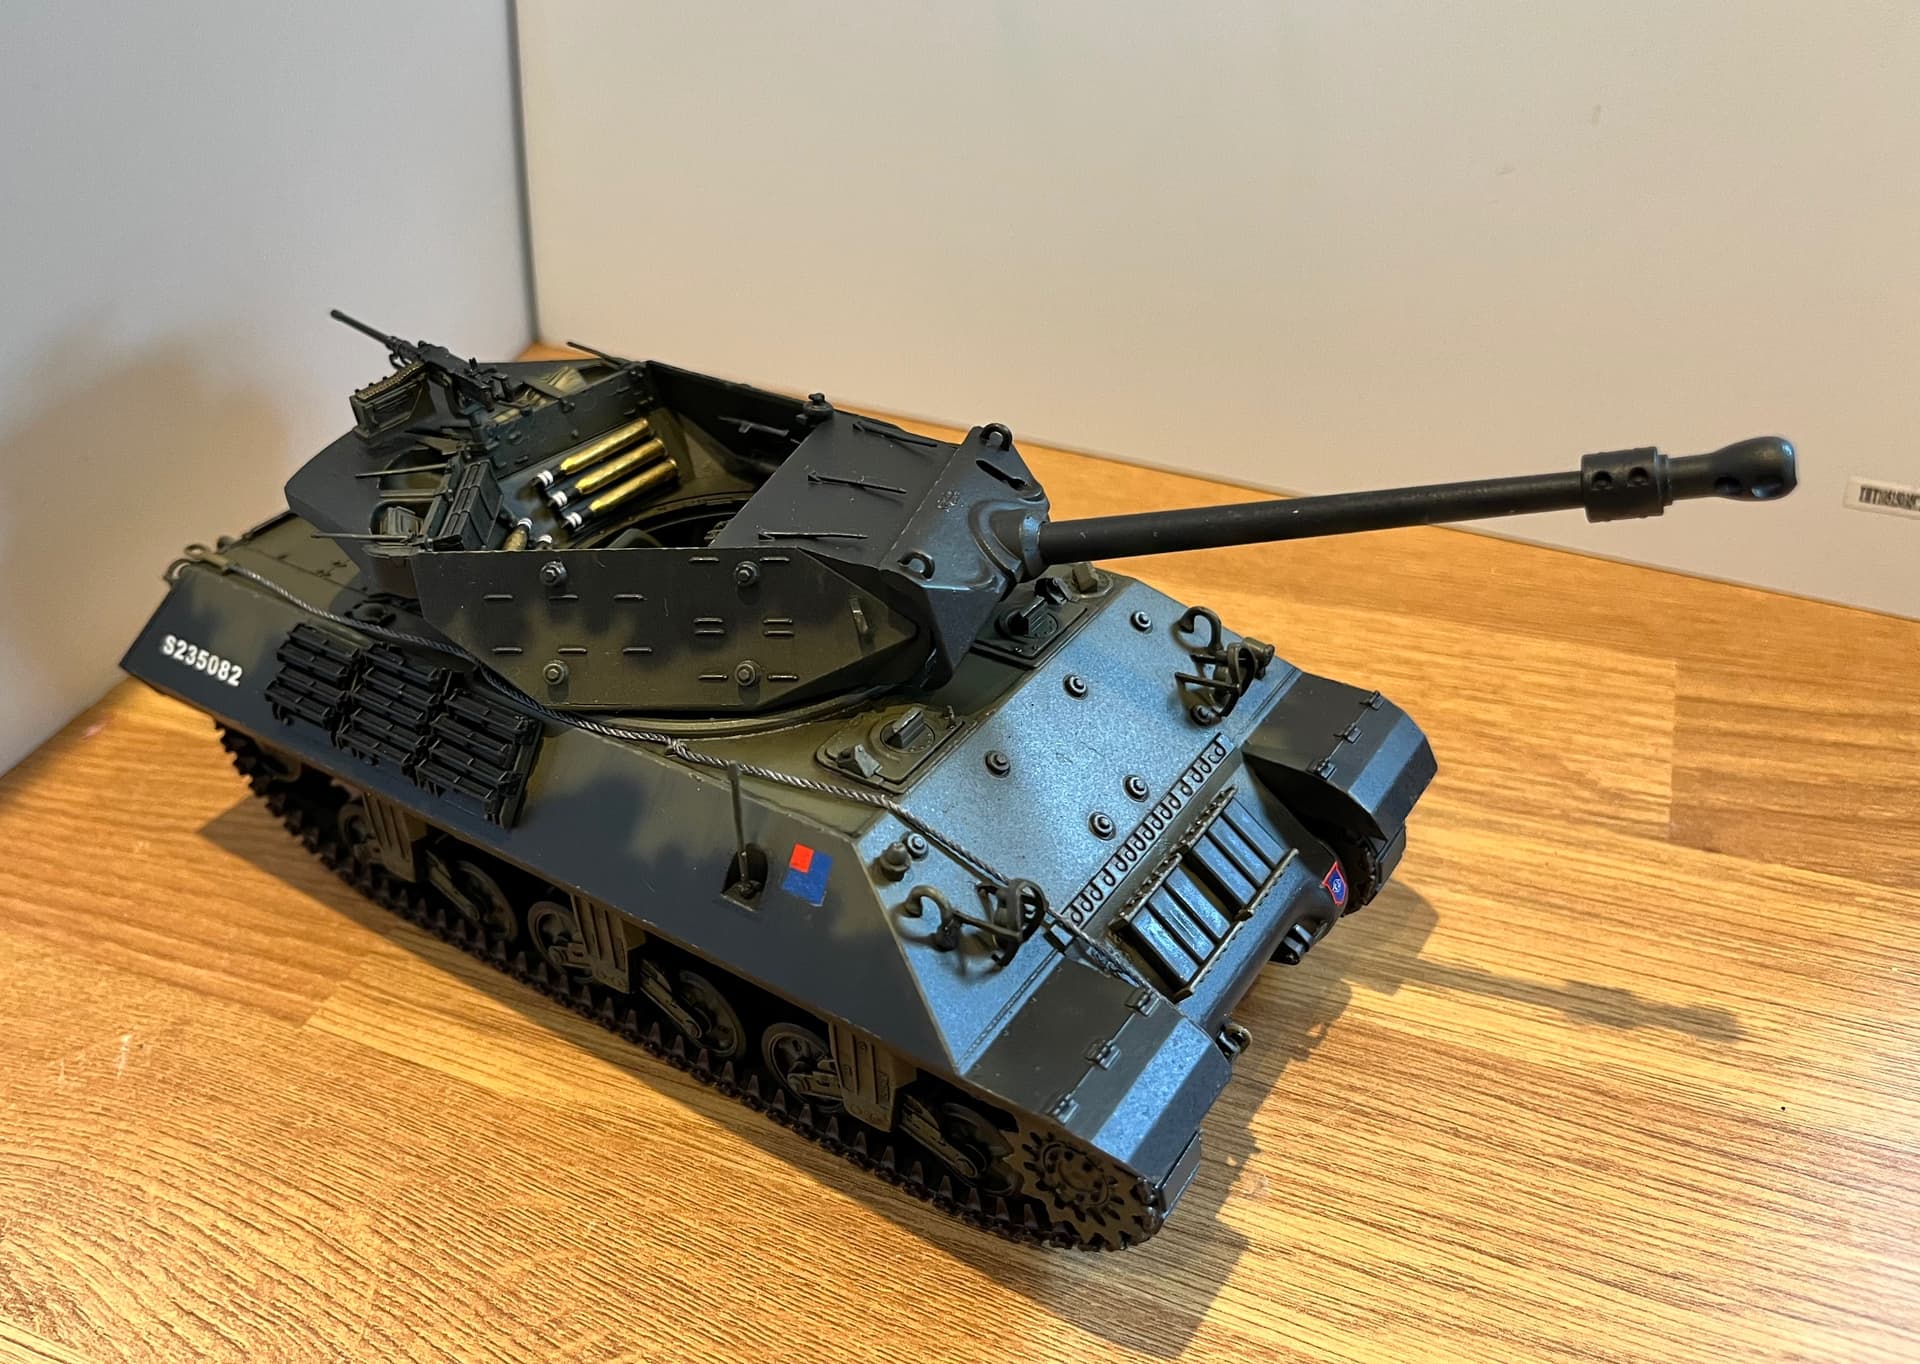
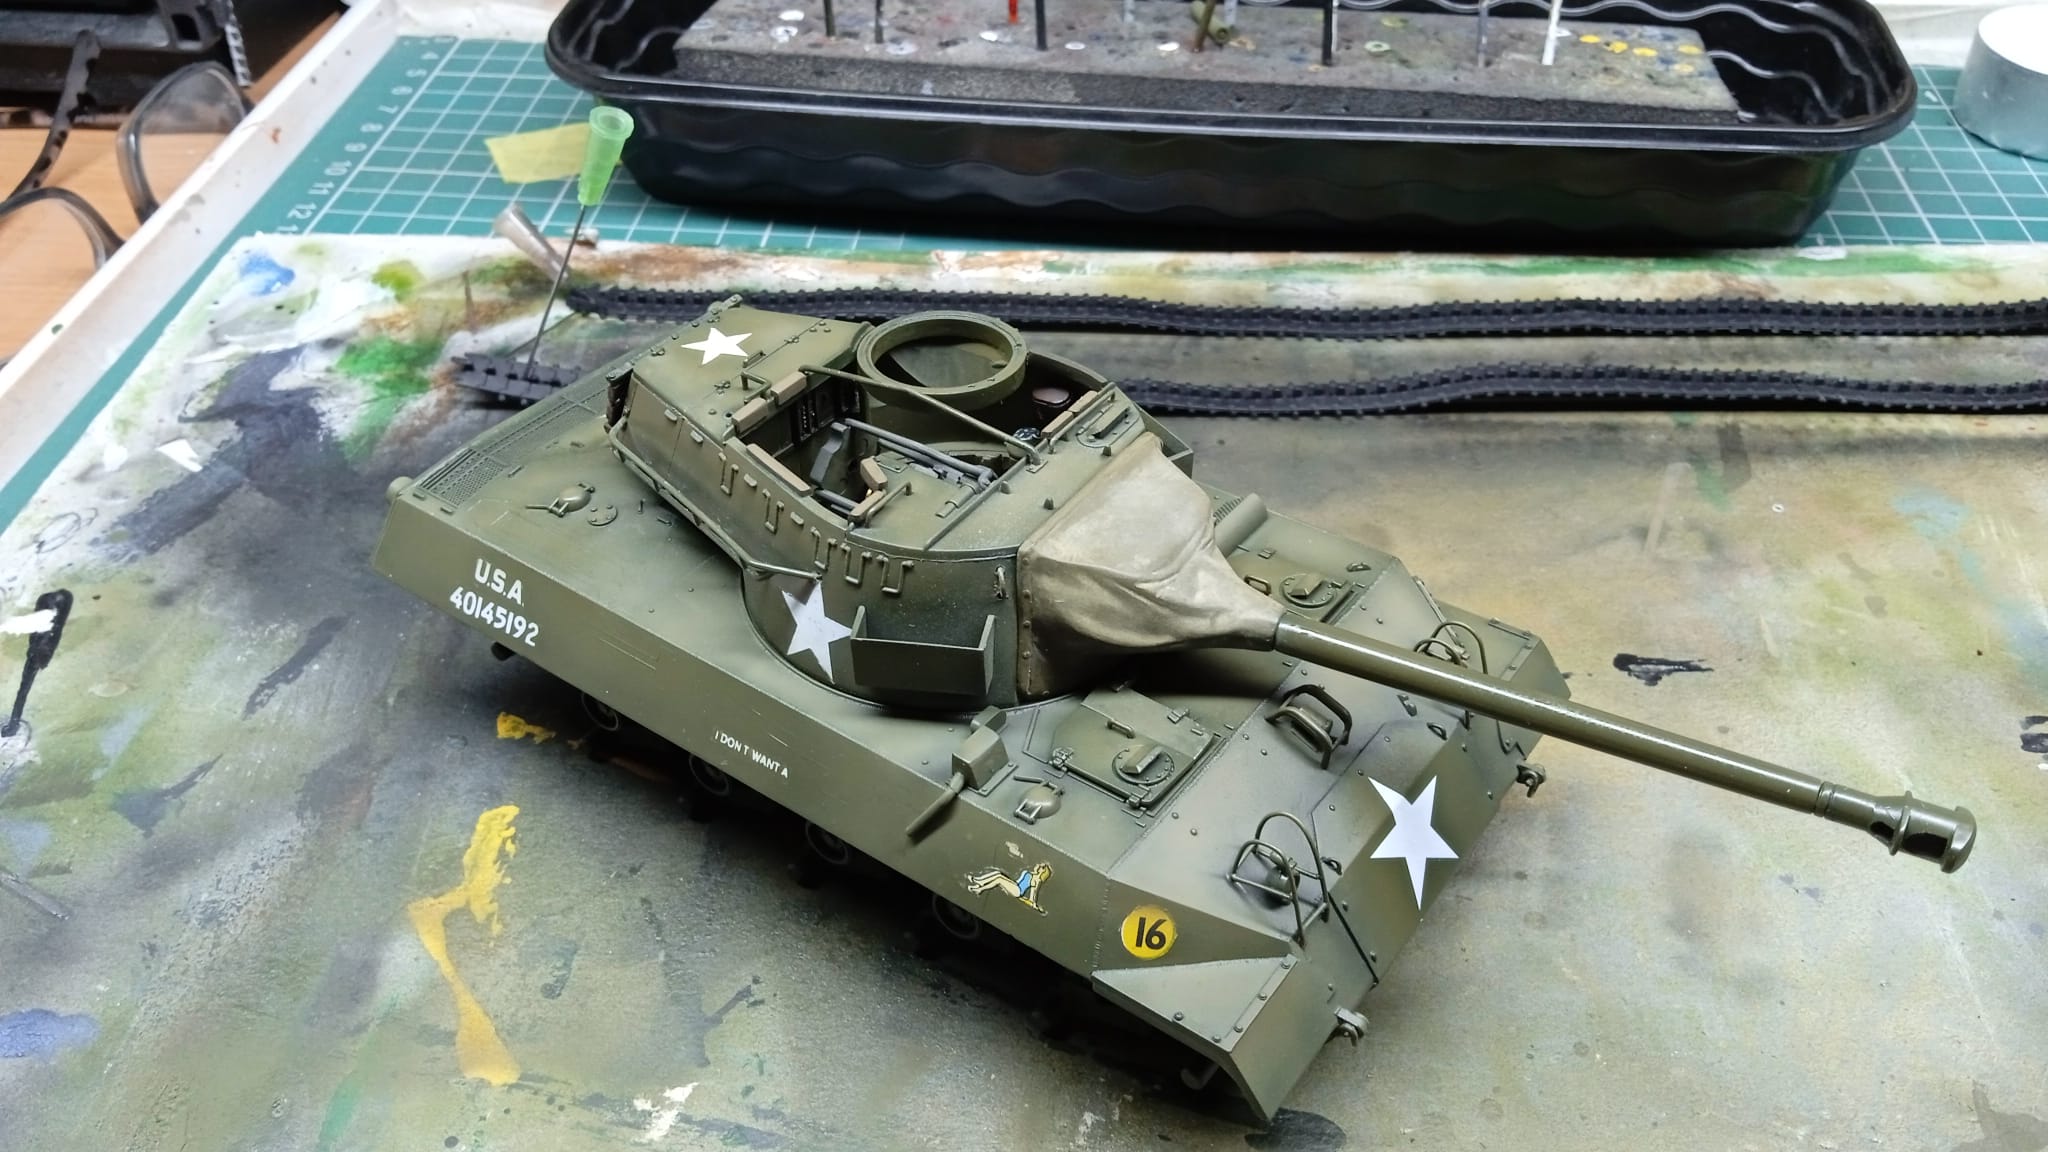
Made good progress this week. Just a few remaining details to paint as well as adding the aerials. Will then add a bit of dirt. Going light on weathering on this build.


13 Likes
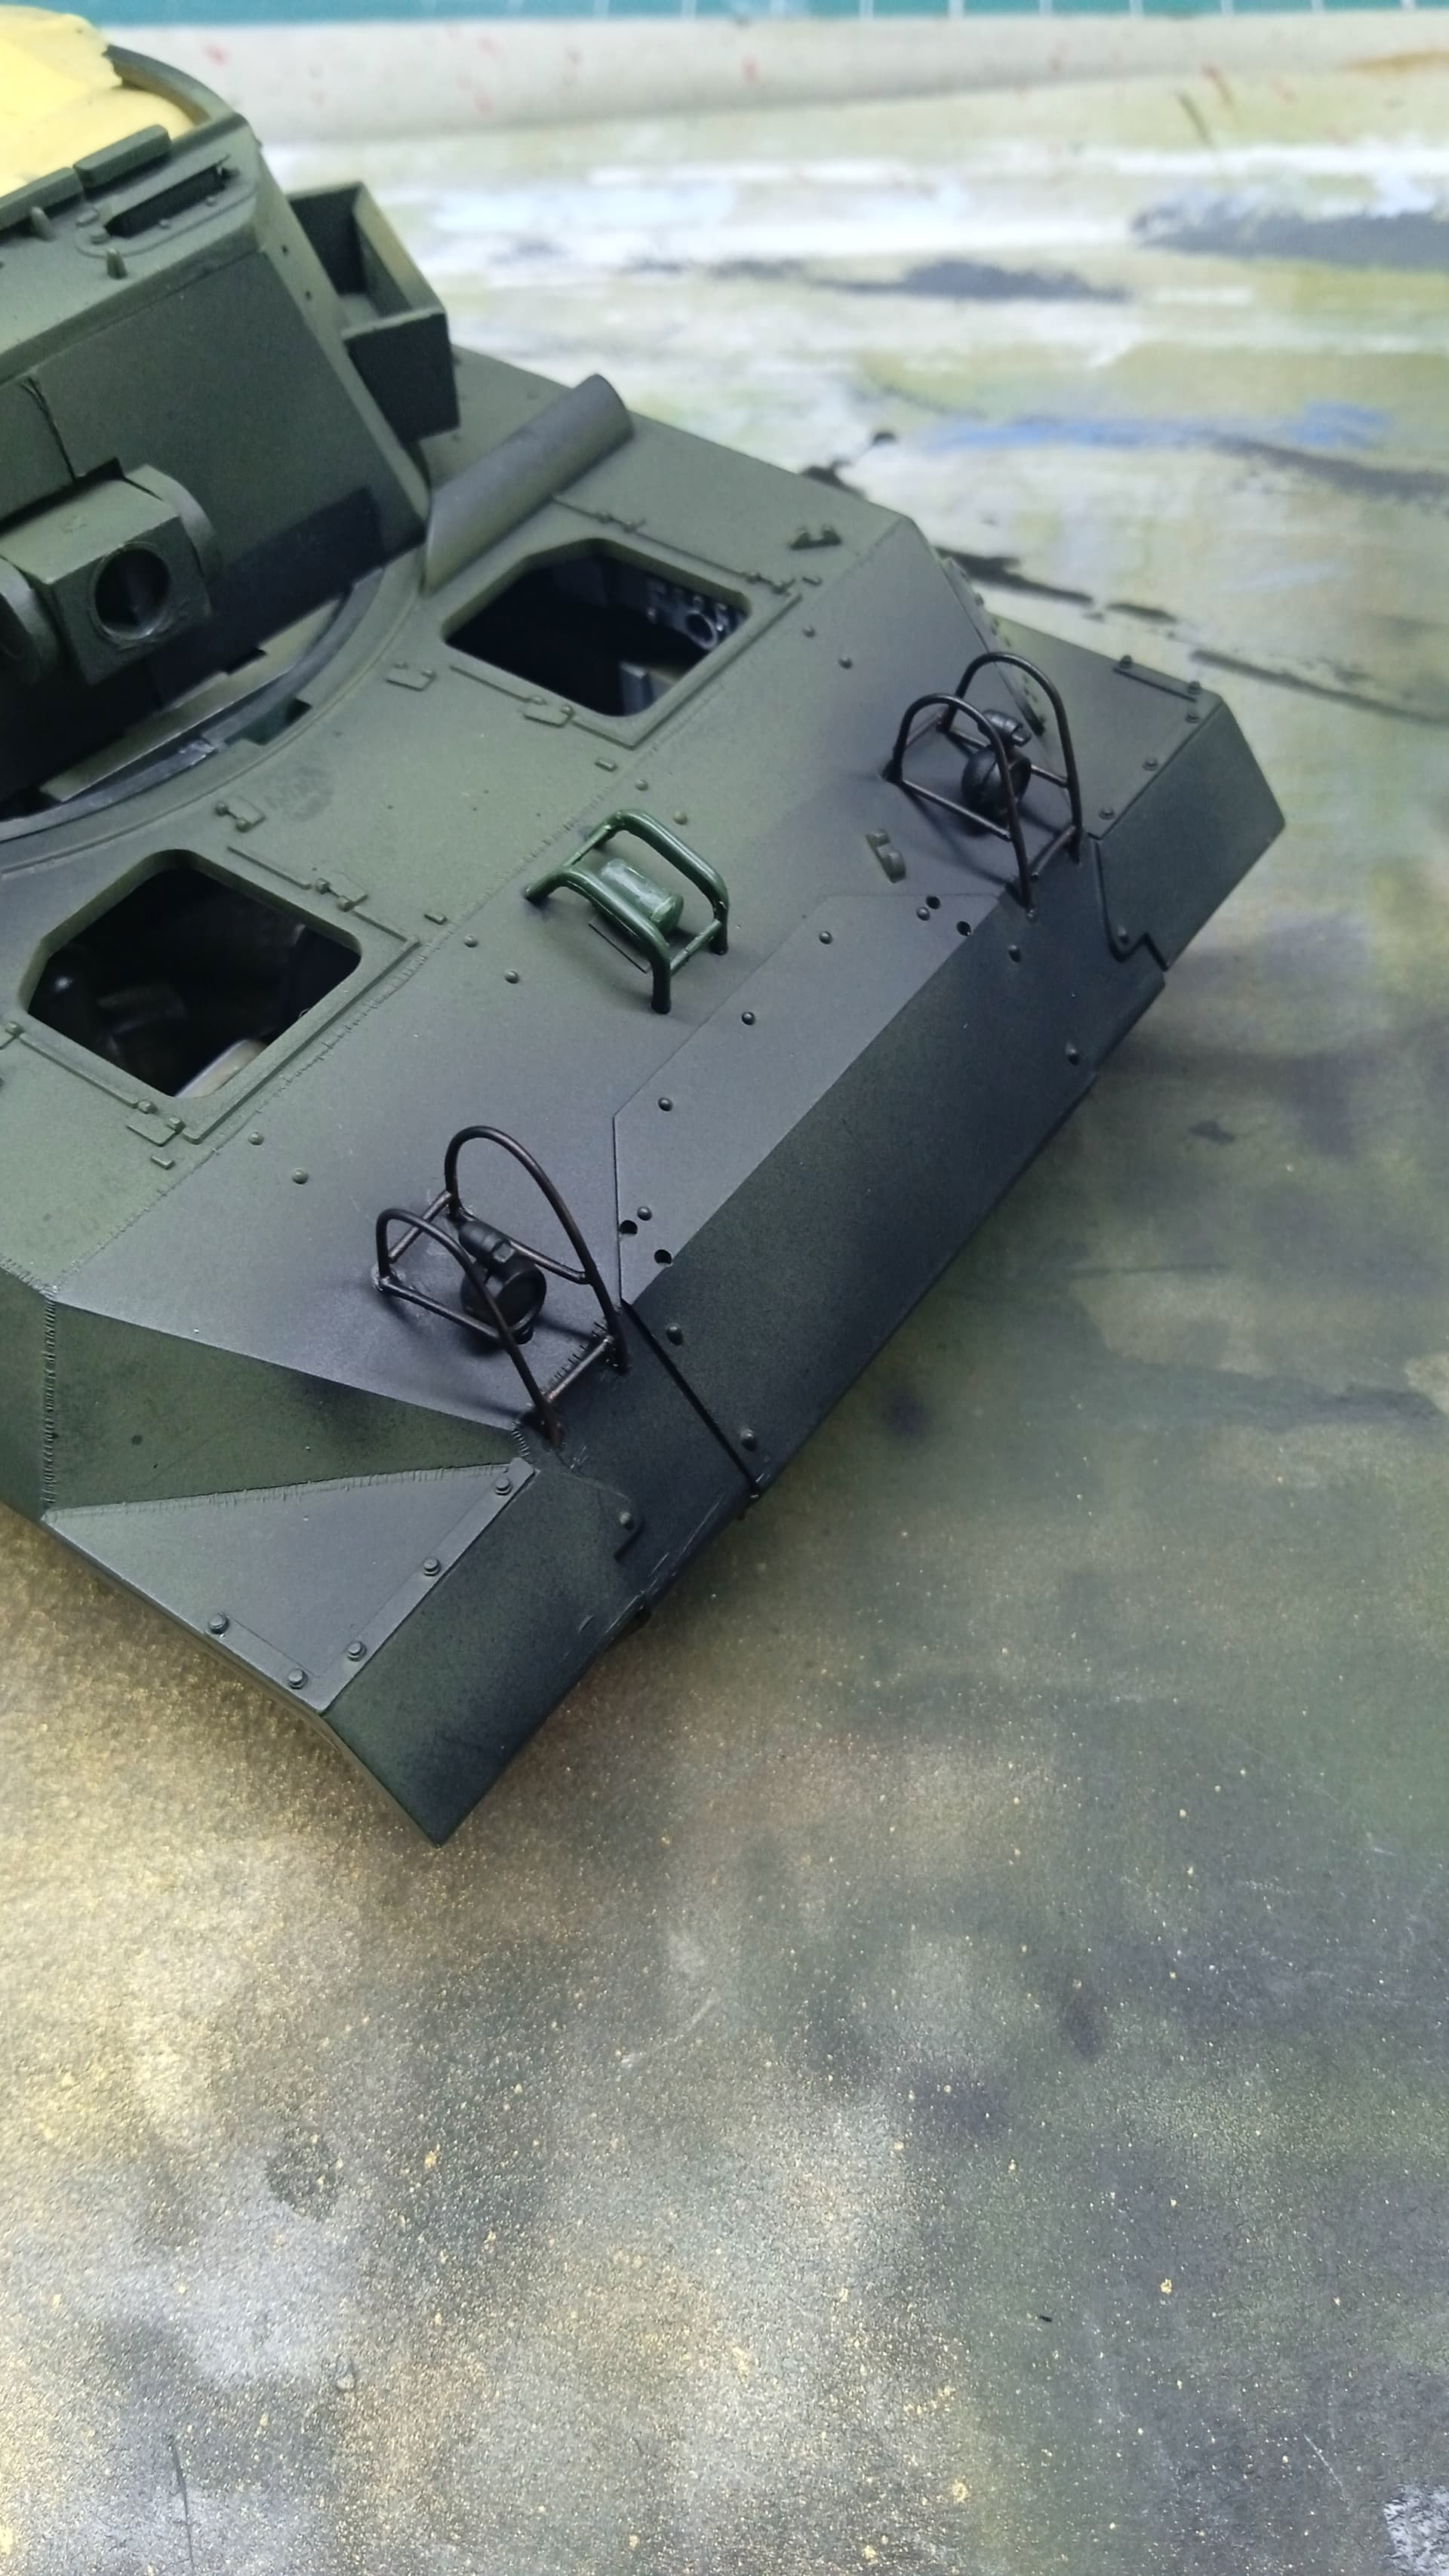
Found another US star in my spares box… after stripping and repainting the front plate 3 times - removing original decal & gloss coat, and 2 subsequent attempts at a gloss coat that went horribly wrong! I’m now at the stage (as with everything I build) that more small parts are dislodged as are added. I lost one of the front tow hooks and mount so I fabricated one new mount and 2 copper wire shackles. Don’t look too closeLy
8 Likes