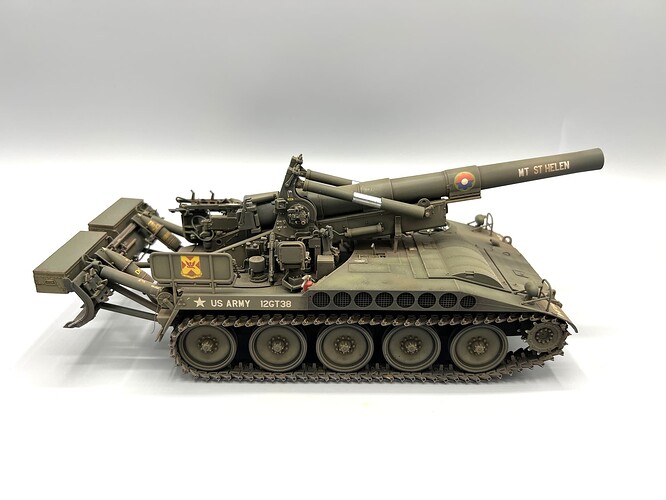
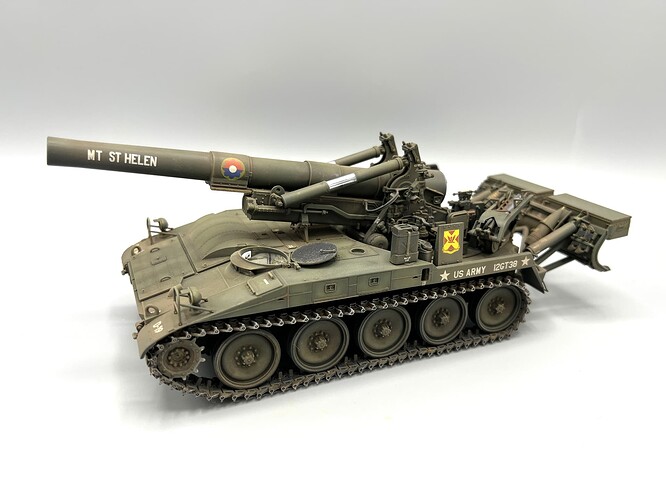
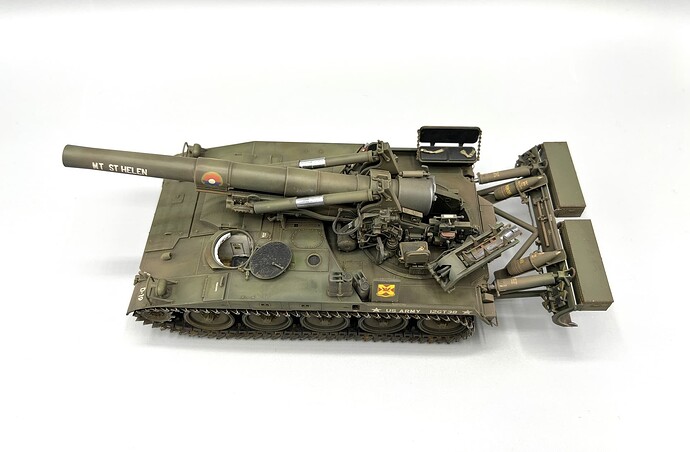
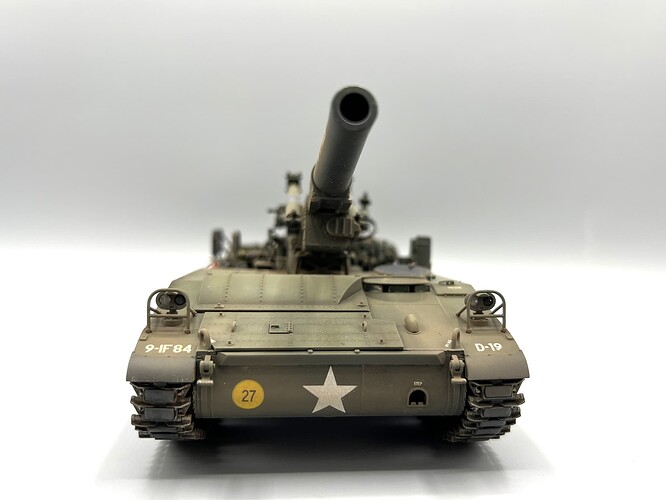
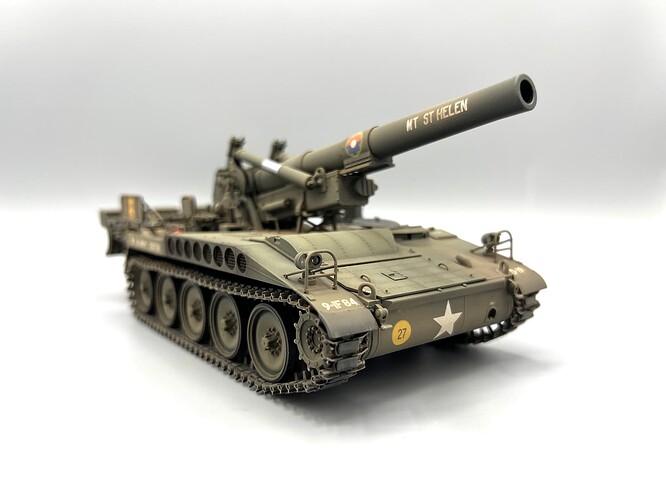
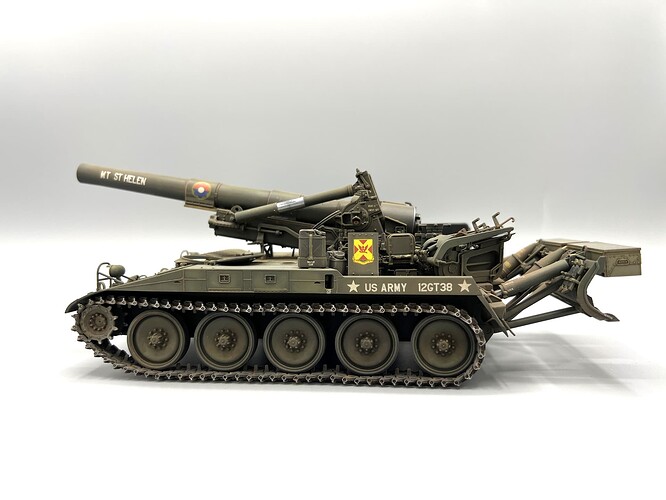
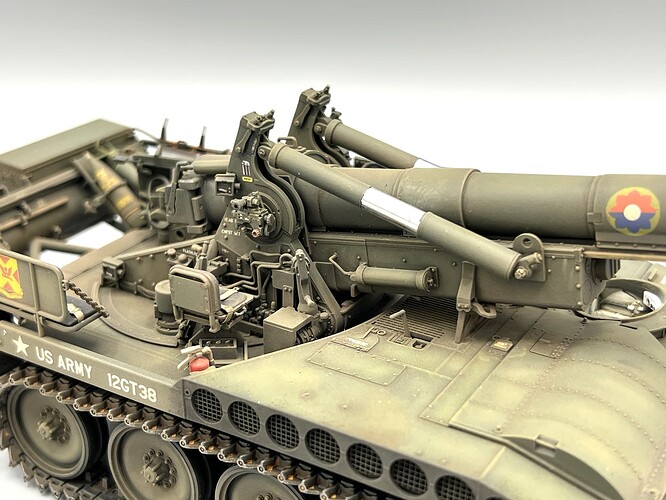
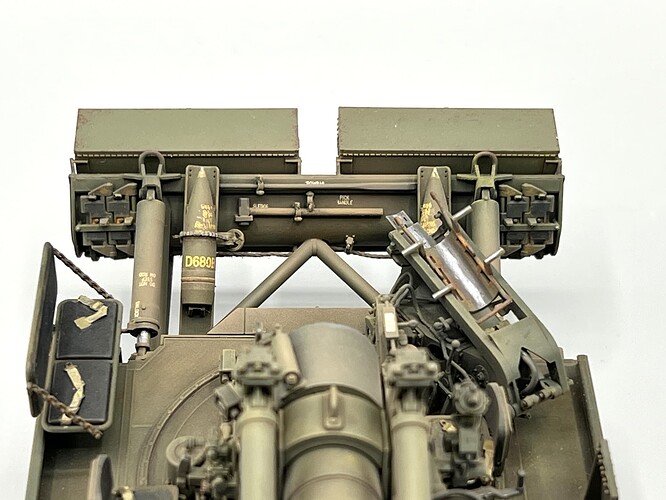
I’ve got a lot of catching up to do on posting my builds. I started this on Thanksgiving Day 2022 and had it in primer by President’s Day 2023. It sat in my dust proof WIP holding case, my “shelf of indecision”, until May of 2024. I chickened out on doing it in MAASTER camo due to all of the delicate hydraulic lines and decided just to finish it in OD.
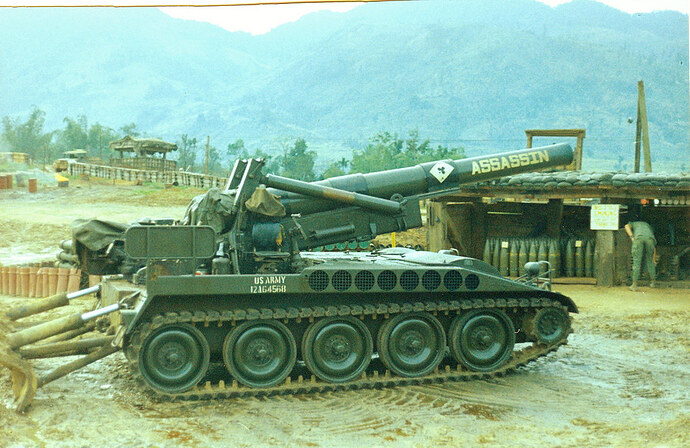
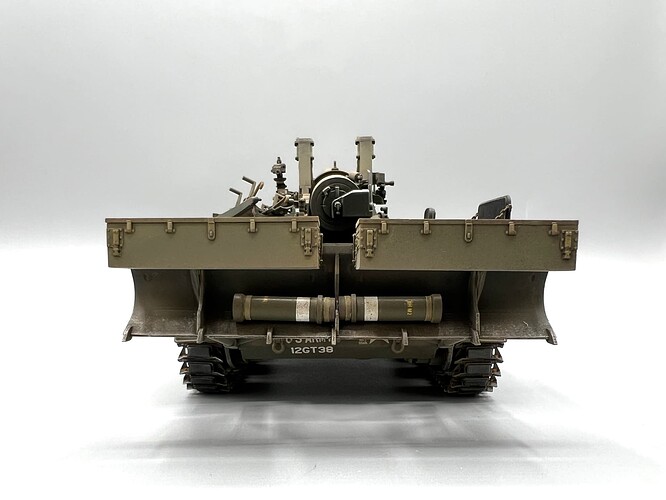
In the 1950’s the US Army fielded equipment that could survive and fight on a nuclear battlefield. The Army quickly discovered the downside of that nuclear survivability – mobility. The Army pivoted to prioritizing mobility over survivability and the M110 203mm Self-Propelled Gun was born. Introduced in 1962, it featured an open top, aluminum hull with a large spade in the rear to transfer recoil energy to the soil. The M110 carried only two rounds of ammunition, the remaining rounds being carried on an M548 ammunition carrier that was paired with each howitzer. With its 205-pound projectile, the M110 was renowned for its accuracy and heavy punch. It was intended to employ shoot and scoot tactics to avoid enemy counterbattery fire and could be emplaced and ready to fire in eight minutes. The US Army and Marines converted their M110s to M110A2s in the late 1970s by swapping out the barrels for the extended range 203mm tube.
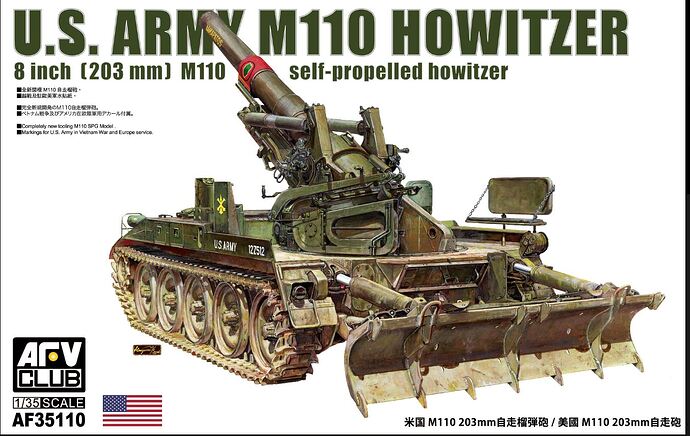
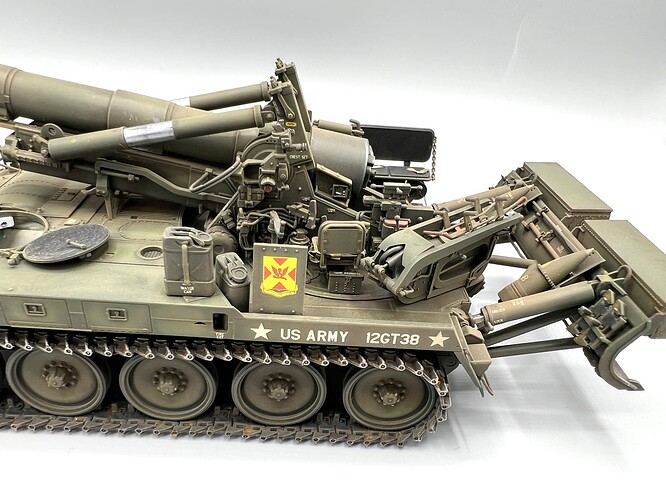
I used the excellent AFV Club AF35110 M110 8-Inch Self-Propelled Howitzer kit. Prior to this release, the only option for the M110 was the 1988 vintage Italeri kit or its Revell re-boxing. The Italeri kit was great in its day, but lacks the detail expected today. This kit is superb. It has two sprues just for the hydraulic lines which are molded on in the Italeri kit. It includes a basic drivers compartment interior which can only be viewed through the open drivers’ hatch. It looks great. The kit is not for the ham fisted and will give your tweezers a workout with its myriad of tiny parts. But the detail achieved is worth it.
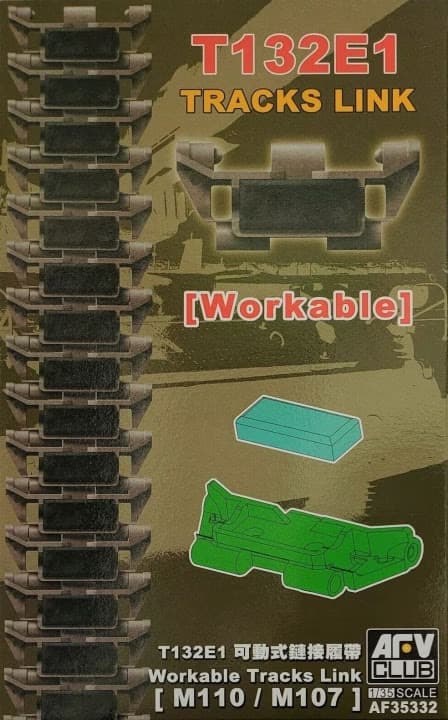
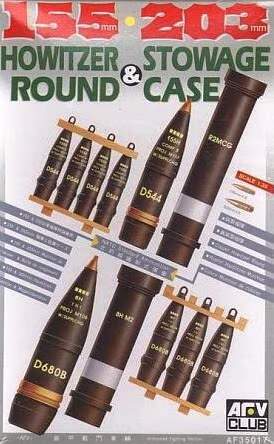
I combined it with the AFV Club T-132E1 individual link tracks and AFV Club 203mm ammo. I added some custom decals for the plethora of stencils and placards on the vehicle. I replaced the kit gas cans with resin water cans, added seat cushions made from Miliput, fine wire to the DR-8 reel, and lead strip retaining straps to the pioneer tools. This is about as close to out of the box as I get. Everything went together well except for getting the tracks on. I spent two evenings getting these on without separating. Once installed, I glued them thoroughly.
I primed it with rattle can Mr. Surfacer 1500 black and pre-shaded with Tamiya XF-2 White. It was base painted with a light coat of Tamiya XF-74 JGSDF OD which works well for the dark Vietnam era vehicles. I did some post shading with XF-60 Dark Yellow to show a bit of sun fading. I used Winsor & Newton oils for a dot filter. After detail painting, I applied the kit decals and the many custom stencils and placards that Mike Blackwell developed for me. Modern US vehicles are covered with stencils and placards and the model just doesn’t look right without them. It’s too bad that the manufacturers and aftermarket companies don’t provide them. After sealing the paint and decals with Alclad AquaGloss, I pin washed and streaked with AK enamel weathering products. When I was happy with the weathering, I applied Model Master Flat Clear lacquer and then dry-brushed with W & N Yellow Ochre oil paint. A bit of AK Smoke pigment around the exhaust finished it up.
AFV Club has done an outstanding job on the kit. I picked up their M107 and M110A2 kits which only vary with the barrel and breach. I served in M110A2 battalions for five years. I need to “modeler up” and do an M110A2 in MERDC winter verdant camo from the battery that I commanded.
ROUNDS COMPLETE!
