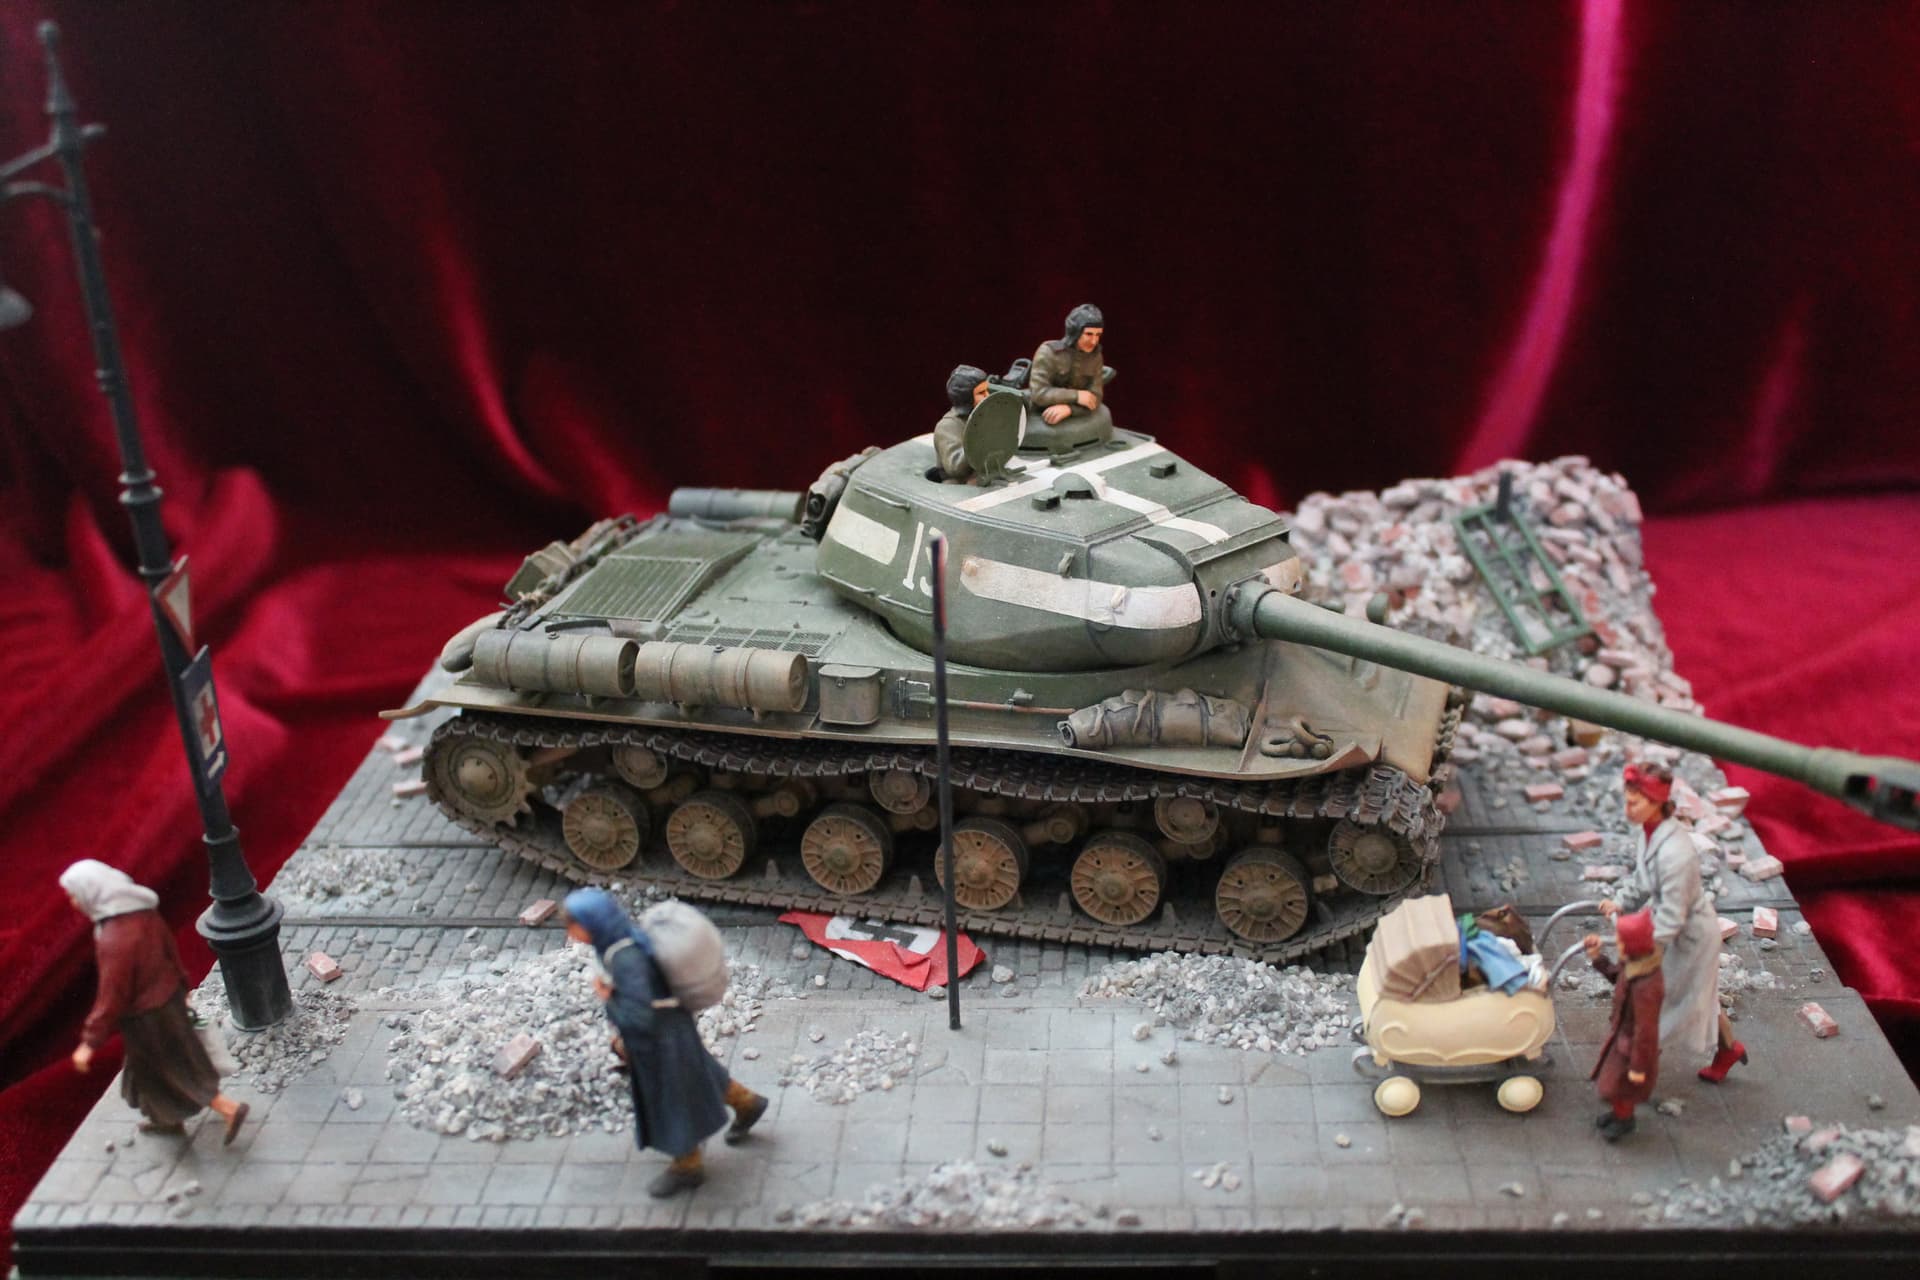
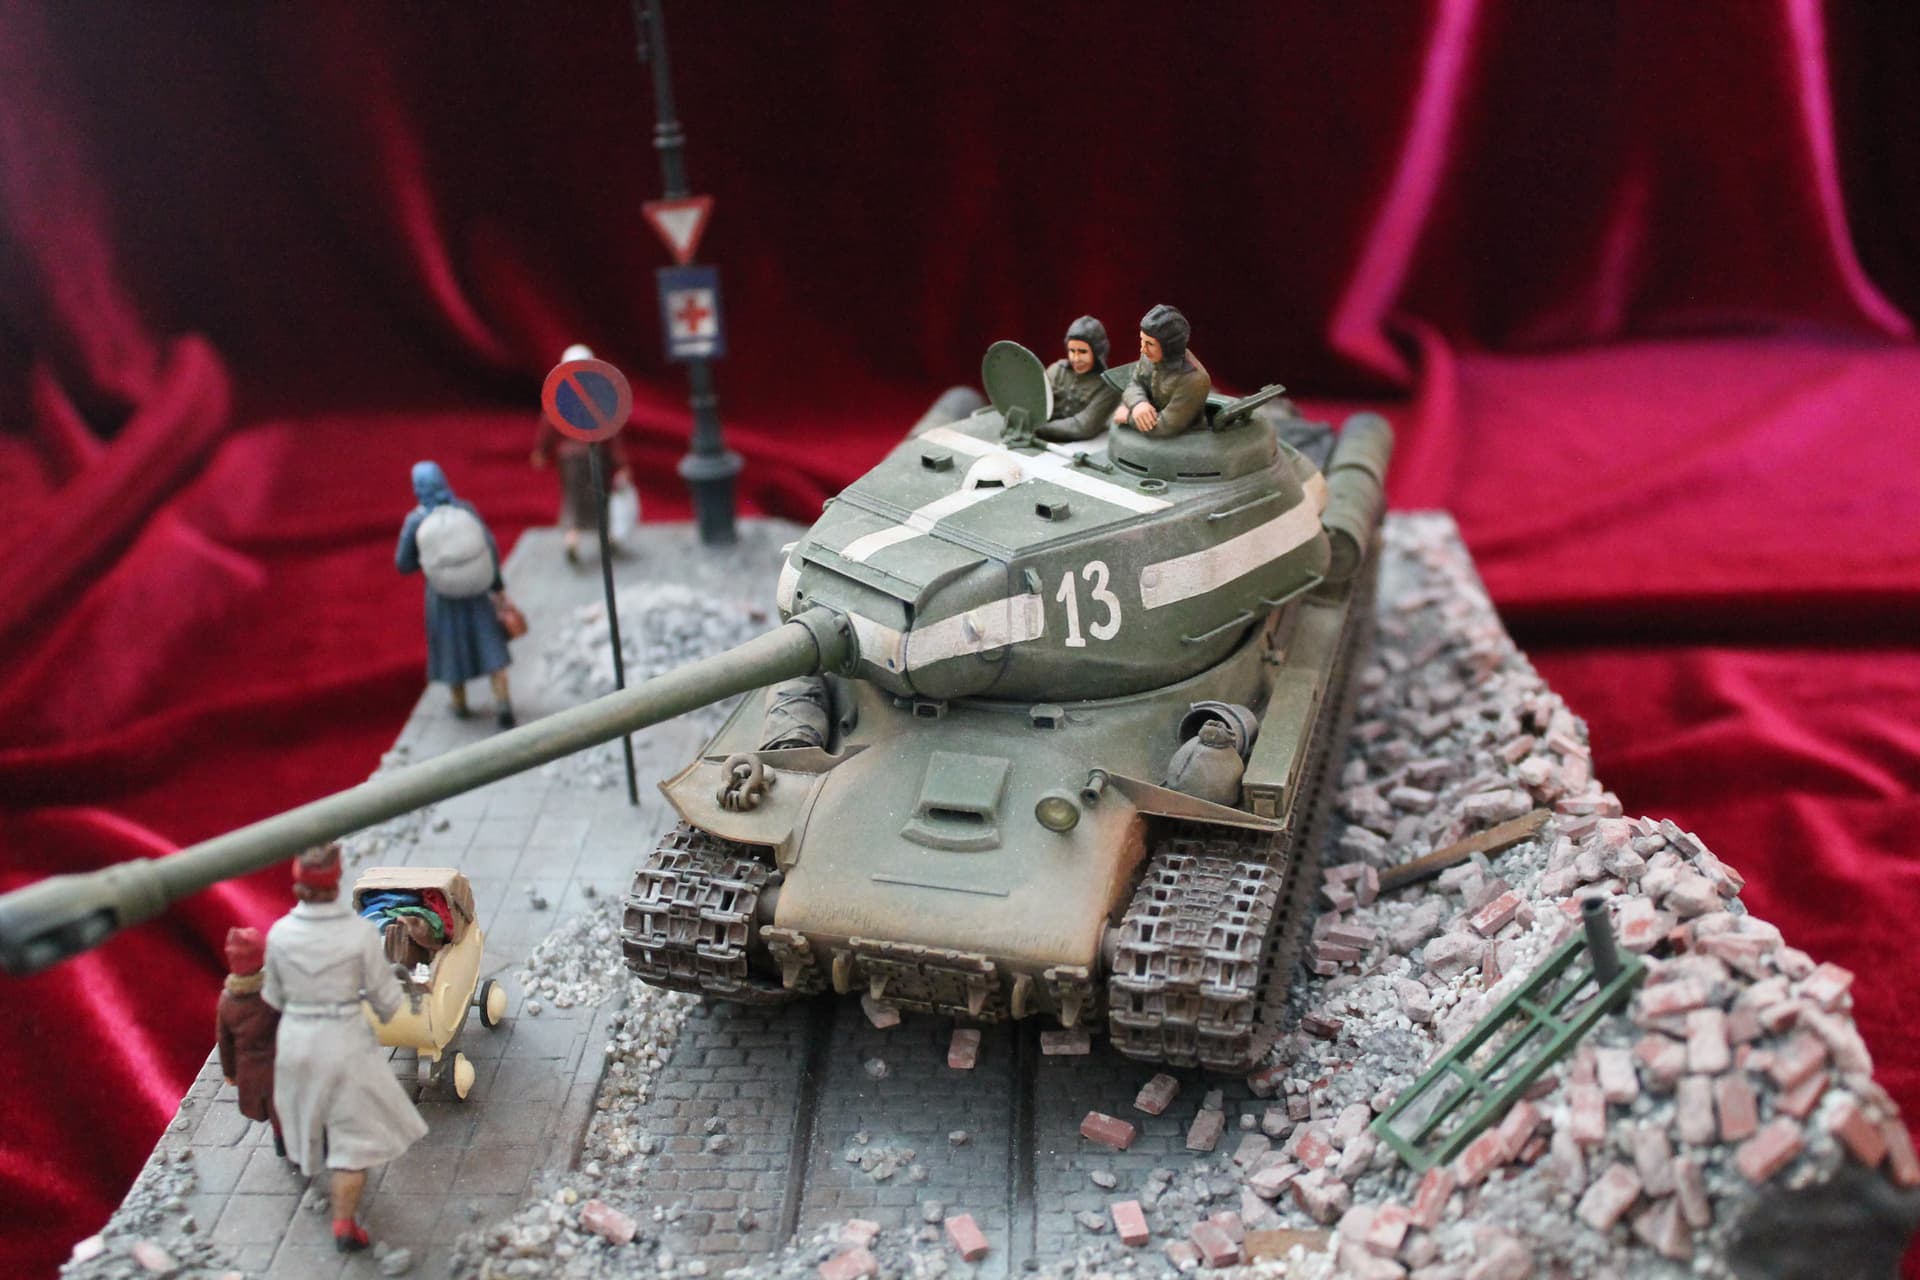
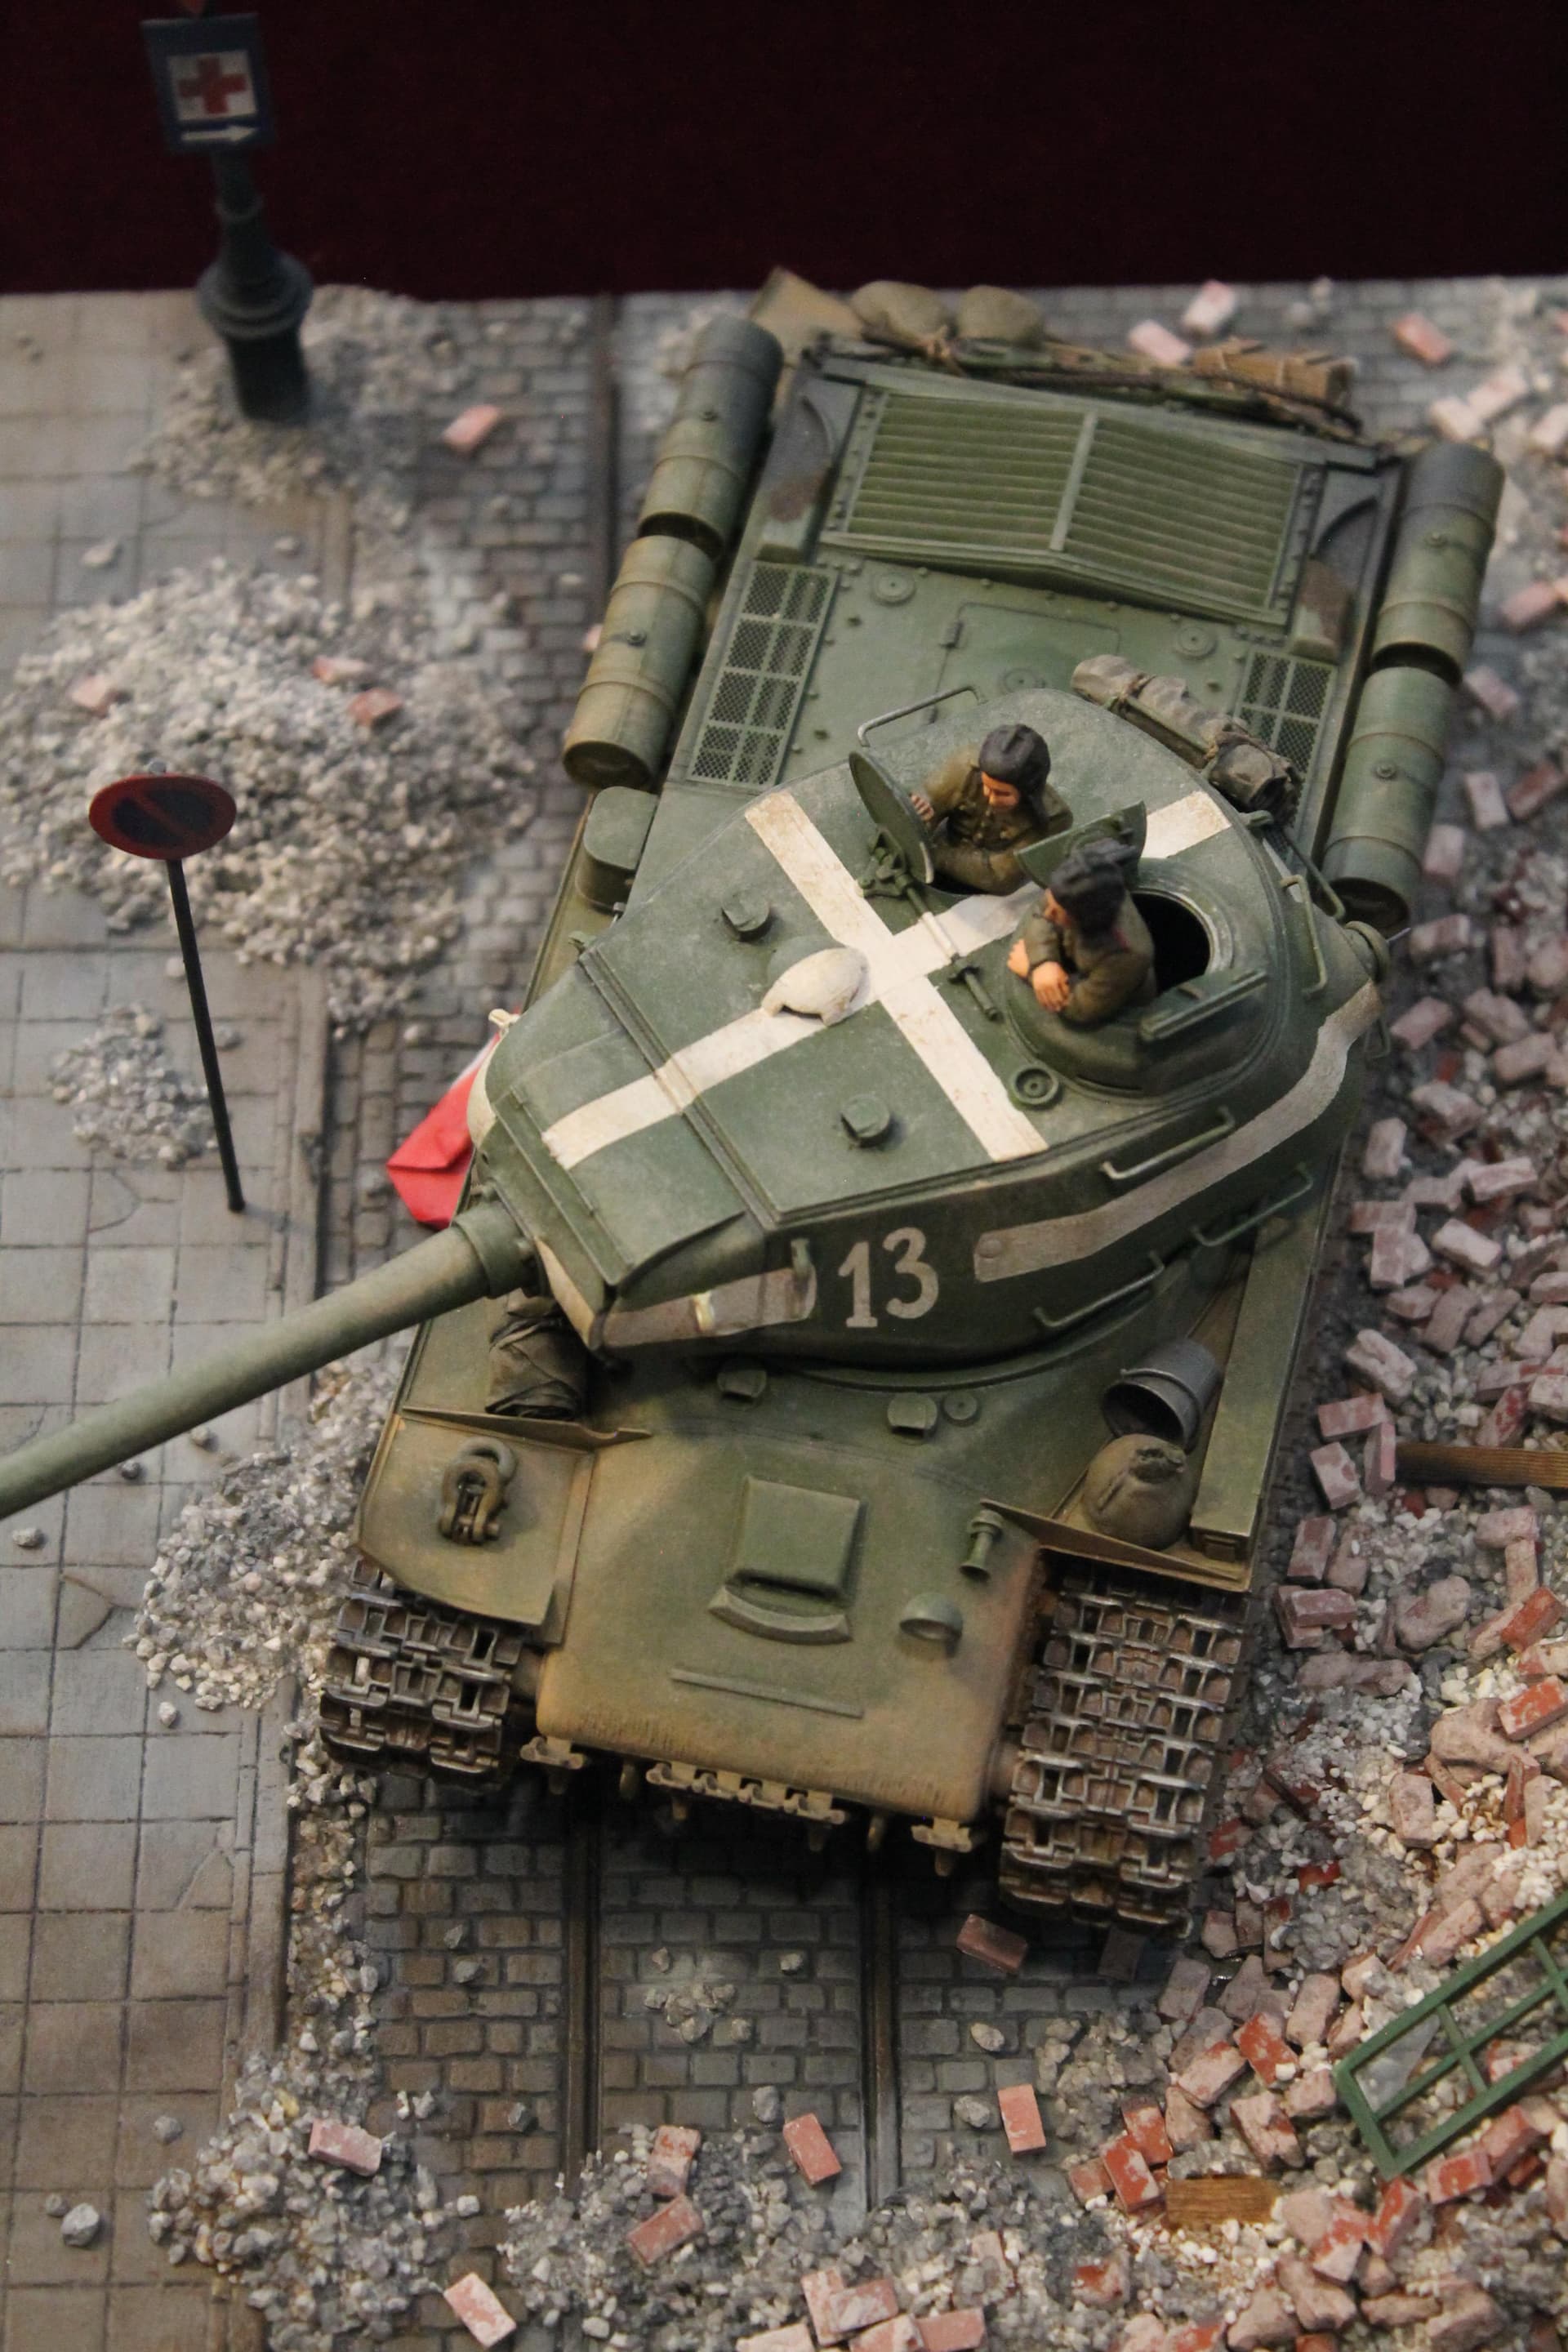
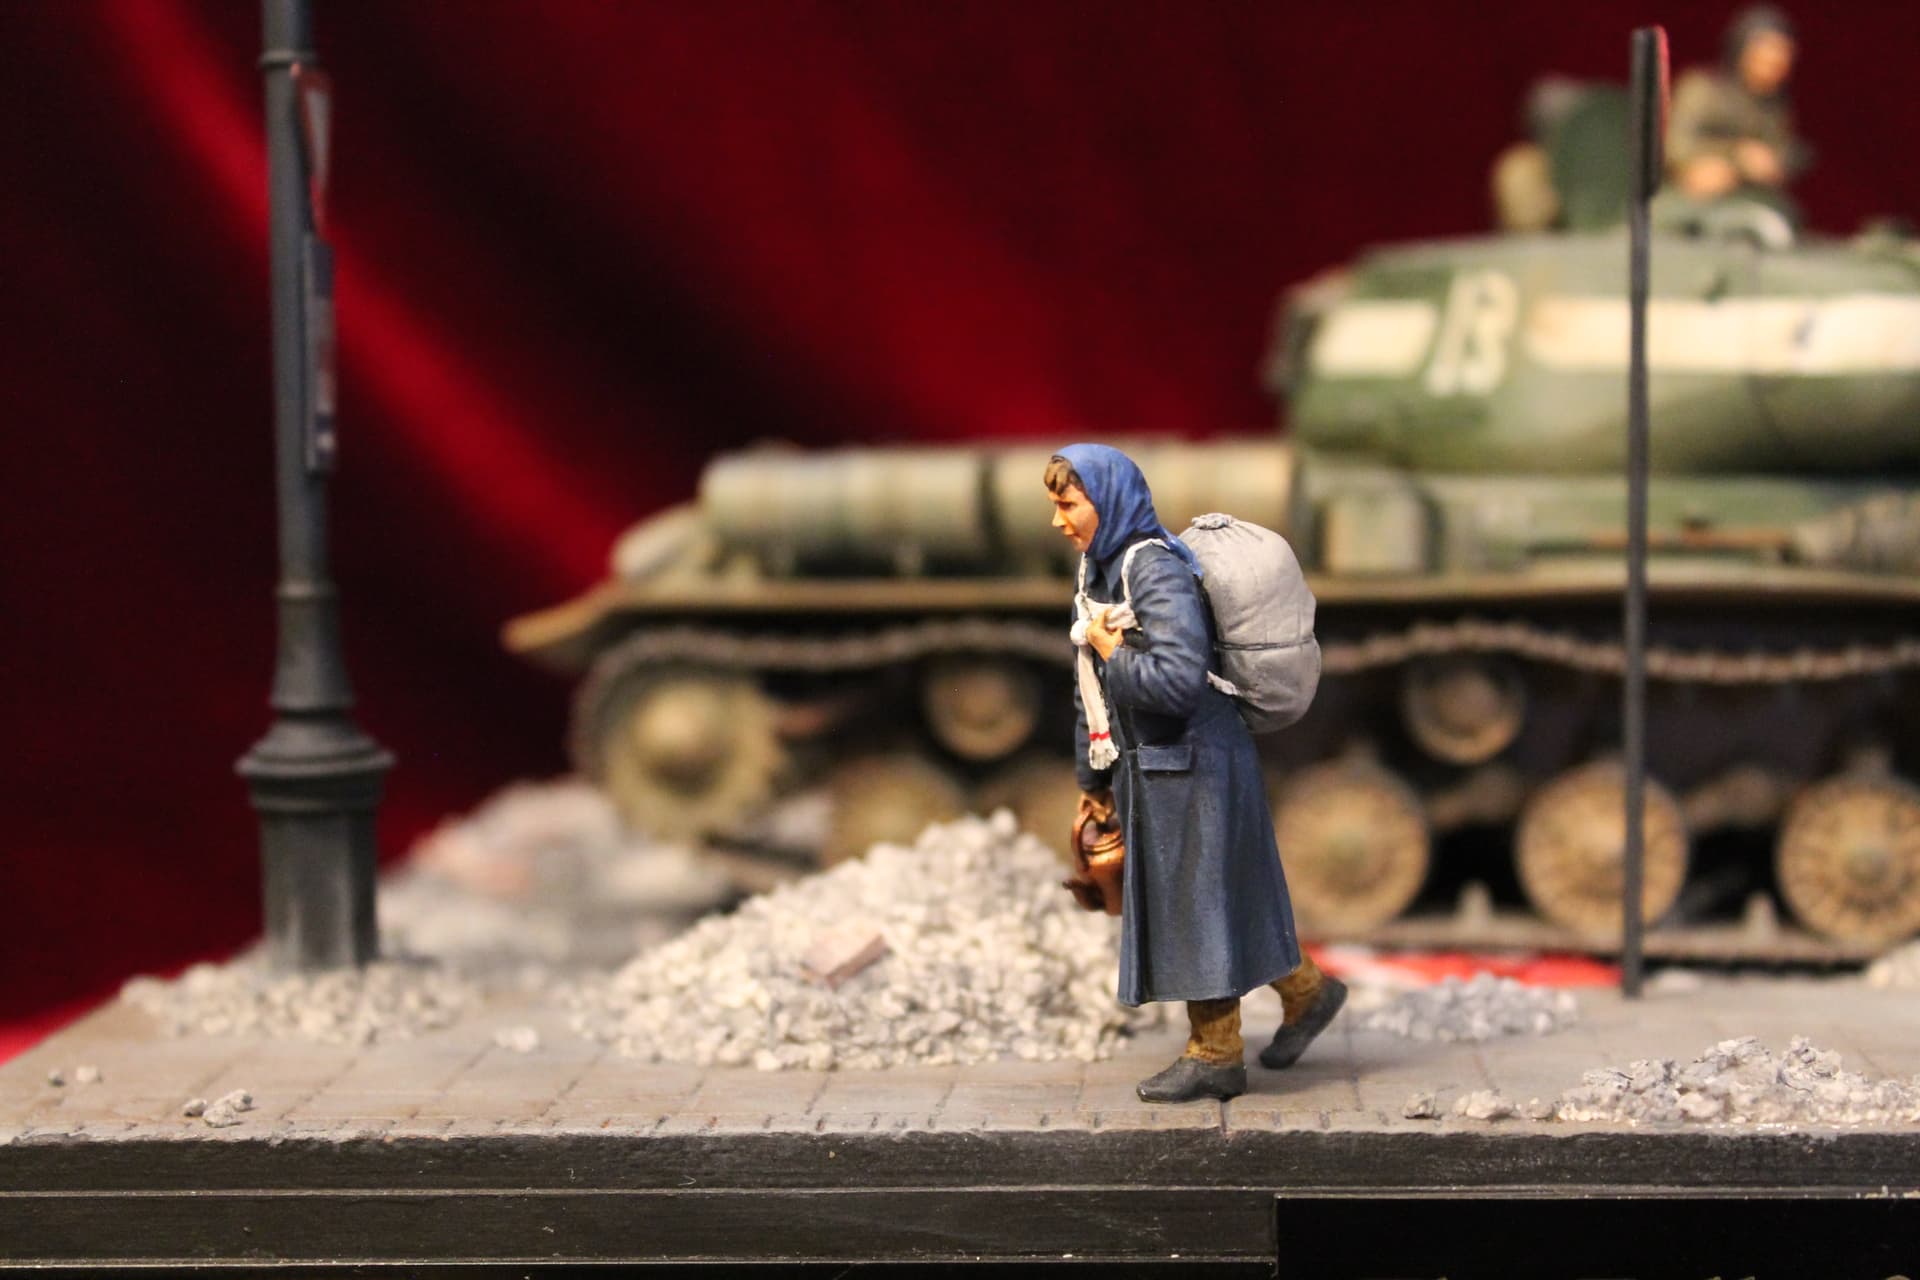
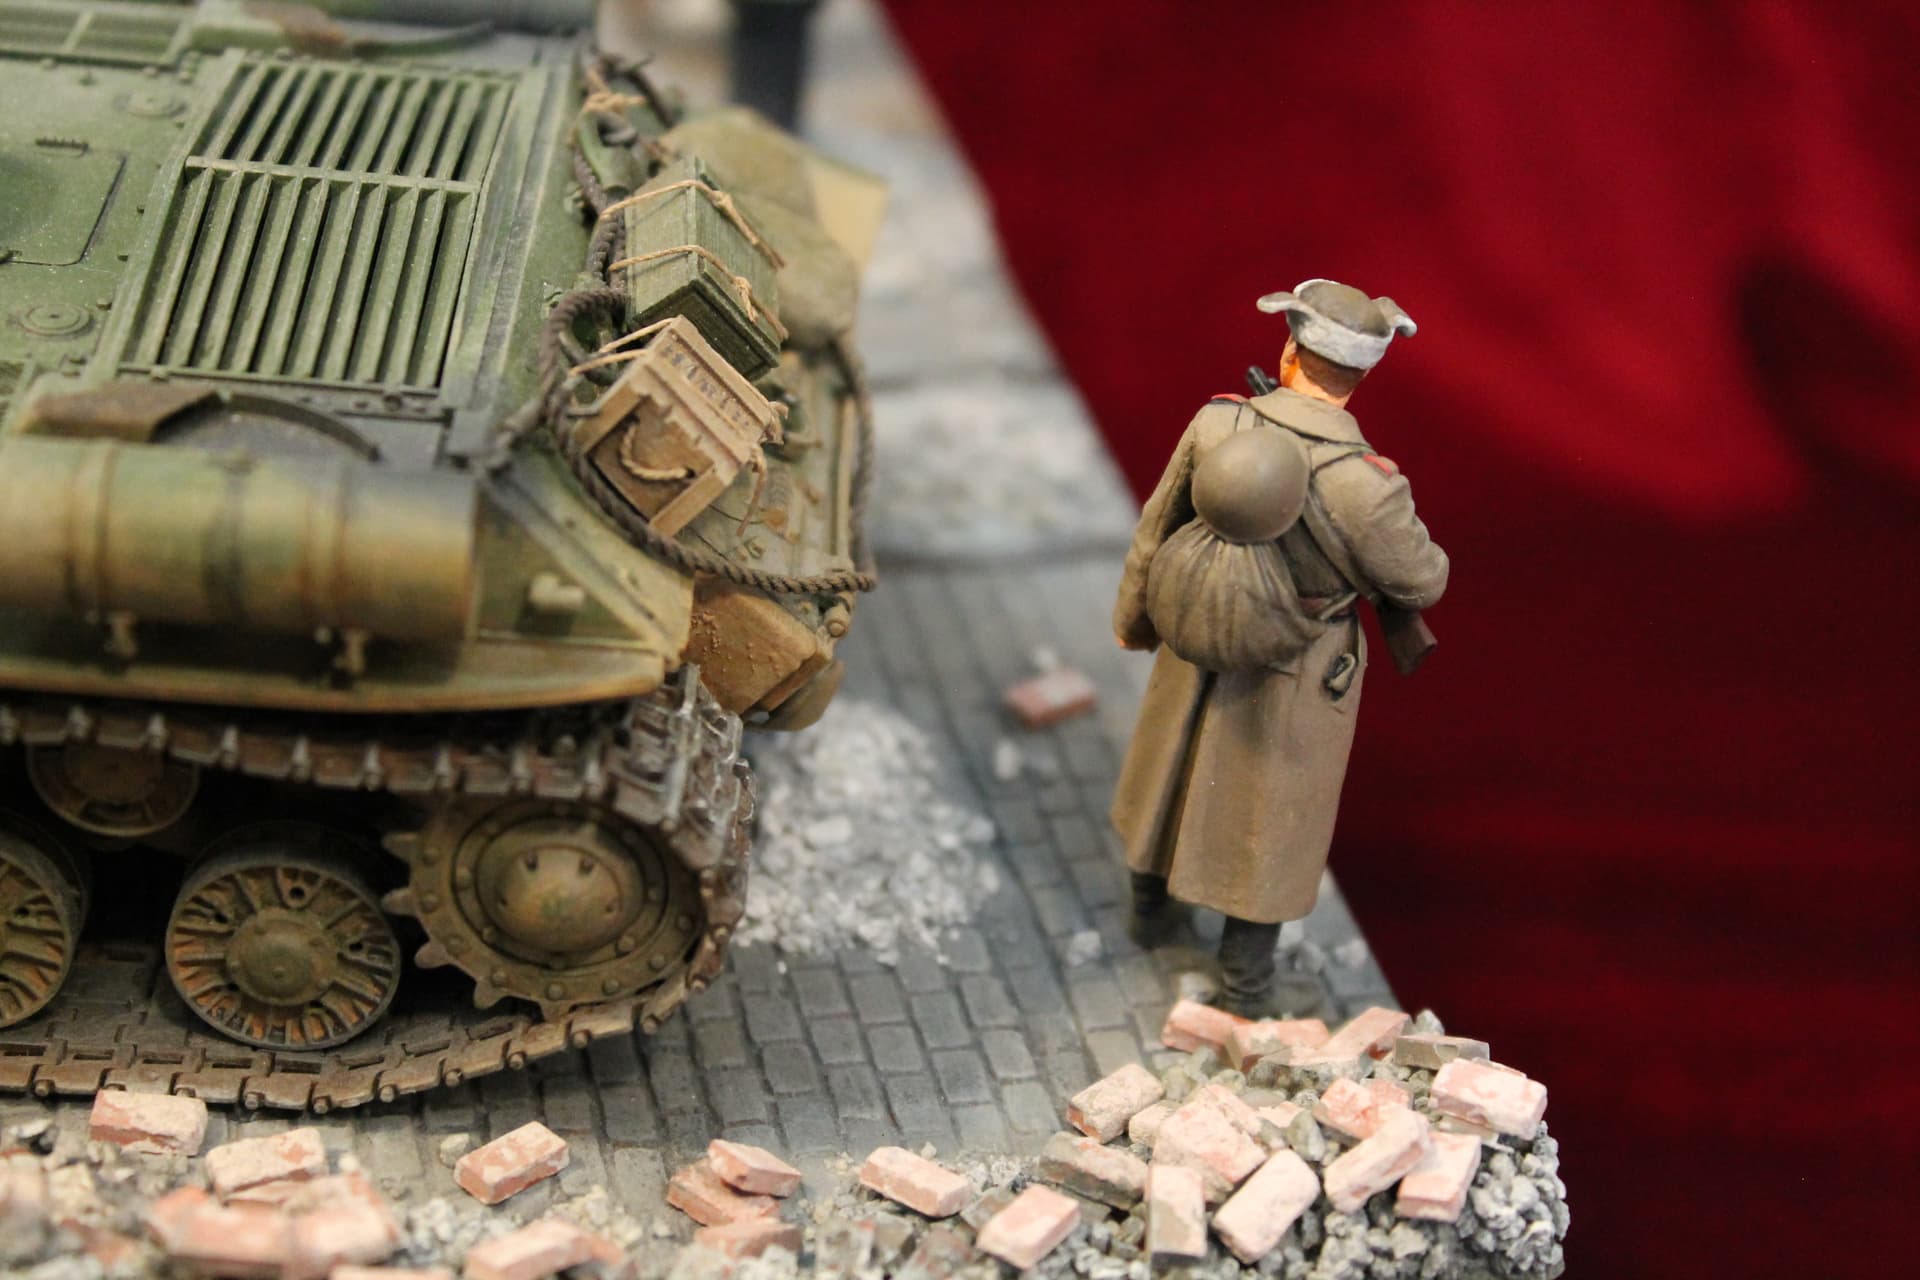
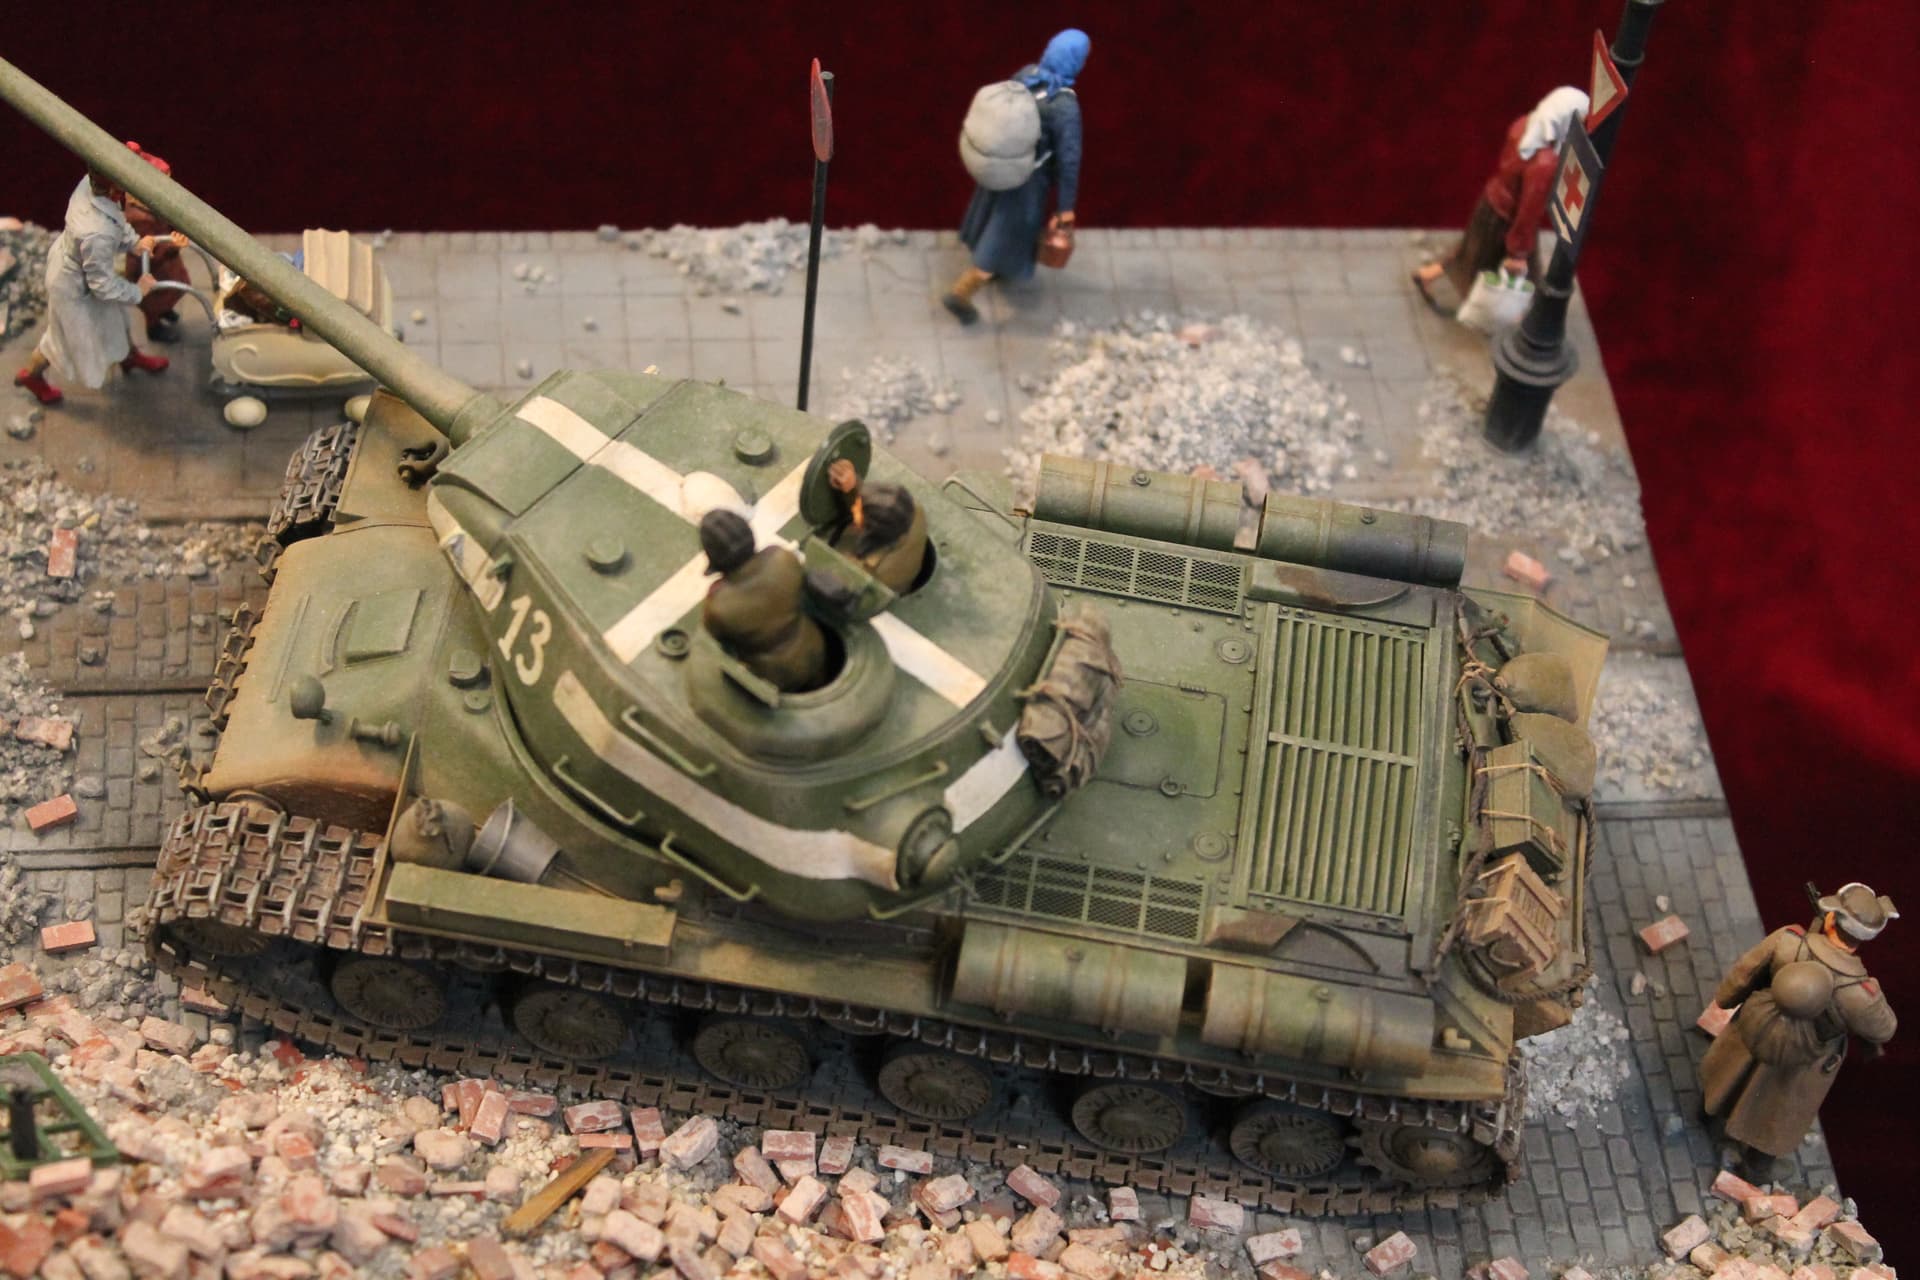
This my dio featuring Tamiya’s JS-2. It portrays two Russian tankers watching some German civilians as they are forced to meekly walk by under the gun of their tank. The kit goes together well and the tank was built basically OOB. Be careful if you use the link & length tracks, they’re handed left & right and assemble slightly different from one another. I did bend & remove some sections of the fenders as pictures show that they were usually pretty beat up. For the tow cables I replaced the kit supplied string with nylon beading cord. I also used a drop of 5 minute epoxy for the headlight lens instead of the solid kit part. The stowage came from Value Gear and was placed according to pix of actual IS-2’s.
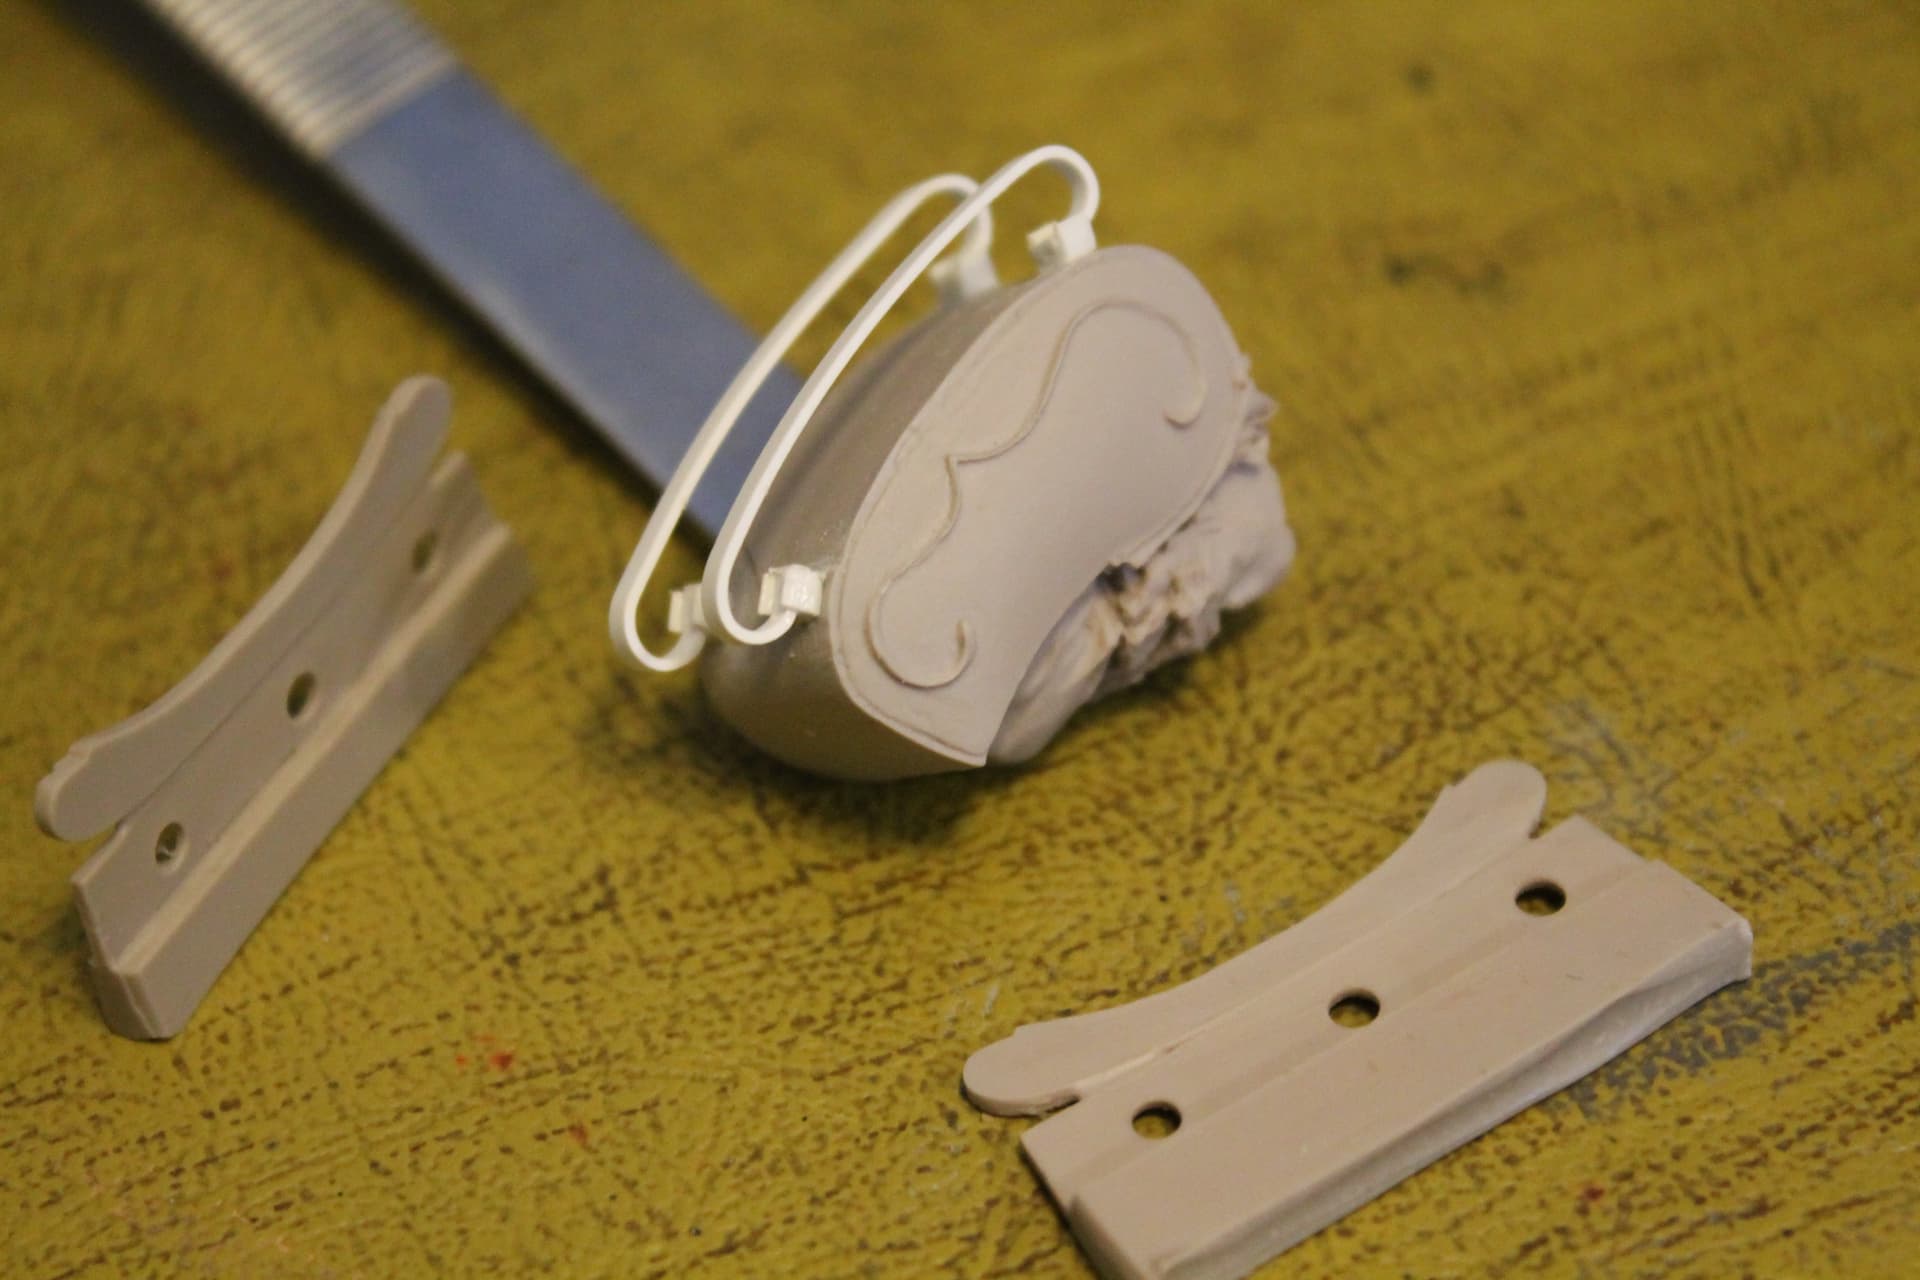
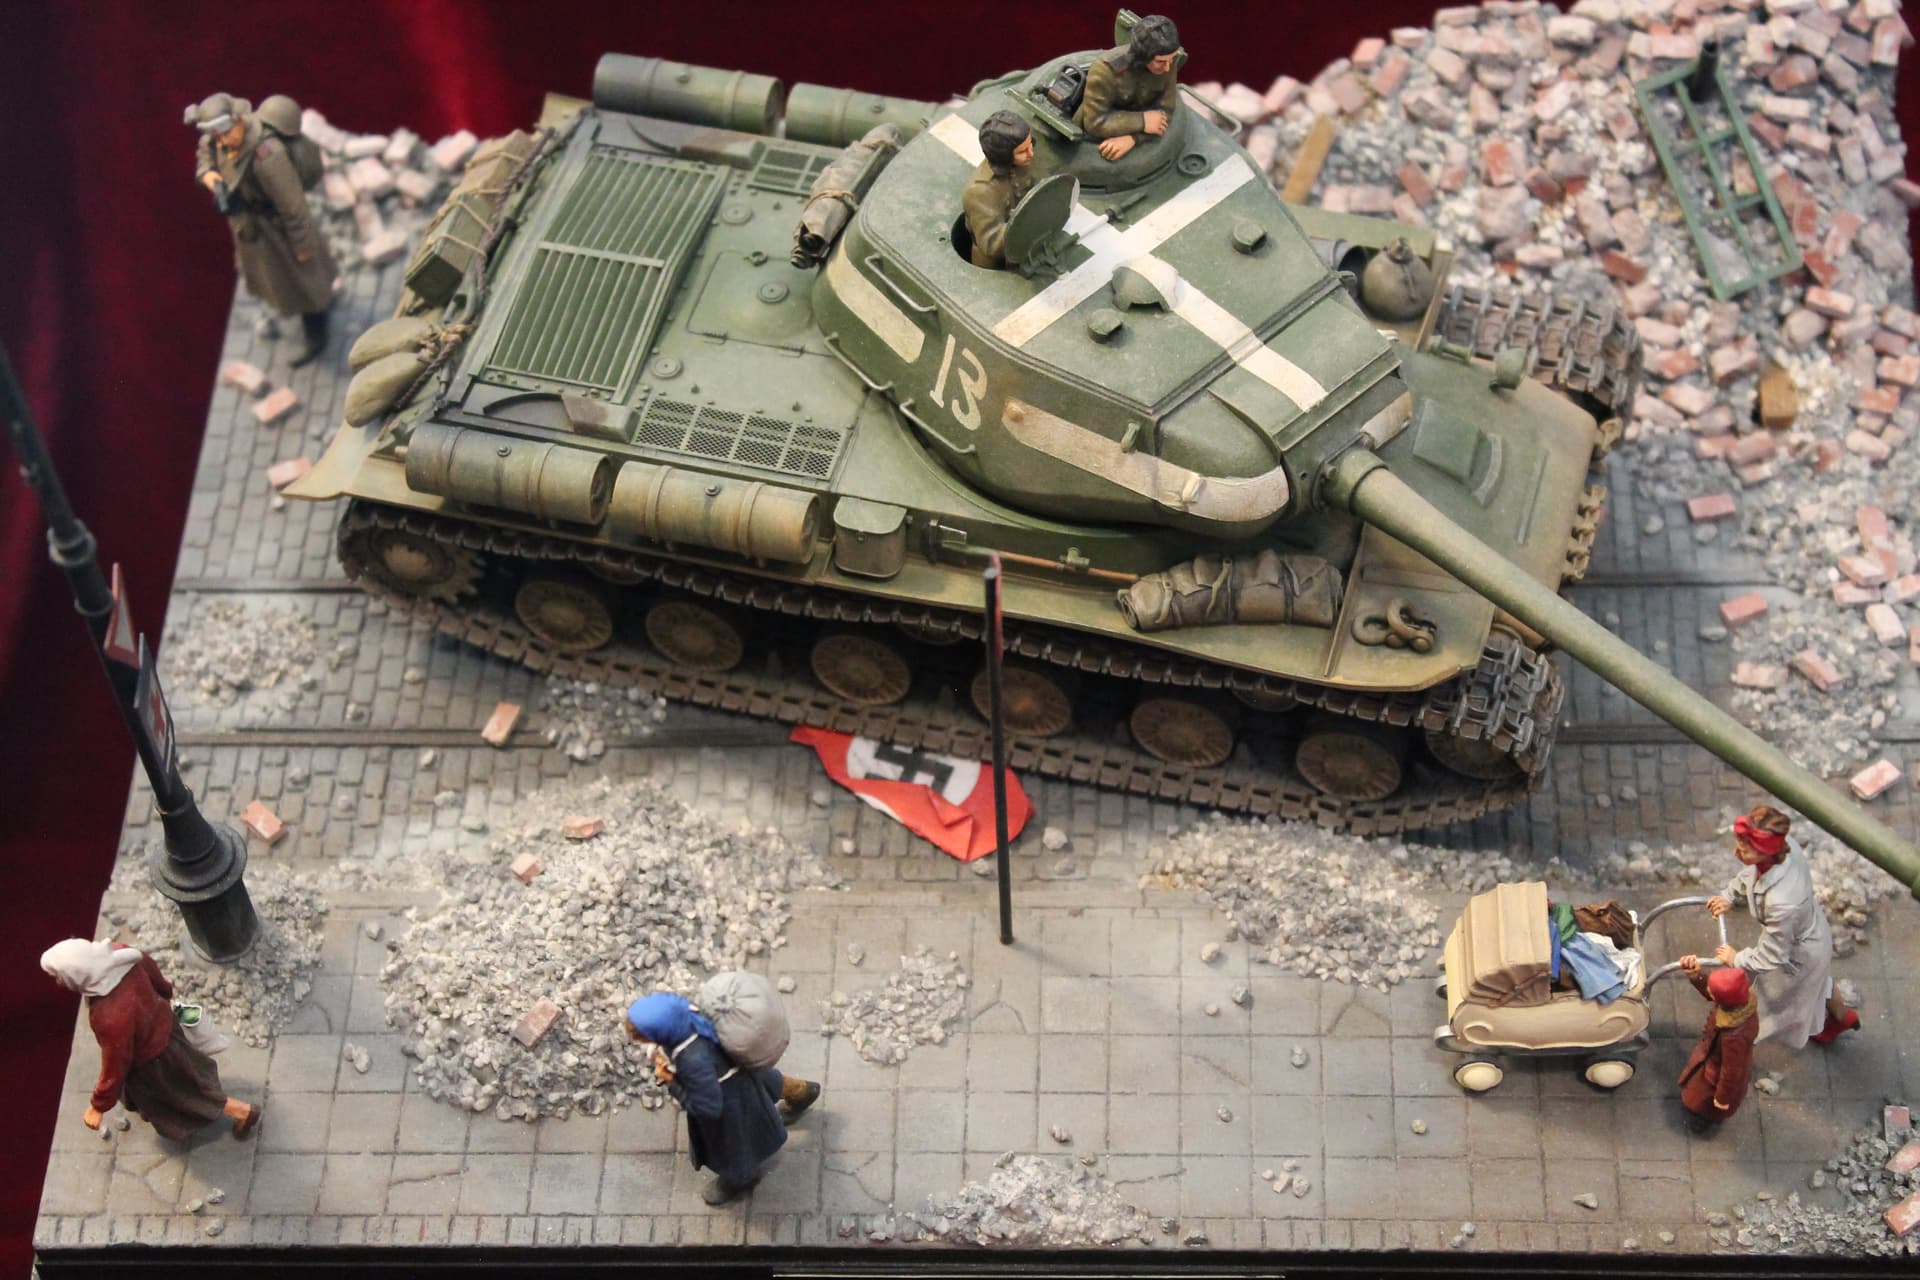
The woman & child with the baby carriage were a challenge. The carriage body was one piece, the hands were molded to the handle bar, and the hood and wheels were seperate. The springs for the carriage were a disappointment. The pictures on Stalingrad’s website are deceiving, it looks like they are supplied as PE parts. But they are molded as a solid resin piece and completely unrealistic. So I scratchbuilt my own. No axles were supplied, so I used thin brass rod. I pin my figures into the base, so I mounted the carriage first, then the woman, and finally the child. I was quite relieved when the three elements came together.
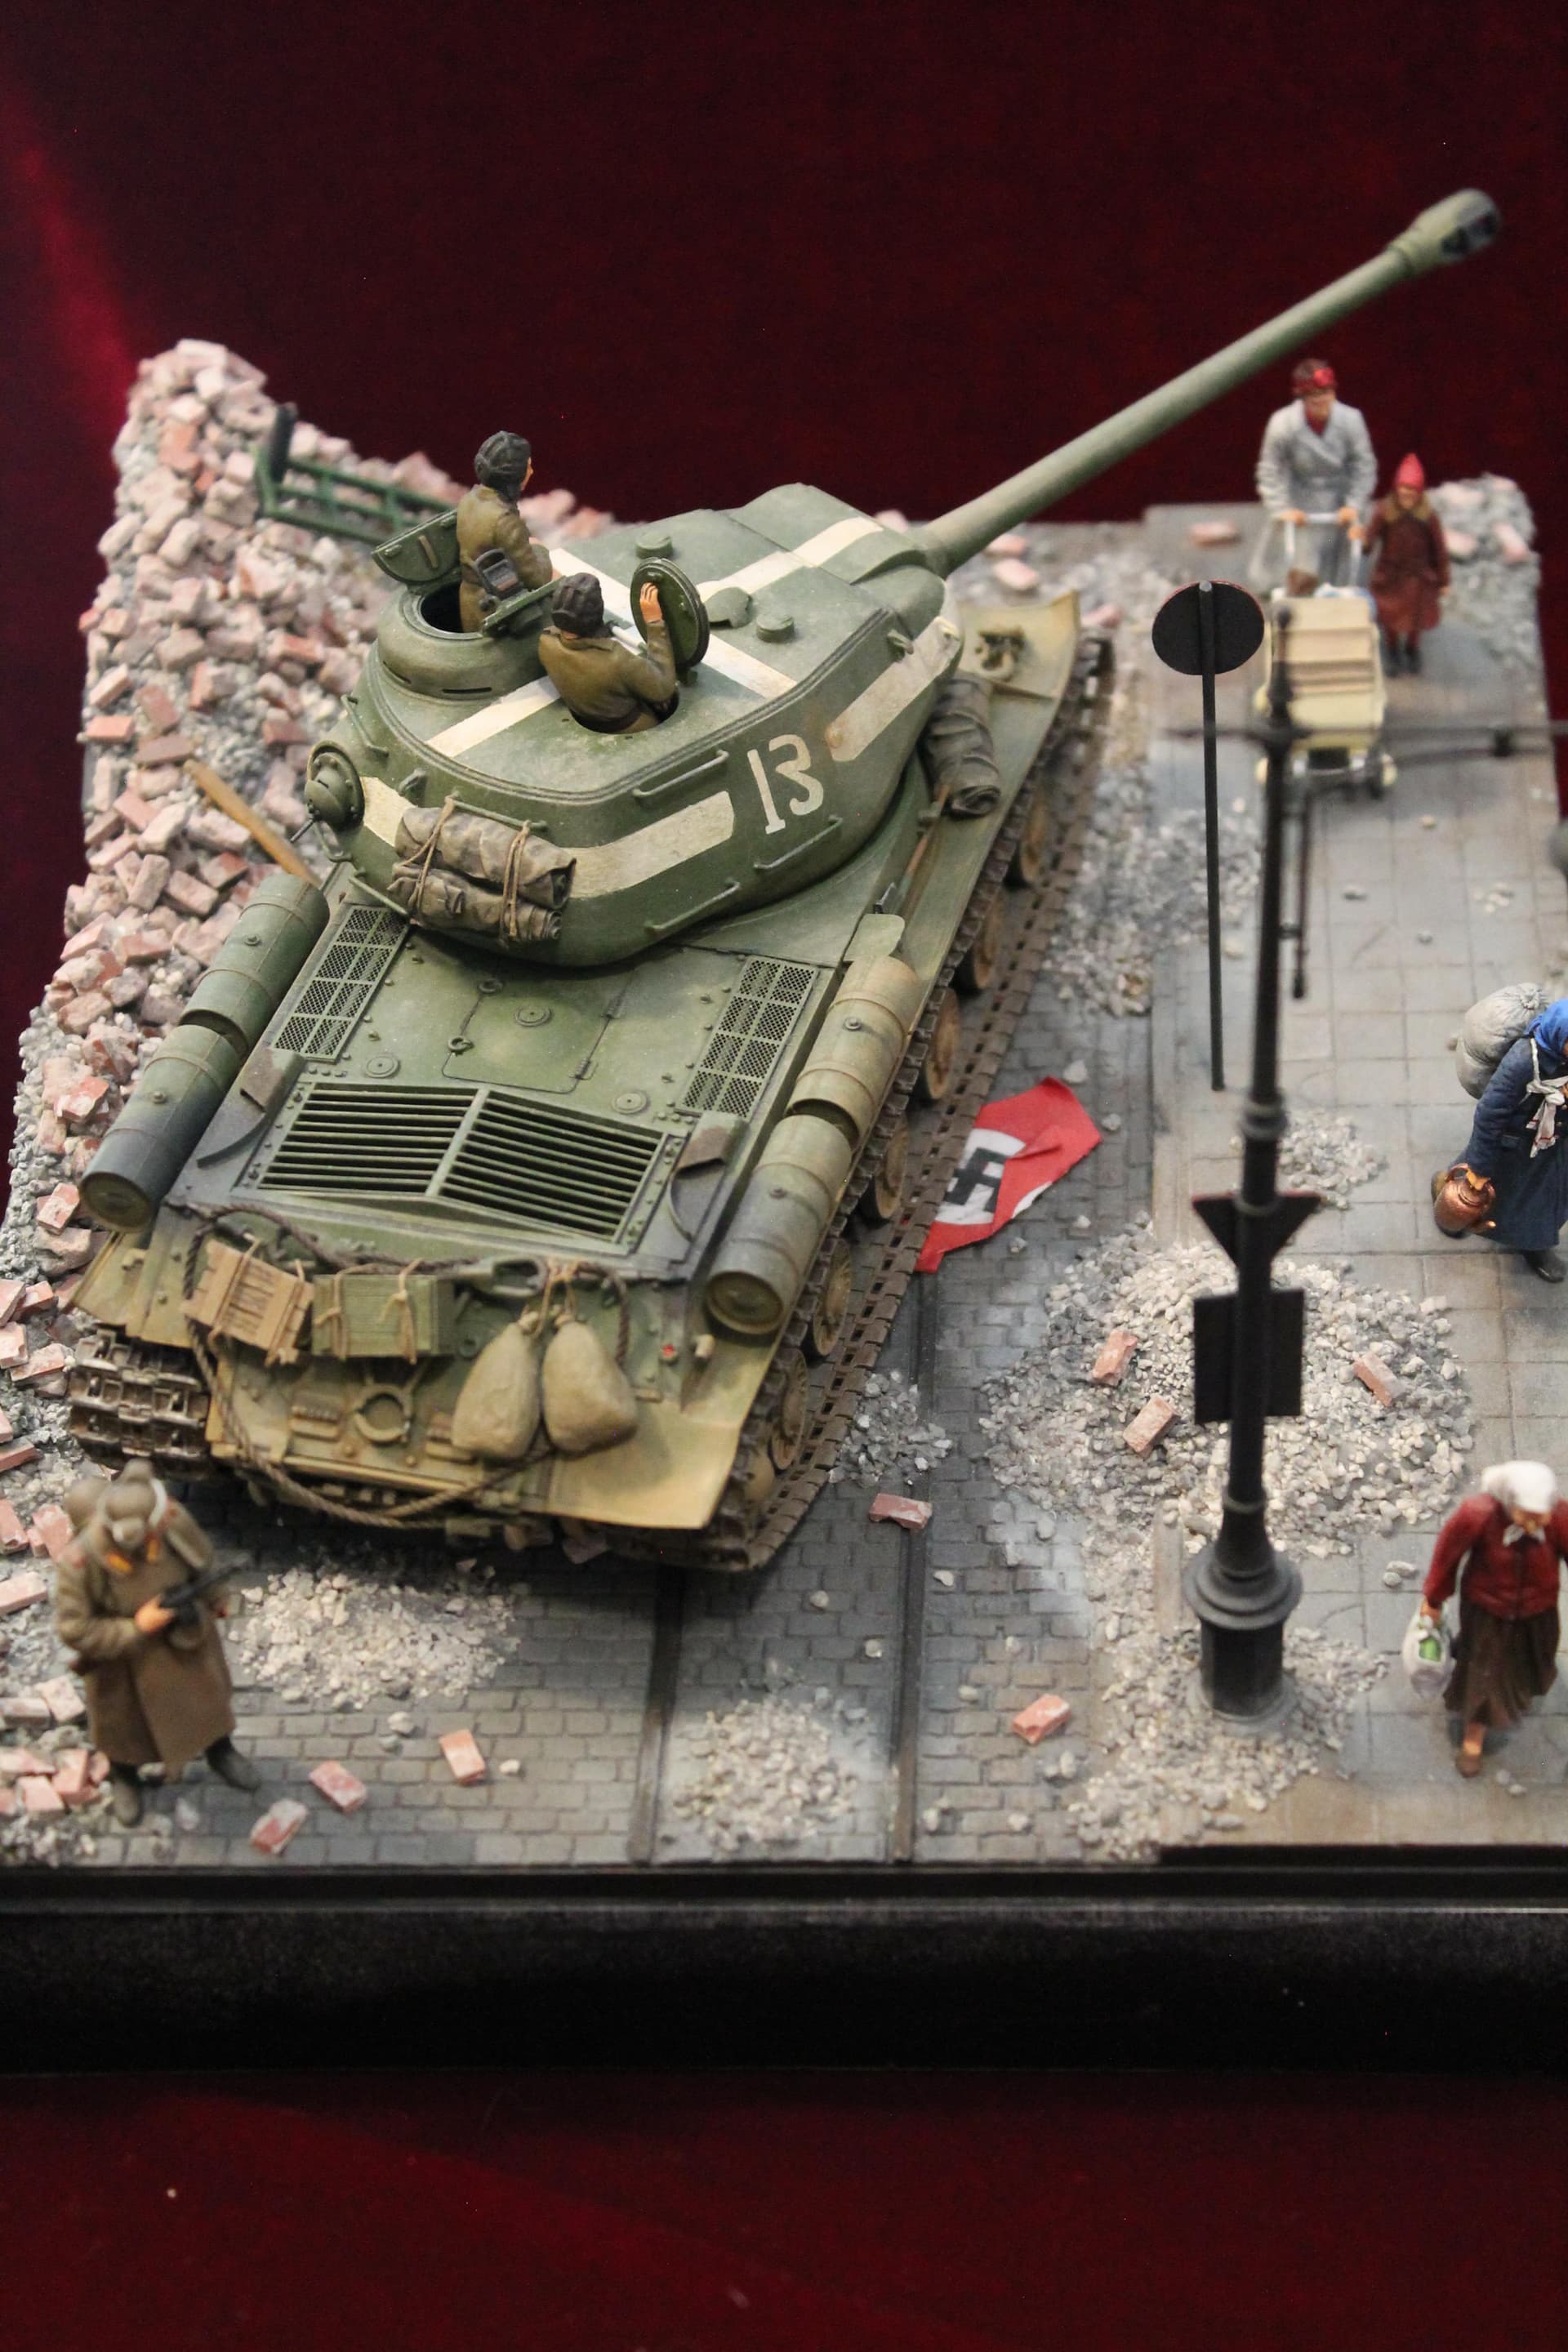
The base was made using one of those clear plastic boxes for displaying photos. I started with a Miniart ‘Street Section W/ Tram Lines’ kit and then added the rubble. To make the large pile, I carved a scrap piece of pink styrofoam insulation, then glued two sizes of model RR ‘Talus’ onto it. The bricks were glued in place one by one. In the end, I spent more time on the base than on the tank.
The street signs and Nazi flag are paper items from DioDump. I backed the signs with thin plastic, and glued the flag to aluminum foil to be able to fold and crease it. Thanks for looking, all comments and questions are welcome.
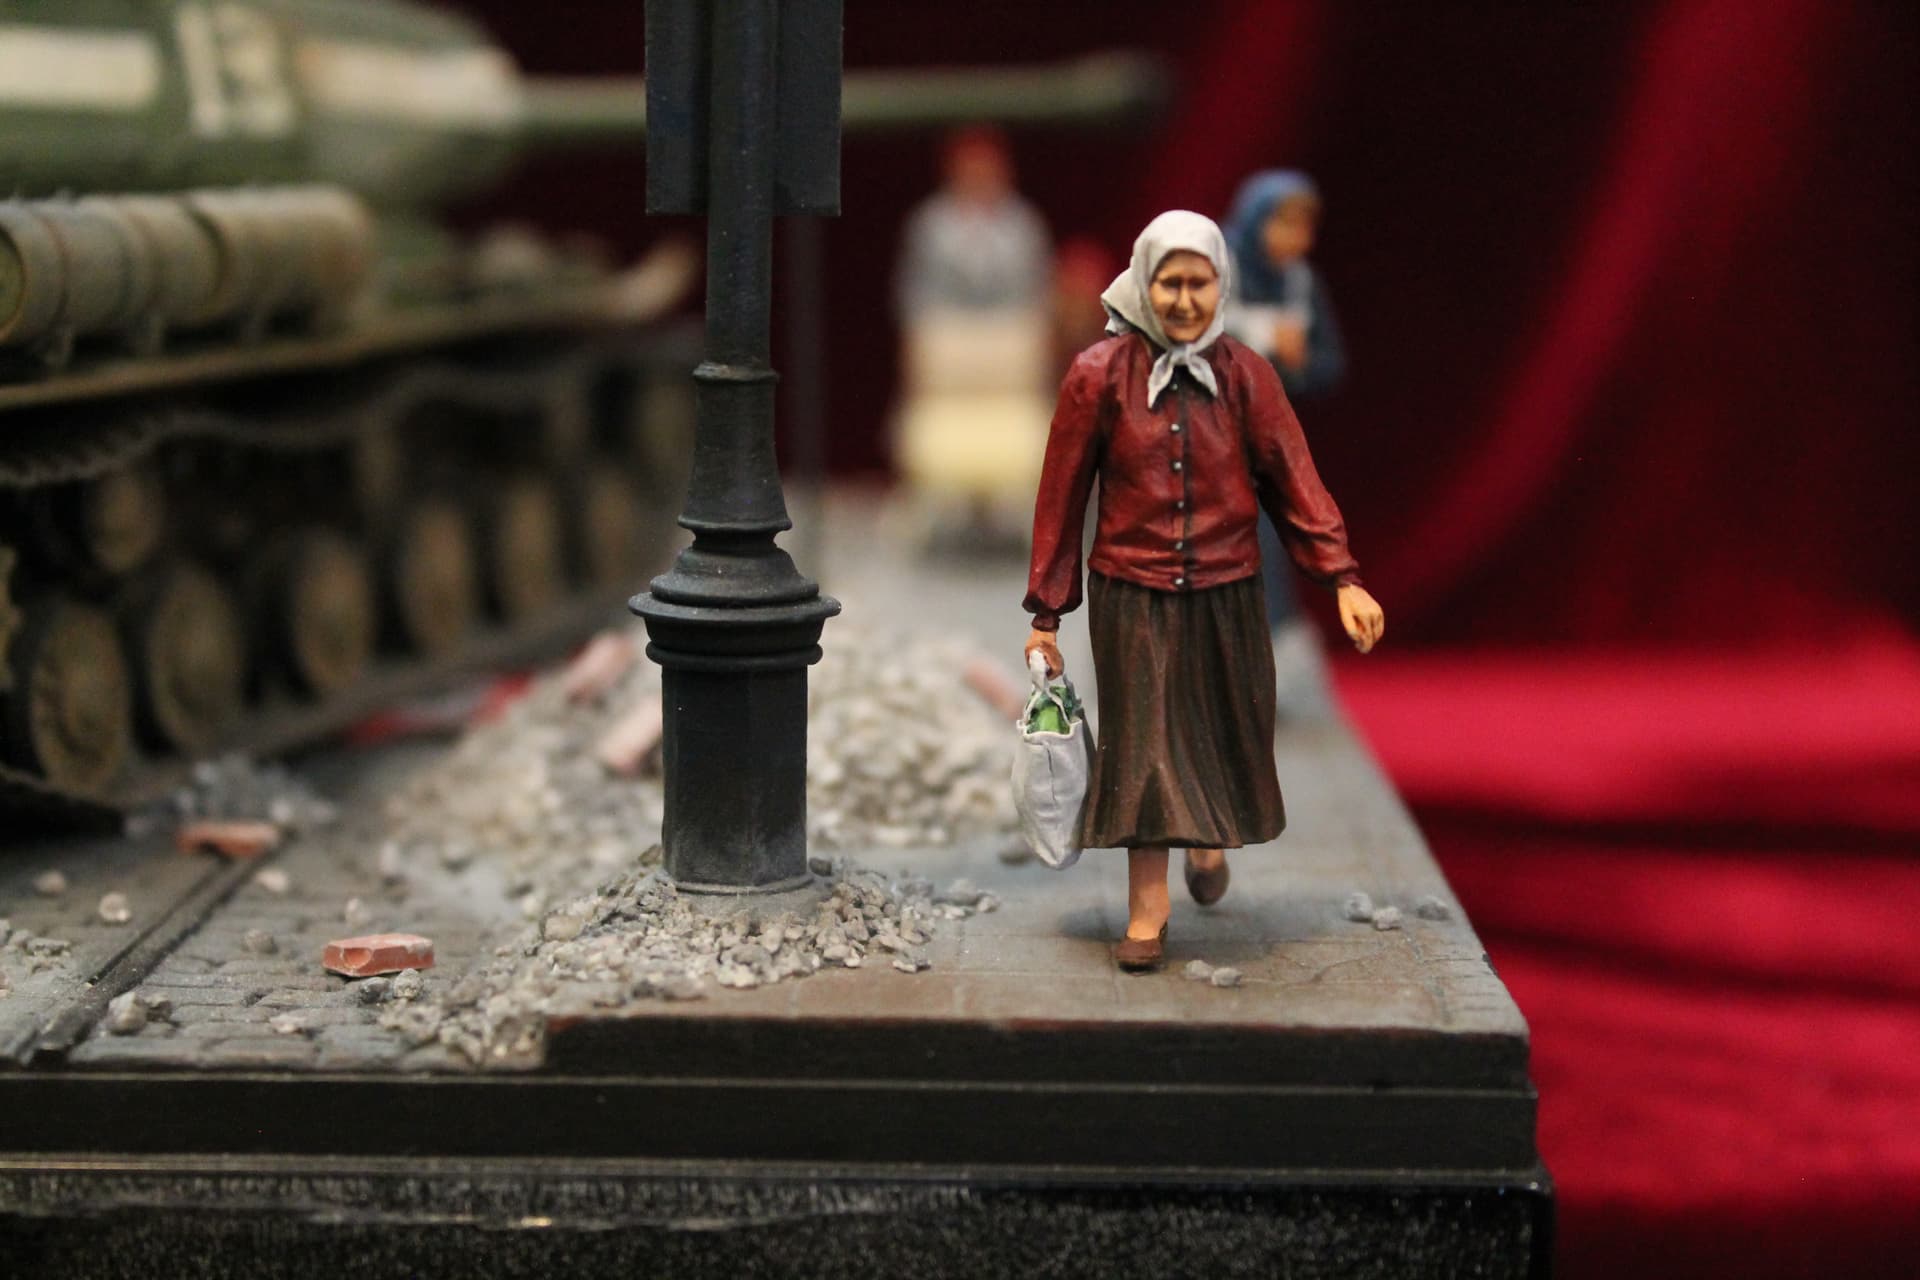
That’s a cracking scene right there Albert. I like the way you’ve based it with the tank at an angle and the turret positioned with the gun over the sidewalk. I particularly like the way you have painted the civilians with nice, deep civilian colors in contrast with the drab green of the tank and the dusty, dirty street and rubble.
Thanks, it was easier than I thought. Pink insulation styrofoam carves easily and is sandable, but it doesn’t like super glue. I used Scenic Cement to attach the ‘rubble’. It’s really just thinned white glue. After the foam was covered with the Talus I was able to attach each brick with a drop of super glue. I just kept adding bricks wherever needed. For the smaller piles, I started with a spoonfull or so of the HO 'Talus" and dripped super glue on it. If I wanted to make it larger I just added more Talus and maybe a few bricks.
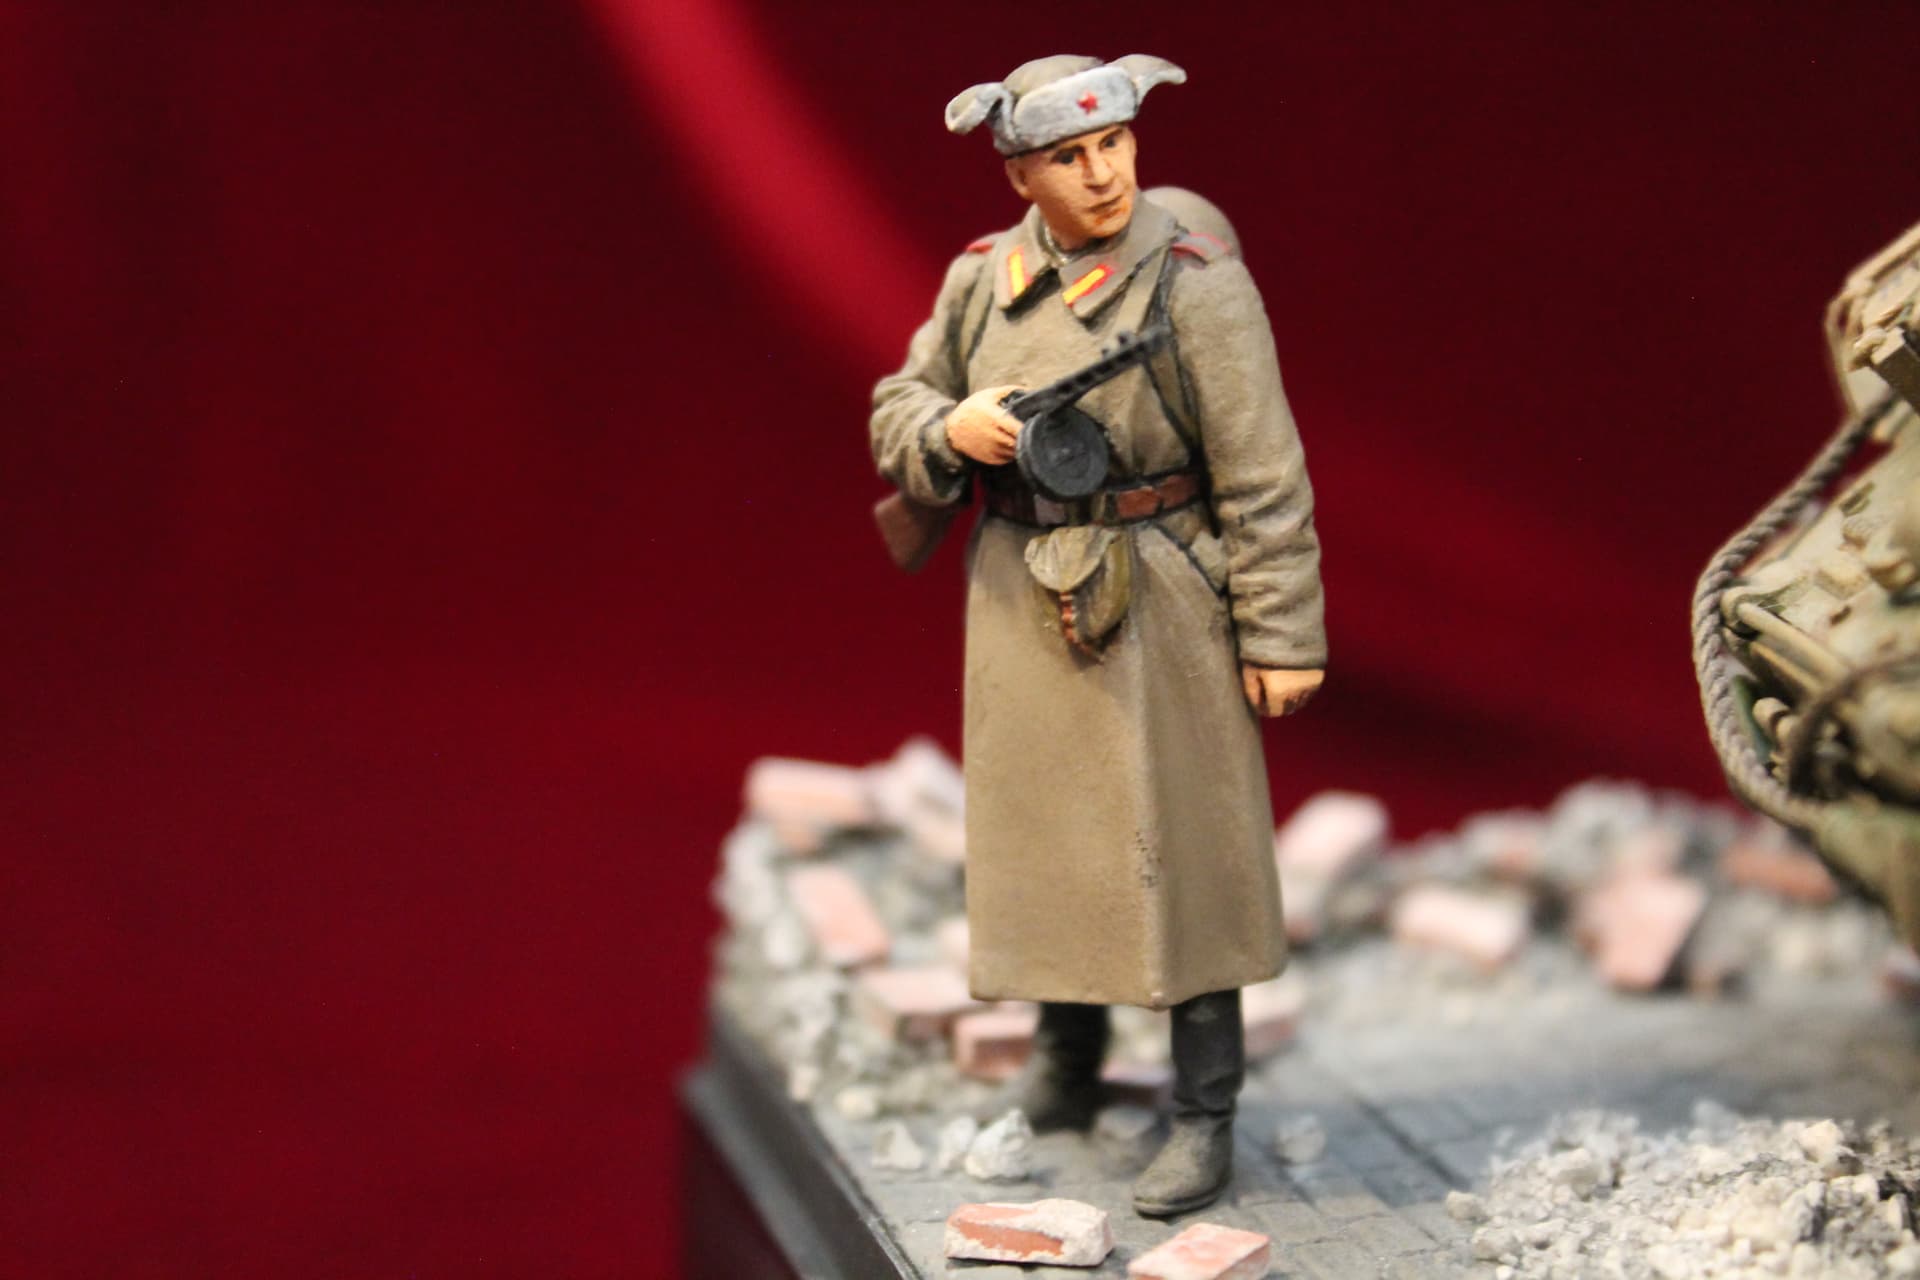
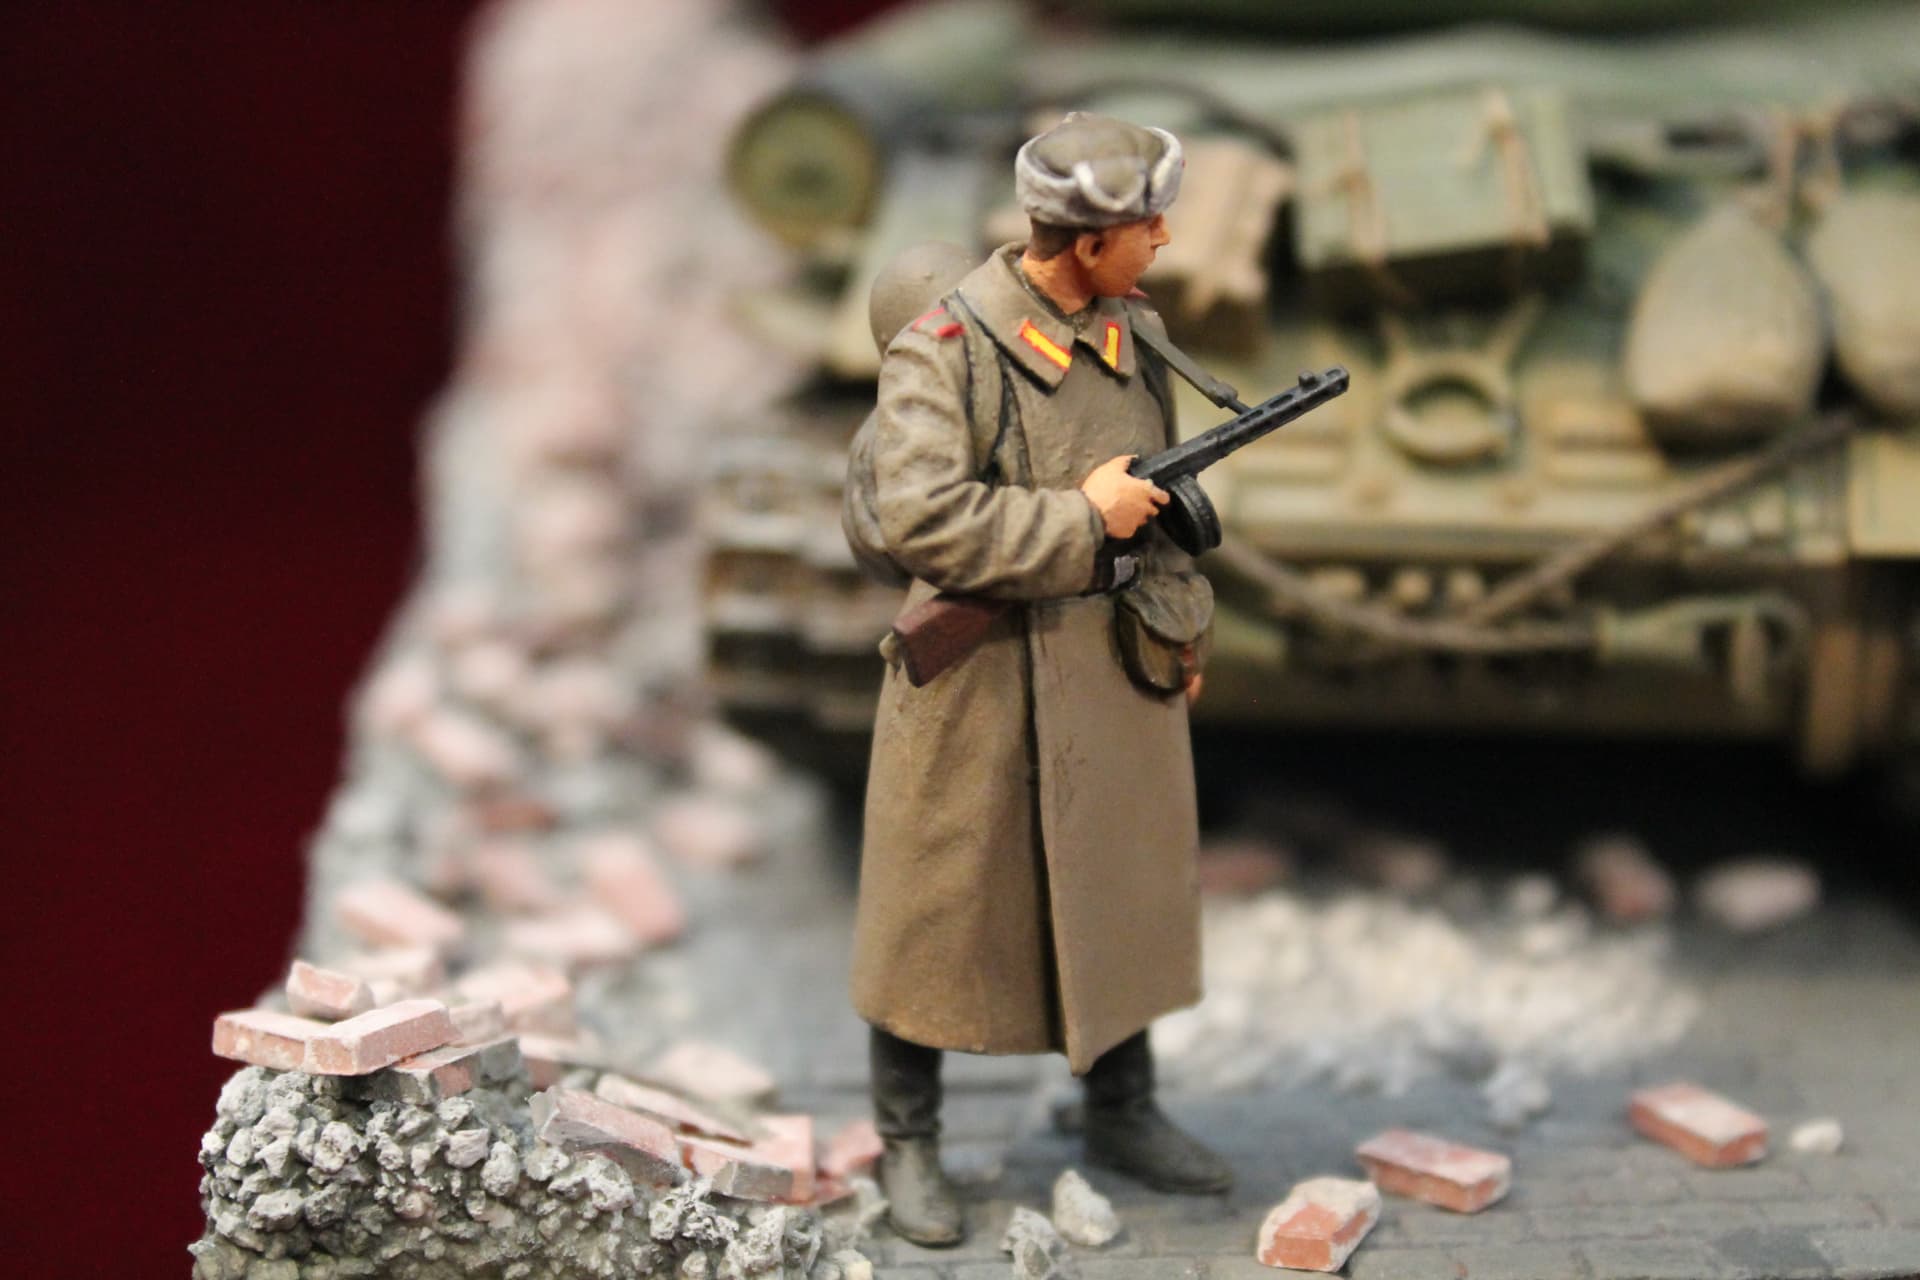
It’s not unusual for me to return to something that I’ve done and modify it, or add something to it. When I originally posted this I felt that the right rear corner looked a little bare and needed something. I had considered a Russian soldier, but couldn’t find one that I liked or that fit the scene. Until now that is. Having found this interesting looking fellow on Evolution Miniatures’ website, I ordered one. I also added some more rubble to that back corner as well. I feel both these additions improve the scene.
I have the same set of Stalingrad figs in the stash… Didn’t do a close inspection yet, but thanks for the heads up about the carriage… I know what to expect now…
Thanks very much. A note, if you’re planning on using the kit’s link & length tracks, be aware, they’re handed left & right. I missed the notation on the instruction sheet and it caused me problems.