Thanks! And yes, that is what I took inspiration from.
My Canadian Anti tank qualification sleeve badge finally arrived!
I think once glued it will look great on its base!

13 Likes
Fantastic idea Ezra! I was wondering what that space was for. Excellent presentation!
1 Like
Looks excellent, Ezra! Nice base that really frames the AFV.
Cool!!
Looks real good.
Very nice indeed!
Same here and I second your comments.
Looks great Ezra!
Everyone seems to be racing along at mach 5 with some really impressive modelling while I’m still chopping wood to fire the boiler.
I have to set my S-Model Dingo aside for a short while so it seemed a good opportunity for an update.
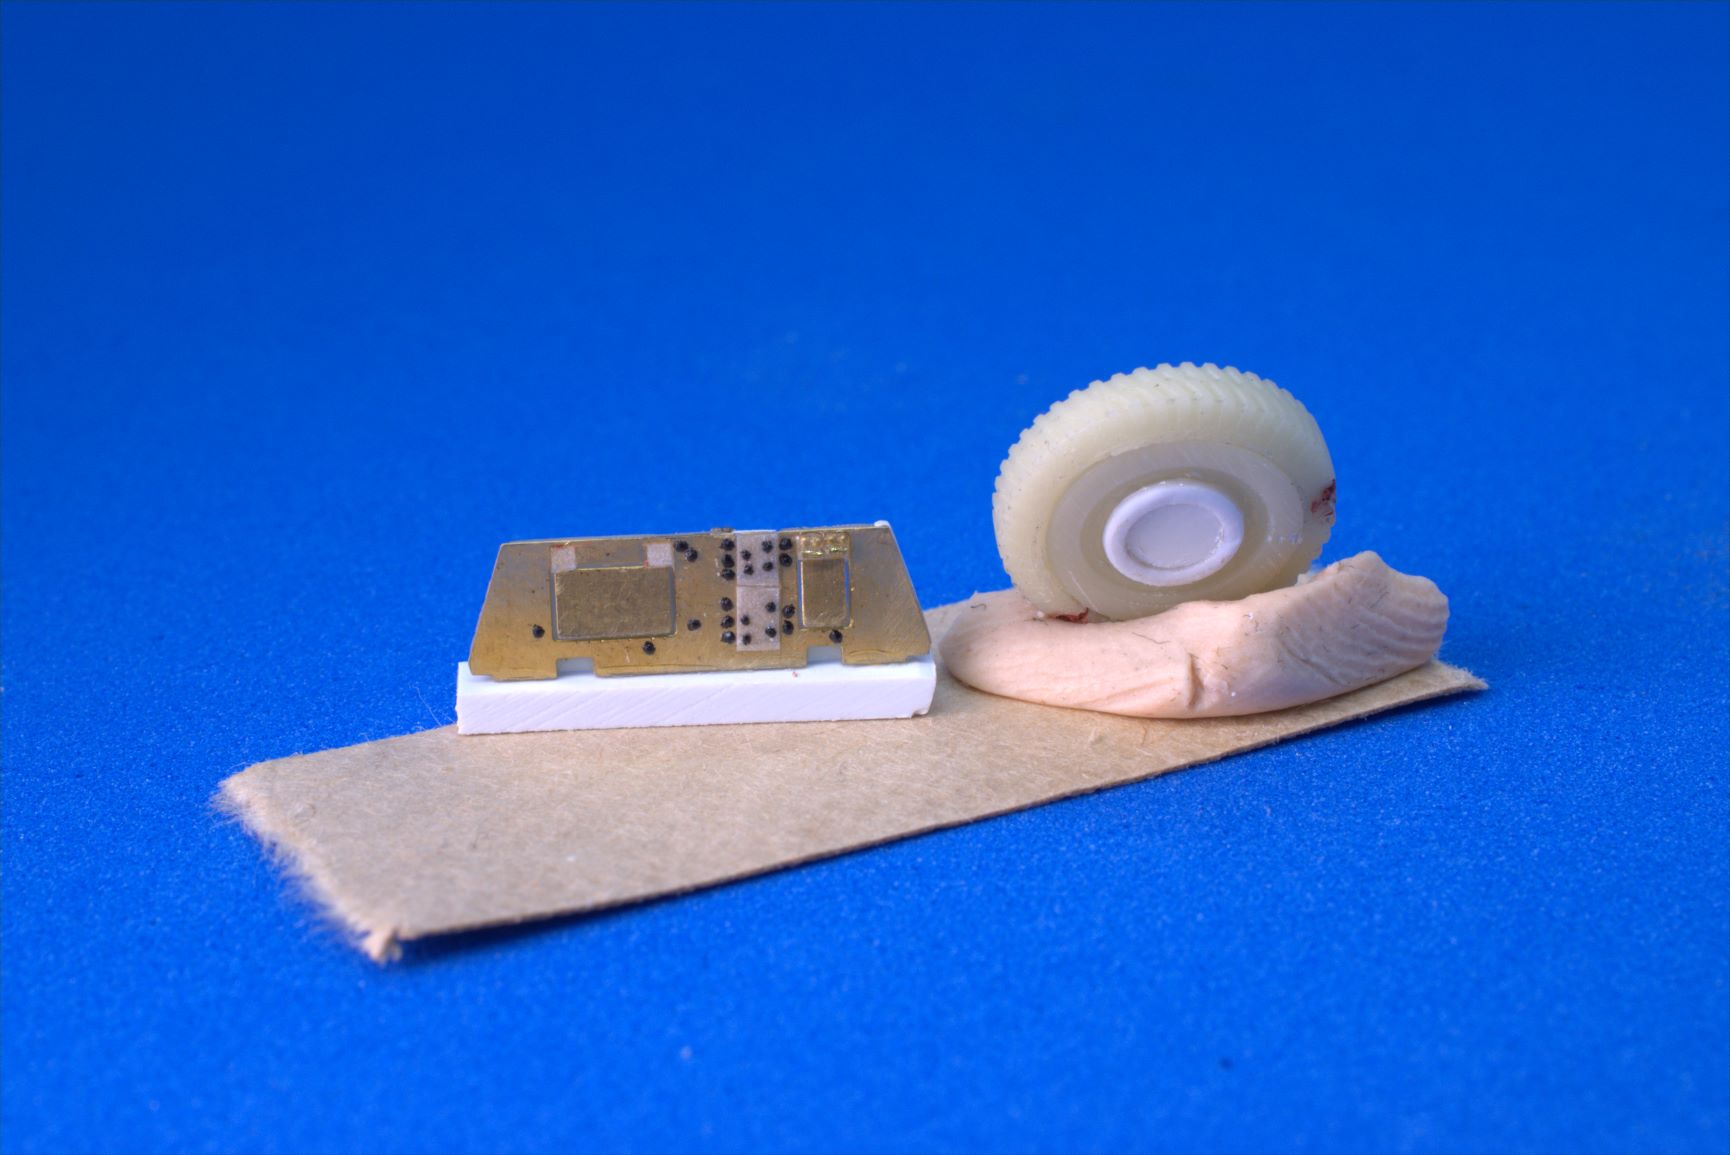
The suspension components have been cast and are ready to install (just wish I had something to install them on). Learning to do photoetch would have been worthwhile, though preparing the artwork looks like it has a pretty steep learning curve. Maybe next build.
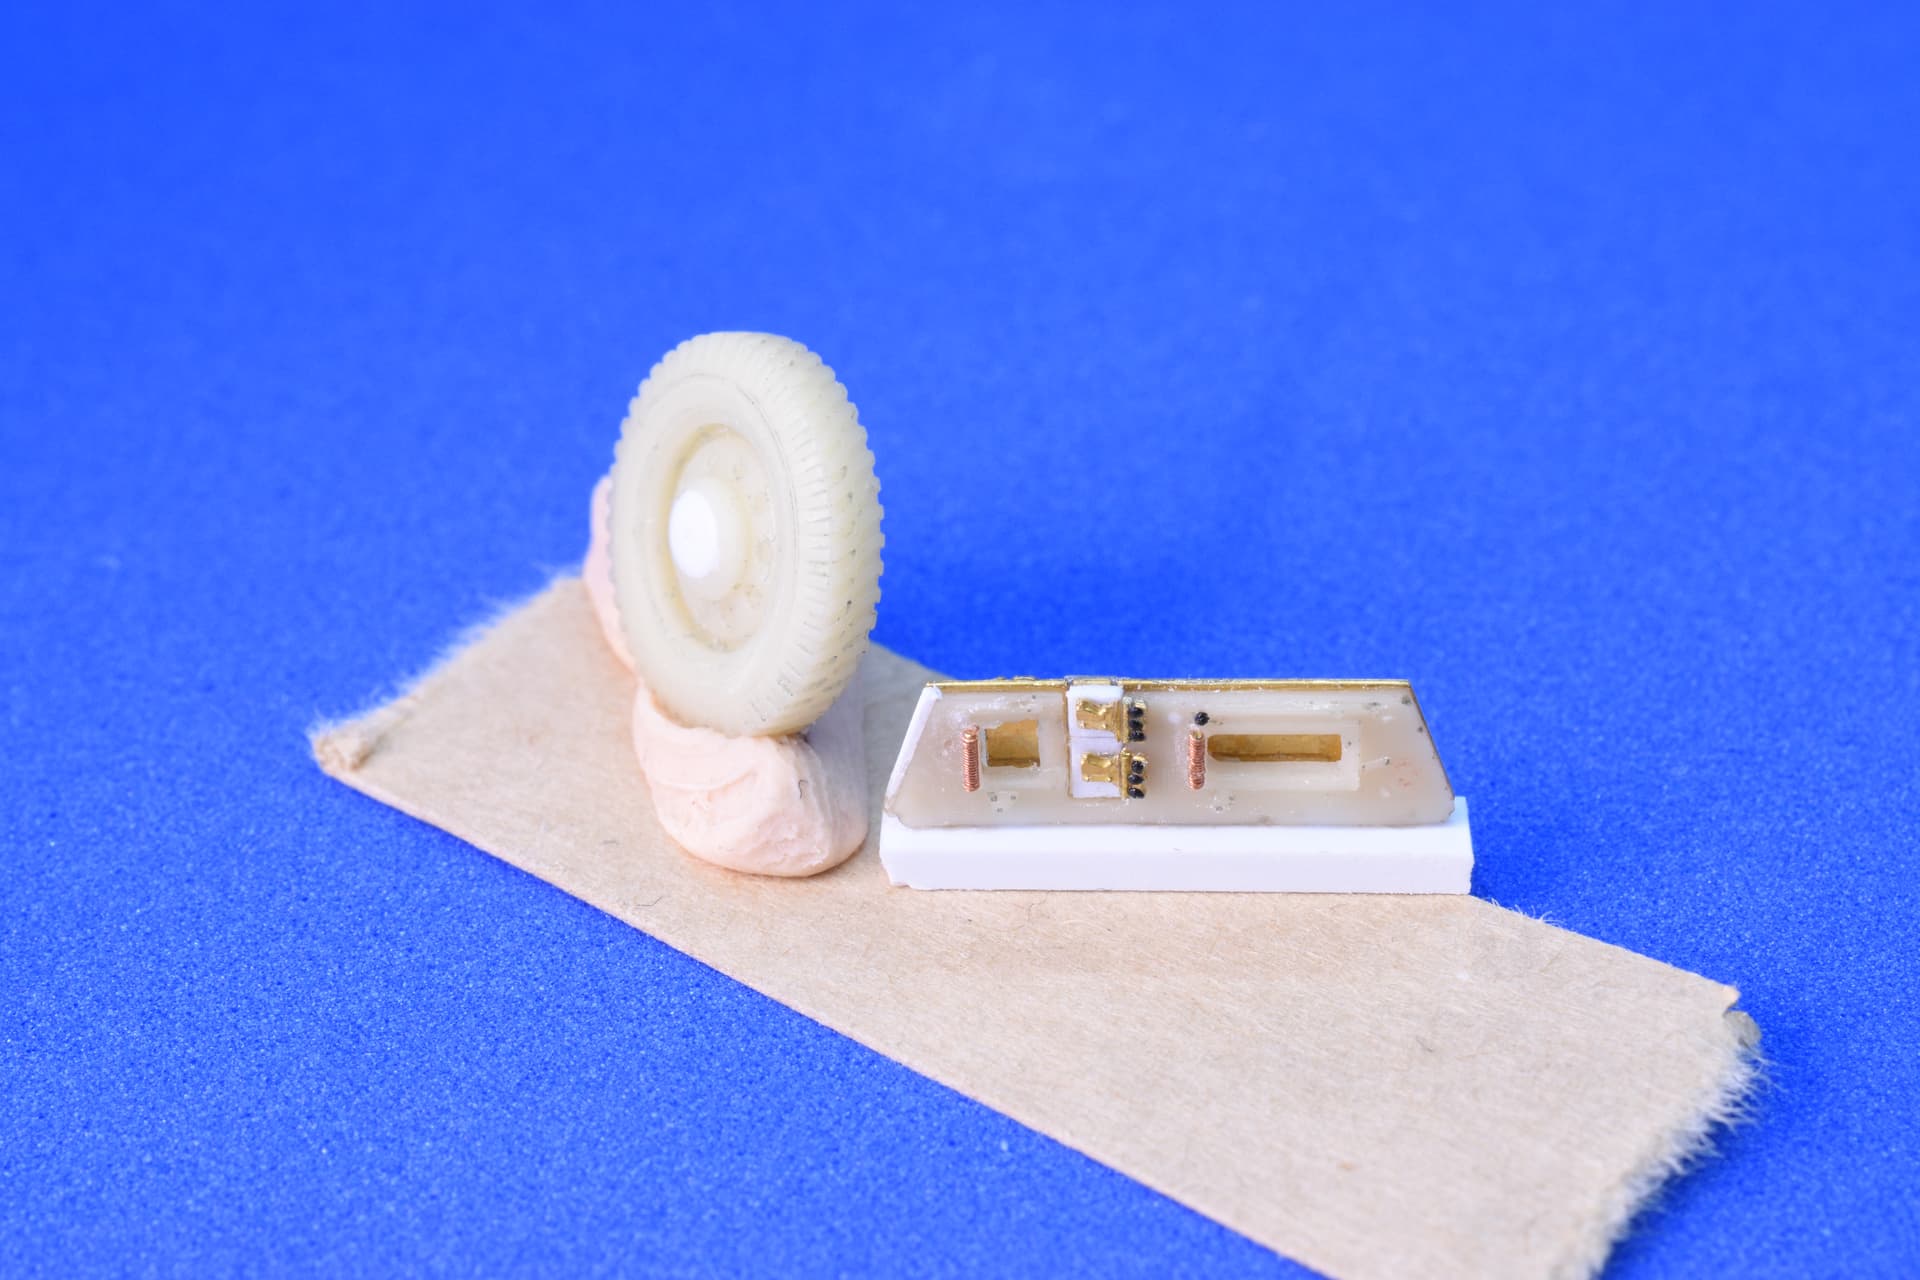
Here’s the suspension mounting bracket, upper and lower control arms and the hub.

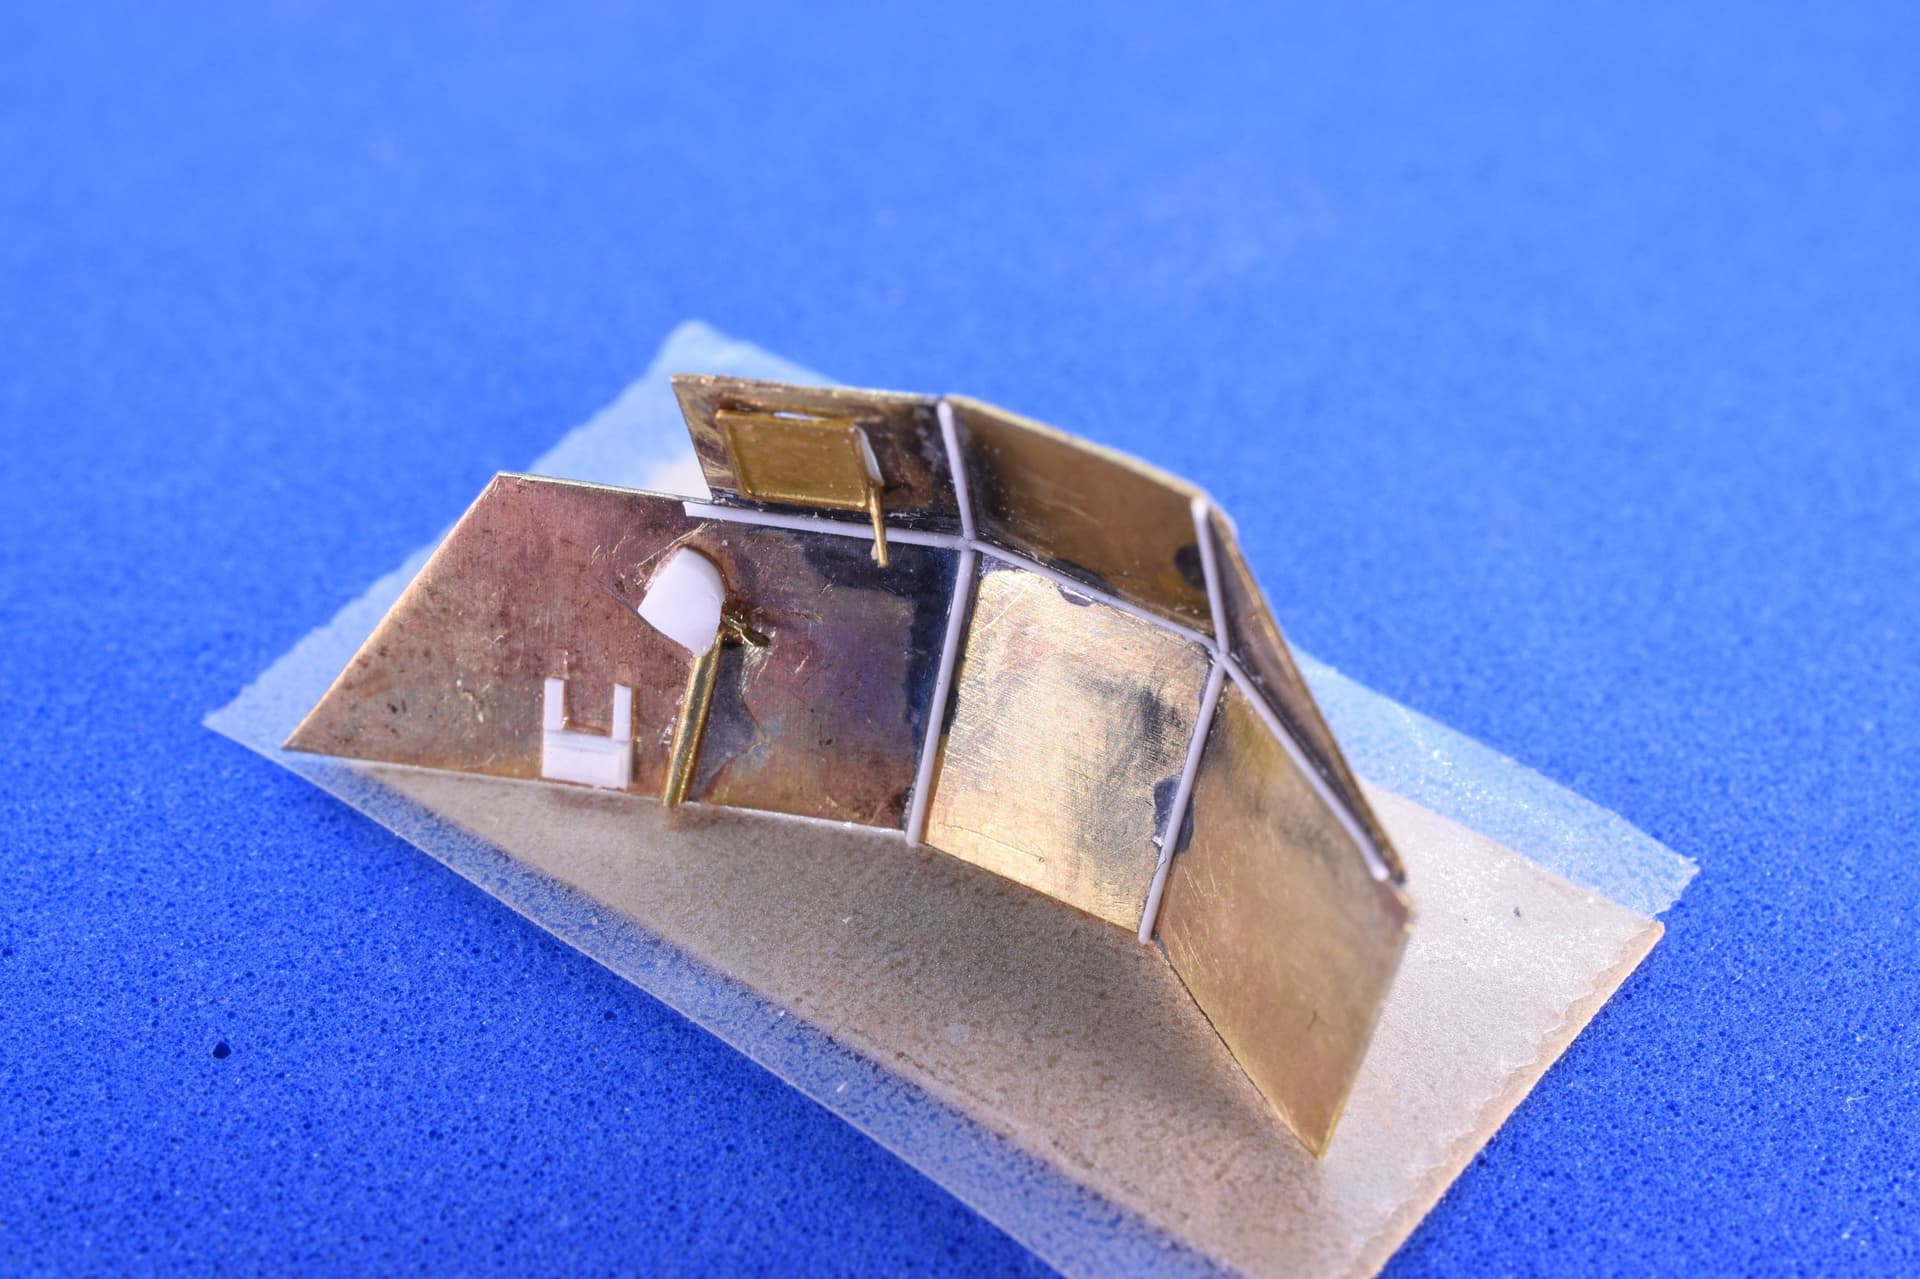
I managed to destroy the drivers side wall while trying to thin it down to a more scale-like thickness, so I decided to try some scratch building. (Thank-you for the inspiration Mead93). It’s mostly complete, just some detail around the view port to be done when materials arrive, and texturing the weld seams. I’ve developed a great admiration/appreciation for the brass locomotive scratch builders on the model railroading side of the tracks…or I’ve decided they’re just plain nuts.
What started as a radio replacement, grew to become a complete interior. I’ve taken it as far as I’m going to and I’m ready to try some painting. The seats are just set in place for the photo and the radio tray isn’t installed to make the painting easier.
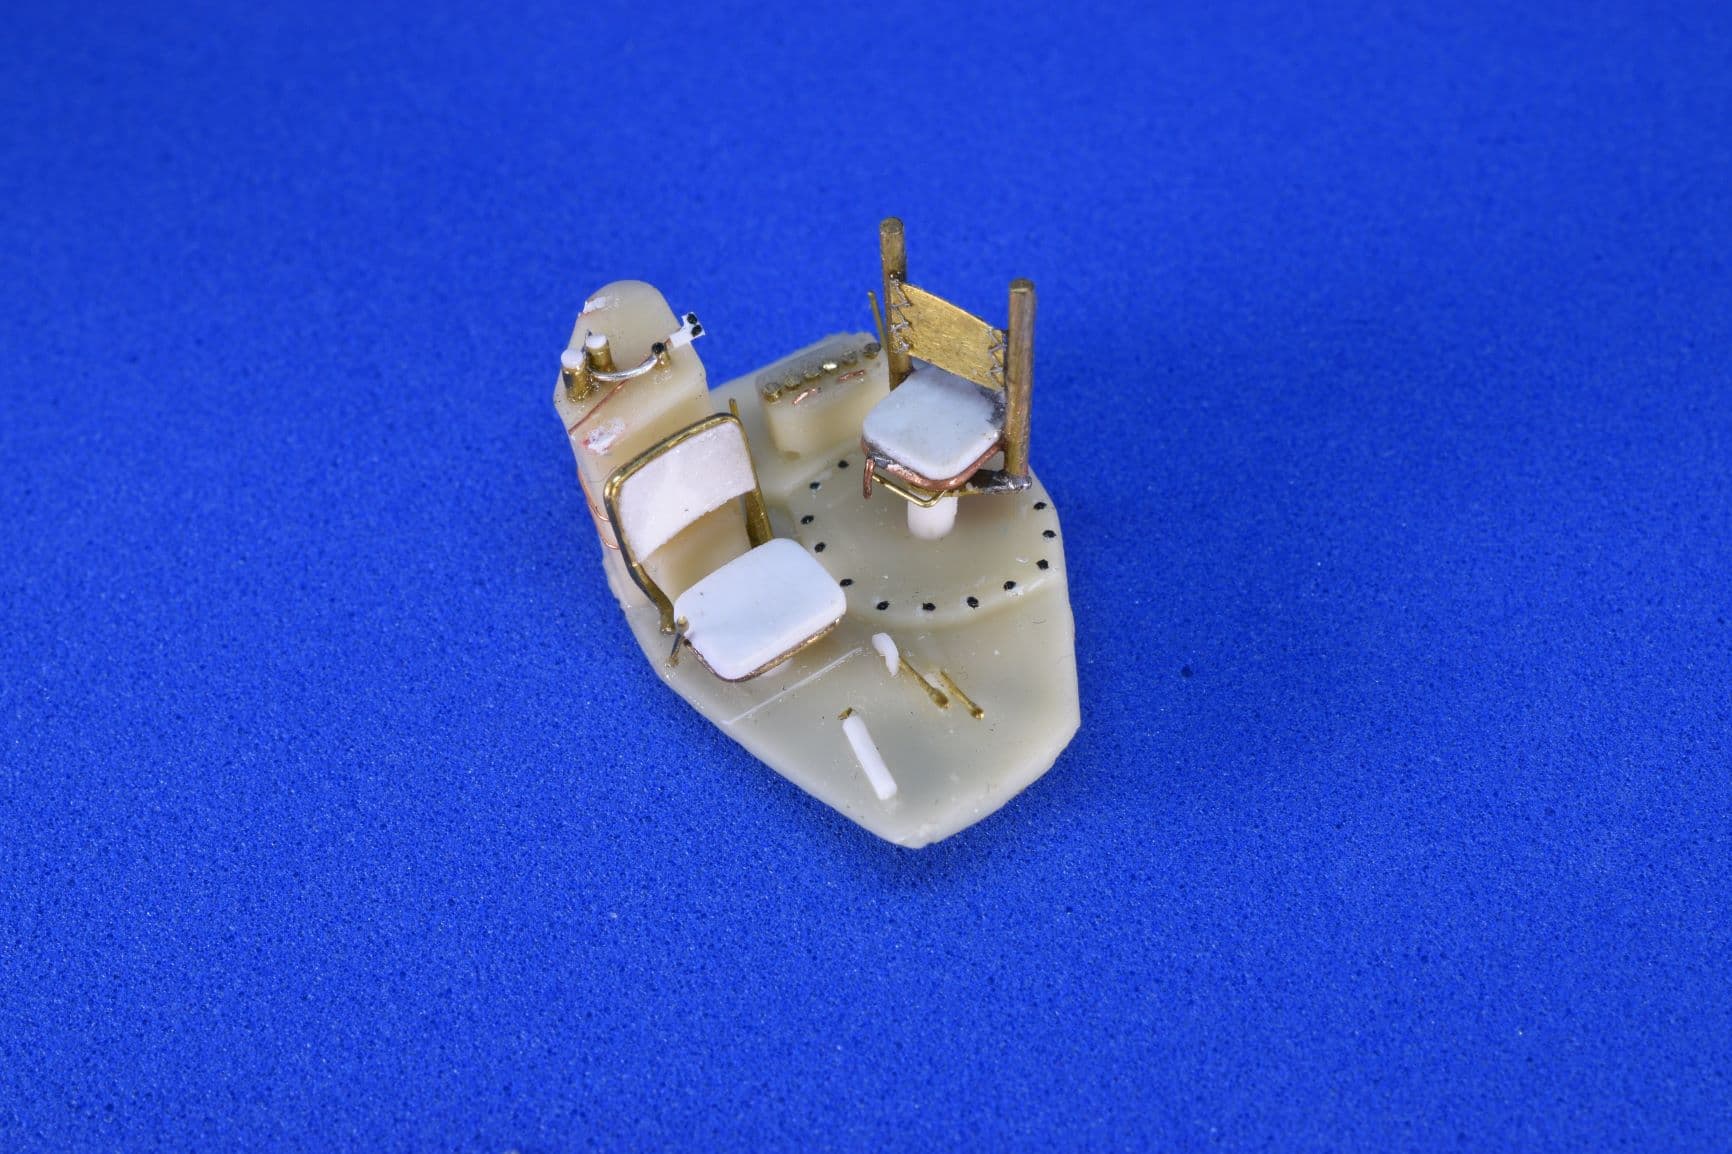
I couldn’t get a decent photo of the radio. All the little doodads and greeblies look better in person. Incidentally, if anyone would like a large collection of tiny disks, rivets and bits of wire - drop by - I’ve got a carpet full of them.
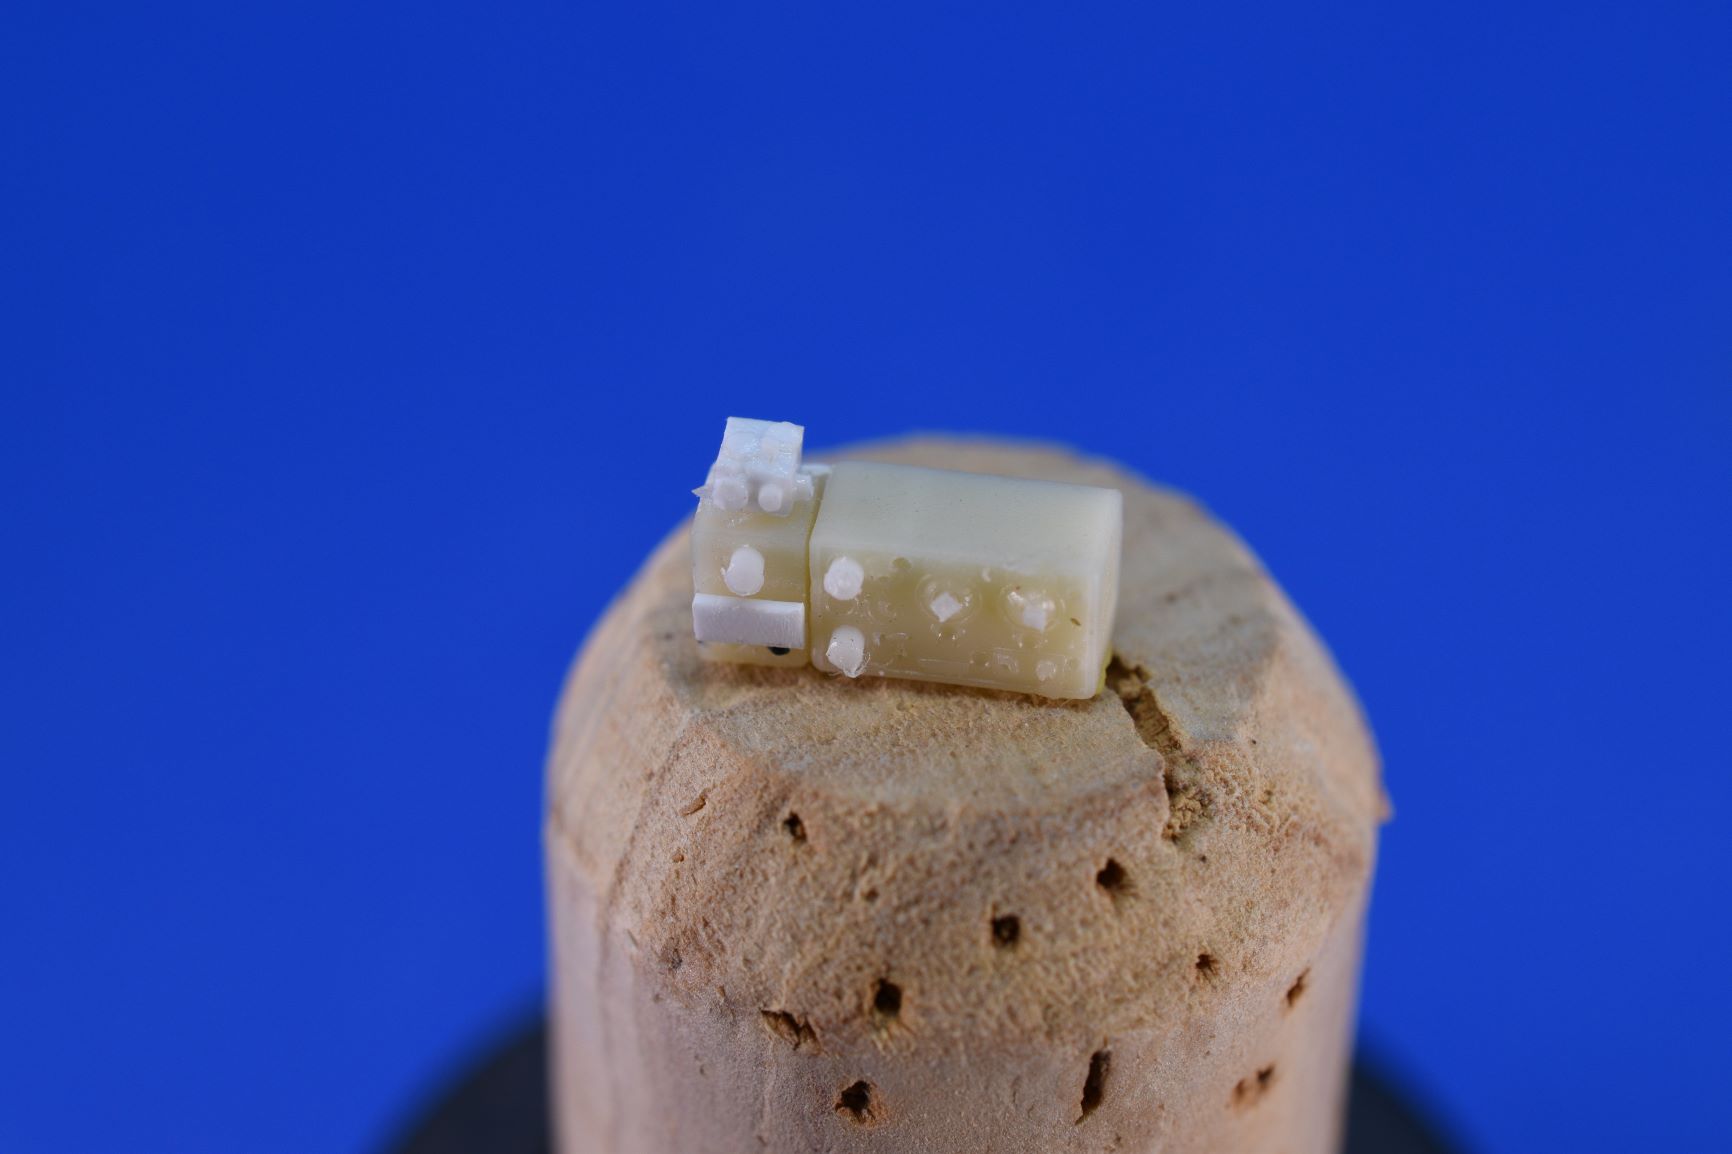
The front armour plate is progressing and almost ready to cast. I’m waiting on some smaller rivets and a slower resin to arrive. The viewport hinges still need installed on the outer side and the armoured ports will be added much later in the assembly. The inner side is awaiting a grab handle and the viewport hardware which will be installed after the part is cast.
When I started this build one of my early goals was to try and produce wheels with the correct tread pattern. I will never do that again. If I can’t buy them aftermarket, I will squint hard and completely ignore the discrepancy.
I still need to add a small nipple to the center of the outer wheel hub and a few bolts to the inner face, fill a couple of bubbles in the tread and drill out the axle hole. With those steps complete I will be, hopefully, pouring the final mold and getting ready to open a bottle of the “good stuff”. Fingers crossed.
Way back in June I posted my first attempt to cast the engine cooling louvres needed to convert the S-Model Mk1 to a Mk2. My first try looked like something regurgitated by a beer drinking bubble machine with a nasty case of acid reflux. After many, many tries I’ve got a decent Dingo derier.

Still lots to do but it’s slowly coming together.
Happy modelling all,
Colin
9 Likes
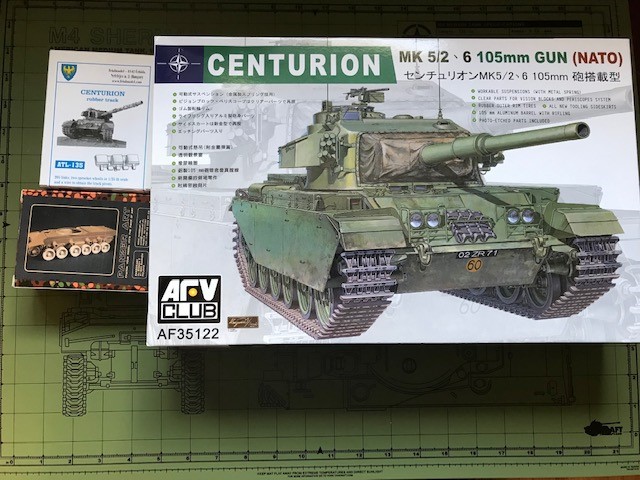
Okay I’m going to do one or two Canadian Centurions and an ARV Mk-2 in Germany circa 1974-1975.
I have more extras on the way.


Cheers

TJ
10 Likes
Nicely done The fake muzzle brake is a clever touch. Well done
2 Likes
Hope the AA ARV conversion is a better kit than my ARRV or John’s Chieftain. Good Luck.
2 Likes
Wow! That is some impressive scratchbuilding Colin! Looking forward to seeing it all together.
Thanks Colin.
If I’d known what I was getting into, I’d have tried something with a less muttering and cursing and more, “Wow, this kit almost builds itself!”. The pile of half finished and discarded bits makes me think of an “infinite number of monkeys” banging away on their typewriters.
Cheers,
Colin
1 Like
My TUA has just about crossed the finish line!
I want to thank everyone who has helped with this build! Like @DennisatAutoloader, @Canmedic, @Armor_Buff, @ArtyG37B, @SSGToms, @Mead93, @petbat and finally @sgtchuck sorry if I missed anyone!
Here are the pics!
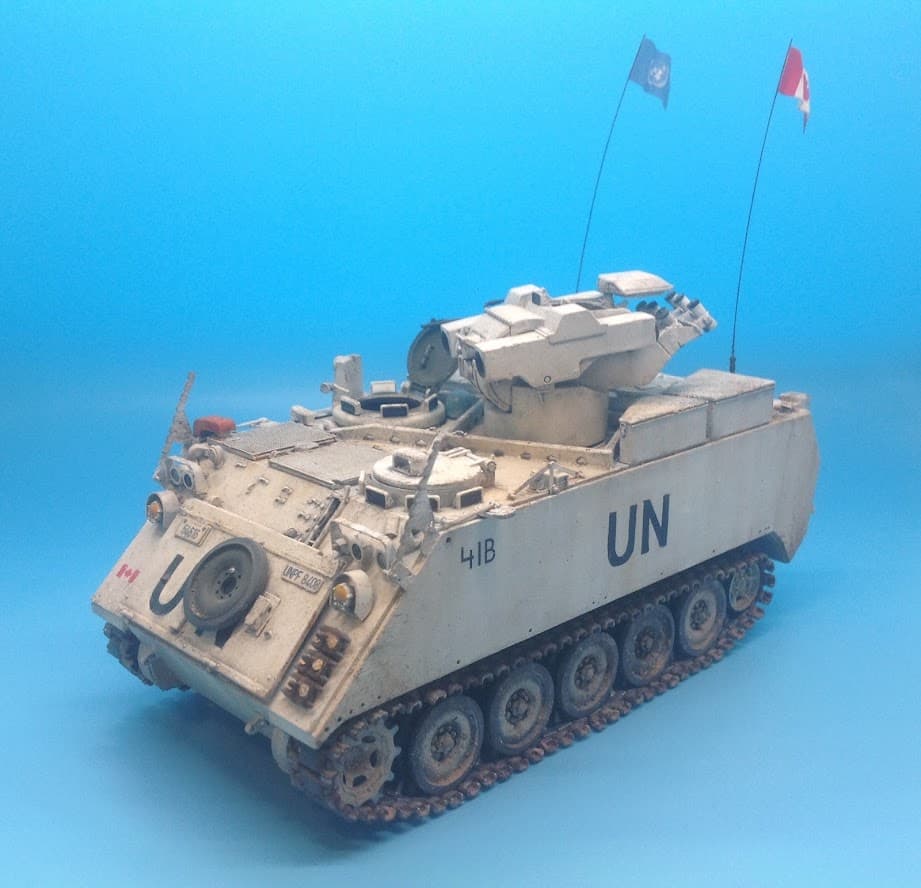
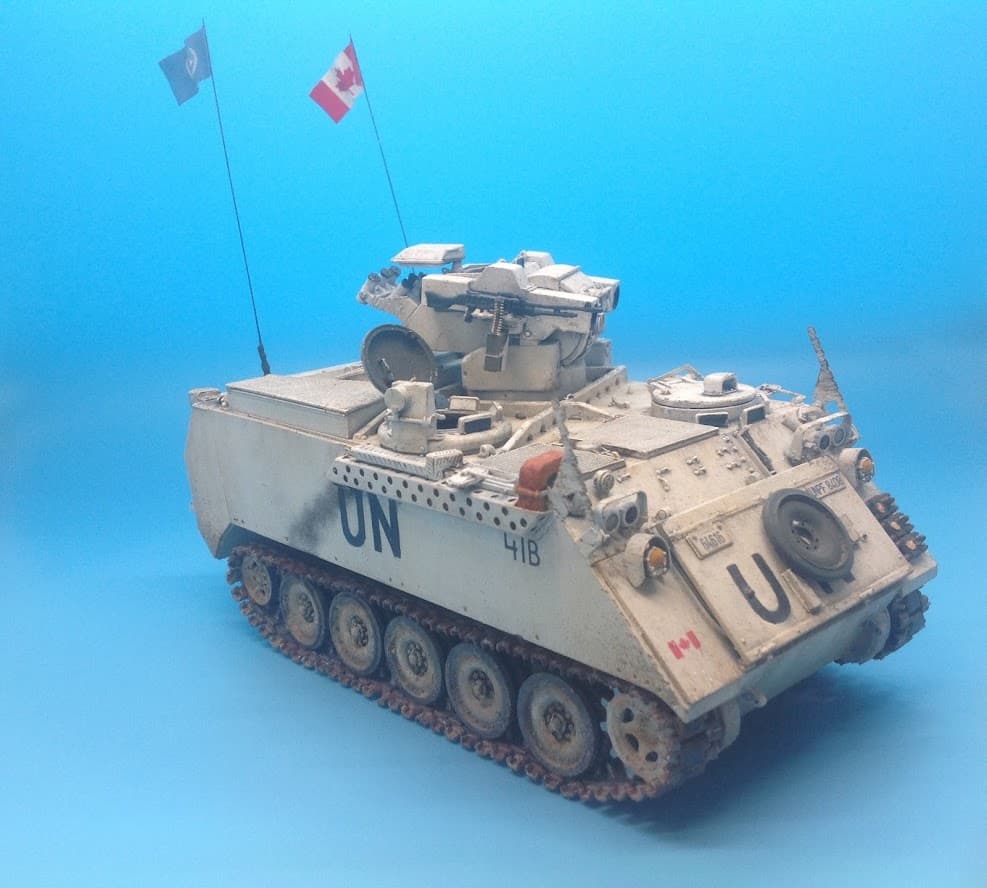


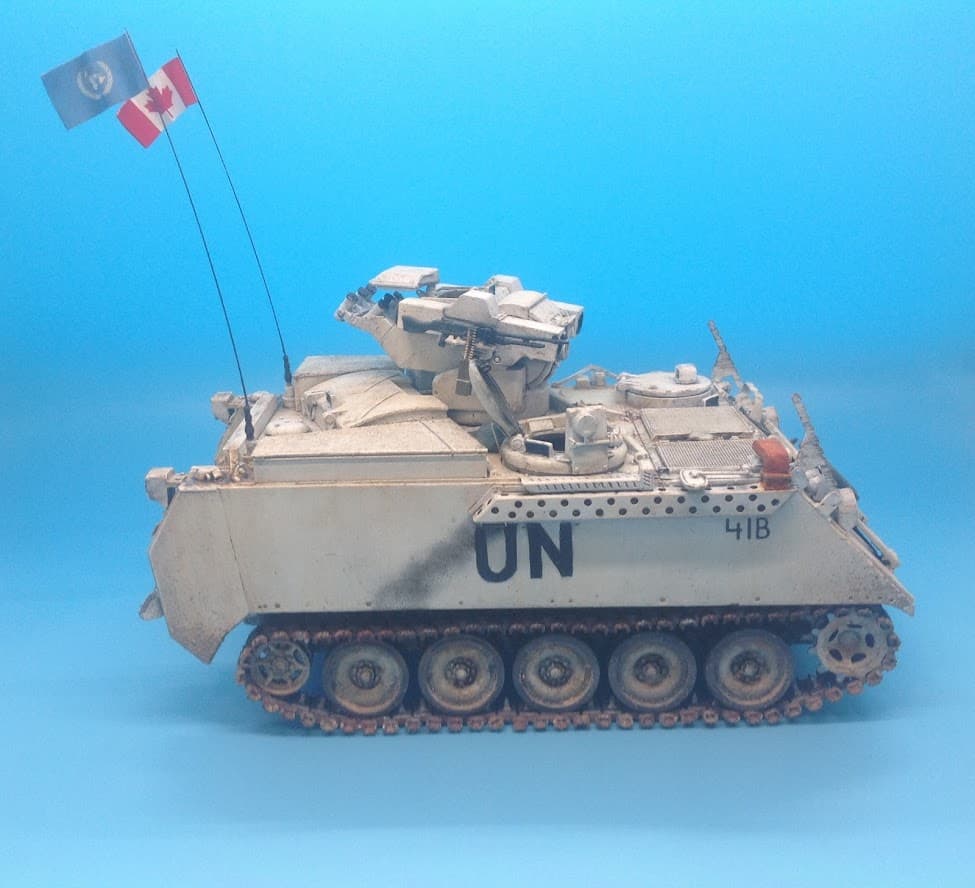


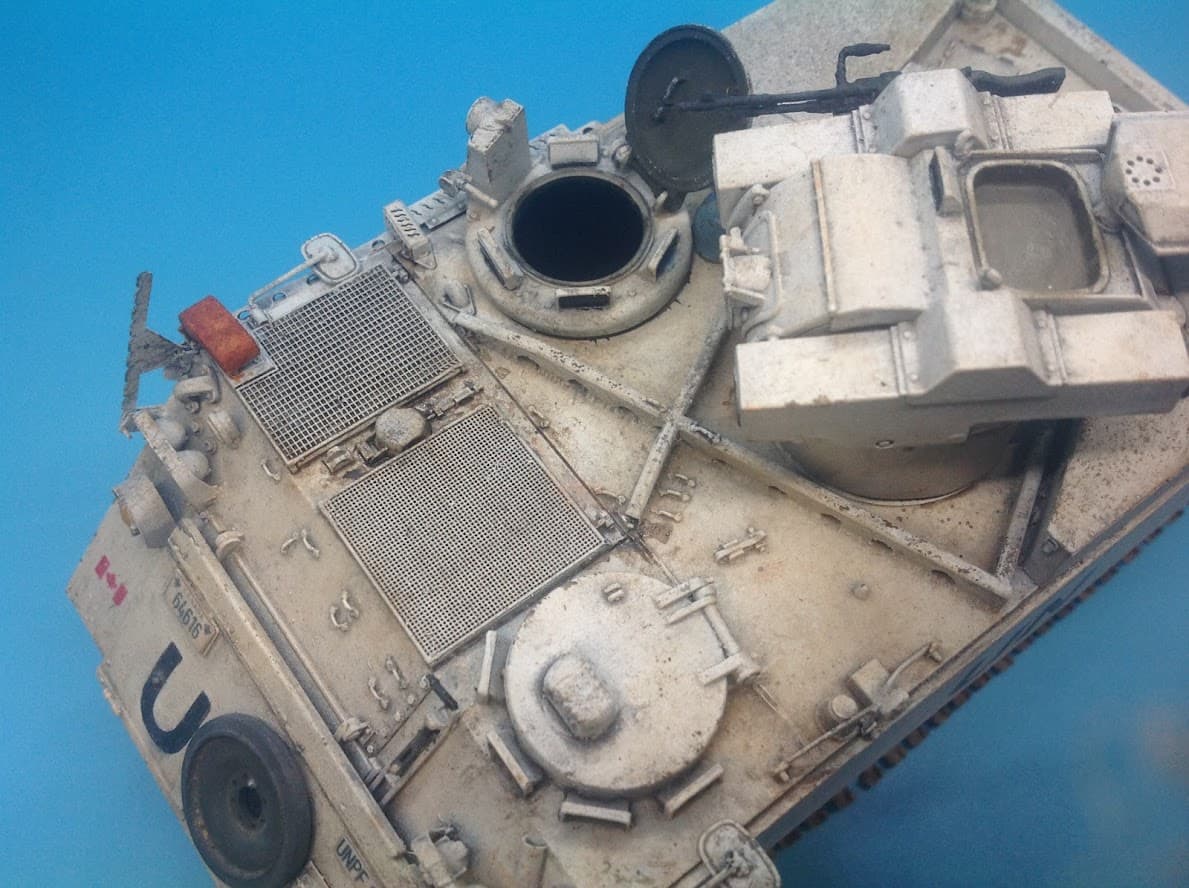
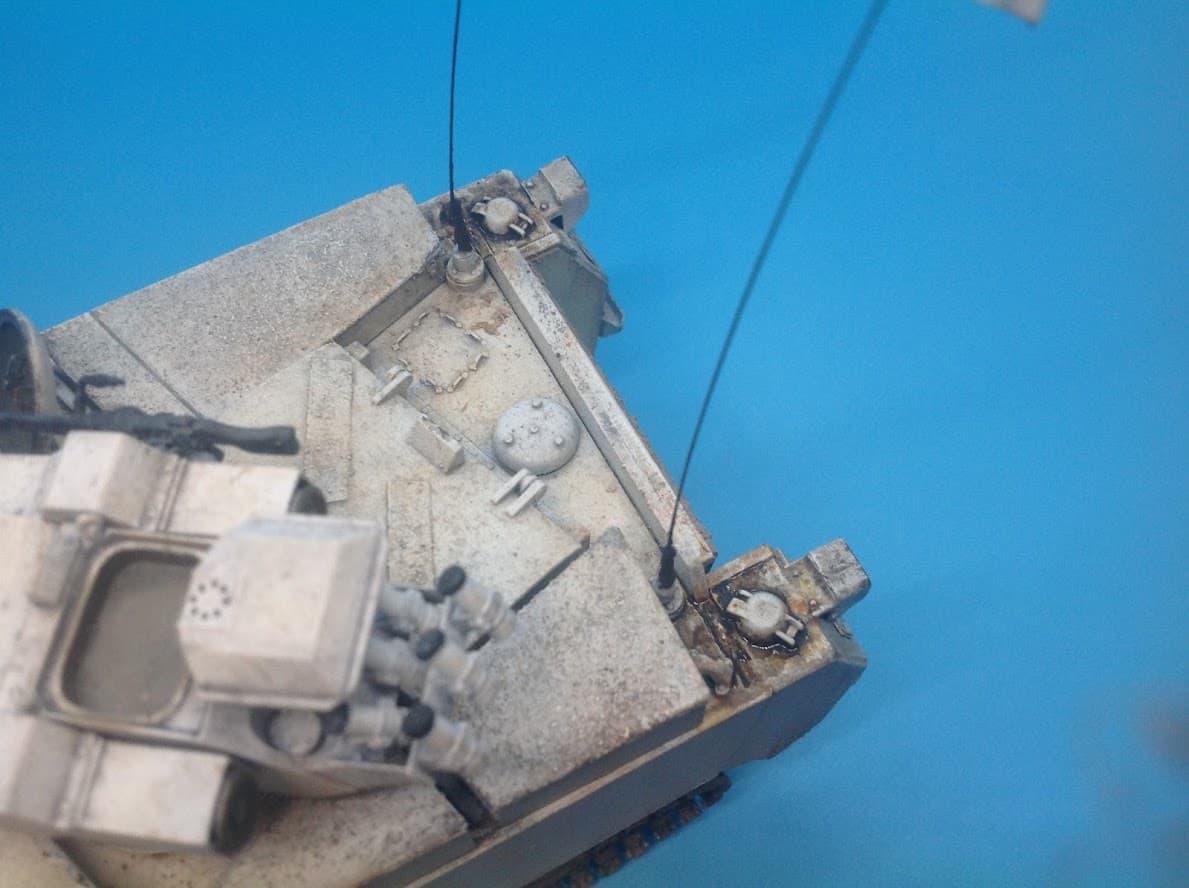
Overall Im very pleased with the results!
14 Likes
It looks great Ezra. Congratulations on a fine build.
So…what’s next? 
1 Like
Thanks Colin!
Next will probably be my Trumpy LAV-3 TUA.
Ezra, the TUA looks fantastic! I really like the twin flags, very nice!
1 Like
Me too.
Double, Double - Two flags and Two people that like the touch. ![]()
Really well done Ezra.
2 Likes
Looks awesome!
You should indeed be pleased with the result. I hope mine will turn out just as good!
1 Like