I split my time between armor dioramas, where I publish most of my Armorama articles, and figures. I’ve done 90mm Napoleonics for many years, but of late I’ve fallen in love with Young Miniatures’ 1/10 busts.
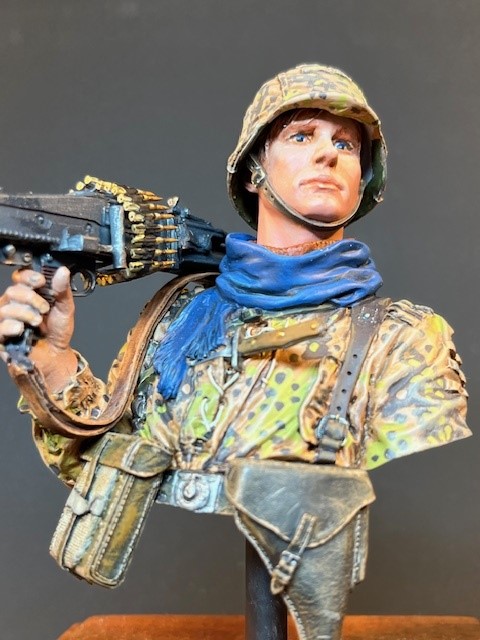
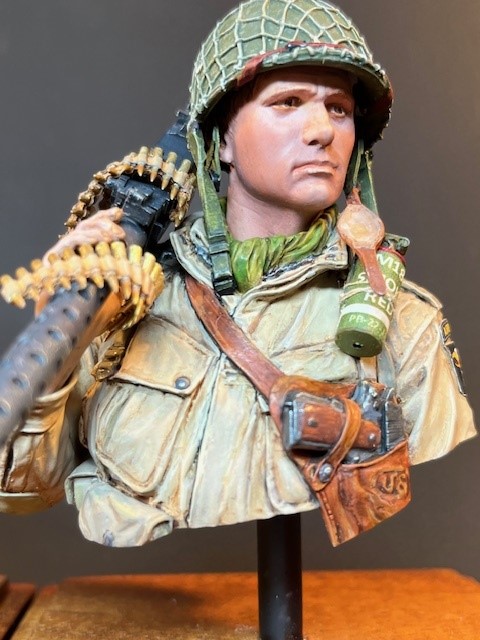
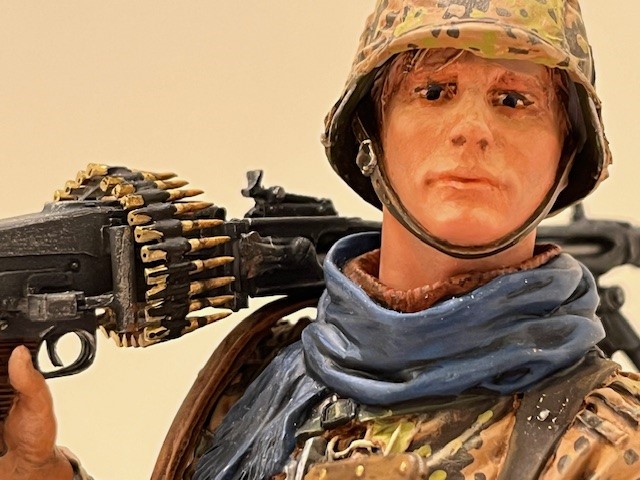
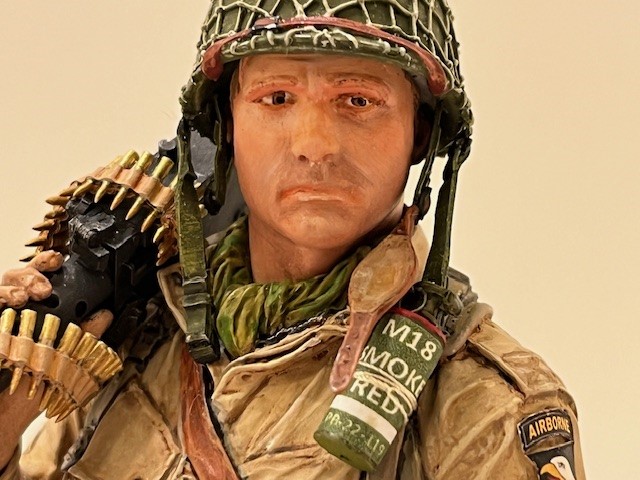
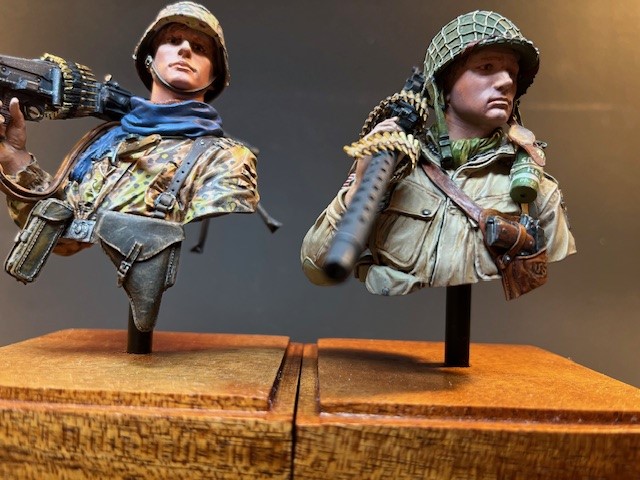
Intrigued by their line of machine gunners, I devised a project with a matching pair - the German Waffen SS gunner in his camouflaged smock, and the US Airborne trooper in his jump smock. They look perfect, side-by-side, and could quite possibly, have fought against one another in 1944.
As in both cases, the figures are beautiful, and apparently, Def Models produces the very nice guns, that accompany them.
I worked on both of them simultaneously. Swapping time between them when I needed a change of pace or as the paint dried…
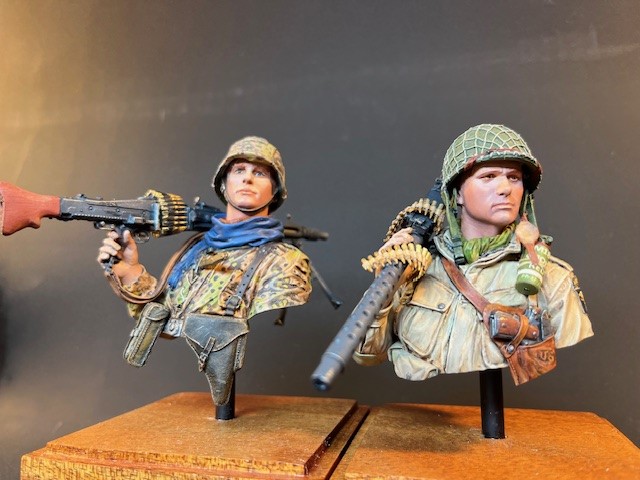

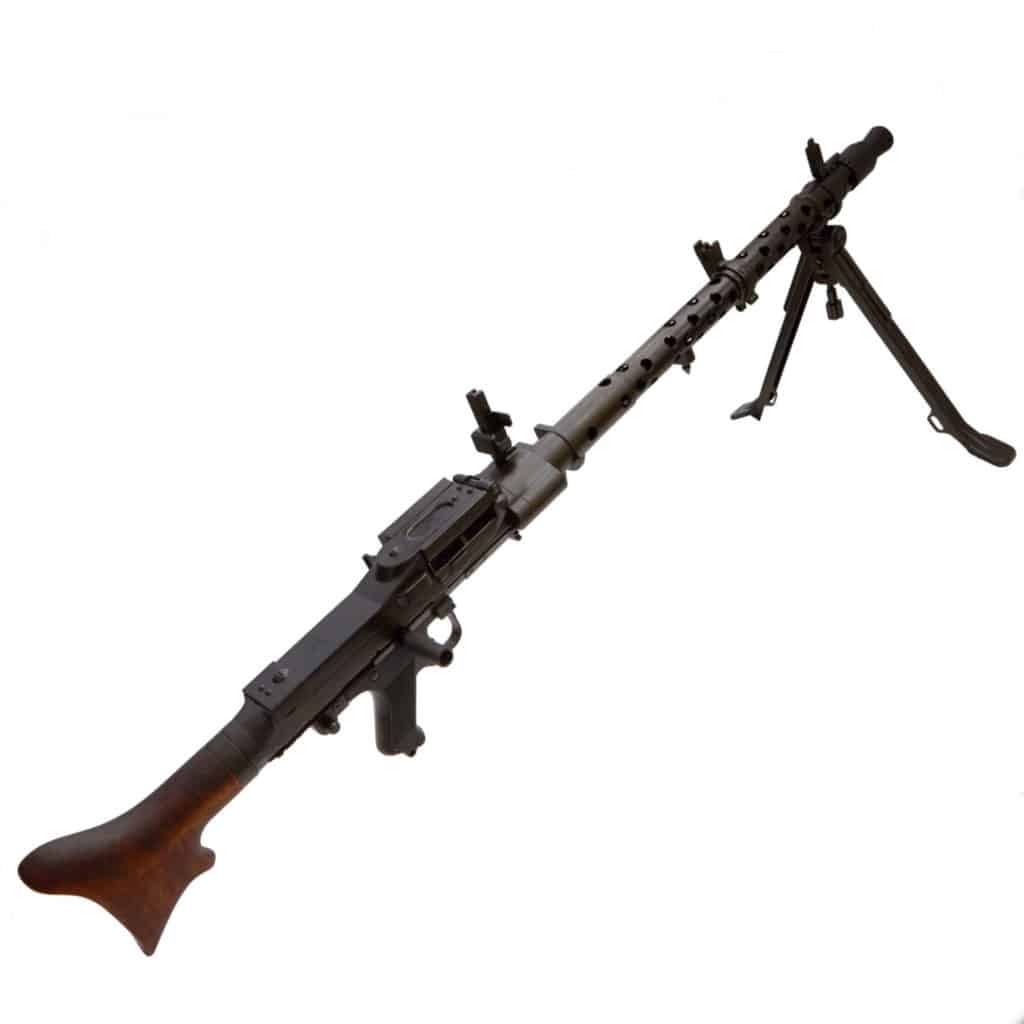
The two MG’s are impressive kits in themselves
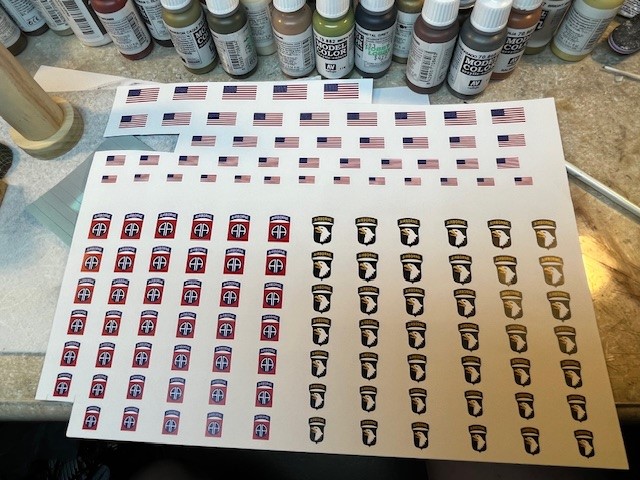
As I mentioned in a previous post, some time ago I assembled a sheet of patches for the Airborne divisions, in various sizes and had them printed at a local commercial print shop – high quality stuff. I cut them out and use them, rather than attempt painting either the Division patch or the flag.
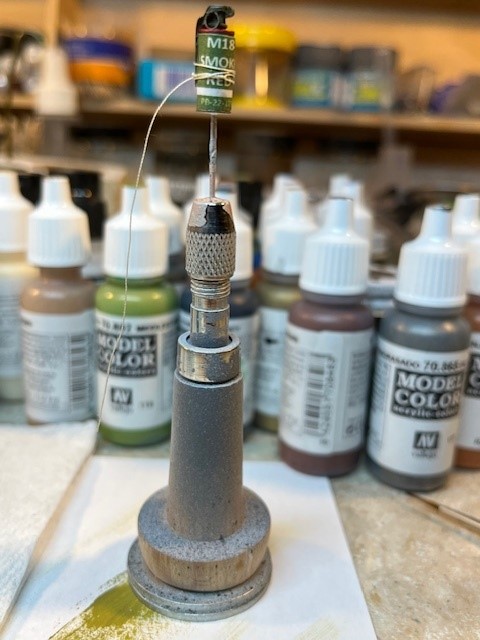
For the smoke grenade, I used the same approach, but with my own ink-jet printer – it was good enough. I always find, either on figures, or on 1/35th Tanks, the addition of in-scale printing adds a huge amount of visual interest, and better reflects reality.
As my own vision is failing me (I’m in my 70s now) I’m never happy with the eyes I paint. Even my Optivisor can’t save me.
I use mostly acrylics on the bodies, and artist’s oils on the faces and hands.
As much as I love the castings. I do wish their faces were sculpted with a bit more emotion.
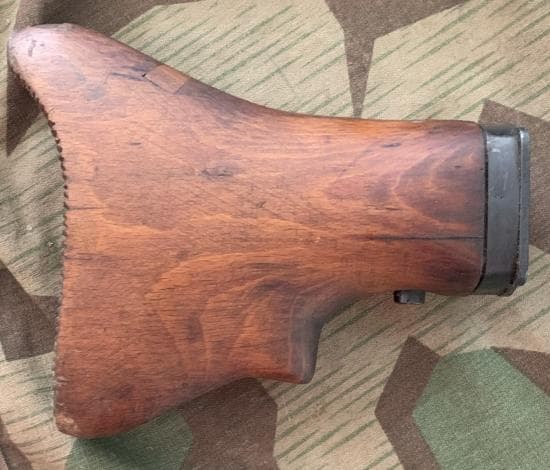
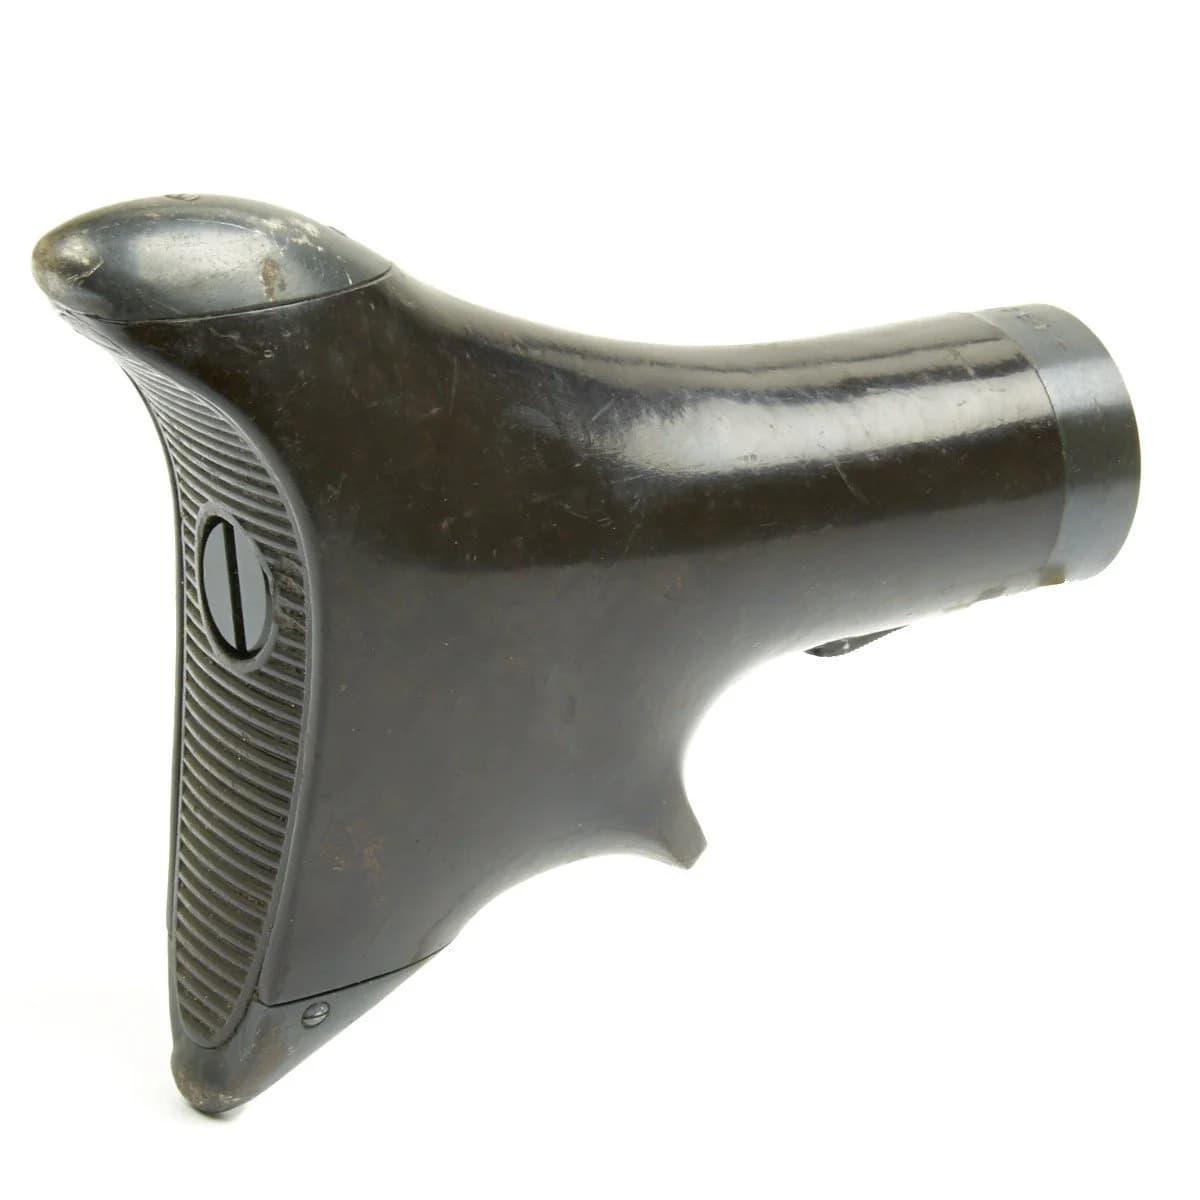
The MG42 and the Browning M1919 are beautifully done. But bending the resin ammunition belts, to wrap comfortably around the guns, as Young intended, was a new and difficult challenge for me. On both guns, I almost gave up and left the ammo off, but I wanted the look.
You’re supposed to soften and shape the belts with heat (hot water or a heat gun, or ?).
In my first attempt, for the MG42, the belt broke and had to be laboriously pieced together. I was more careful with the 30-Cal, but couldn’t get it to look right, so I eventually broke it into a half-dozen pieces to get it to fit decently. I’m still not happy with either of them…

My other hobby is woodworking, I have a fairly complete shop, so I’m able to make my own bases, and handy tools, like the dowel for painting heads and smaller figures, and I fabricated the mount on the smoke grenade for use in painting smaller (1/35) heads (I made five of them).
By the way: I find that splitting my time between armor dioramas and figure painting, my products improve, a the slightly different skills and techniques are complimentary…
Feedback appreciated.
Ralph (Bravo36)