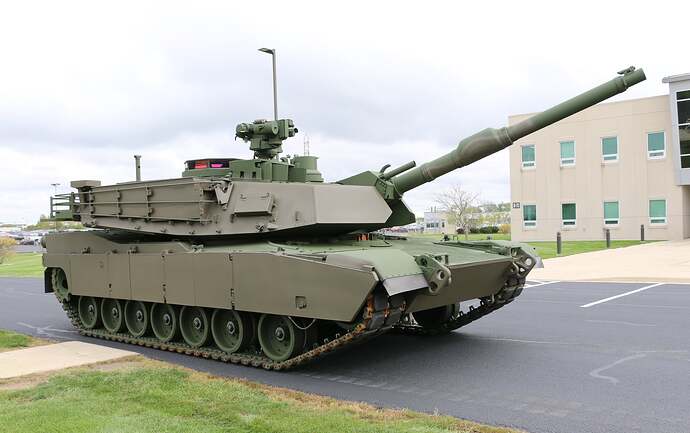
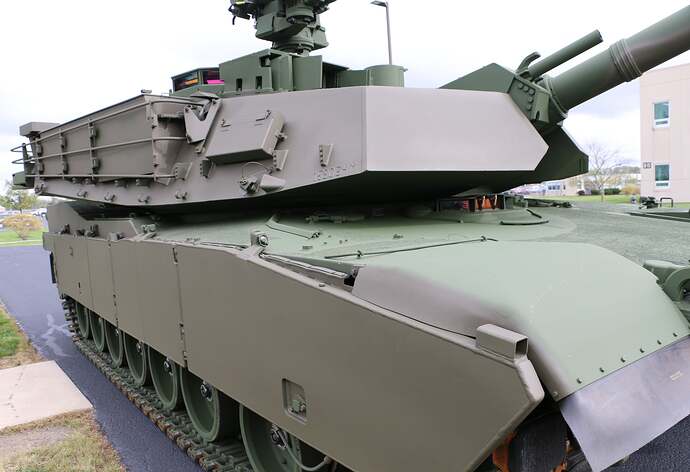
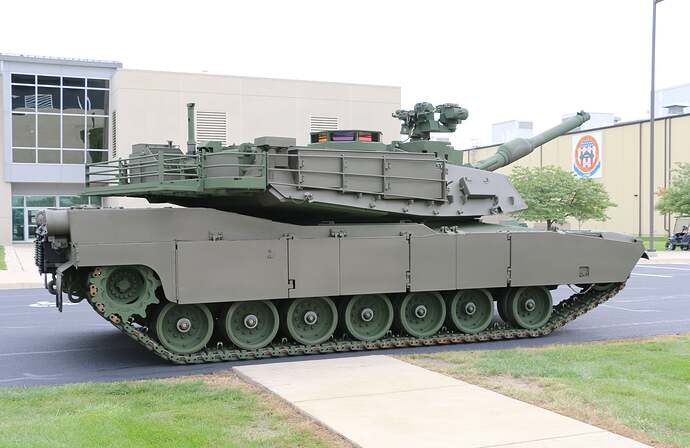
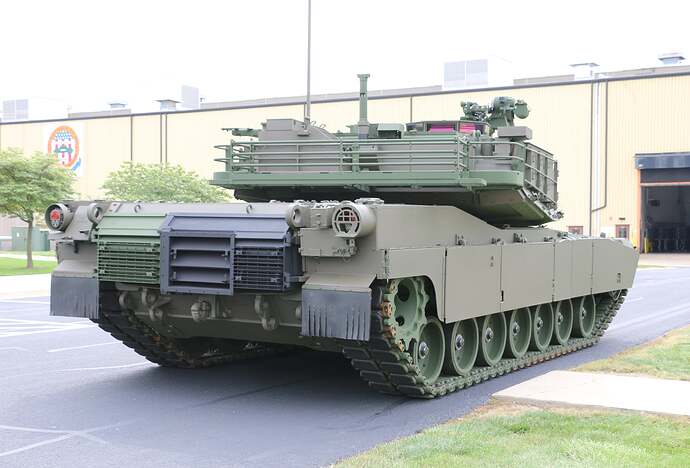
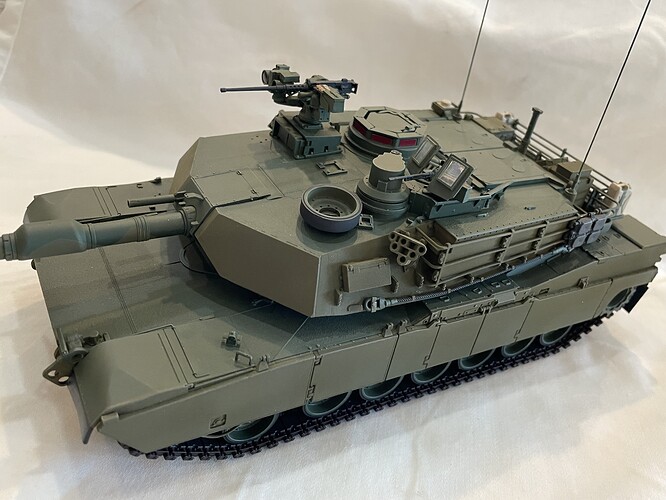
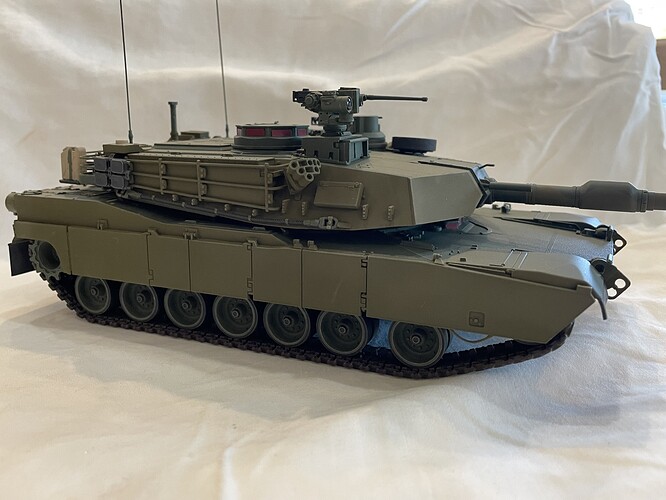
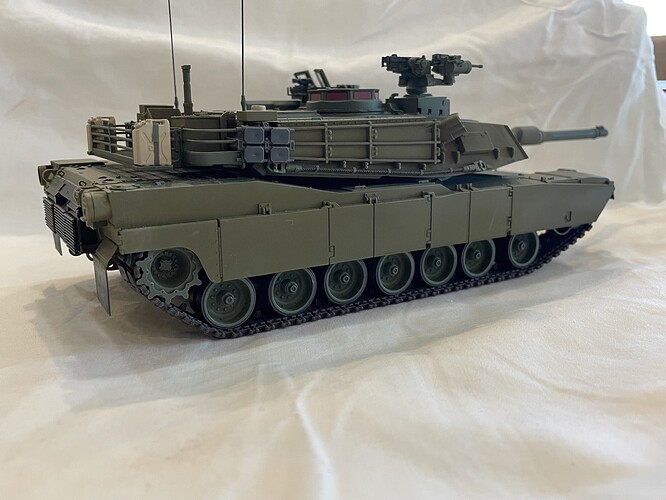
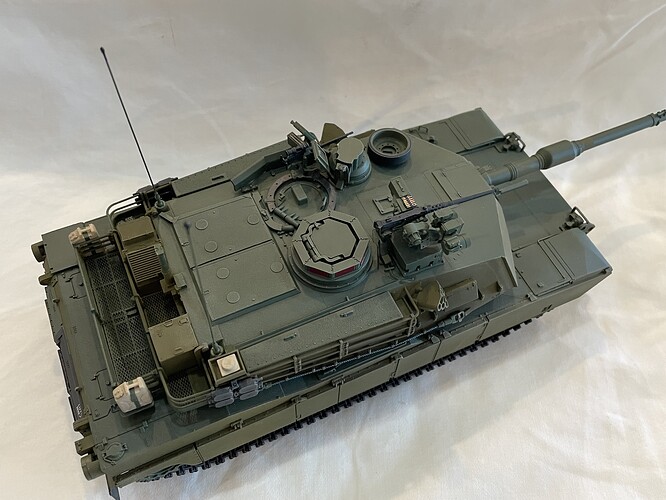
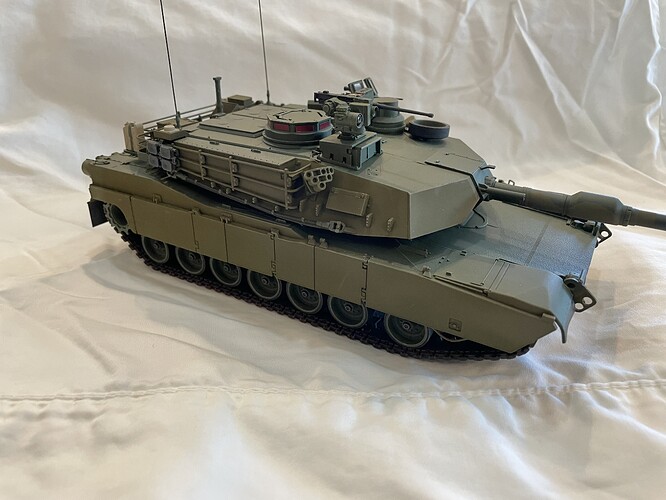
Looking great!
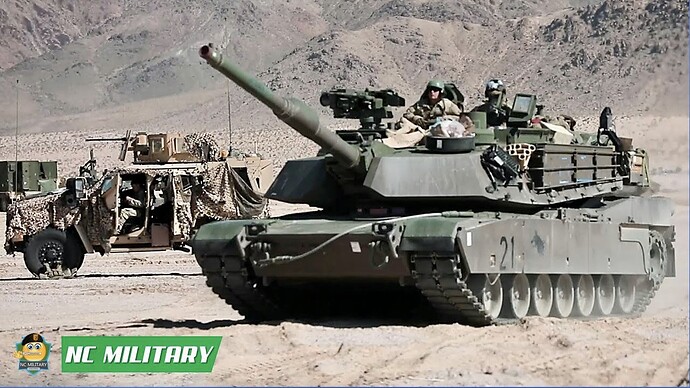
I had no idea about the 2-tone green “camo”. Might that be old stock parts + new or maybe different signatures for the paint under IR/drone surveillance?
And that added armor… I wonder if one could use that to sort-of-fix Trumpeters turretfront.
Have a look at post 6 above from Reynier, he has a link in the post about it. ![]()
Coming along great. Nice job.
Thanks guys! This was actually a really fun conversation, I’m happy it turned out decent. Gonna try and finish it up today, then on to the next one. Lots of “Shelf Queens”, or in my case, box queens, to work on, lol.
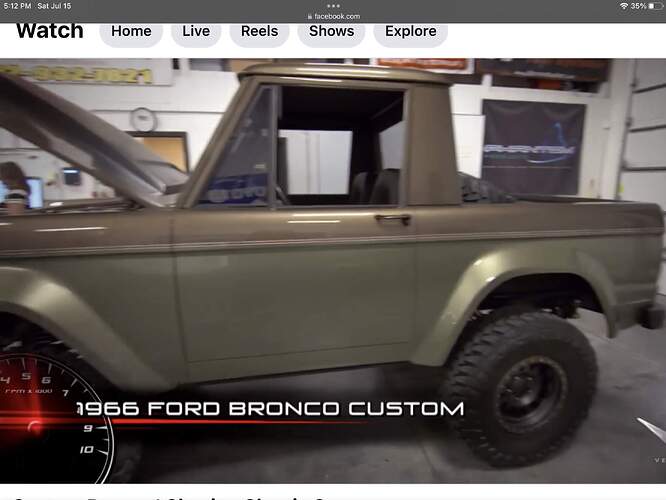
I figured out where the army got the paint job! I’m sitting at home, watching Chasing Classic Cars, and this comes on, a custom 66 Bronco, same paint job, lol
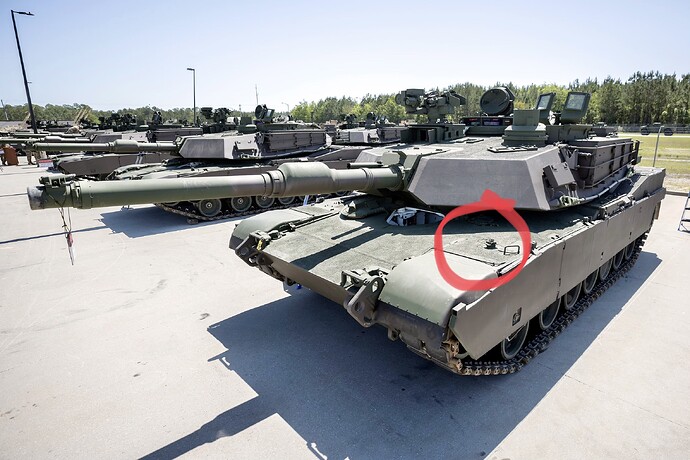
Just noticed another detail I missed. It’s on every pic I have too, except the very earliest V3’s. It’s for lashing the tow cable across the front of the tank, now they have a dedicated attachment point and don’t have to use the grab handle. I’ll be adding it today
Most Camo patterns make since when seen. Can someone provide the background on why the new two tone pattern?
As explained to me at Fort Cavazos last year it’s not so much the pattern as it is the properties of the paint.
Correct, there is ongoing work with paint to enhance non-visual/optical “camouflage” I.e. sensors for vehicles. Expect more in the future.
Patterns may be different in the future.
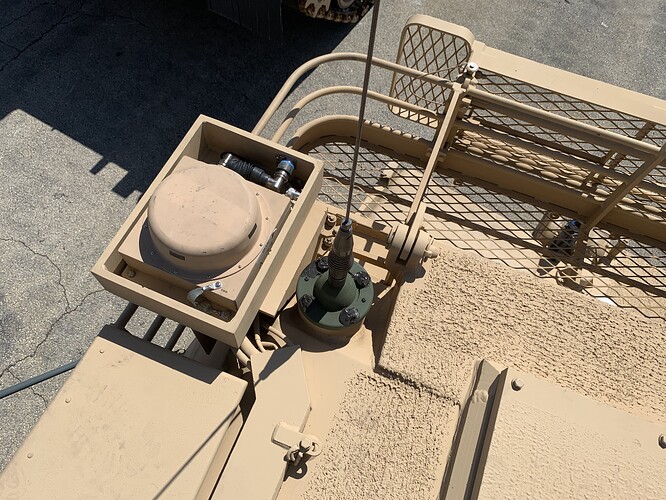
I’m calling this one done, only thing I’m missing, that I’m aware of, is the vent looking thingy top rear of the turret. I may add it when I can find better pics
Nice and clean, and none of the usual 10 tons of stowage hiding everything… excellent ![]() …great build and equally great finish …
…great build and equally great finish … ![]()
![]()
Nicely done!
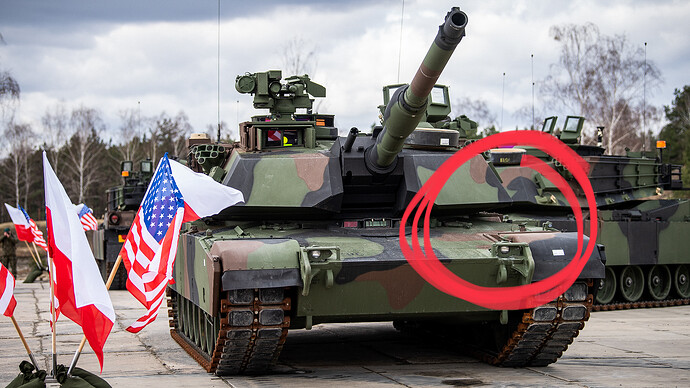
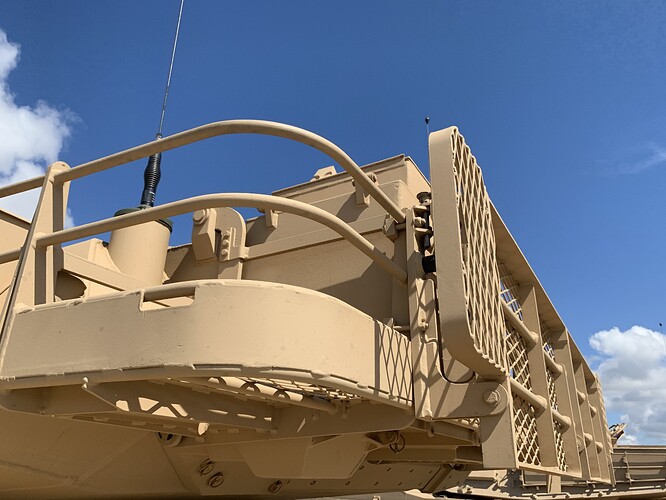
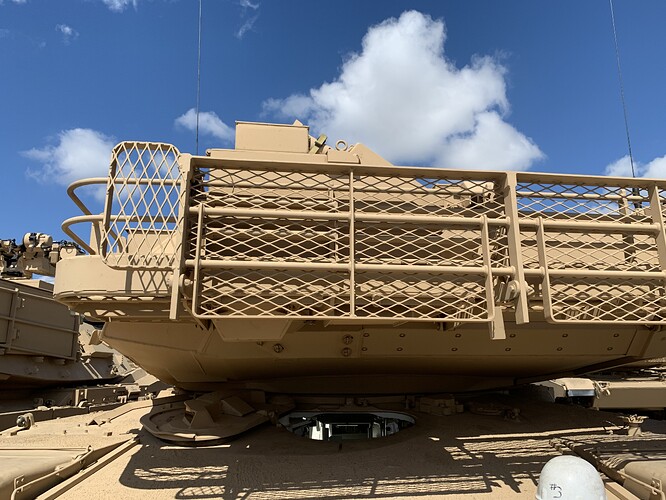
The rear of the turret basket looks different in these photos, which does not make yours incorrect - only different. There could be two types floating around.
Note texture - must be stippled, not sprayed.
Thanks guys, appreciate the kind words. Bravo, I don’t understand what you’re pointing out? The bustle rack extension in your pics is folded up, that’s the only thing I see, other than the extra box in mine, I couldn’t get it out, glued down way too well ![]()
Yep, the bustle extension is just folded up here. As for the anti-skid texture, i believe that is factory applied using a robot brush or roller.
Ken
I’m not sure which I like more, your tank or your kitchen.
Both are very nice.
Haha, thanks! That kitchen is my office/man cave/model shop, and I manage to cook meals in between tanks ![]()
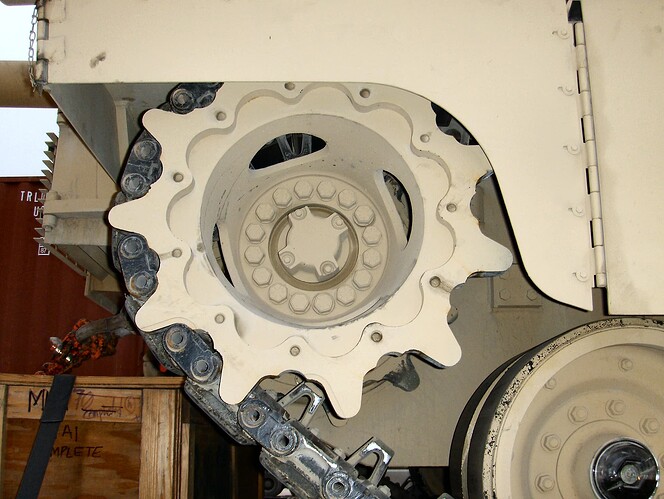
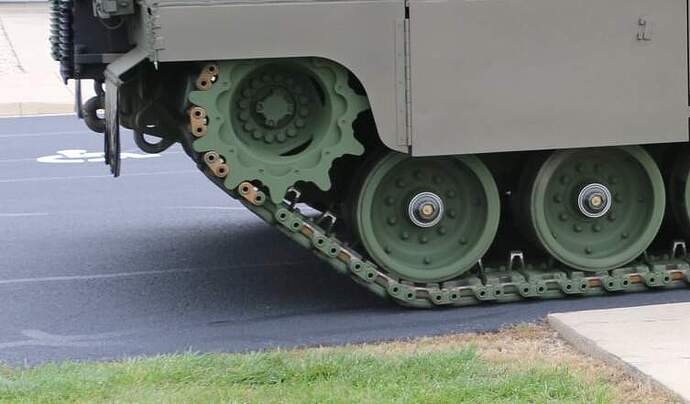
Very nice work, James. The only minor (very minor) thing I want to point out is the sprocket teeth. SEP v.3s (SEP v.2 and on) use these latest sprockets with slightly different teeth:
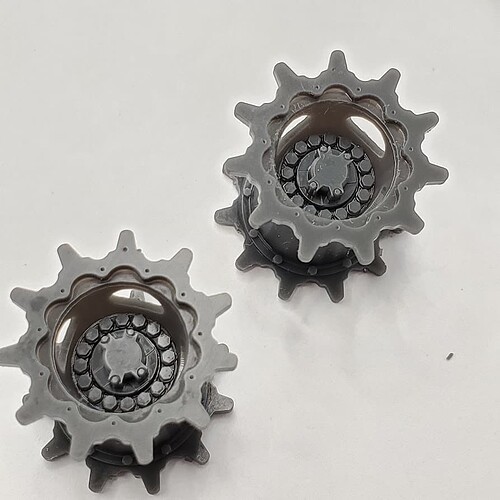
Here’s what I 3D printed:
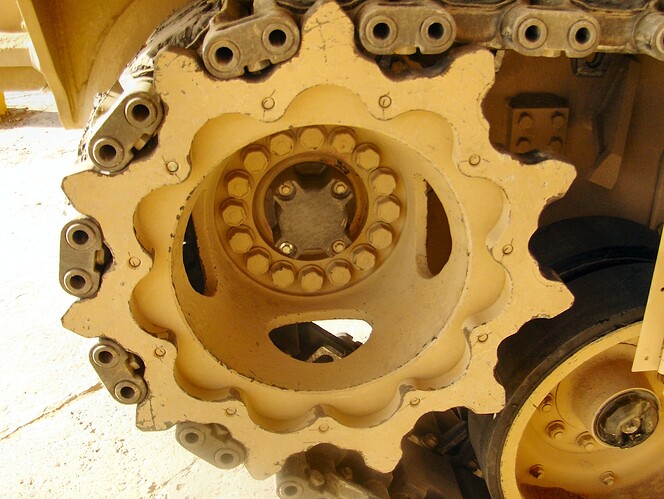
What the previous version looks like and what your kit has:
Excellent work and inspiring either way.
Kind regards,
James
Yeah, no holes either! But thanks for the compliments! Reminds me to keep an eye on the other three M1’s I have in the queue, two are rebuilds from decades ago, one will be a USMC M1 with snorkeling gear, cobbled together from spare parts
Is this new camo scheme going to be used on other vehicles?
