The perfect Substitute for Photoshop® and it is FREE! GIMP®
®
This is not intended as a “how-to” but rather it is intended to make people aware of an image editing and drawing tool that is 98% the equal of the “renowned god on high” i.e. Photoshop.
And did I mention: It’s FREE.
If you are wanting to do image editing of your model photography (or any photograph or art image) this software can crop, edit, rotate, remove background elements, adjust brightness, contrast and color balance, stitch photographs together (not automatically), extend dynamic exposure range and also it is a drawing tool as well!
6 Likes
If you are already familiar with Photoshop then the GIMP interface is fairly similar. If you are just getting started in image editing the learning curve for either program might be a bit steep but in the end you will be glad you did.
And did I mention: It’s FREE.
DRAWINGS and ILLUSTRATIONS:
I am not the greatest at this by any means but I am learning more every day.
These are just examples:
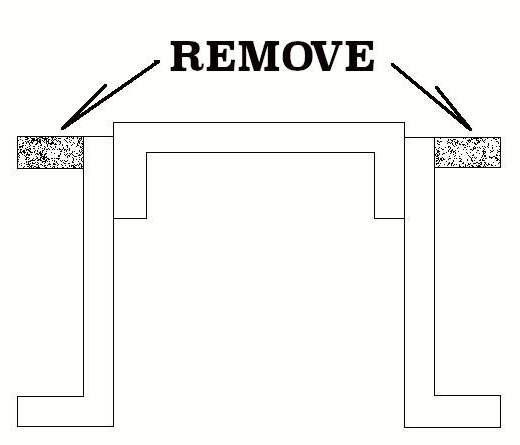
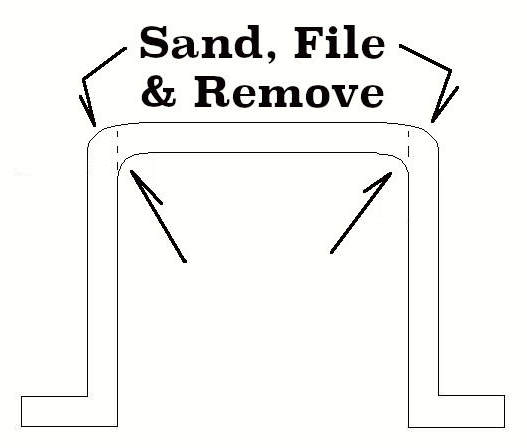
Step by Step Drawings:
Making a difficult inverted “U” channel fixture

1 Like
EXTENDED DYNAMIC RANGE:
Plus Halo Affects, Brown Tone and Sepia Treatments.*
1 Like
Not saying I’m the greatest at this; - FAR from it.
Just trying to increase awareness regarding a tool you might be interested in.
Plus some of the uses I have gotten out of that tool.
I can’t be the only one out there who shares this interest.
3 Likes
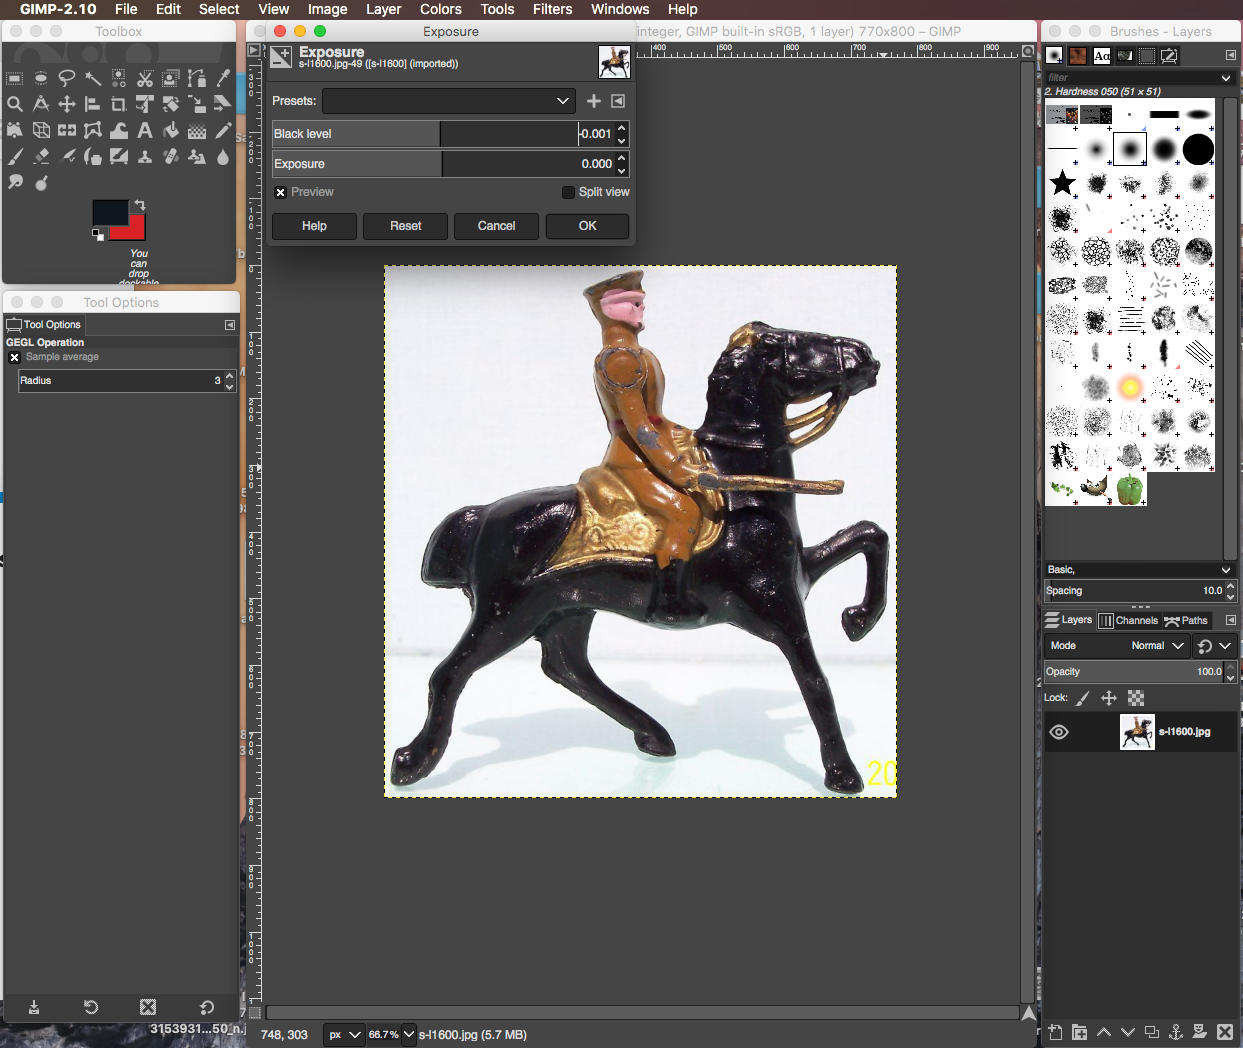
EXPOSURE, CONTRAST & COLOR ADJUSTMENTS:
It is difficult to show before and after exposure, contrast and color adjustments because I only keep the original image until I am satisfied with my adjustments.
Even though I have tons of file storage space I still think it is a good idea not to “clog up the drain” too much.
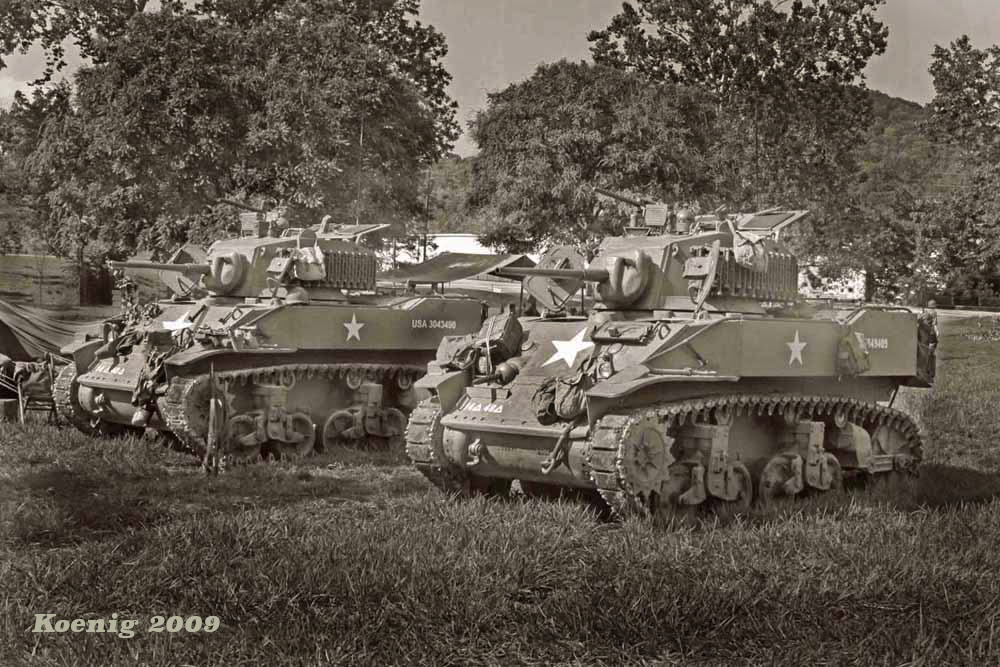
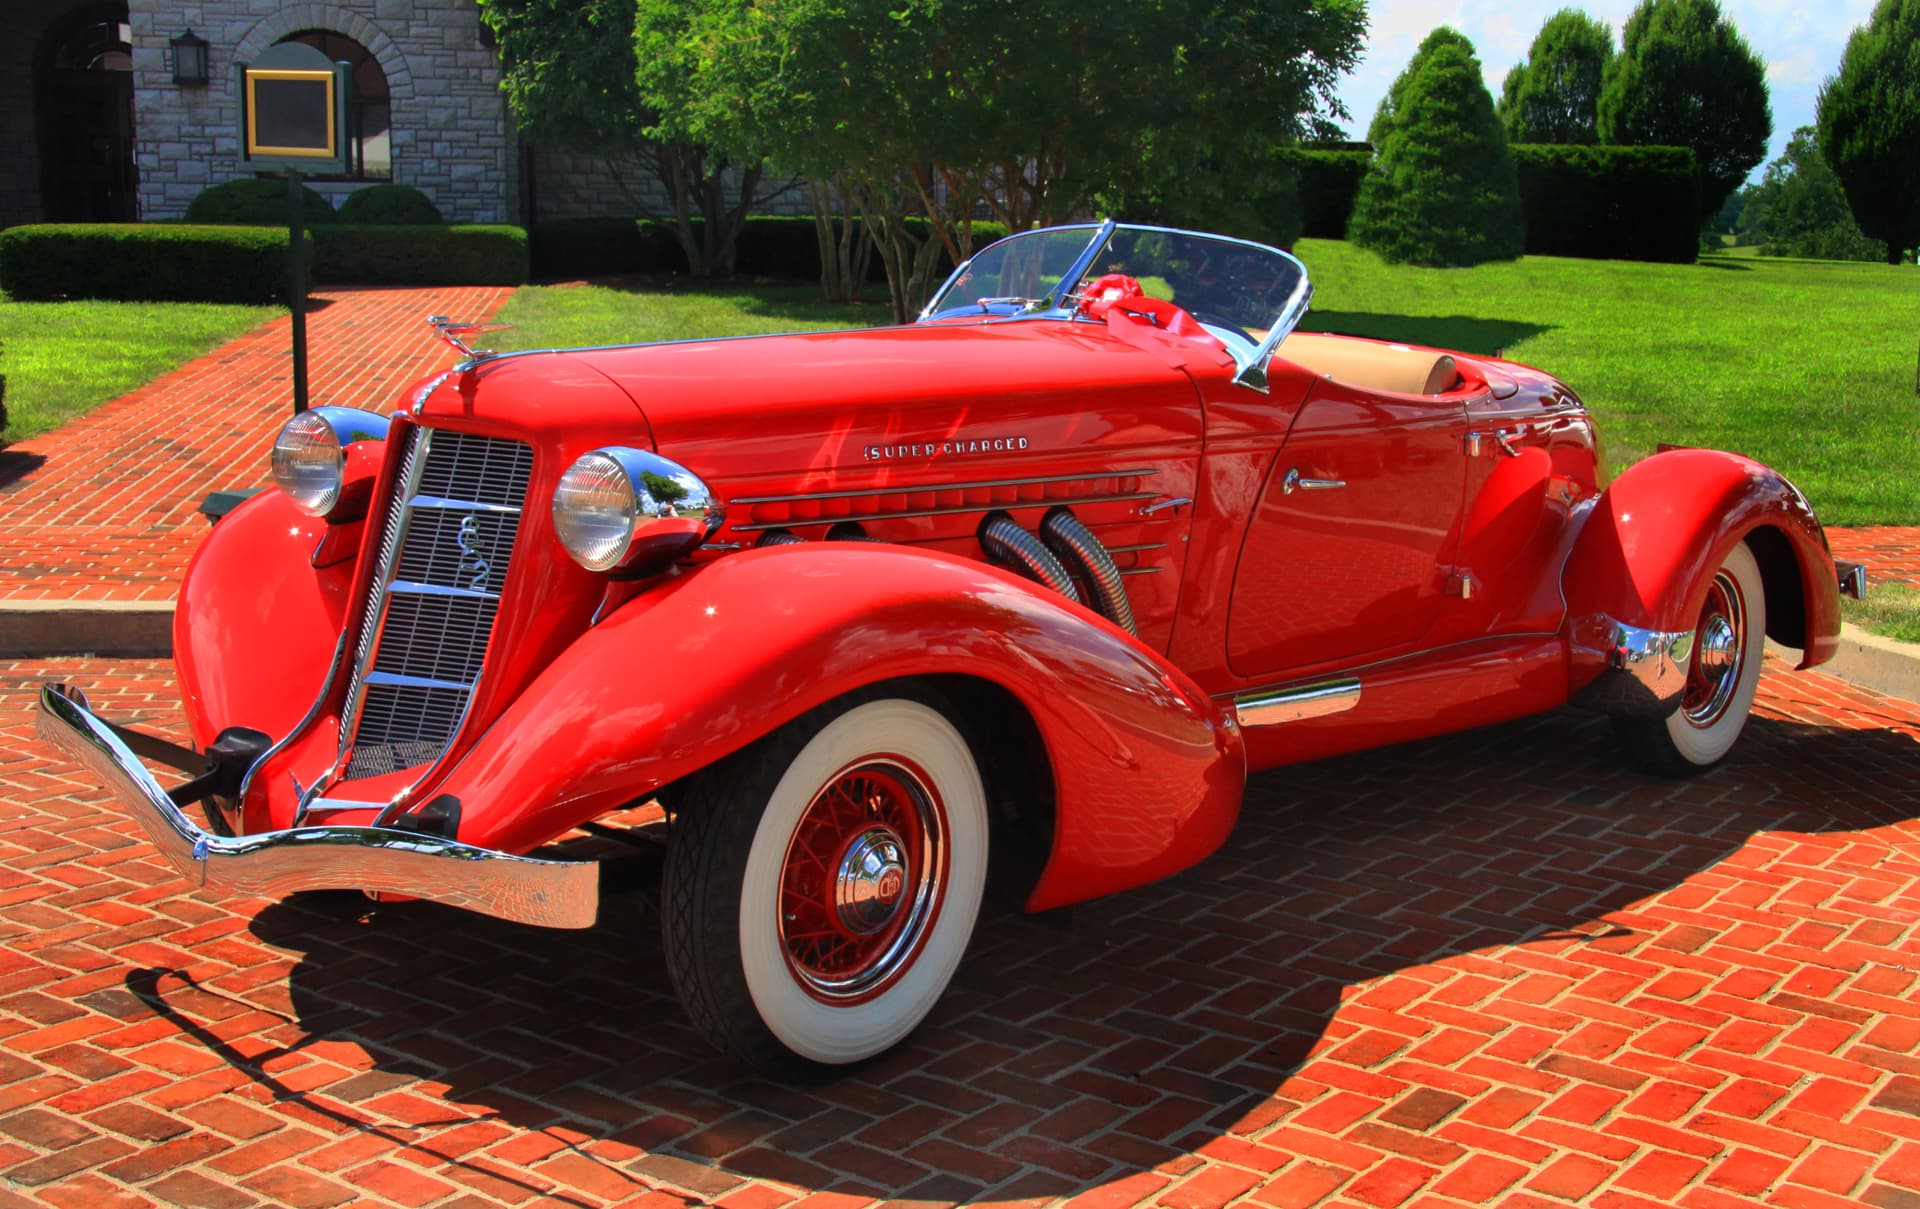
Certainly one of my favorites here below:
I increased the saturation of the red colors and adjusted both exposure and contrast.
I tend, usually, to increase color saturation just a bit, use the unsharp mask filter just slightly, adjust contrast and exposure where necessary. This is generally my post-processing* regime. Others will have their own preferences. To each her/his own.
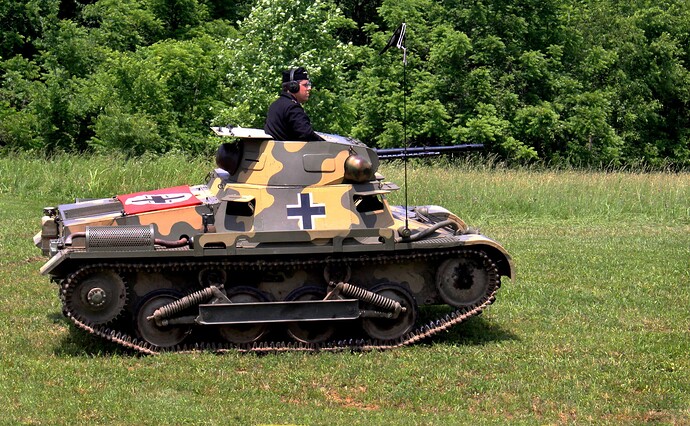
Of course these images were both cropped to draw the eye to the subject.
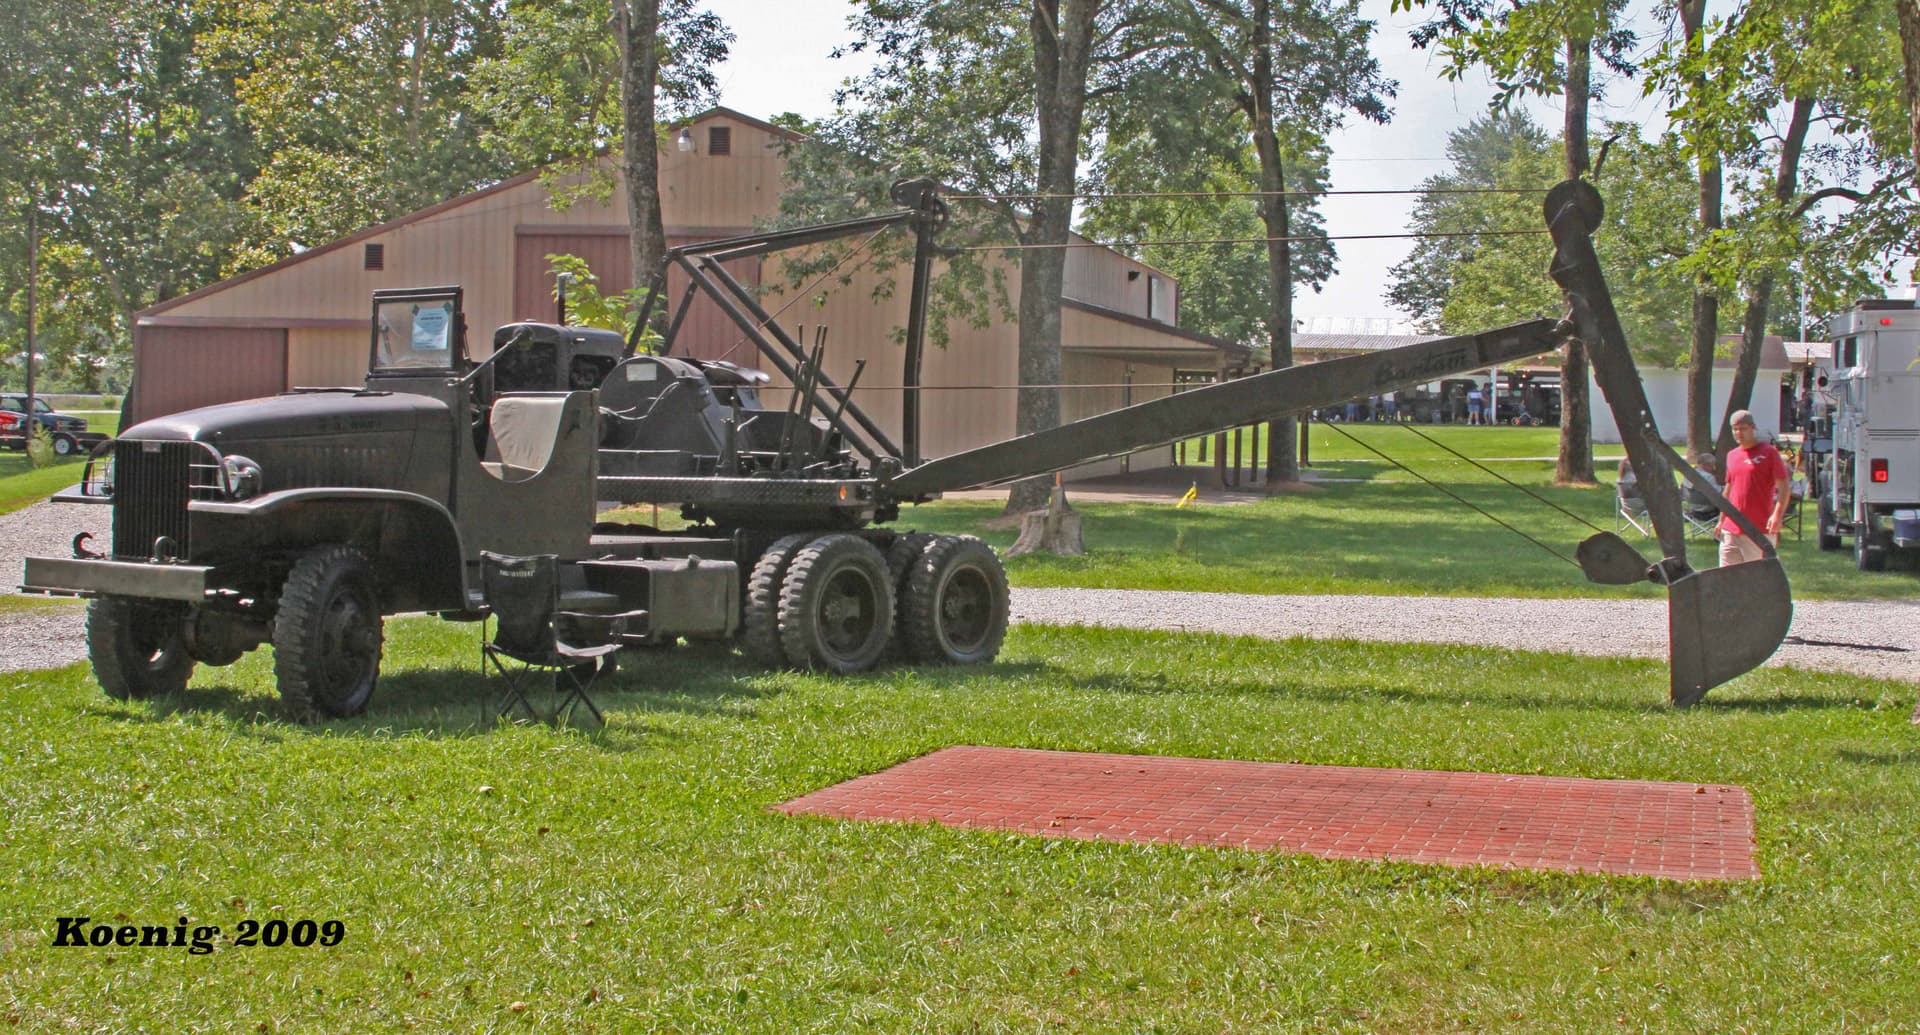
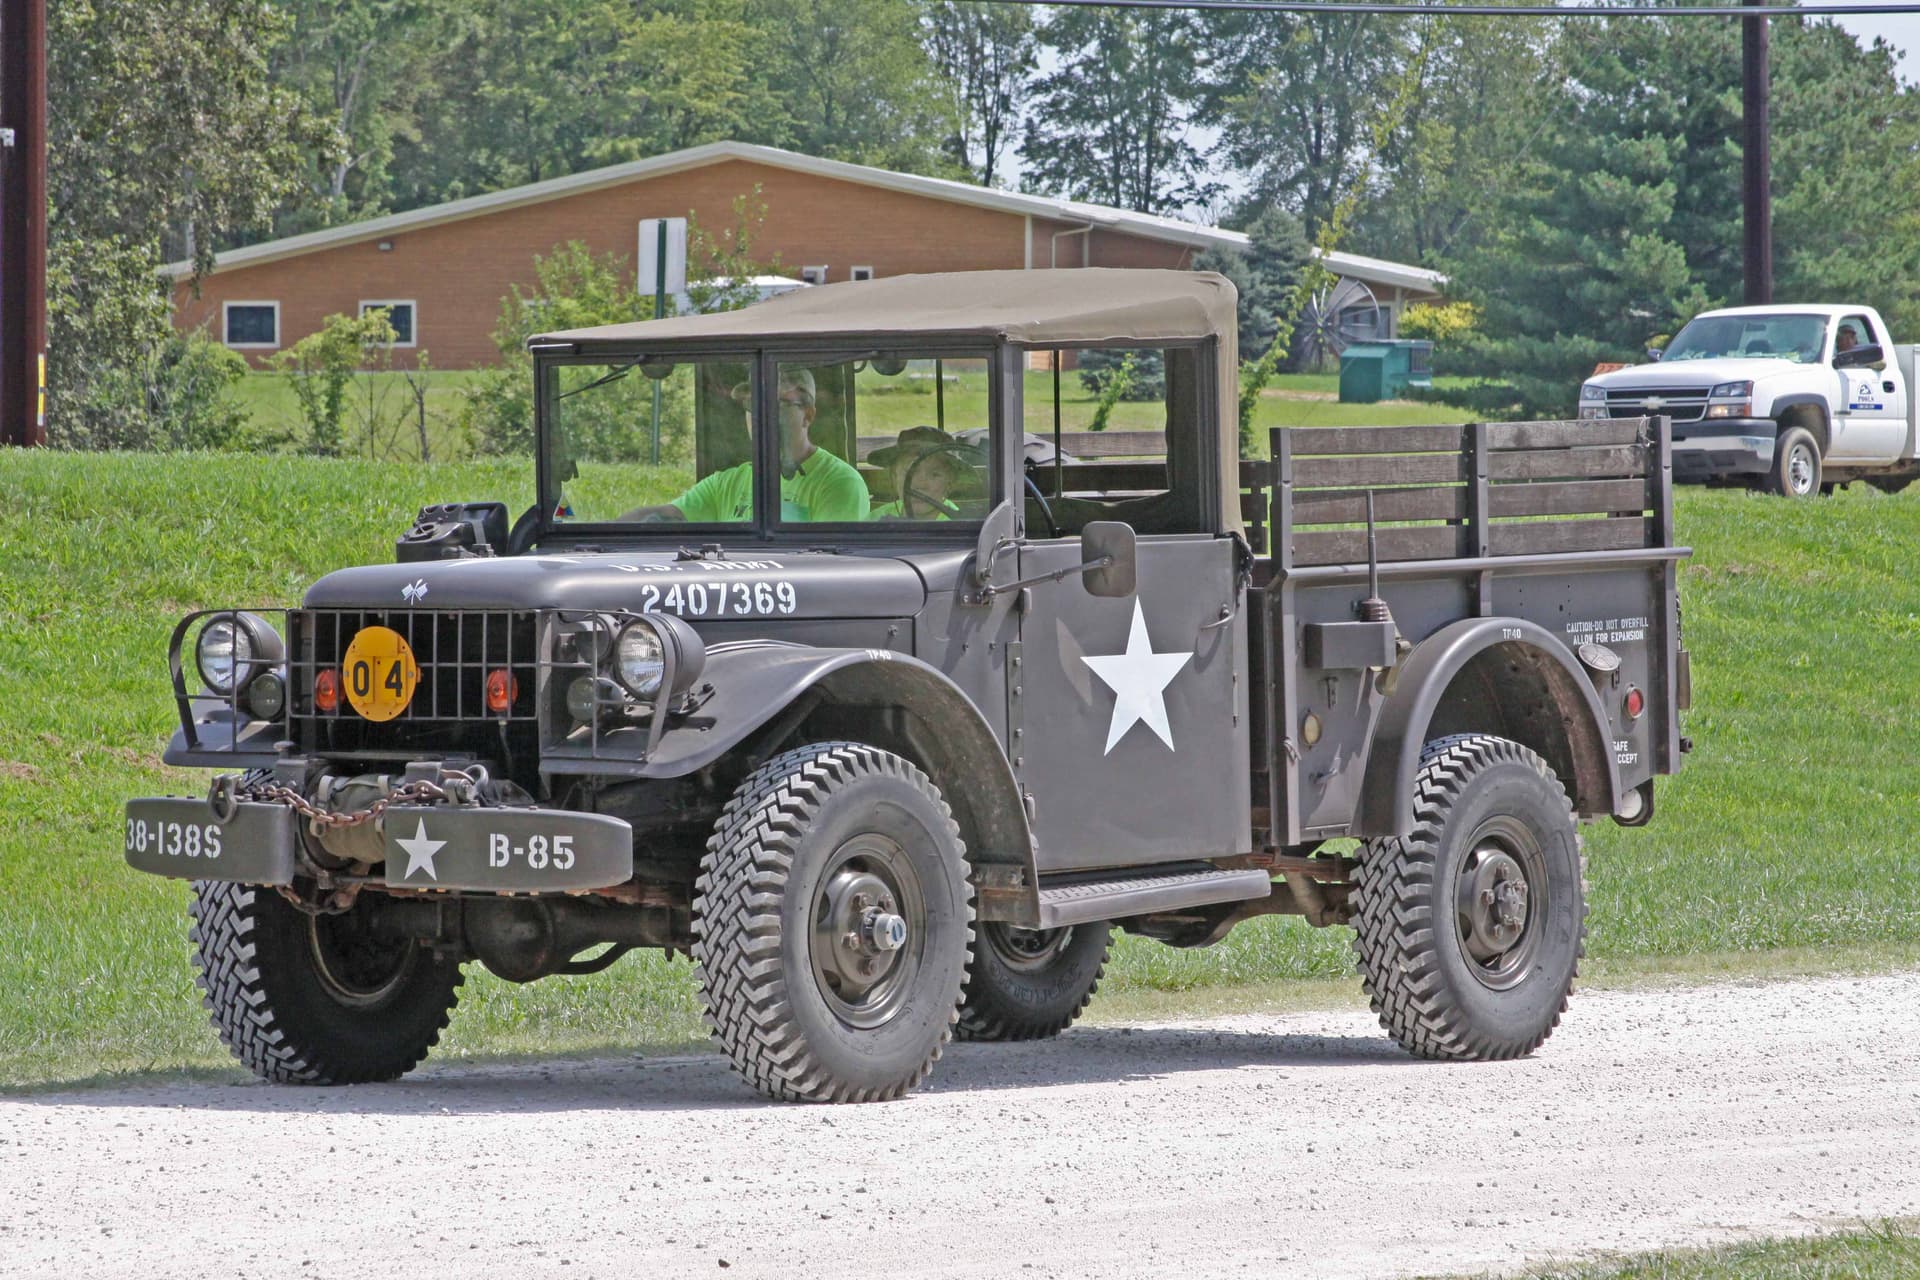
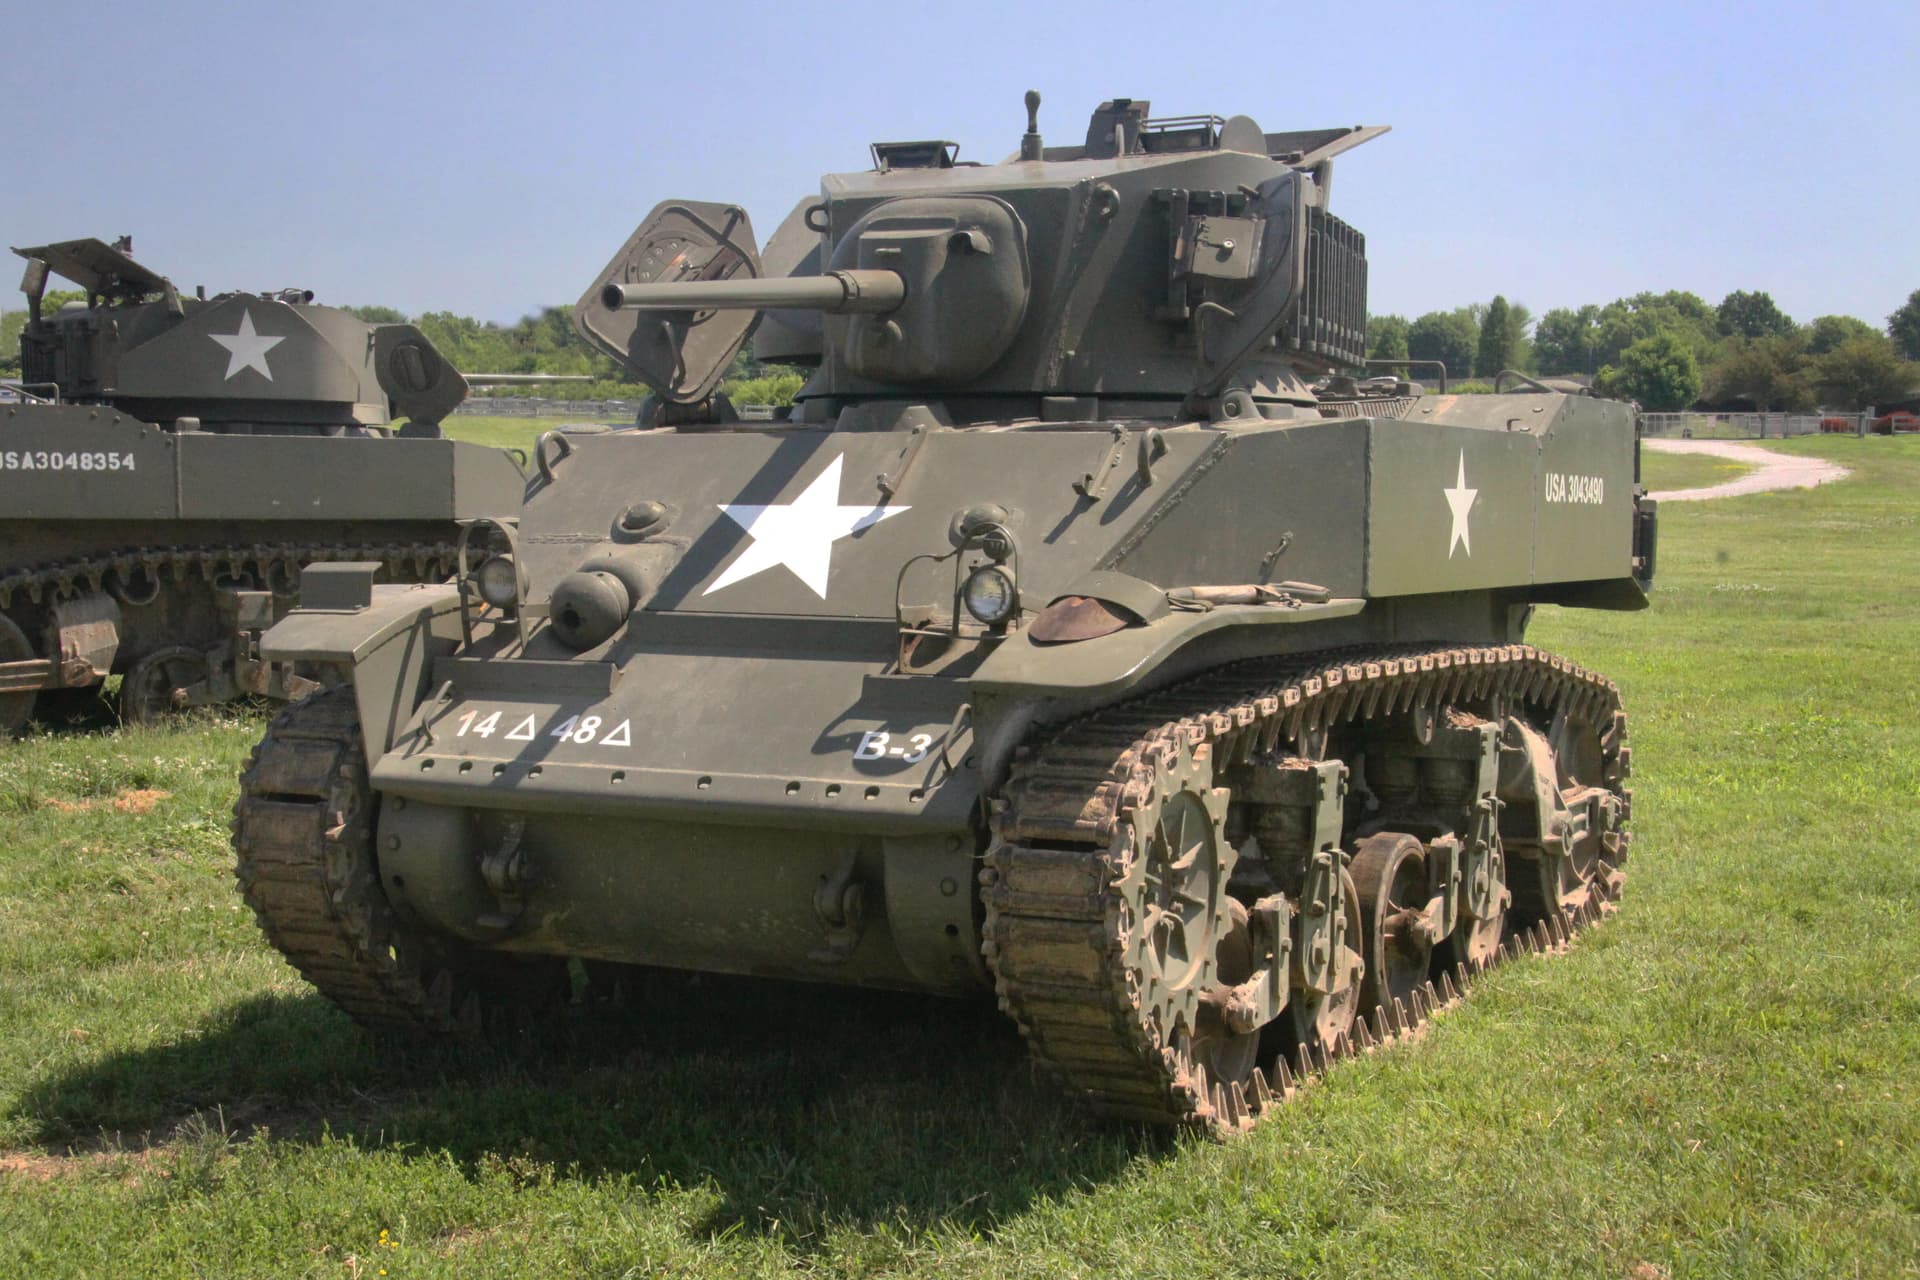
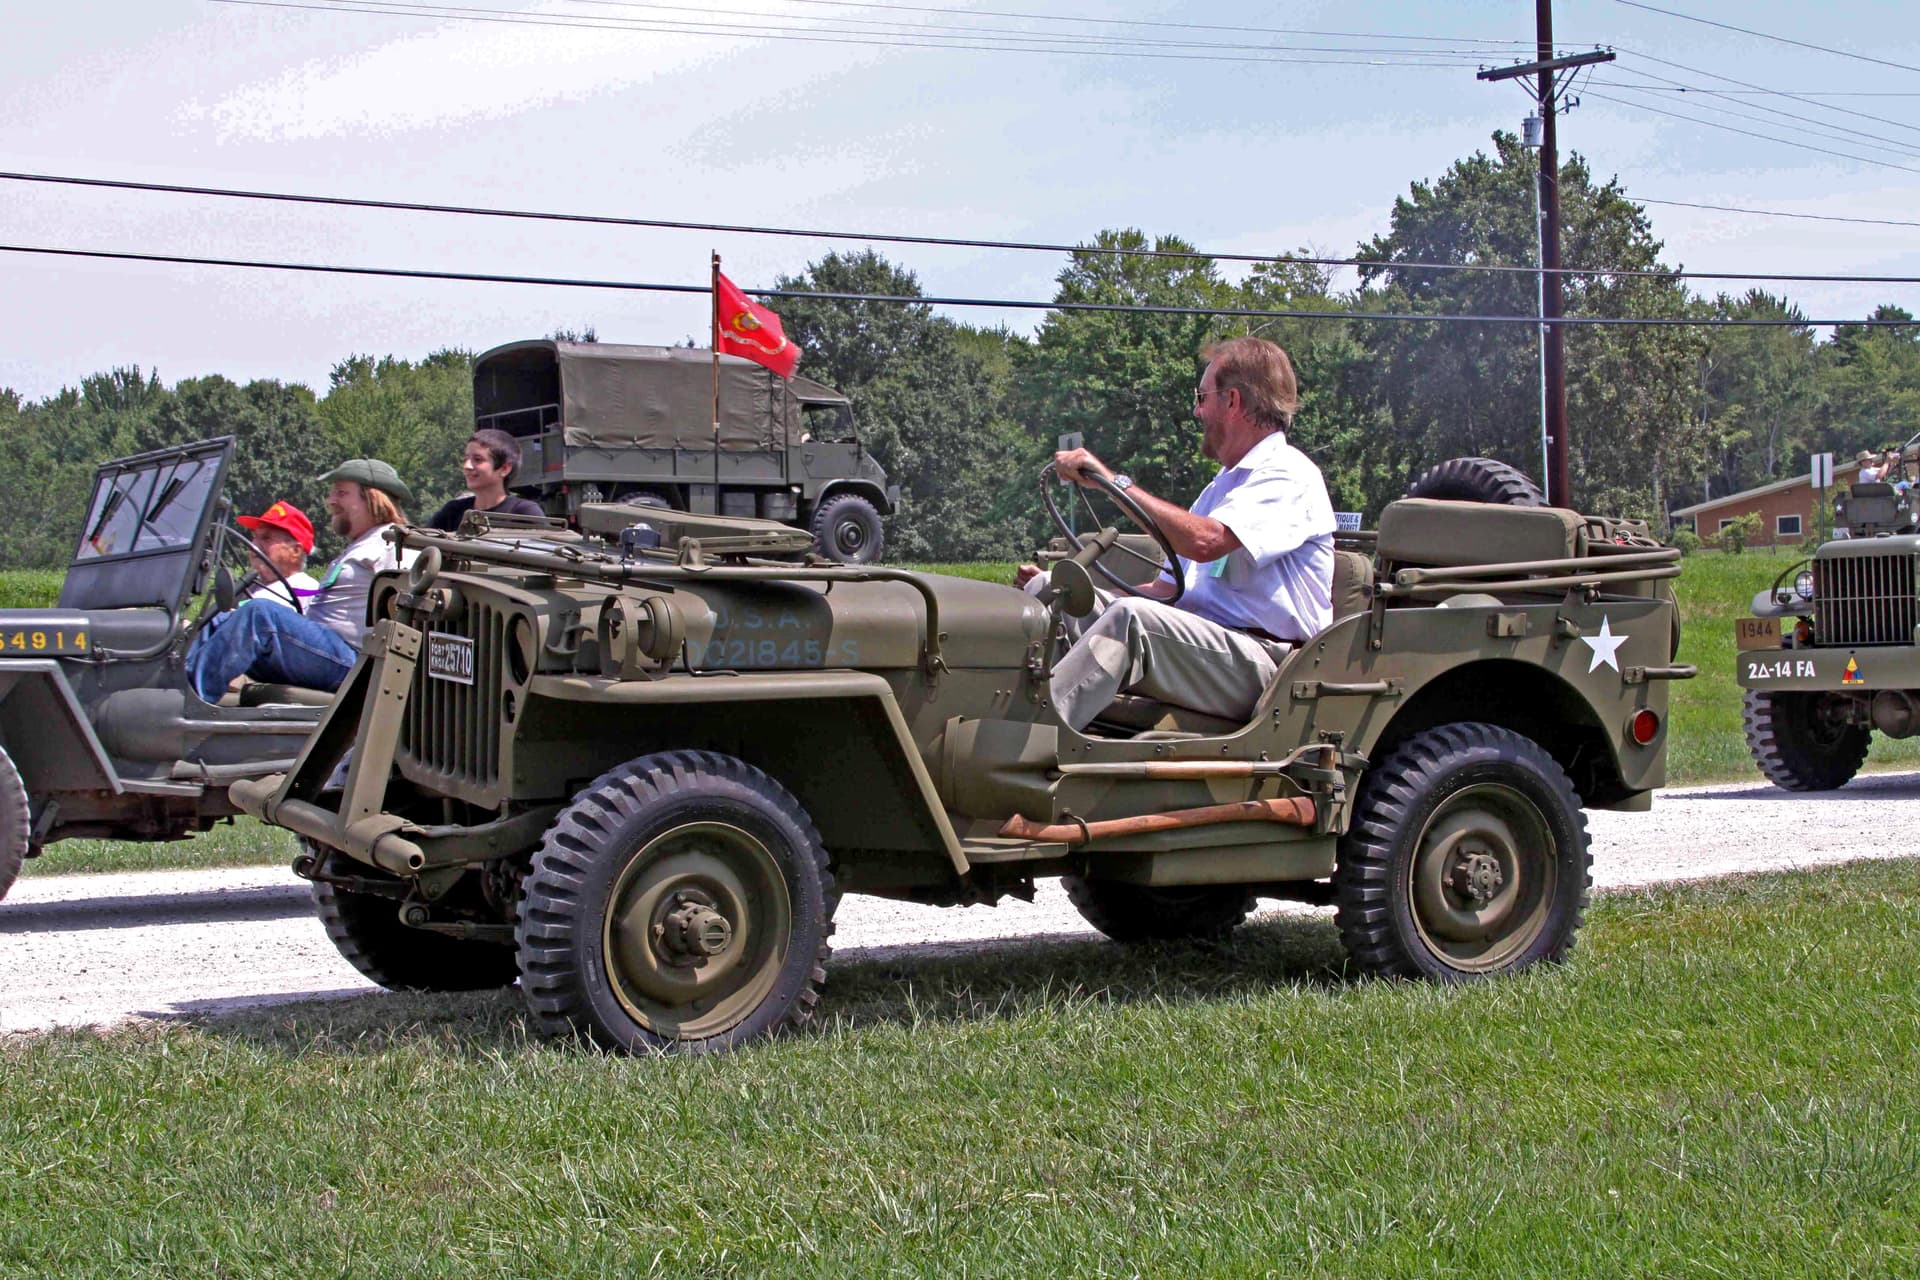
Suggested rule of thumb here: An obviously stationary subject like the red car can be cropped in on quite closely. However a moving object such as this tank is often given more photographic “space” in the direction of its’ apparent movement. This can indicate movement in a photograph even though I was not willing to slow my shutter speed to show movement by blurring or panning.
*Post-Processing - a term that actually no longer applies. Post-Processing actually refers to the image manipulation that occurs AFTER the stock film footage has been chemically developed (or processed.)
1 Like
Gimp is a really powerful tool, for simpler tasks like re-scaling, rotating, cropping or playing with colors, contrast and brightness, I love XnView.
It is also free and quite easy to use.
2 Likes
Am not familiar with XnView since GIMP does all those things and more. I just never had the need. But perhaps XnV is easier to get started with and not as steep a learning curve. Perhaps a good first step.
MANUAL SITCTHING OF MULTIPLE IMAGES
The base GIMP software does not provide for automatic sitching but does a very nice job of manually joining multiple photos together.
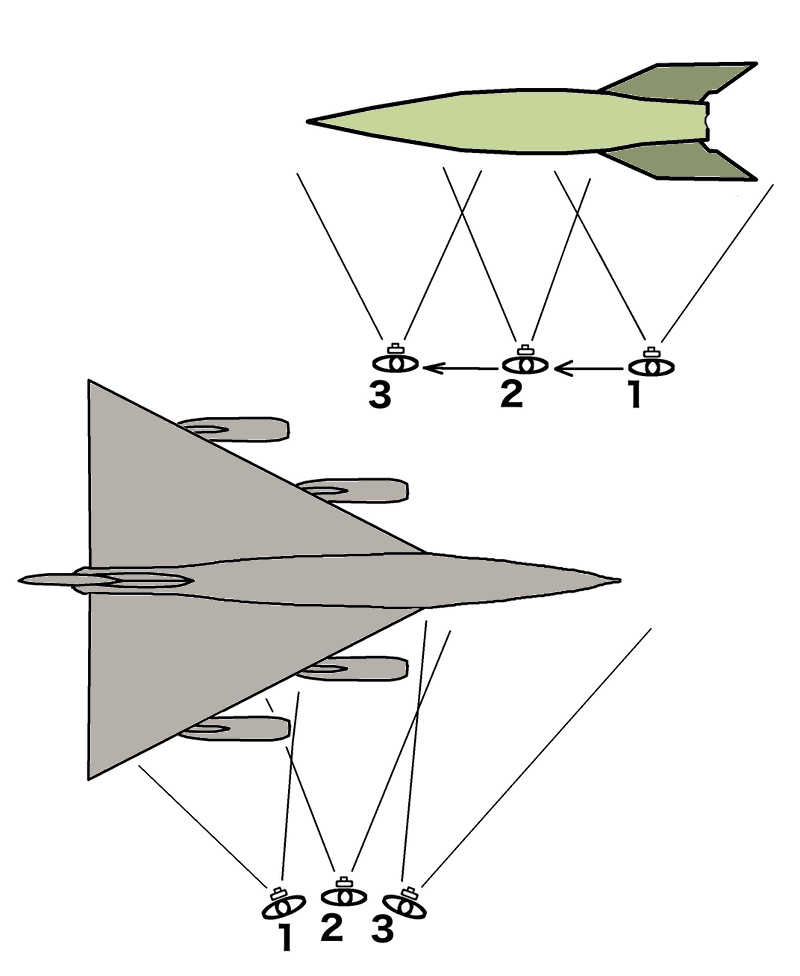
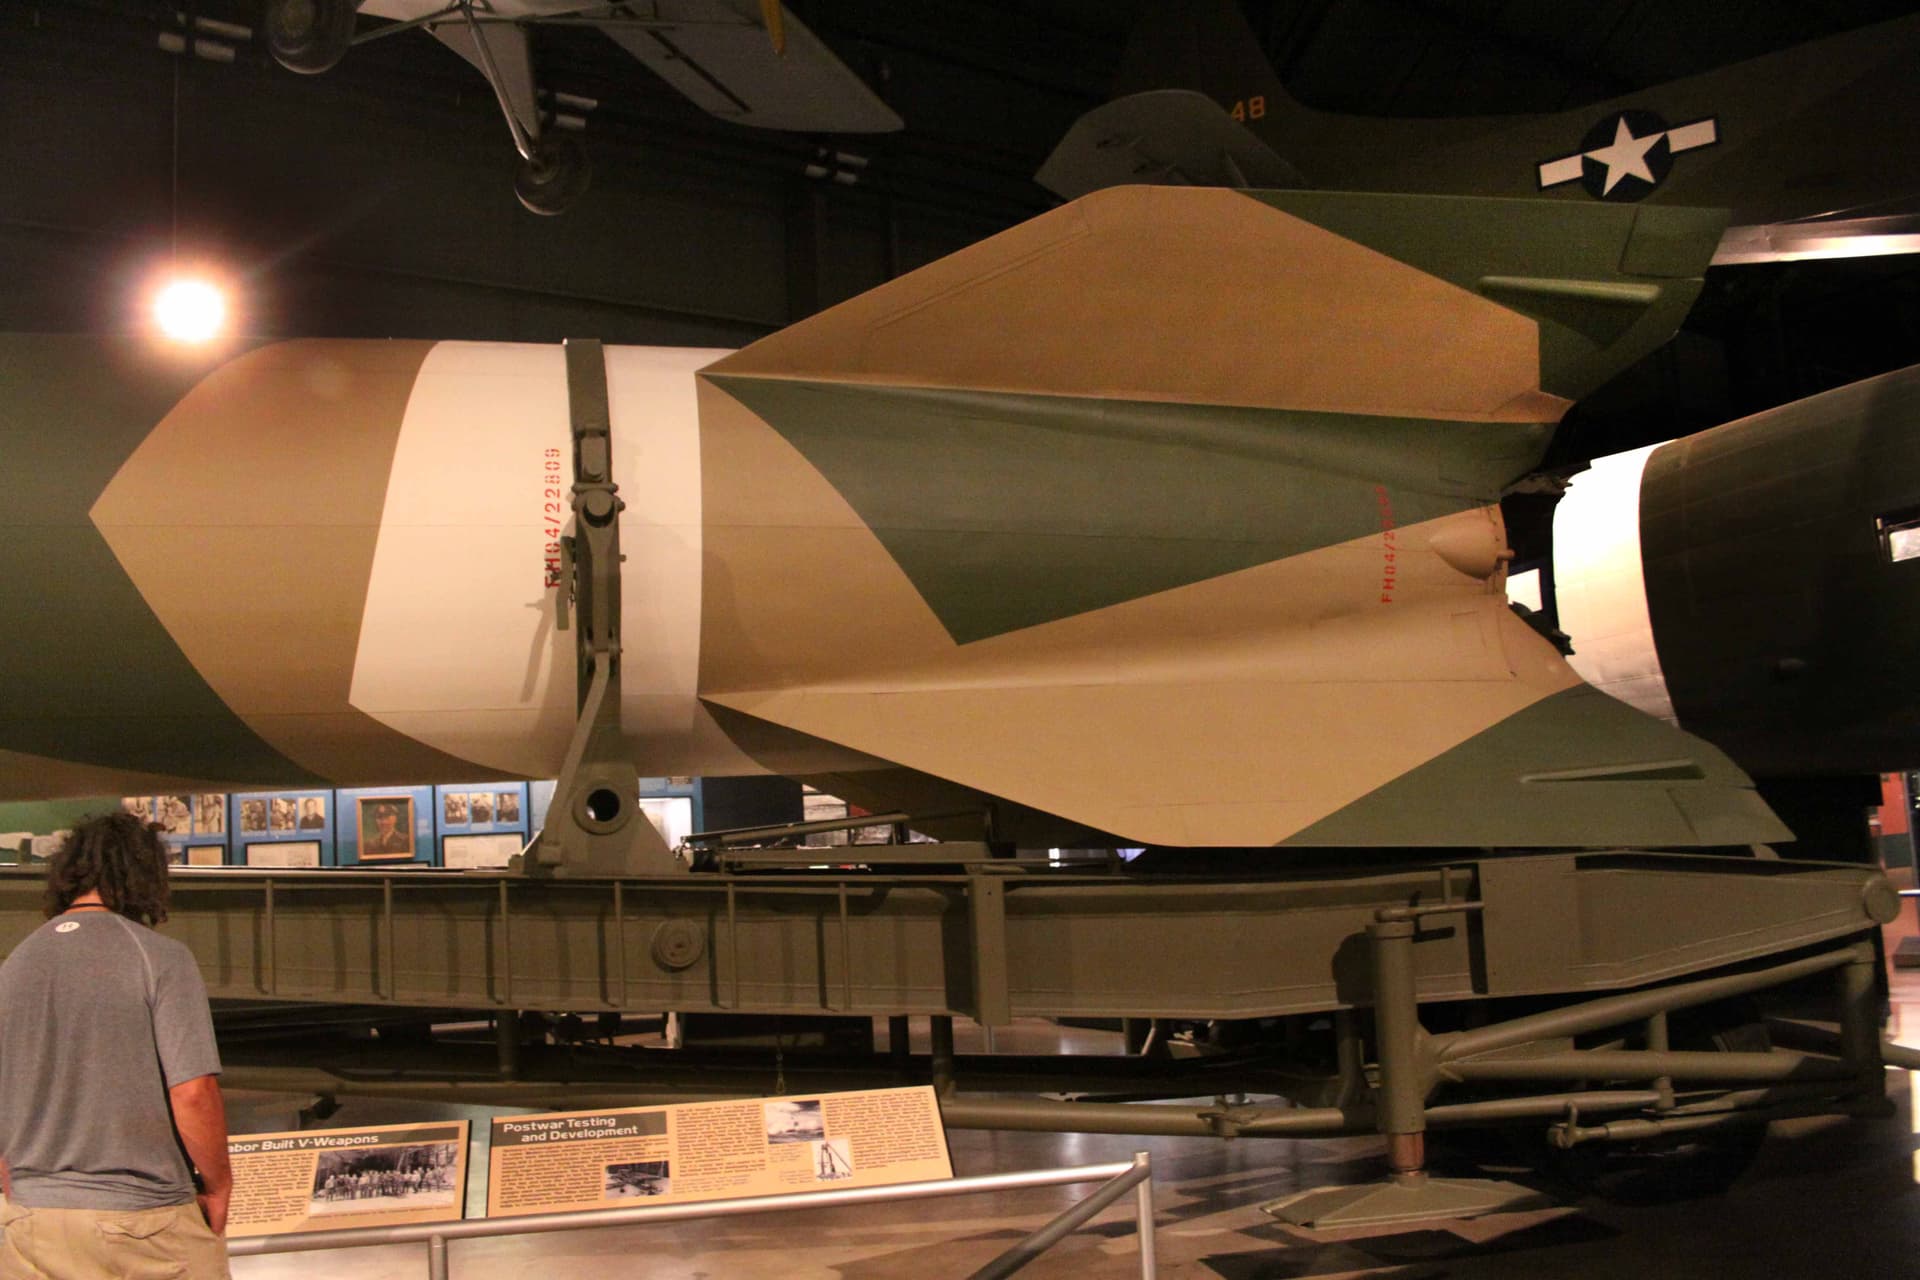
Three image V-2 Rocket:
And here are the original 3 “flat” images as taken:
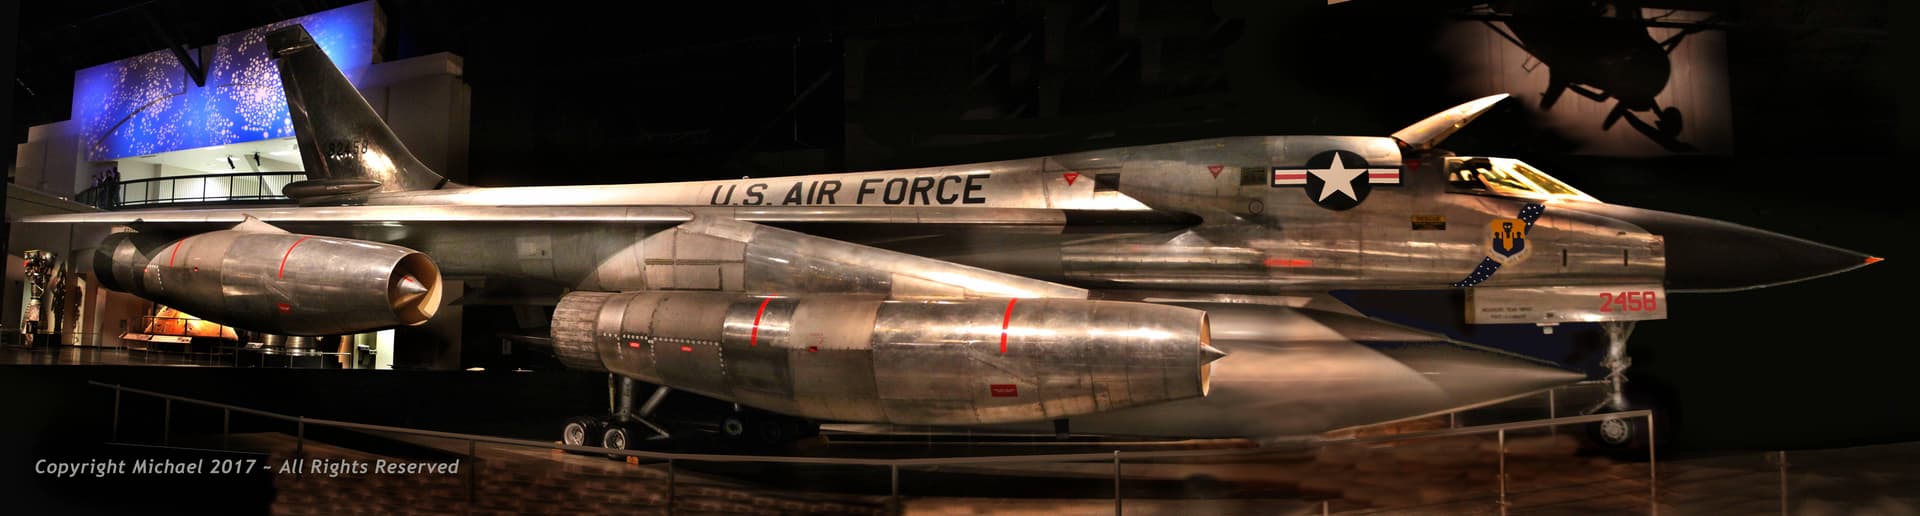
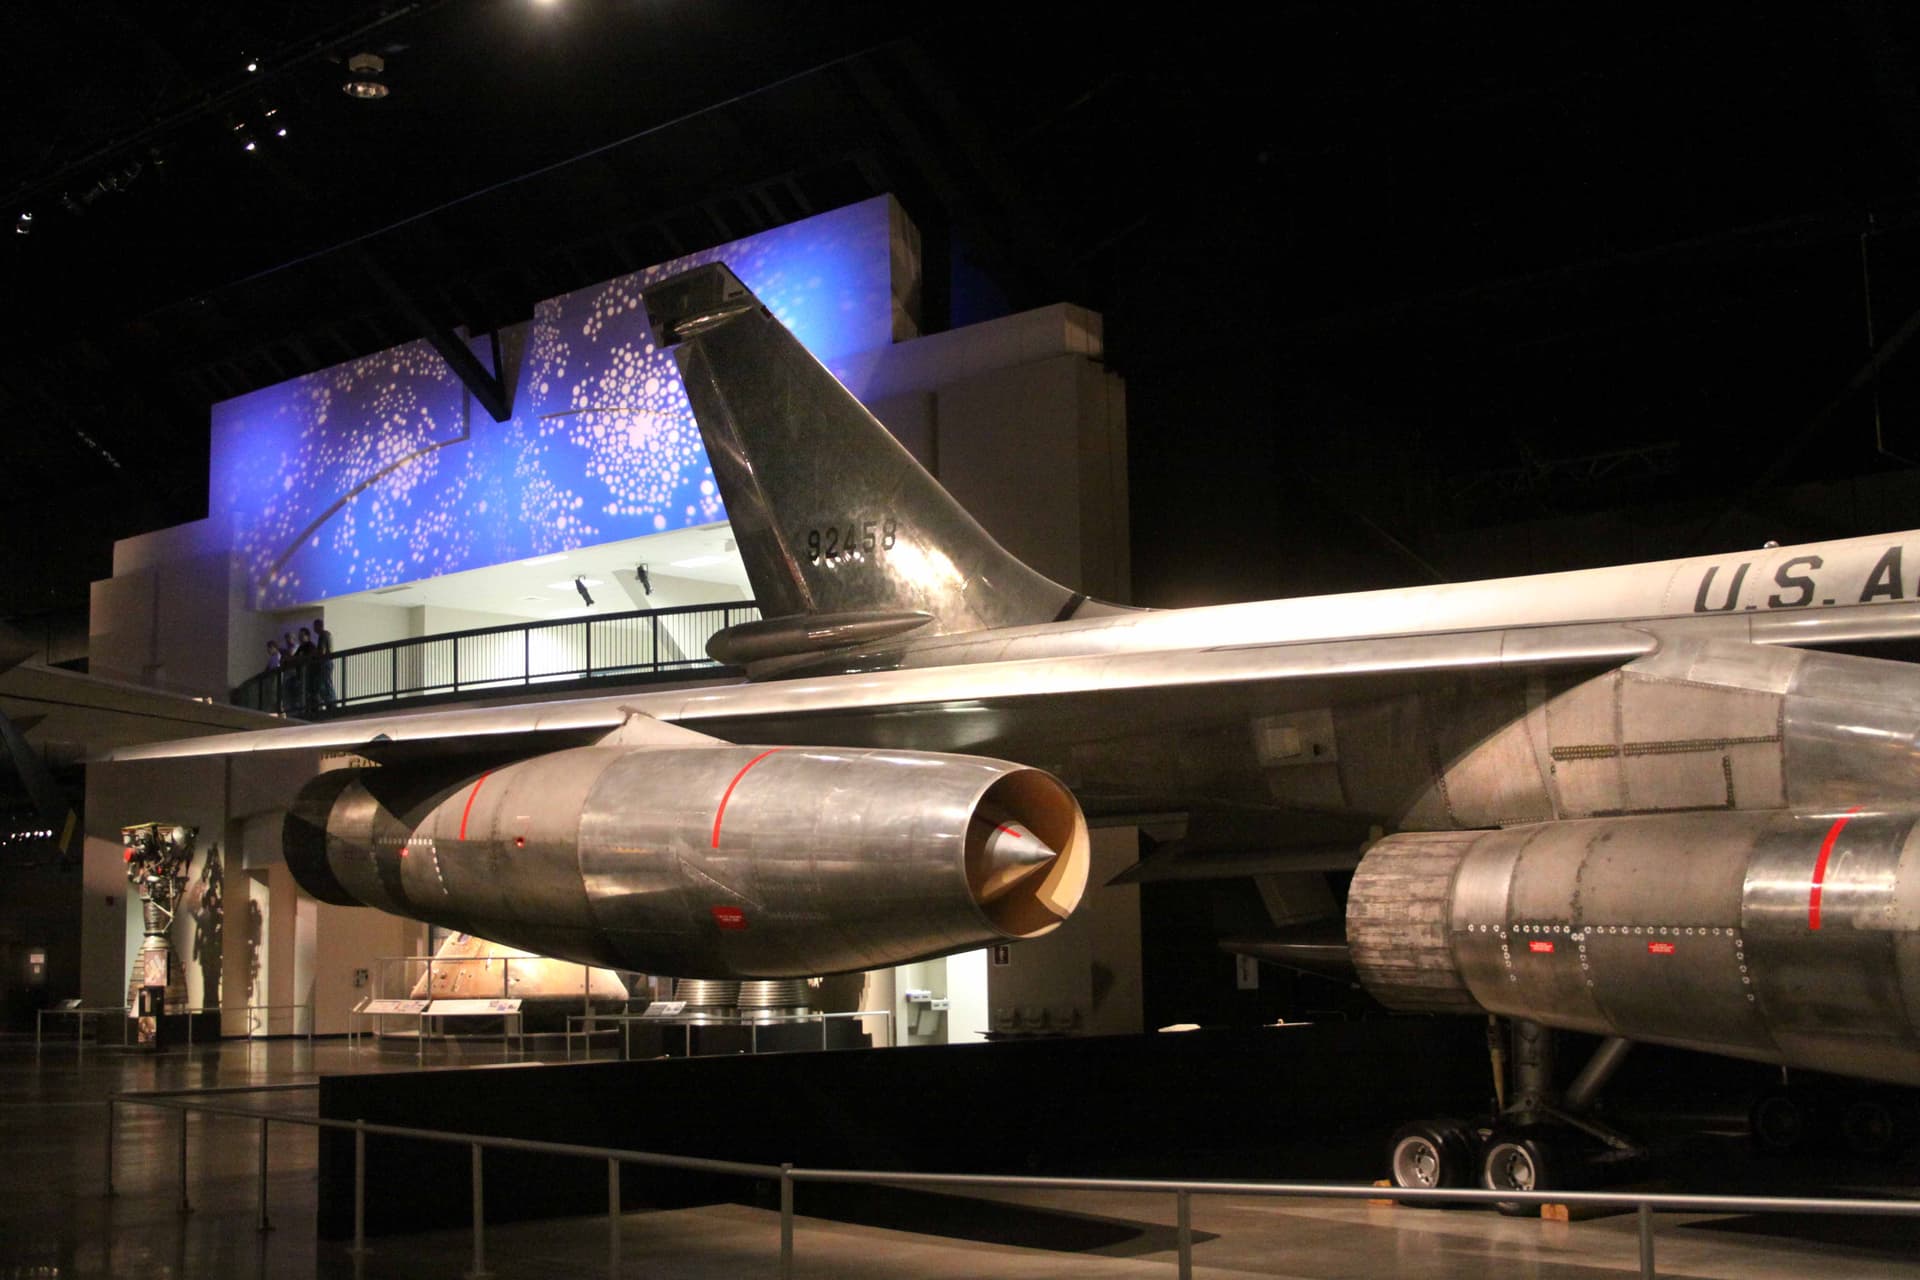
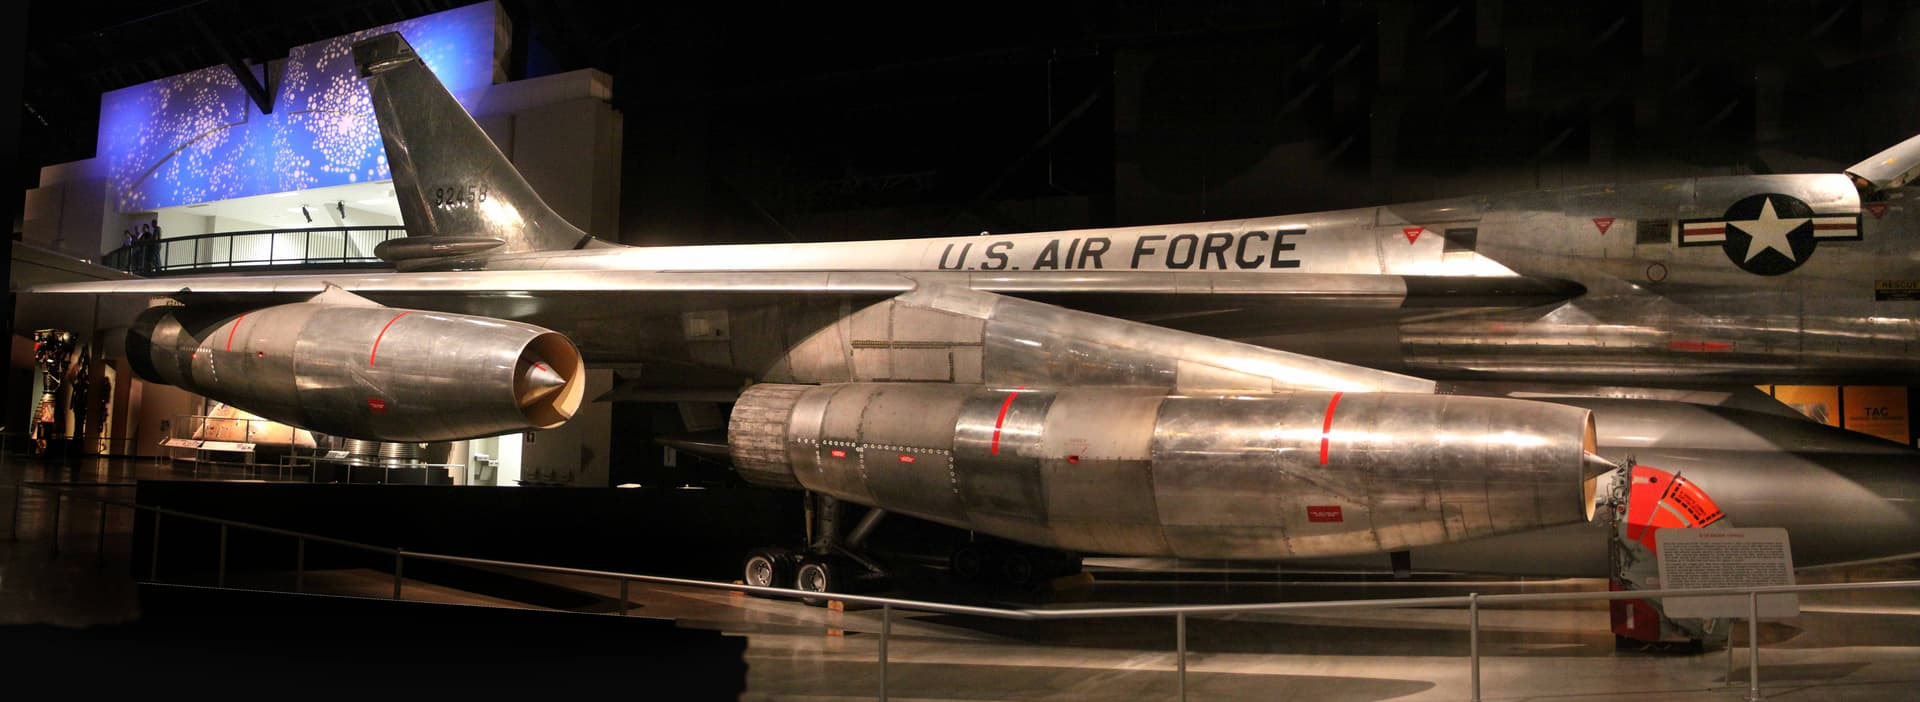
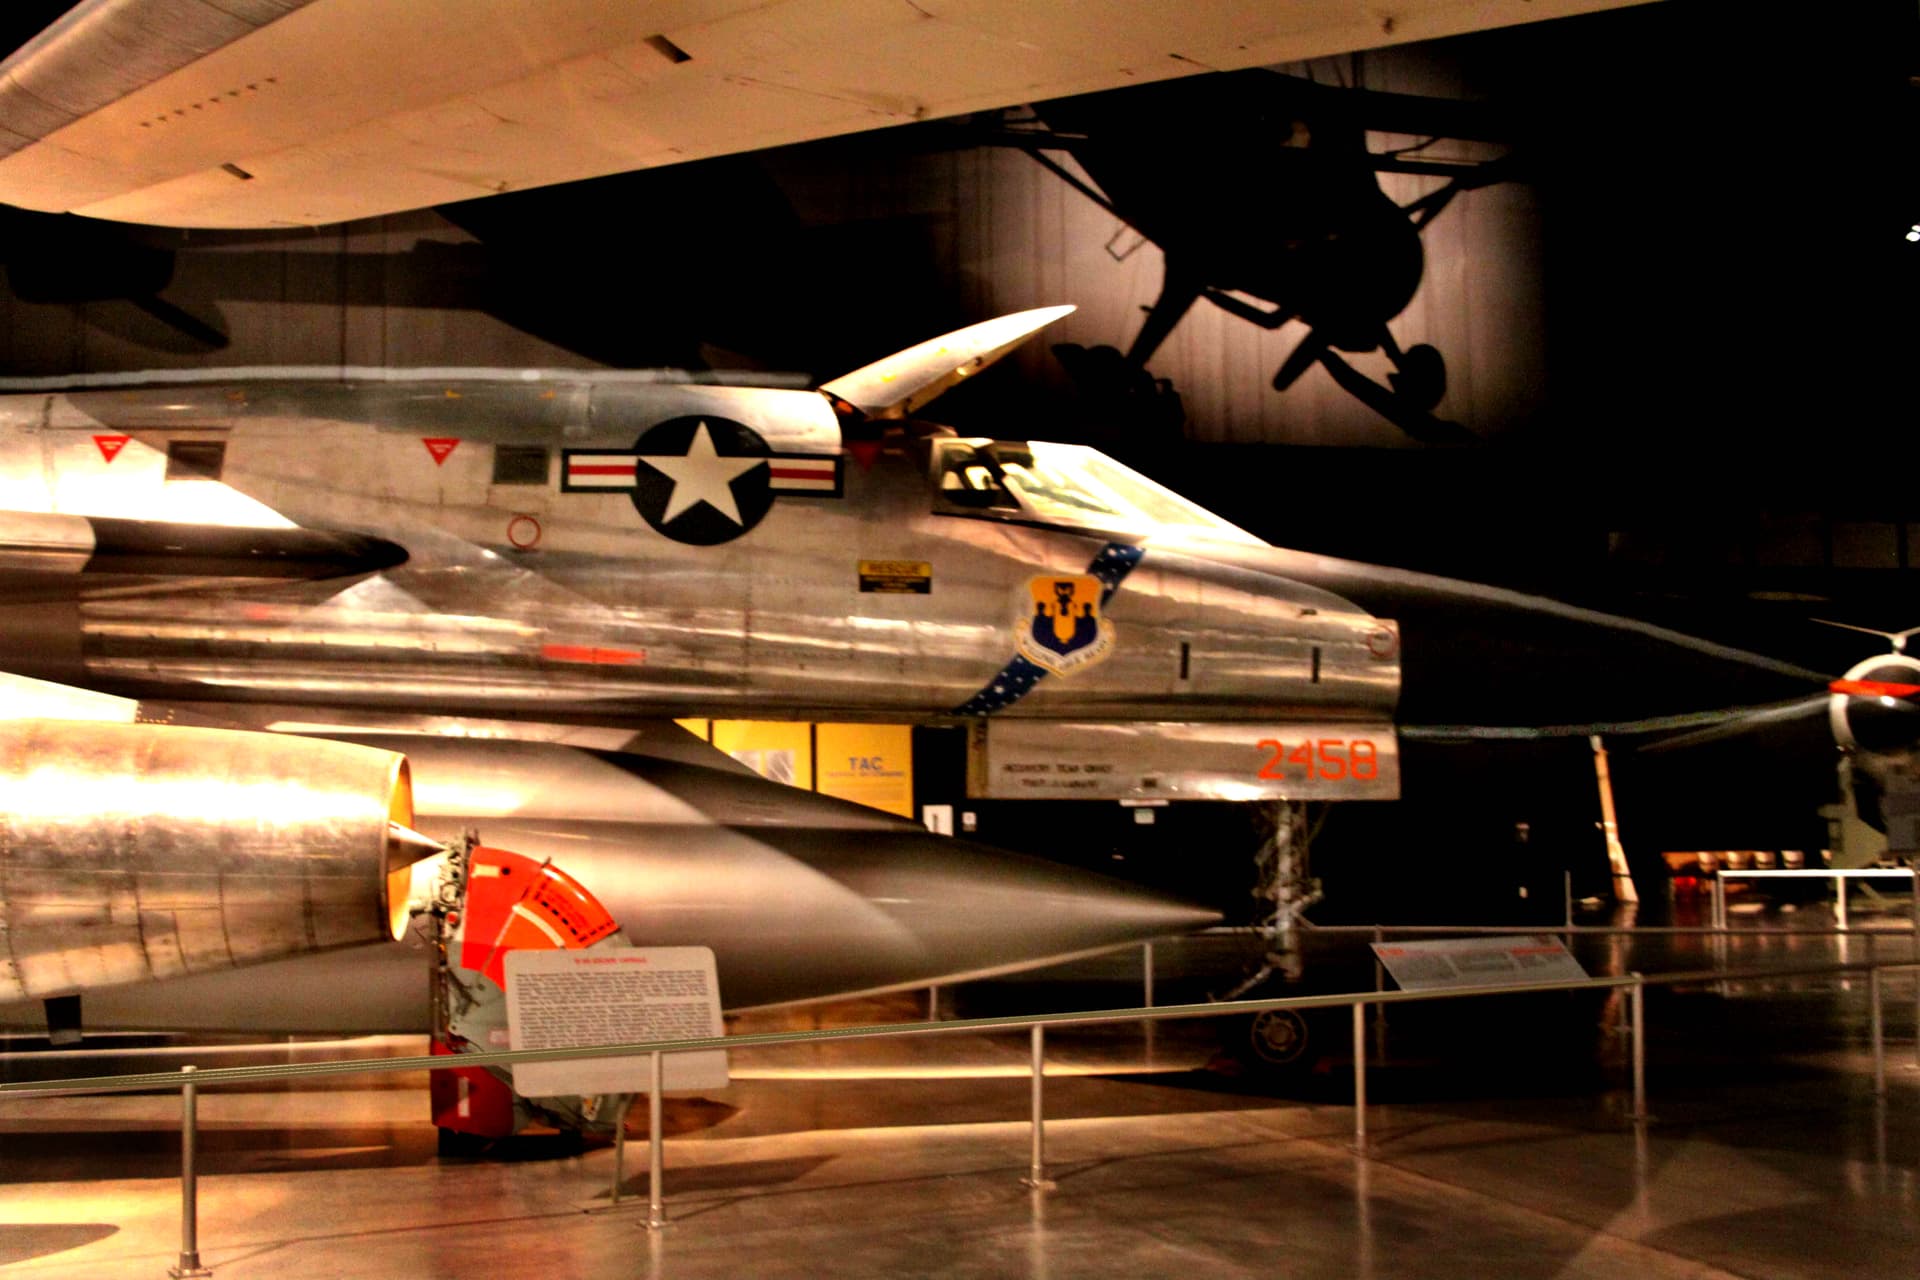
Three image B-58 Hustler:
The original three photos as taken:
*All photo US Museum of the Air Force; Dayton, Ohio.
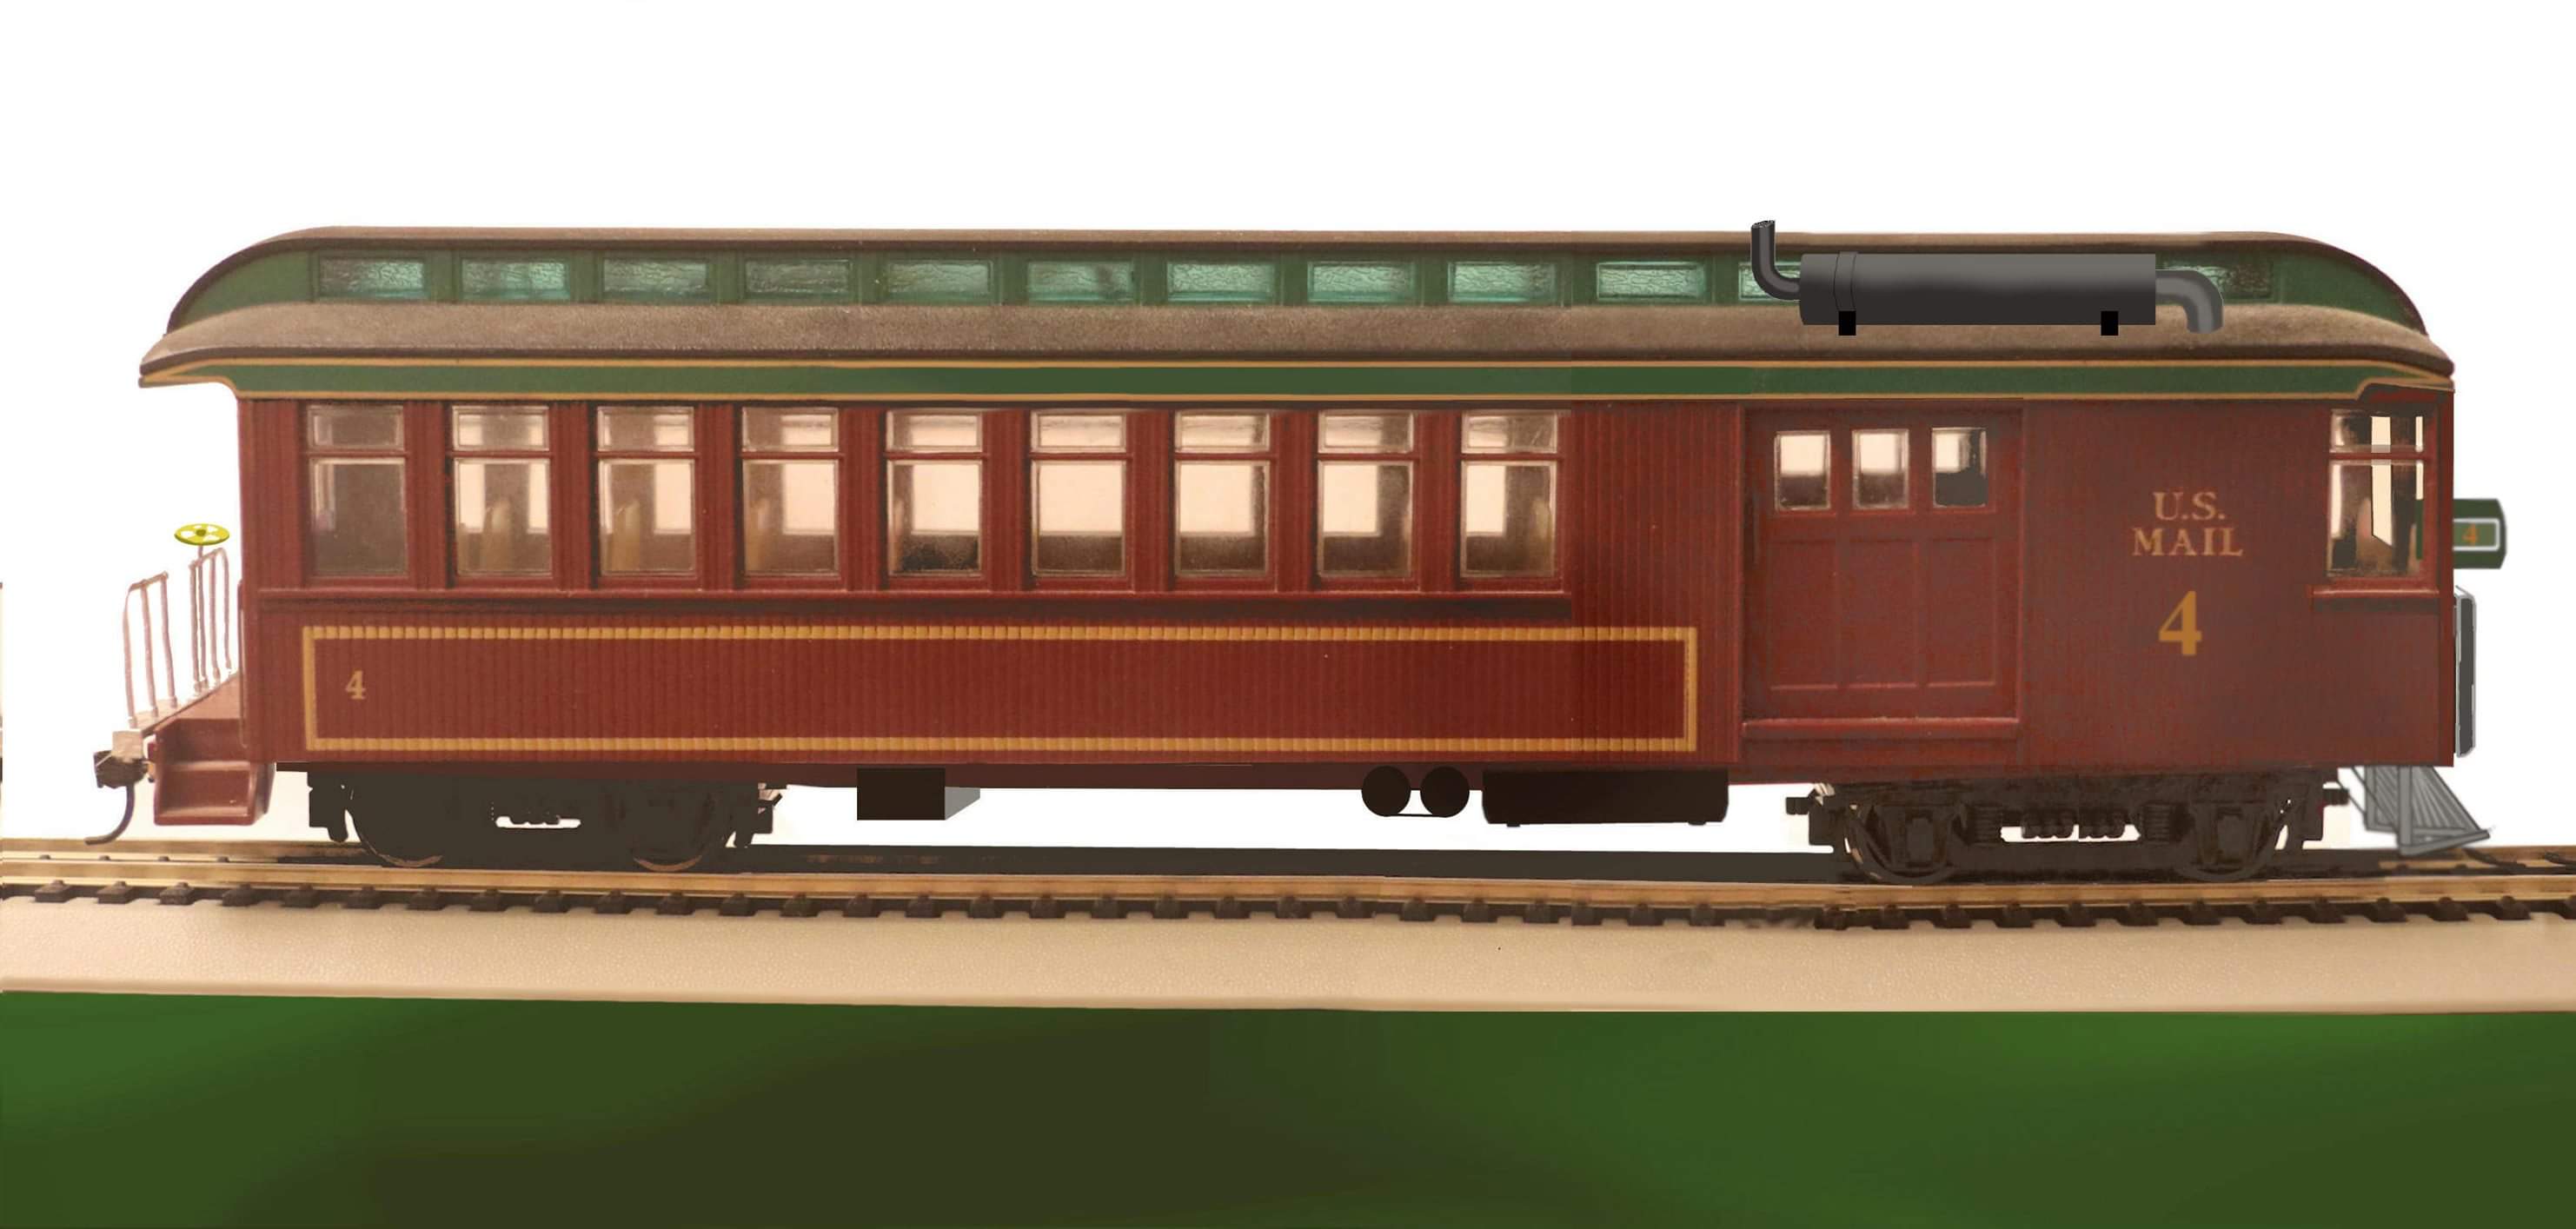
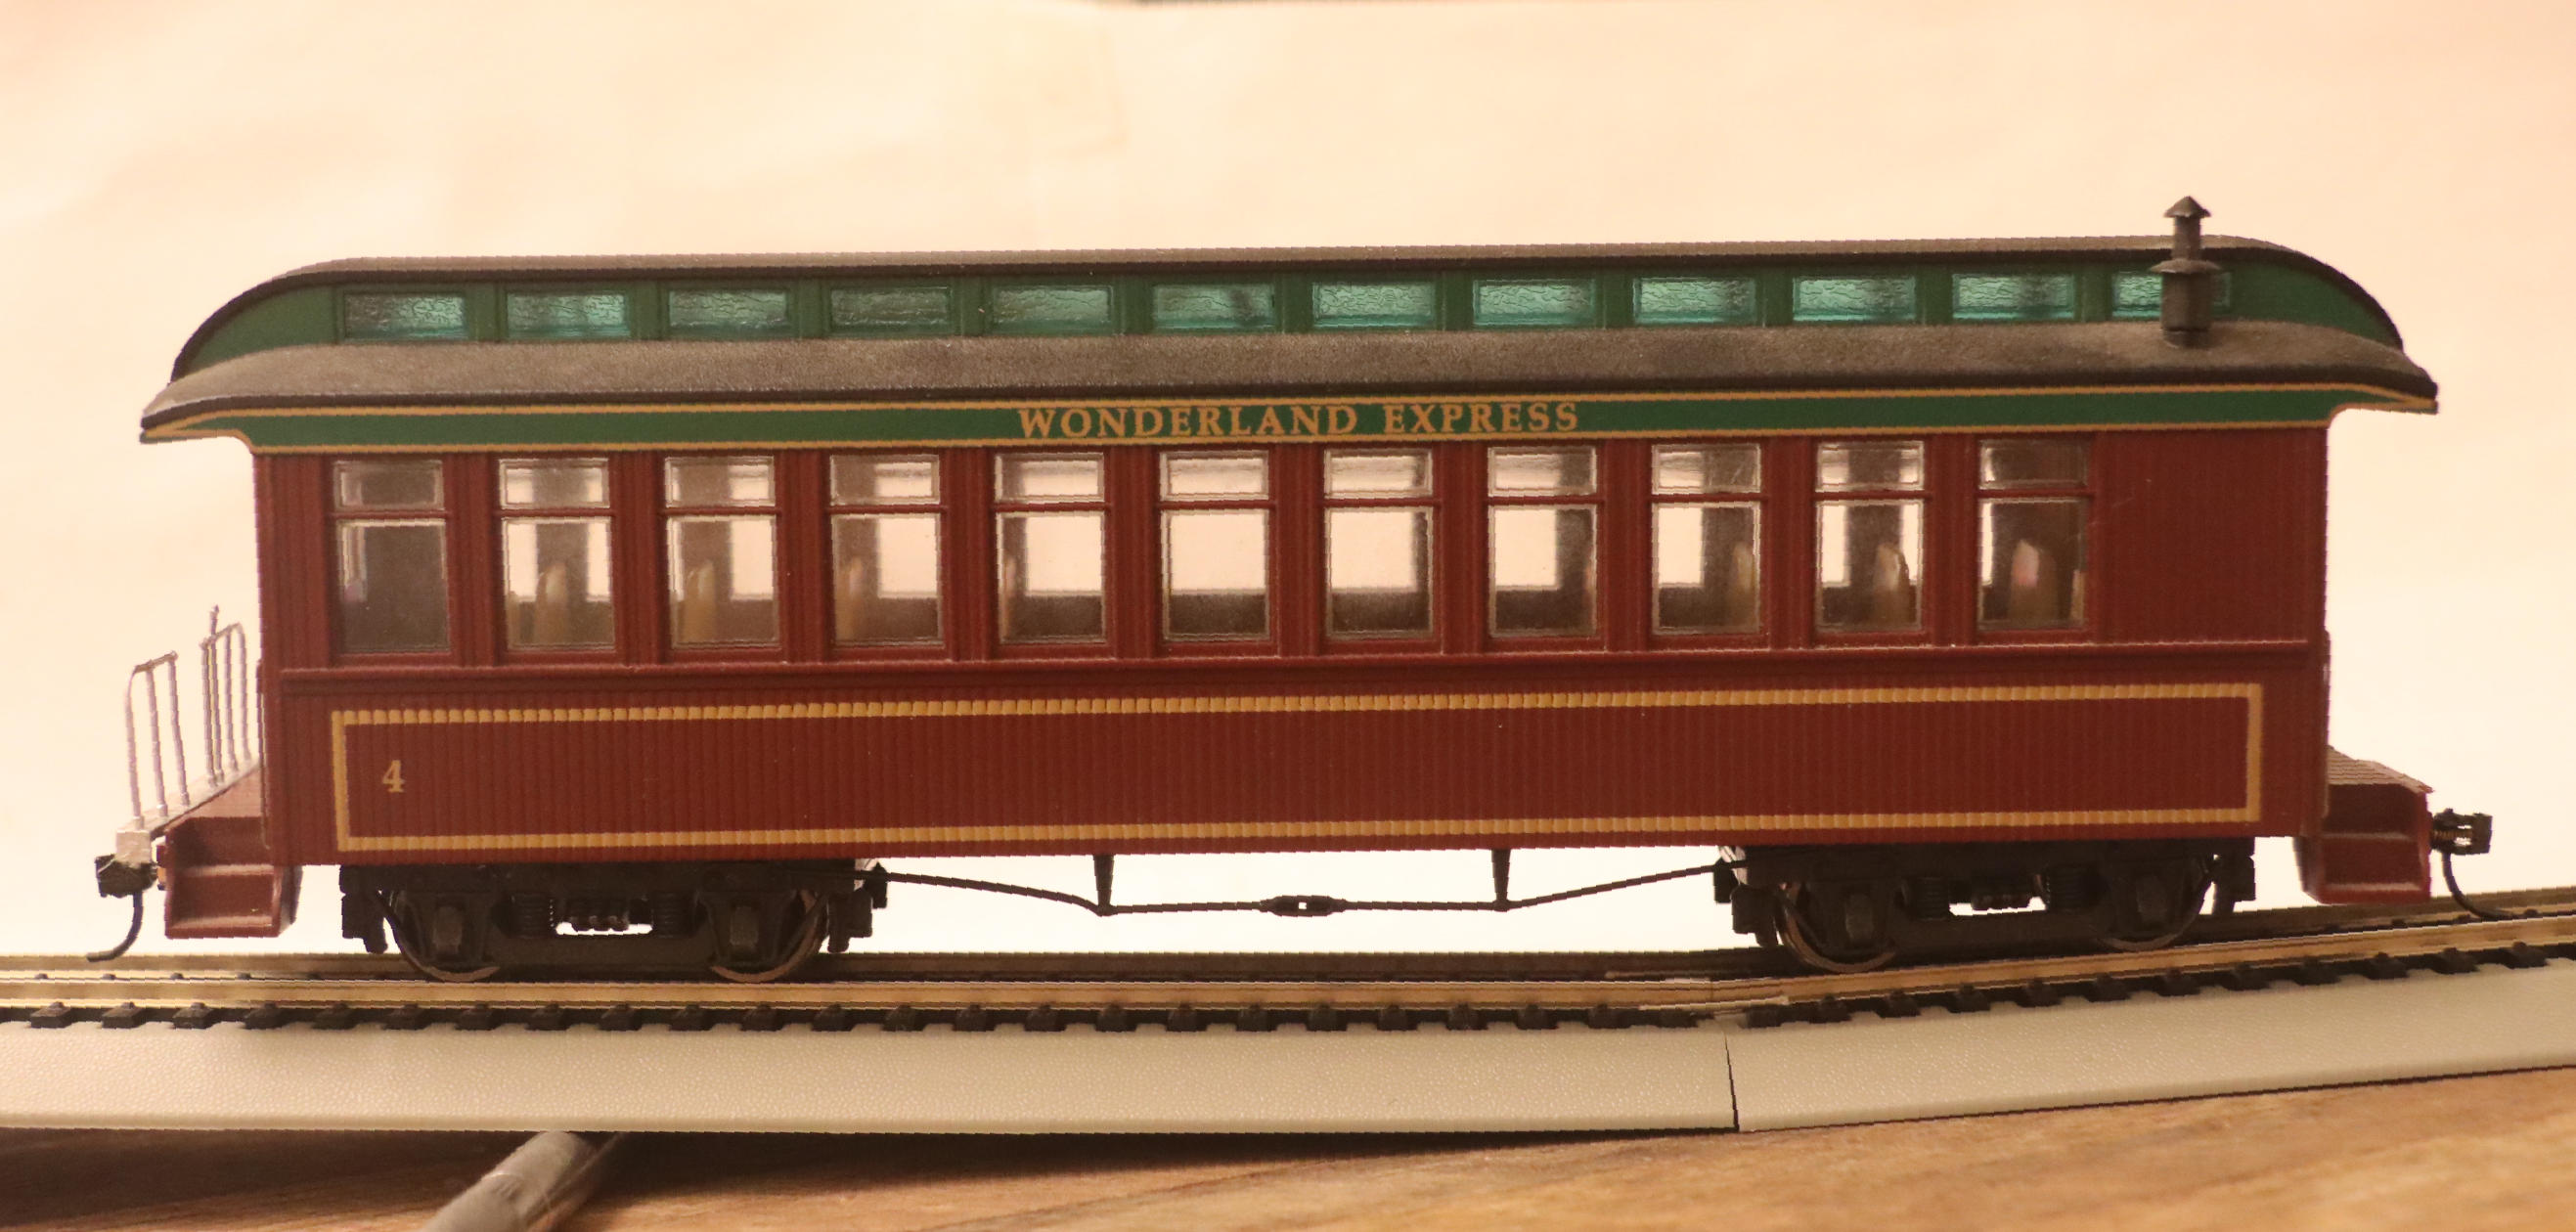
Two Image Motorcar Mash-up: (On30)
Muffler, headlight, radiator and cow catcher all drawn in using GIMP.
Original two photos as taken:
All photos © Michael Koenig 2011-2019 ~ All Rights Reserved
1 Like
Thank you for the heads up, Michael!
Good photo editing software is very handy when photographing our models, which is difficult at the best of times! Often times it’s done in our dusty basements, with insufficient/incorrect lighting and on devices which aren’t built for up close macro photography in those conditions (mobile phones), so the ability to adjust the photos properly is very handy to have 
1 Like
Splintercell - I would love for you to share in detail how you so perfectly selected the silhouette of that aircraft to then lay in the photographic background.
I use GIMP to dropout distracting backgrounds but so far nothing as sophisticated as your work!
Well Done!
Dropping out backgrounds:
Done by using the Cloning, Paint Brush & Paintbucket tools.
_______________________
_______________________
Or even removing unwanted powerlines, telephone poles, signs, people, houses, etc. while also adjusting exposure and contrast: Again using the “Cloning” Tool
BEFORE
AFTER
Even something as simple as removing a light pole that appears to be sticking up out of the Commander’s hatch. (Sorry no BEFORE photos here.)
All photos © Michael Koenig 2008-2019 ~ All Rights Reserved
1 Like
Michael,
There’s another open source program called InkScape. It’s more akin to Adobe Illustrator, if you’re familiar with that. It’s easier to use for drawings/illustrations, IMO
1 Like
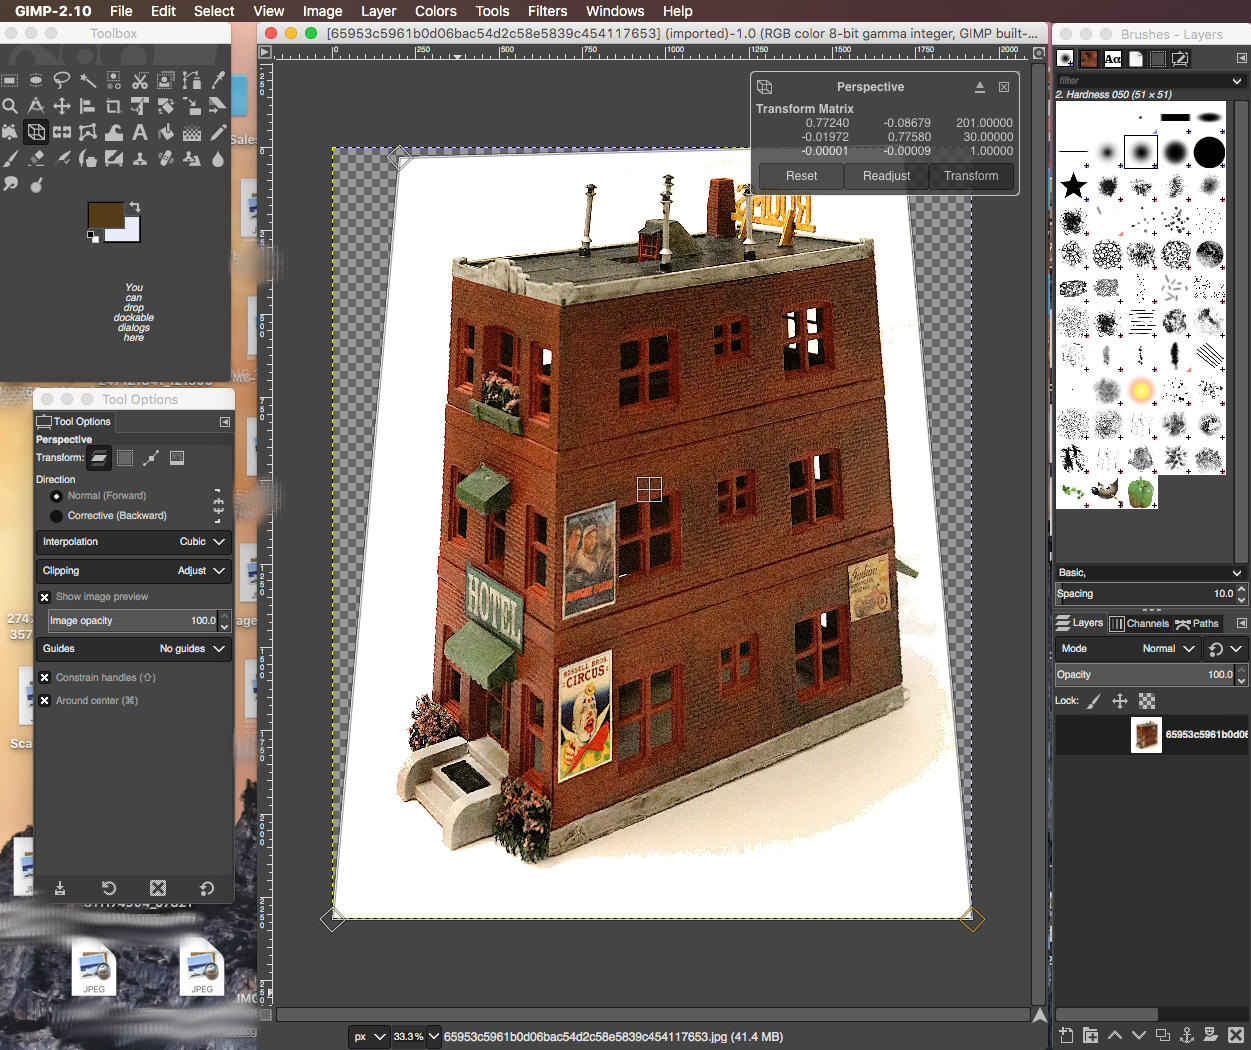
Perspective Correction using GIMP:®
Here is seen the classic example of a modern (fixed lens) camera looking down on a tall structure making the top floors look proportionally larger than the lowers floors.
or the reverse:
The finished perspective corrected image:
3 Likes
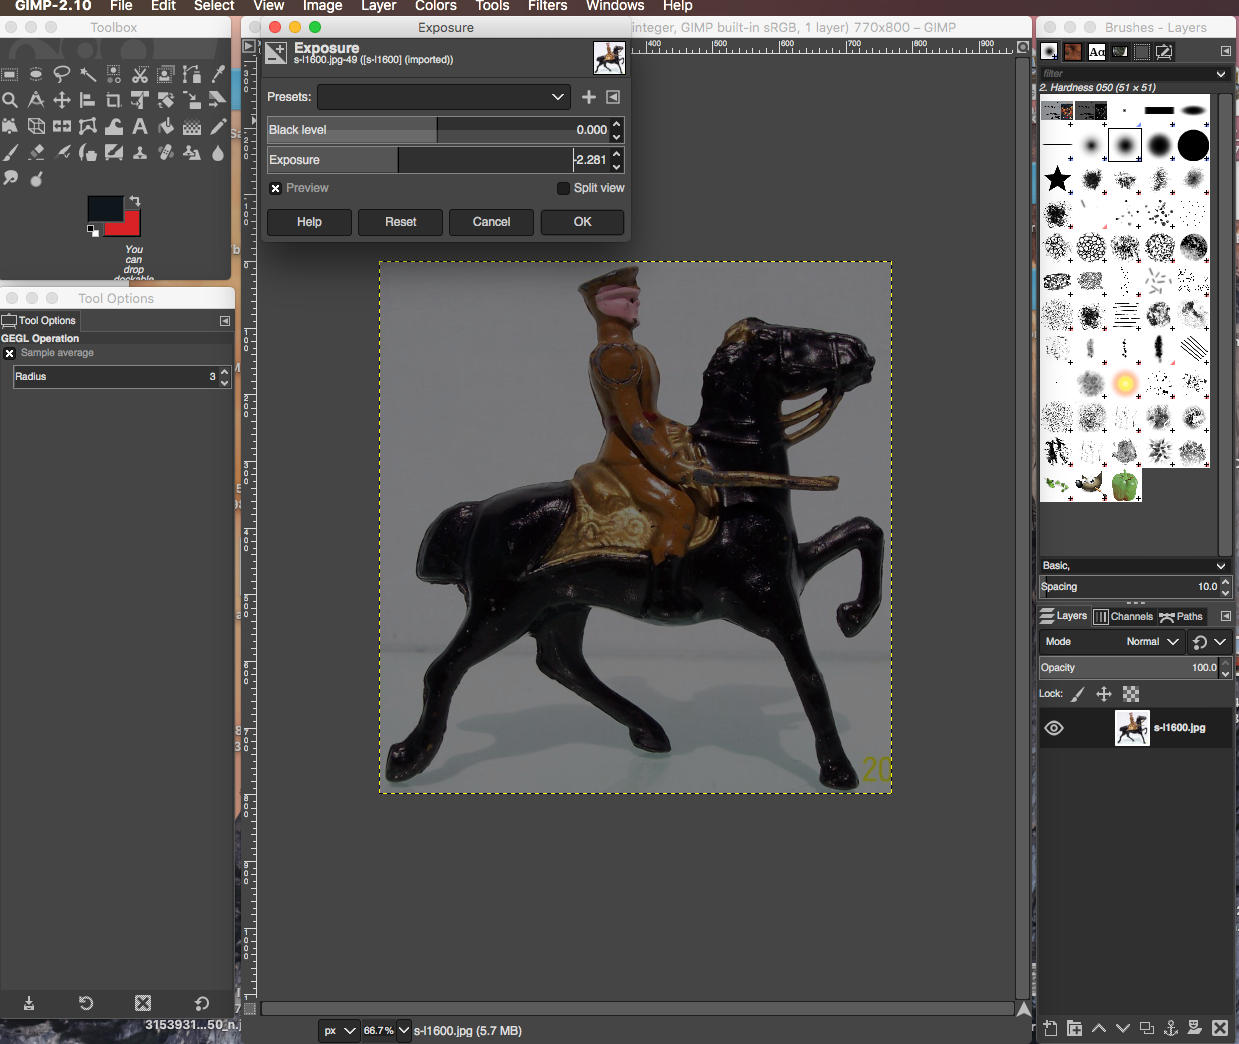
Adjusting Exposure and Exposure Range using GIMP
Exposure; meaning adjusting the brightness to darkness range of your image:
GIMP has an “Exposure” Tool located under the “Colors” pull down at the top of the screen. As you might expect this tool lightens or darkens your image uniformly, meaning all dark tones get lighter/darker, all light tones and middle tones do as well.
Sometimes this MIGHT be the tool you want:
Darkening:
No detail left in the black horse
Lightening:
Starting to loose the soldier’s face
Or just Normal Exposure:
In this image I have done nothing to the original “as shot” image.
Now You Might Notice:
When I lighten the image the lite-tones do get lighter but so do the near-white tones which causes us to loose detail in ALL the lighter tones.
The same is true when using this tool to darken an image. We will loose details in the near-black tones as they disappear into the solid black.
Wouldn’t it be nice if we had a tool that would let us adjust the lite-tones, mid-tones and dark-tones more or less independently of each other?
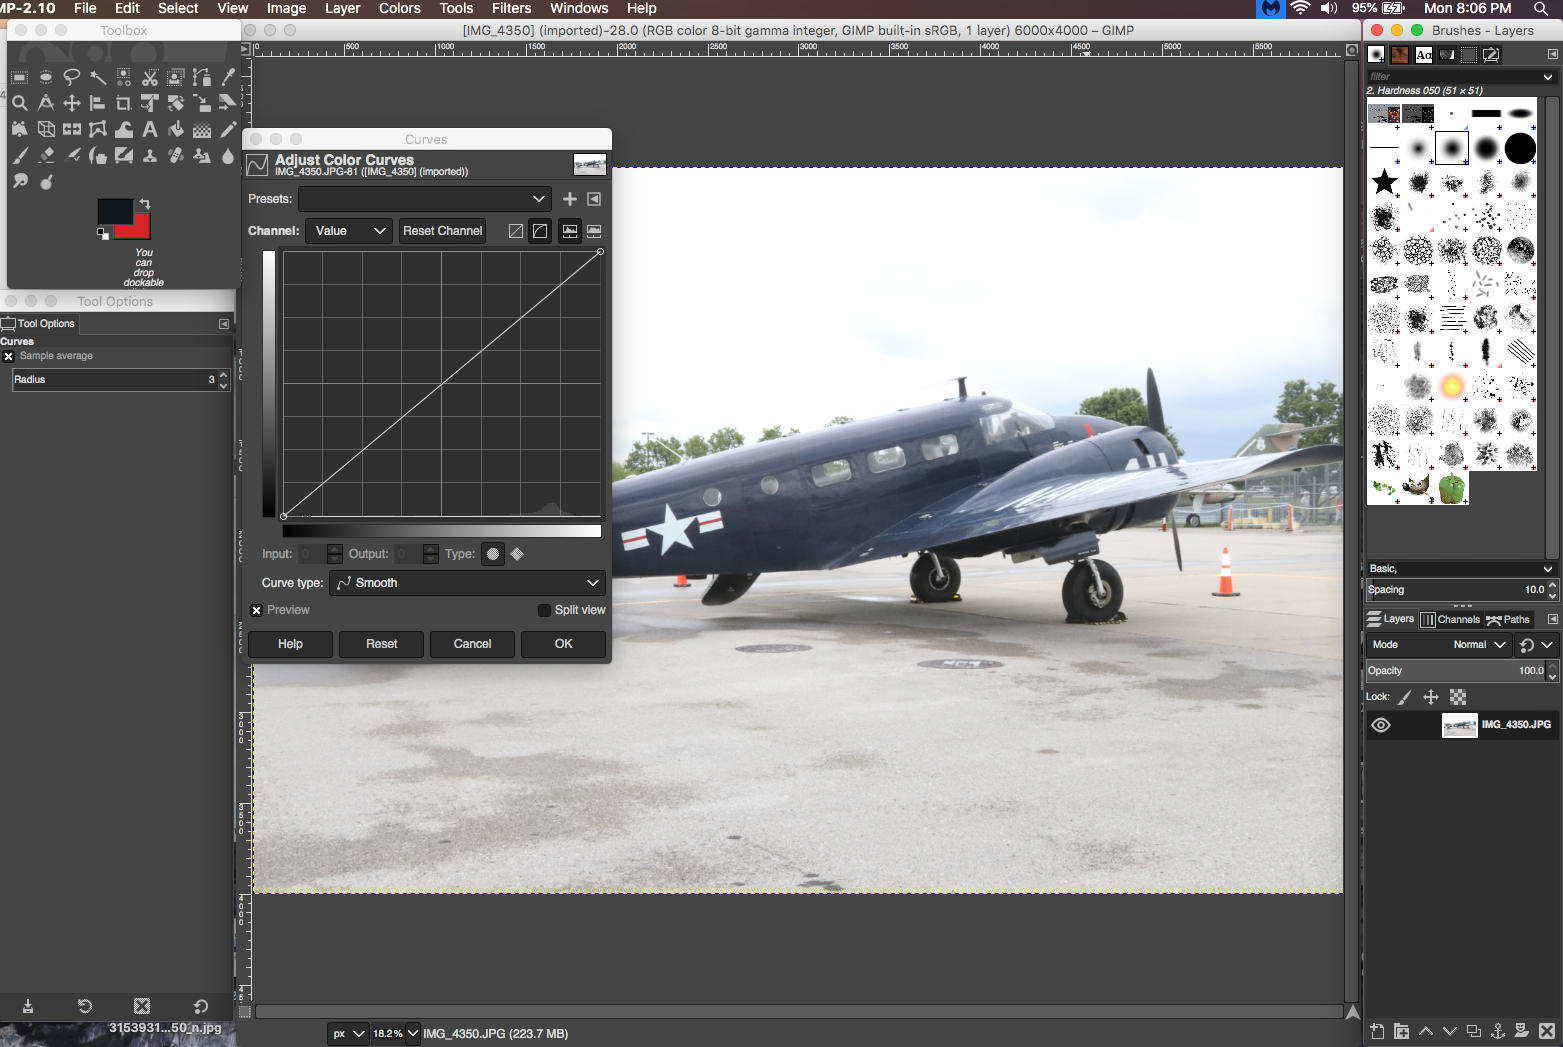
Enter the “Curves” Tool:
Again located under the “Colors” pull-down at the top of the screen you will find the “Curves” Tool.
Seen Below; The Unadjusted (as taken) image:
Given the heavy overcast sky I was exposing here to get good detail in the dark tones as a modeling/detailing resource and not trying to take a “Beauty” “Post Card” shot.
Note: the sloped line on the “Curves” Tool is still a straight 45 degree sloped line.
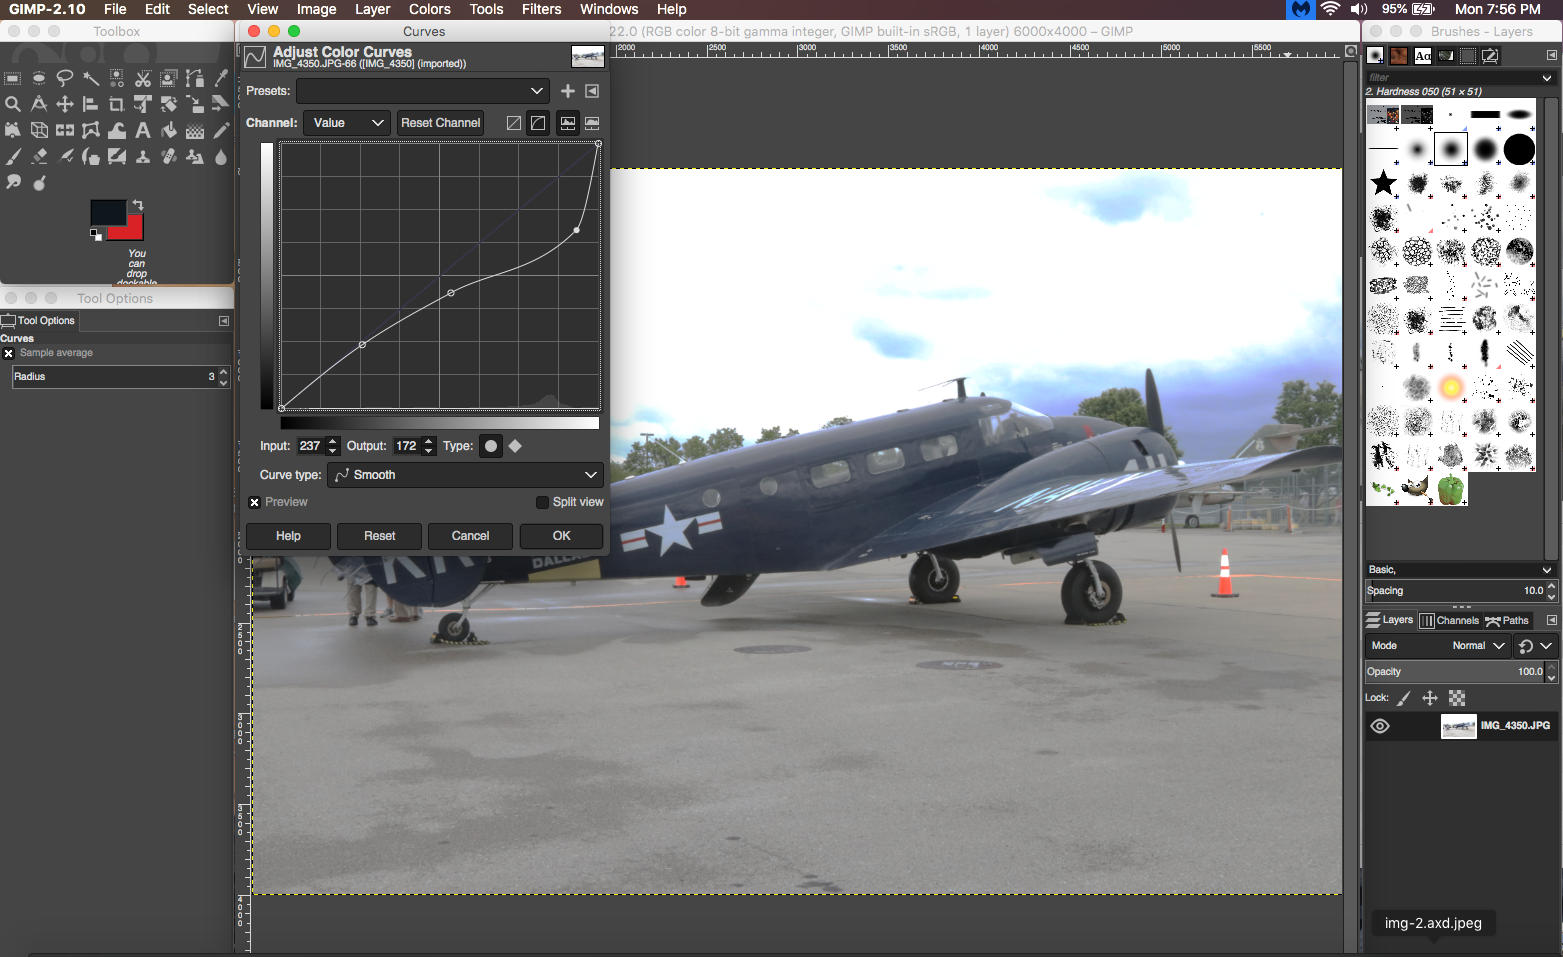
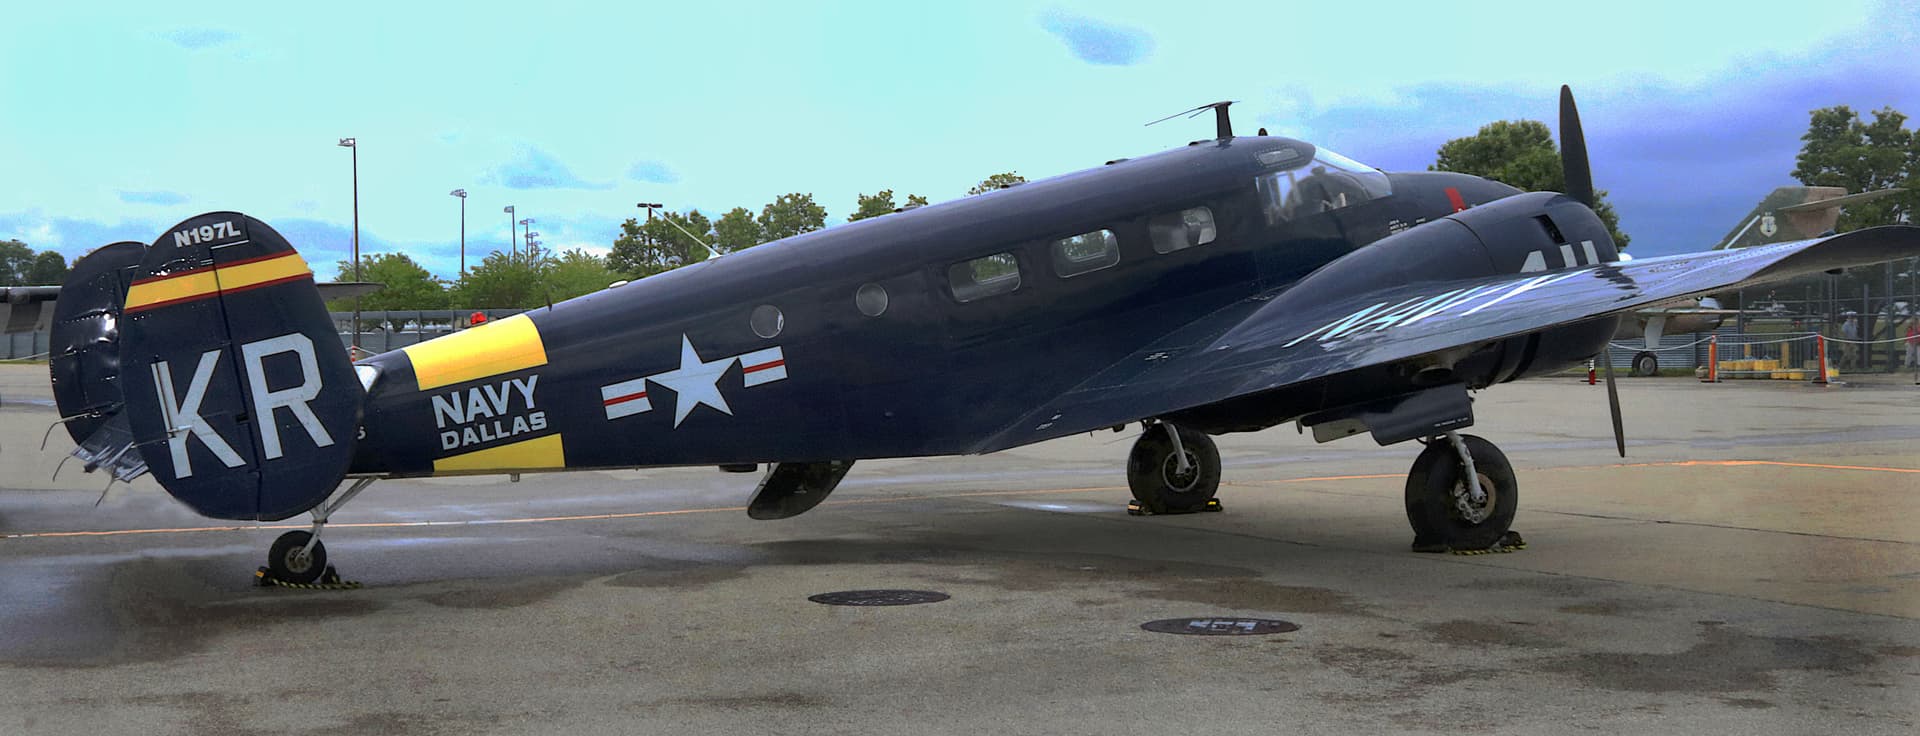
Now the Adjusted Curves:
Not a fantastic image but still a much improved one.
The center point of this curves graph represents the brightness/ darkness of the mid-tones. The top half on the slope represent the lighter tones and the bottom half the darker tones.
In this example I have darkened the highlights considerably, also darkened the mid-tones somewhat and lightened the dark areas of the aircraft as you can see on the line of the graph.
1 Like
Again I am no expert!
What I have gained in using GIMP I learned by trial and error over time.
The photo above, in no way do I claim to be a jewel, - far from it!
It was a bad day to shoot and was going to be my only opportunity to photograph these aircraft. So in the end I used every GIMP trick I knew to turn a bad day into a productive one.
I used cropping, burning, color saturation, sharpening, contrast as well as the cloning tool to remove 3 ground crew, a golf cart, several orange cones and to lay-in a more acceptable sky.
Here is my final result.:
Please don’t judge it too harshly.
Plus another taken the same day:
Kentucky Aviation Museum, WWII Fly-in, Bluegrass Field, Lexington, Kentucky
Aircraft are property of the Commemorative Airforce.
These Two Photos © Michael Koenig 2023 ~ All Rights Reserved
1 Like
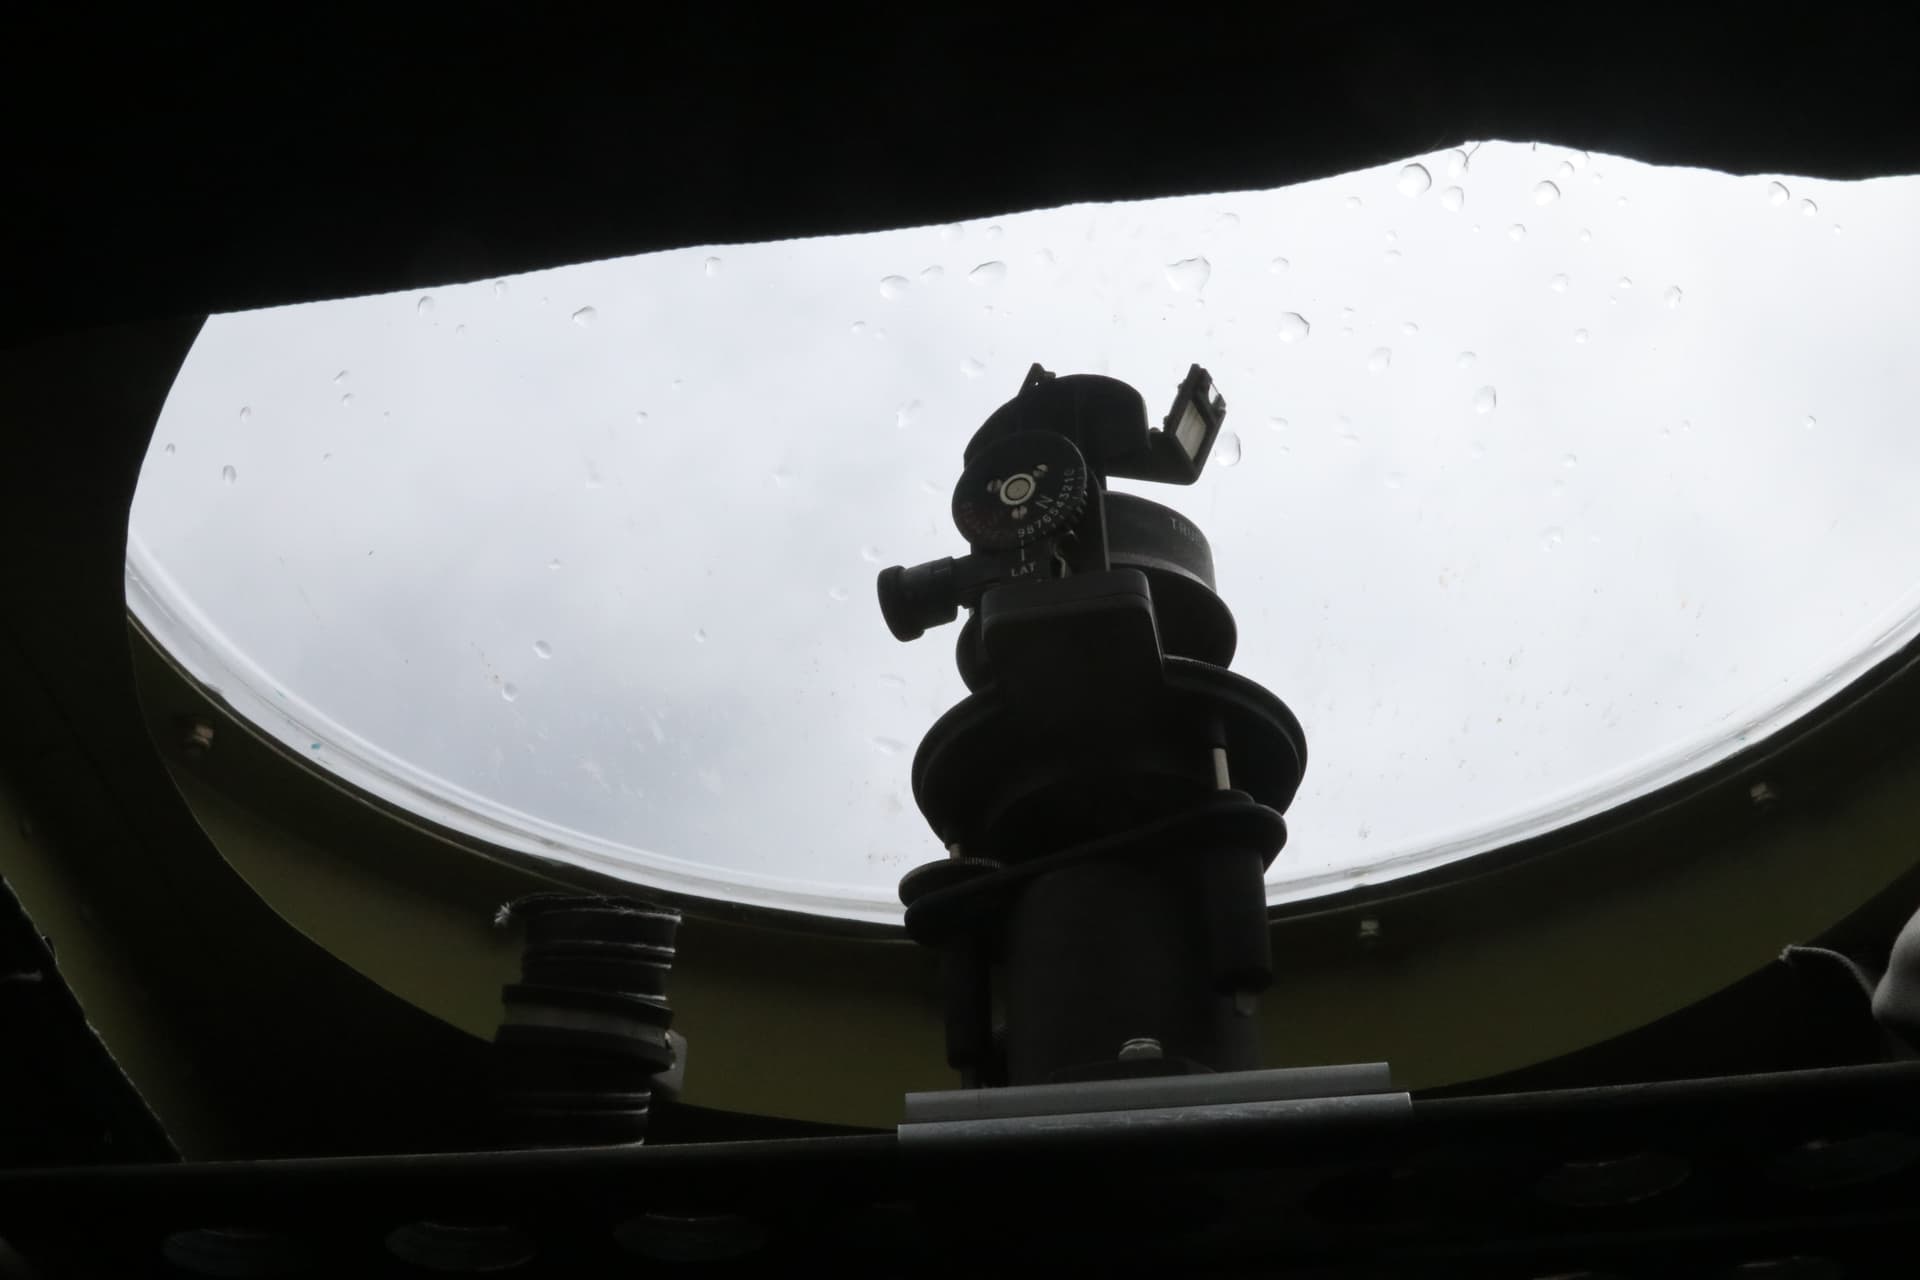
Expanded Exposure Range
Some call this Expanded Dynamic Range
A tough exposure situation here:
The nearly matte black, crinkle finish, Navigational Sextant seen against the bright blue-white sky
Unadjusted Original Photograph:
Not much detail to be seen.
Adjustments made using the GIMP “Curves” Tool:
Note shape of curve on graph:
Final Image:
Detail and color now seen in the sky and in the airframe, while the Sextant now has visible detail
Click on Photo to Enlarge
1 Like
When you crop in GIMP, do you use a mask? 
(Sorry, couldn’t resist! I’ve got GIMP on my machine and it’s quite a good tool once you get used to it. But for basic cropping, colour correction, and resizing of build pics for forum posts I find the Photos app in Windows 10 does what I need.)
1 Like
(Playing your question as being totally straight:)
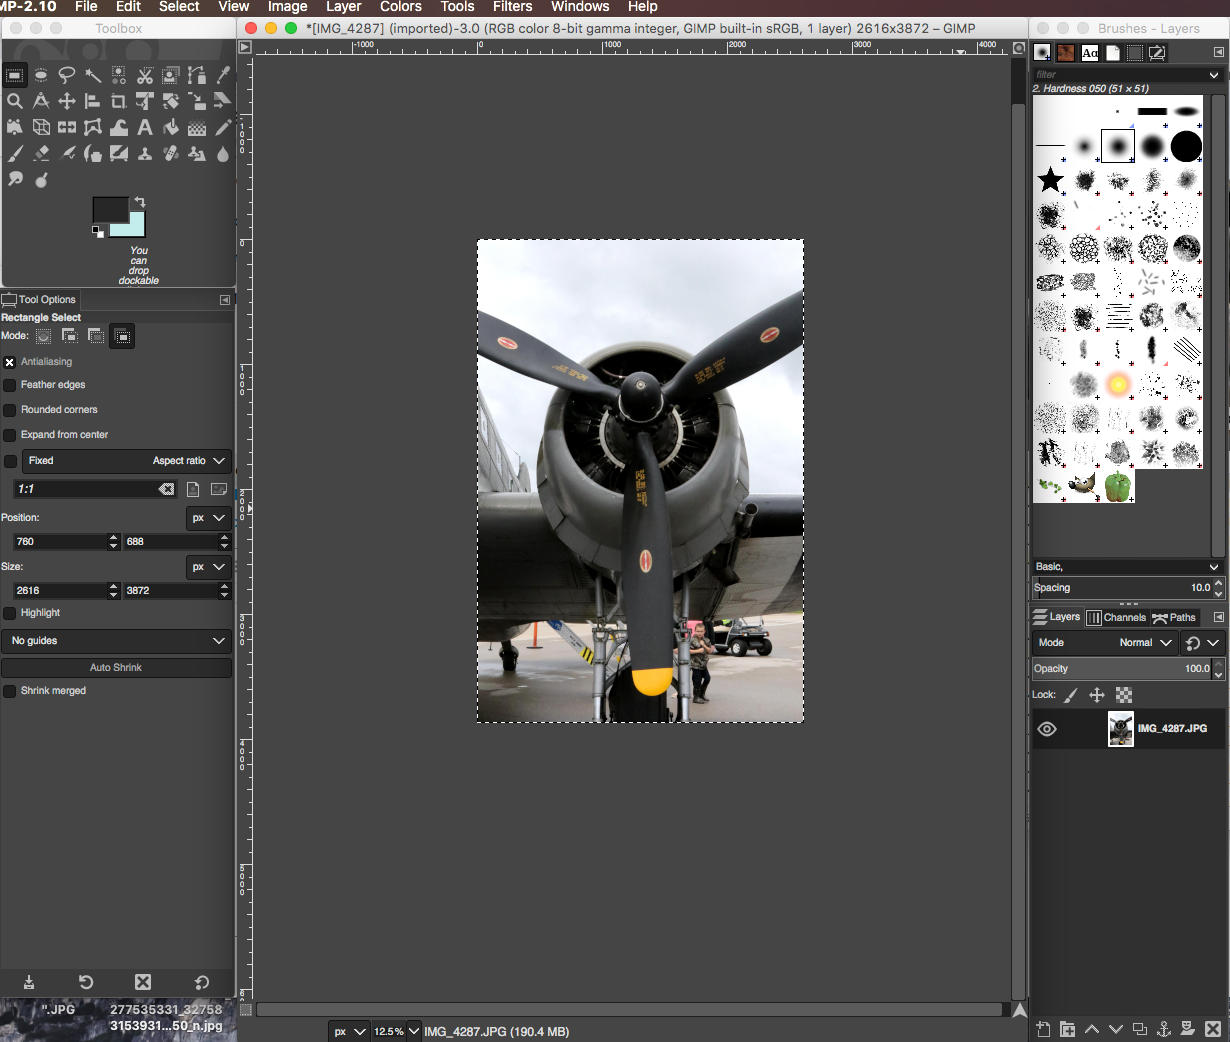
No, I use the rectangular selection tool. Pick the crop that I want and then select “Crop to Selection” in the “Image” pull-down.