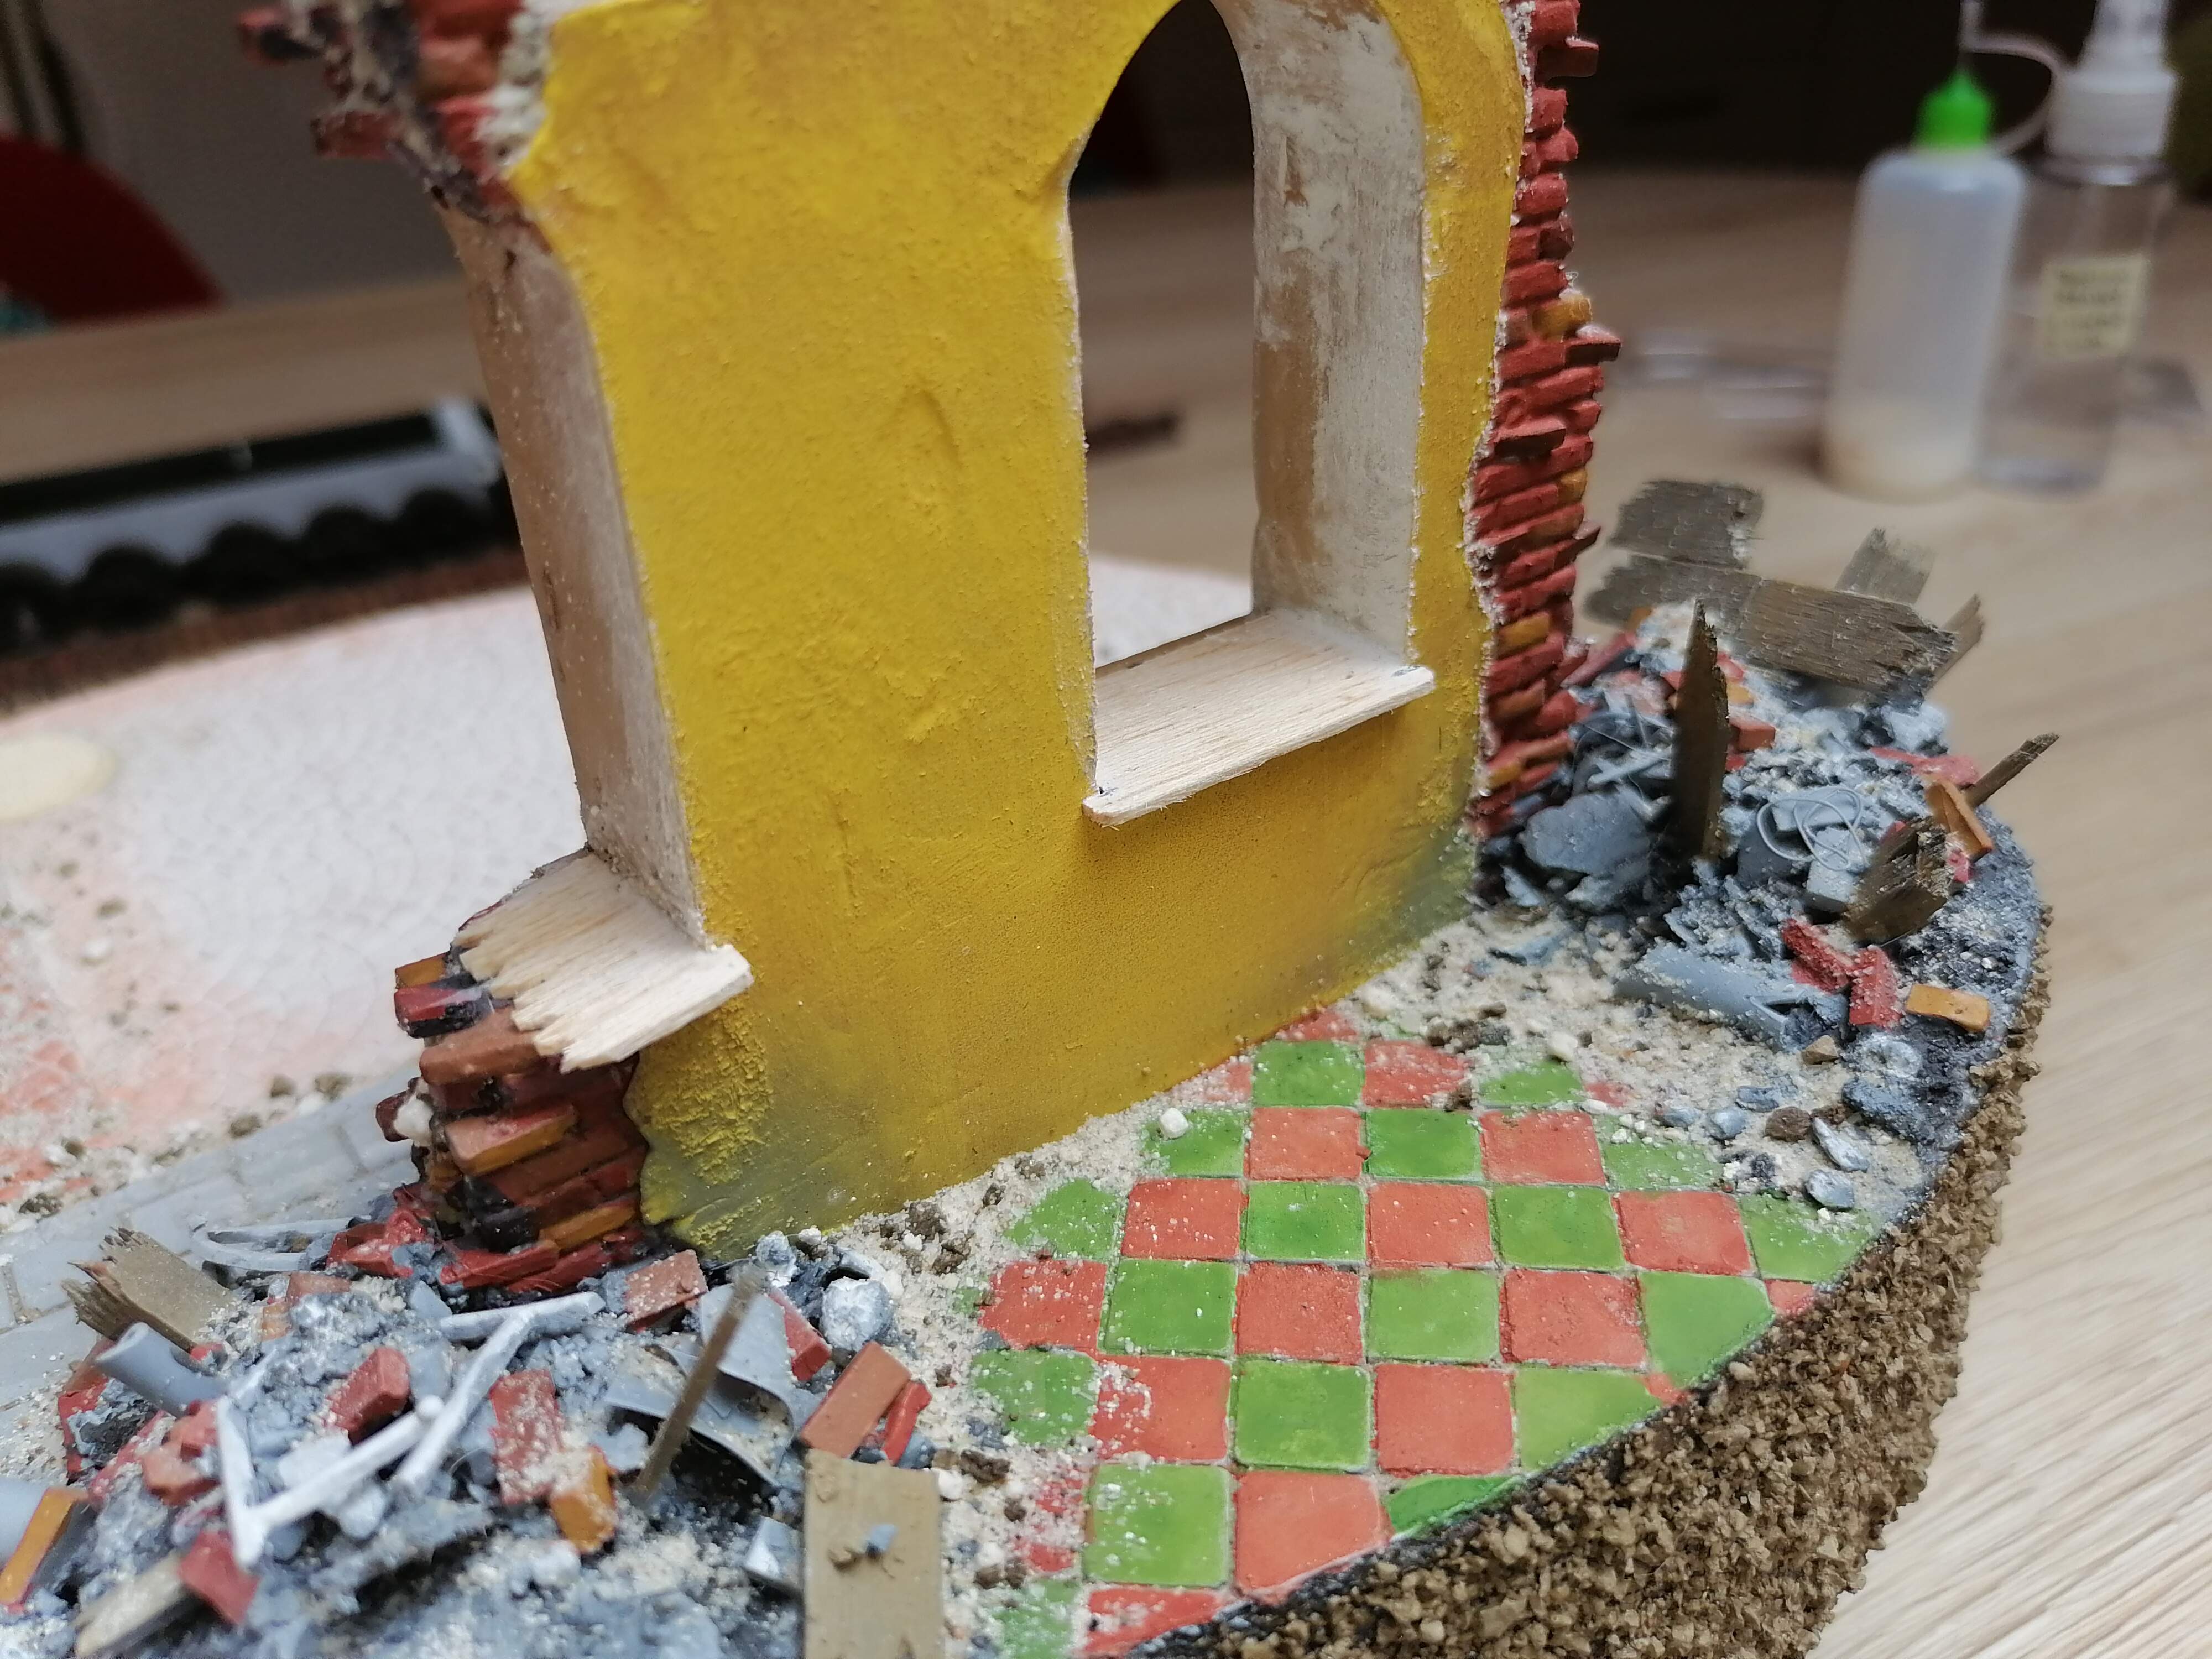
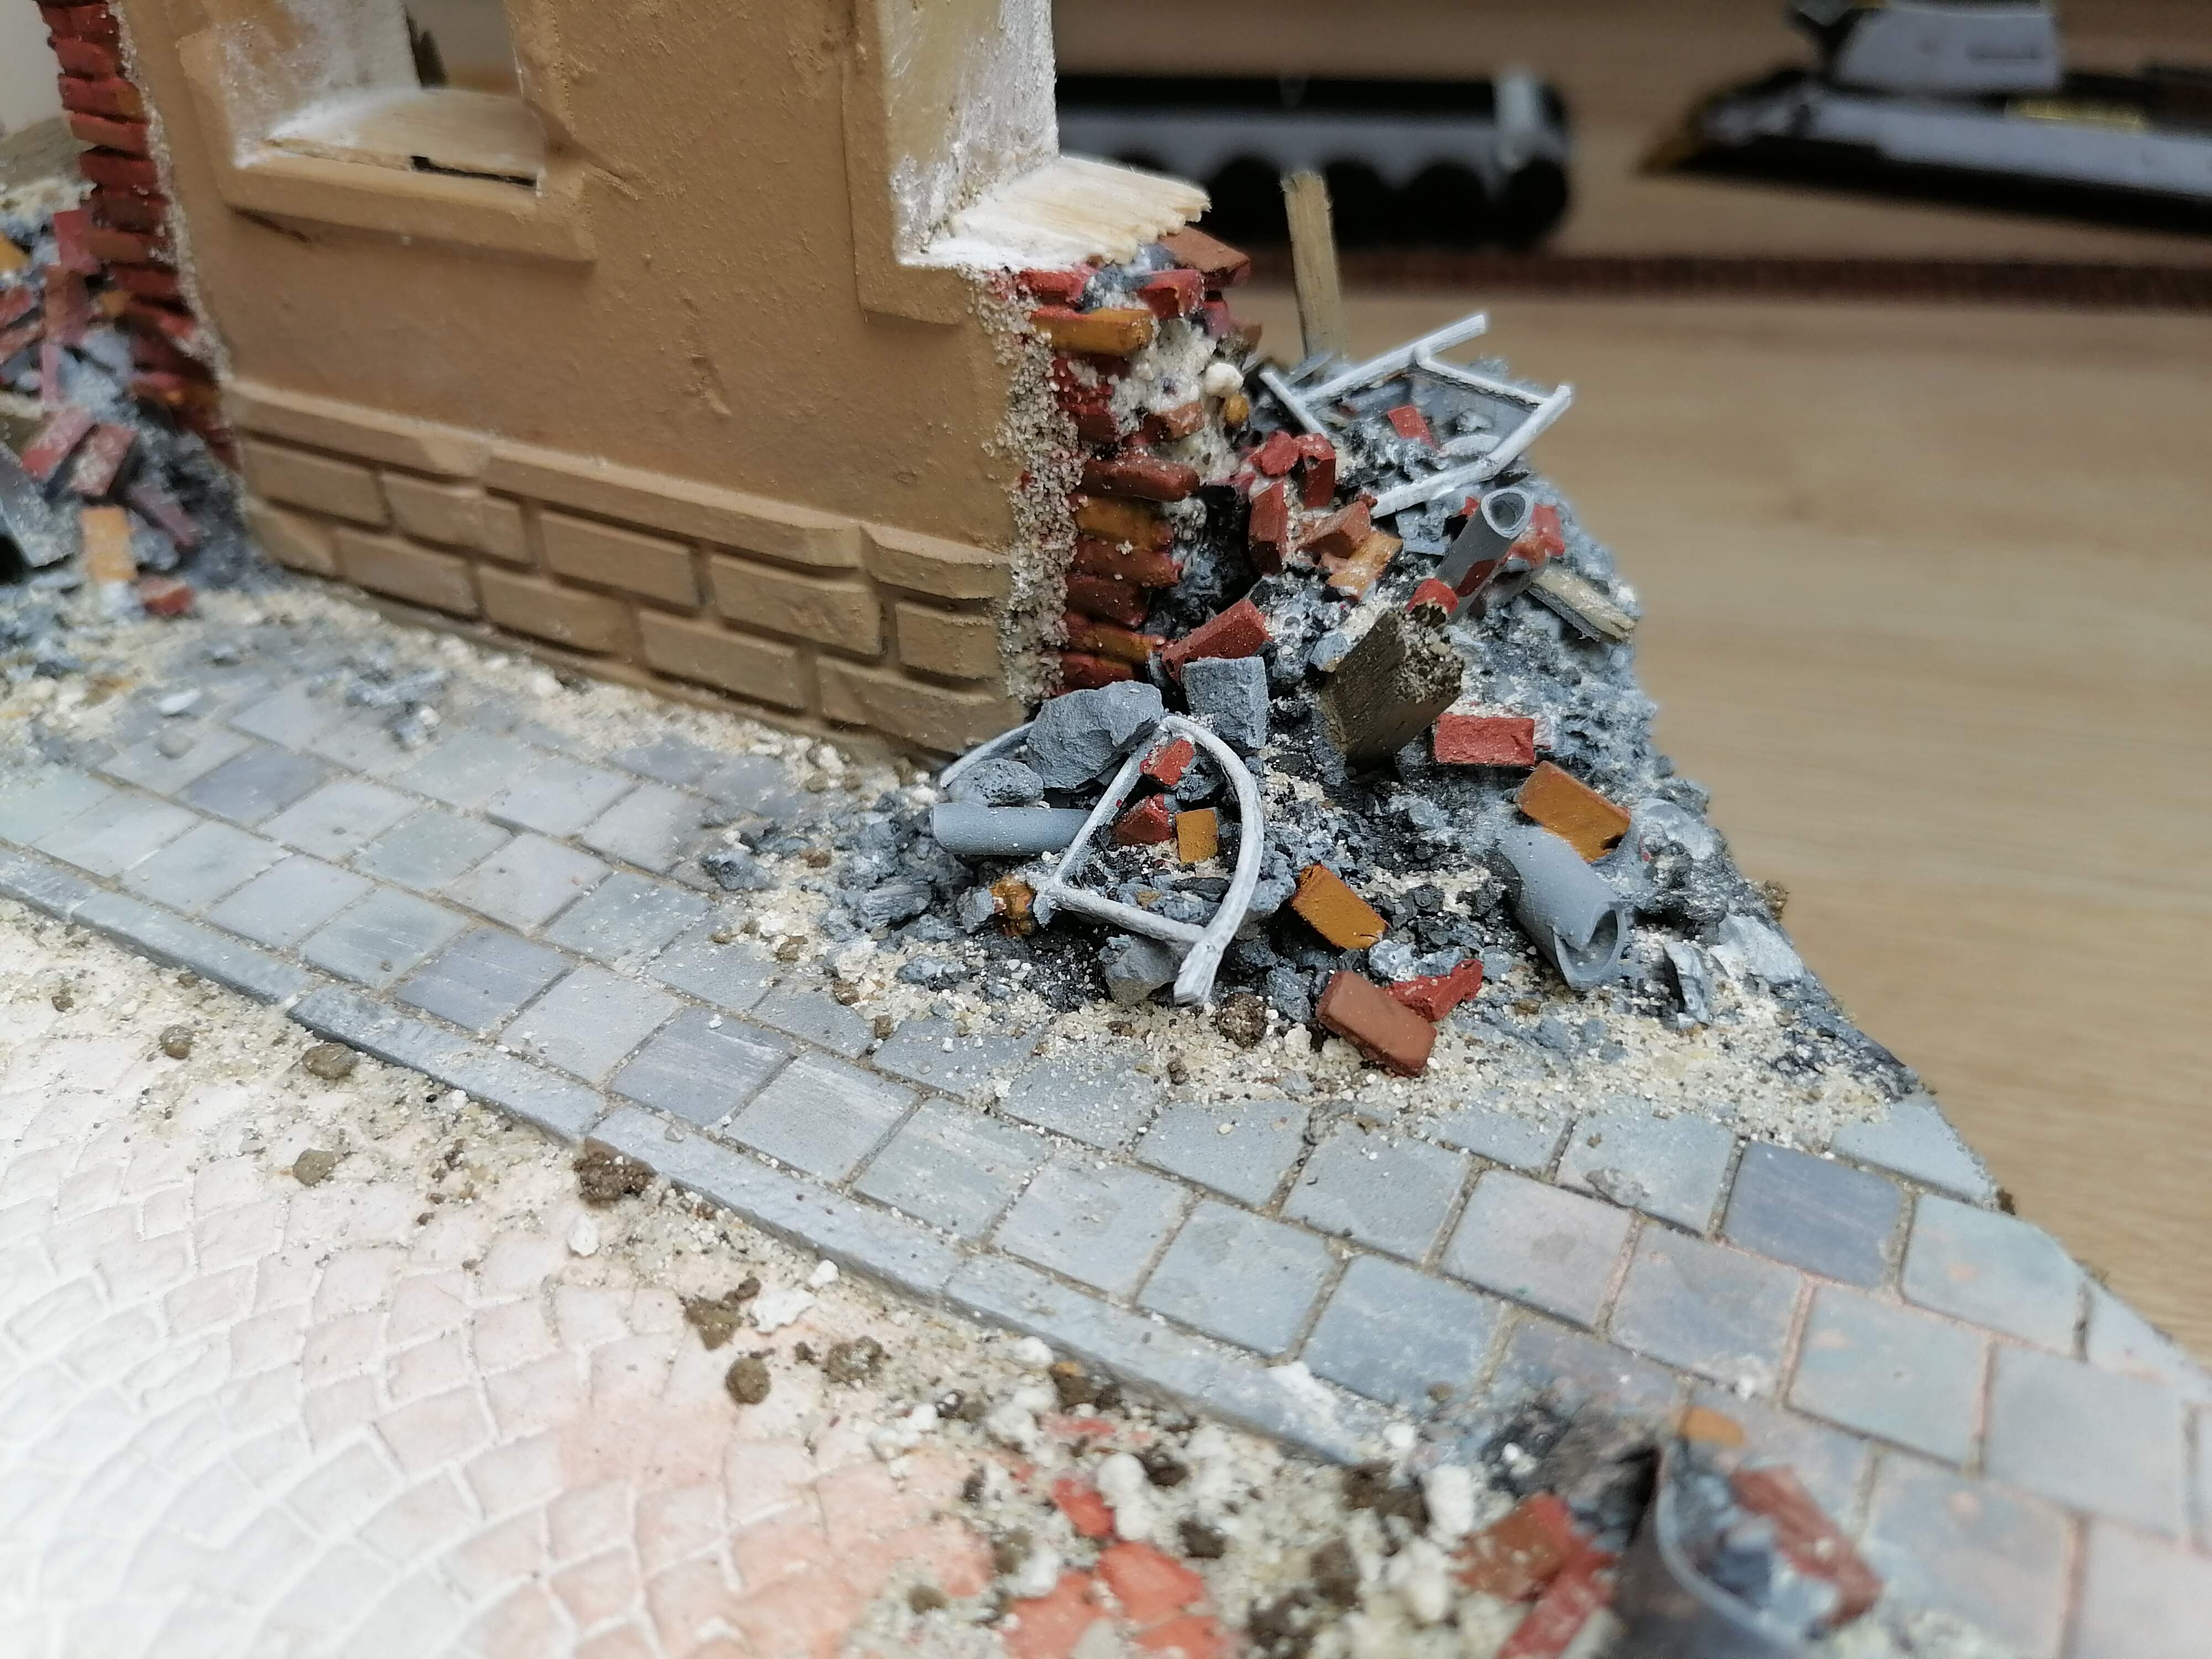
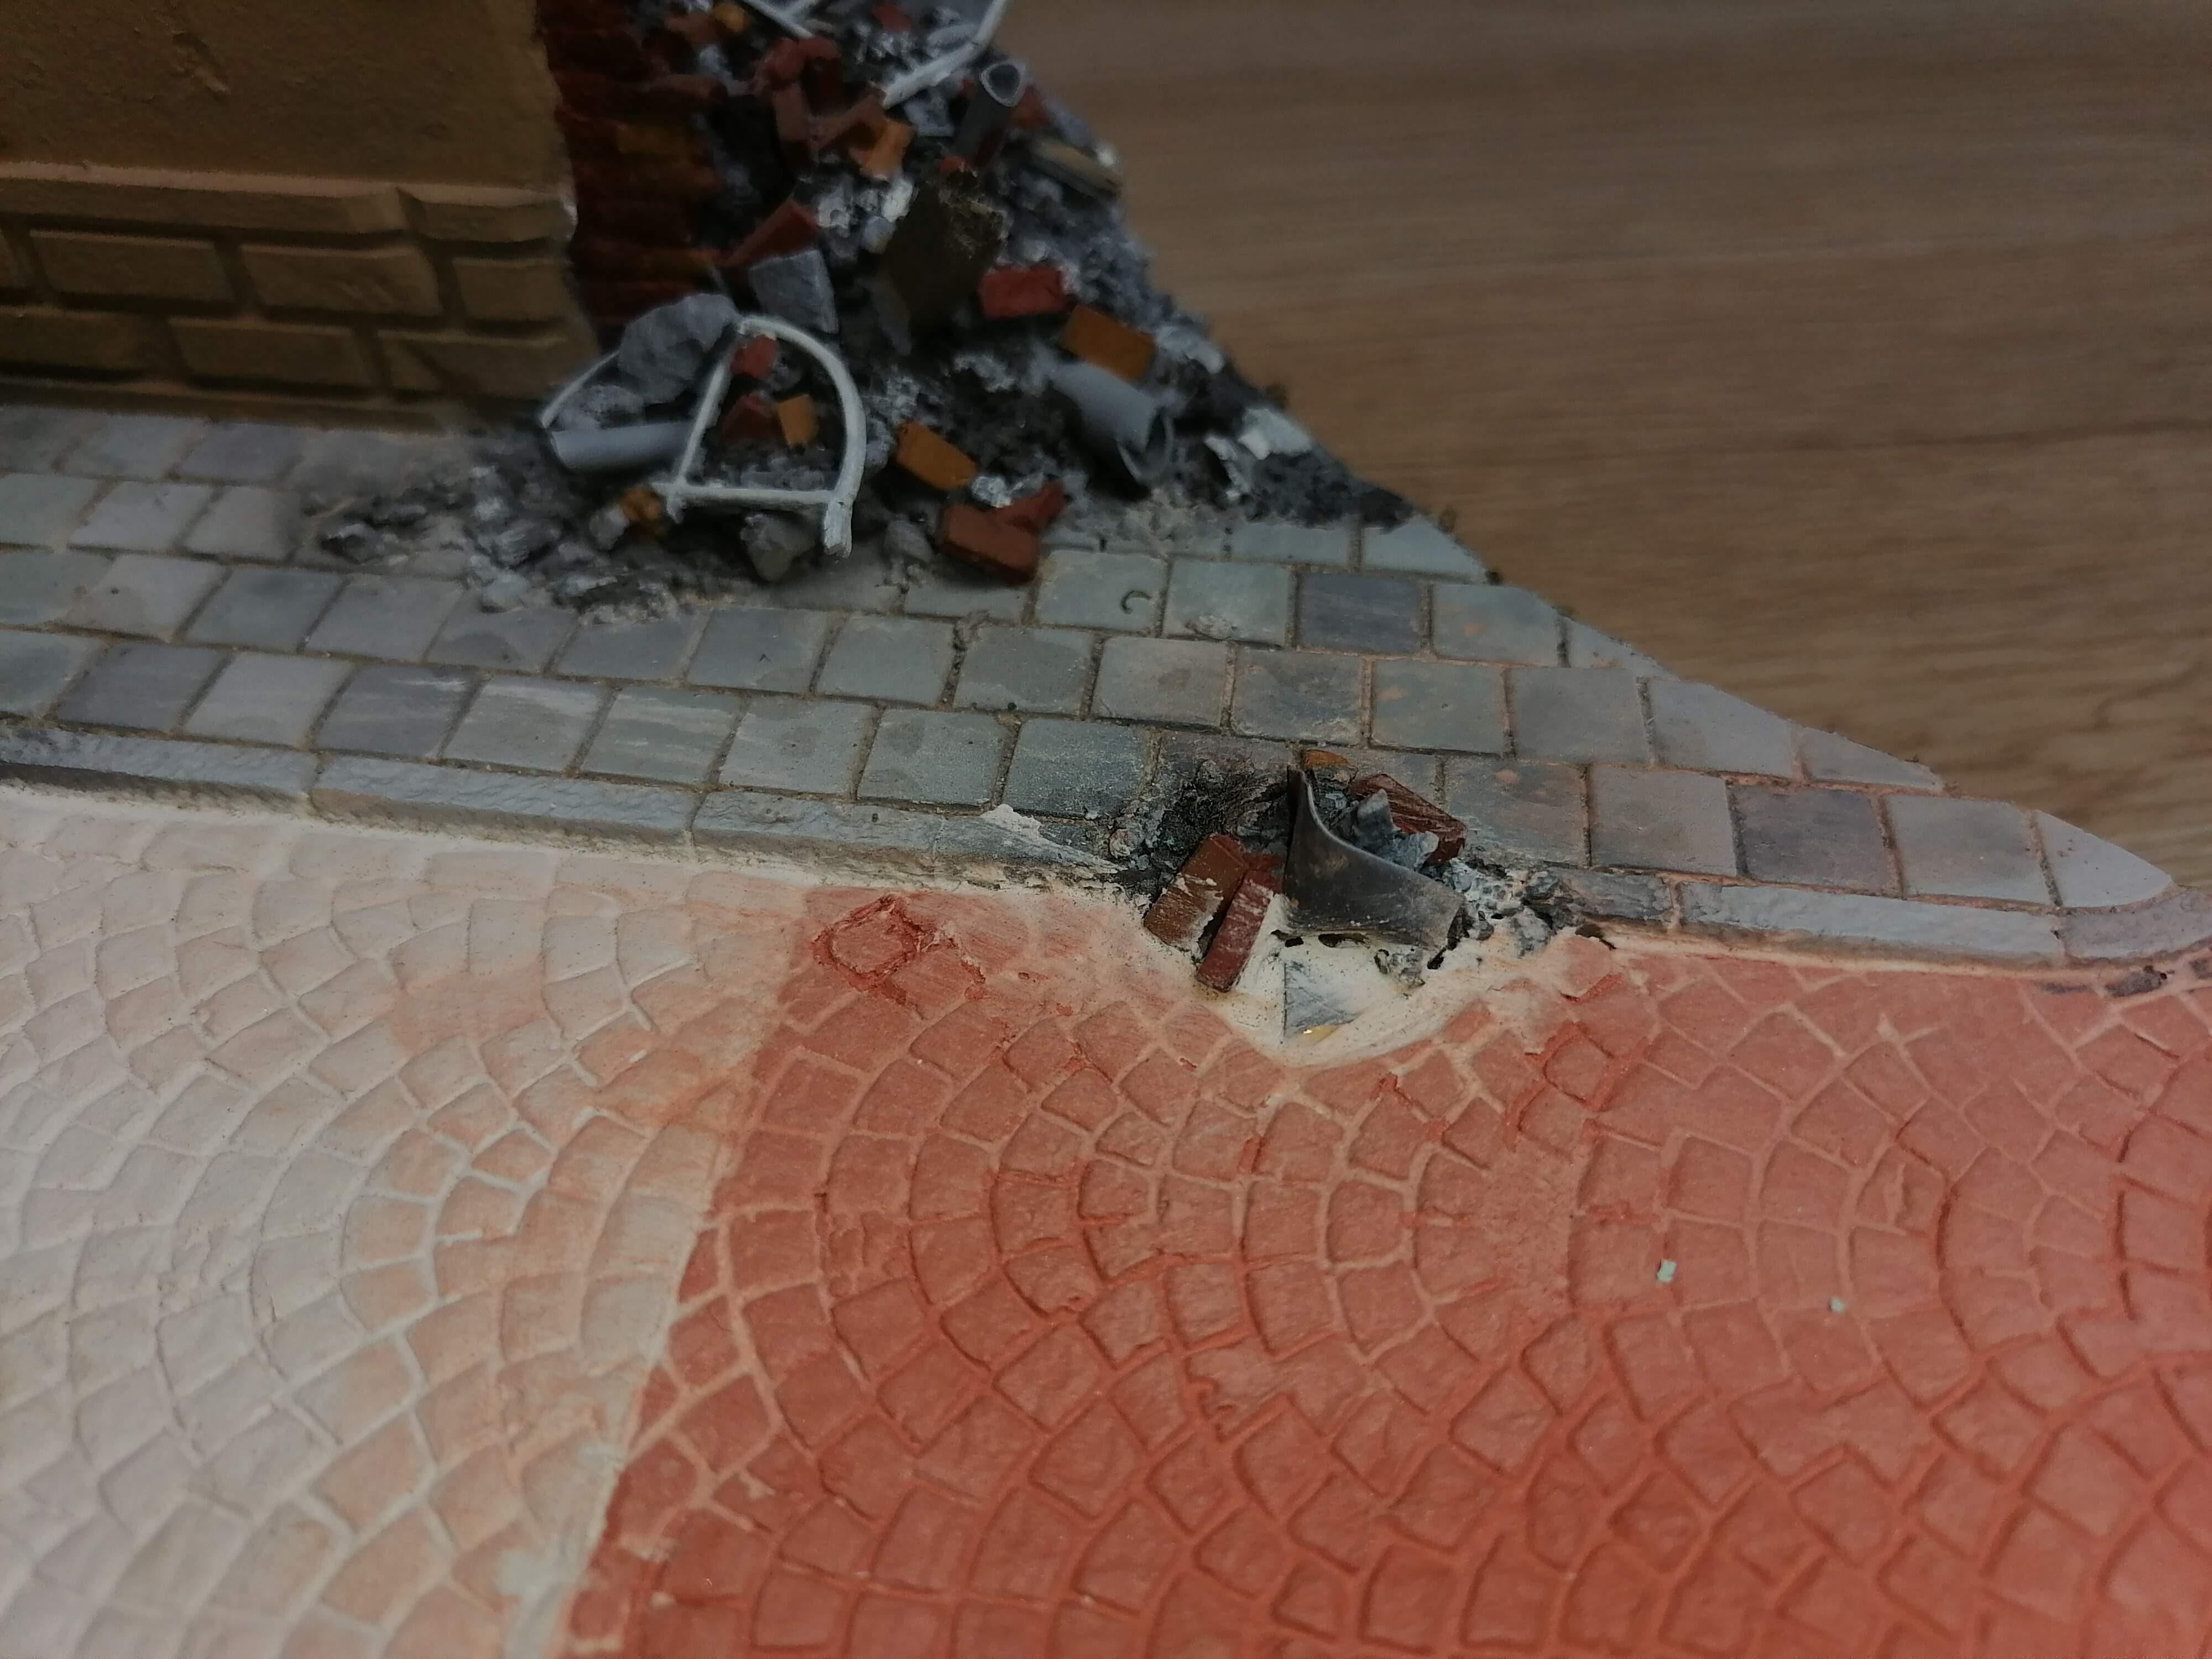
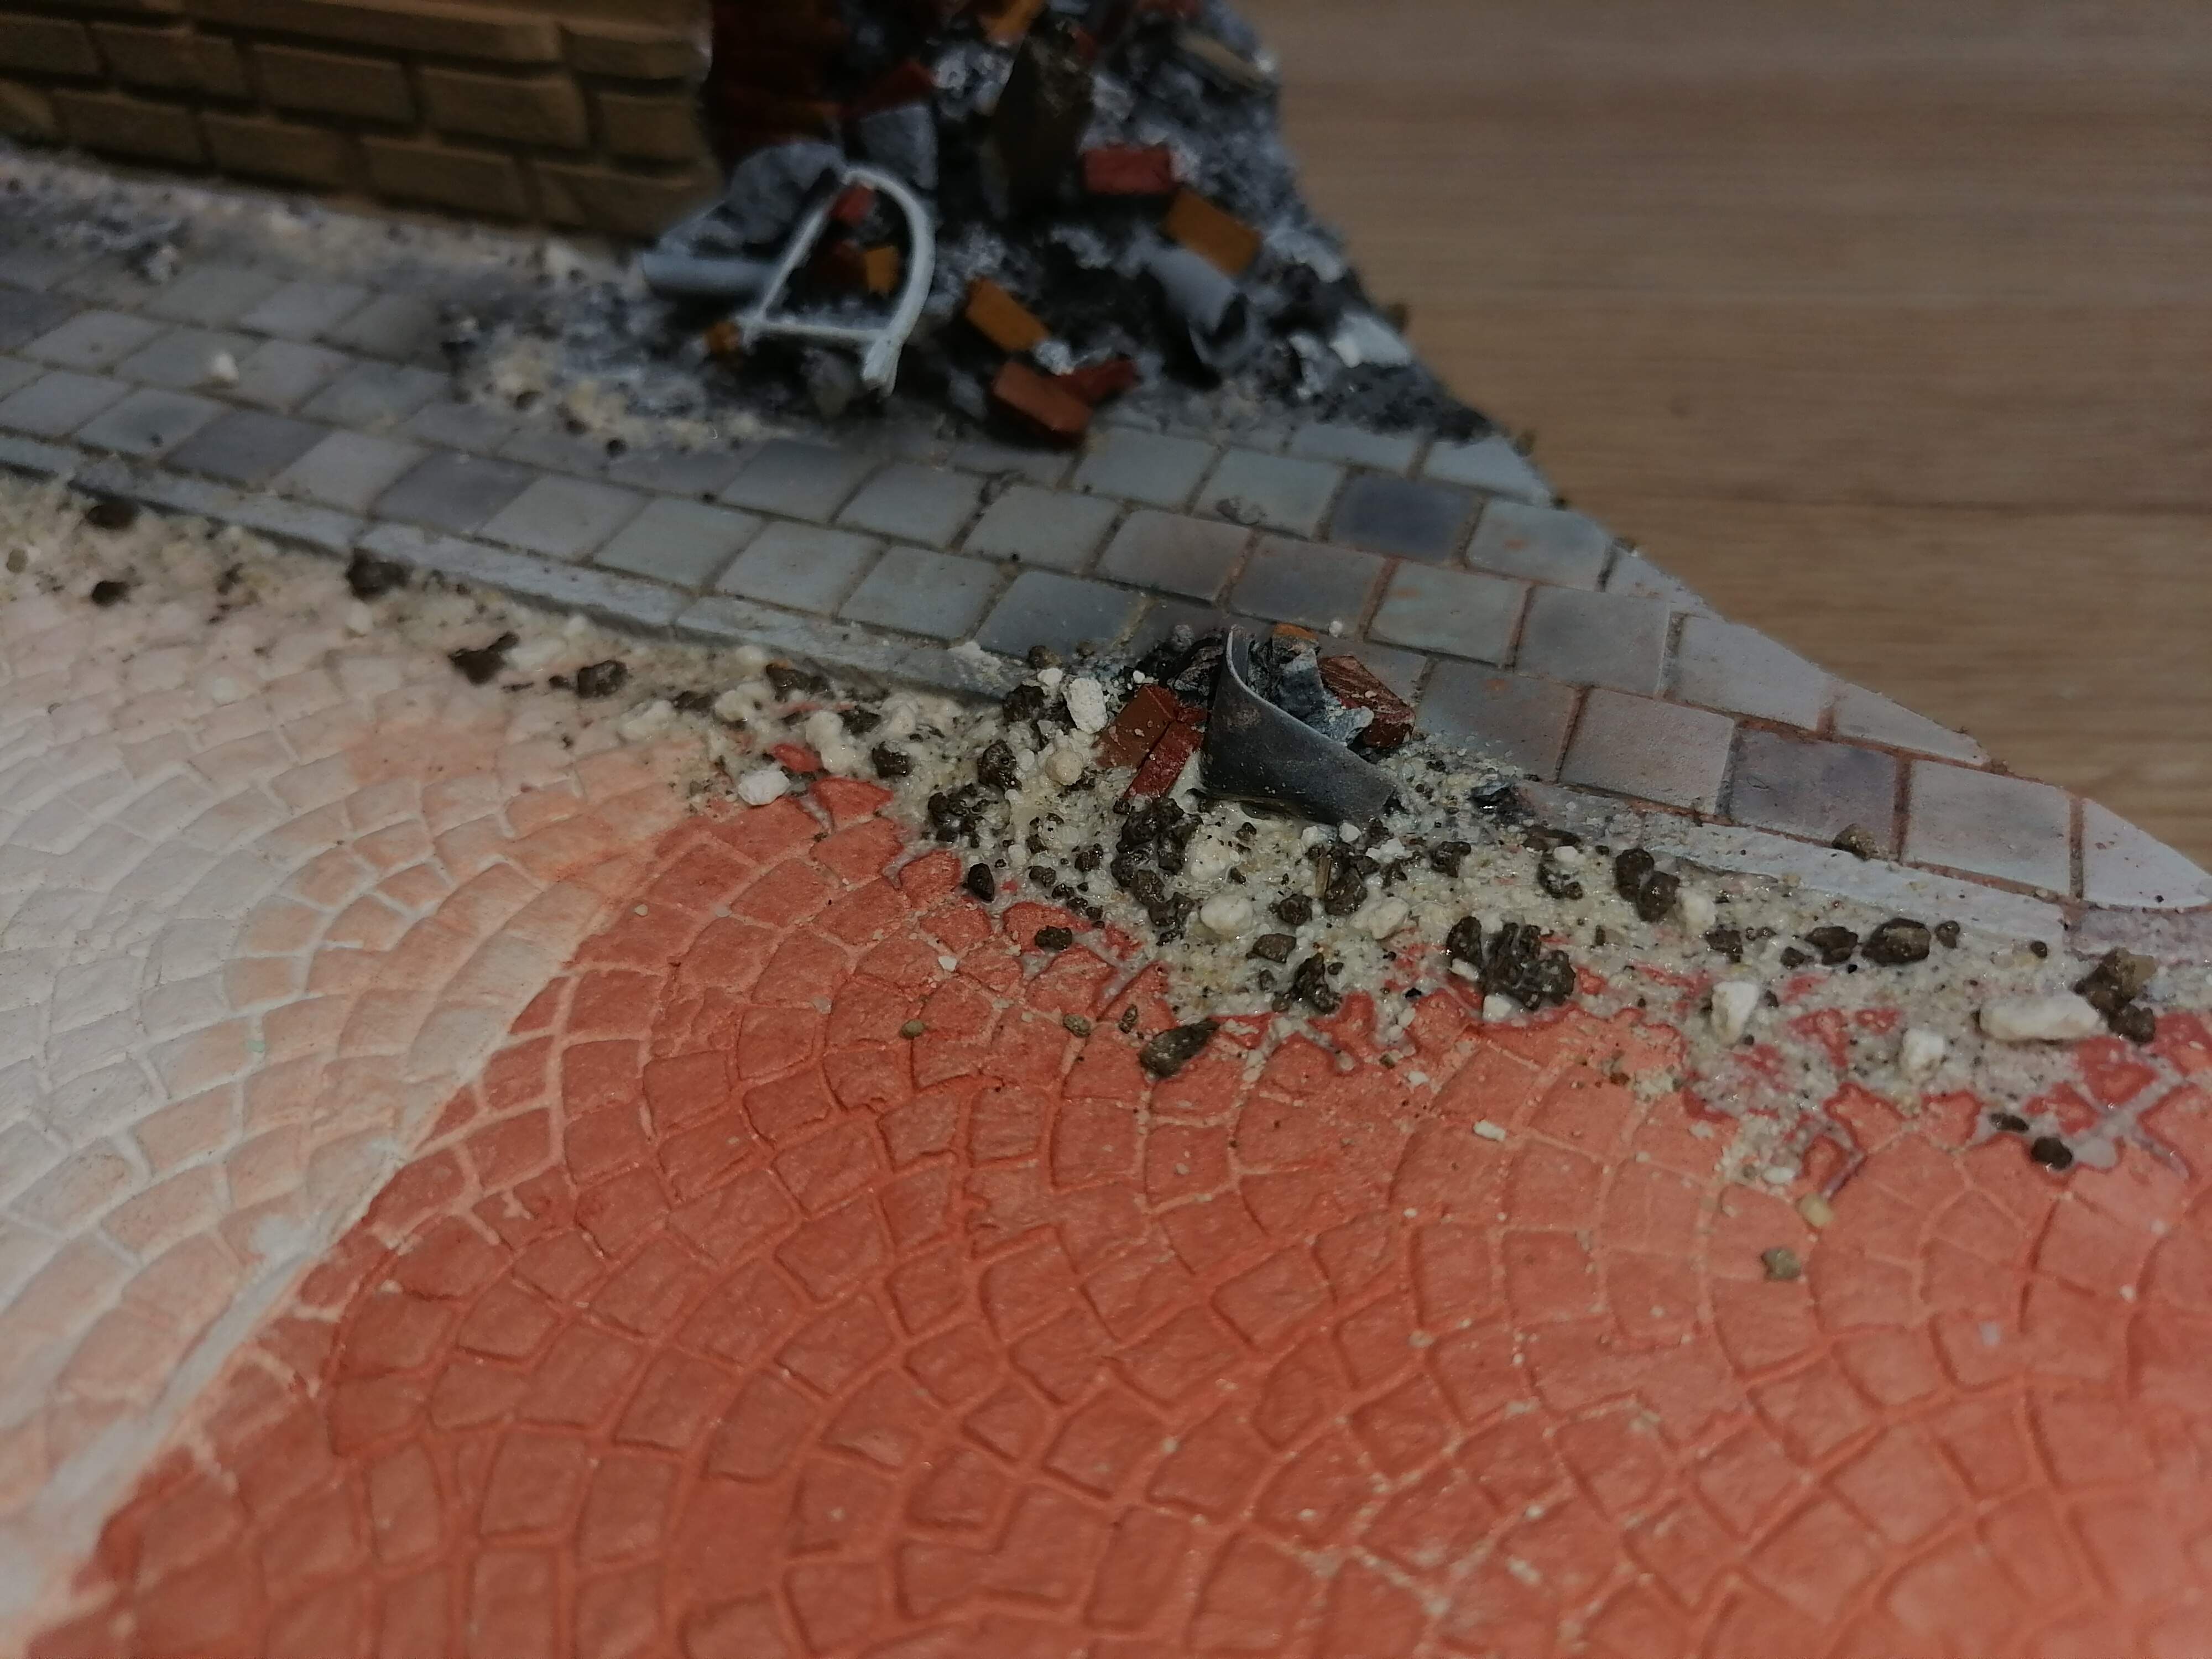
I also used a mix of fine sand, sieved earth and some cat tolet rocks to bland old debries and new cobblestone. I putted some of this mixtilolure between the bricks where the wall has fallen down…
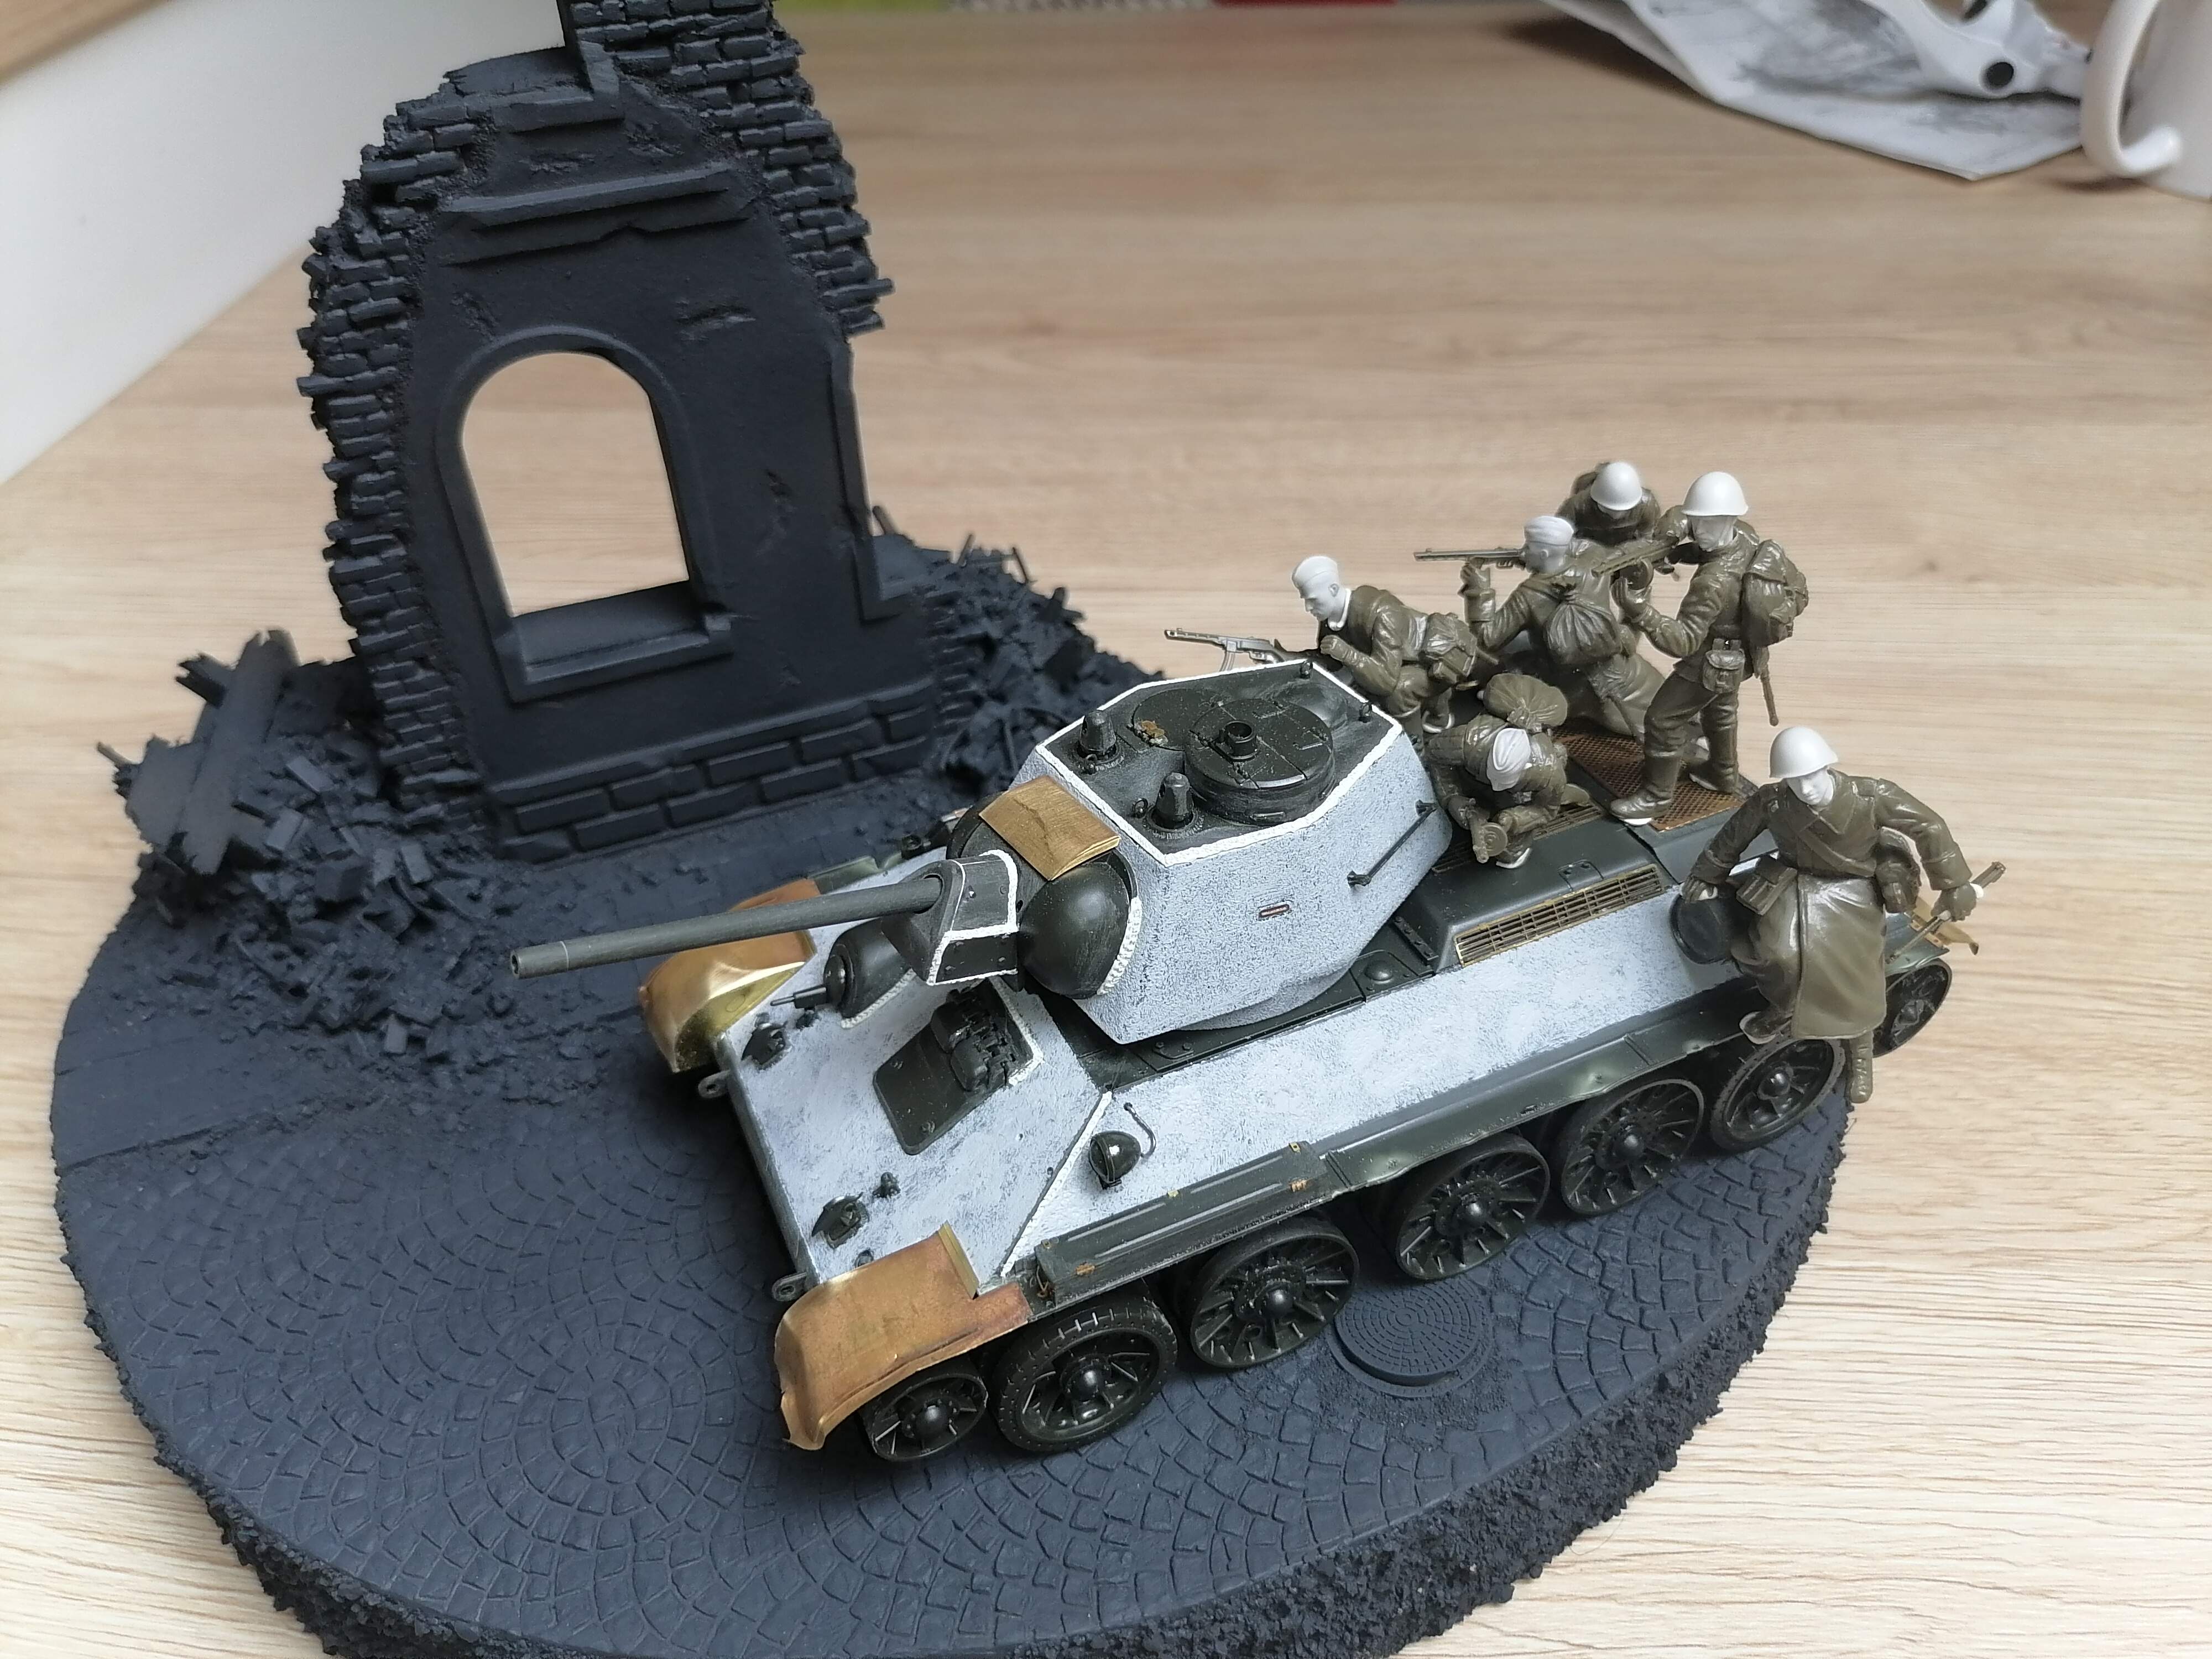
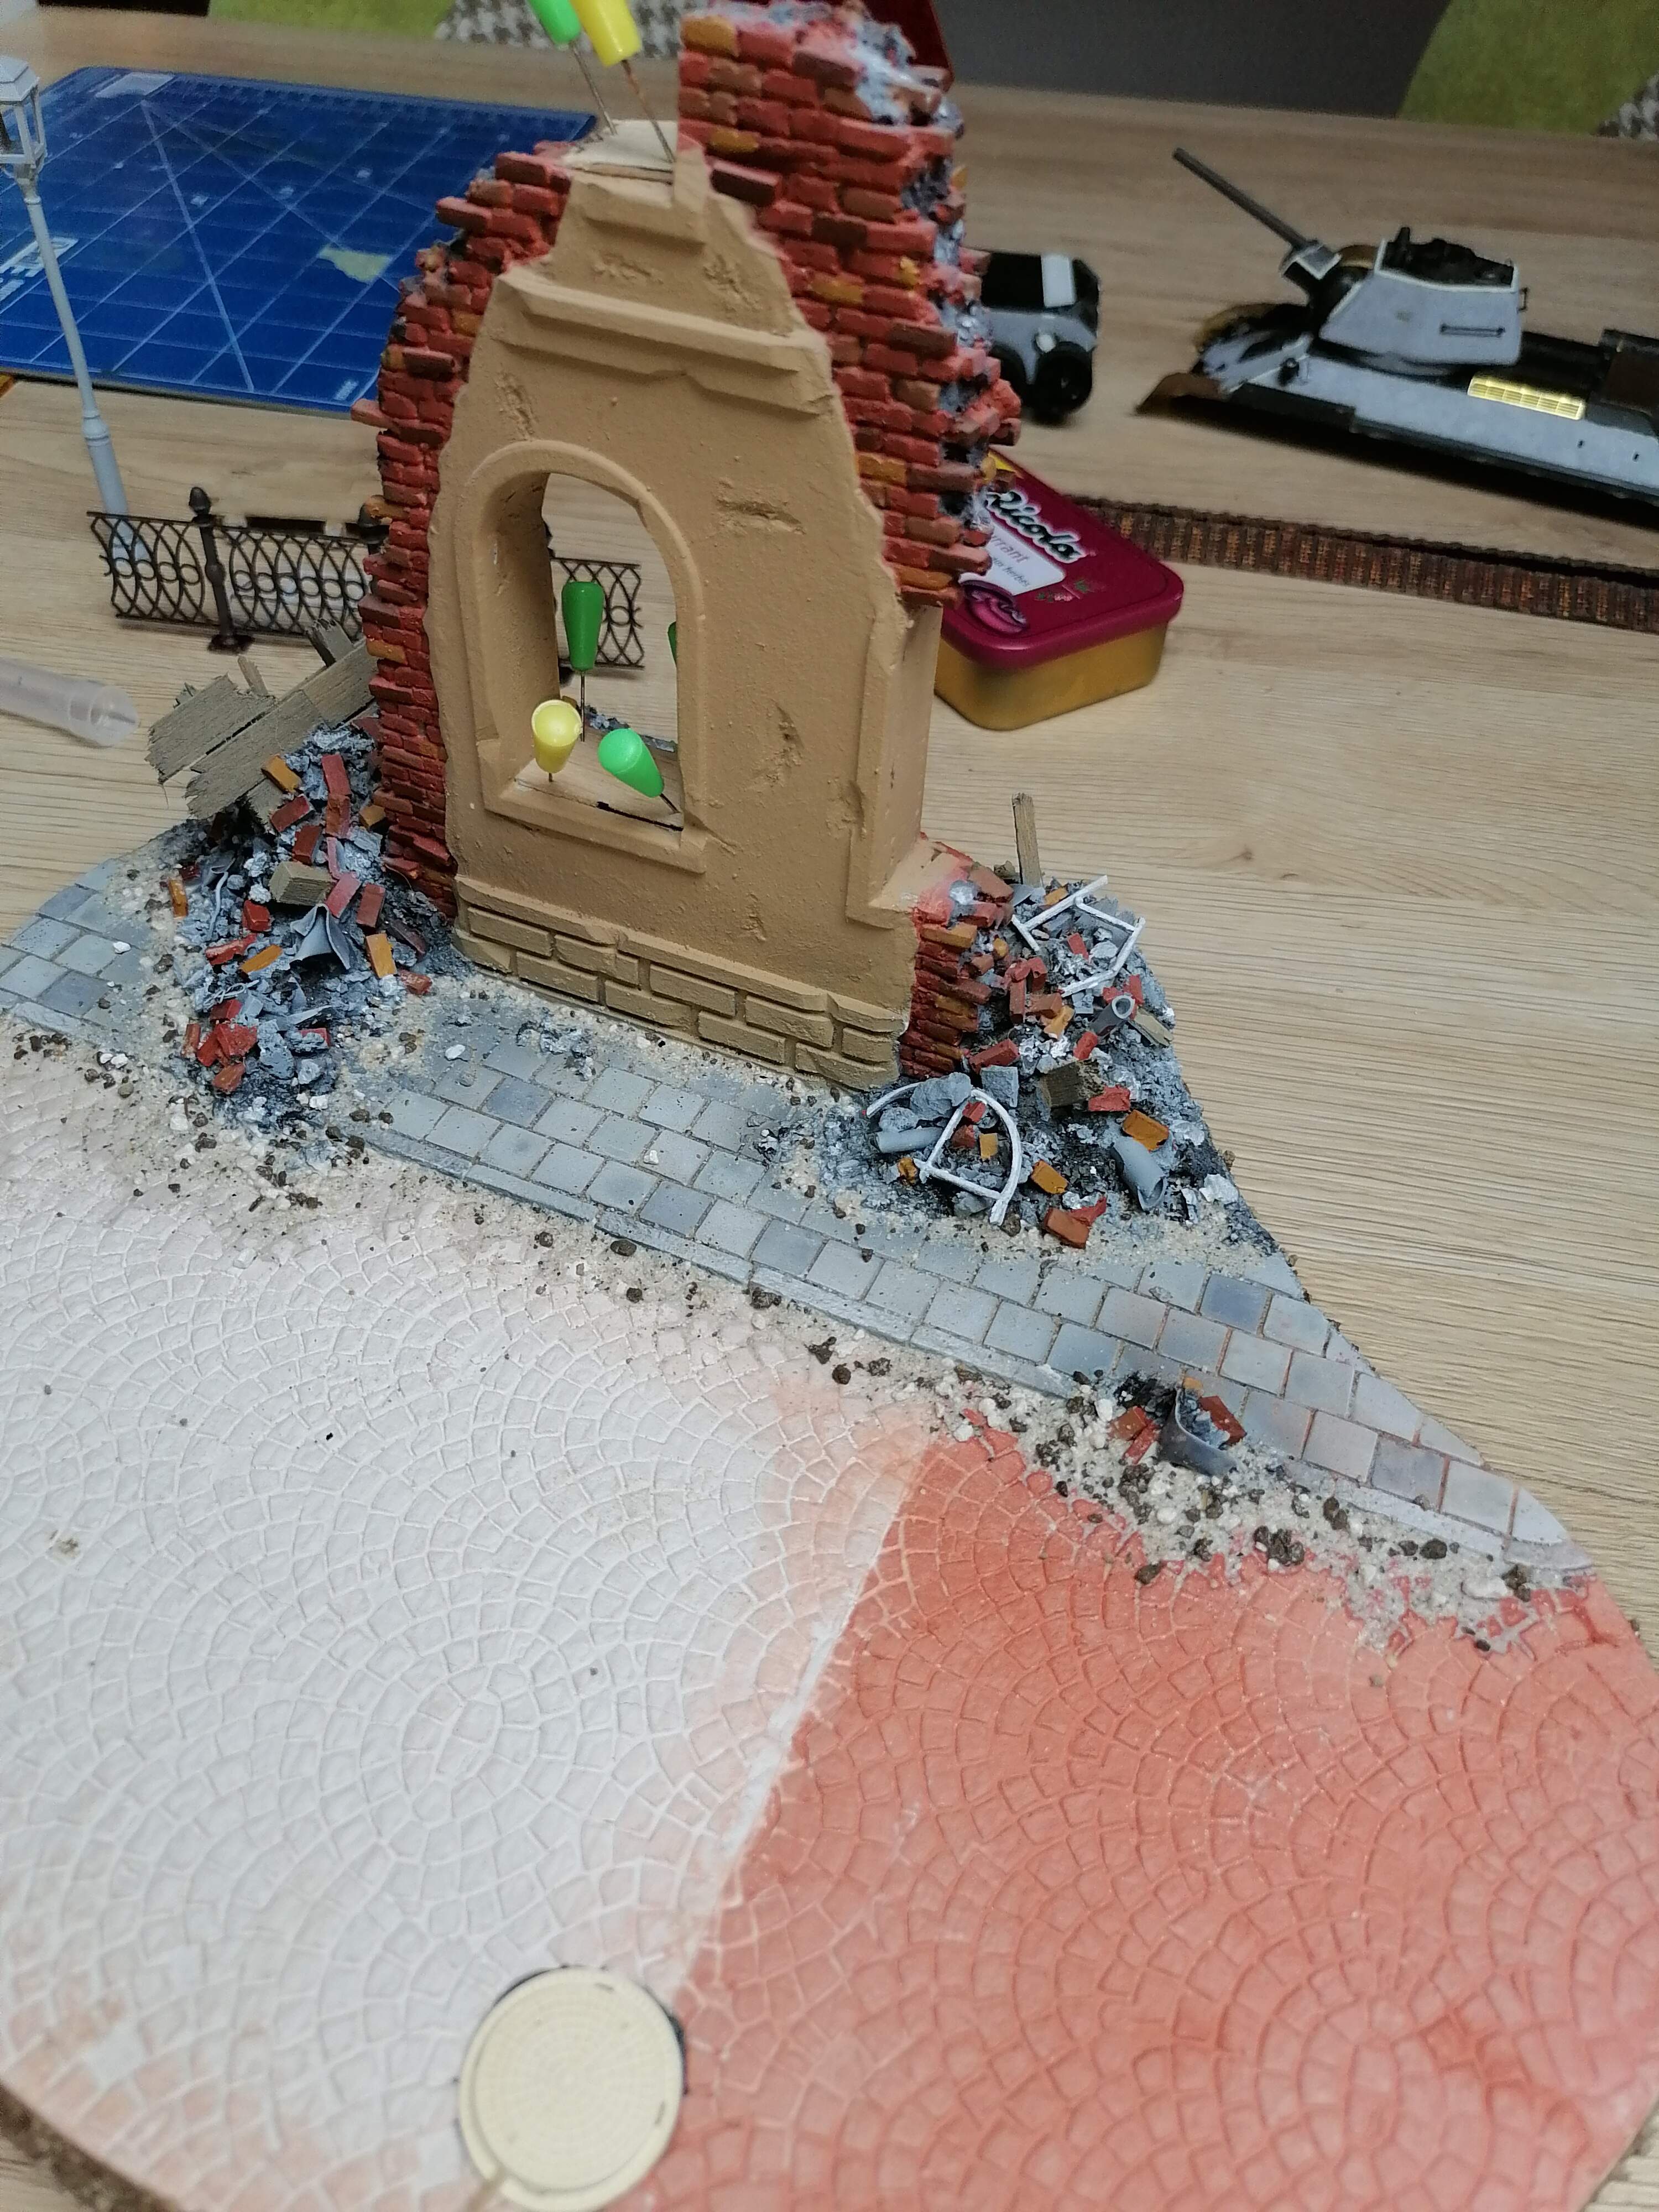
I also need an advice… I am thinking of put a black primer (acktualy dark gray because i dont have black) on evrything, and mybe go to prehighlite the hole thing with withe or brite gray… Than lightly airbrush the colours on…
Looking good! I usually try to keep options open as long as possible – generally it’s much easier to start too light (and gradually darken various areas as necessary) than starting too dark and trying to make it lighter. Looking at photos of the real thing always helps. So I’d go with a light primer, then establish the different colour(s) of the walls, pavement, cobbles etc also in light tones. Then I think you’ll find the diorama will start “talking back” to you and telling you what needs modifying
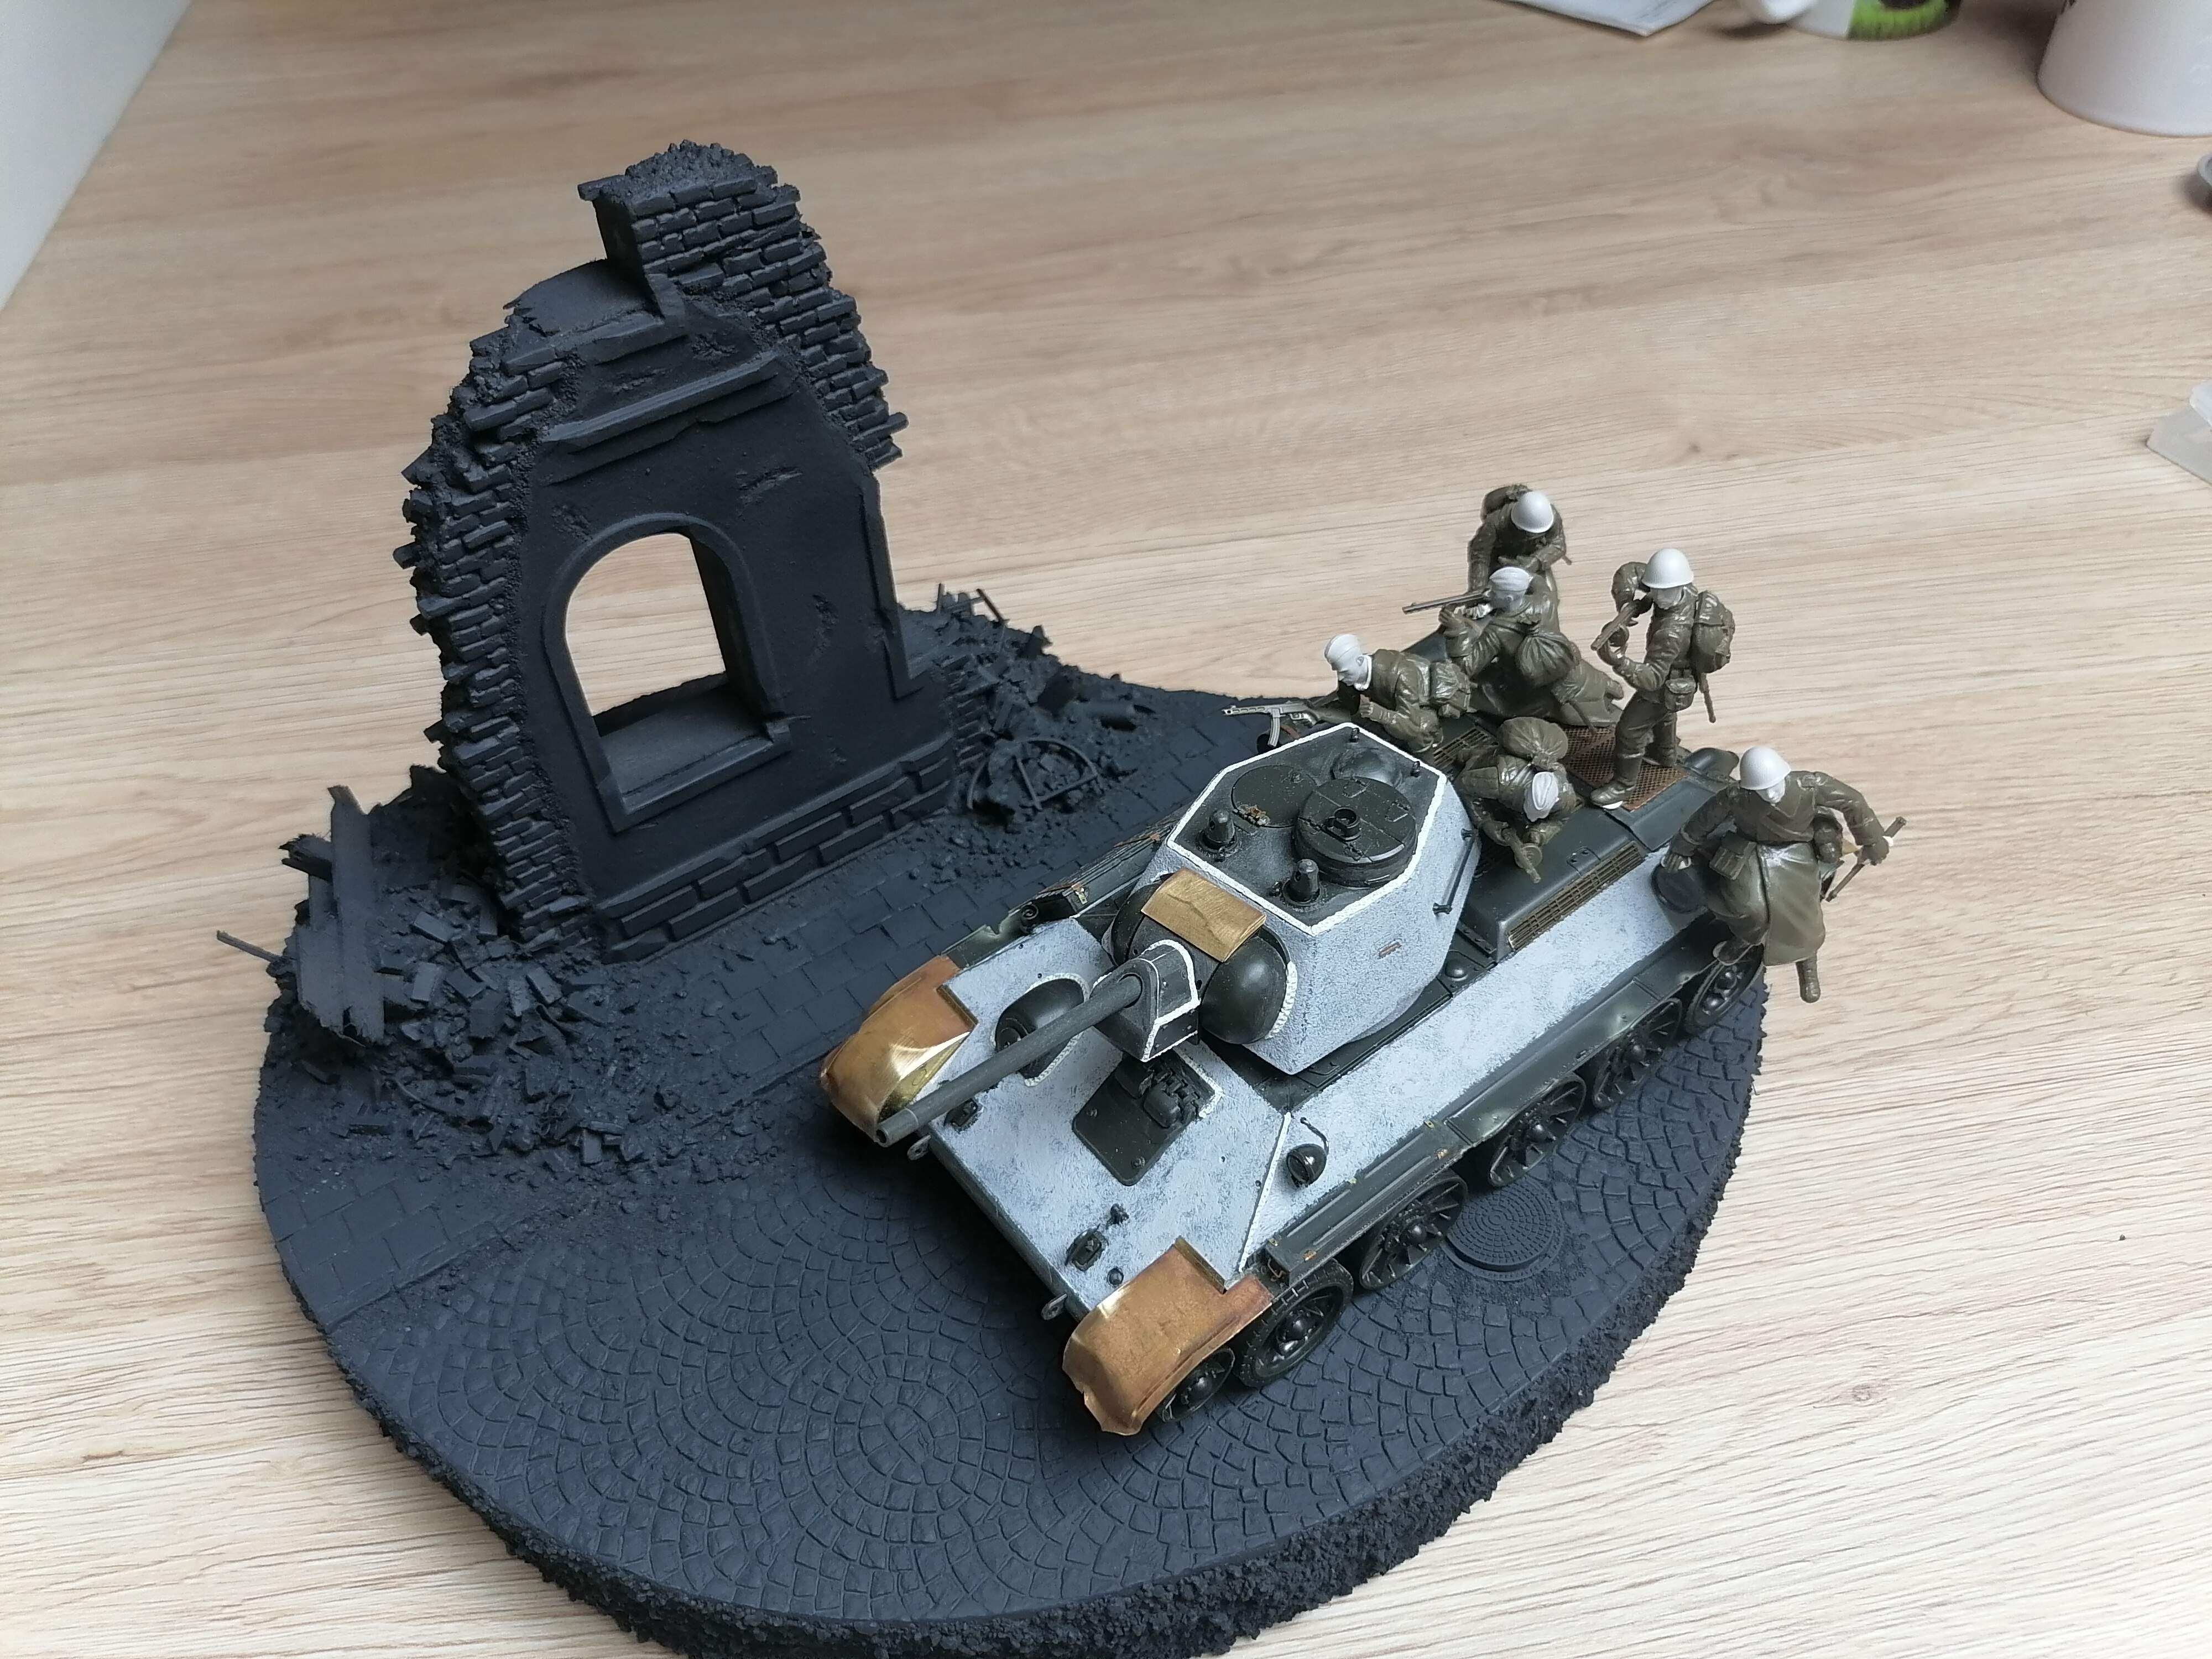
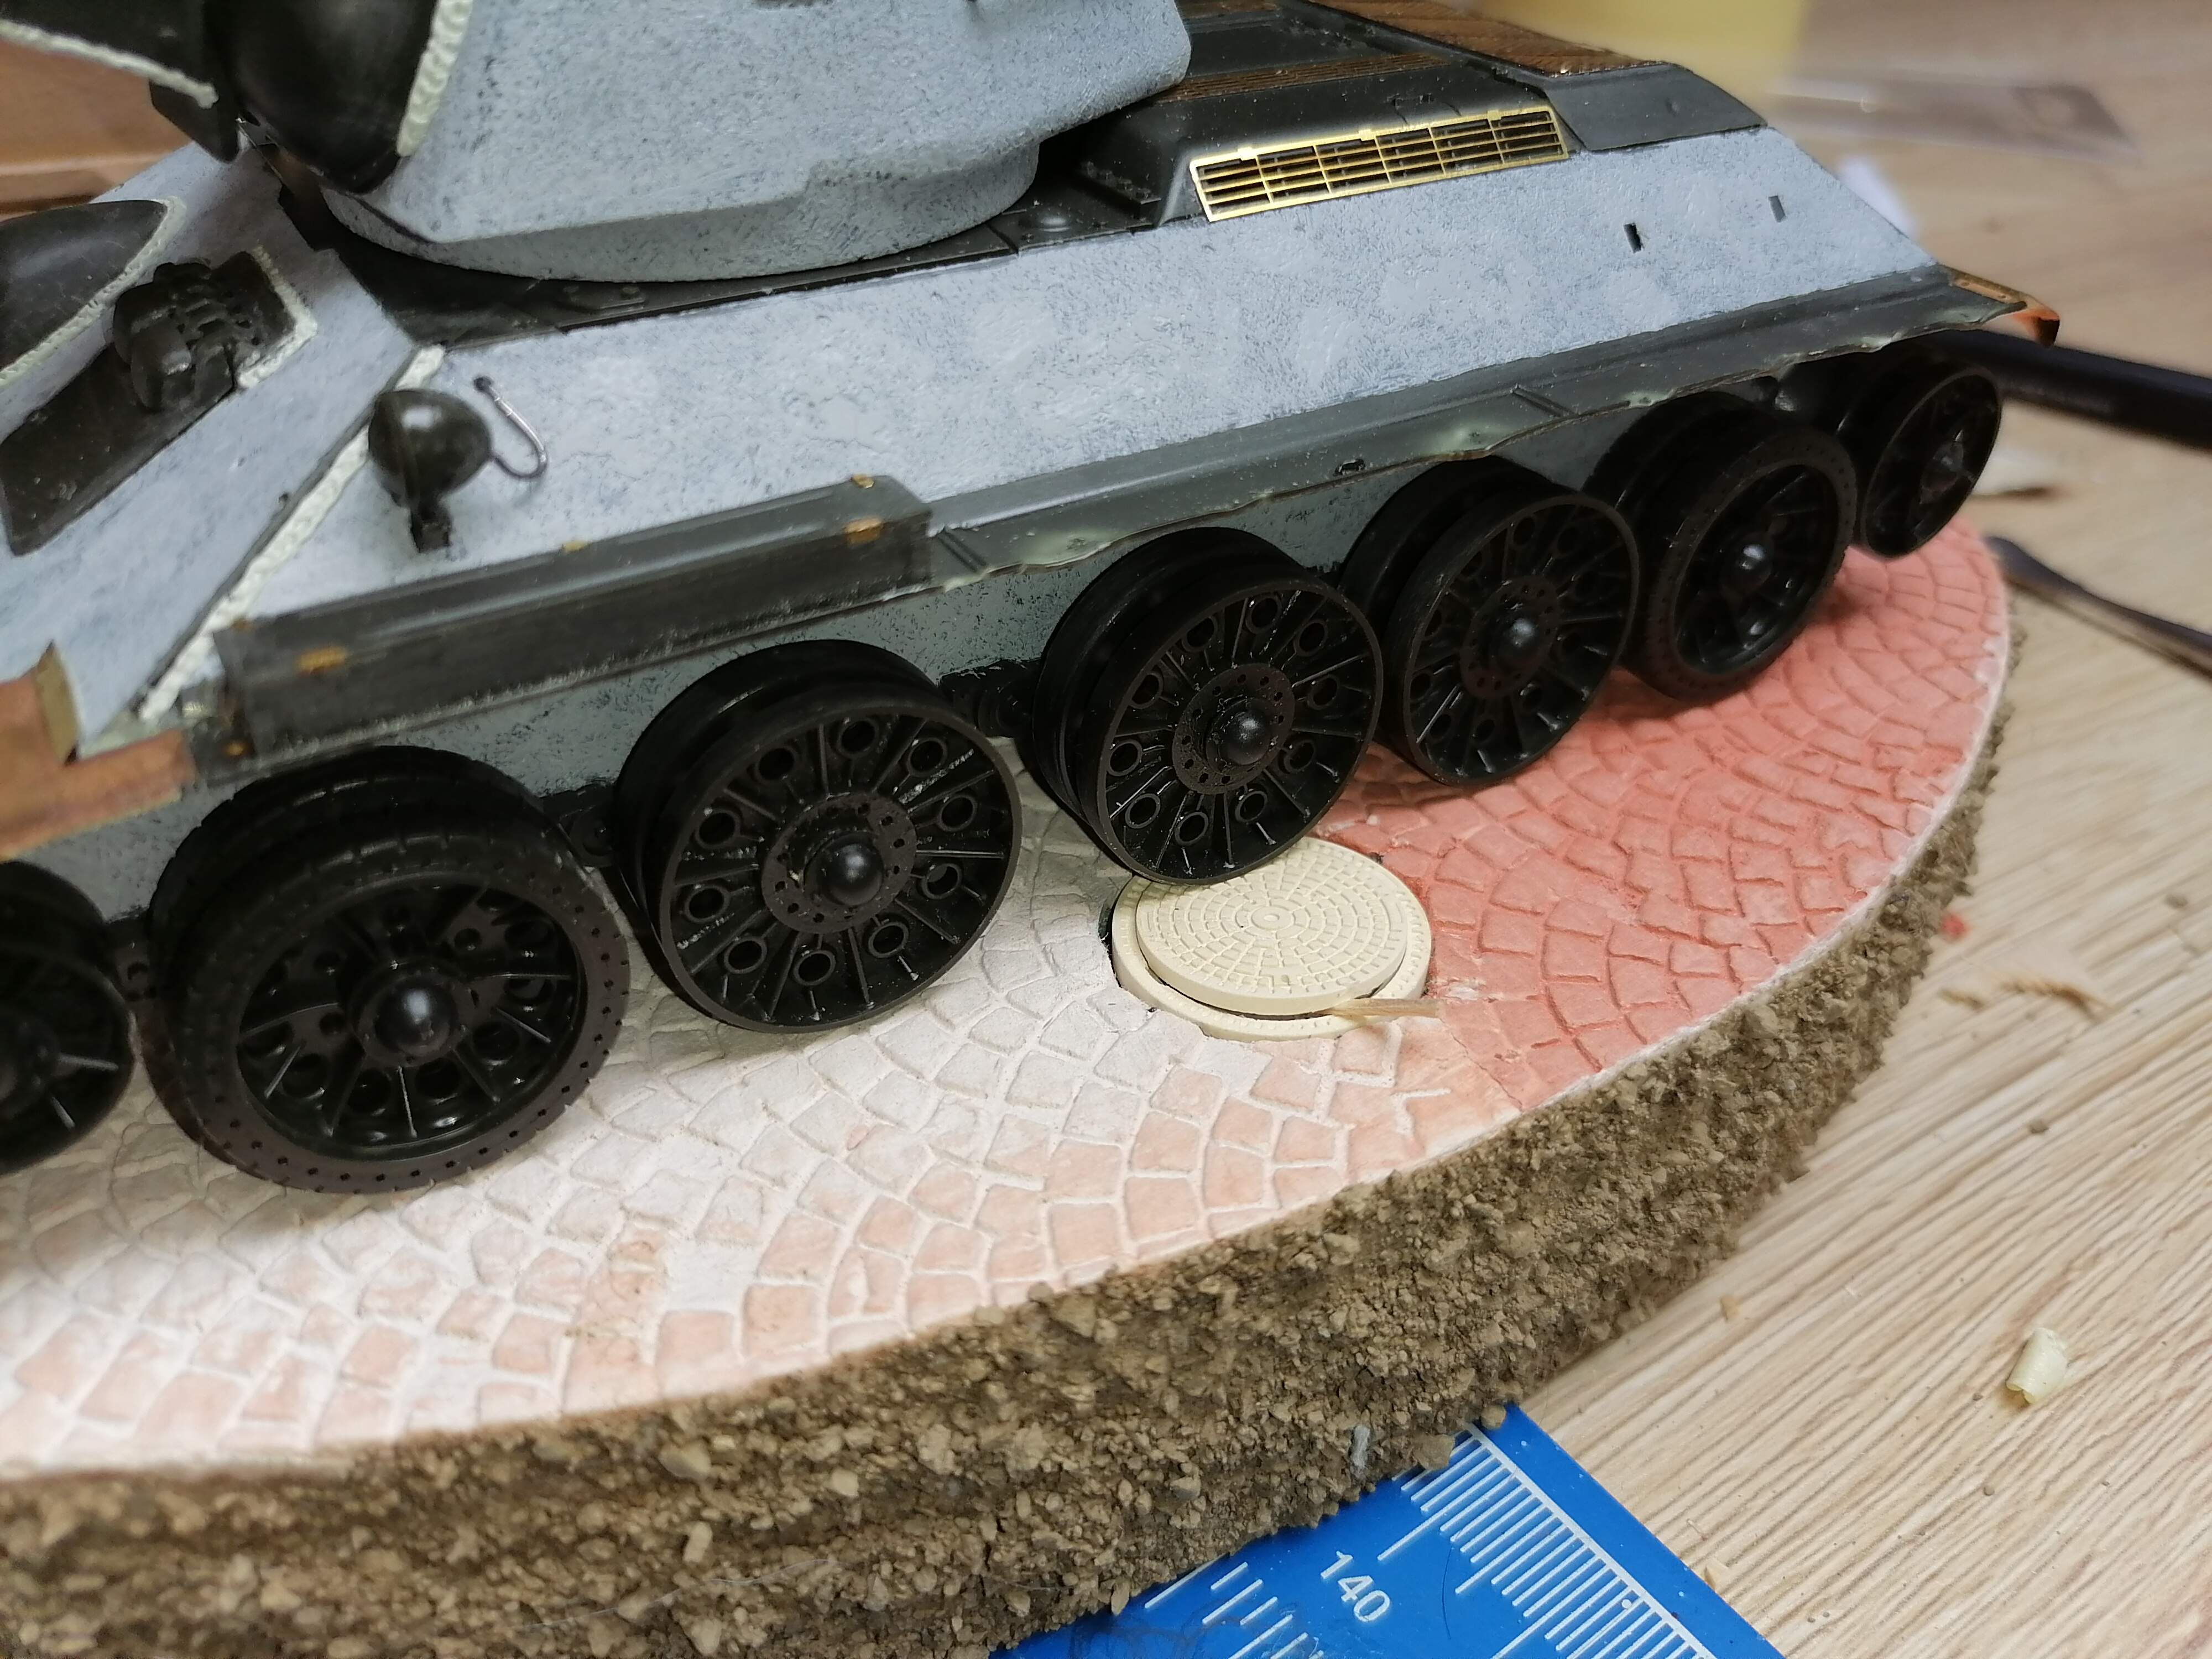
I might also suggest that before you go too far with the rubble in the street that you layout and decide exactly where the tank will be. Then protect those long, rectangular areas with tape so that one you place to tank it won’t shows spaces and gaps under the tracks.
Once glued down, you can add some final, fine rubble bits along the edges of the tracks to create the appearance that it is sitting down hard and heavy.
SdAufKla’s idea is the logic . You don’t want to get far into it and find yourself unable to undo something . Dio dry fit rules .
Your work so far looks great and I’m glad to see someone using one of those texture rollers and how it turned out .
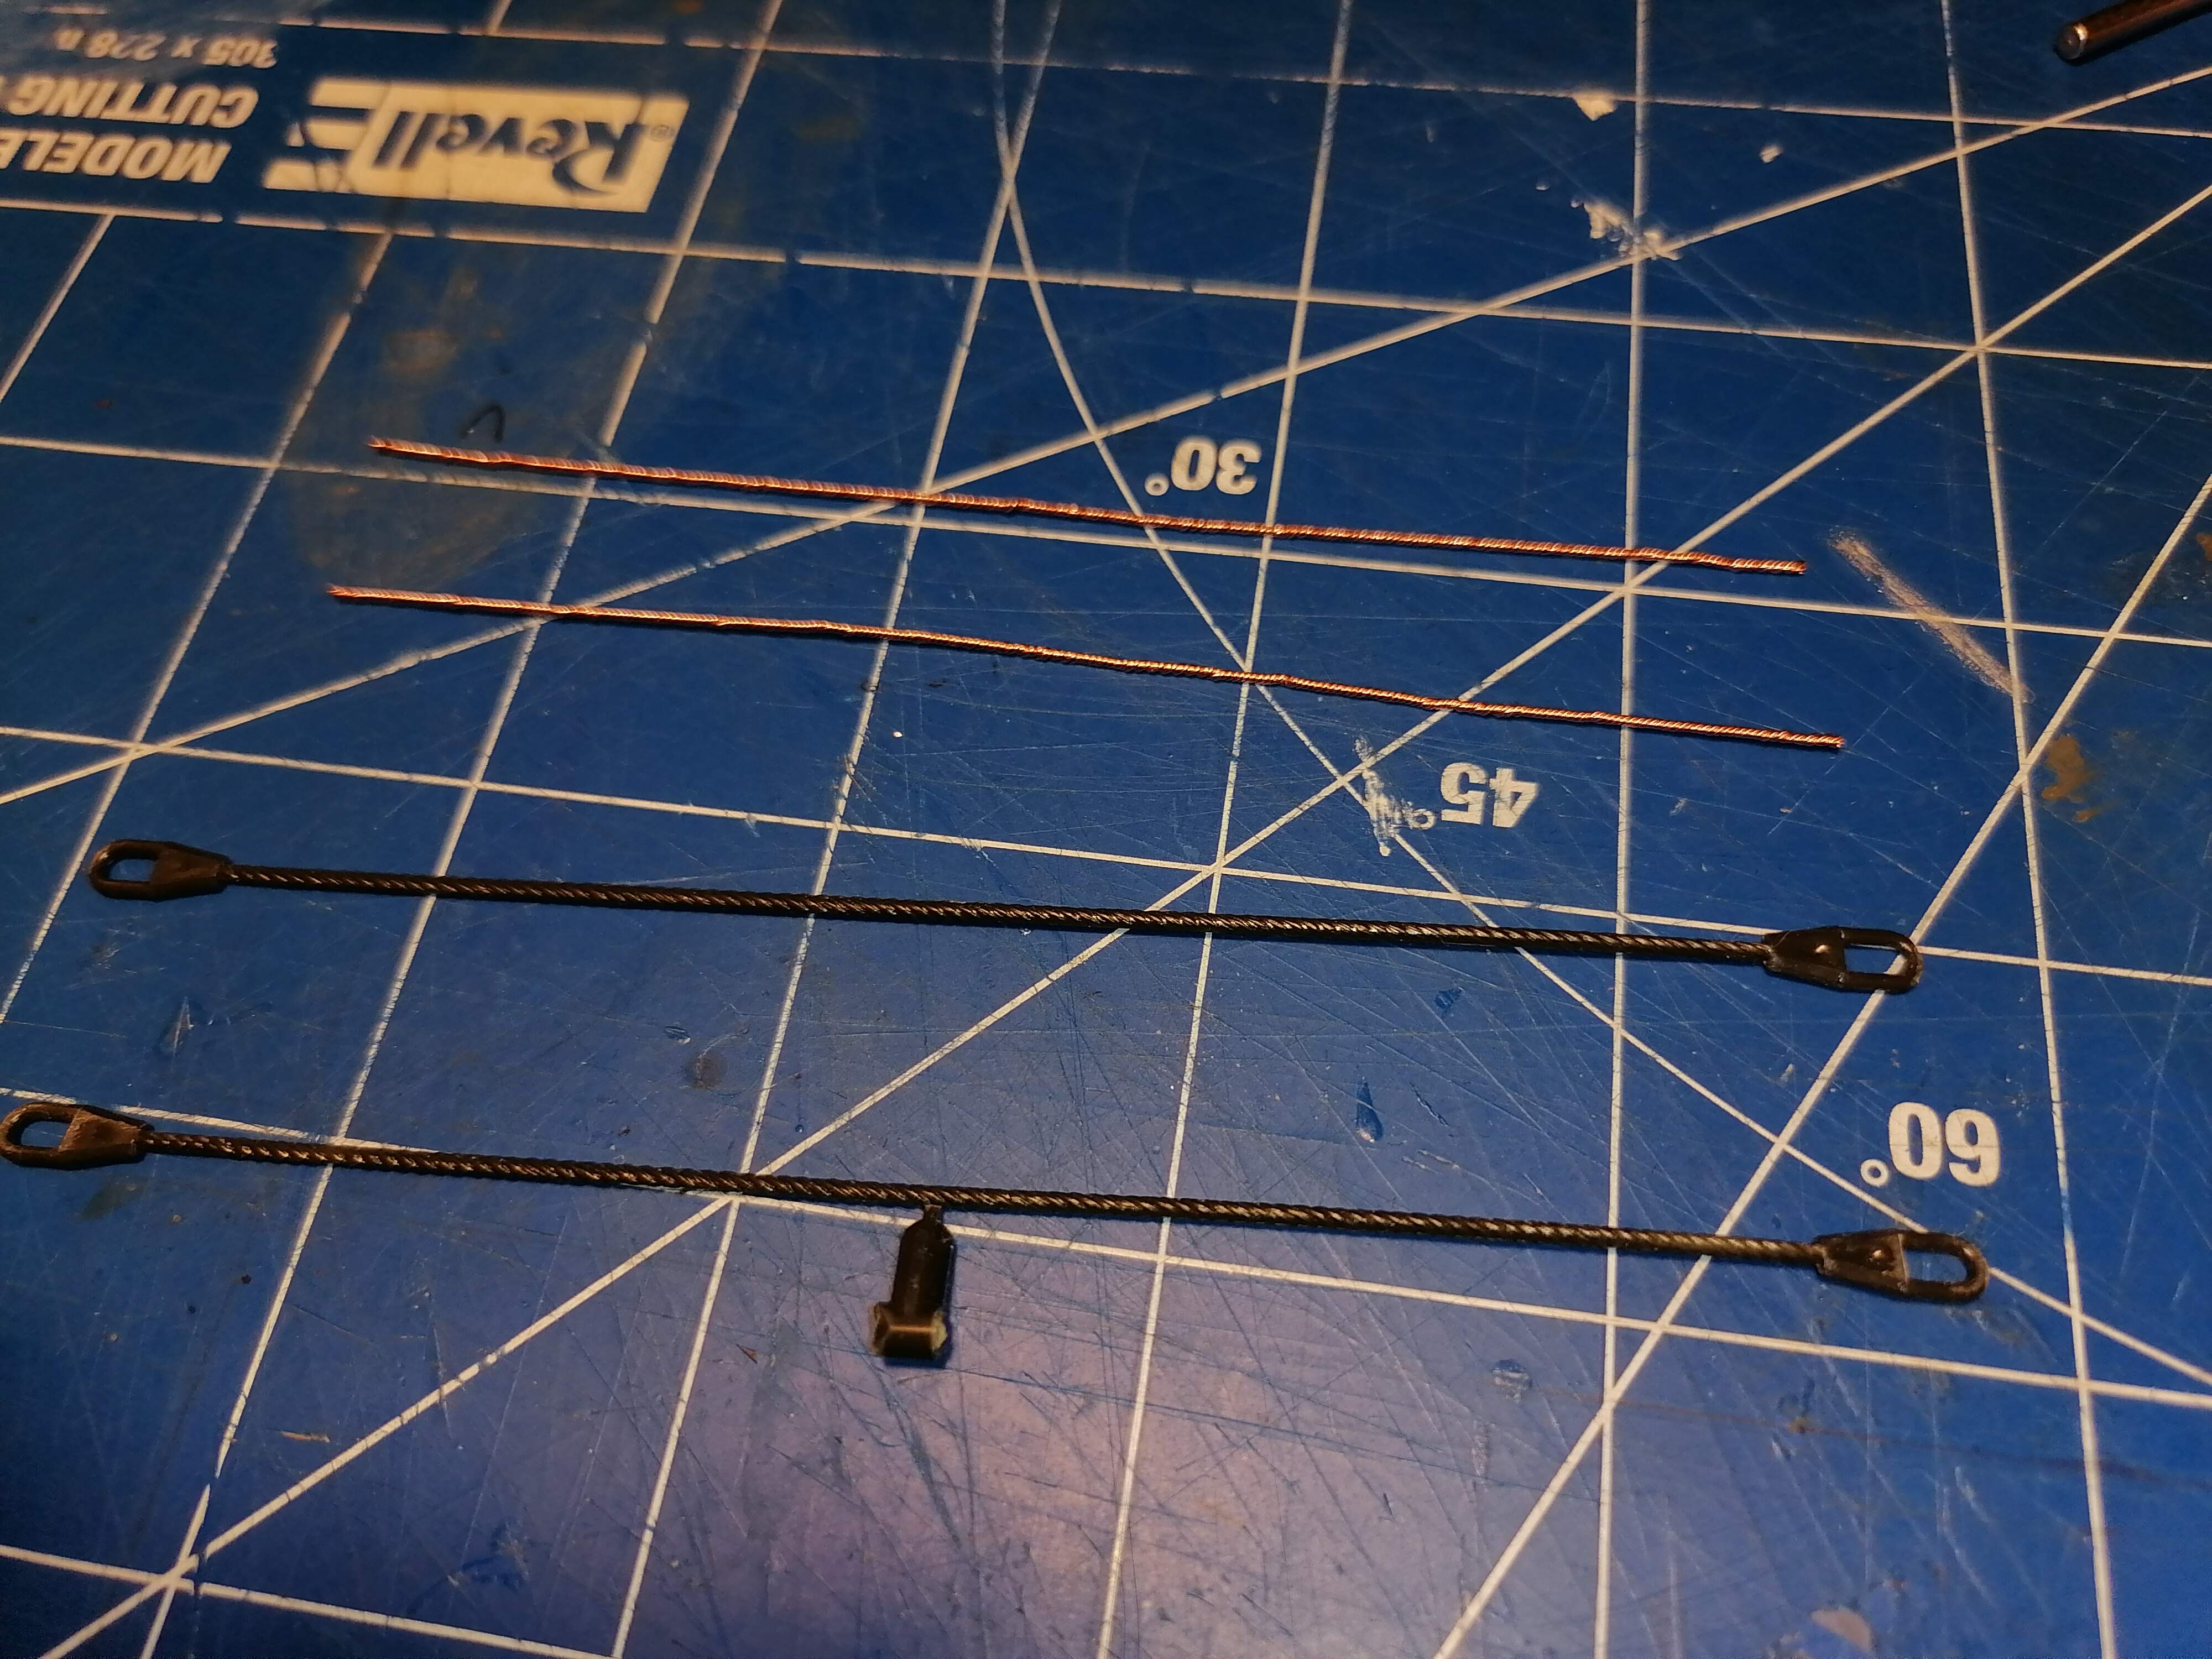
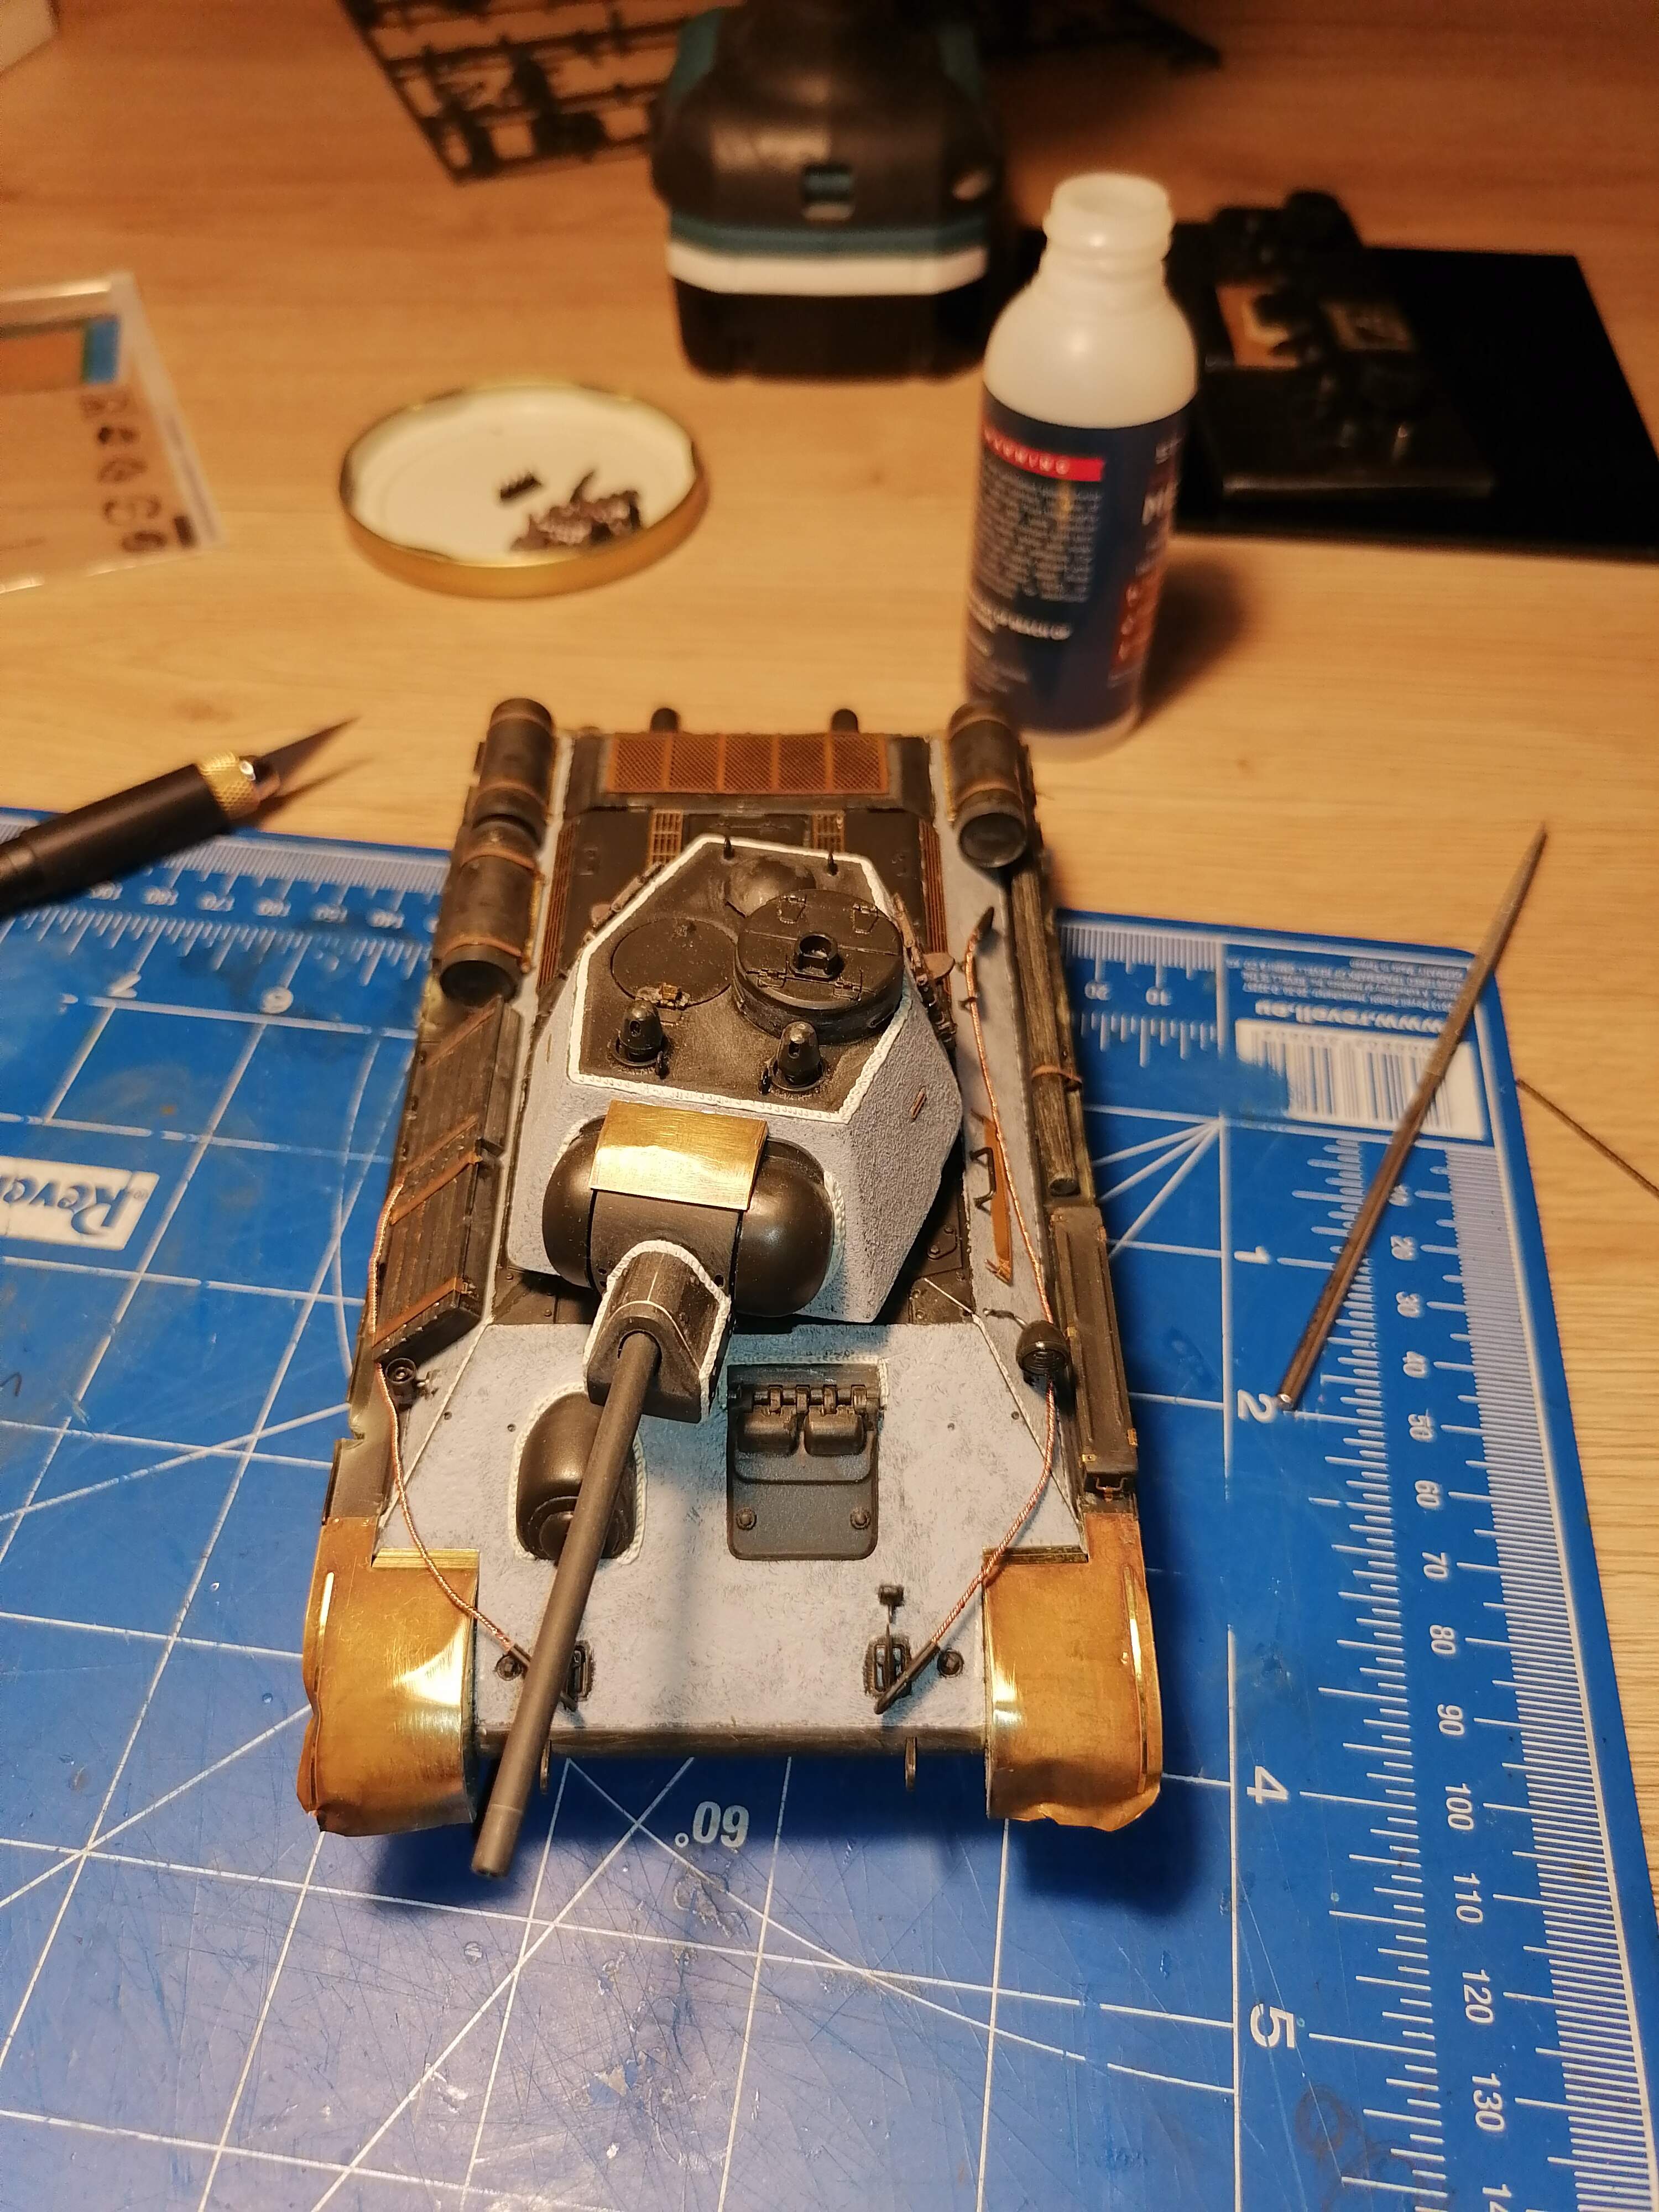
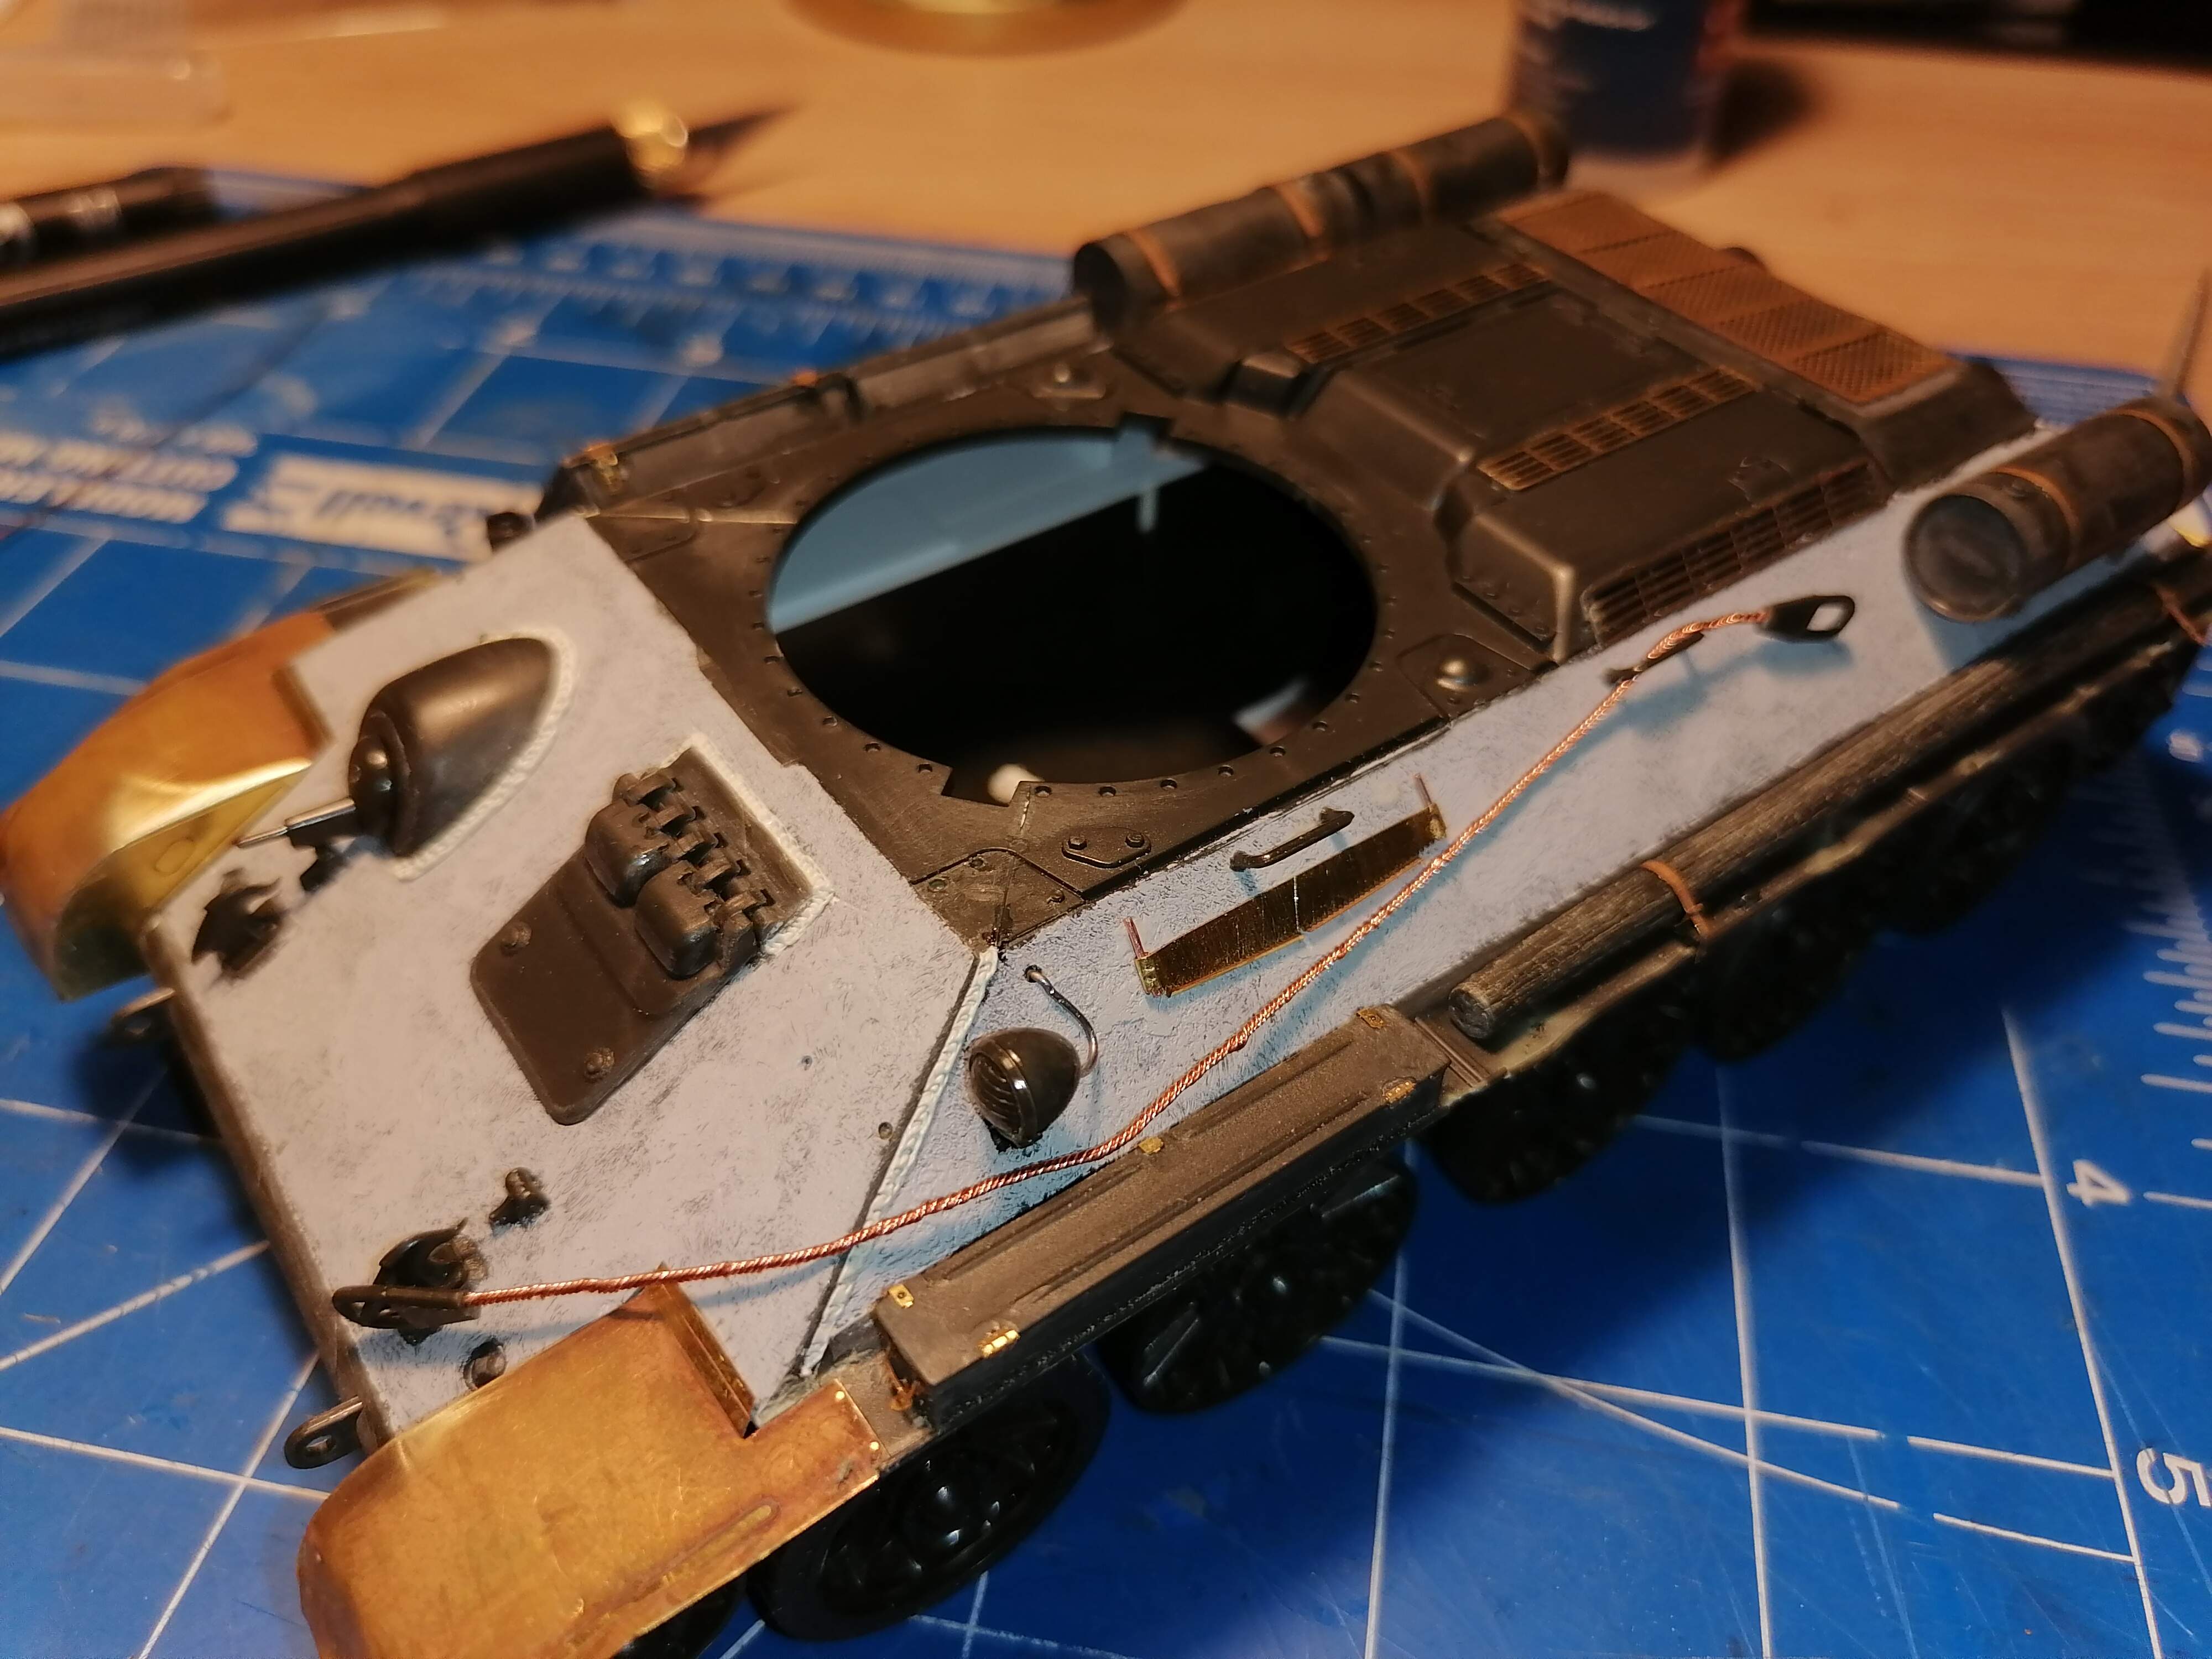
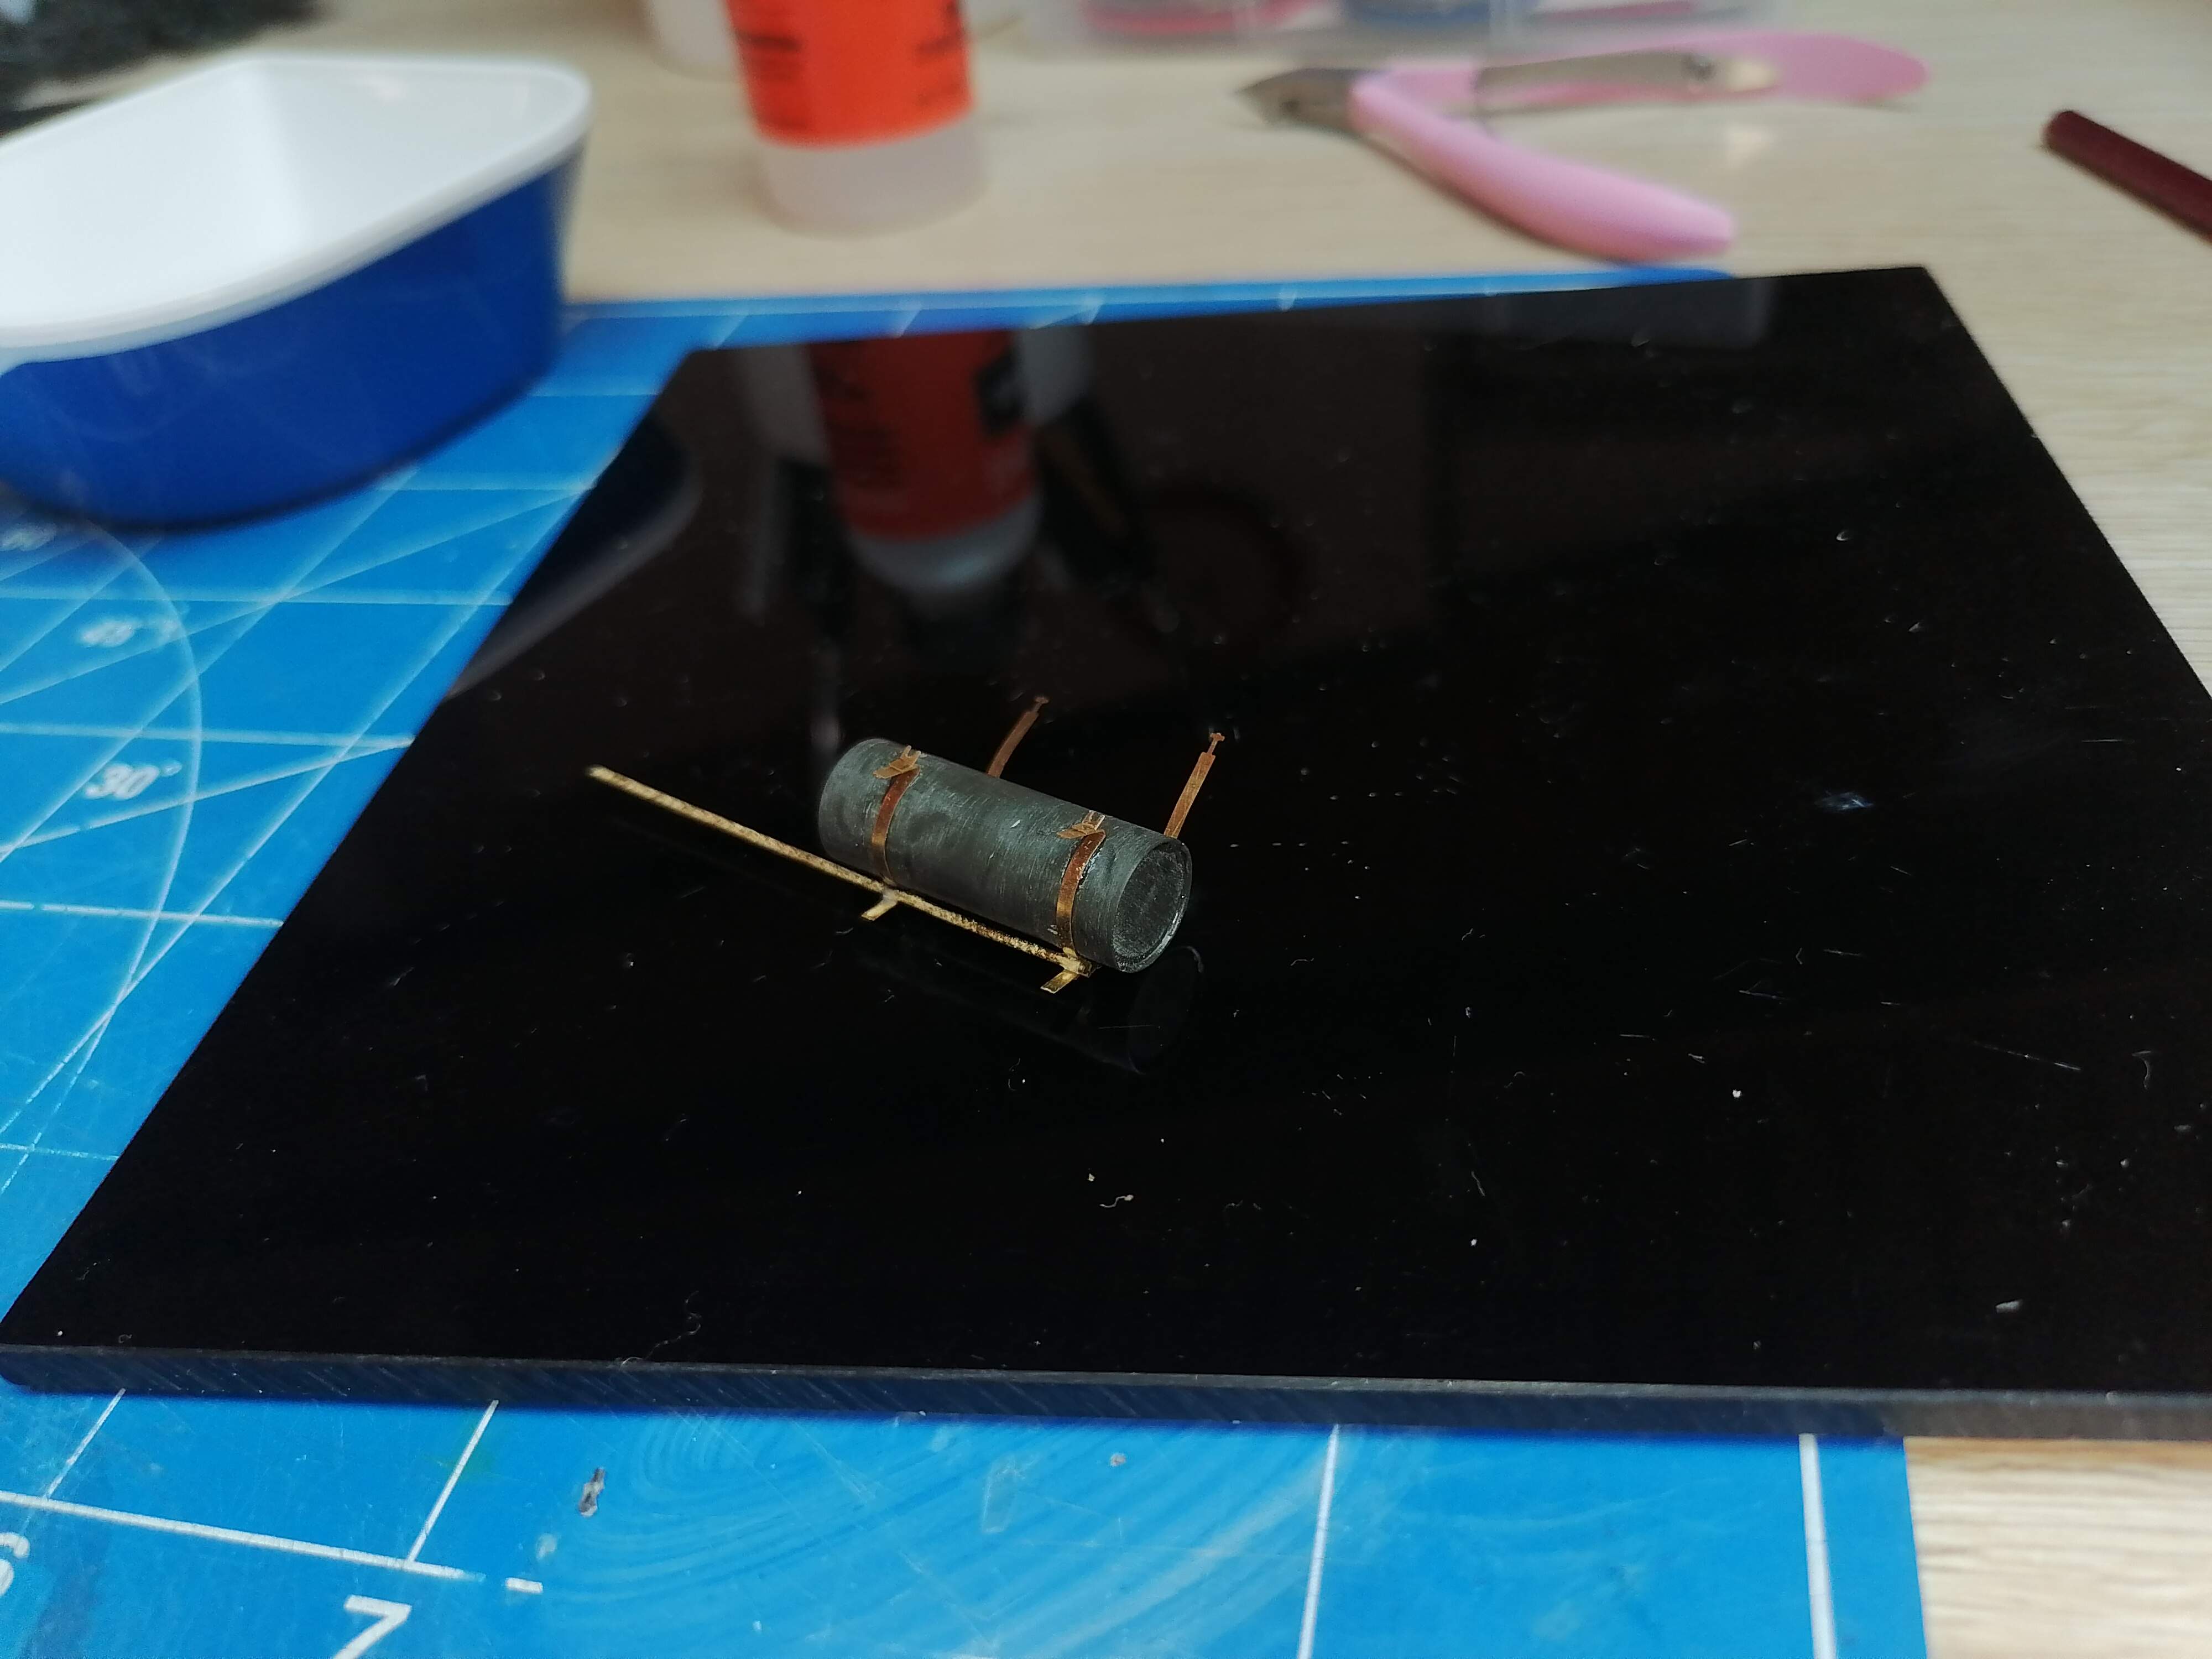
In my defence, i must say that its my 2nd tank (after the sherman from Willcomen im Reich diorama- also here on Armorama)… And its the first time working with PE parts…
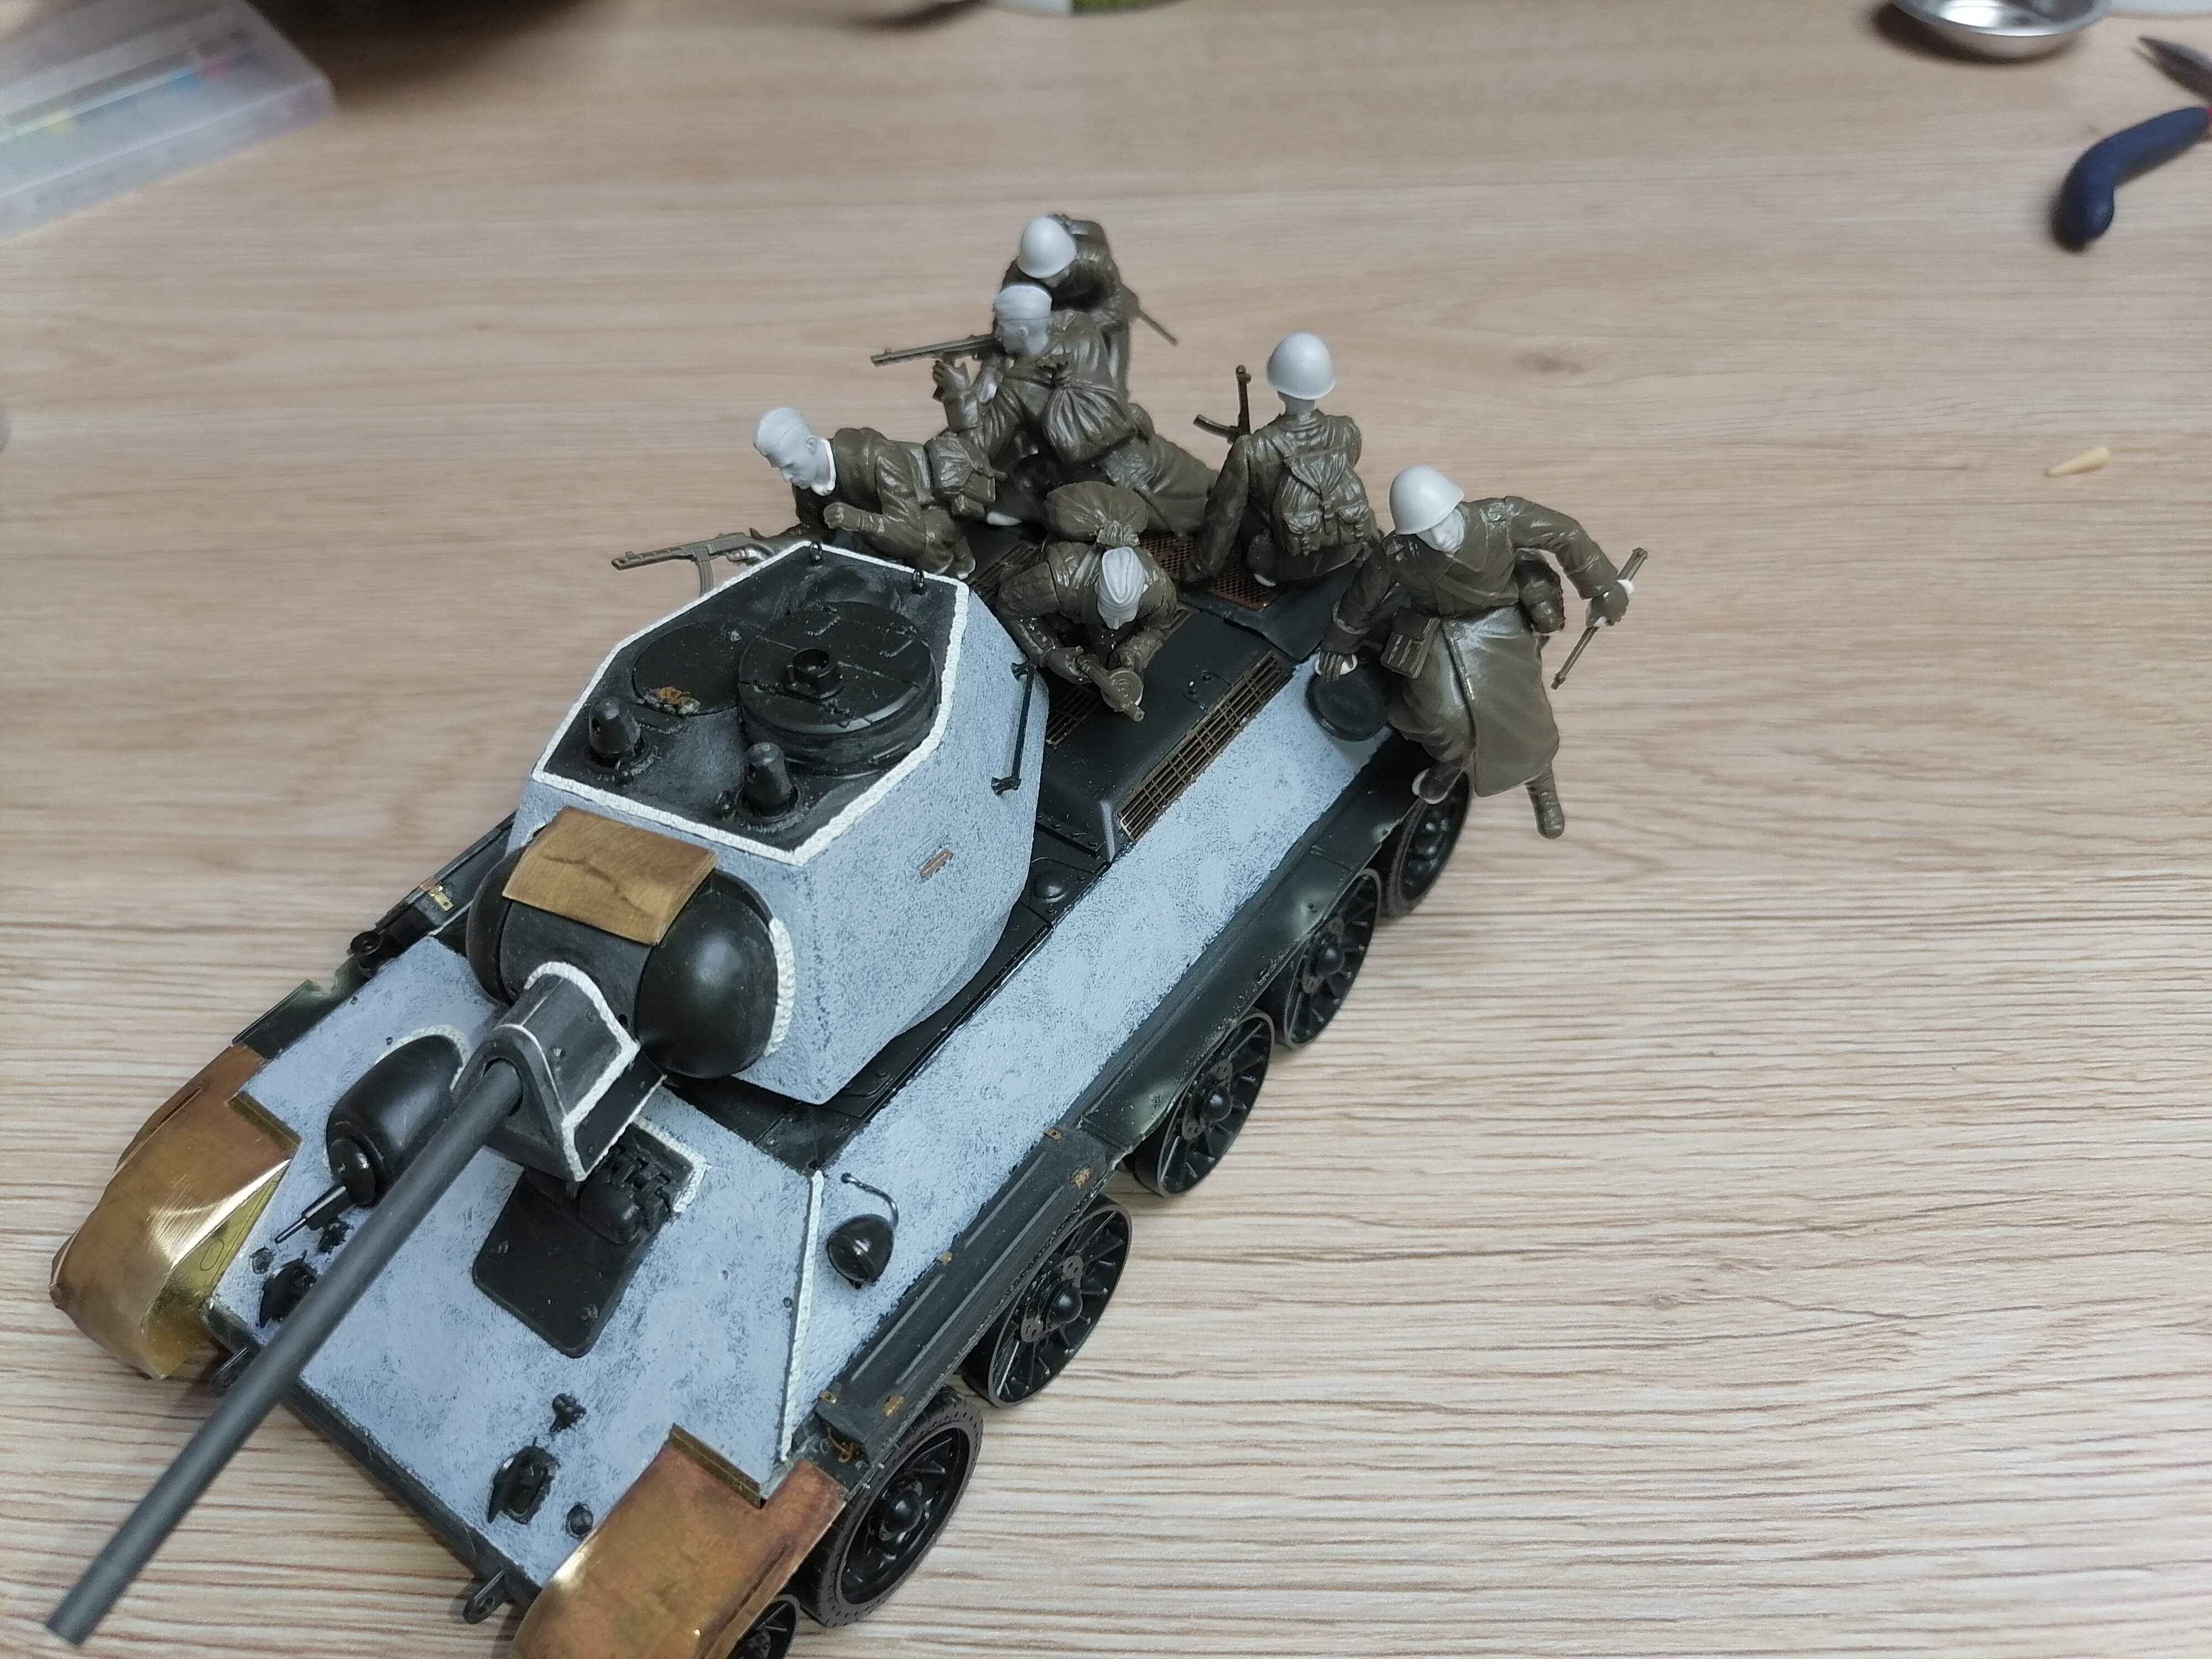
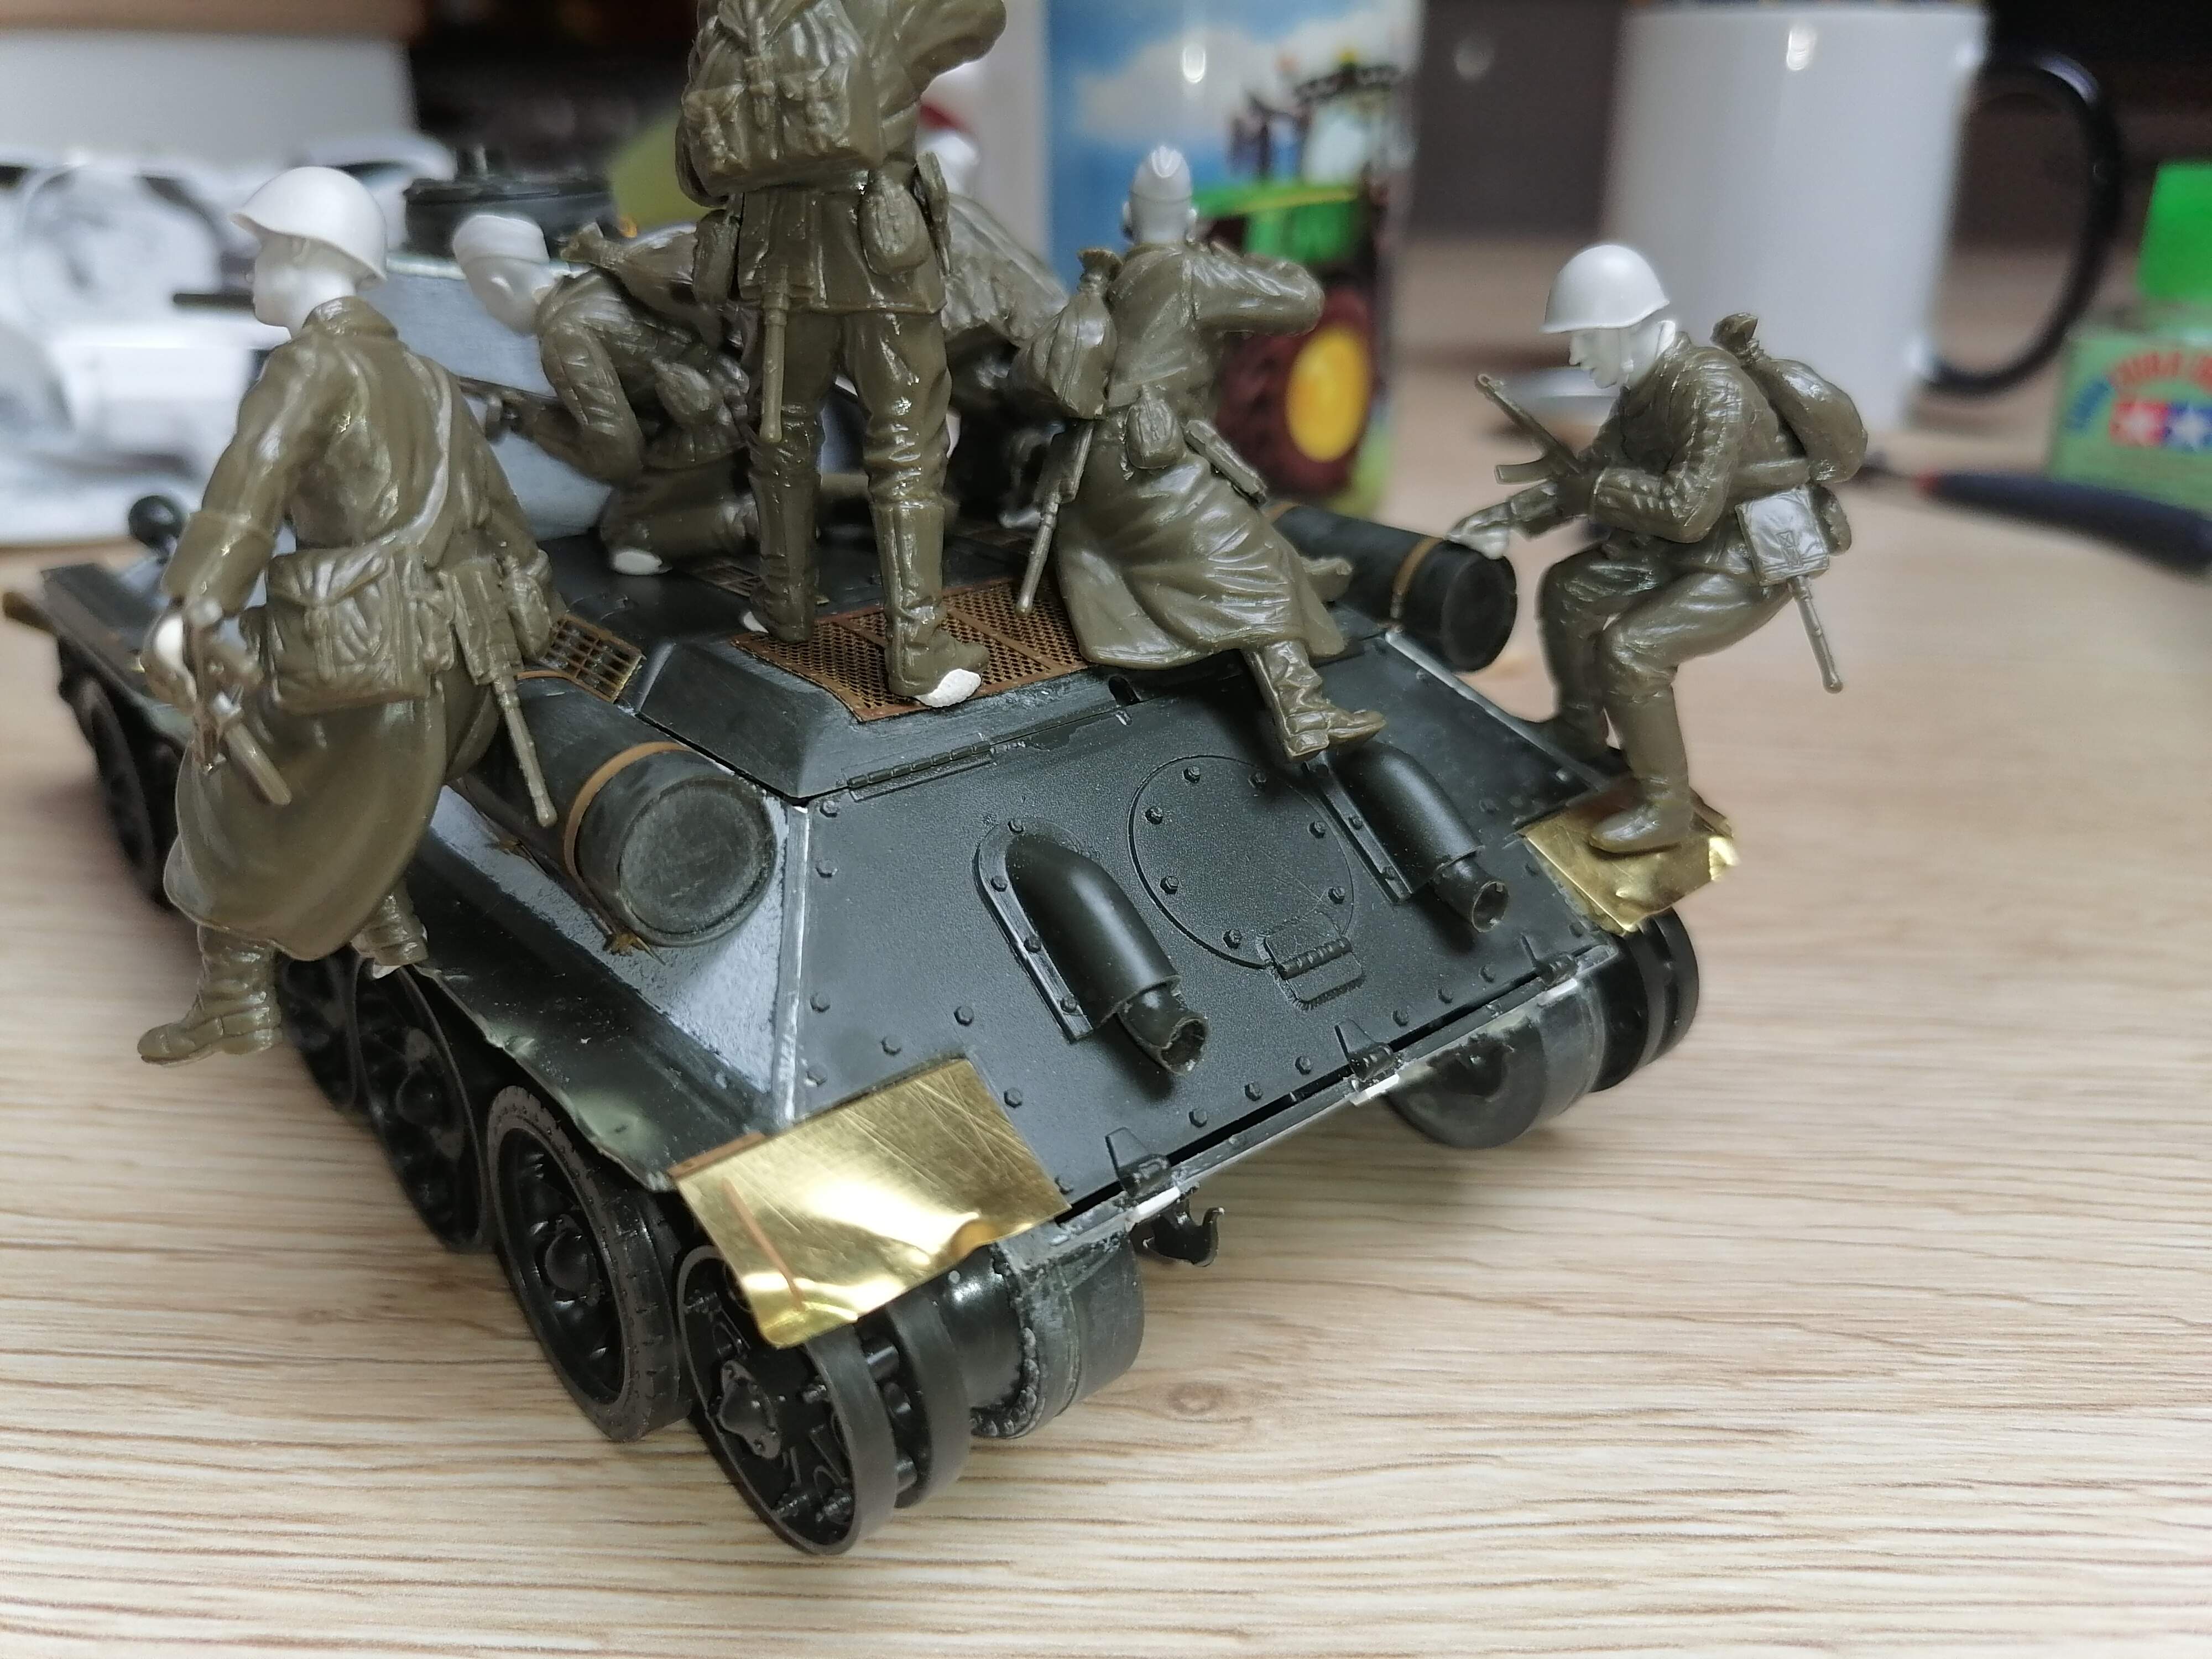
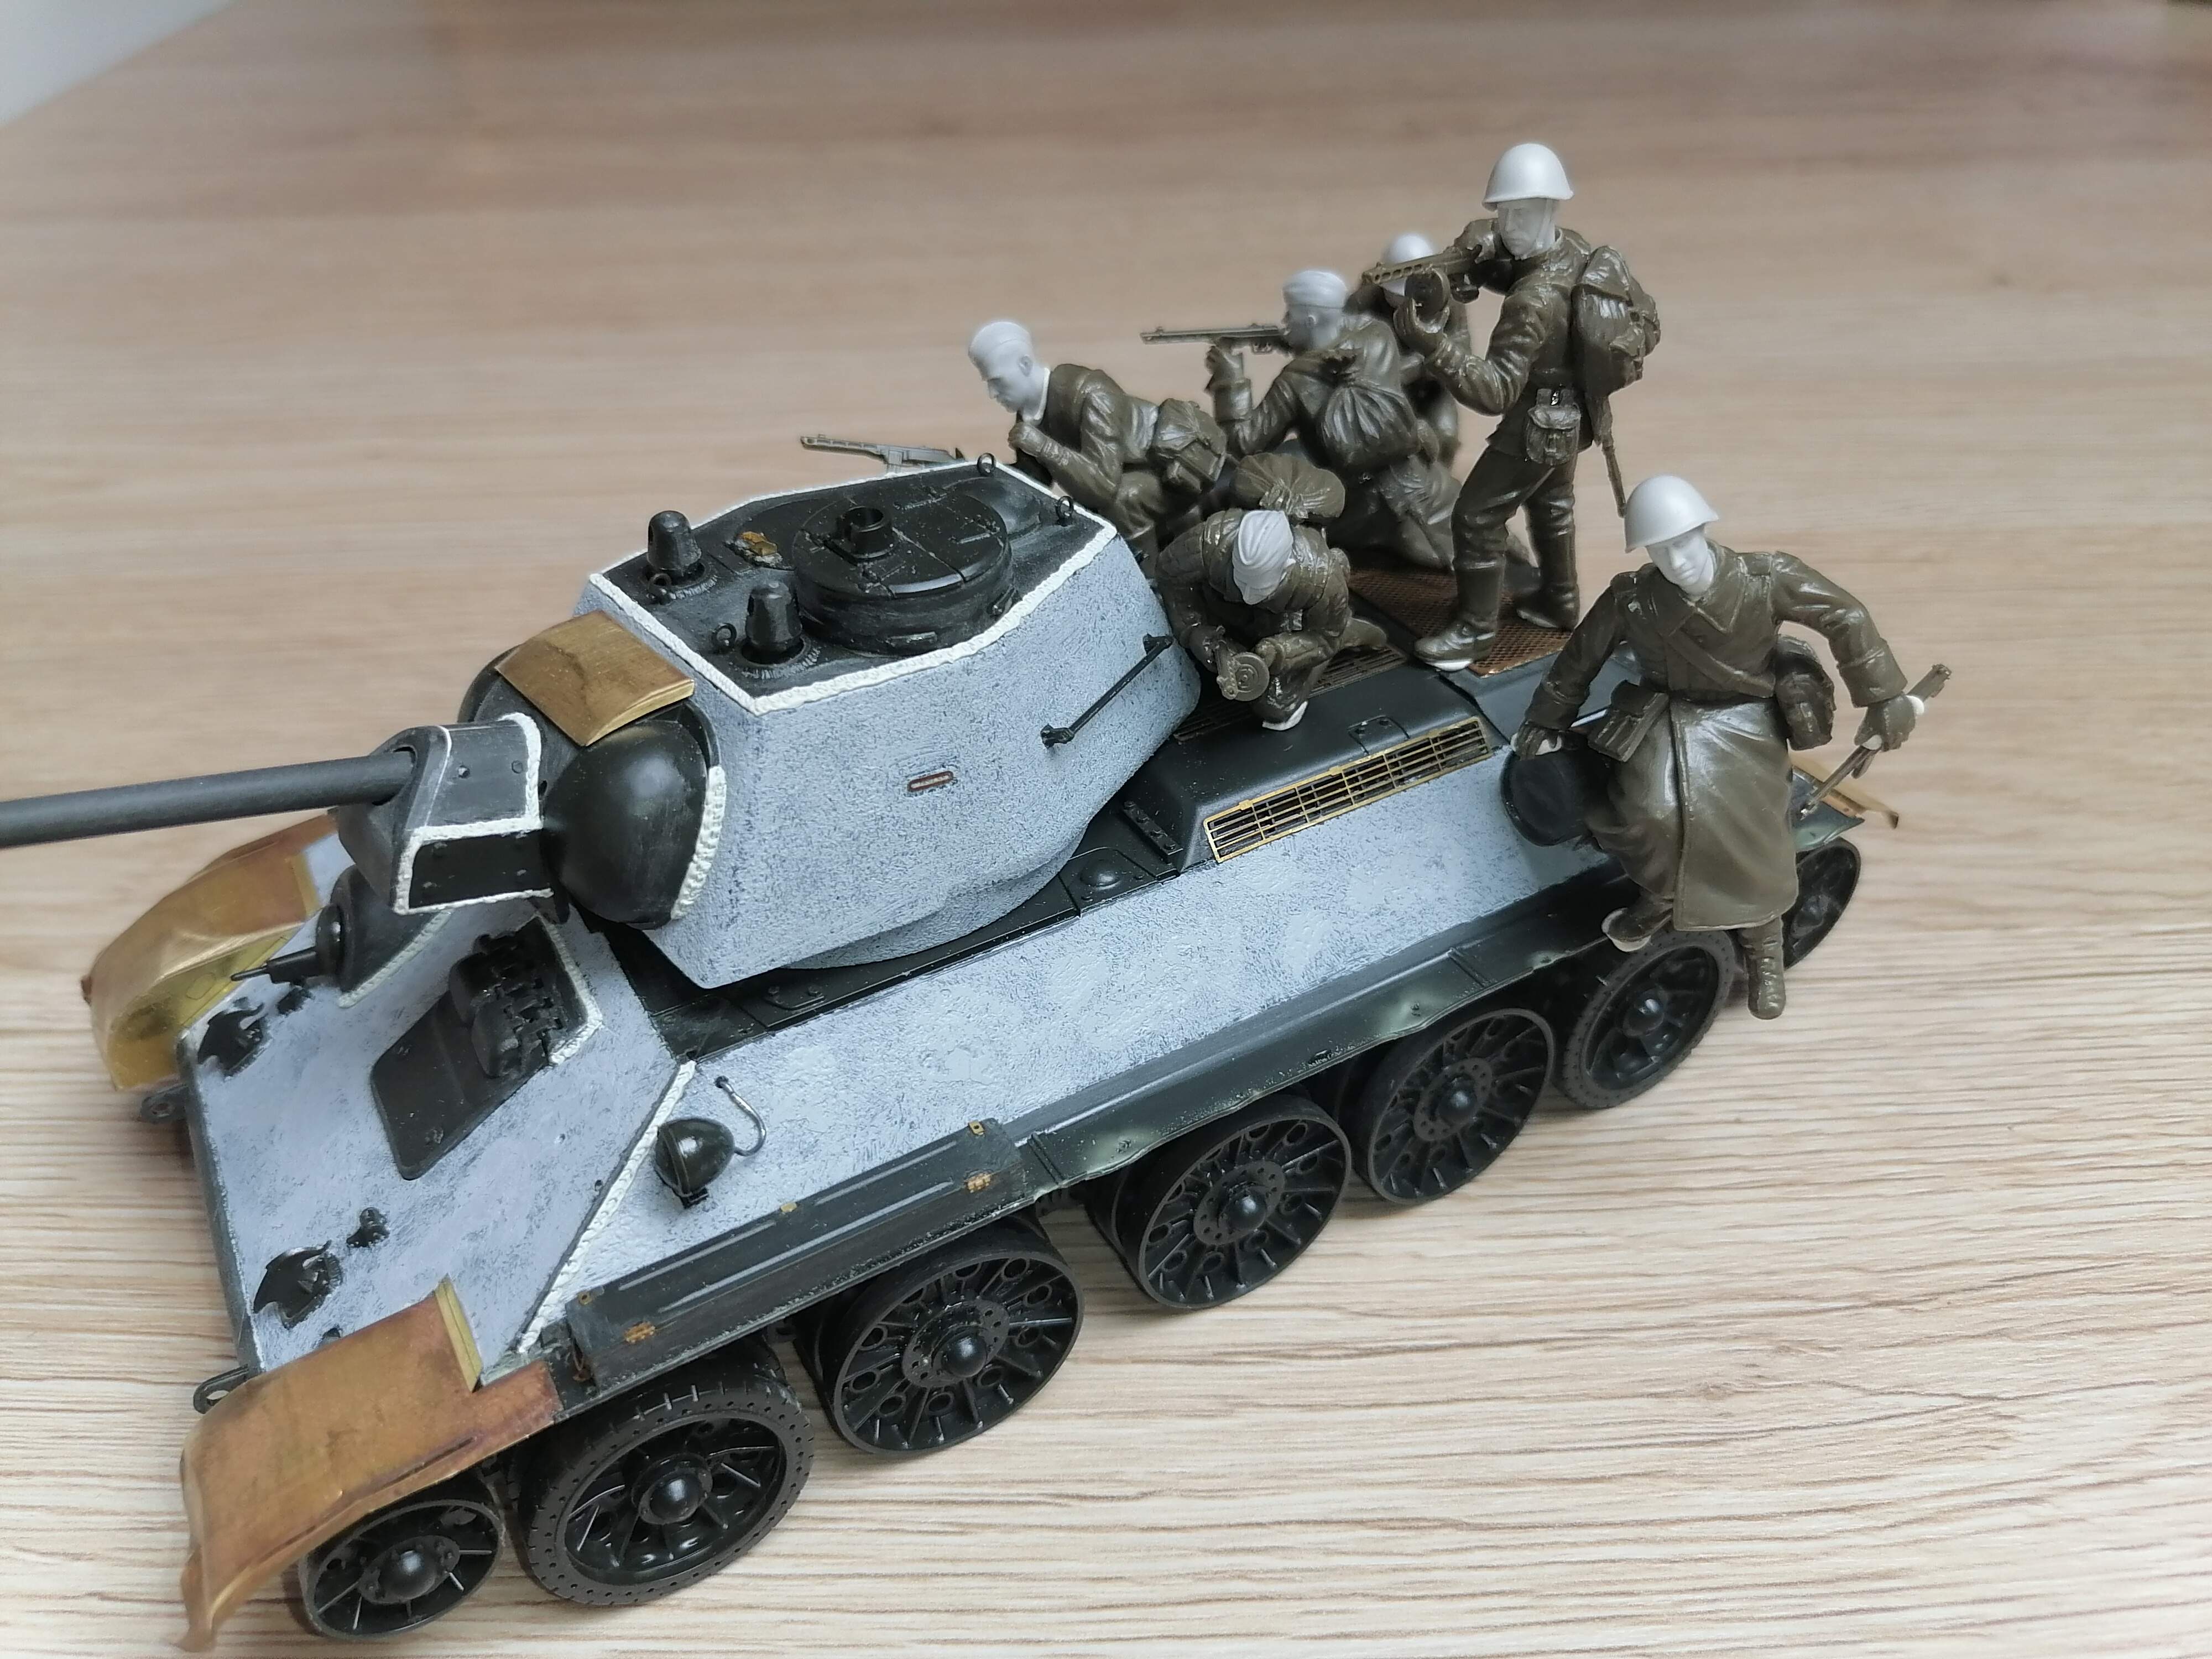
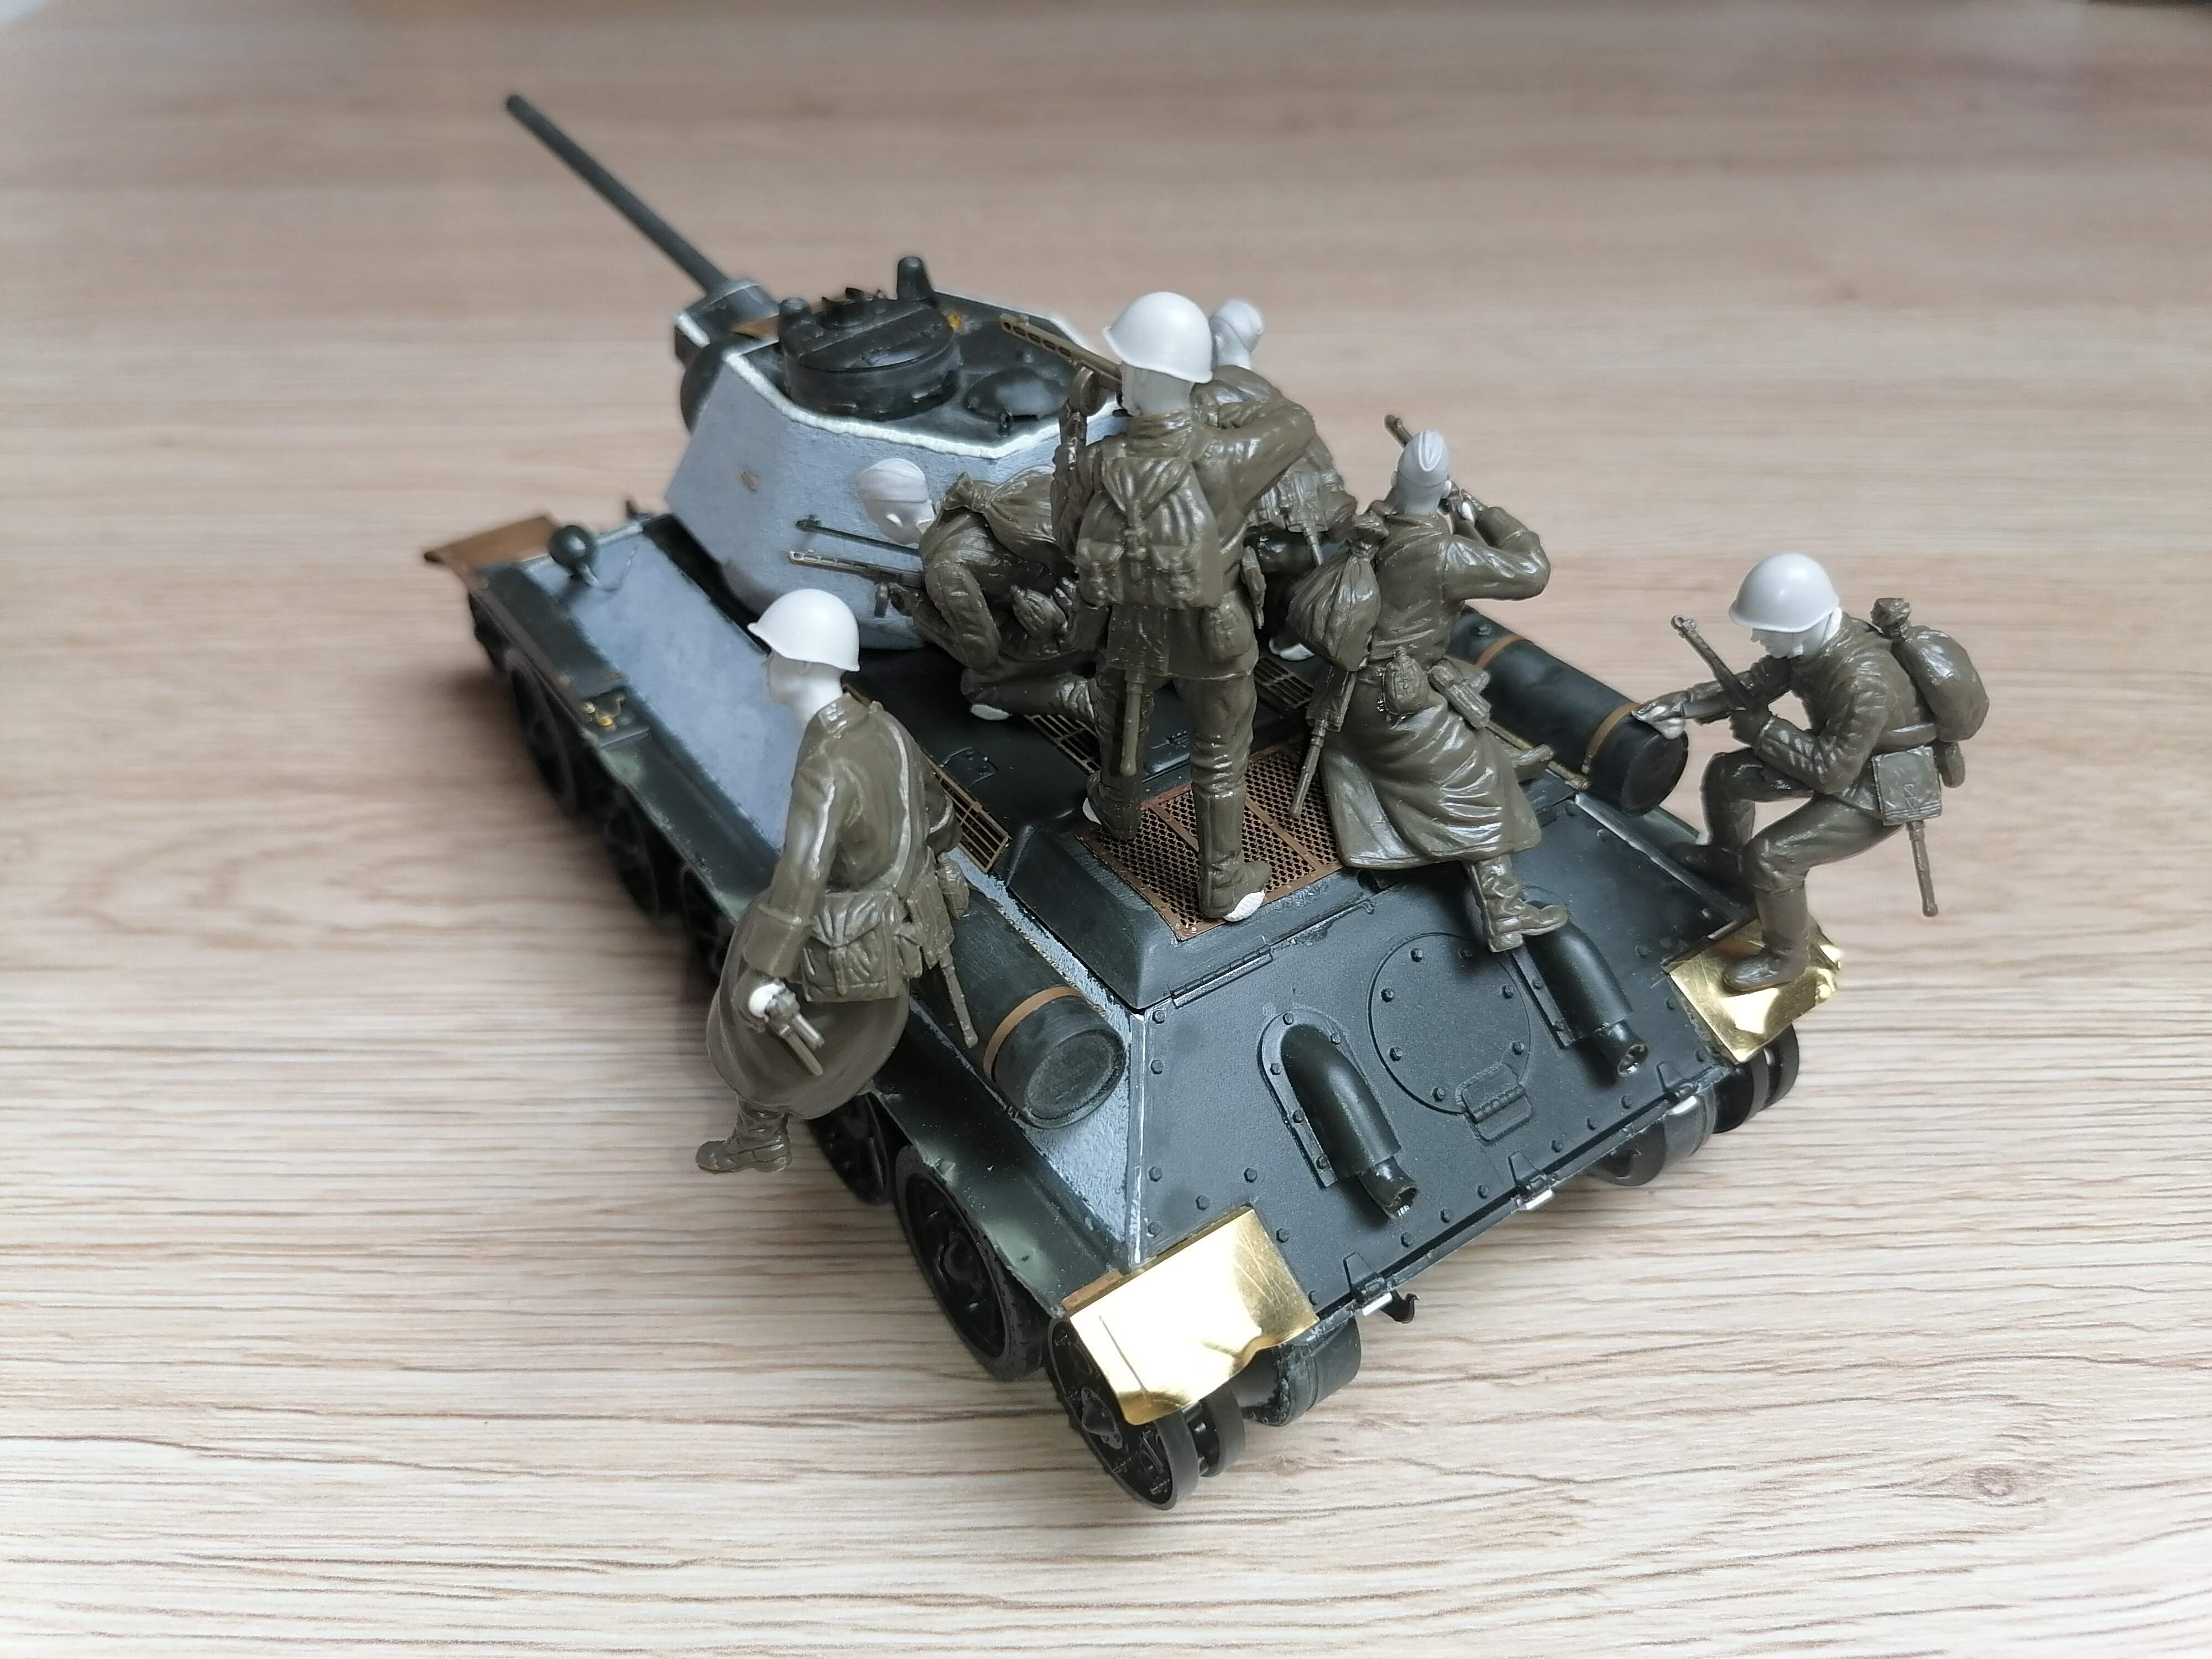
I think that now i must finish the tank and the figures, and prime theme like the scene… Ilearned that i must work on all the elements at the same time…
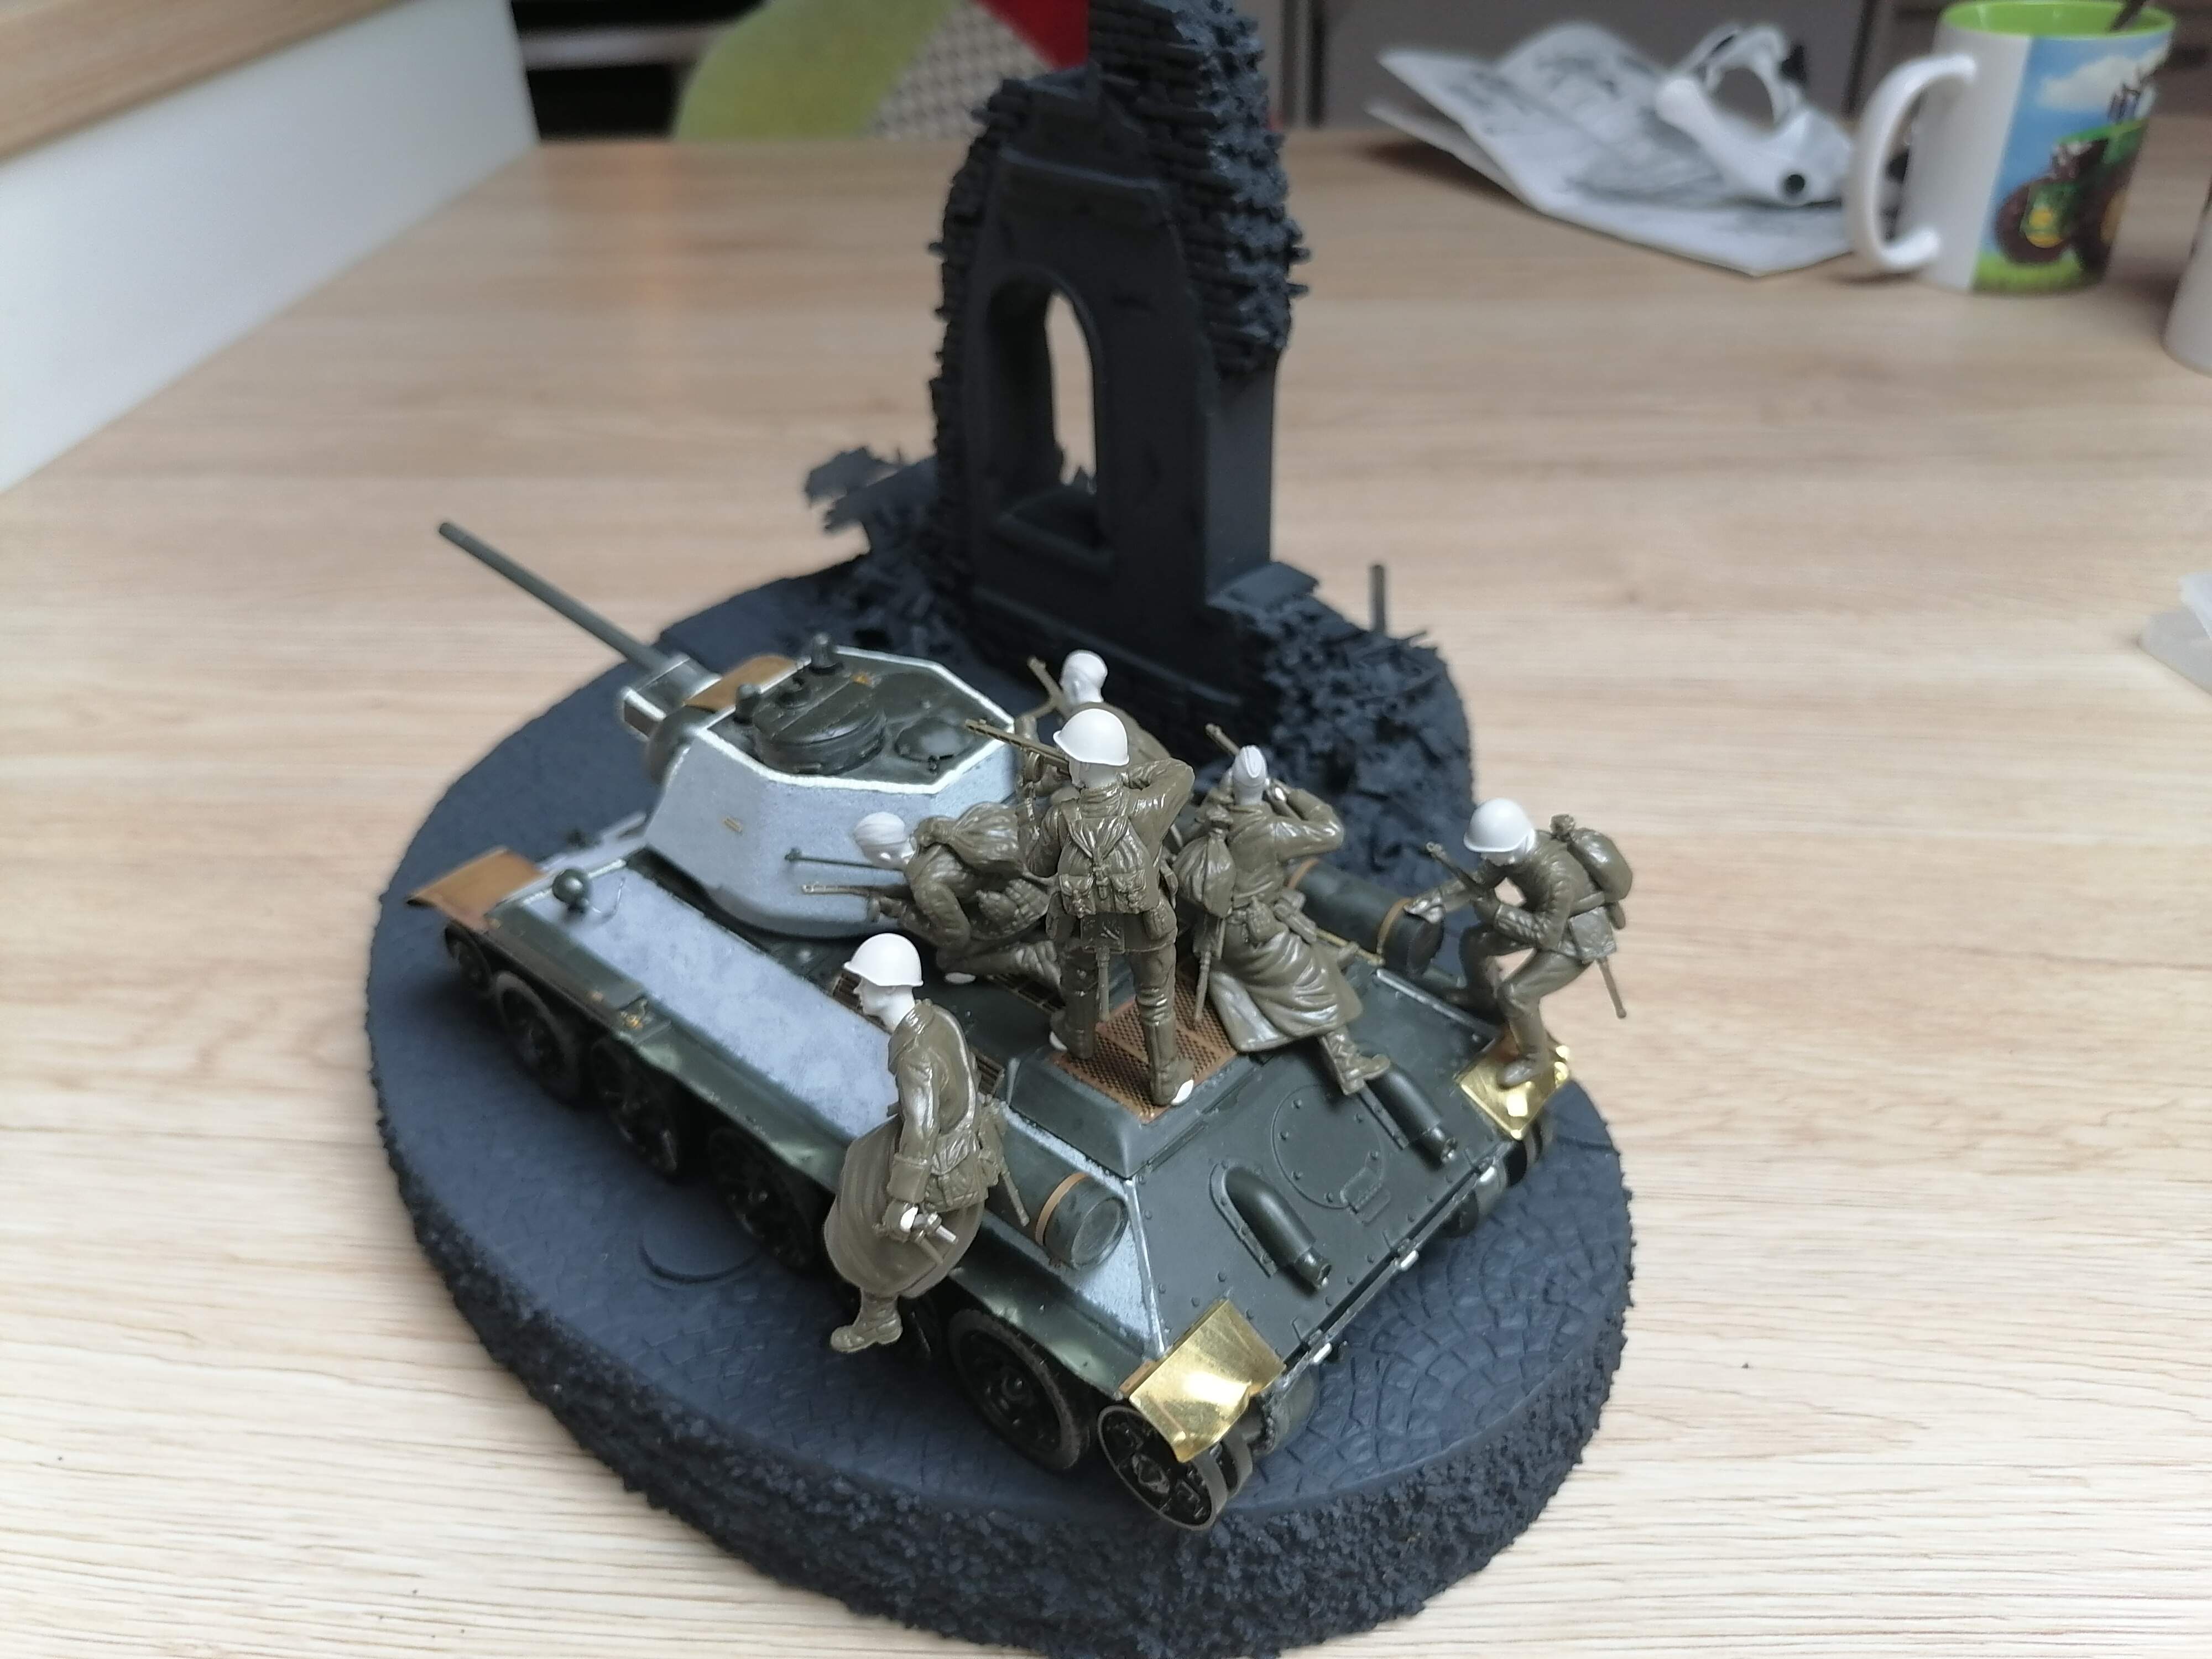
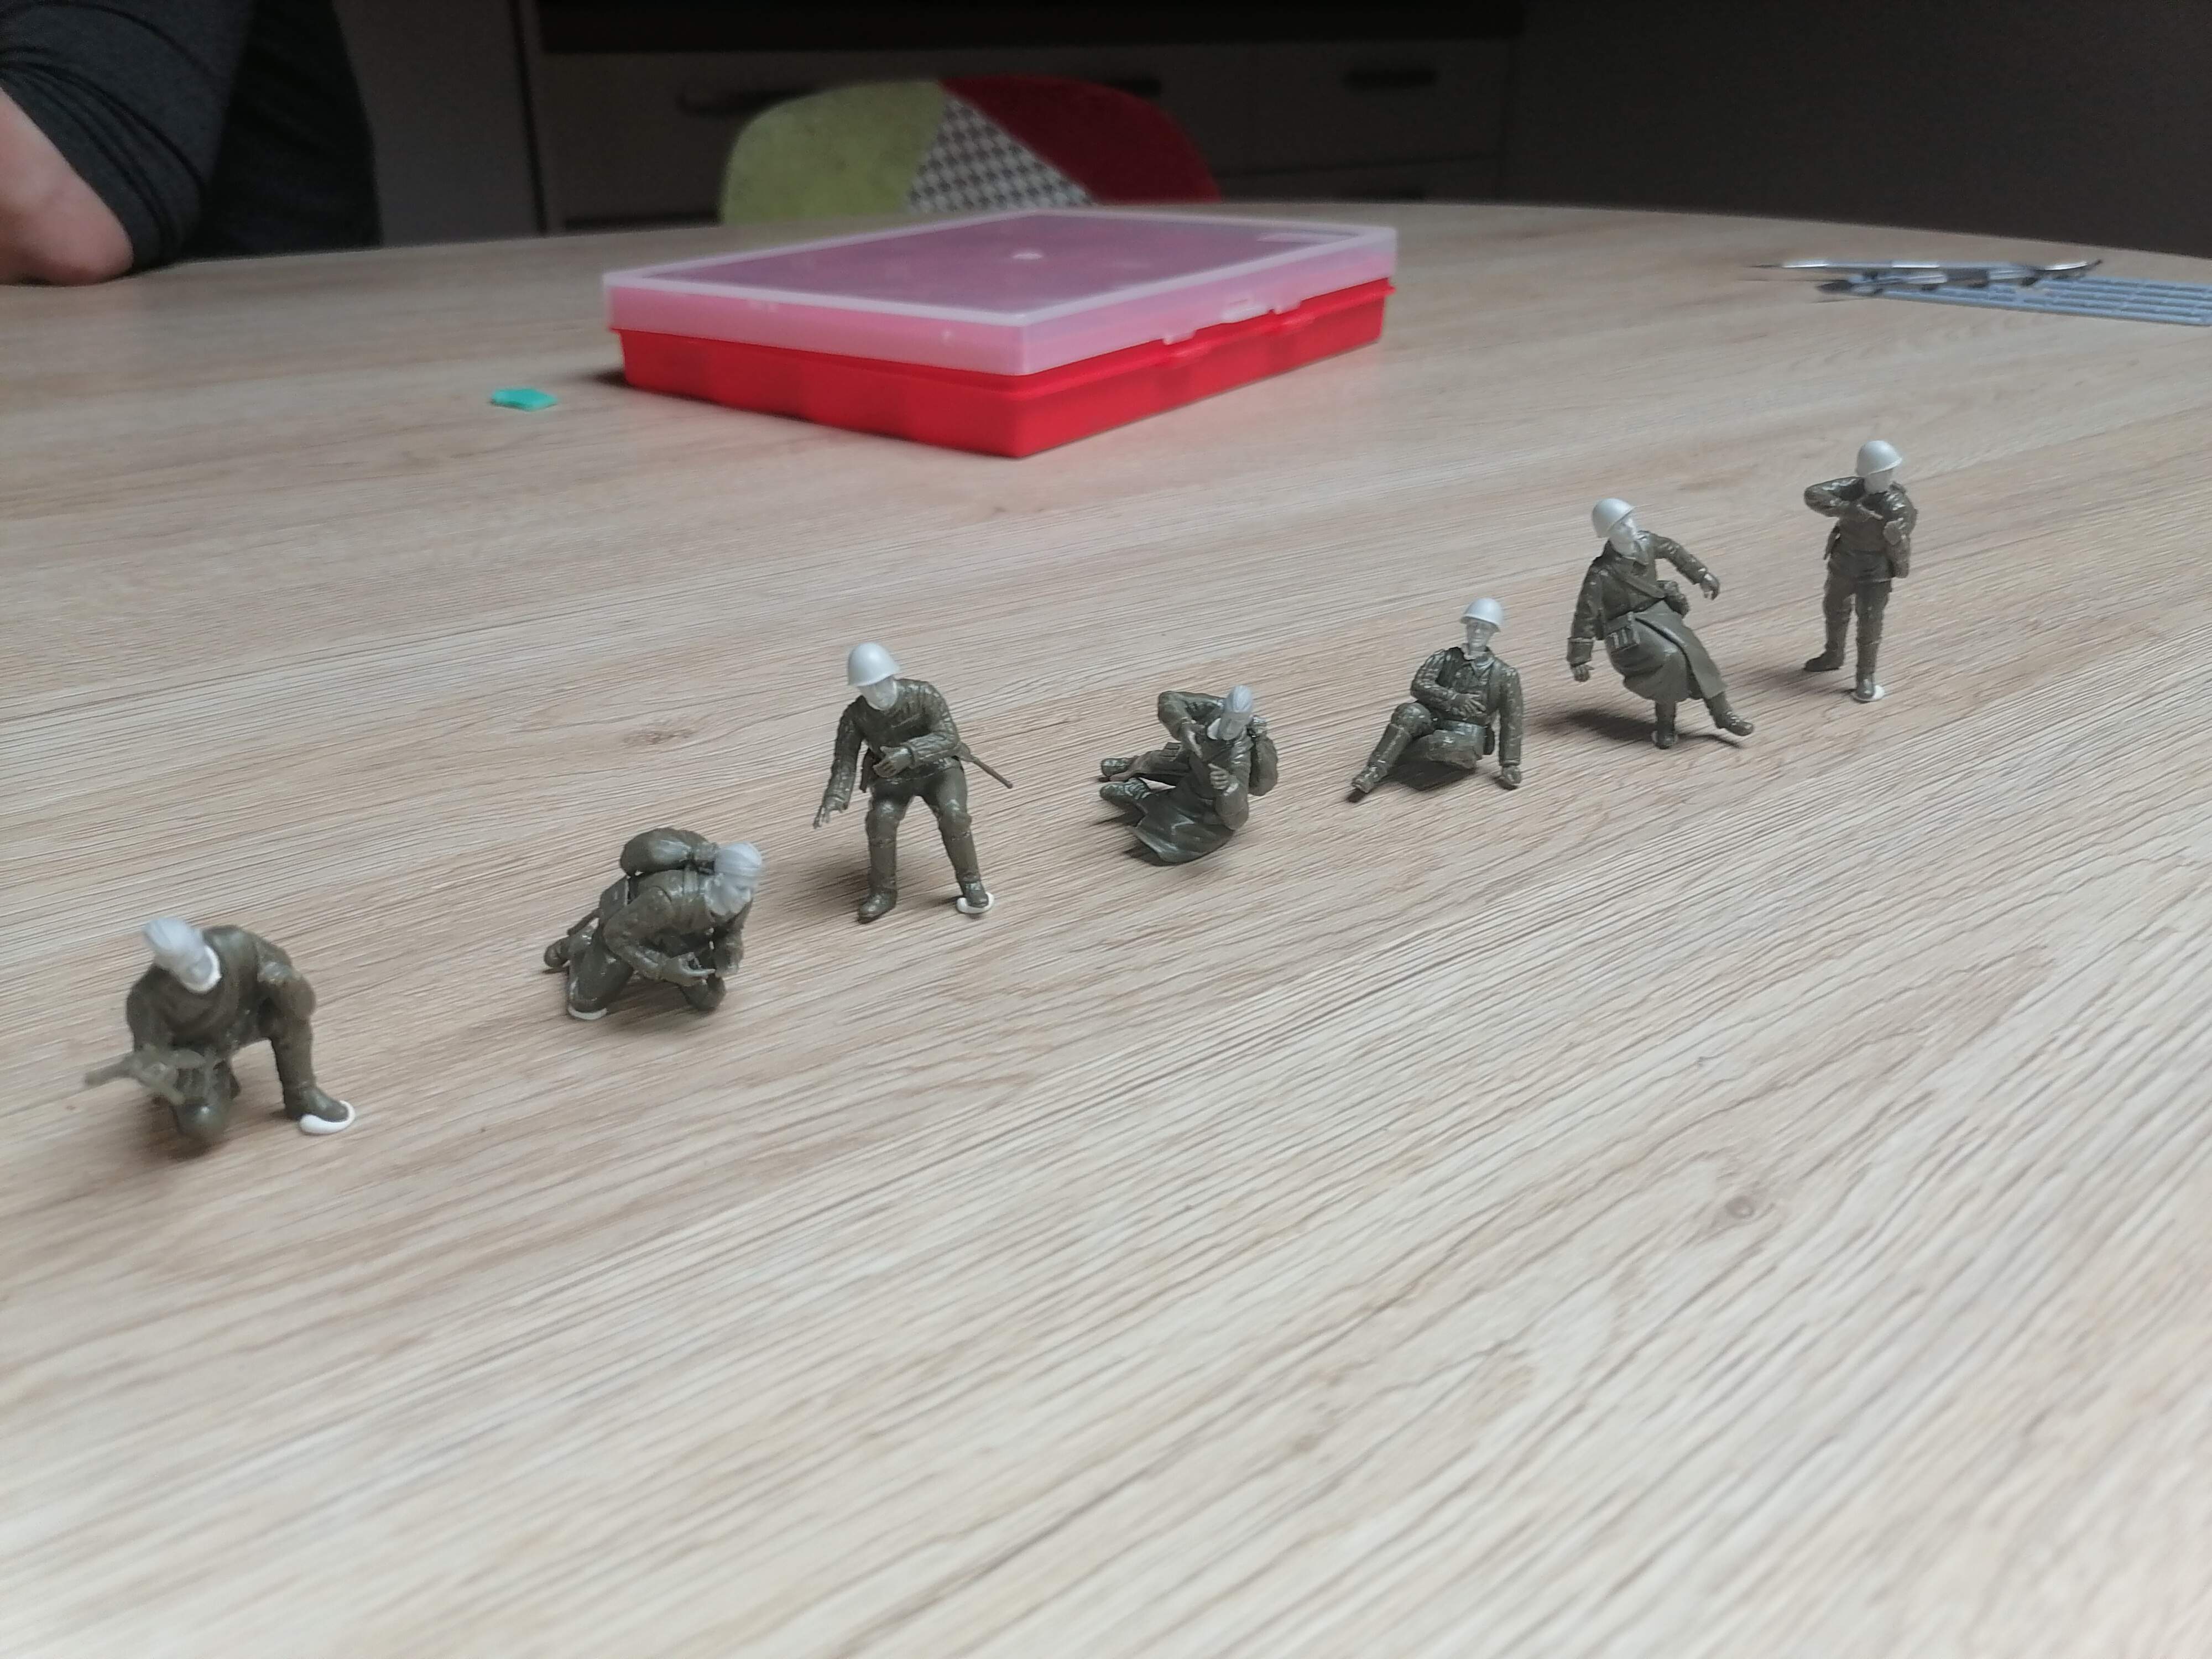
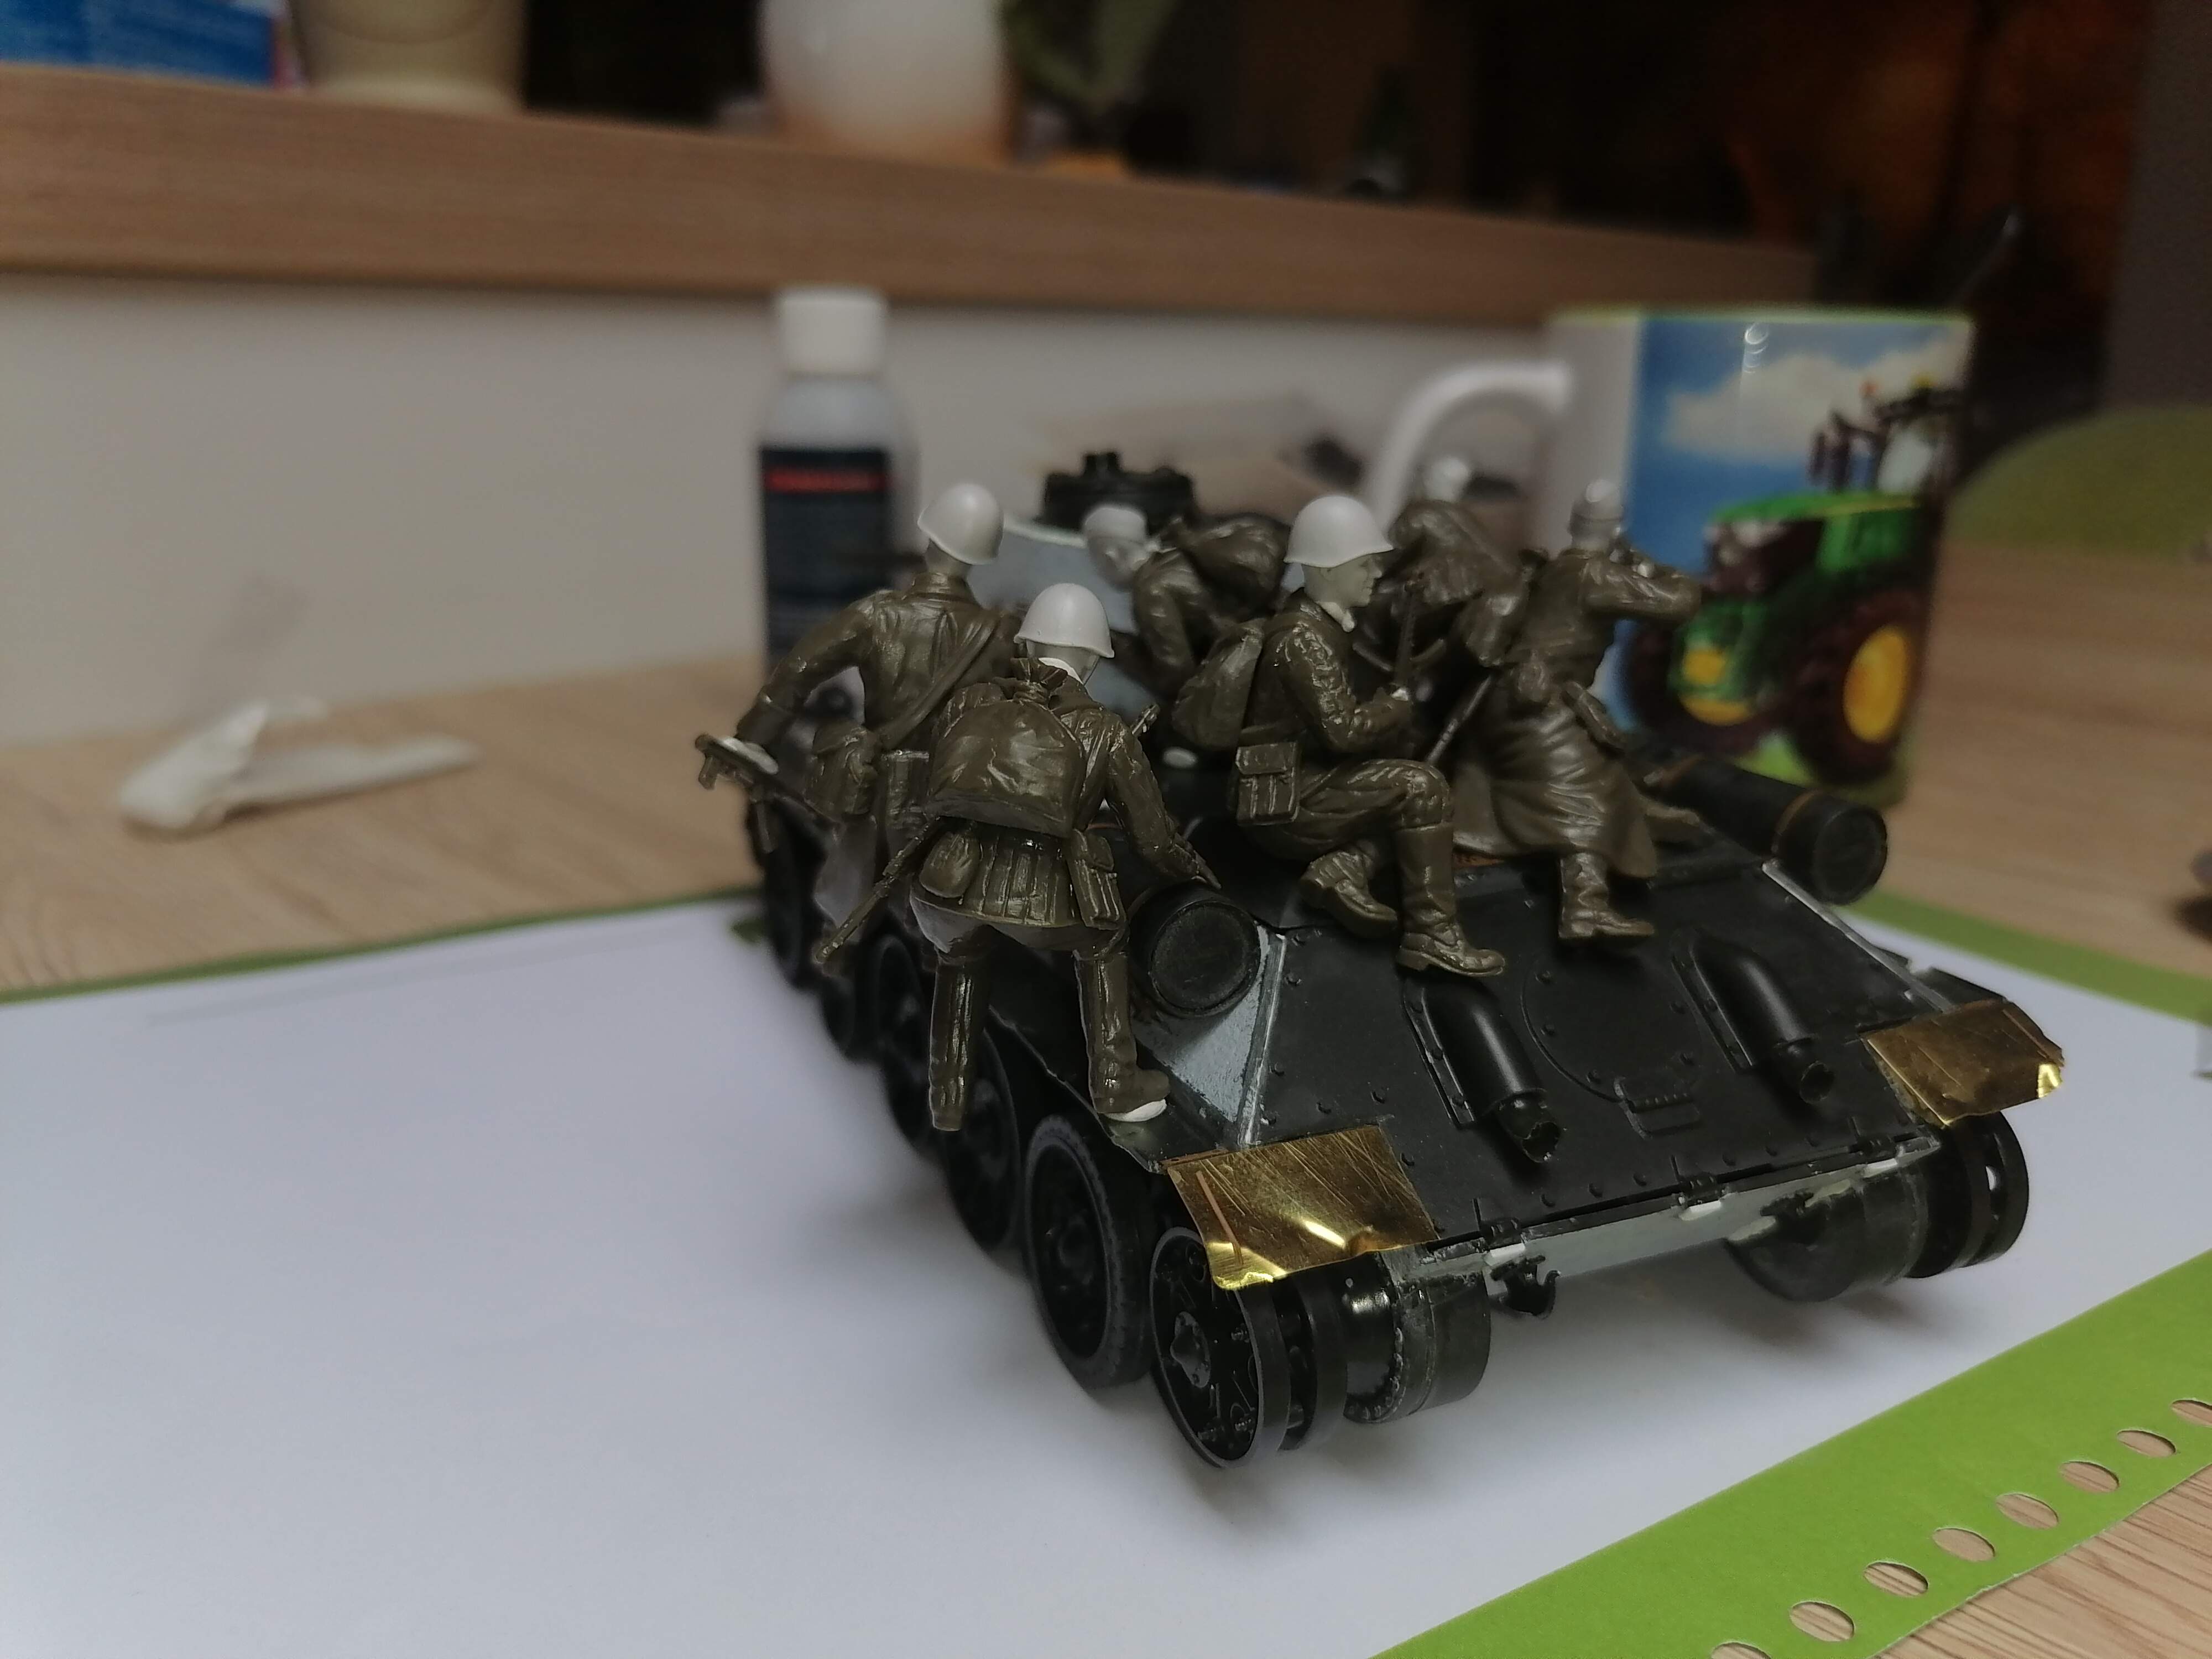
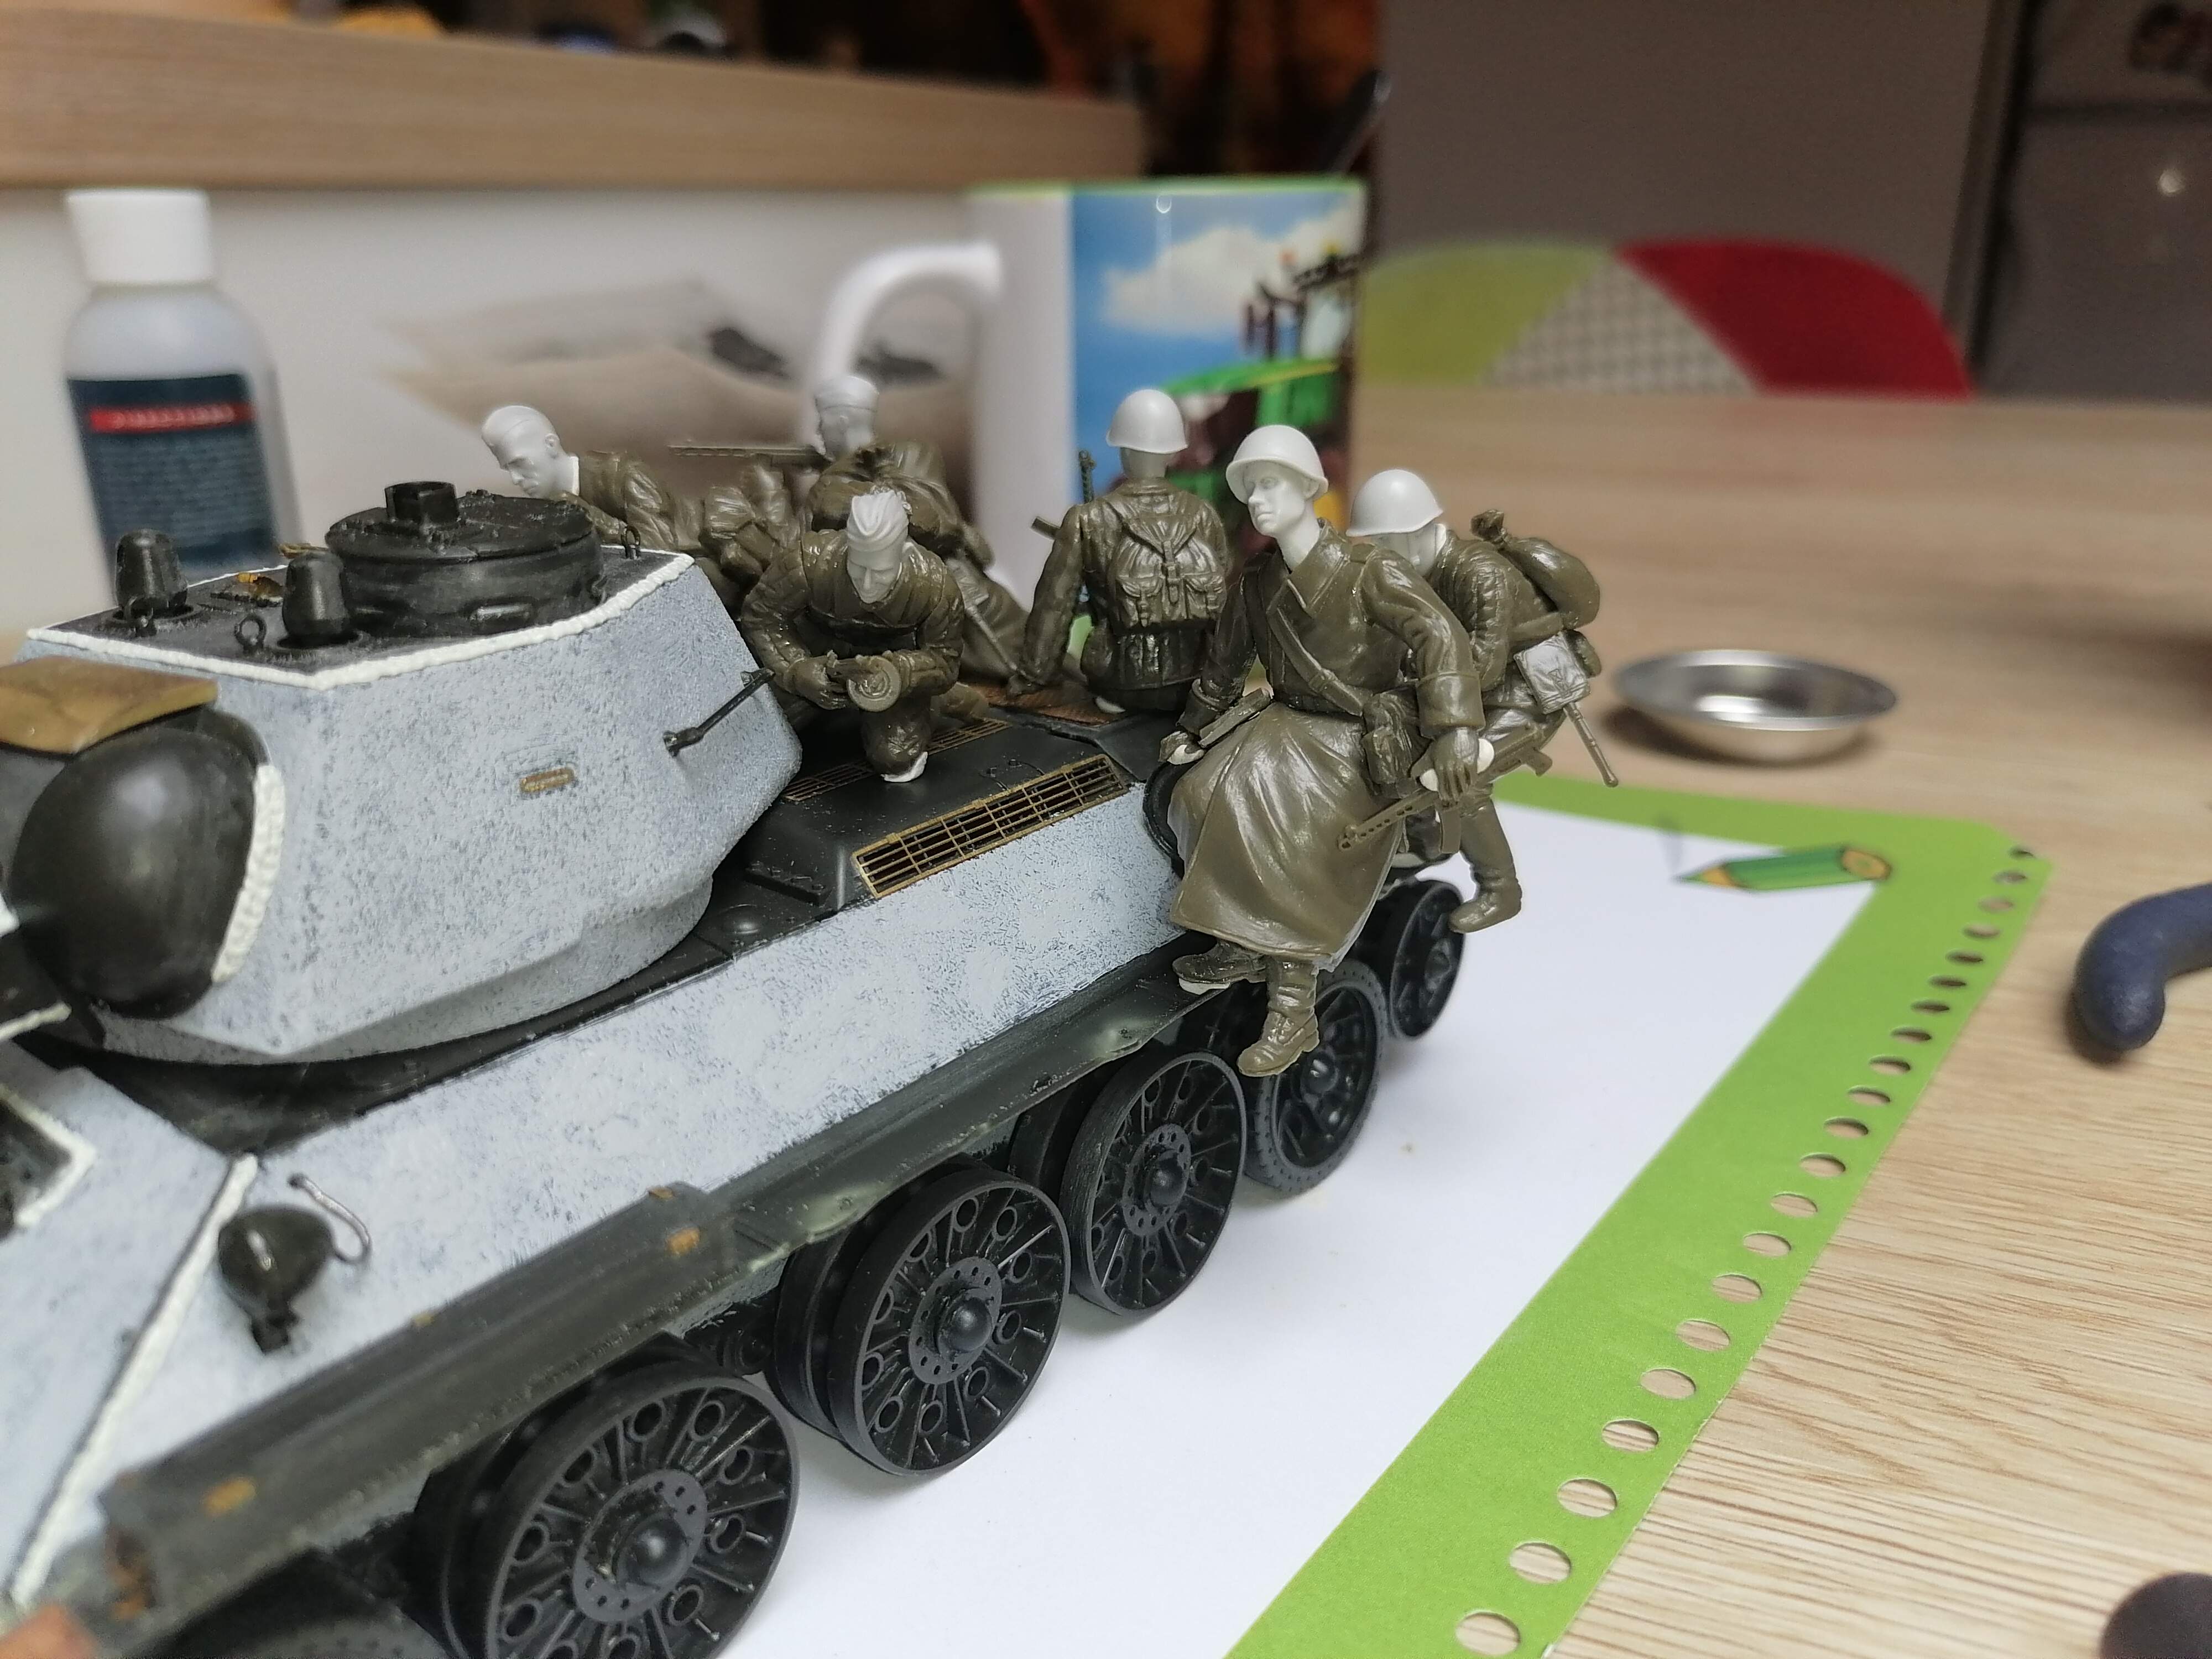
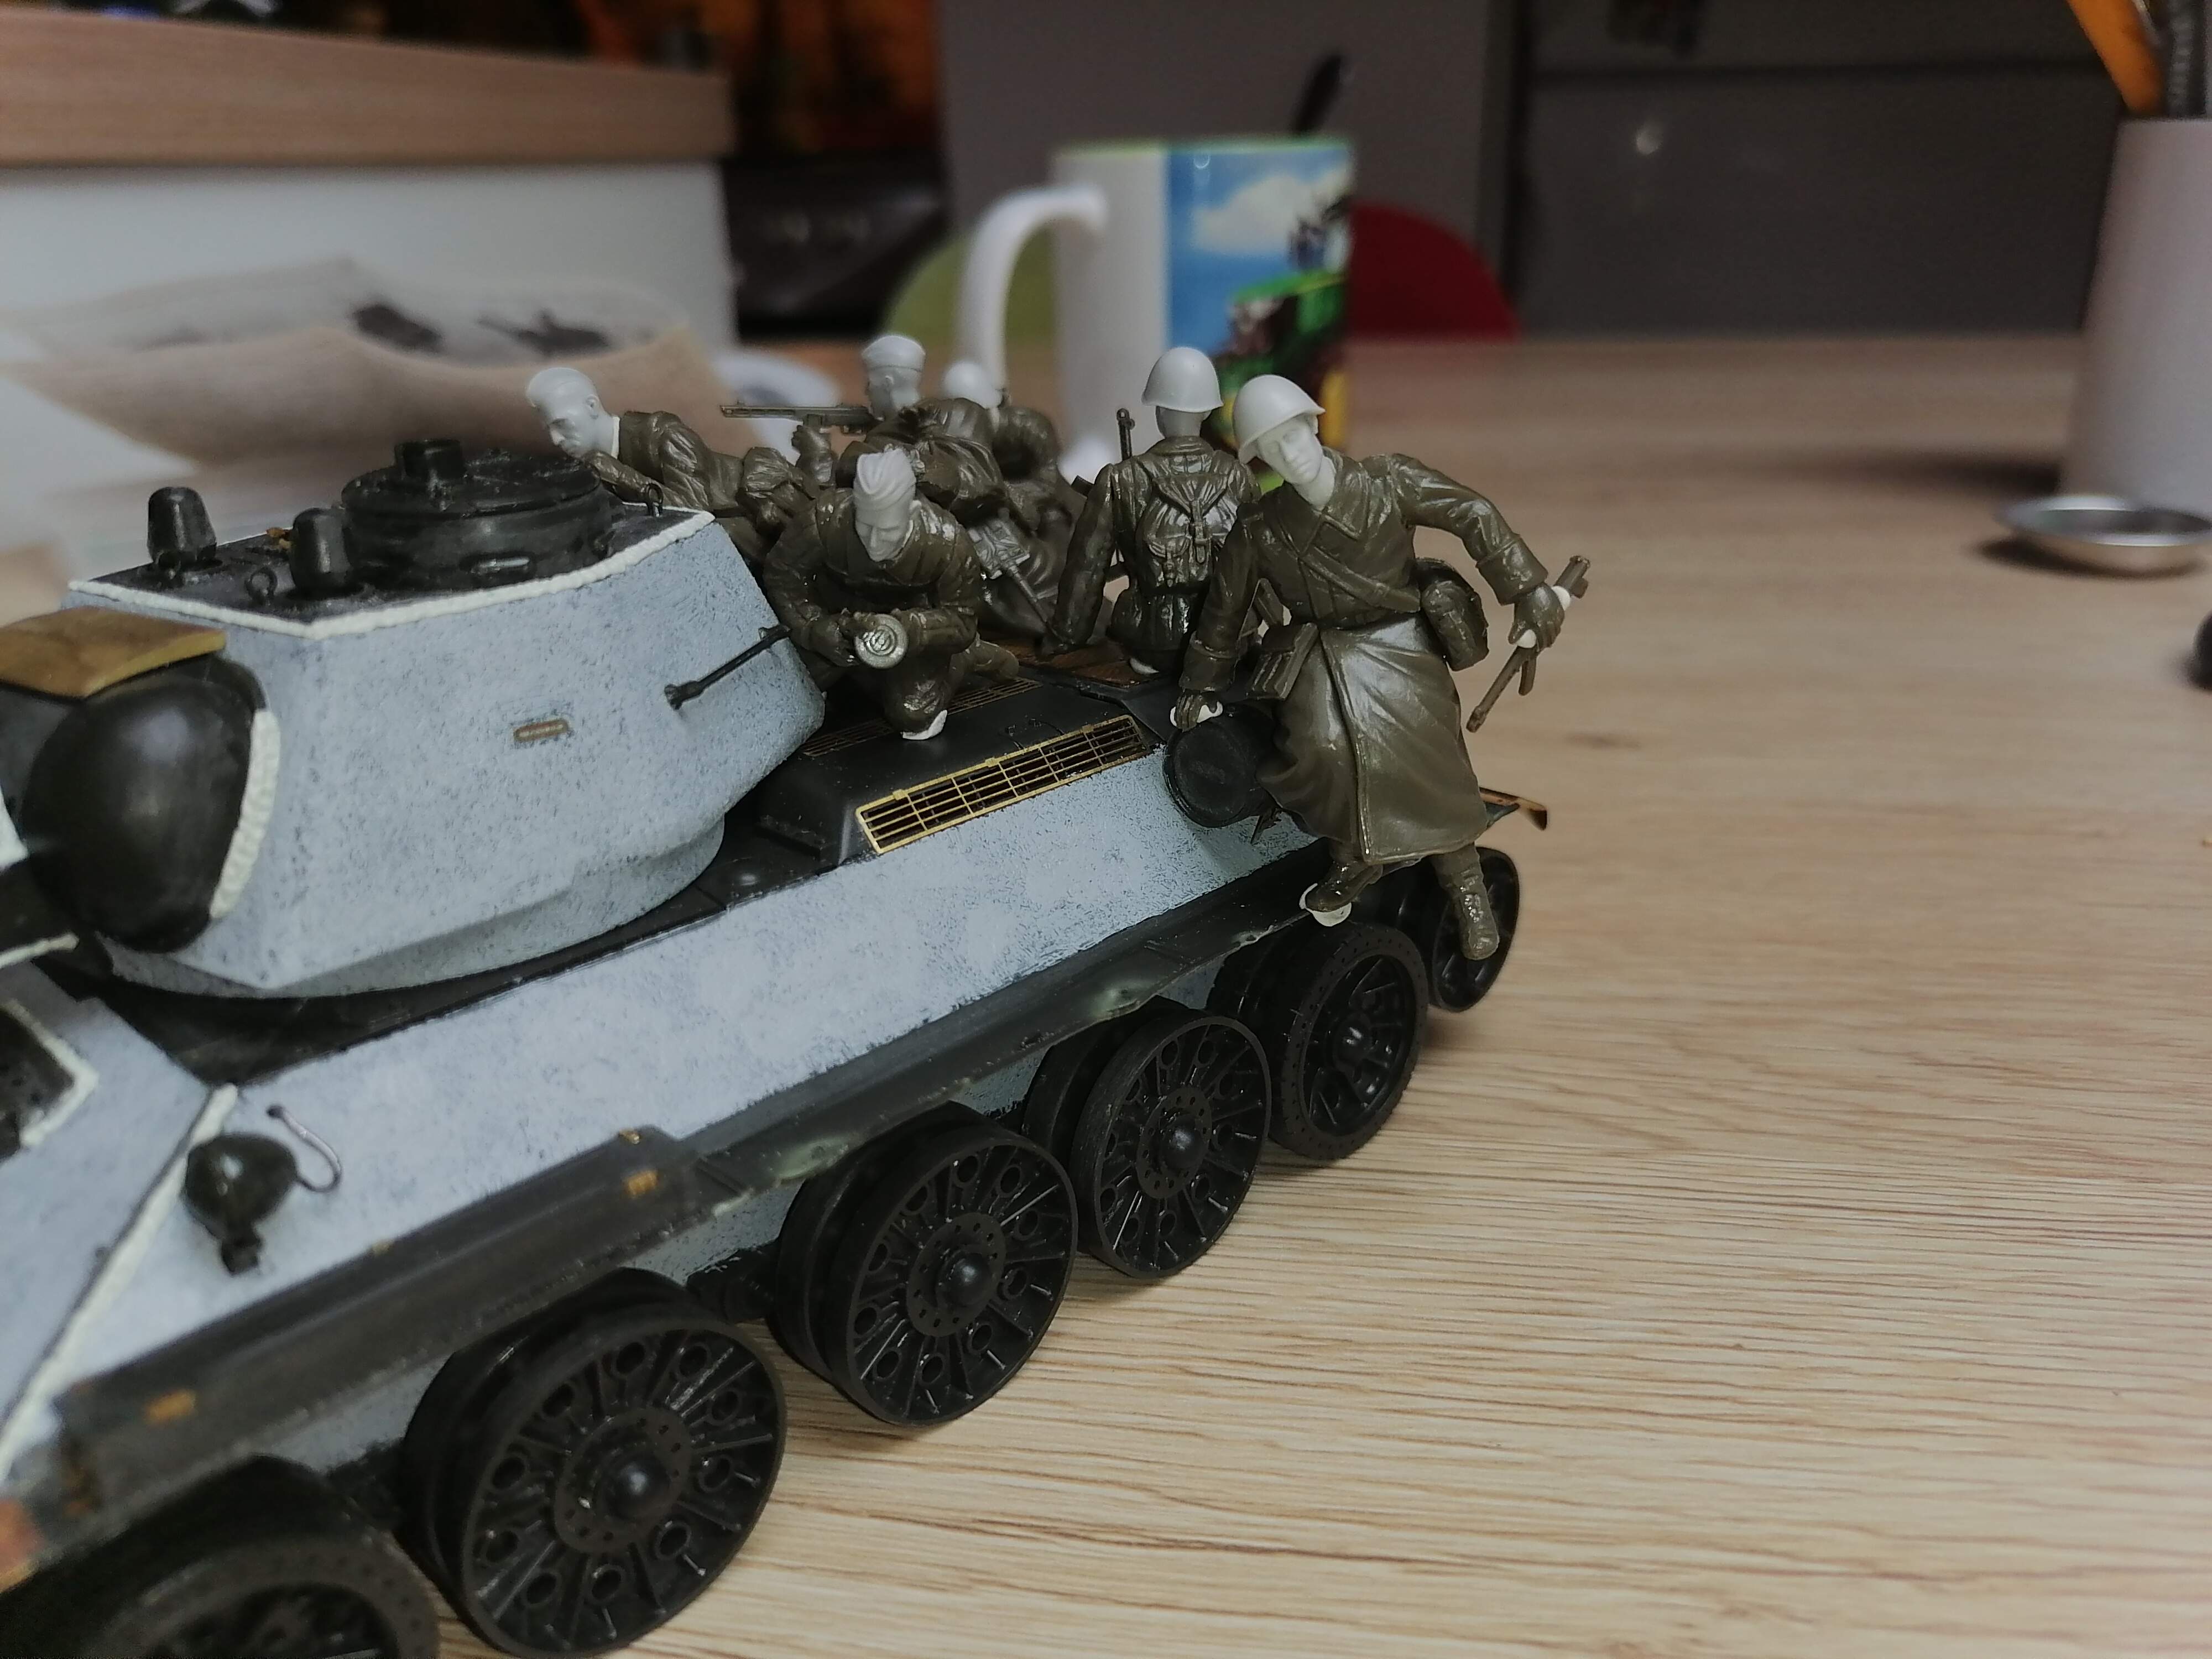
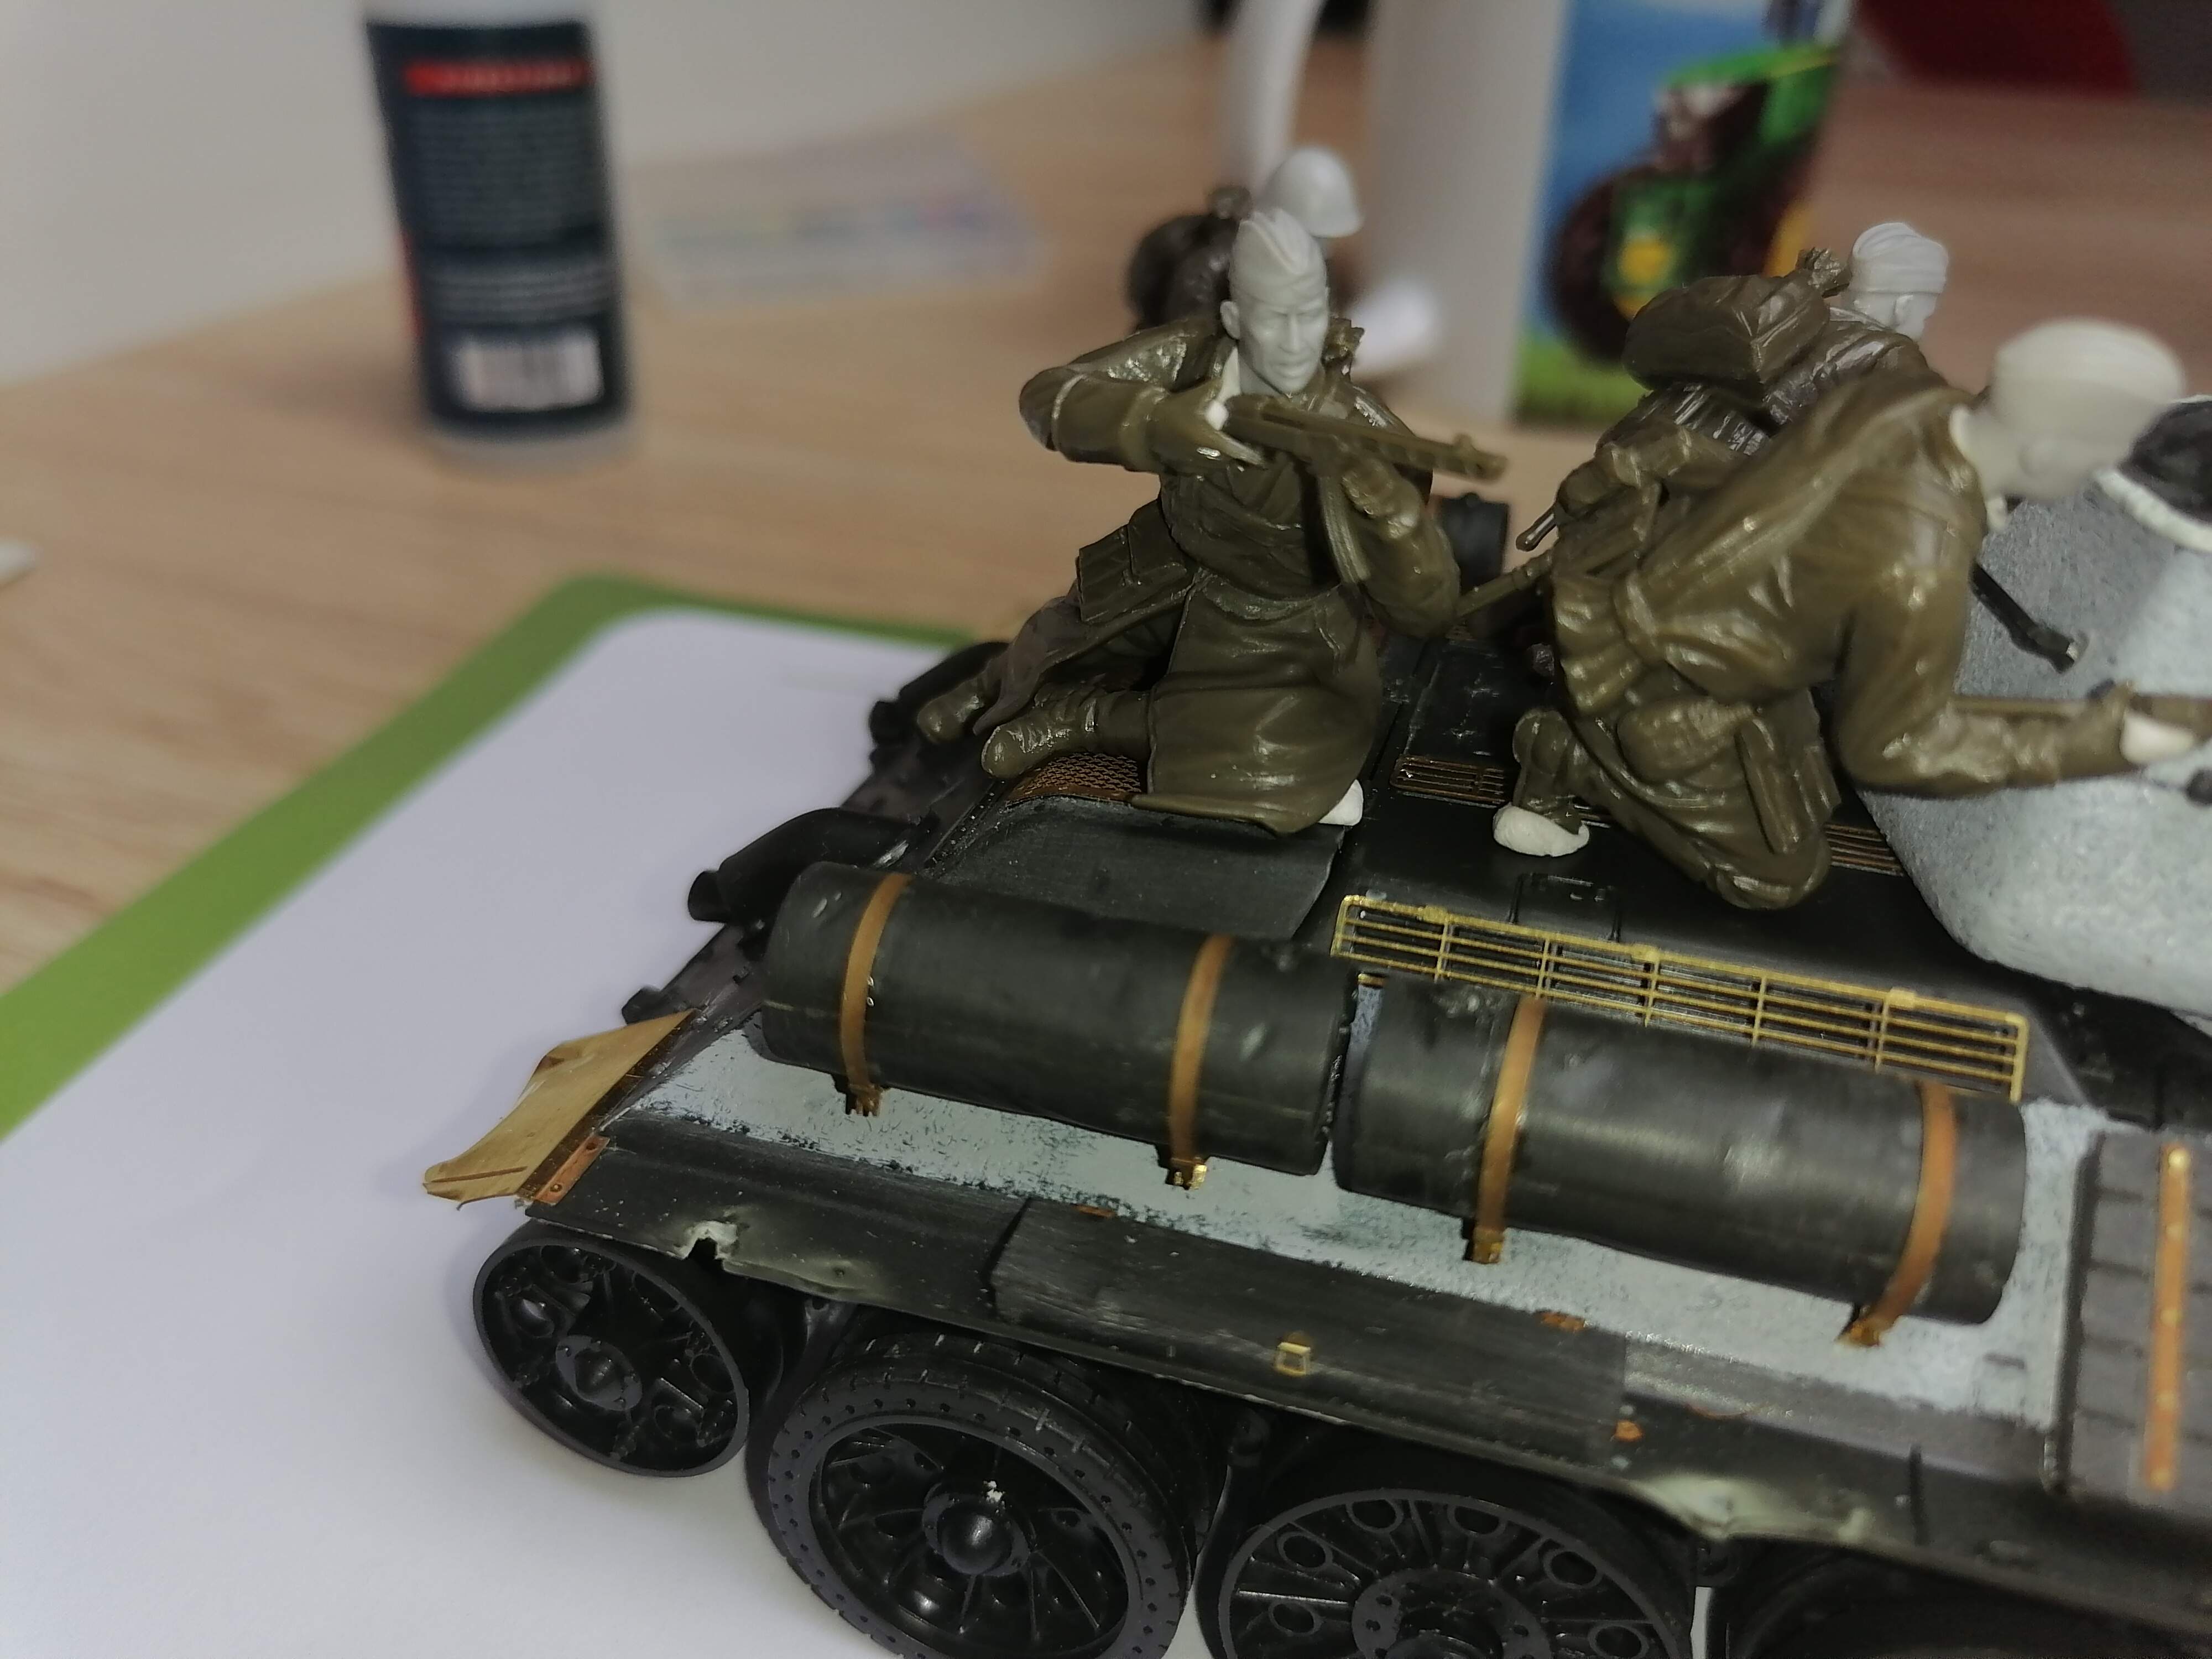
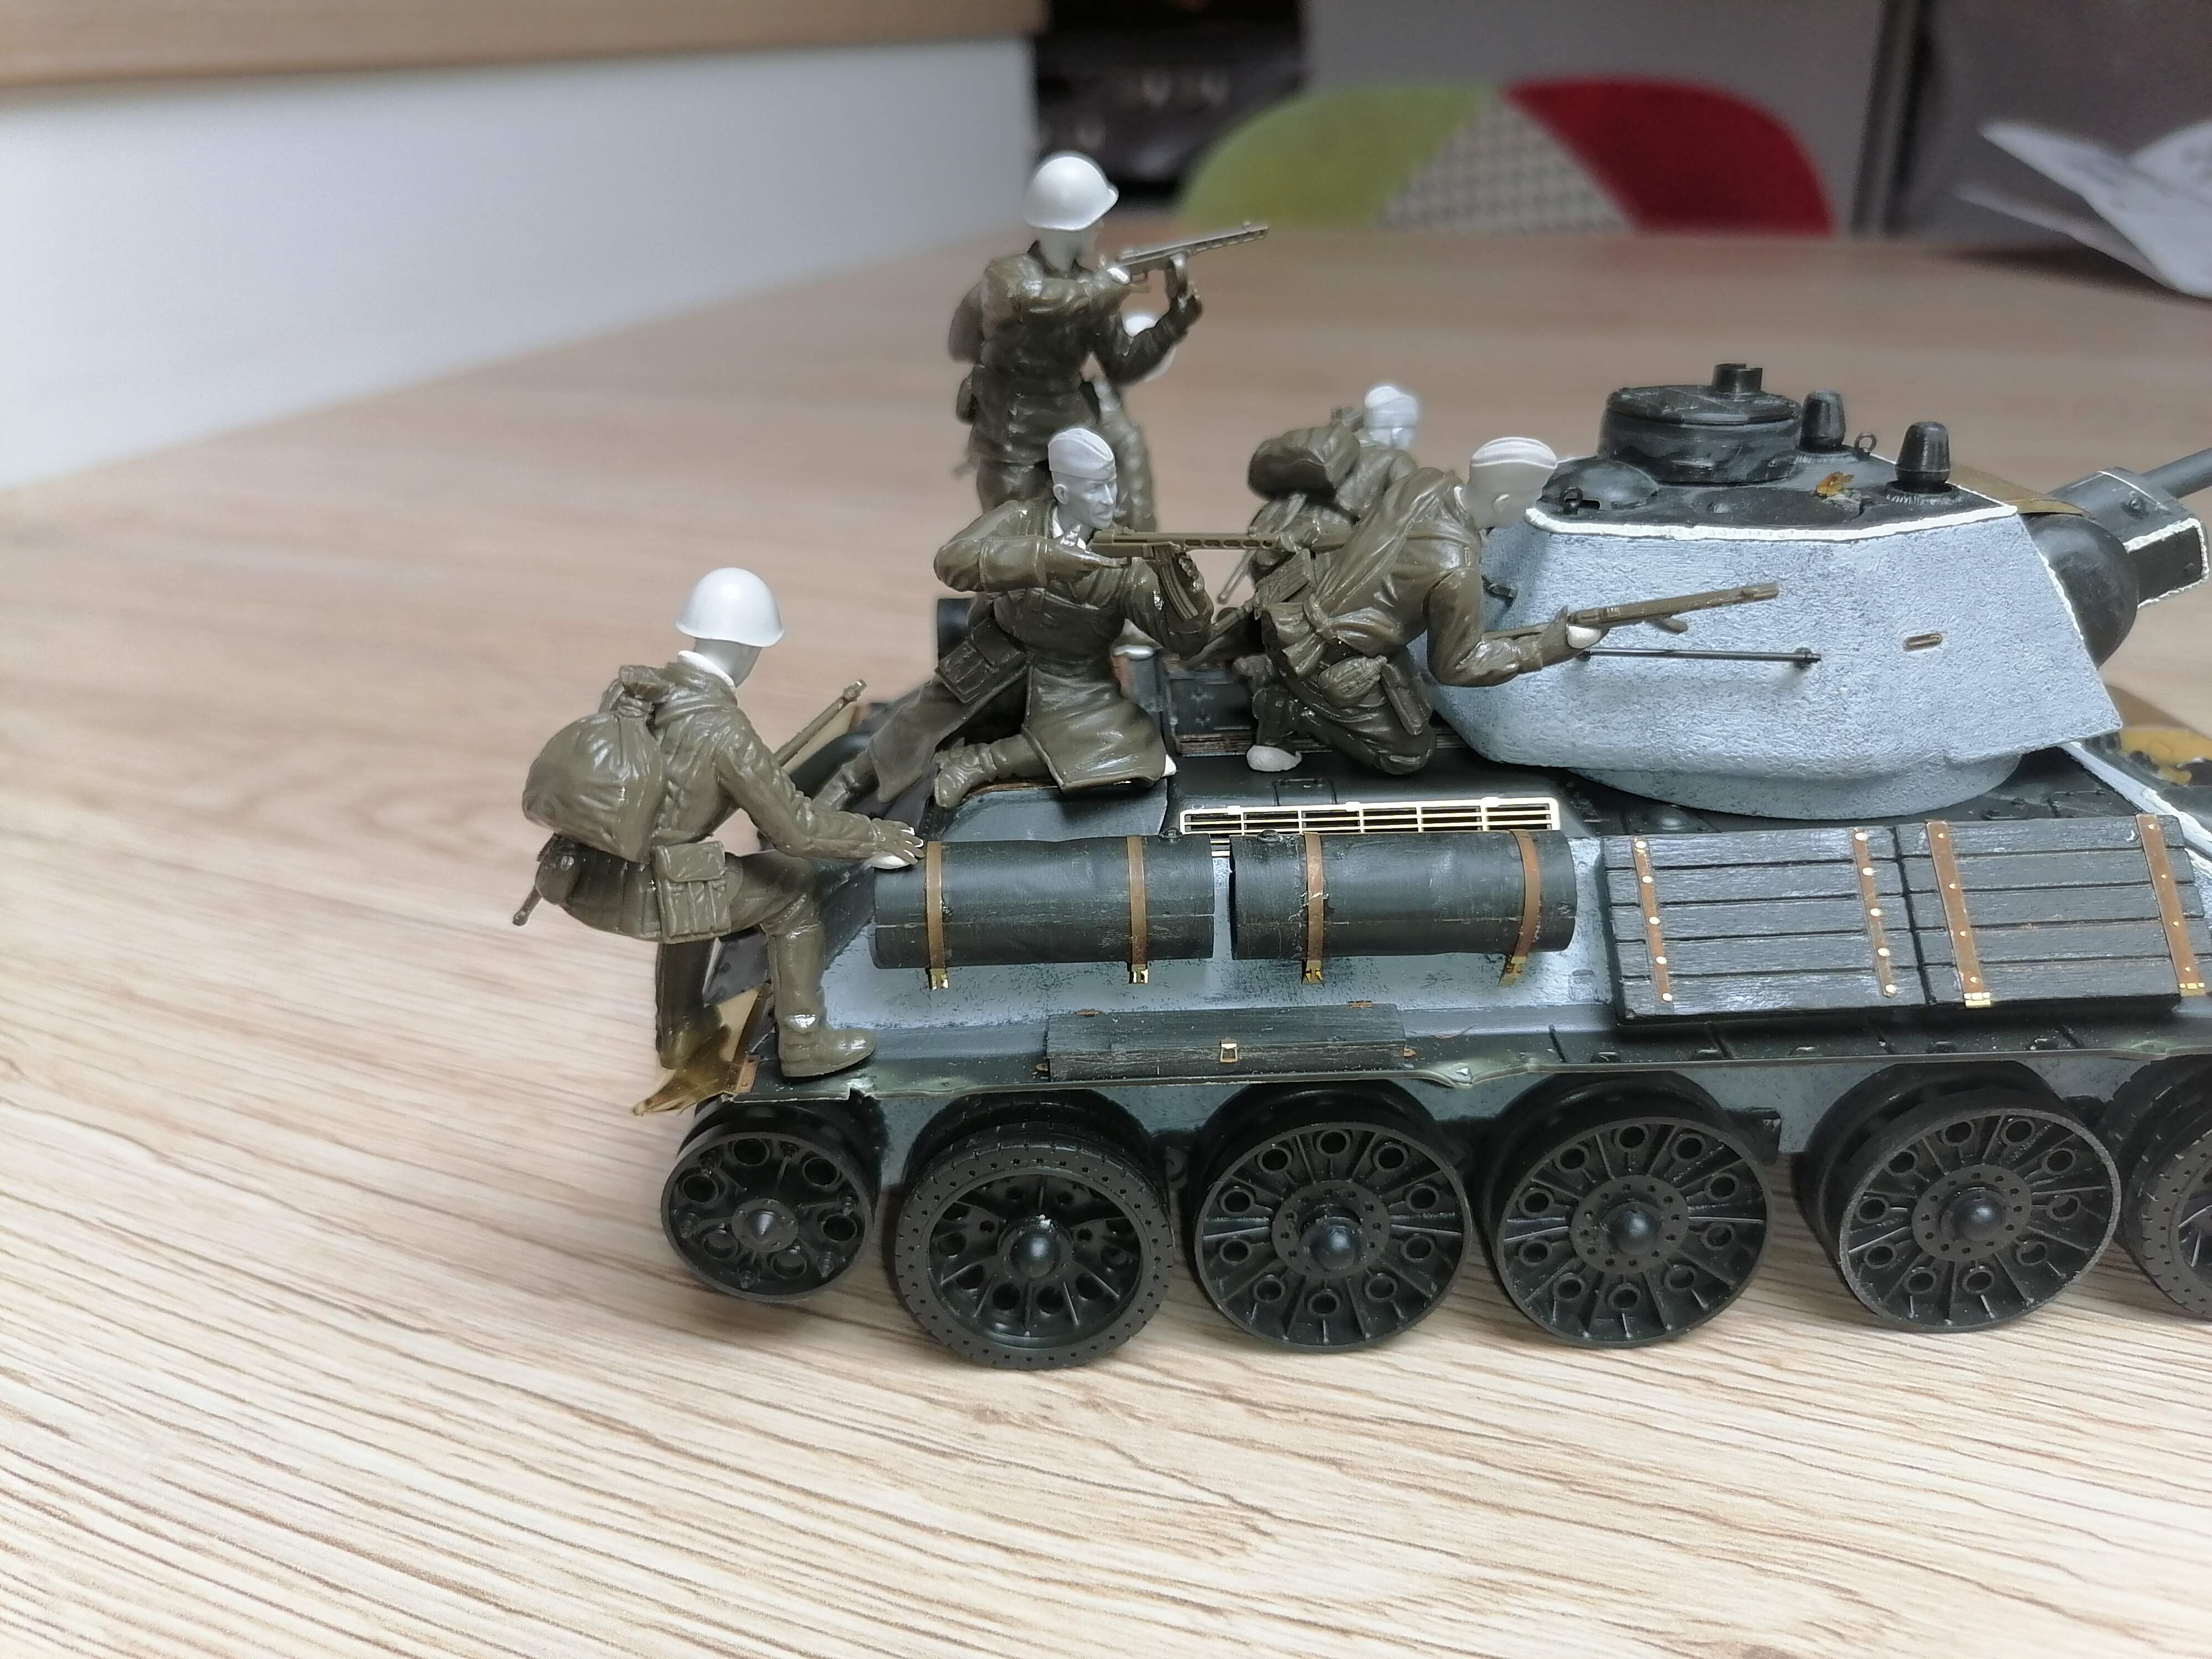
I wanted to arrange the figures on the tank. In the end i opted for 6 figures in stand of 7, because the sitting guy was to relaxed compared with others…


 …
…