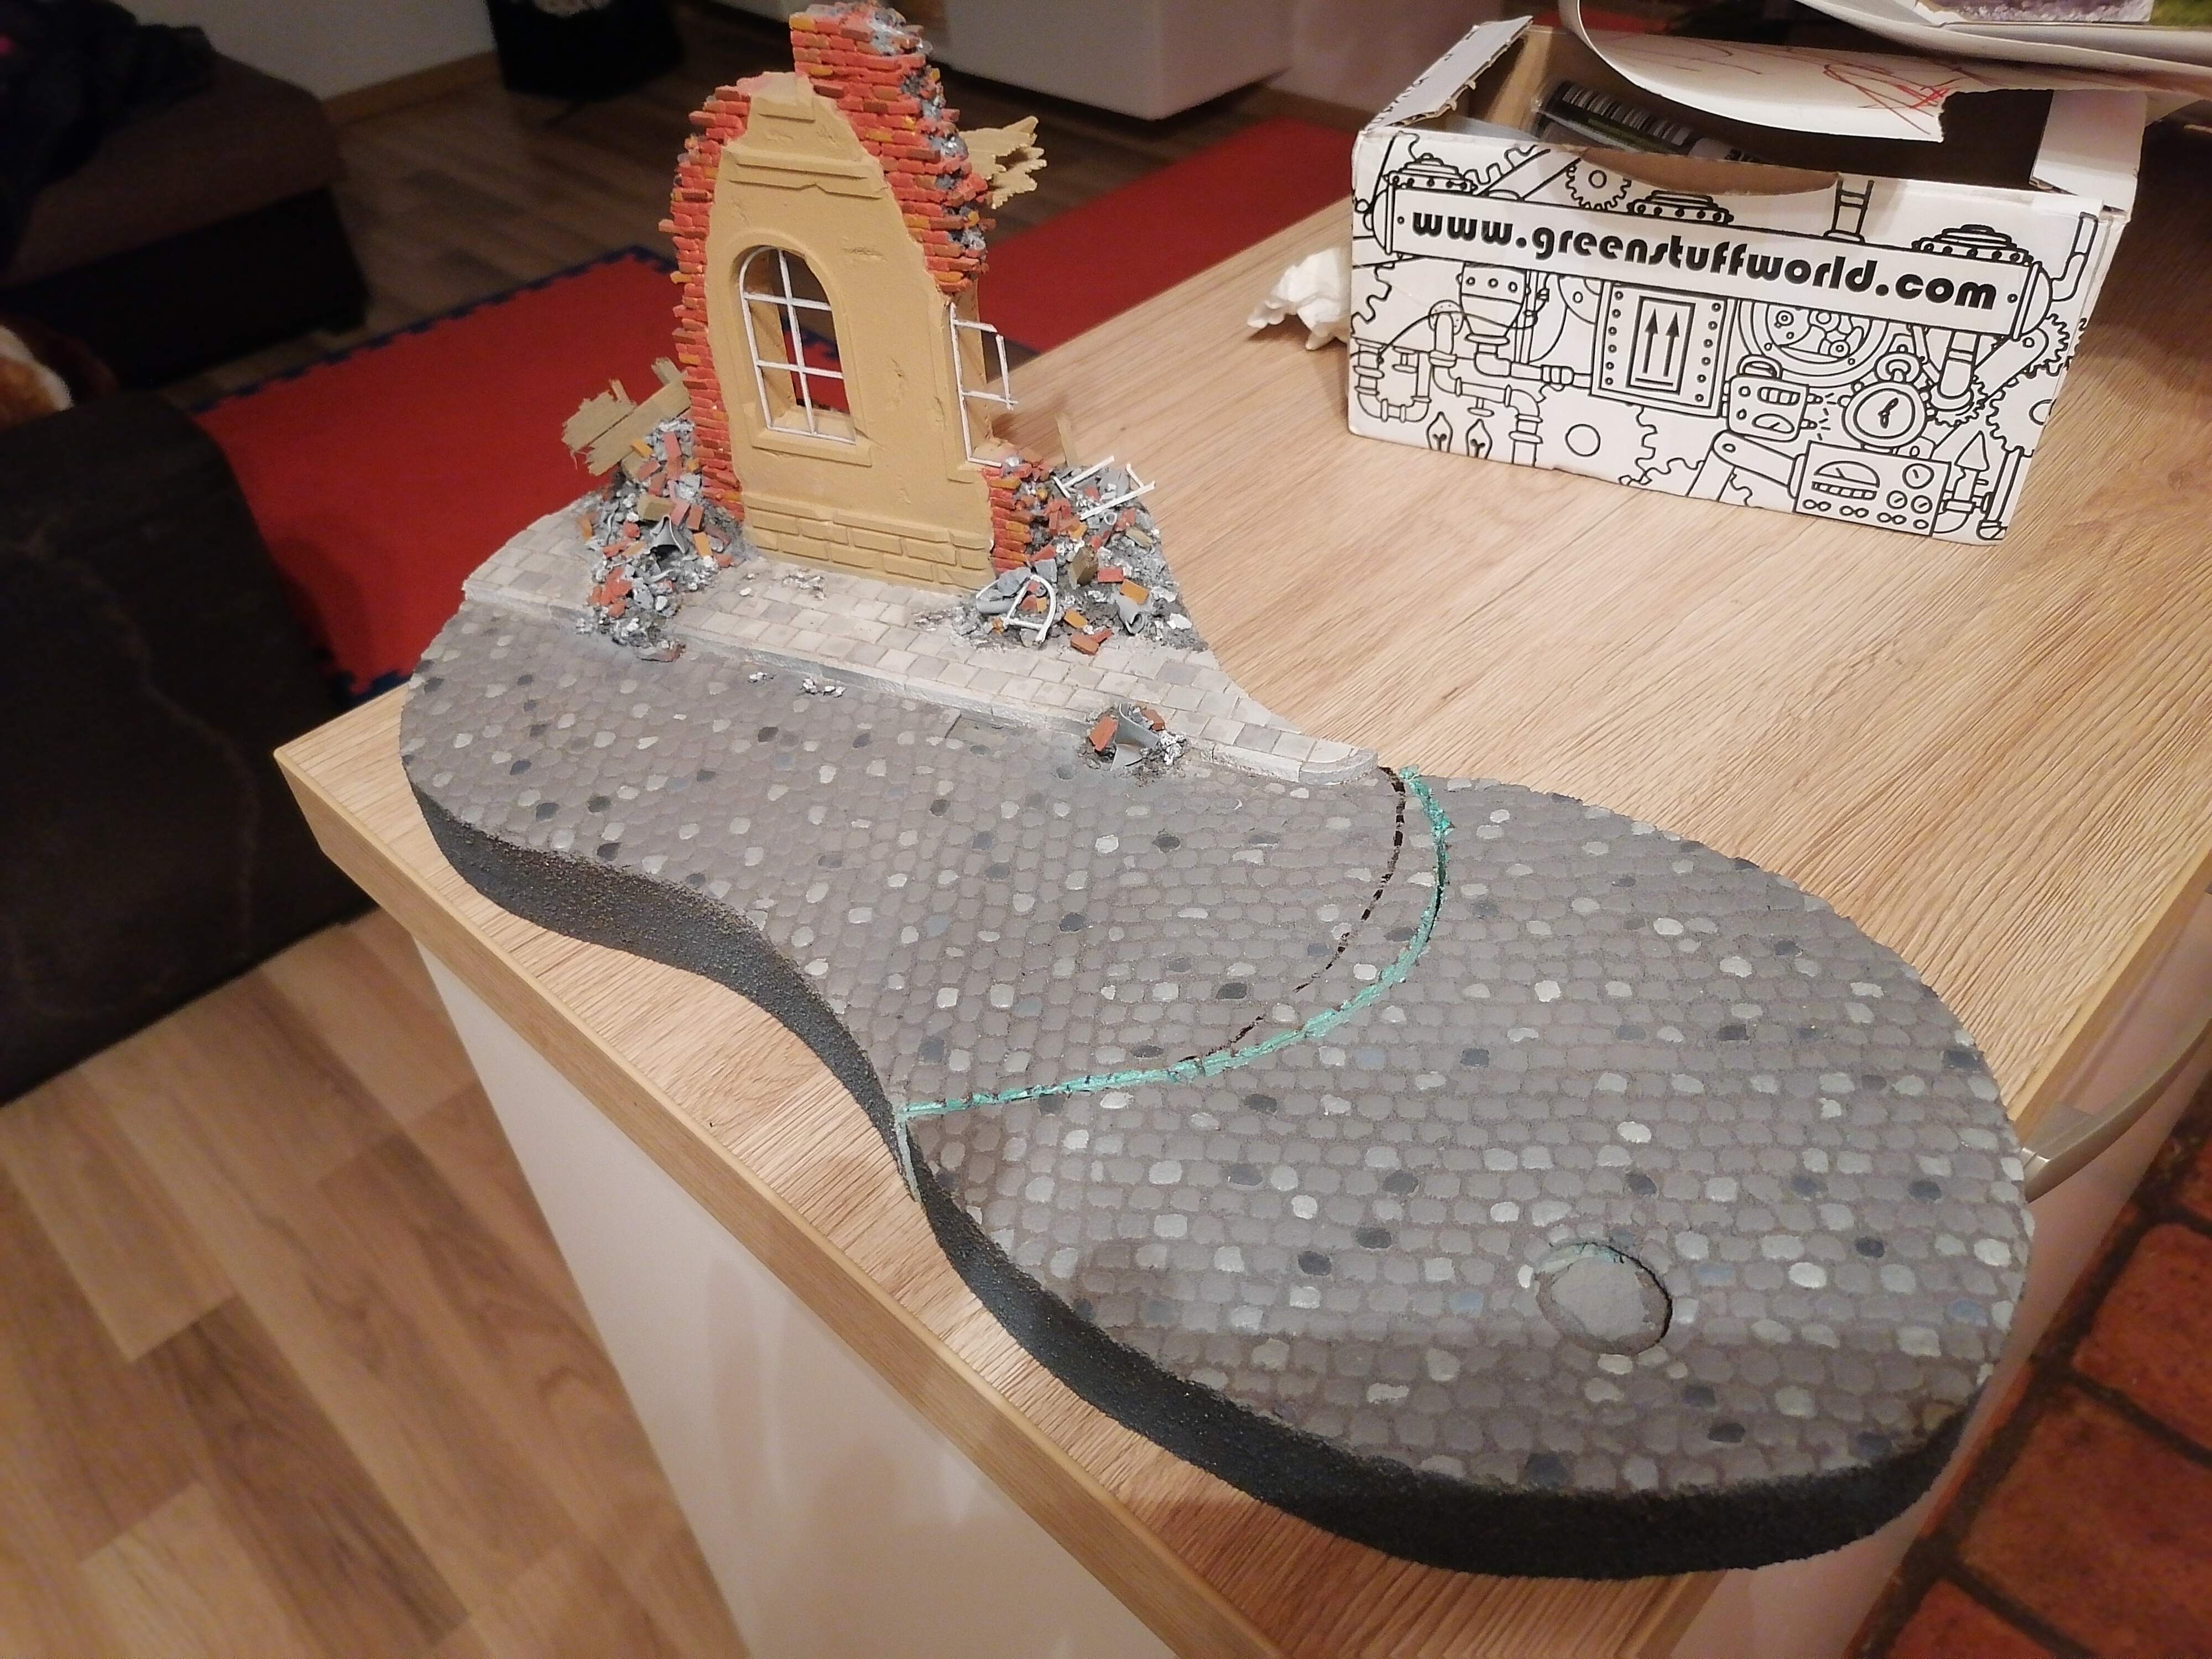
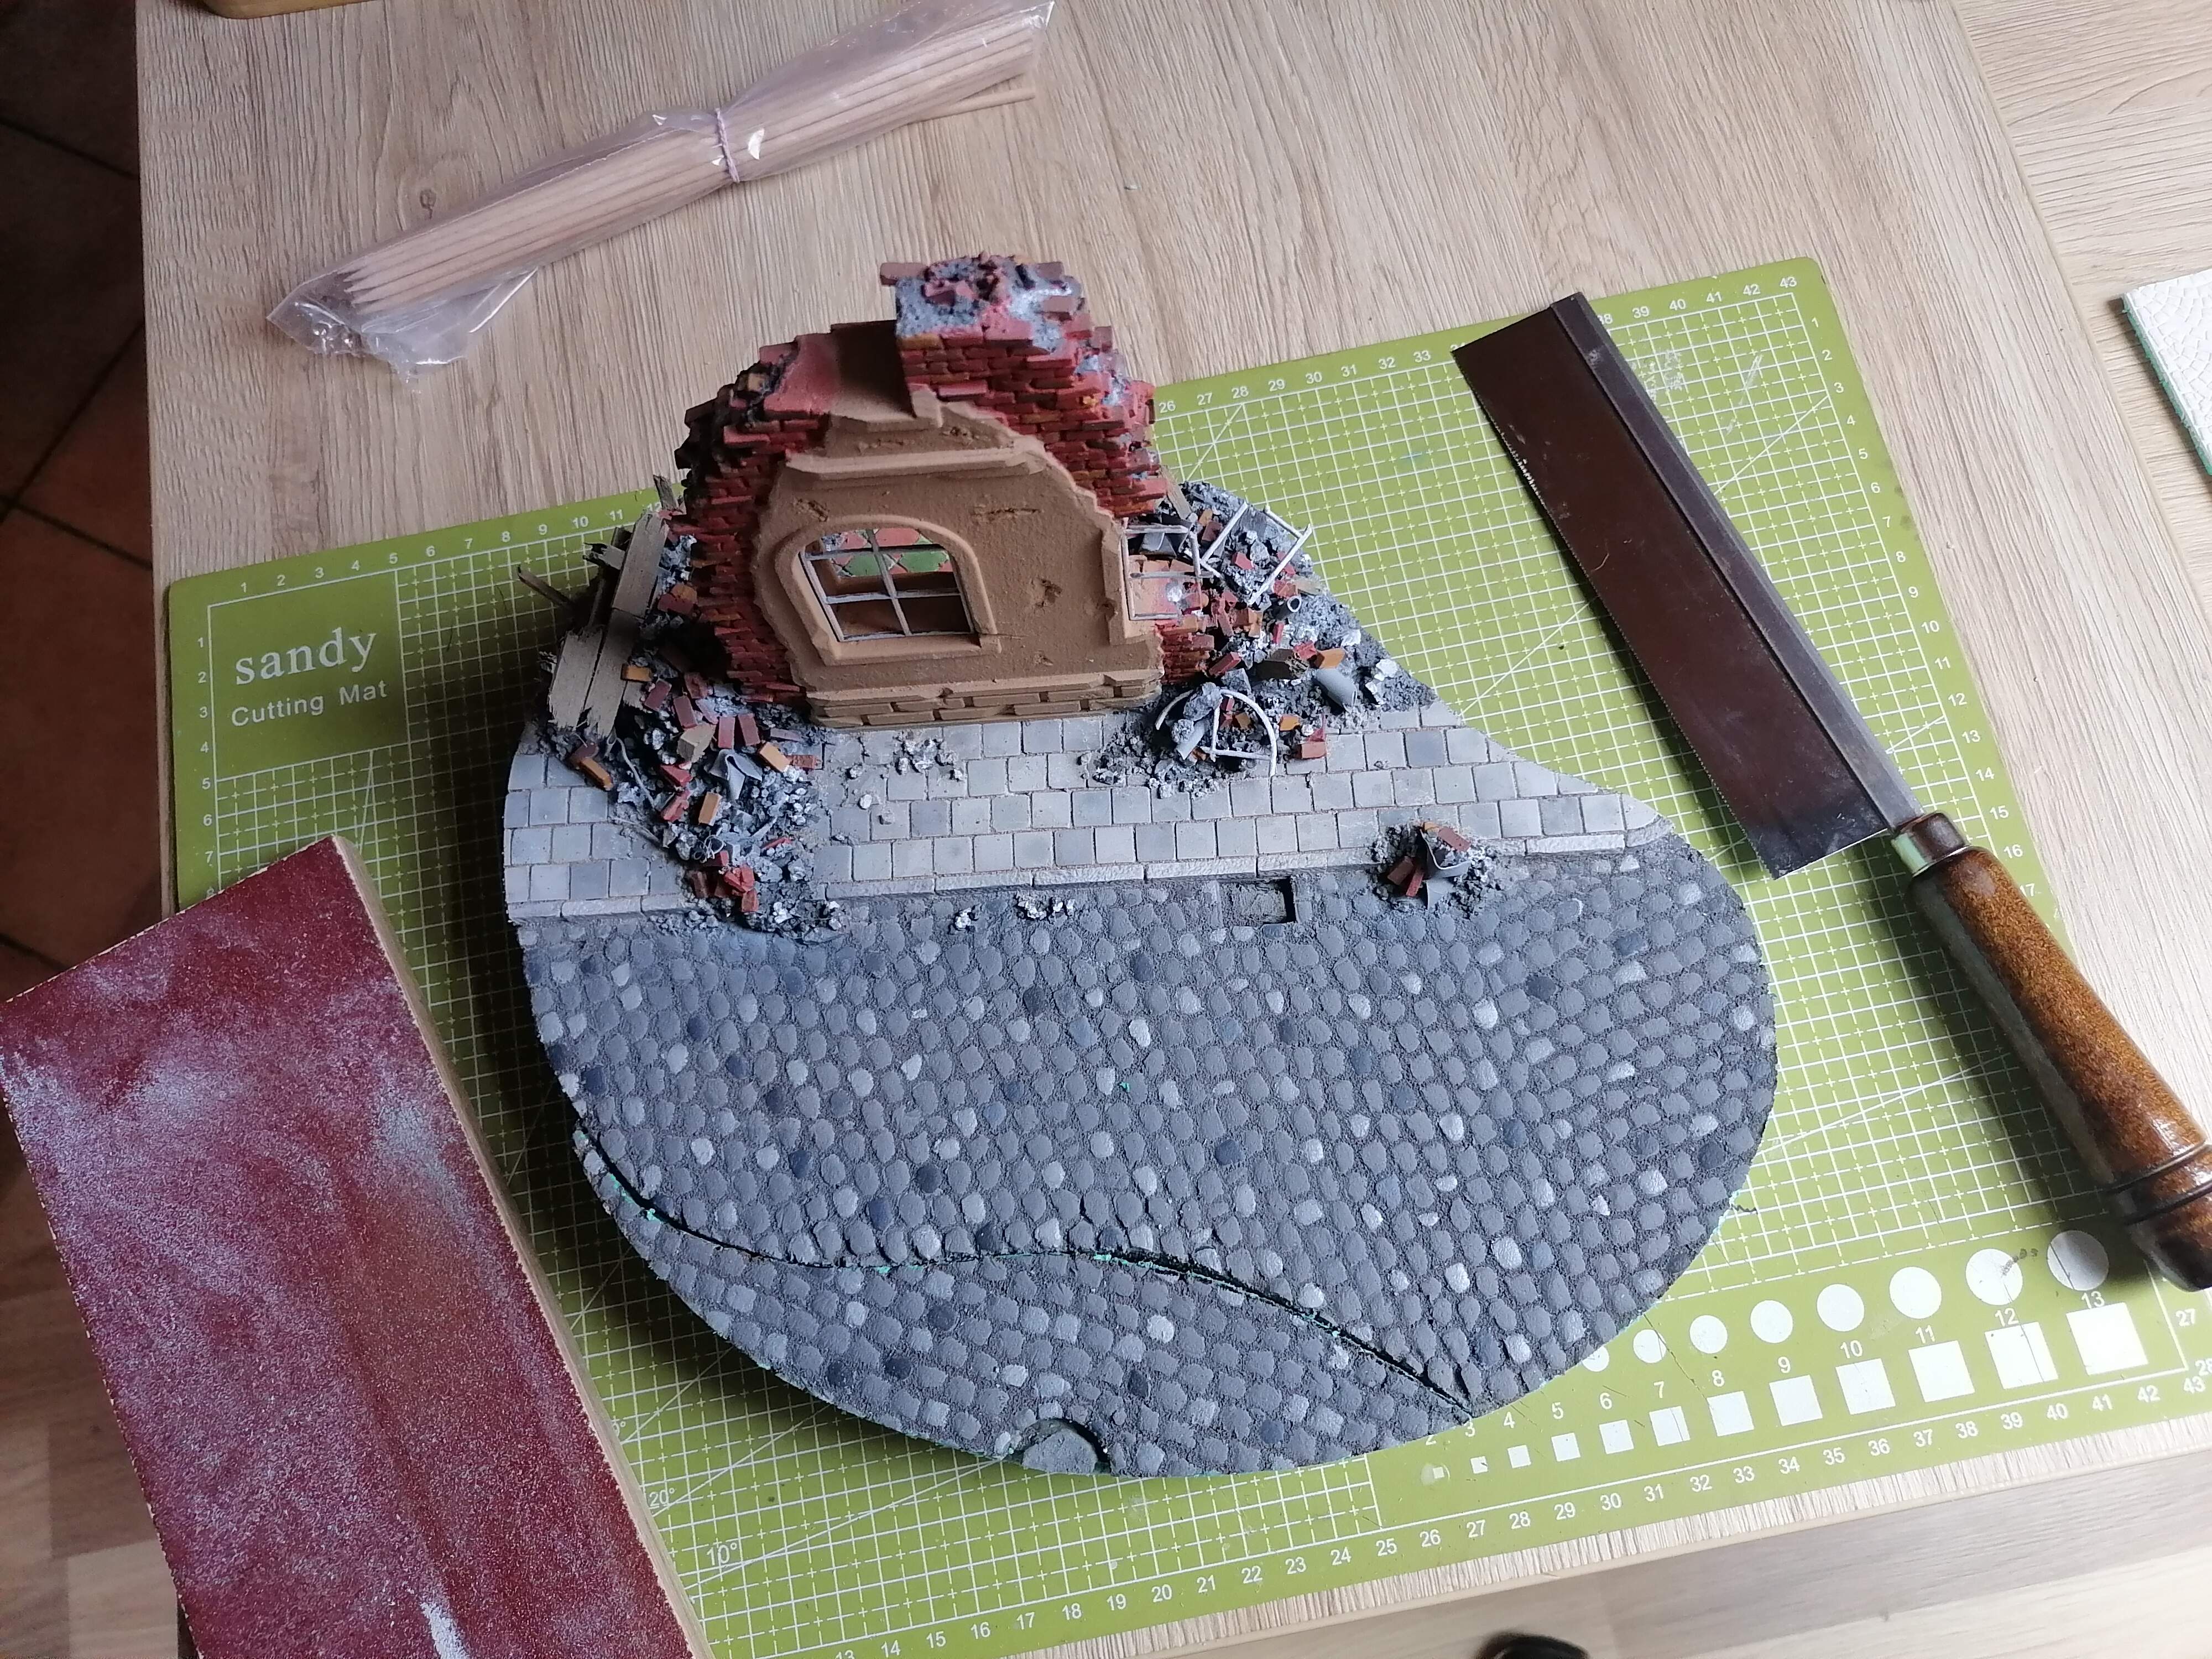
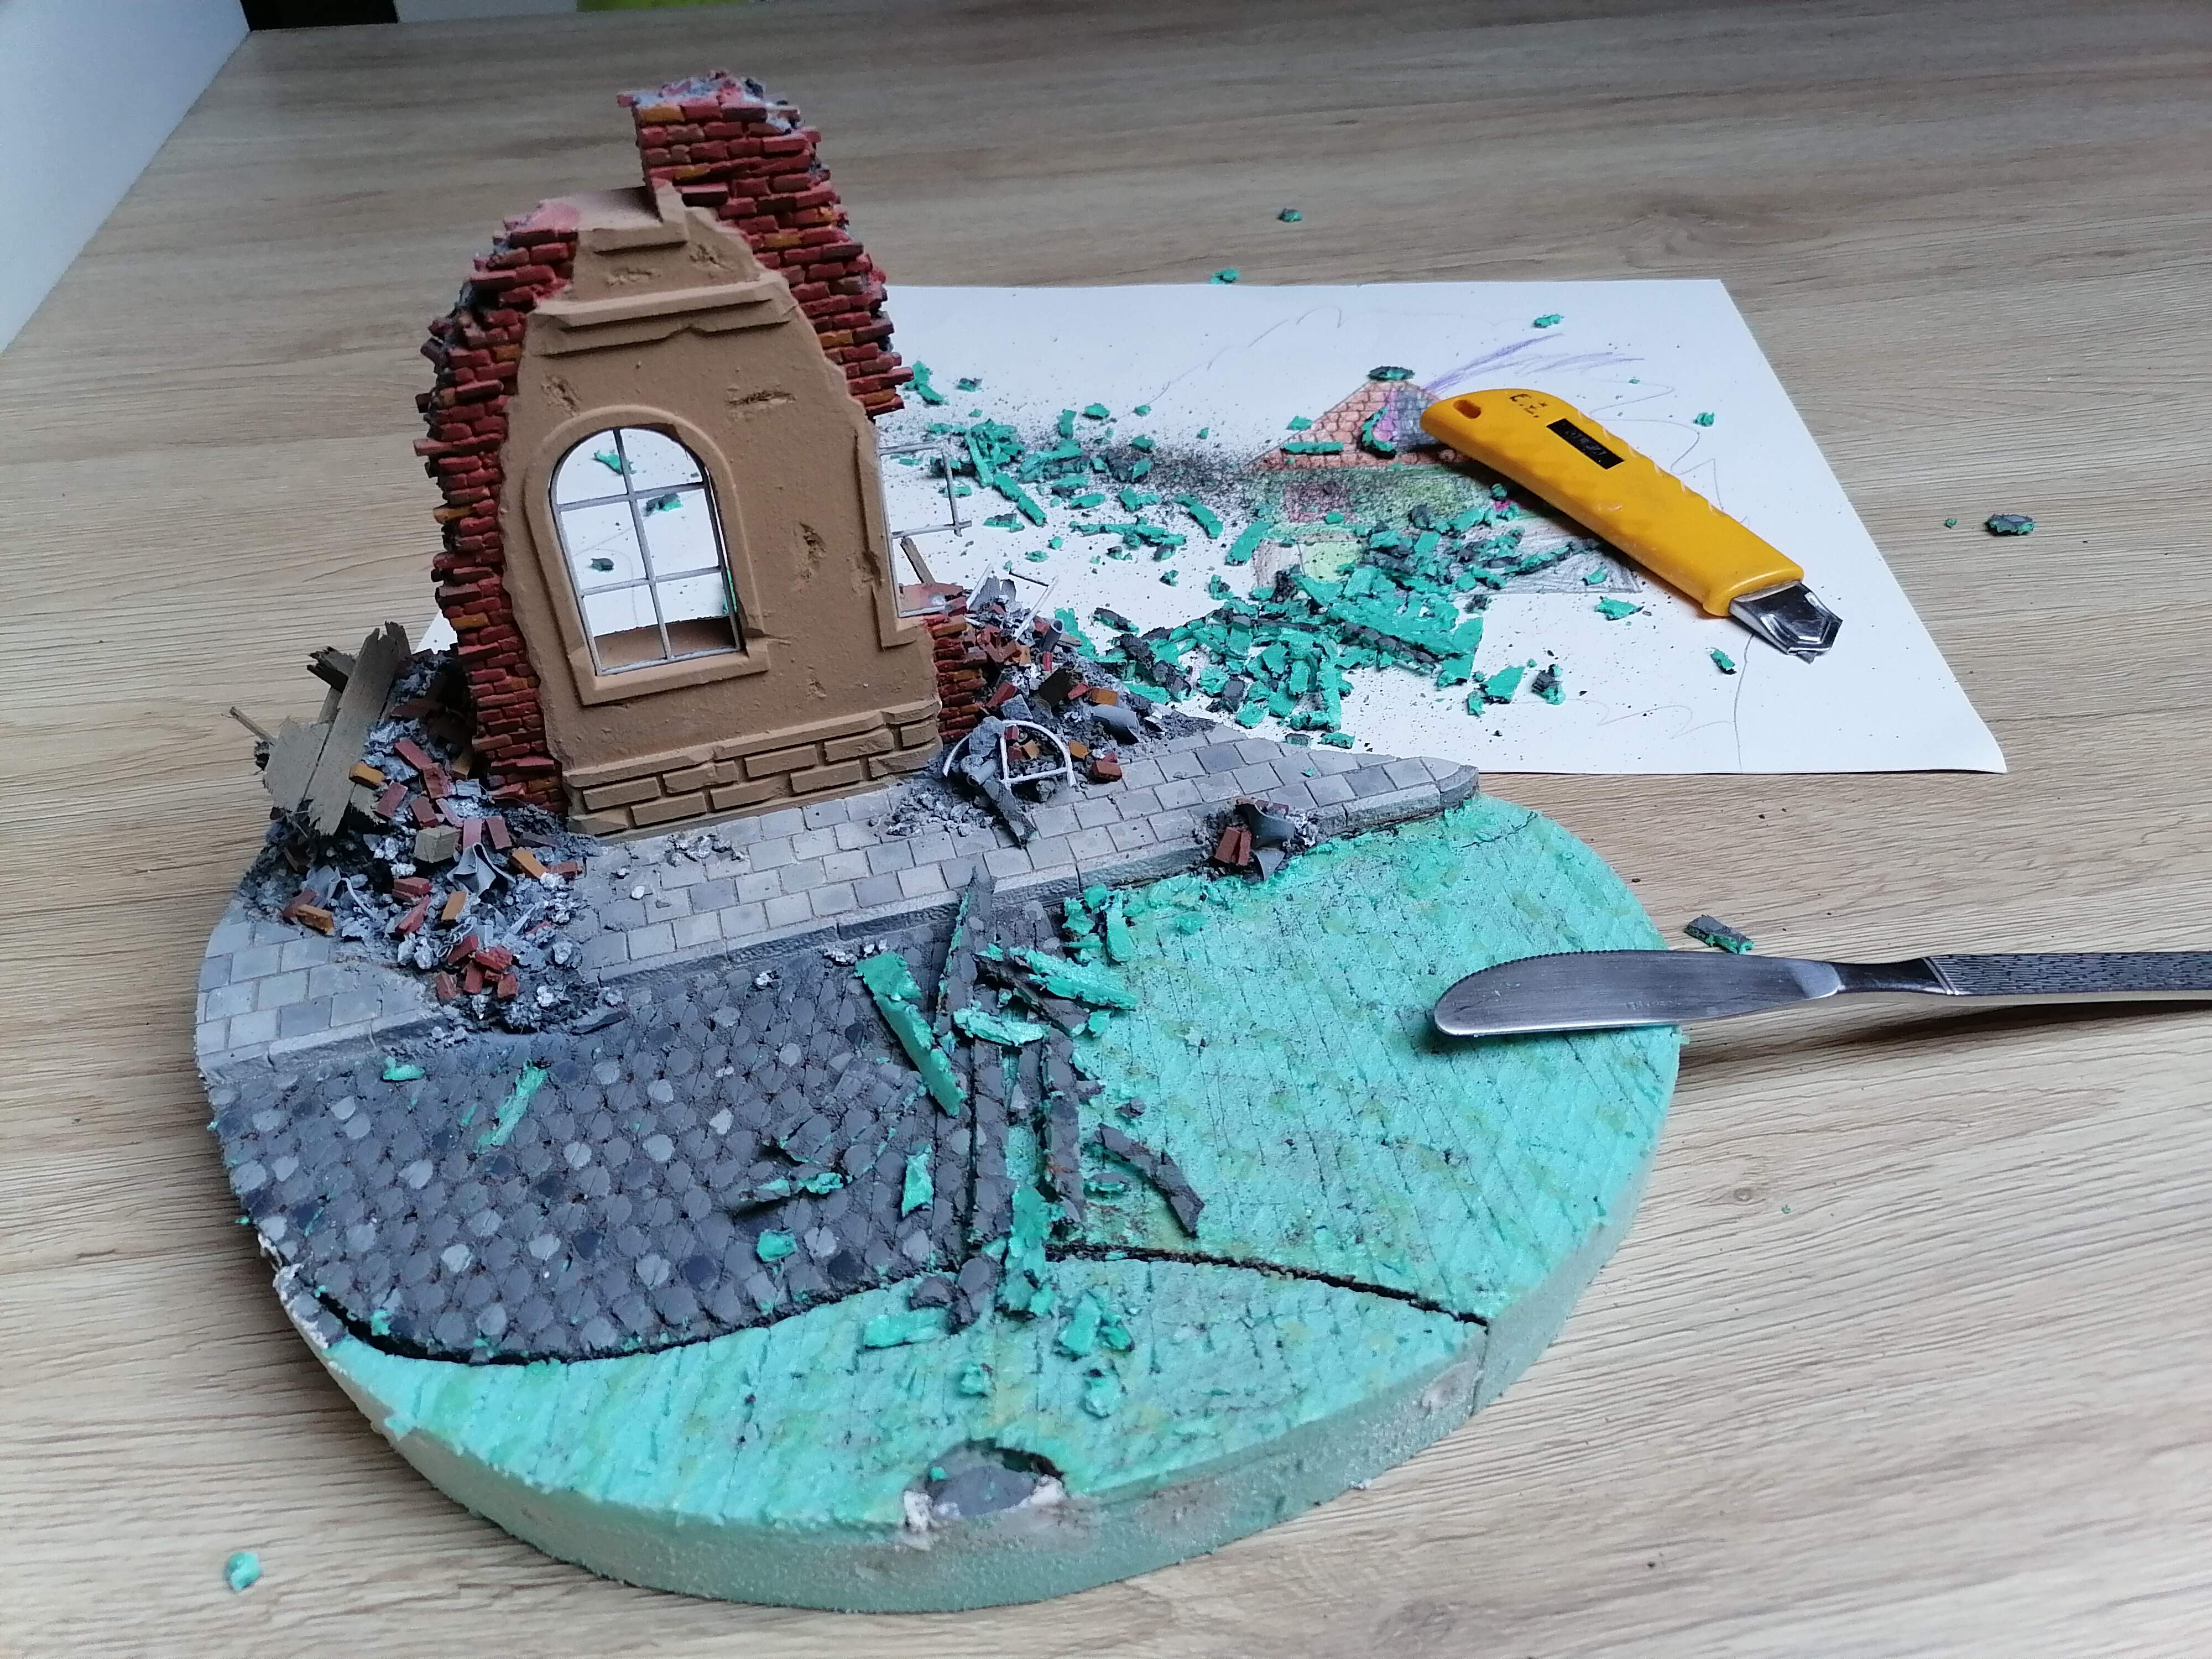
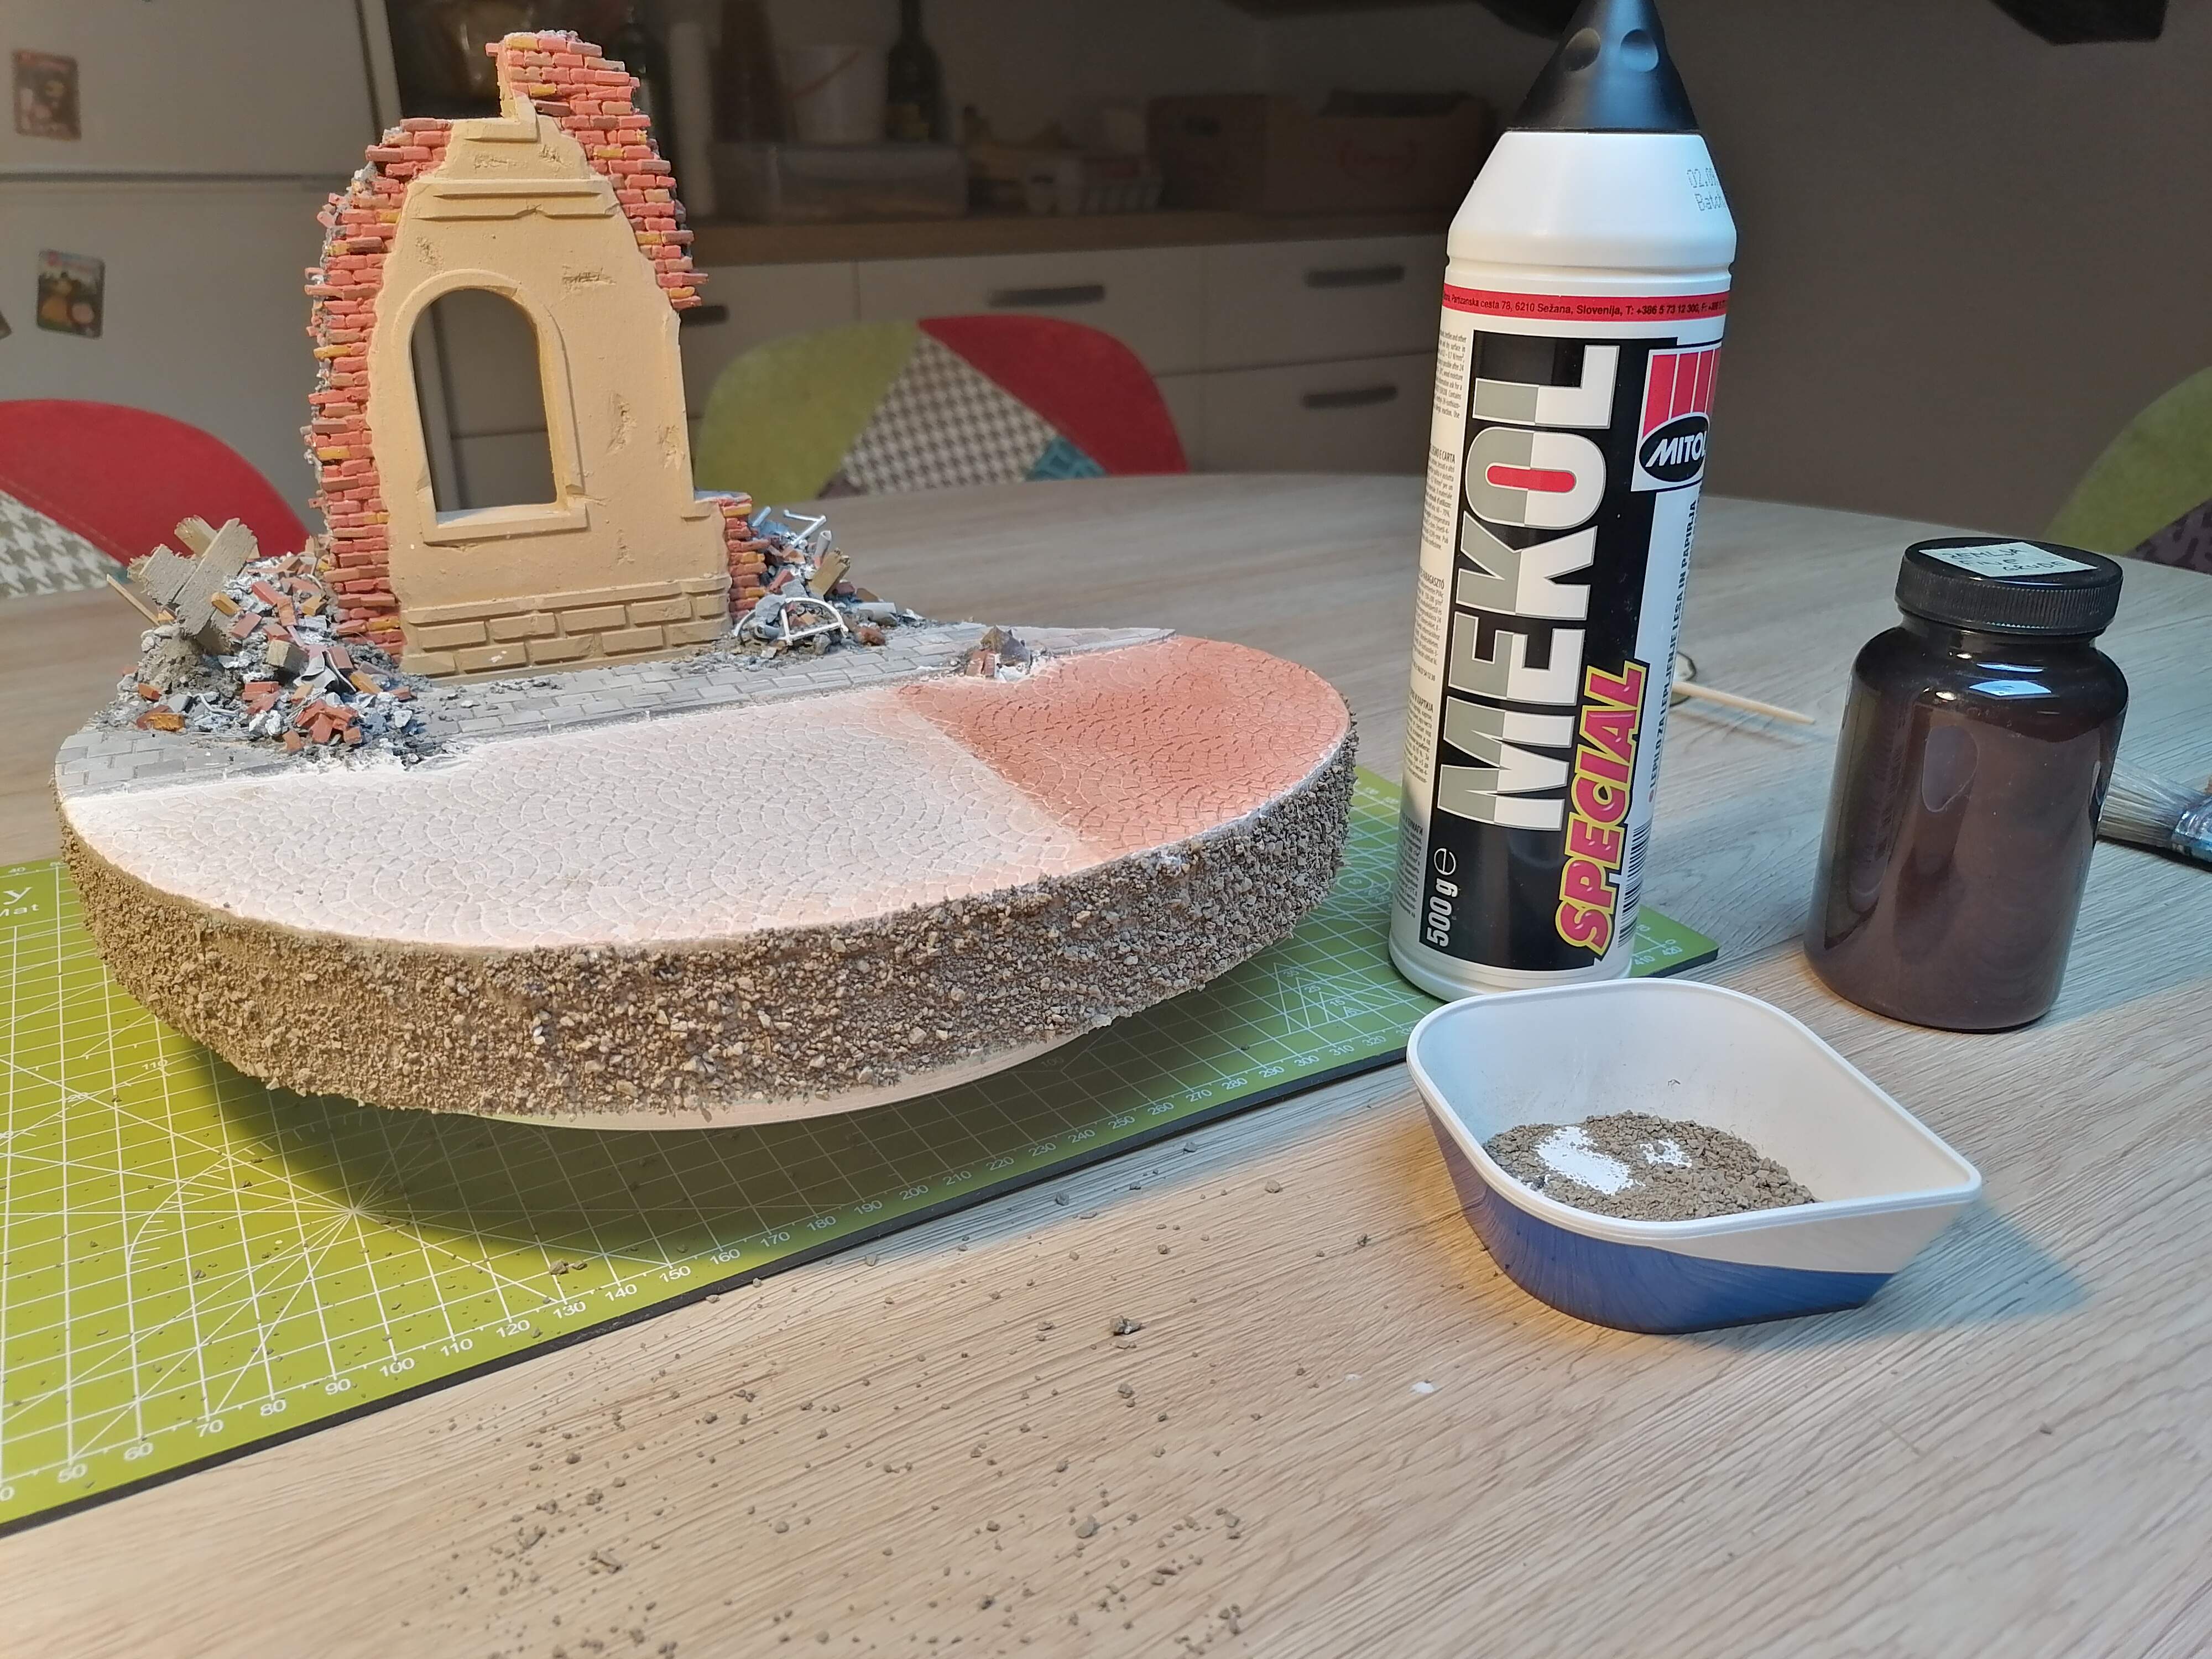
This was an standing project witch was on a shelf of doom for a year. The cobblestone is horrible but the other scene looks ok… For now the base colors are on… The scene is made from schratch. It was ment to be the home for the sherman, but now i decidet to change its shape and make it the home for a t34 and some soviet soldiers…
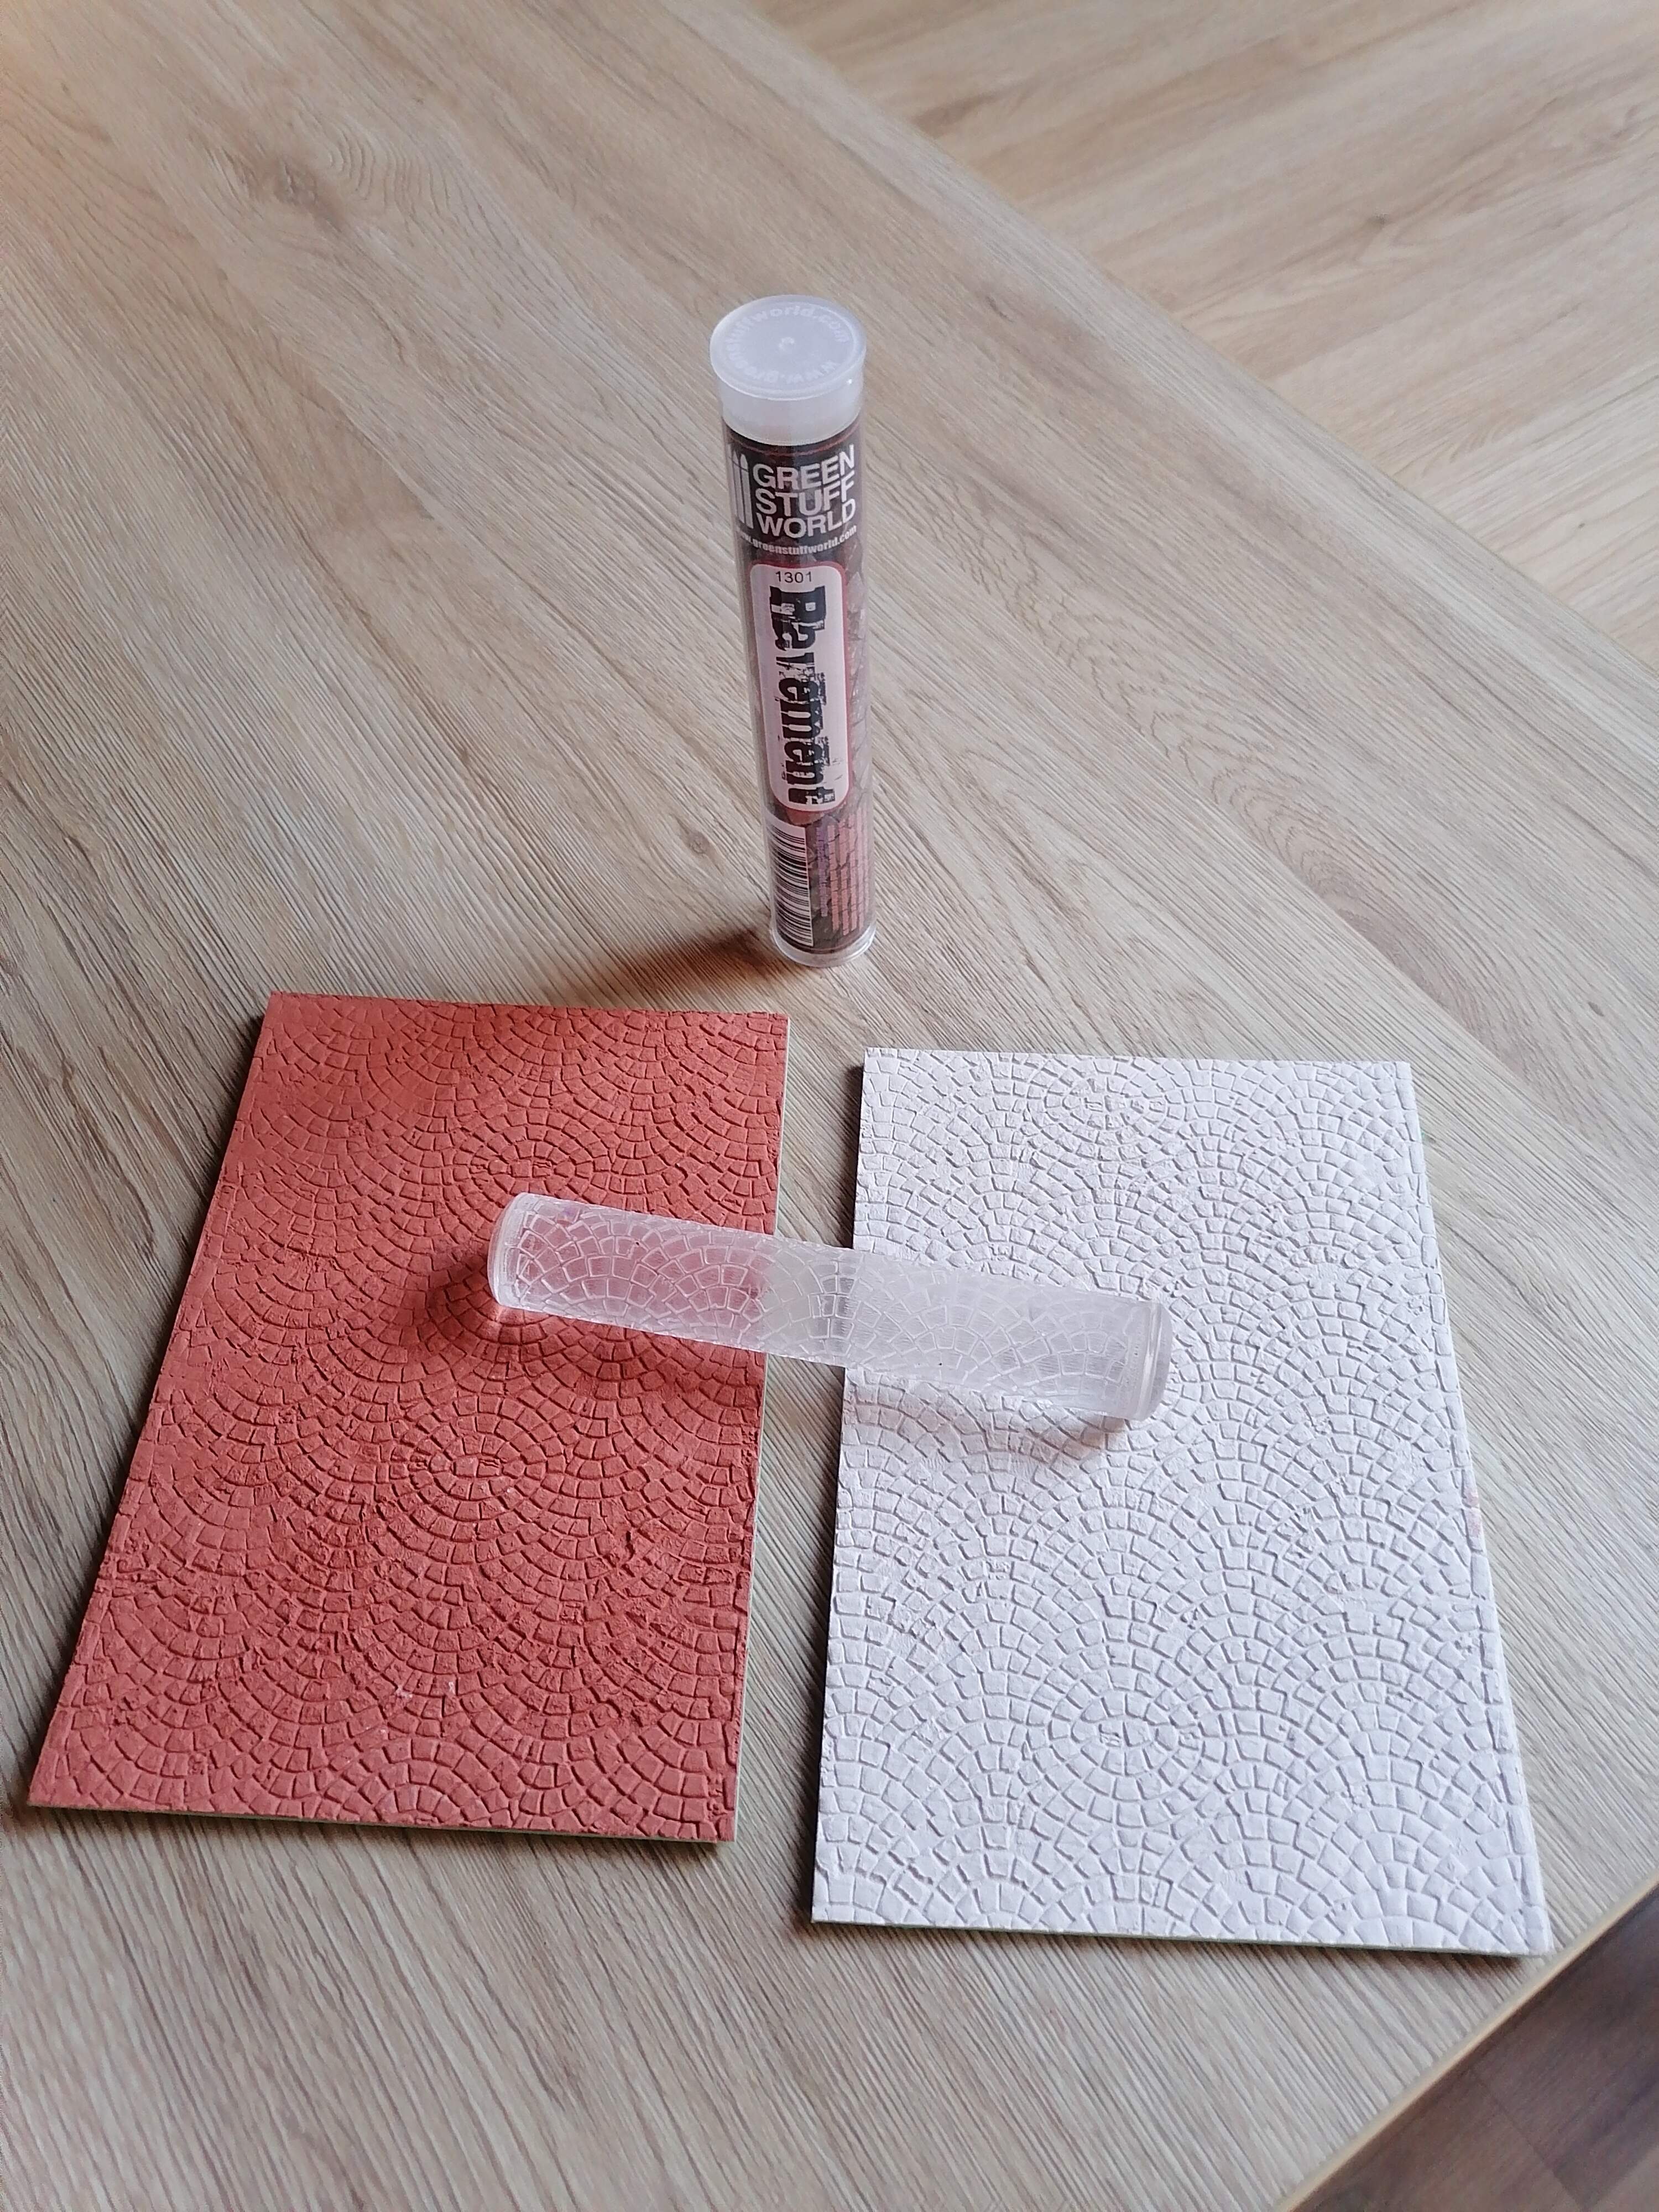
I made a test with DAS pronto (white) and air draying clay (red) same manufacturer… I like the white stuff bether. Or i only moistened the clay to mutch, anyway, the das piece come out bether…
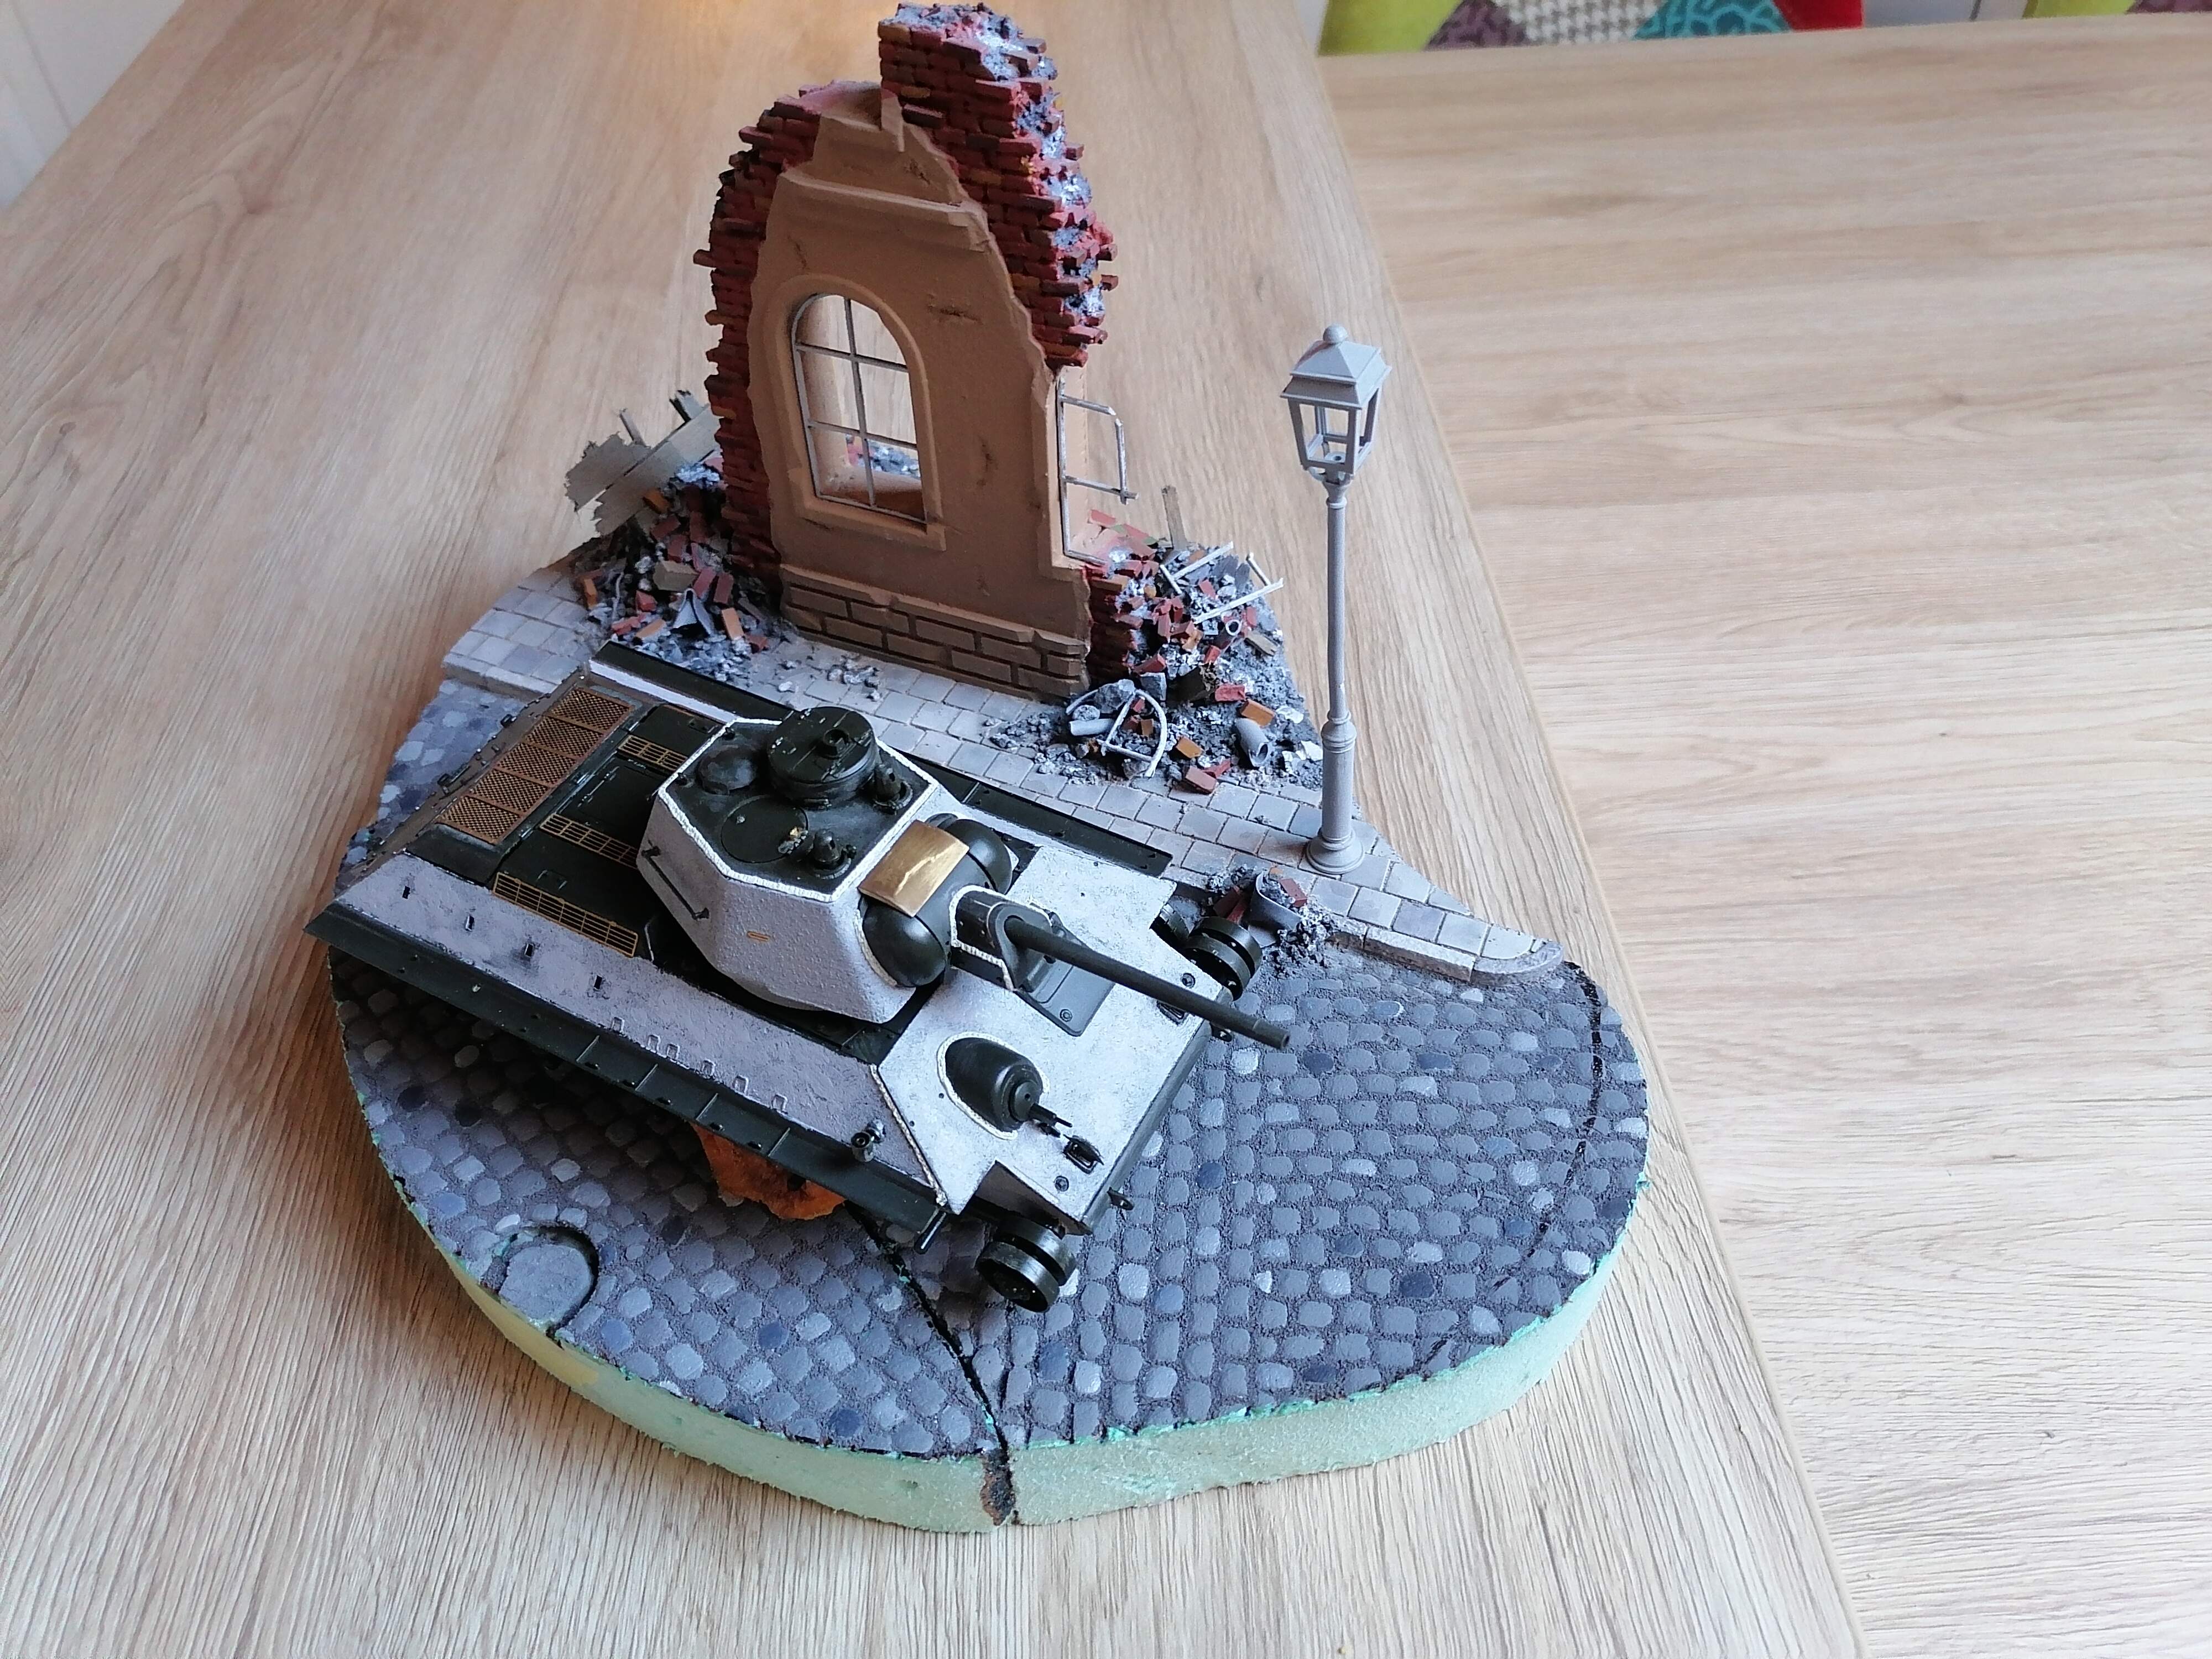
Hi Bostjan! First I want to say that it is a very nice building and tank. if you want my opinion I think the base plate is a bit too big saw a picture further up with the tank on and it looked much more interesting. but maybe there will be som more things on the base /good luck Micke
I agrre with you about the size of the base. But you must understand that its kind of recyceling project and i didnt want tu cut off some of the sidewalk because i like it.
I will try to stage the t34 bether or to somehow fill the empty soace…
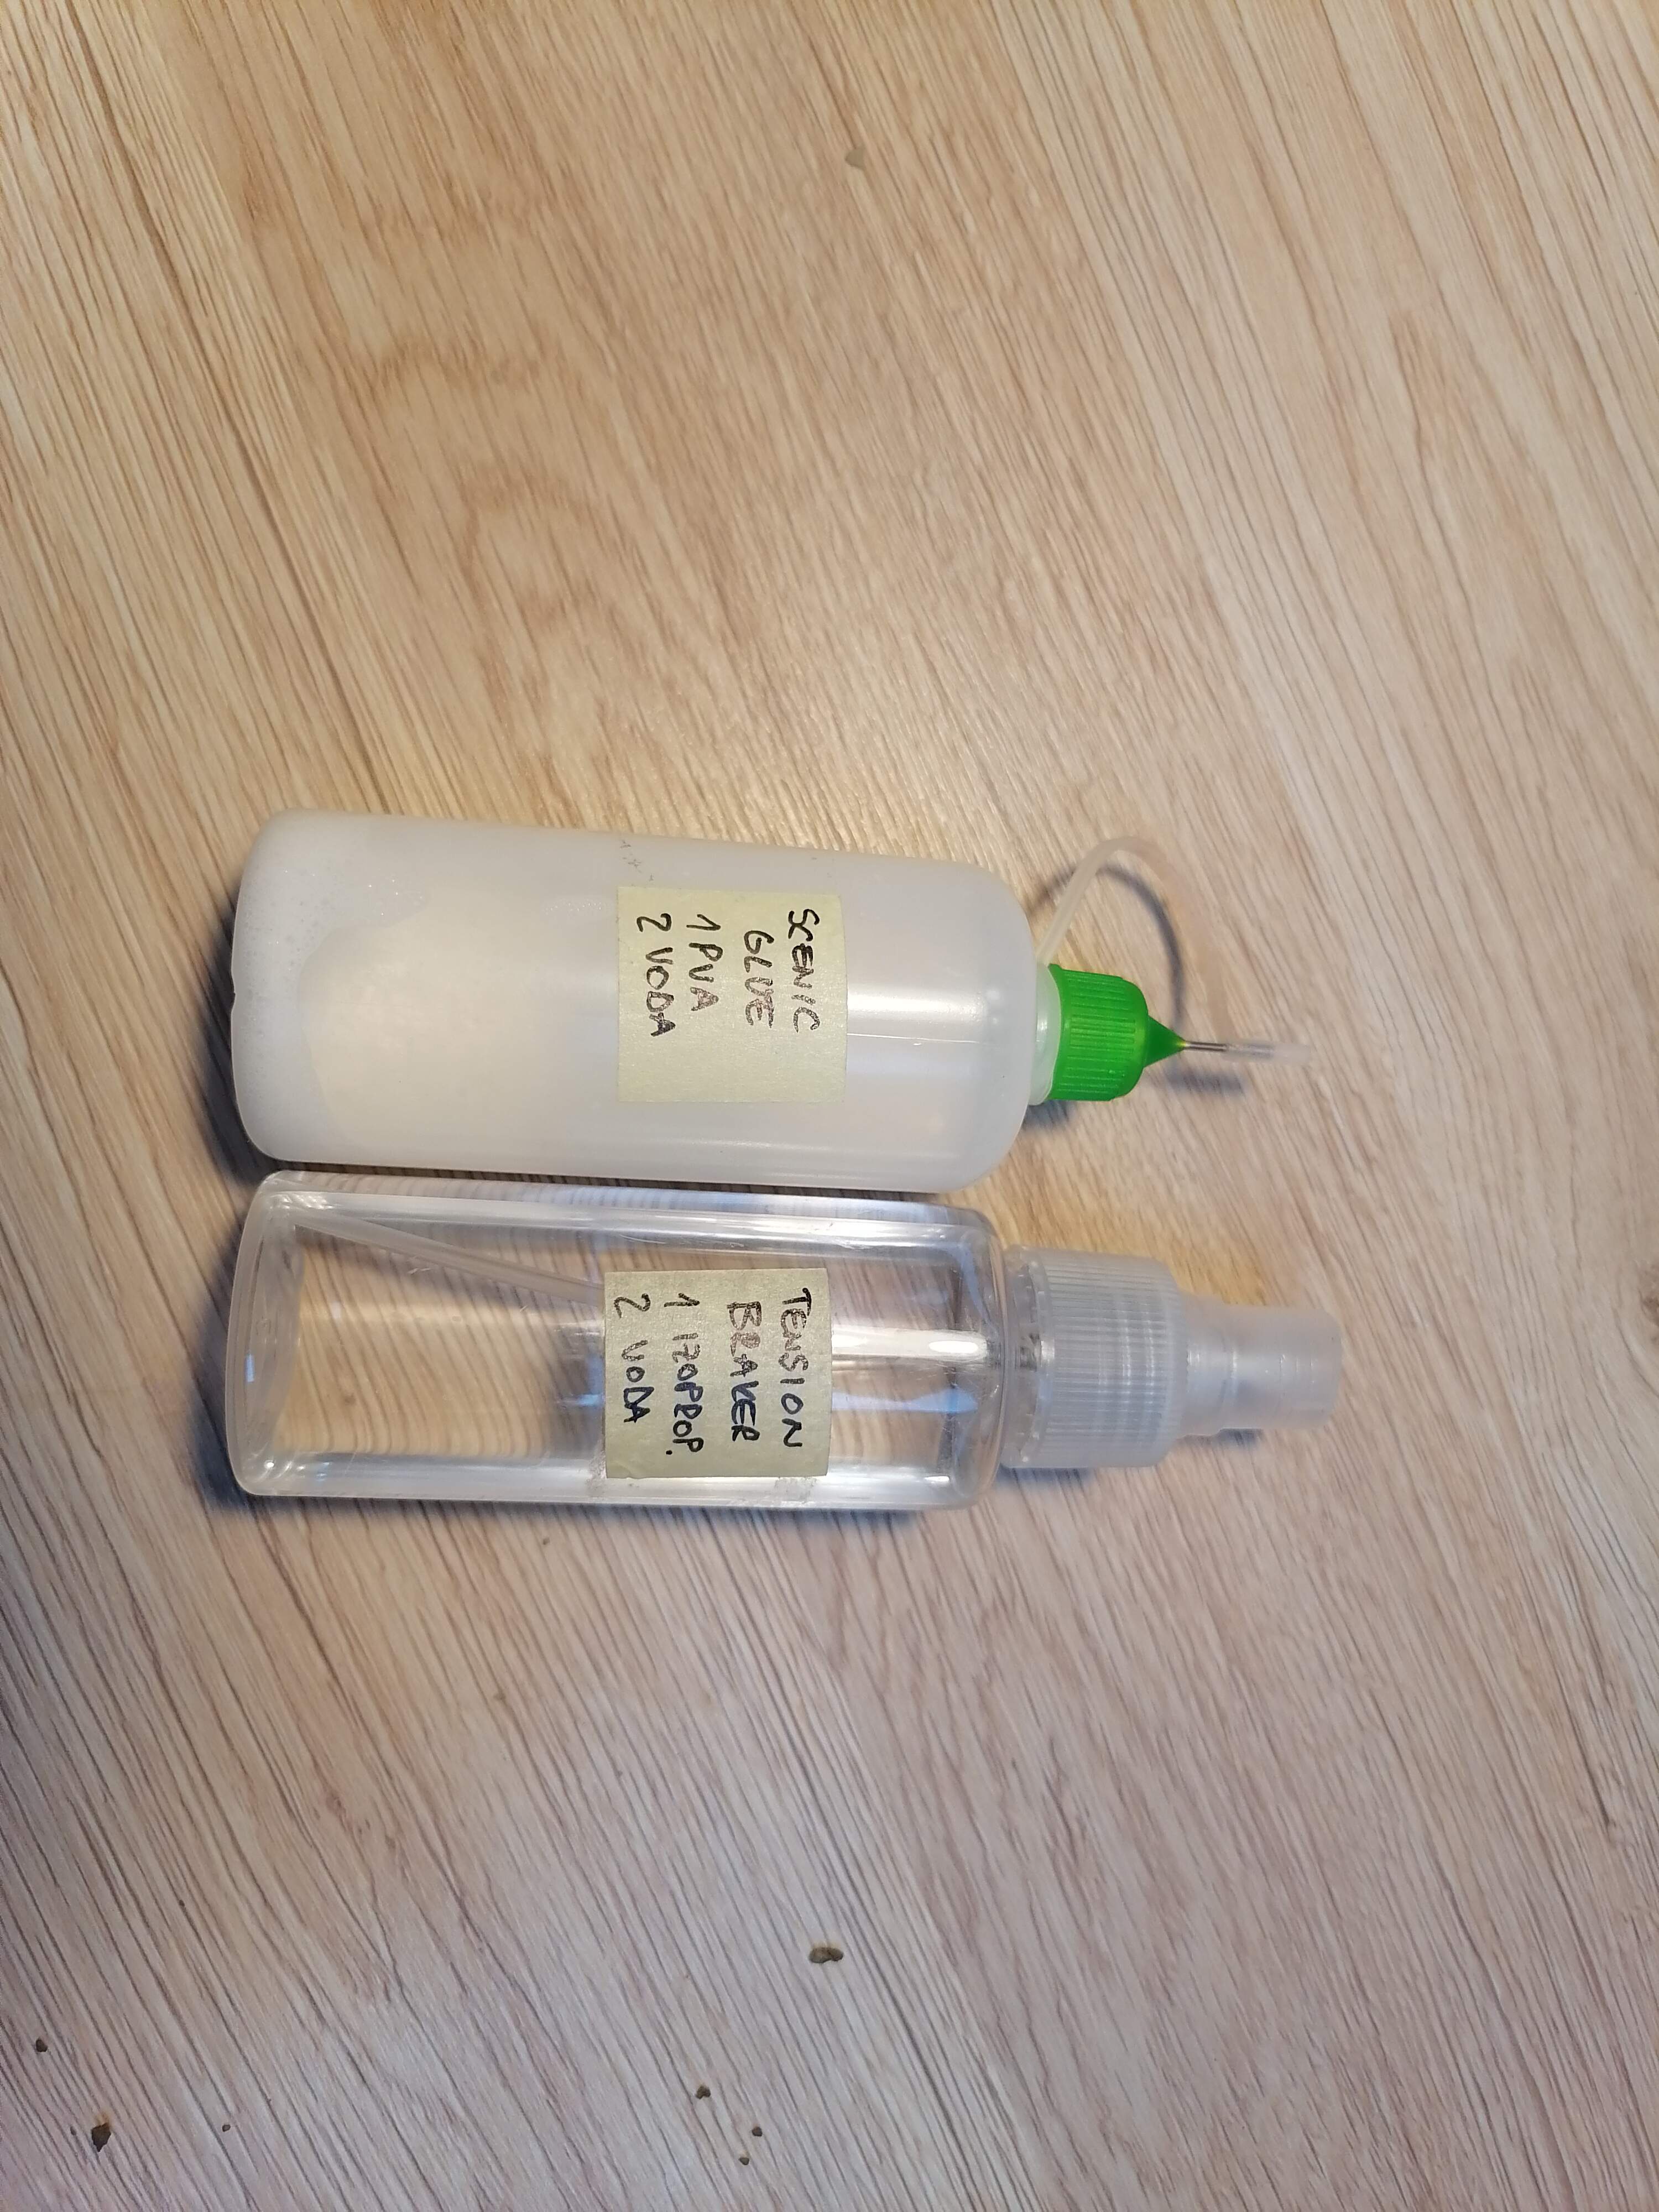
Both of theme have very complicated chemichal formulas.
TENSION BRAKER - 1part Isopropanol 2 part water
SCENIC GLUE - 1 part PVA 2 part water
When evrthing is soacked with scenic glue, you shuld put the base to dry normal an upsidedown (change position evry 5min some times) so the glue will not run away…
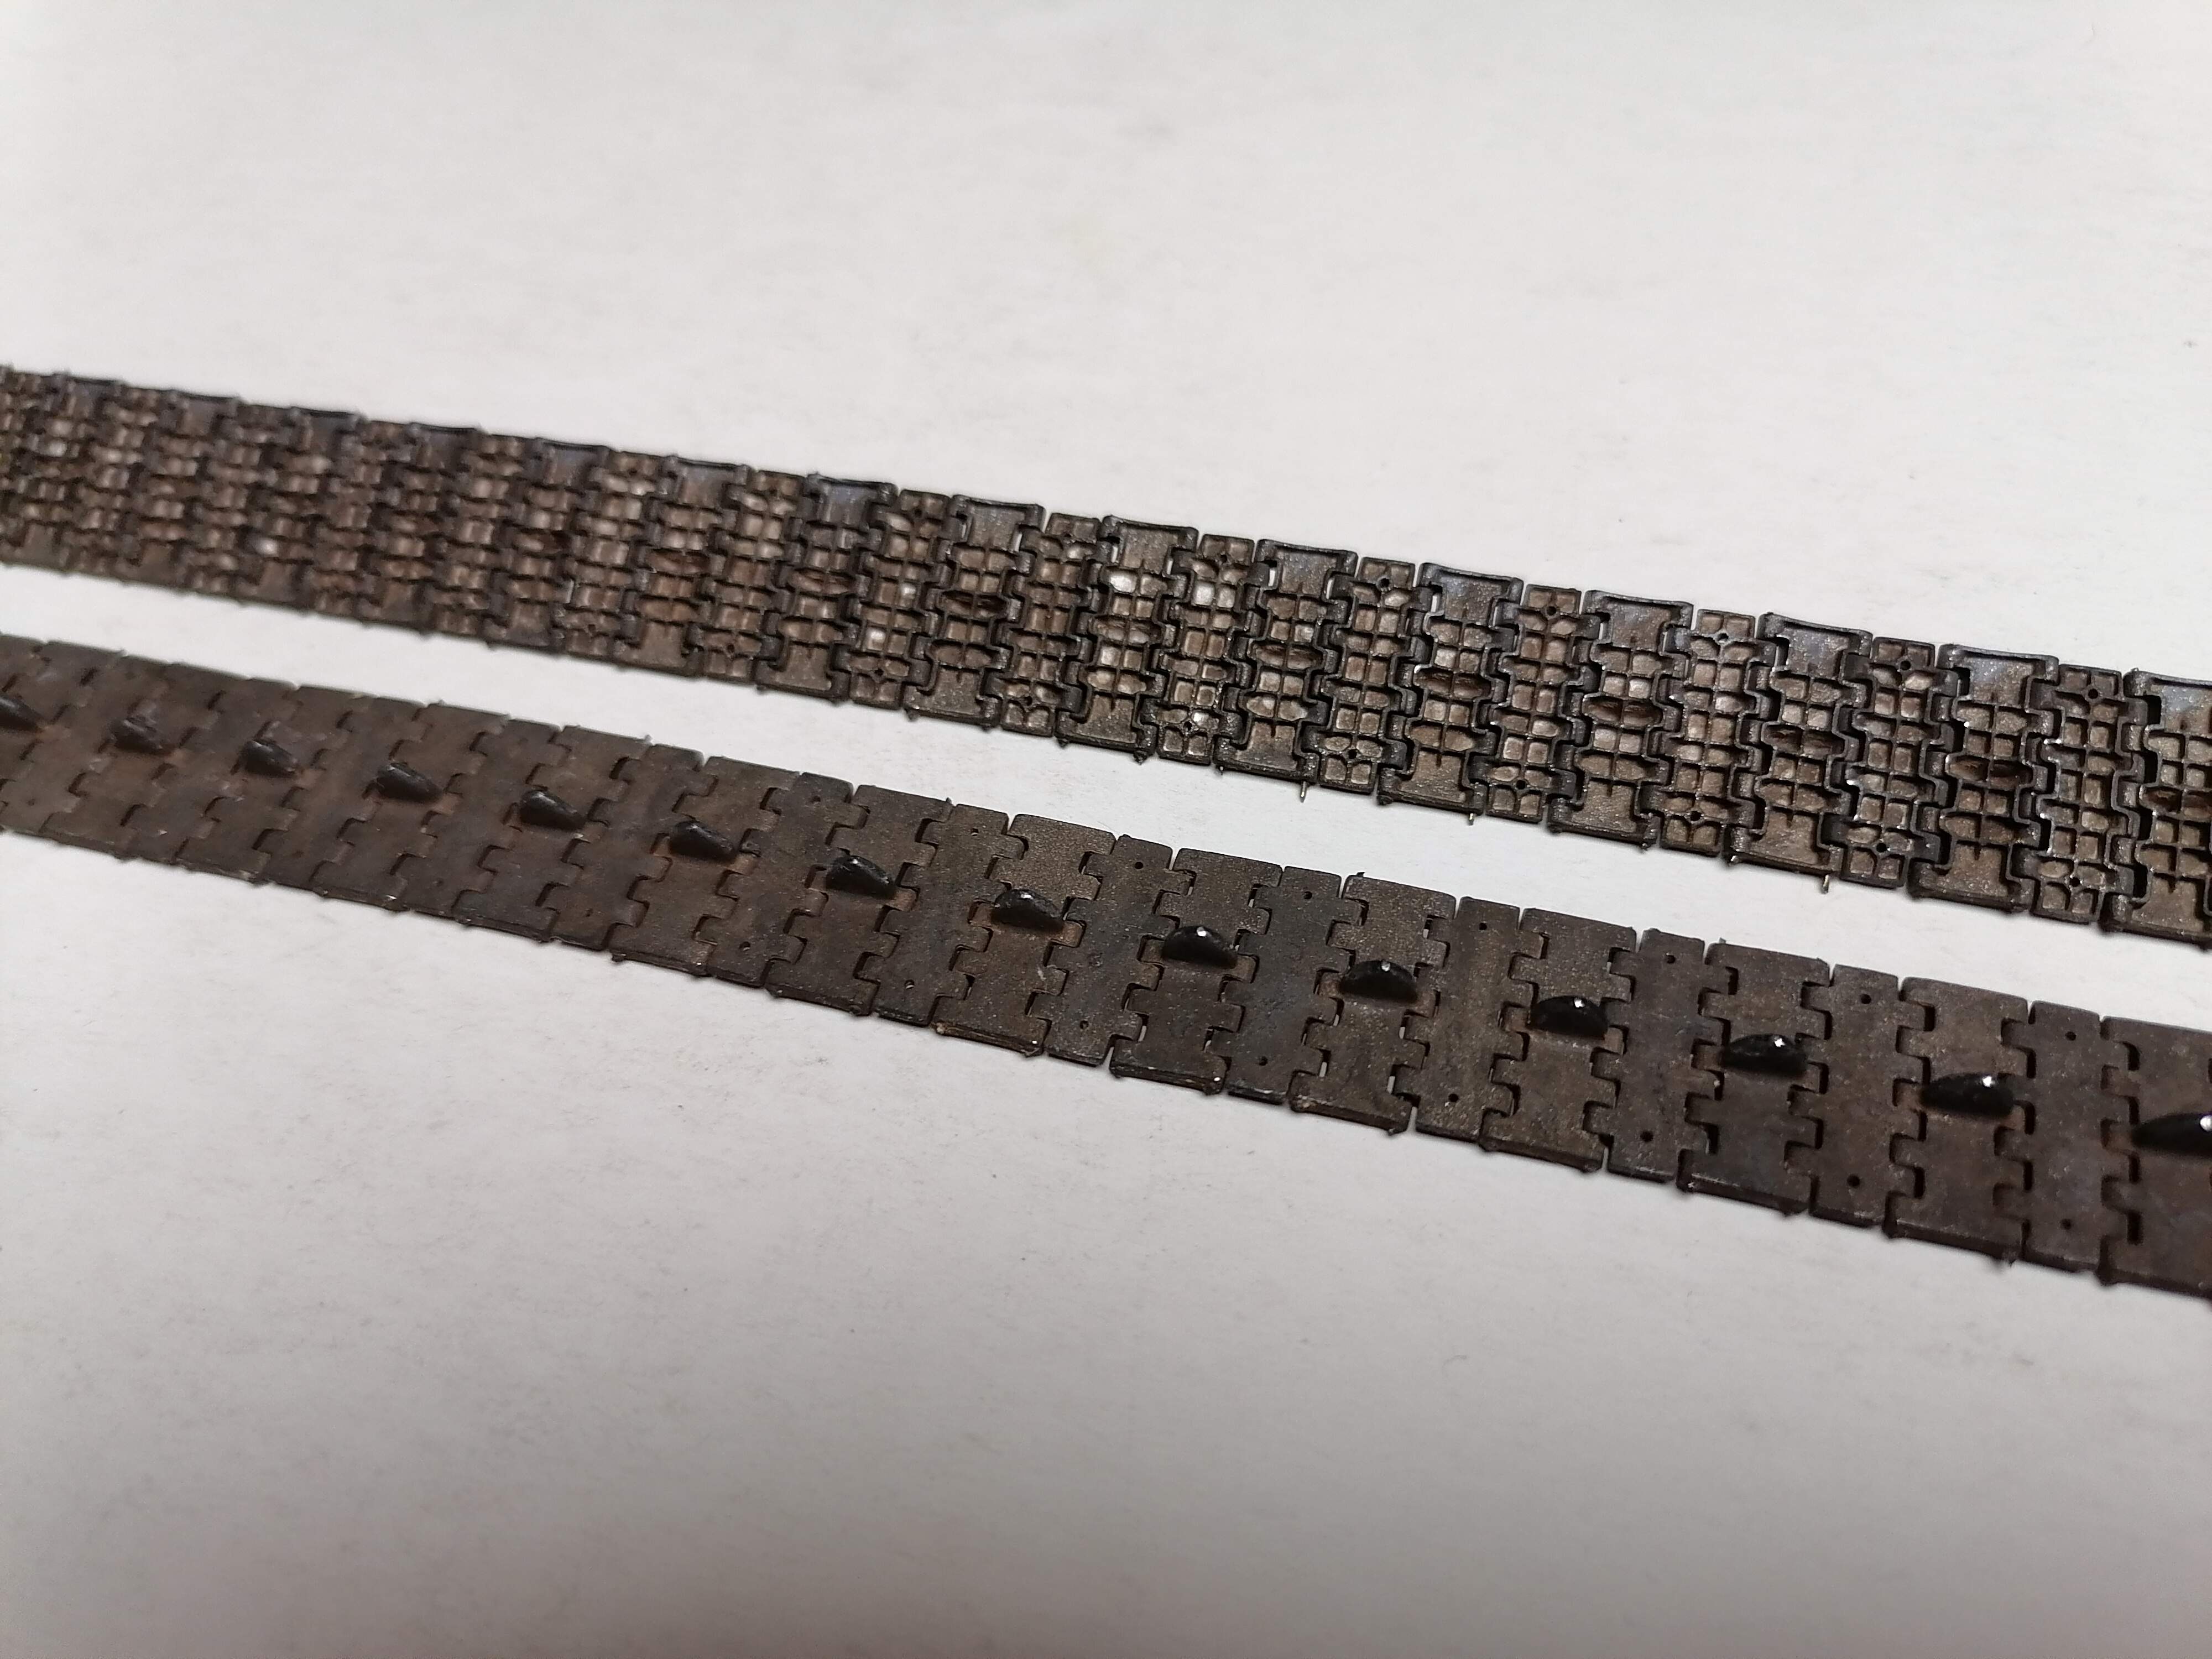
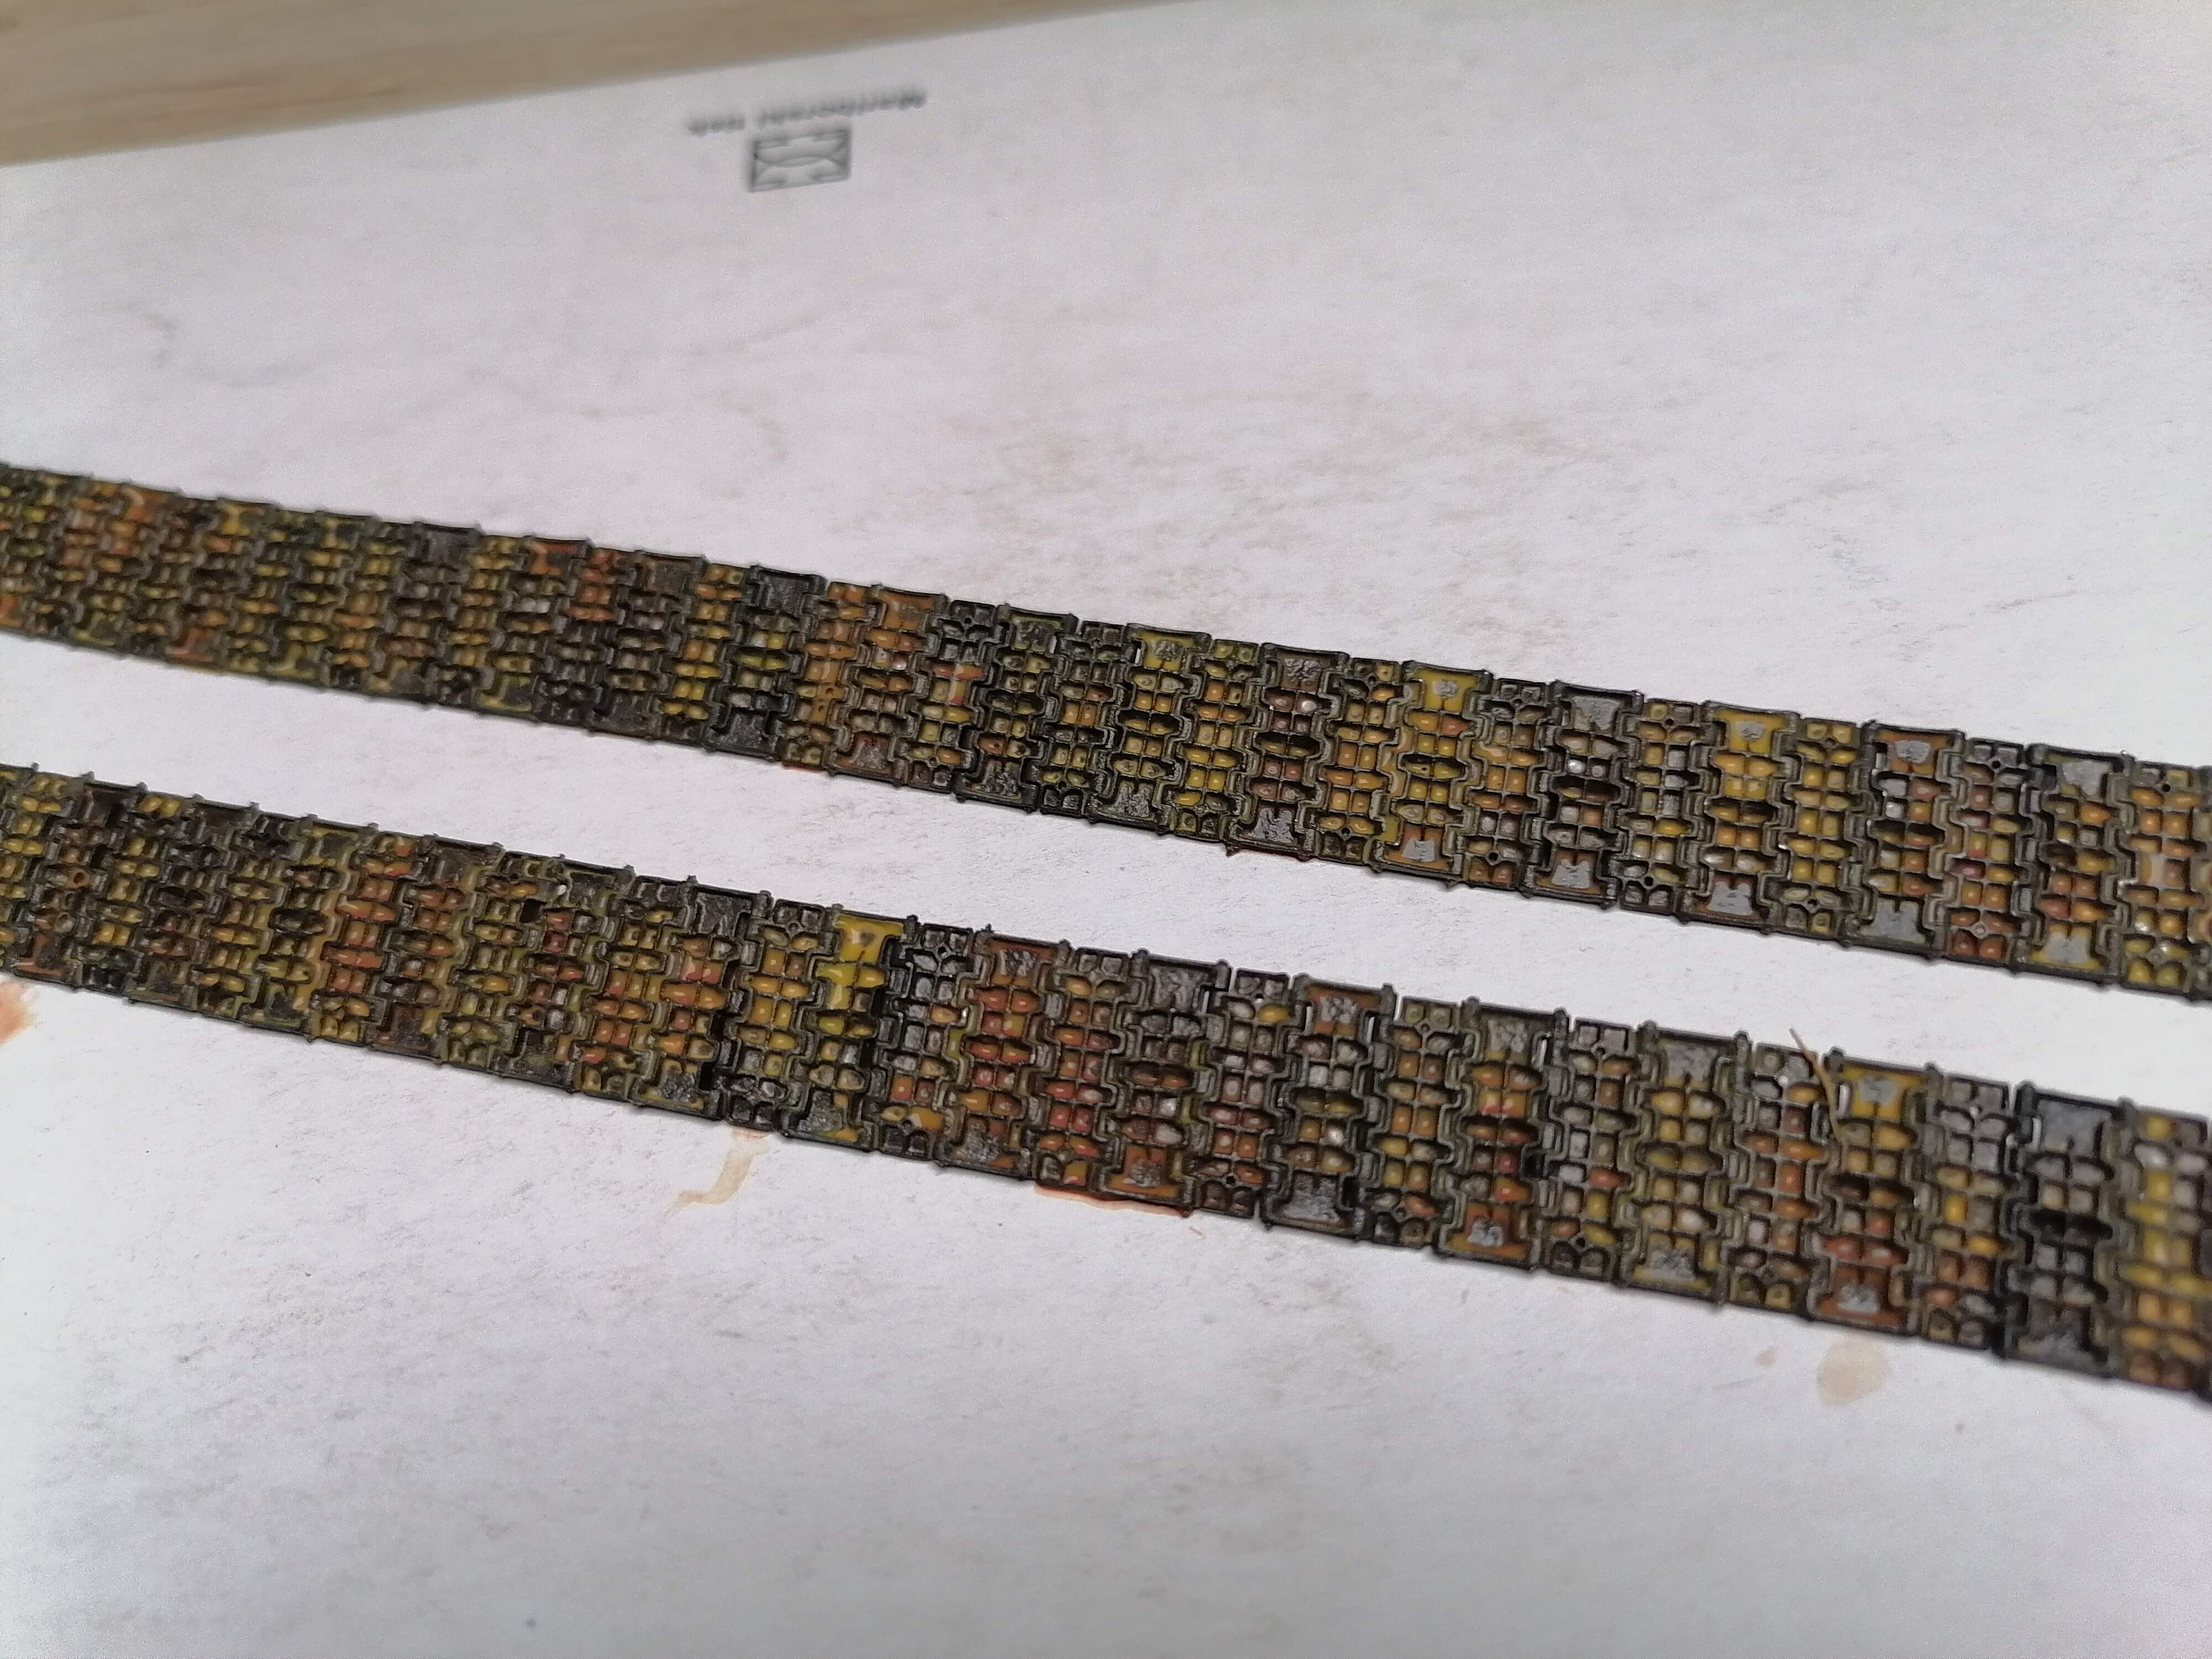
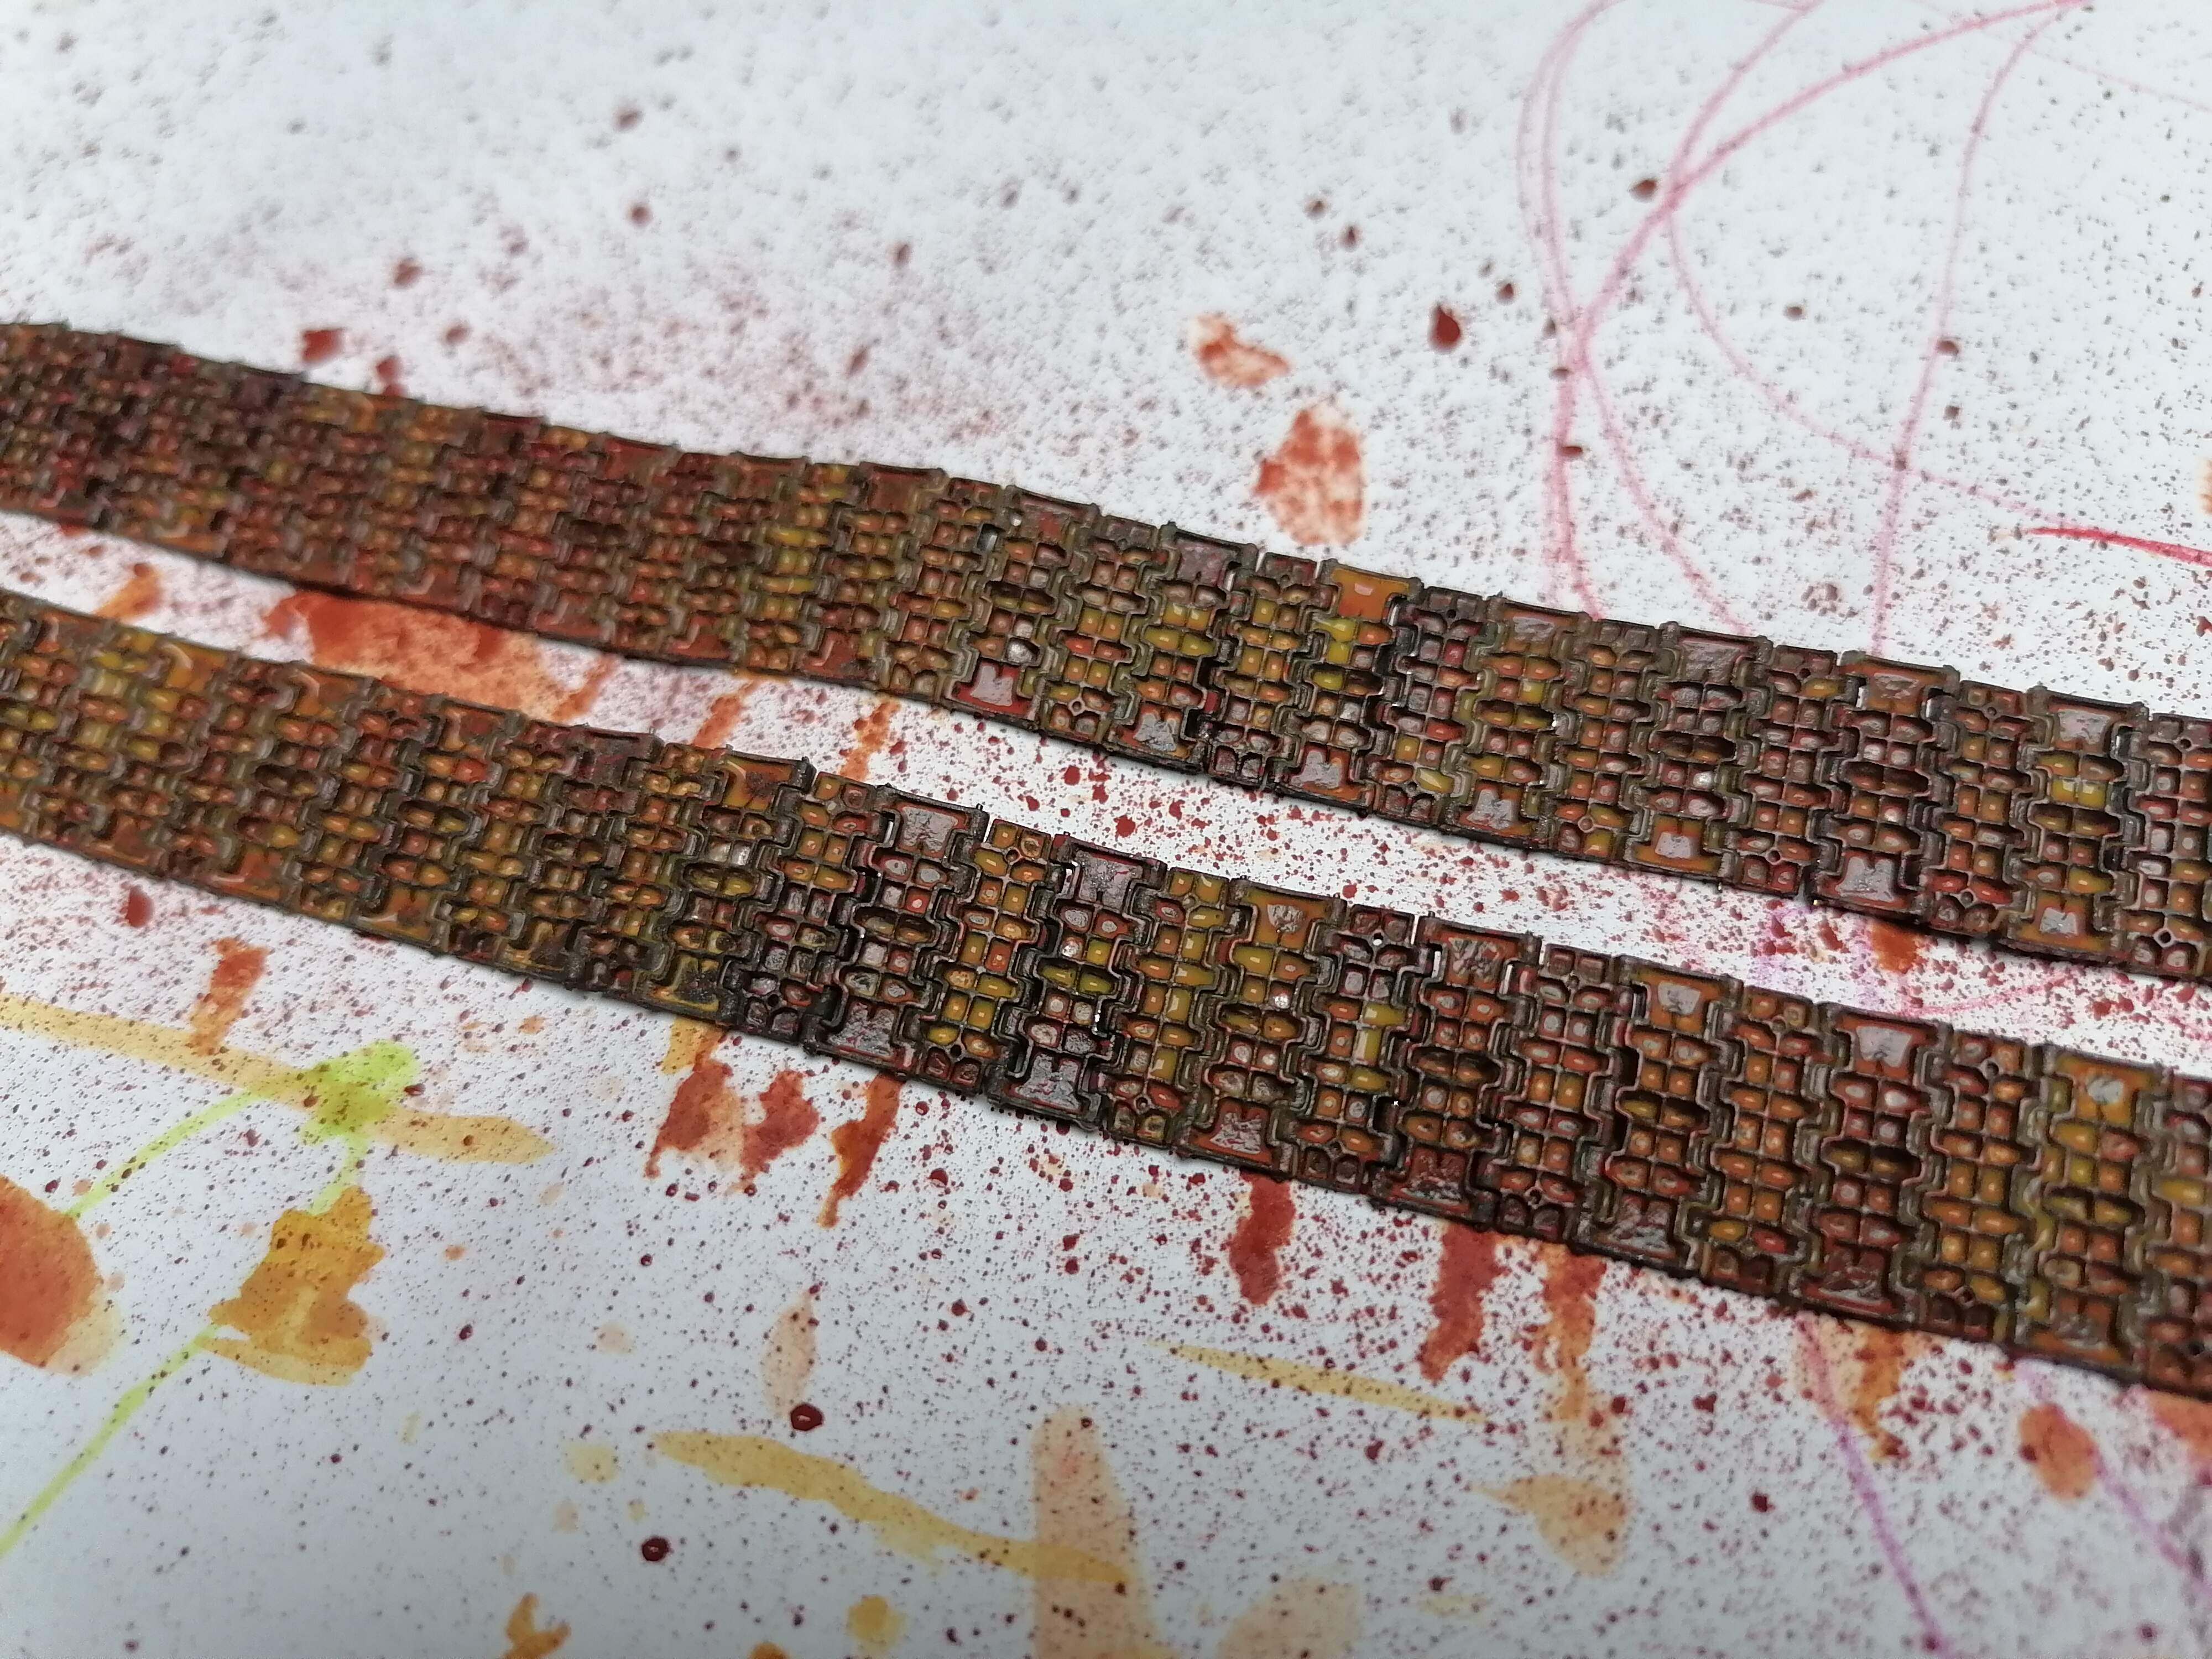
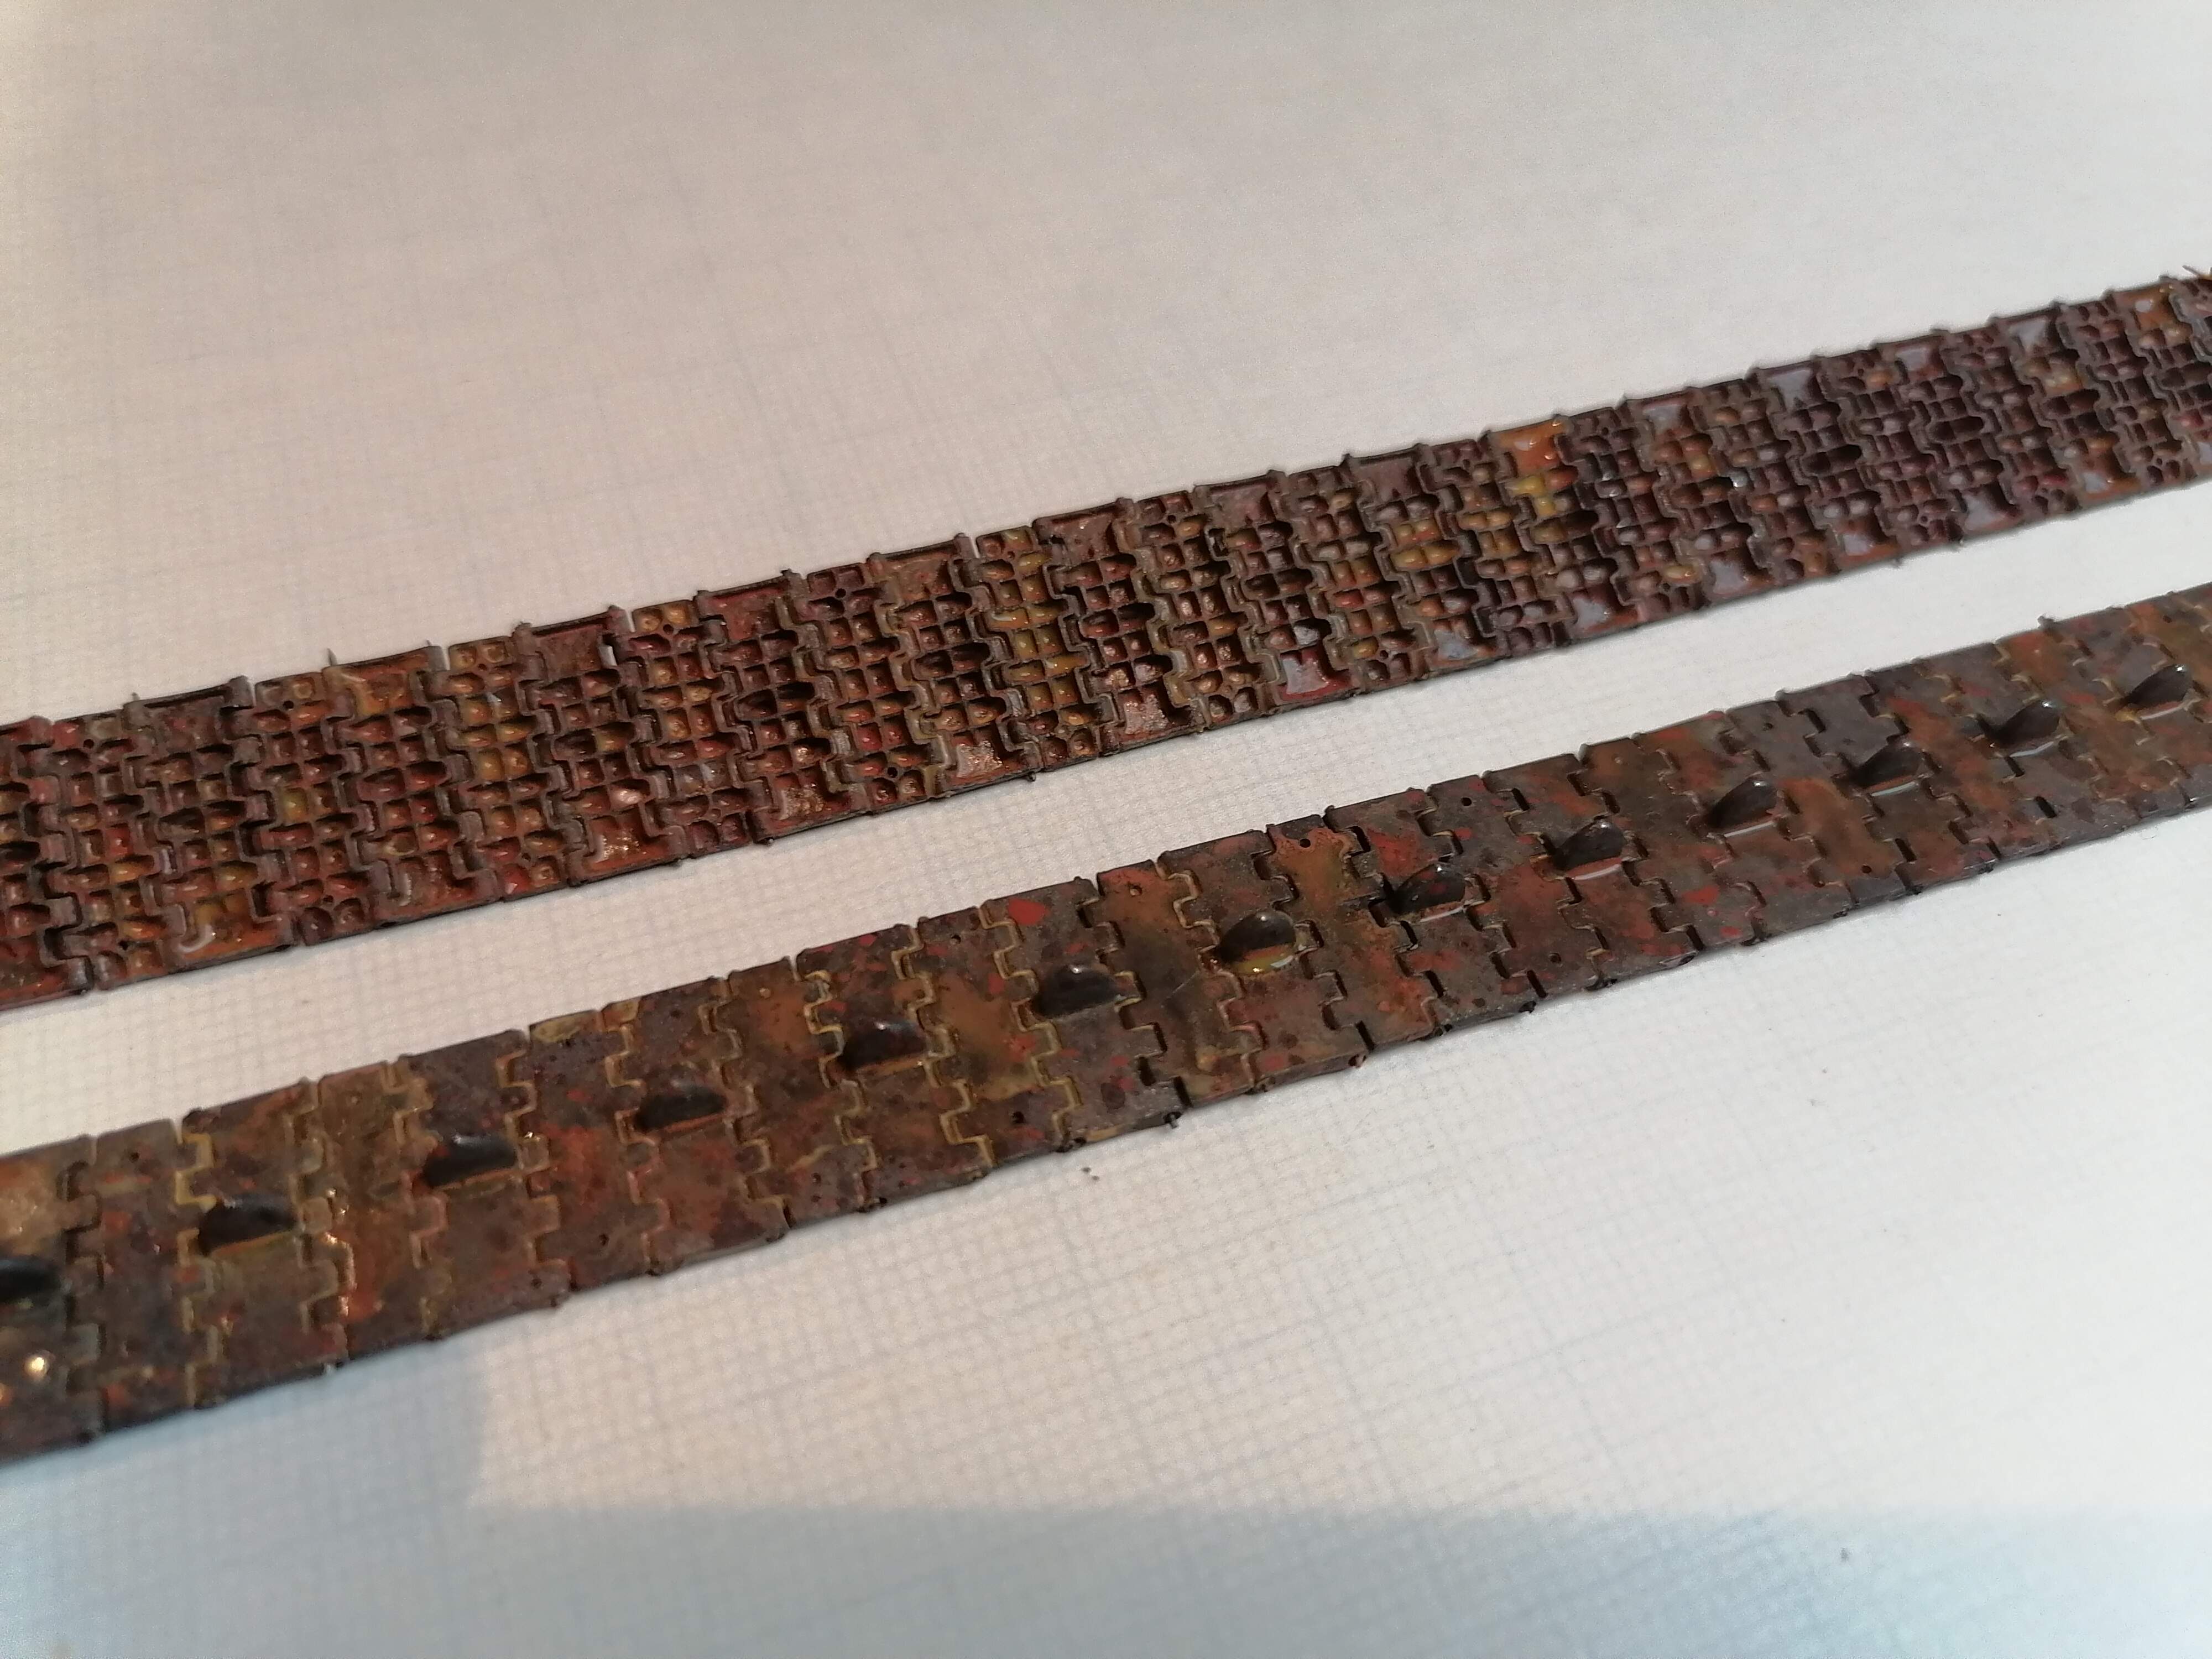
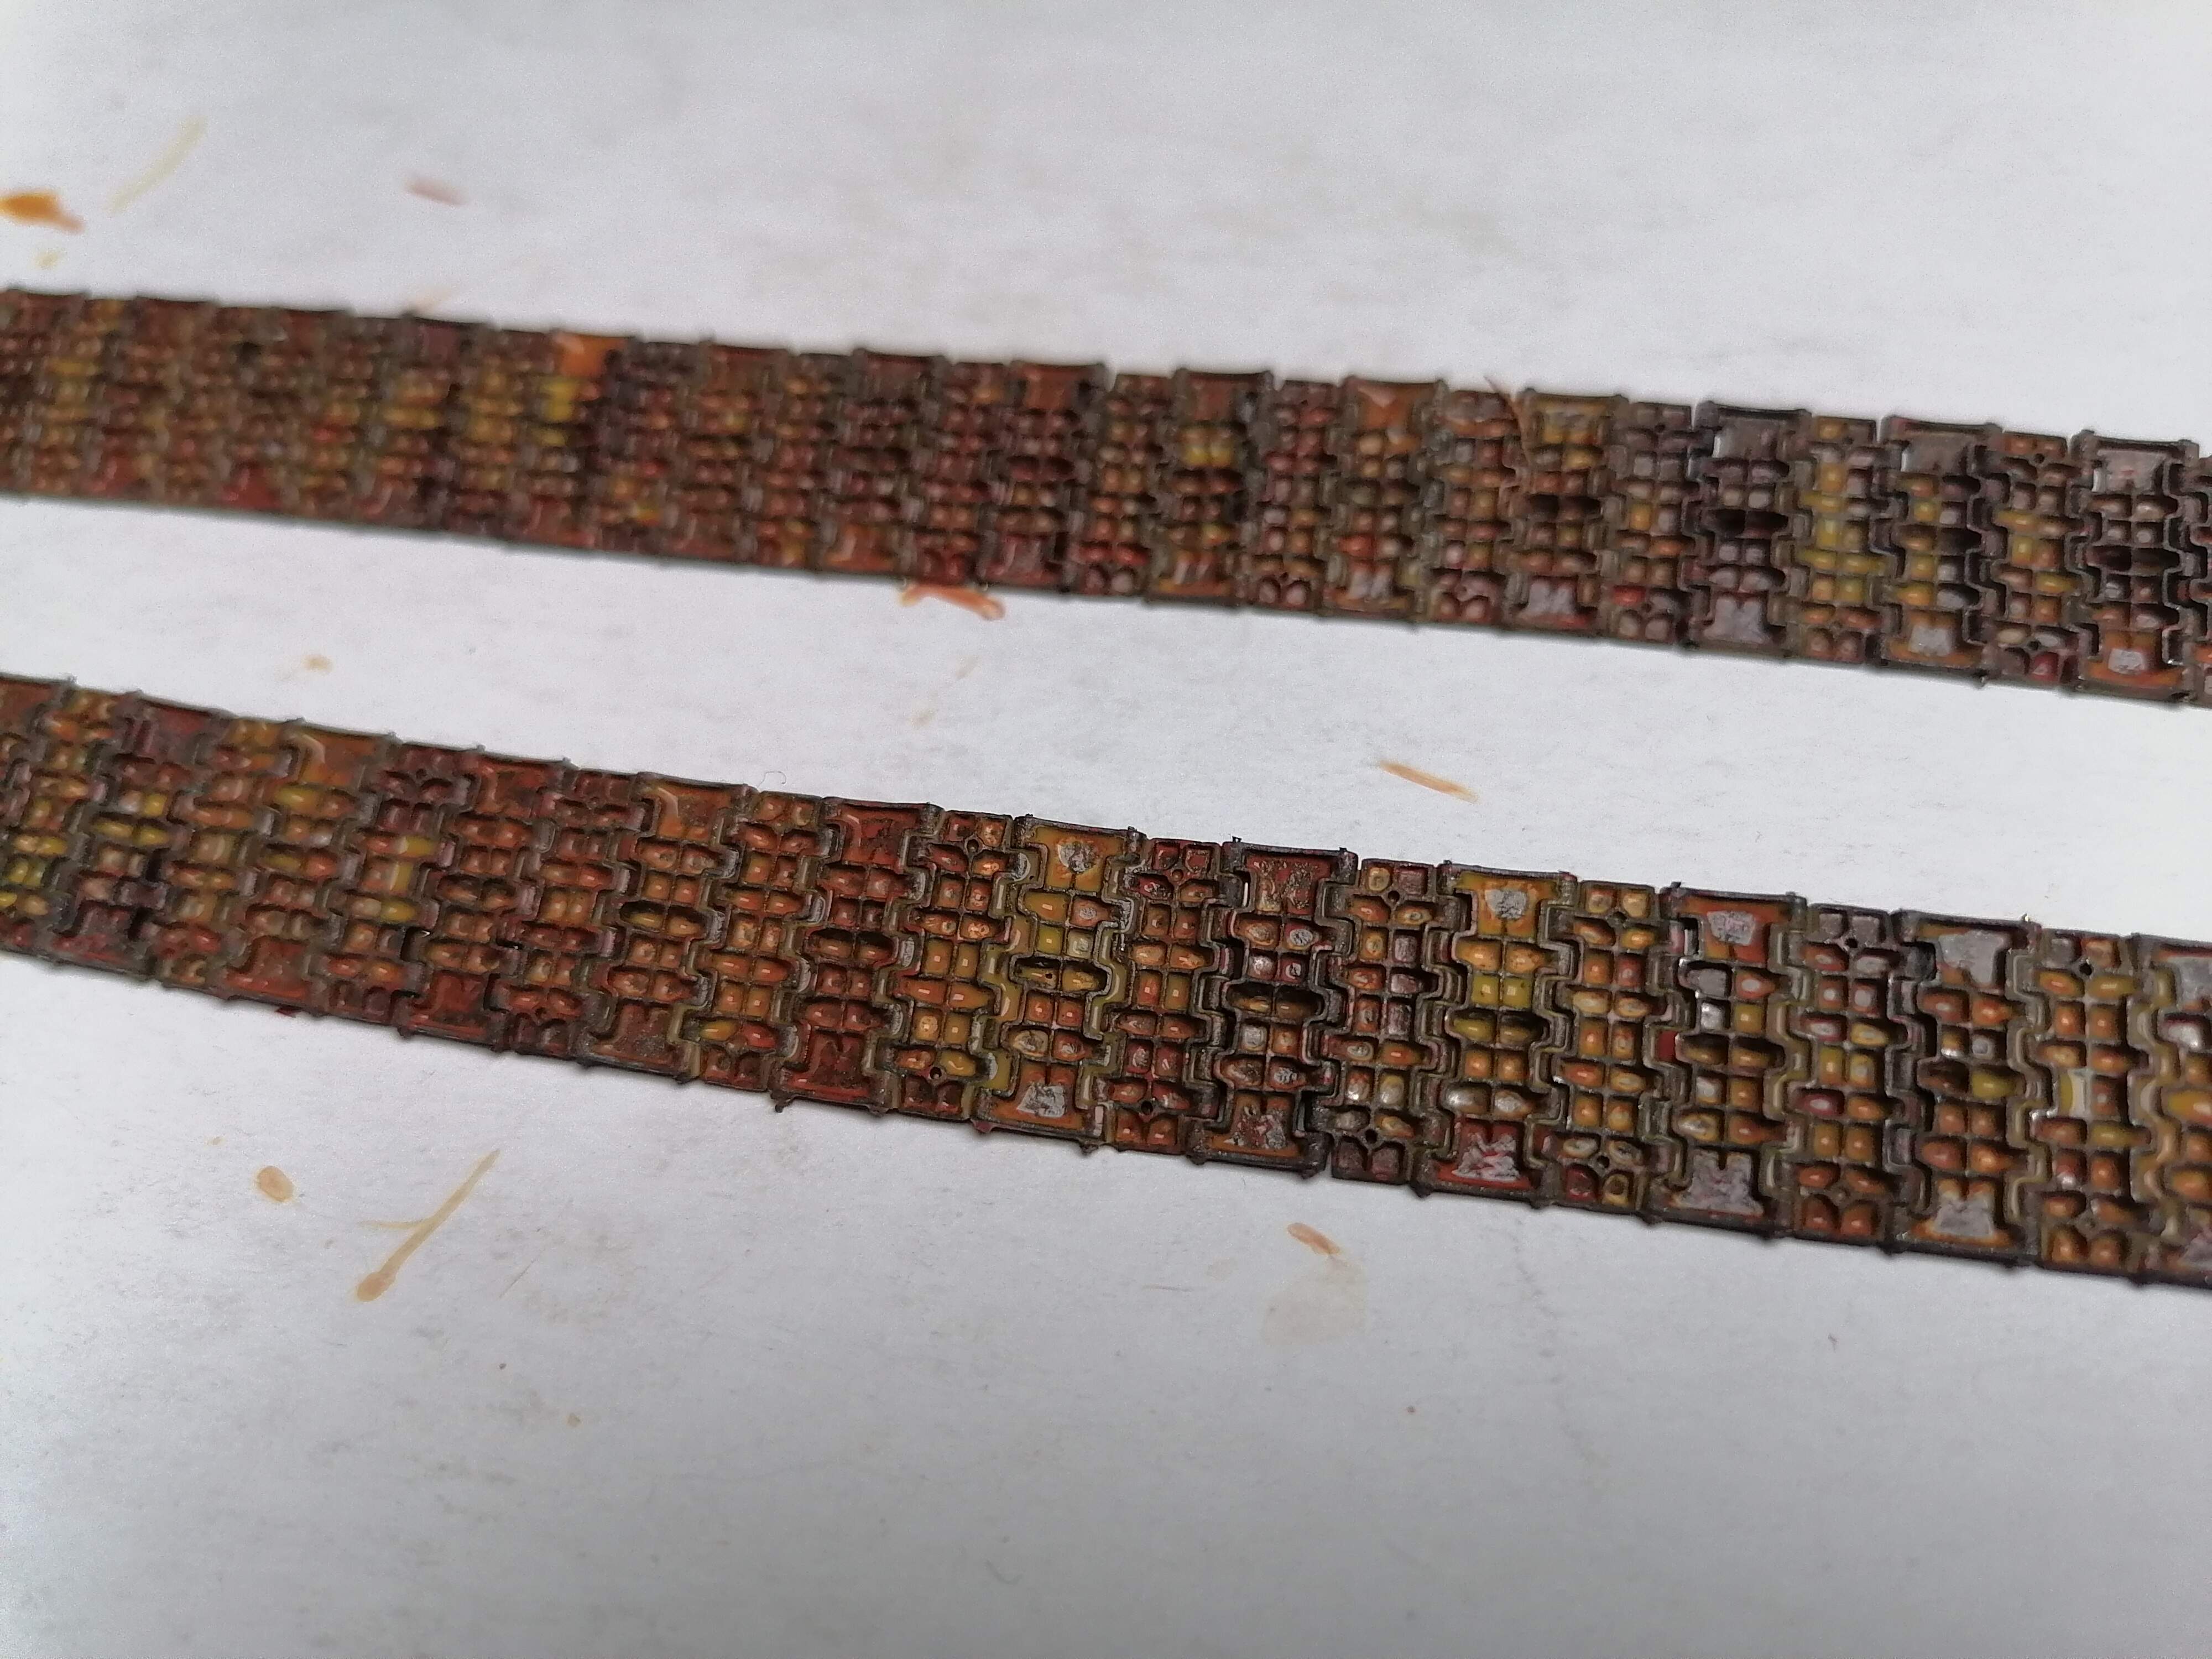
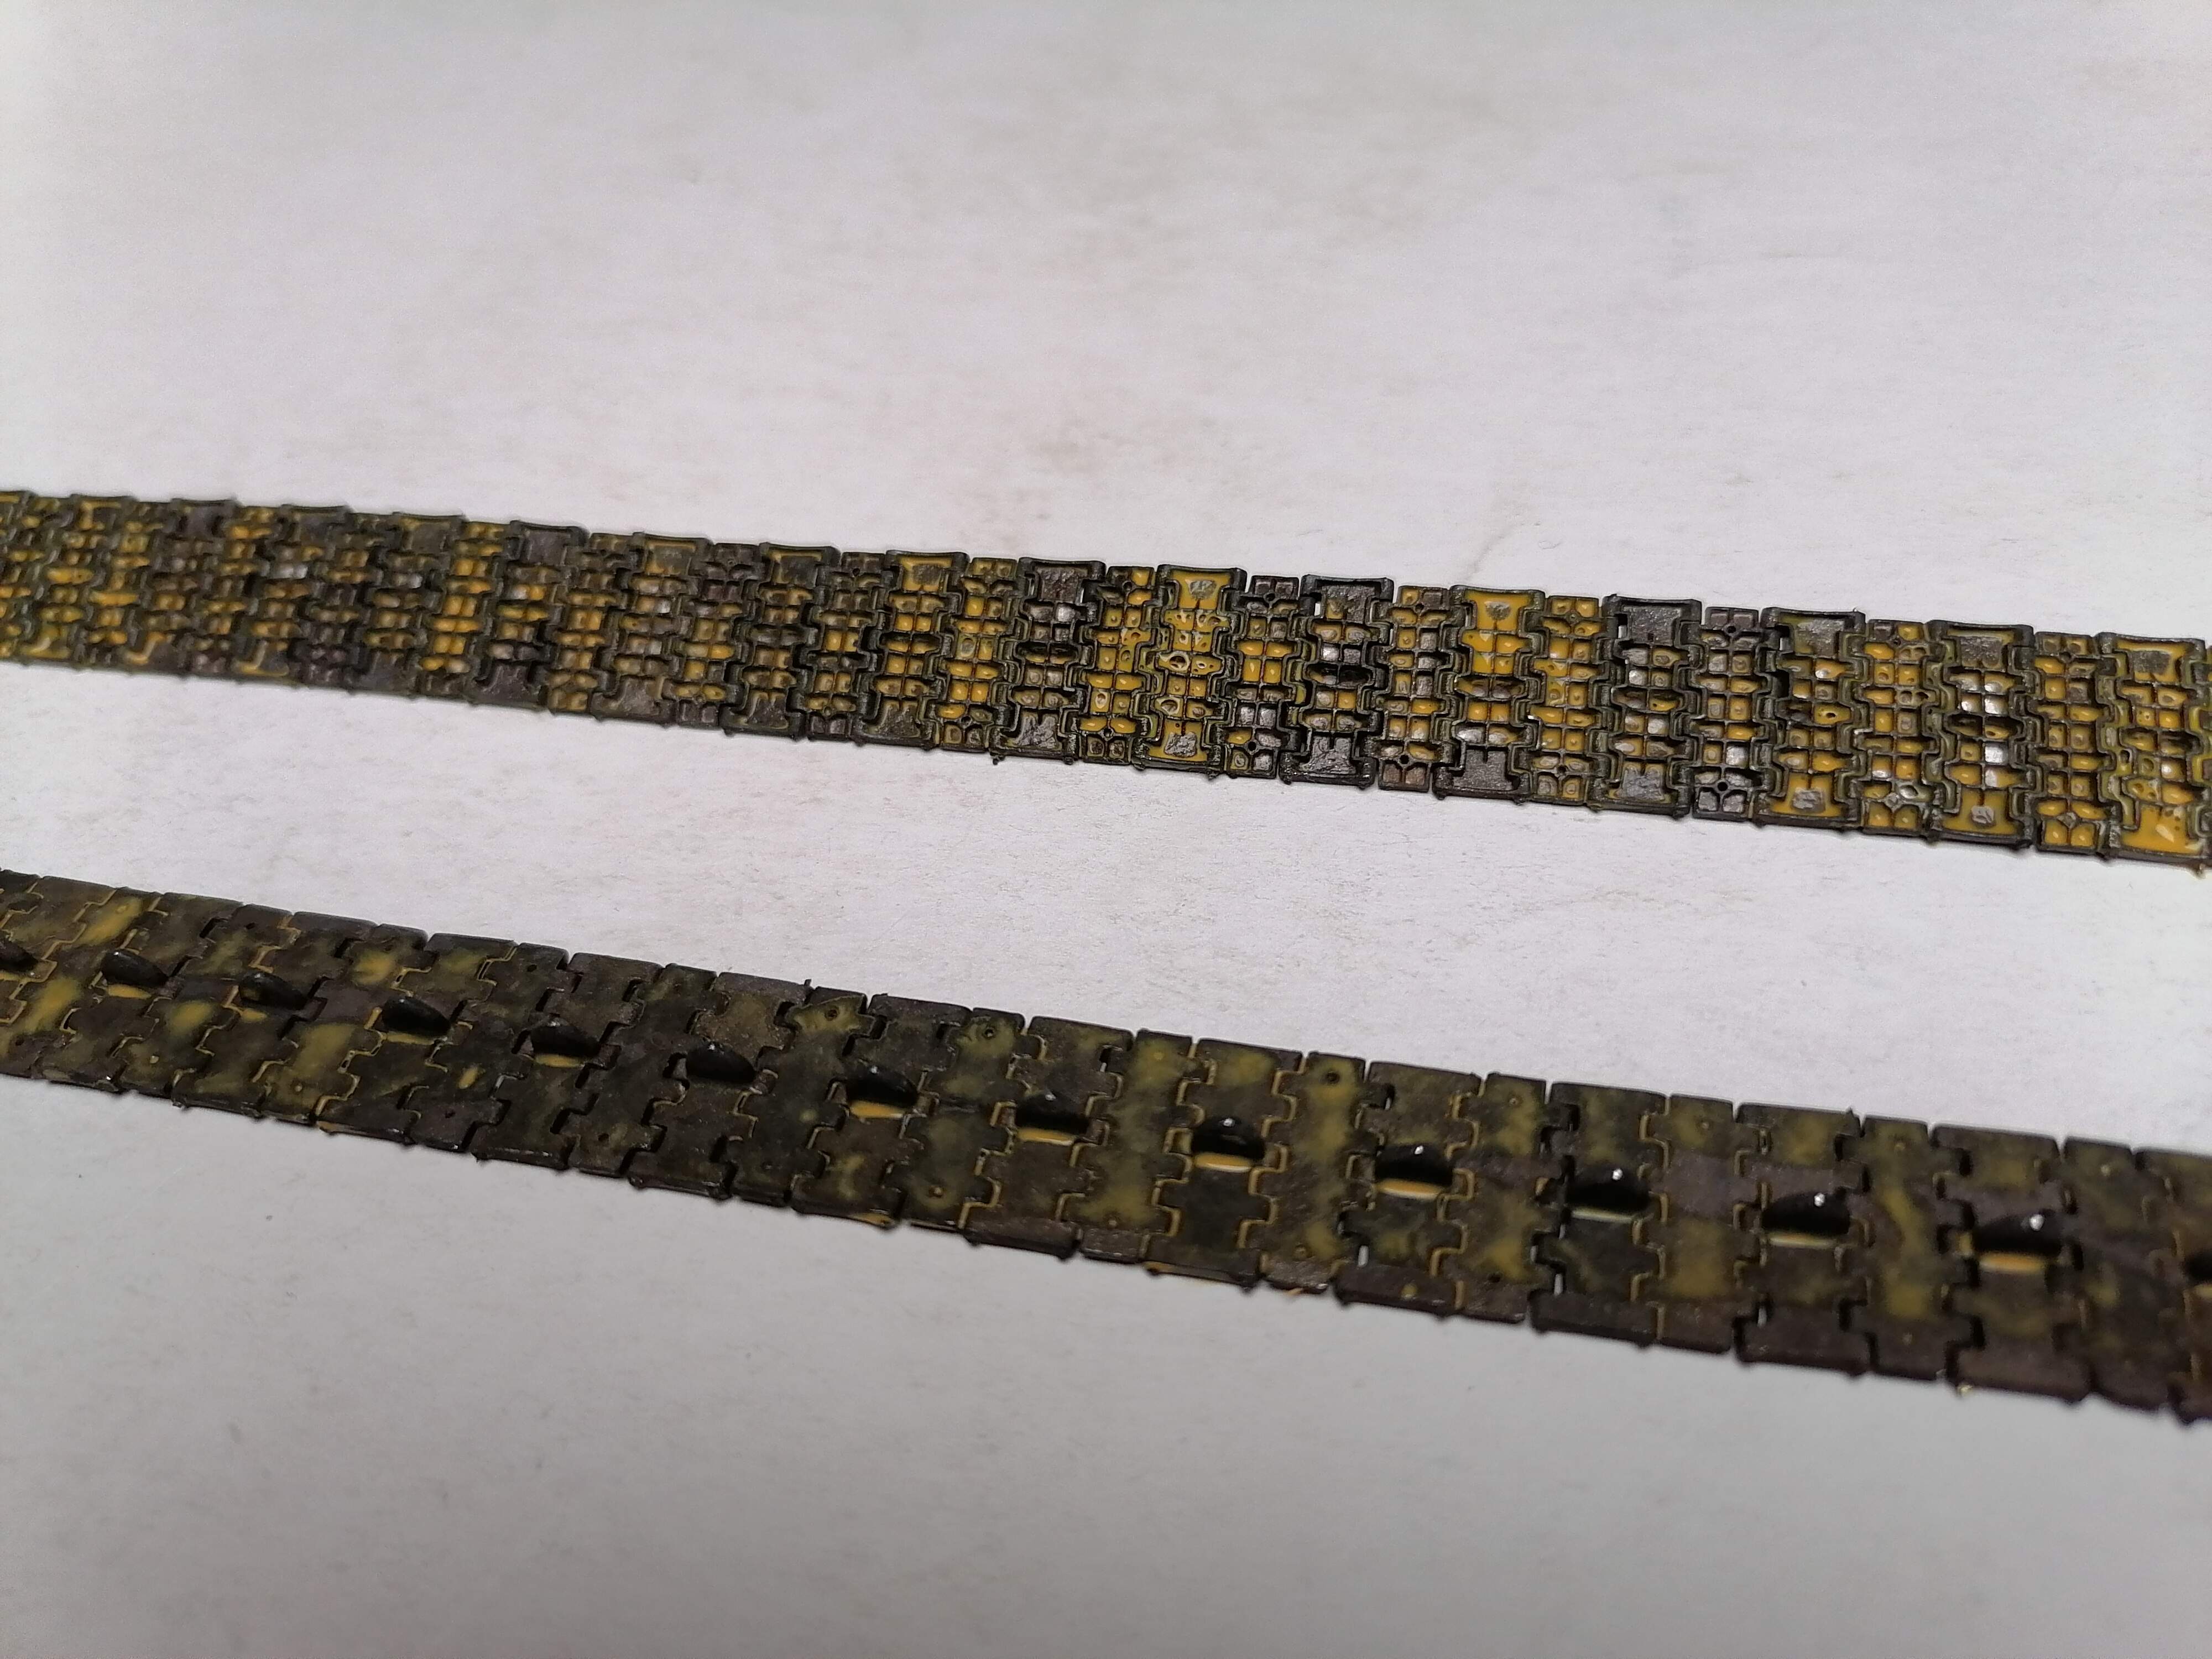
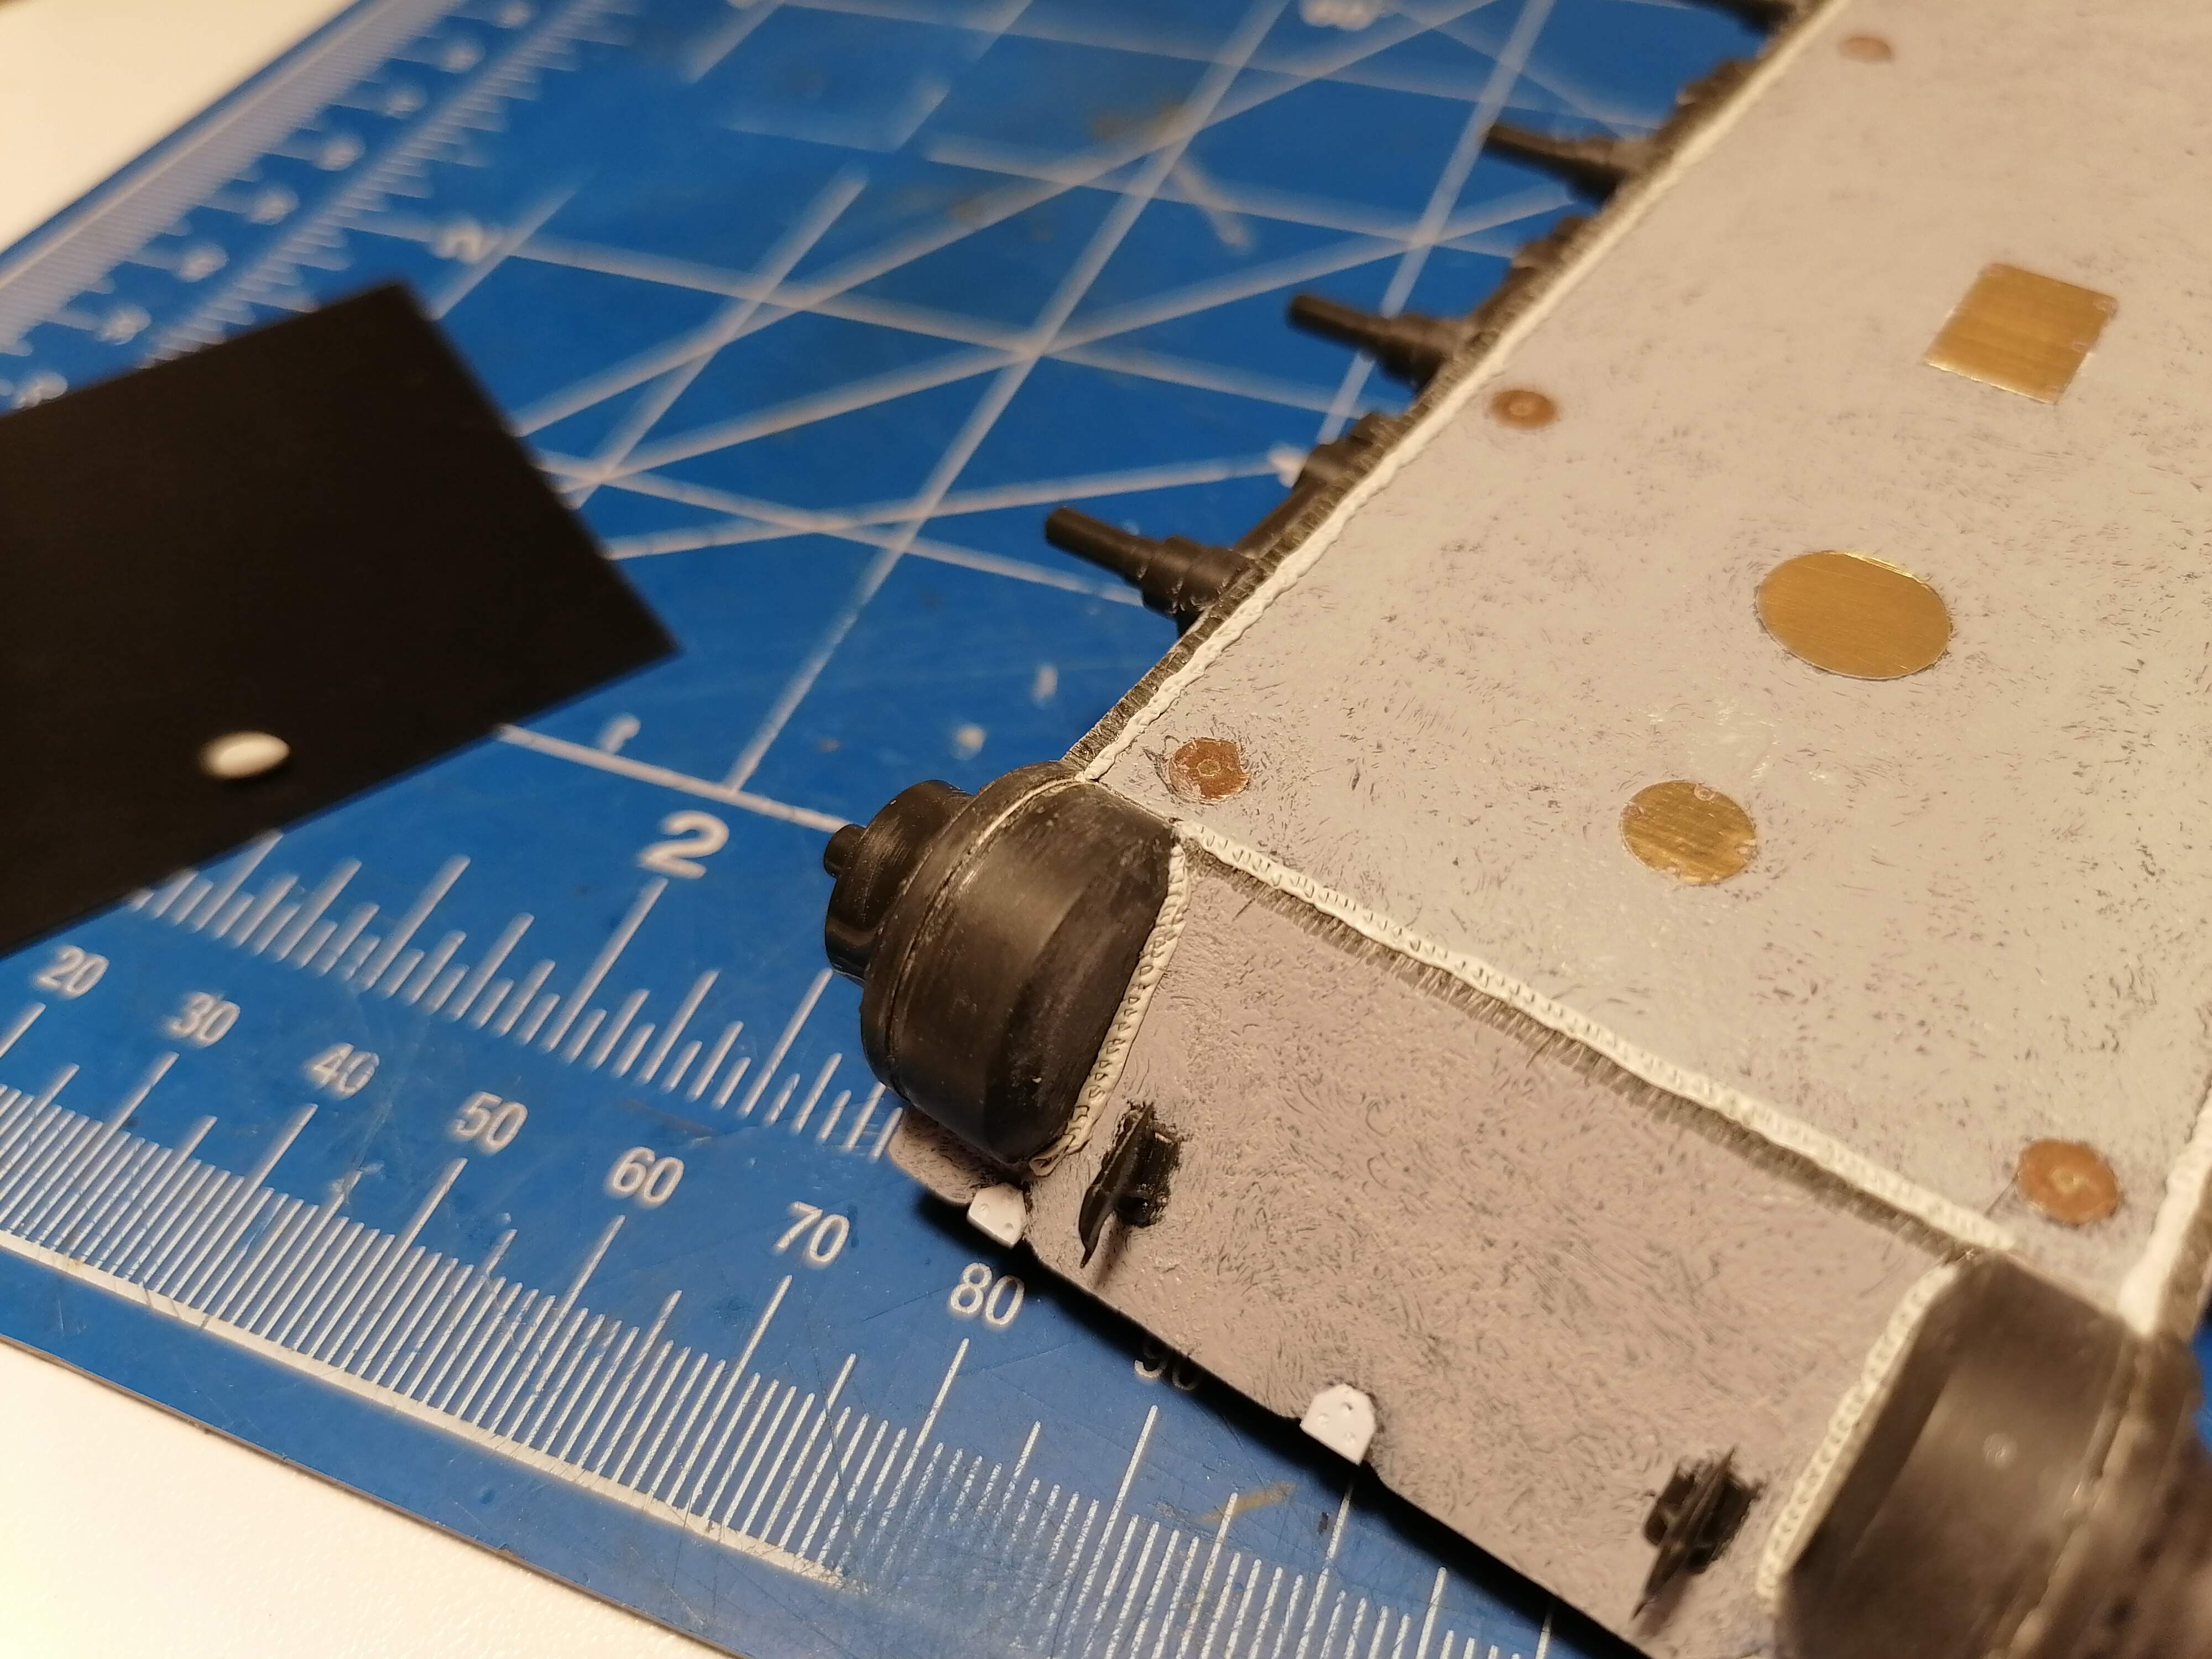
I applied first 2 tones (brither ones) like a wash and the other 2 (darker) by speckling. Evrything in a random patern… To allow the washes to go in crevicies i sprayed tracks with a mist of tention braker…
For the das clay cobblestone, can you explain more about the steps you took to create it. I have some das clay and have thinking about getting a roller to use.
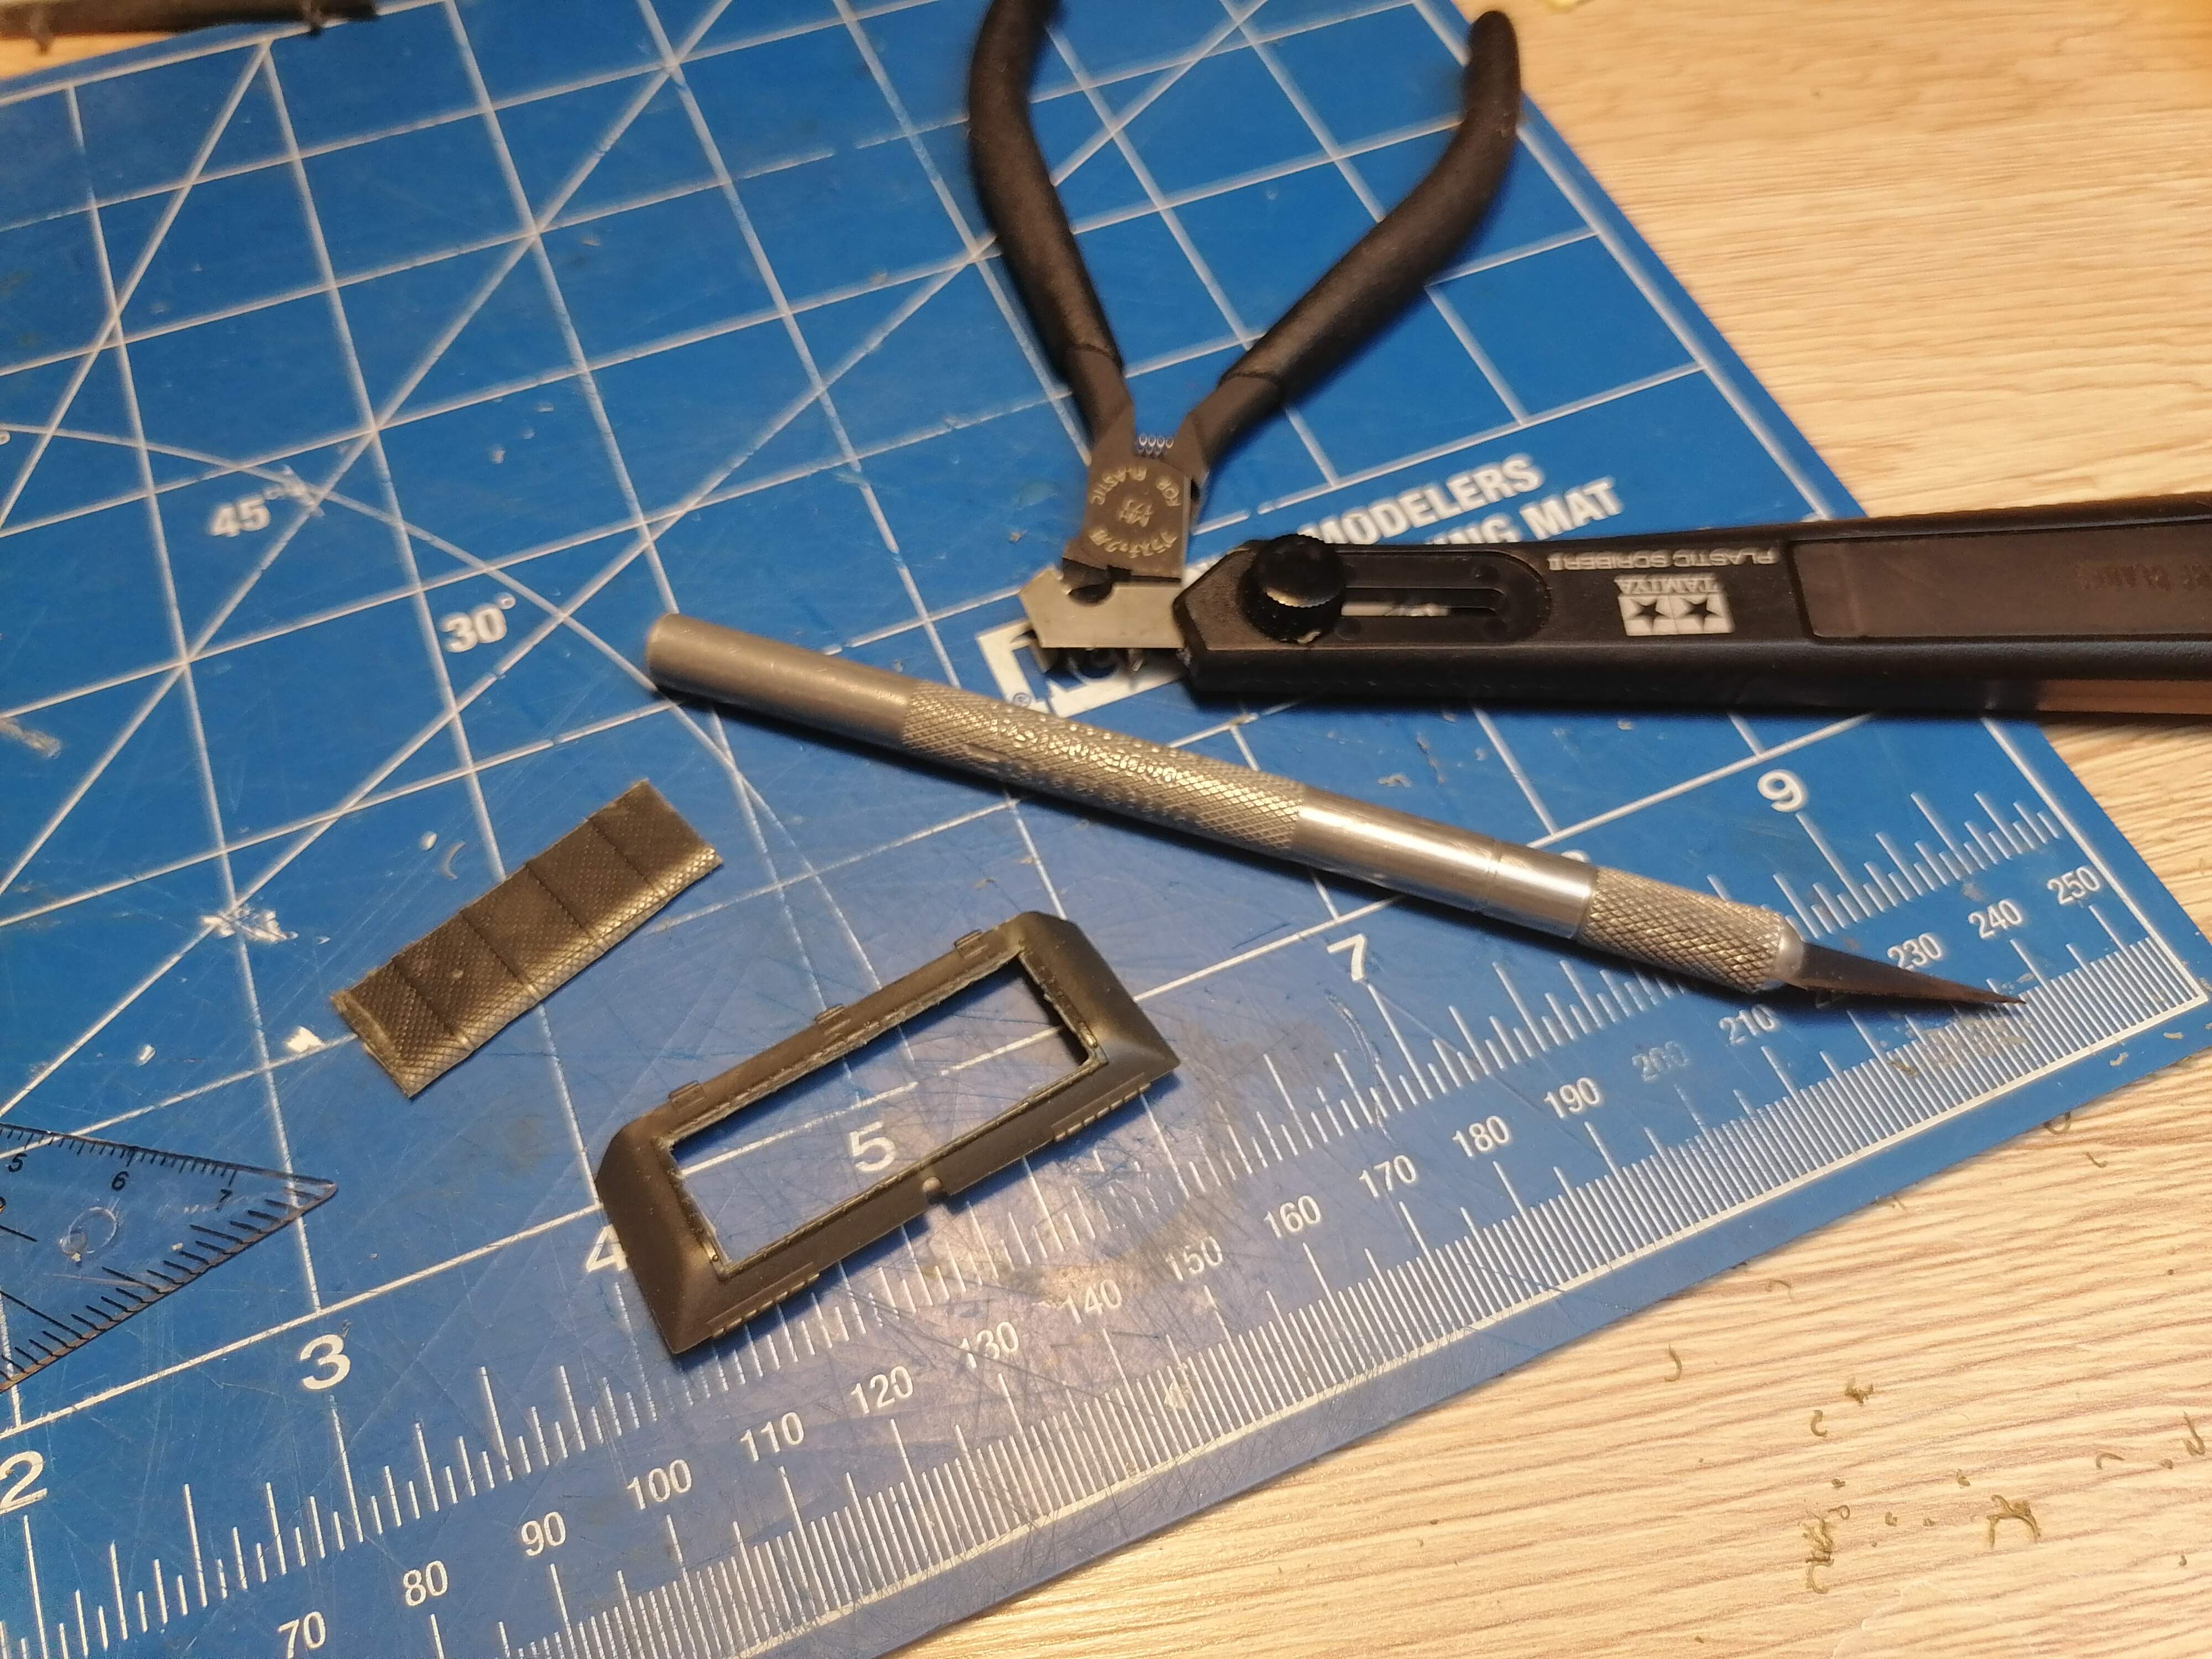
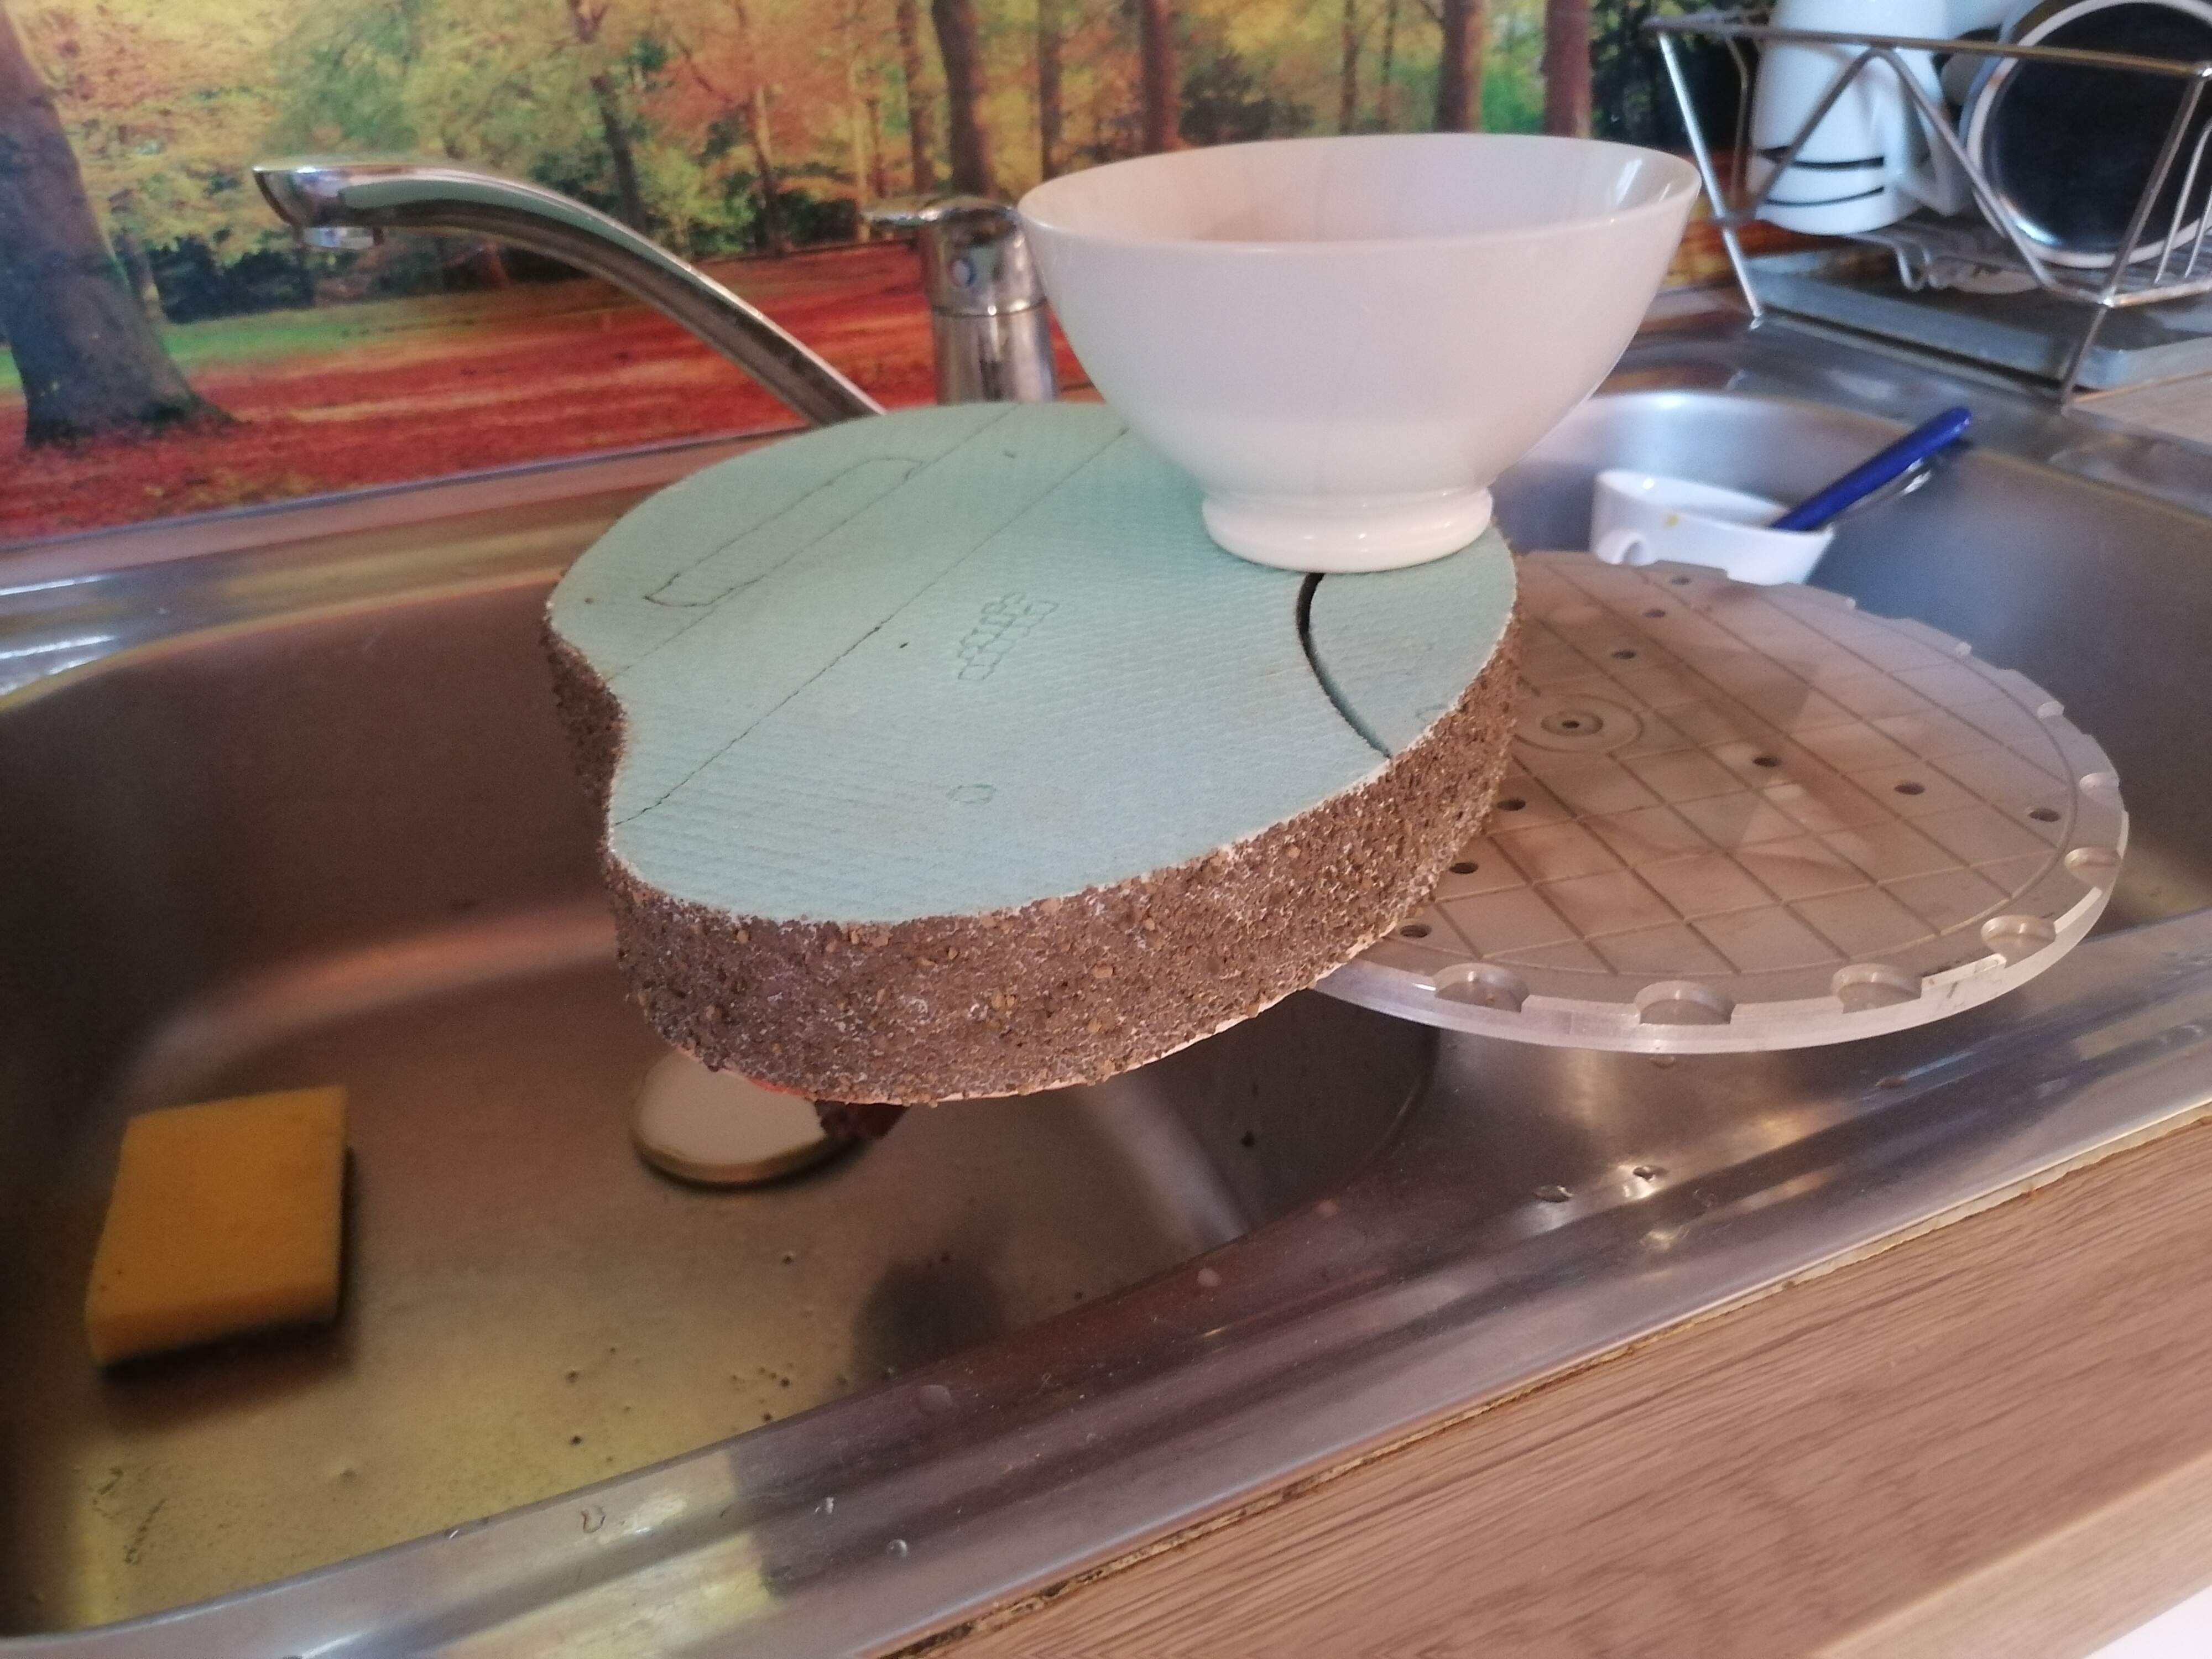
I cutted a piece of 3mm insulation plate (for under the wooden floors). The width must be exact same as the texture on the txt. Rollers of greenstuffworld.
I have a plastic roller of let say 20mm diameter. On the ends i have 2 pieces of 24mm diameter, so when i lay it down to the table it makes 2mm gap. I made it at work.
With this roller you roll down pieces of clay so they become 2mm thick. You cut them in rectangels ruffly and make a puzzle on the insulation foam witch is wetten with pva glue. You cut the ends so that the clay is exact match to the foam and fill all the gaps. So now you have 2mm of clay over 3mm insulstion foam. You help yourself with a wet sponge…
Now you roll your texture over it. You must go straith. The clay must be soft/hard yust right. (if it is to hard moisten it with sponge, if is soft wait few minutes) but no worries. If you fu*k things up, you can erase the texture with wet sponge, wait few minutes and go again…
I keep saying wet sponge, but when you wet the sponge you must squeese al the water out. It must be humid.
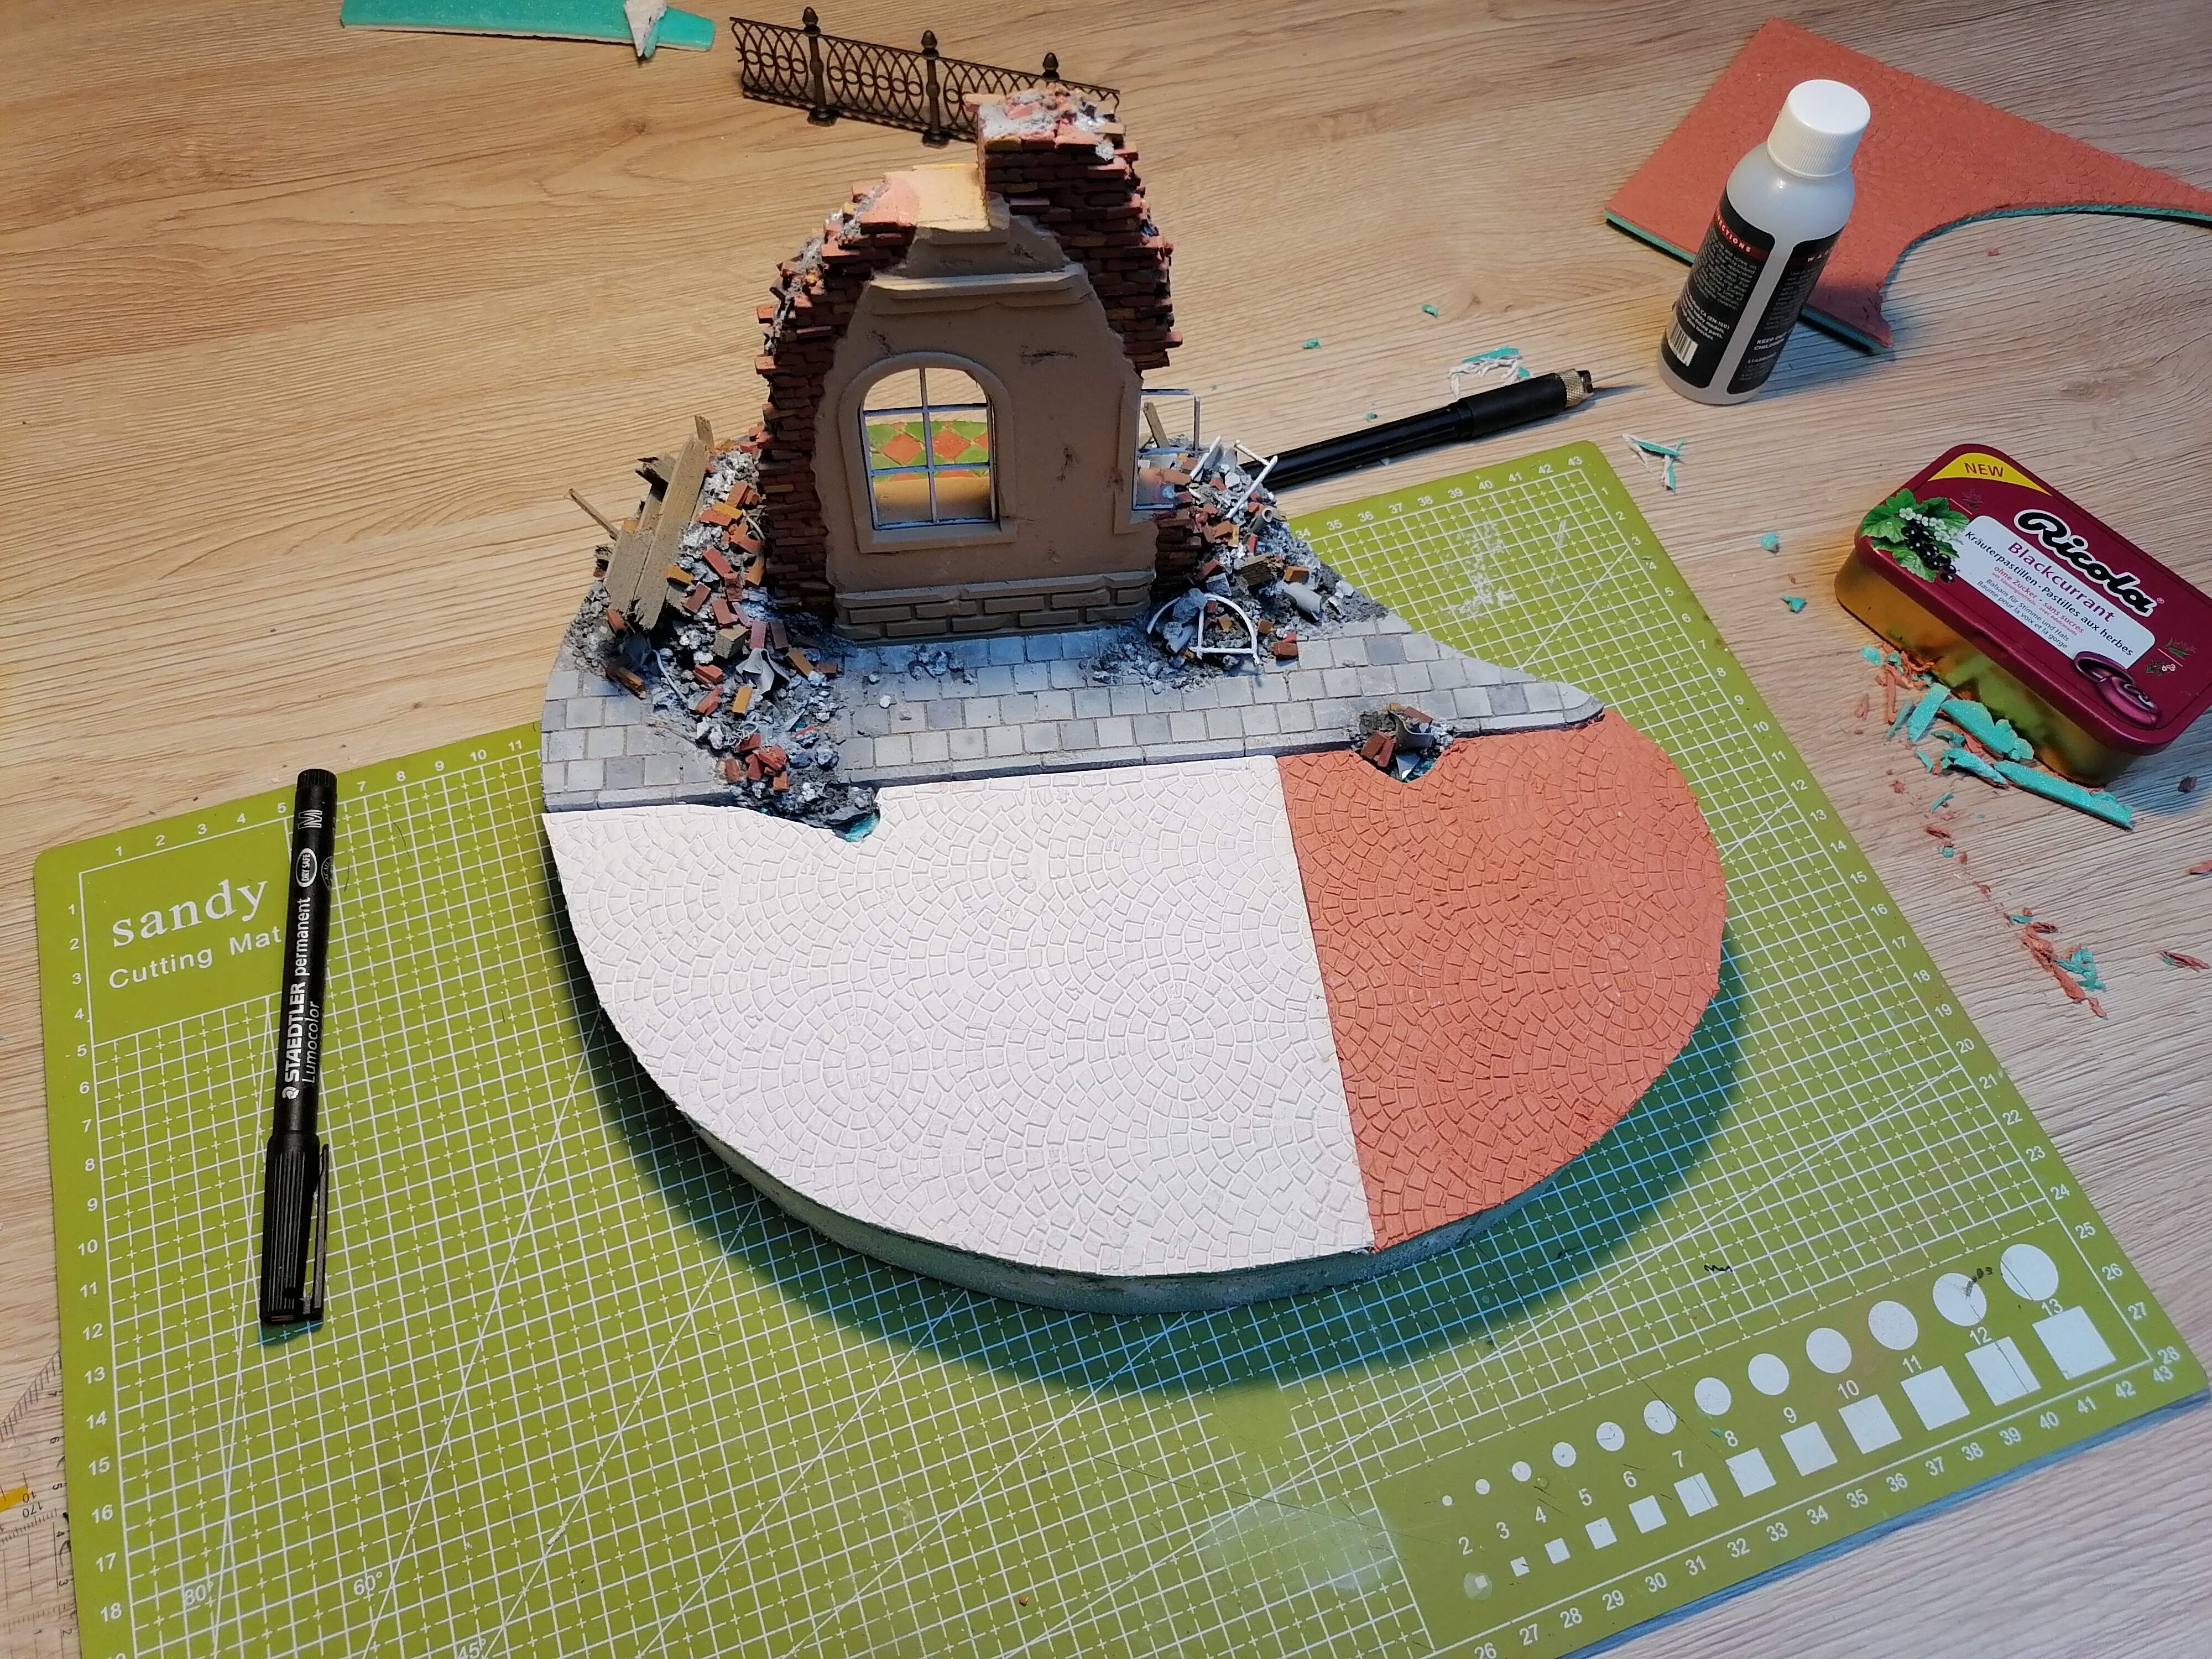
When the clay wil dry the pavement will warp alot in direction of the clay. So when you glue it in place you must put some havy plate on until the glue cures (use like 5min epoxy)
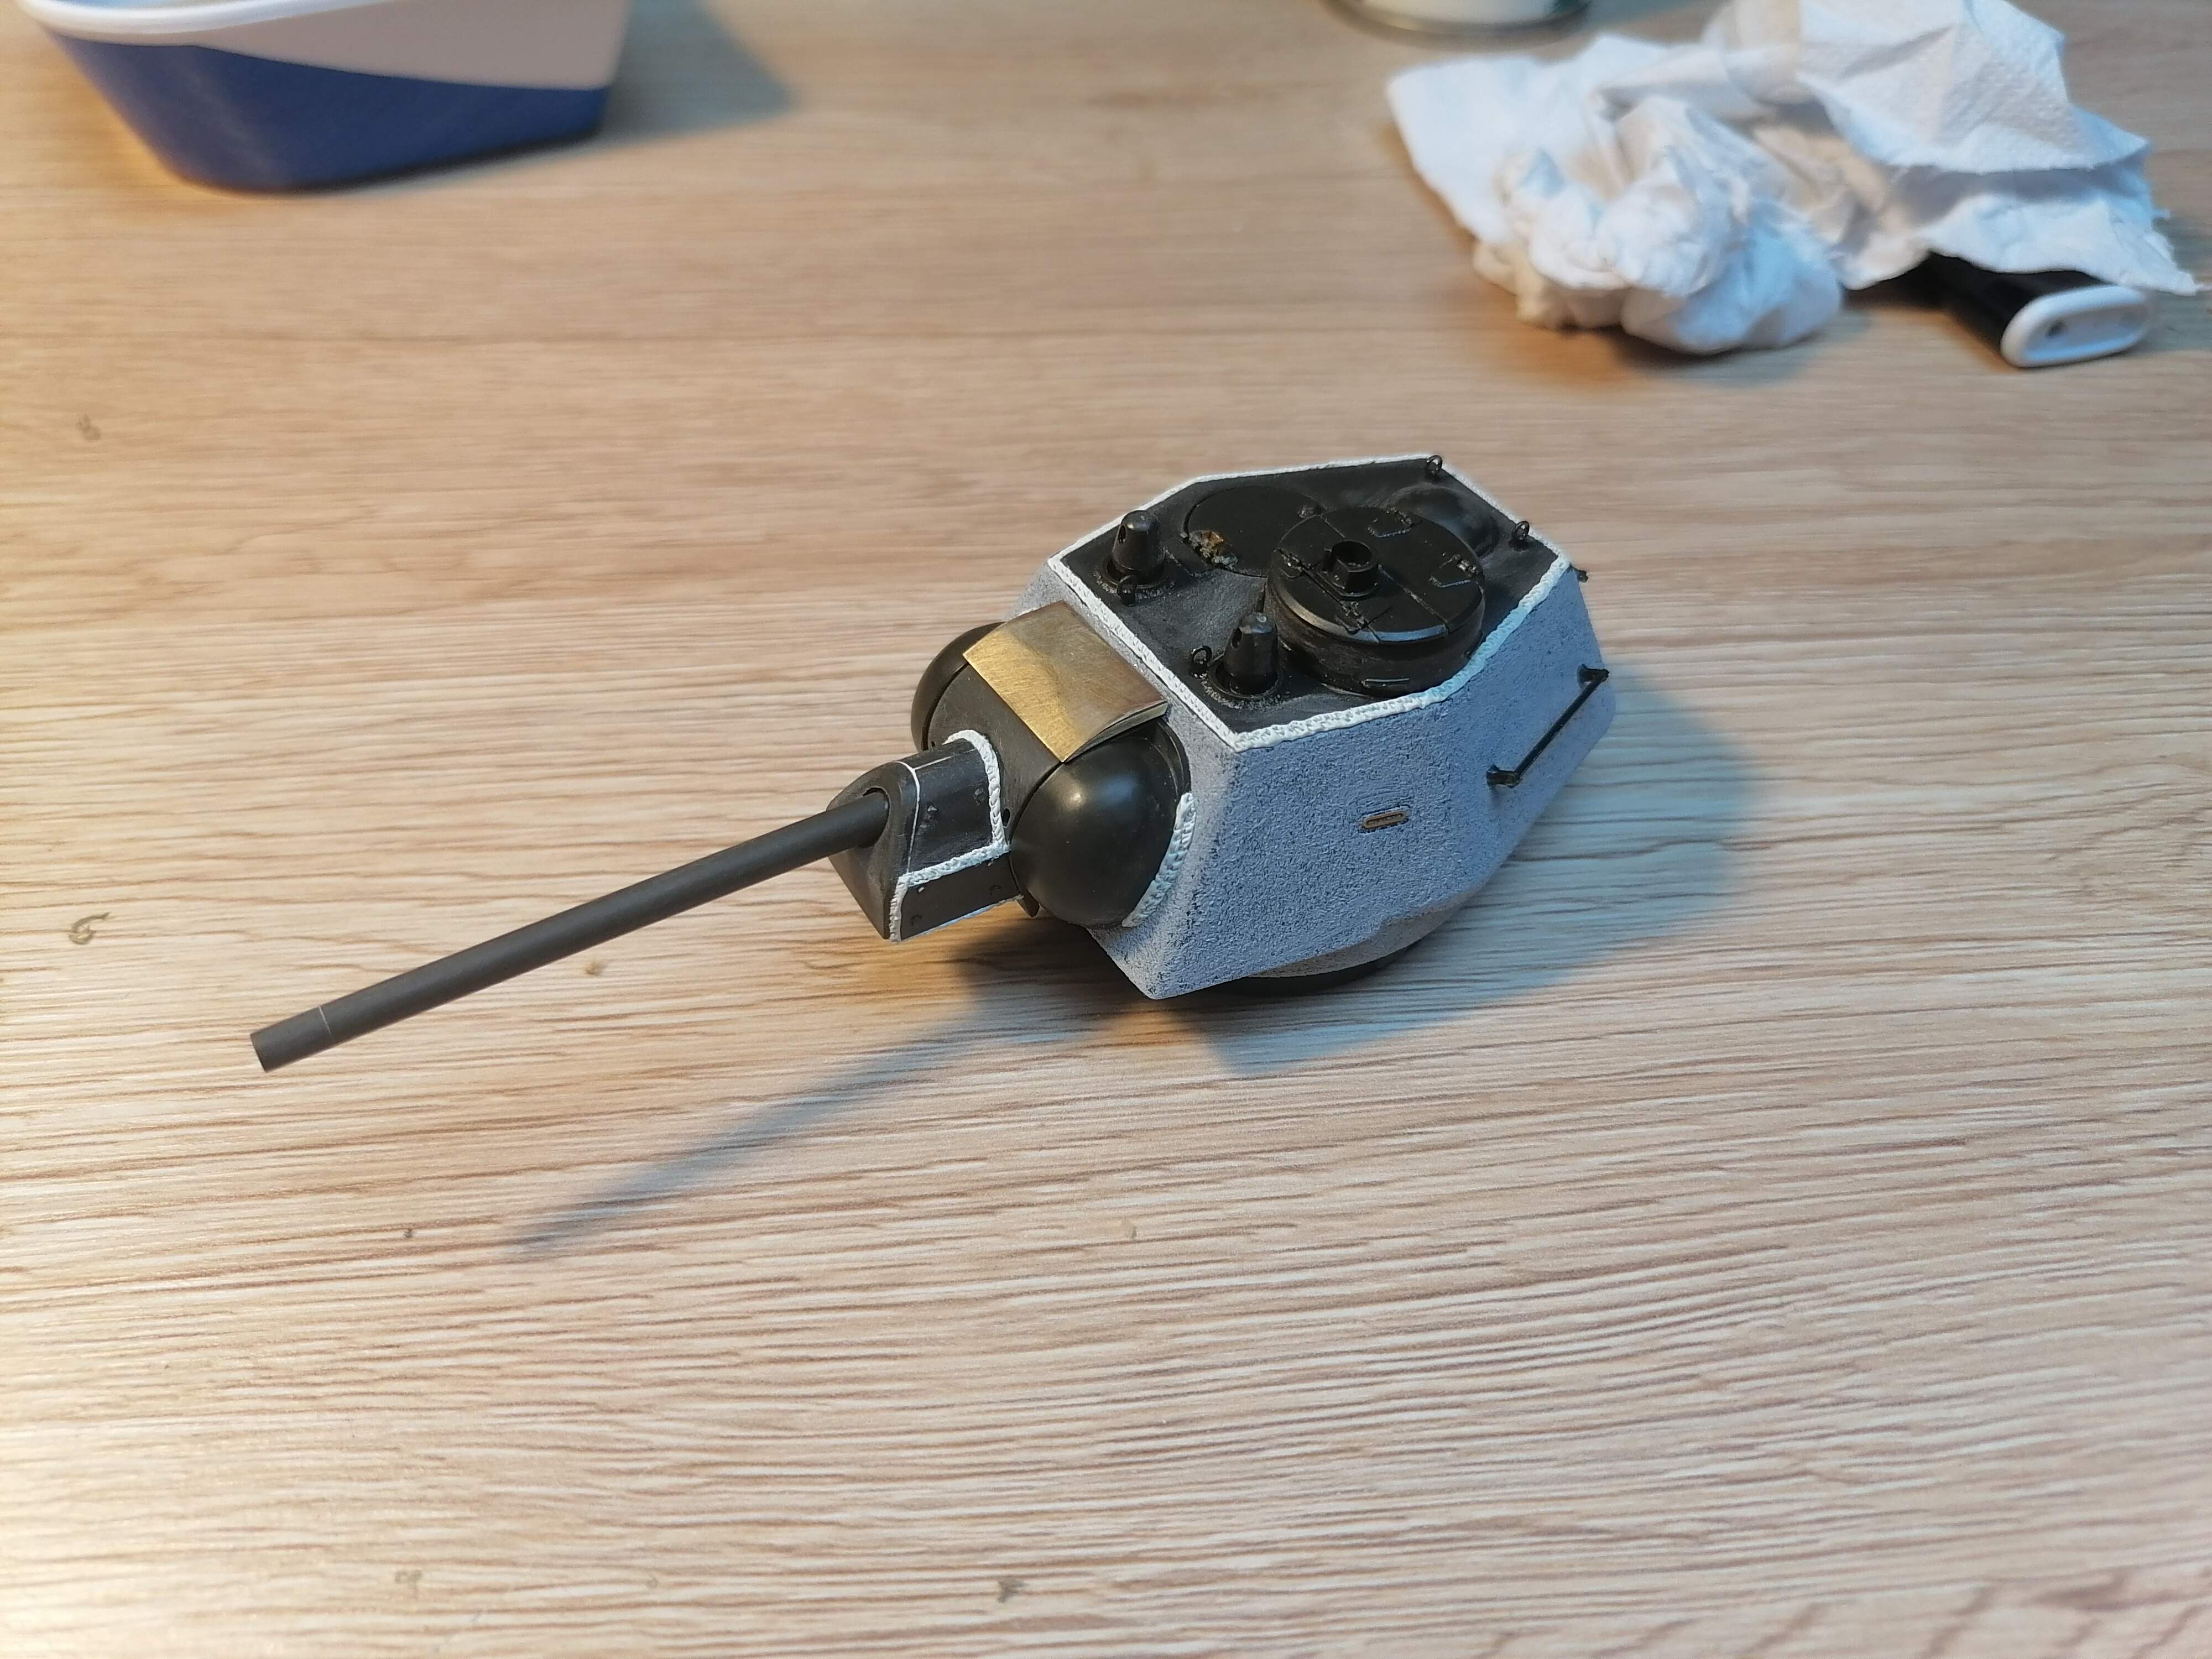
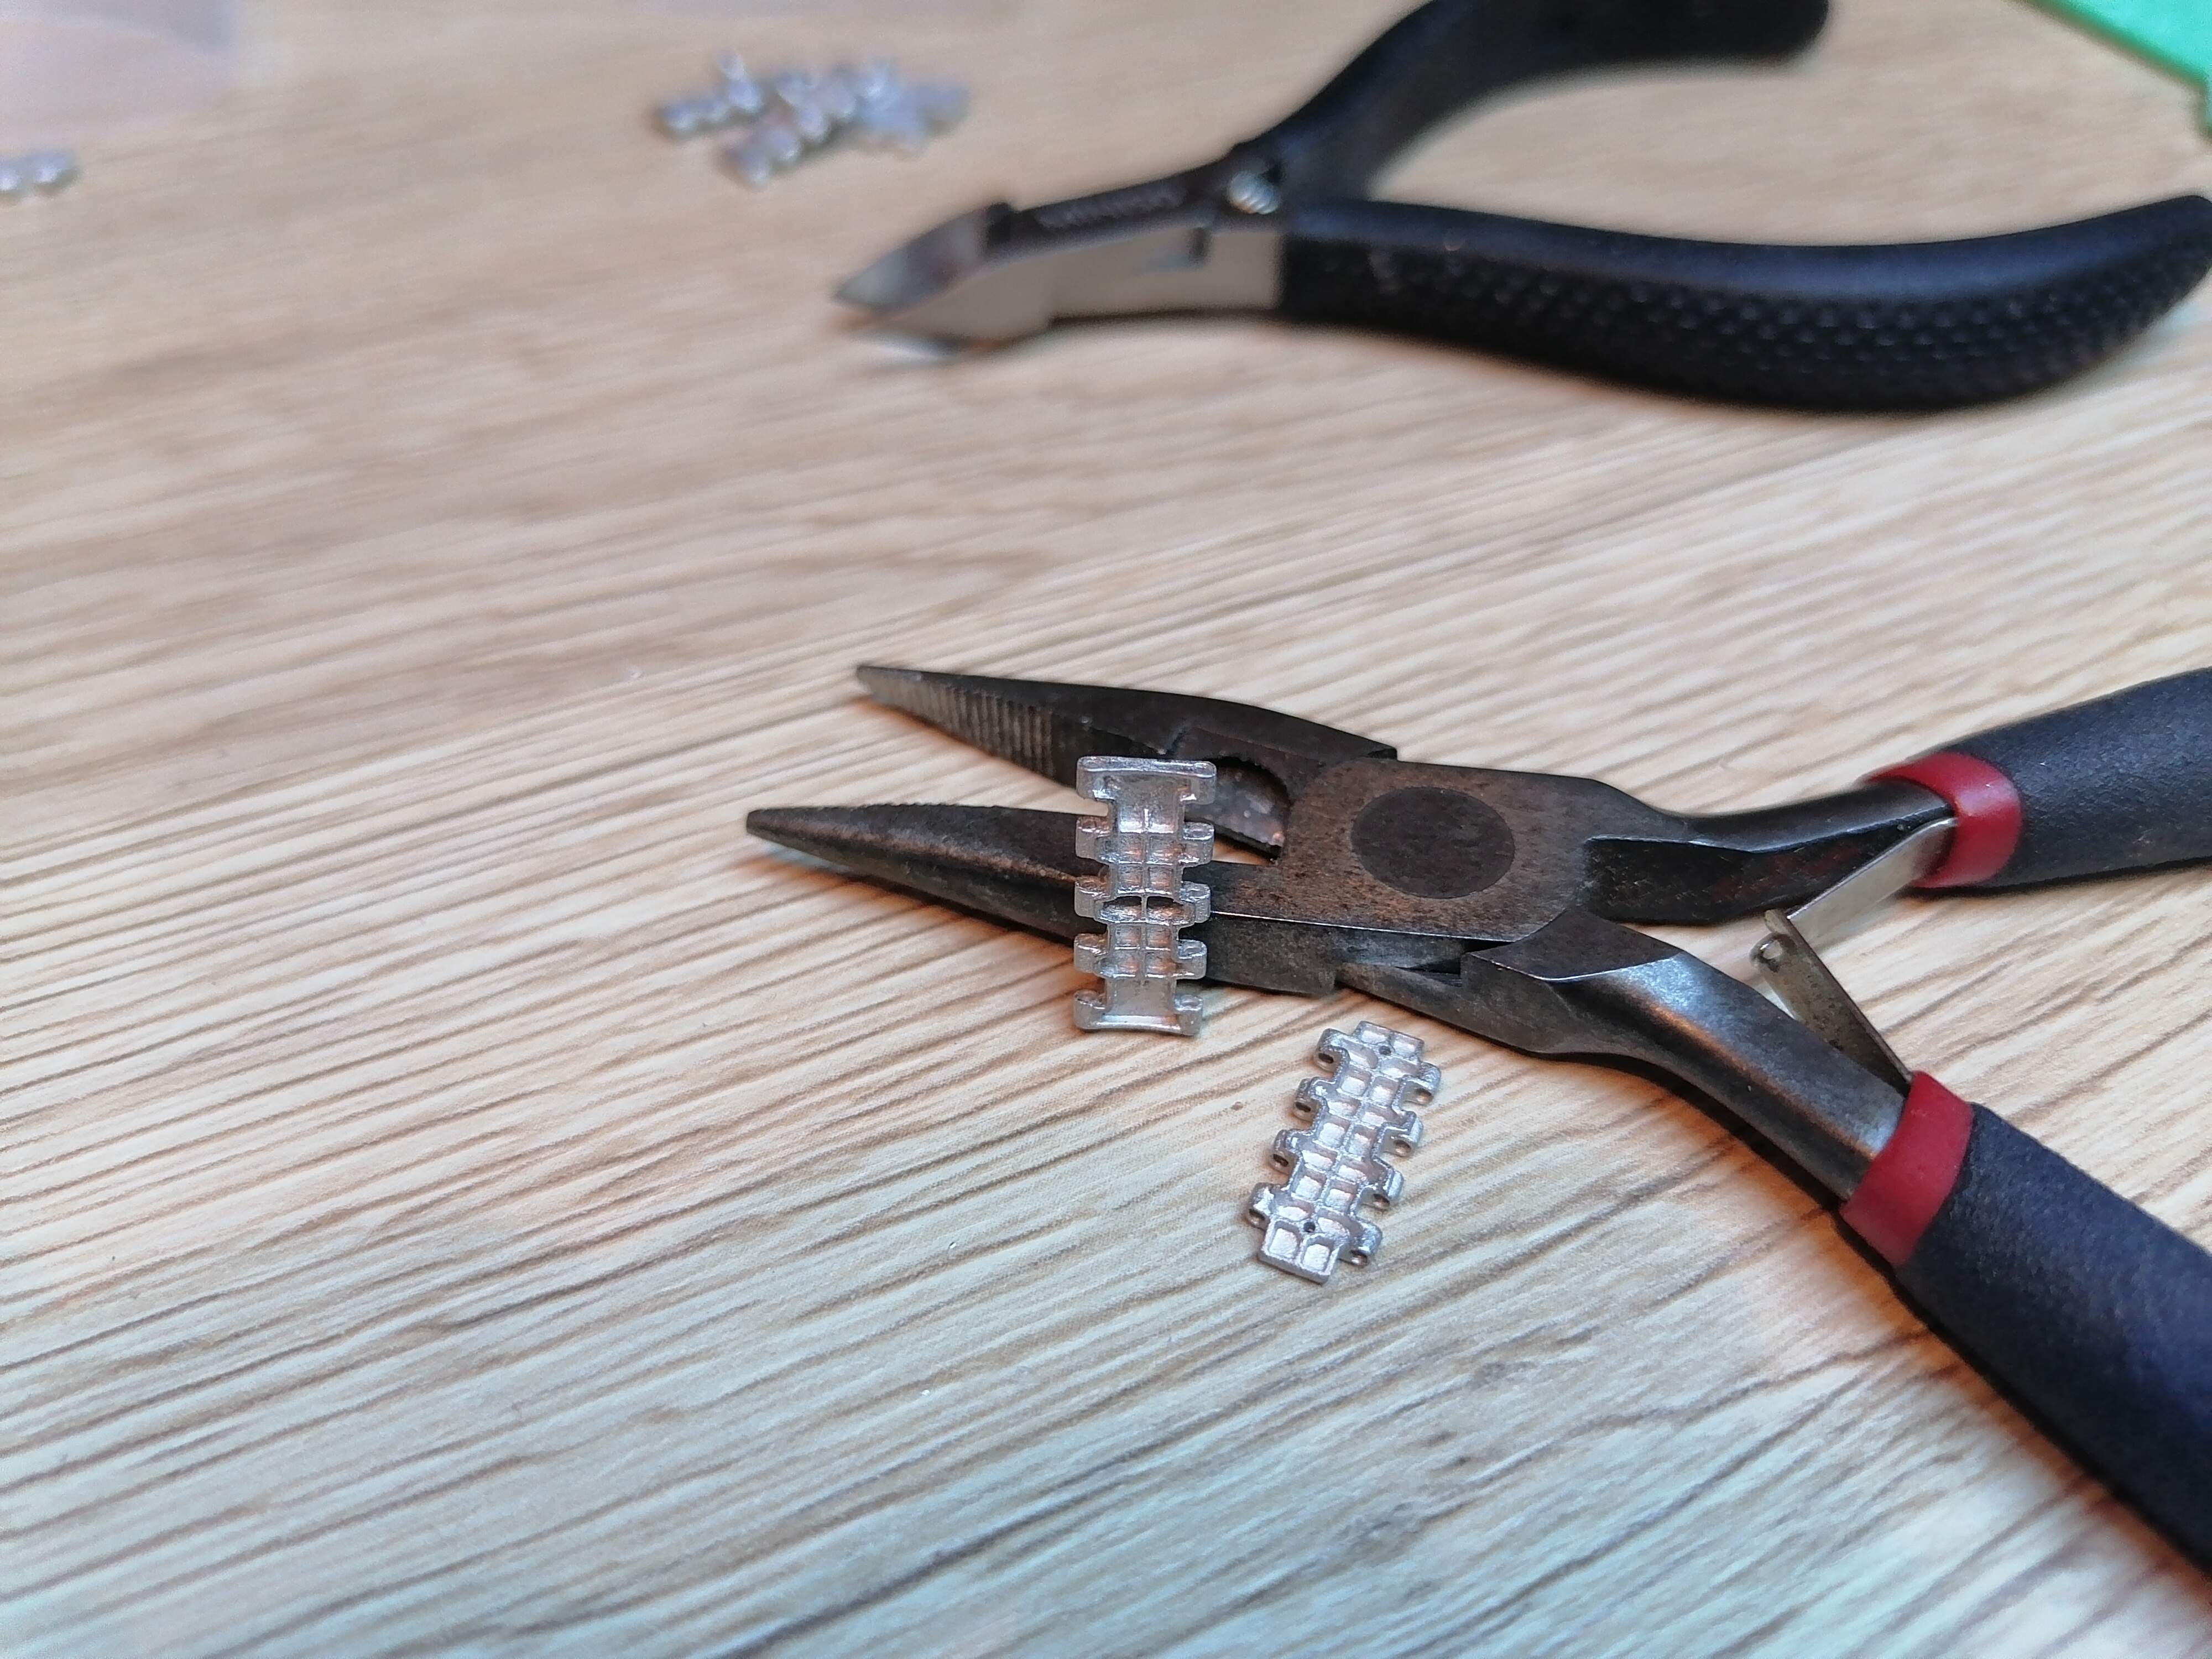
Thanks… But they are far from finish… I am kind of folowing a tutorial of Martin Kovac (nightshift models on youtube) you shure know this channel.
I think that the folowing steps wil be done together with the tank because the procedure must be the same. Or i will do the tracks write evrything down and follow this procedure later on the tank… Will see…


 Finaly i get the corona virus illnes done and i am ready to proceed.