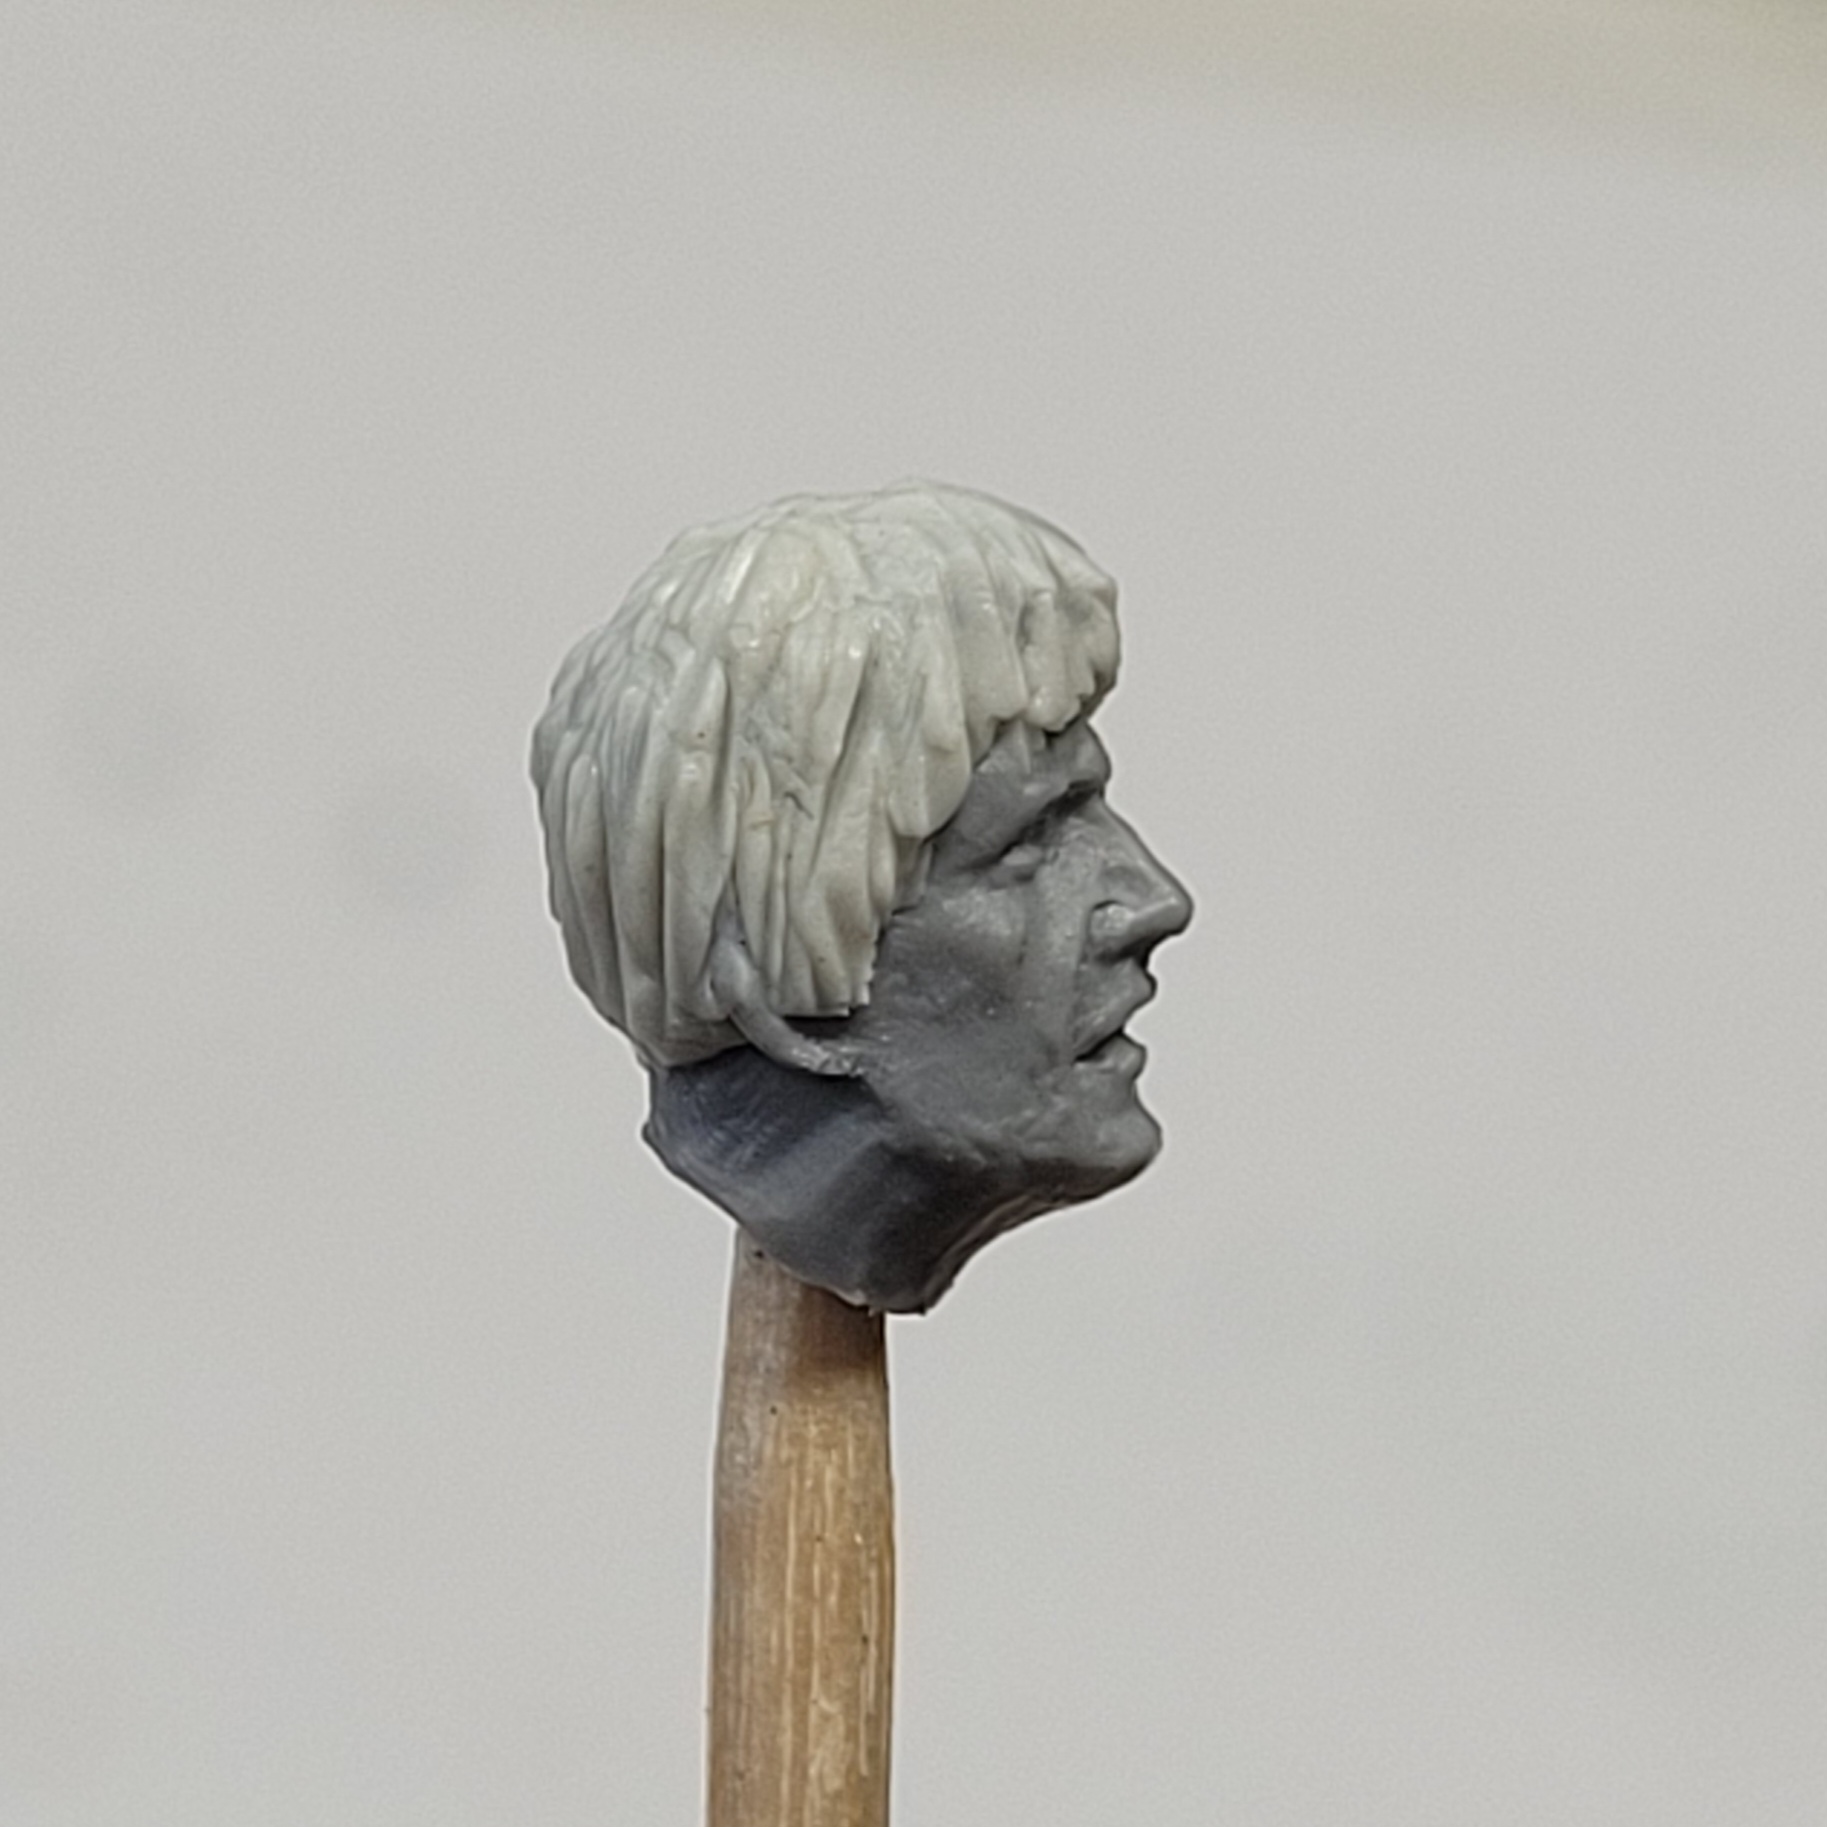
Love the progress Matthew- I think the wording on both epaulettes and cap are excellent looking and spot-on for the scale. The groundwork is coming on well too- looking very bashed up and accurate when compared with the still image from the film.
3 Likes
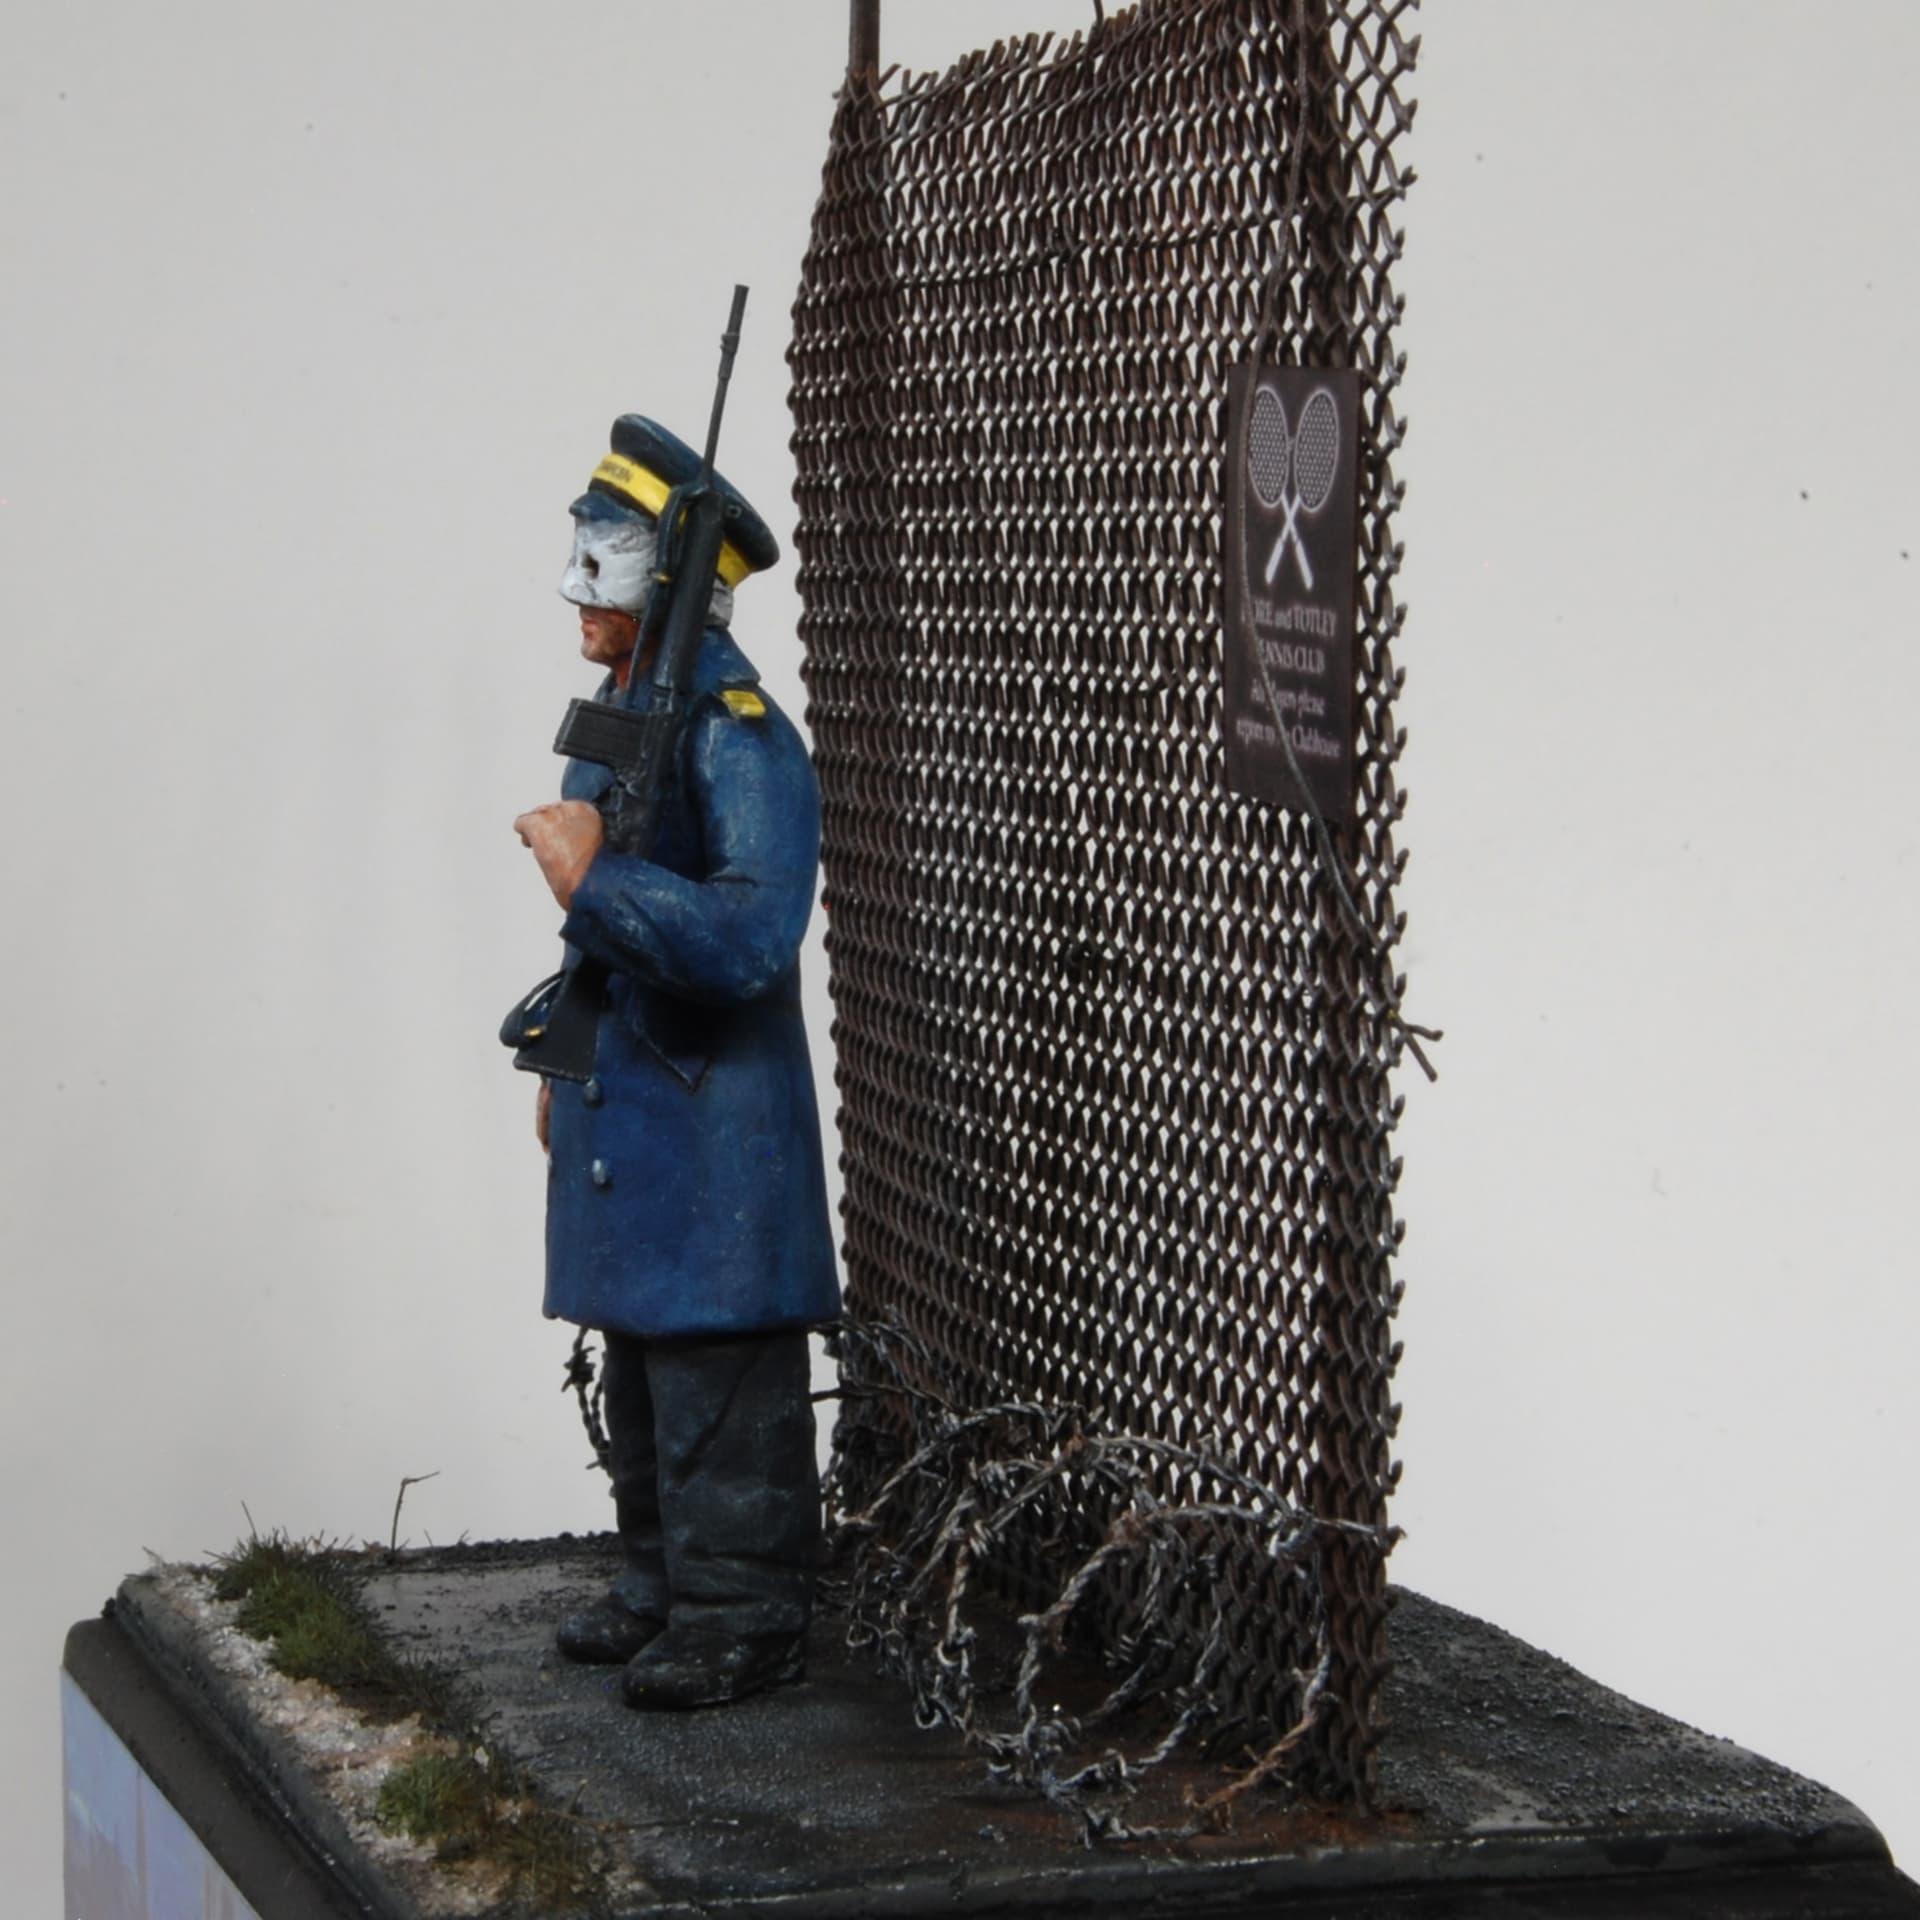
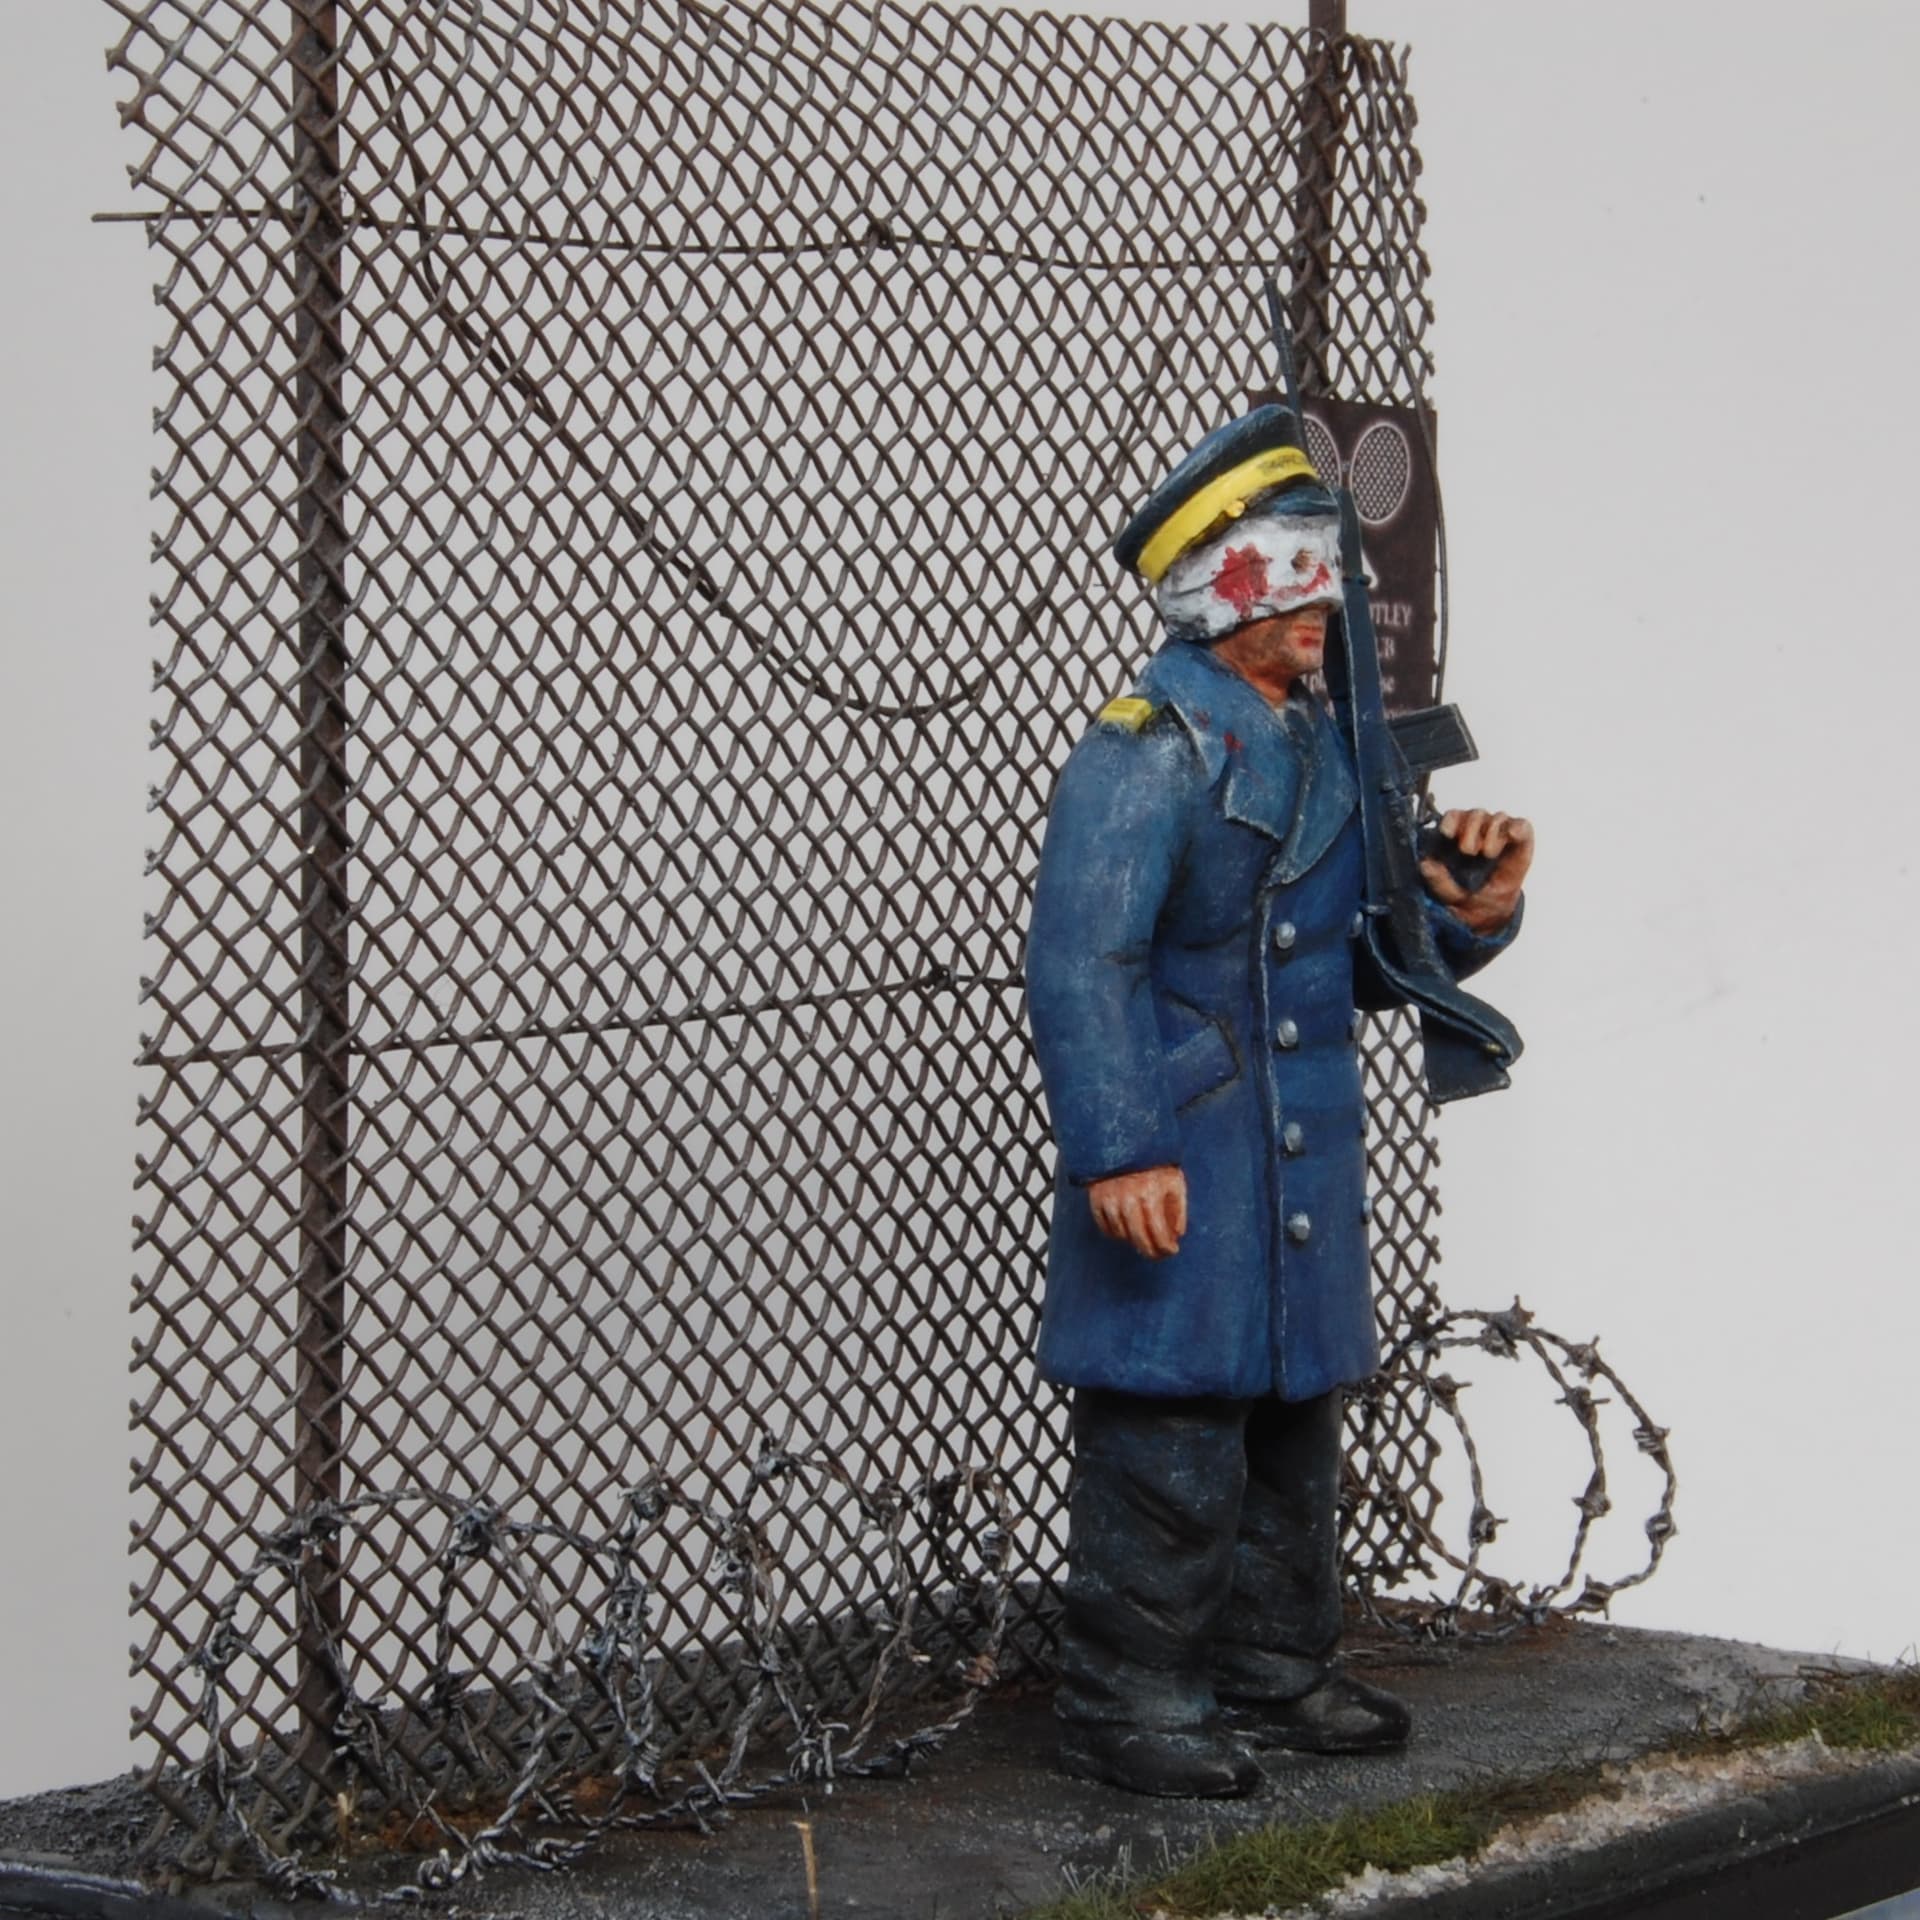
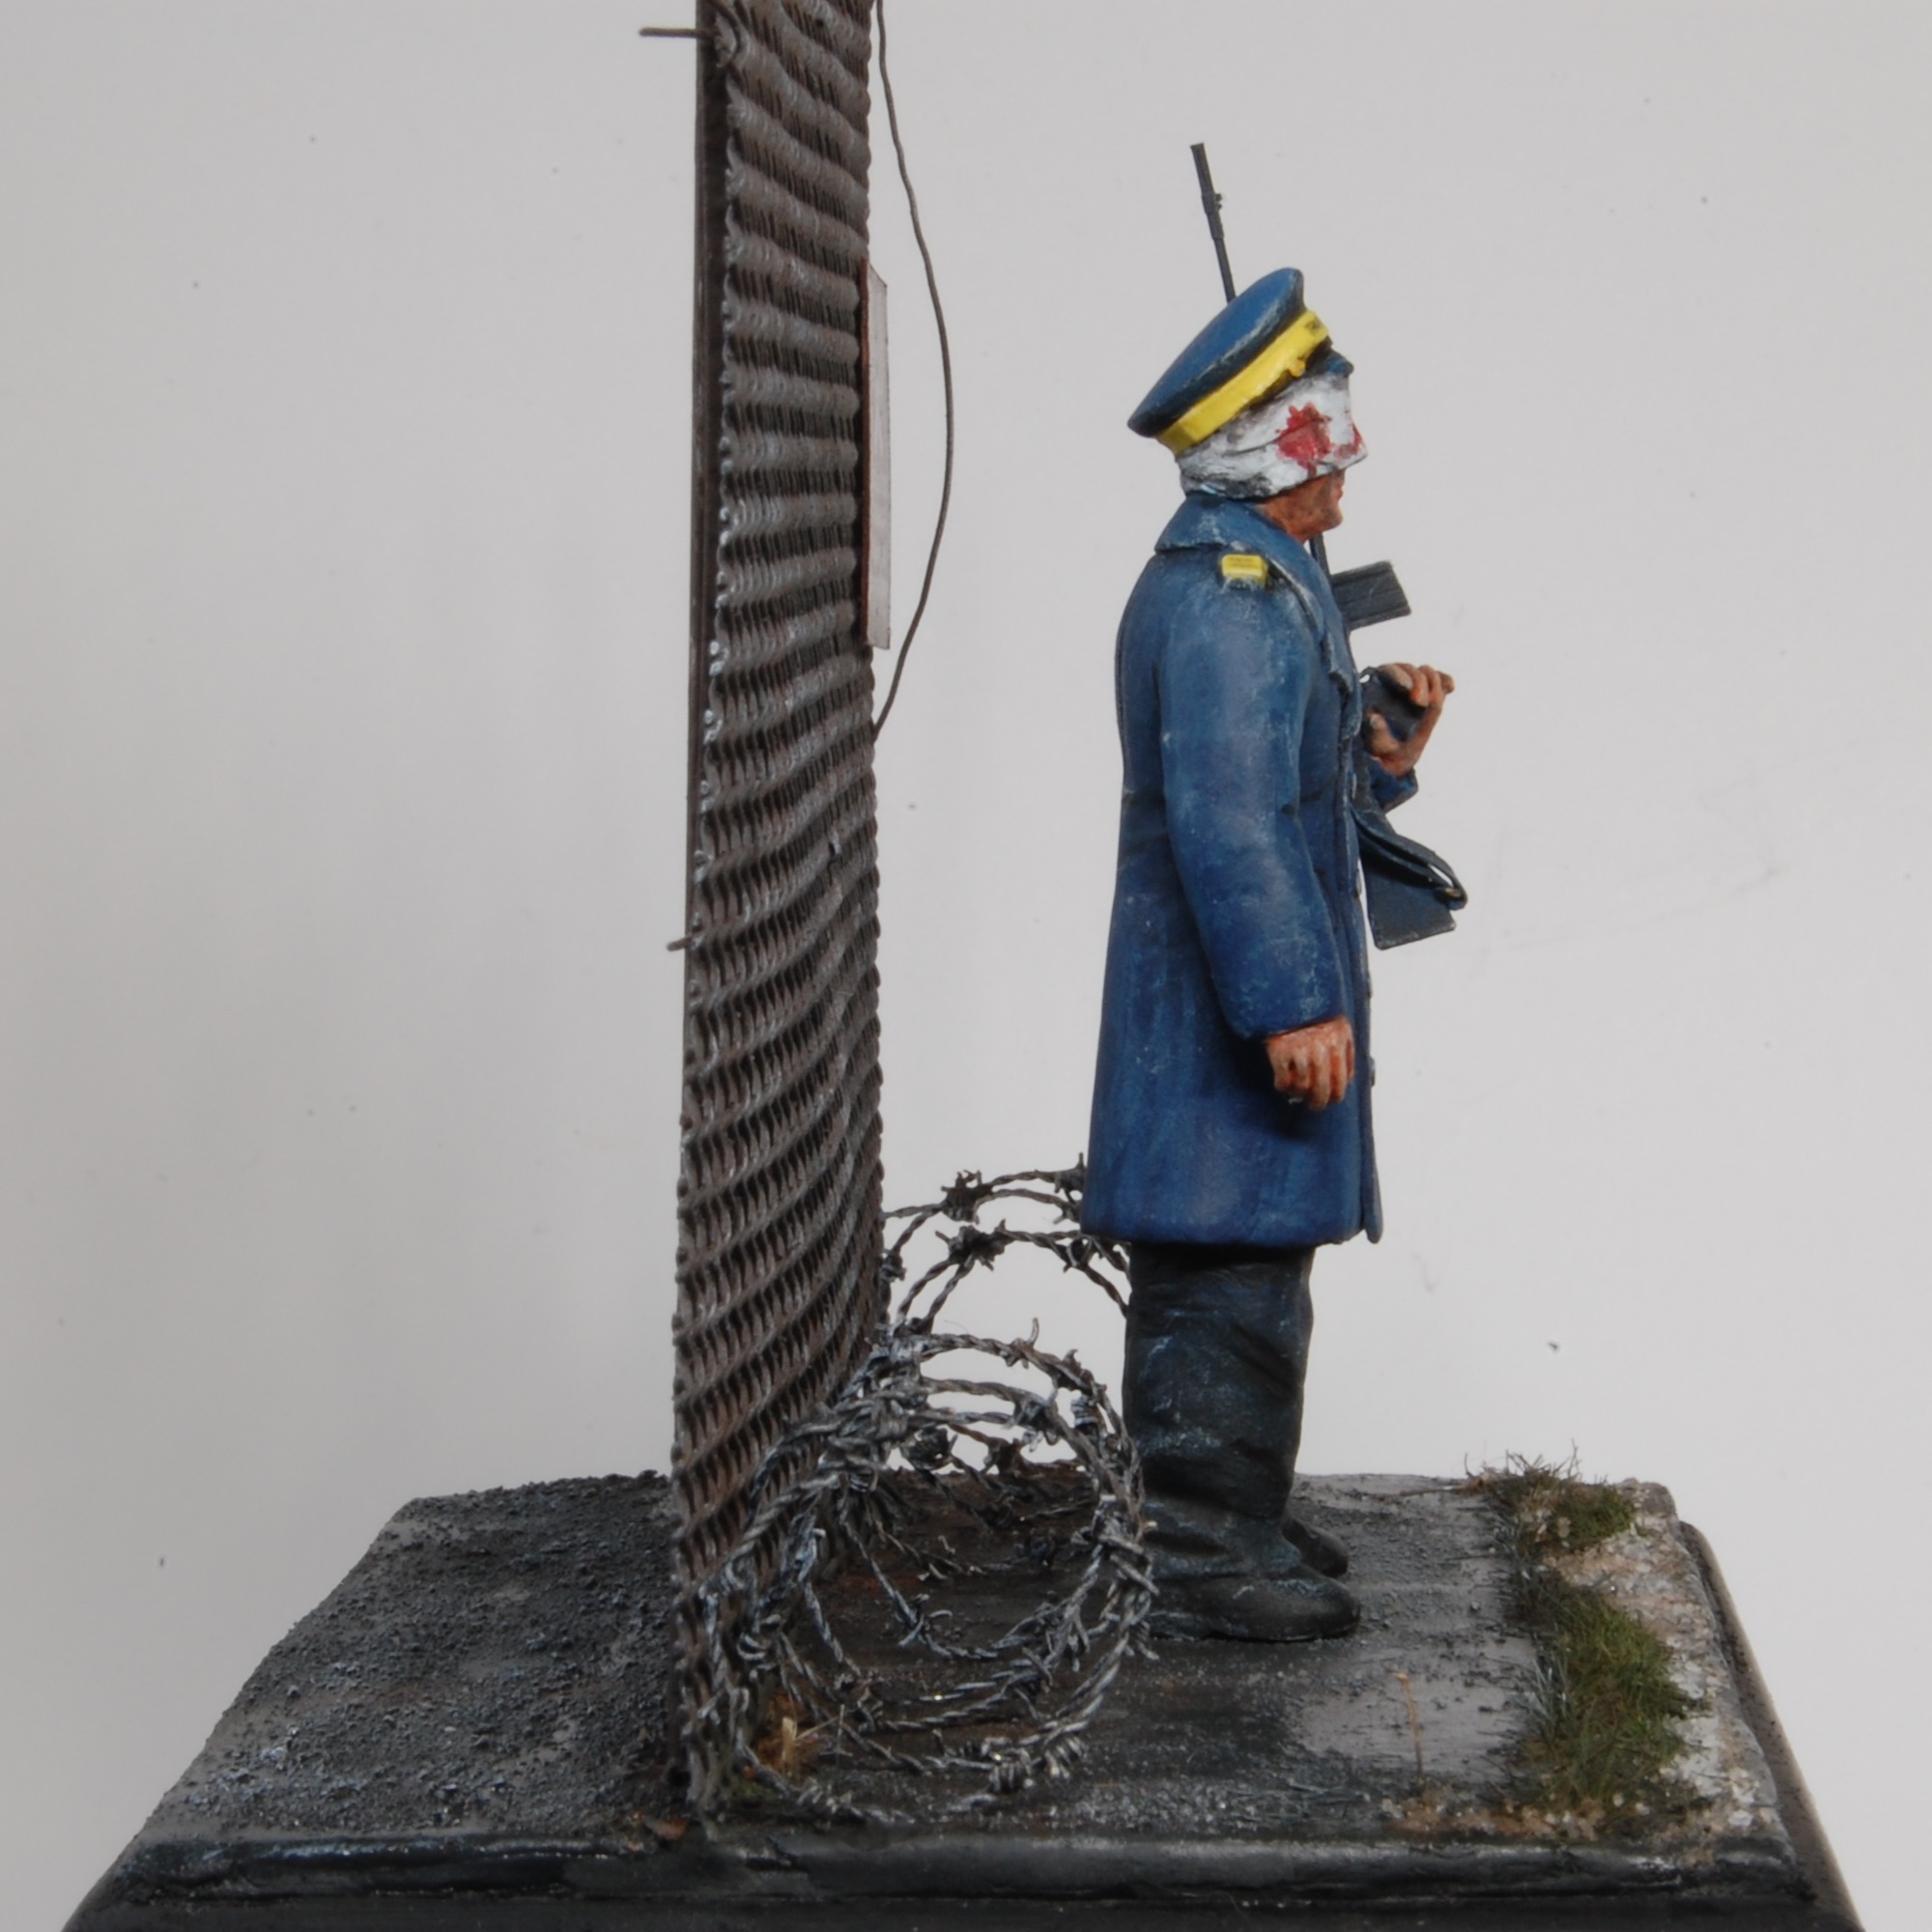
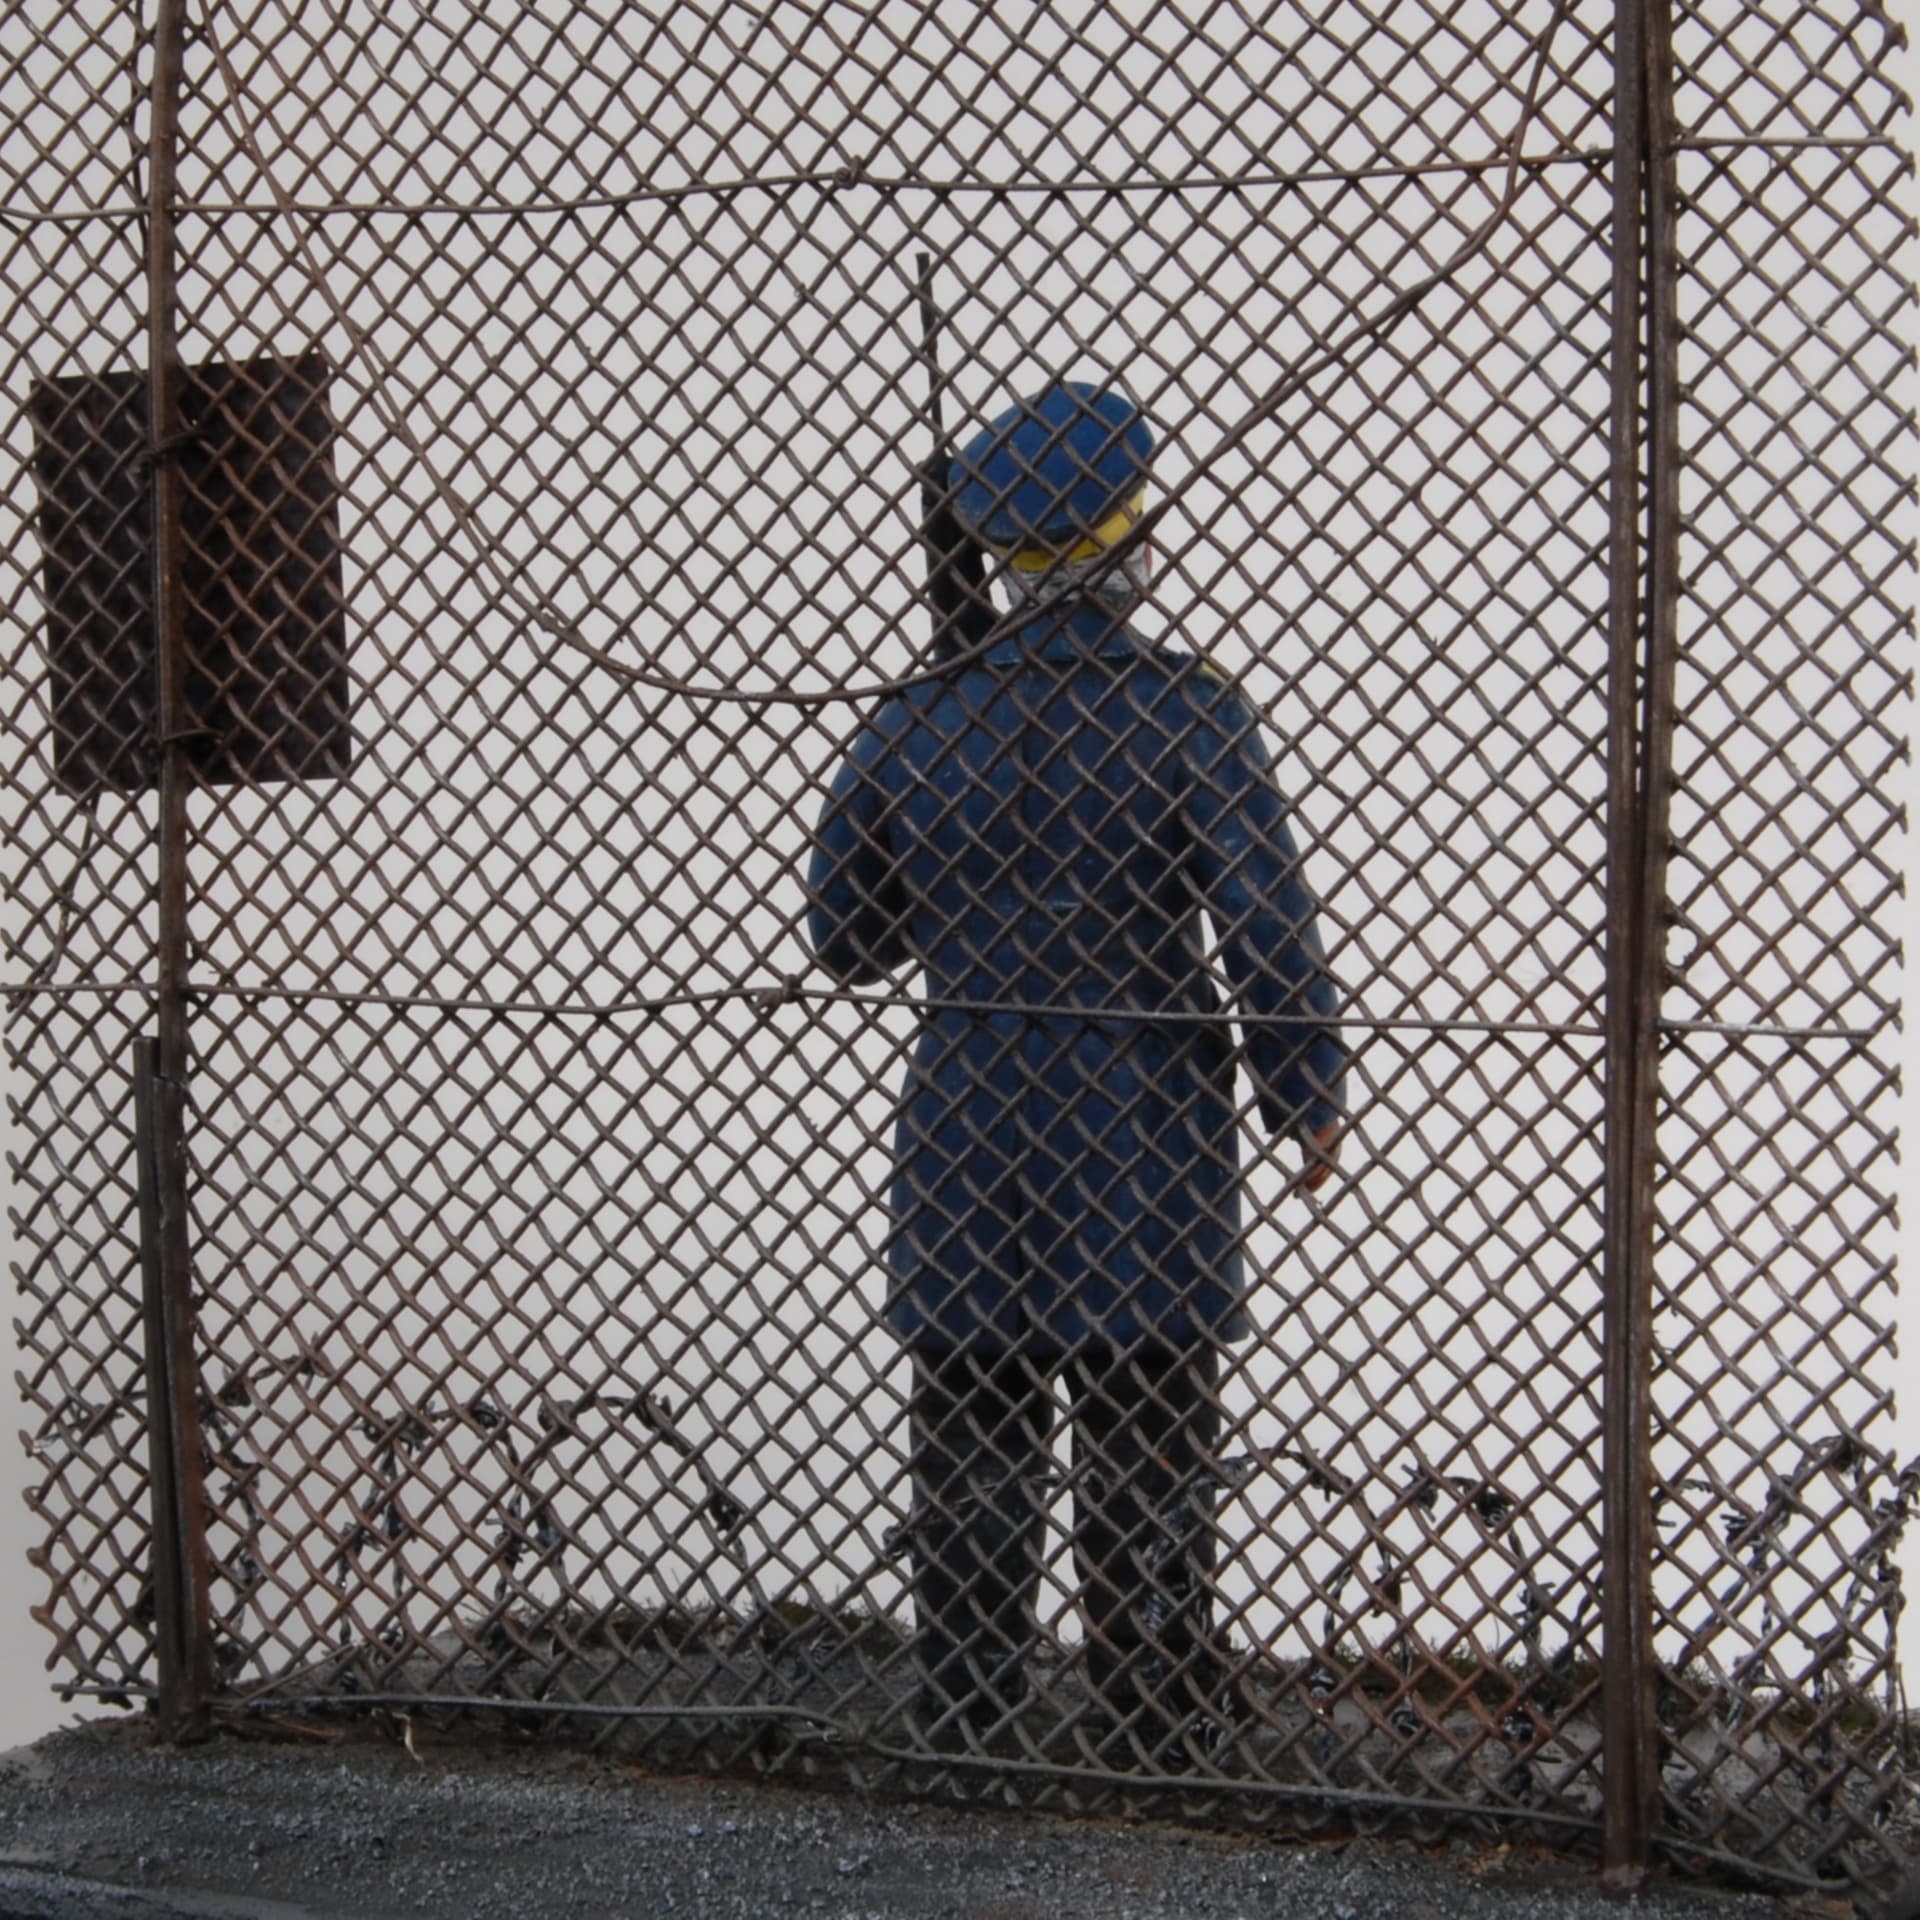
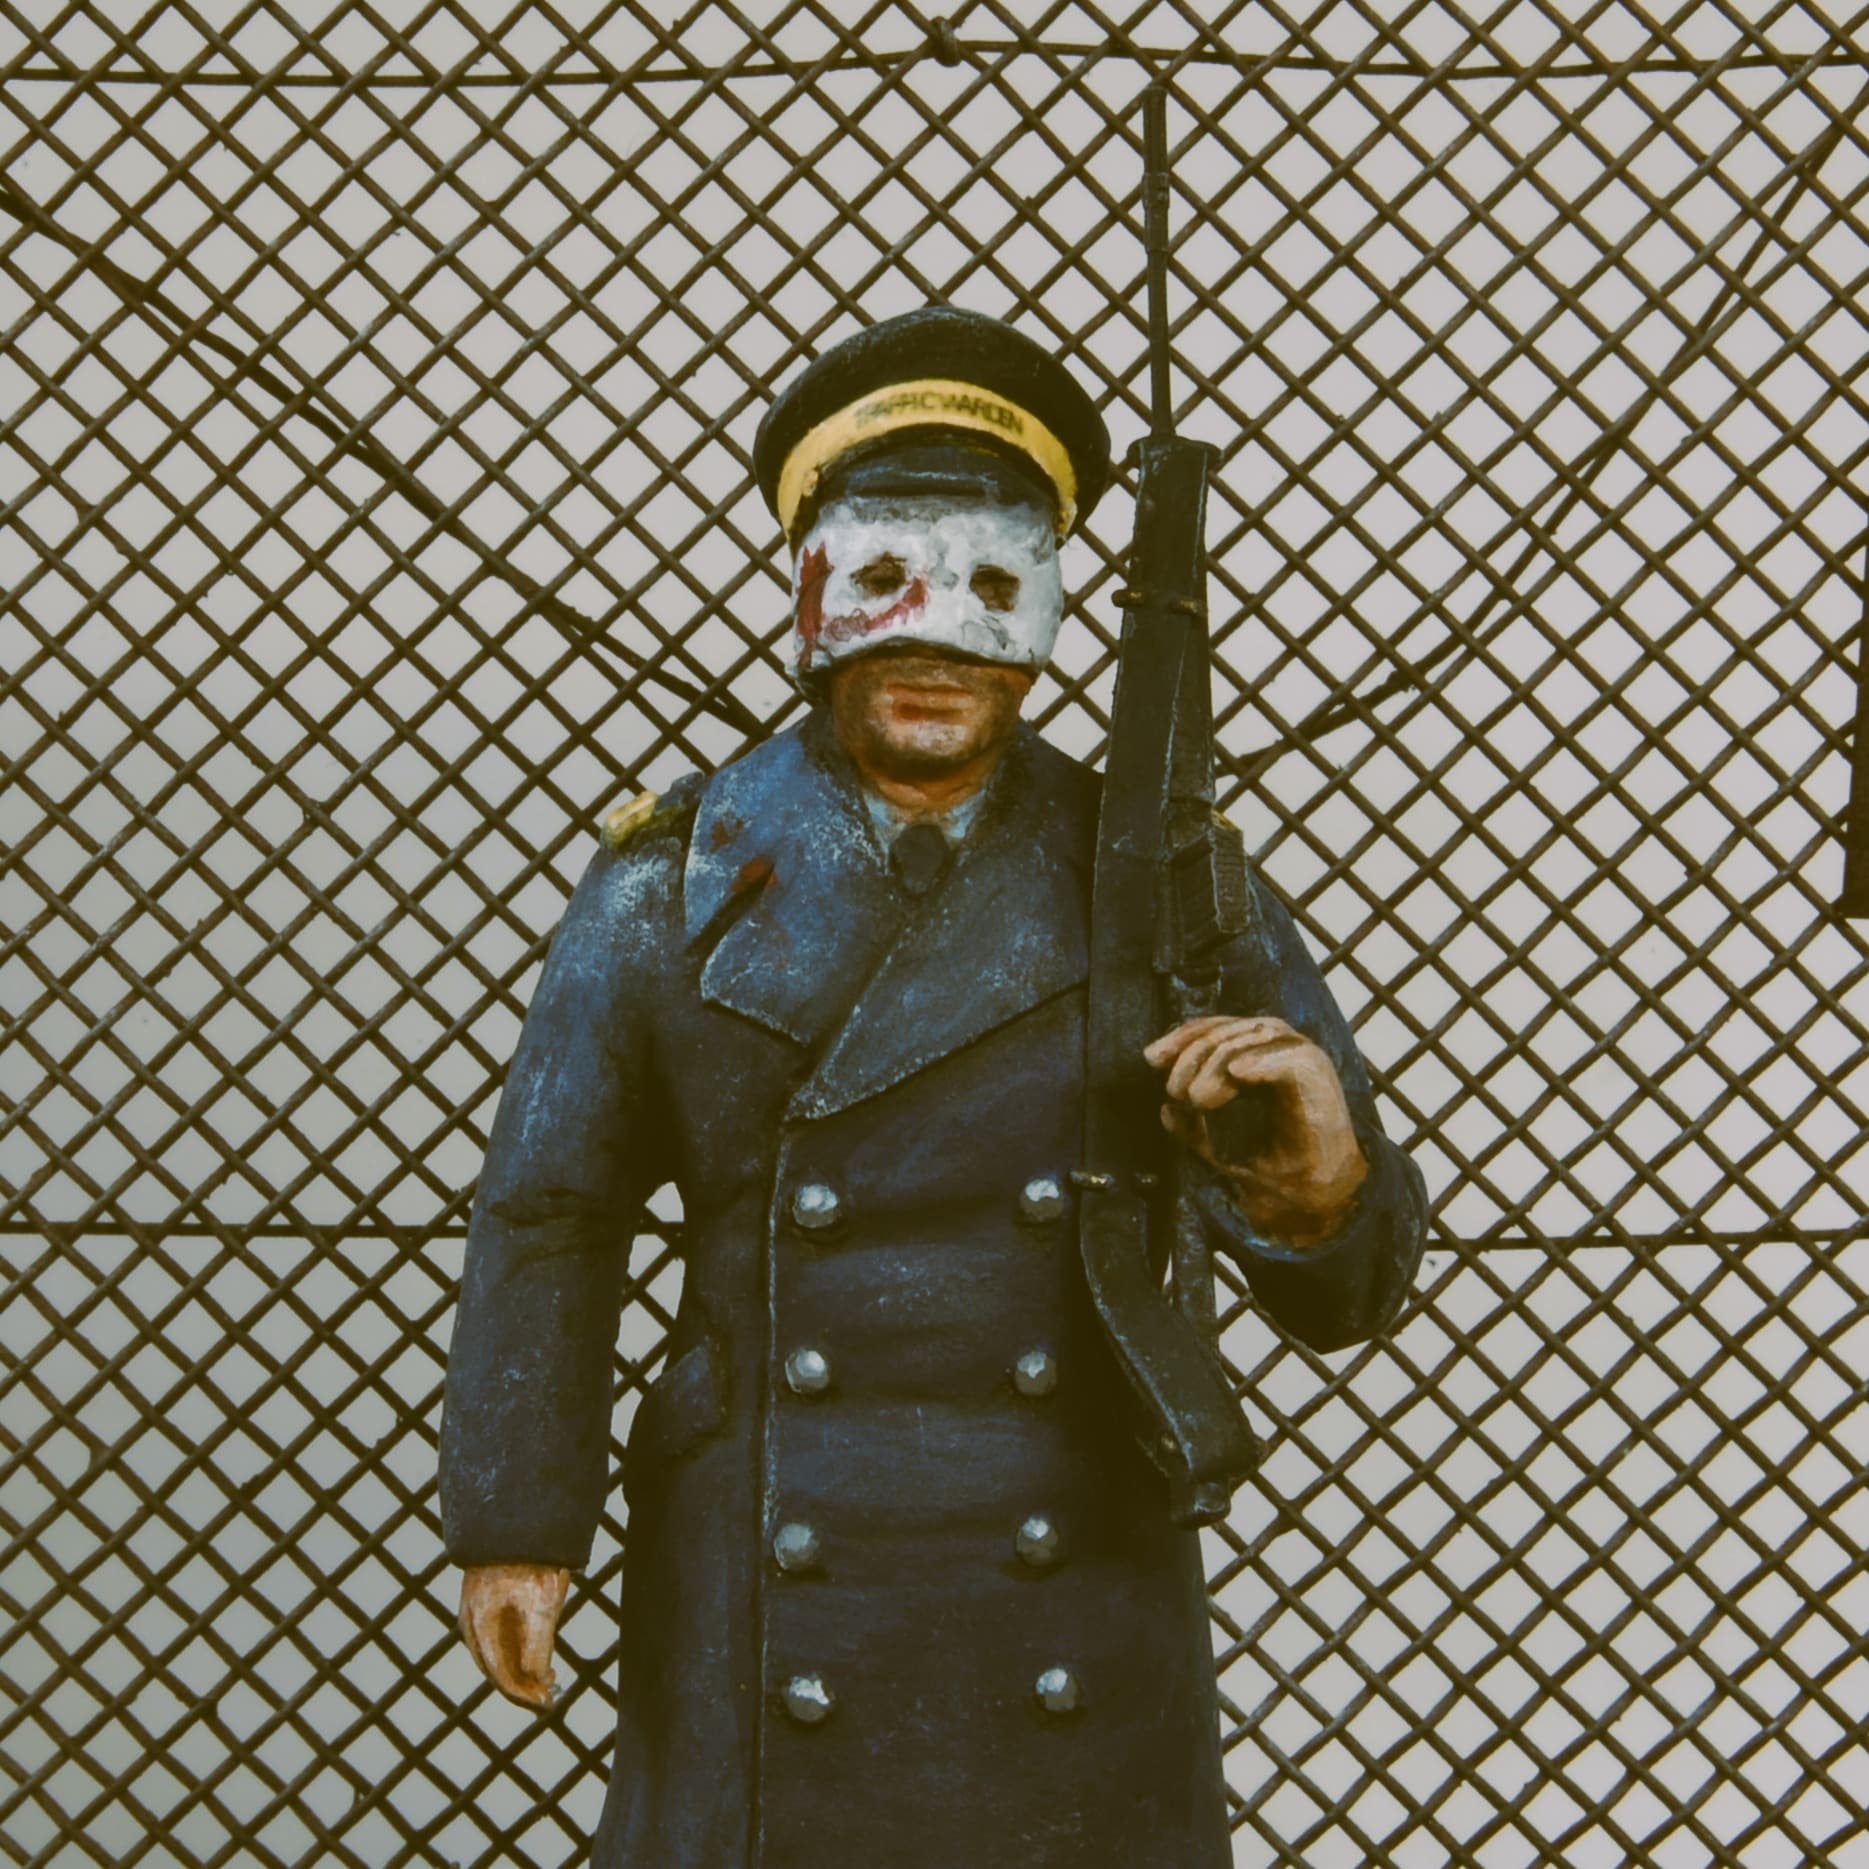
I spent the last few weeks refining my barbed wire making skills, and got something that to me is satisfactory on my fourth attempt - or did I just give in? I eventually obtained some 0.2mm silver wire, decreased the spacing between the barbs down to to only 3 twists, and worked out a way of making a 4 pointed barb. This involved clamping a 0.3mm drill bit upside down in a vice; taking a short length of wire and doubling it back on itself then twisting that doubled piece three times around the drill bit. I made about 40 of those and then threaded them on to the long wires; once all of them were on, everything was tightened up by adding further twists, the barbs were glued in place, and the barbs trimmed off. As barbed wire is normally galvanised, I primed it in black, dry brushed with grey, and gave a bit of a brown wash to dirty it. It was then glued to the base, allowing room for our Traffic Warden to stand in the middle without snagging himself (as I did - this barbed wire does work).
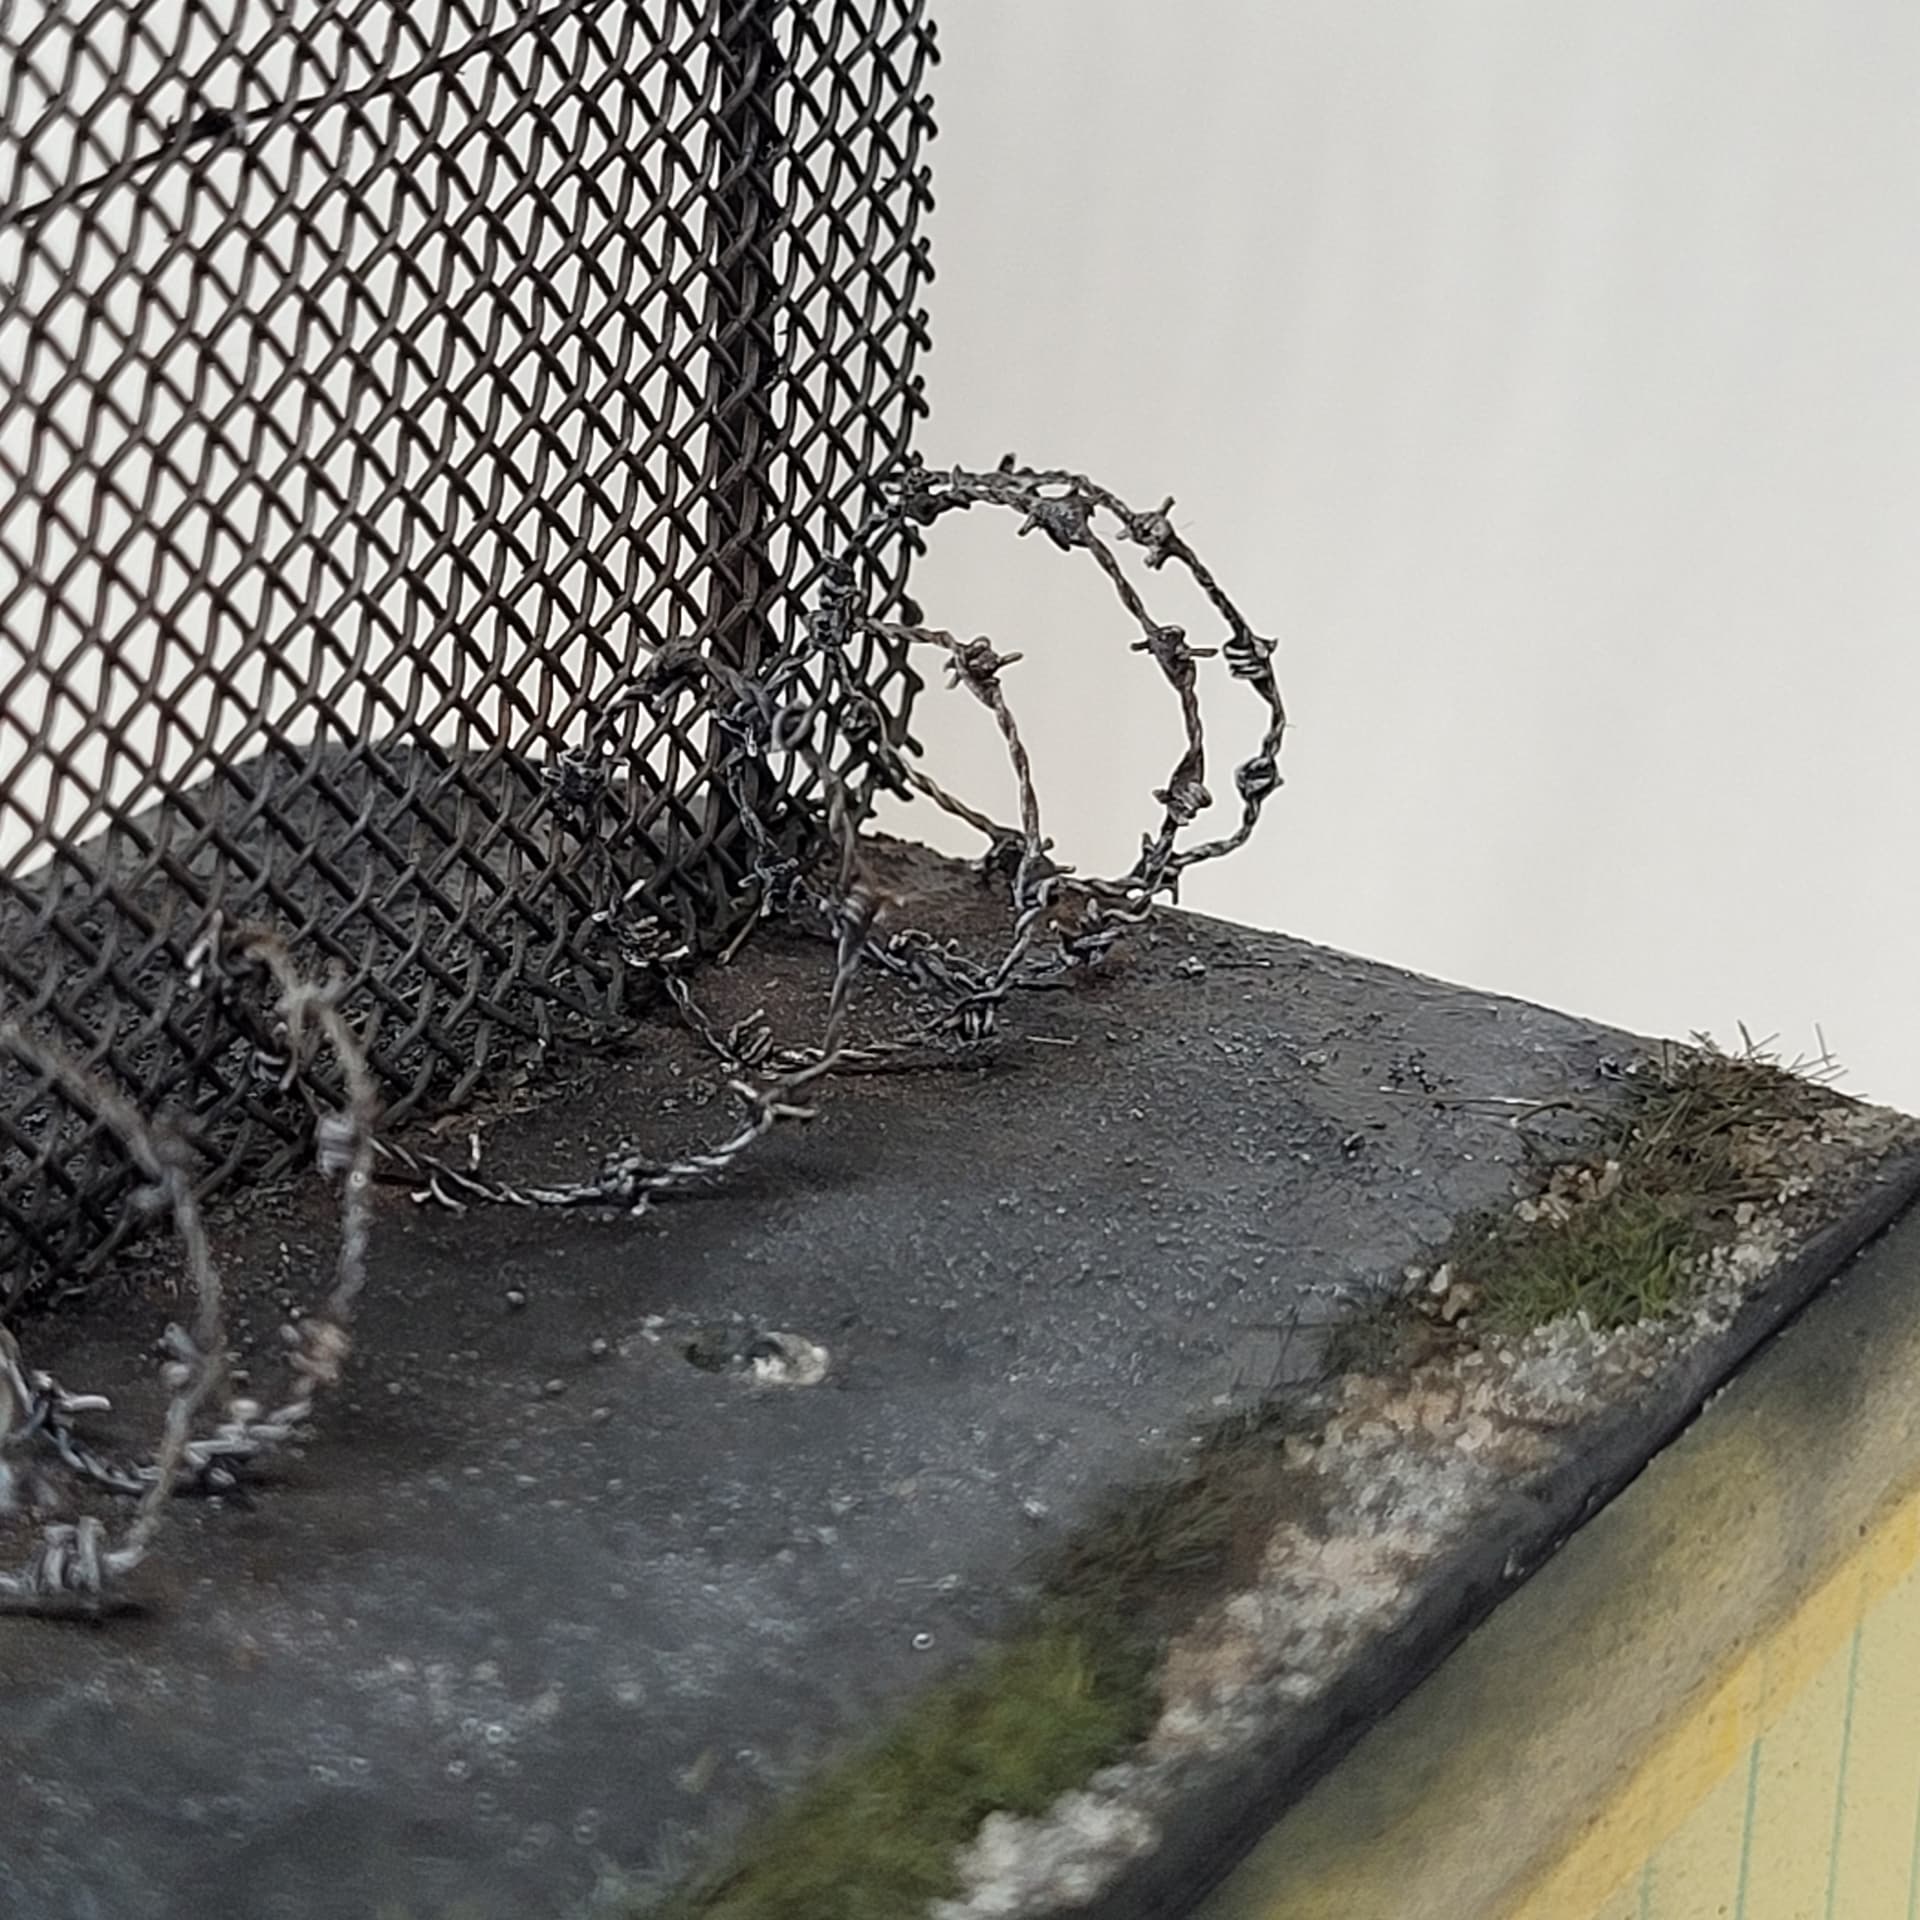
During all of this, predictably, I managed to knock the wire fence, braking off one of the uprights. As the whole point of the fence is to protect that gun barrel , I strengthened it by inserting 1.5mm thick steel rods into holes drilled in the base and gluing the uprights to them.
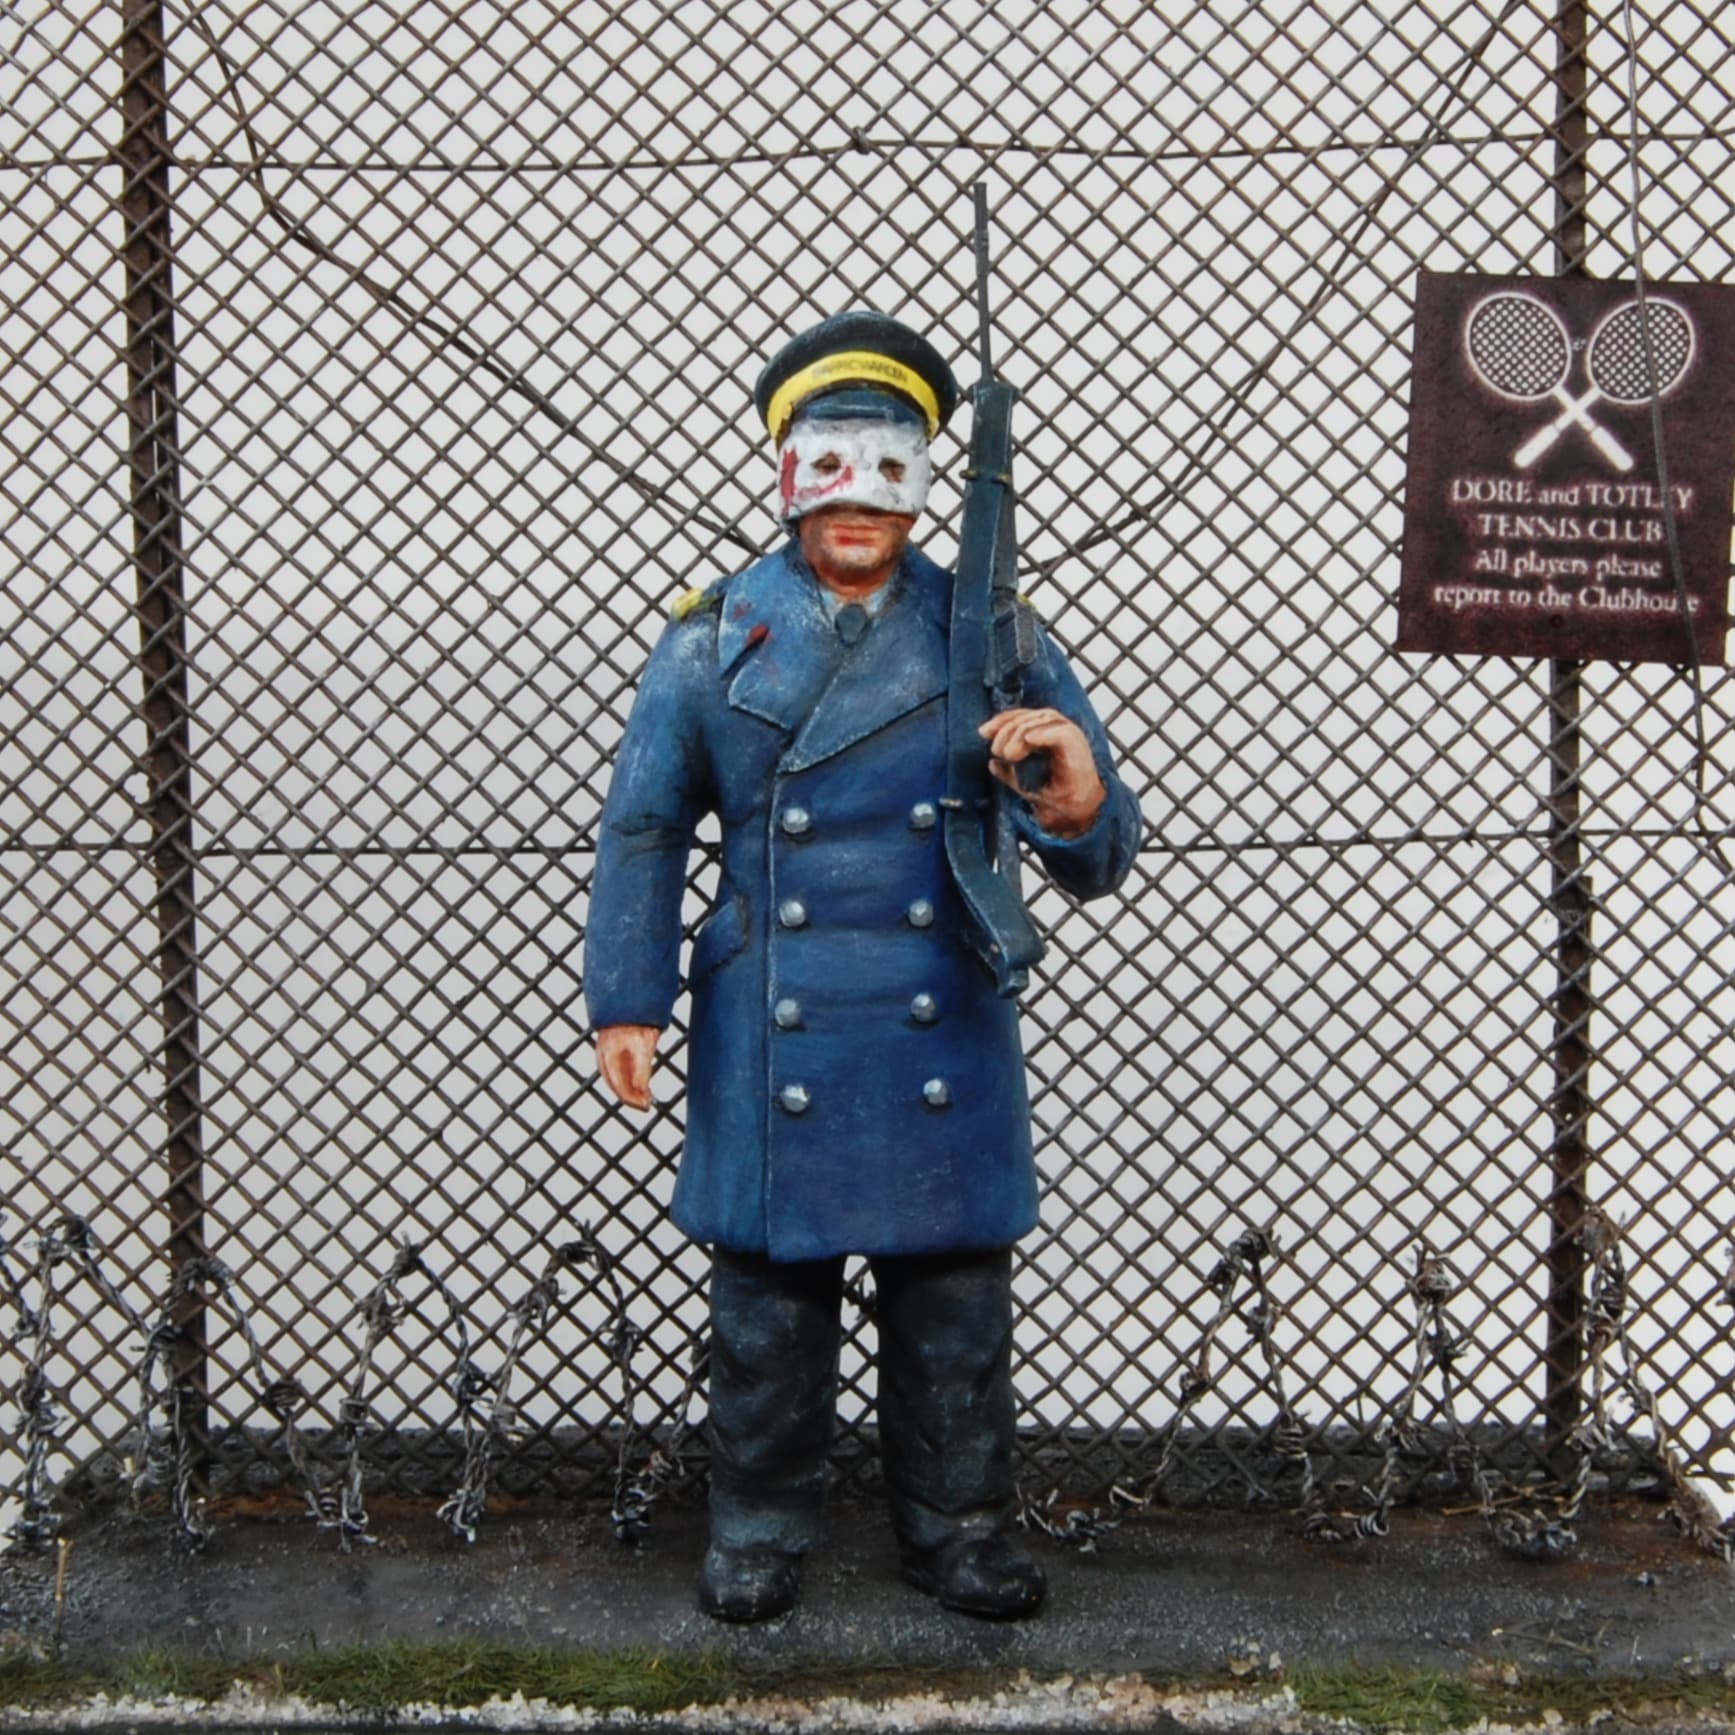
For the base plinth, previously sprayed black, I made a title plaque by taking a screenshot of the opening credits and printed it out on my daughter’s HP Sprocket printer, which conveniently prints quite high quality small glossy prints that are peel-off stickers.
The last work on the figure was to make a tiny tie knot from putty and squidge it in place, allowing a slightly improved paint job to be done on the tie and shirt collar. Next time I try anything like this, I will be more aware of the importance of getting the sculpting right when it comes to painting.
He was then fixed to the base via the cocktail stick in his foot.



15 Likes
Remarkable work Matthew. Excellent little dio.
4 Likes
Outstanding… A remarkable depiction of that scene.
Regards,
M
2 Likes
I absolutely love it. You did a fantastic job from start to finish. The end result is awesome. Great job. 
Randy
2 Likes
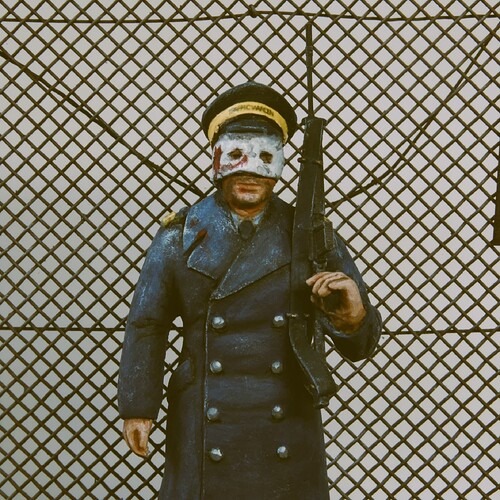
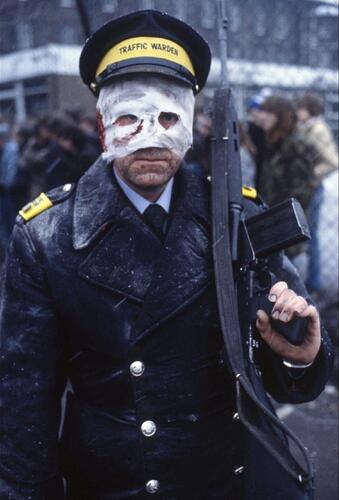
This was a very enjoyable build log to watch Matthew. It packs quite a visual punch for a 1/35 scene- the barbed wire, fence, weathered ground and the eye catching details on the figure really work well and draw it together. You’ve got the scene so close to the film in terms of the figure pose and the staging, not to mention the astutely observed colors both in the figure and on the scenery- quite reminiscent of the very bleak tones of the film.
5 Likes
Fantastic!!
3 Likes
Very fine finish. Thank you for taking the time to take pictures and post these in step-by-step progress so we can follow along.
3 Likes
Well, thank you for all those really kind, and even detailed comments, and the comparison photos. Really appreciated.
I had in mind for a while to add some figures on the other side of the fence, although I wanted to finish the traffic warden first, and not get sidetracked with too much at once.
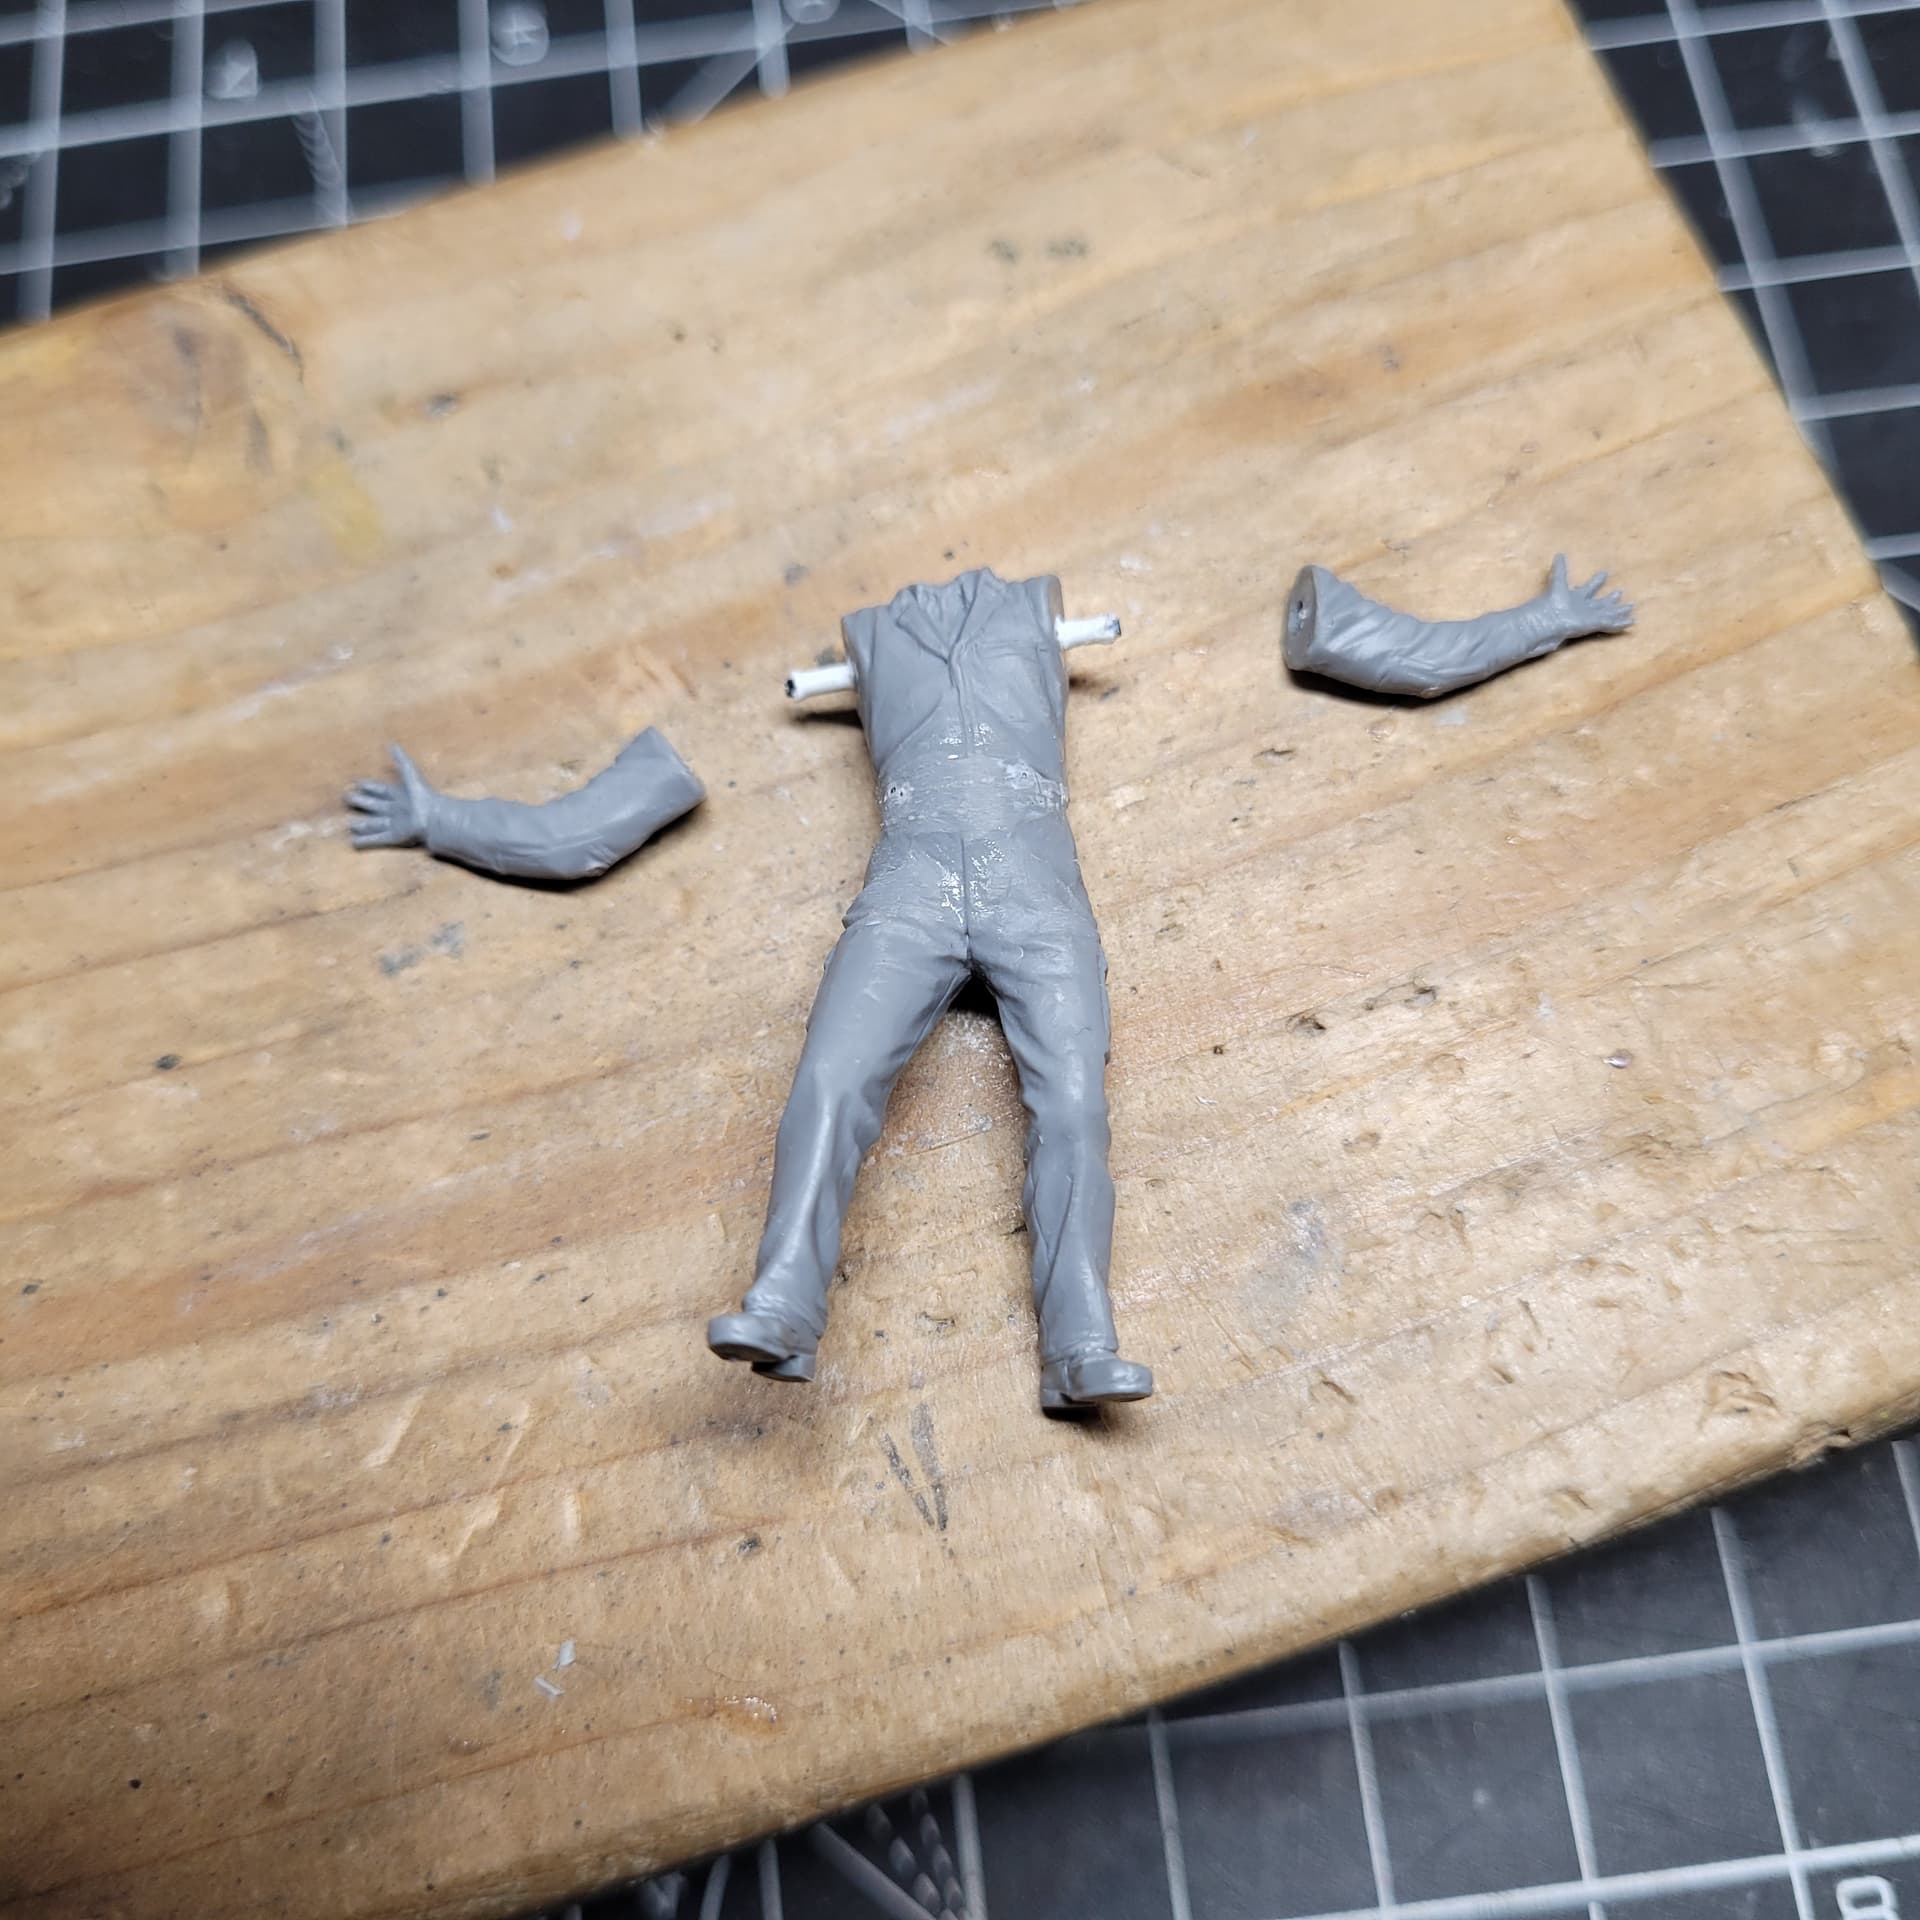
Quite a while ago I bought the MasterBox Zombie Hunter set for cheap as an Amazon return item, in fact just to get hold of the female motorcycle rider, but the two men in the set are just right for this. I’ve made one of them stand a bit more upright, and adjusted and bent the arms so that they can press on or hold the wire fence.
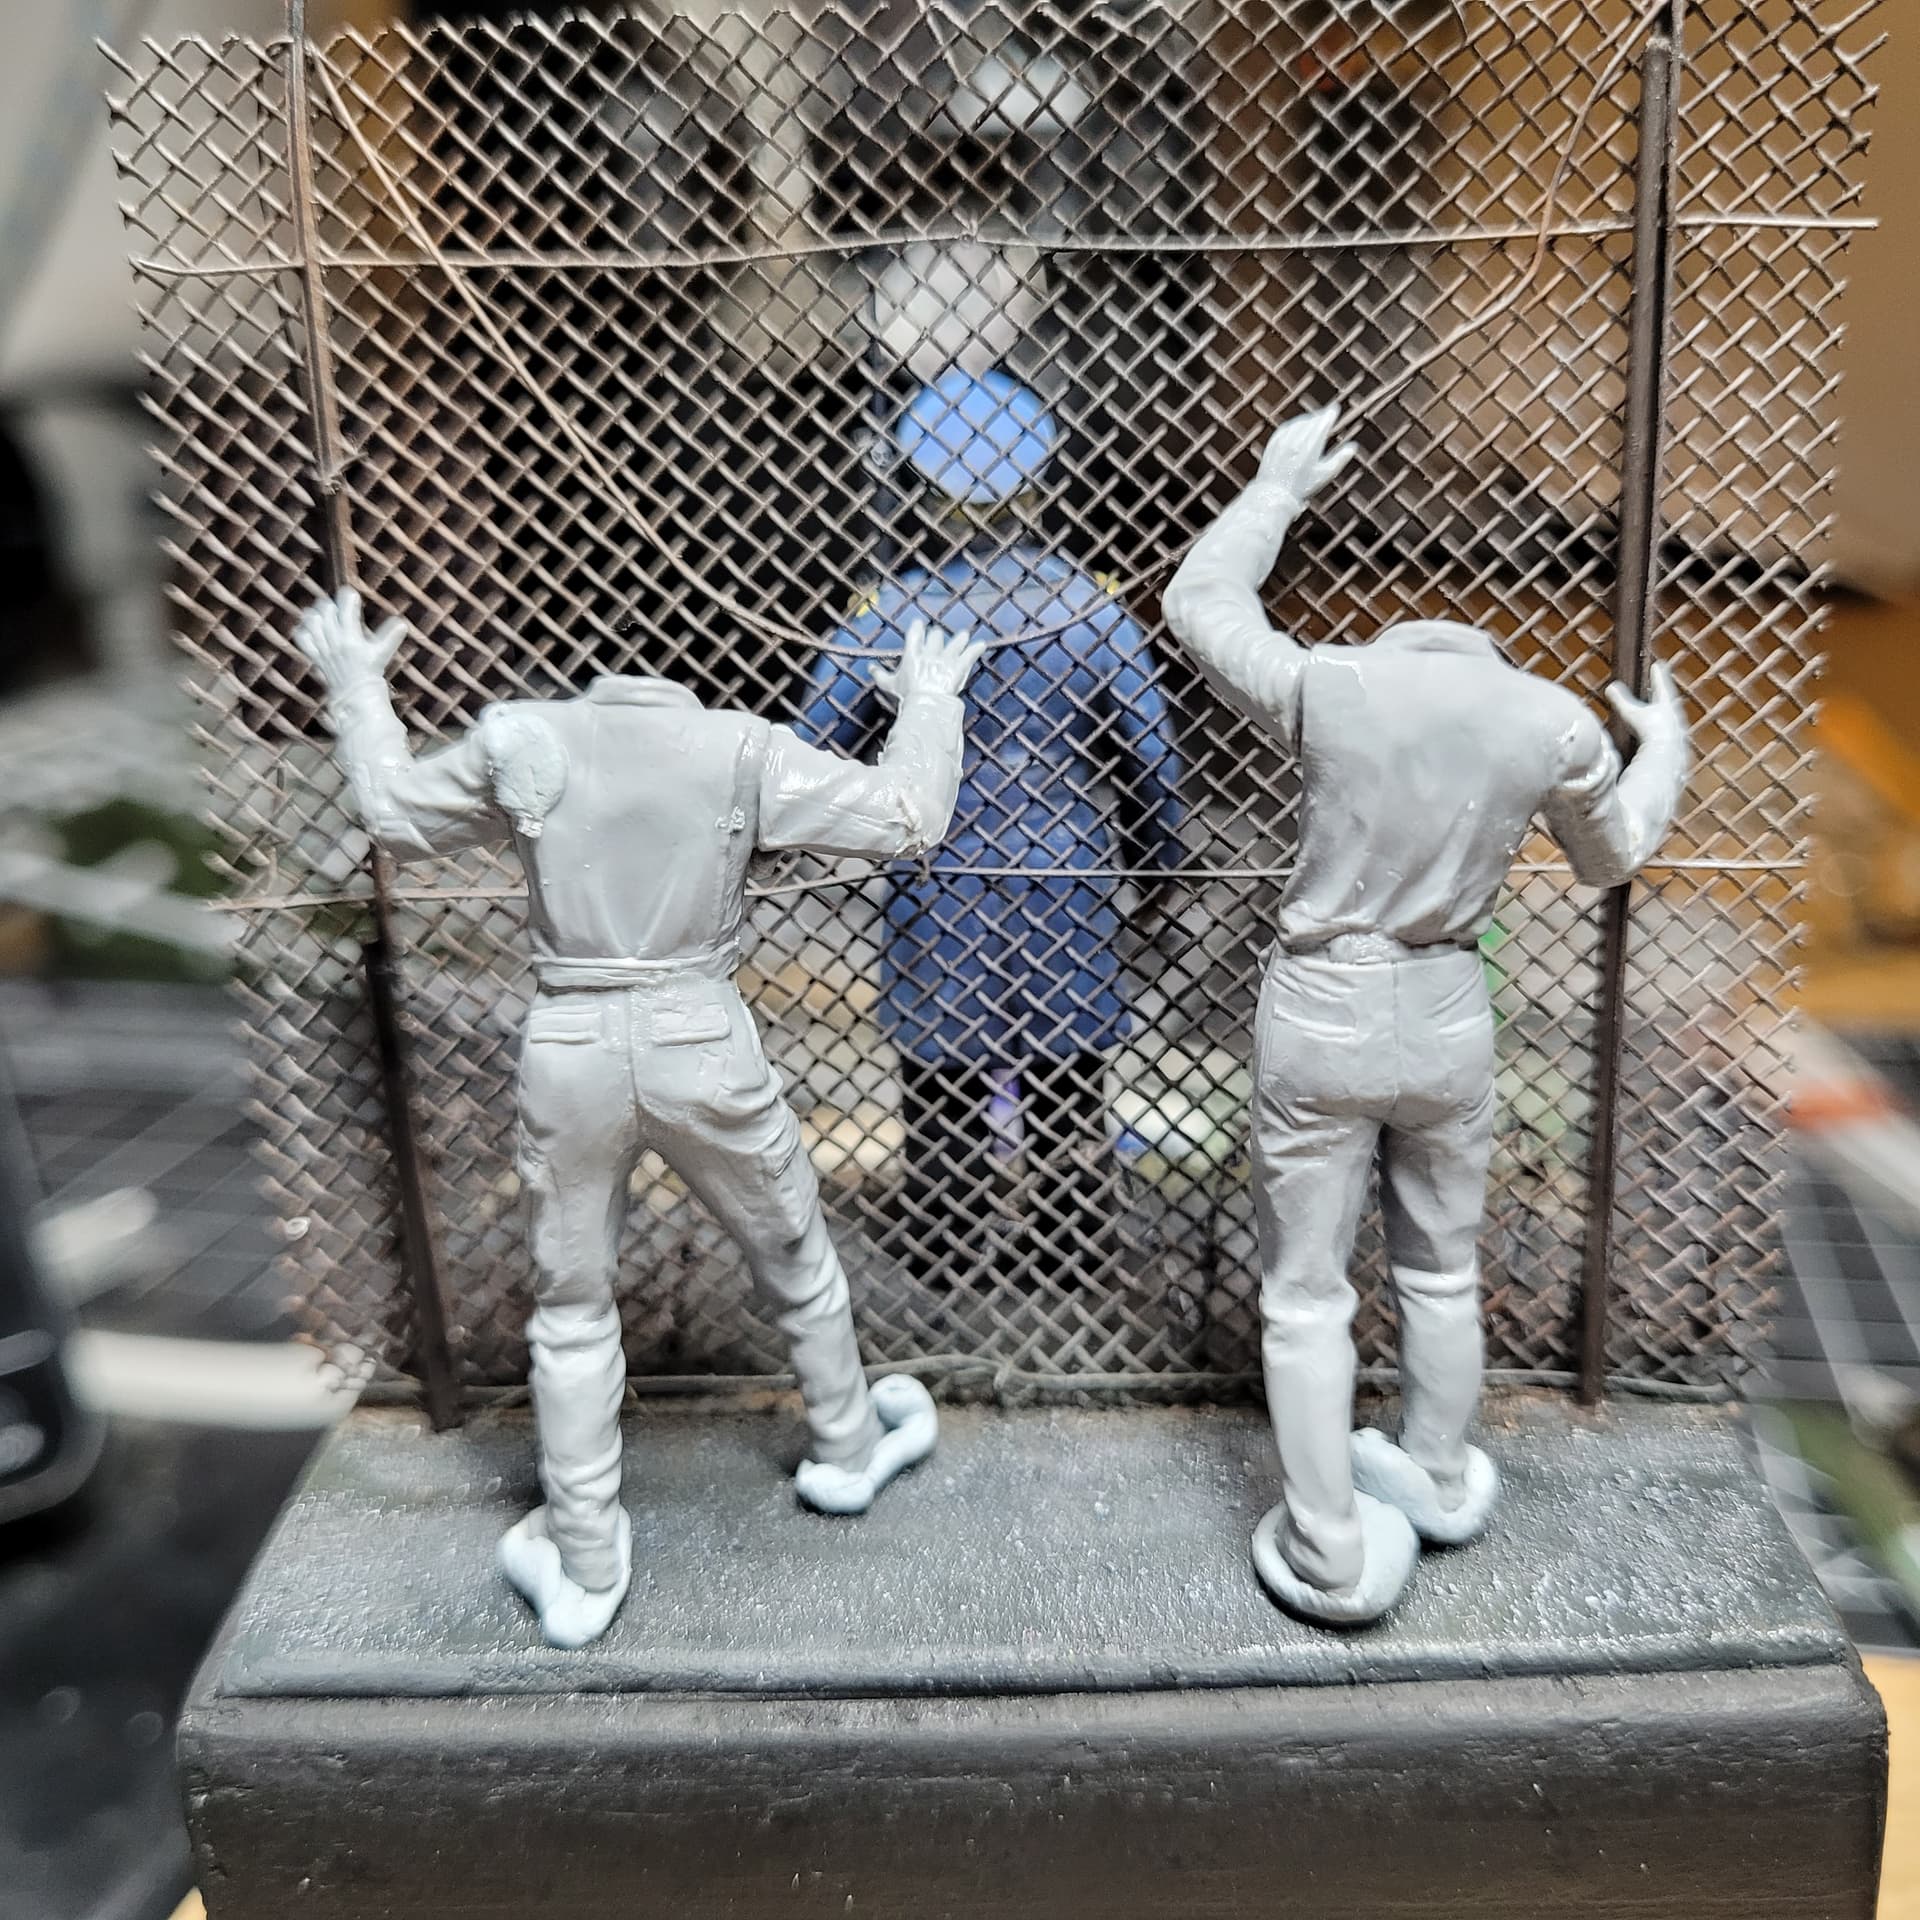
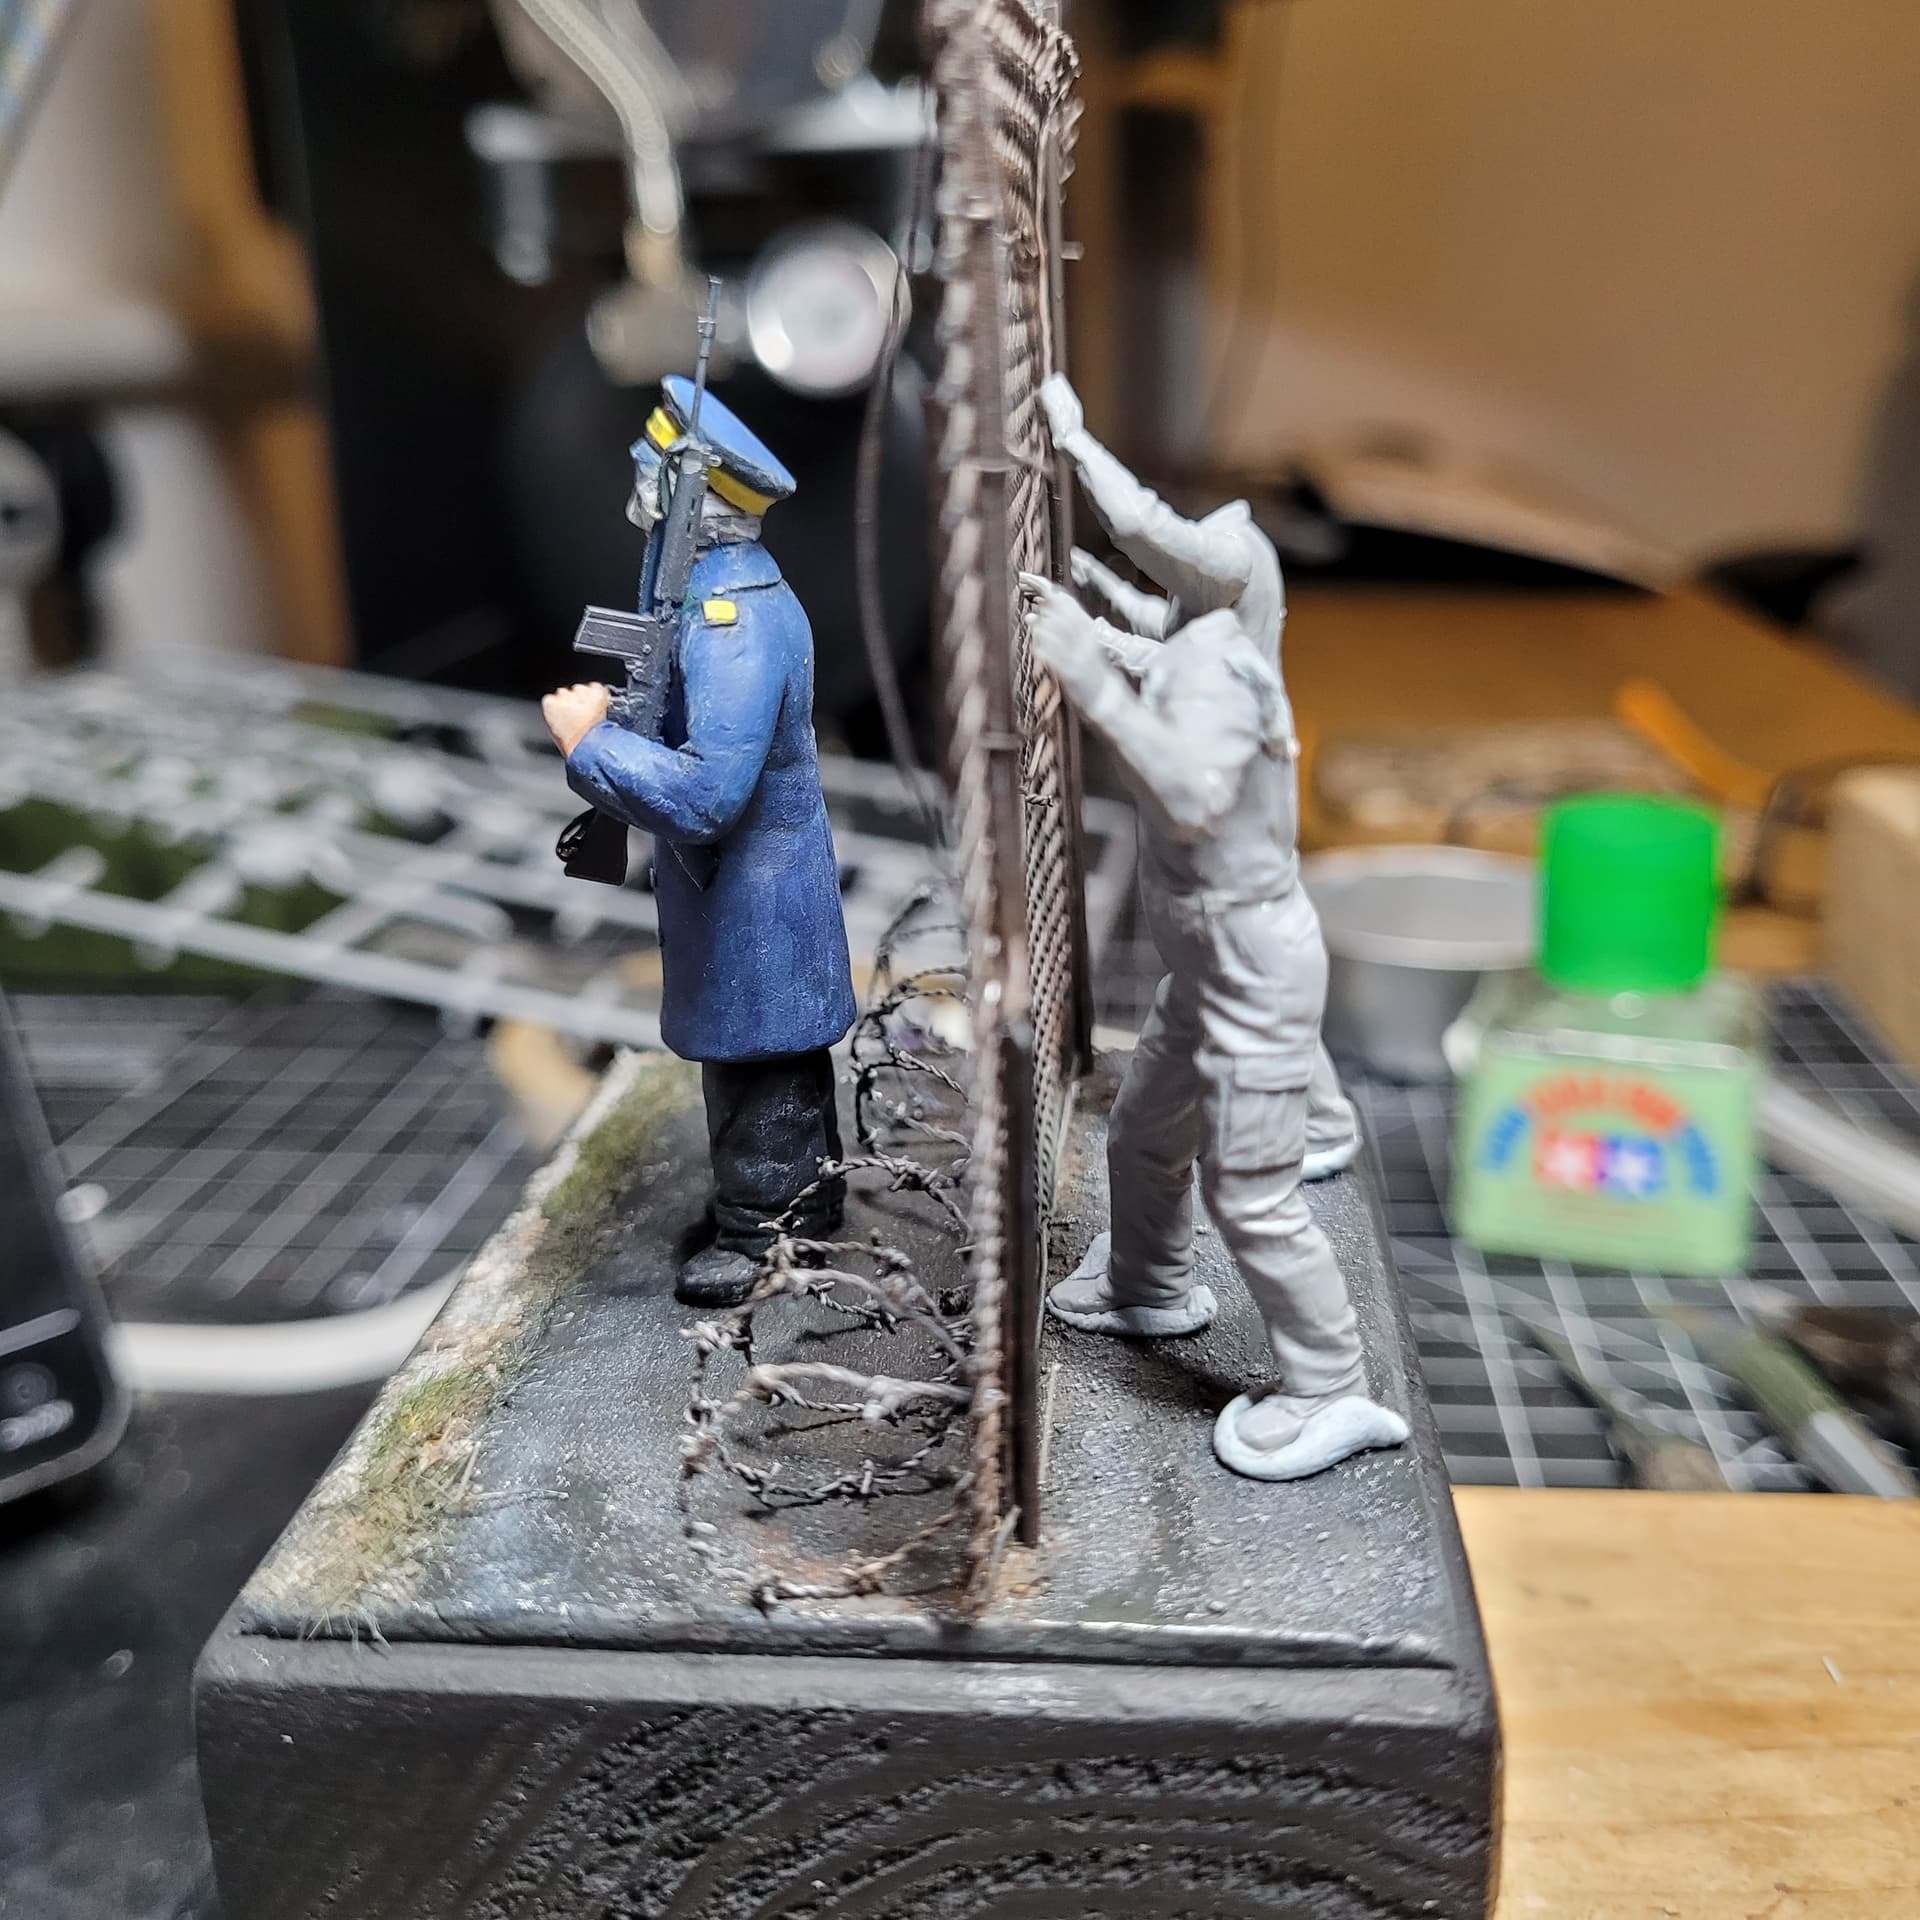
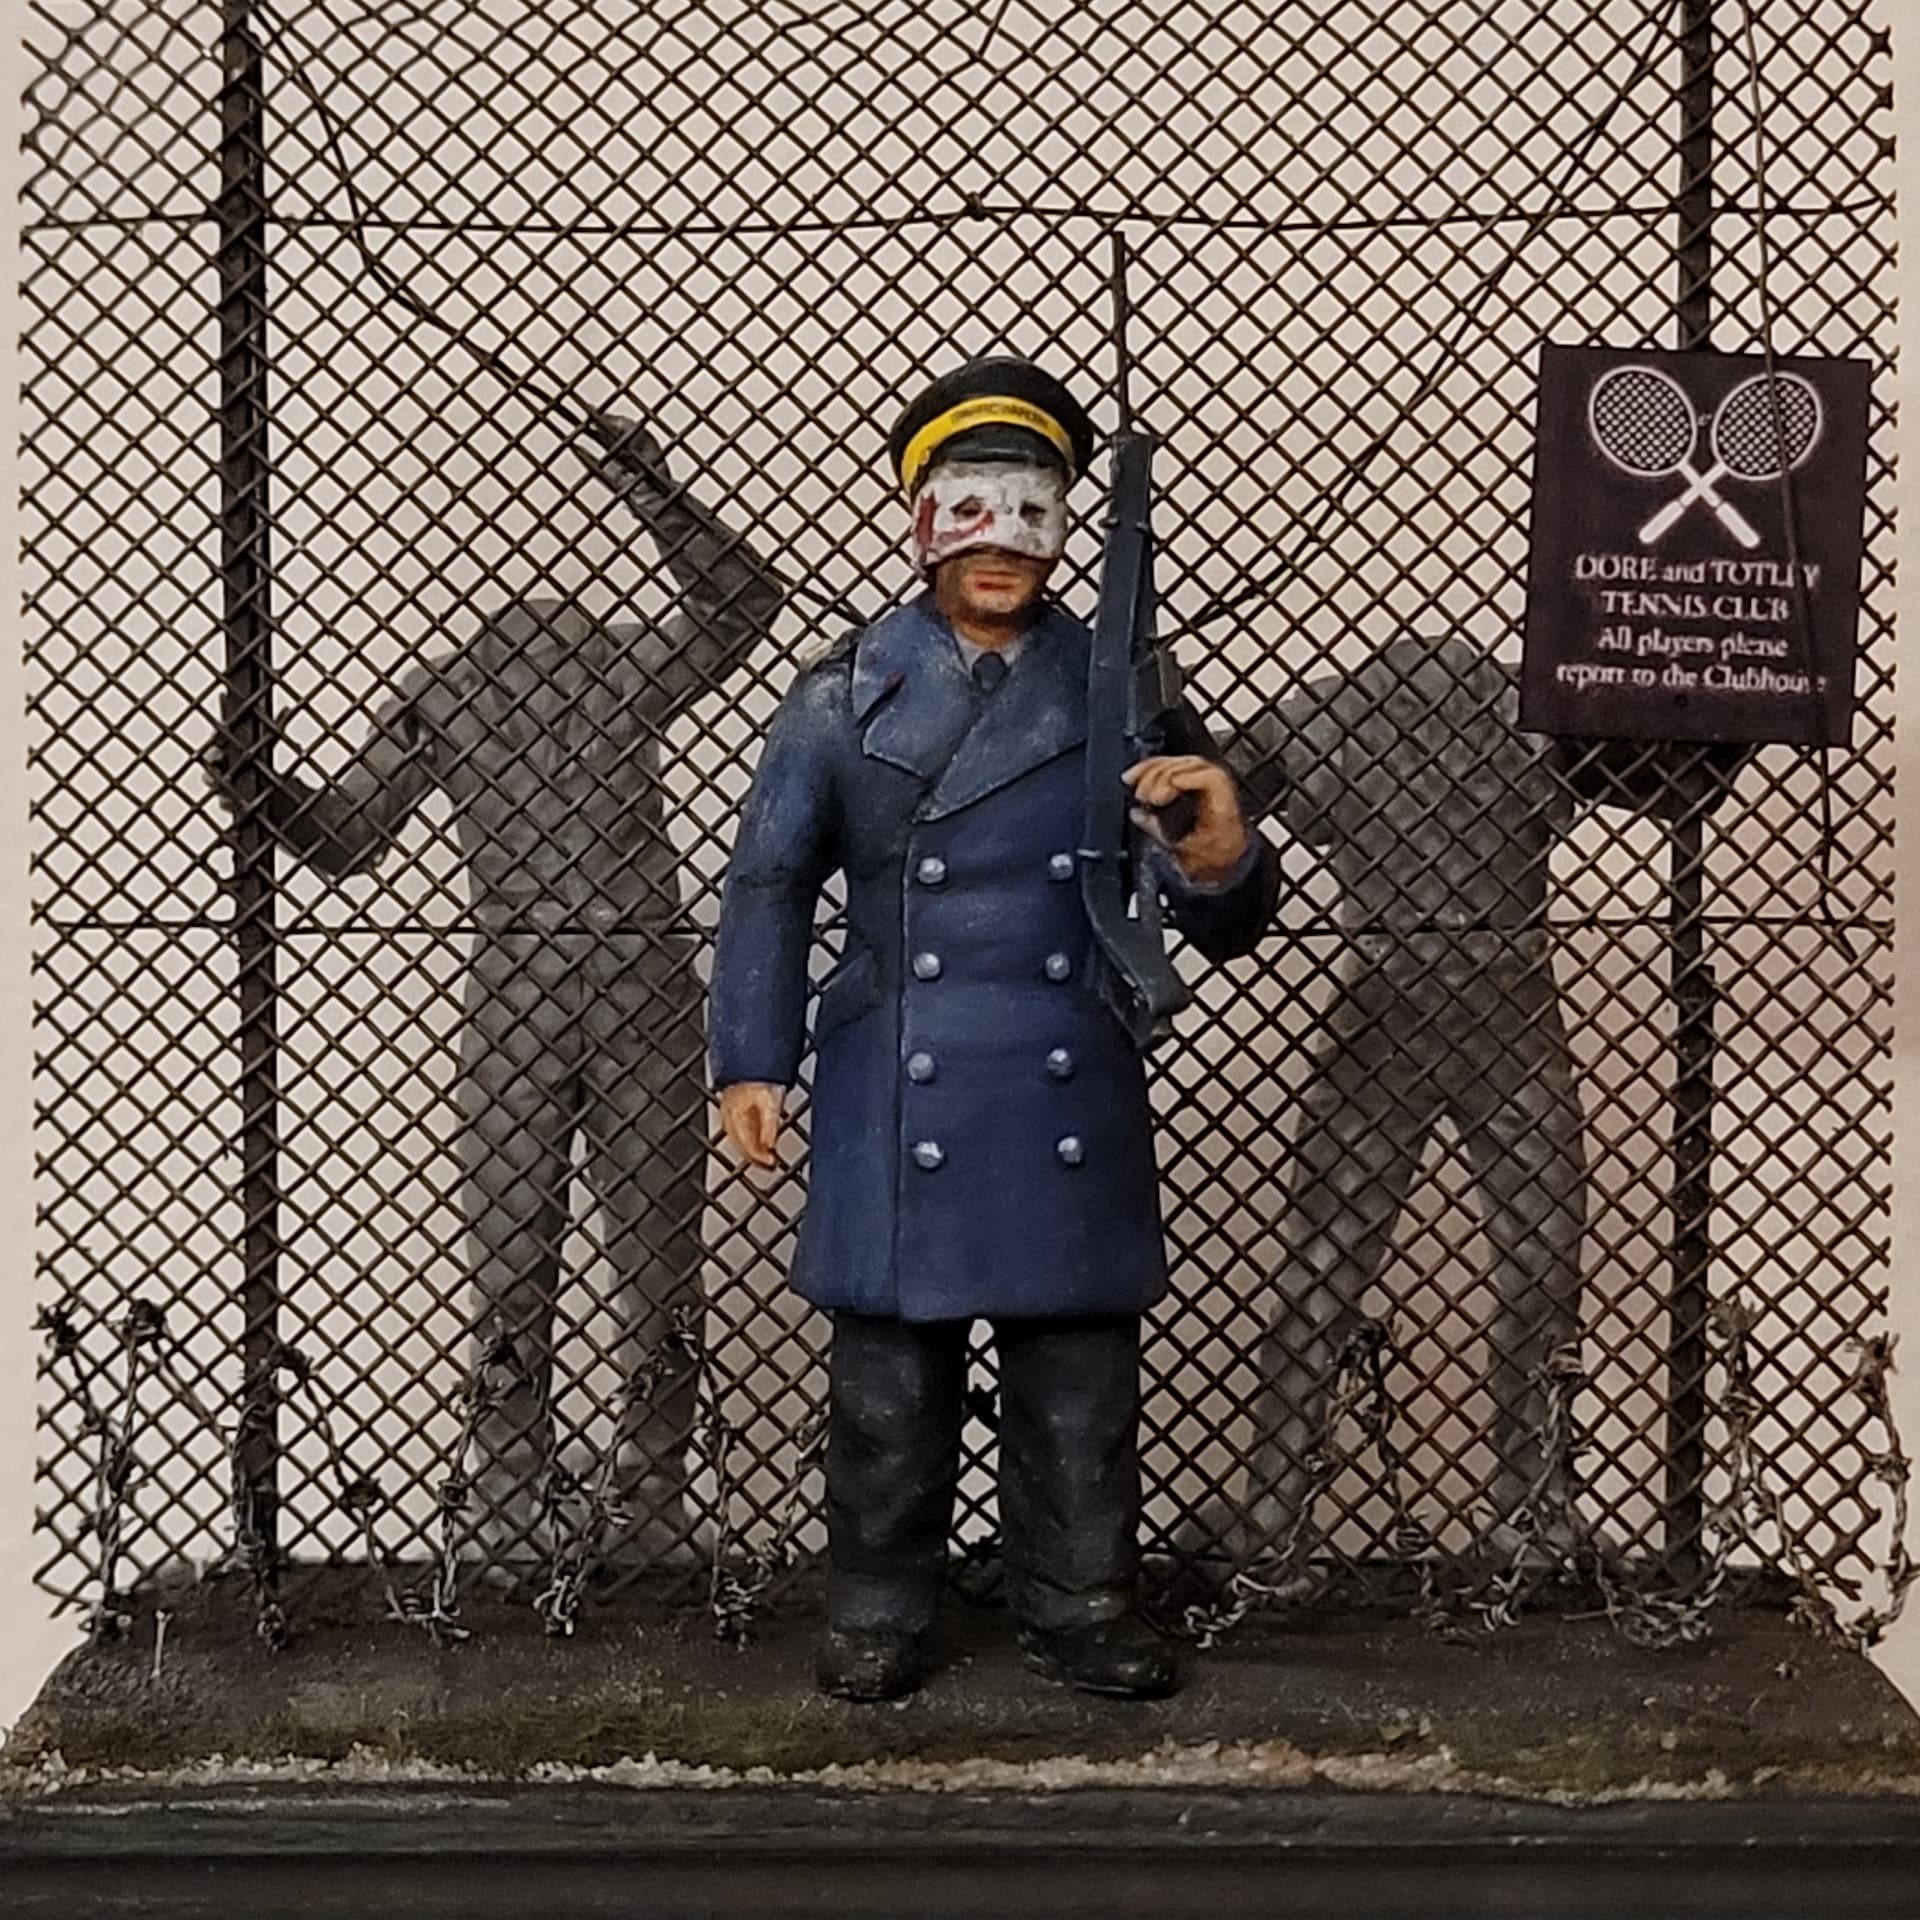
12 Likes
Looks brilliant. The other survivors behind the fence will add a lot of atmosphere to the display.
3 Likes
As I don’t do figures because they end up dog toffee I do enjoy seeing others efforts and this is really rather good.
2 Likes
 “Wait, there’s more” - that’s just inserted “E.T.I.” by BÖC into my brain…
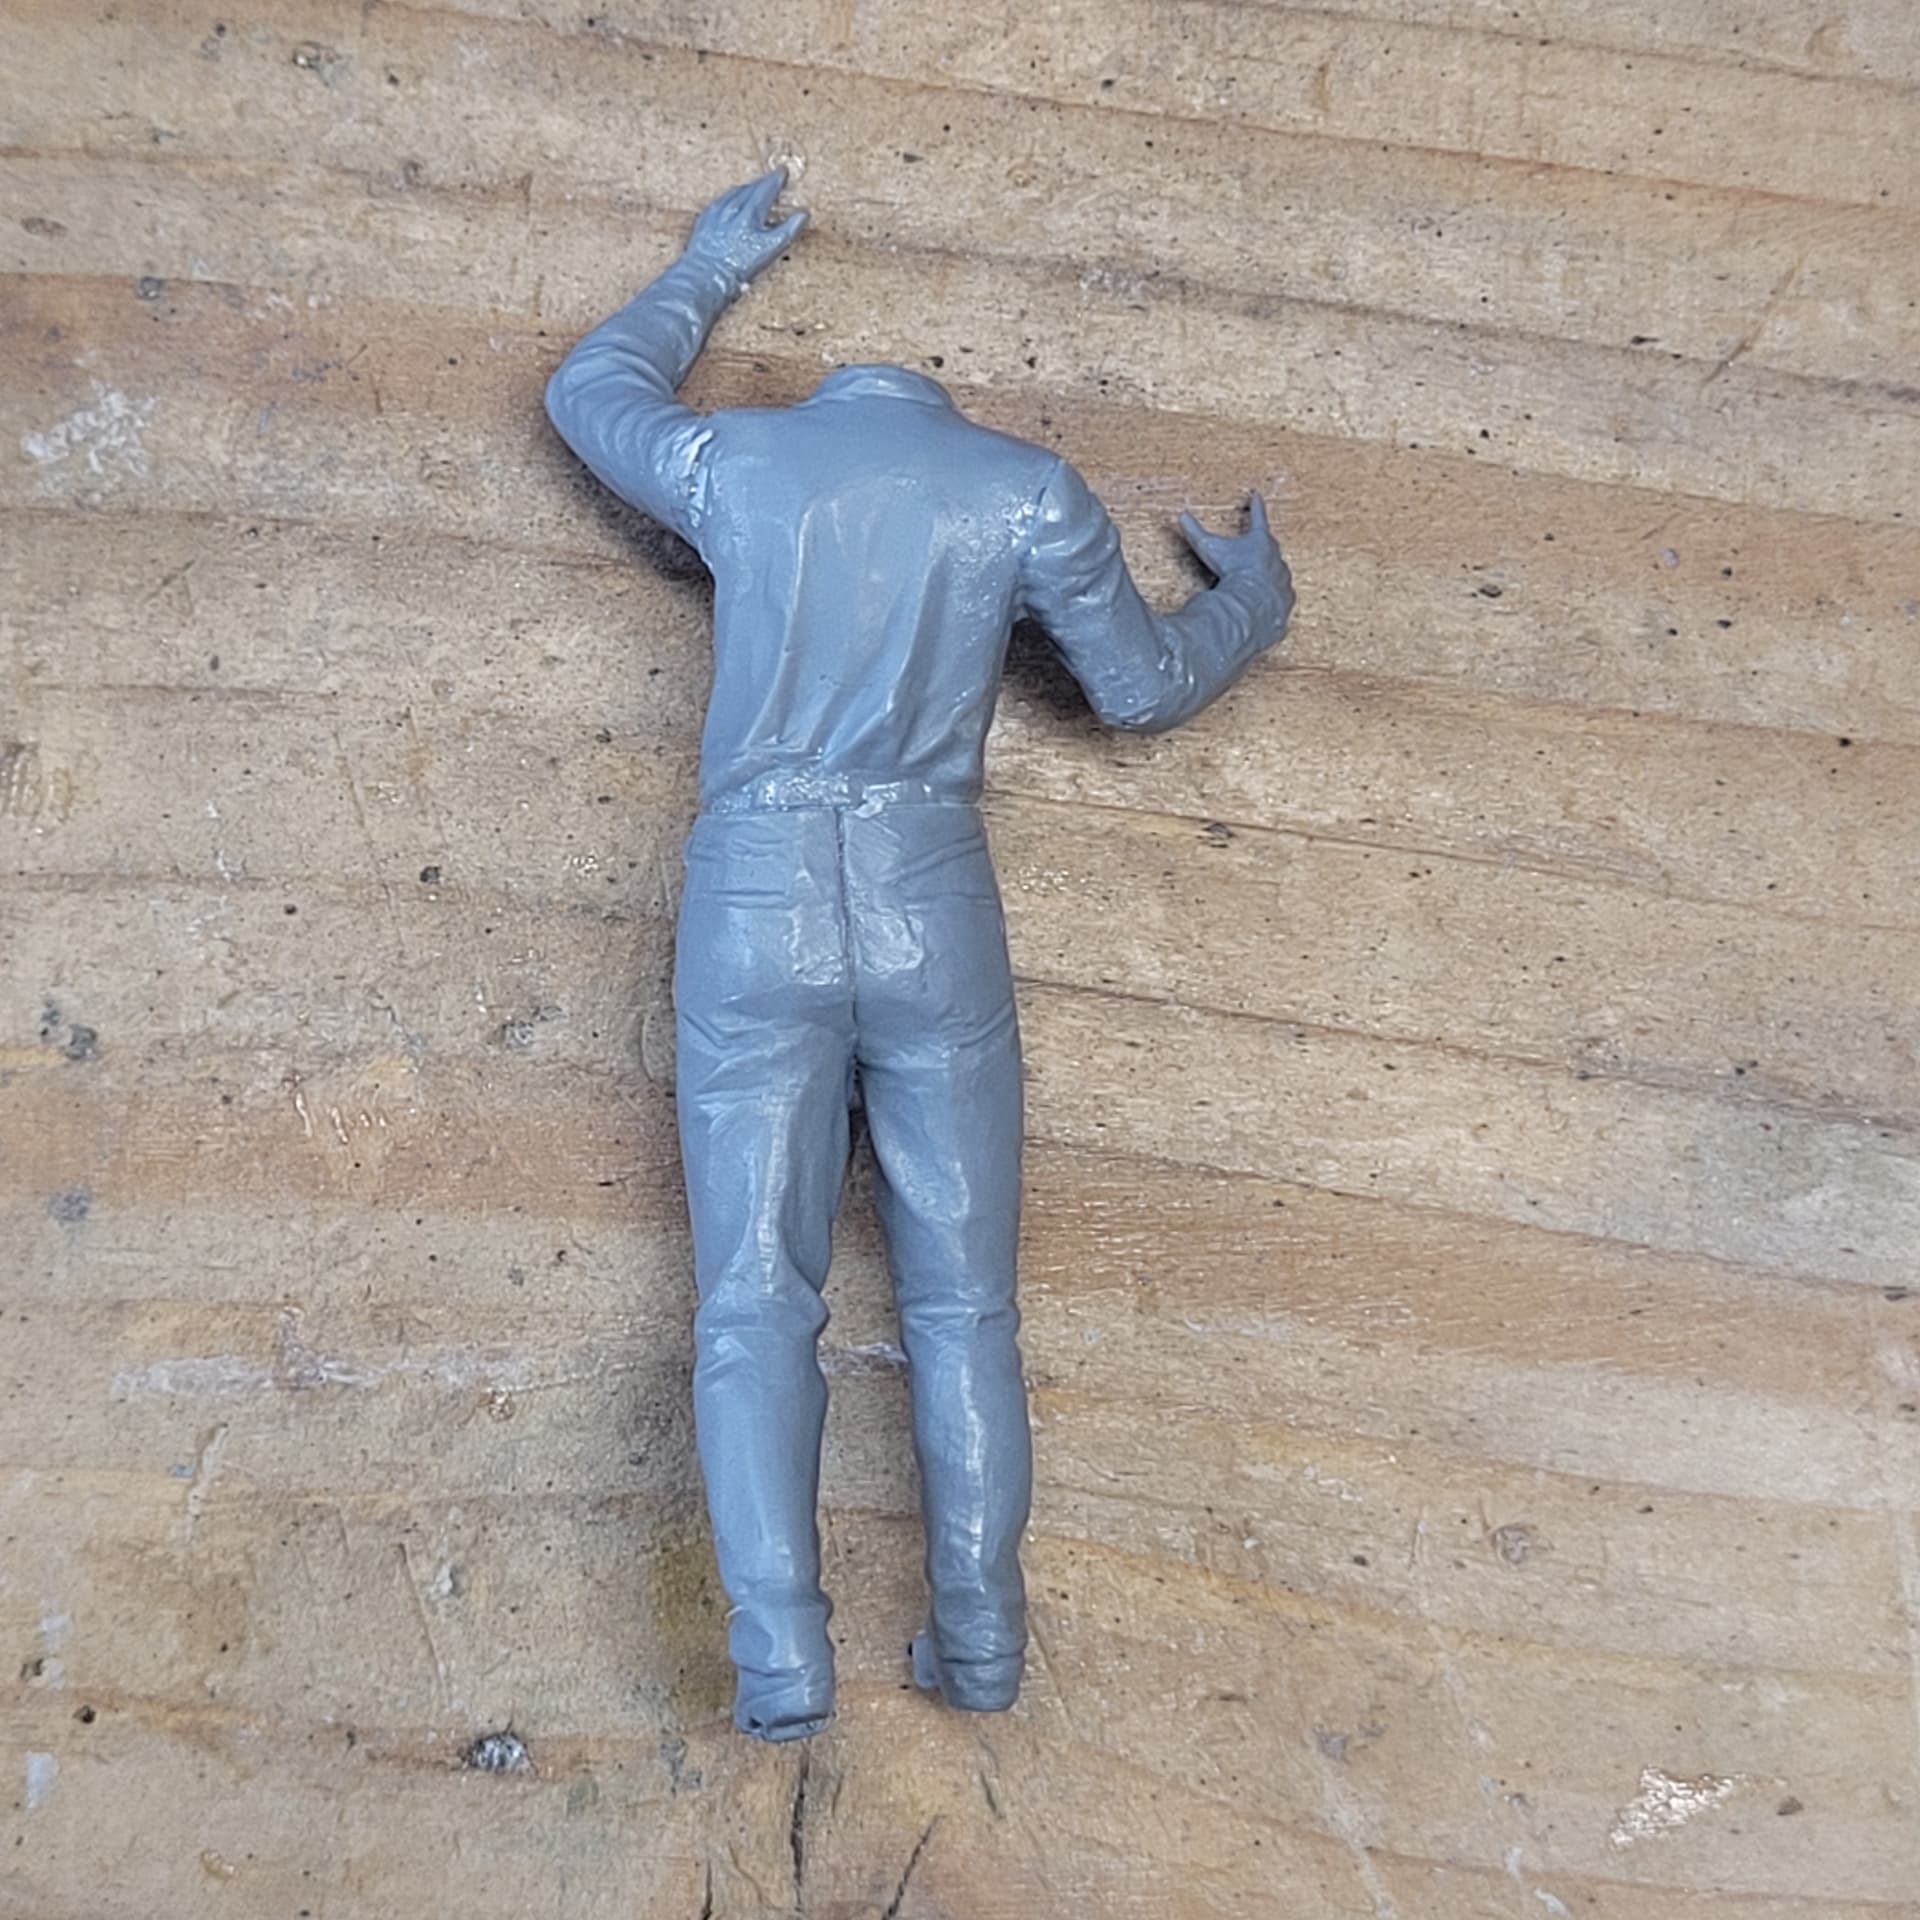
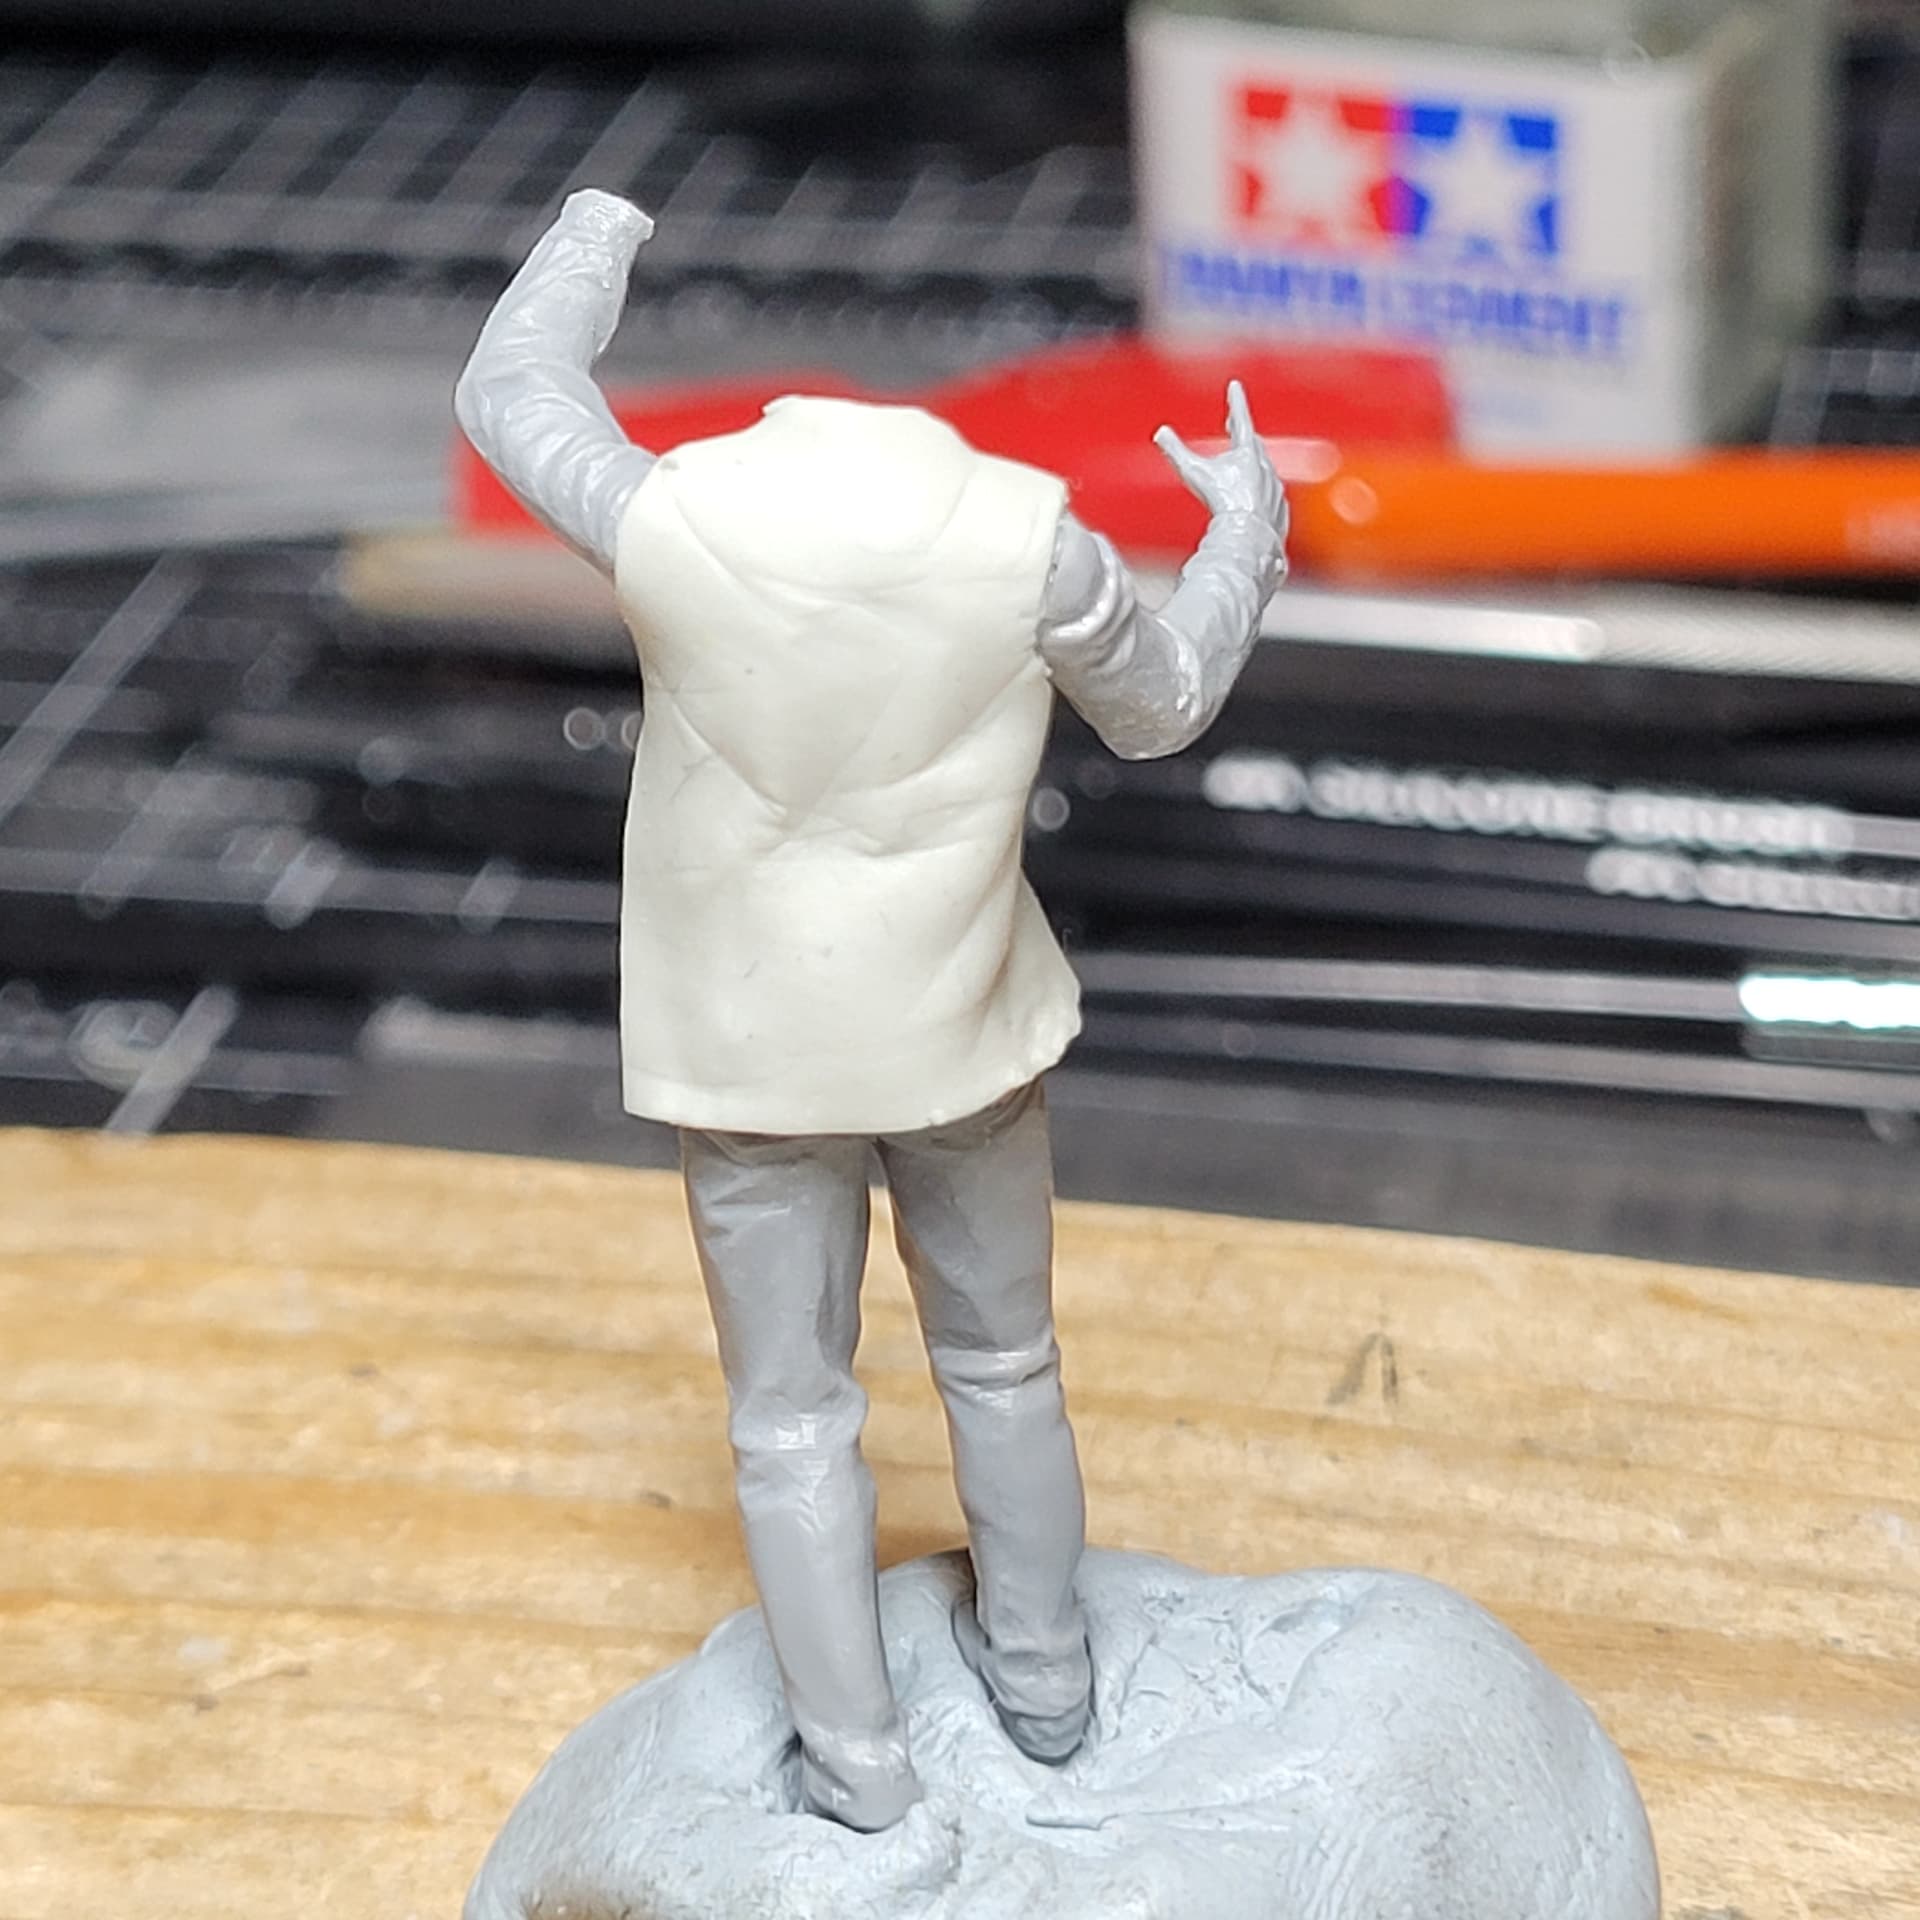
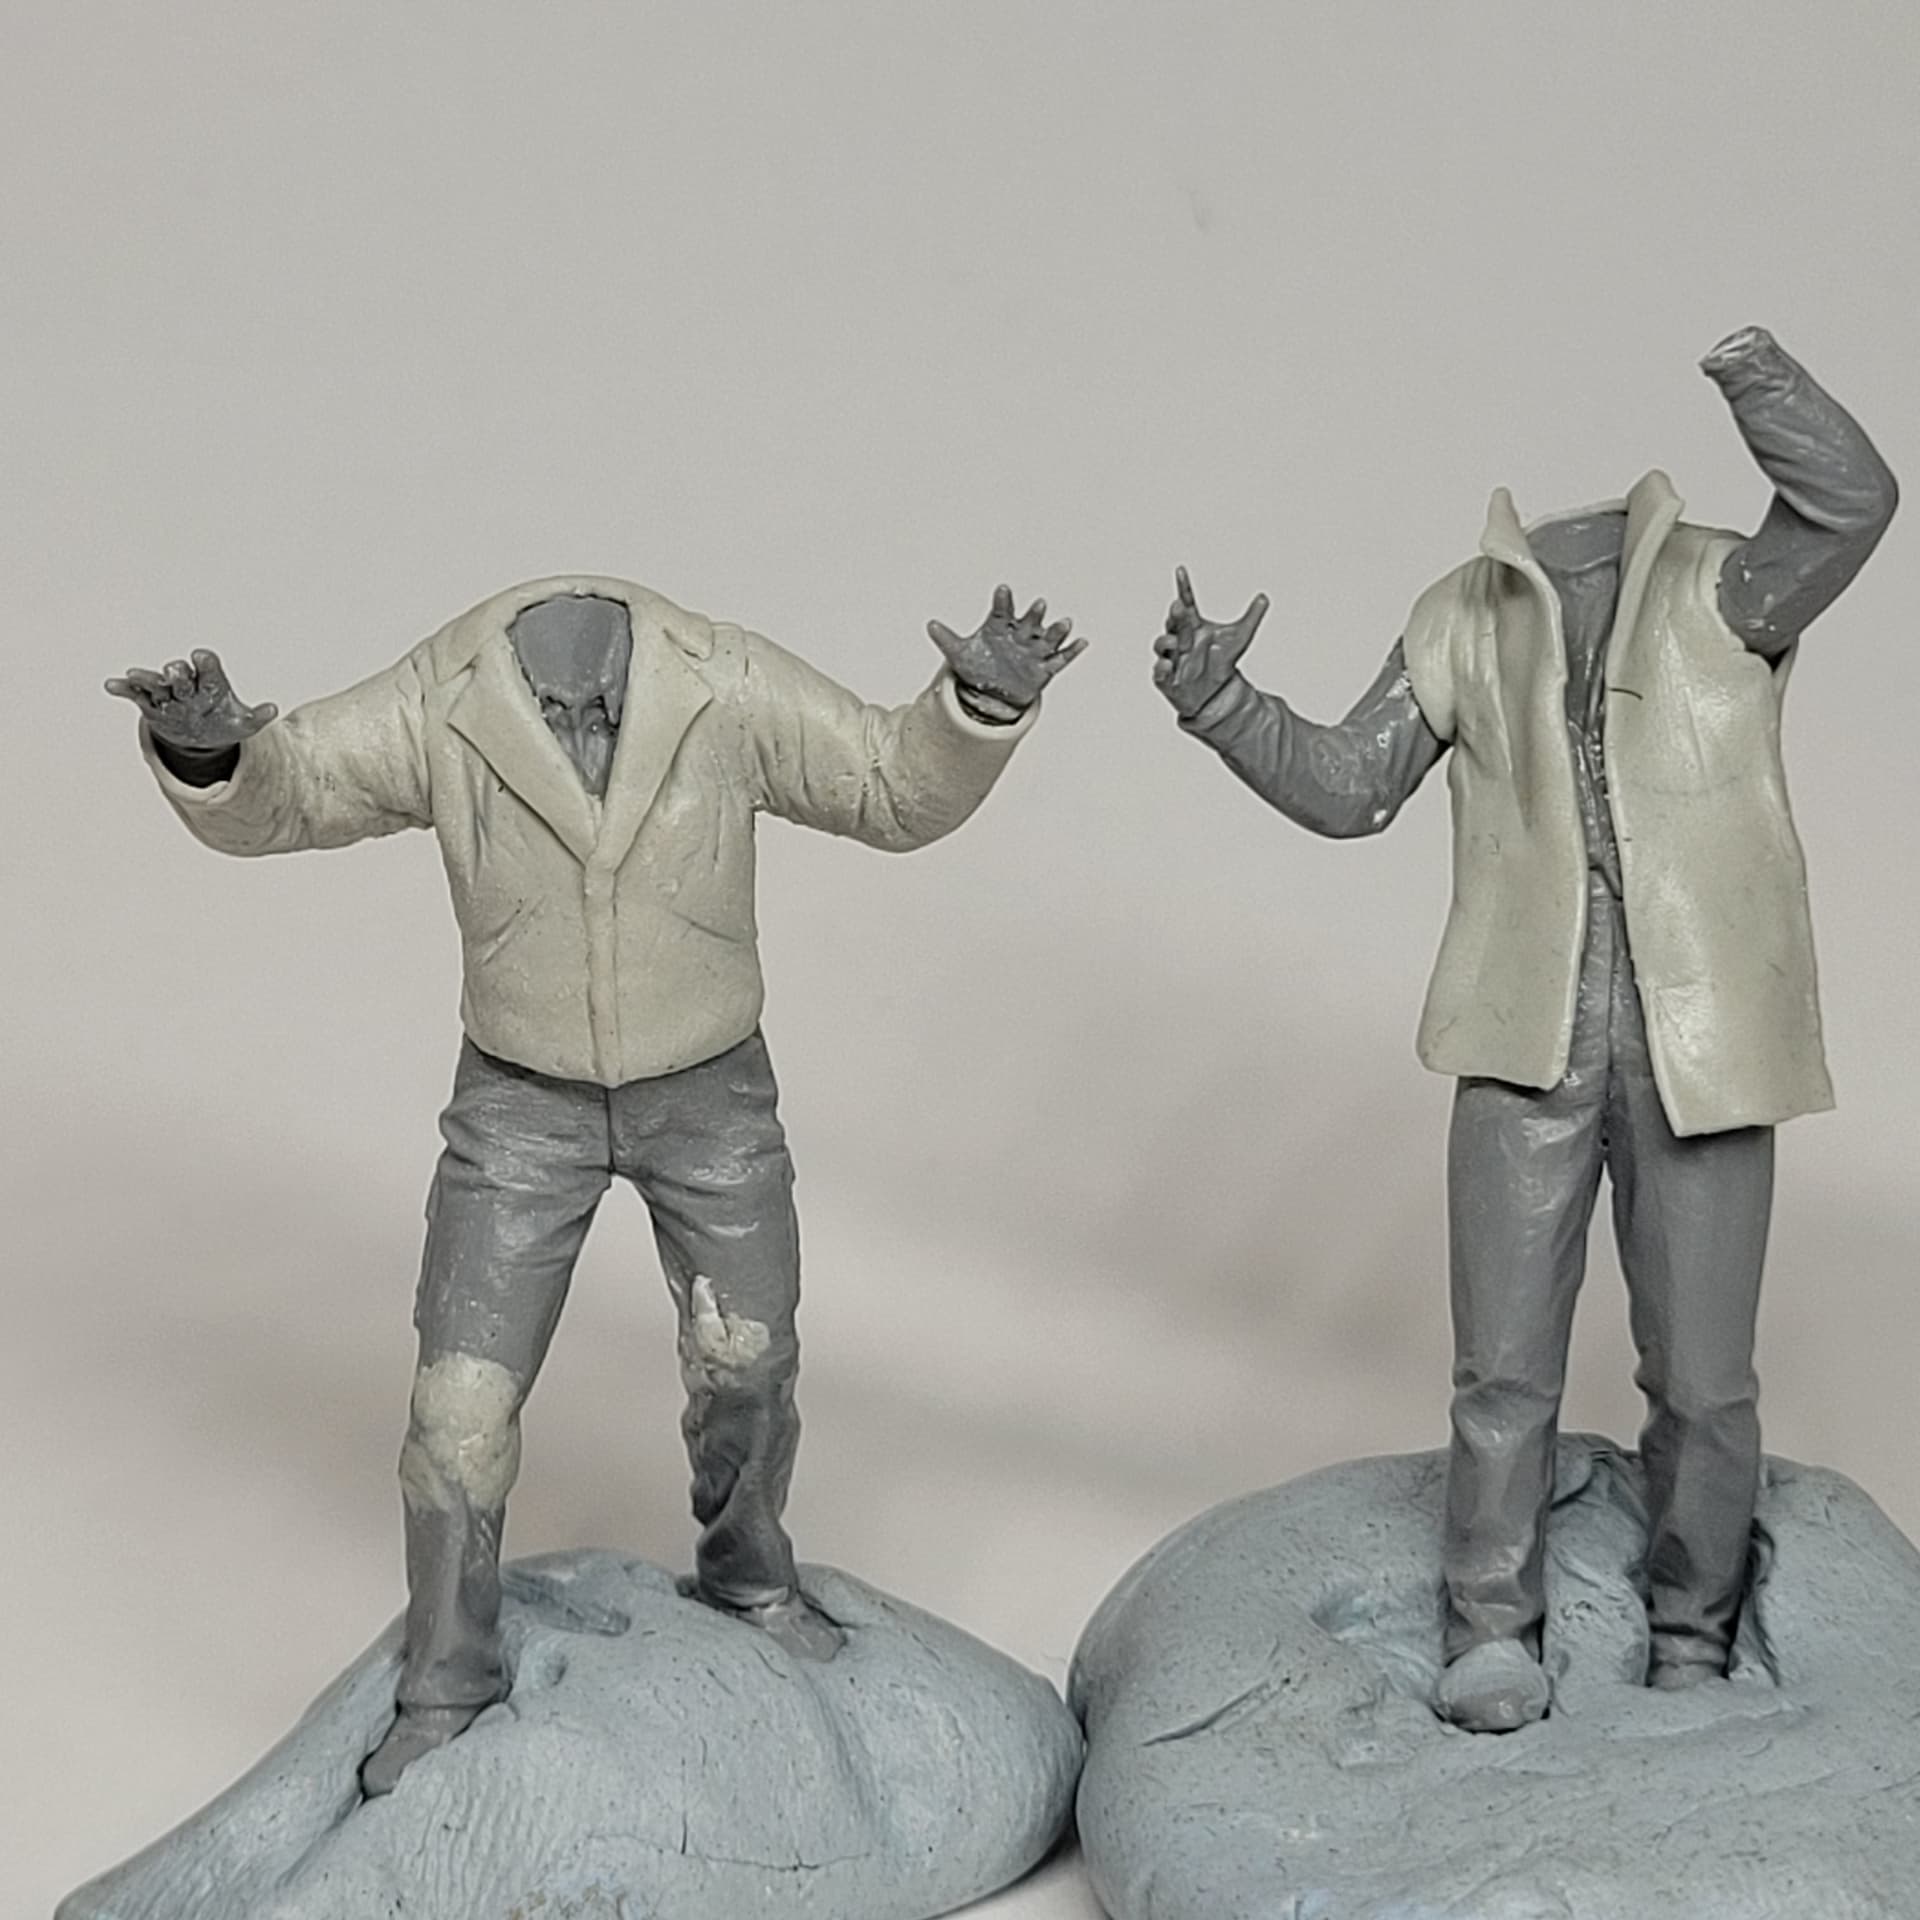
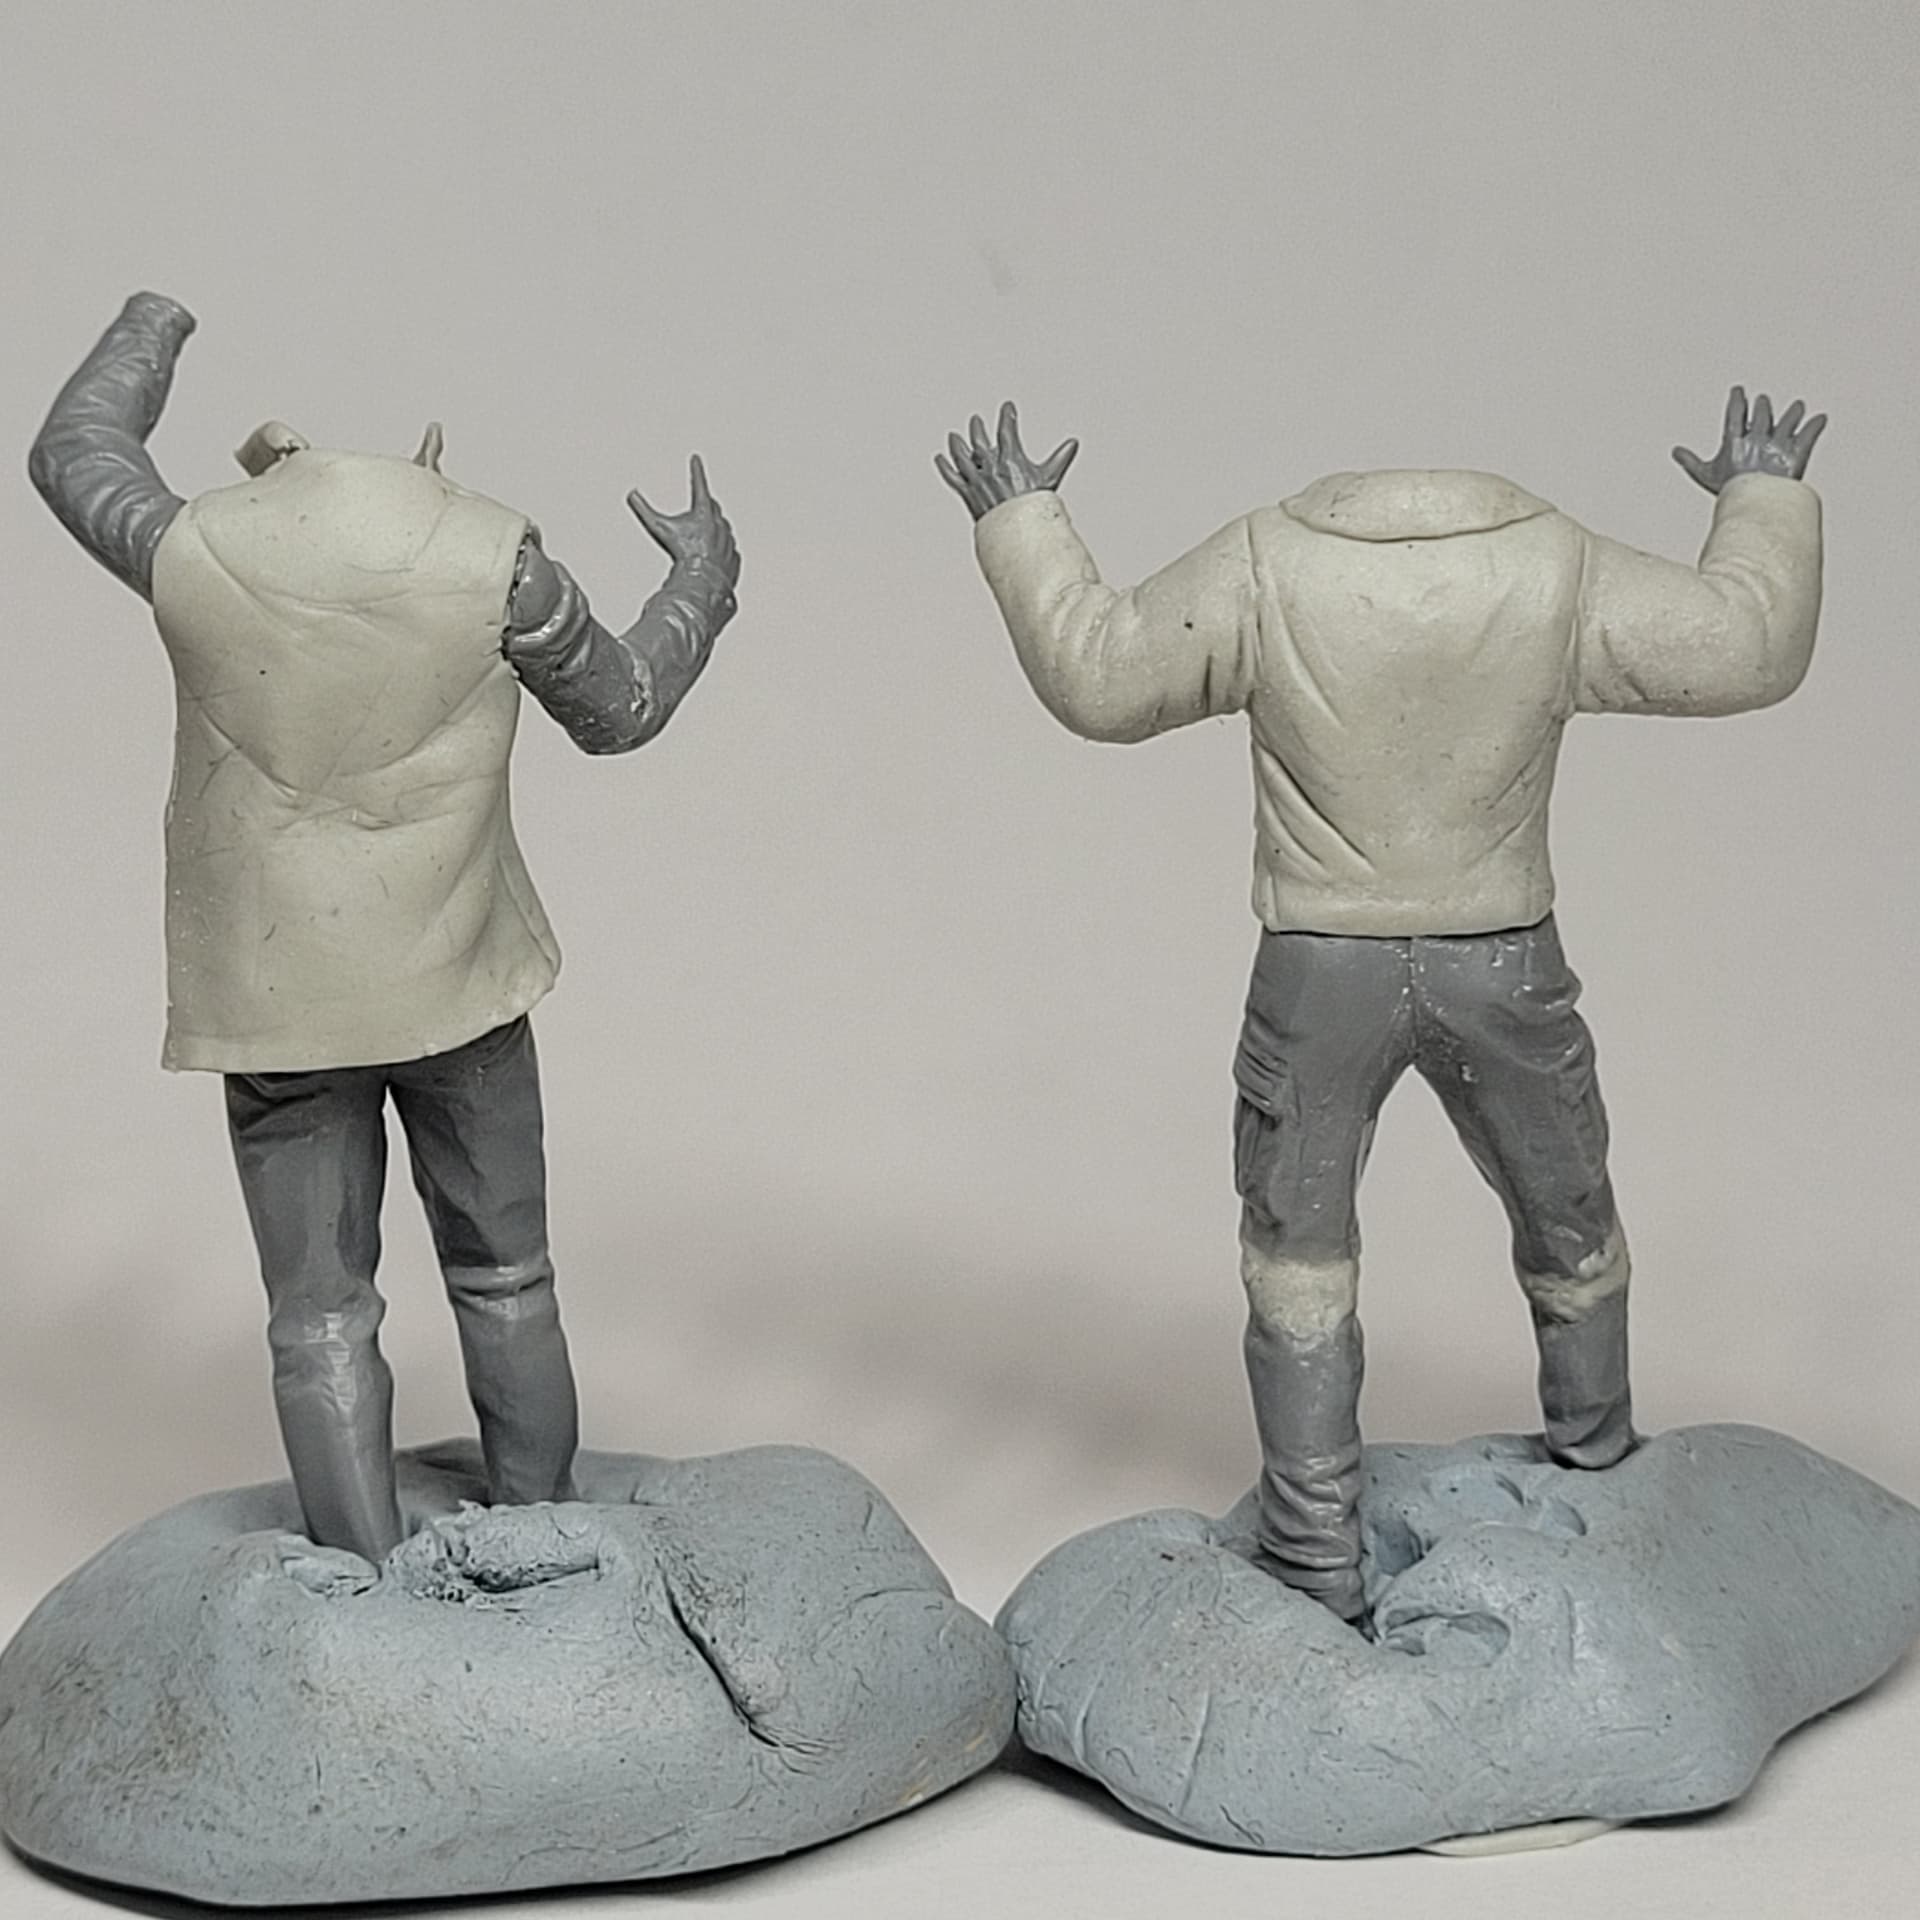
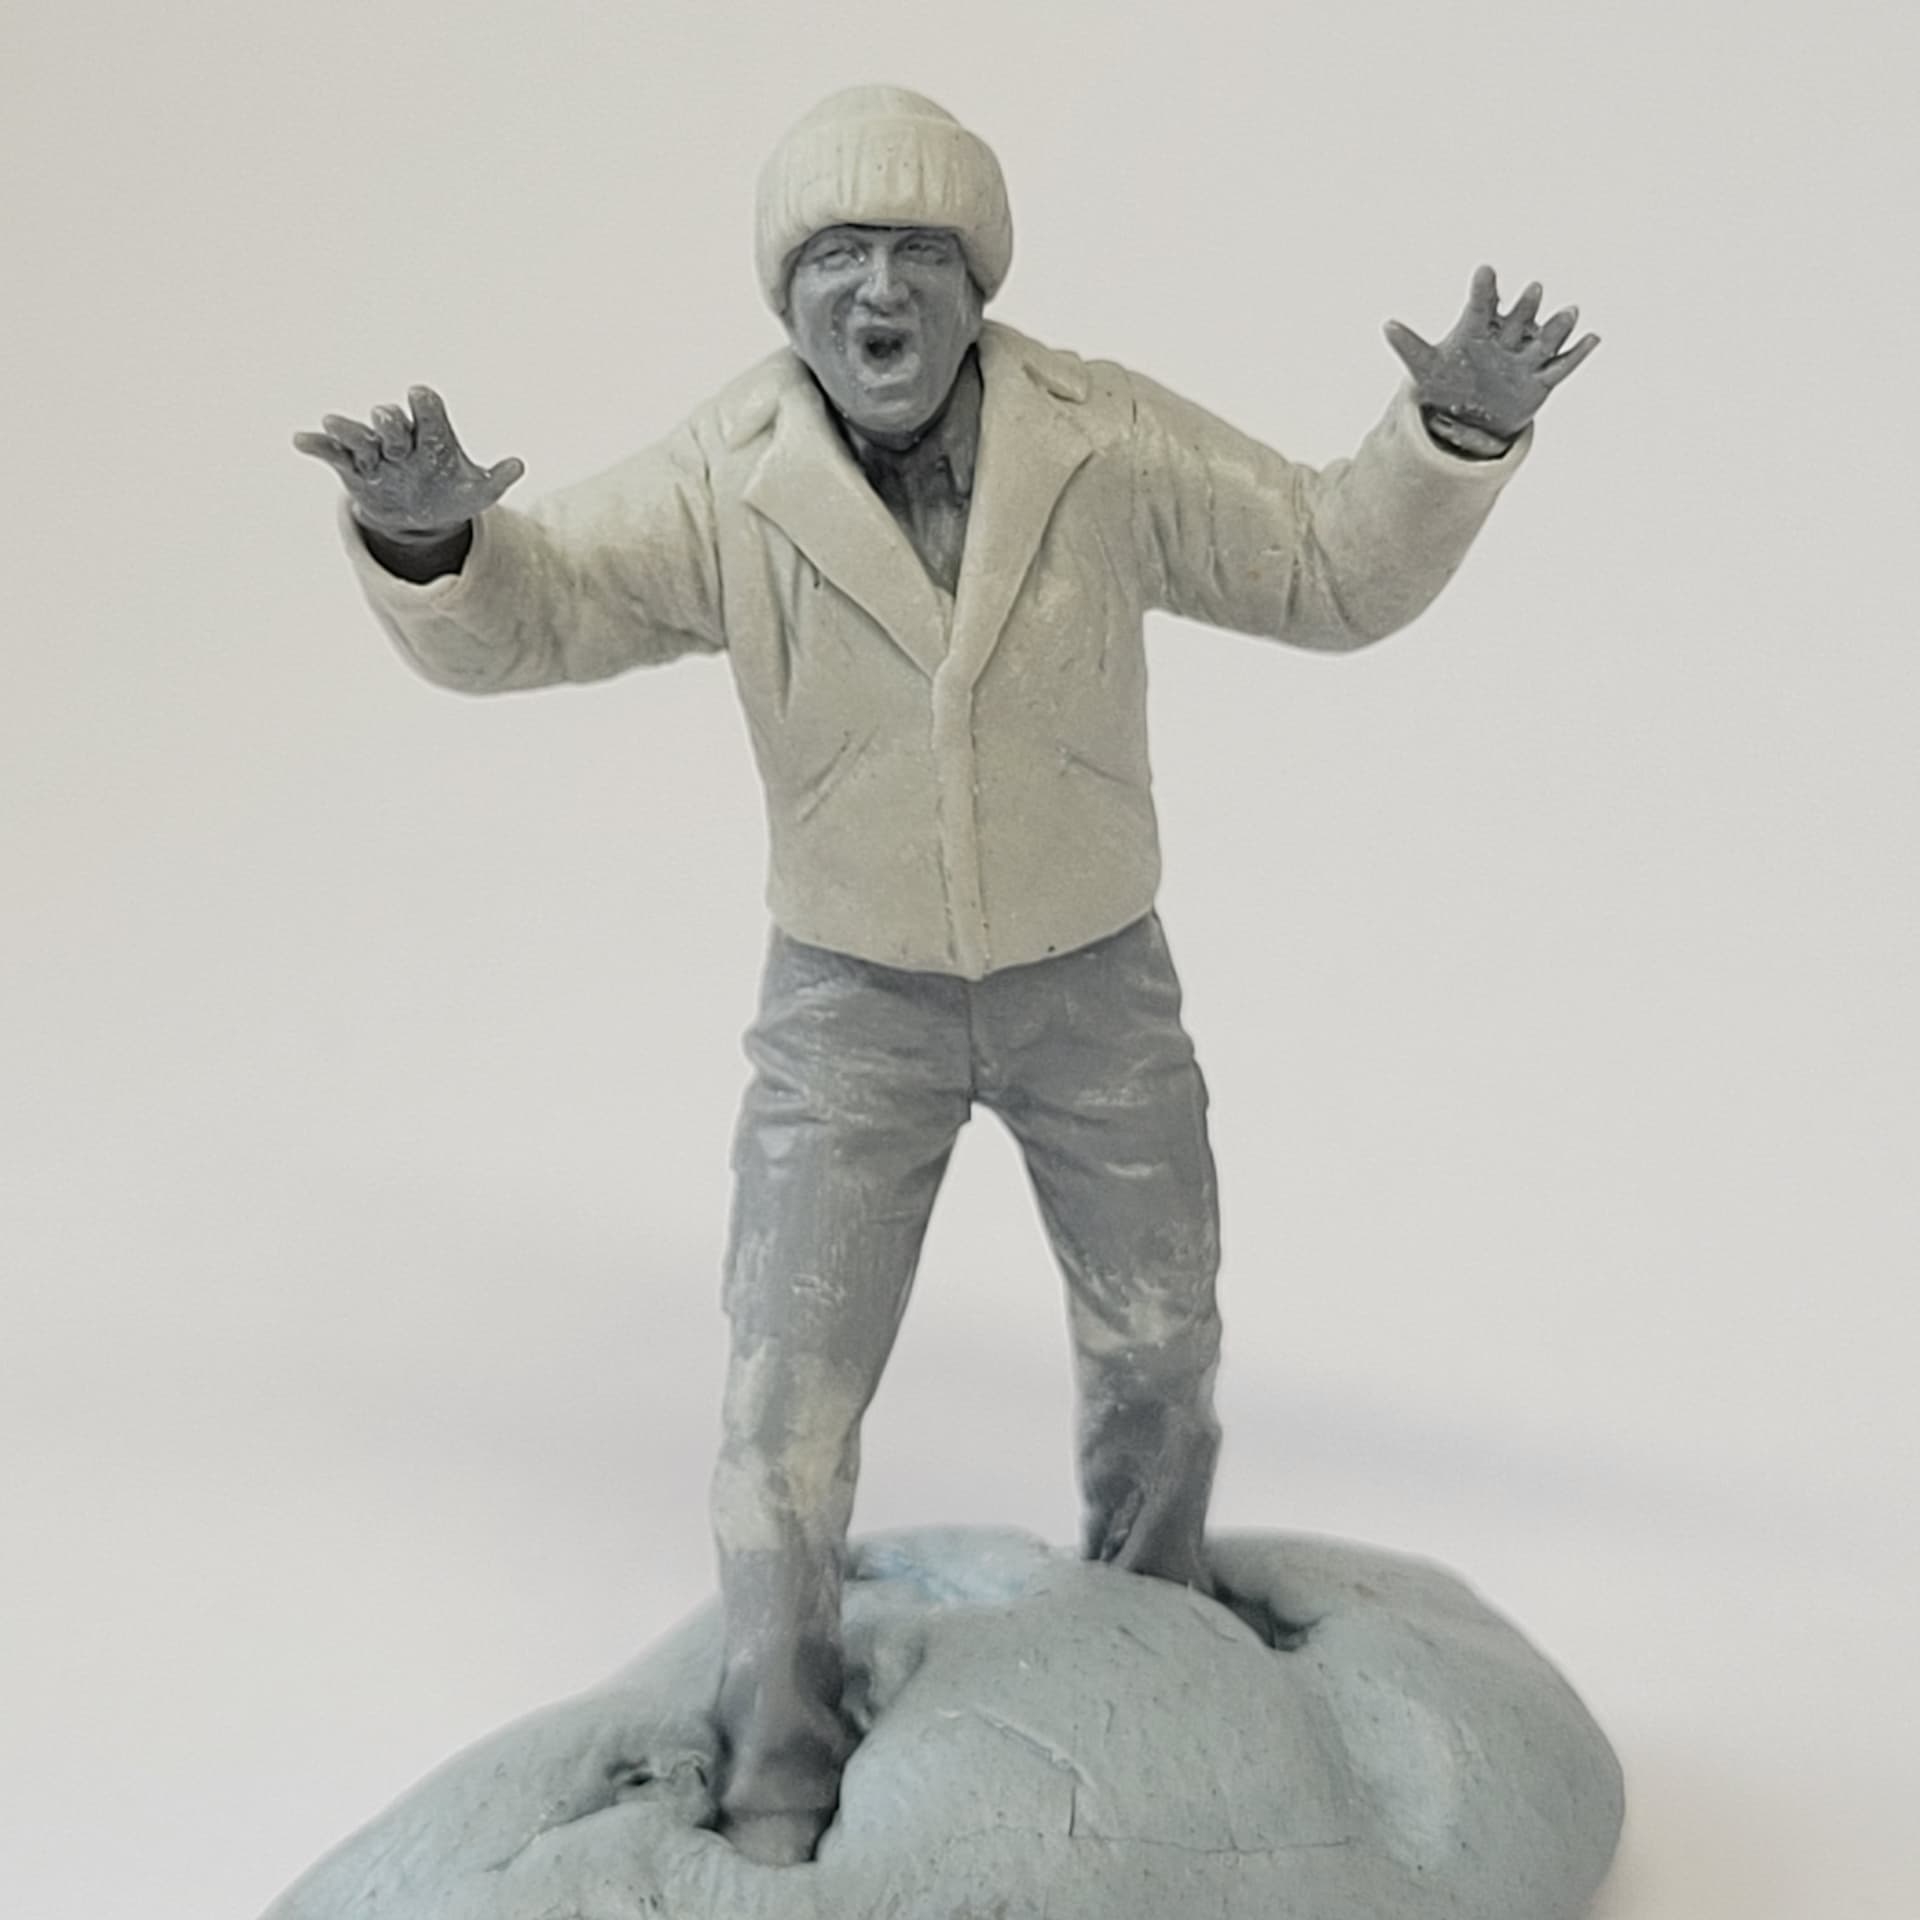
I’ve been adding more wintery clothes to the guys from the MB zombie set, one getting a leather jacket, the other has the start of an anorak.
I’m not sure how people who sculpt full figures out of putty actually do it, but it feels like I’m having to make clothes out of thin sheets of putty, and add them a bit at a time, allowing at least some curing in between. Quite a slow process, and the sheets are delicate and typically stick to what you don’t want them to but not to what you do want them to.
Making progress, though I notice a hand has disappeared.
Having watched Threads, I also watched its sort of direct ancestor, the 1966 The War Game, and thought I’d try to model the iconic image from that film too.
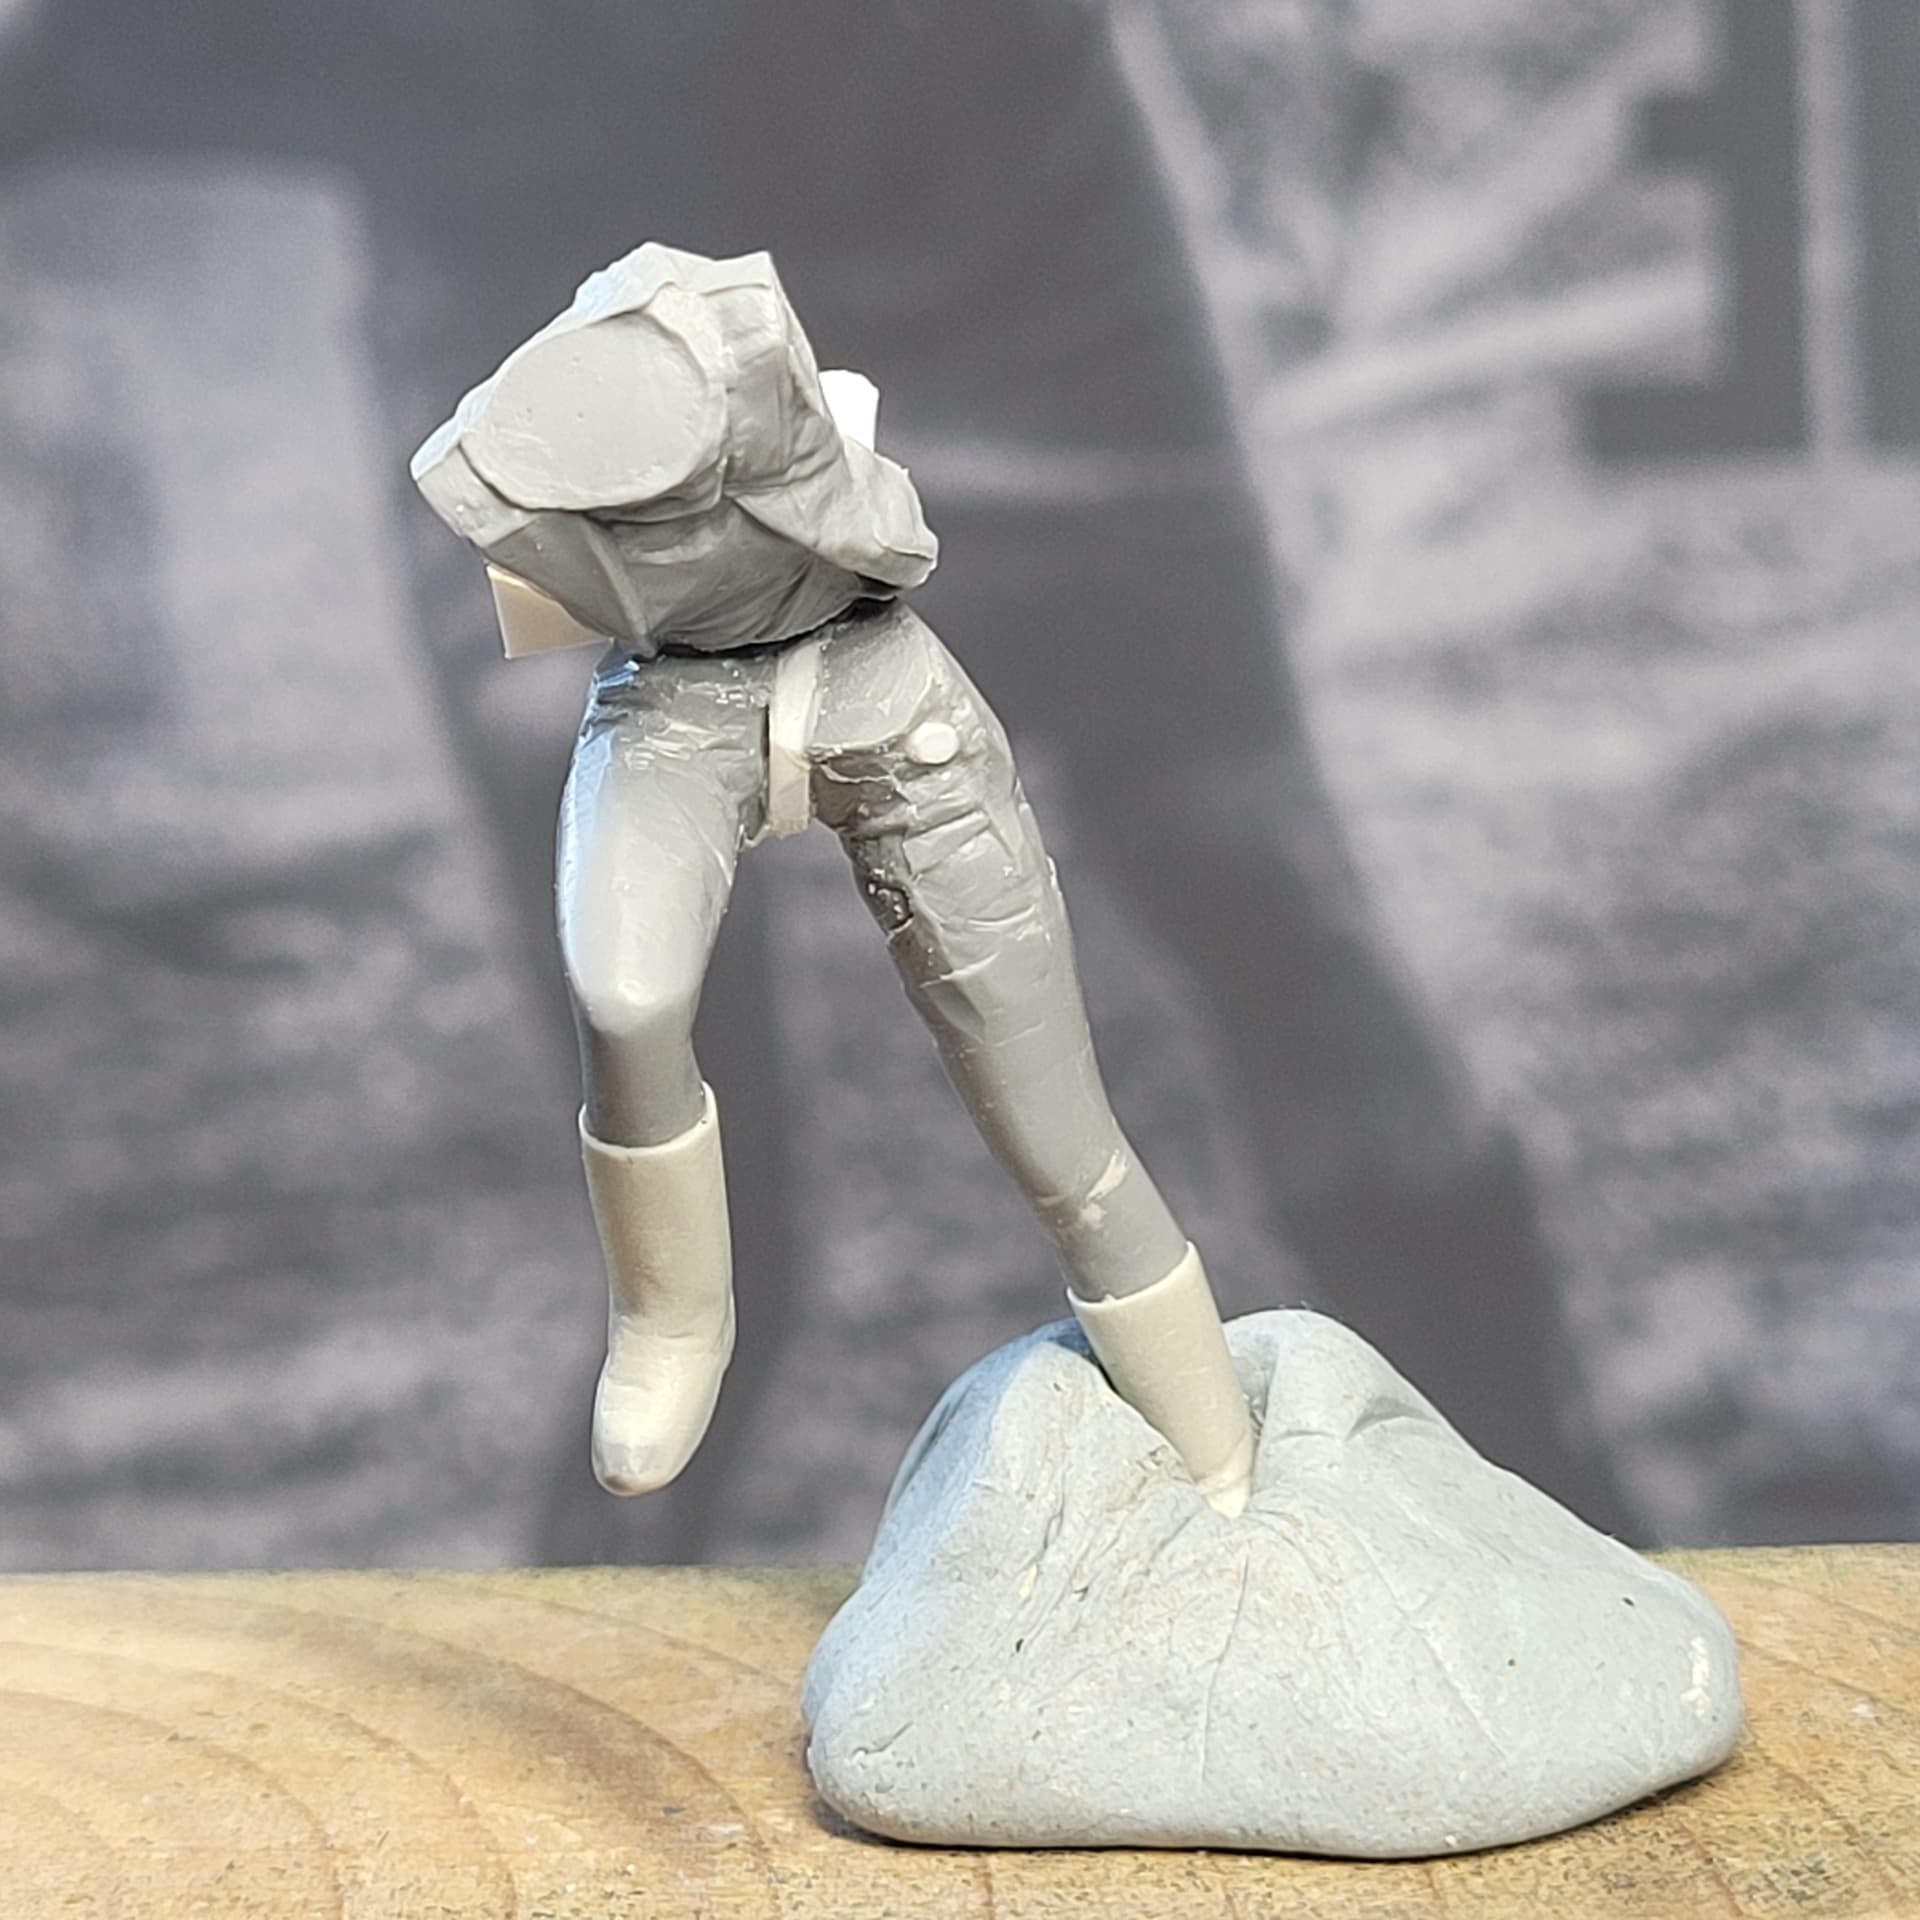
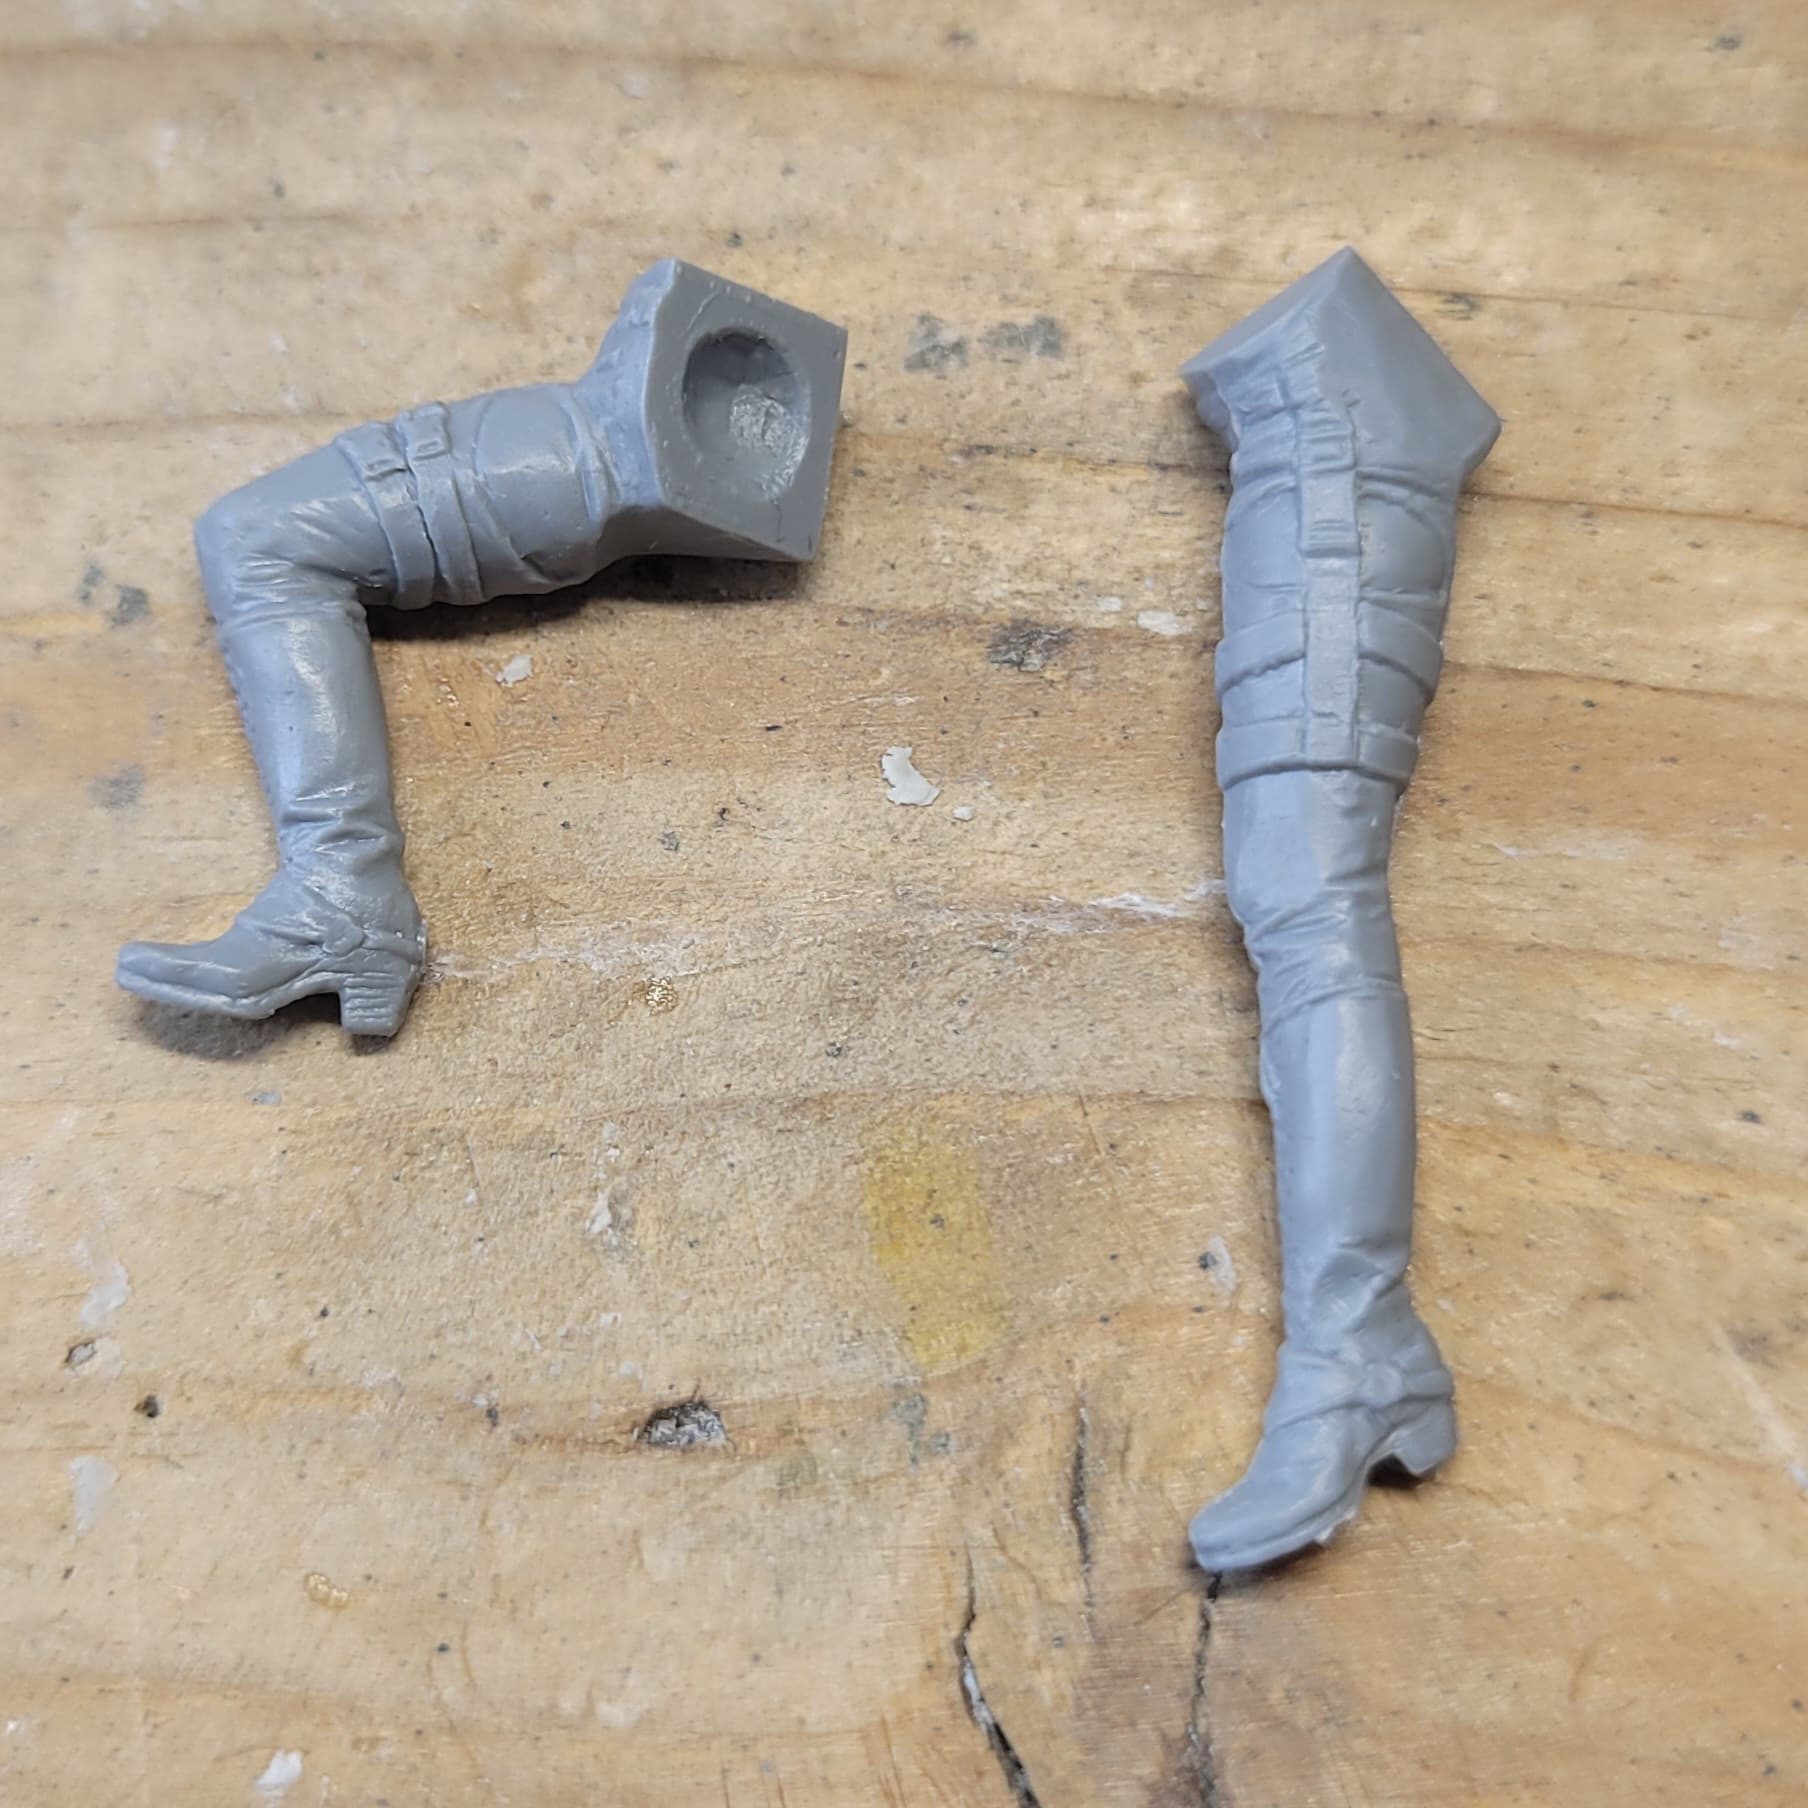
The motorcycle figure from the MB set has her legs in a similar position, but reversed, so I thought I’d just reverse the photo and do it that way… much easier.
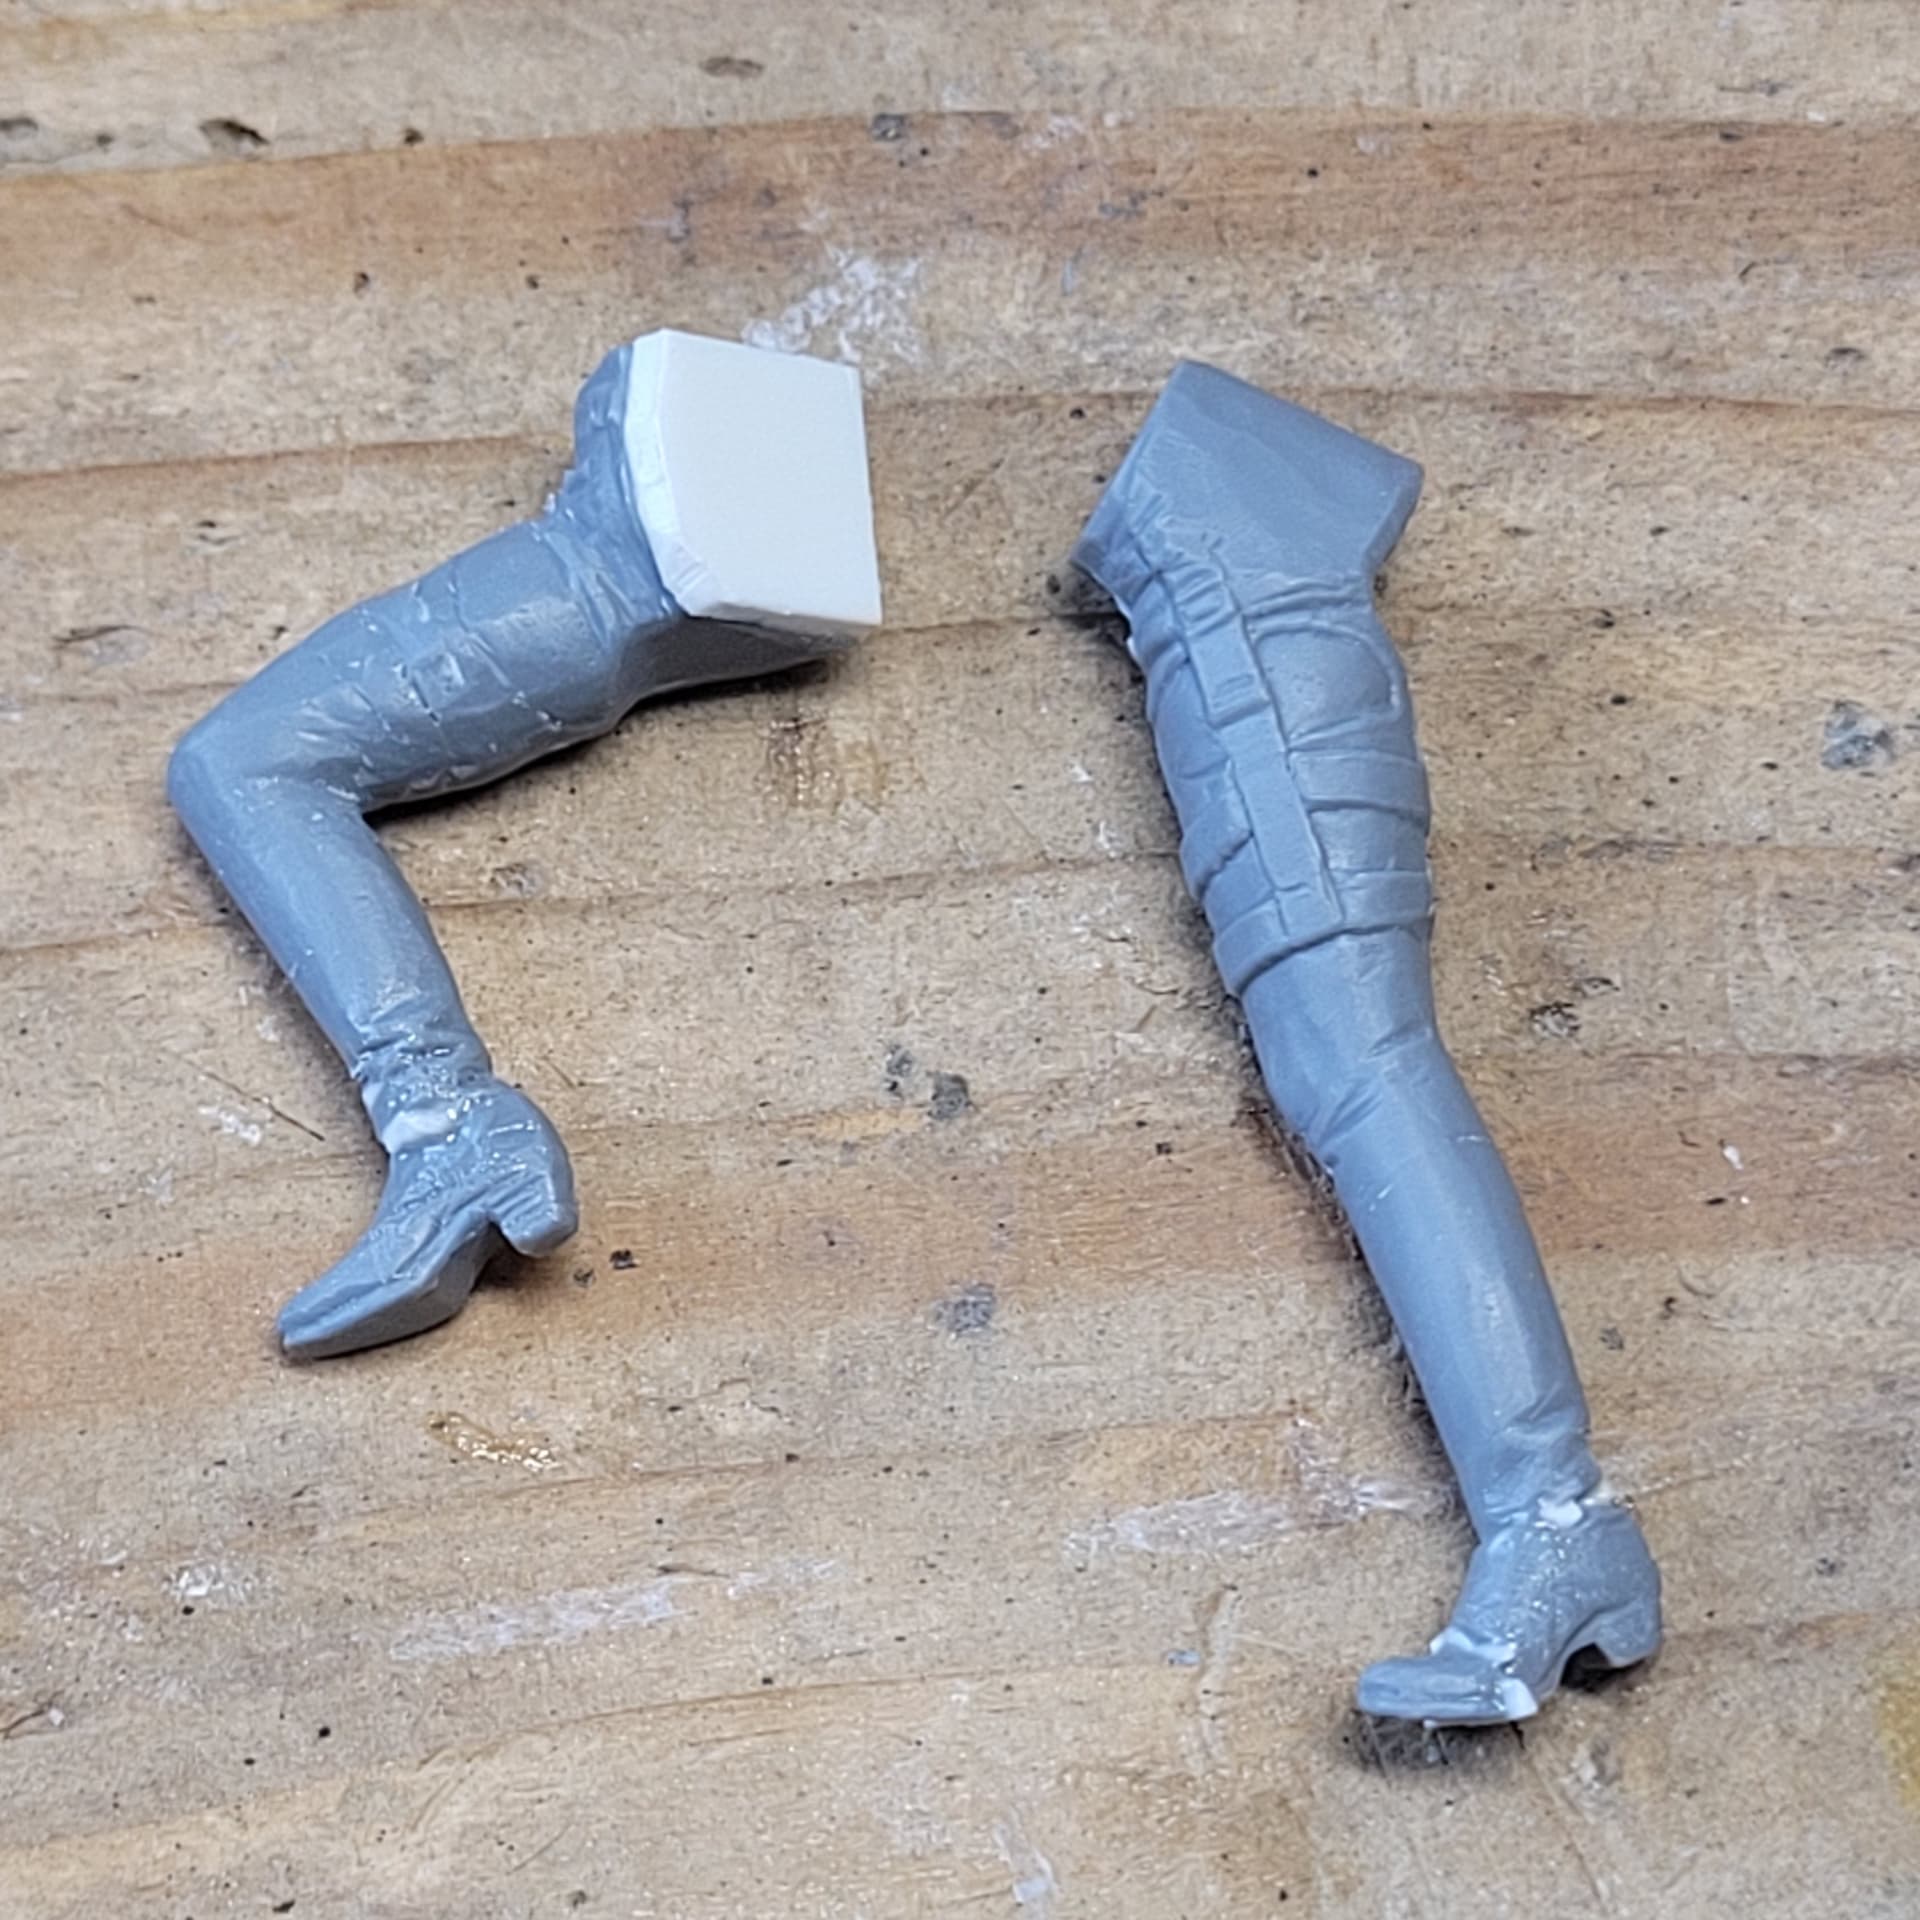
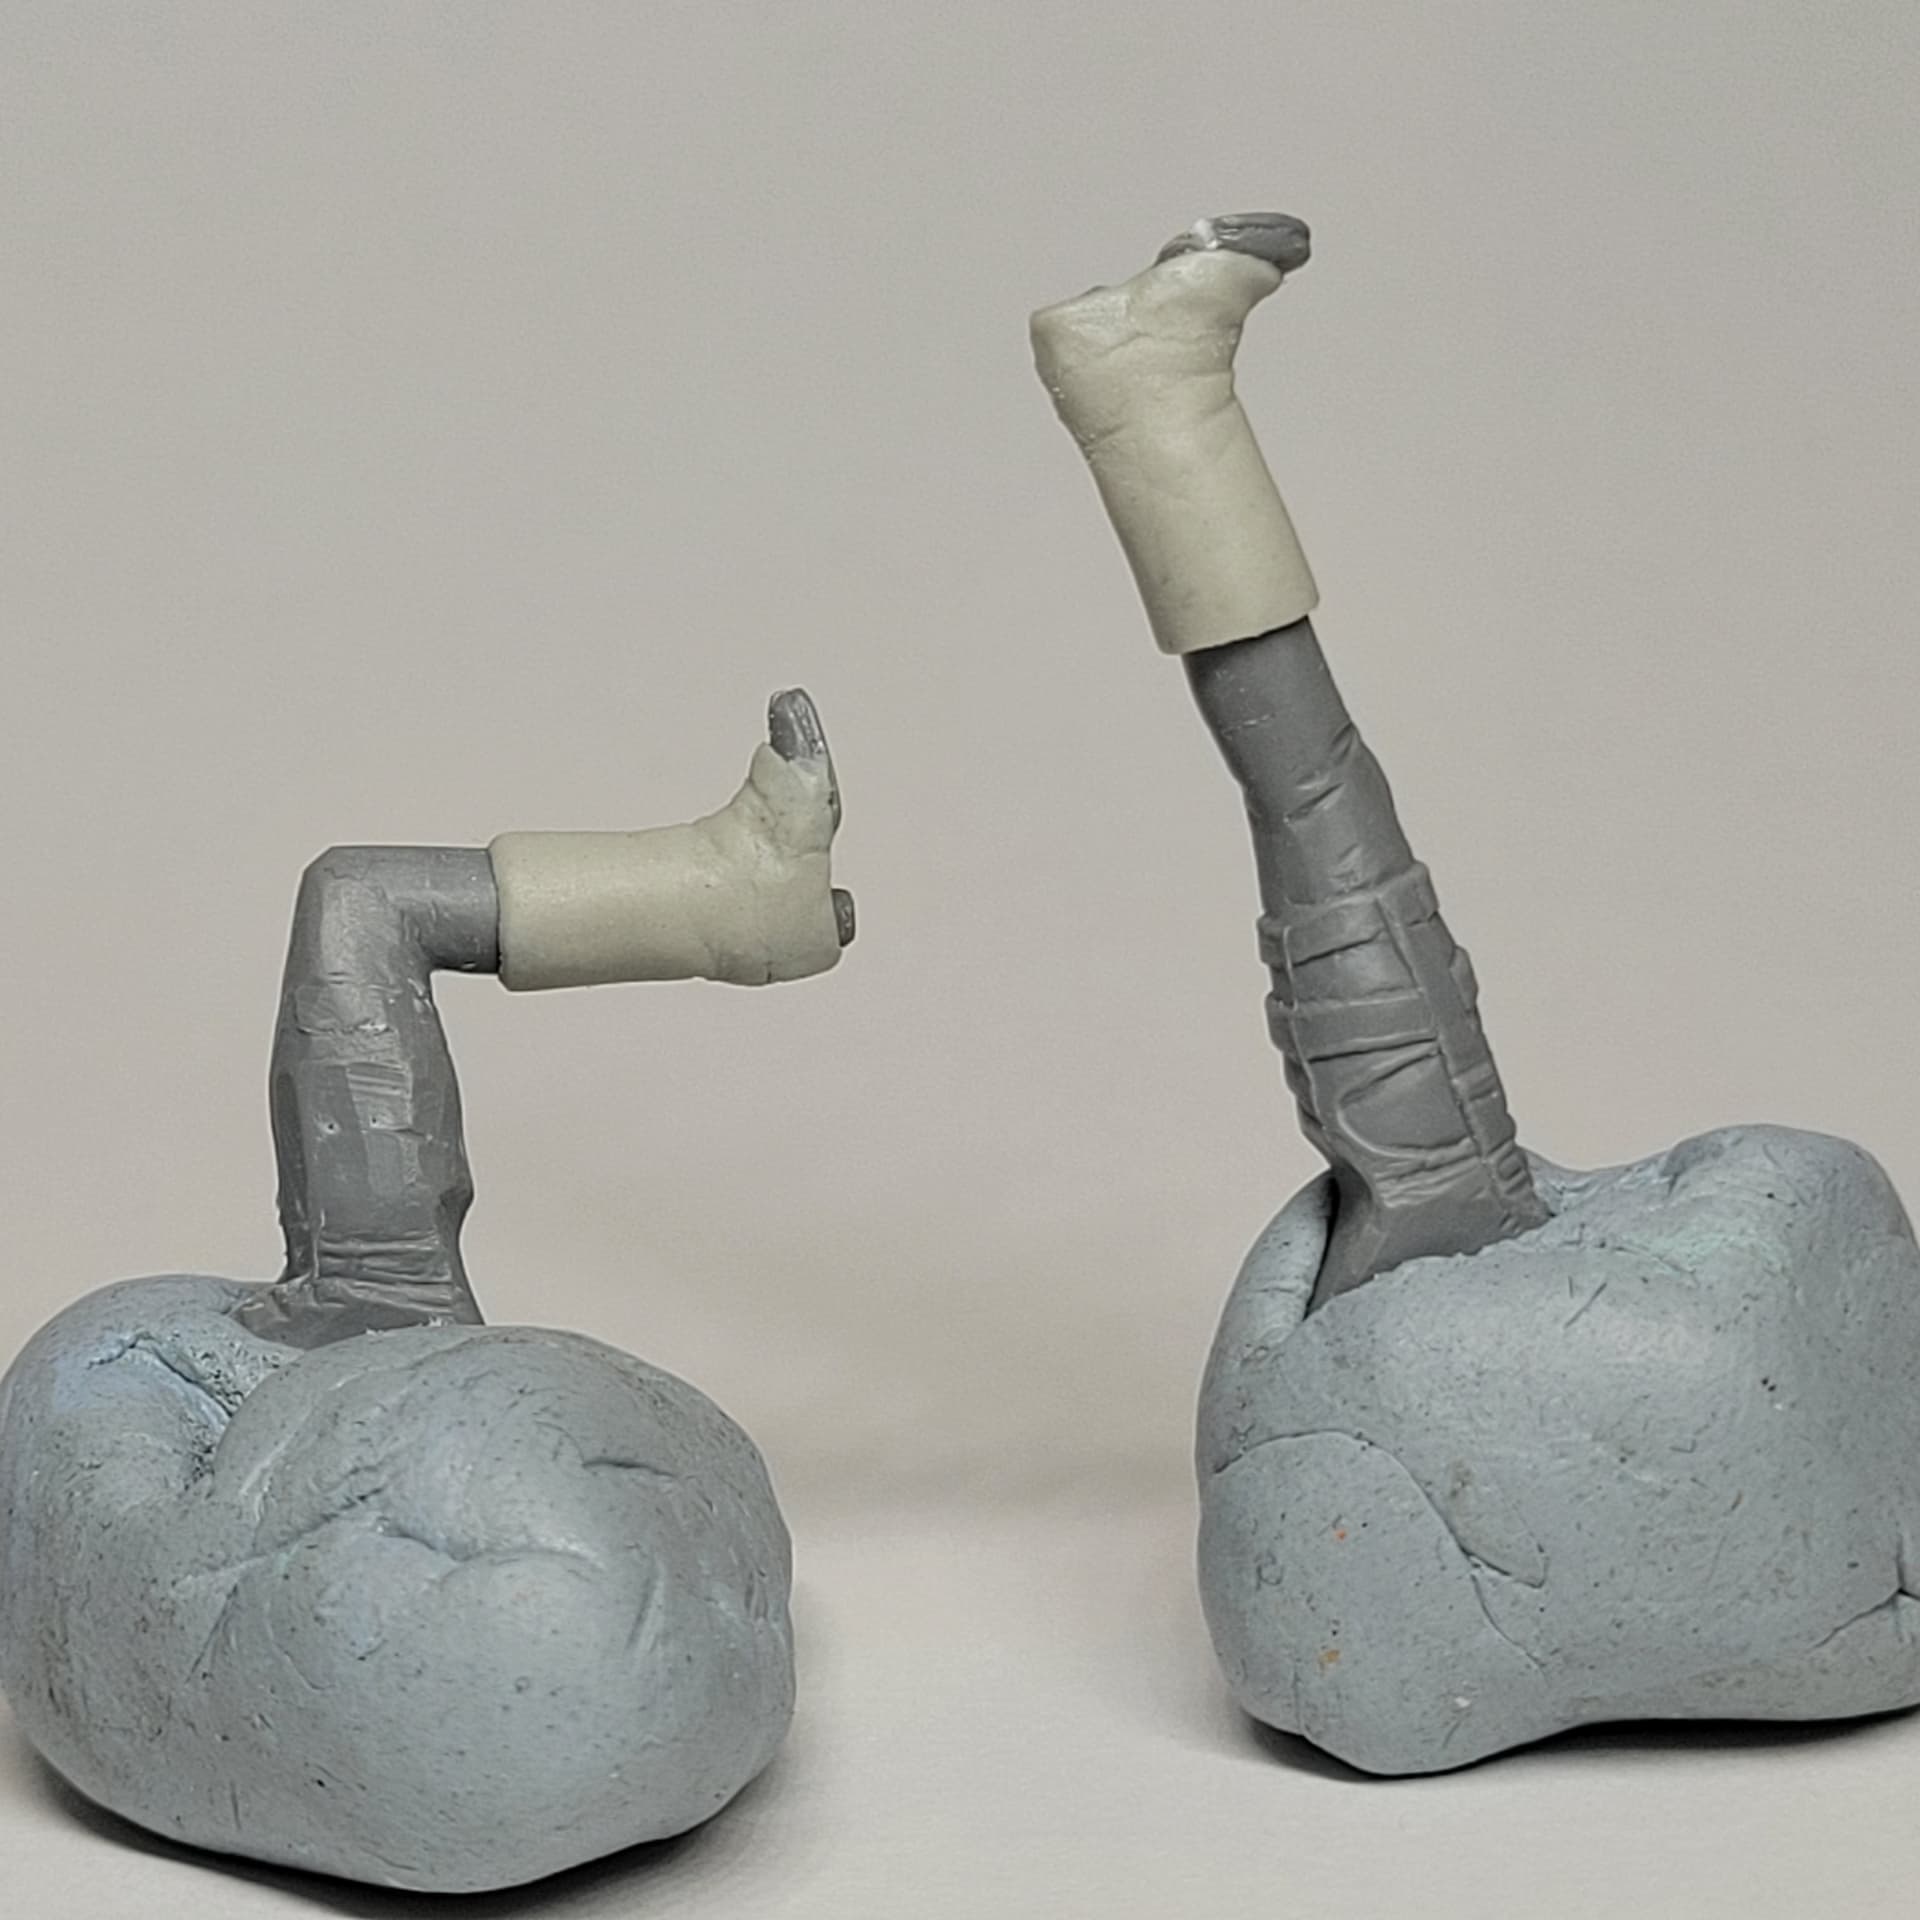
I’ve carved the tall boots off and the thigh straps, and adjusted the foot / ankle positions so that she will stand on the one foot falling forward. I’ve started to putty on the shorter boots, they’re a bit thick currently but will sand them down to the right profile. Once those are done then I’ll join the legs, body, skirt, etc.

7 Likes
Bloody hell Matthew, there’s bleak, then there’s bleak!
“Threads”, “The War Game”; what’s next? “The Day After”, “On the Beach”? Or perhaps “Dr Strangelove”? (which I never really found amusing at all). How much bleak can one man model?
Only kidding - love your work!
3 Likes
That’s the one (the movie, not the TV Mini-series; even Rachel Ward couldn’t save that) that I found the most misery-making. Also check out No Blade of Grass; as a bonus, it has an appearance by the lovely but doomed Lynne Frederick, who also stars in the disturbing Phase IV. Probably the best of the “Zombie Apocalypse” genre is Train to Busan


Cheers,
M
3 Likes
Holy cow! Somehow I’ve missed this entire thread until now. Great work!
The bane of my modeling existence.
2 Likes
On The Beach is definitely in the queue, it’s available on one or other streaming service at the moment, the 1950s version, that is.
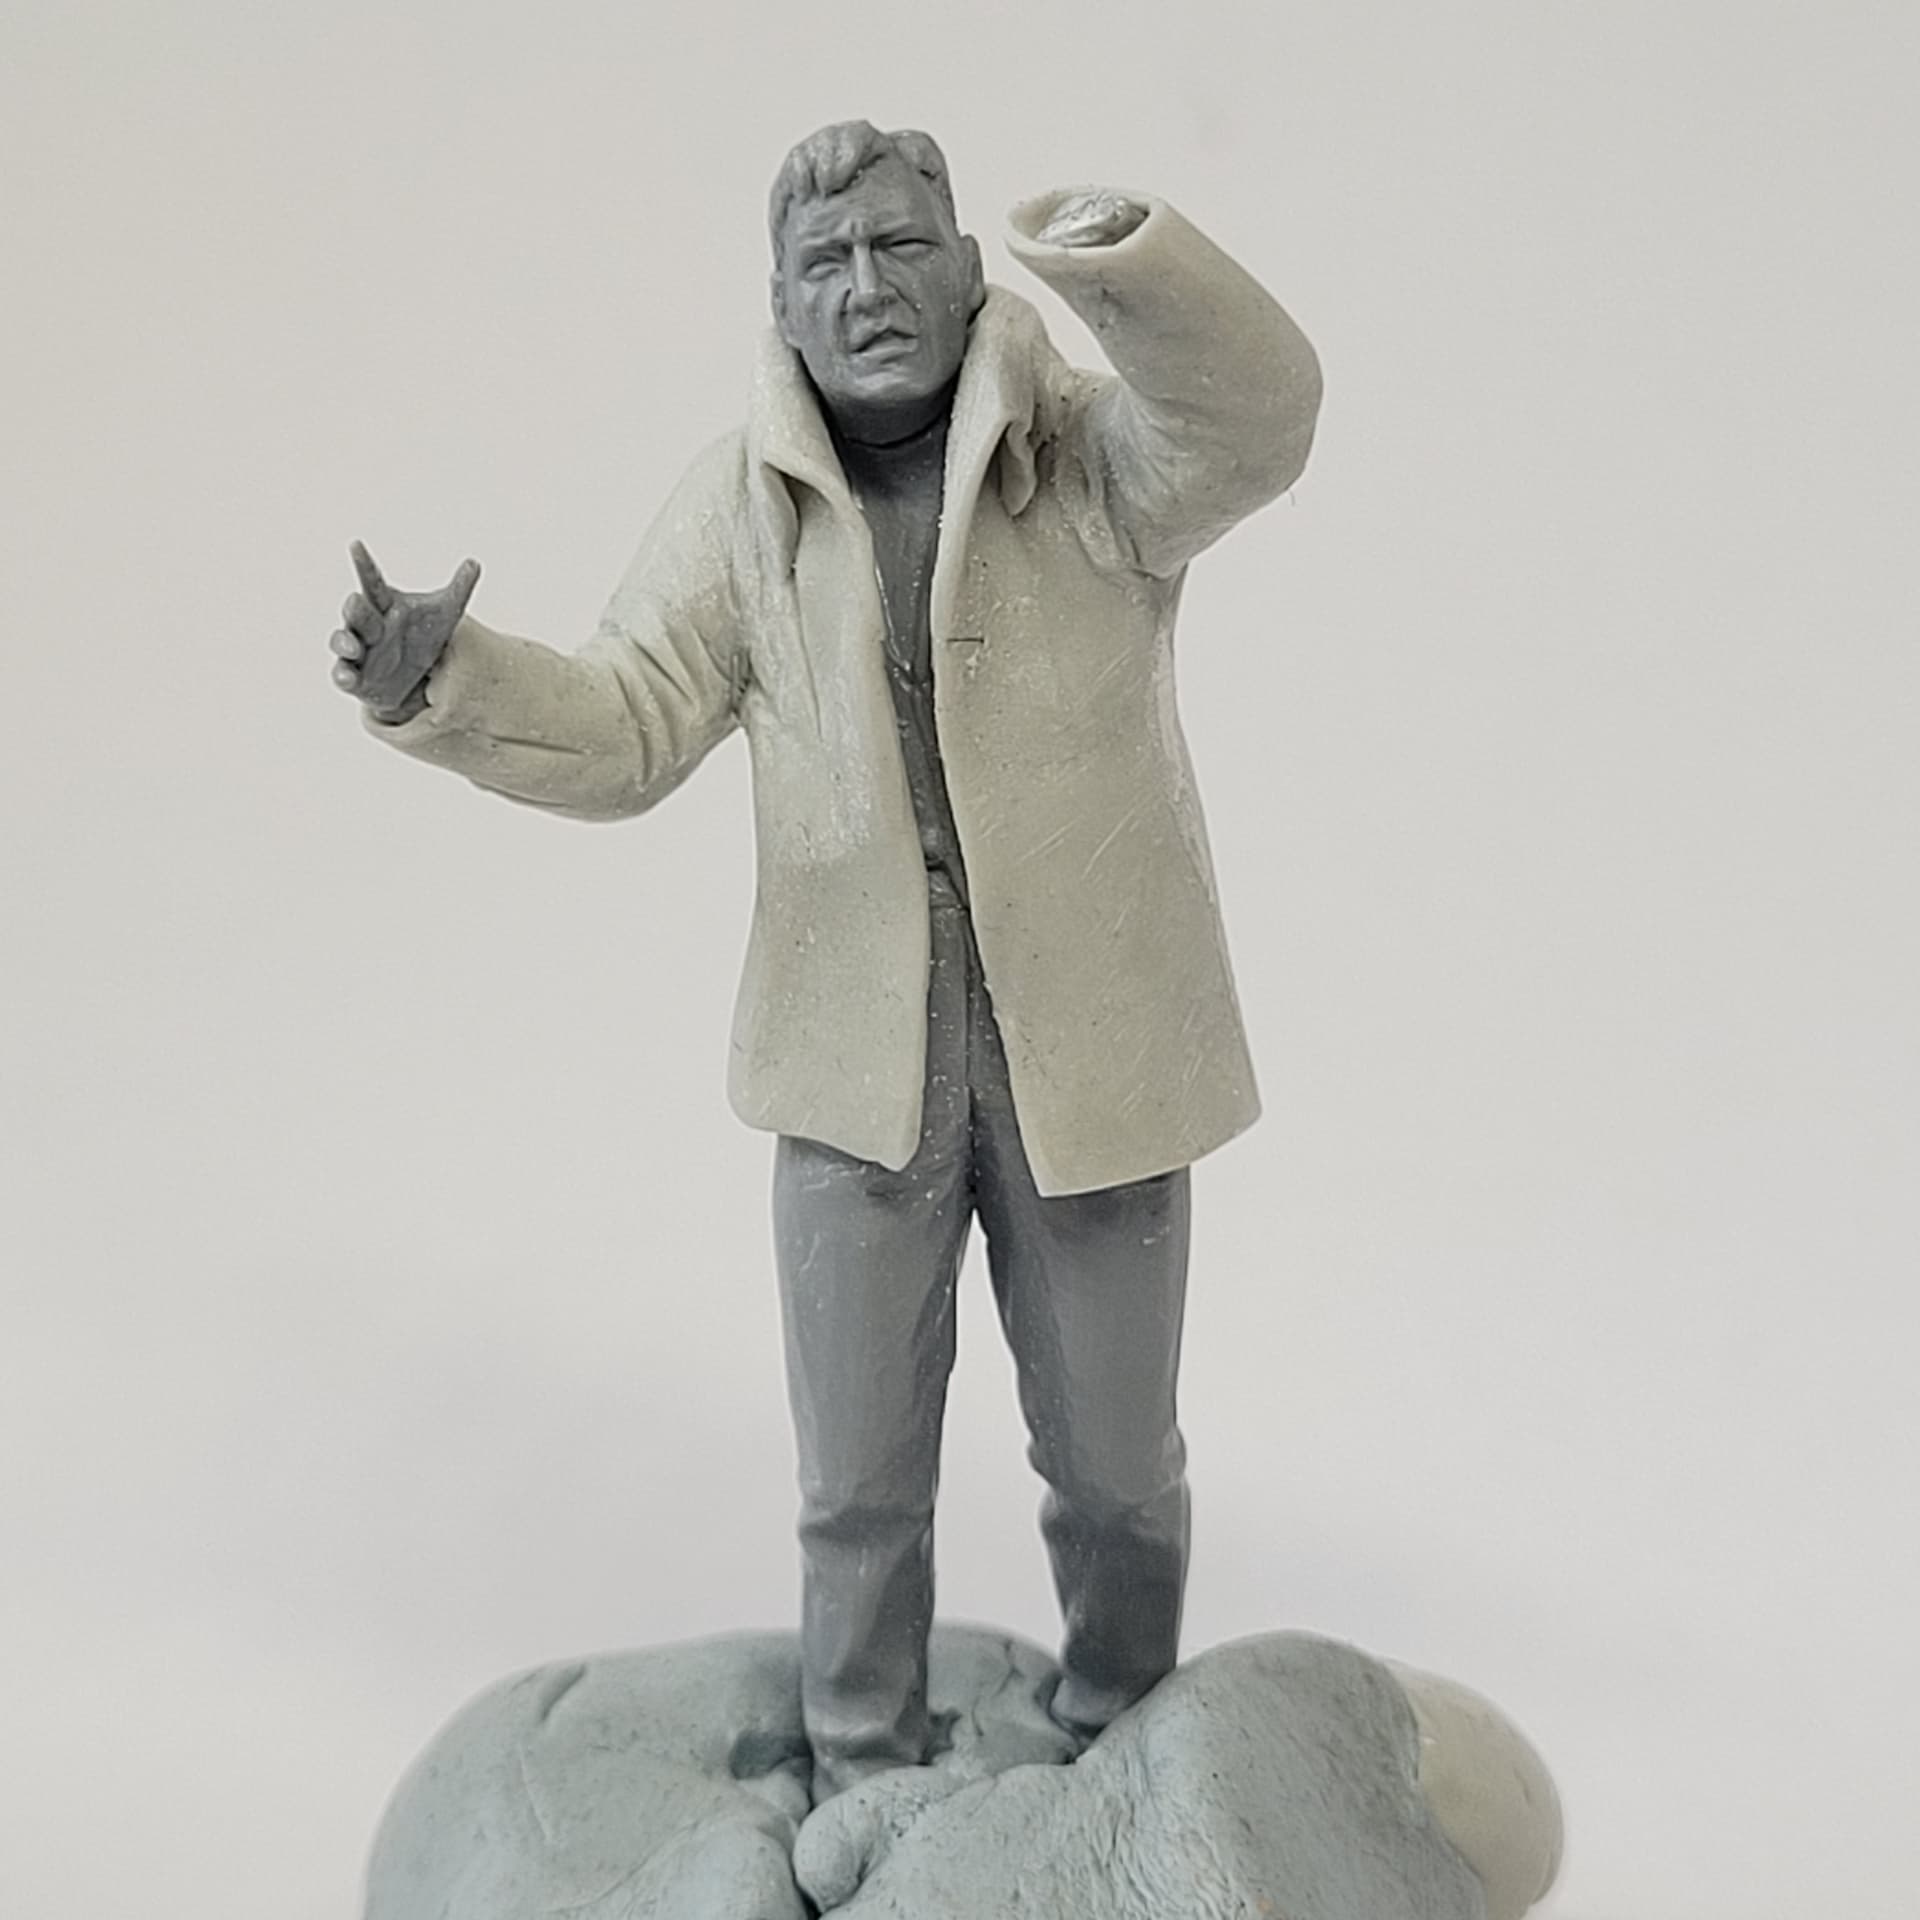
The two Threads guys are almost there. Leather jacket now has a head with a knitted hat, I might add a bobble. The taller one has possibly too stylish a jacket on, it was meant to be an anorak, but has a high collar as a hood just seemed too hard to deal with. He really needs a scruffier haircut.
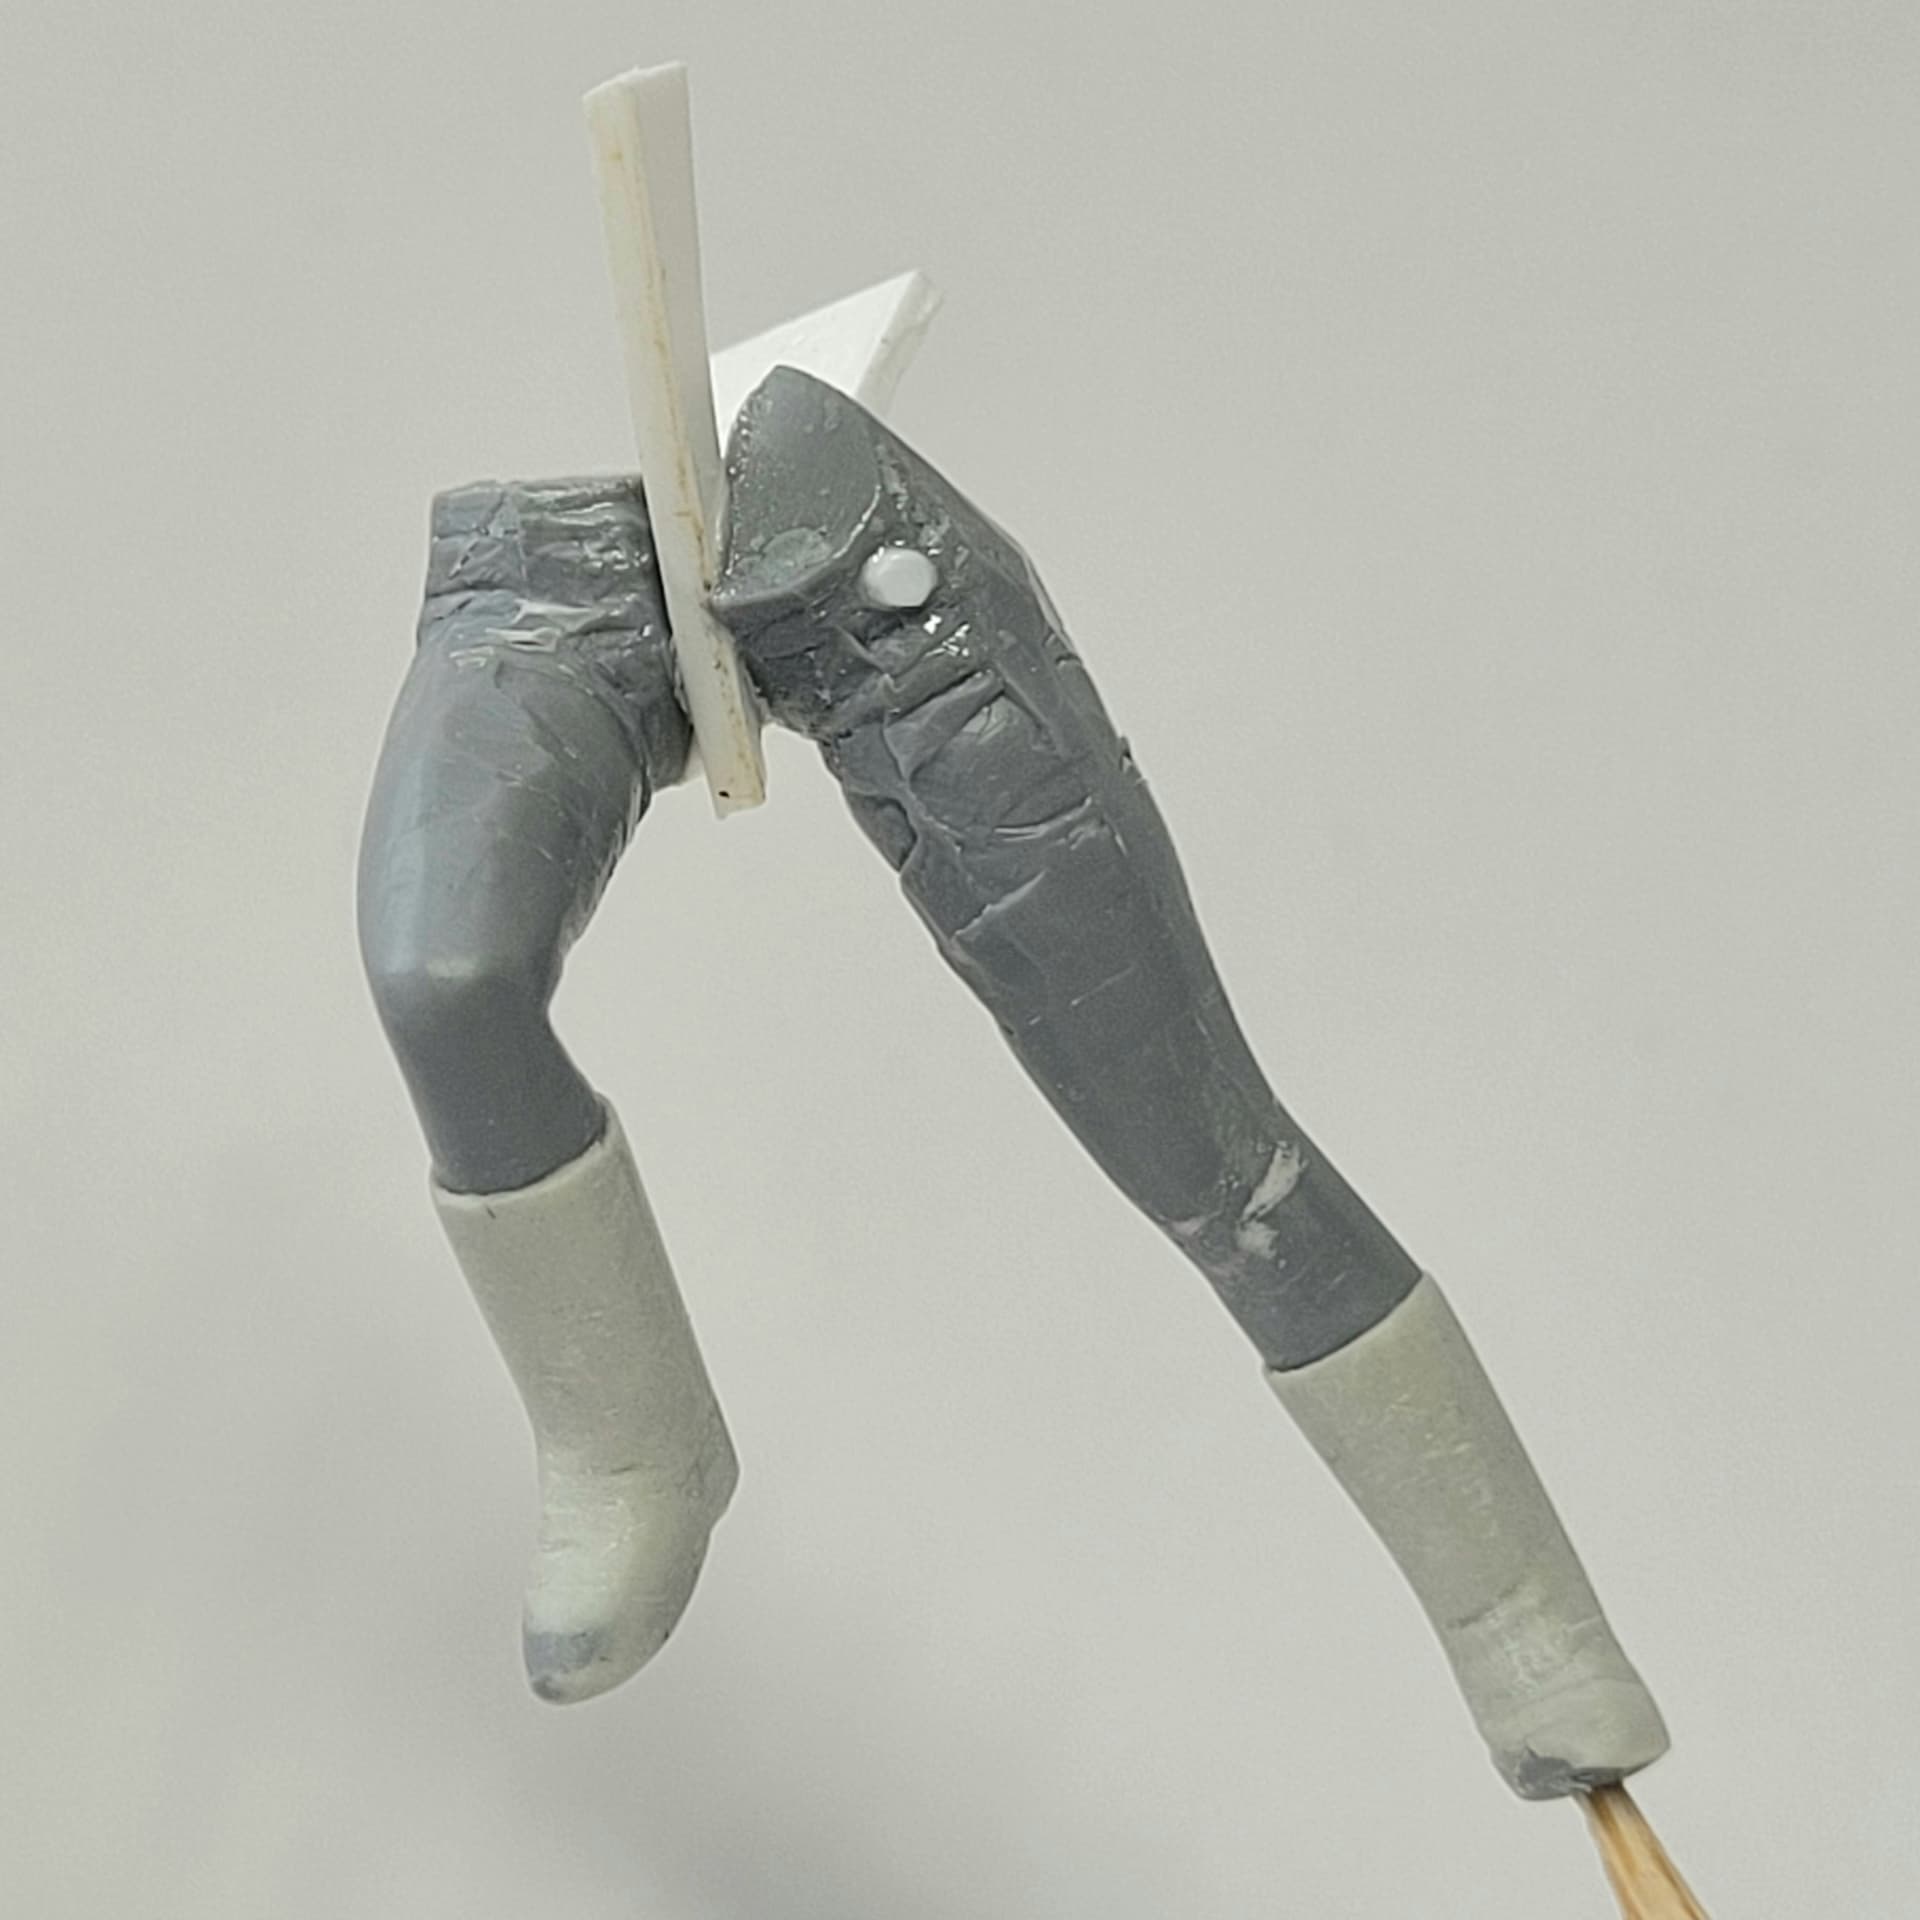
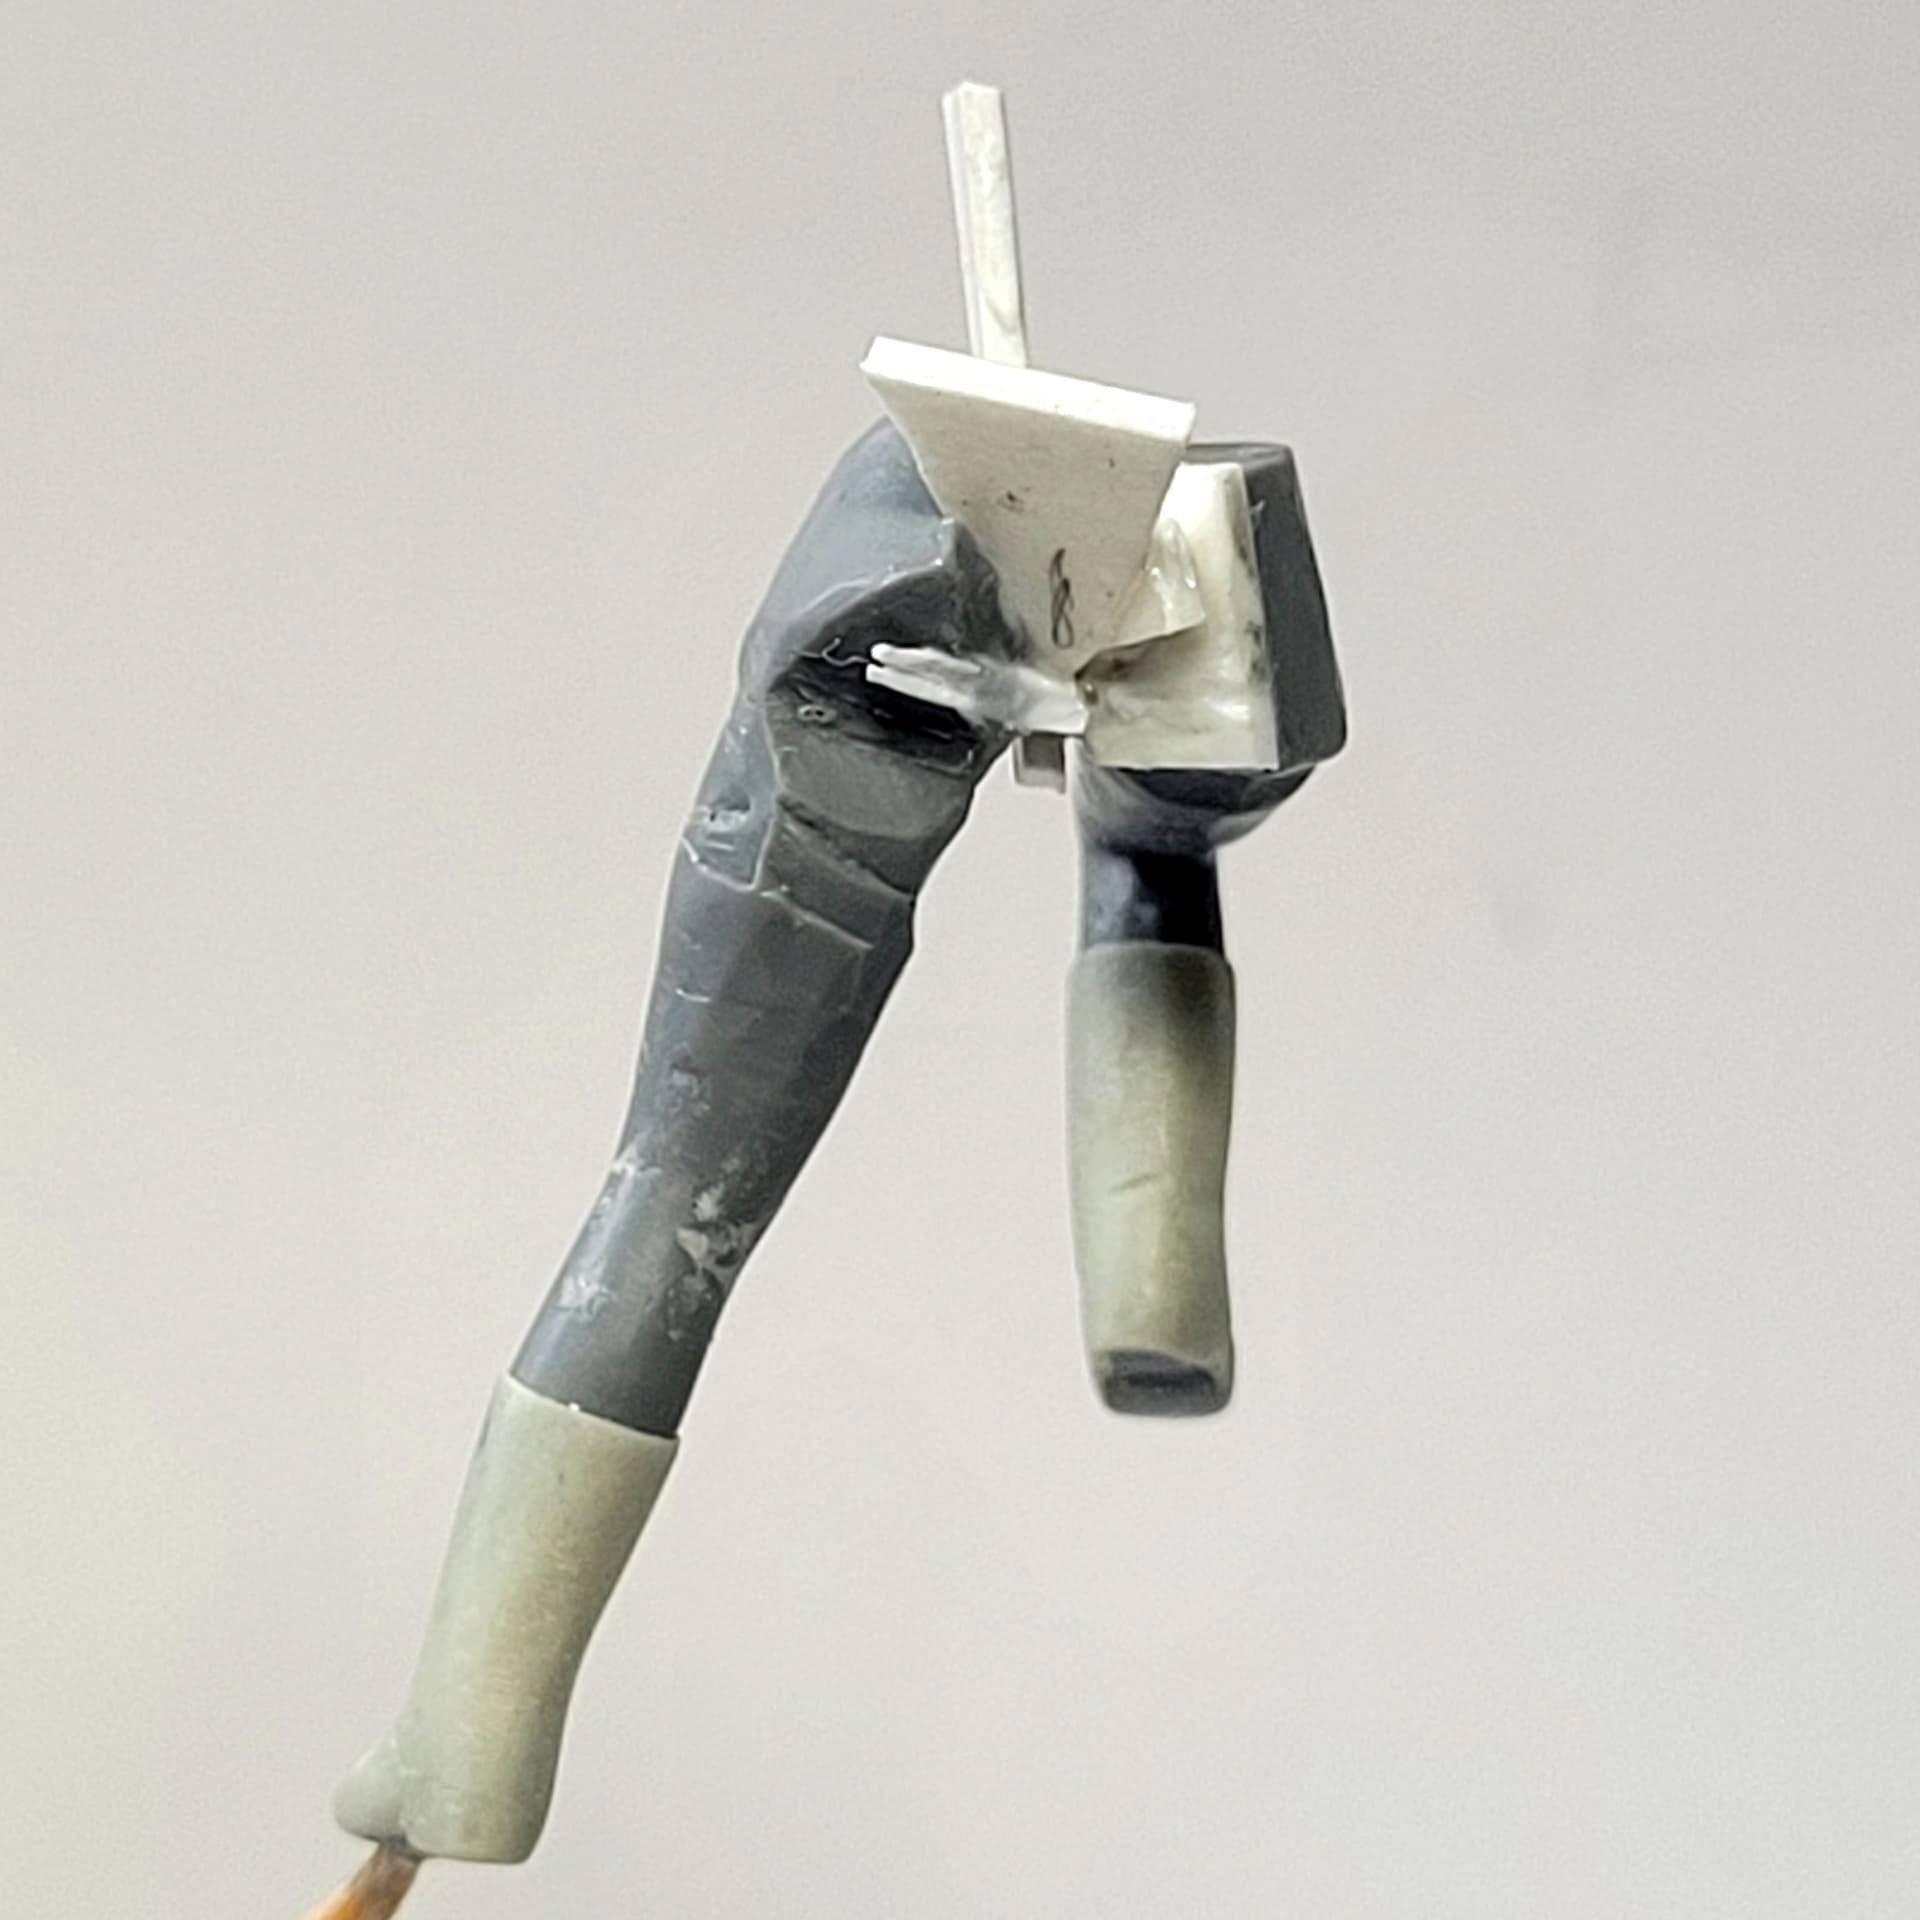
The War Game victim has had the leg refinishing and boots completed, including an angle hole drilled into the foot to receive a metal rod. After a few attempts and adjustments with extra shims I think the legs now look in about the right position.
8 Likes
Very instructive to see how you are doing the conversions. Both are looking suitably animated for the scene.
4 Likes