So you’re like W-

3 Likes
LOL! Yes, very much.
Dragon Pz III Ausf N - Neo #5n #6956
Step 1 Wheels, Rollers, Sprockets & Idlers
< 5 hours 36 minutes >
running total 5 hours 36 minutes
Visible seams to clean up on Sprockets. I like RFM’s design better due to easier clean up.
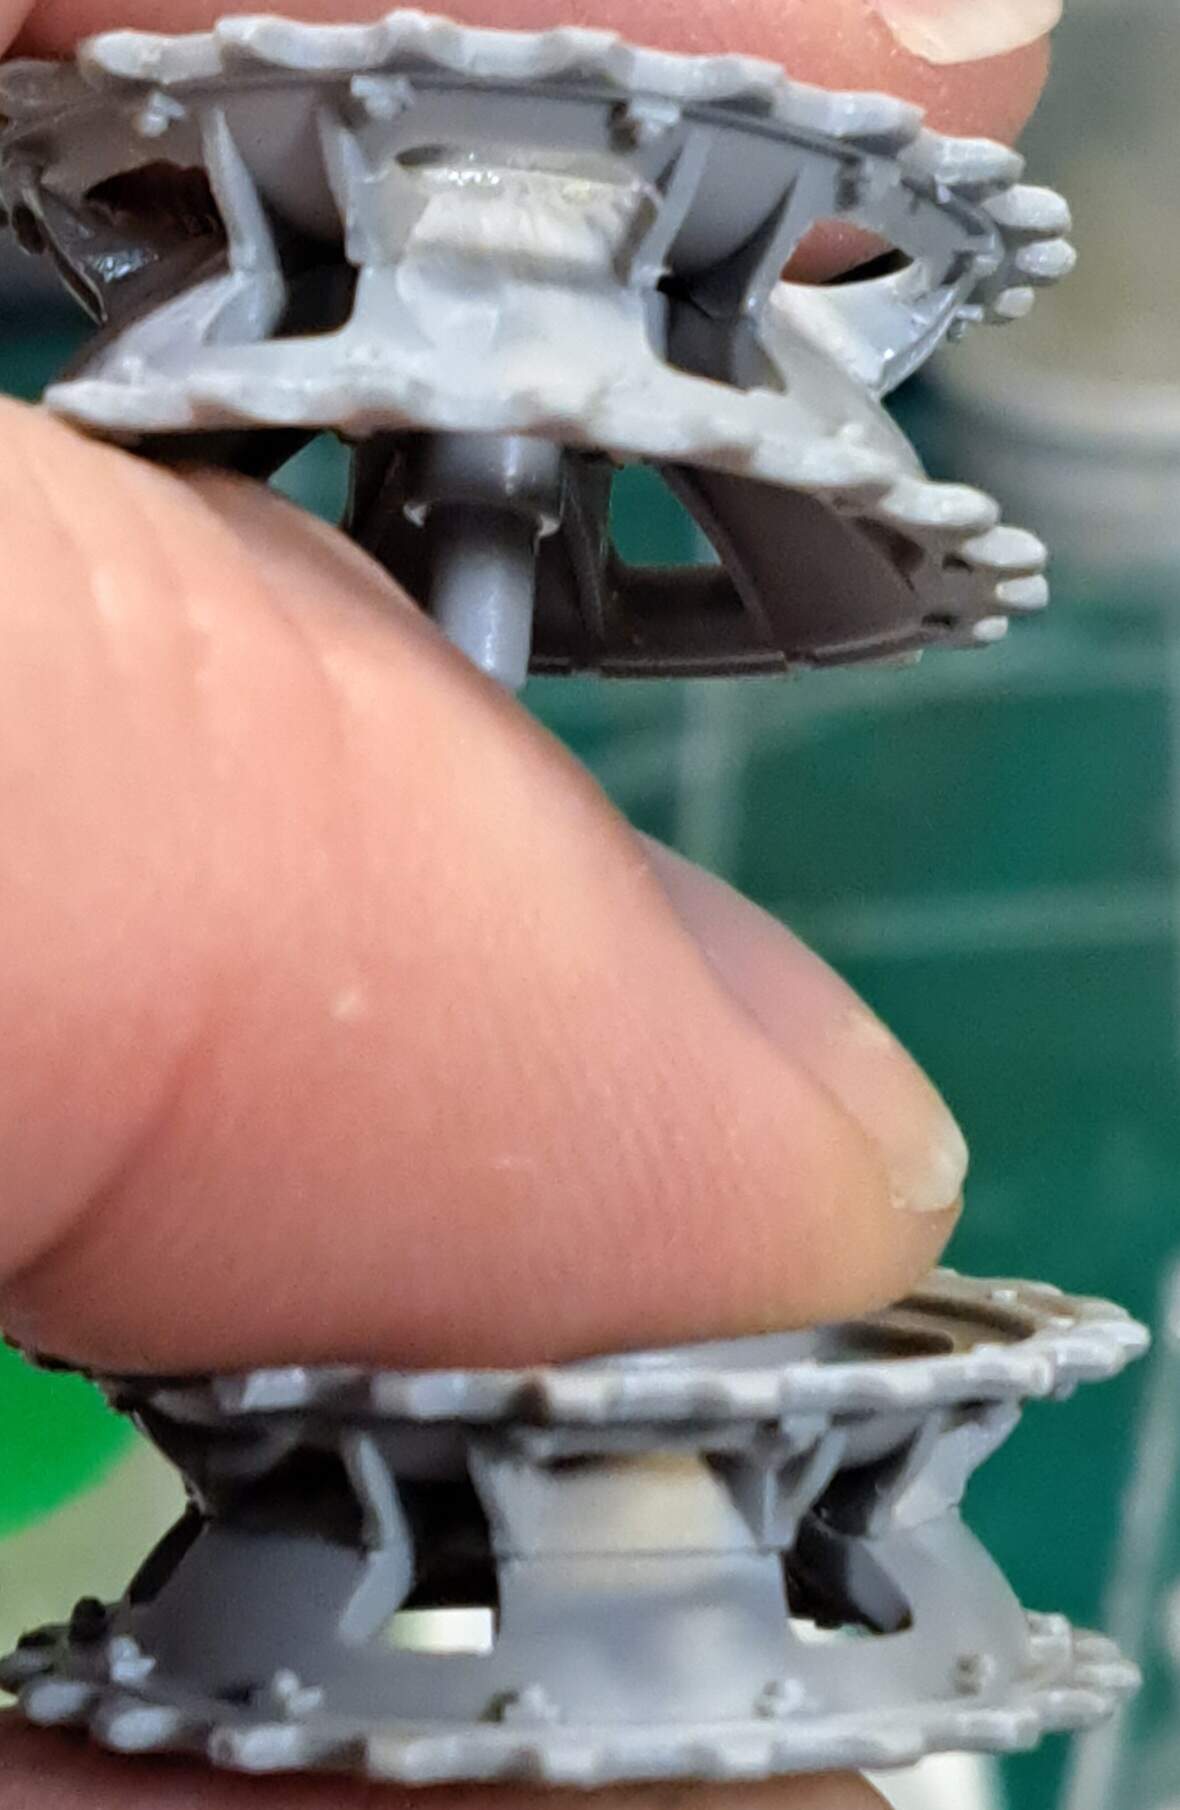
Dragon Engineered, make a PE hoop 3 parts each instead of one part.
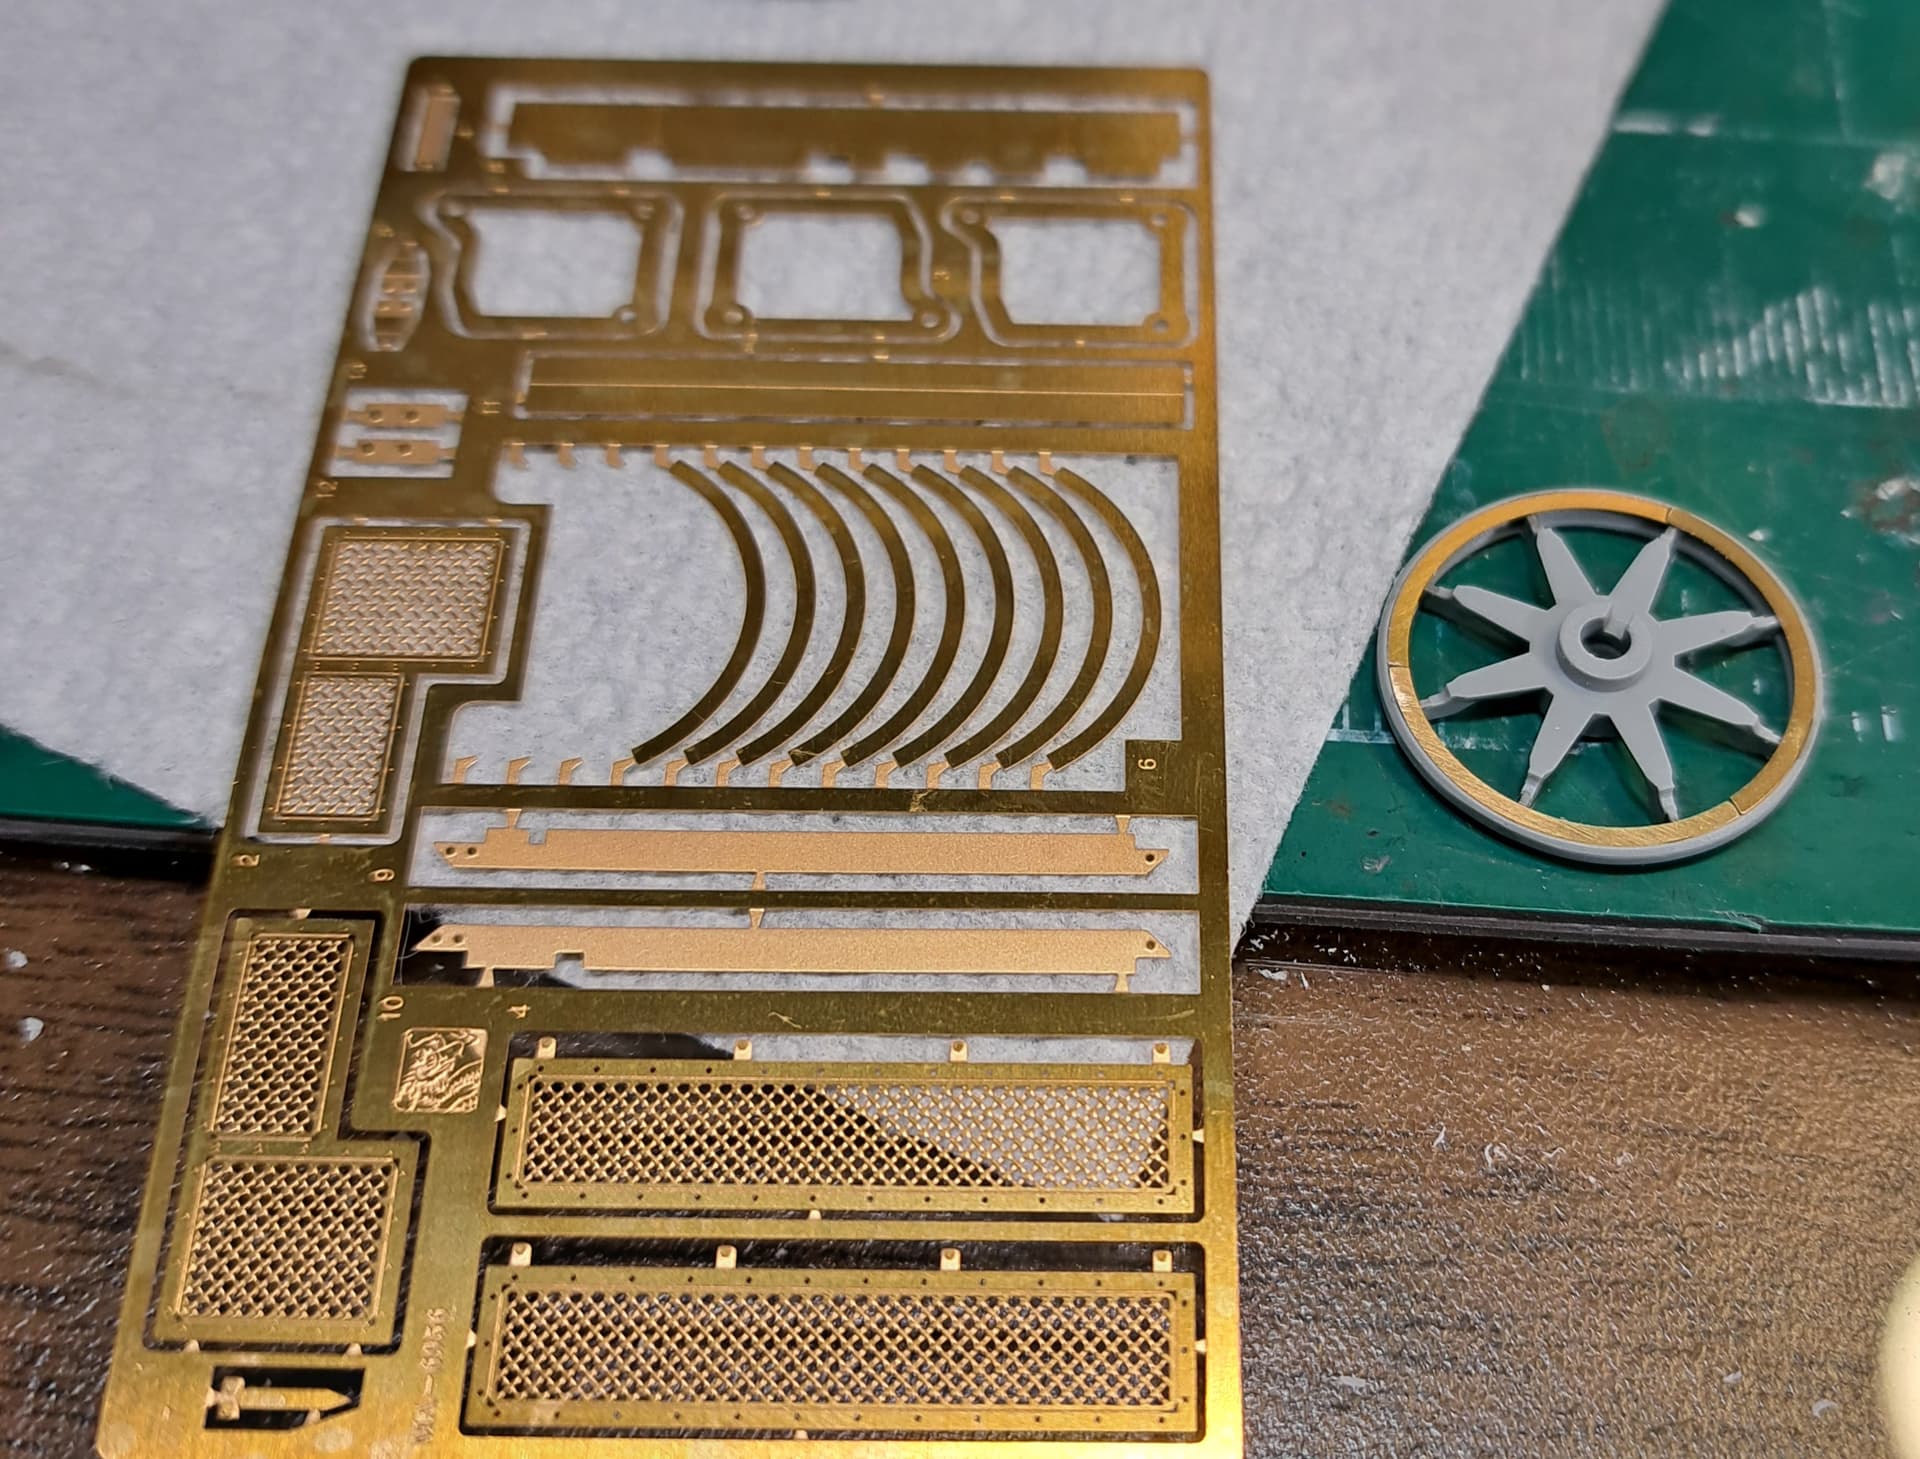
The result is pretty sweet however.
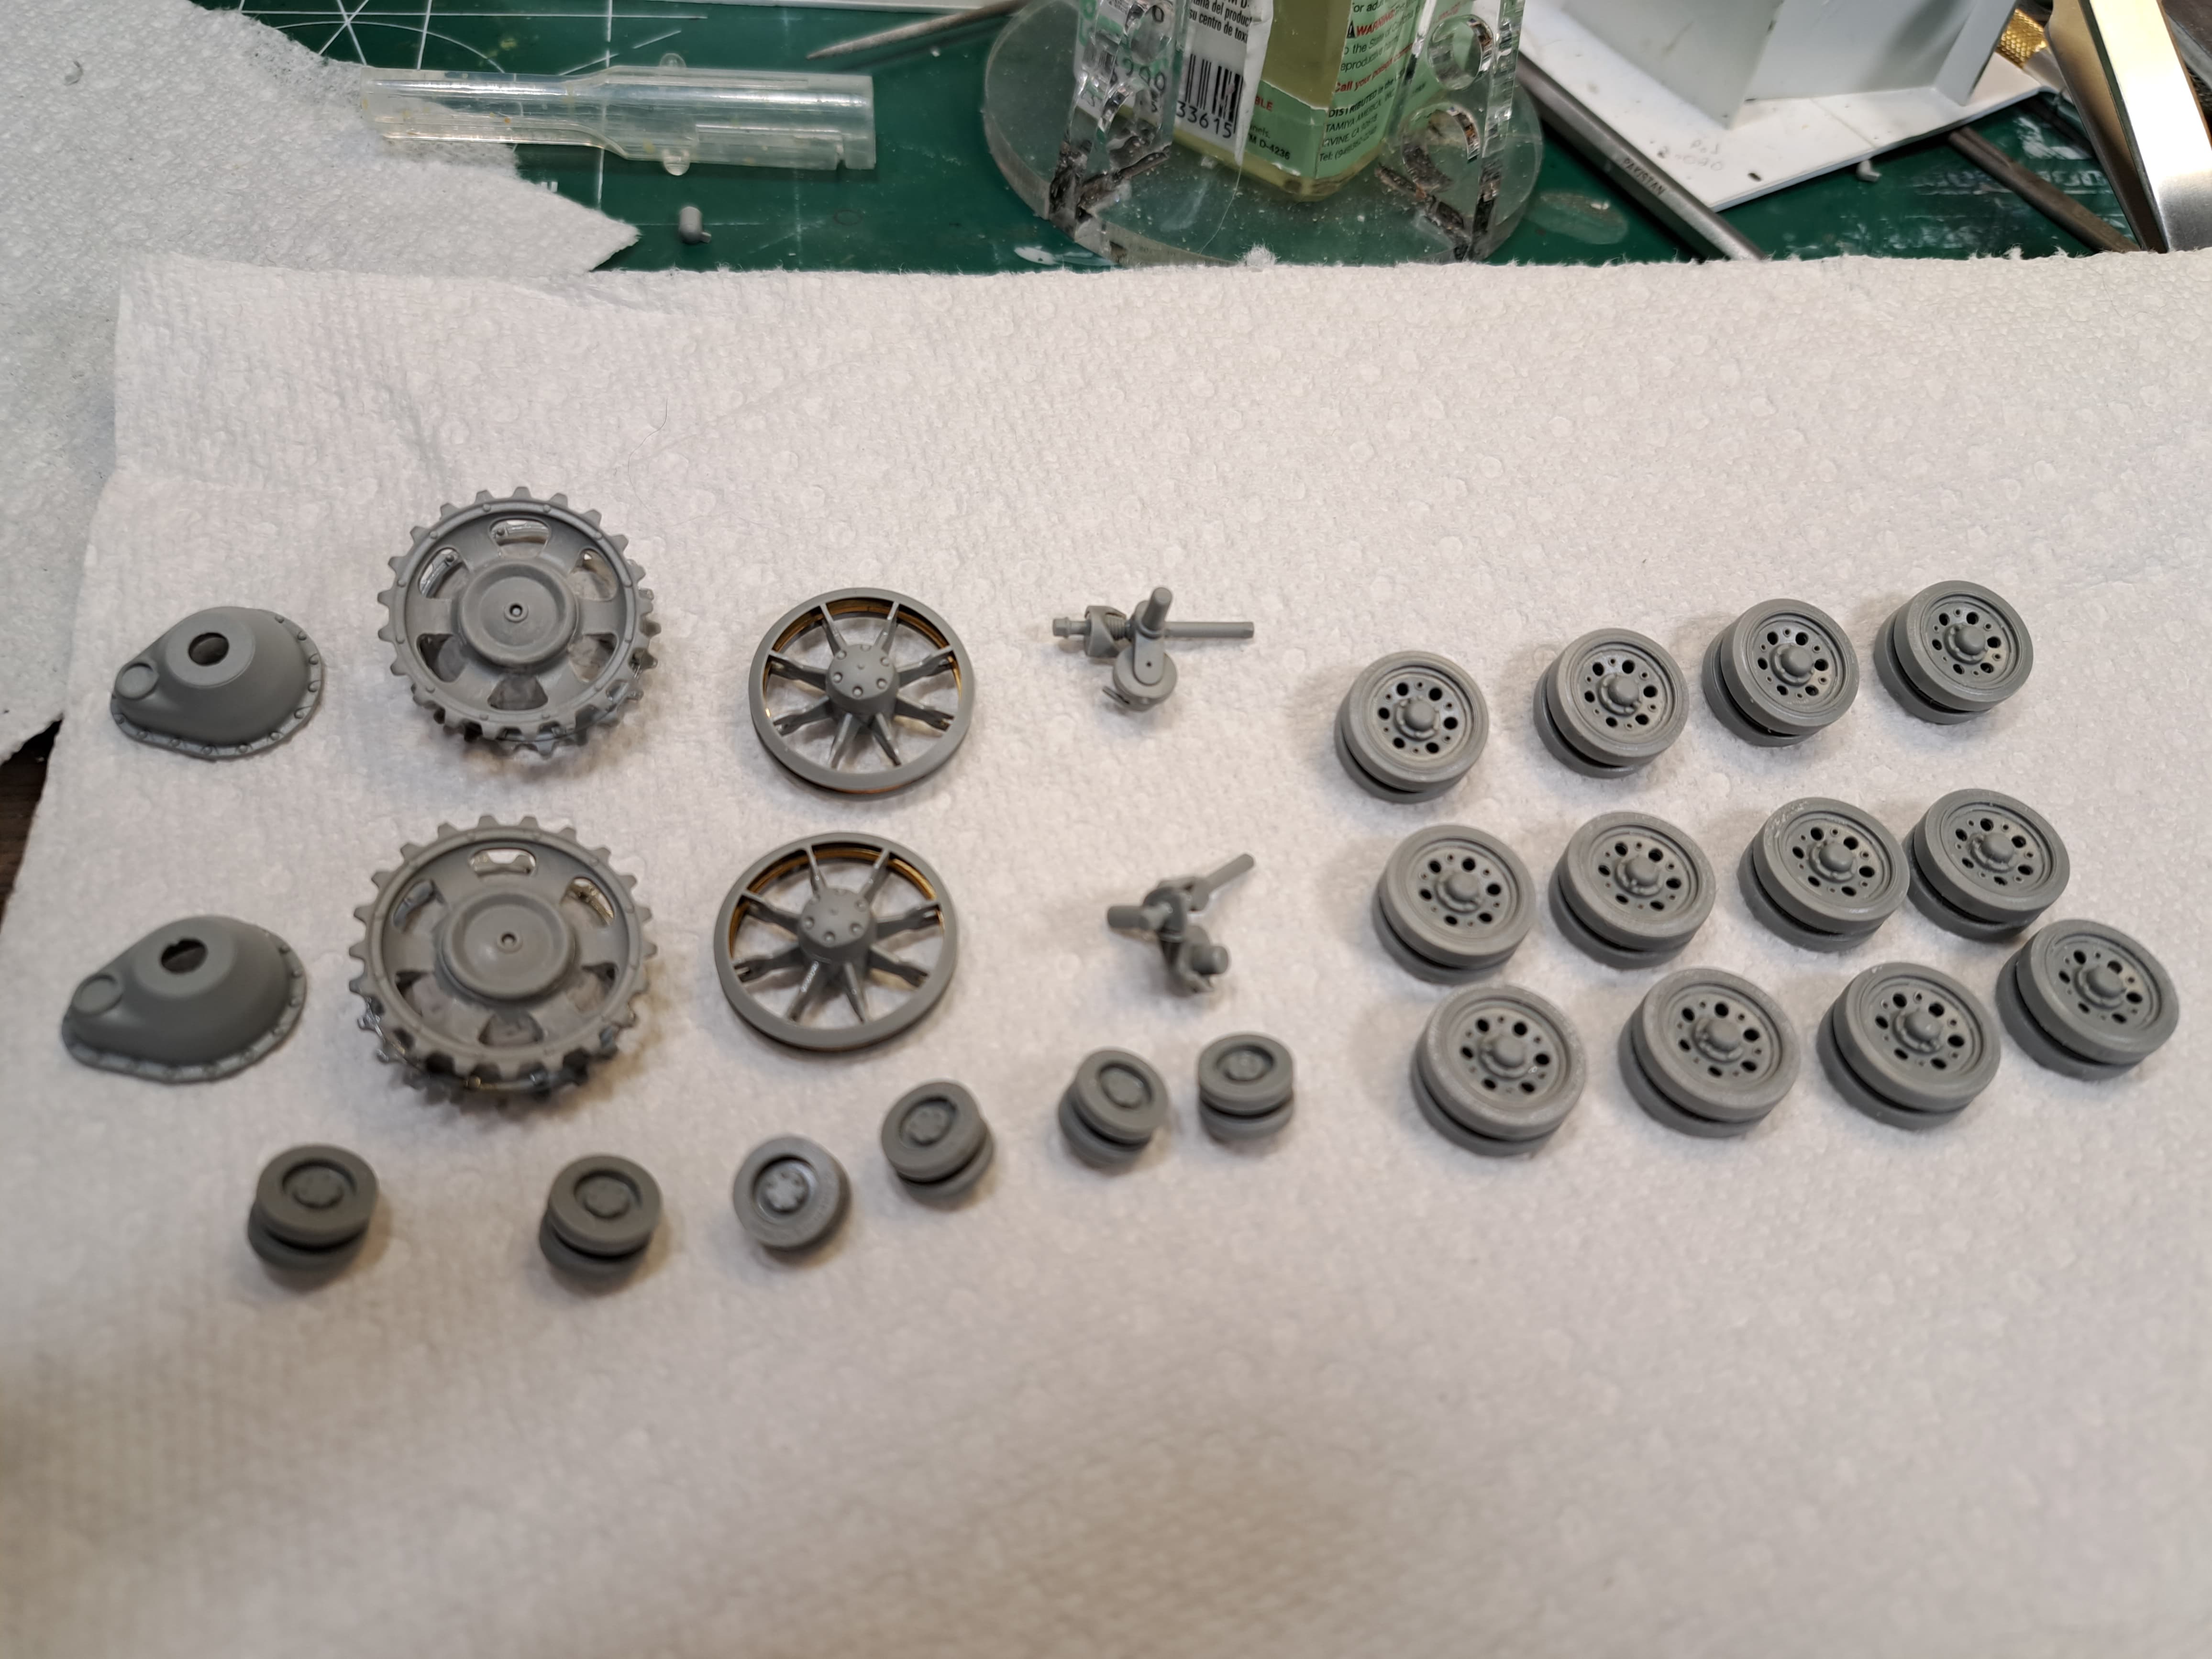
For me Dragon’s hard gray plastic is much harder to scrap mold seams off of than Takom’s, Tamiya or RFM.
3 Likes
I know from experience they are definitely harder than Miniart’s plastic. When I did my Pz III mega build I had to be careful not to slice through the Miniart parts but it was a slog to do ten Dragon kits in a row.
However, the Miniart suspension was godawful to assemble.
And as for accuracy, it would depend on the release for Dragon. My kits were from three different periods with the earliest being a bit soft on details. The middle period was better and at least had Magic Tracks. The SmartKits are a bit easier to build and still have great detail/accuracy but most are DS tracks now and lost a bit of PE also.
I have one of every Pz III version now so I guess I won’t know what the other brands build like.
3 Likes
@brekinapez, interesting to hear about Mini-Art’s soft plastic. That was an impressive Marathon Build of Pz IIl ![]()
Very inspiring!
Fighting the Dragon, decided to put away the Xacto blades, Testor’s high carbon #11blades & India made scapel blades, extreme issues, demand extreme solutions…time to break out the finest British Steel #11 & German (Krupp anyone?) #15 surgical scapel blades…these are restricted to Dragon Slaying normally.

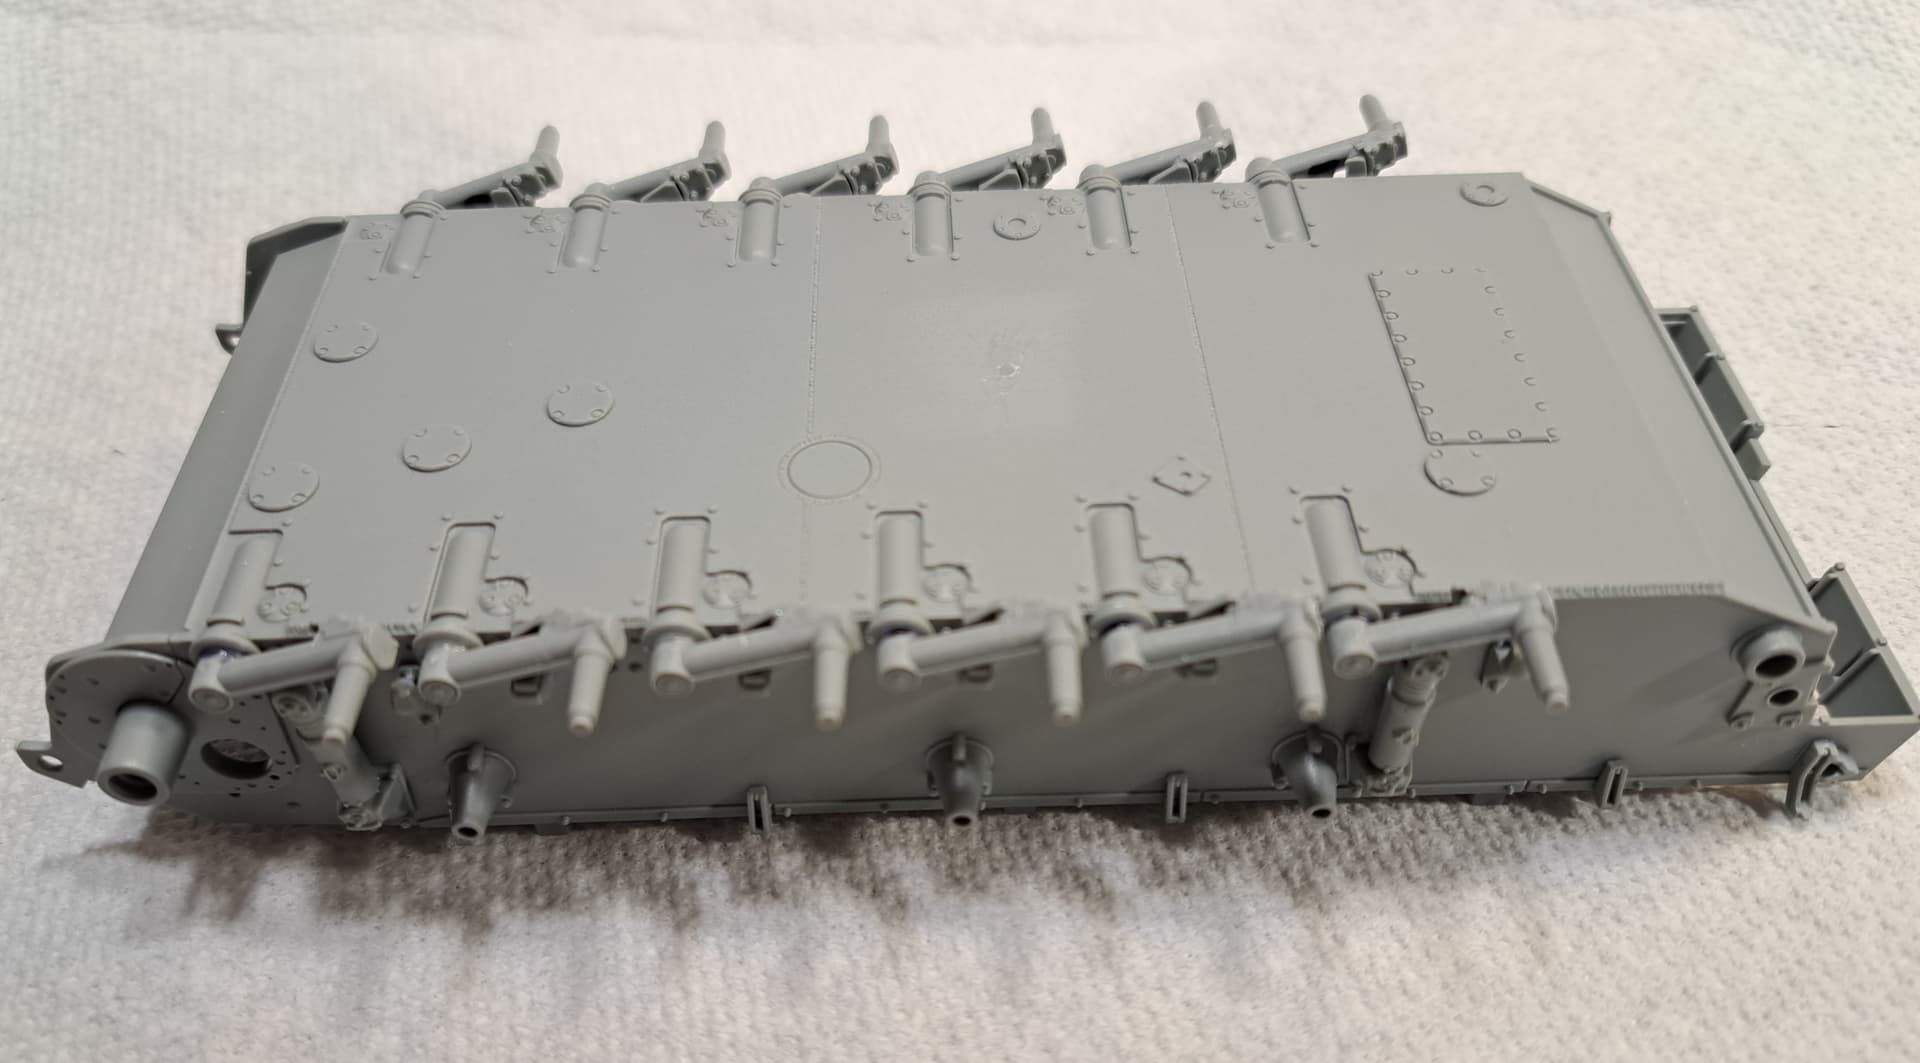
Step 2 Fender Supports to Lower Hull
< 37 minutes >
running total 6 hours 13 minutes
Revenge obliterated those mold seams!
![]()
![]()
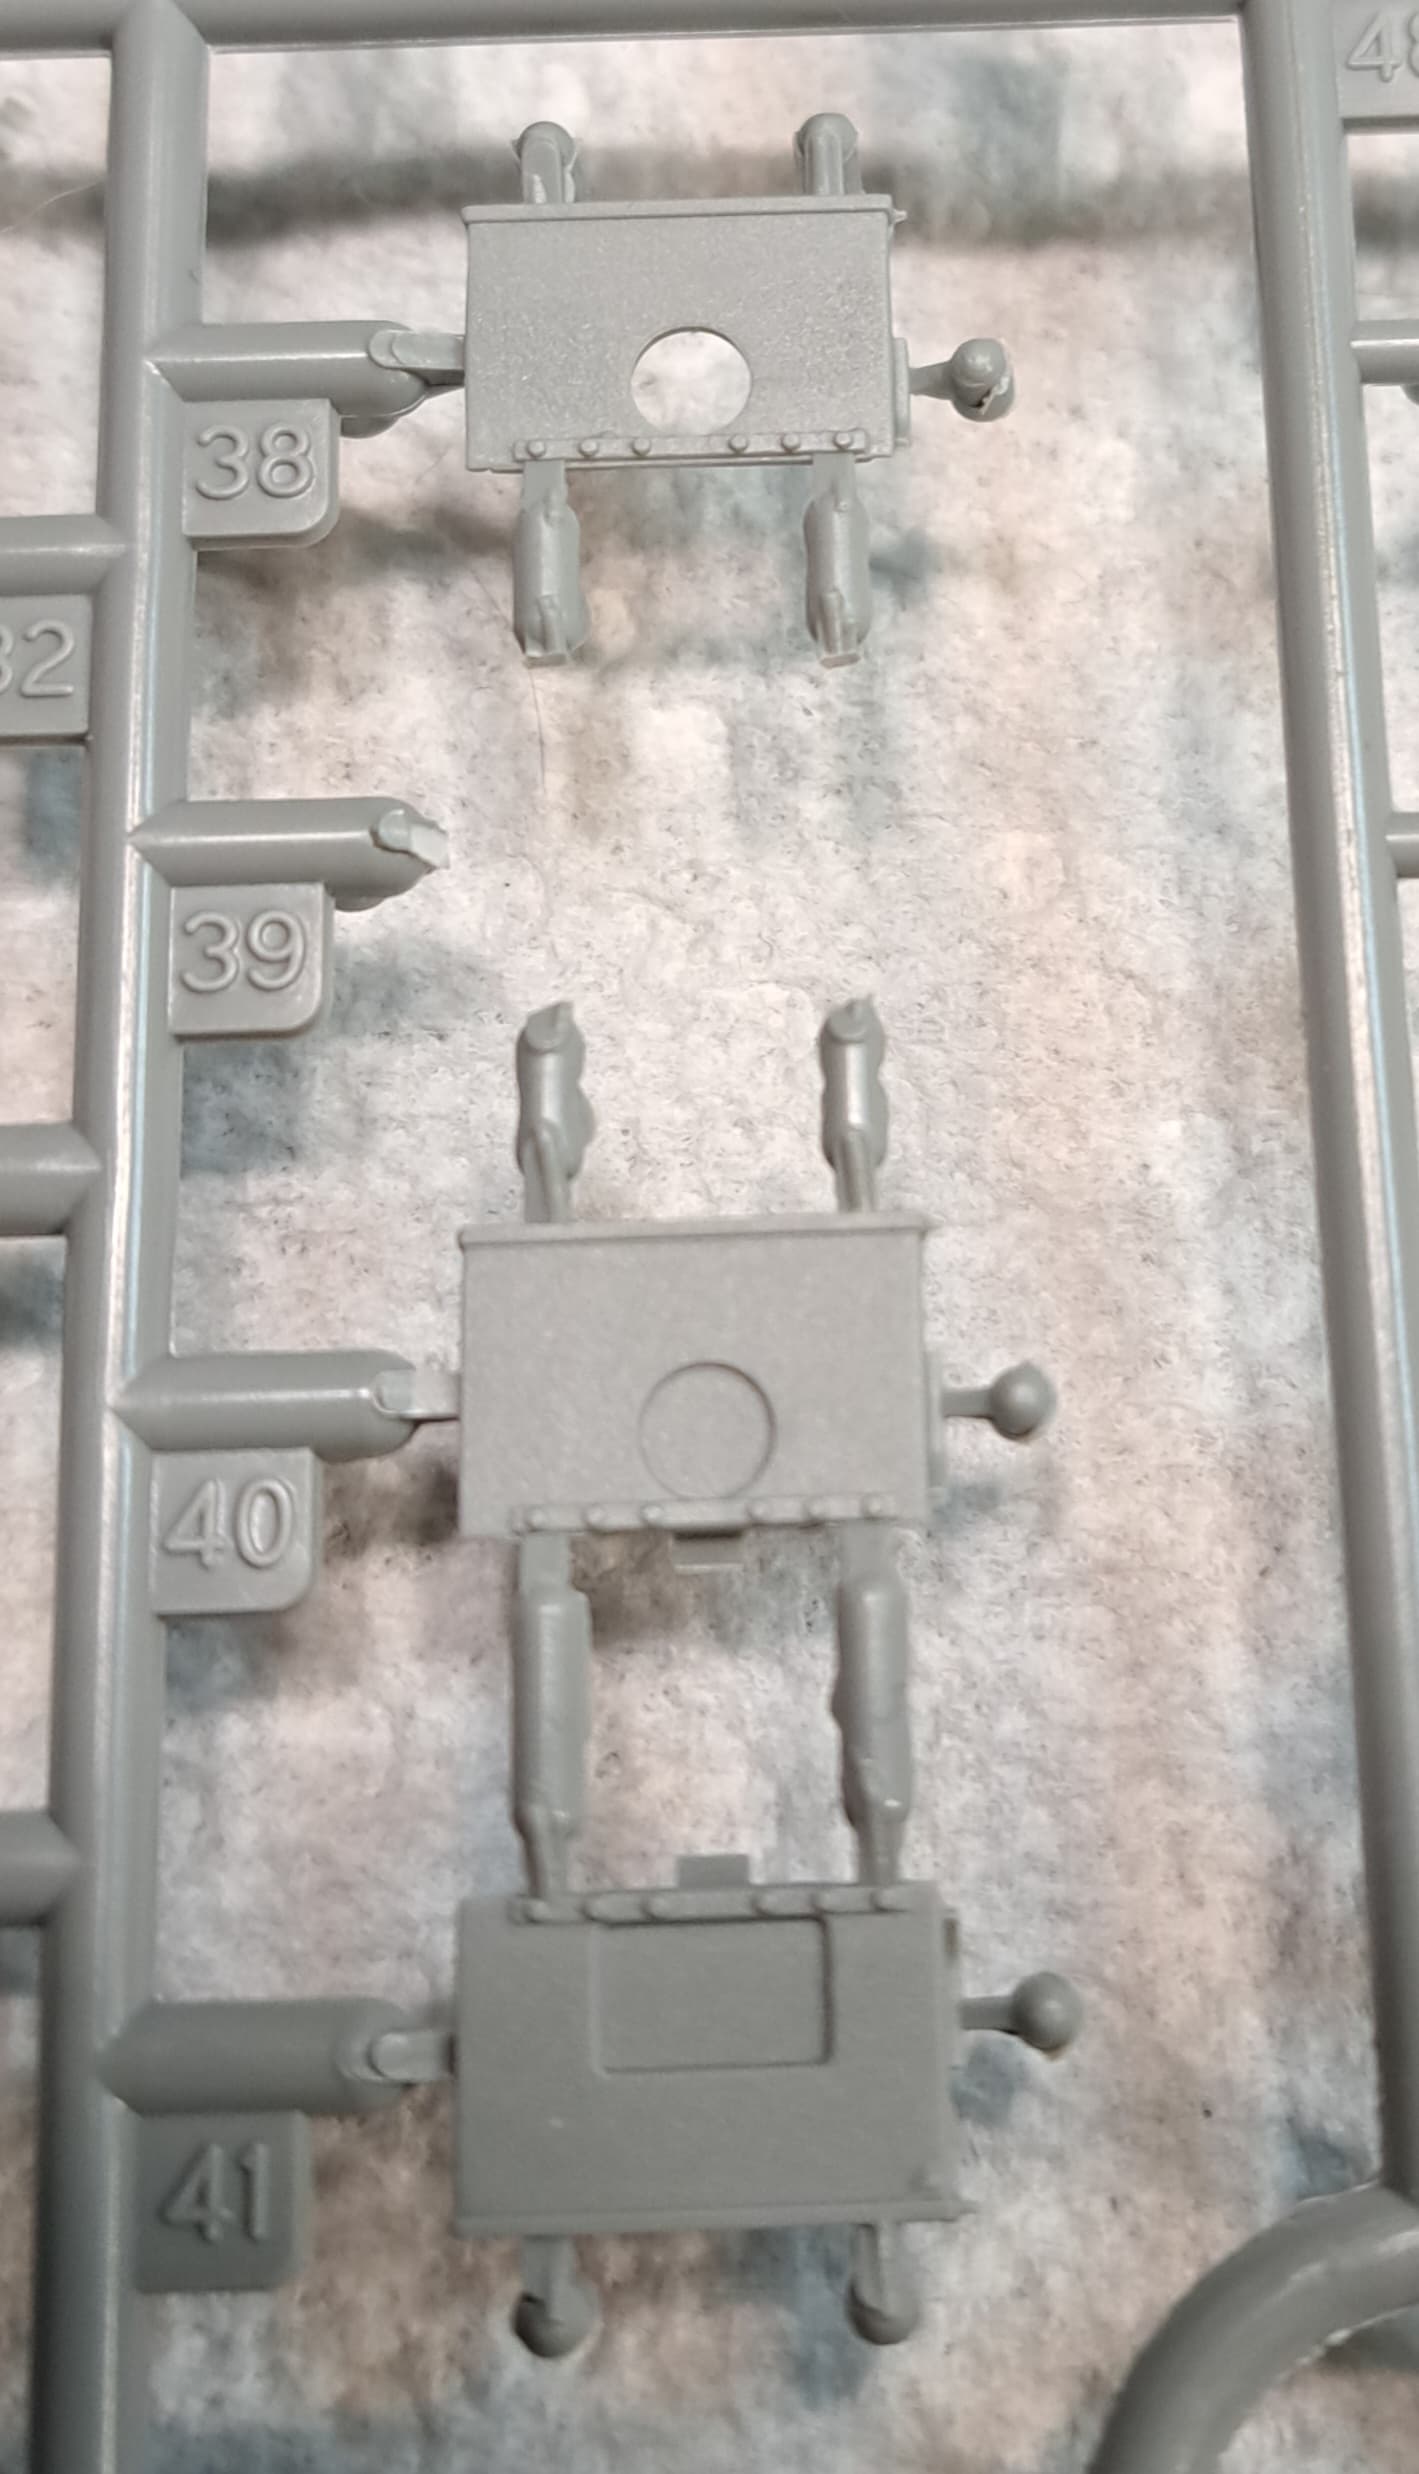
![]() Dragon has 3 three trees labeled A, two are alike and wheels etc the 3rd A tree is totally random collection of parts. Naturally Dragon interspersed use of the three A tree parts.
Dragon has 3 three trees labeled A, two are alike and wheels etc the 3rd A tree is totally random collection of parts. Naturally Dragon interspersed use of the three A tree parts.
3 Likes
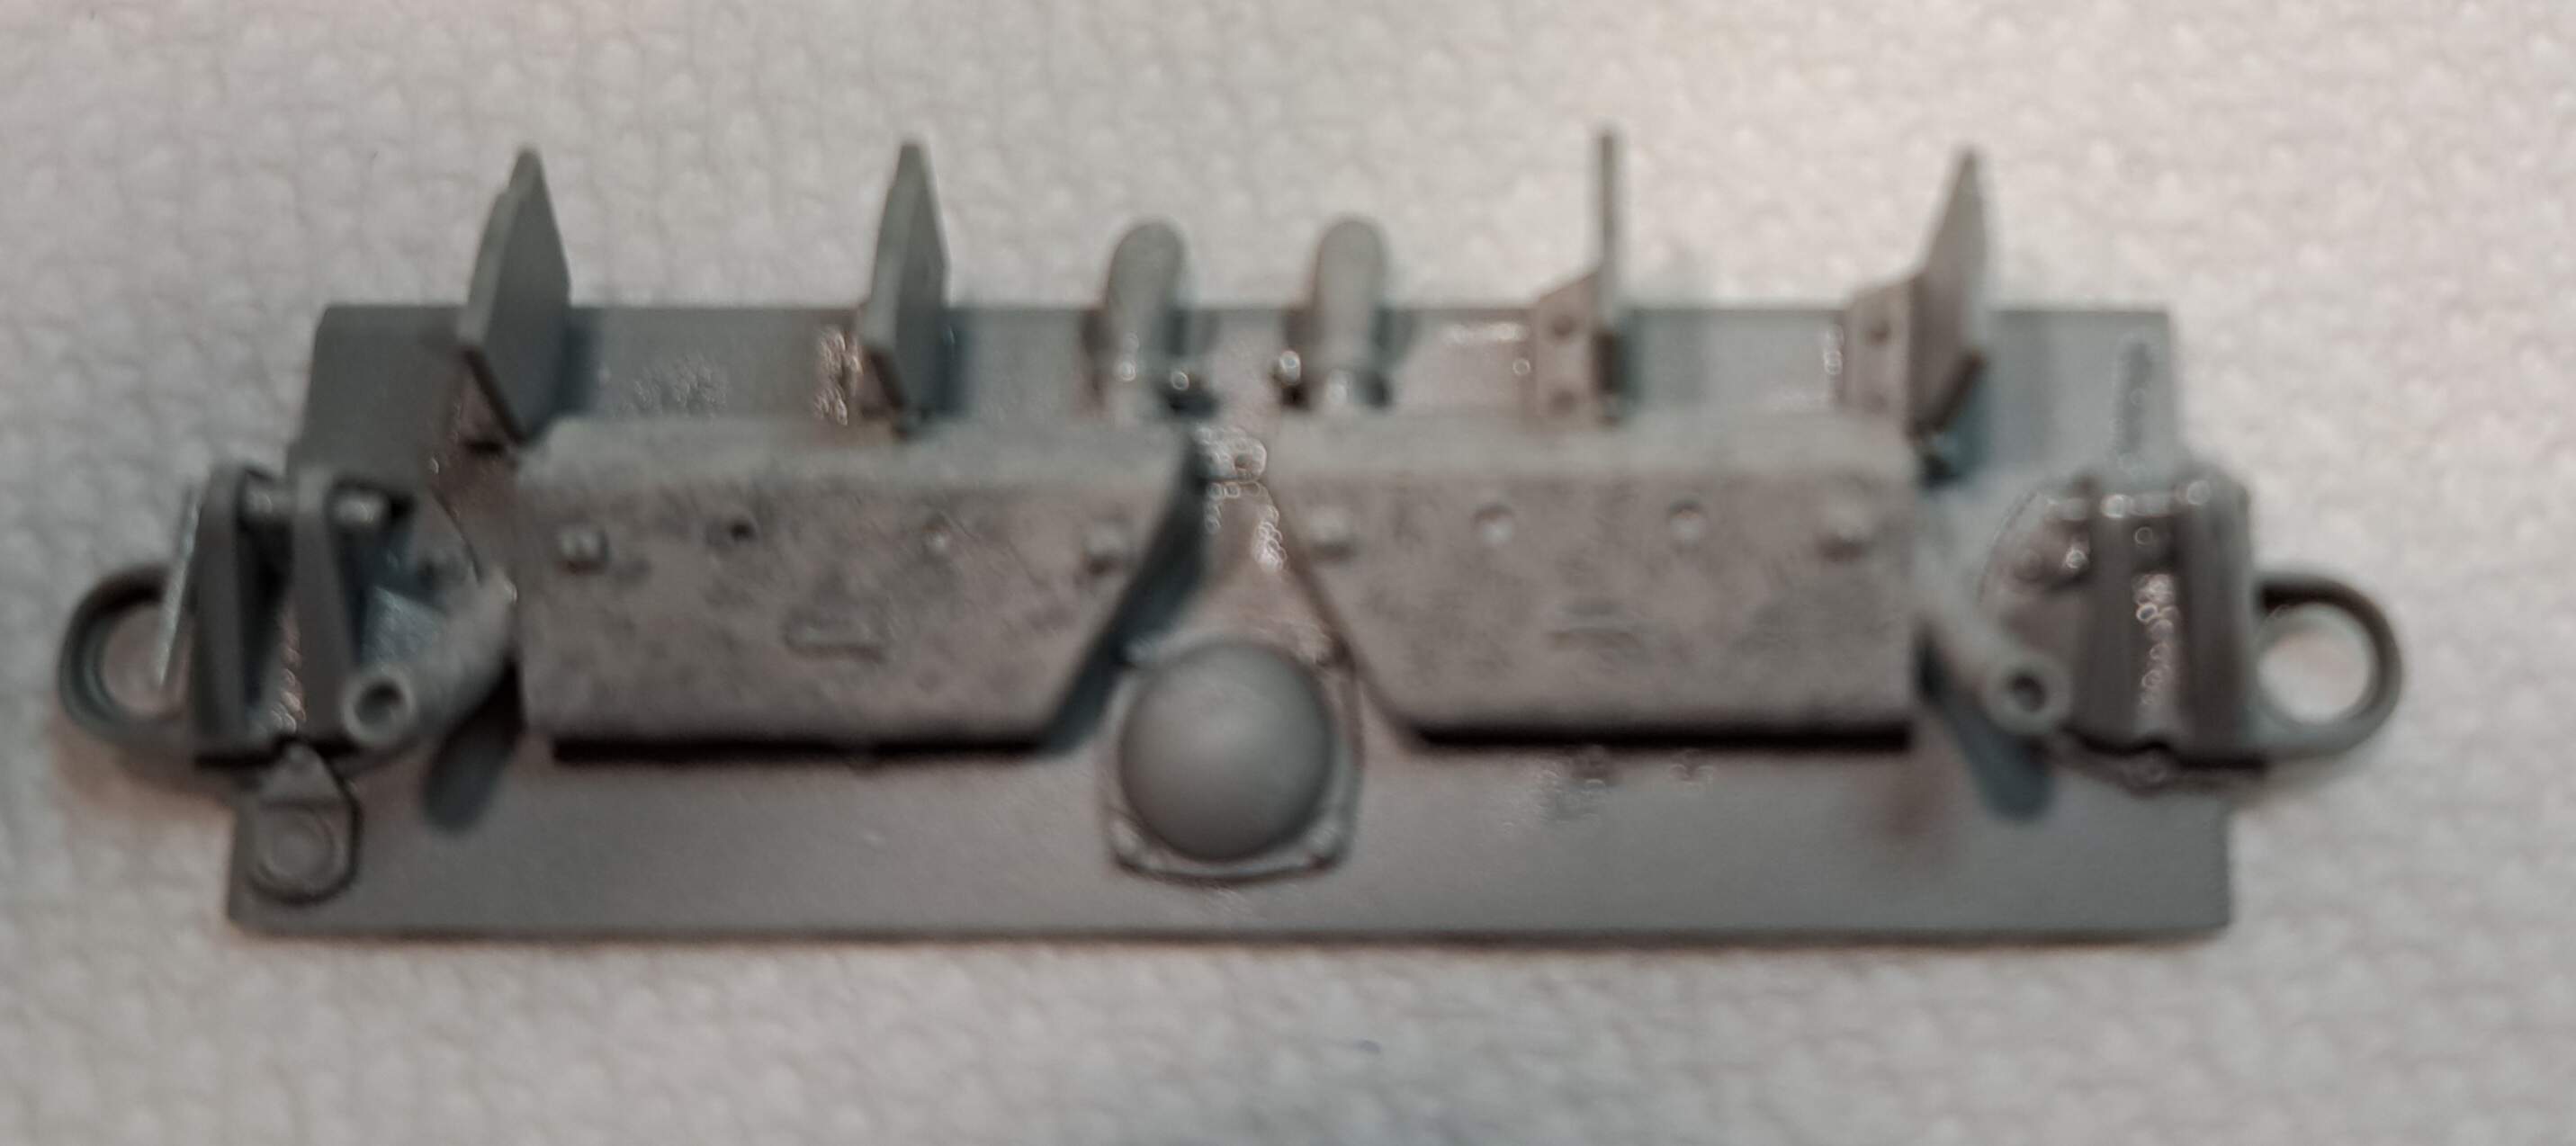
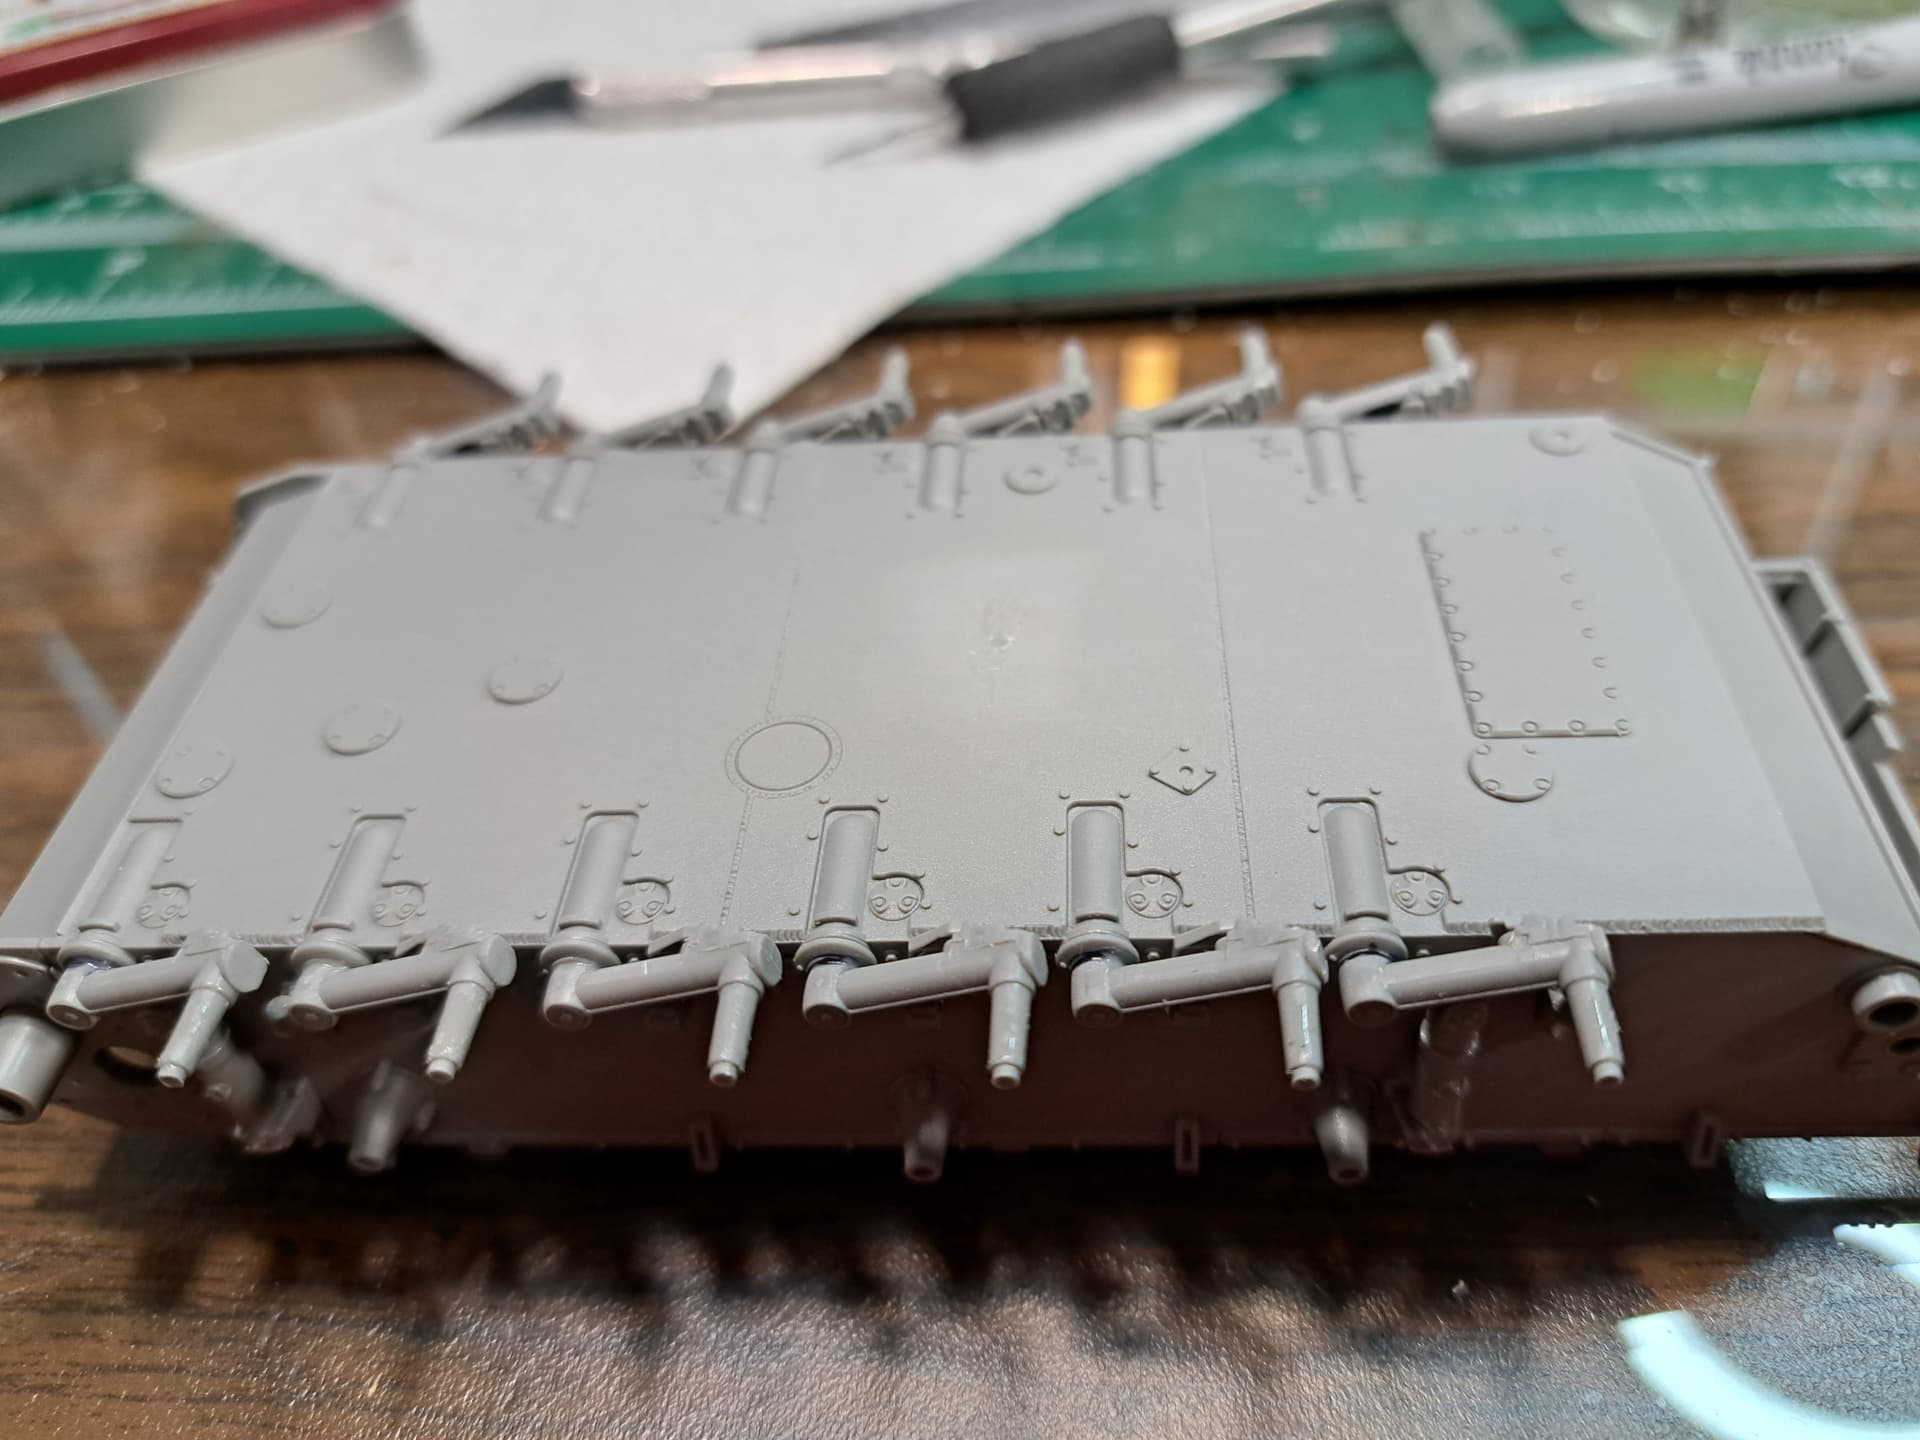
Step 3 - Fender Supports to Lower Hull
< 1 hour 9 minutes >
running total 7 hours 22 minutes
As long as care is taken to ensure the torsion bars A1 & A2 aren’t mixed together this step goes like clockwork. Discovered Dragon also included two different trees label B ![]()
![]()
![]()
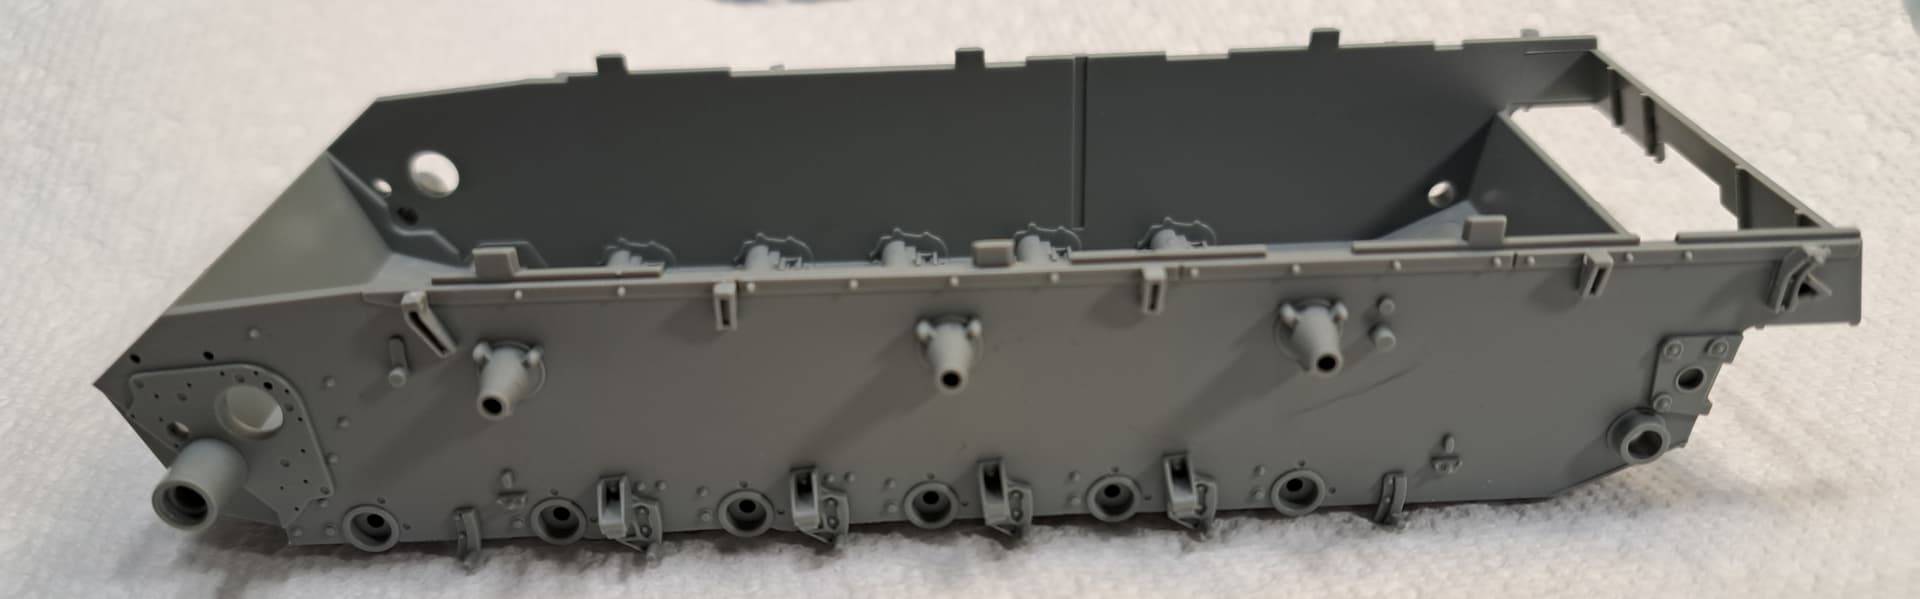
Edit - I like Dragon’s bath tub lower hull. Exterior detail is very nice. Little worry about warpage of parts latter causing an issue. Suspension fit together very well.
5 Likes
Looking good!
1 Like
@CKPlasticModels Colin, thank you. The little Dragon has come along well after step #1.

Step 4 - Rear Plate & Exhaust
< 1 hour 4 minutes >
running total 8 hours 26 minutes
No drama, smooth assembly. Mold seams on mufflers need clean up as well as other parts. Excellent fit. Added a bit of rust texture to mufflers with thinned Molak Stucco putty.
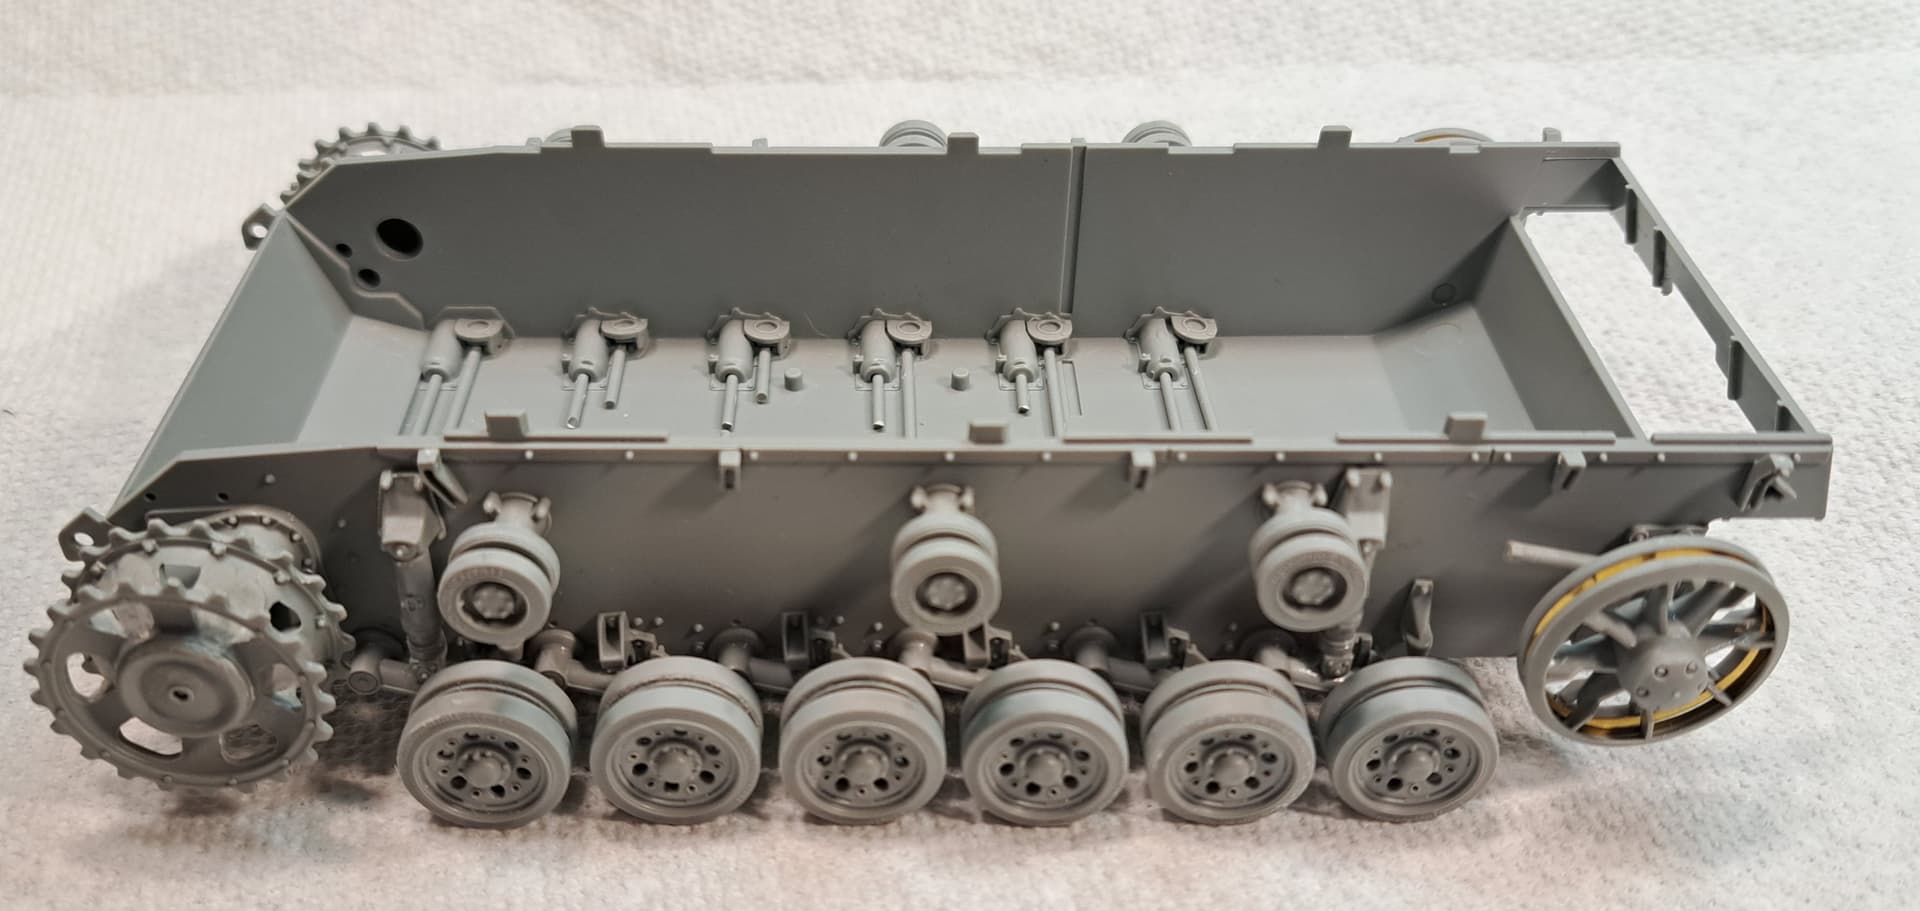
Step 5 - Attach Running Gear
< 18 minutes >
running total 8 hours 44 minutes
I really like poly caps in road wheels like Tamiya,RFM and some others use due to the ease of removal and secure attachment to model. It’s really unfortunate the Dragon kits don’t offer that feature.
What’s to be done? Make “Ghetto Caps” to allow Dragon road wheels to fit as if they had poly caps.

Very lightly coated each torsion suspension arm applied with an old paint brush.
I slid the wheels etc on, rotated each, removed and allow to dry for an hour or two.
Now the running gear slides on and off easily almost like with poly caps. ![]()
7 Likes
I use Elmer’s paste myself.
4 Likes
Step 6 - Lower Rear & Smoke Candles
< 1 hour 2 minutes >
running total 9 hours 46 minutes
It was beneficial to just wrap the RFM Stug III G early build as Dragon’s instructions for the rear smoke candle deflector B1 and guards B21 & B22 were pretty vague. Zero fit issues. The smoke candles are simplified but over all Dragon did very with with this part of the kit.
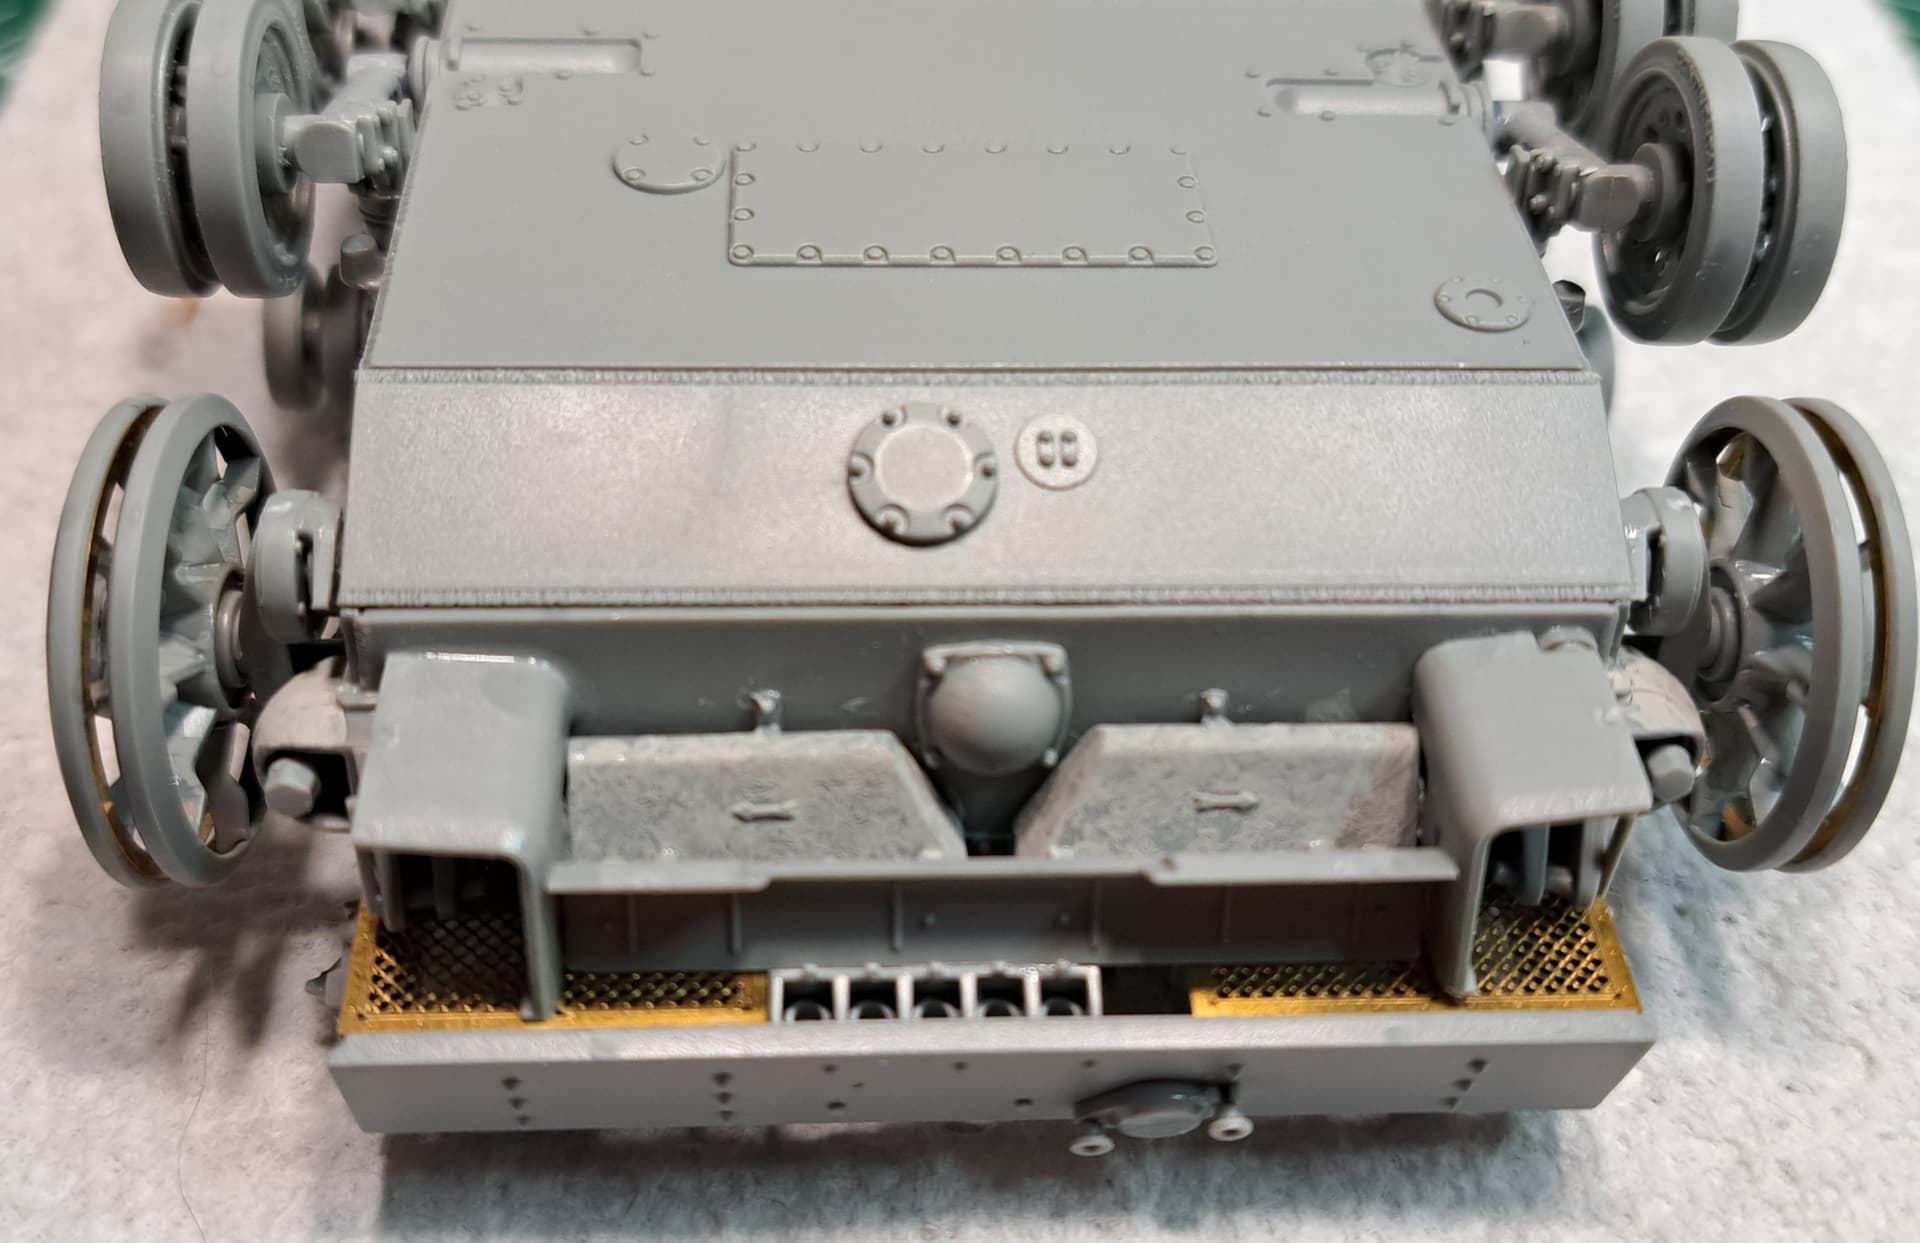
This wraps the lower hull other than minor tweaks.
To my surprise even with the slow clean up of road wheels in Step 1 the Dragon kit seems to have progressed about 1 hour faster as a build to reach the same step as the Takom kit.
5 Likes
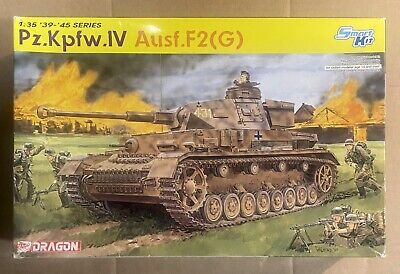
Step 7 - Left Fender & Equipment
< 4 hour 23 minutes >
running total 14 hours 9 minutes
Dragon is amazing and yet baffling.
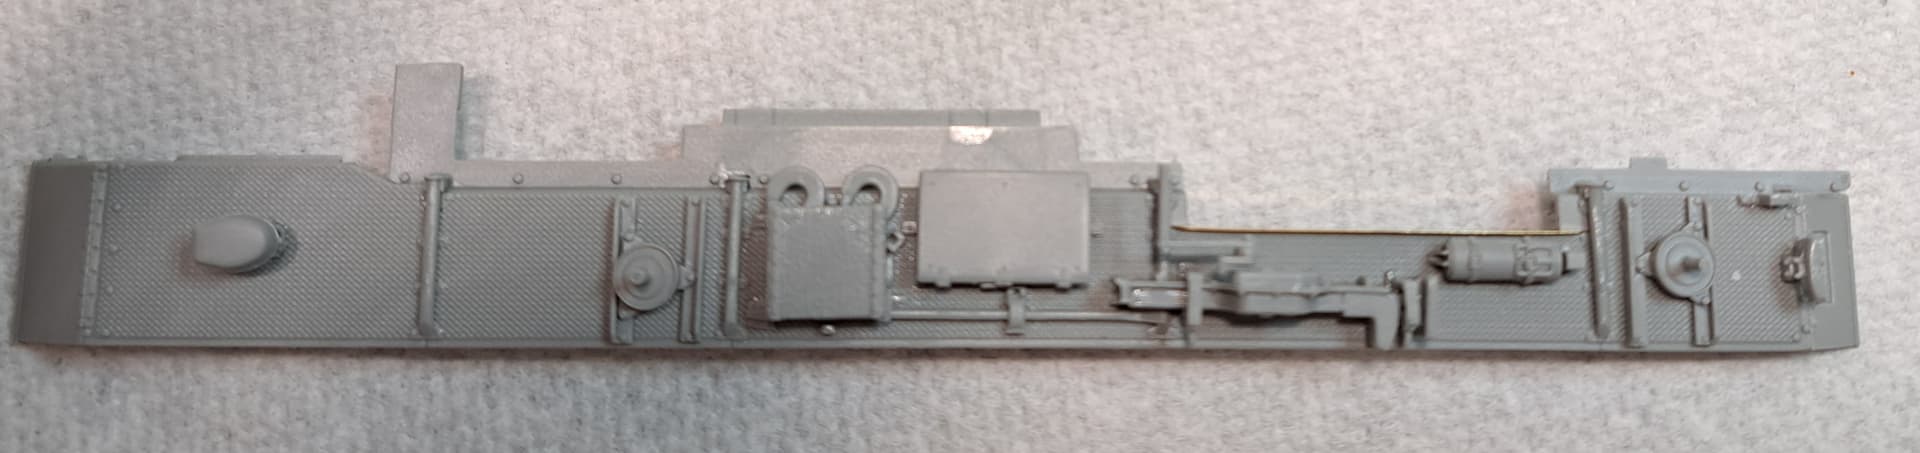
The fender moldings are exquisite top & bottom, well thought out and don’t required excessive clean up. World Class A++ in Wade’s World ![]()

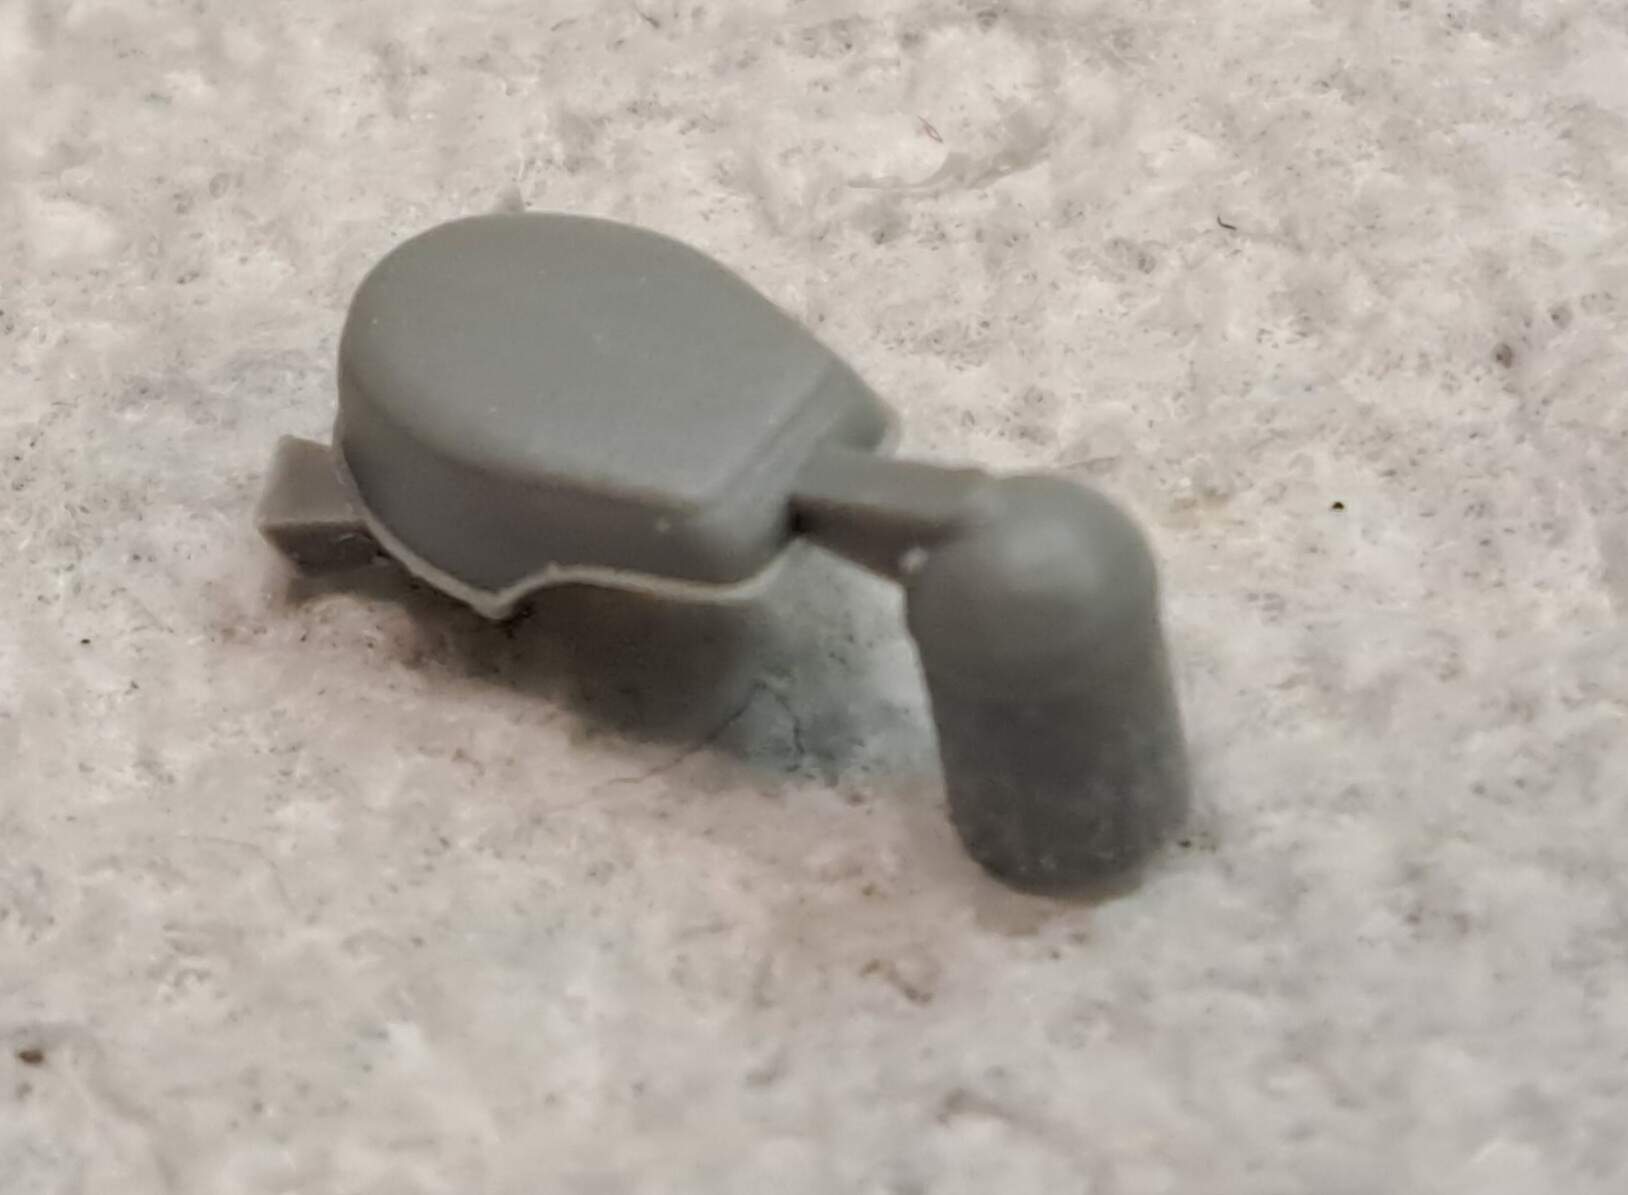
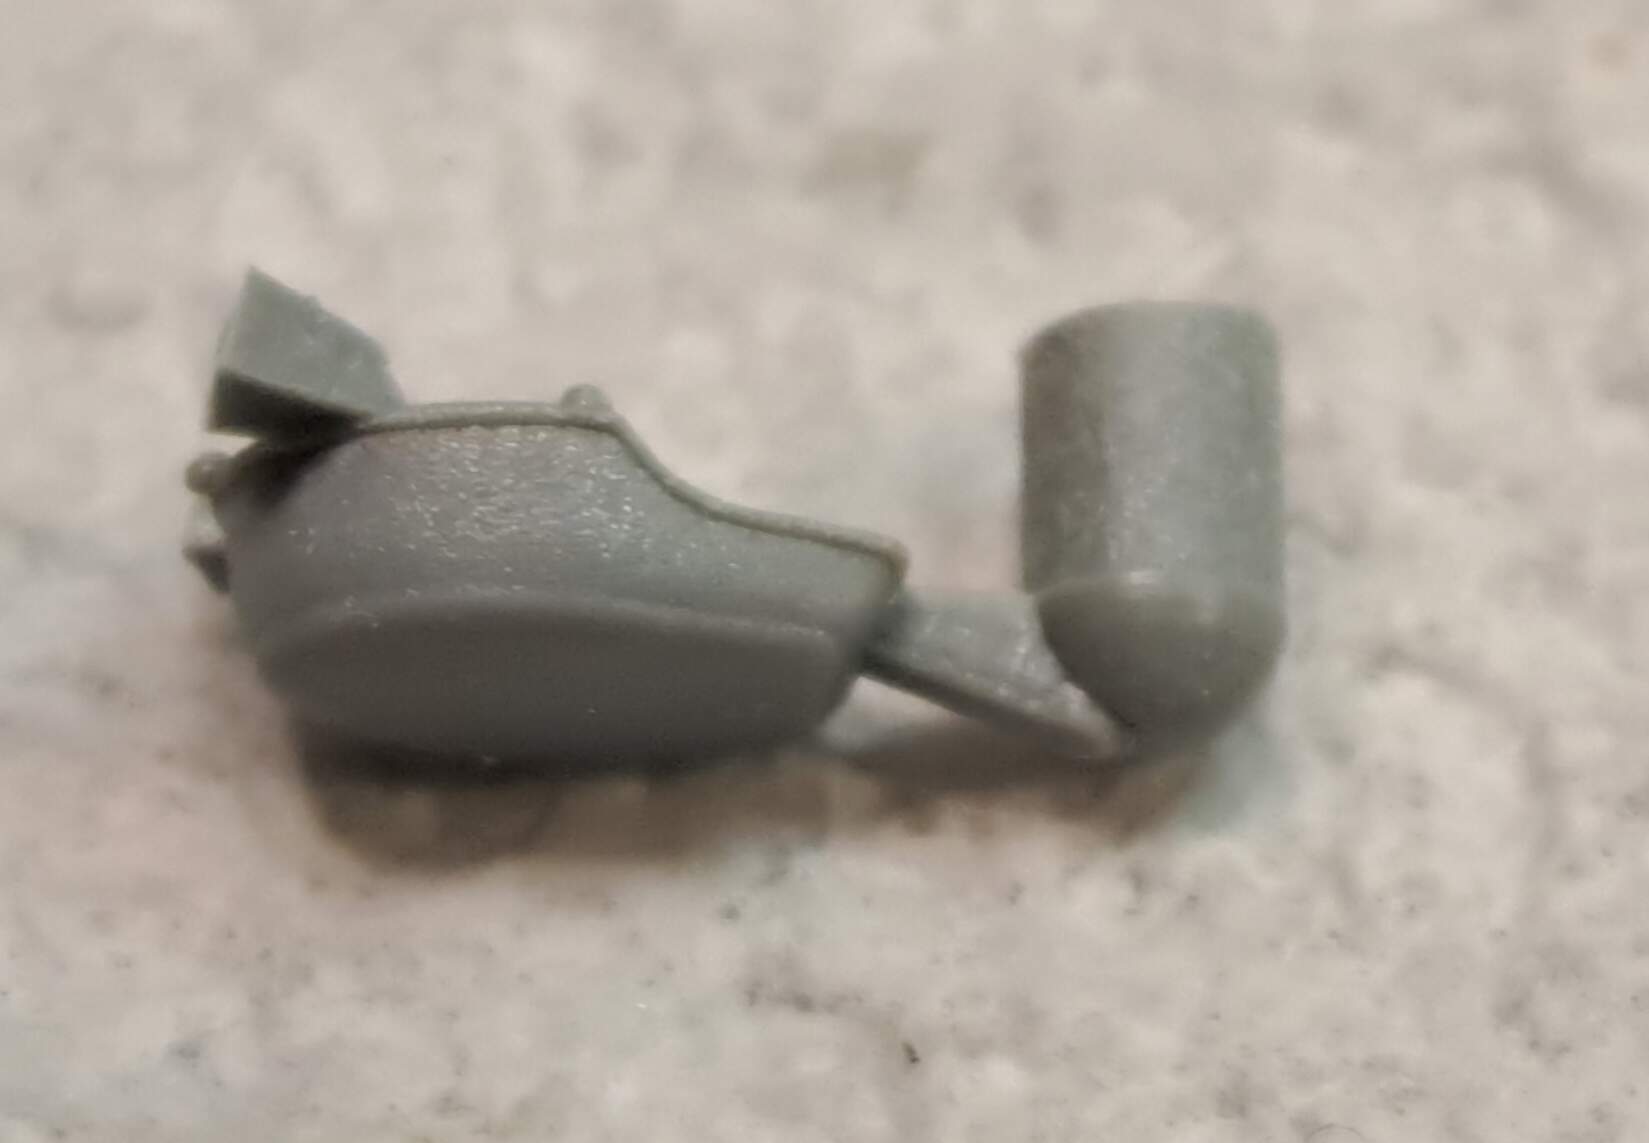
The Notek light is exactly the opposite. Near bottom barrel molding design running the sprue gate into the delicate edge detail. Not world class - ham handed. At least there’s no sink marks.
Likewise, Dragon needed six attachment points for these fender flaps. Not world class.
Any way, about dat Dragon-struction sheet…MA3 is PE for a Jerry Can on the PE fret in the kit. Nothing on the PE fret looks like the MA3 show in dem Dragon-structions.
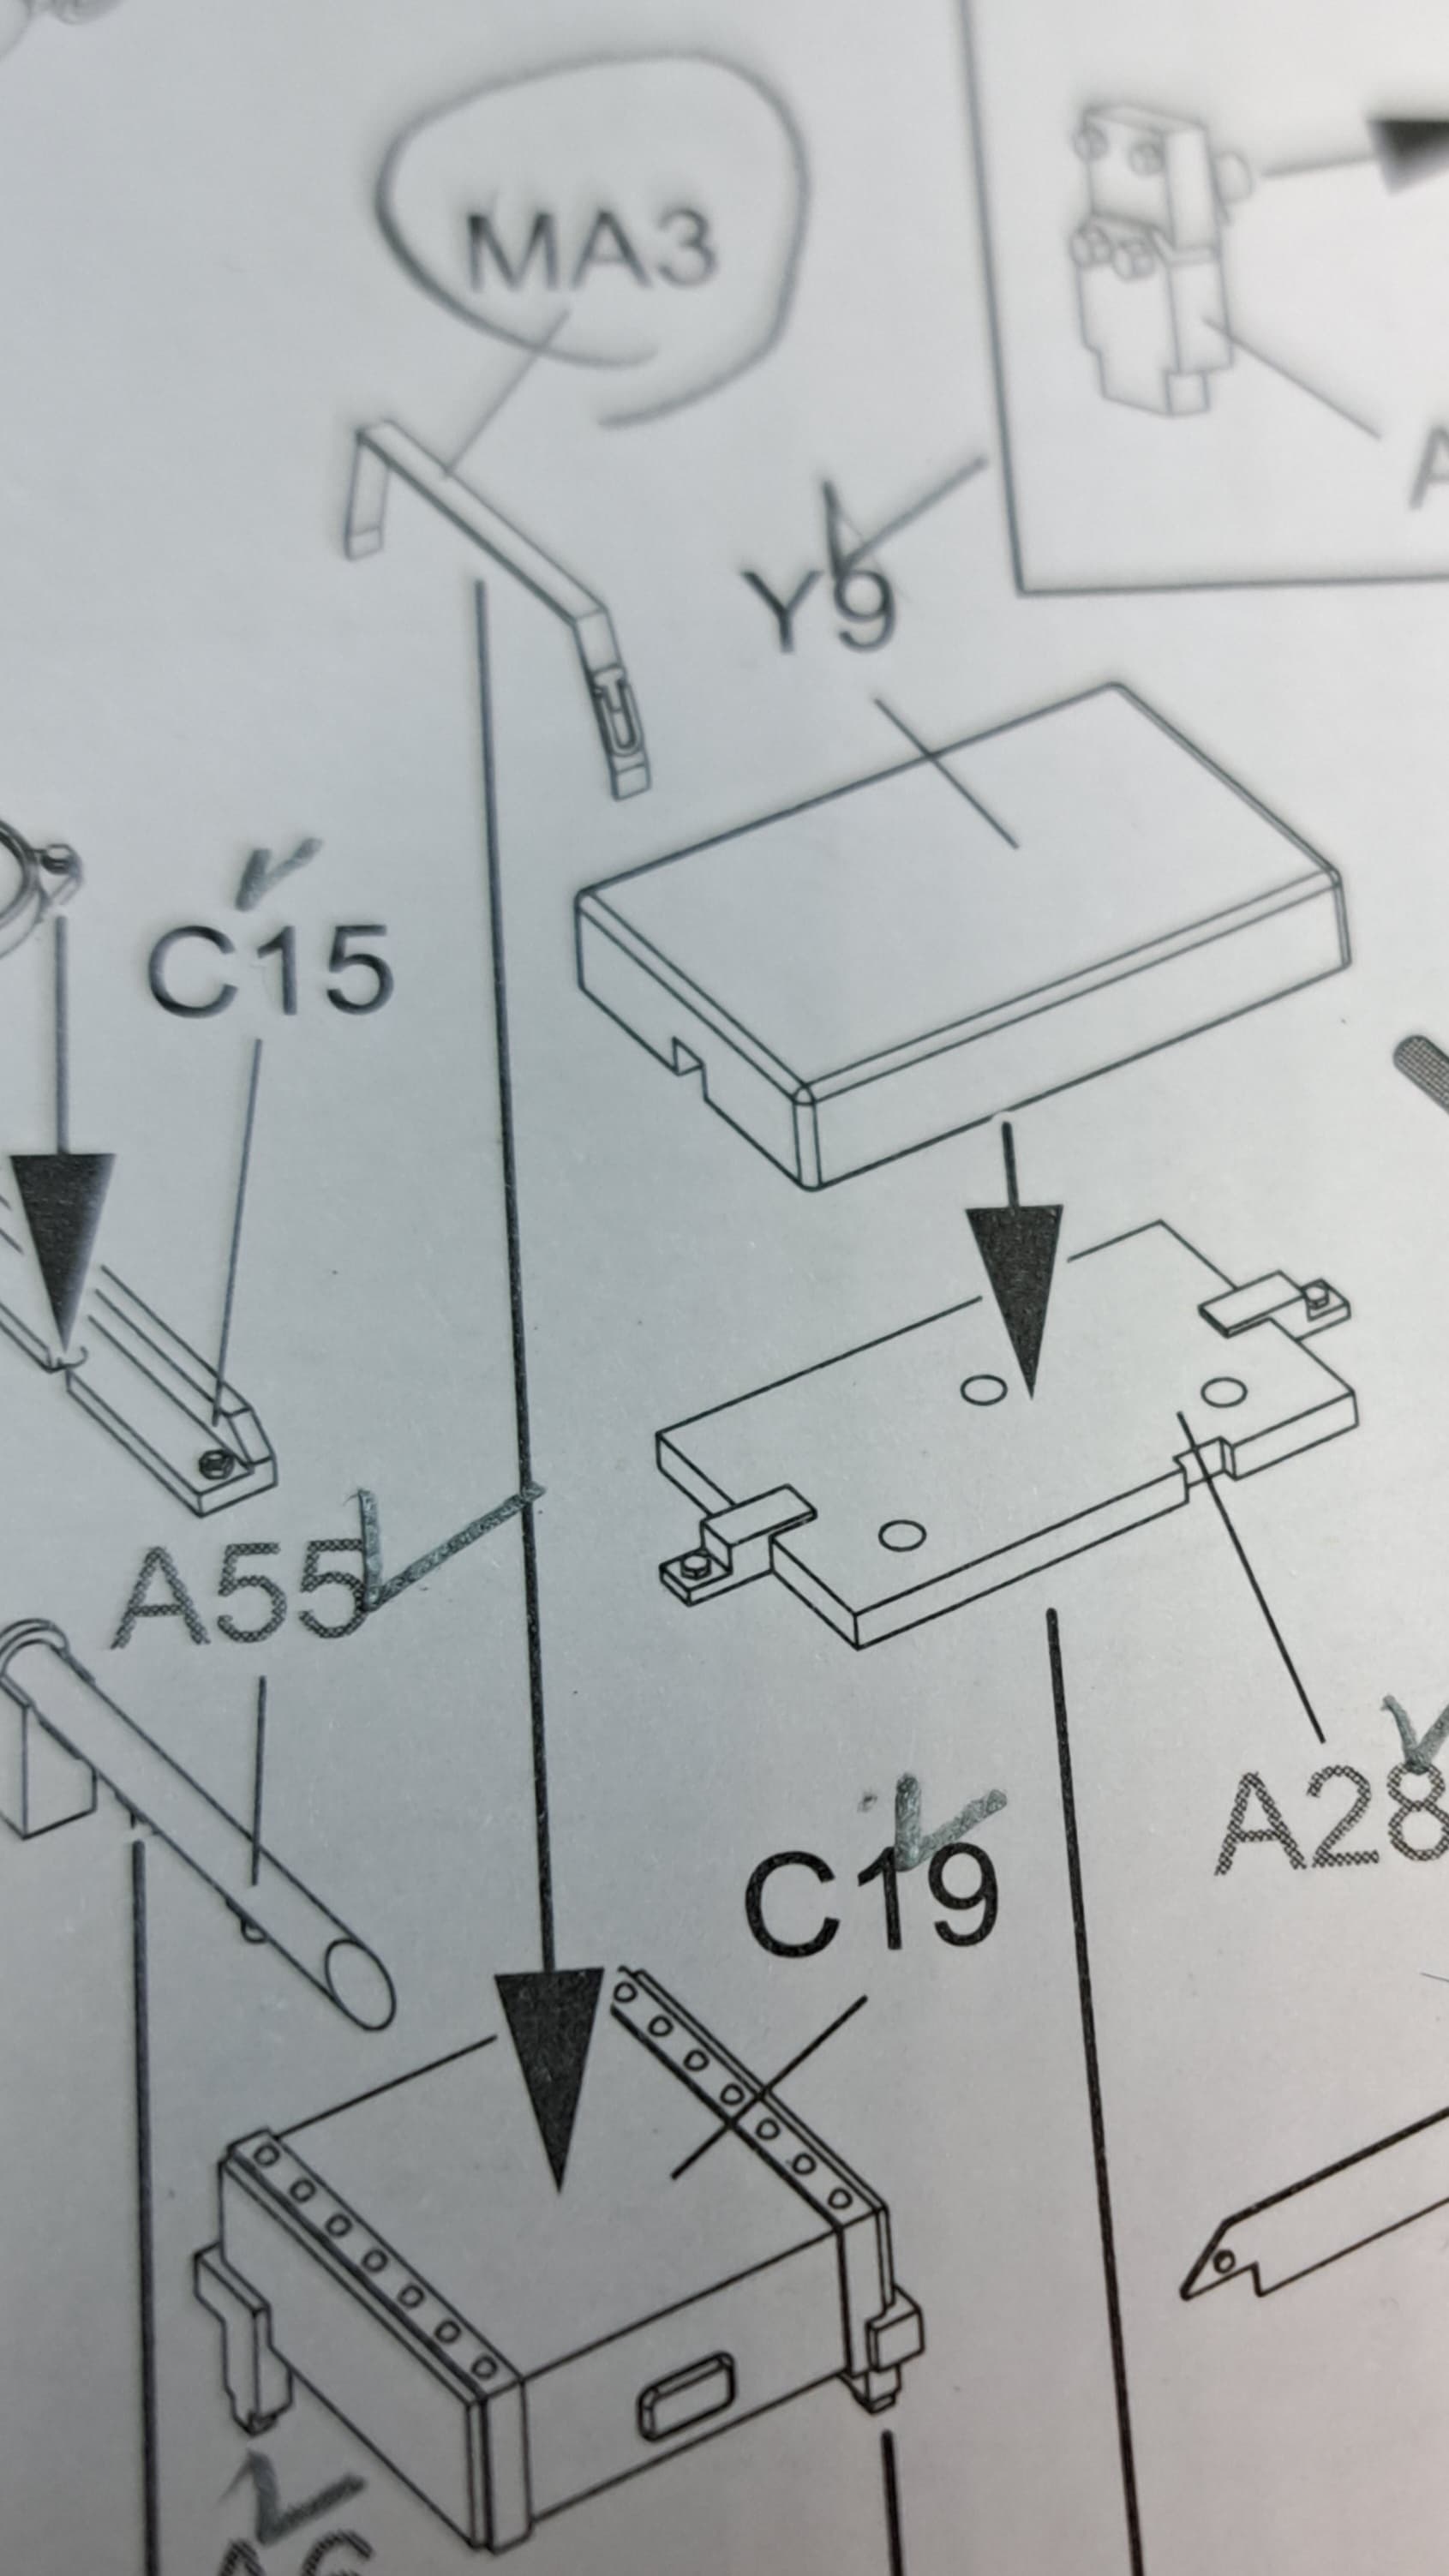
PE fret

The Dragon faithful won’t have any issues with these annoyances. They are fairly minor but things like this make the idea that Dragon is the premium manufacturer laughable in Wade’s World.
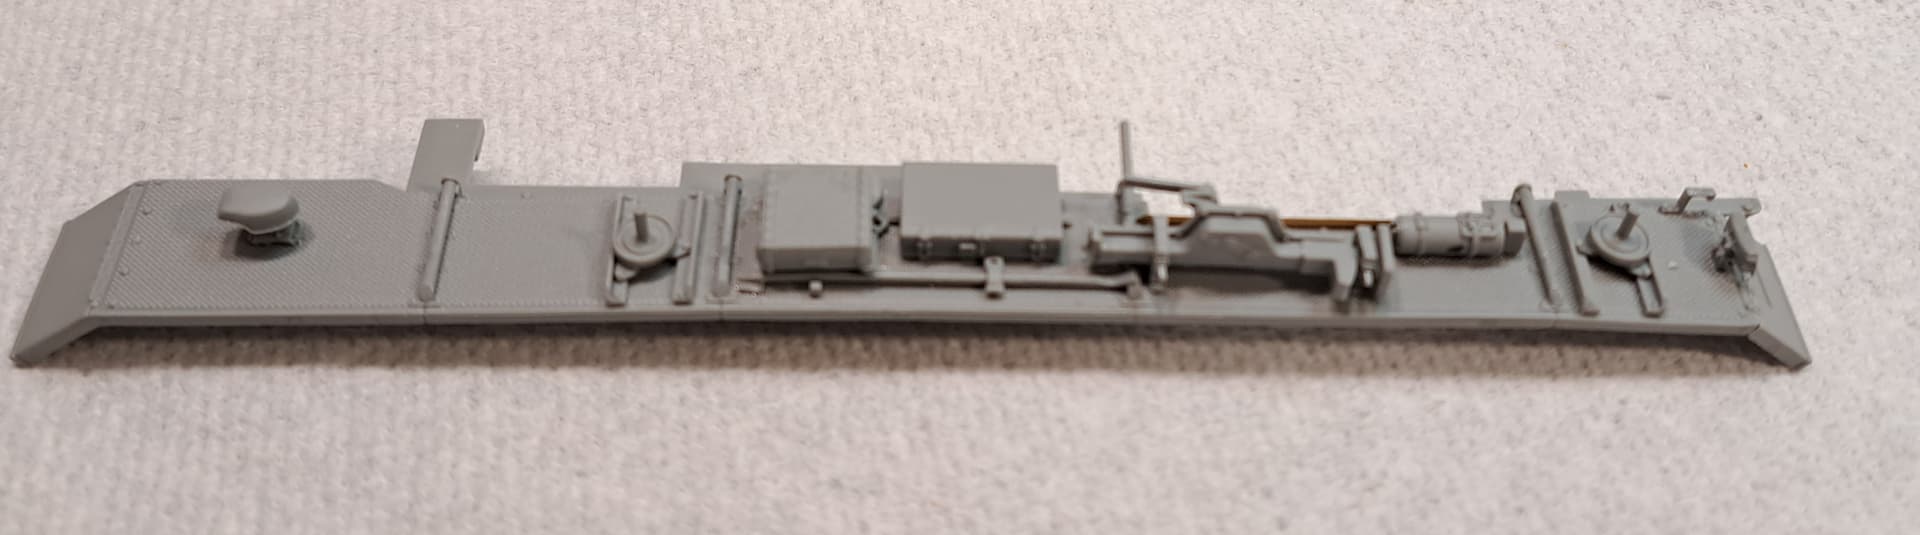
In any case, one fender complete and one to go. Happy with the overal result.
6 Likes
Why two sets of Dragon fender flaps, one opened one closed?
Is this the way the later flaps were done because the convoy and tail lamp was moved somewhere else and they just closed the original stamping?
1 Like
I think it’s to provide a variety of options for the kit as either the open or closed rectangular fender flap can be used per instructions. I think there is also another set of fenders, possibly for an earlier Ausf in the box so having both fender flaps may be due to that.
1 Like
Odd they left out the strap for the wooden block.
1 Like
Maybe a different dumbed down 2020’s PE fret than the original PE fret in their Pz III N from the mid 2000’s?
Anyway as missing parts and Dragon kits go this is minor. I purchased a Dragon Pz IV F2/G #6360 one time only to discover the entire upper hull hadn’t been included in the box. Dragon refused to provide or allow purchase of a replacement as I had misplaced the receipt. Lucky for me a friendly modeler helped locate a replacement.
2 Likes
Step 8 - Right Fender & Equipment
< 2 hour 18 minutes >
running total 16 hours 27 minutes
Zero fit issues. The fender assemblies are just as complex as Takom’s. The only difference being the Dragon parts actually fit without modification. The Takom radio antenna tray fits very poorly/not at all out od the box. The Dragon one fits perfectly. The Tamiya kit fits fine but isn’t up to the same detail level.
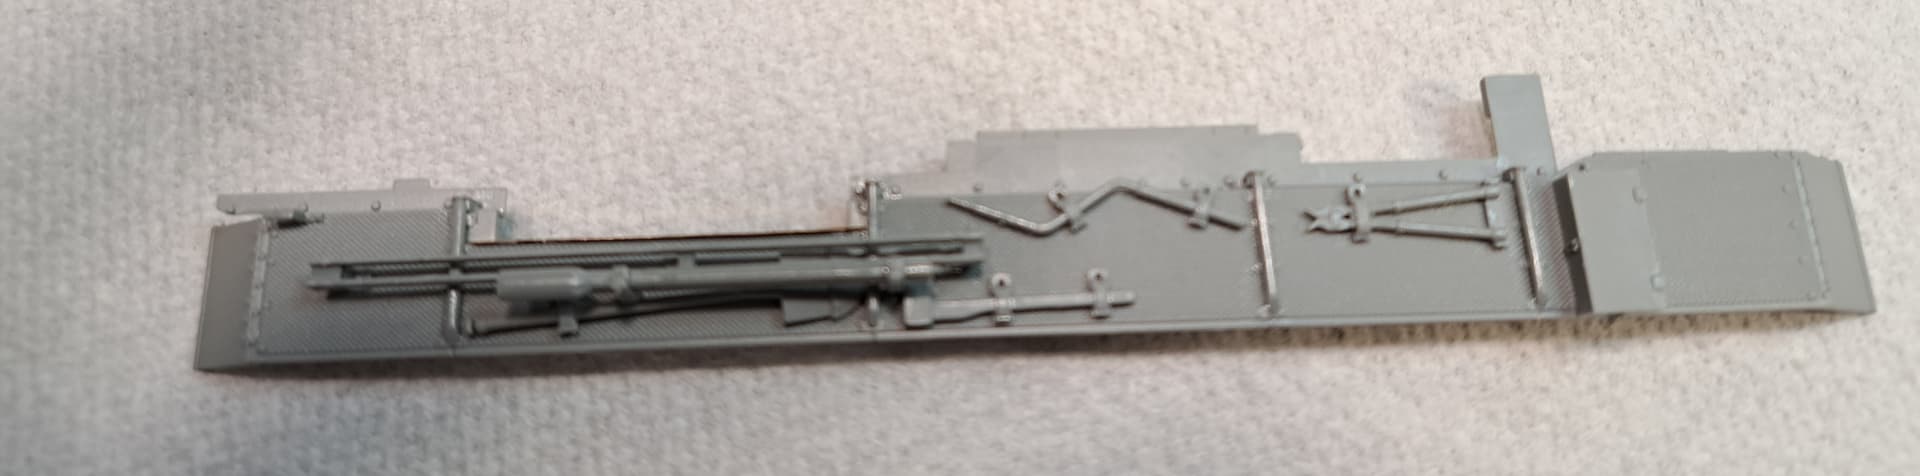
I am spoiled by Dragon’s excellent fenders not having one punch mark or issue to clean up on the underside. A+++
5 Likes
Looks good!
1 Like
Yes, Dragon did get the fender thing down. It one of the reasons I stopped buying the older Tamiya kits.
1 Like
I’d still pick up a 1990’s Tamiya Pz III at a show if the price was right ie $25 or less. Takom you couldn’t give one of their Pz III or Stug kits. Wouldn’t waste stash space on them. I’d buy additional Dragon Pz III’s for $50 or so, need a 3.7 cm Pz III for the collection etc. Wouldn’t pay $80+ again. RFM Pz III’s, sure I’d buy again etc. Got lucky on the RFM Stug III G on sale was $29 from Spruebrothers.com a while back.
I’m surprised the New Kids on the Block like RFM & Takom didn’t step up fender game to the same level. Other manufacturers OEM Pz III/IV fenders are just nasty. Nice perk is Dragon kits often have two sets of fenders and that can help salvage older kits in ones stash.
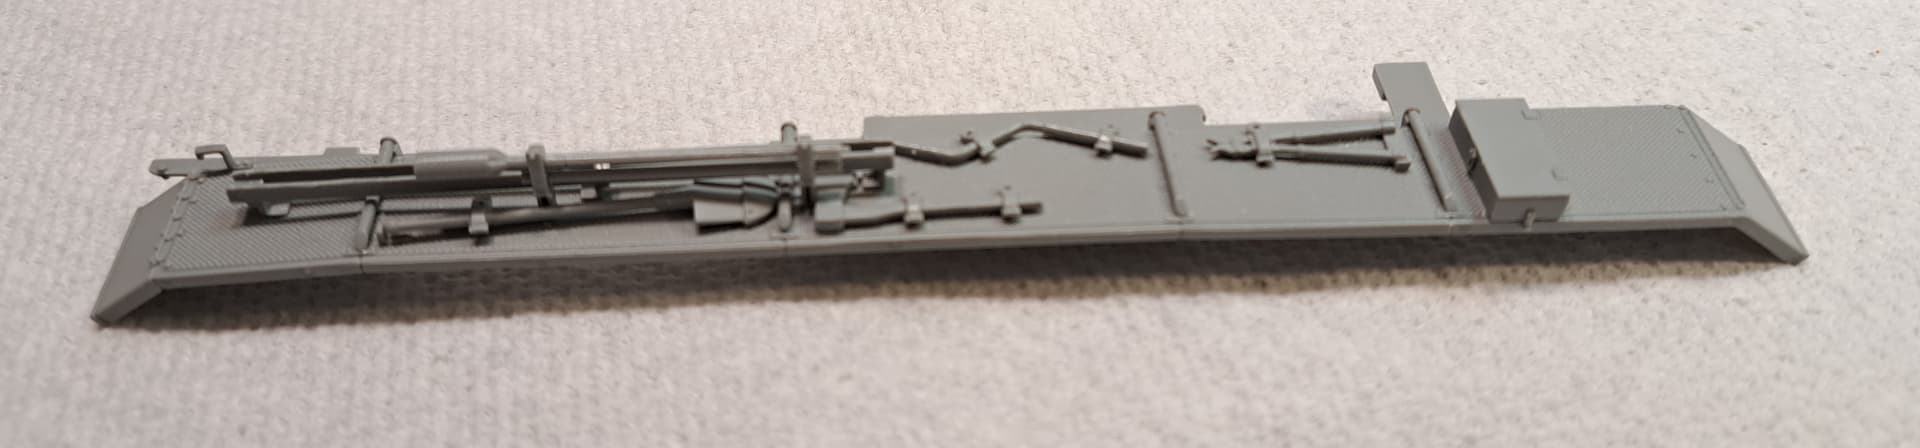
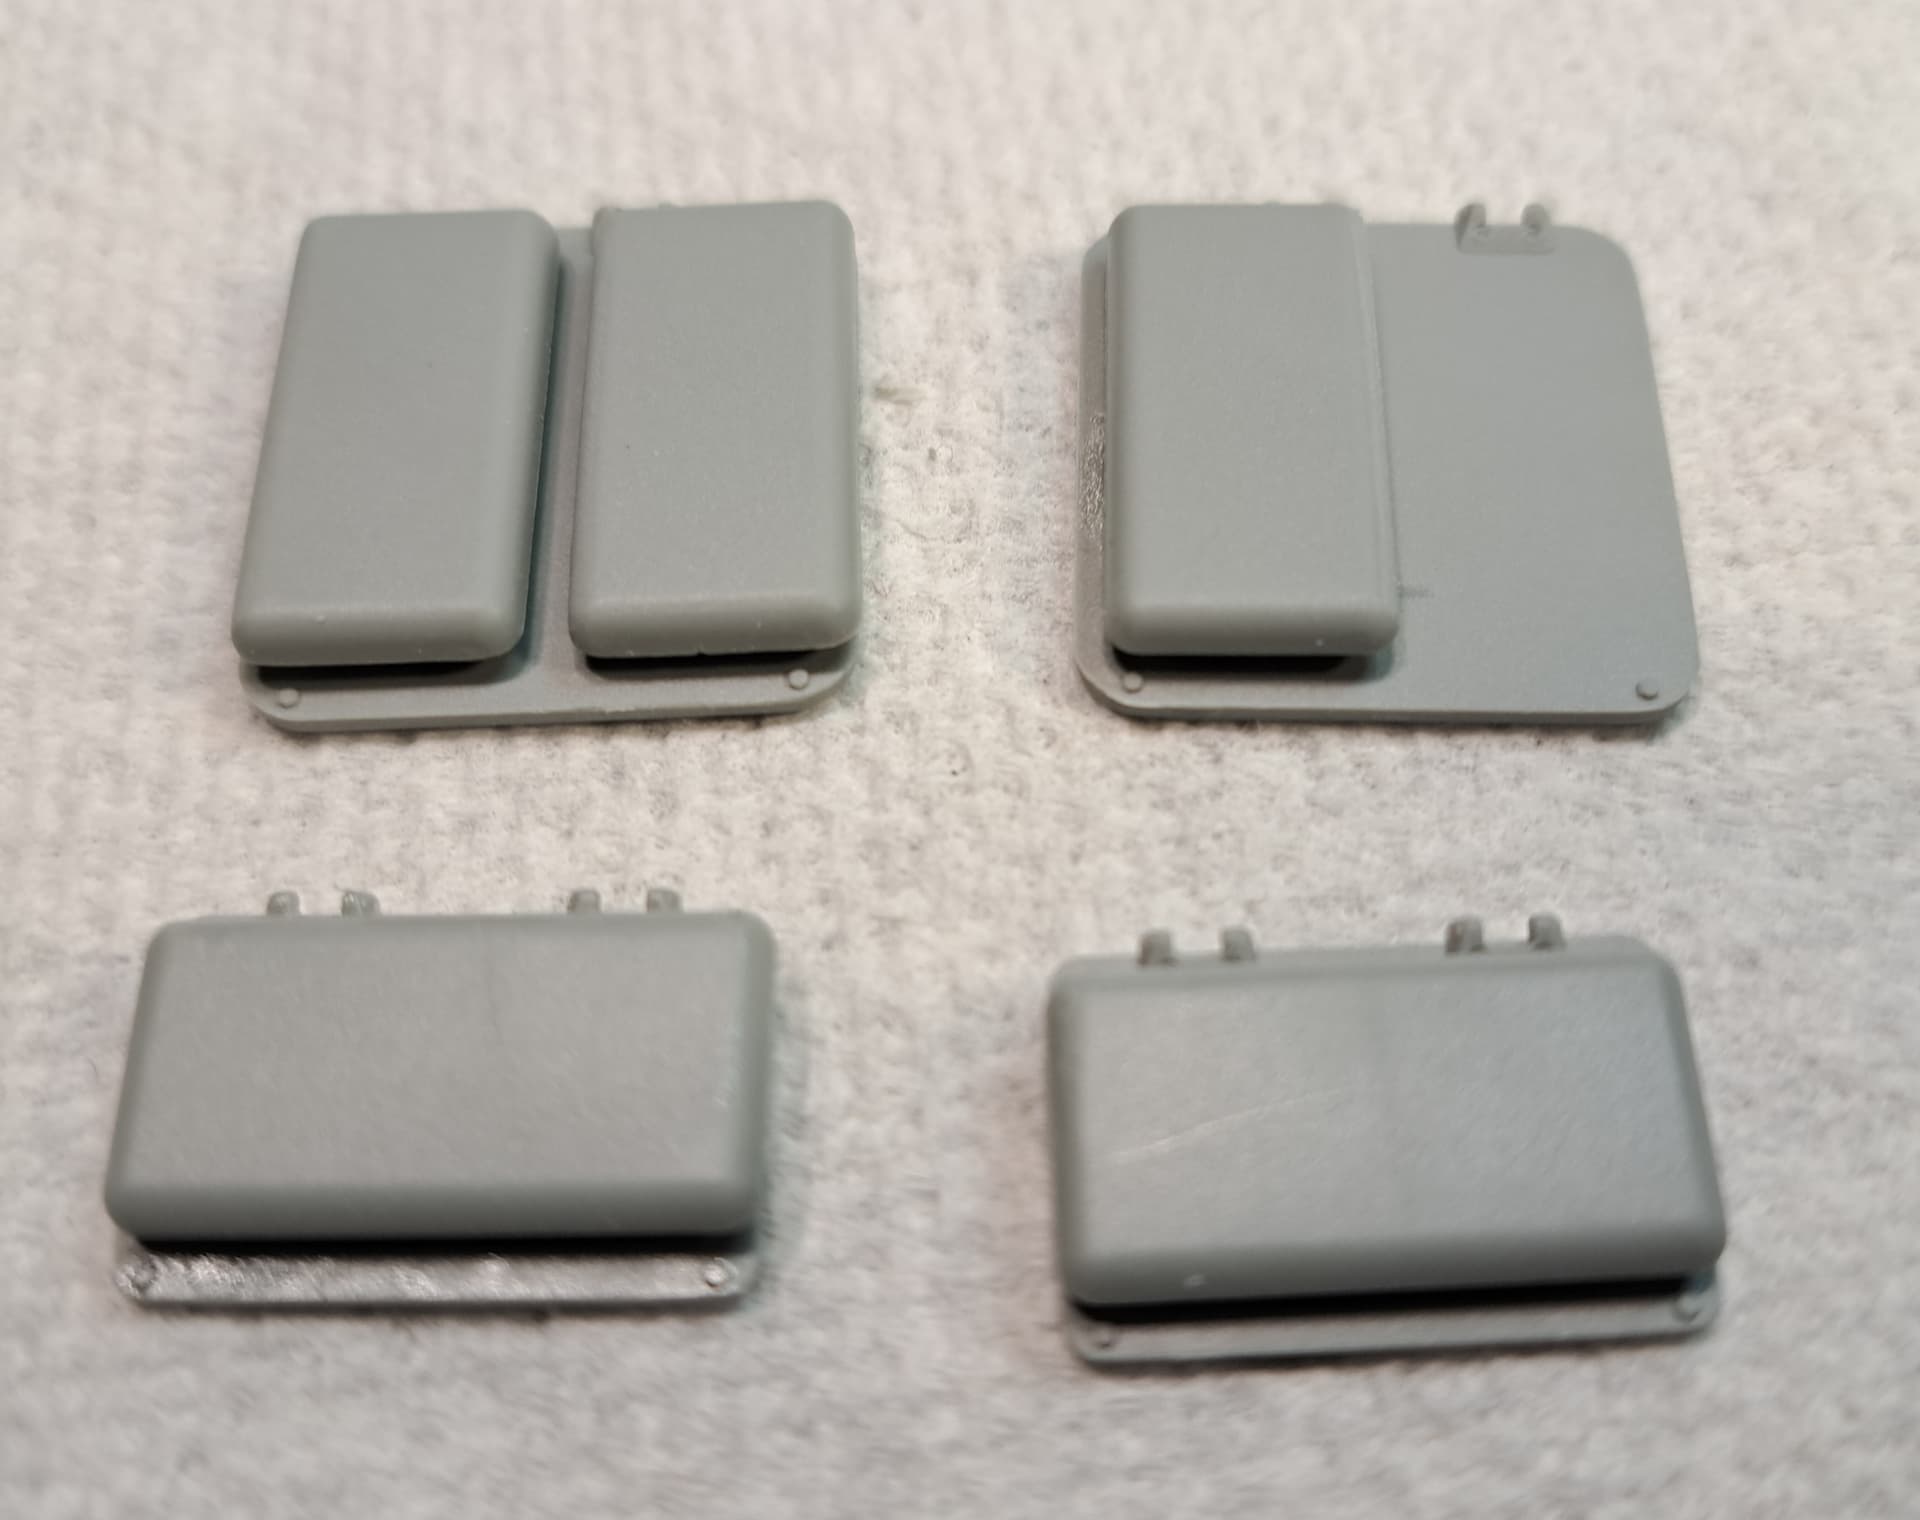
Step 9 - Rear Covers
< 49 minutes >
running total 17 hours 16 minutes
Nice simple step.
5 Likes
Man, I got a takom stug…
1 Like
LOL!
You should see some of the stinkers that have accumulated over the years in my stash!
1 Like