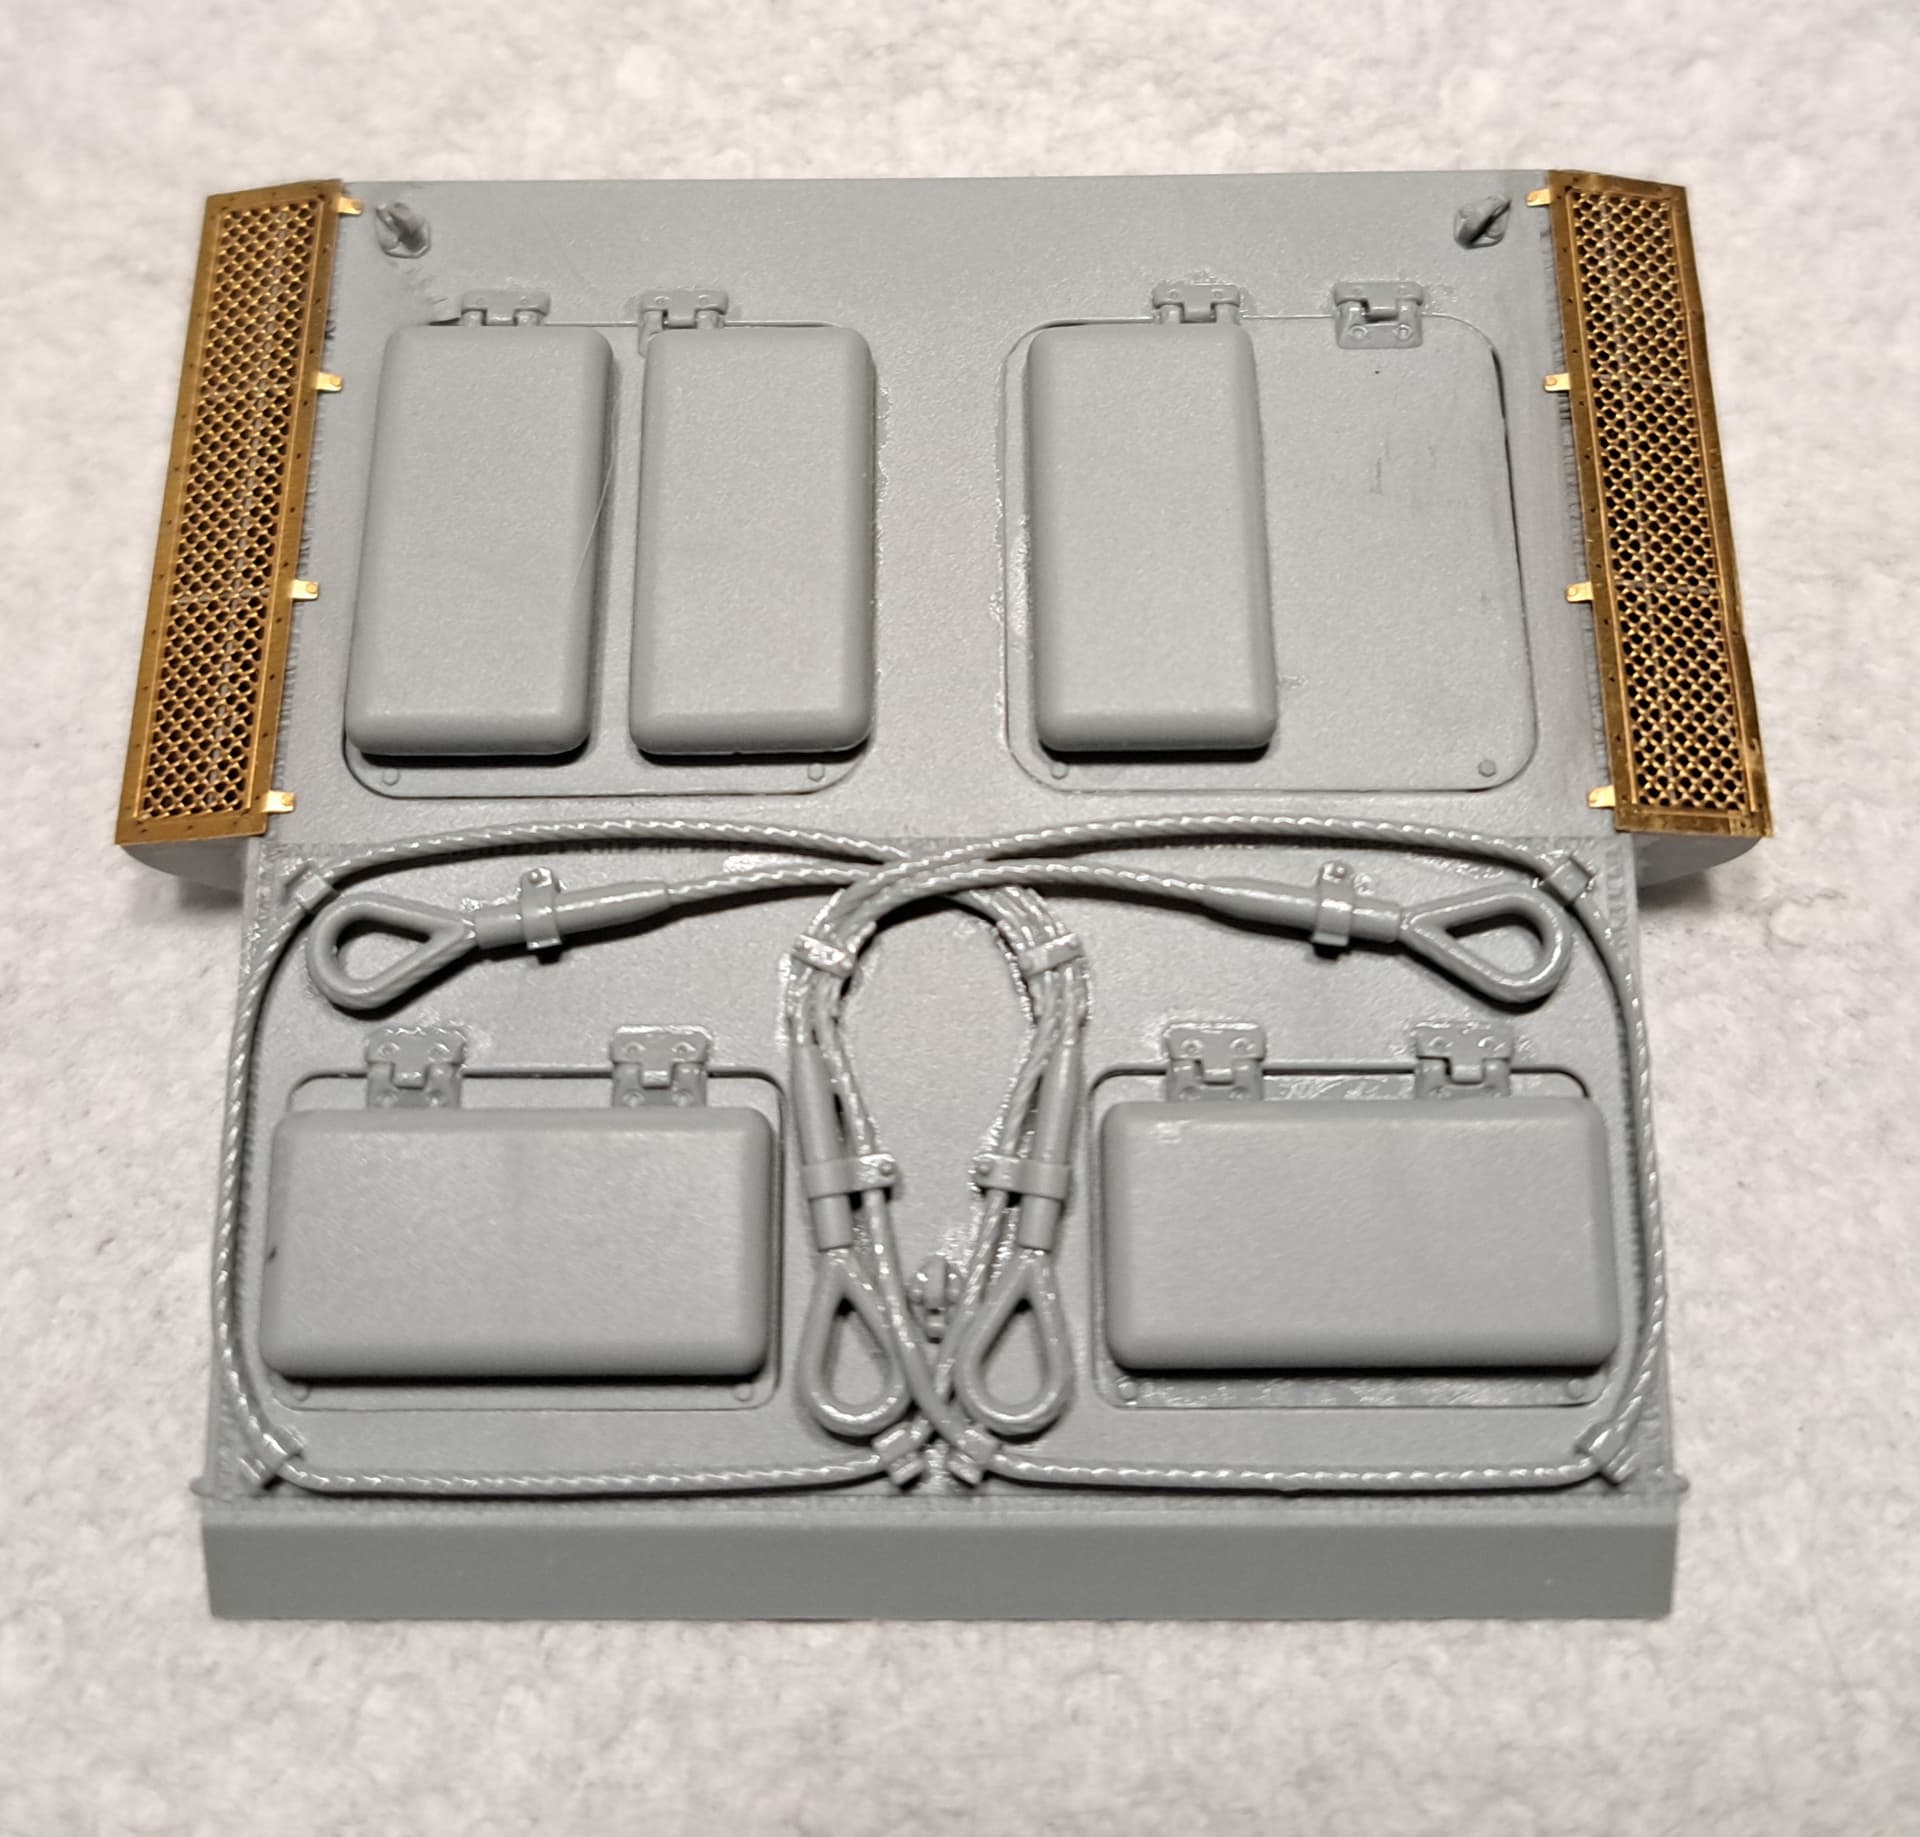
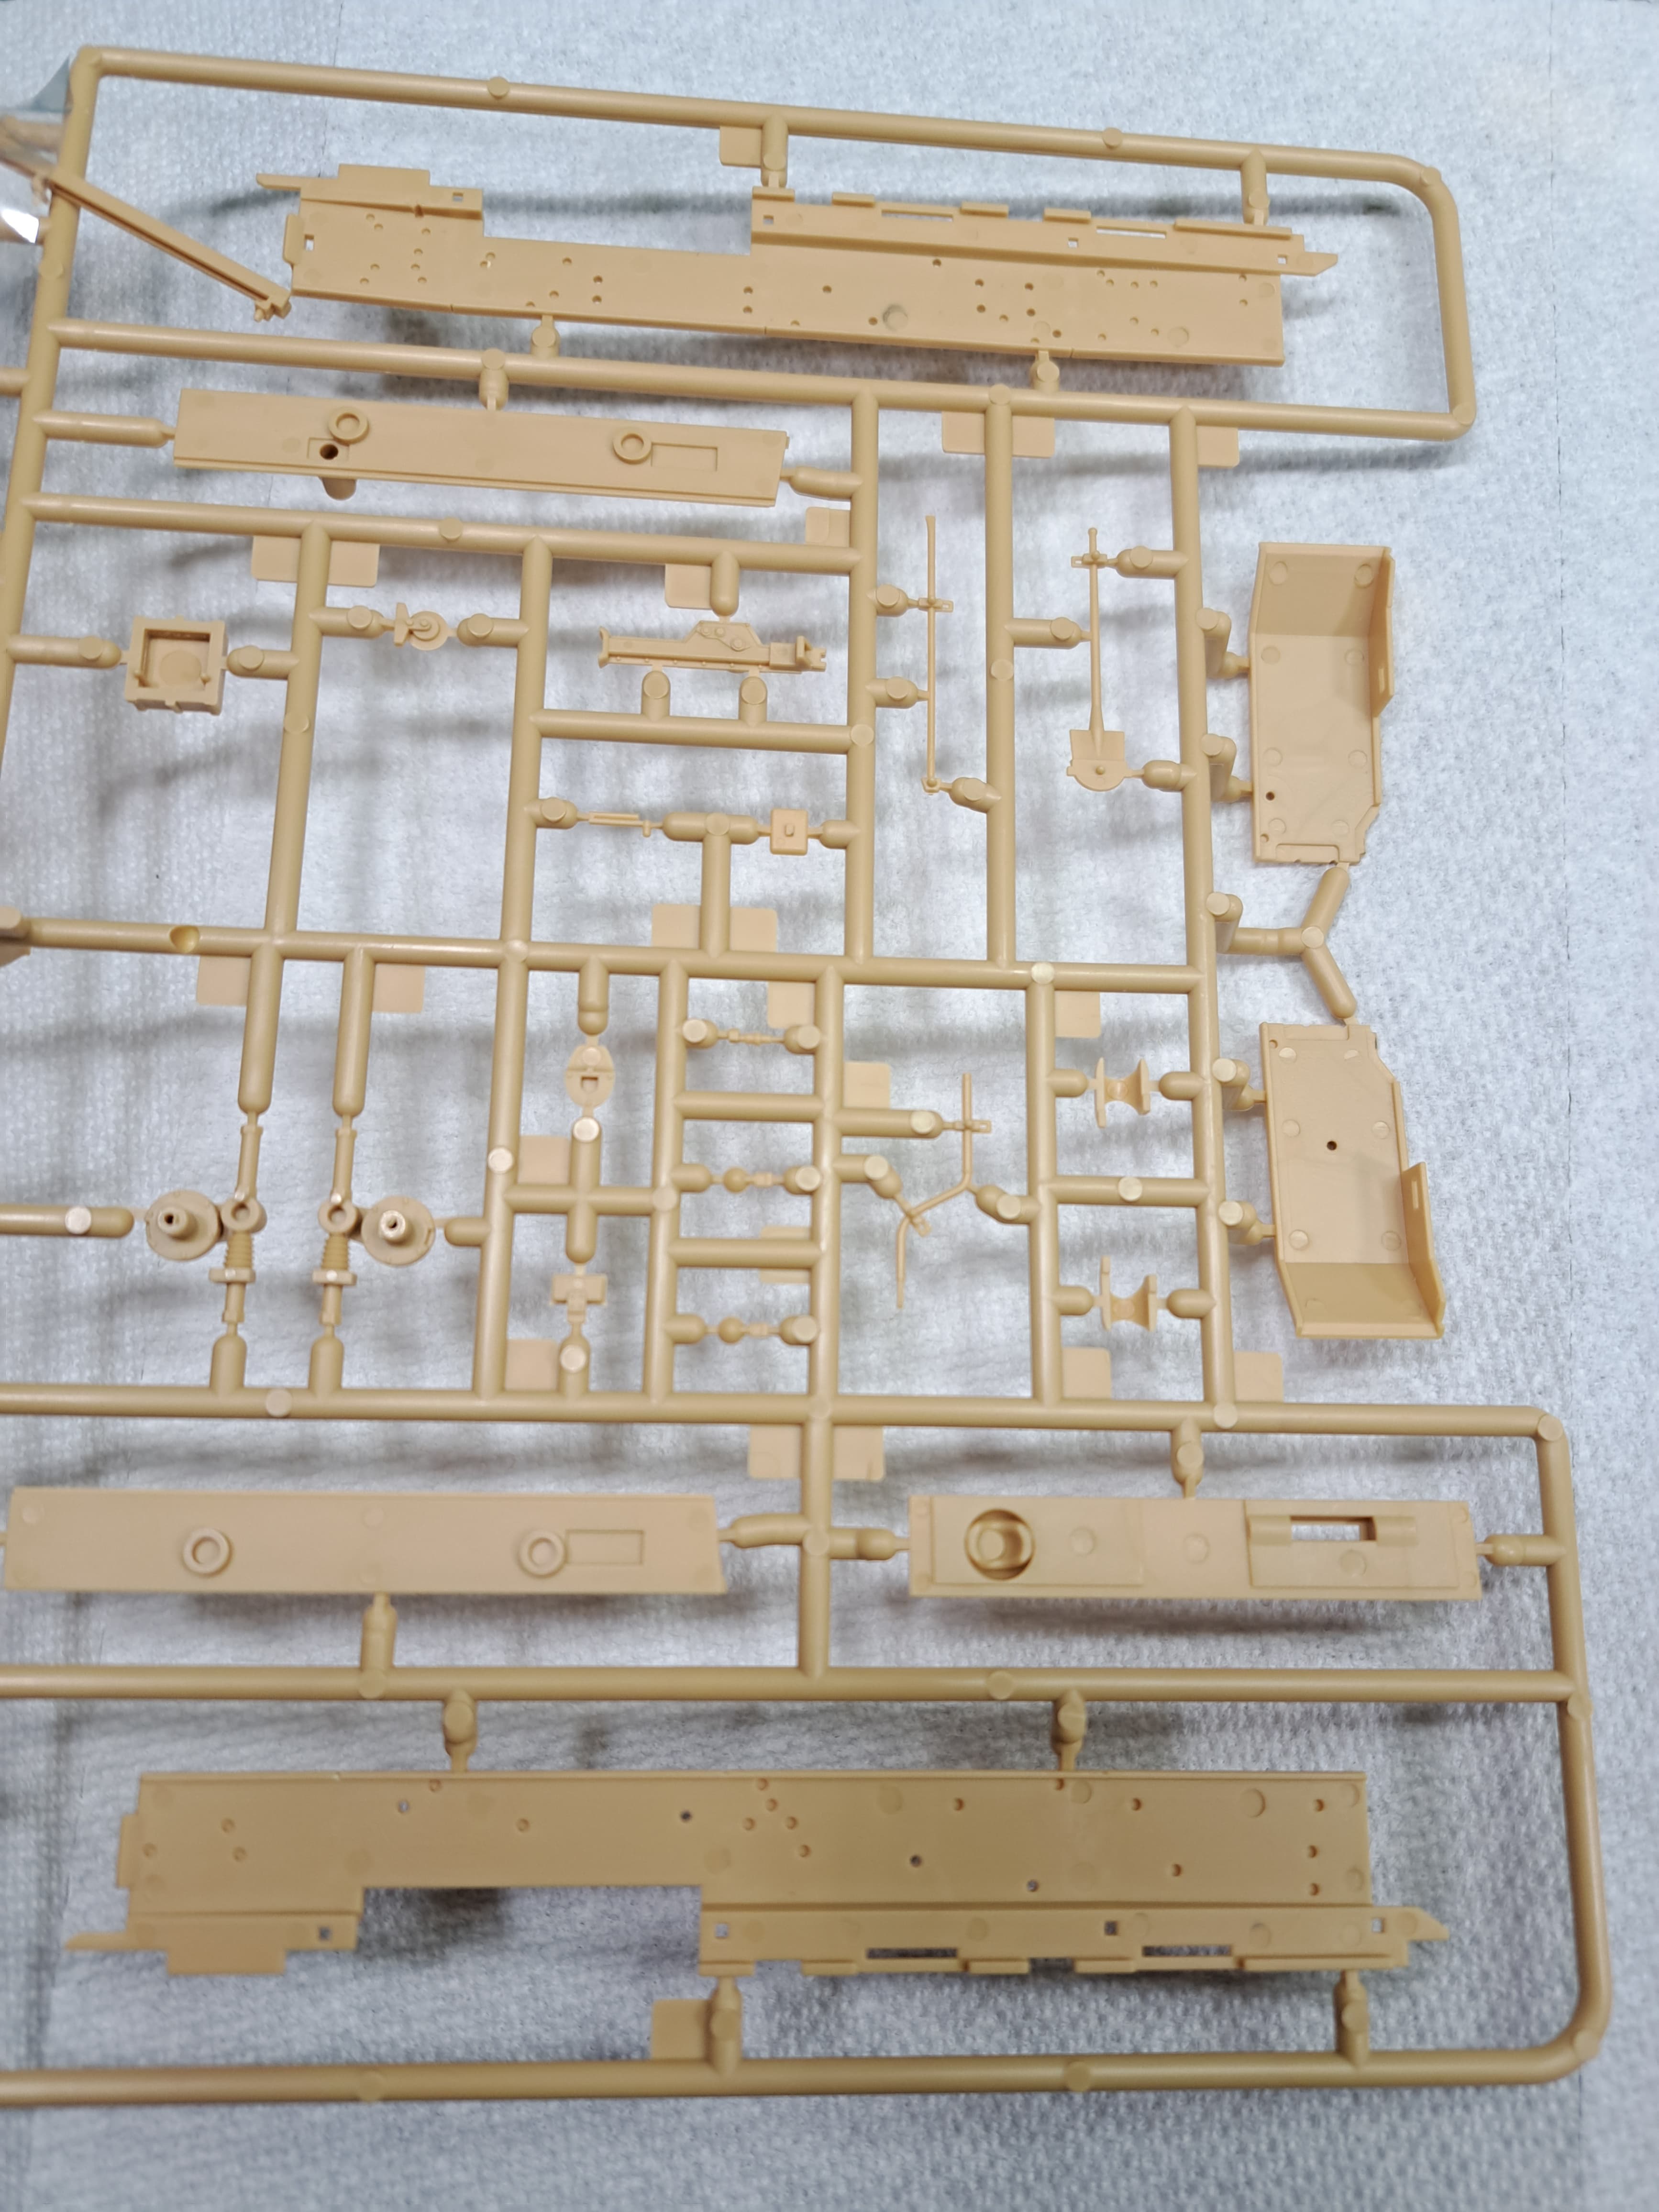
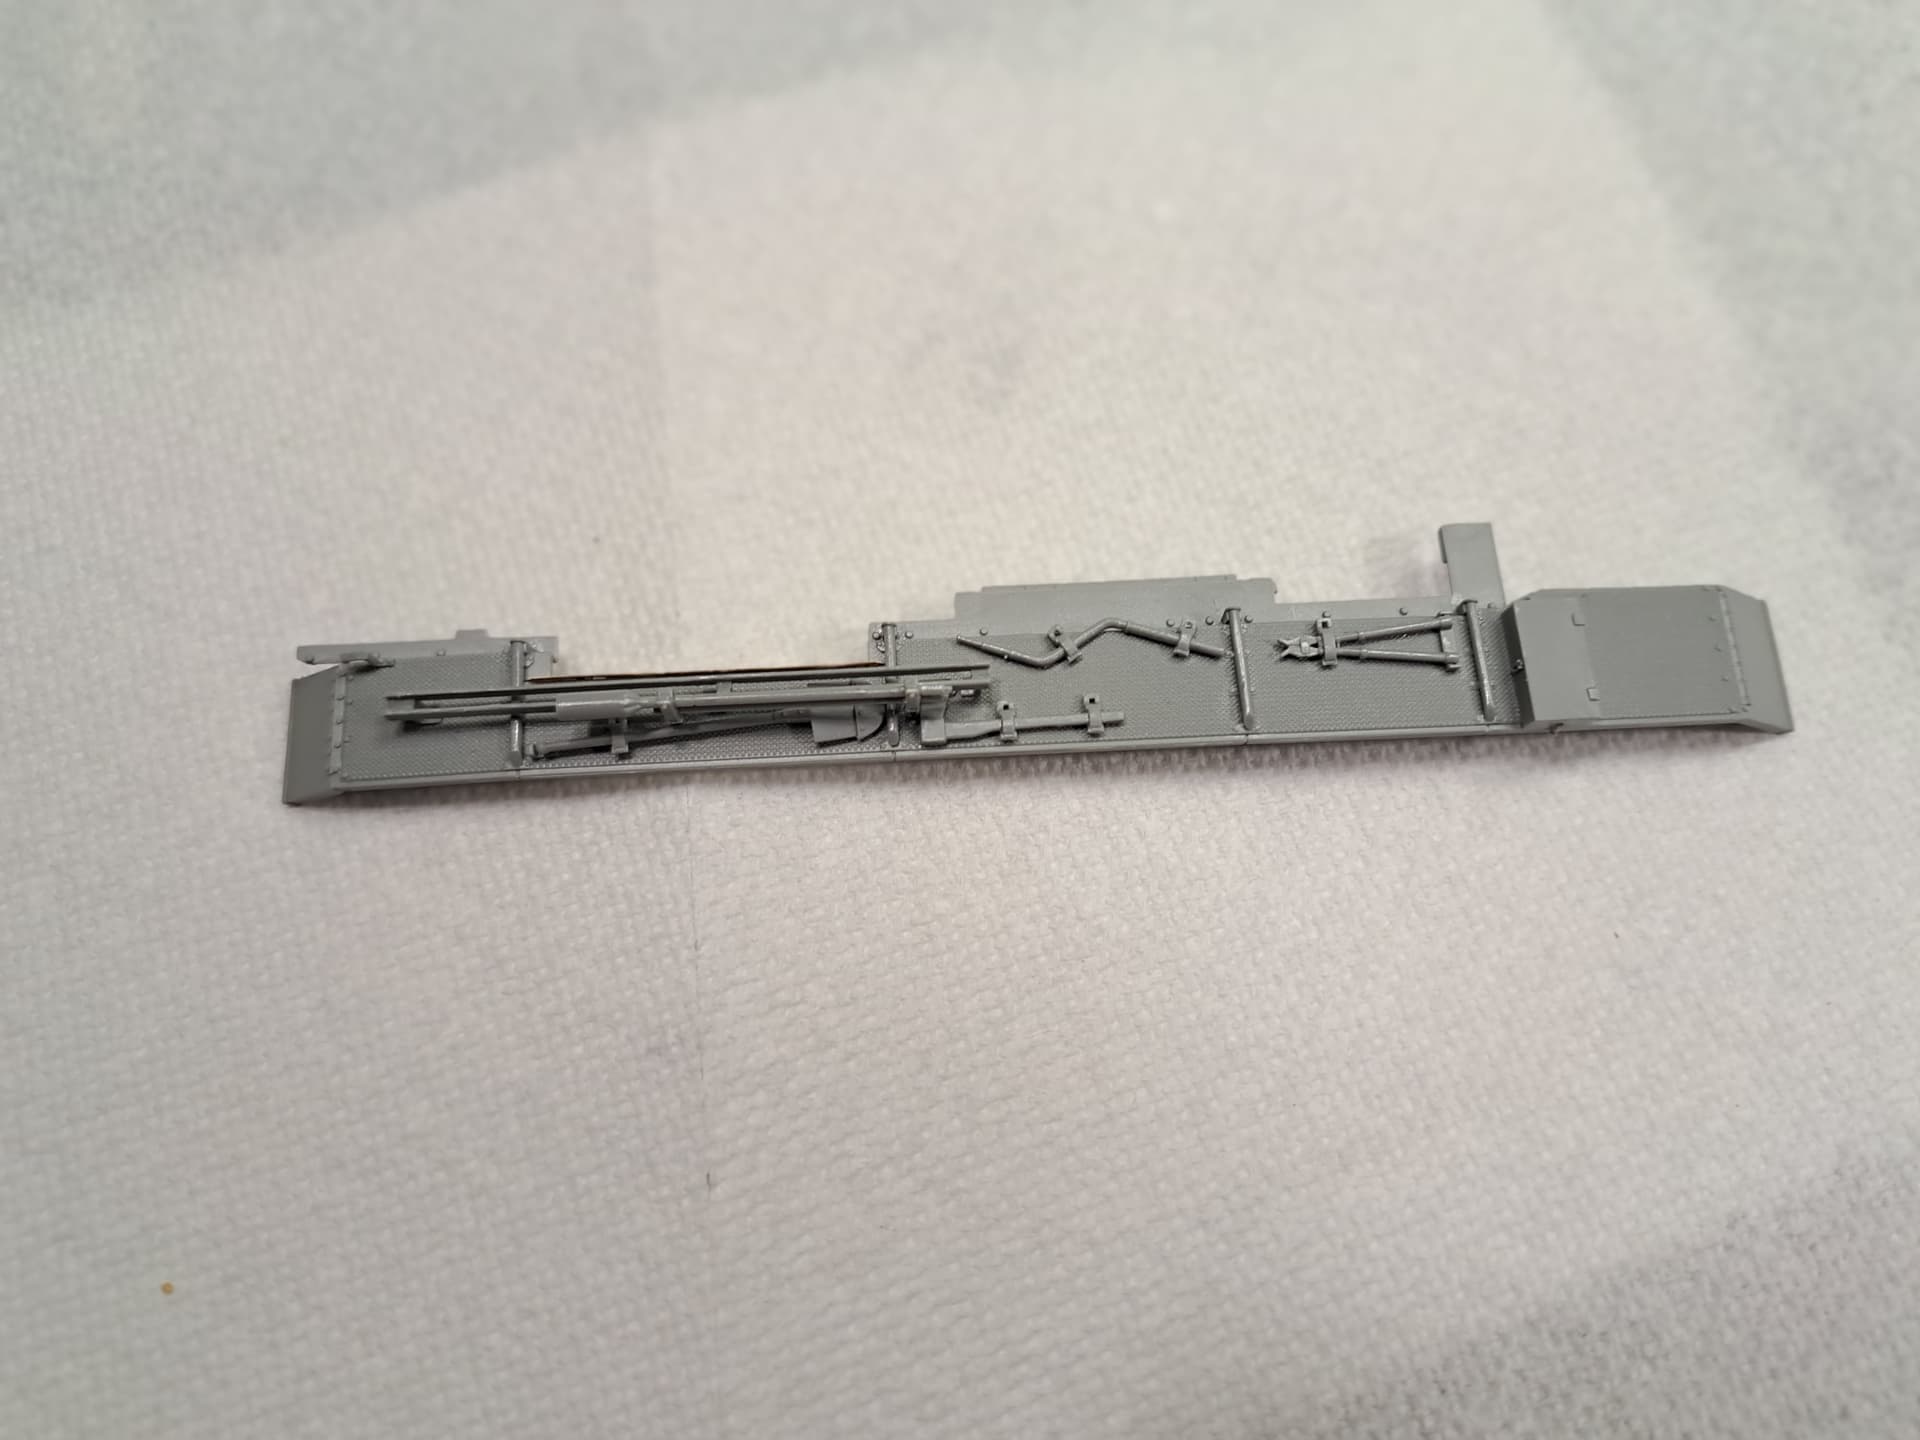
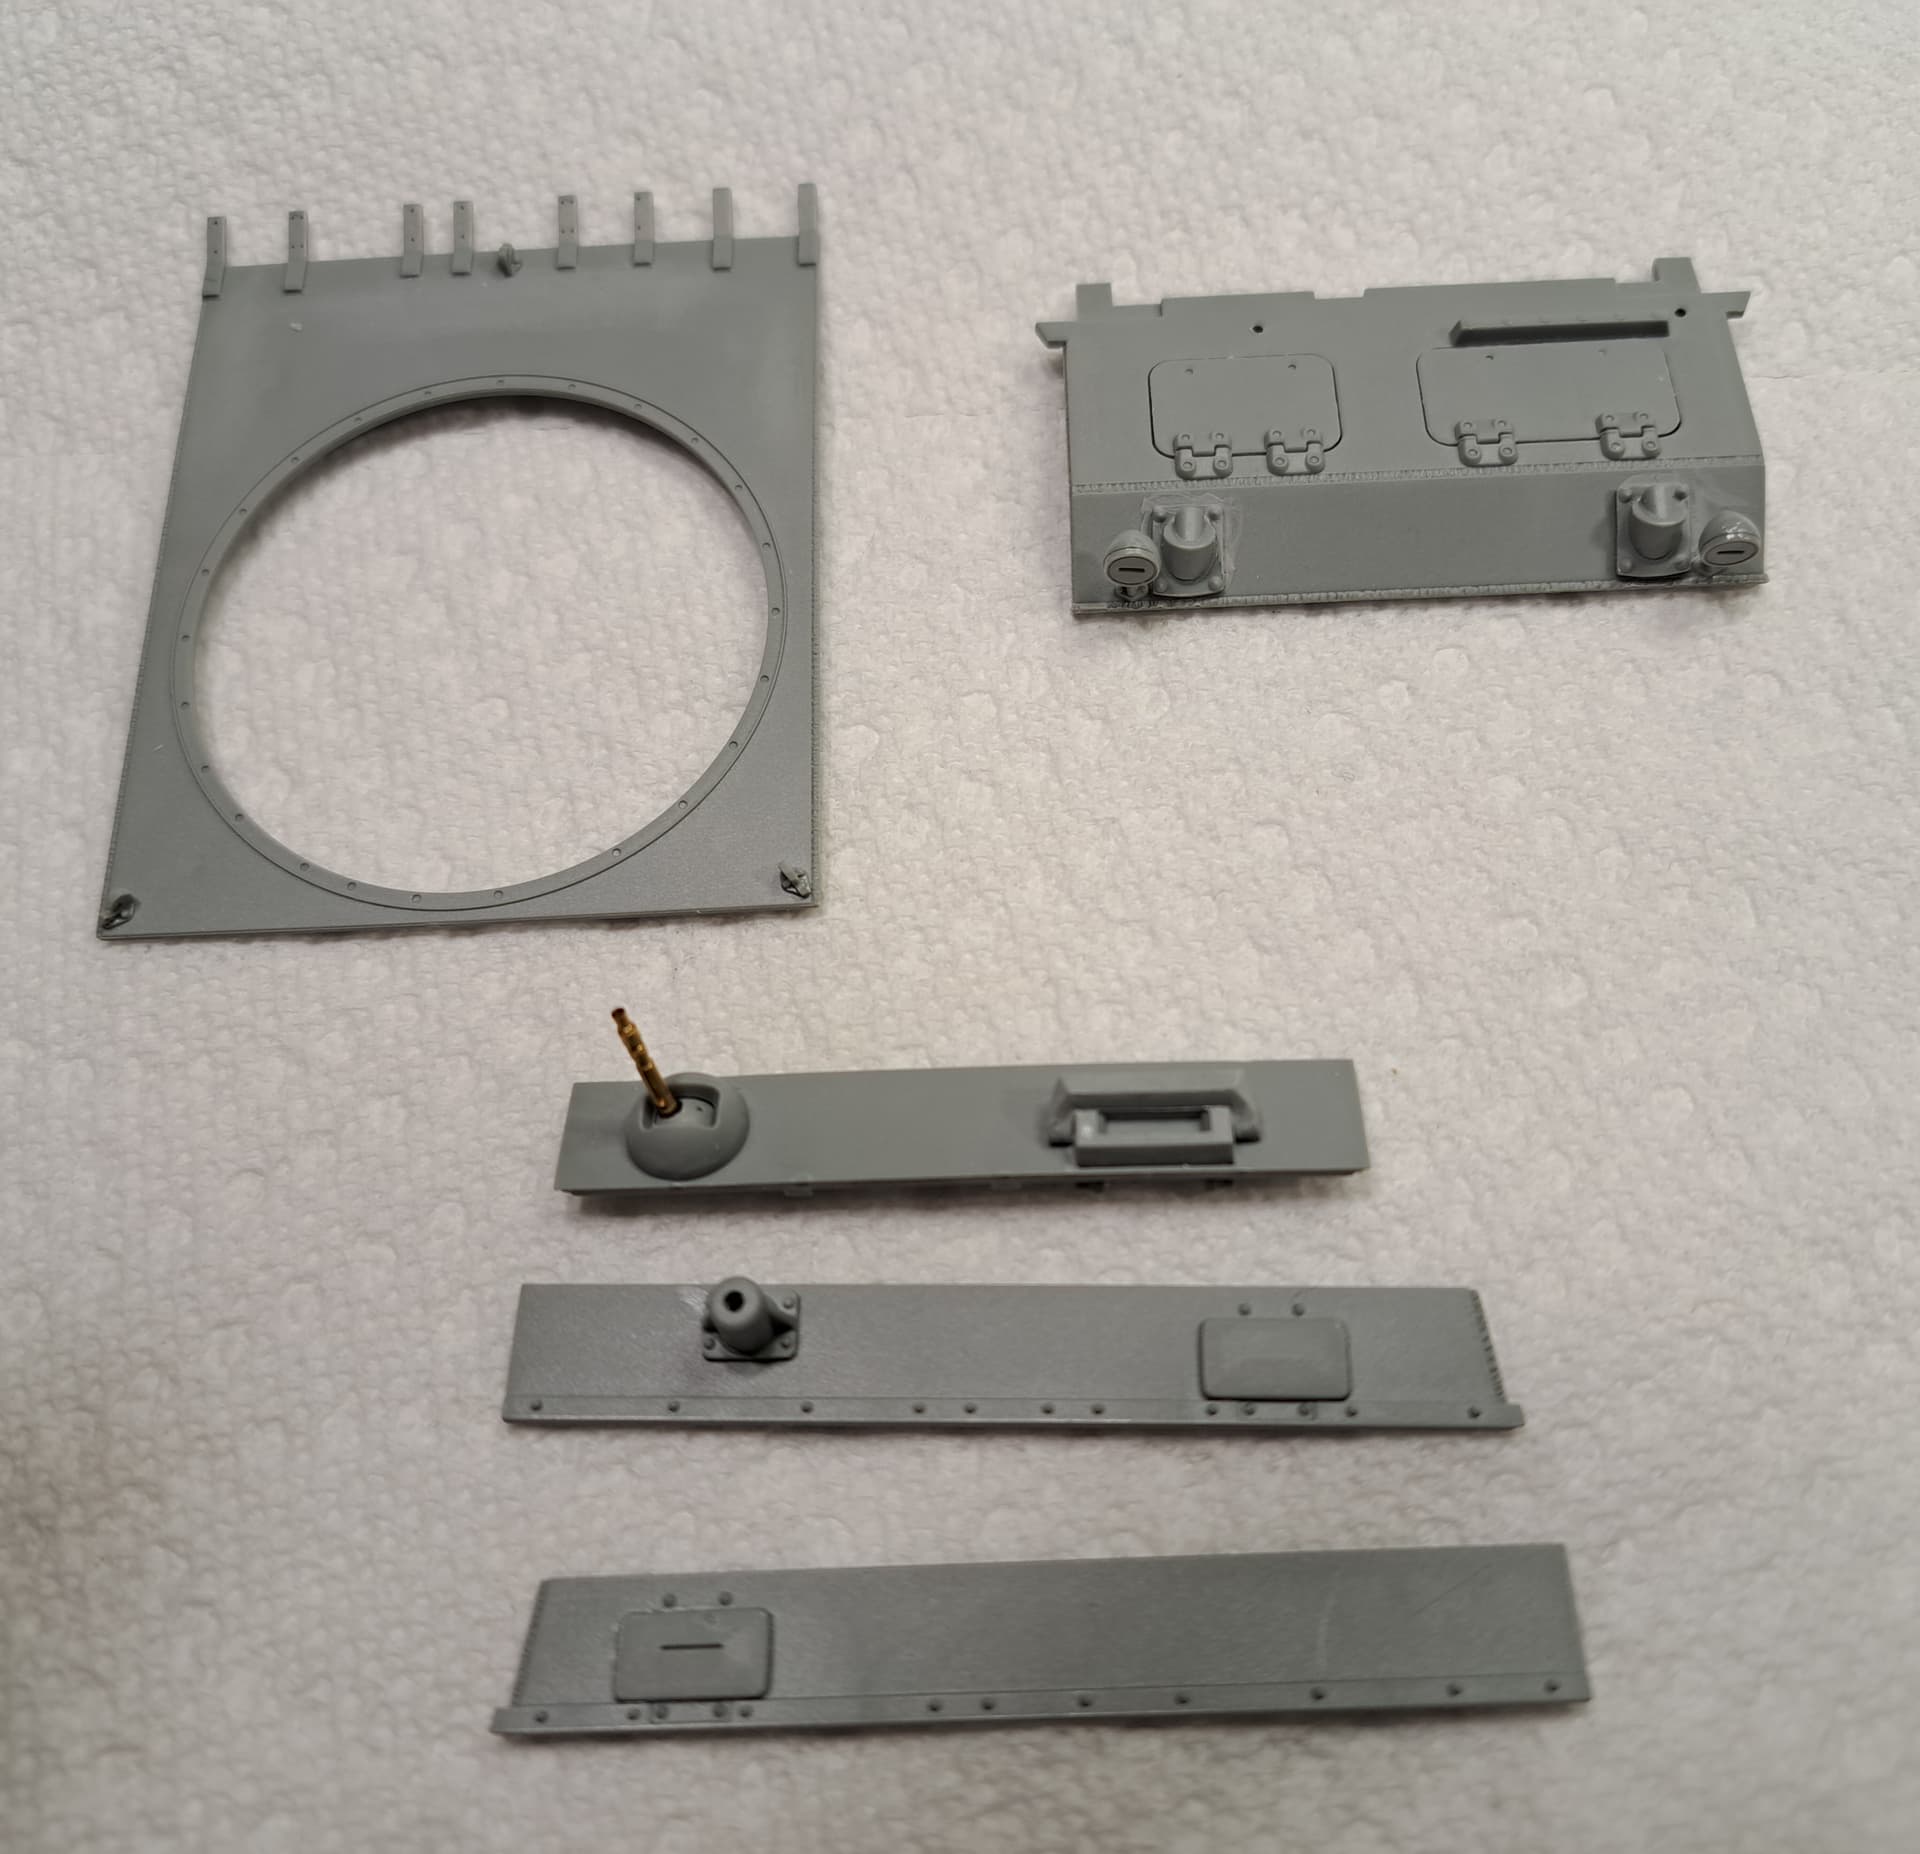
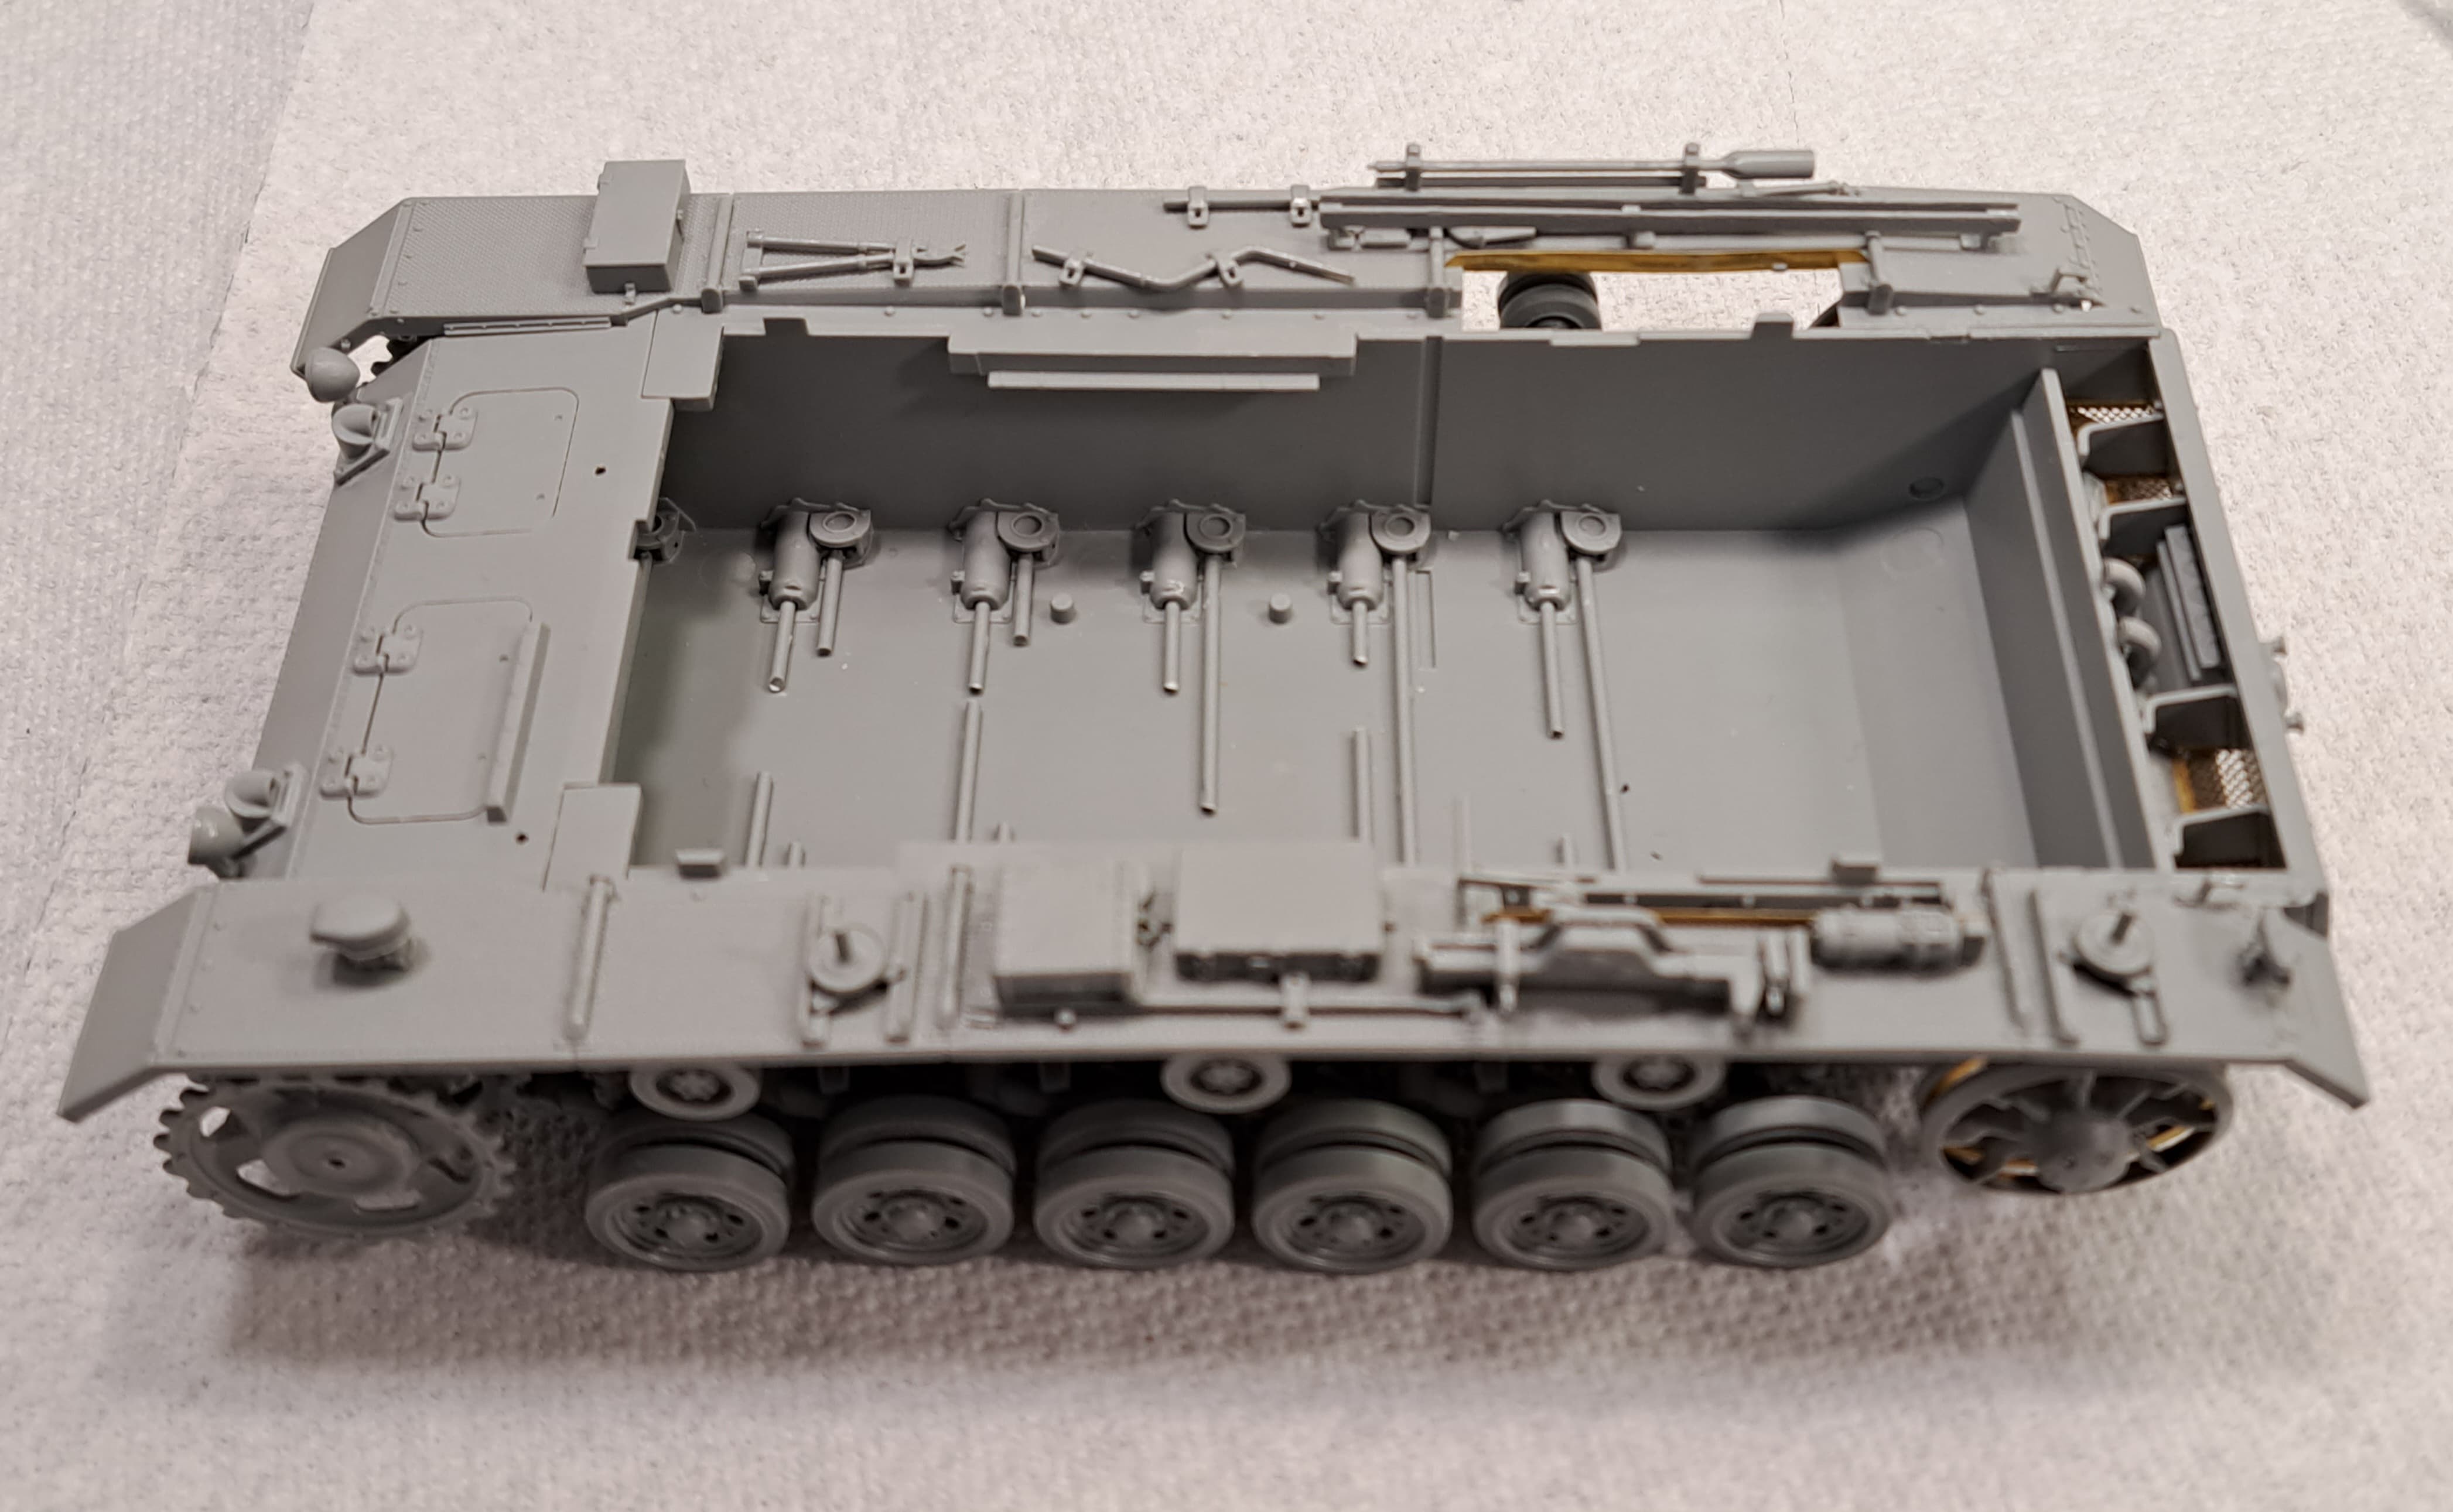
Plastic tow cables or empty plastic tow cable attachment brackets was the question. Went plastic tow cables. Lots of scraping & liquid cement treatments on plastic tow cables battling the ever present mold seams.
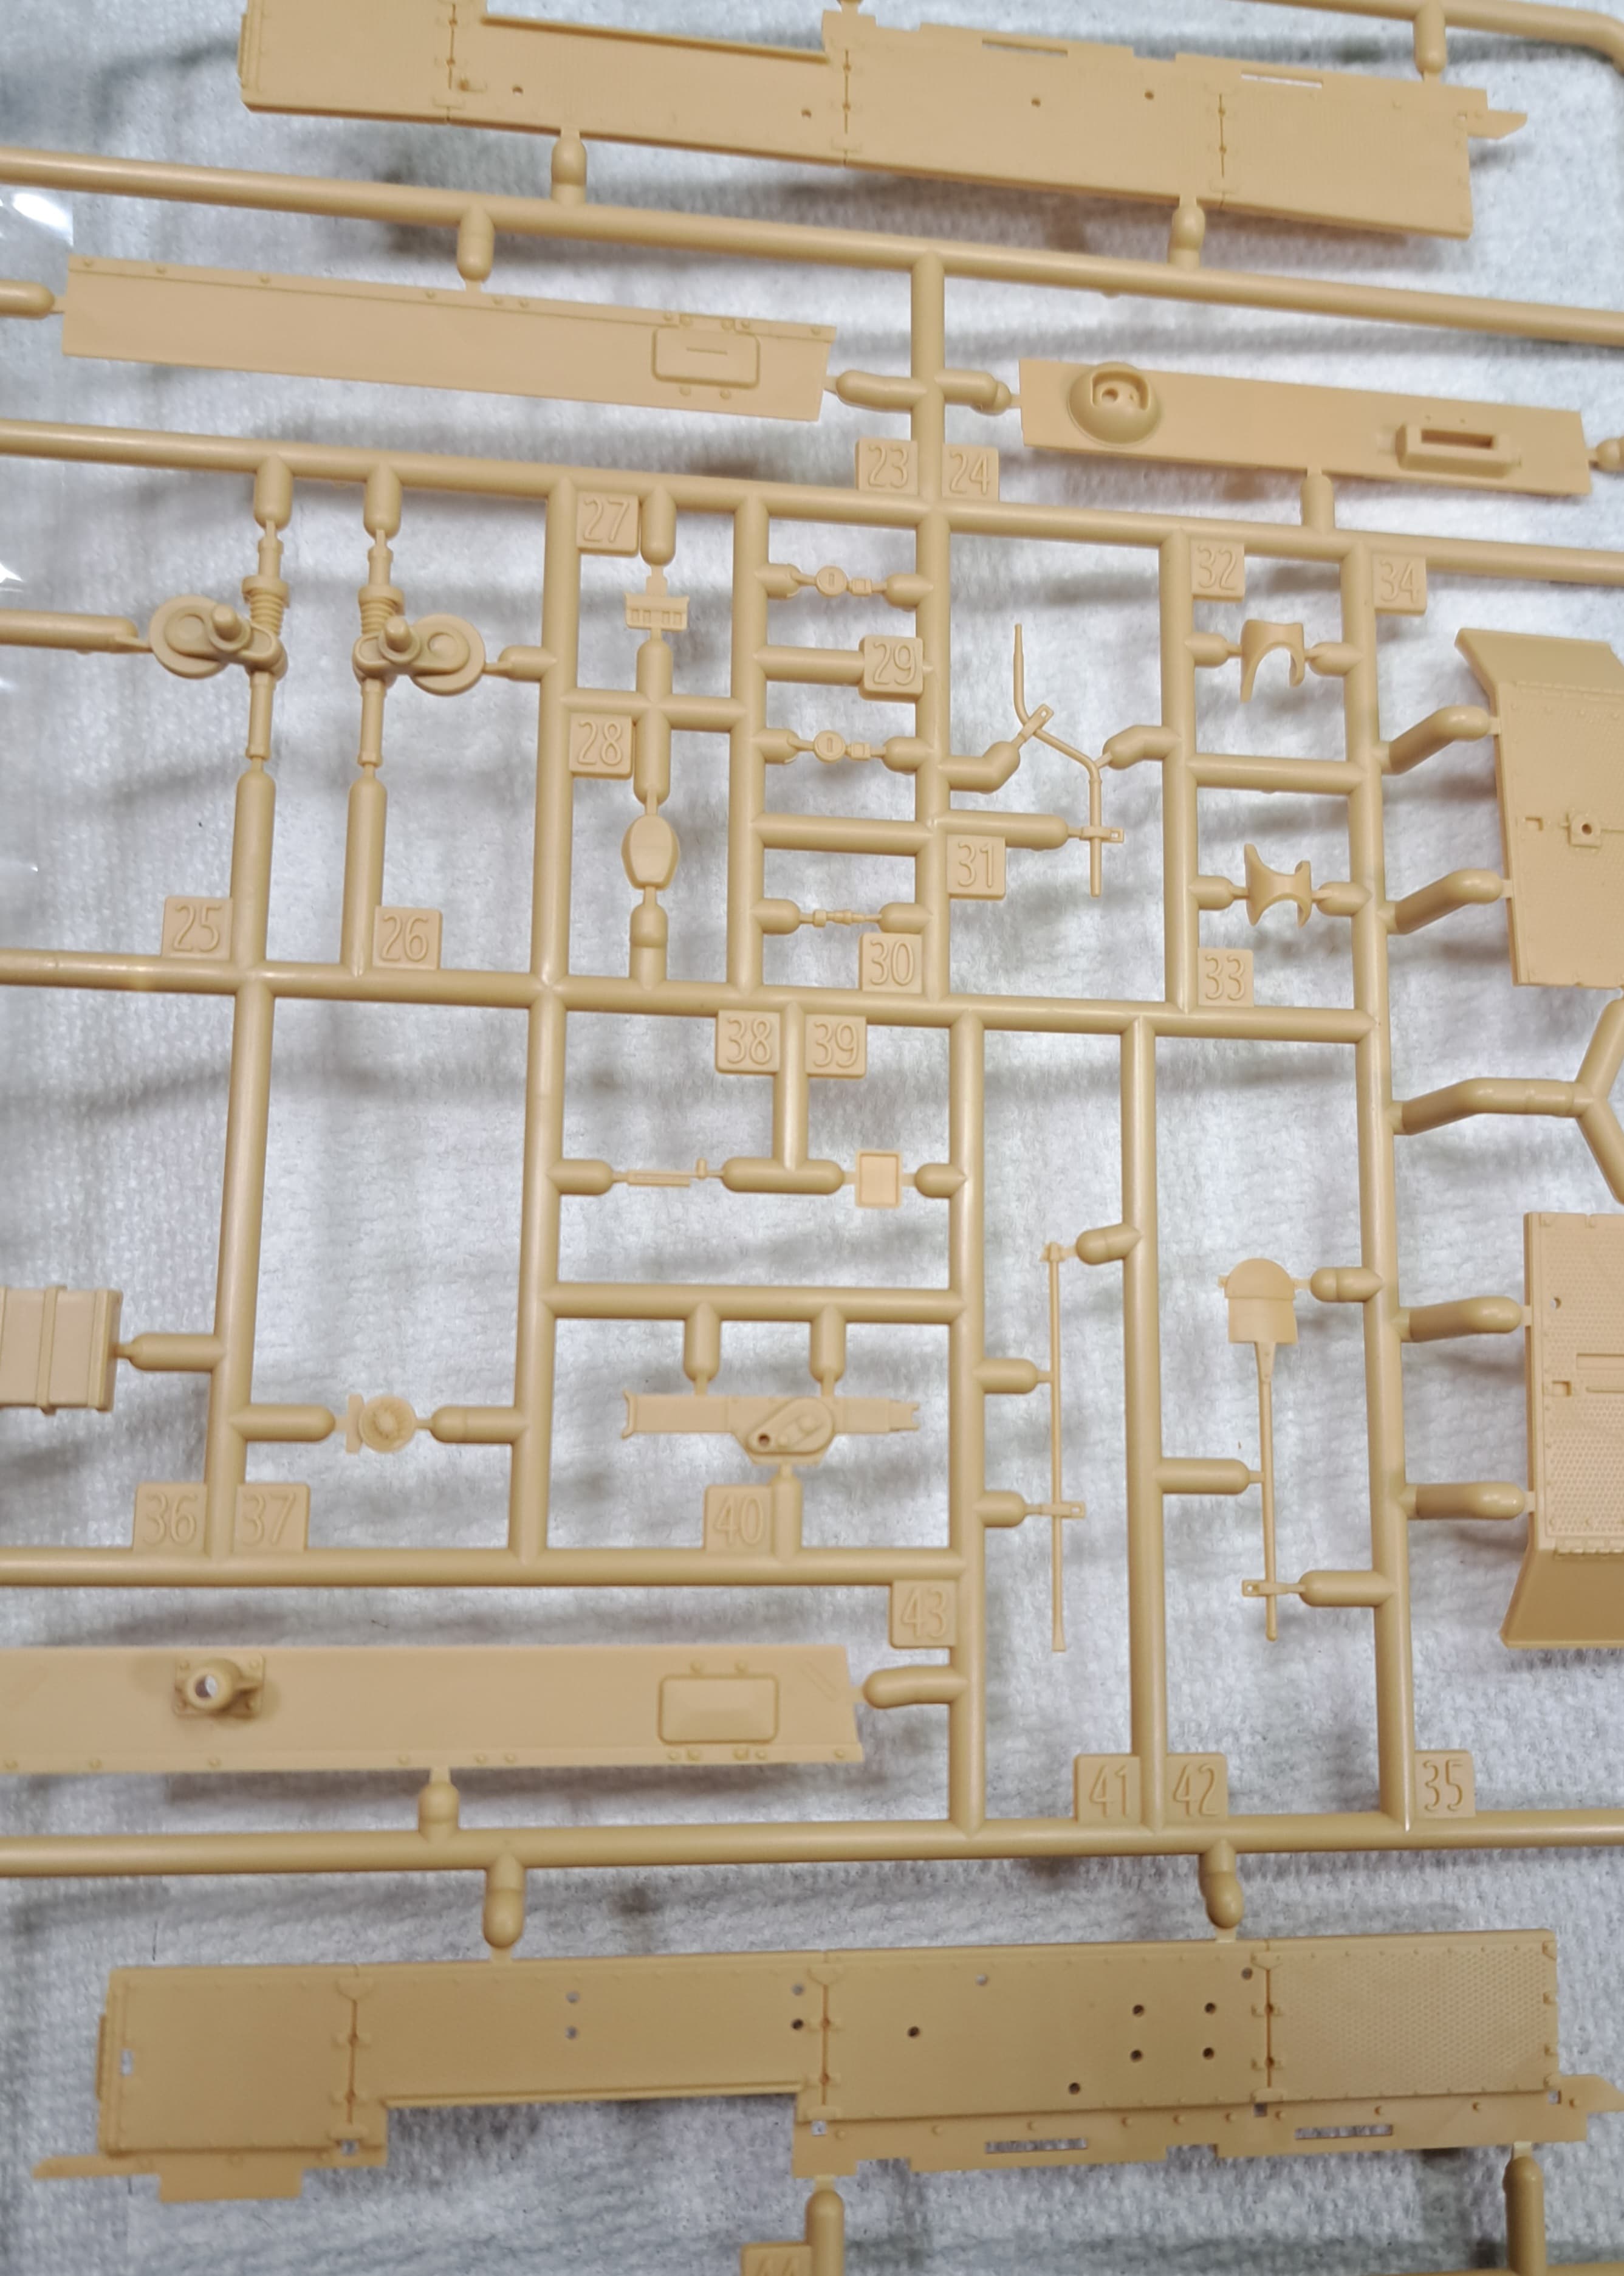
Painted inside of air intakes to make sure bare plastic would be visible before attaching PE screens. Very sweet diamond pattern PE screens with a great 3D look…A+++ for Dragon!
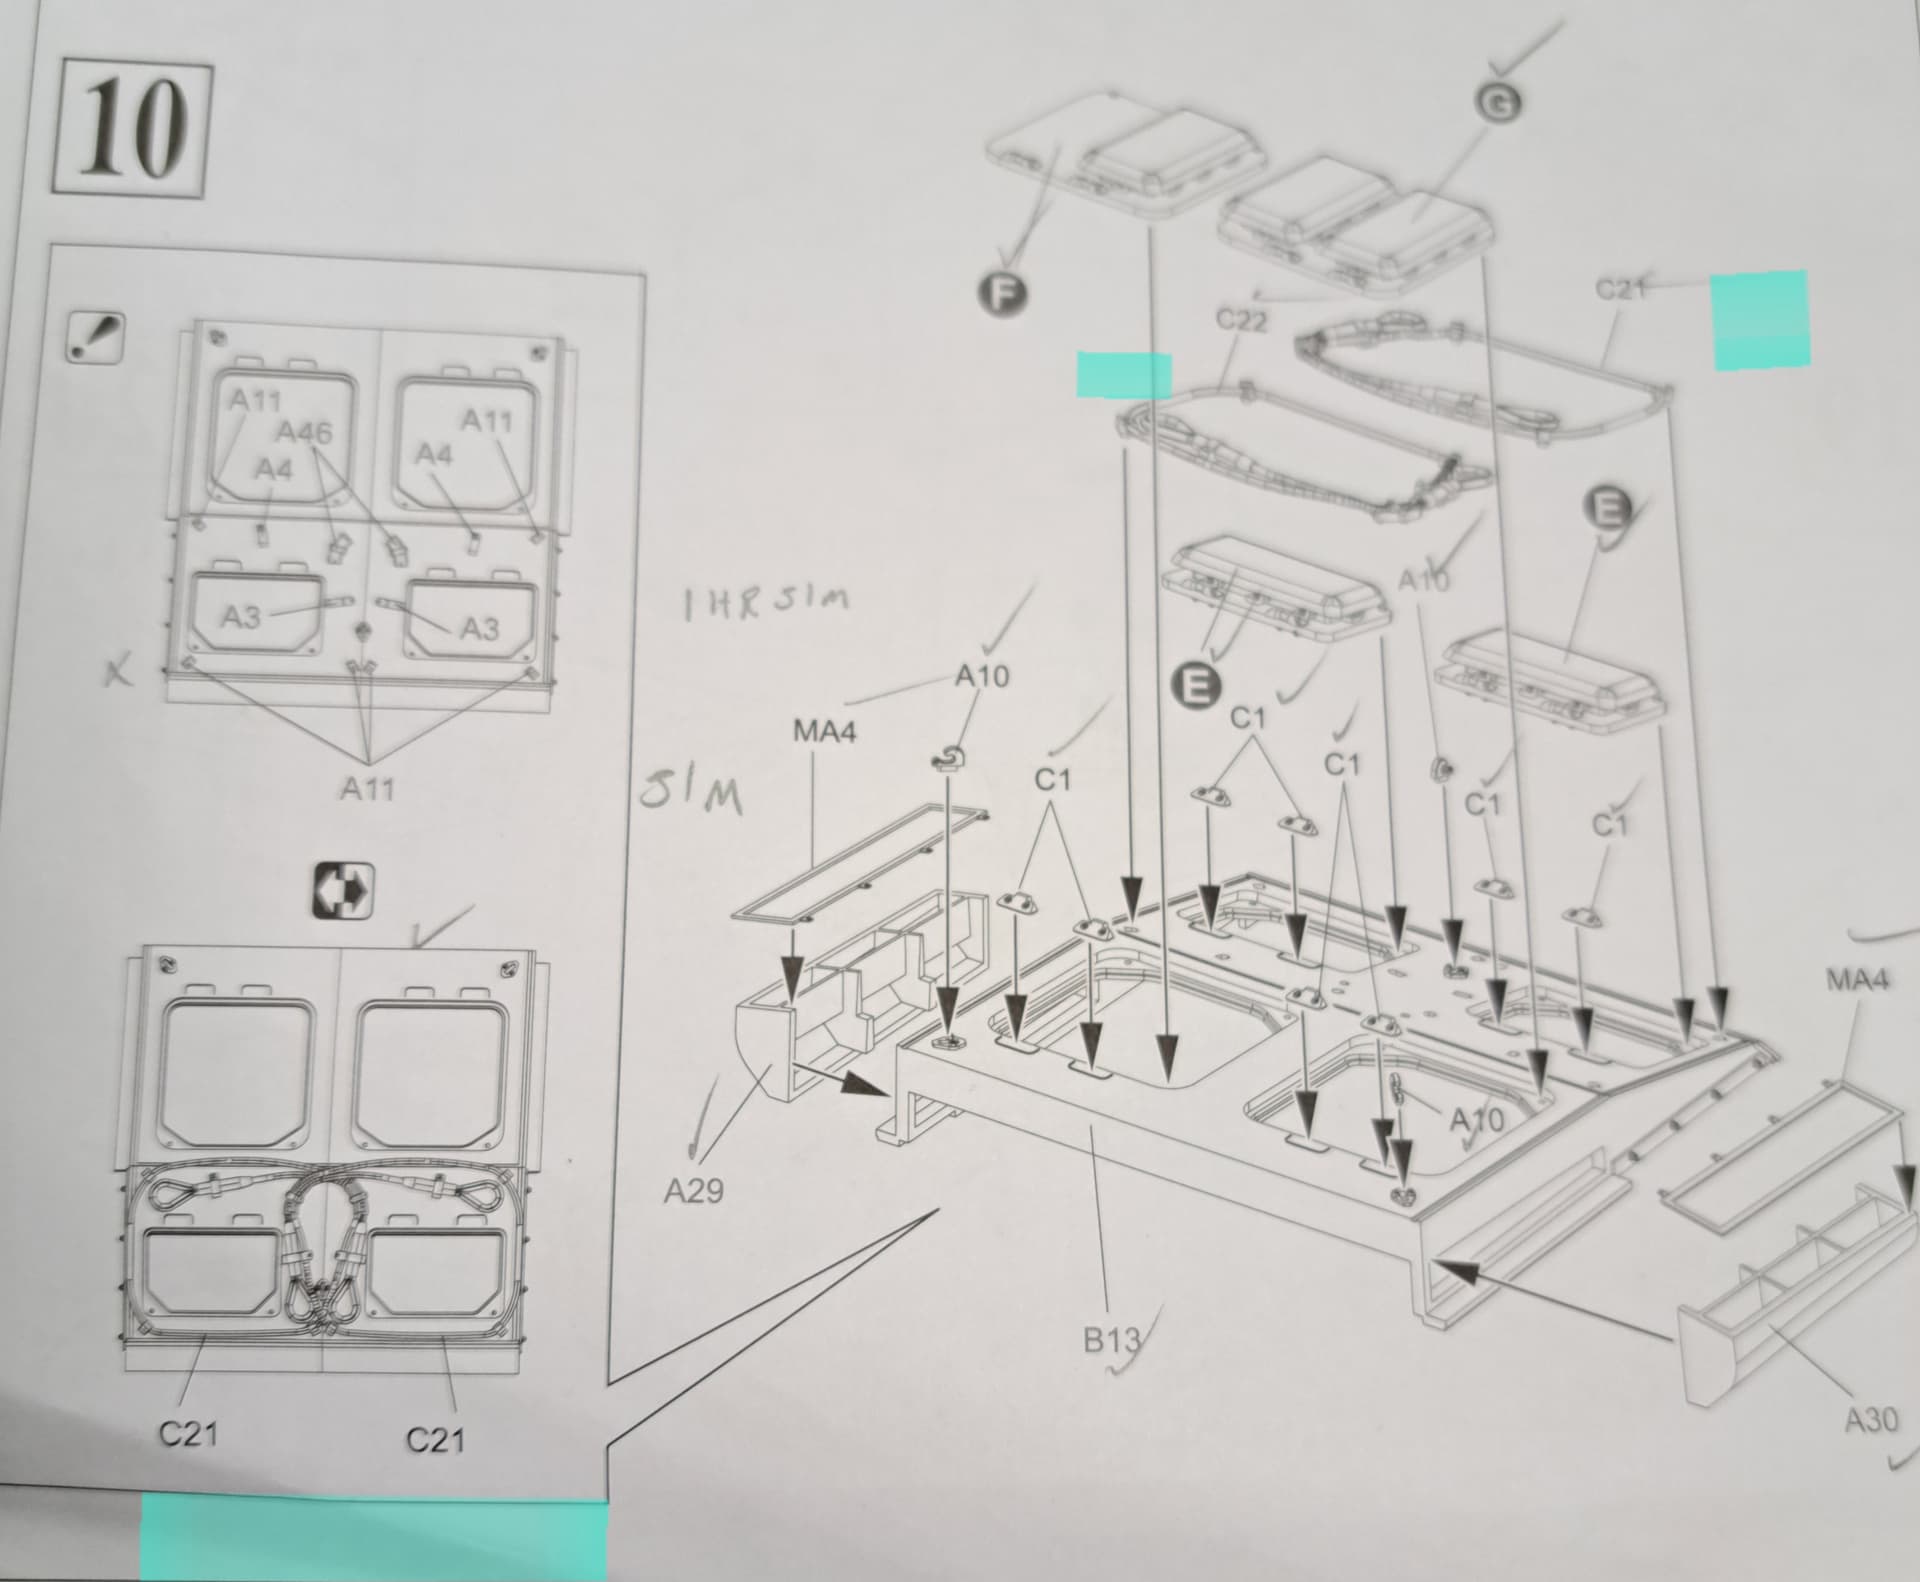
Edit - Dragon-structions strike again! One side says use two C21 tow cables (wrong) and the other says use C21 & C22. The tow cables are stored on the back as near mirror images of each other typically and C tree has C21 & C22. Minor yet annoying. See blue highlights for details.
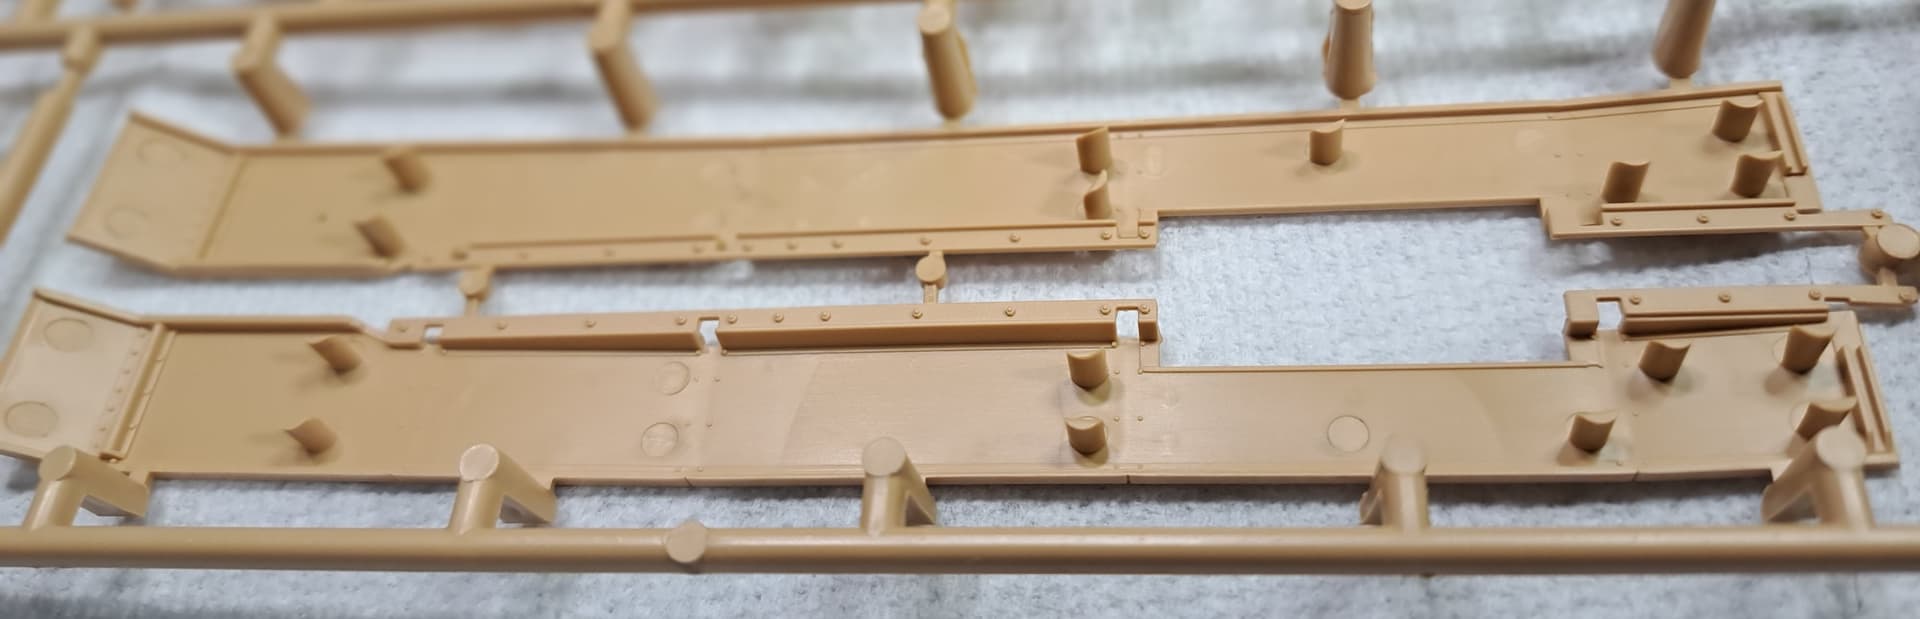
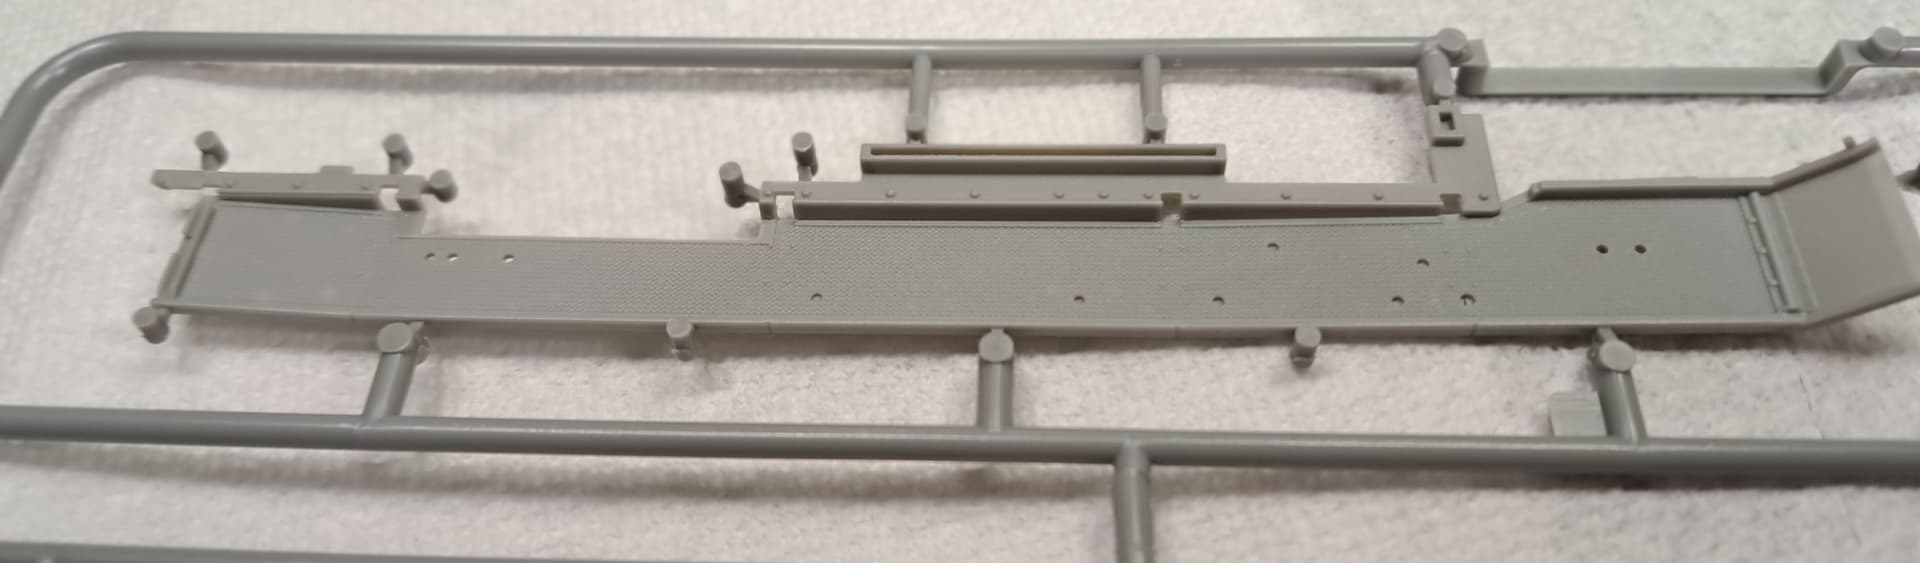
How the hell did Dragon do that, molding fenders with detail on both sides and no ejector pin marks? They are a thing of beauty and why Takom and RFM don’t do the same is beyond me. You would think that part of their design team’s research is to obtain a Dragon kit and do better. Why would you bother to produce an inferior kit?
@SSGToms Matt & @Dan Dan, its almost like RFM didn’t benchmark the competition in some areas. Mistake on RFM’s part not to equal or surpass the fabulous Dragon’s fenders.
Quick survey of stash kits on hand yields: Fantastic Fender Fact Finder’s Folly.
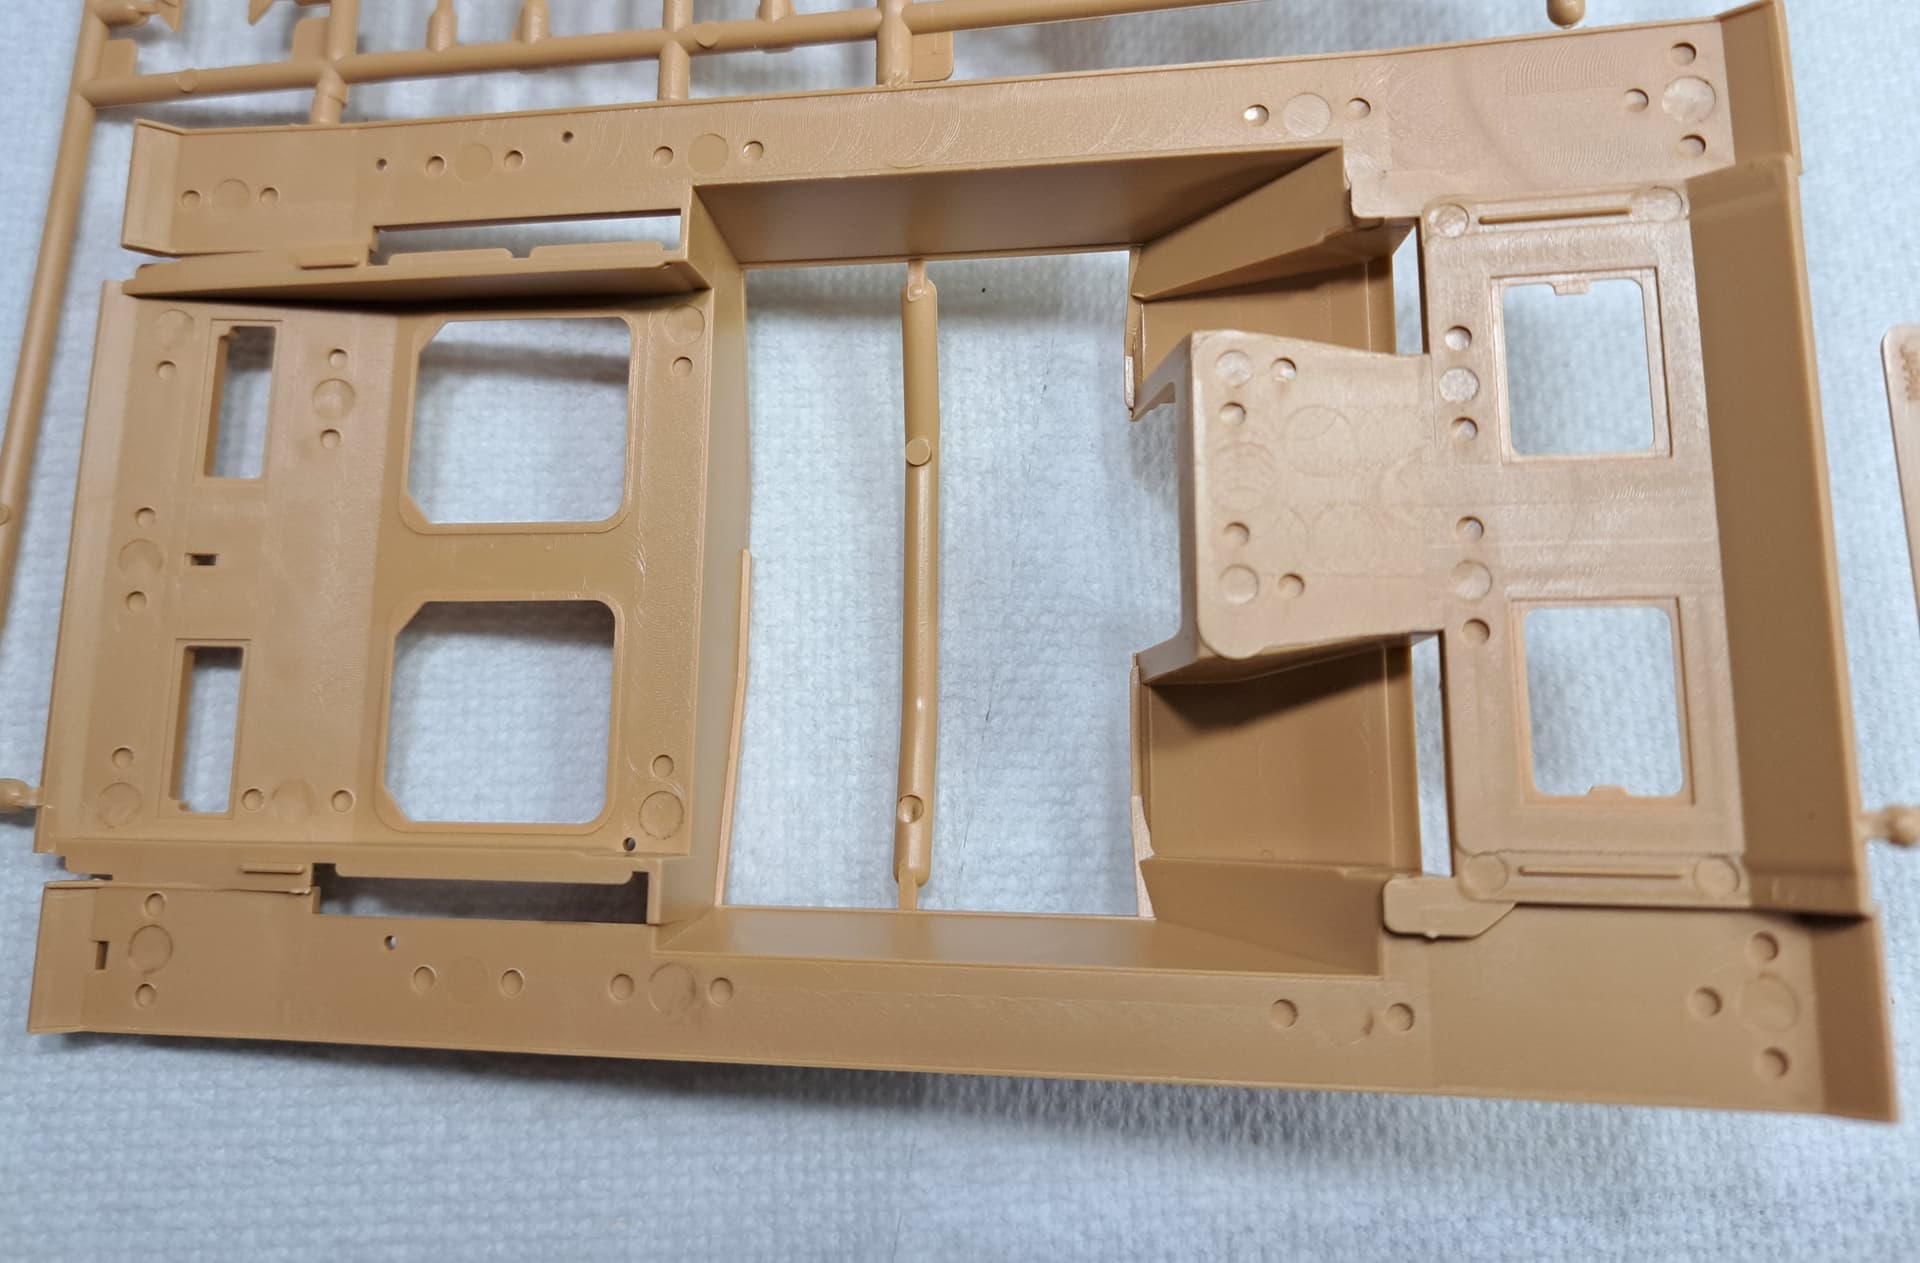
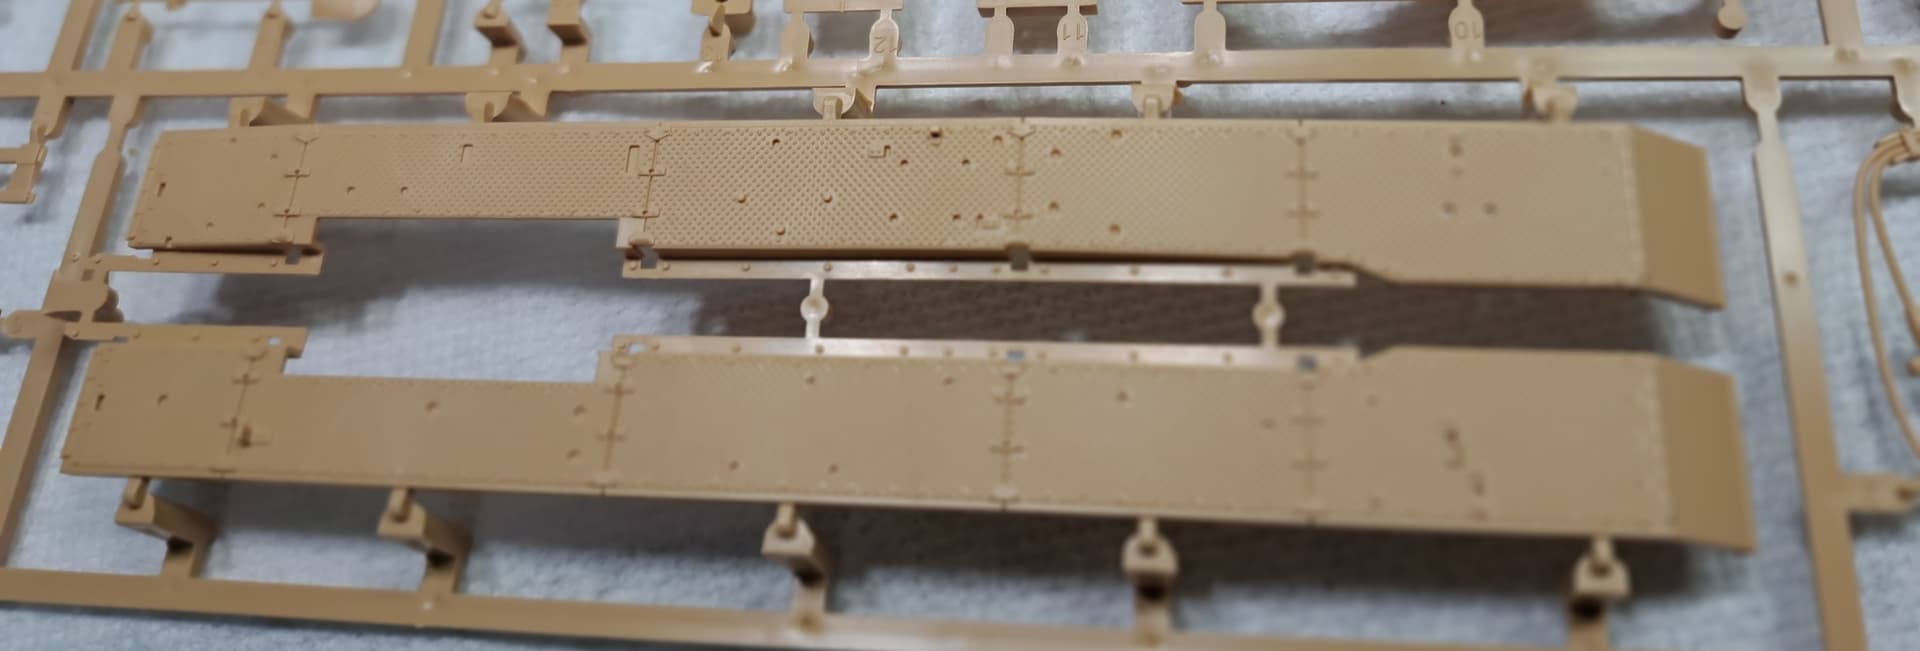
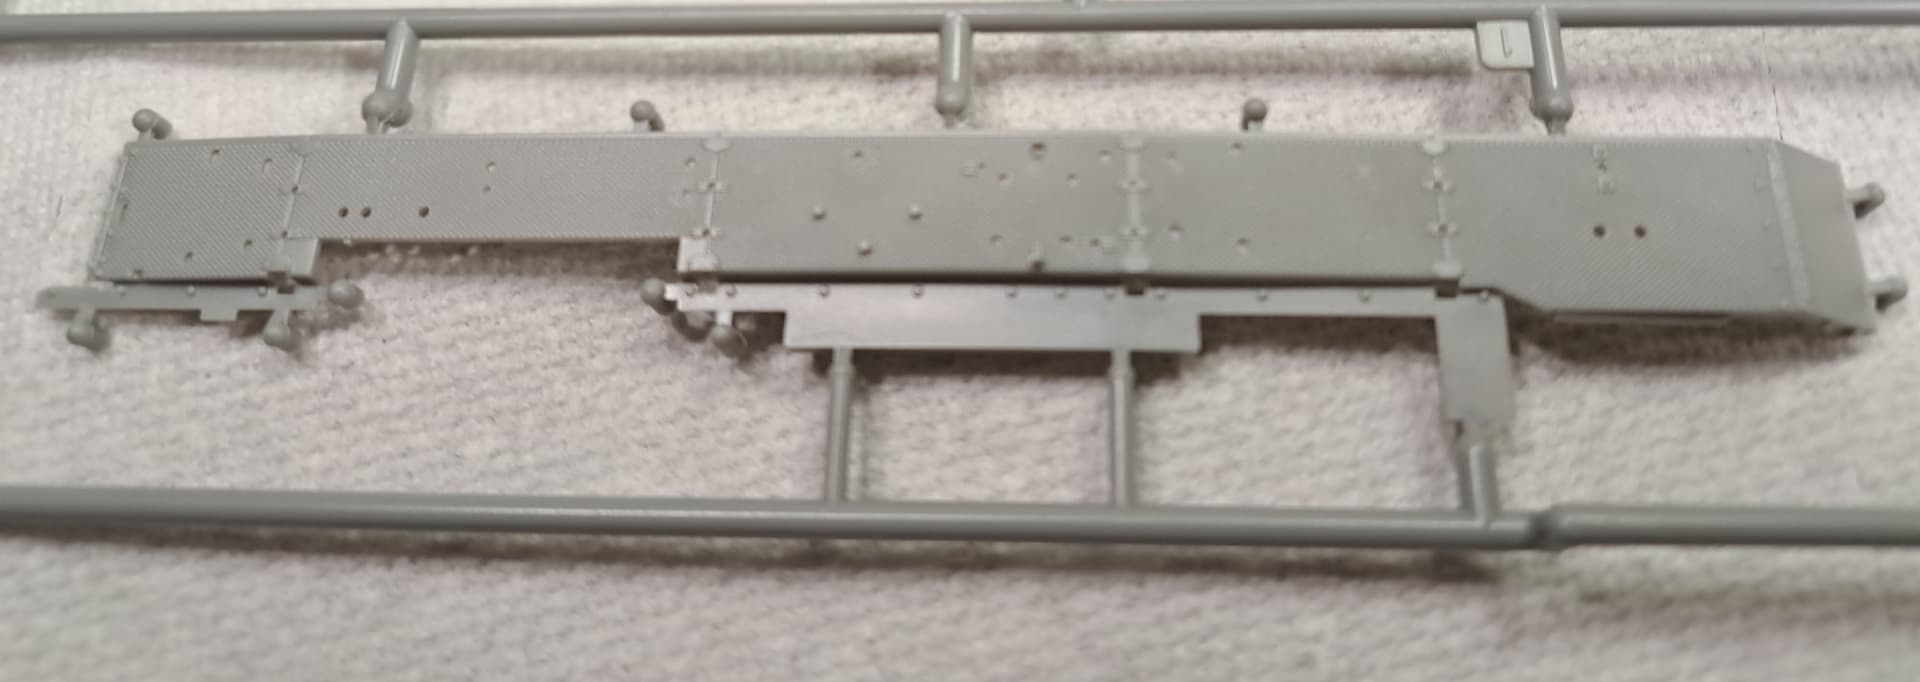
Tamiya 1990’s Stug III G stands in for their Pz III L, not exactly the same but equivalent quality. The top side is OK good enough for my standards. The bottom side is nasty and curse worthy with all the pin marks and holes that will need addressed.
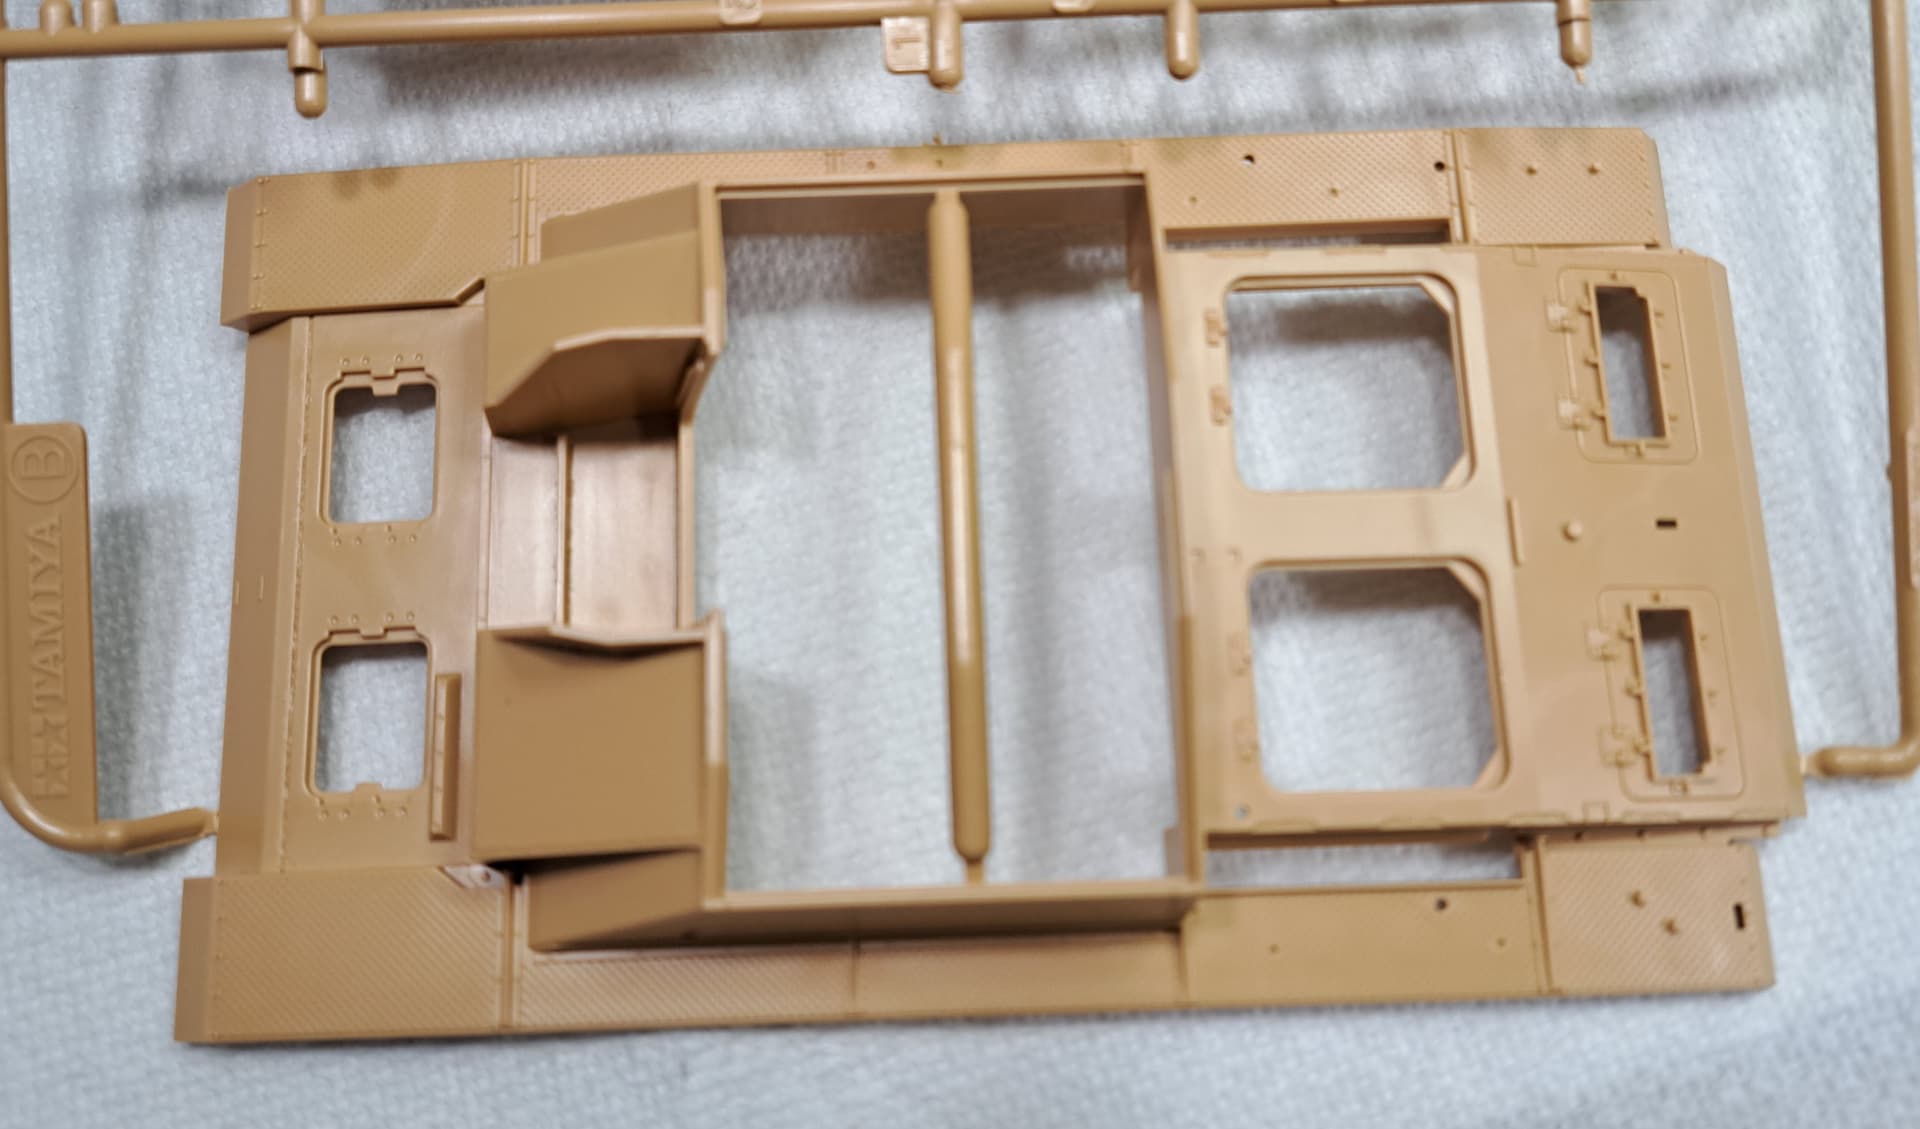
Academy Pz III L from ~2022 and we get the following. Looks close to Tamiya from the 1990’s. Academy has never failed to disappoint me since 1988 every time I open the box and look at what’s there. I hear this is a good kit so I’ll stop other than: Check out that glacis with the molded in MG mount!
Up next RFM Pz III L or J. They not only missed the bus, apparently they didn’t know there was a bus! Check out those 1960’s era punch marks with stalactites from a Land of the Lost cave. The tops are nice but you’ll clean these byotches up if you want the tracks to fit. Definitely Fugly.
Dan, what specifically cause the change of heart towards the newer Tamiya kits?
I understand other than nostalgia or a fast build to paint many of the before 2010 Tamiya kits have lost their luster. I have an old Tamiya 1977 era Panzer IV D #35096, that I very much want to kit bash & detail. I want to crank out a few more Dragon Pz IV’s and an RFM Pz IV first to supply spare parts first. Have TriStar suspension & wheels, Fruilmodel tracks, new tools , metal MG’s, brass antenna etc for it. It’s almost a game collecting junk for that ratty old Pz IV D kit…lol
I’ve grown tired of Tamiya’s SOP-knock out marks on flat surfaces and tracks, solid grab handles and they don’t know what a open US periscope looks like (look at their M10/M18).
Lots of AM for the kits because they need them!
Look at the great Dragon and RFM kits that you are working on-you won’t find those problems with those companies generally speaking.
My 2 cents.
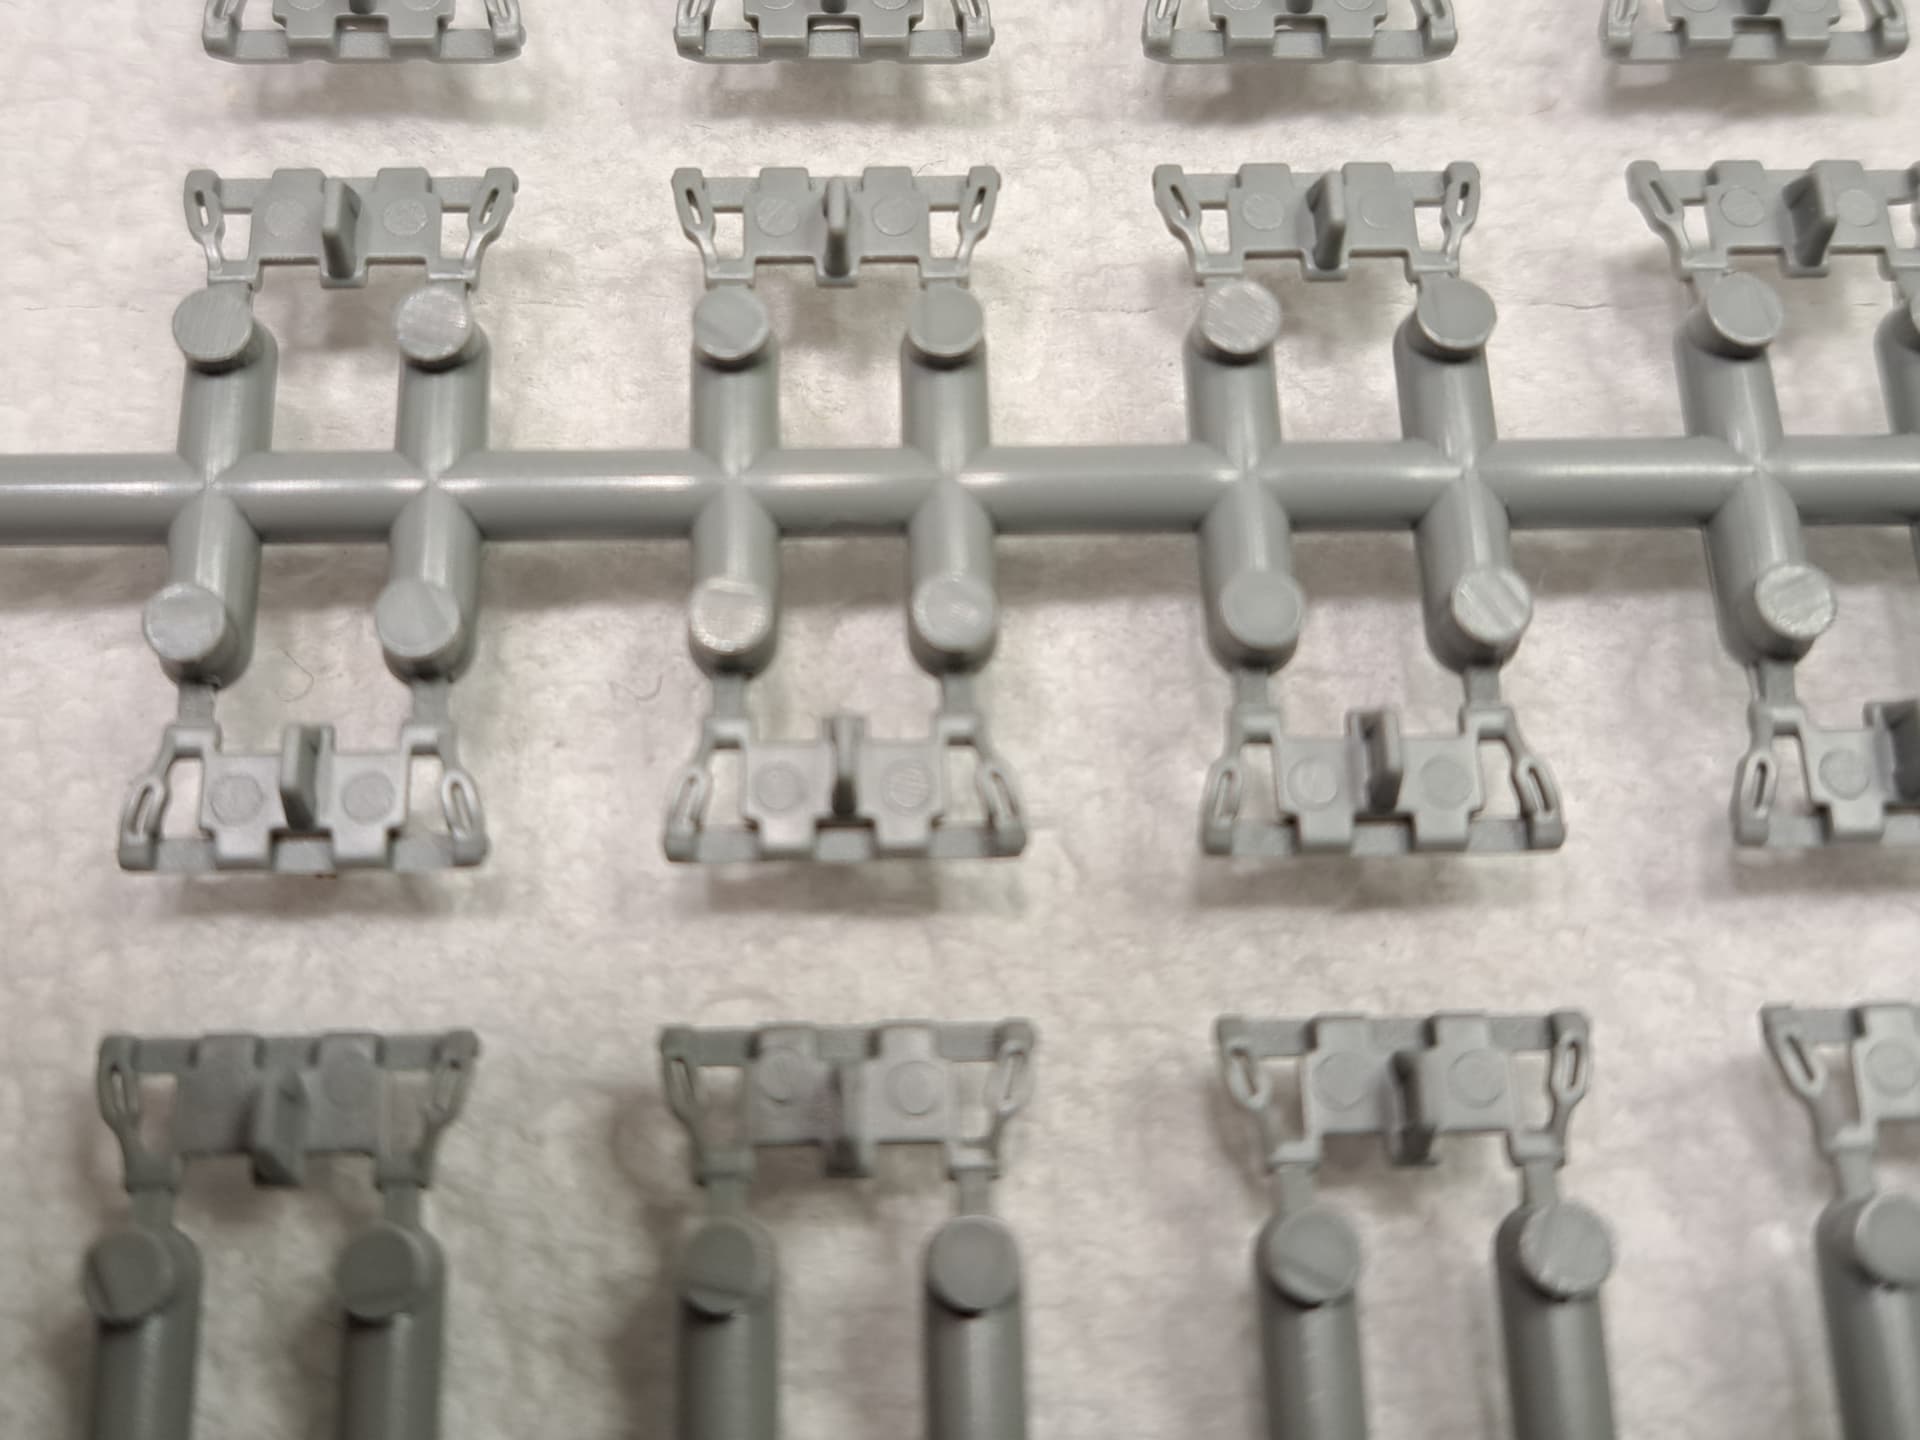
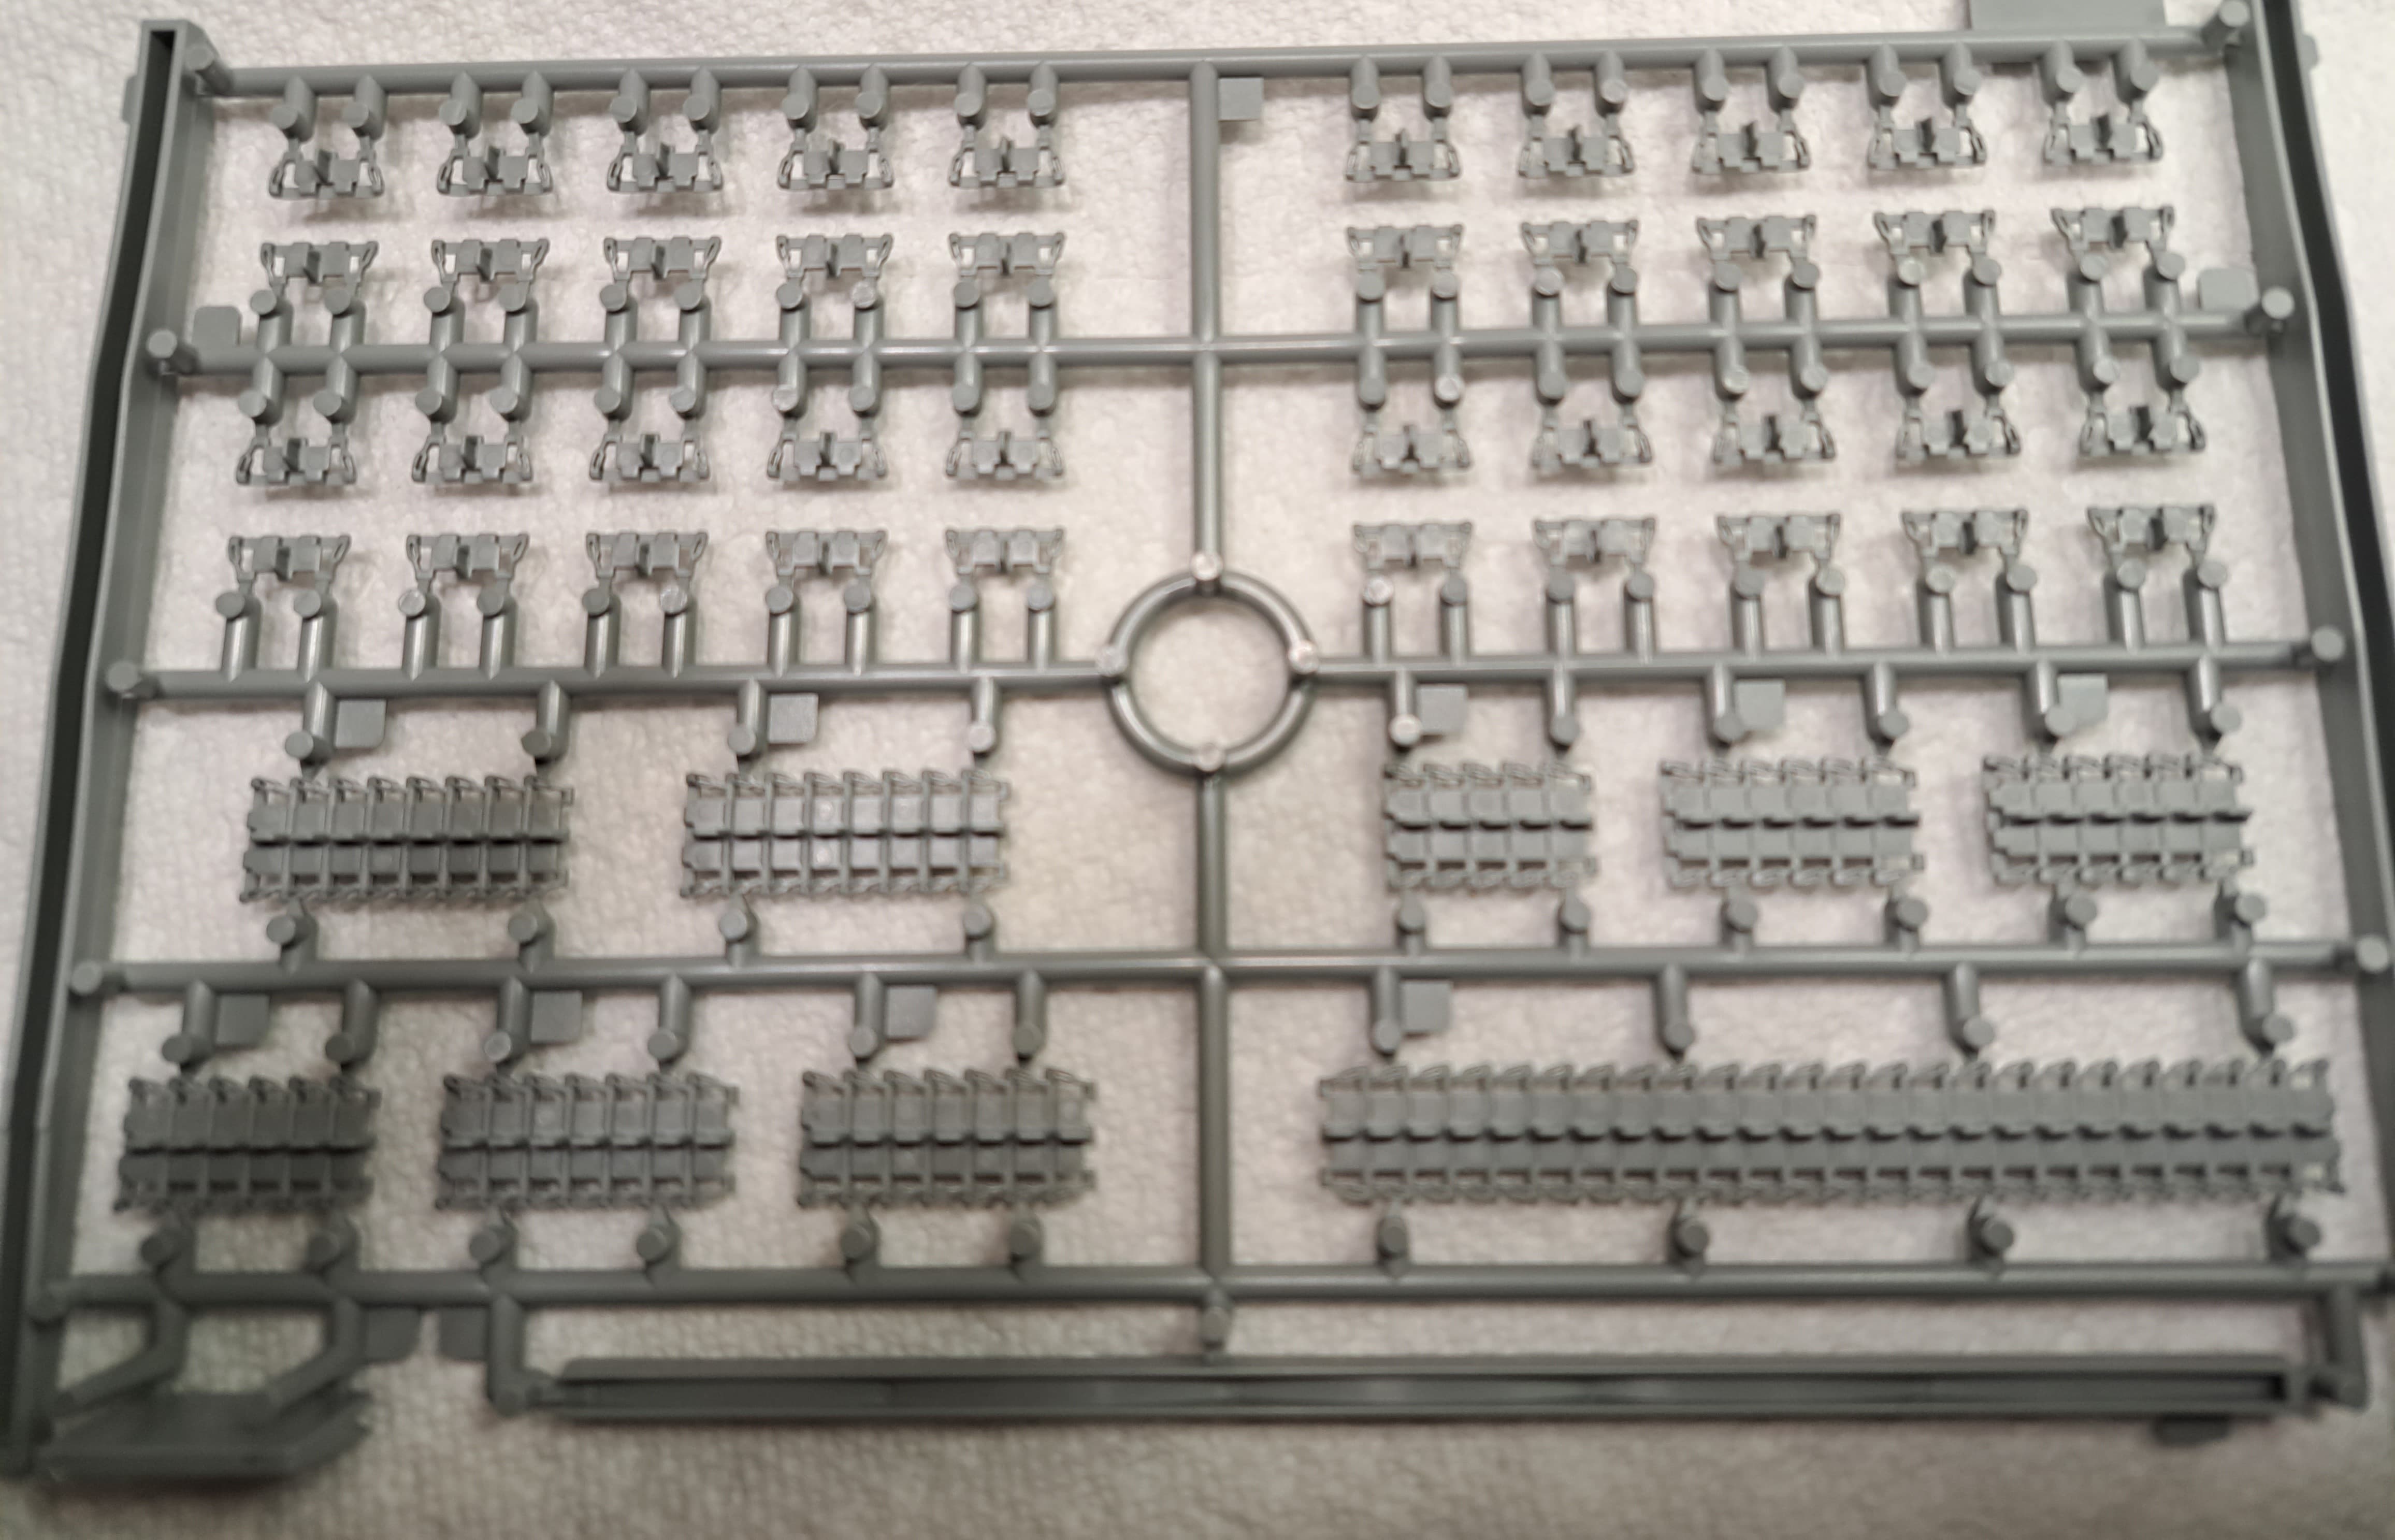
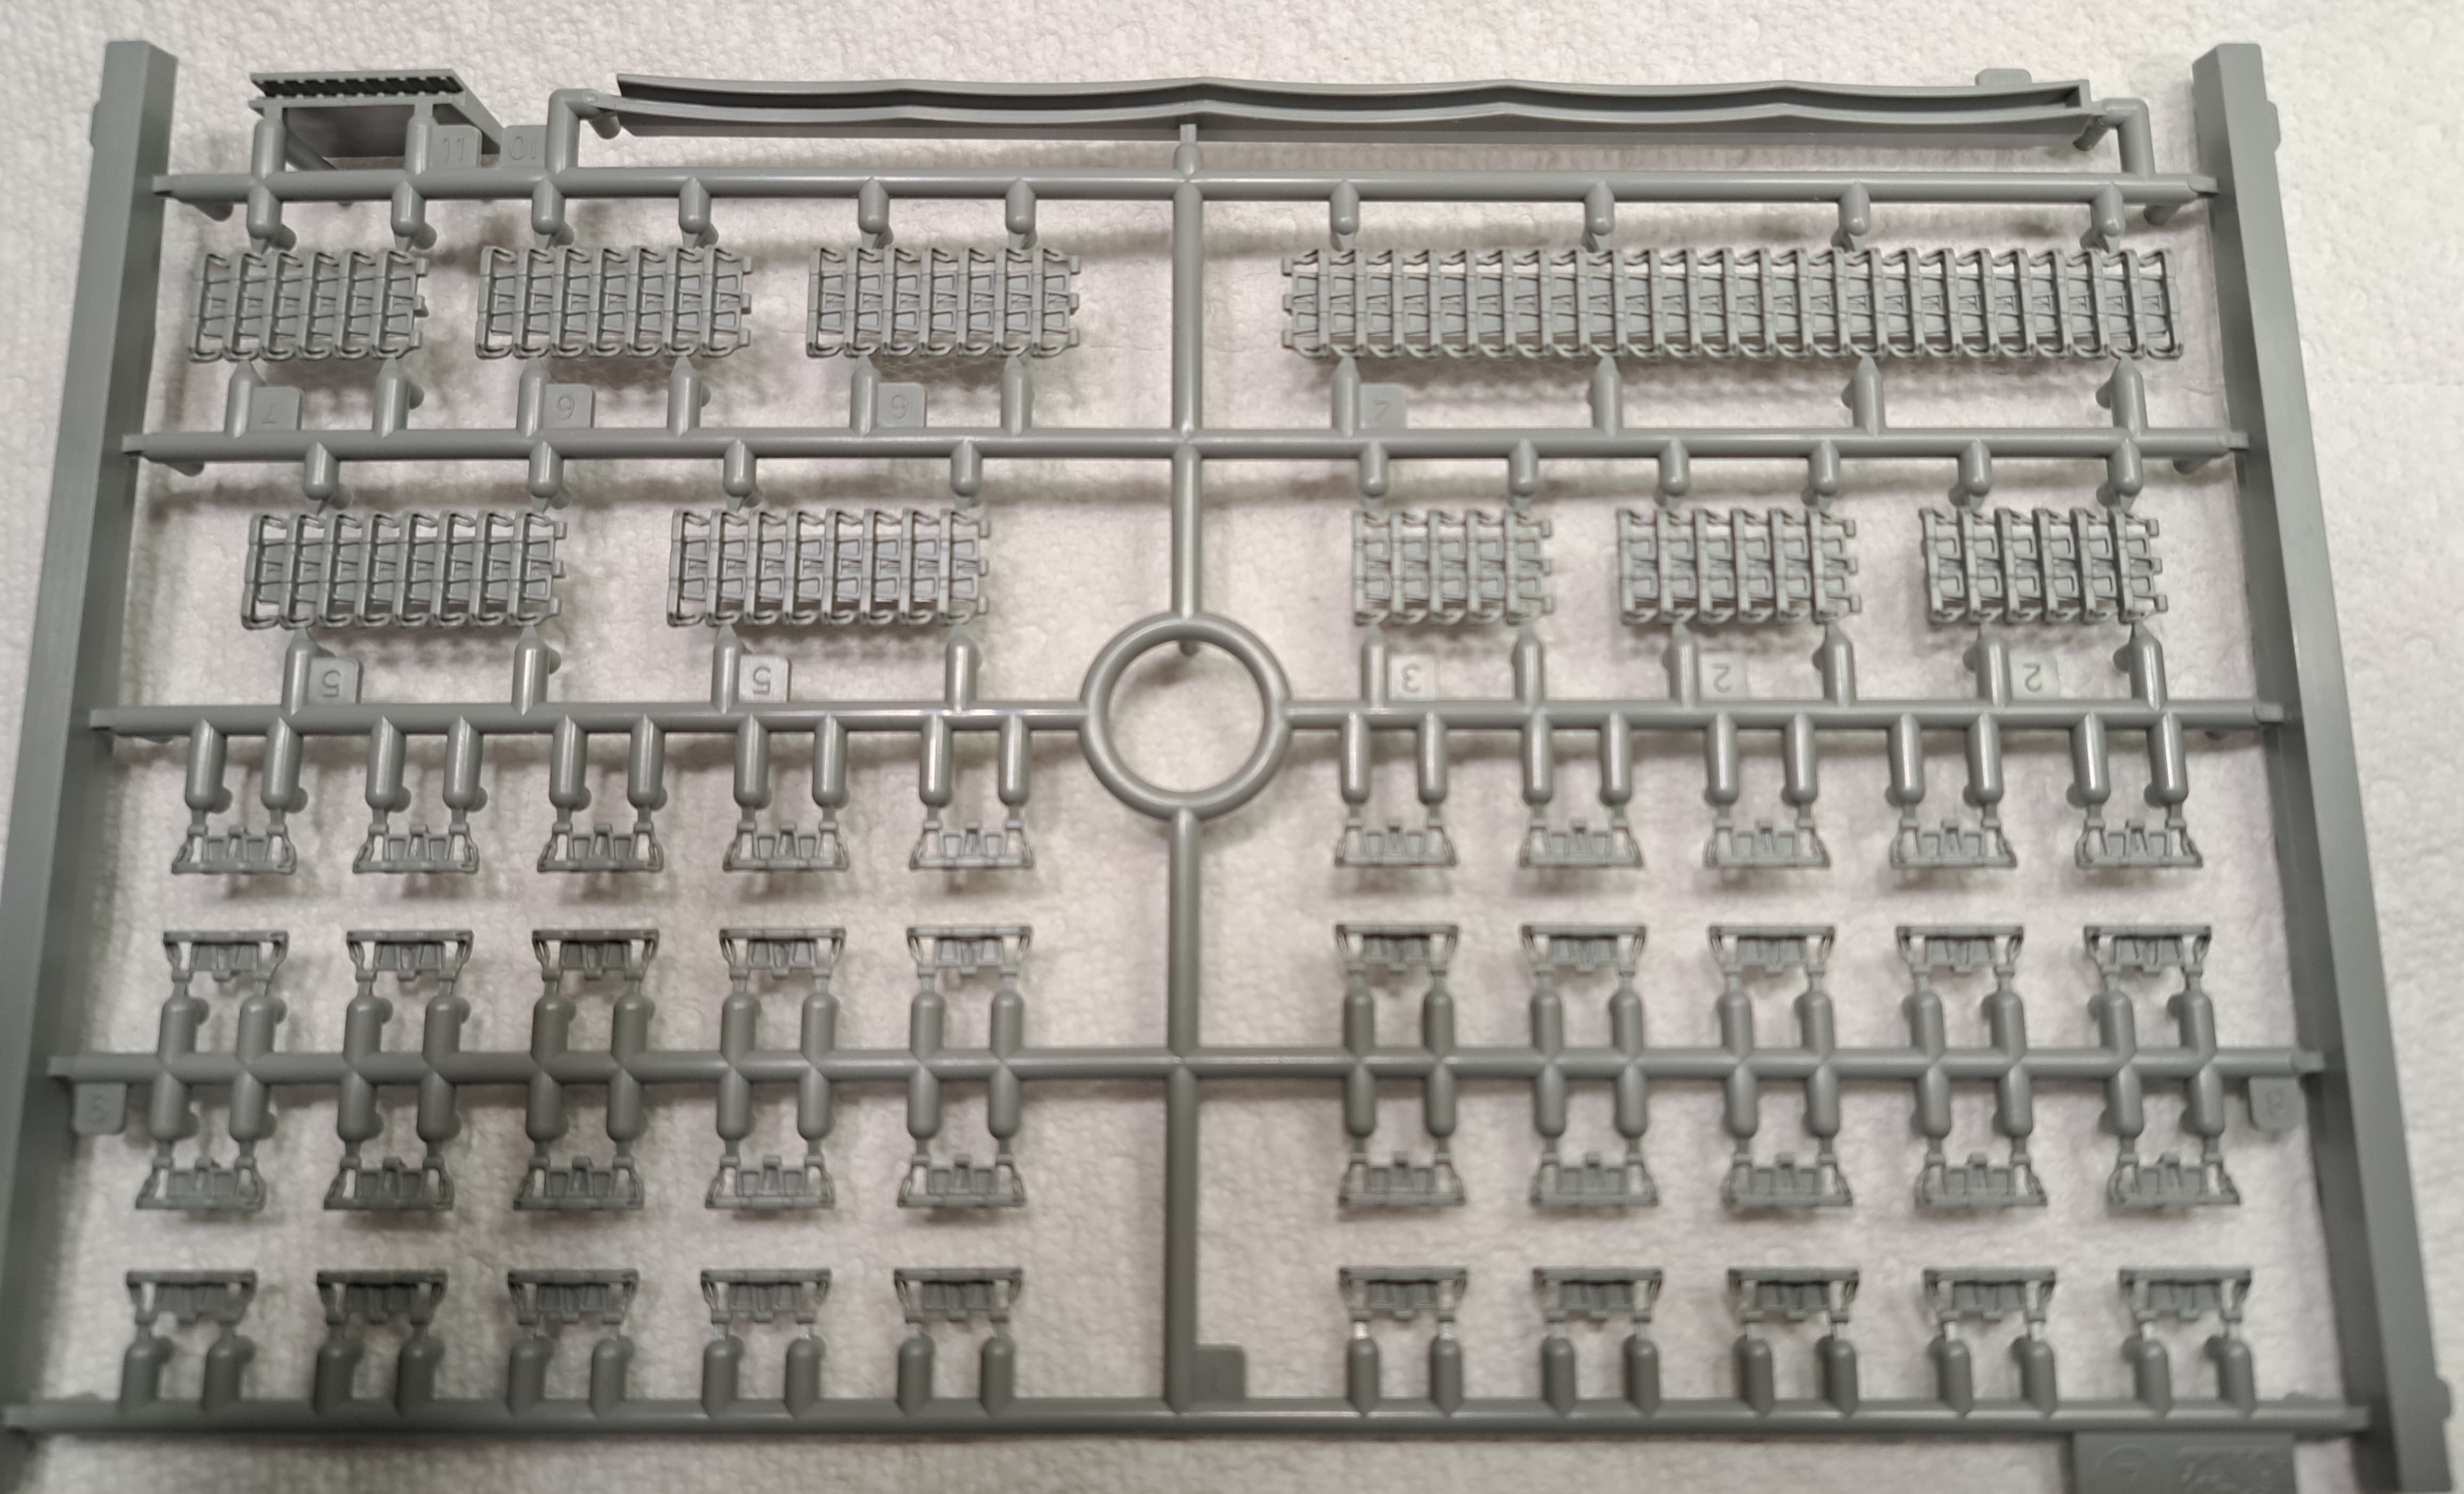
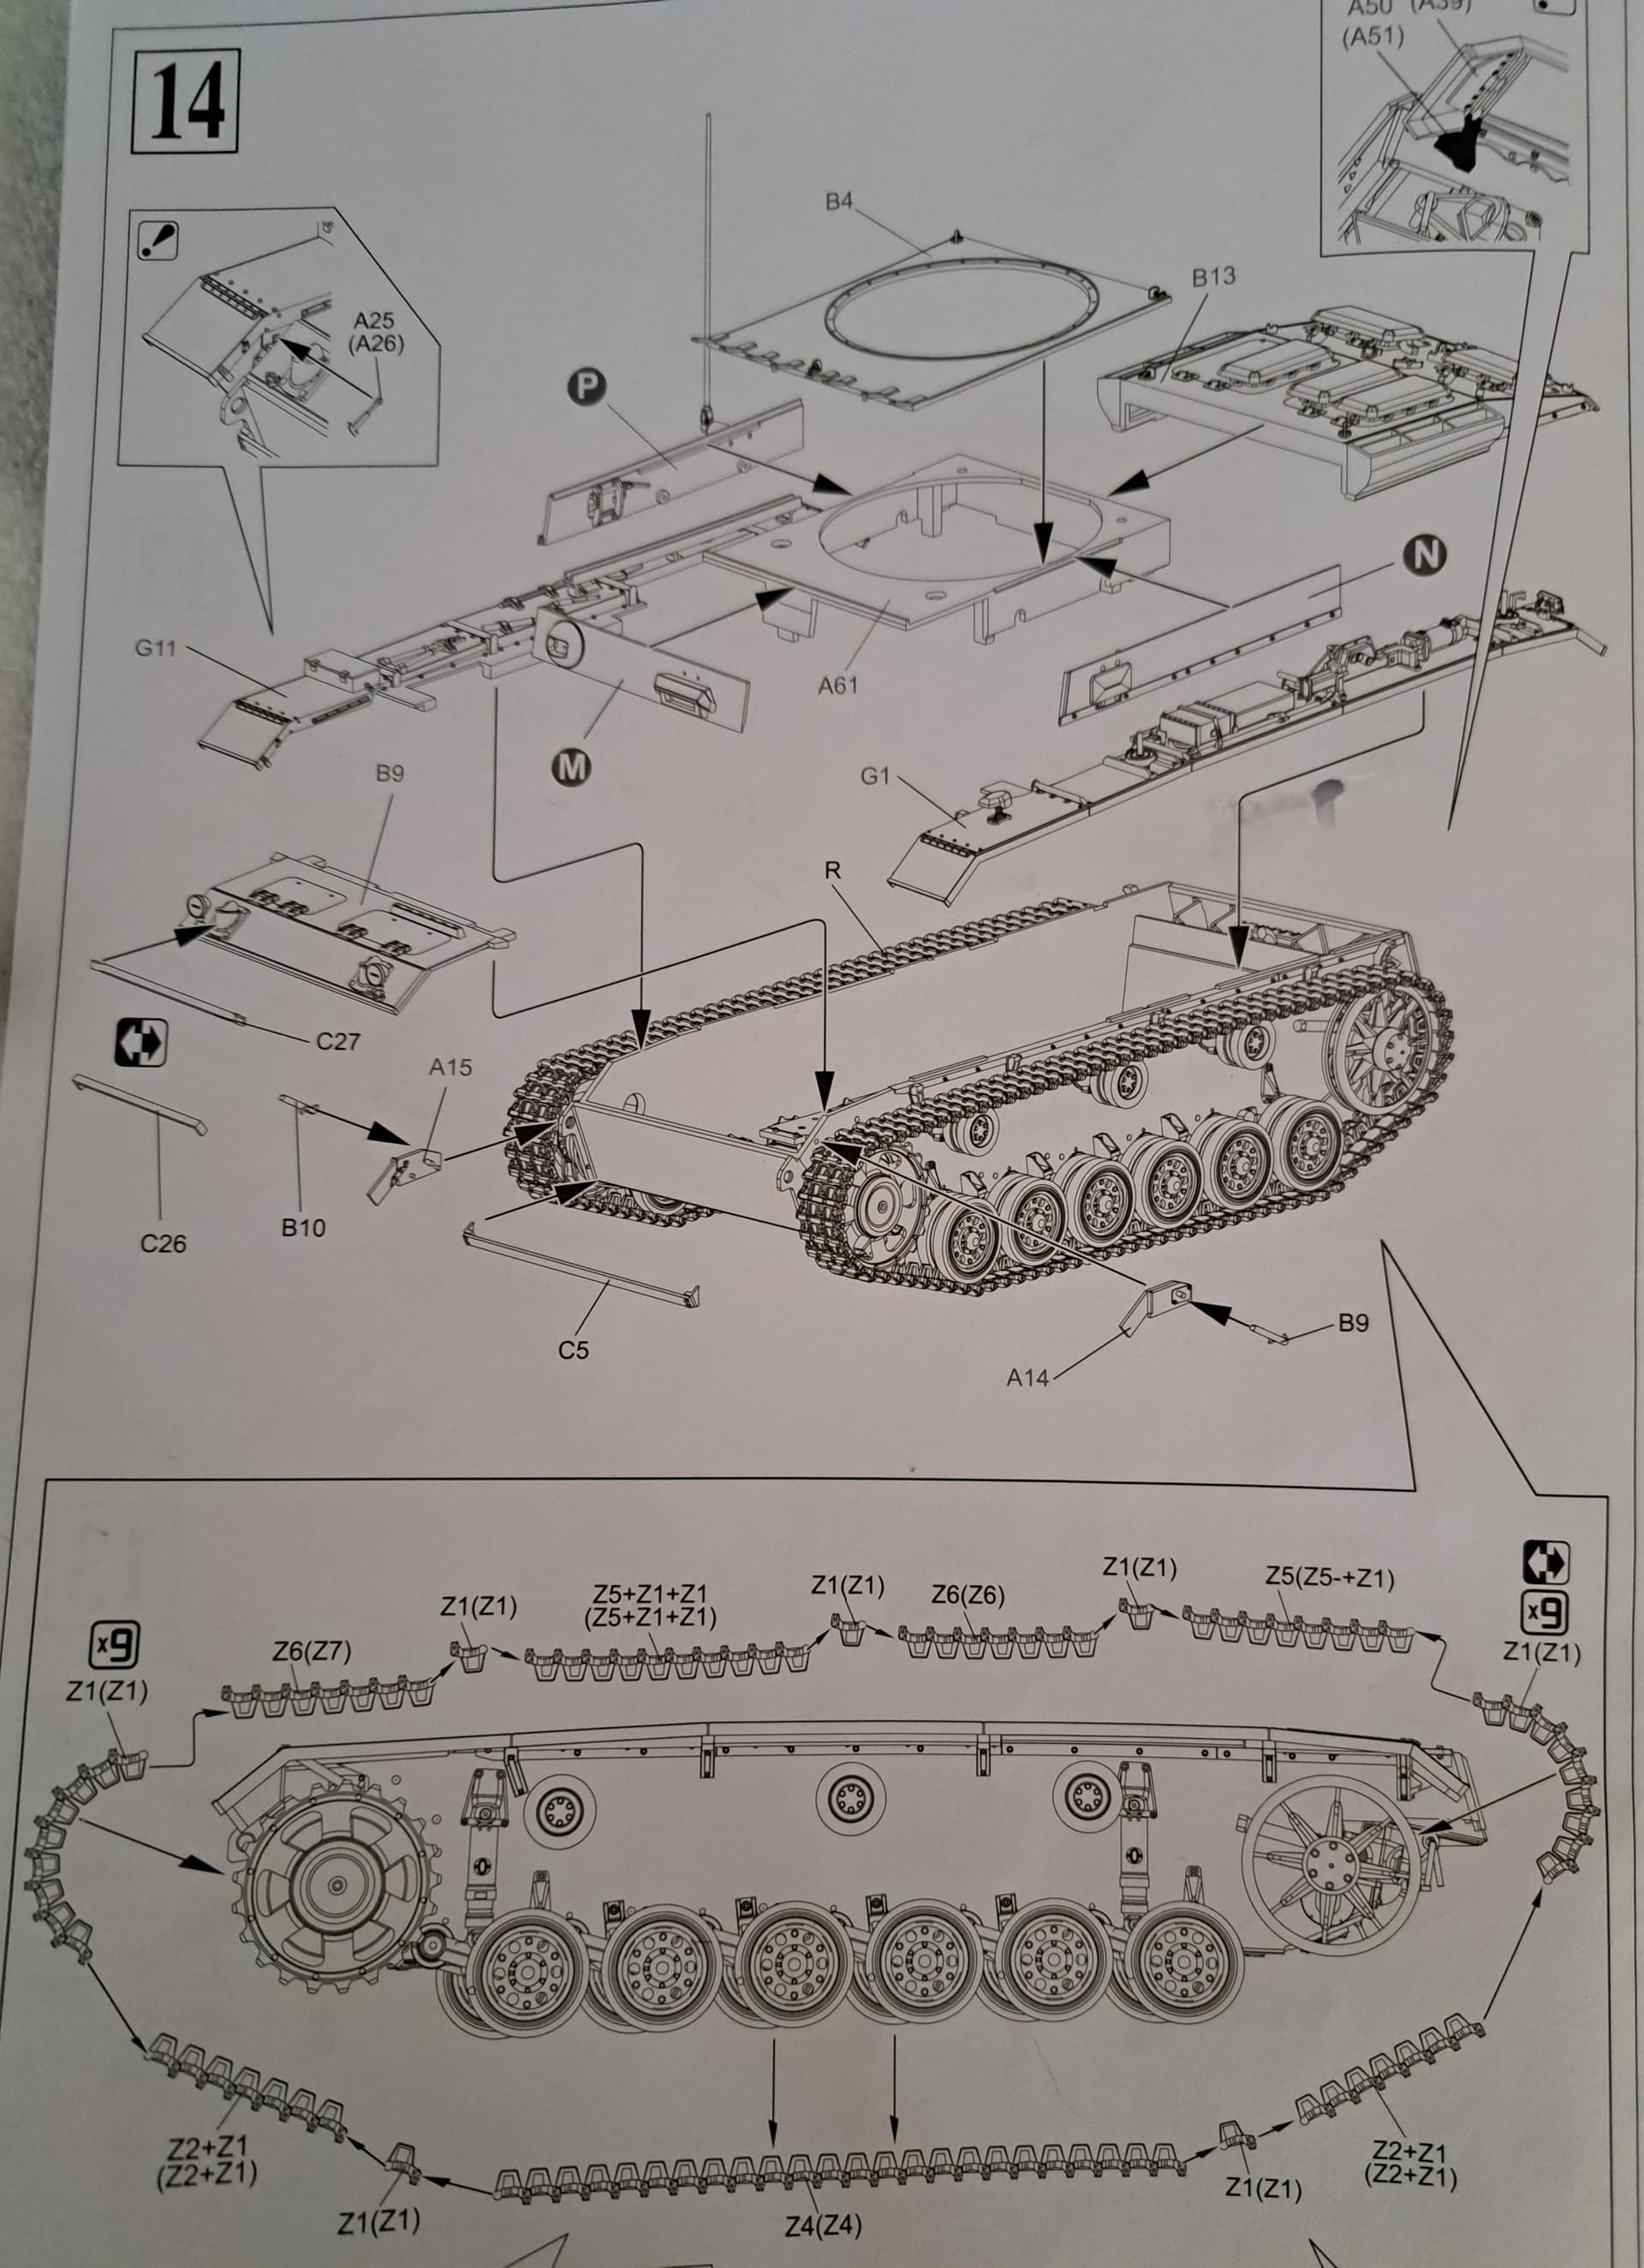
Step 14 involves doing the tracks. Neo kits don’t have have Dragon Magic Tracks. I don’t like the link & length tracks in kit with dozens and dozens of raised punch marks to clean up on the inside face. However far worse, they are the solid guide tooth version which is about as sexy as Rosie O’Donnell on a bad hair day, in my opinion.
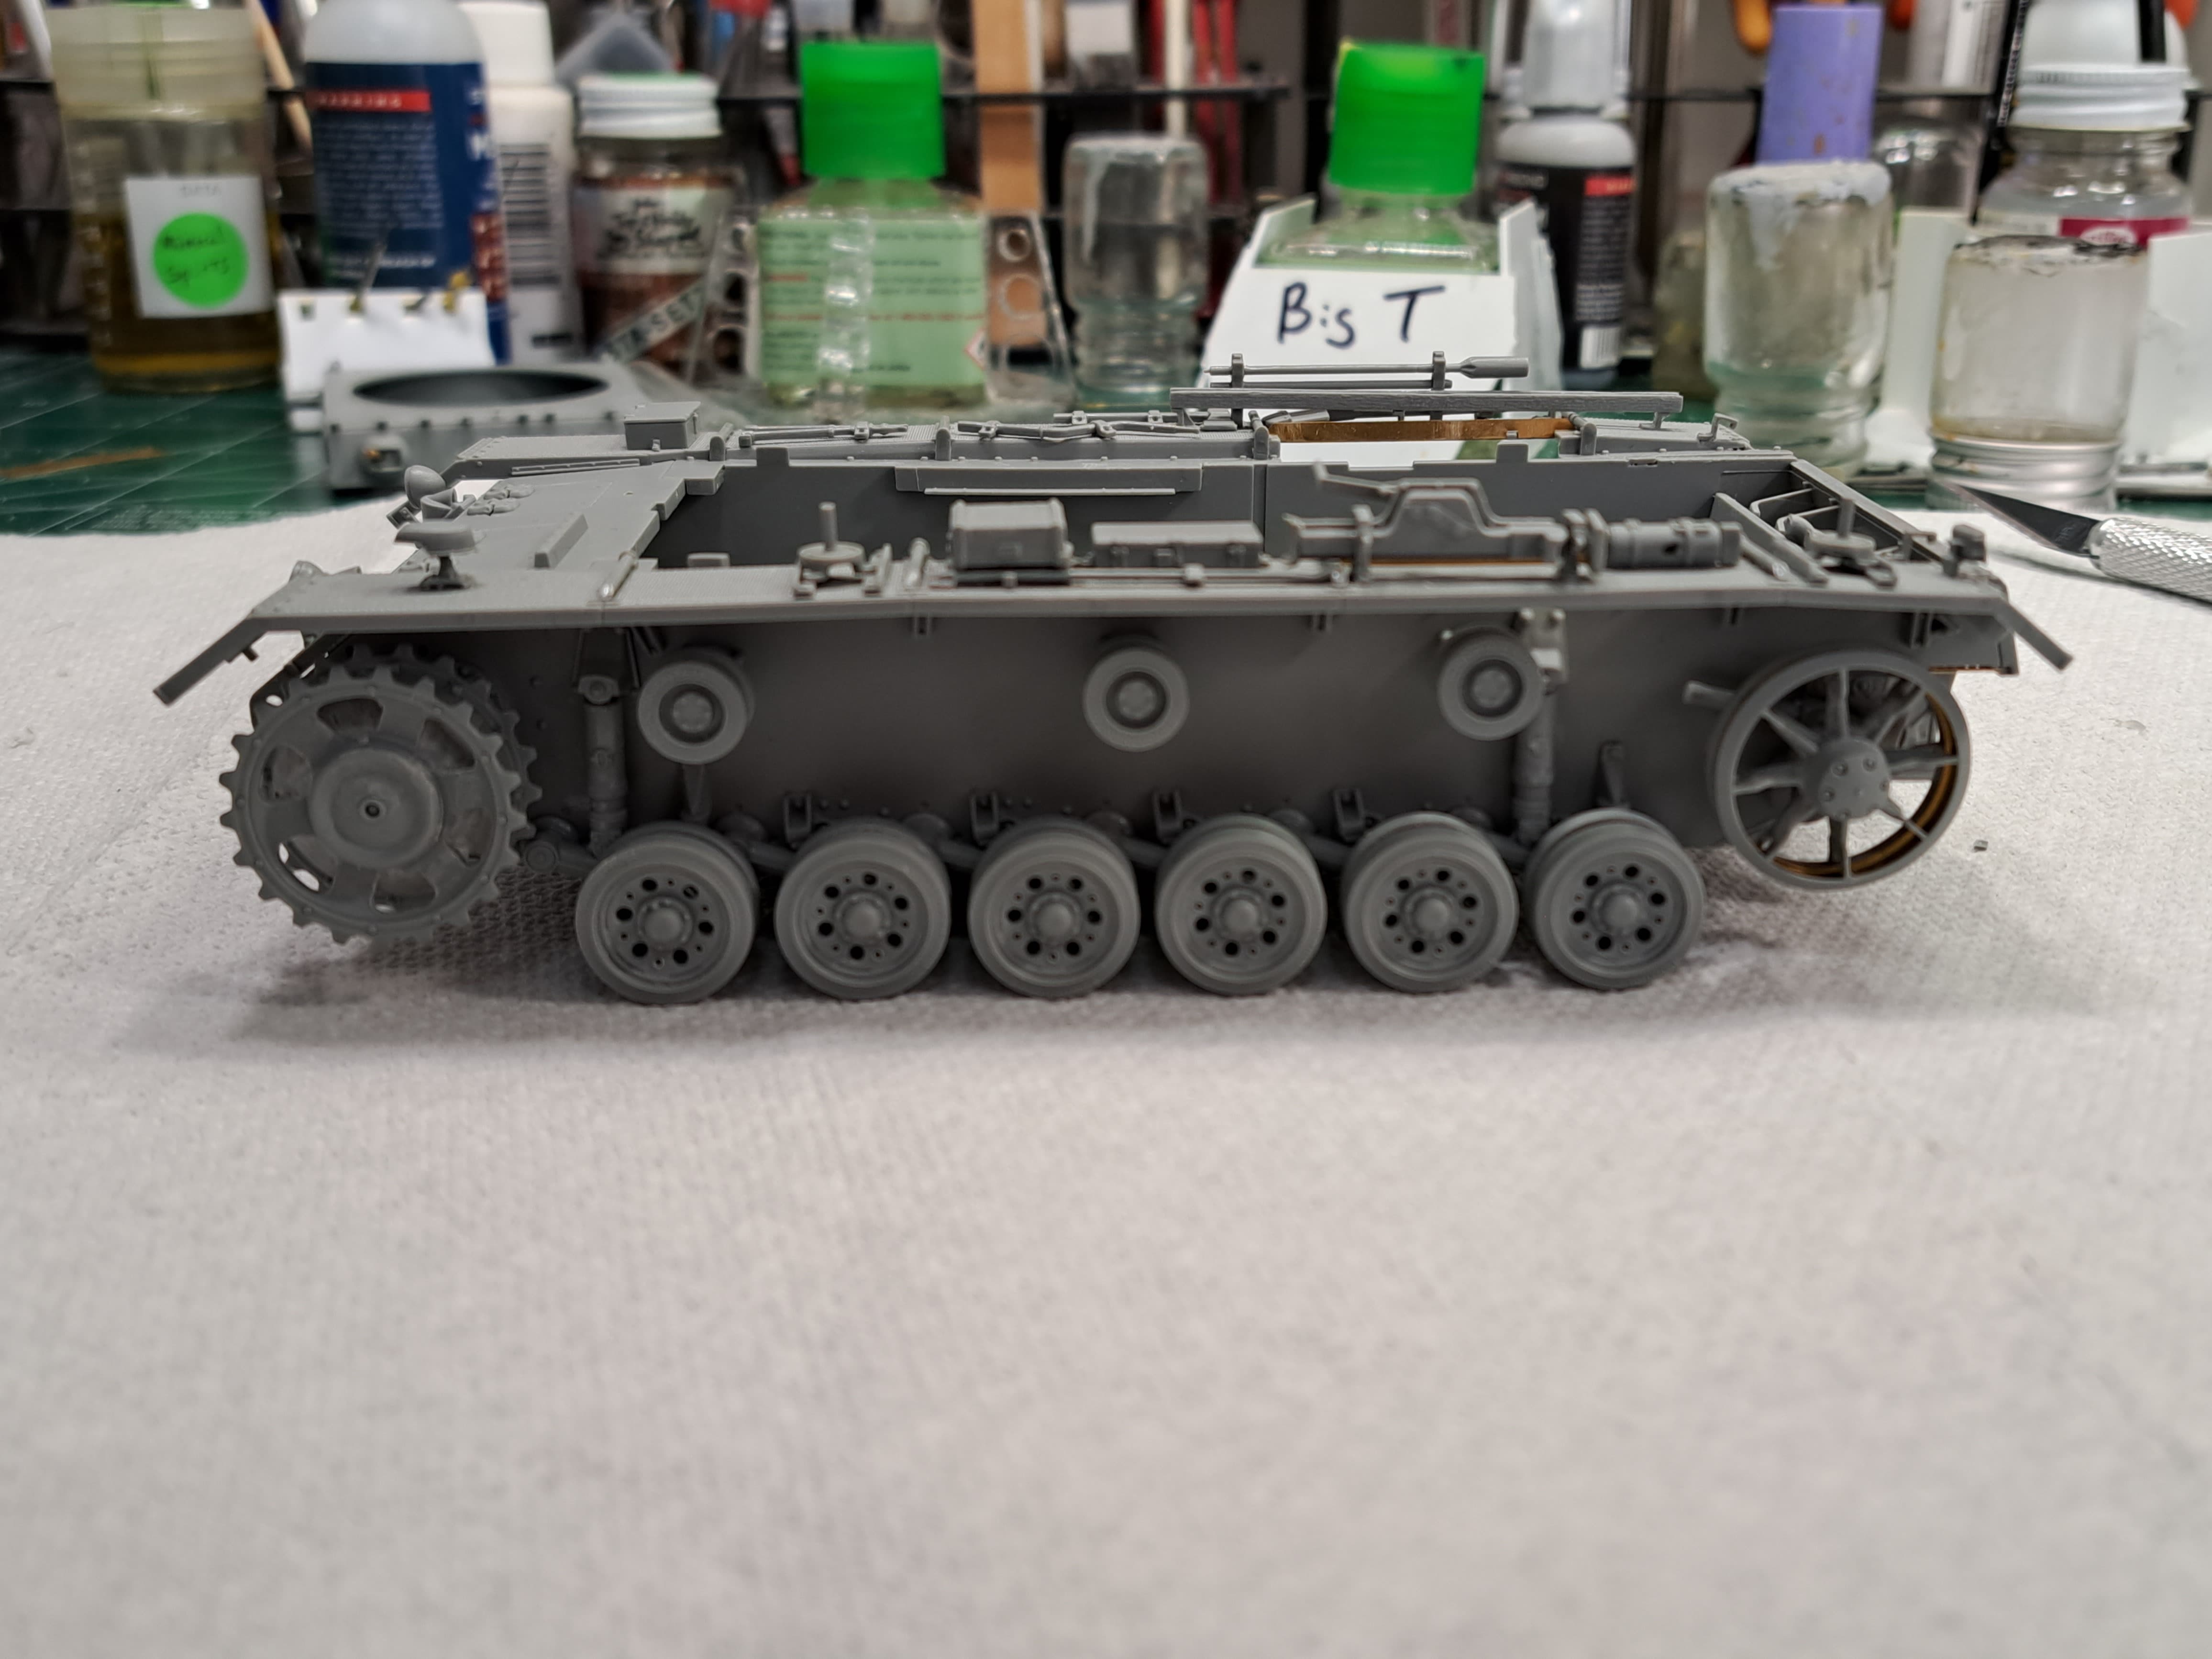
Putting the various subassemblies together is always the most stressful part of a build to me. Assuming the manufacturer’s kit had excellent fit, there’s always the concern something built last week is slightly off and will cause issues.
Inspected the subs one last time before taking the plunge.
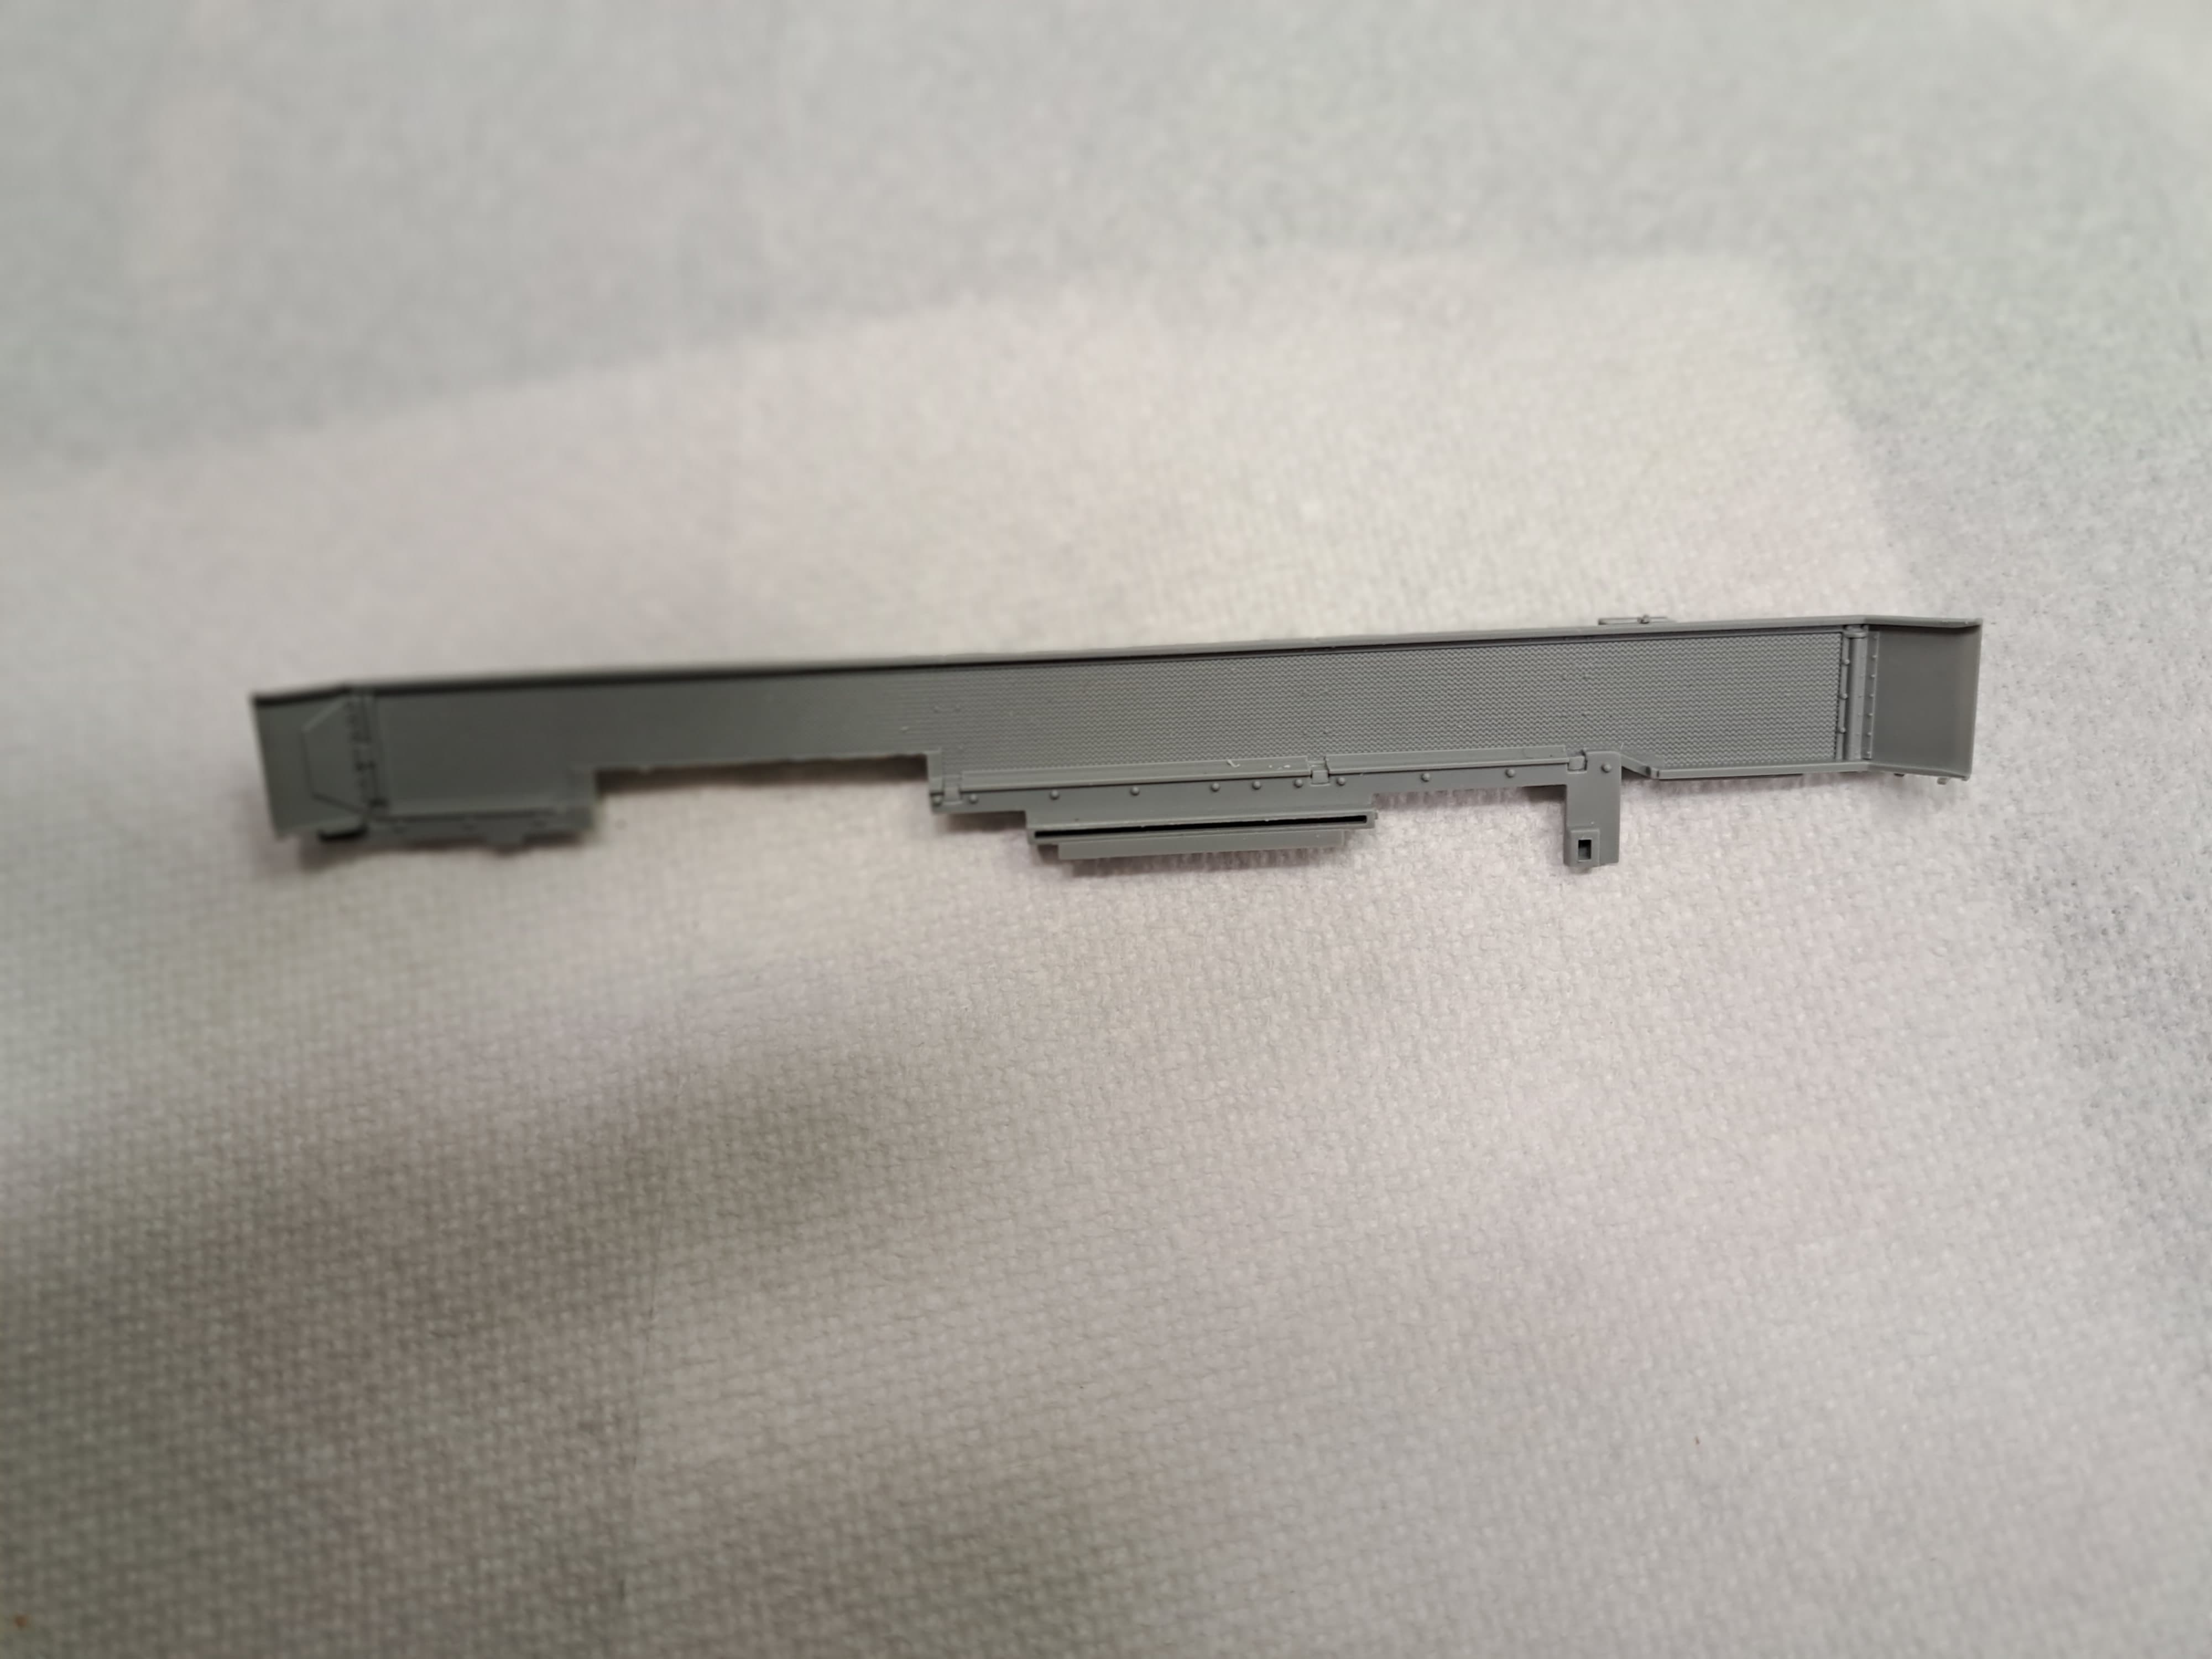
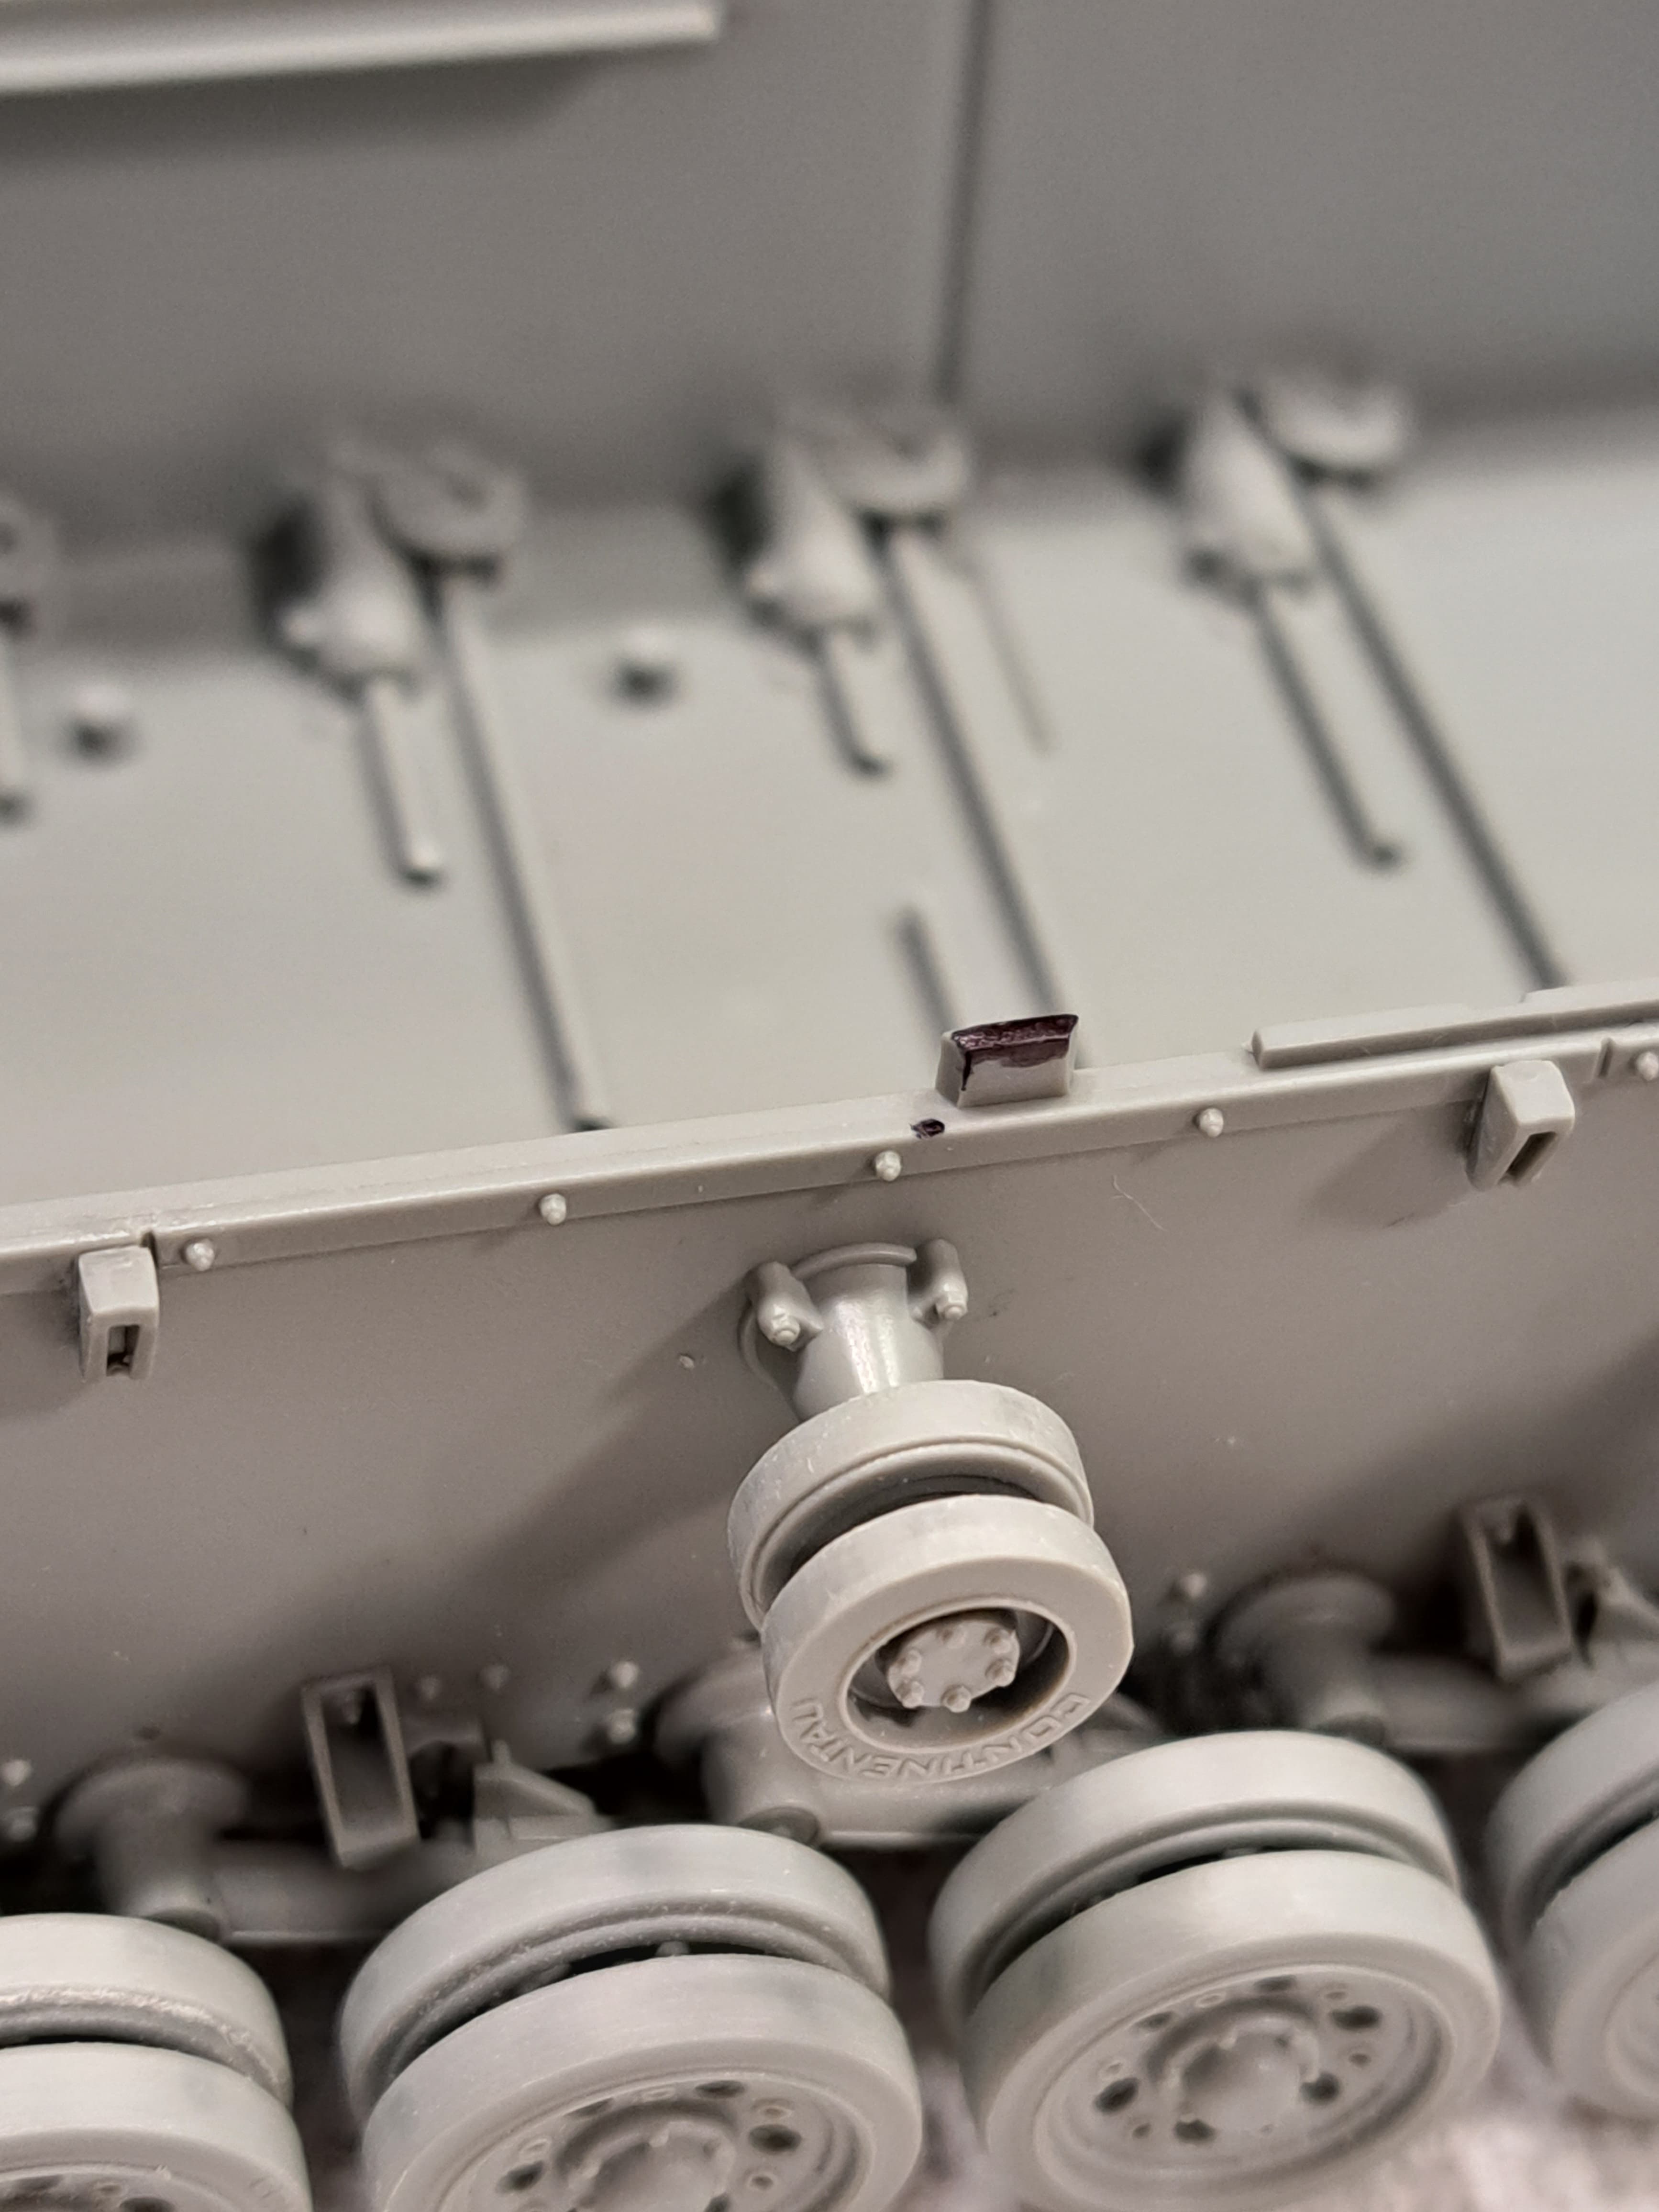
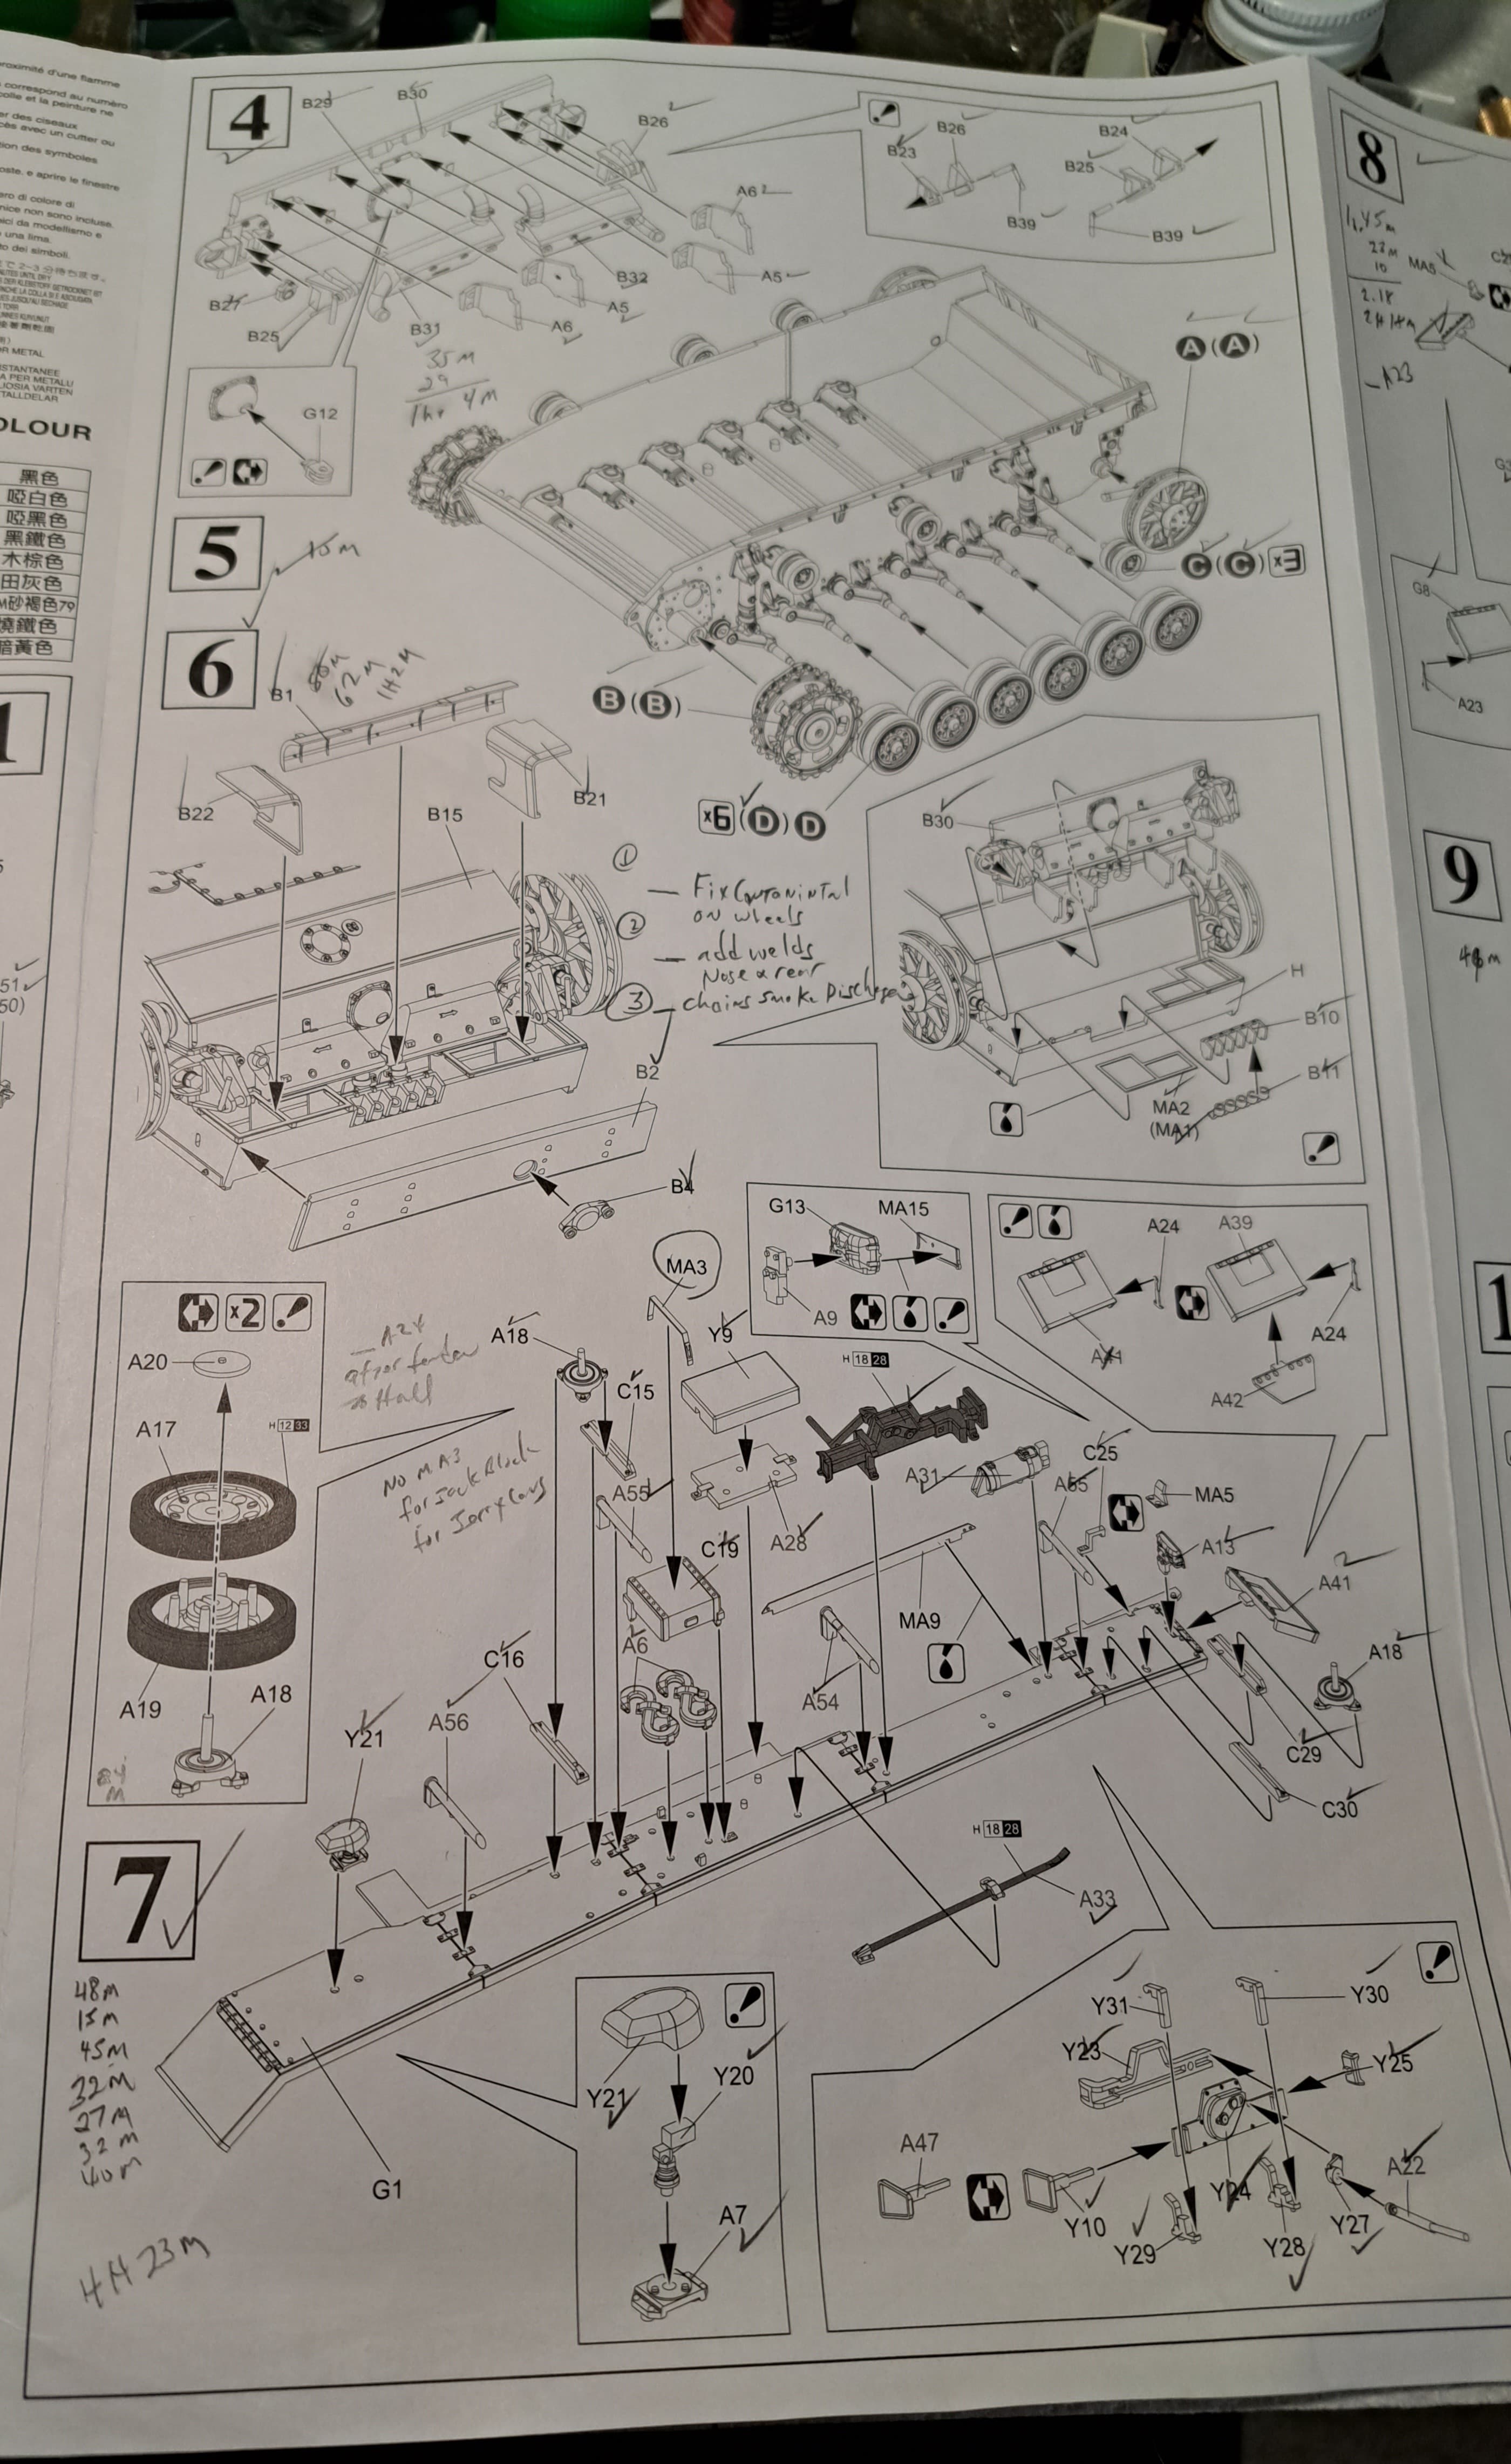
Right out of the gate, test fitting run into issues with fenders fitting correctly. Perfect front and rear but no cigar in the middle. The tab colored black on the tip near the middle return roller appeared to be the issue for both fenders. I think it’s for one of Stug III’s that share the lower hull.
I think Dragon should have pointed out this needs snipped in the instructions, assuming I didn’t jack something up elsewhere…[aka nap]
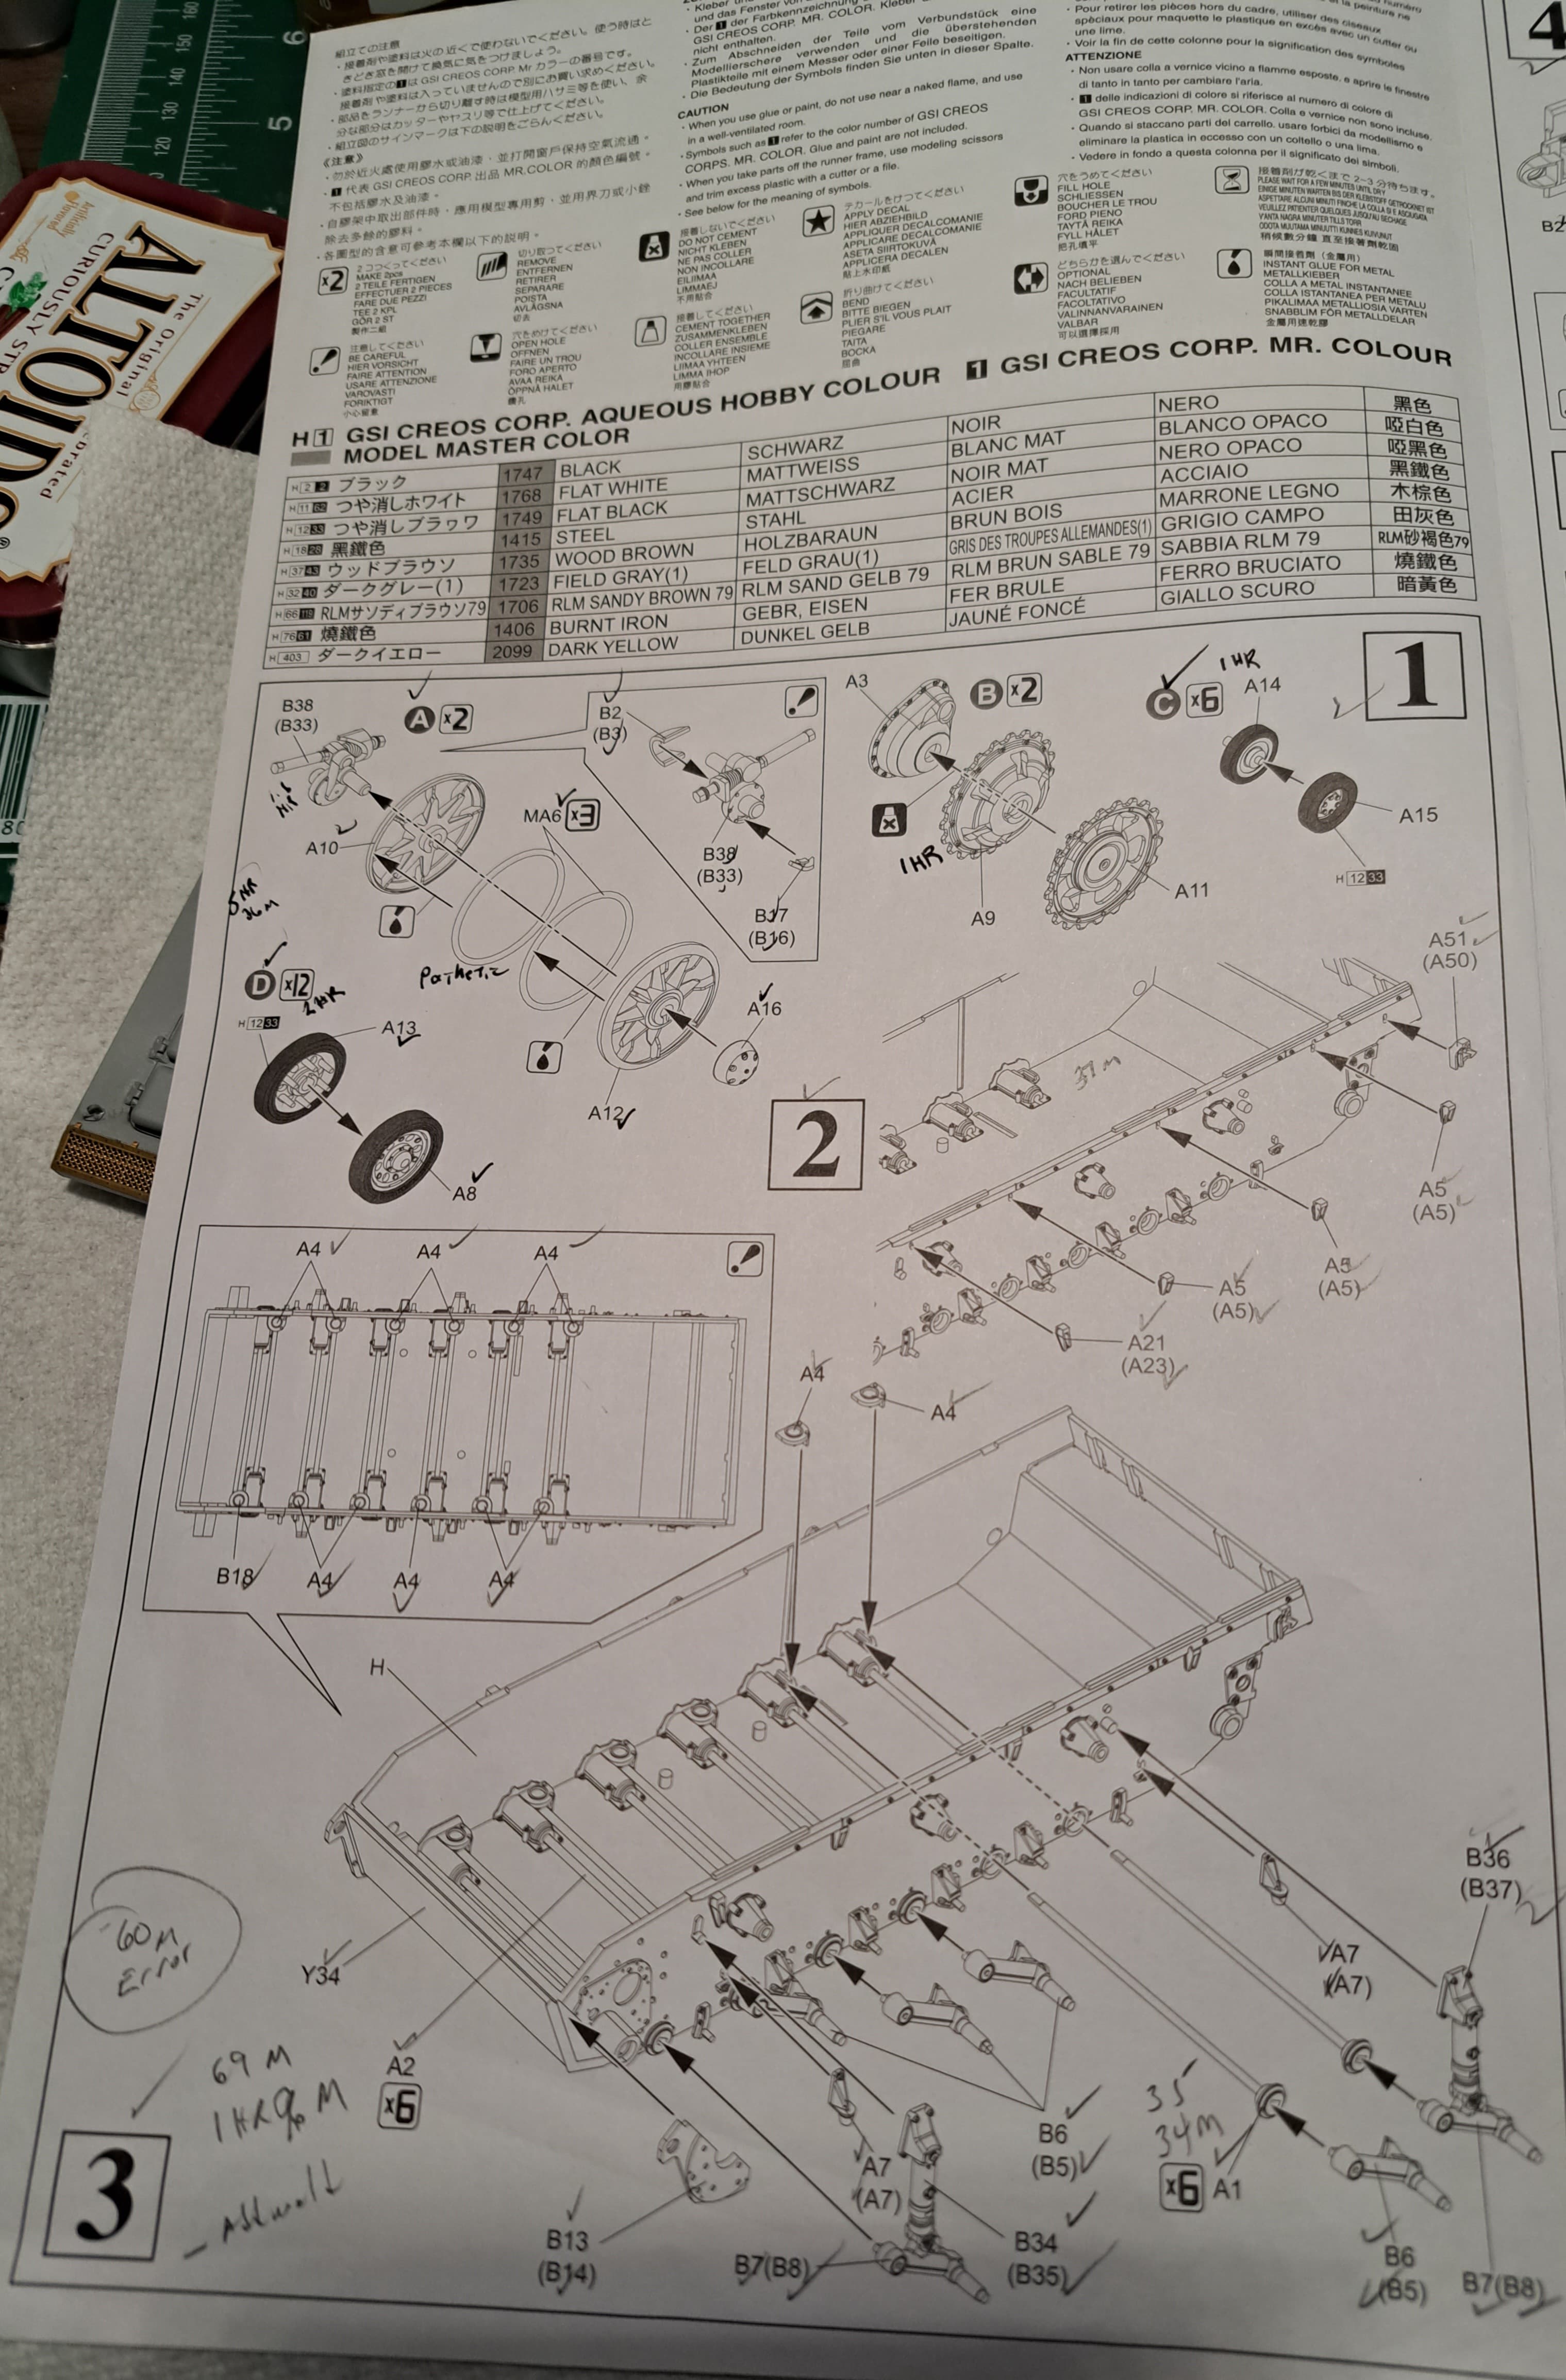
…oh if anyone is wondering why the torsion bars are cut…let’s just say I didn’t notice A1 & A2 were different parts until they were mixed…the hour to sort that error wasn’t counted in the build time etc.
Anyway Kali Kat is bored and wants attention…to be continued…
Definitely could be way worse! No Liquid Cement bottles have been spilled so it’s all small potatoes…wink.
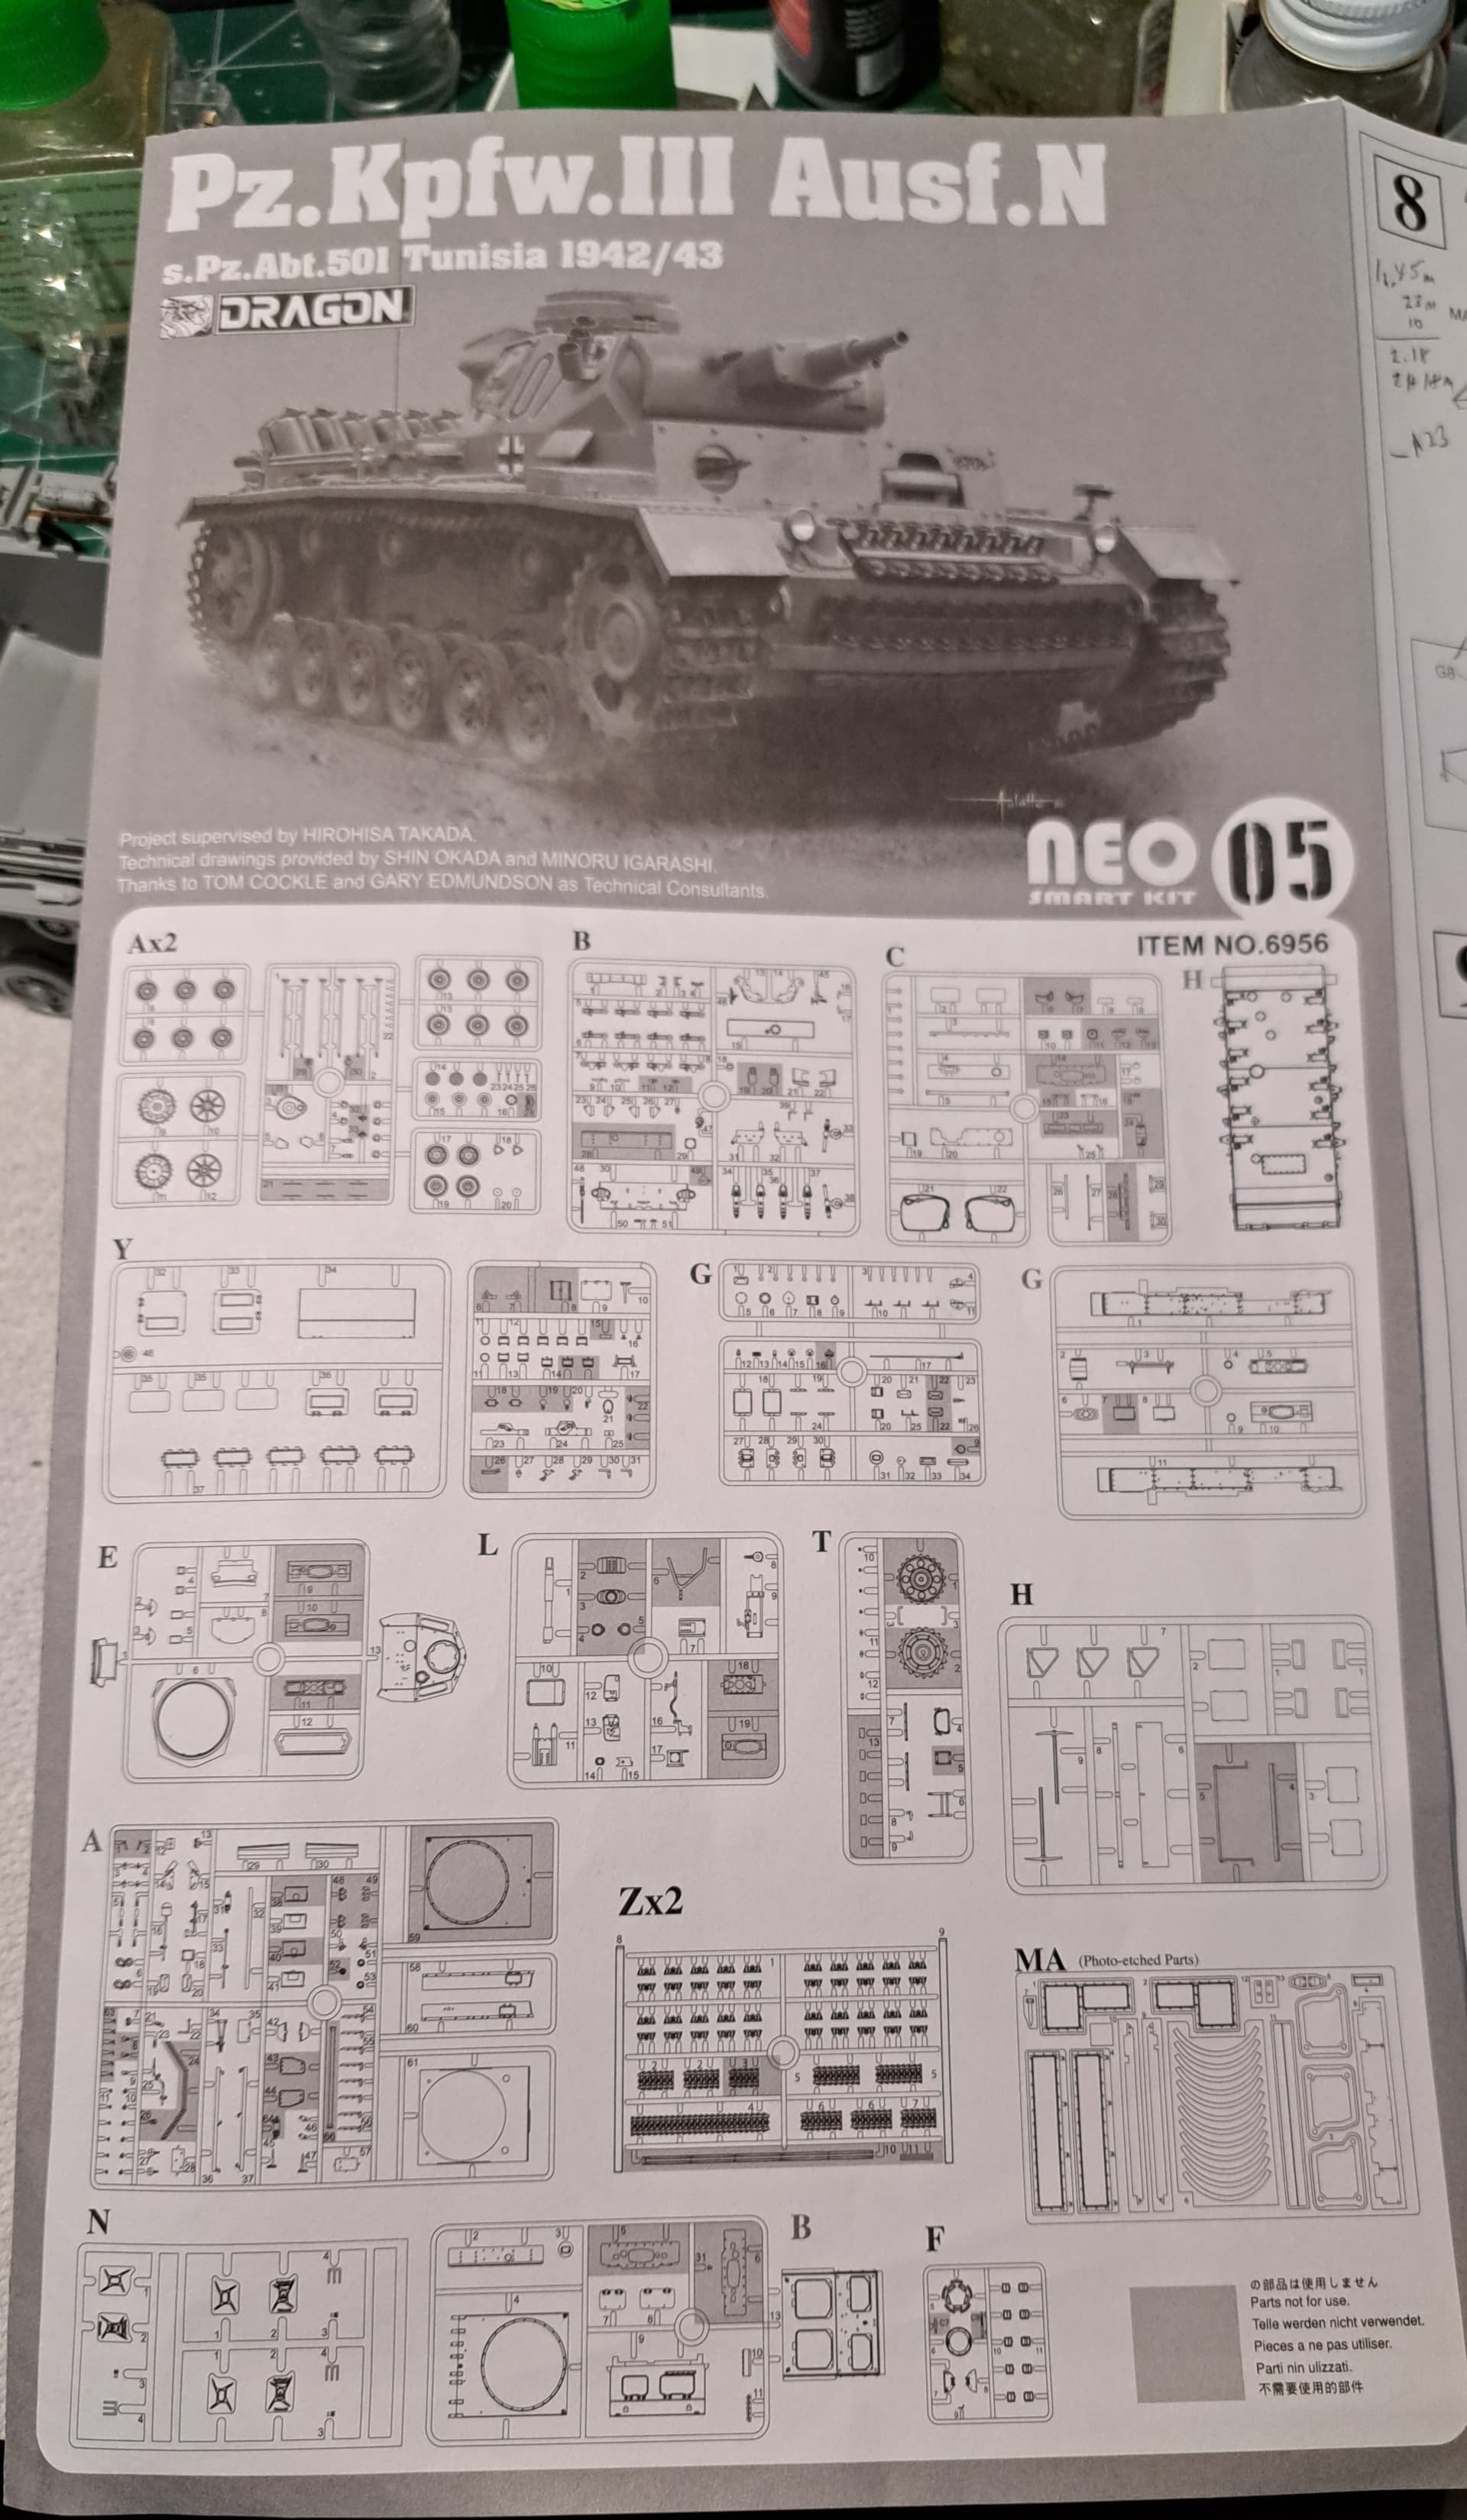
Maybe Dragon revised the instruction sheet. This kit is from the initial release.
Please show me where I missed cutting the tab on the instruction sheet. Not saying I didn’t miss it on the sheet but I’d sure like to find it because I can’t find it being called out in Step 1 or anywhere else. The tabs aren’t shown in step 1 but there’s nothing calling for their removal.
Interesting-I googled your kit and it showed up on scalemates with the directions.
Your directions are different than the scalemate version.
Truly it does not show up on yours.
Dan, I think Dragon’s are chaotic and this one is probably having a good laugh at my expense! Probably the curse of of first pressing and they revised the sheet. Or its just the on going nature of Dragon’s lame instructions…
I also checked Dragon #6387 Pz III Ausf L w/winterketten, the hull has the same tabs and the instruction sheet in the kit doesn’t call for their removal either.