I’ve read that Takom wanted to break the Dragon lock on top of the line Pz III kits.
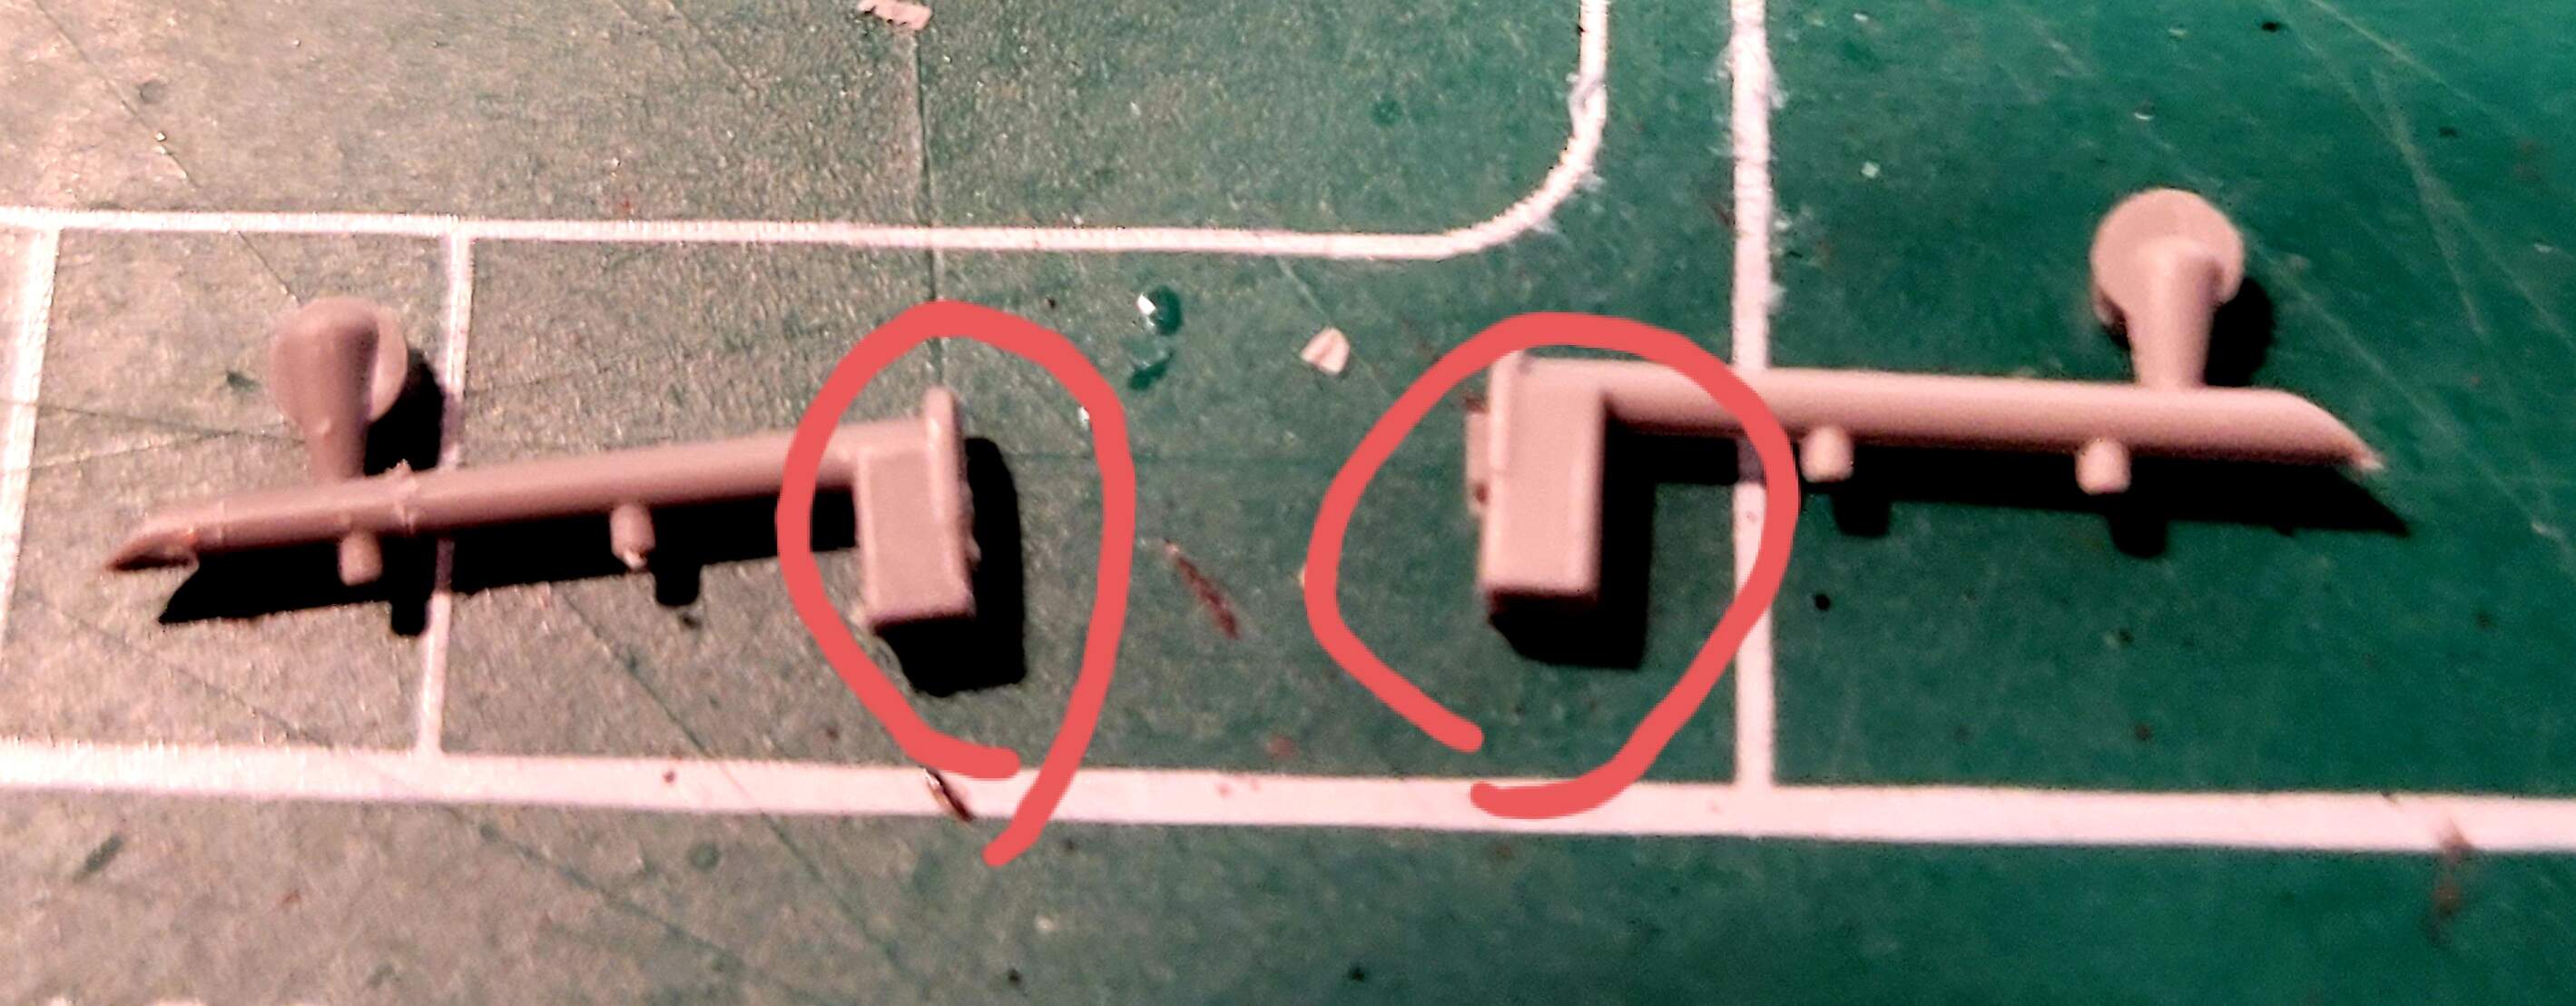
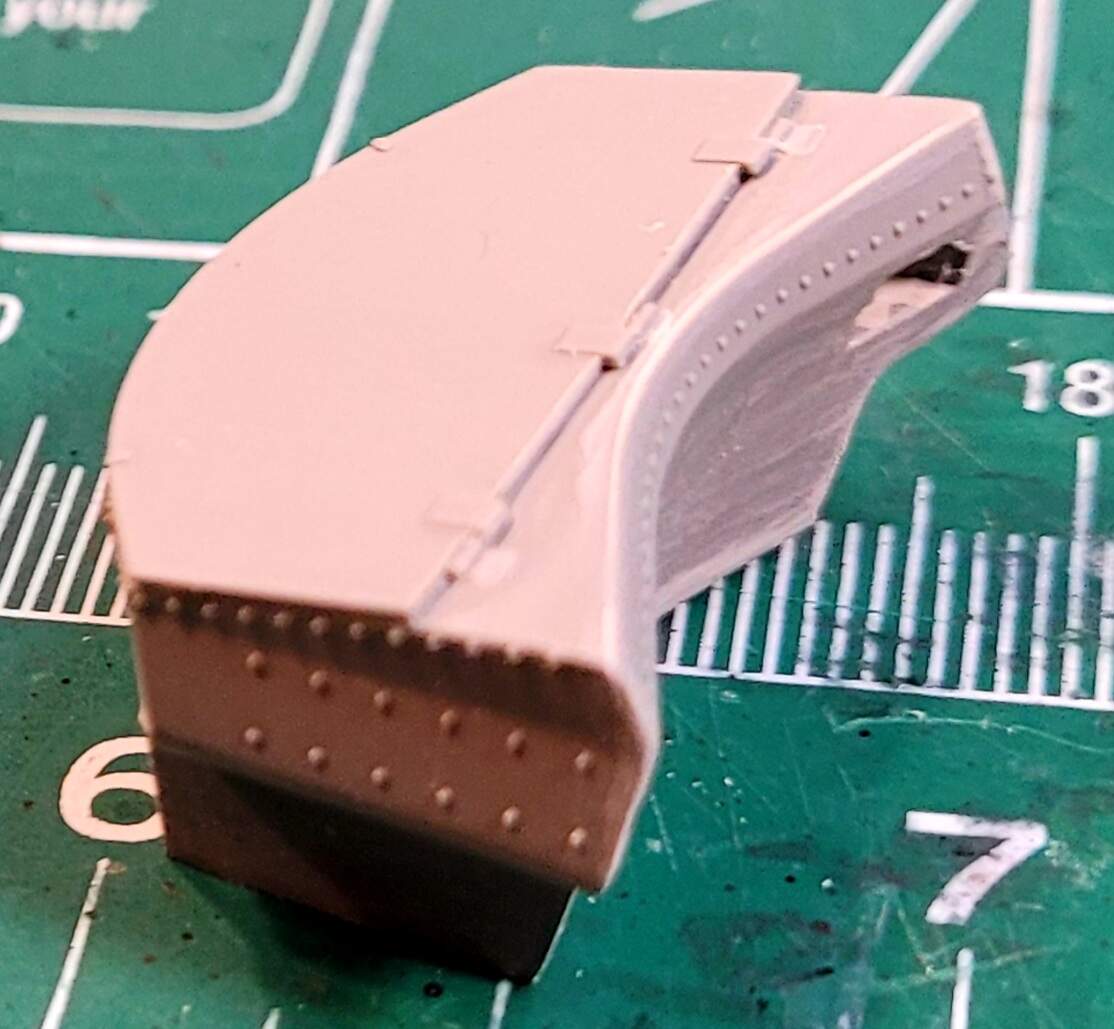
With the fender supports A41 & A42 Takom missed an excellent opportunity to show off. Typically the end is hollow not solid. If Takom had slide molded A41 & A42 it would have been spectacular feather in Takom’s hat.
Instead the molder gets to drill the parts out.
6 Likes
Step 9 <2 hours> 15hr 50 min total
Minor Annoyance
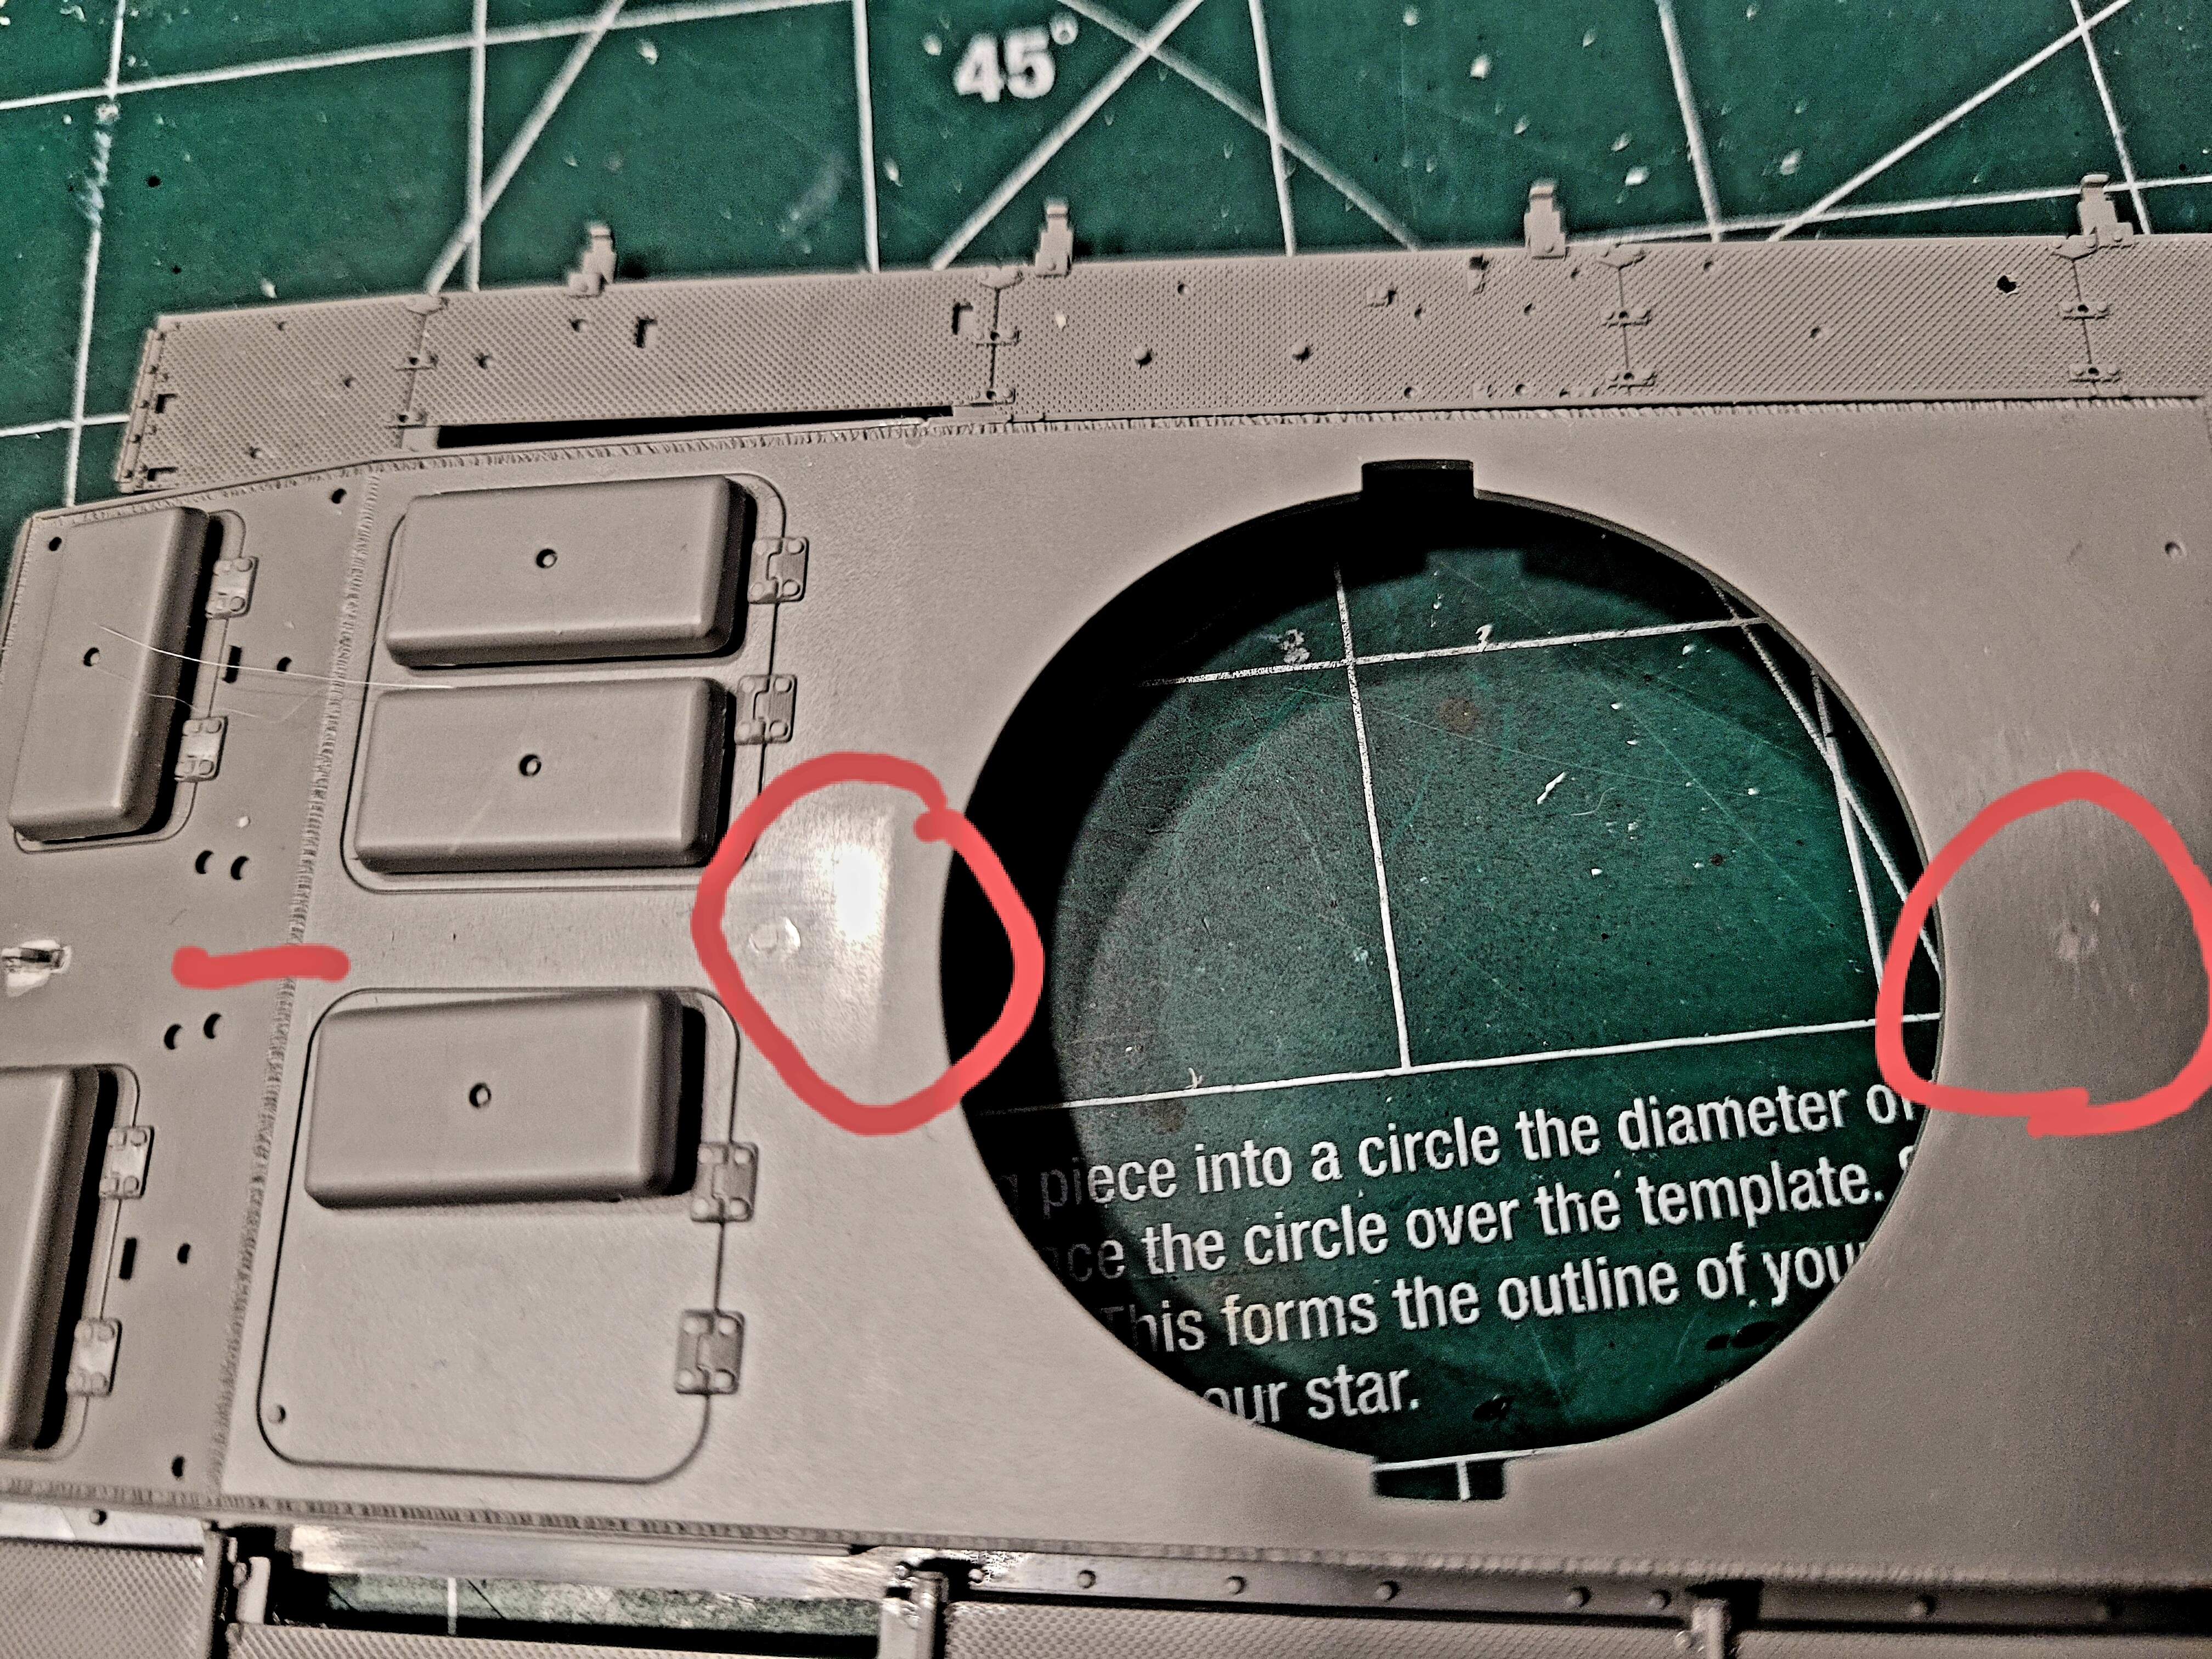
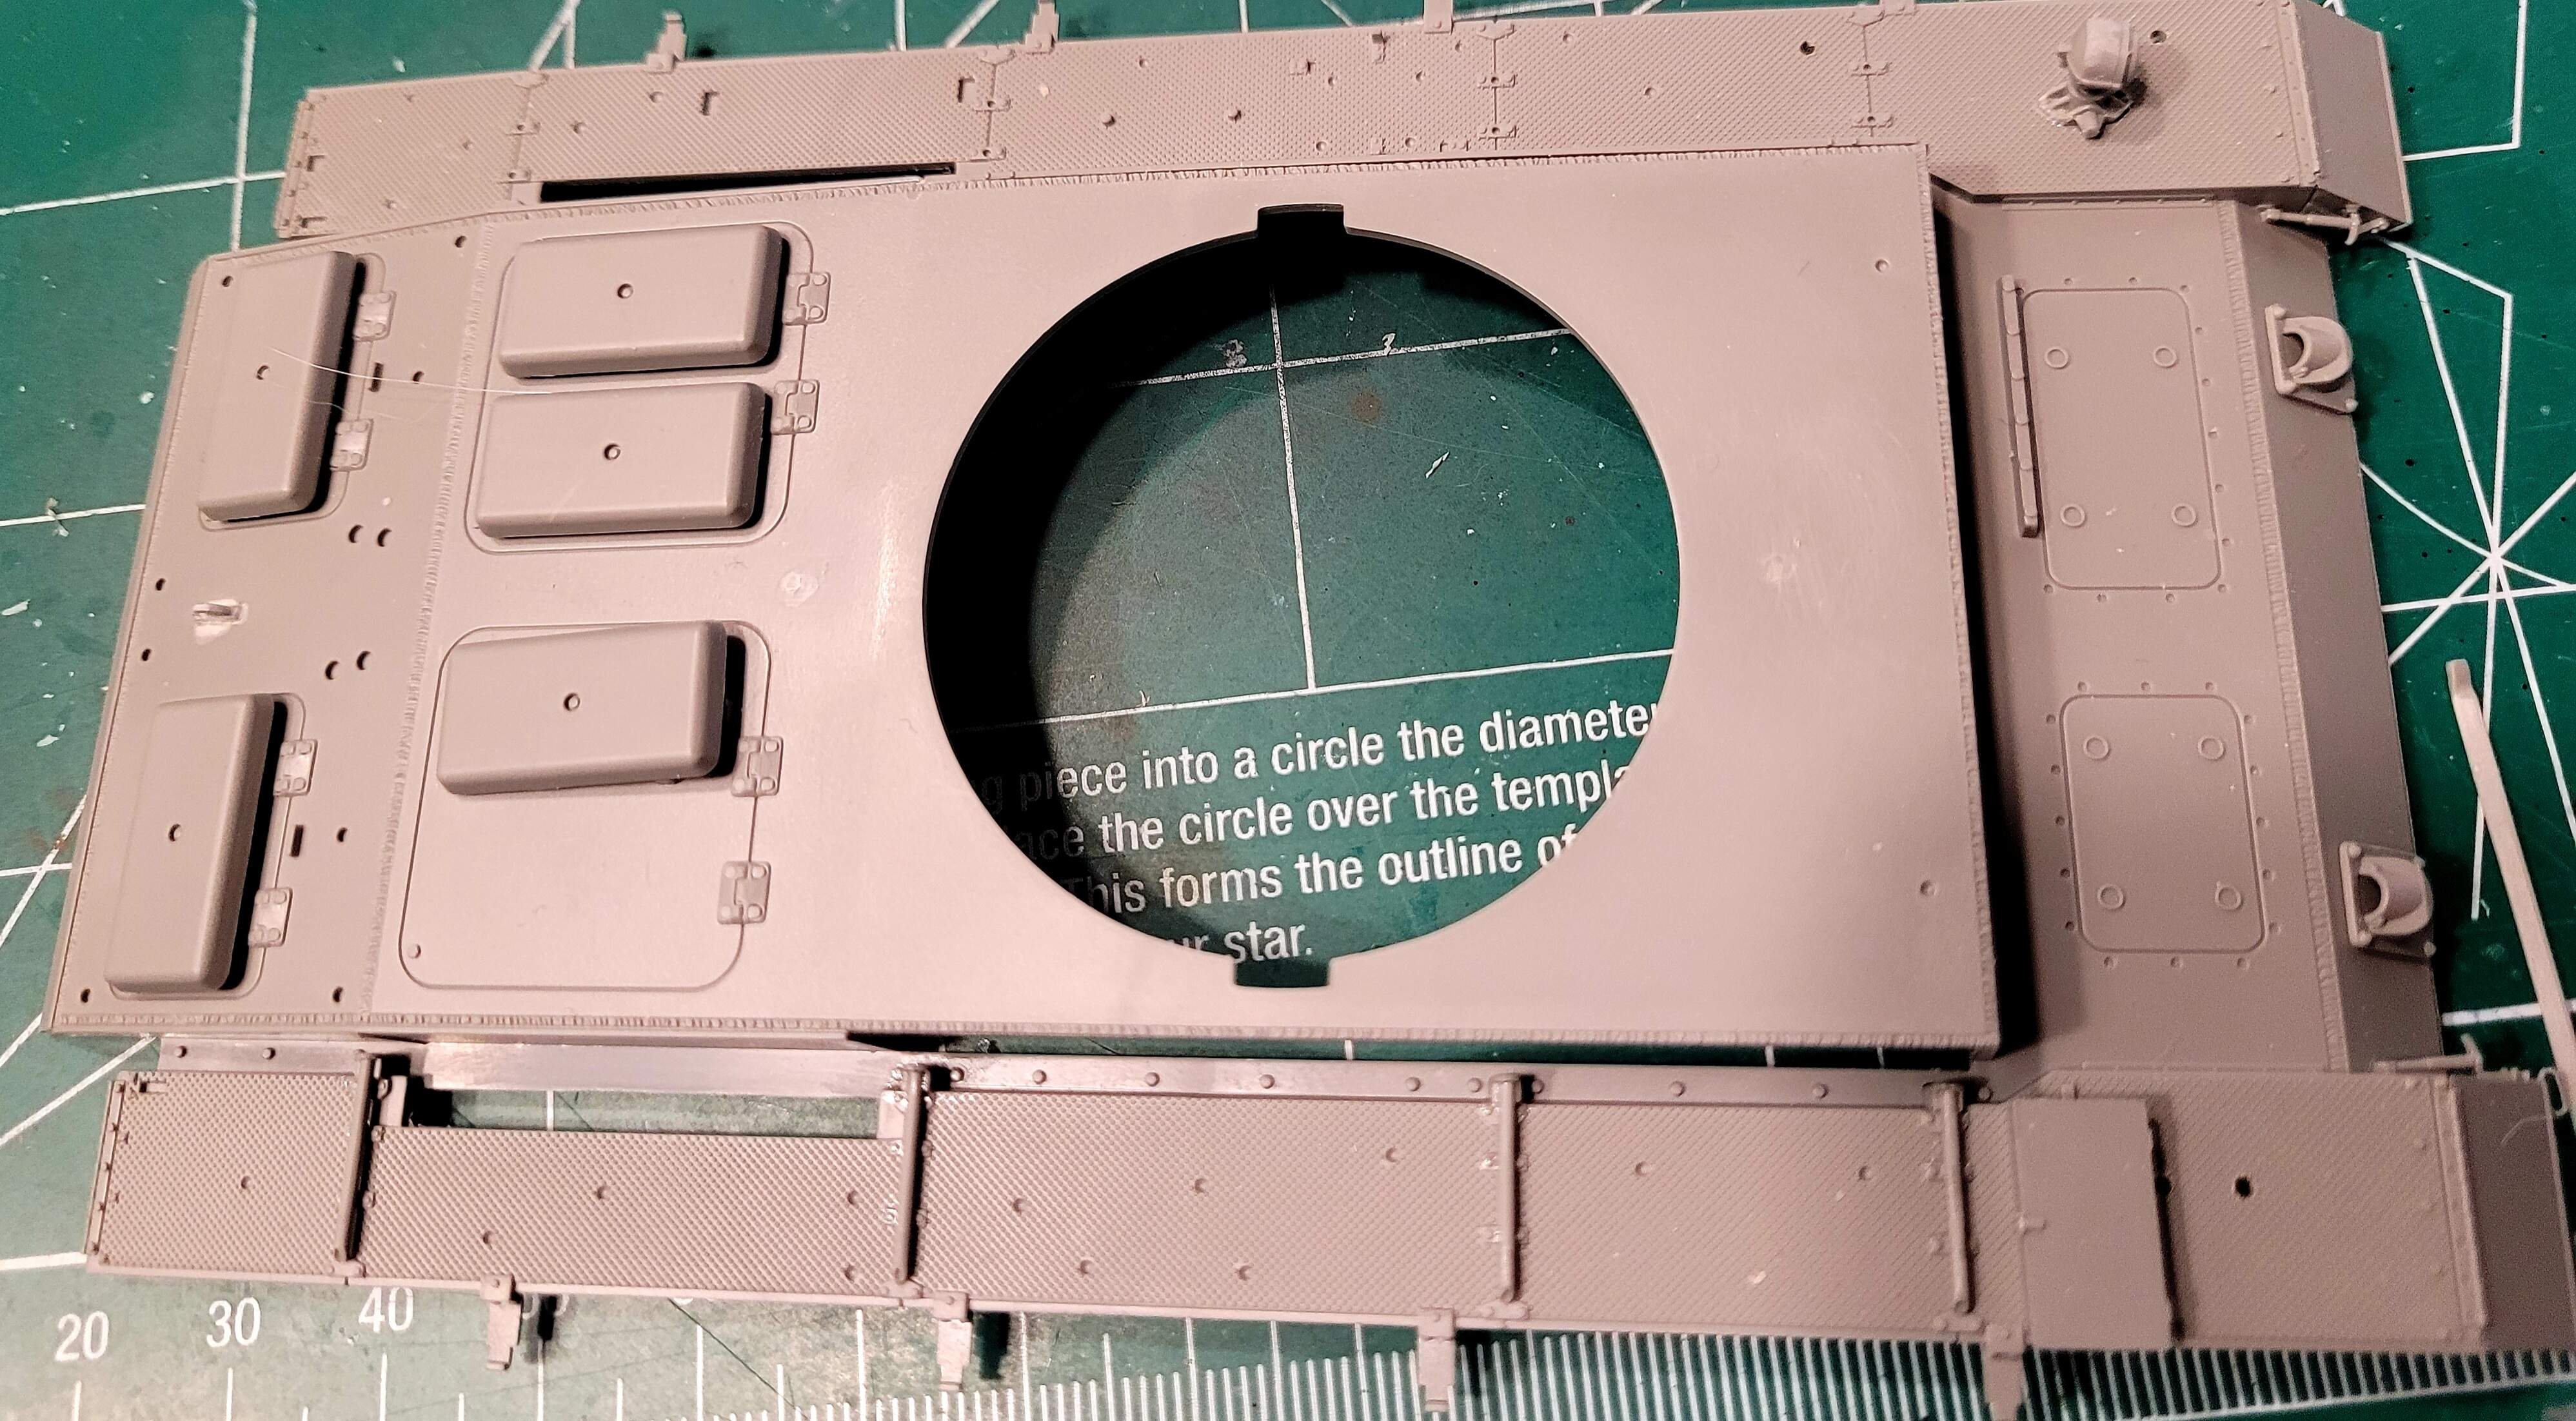
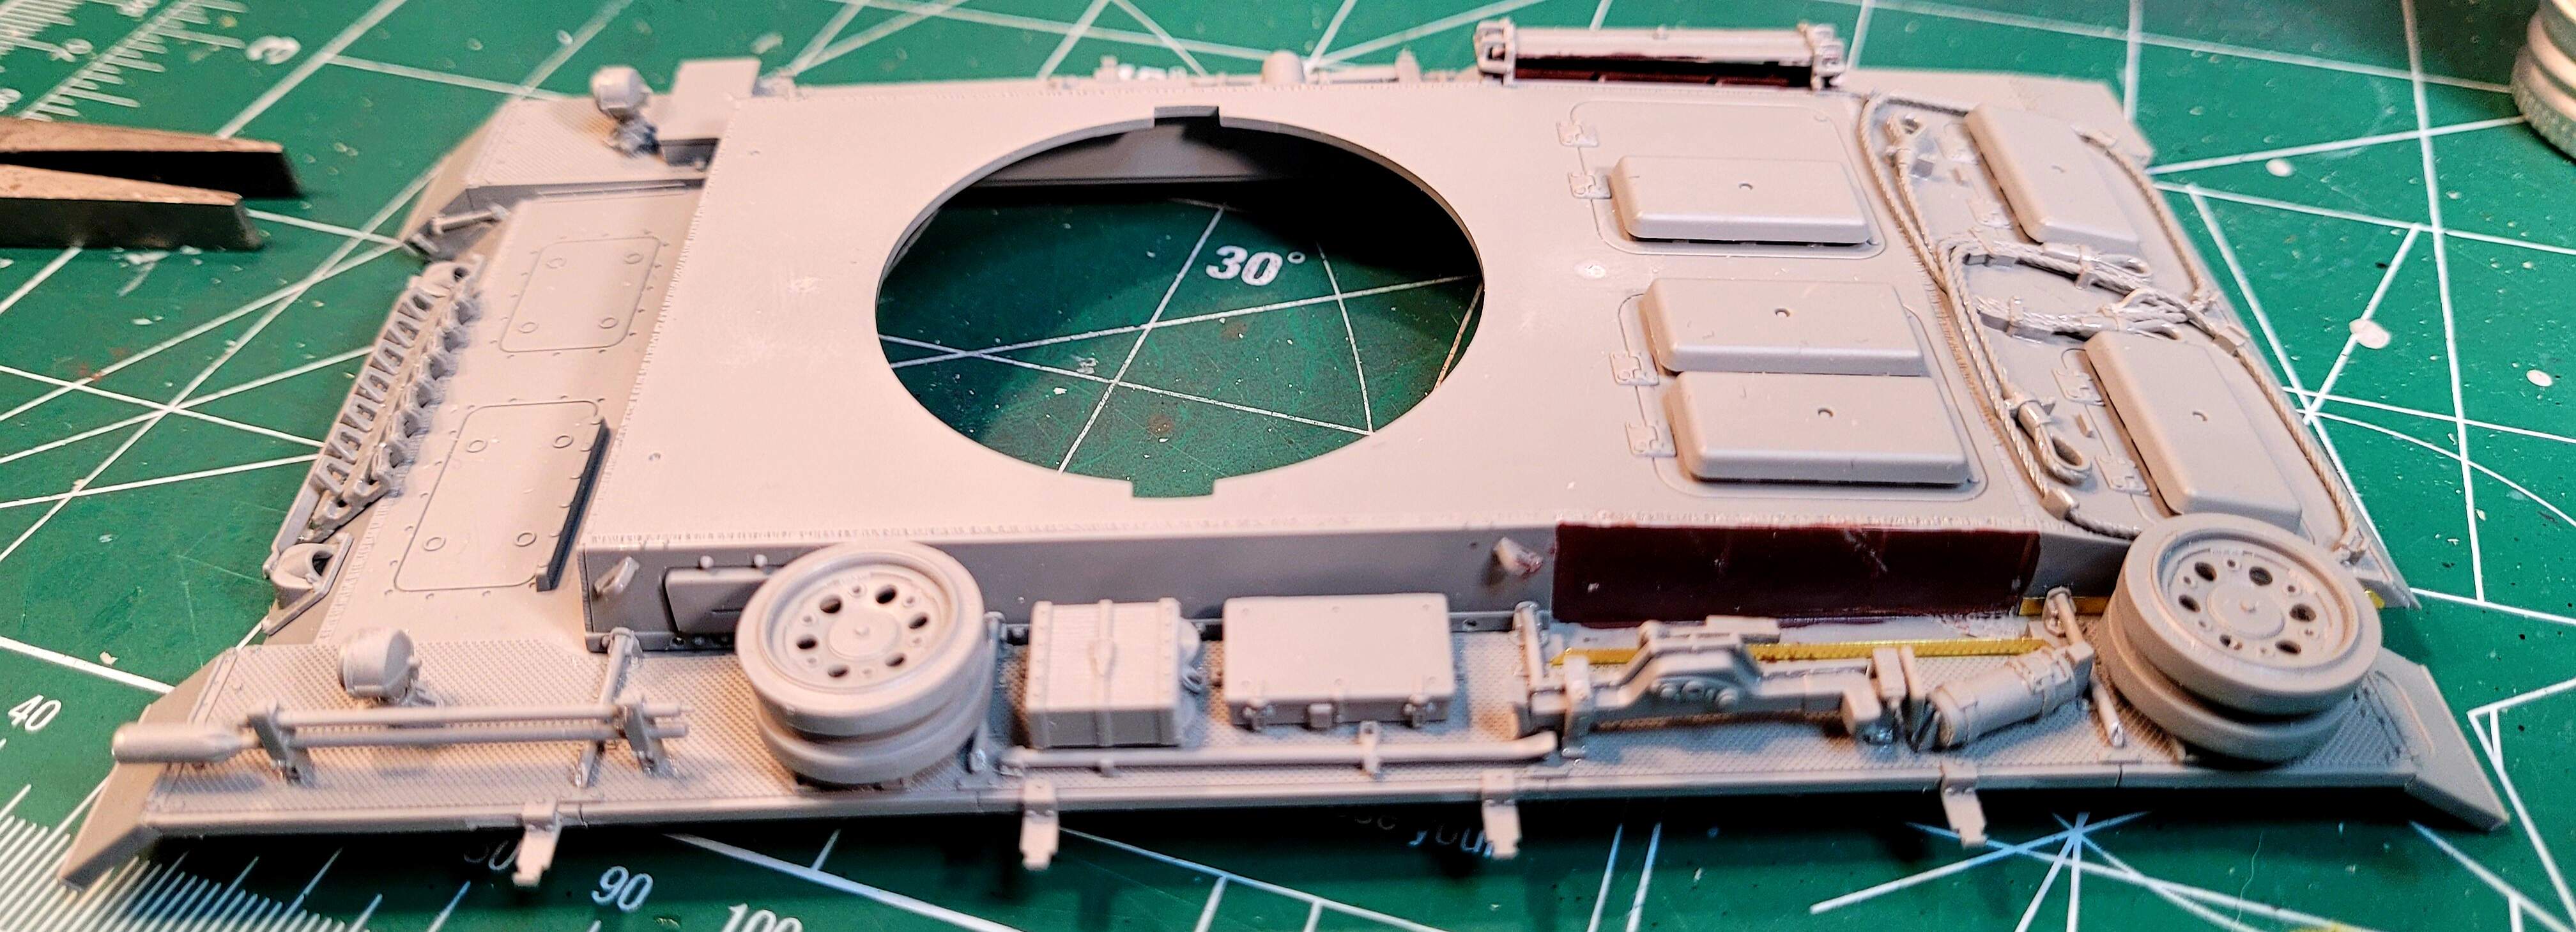
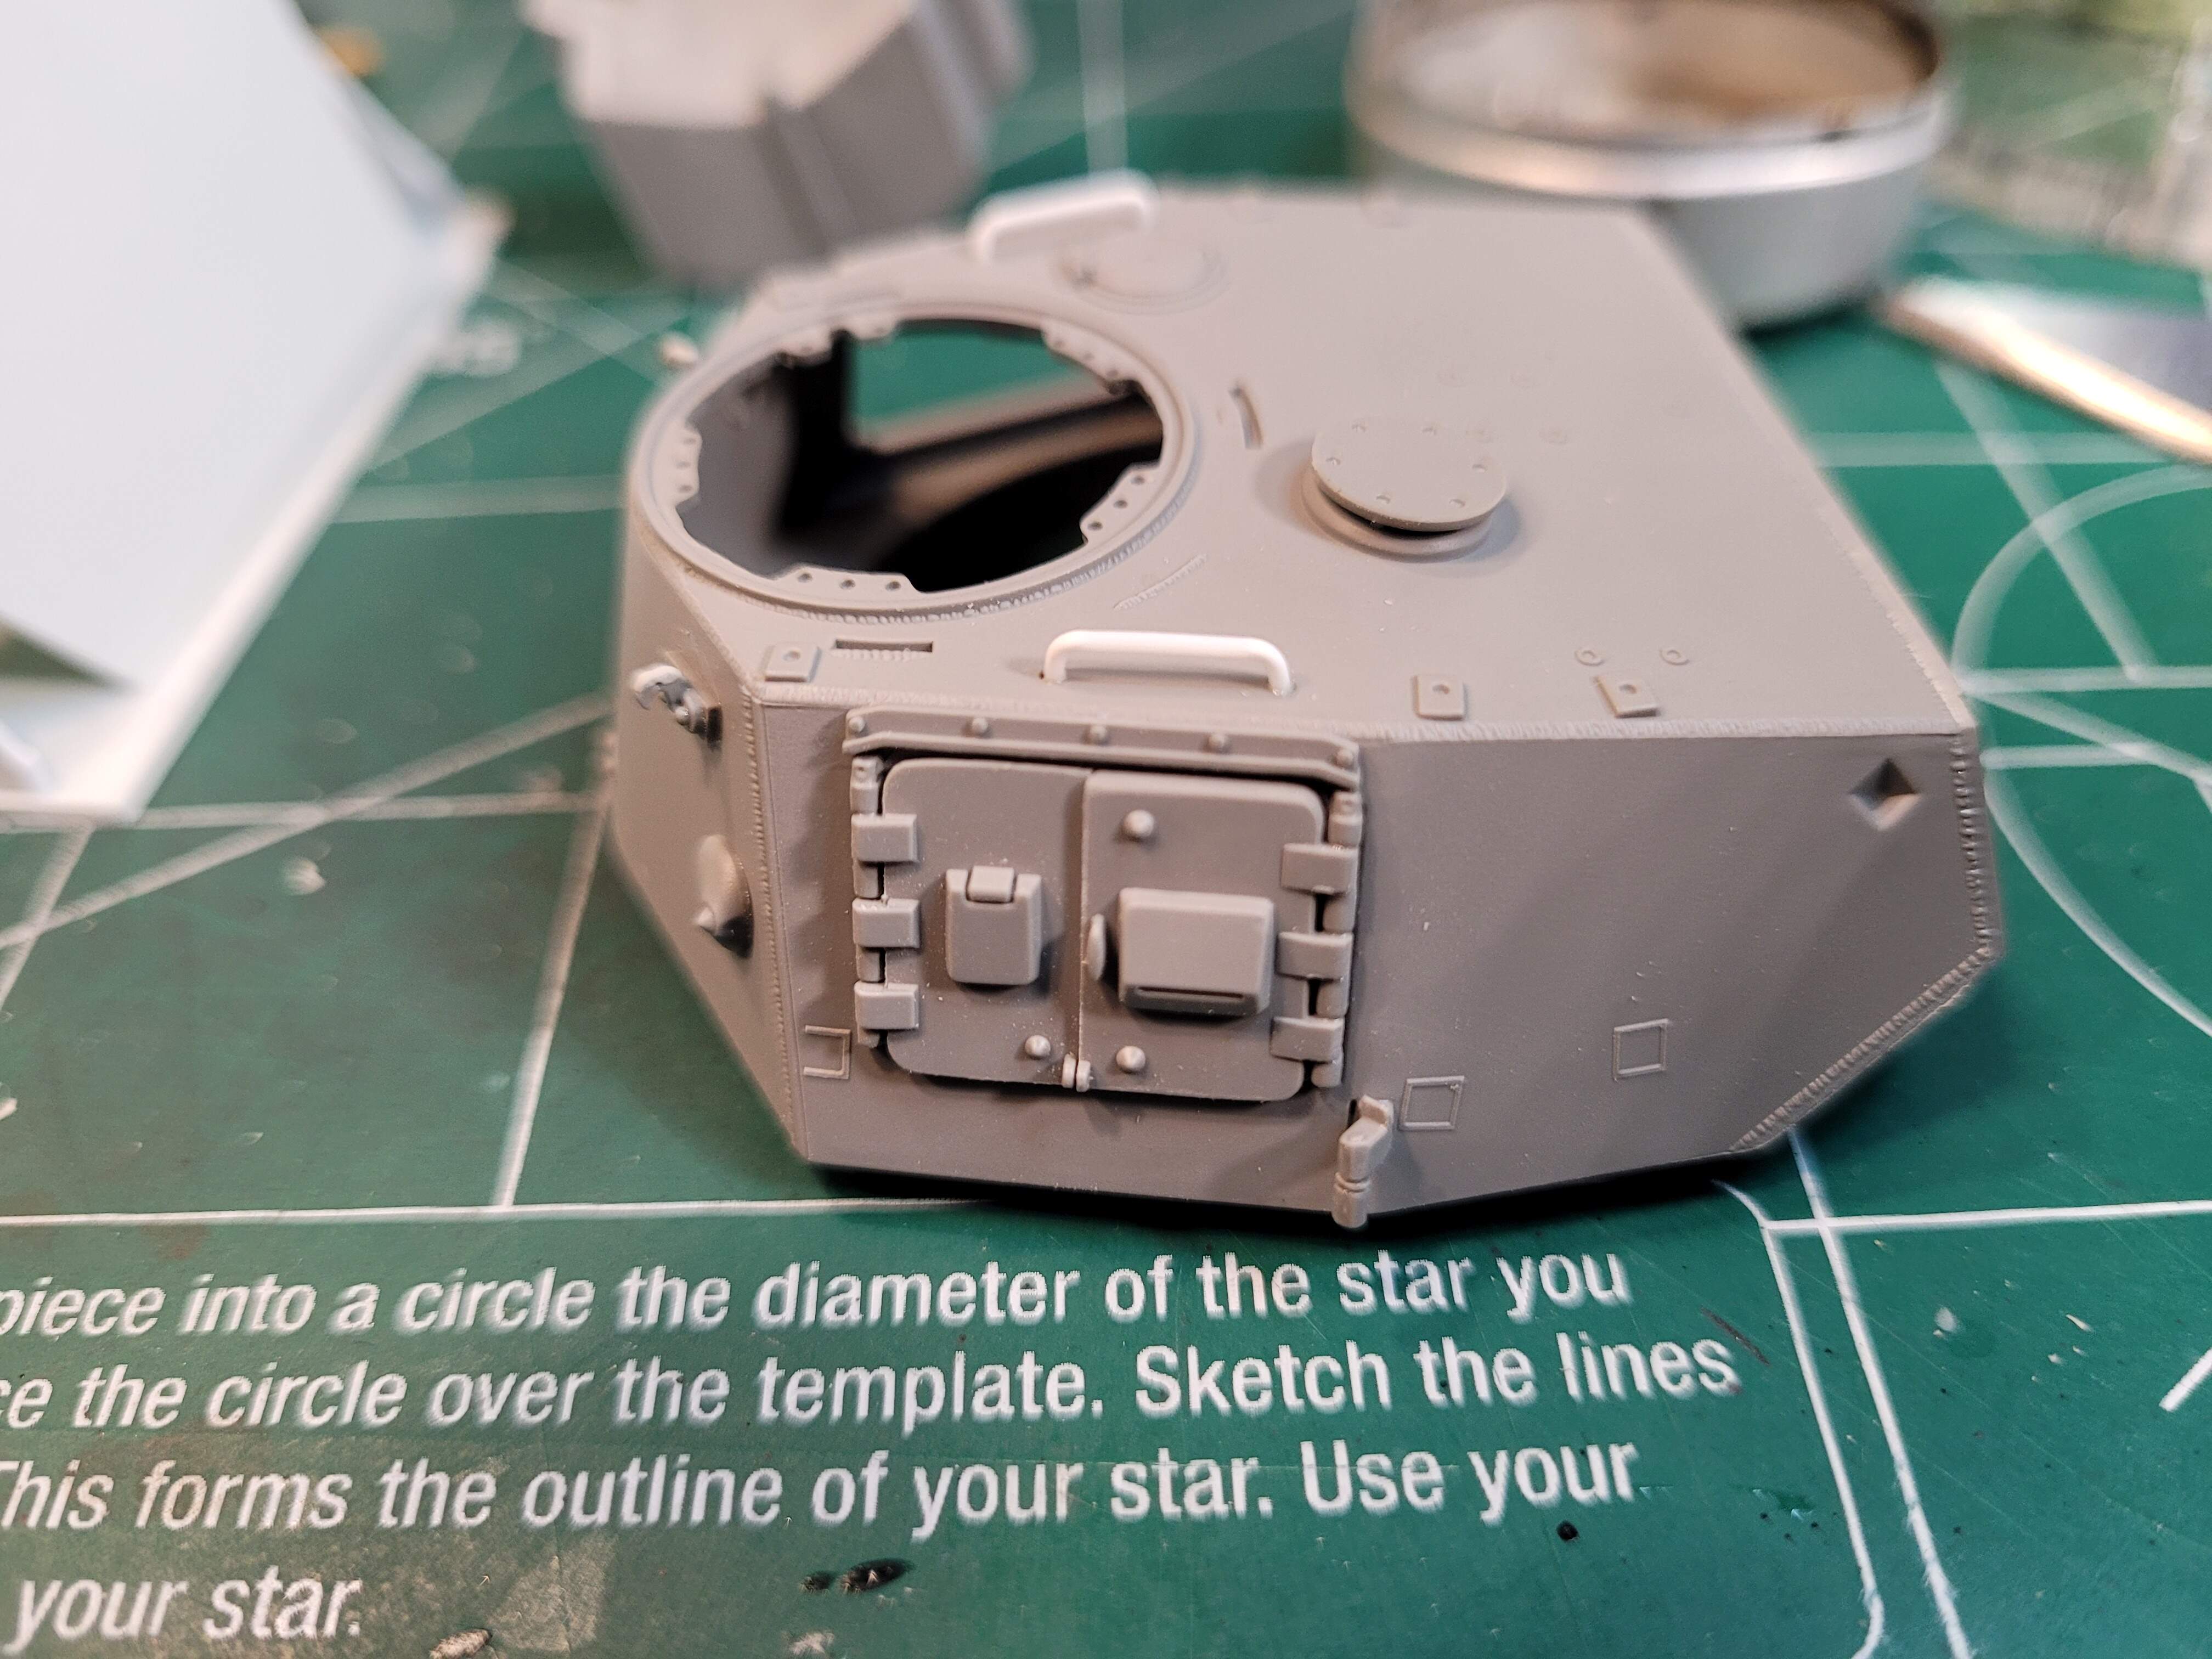
Takom molded the upper hull with two attachment points/ injection marks on the TOP of the hull. While that may have been necessary it seems both could have been moved slightly, say 4mm closer to the turret ring. Then the turret would hide them. Instead Takom gaves the modeler more issuss to clean up.
Amazingly Takom isn’t finished screwing the modeler regarding the Top of the hull. Centering C hook C7 correctly gives a open seam on both sides of the part. Simply making the receptacle hole C7 fits into the correct size would avoid both seams. It’s dumbfoundeding Takom missed stuff like that. Of course the modeler can clean up Takom’s “sloppy poorly designed fit issues” once more.
Marked in red.
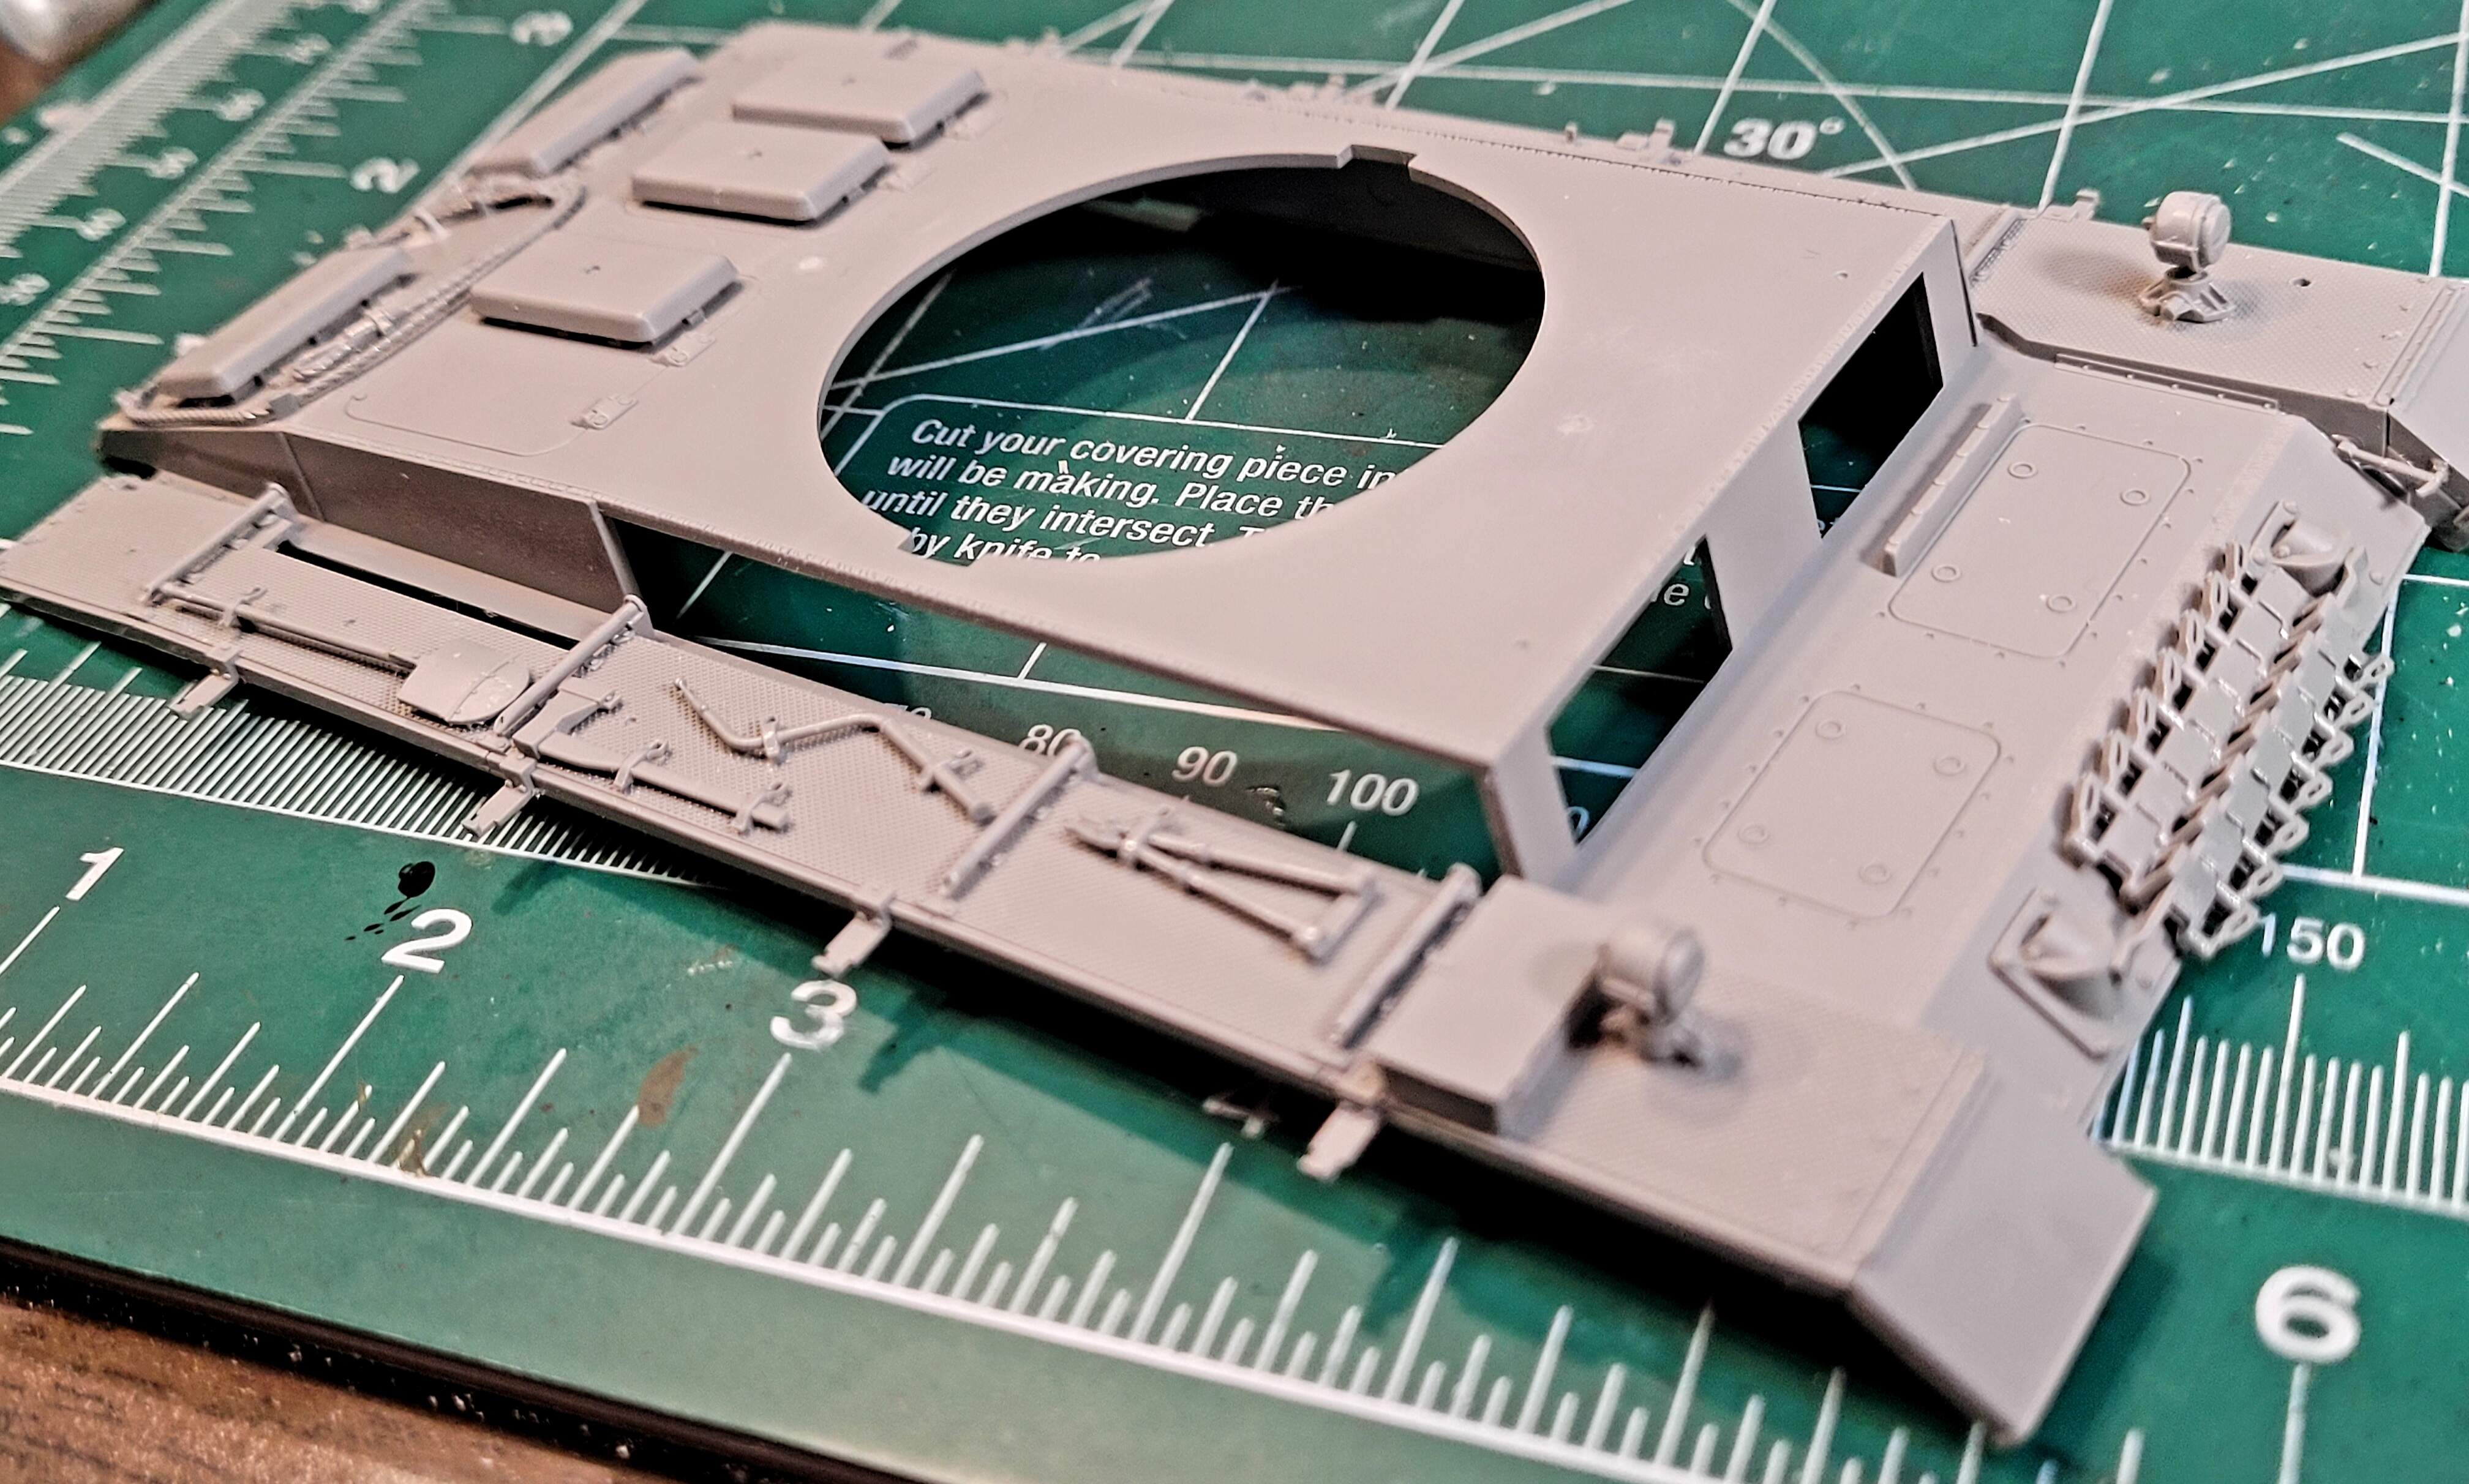
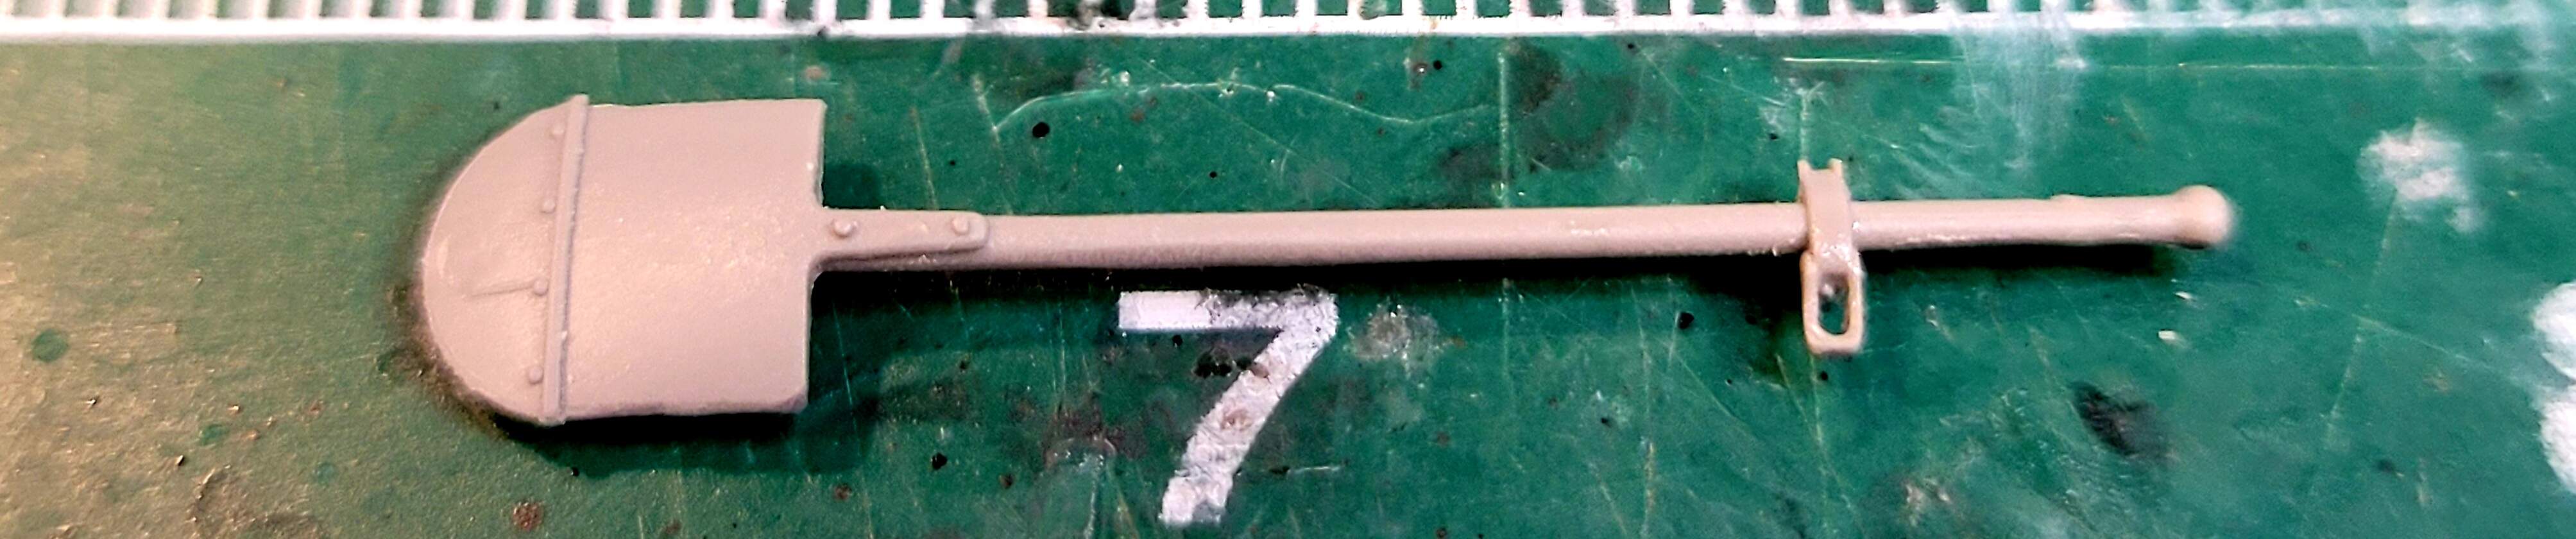
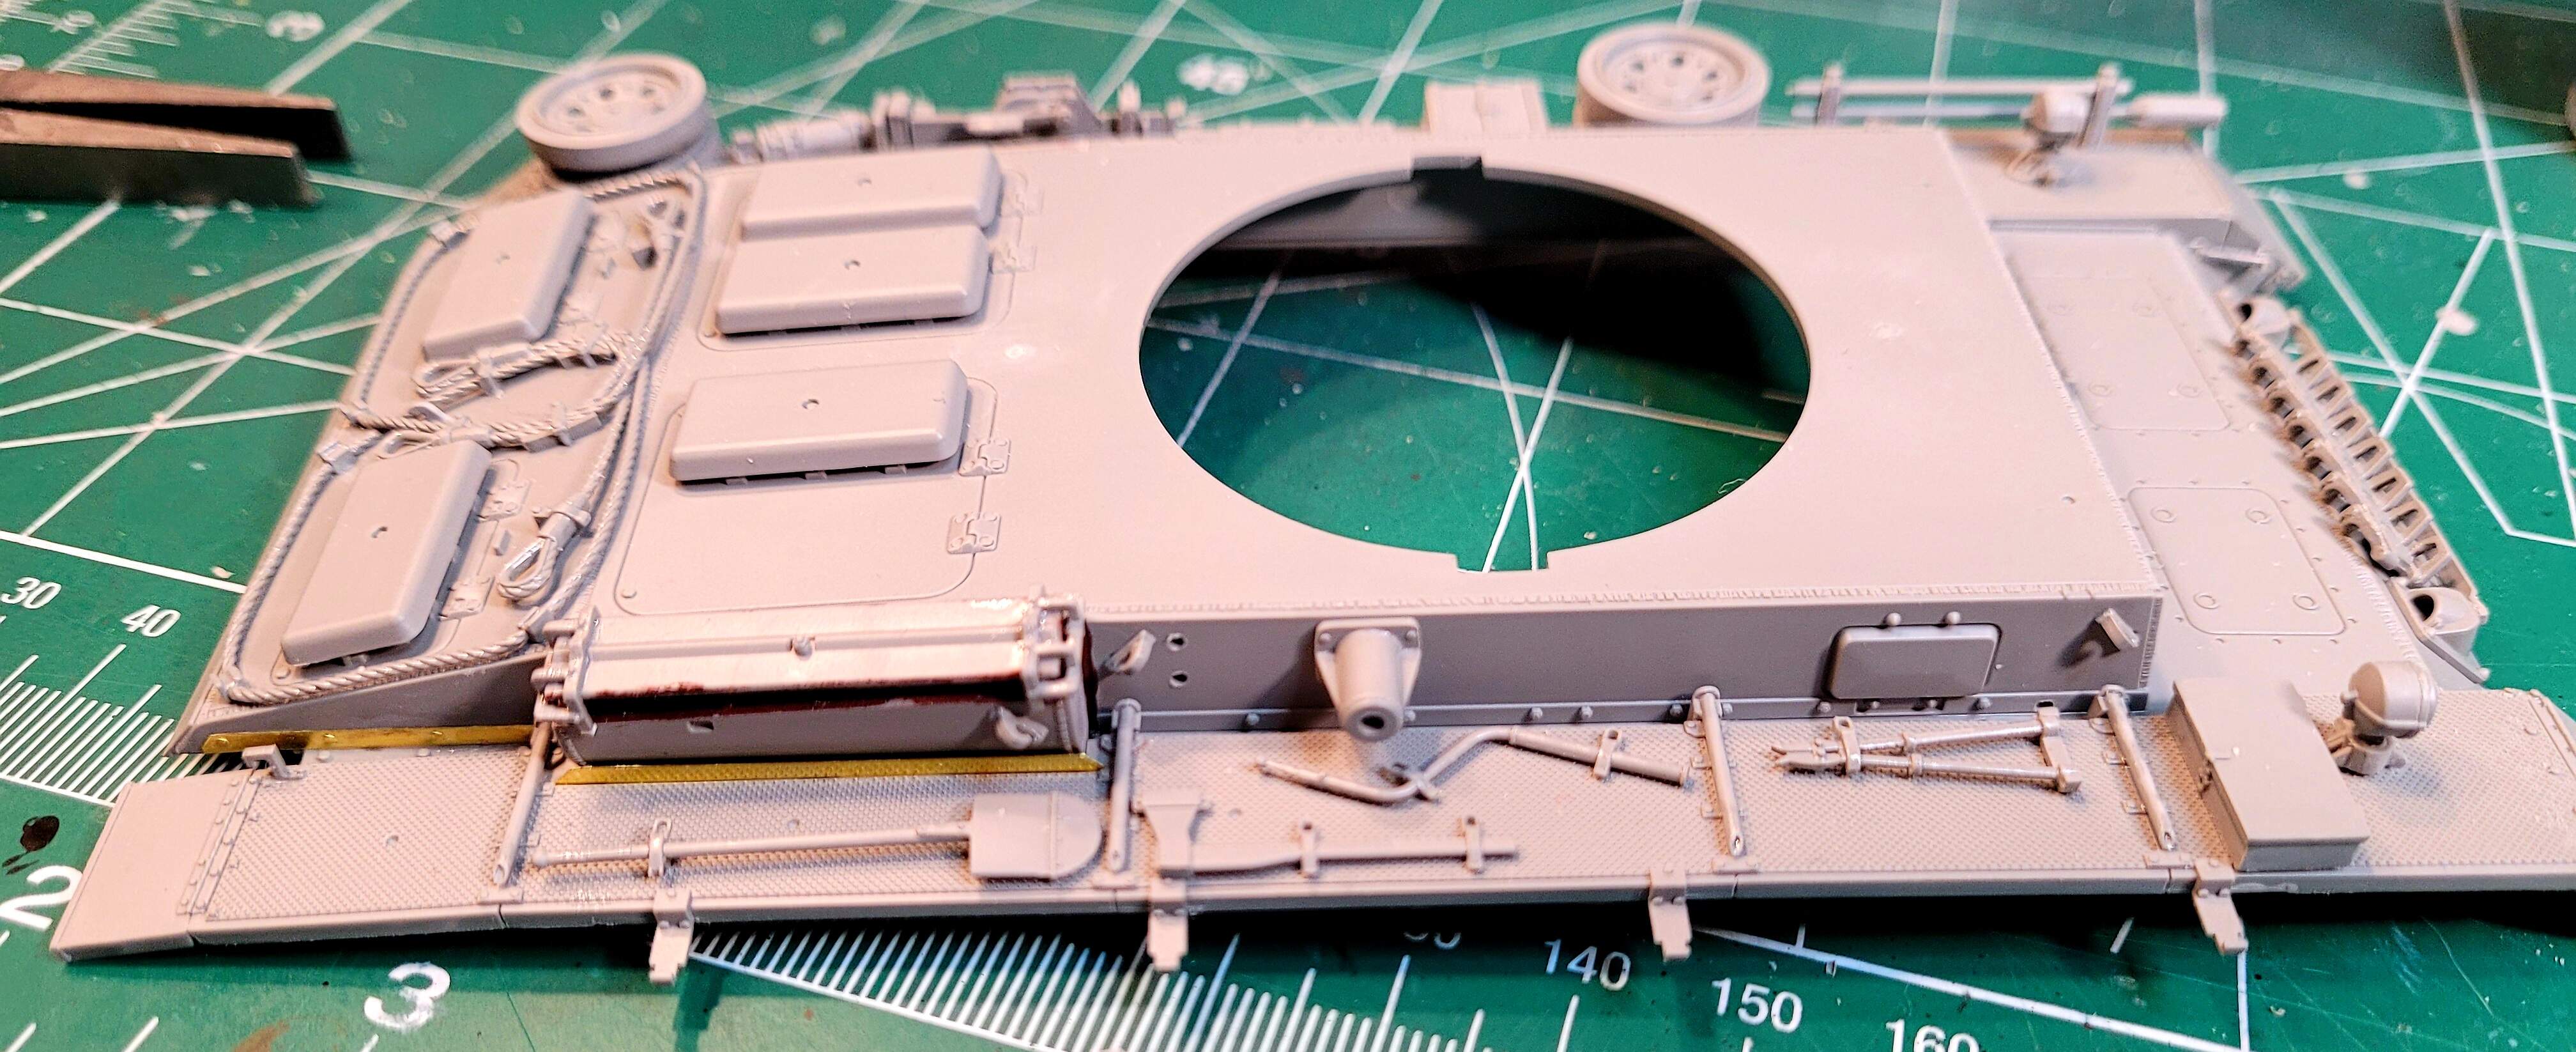
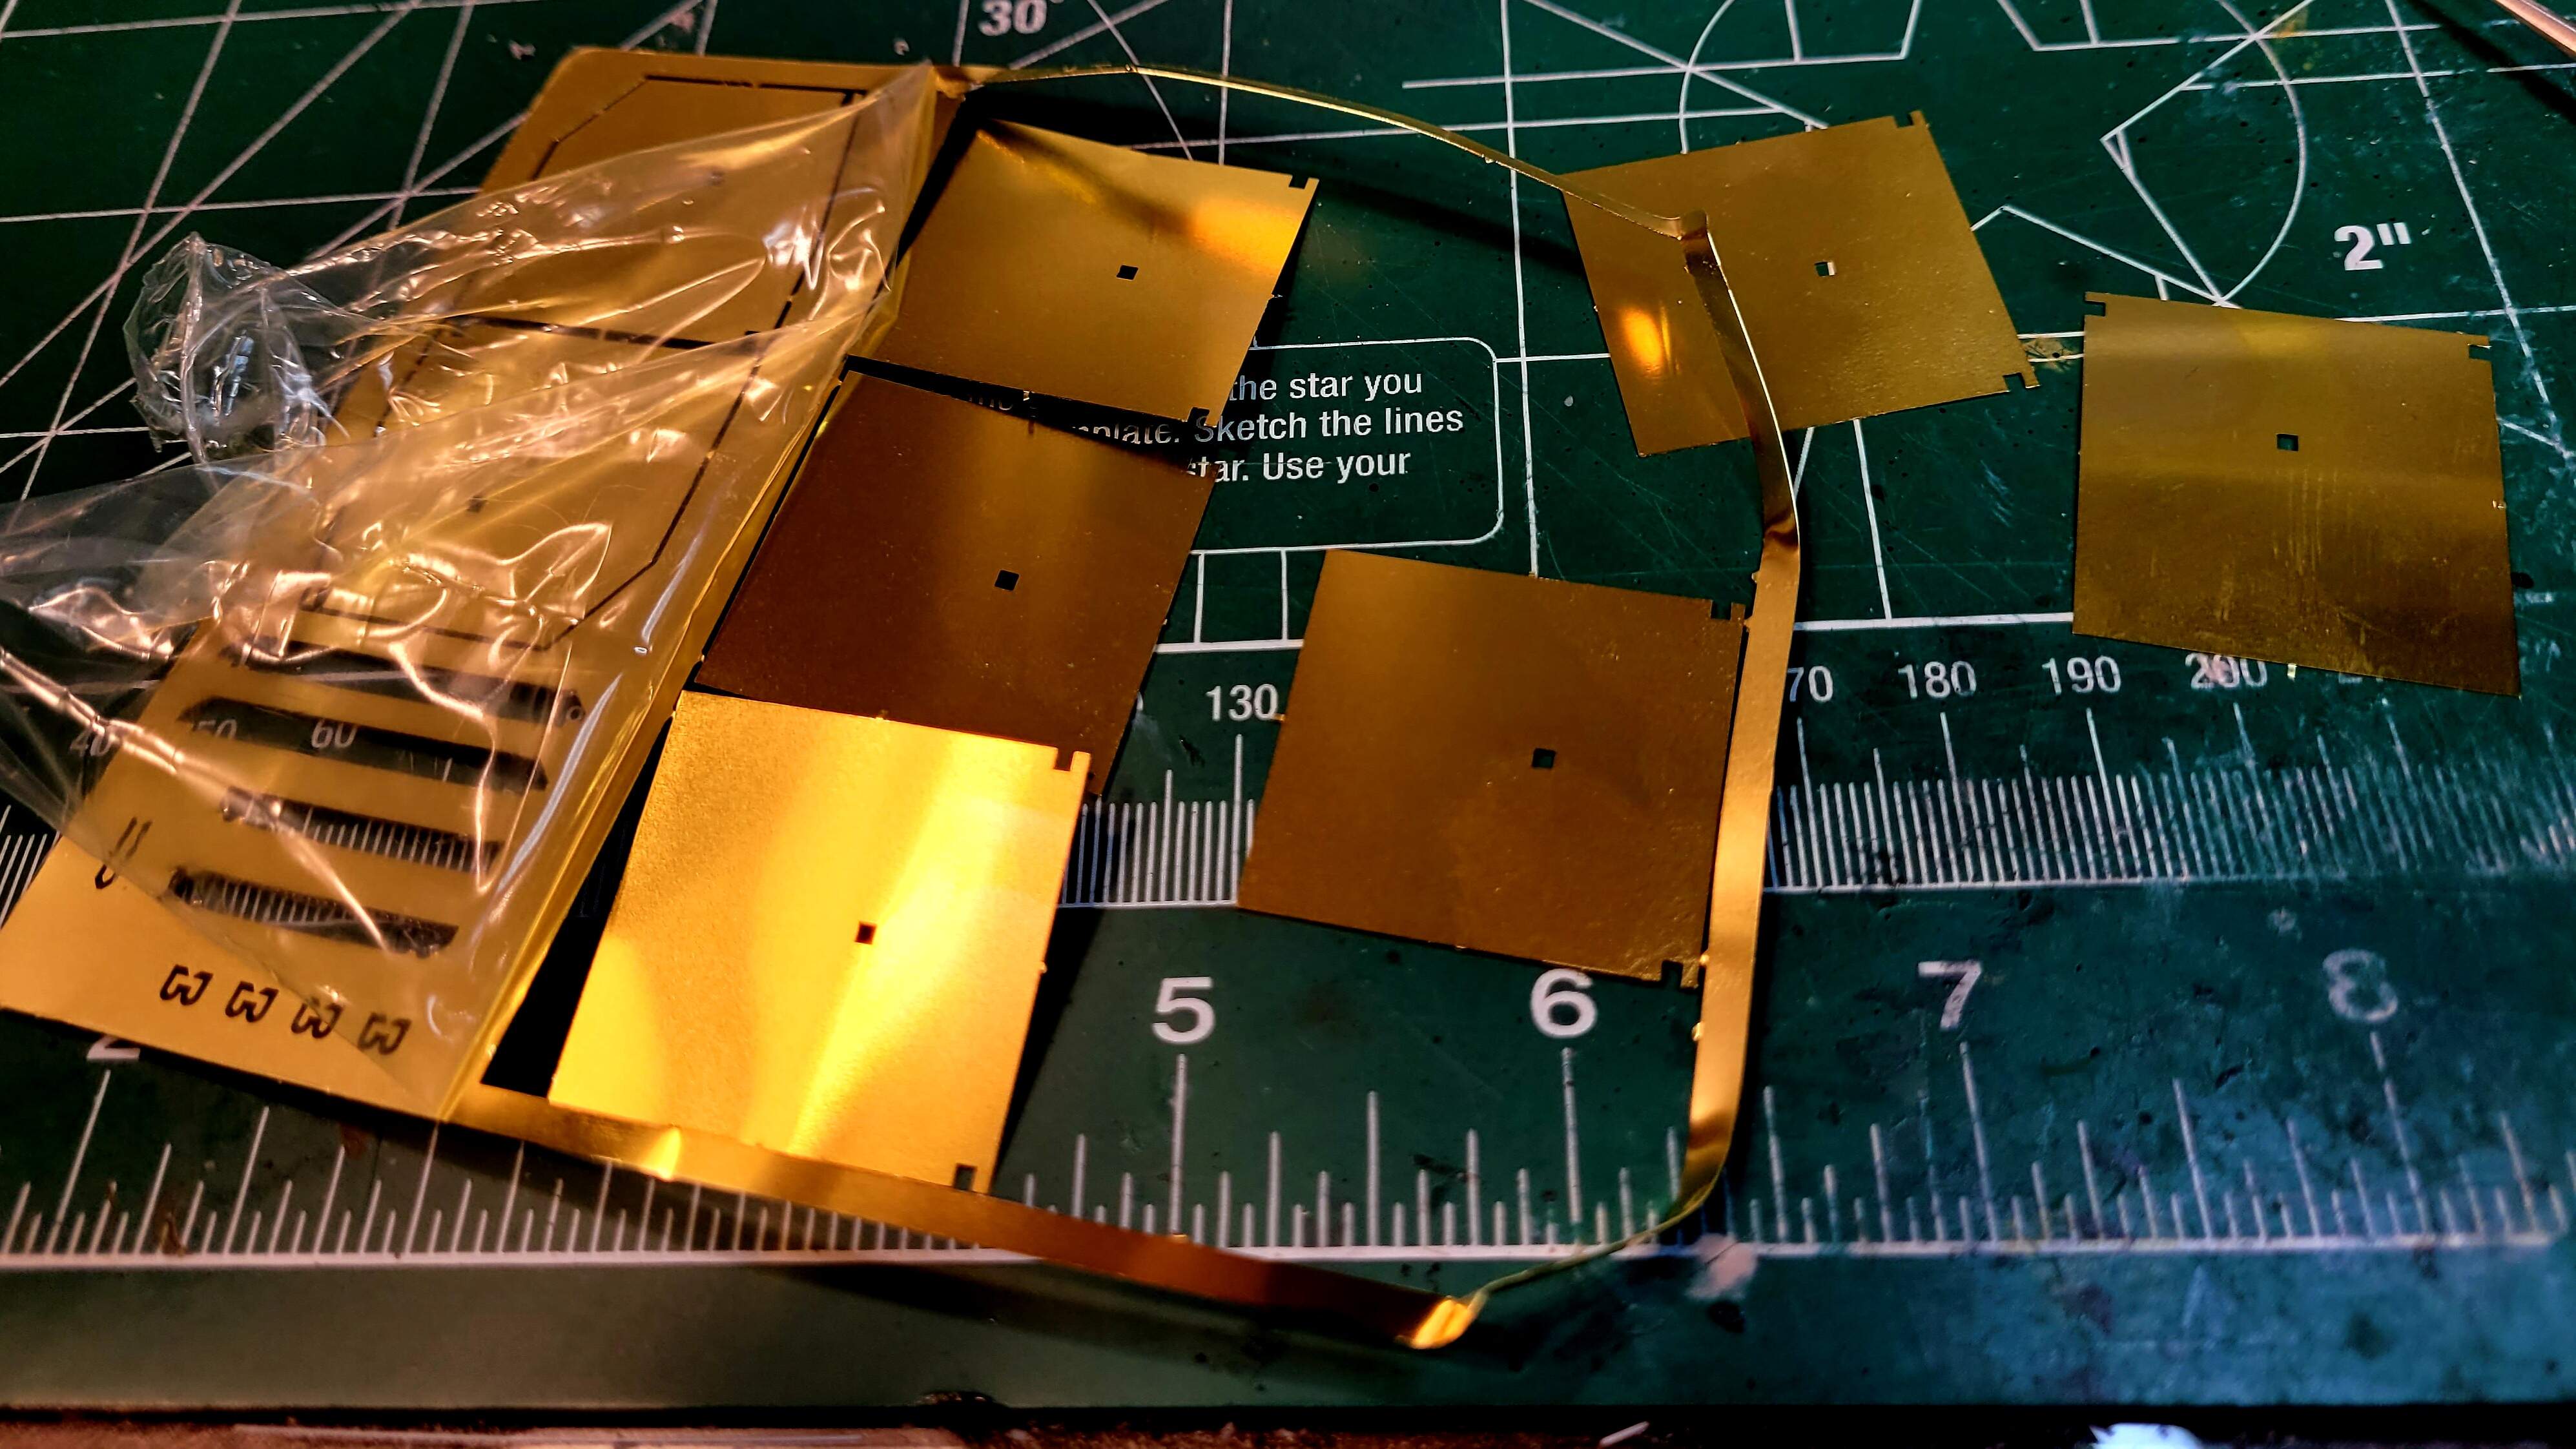
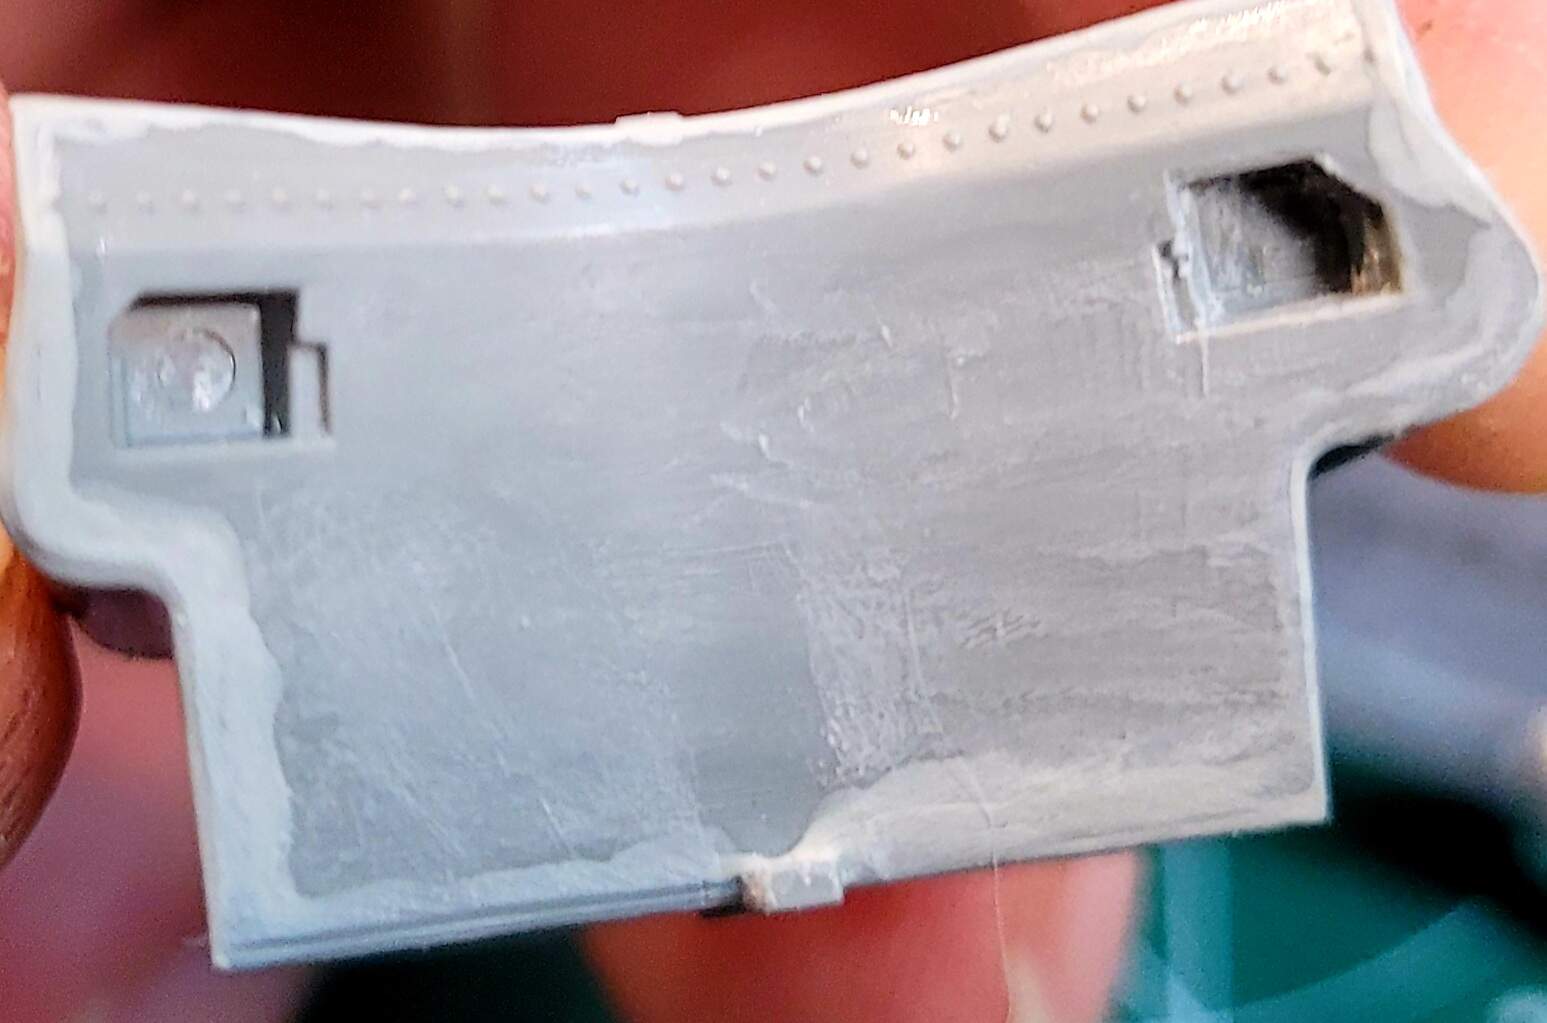
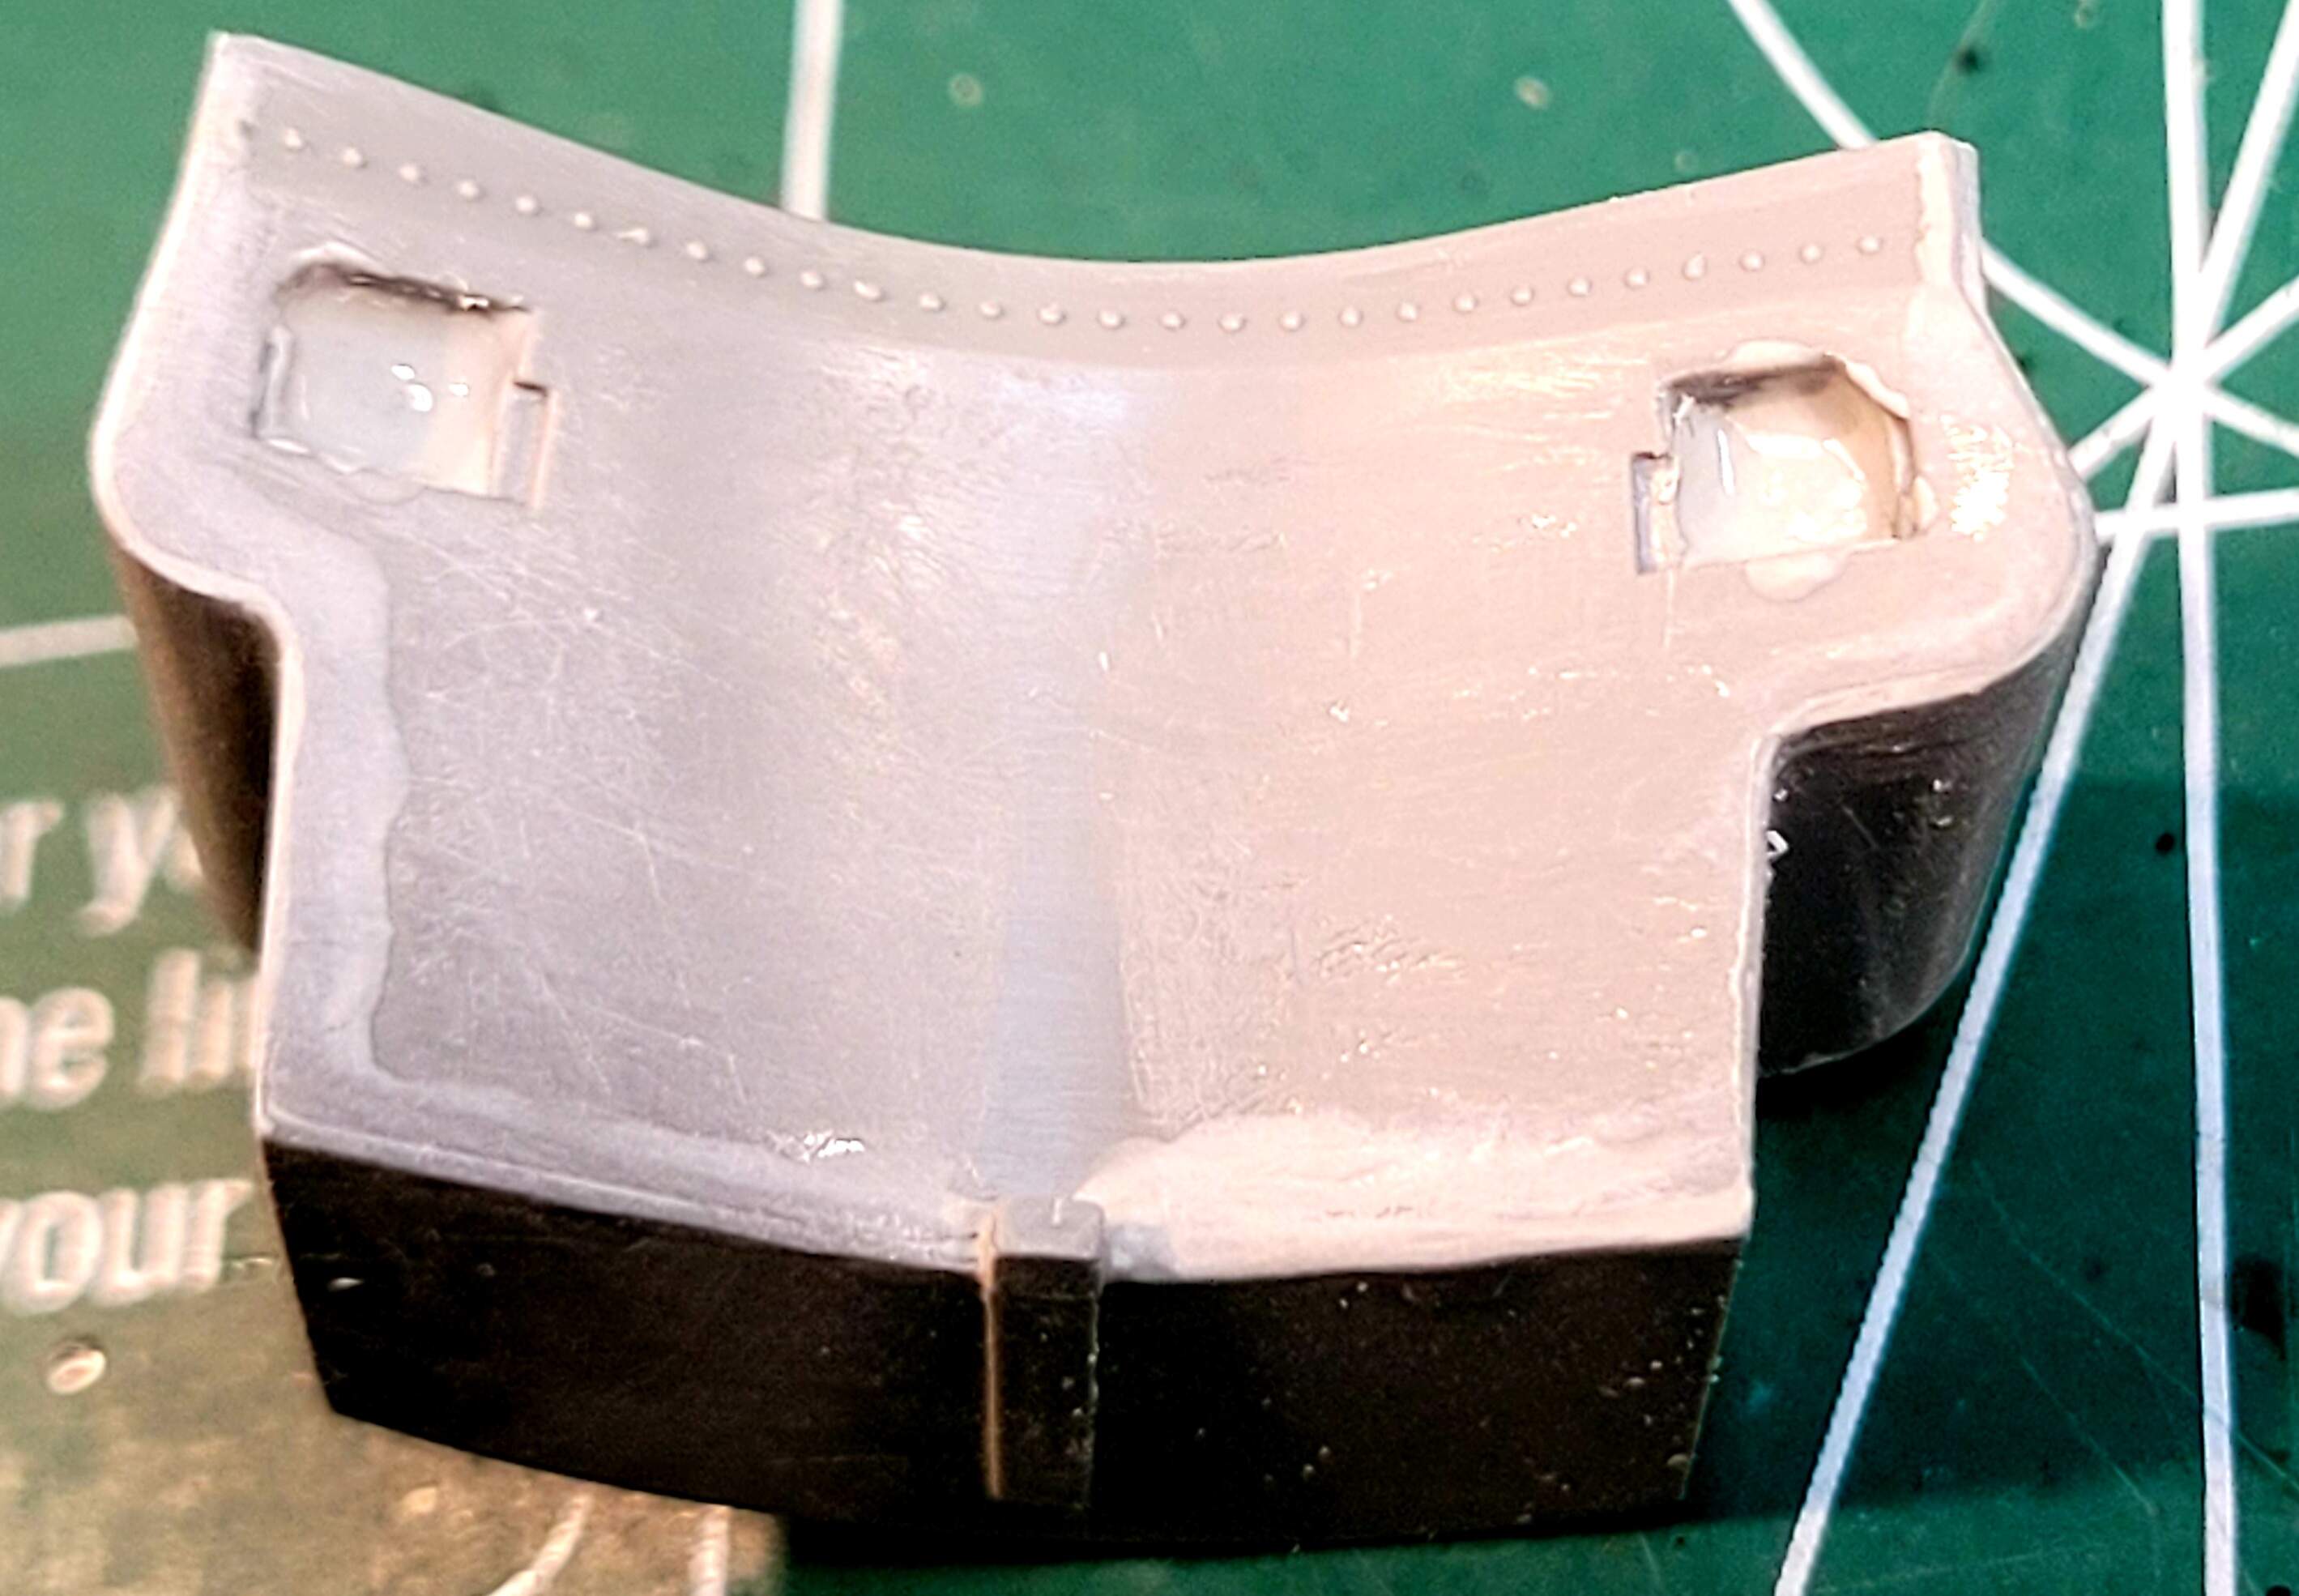
Parts A41 & A42 likewise didn’t fit until after they are filed down on all four sides and mold seams removed. Below as molded.
In the end, it’s all fairly easy to fix - it just eats up your time fixing basic stuff Takom should have fixed before releasing the kit.
“Told you should have went back and finished that old Dragon Panther kit”
10 Likes
Very interesting work, thanks for sharing. Seems that Takom kit is not that bad, nor perfect either…
Happy to share what’s discoverd in the build process. Agreed the kit isn’t that bad overall, nor is it perfect. The kit is so close to being an outstanding model kit that it’s very frustrating Takom missed the mark.
There is definitely a trend with the problem parts, almost all of them are from the two A sprue trees. It’s like the last round of test shot adjustments for A wasn’t made.
A parts with minor fit issues:
A11 & A16 the road wheels
A19,A20,A21 & A22 the torsion bar suspension arms
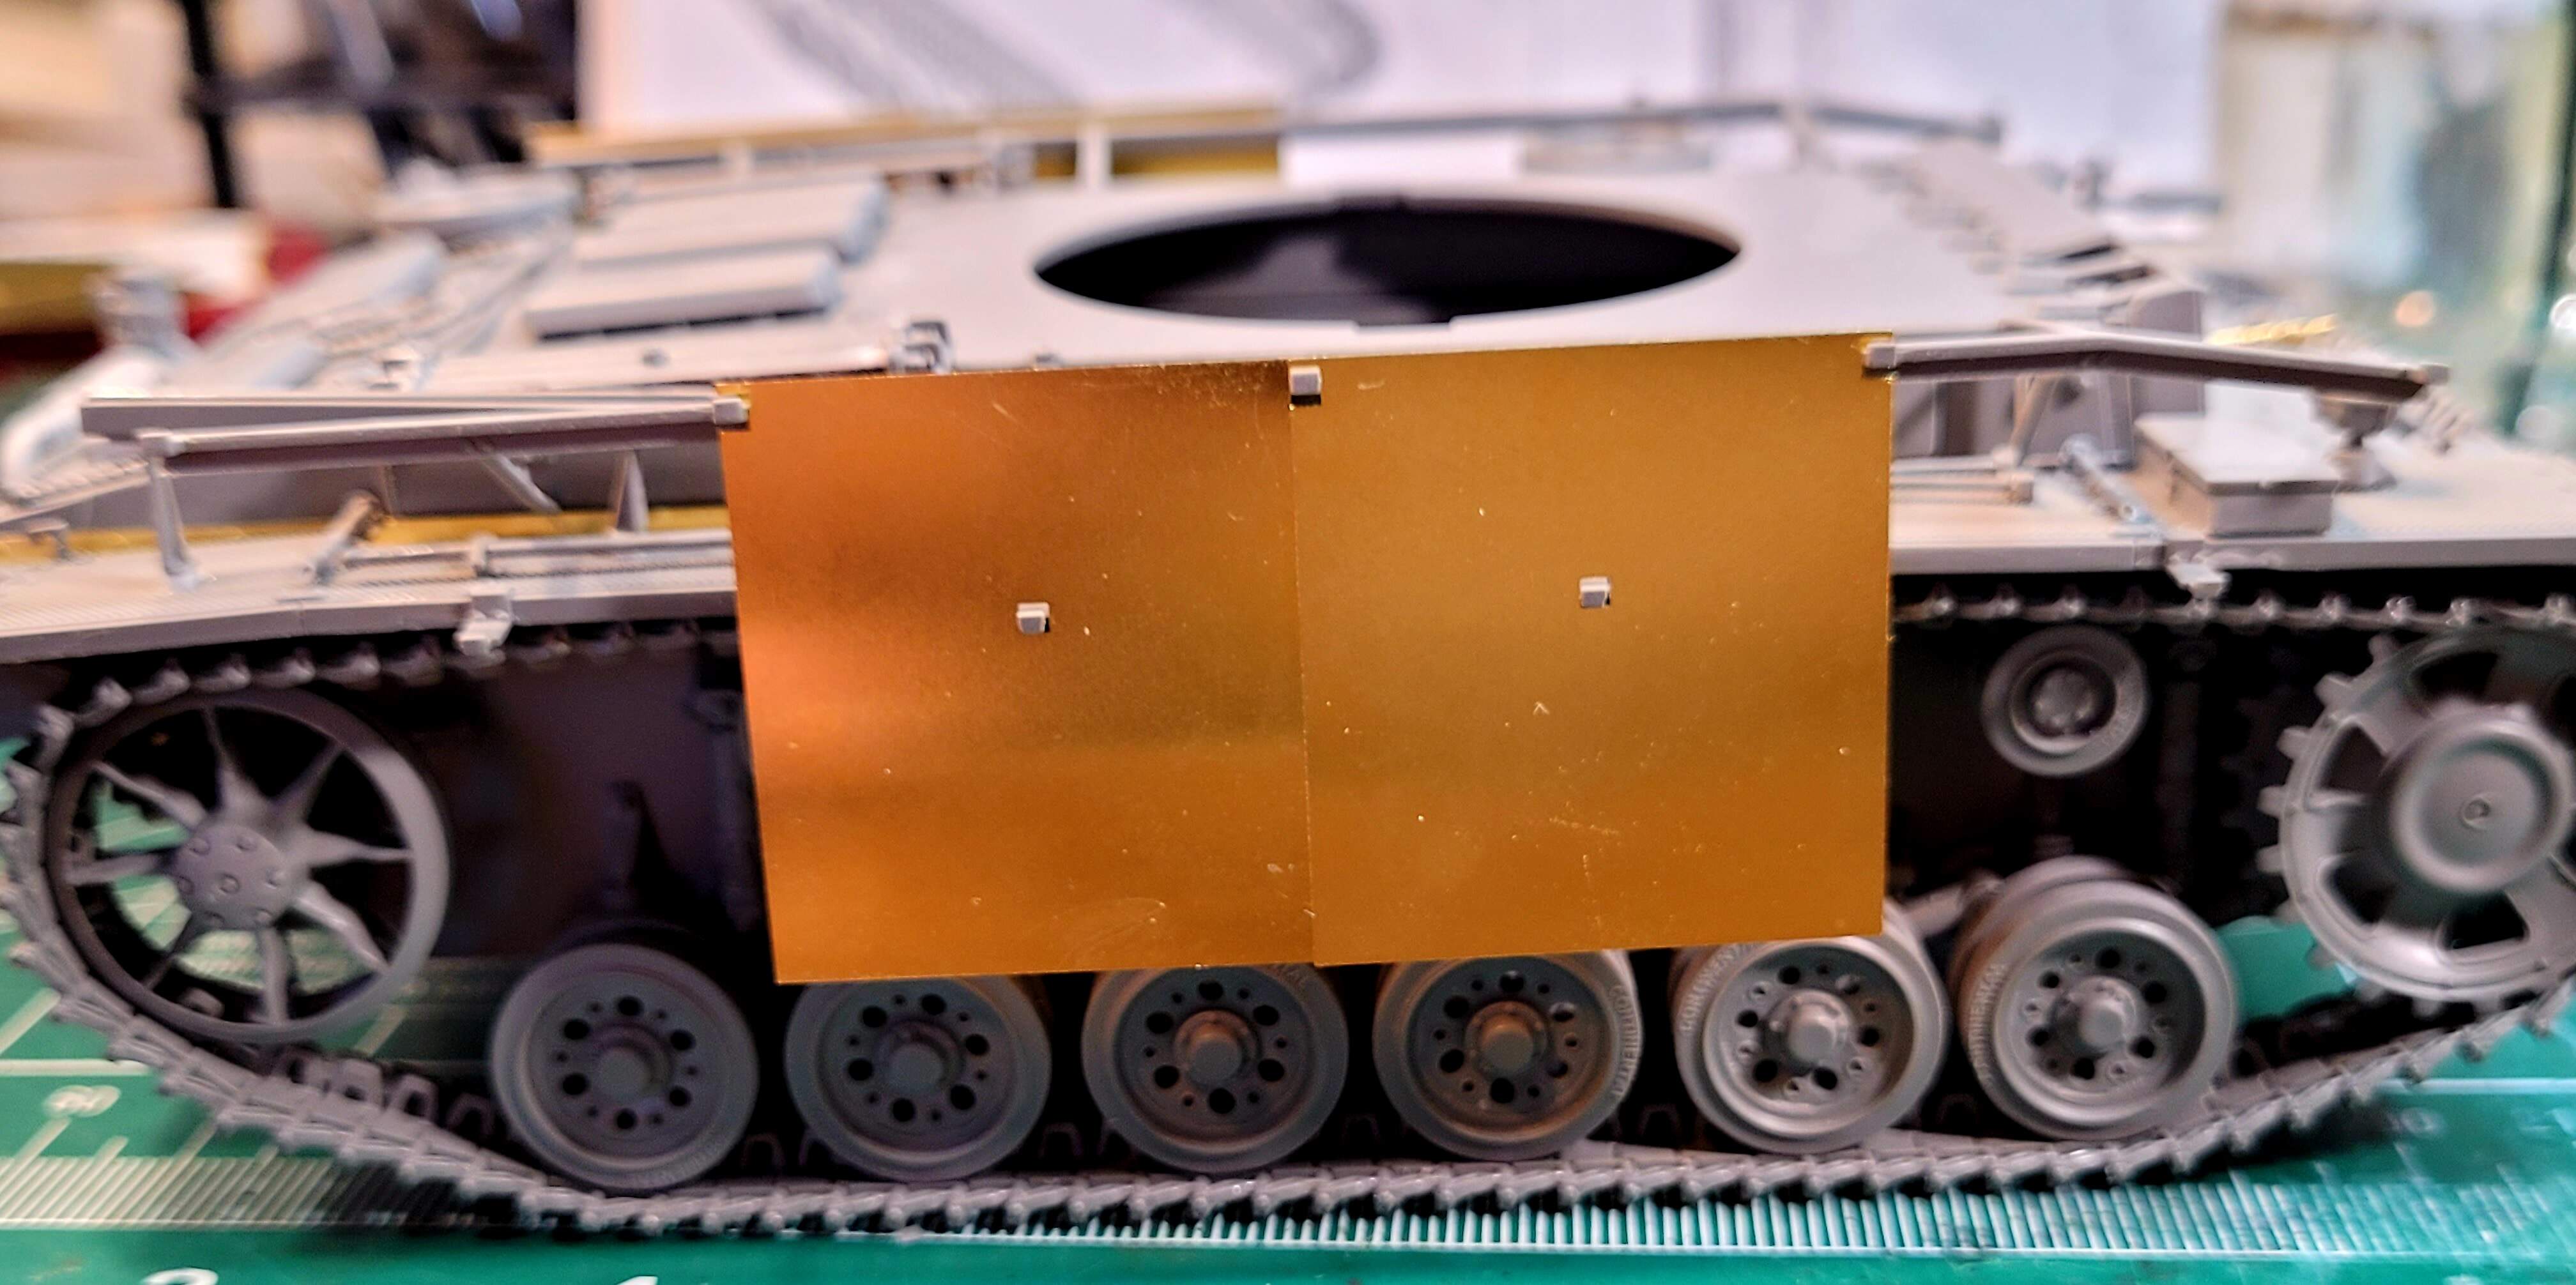
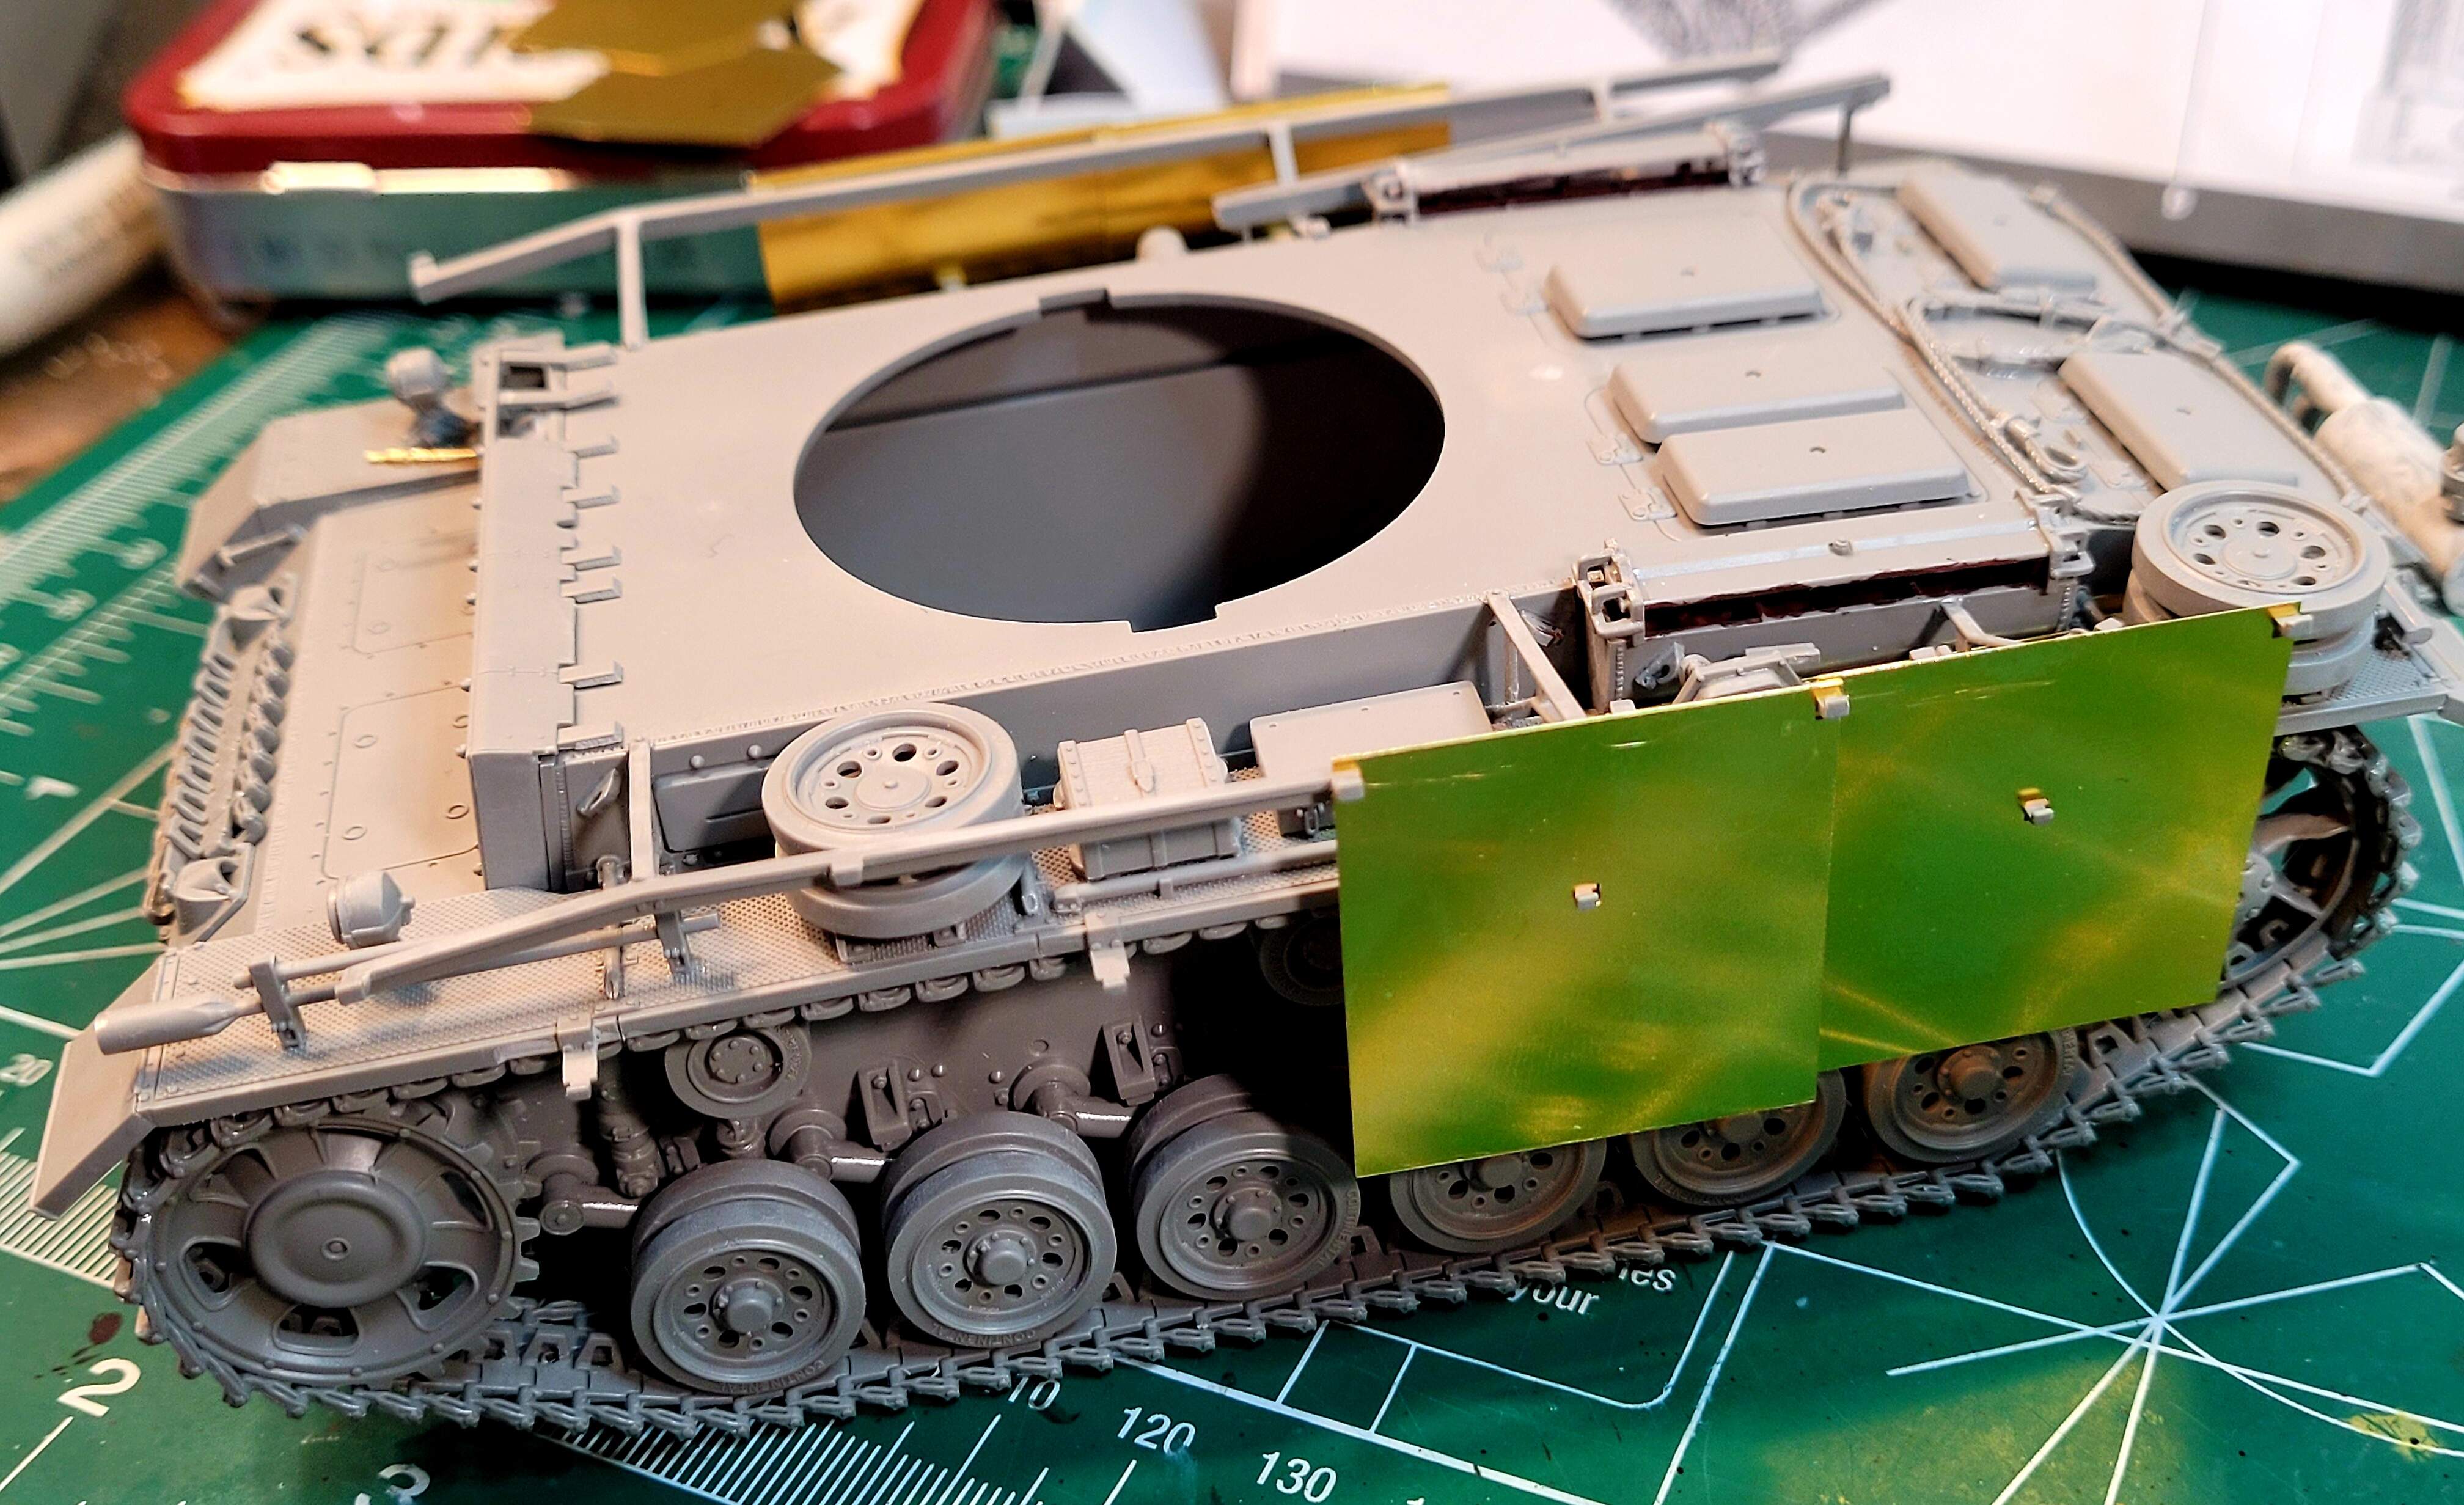
A41 & A42 fender supports
Roughly 44 parts from A sprues. If this kit is a decent seller Takom should fix these minor issues before releasing another Pz III kit. Takom could easily become the world class leader that tames the 

2 Likes
Step 10 <3 hours 15 min> 18hr 5min total
The instructions call for eight track links in the spare track link holder mounted on the front. Only seven links fit satisfactory in my opinion. The retaining bar is fiddly to position since no location marks or pins are provided.
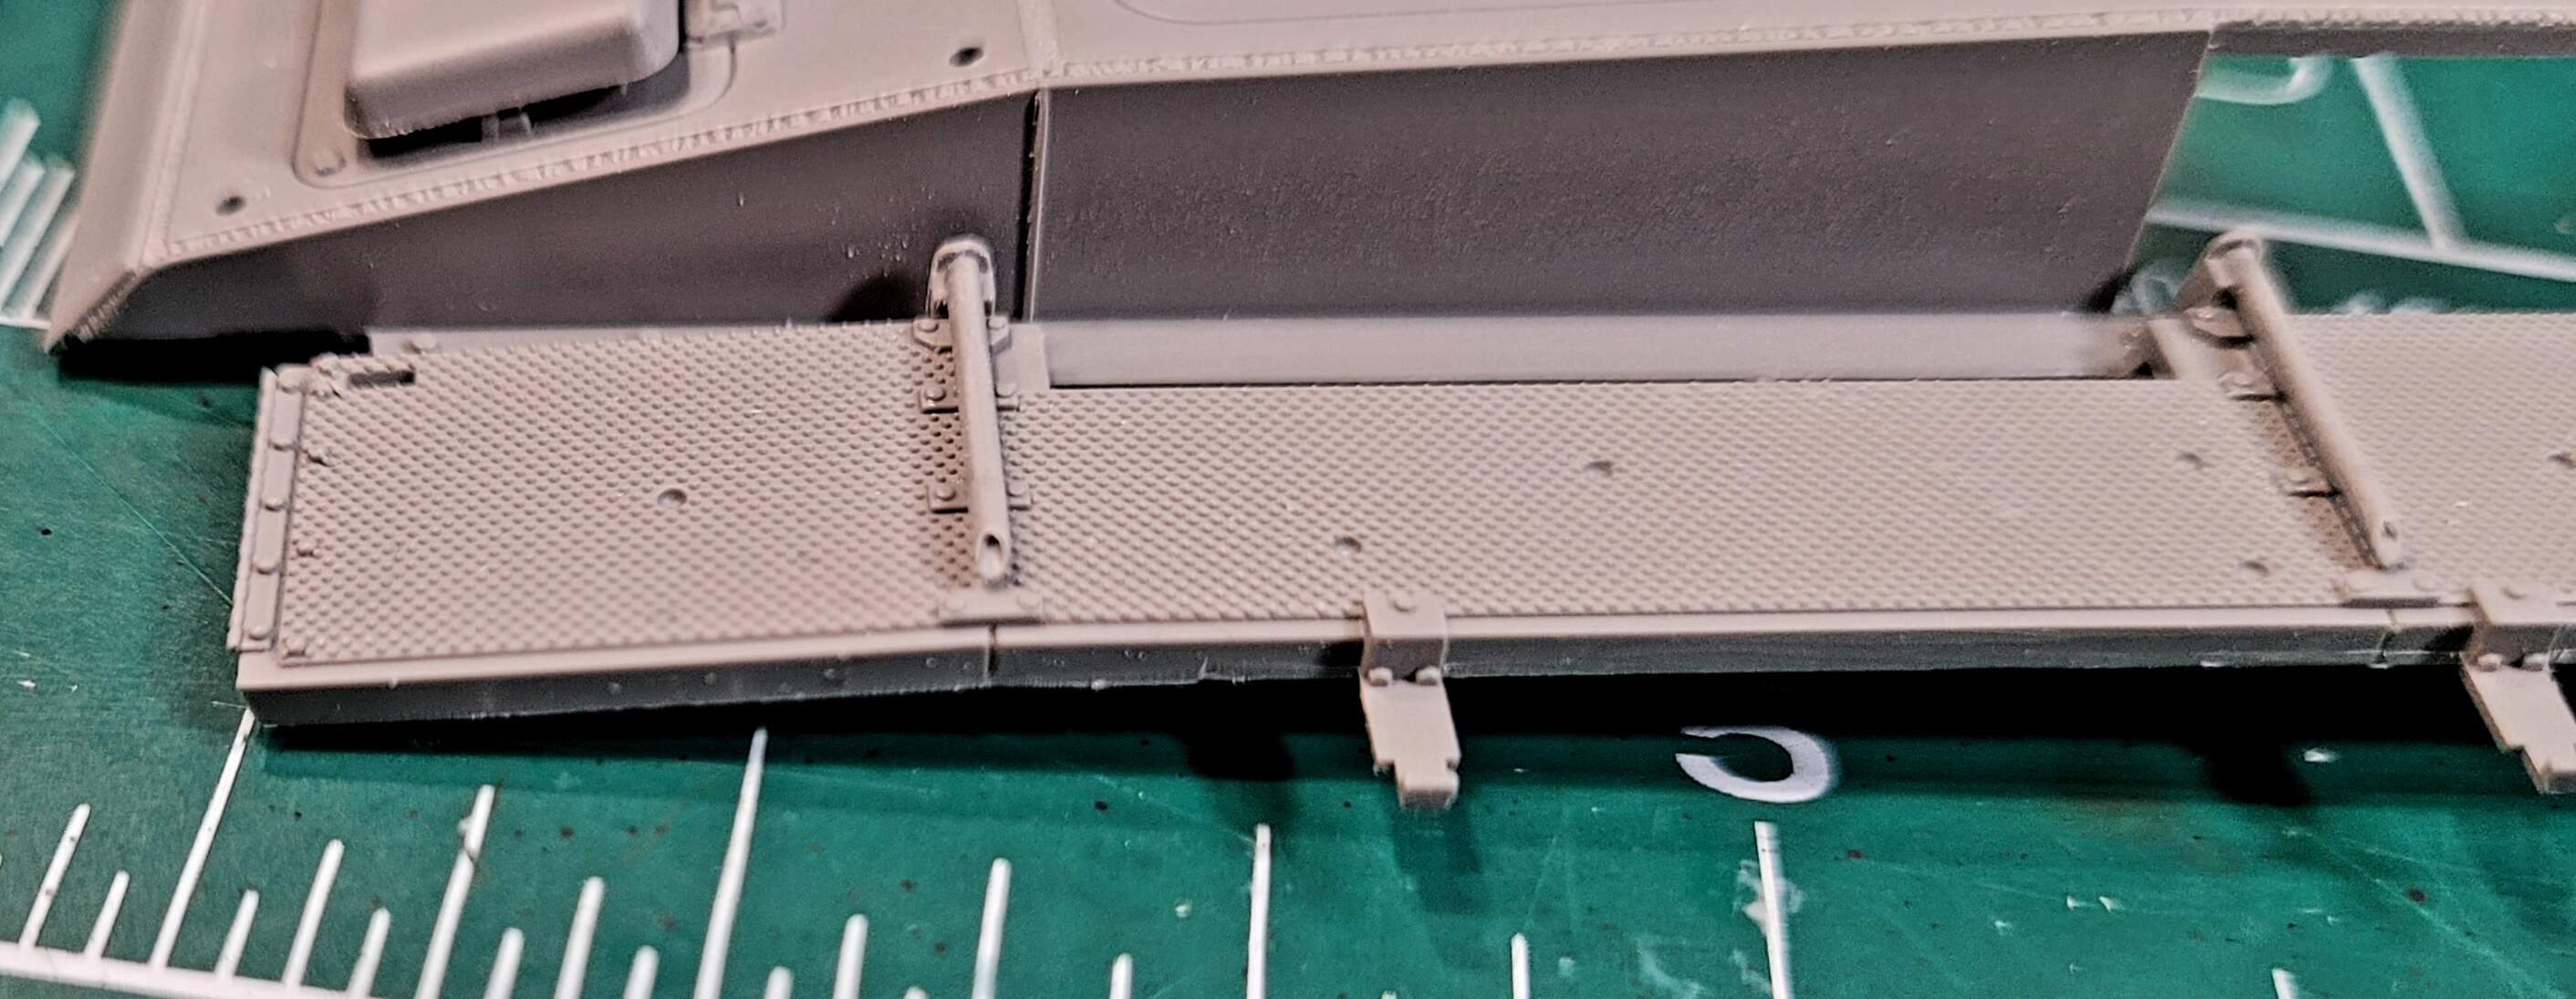
Cleaning up, filing to fit and drilling out the ends of A41& A41 the fender supports again was time consuming.
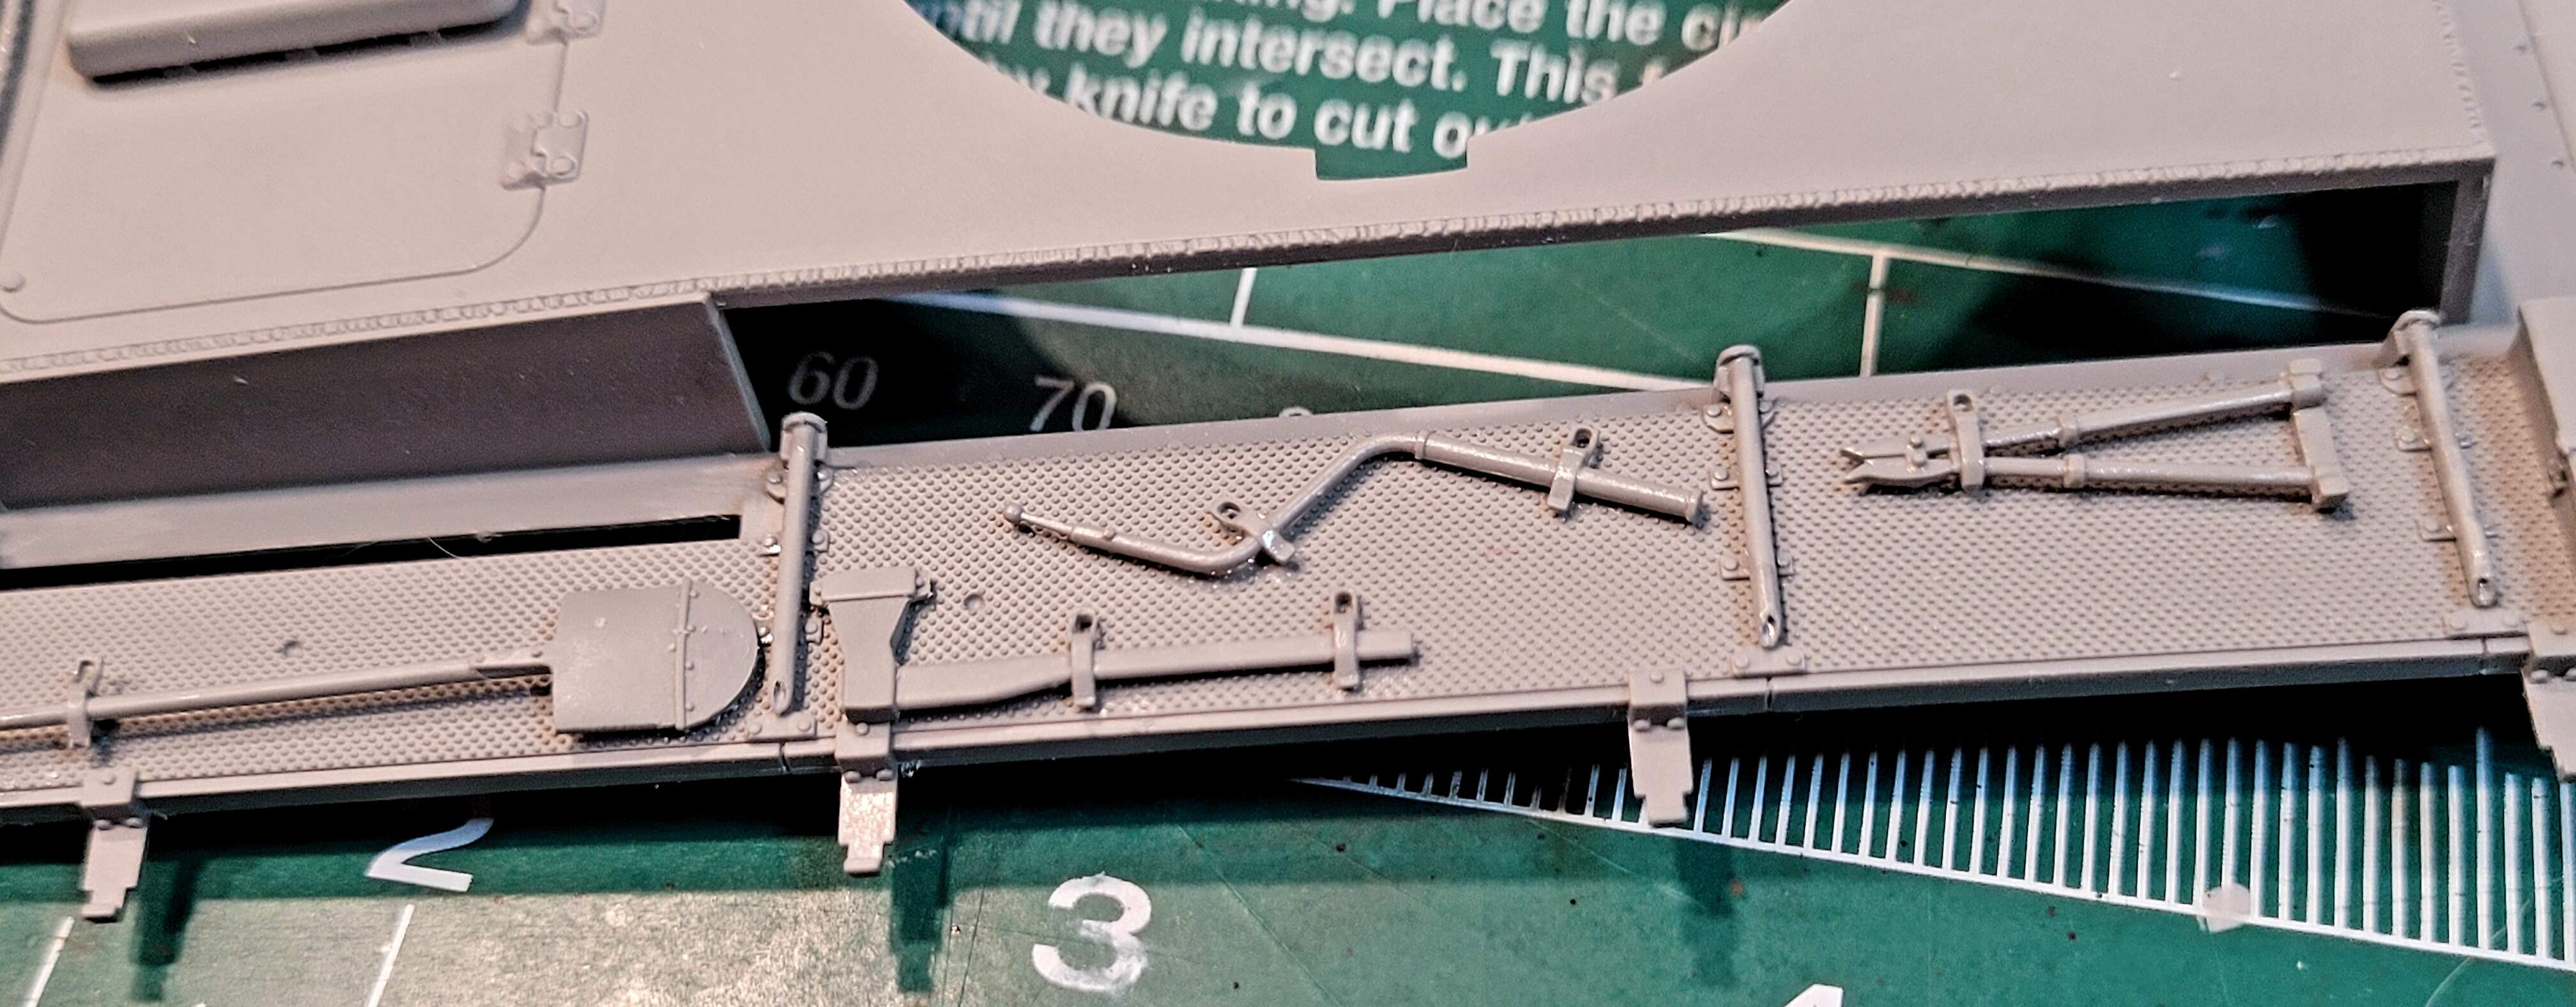
Likewise cleaning up the tools is time consuming staring with typically four attachments.
The tools do clean up nicely. Drilling out the molded tool clasp helps a little too in my opinion.
The tools fit nicely on the fender. Aftet all the other fit issues, I was concerned none of the tools would fit in their location holes. Happily, they fit very well!
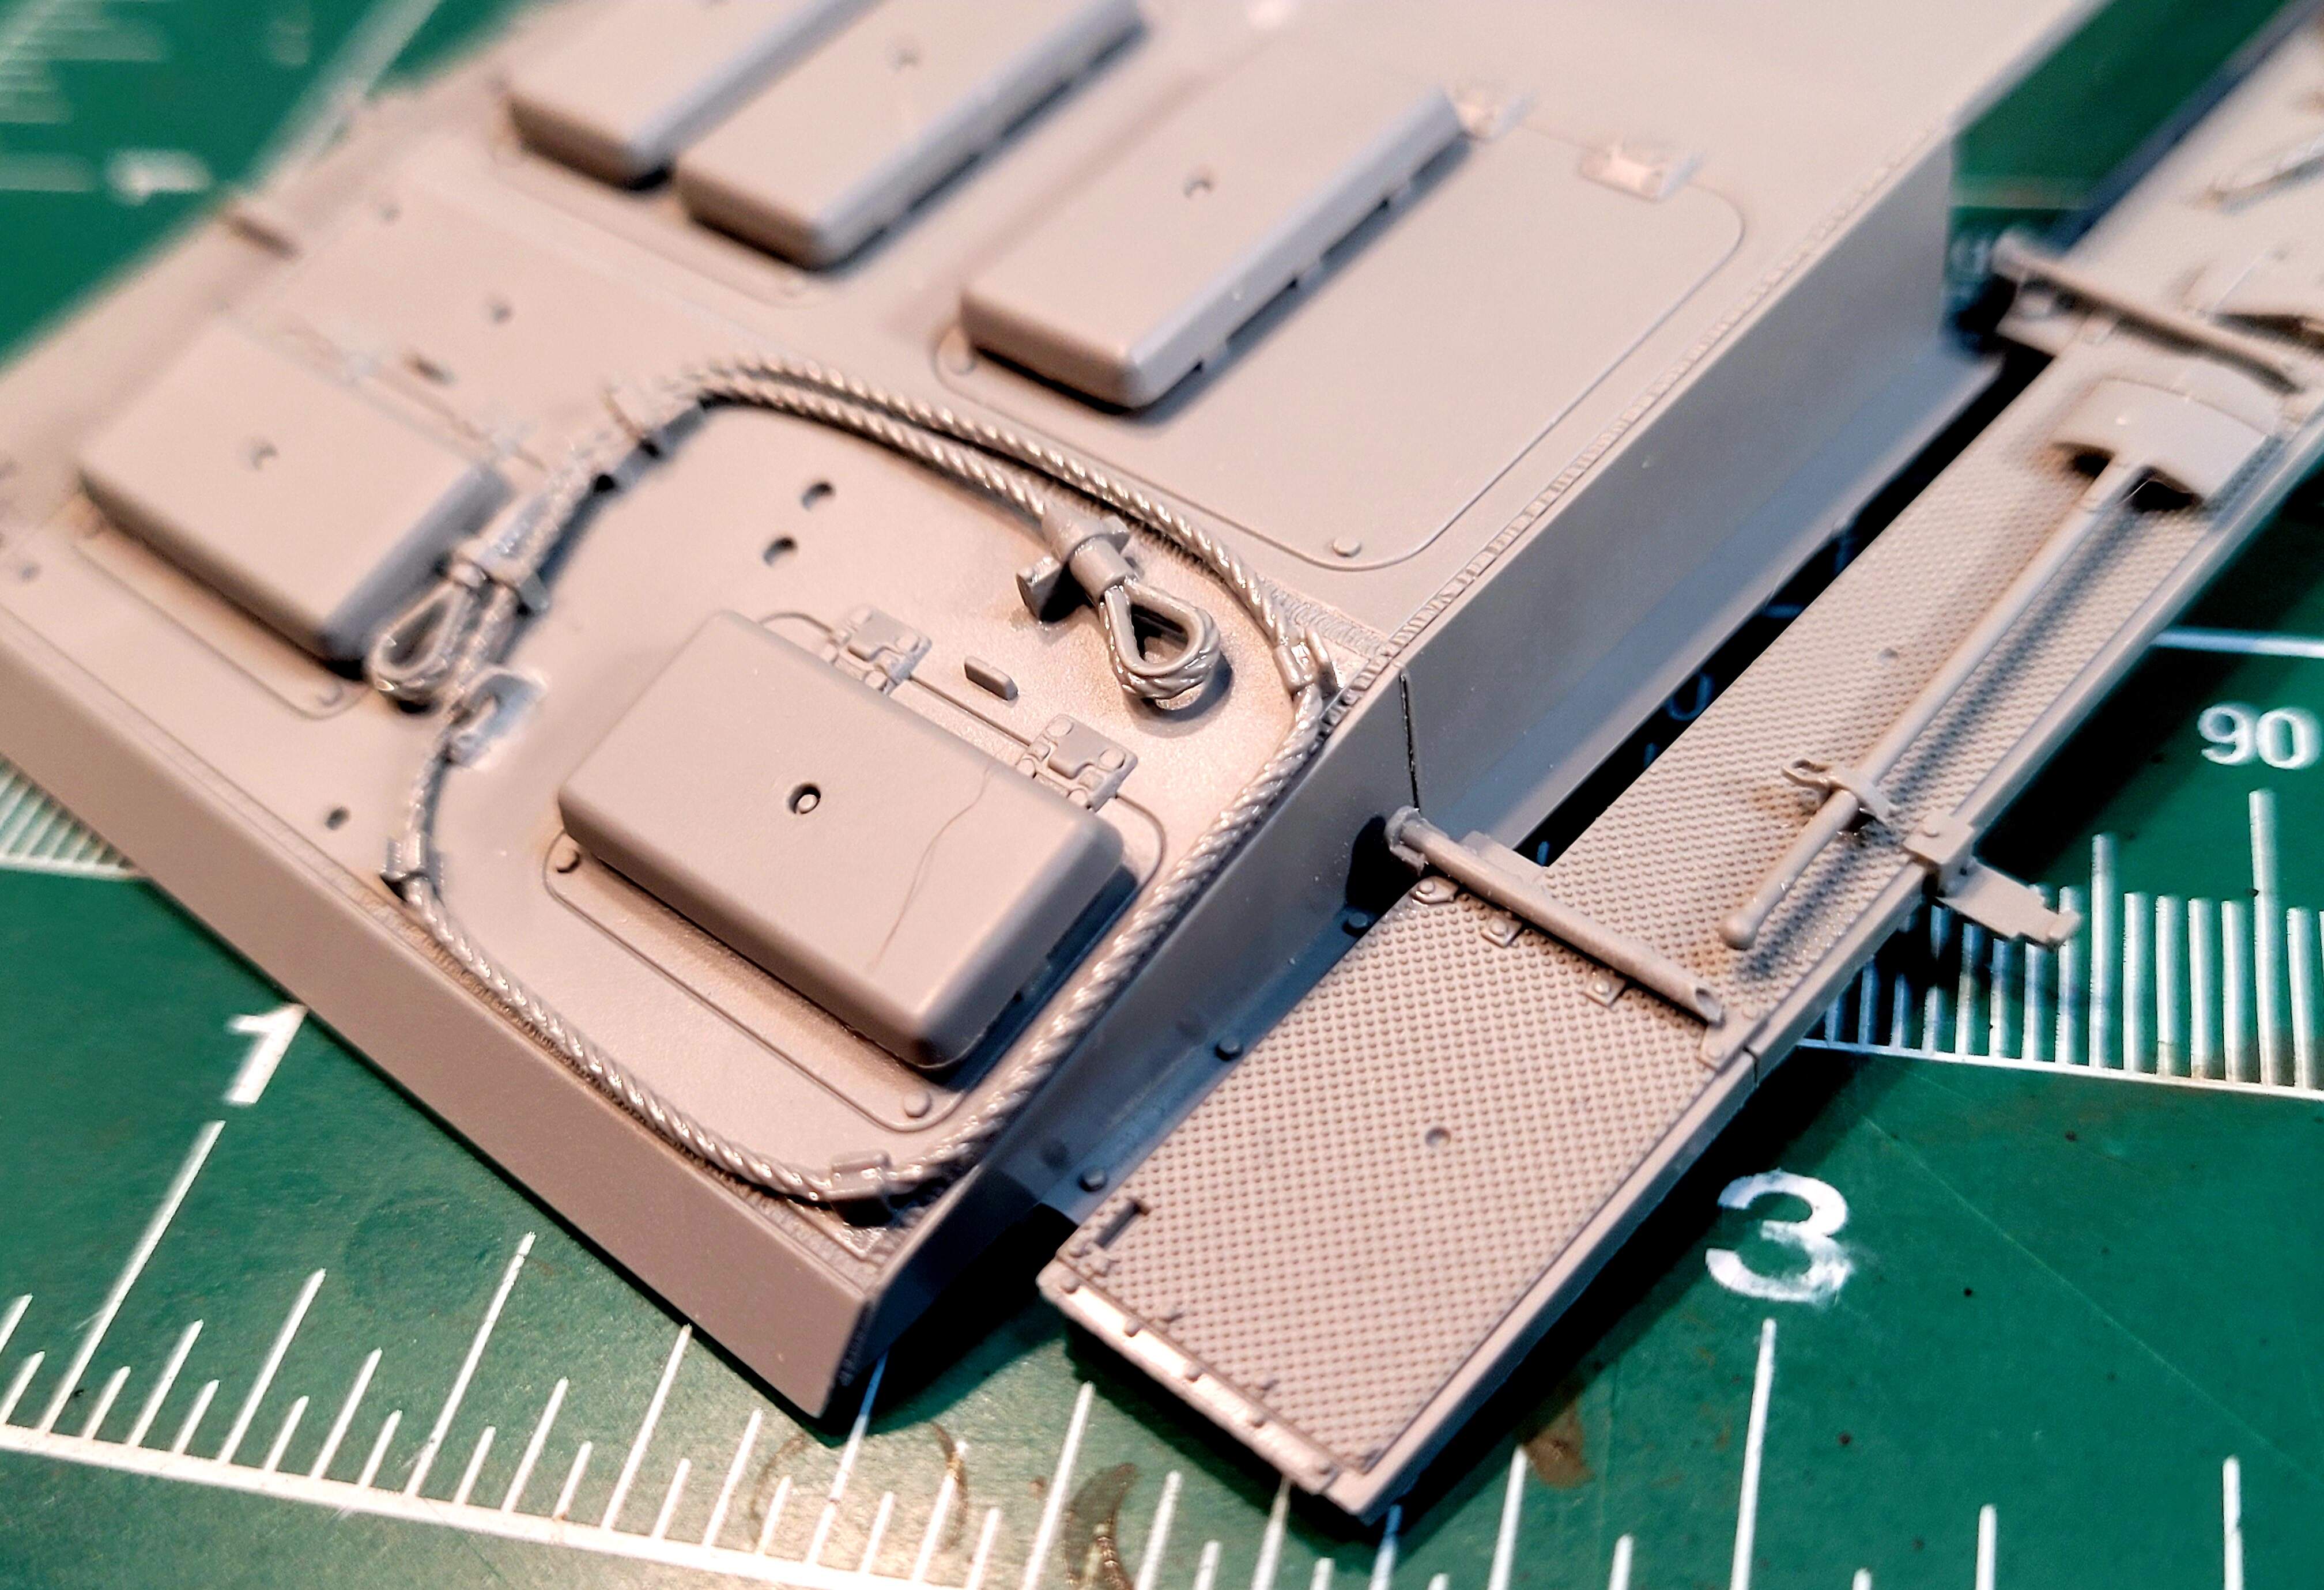
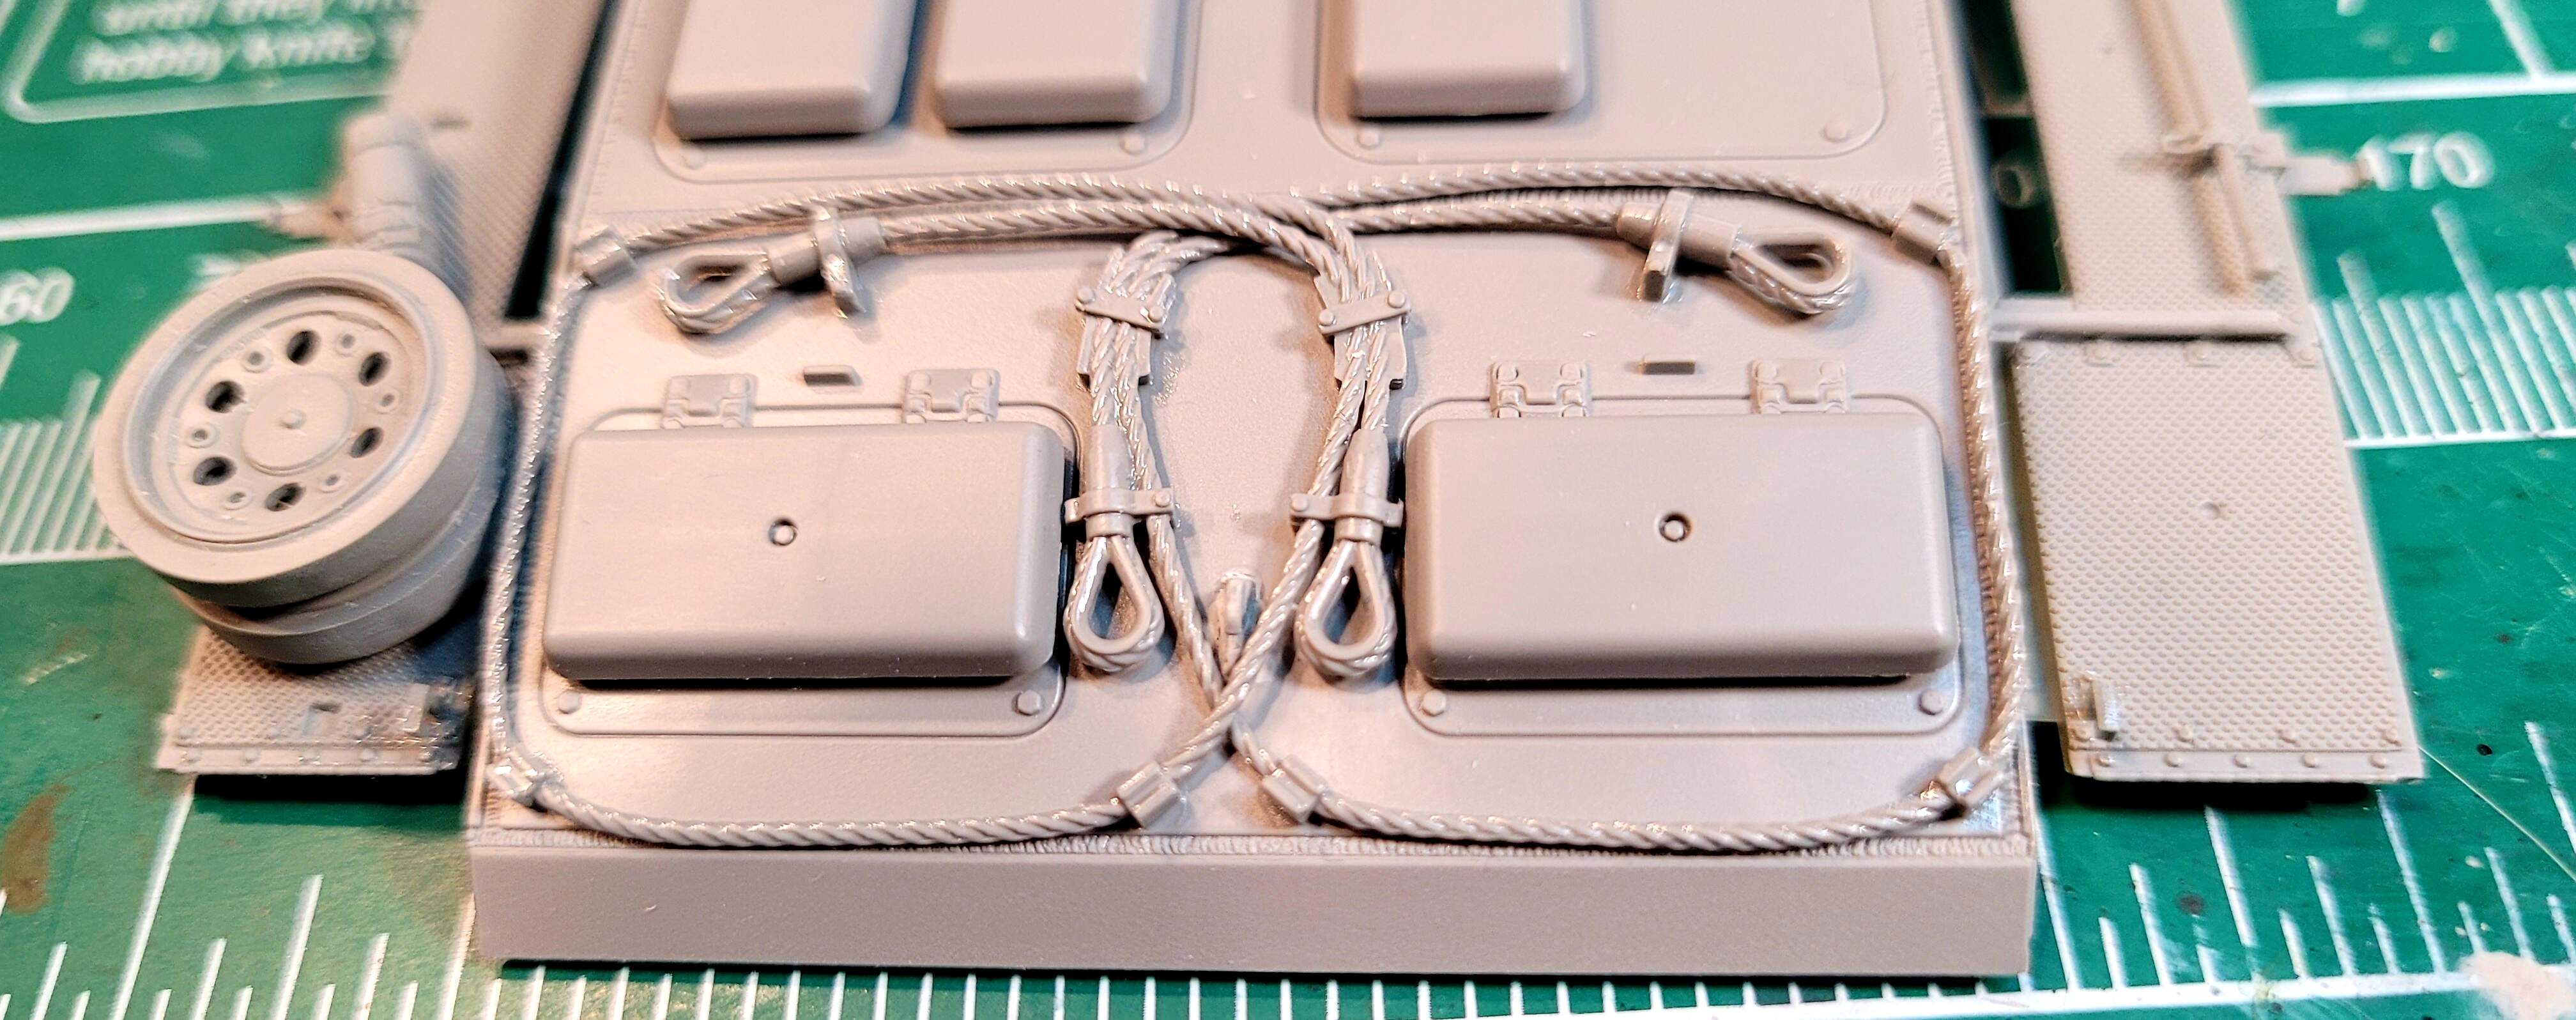
The molded tow cable eats a lot of time cleaning up but looks OK in my opinion. The other tow cable crosses over it and I think will work OK based on preliminary testing fit check.
Overall pretty happy with tools and molded claspe provided by Takom.
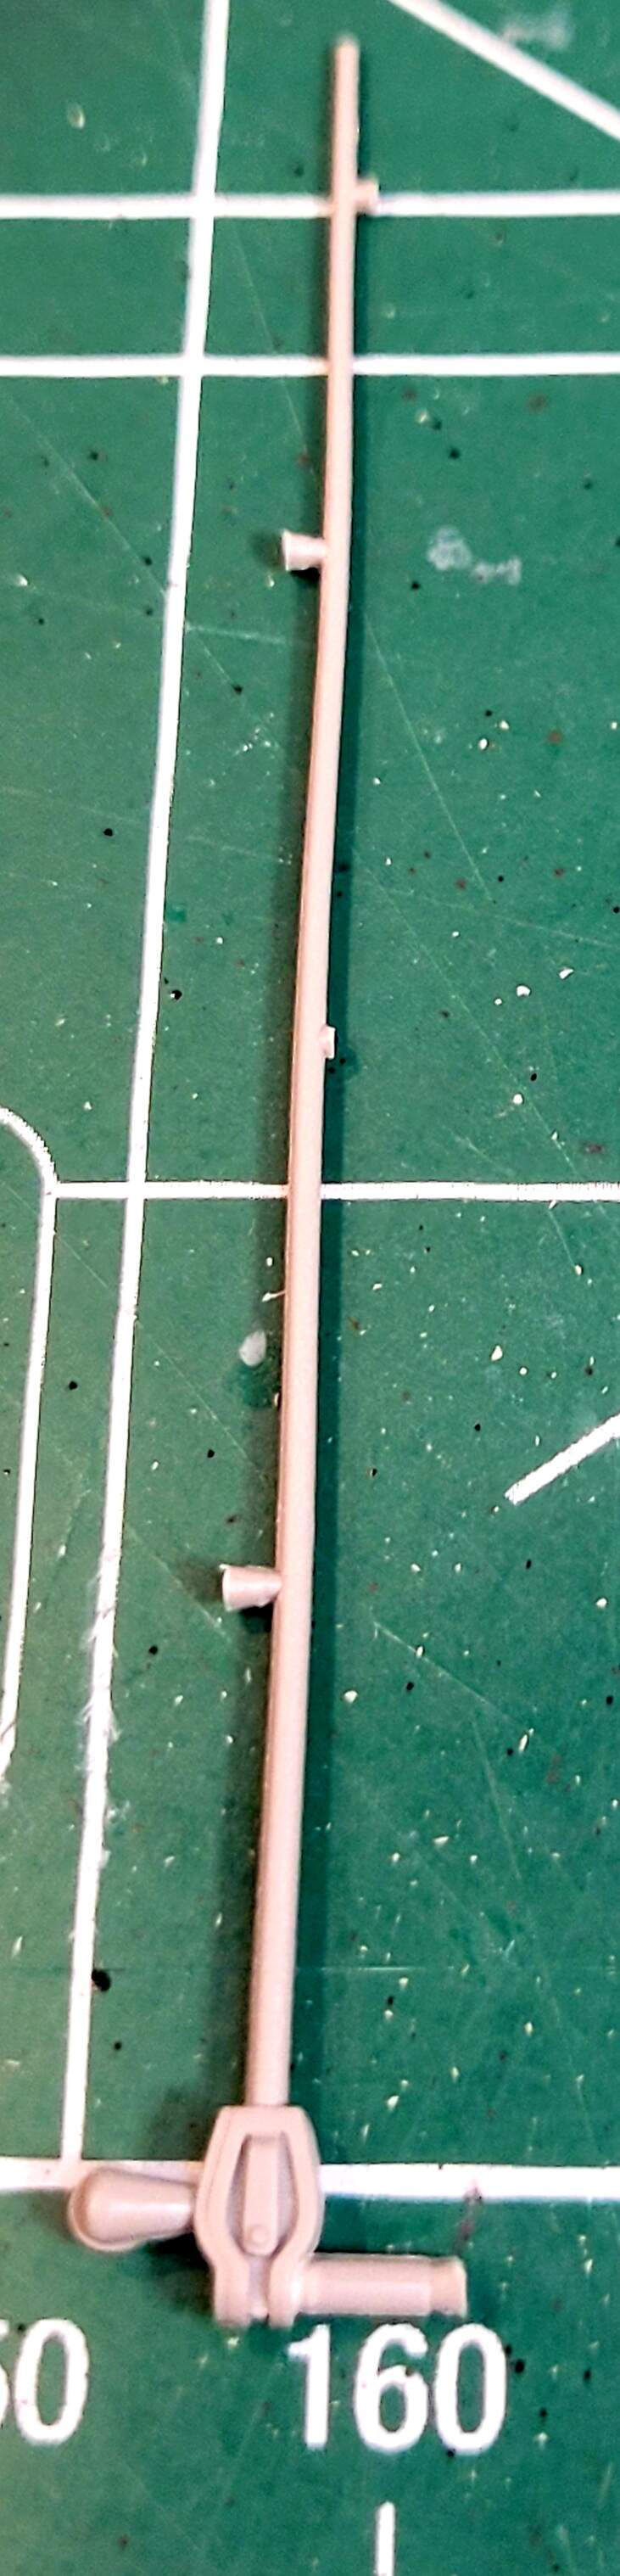
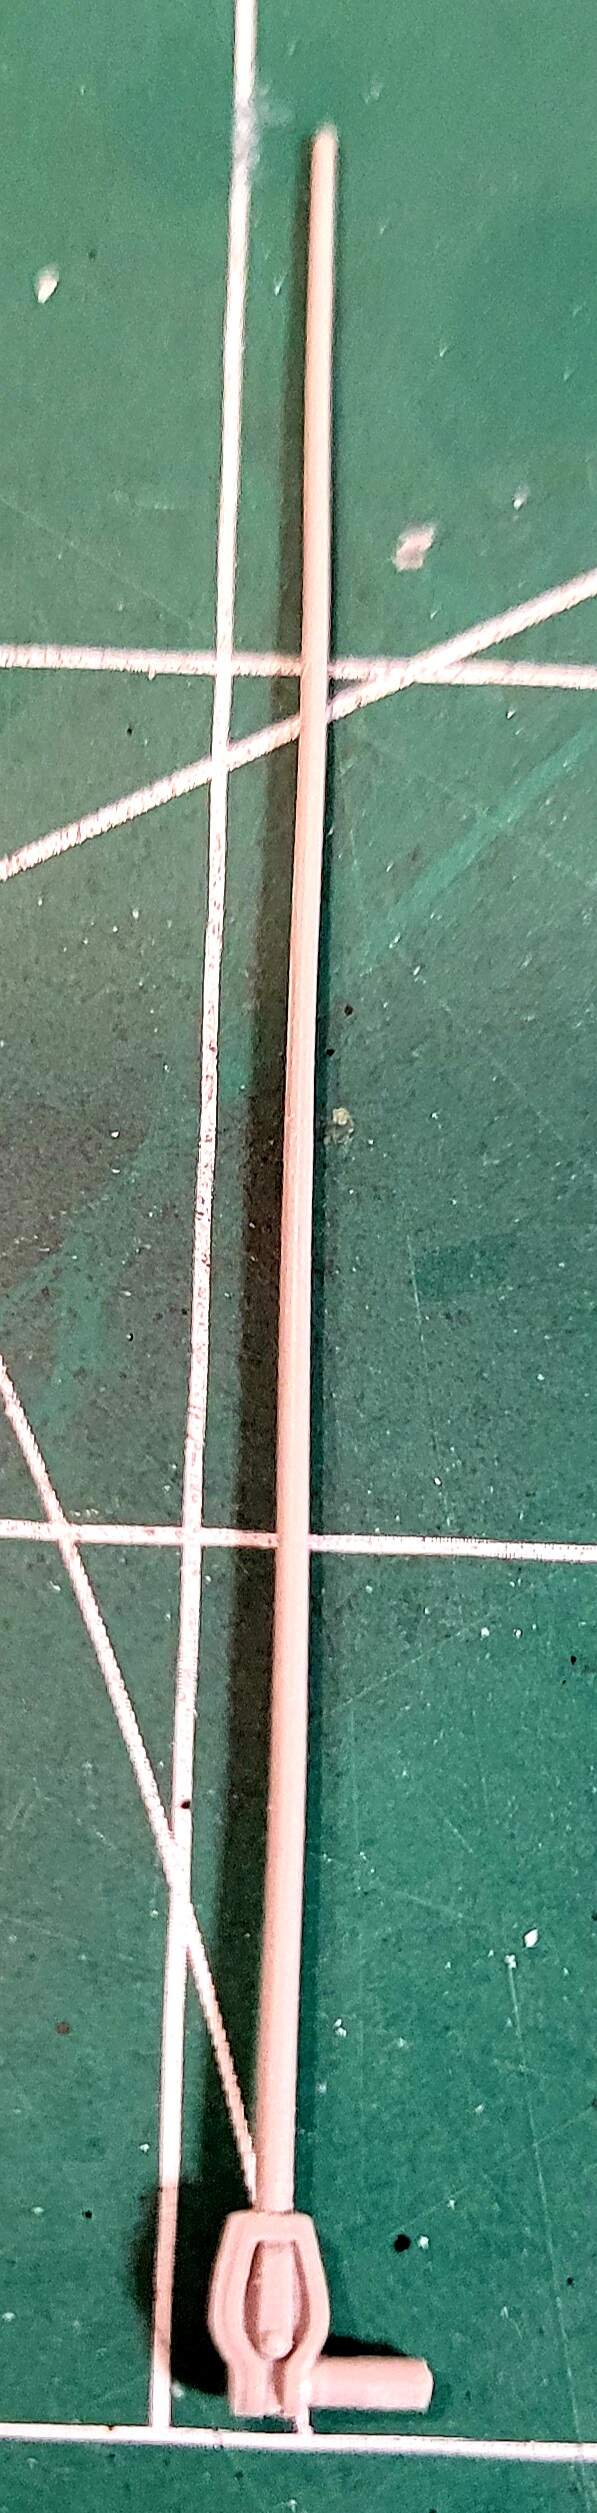
Moving along…check out the provided antenna:) Most of the warp disappeares after its cut free of the tree but not all of it.
I think it’s usable otherwise one of those expensive Aber antenna’s will have to replace it.
Edit - I think the antenna  will be OK.
The trade off is an Aber antenna for ~ $4 vs 25 minutes of my time cleaning stock part. I definitely view the Aber antenna’s as the wiser choice unless one is determinedto build an Out of the Box model  Takom should be getting a nice commission on the Aber antenna’s I ordered
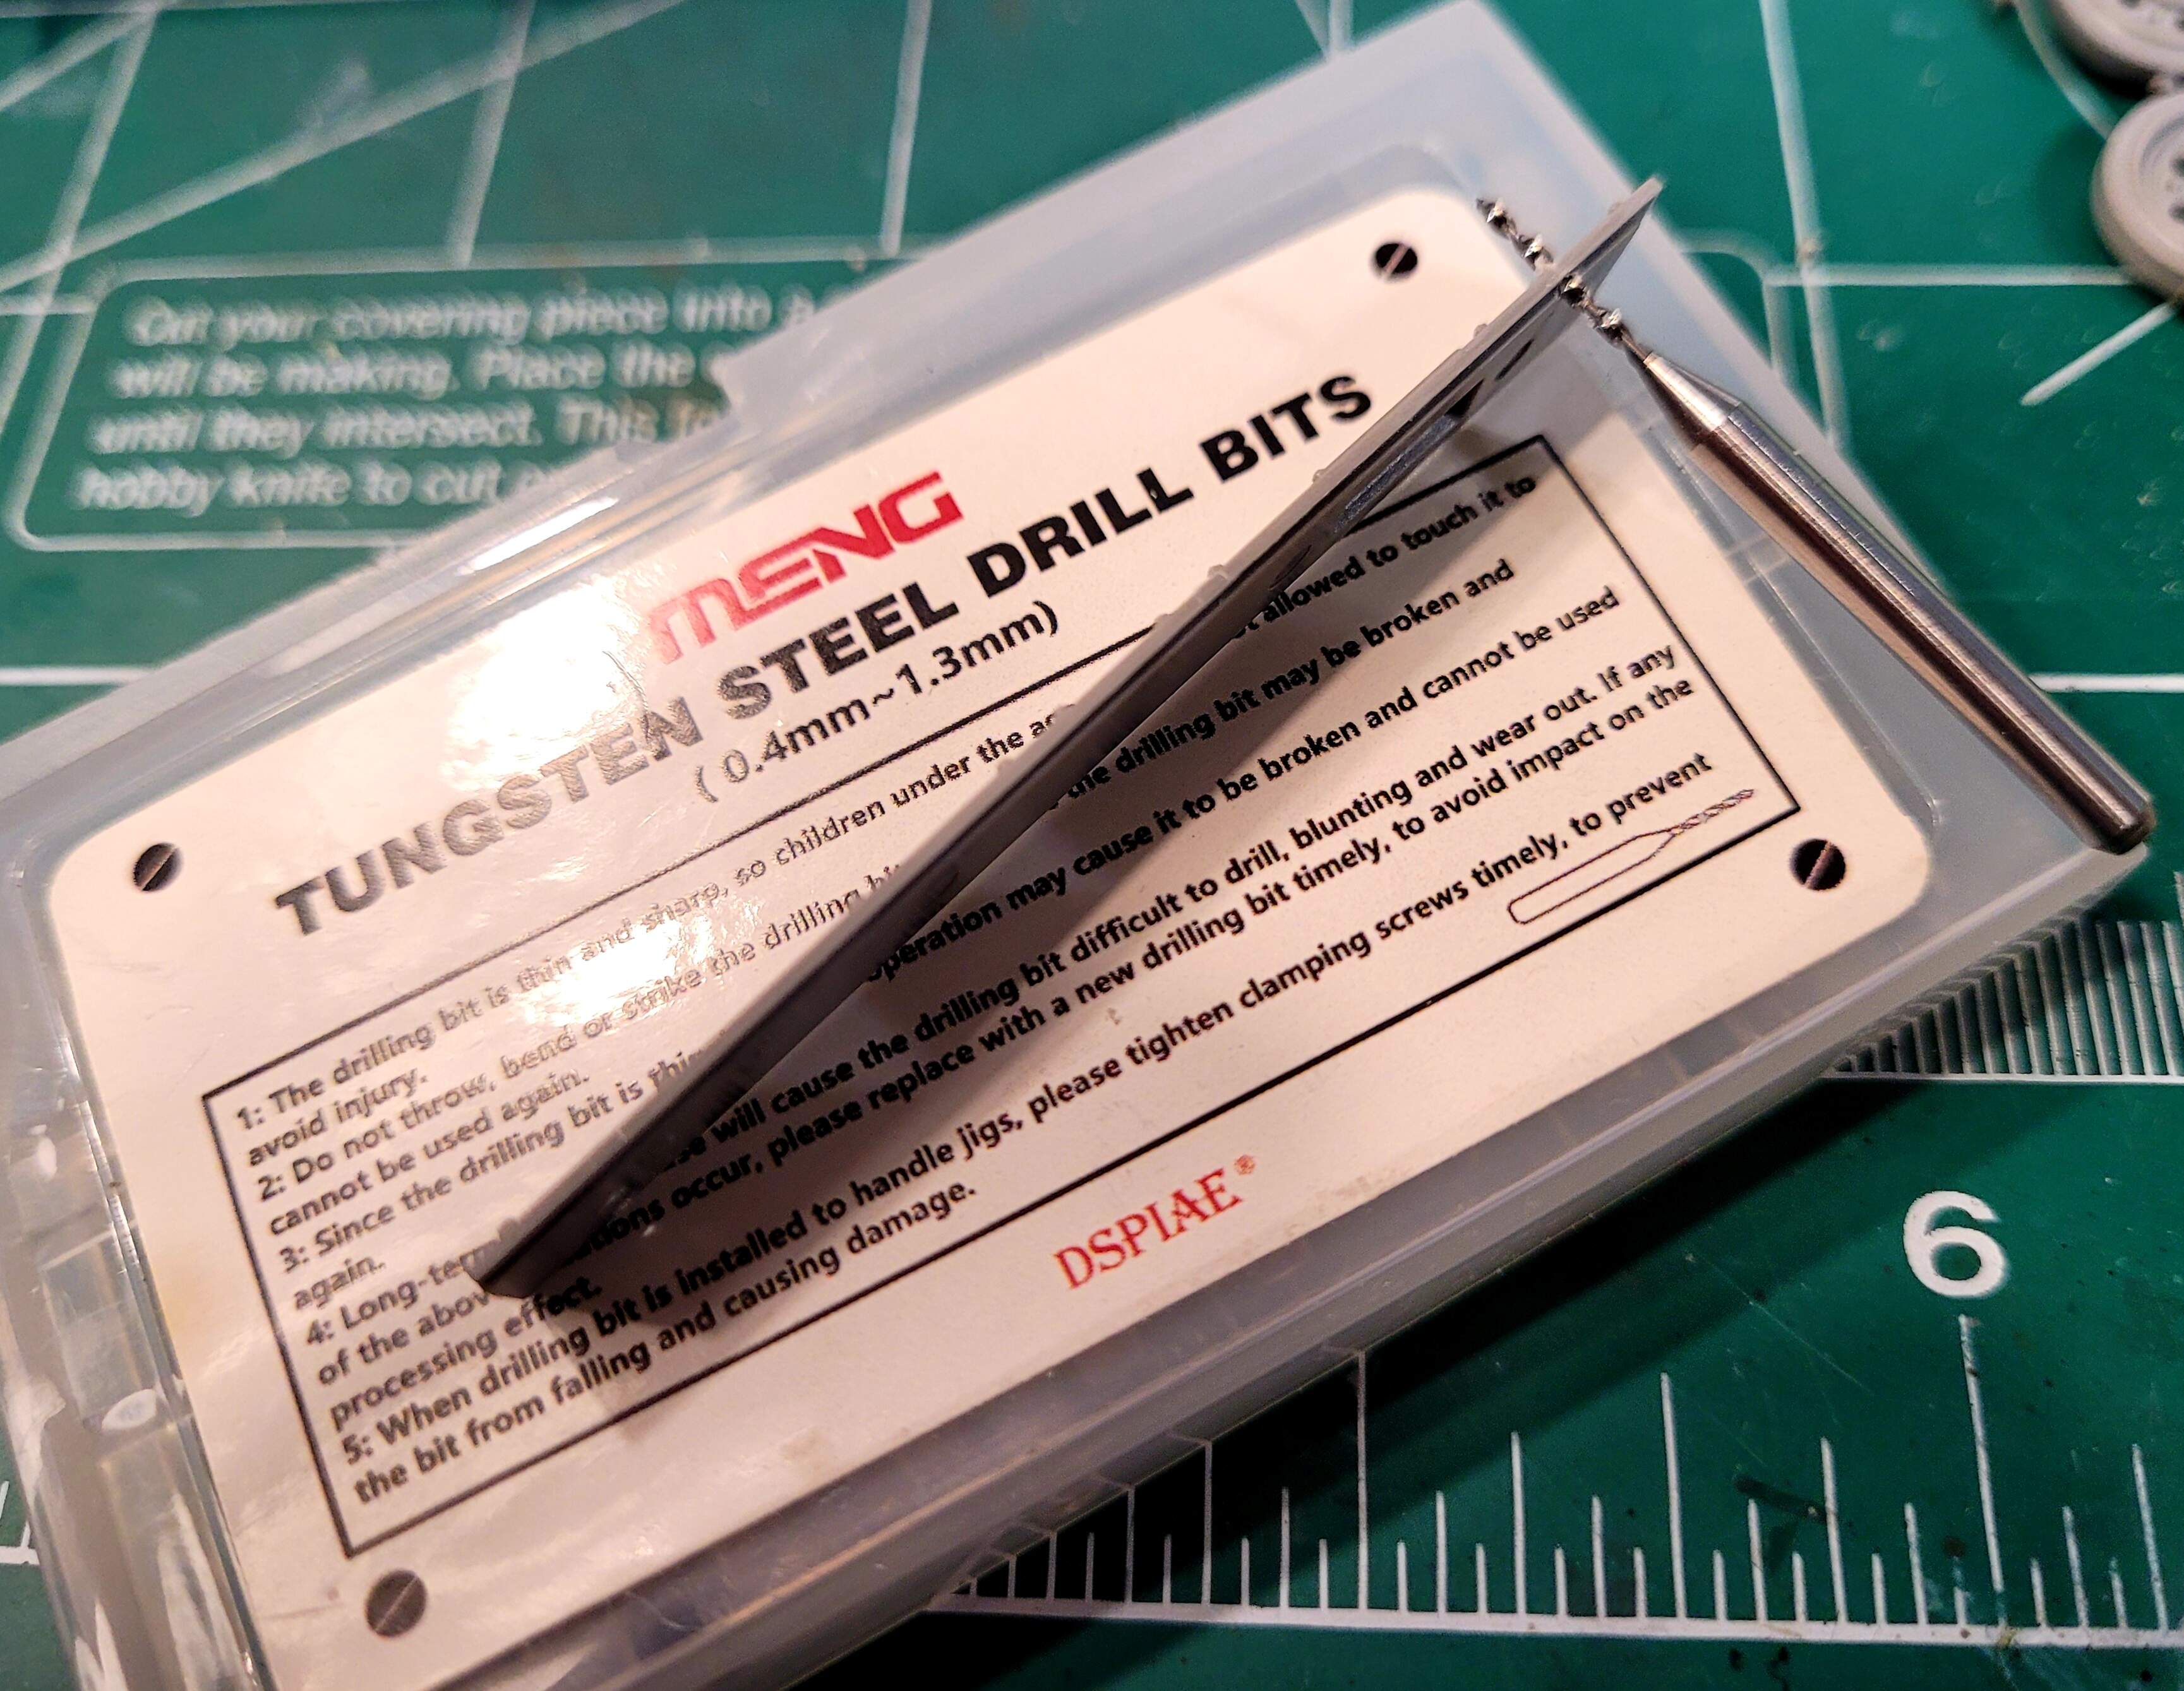
Meng deserves a major shout out for their outstanding Tungsten Steel Drill Bit set. Set has .4mm to 1.3mm bits that are easy to use as finger held drill bits. They will also fit in a larger size pin vise. The .5mm bit was instrumental in drilling out the tool clasps. Best $8 I’ve spent on hobby drill bits. Used these for six months and am still happy with them.
7 Likes
Step 11 <4hours & 17 minutes> total 22 hours & 22 minutes
Just a lot of time with part clean up specifically the stock tow cables and antenna. Left the antenna off until last step to avoid breaking it. Likewise spare wheels can be slide off spindle for painting. Very happy with how well tow cables overlapped and fitted.
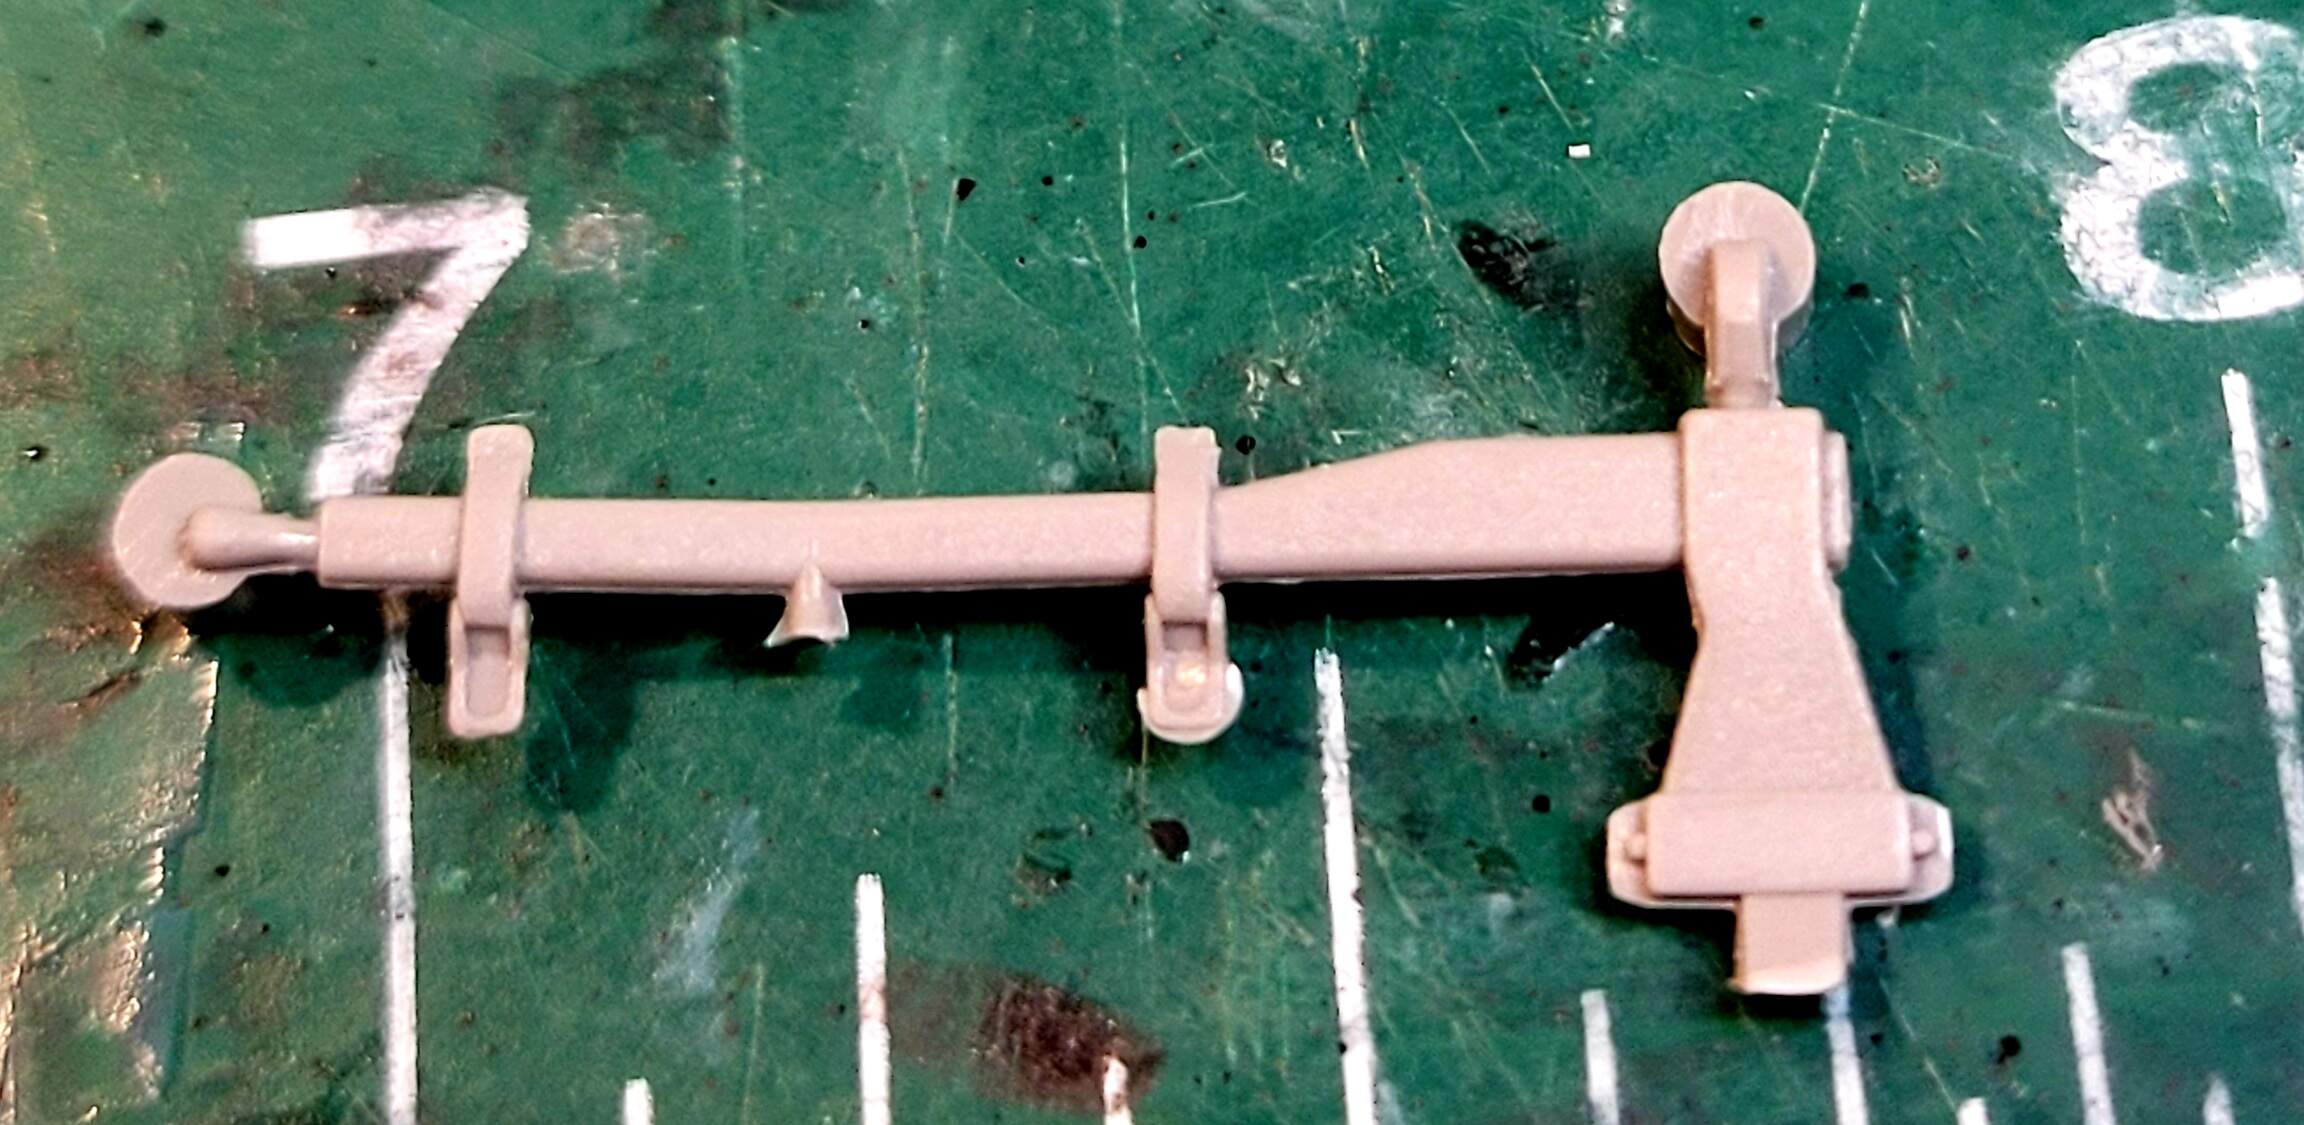
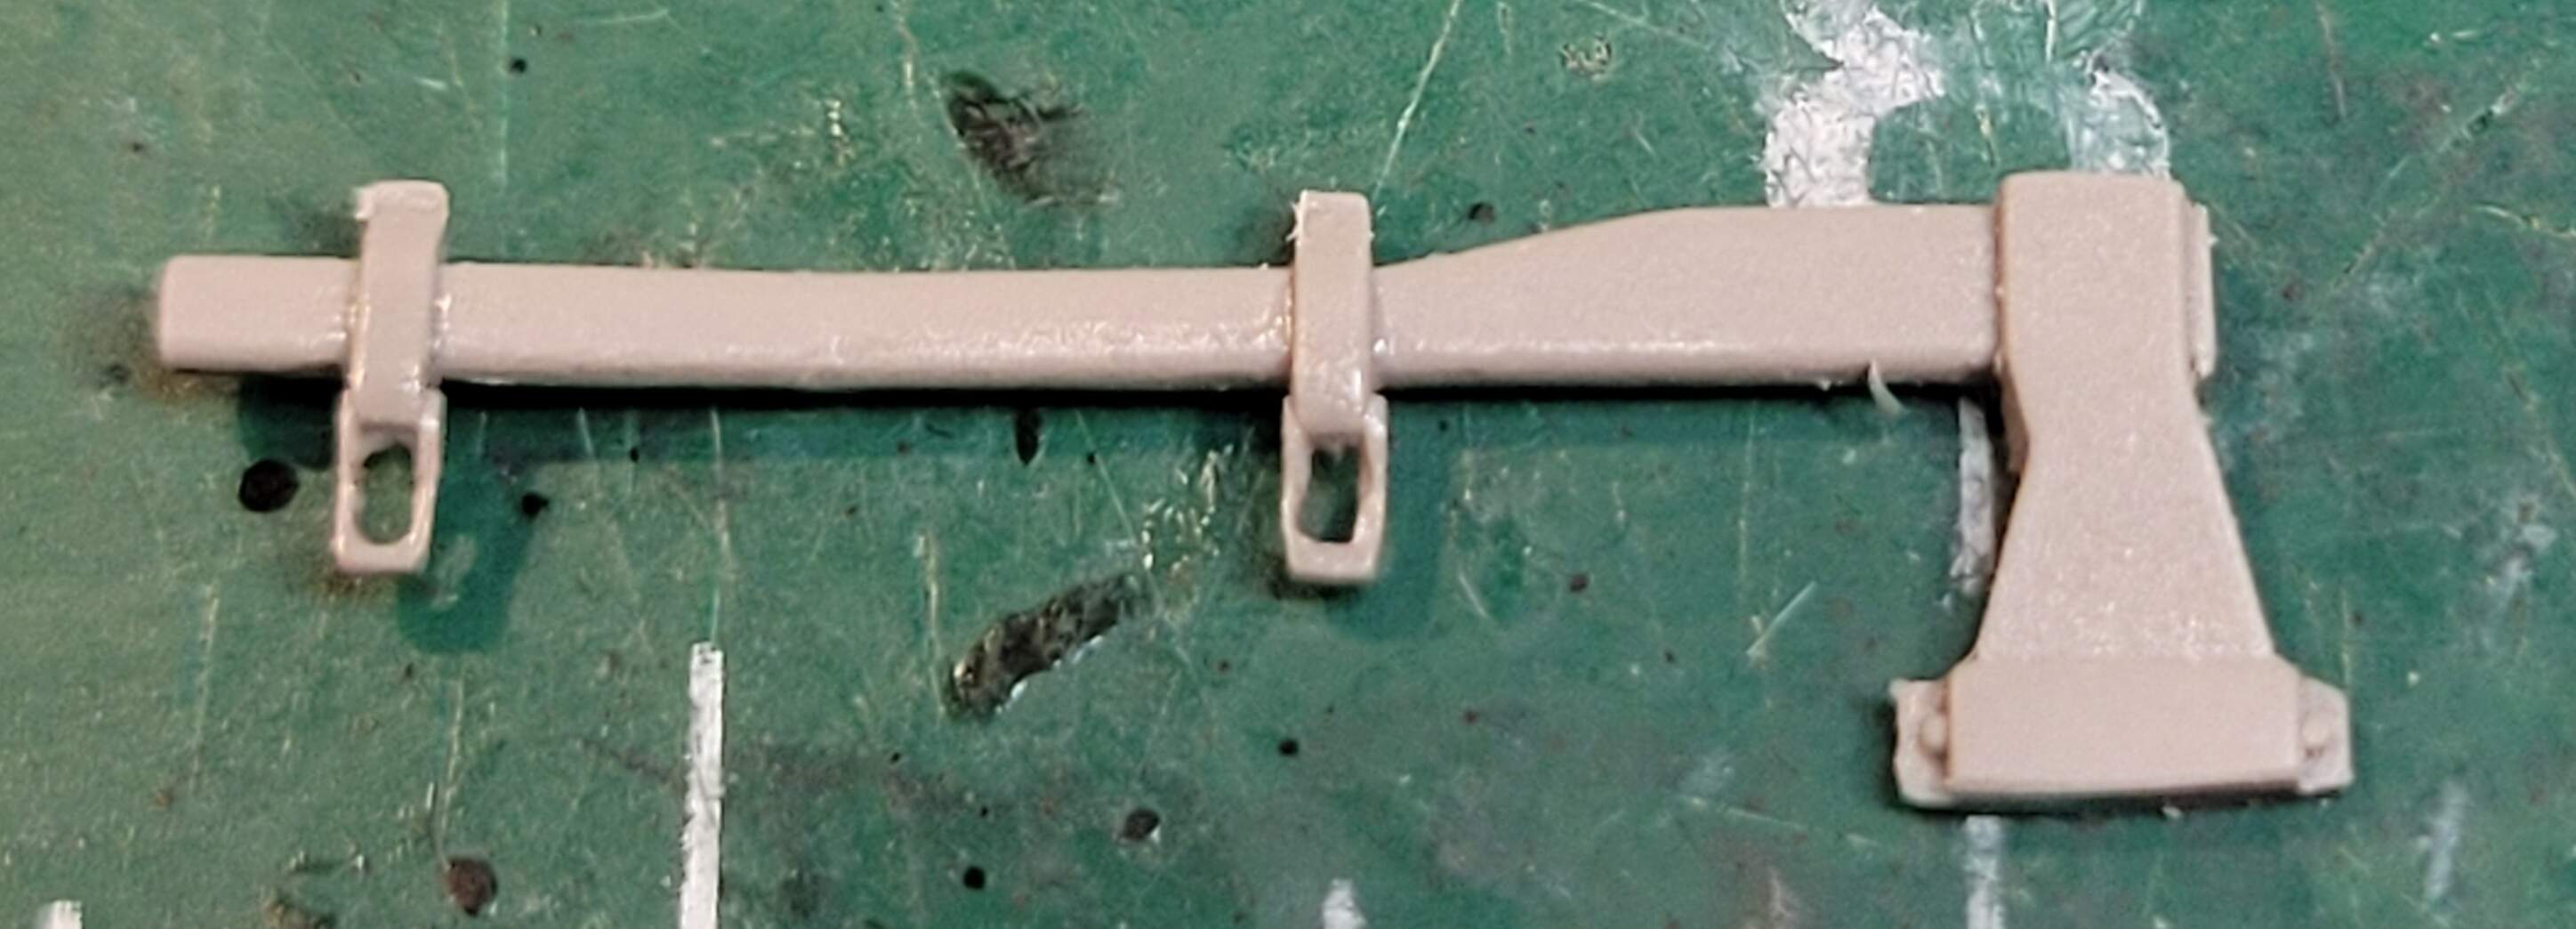
The main gun cleaning kit (M24) has a pair of punch marks on the back of the frame that need to be removed. Being on the back seems like it would be out of sight but this part mounts on the front fender and the back is visible form most angles. Takom omitted the wing nuts for opening and closing clasp. Easy to update with Model Kasten, Bronco whomever eaftermarket wing nuts
The S hooks have faint mold seam it’s cleverly molded with seam right at the edge. It’s a quick and easy clean. Other parts also have similar. Drilled out clasps etc.
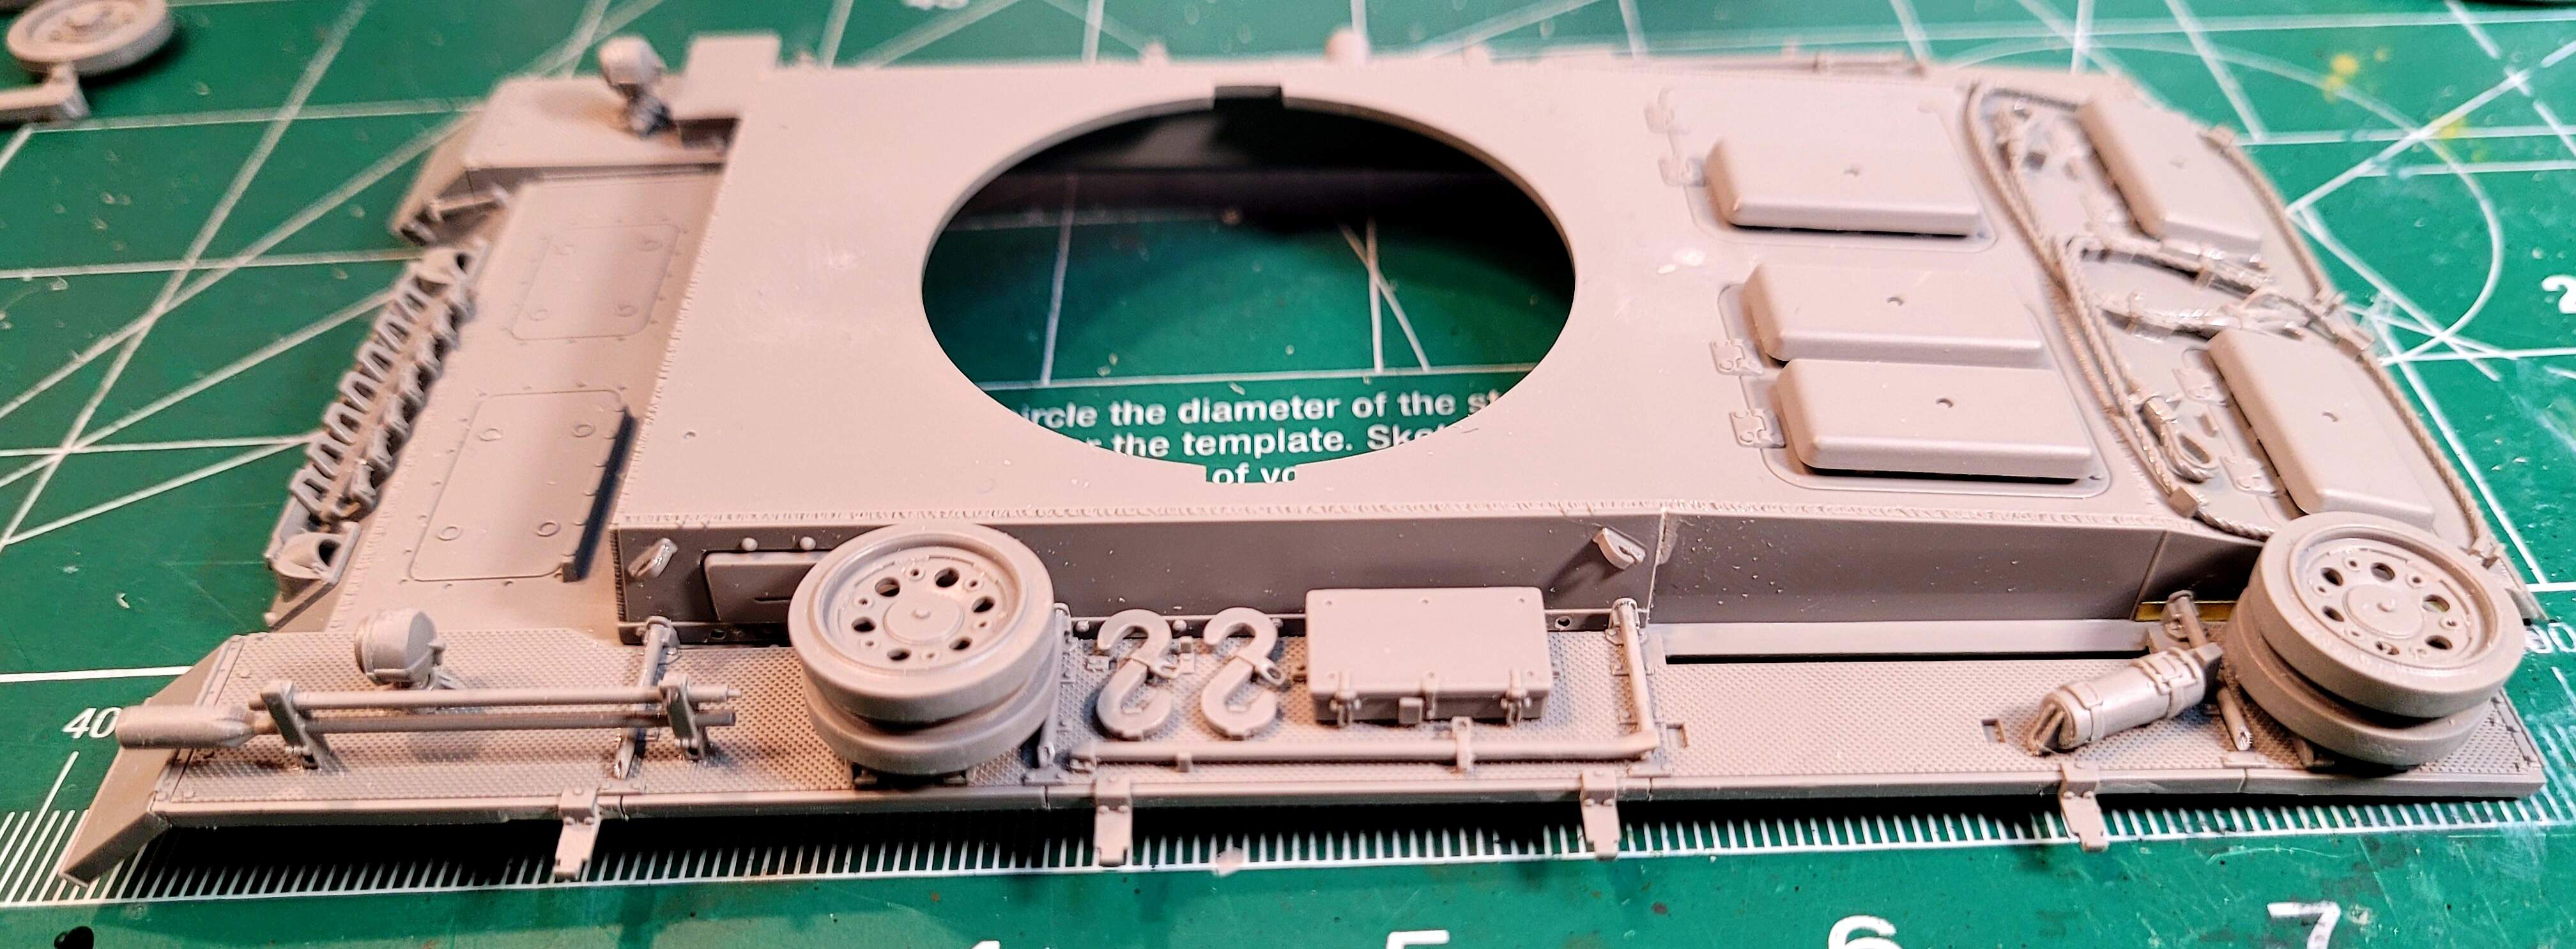
Happy with the appearance of the fenders & tools.
8 Likes
Step 12 <4hours & 37 minutes> total 26 hours & 57 minutes
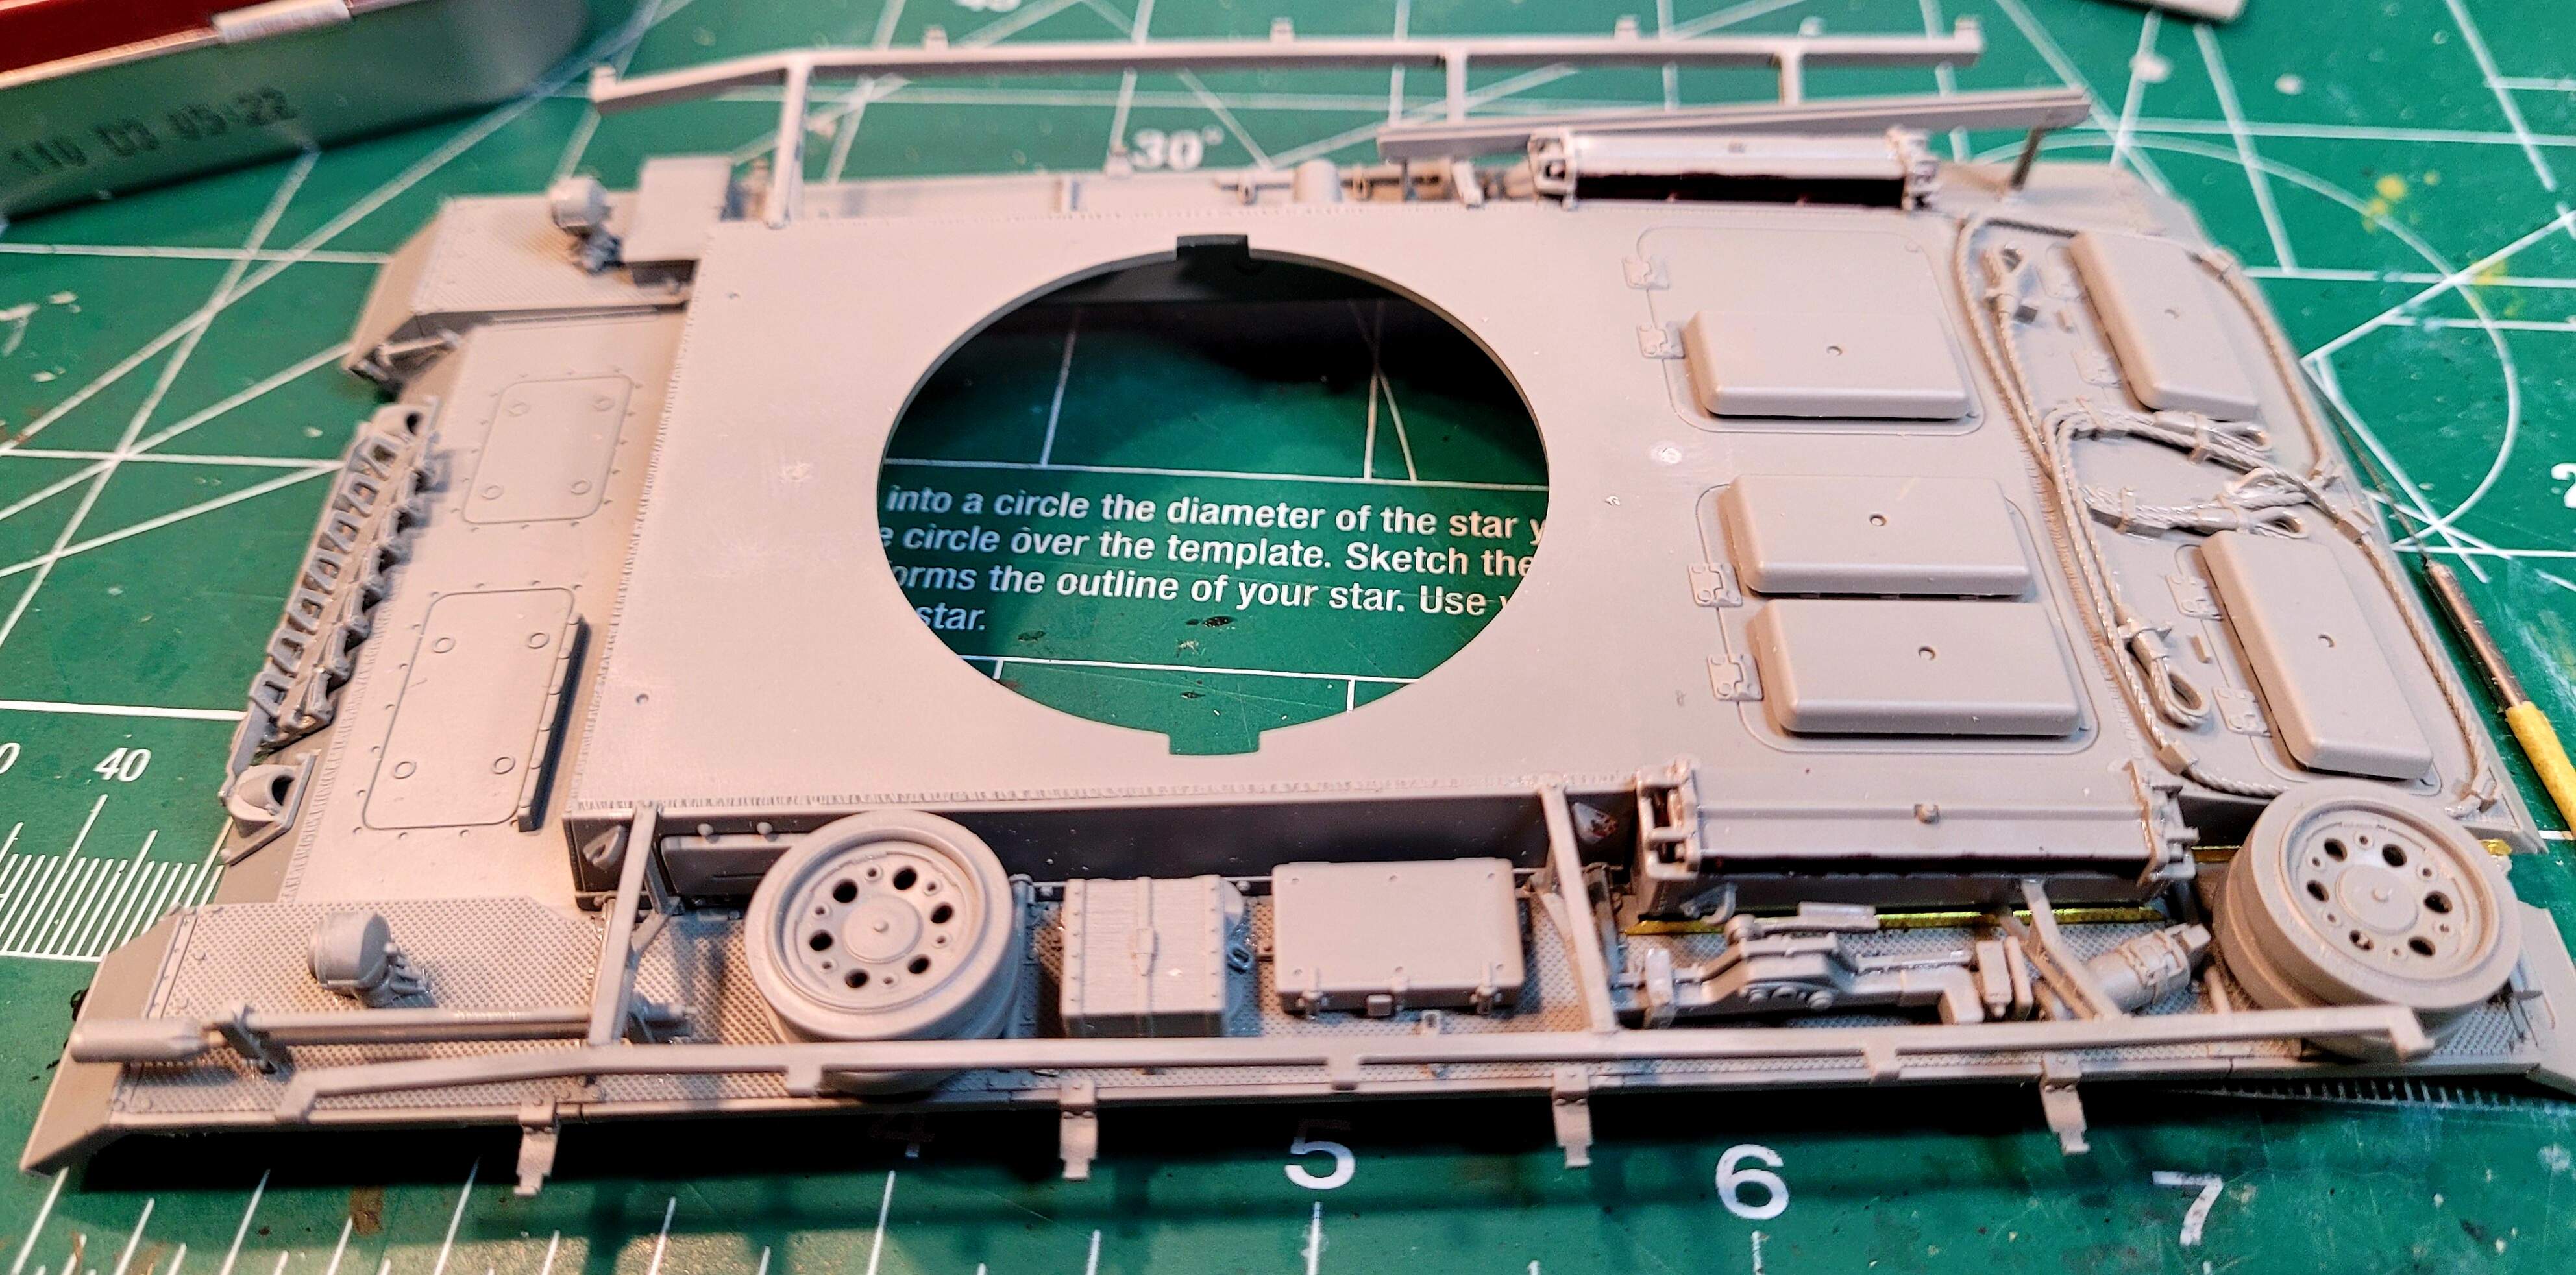
I didn’t expect step 12 to take quiet as much time but the required part clean up was intense. The amount of flash and mold seams on delicate parts A23 & A24 is annoying. A23 didn’t fit exactly right for me and required a small shim. A24 fit perfect.
Likewise the flash on the back inside edges of the fender by the air intakes must be cleaned up or PE parts TP3 & TP3 won’t sit flush.
I left A51 off until the last step as my references show the part hanging from the rear fenders. It would be too easy to break. Fender flaps D39 should have the recessed oval drilled out. I realized that after gluing it in place. However, if it’s drilled out the fender plastic will need thinning. Ideally, this part should be replaced with PE.
The jack is a nice little mini kit unto it’s self. No sink marks as simplified jacks are prone to have in many case. Likewise no punch marks on the jack to fix. Takom A++ on the quality molded jack.
6 Likes
Its looking like a very nice kit pretty much OOB!
Cant wait to see more.
1 Like
Thank you Ezra.
Step 13 <1hours & 23 minutes> total 28 hours & 20 minutes
The air vent D19 sub-assembly fit without issues. Filed A23 a hair more on the inside face and didn’t have to shim this time.
Two small parts D32 & D33 would have been best attached in step 12 before the rear fender flaps, I think. Doing them in step 13 adds to the fiddle factor. I believe upper and lower hull rear fit issues were sorted for this model between steps 8 & 9 when I jumped to step 16. If this model develops fit issues at the rear, D32 & D33 will be the prime suspects for additional tweaking.
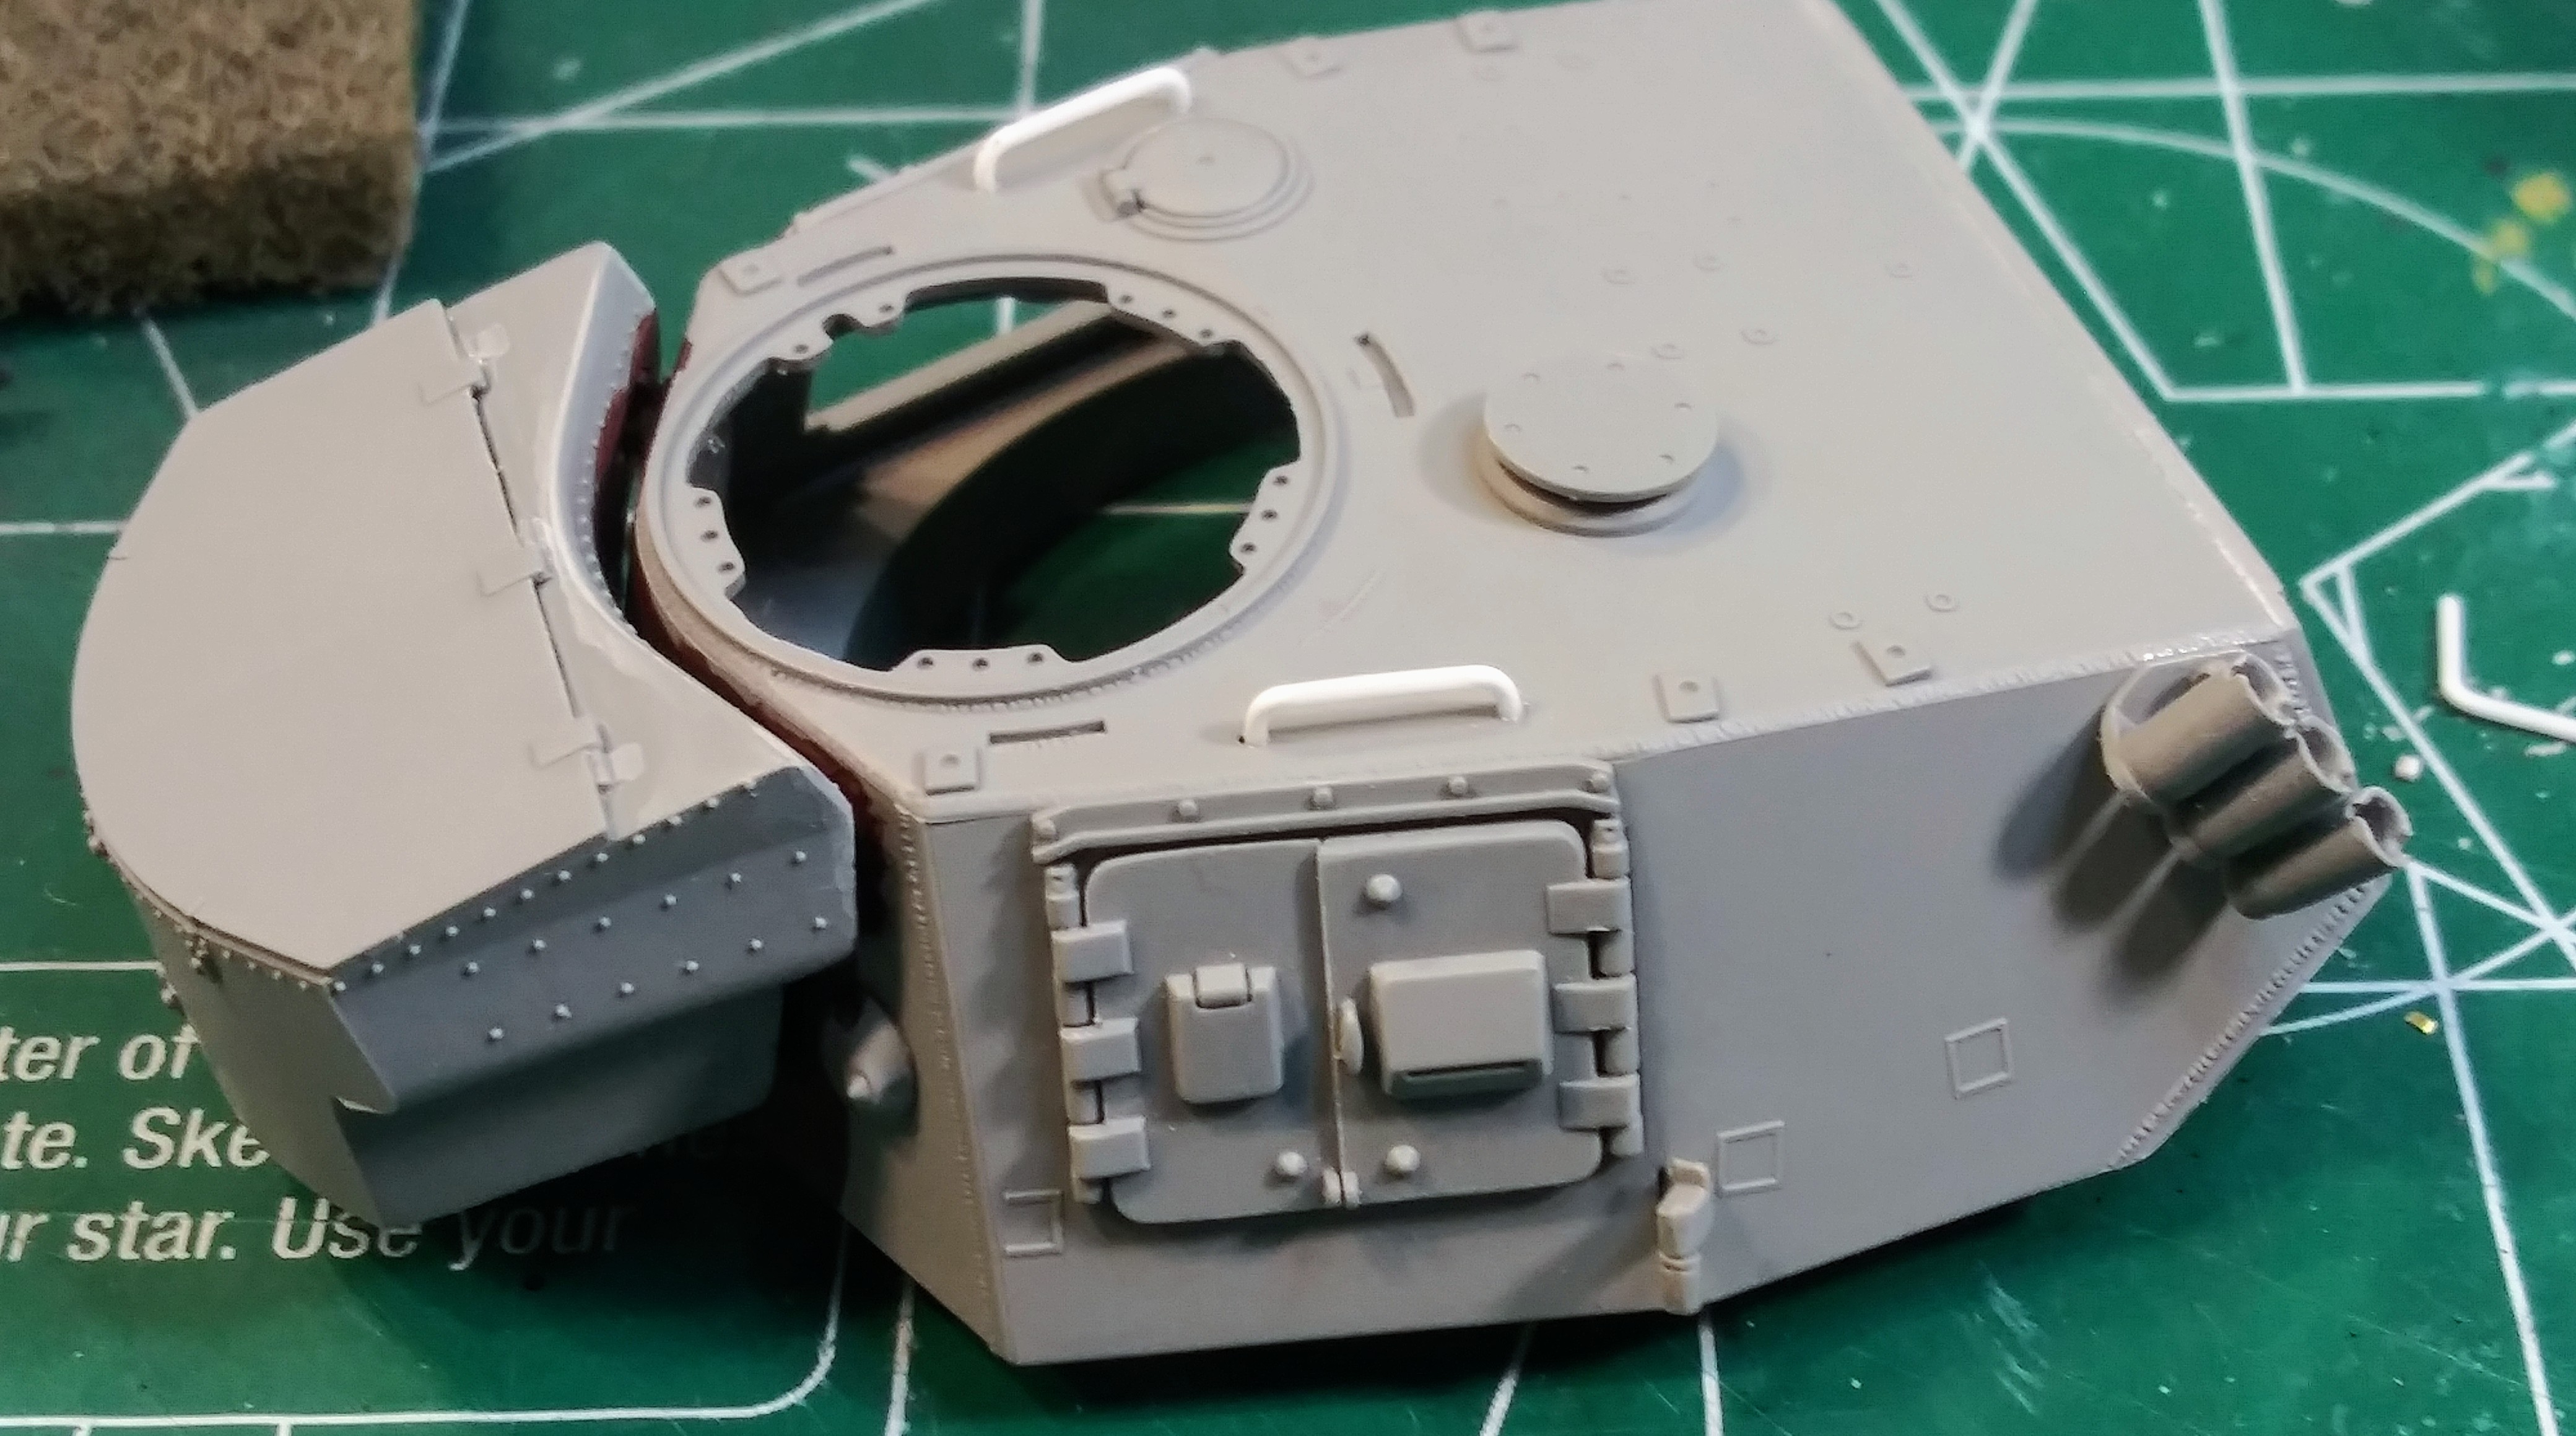
There’s a very nice surprise with the right had side skirt rails & braces: NO PUNCH MARKS to fix! Mold seam is faint and likewise attachment points too are easily cleaned. If the mold seams aren’t removed from A53, F9 & A47 especially at the back of the parts alignment will be a disaster. In keeping with good practices all of the mold seams were removed outside and inside the skirt braces. The reward, nearly perfect fit on first alignment.
Per the instruction sheet its indicated A53’s bottom foot is outside by TP3 of the inner fender hole. This points A53 toward the 

 moon. A53 could be tweaked to make that work. However, placing the bottom foot of A53 IN the fender cut out hole BEHIND TP3 fixed the issue and resulted nearly perfect alignment and side rail fit.
Below A53 bottom foot tucked in the hole behind TP3.
7 Likes
Step 14 < 1 hour & 45 minutes> total 30 hours & 5 minutes
Left side skirt rails went together with out issues.
The Antenna tray goes together OK but mine was warped. It also didn’t fit correctly hitting the skirt rail. It’s possible the skirt rail is .5mm too high causing the issue. In any case a .015 shim under the Antenna tray’s feet raised it enough to fit correctly.
Step 15 < 45 minutes> total 30 hours & 50 minutes
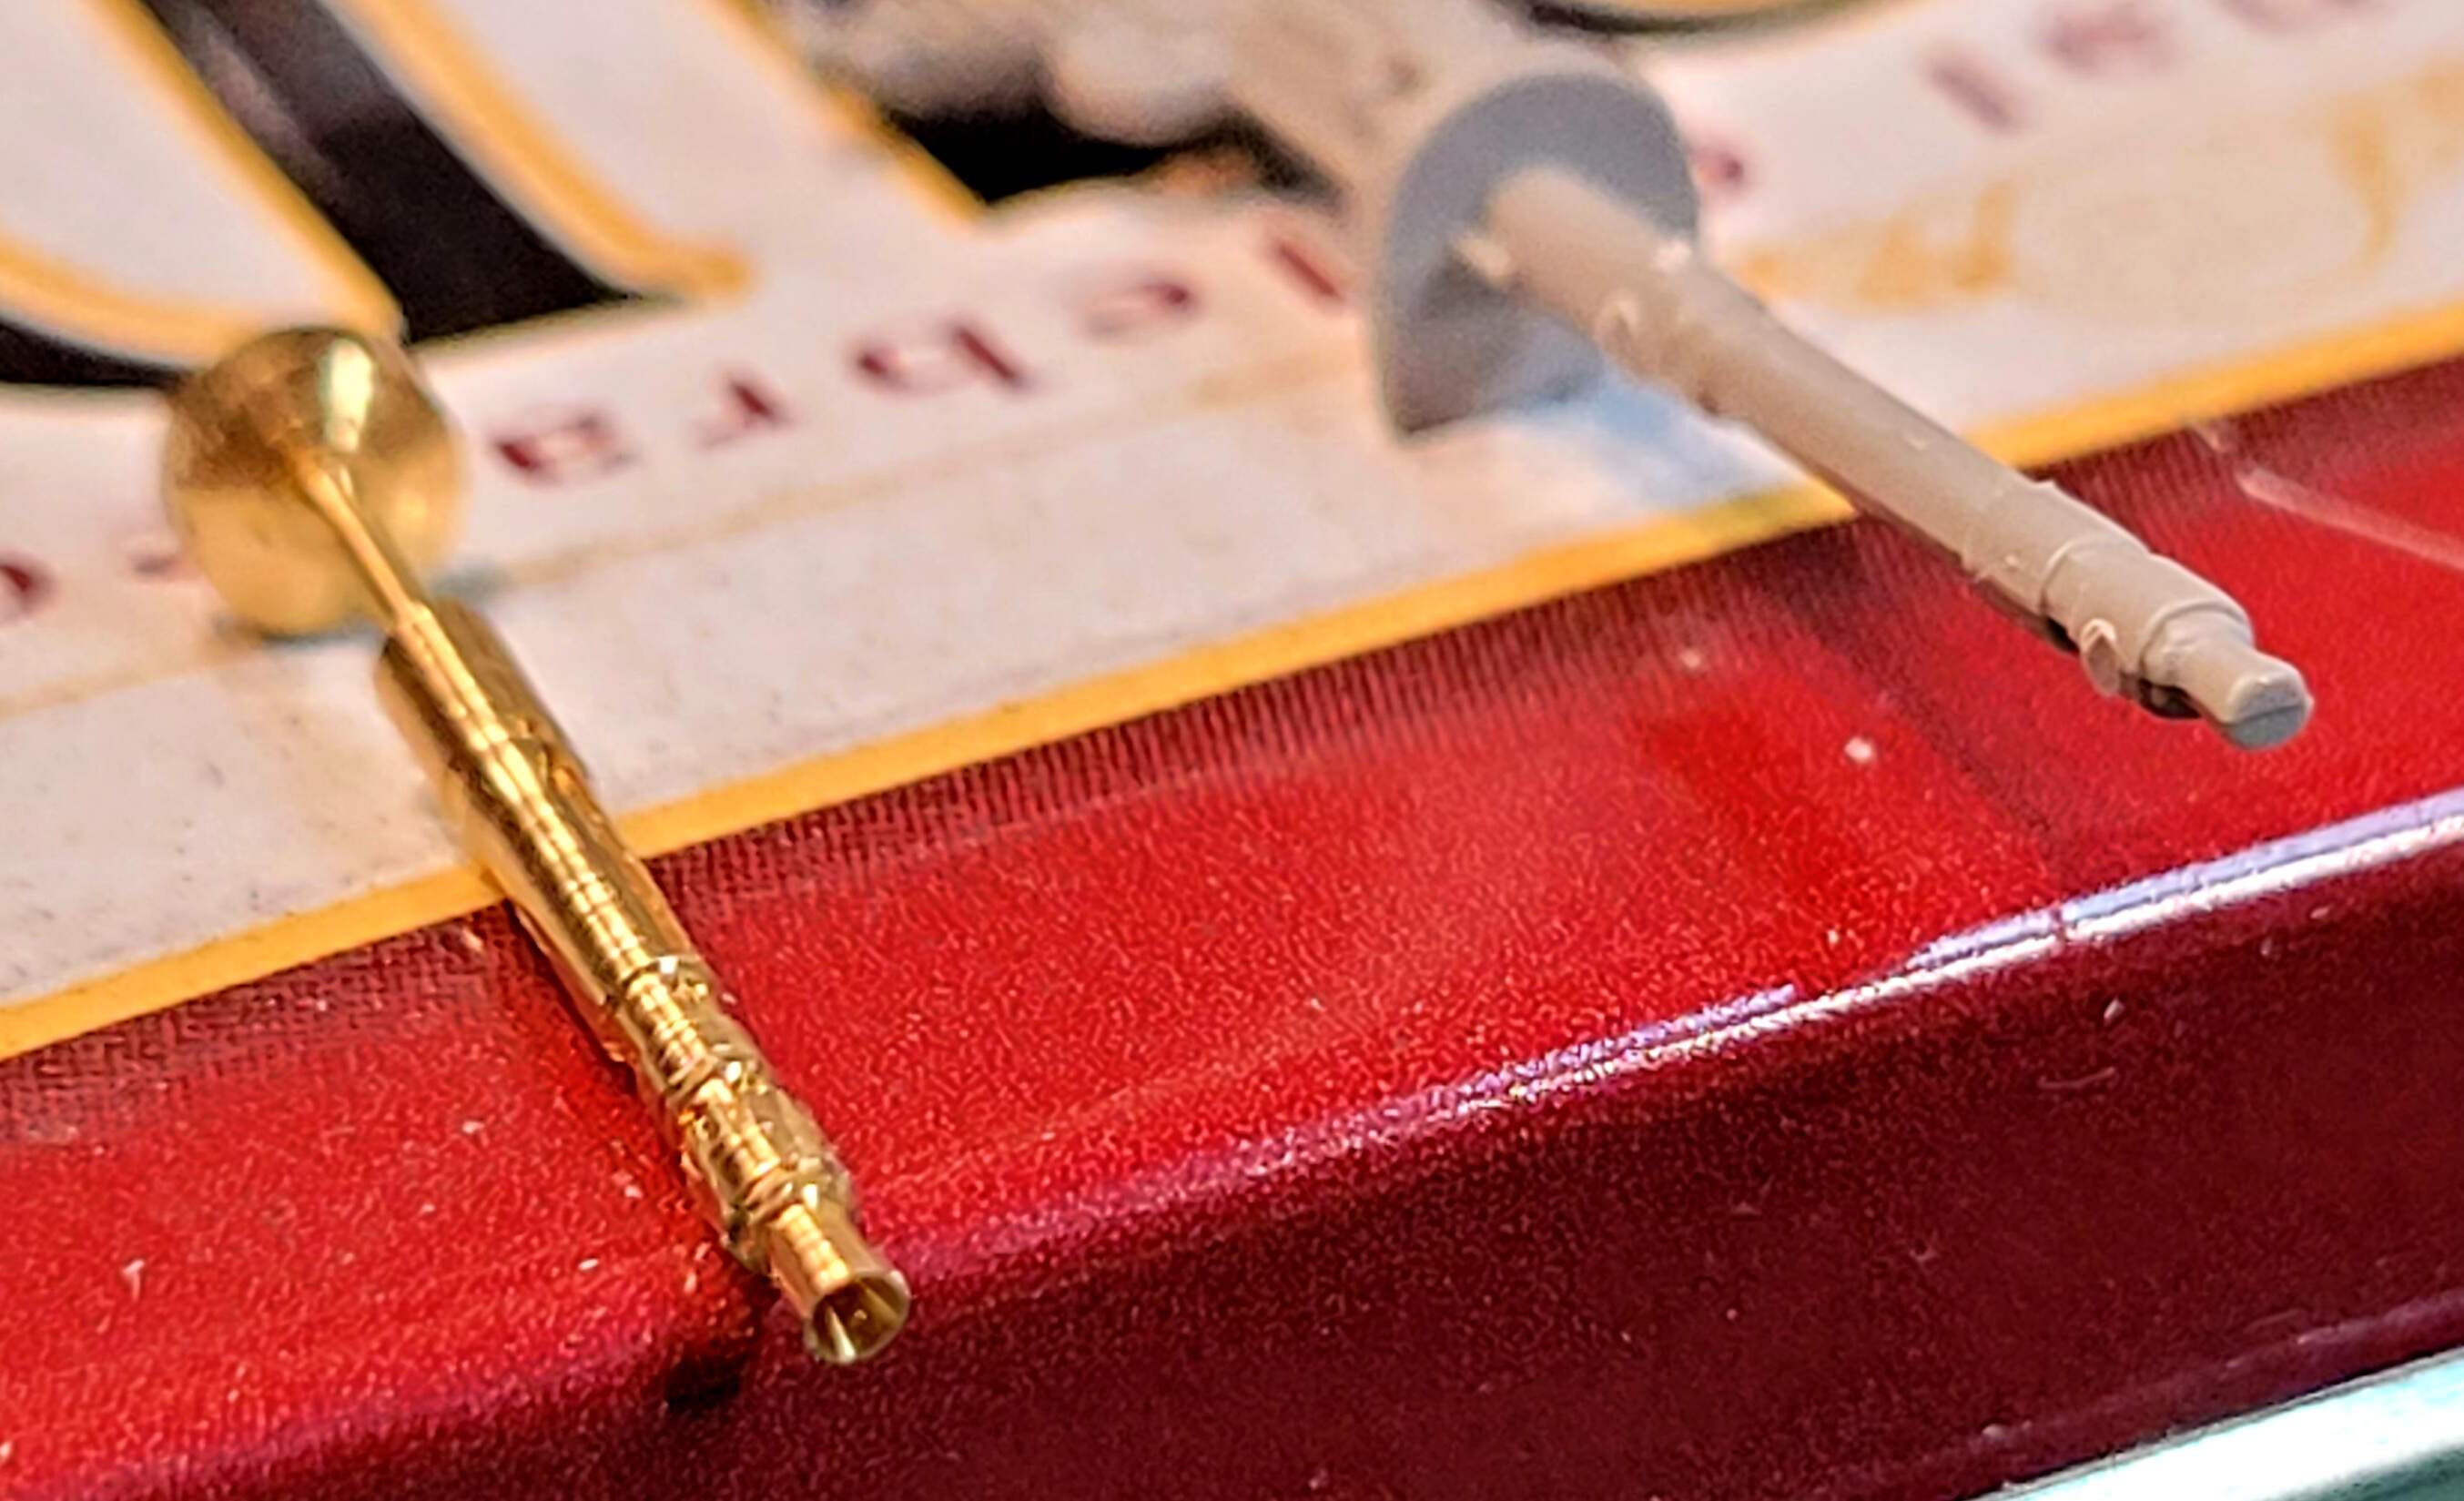
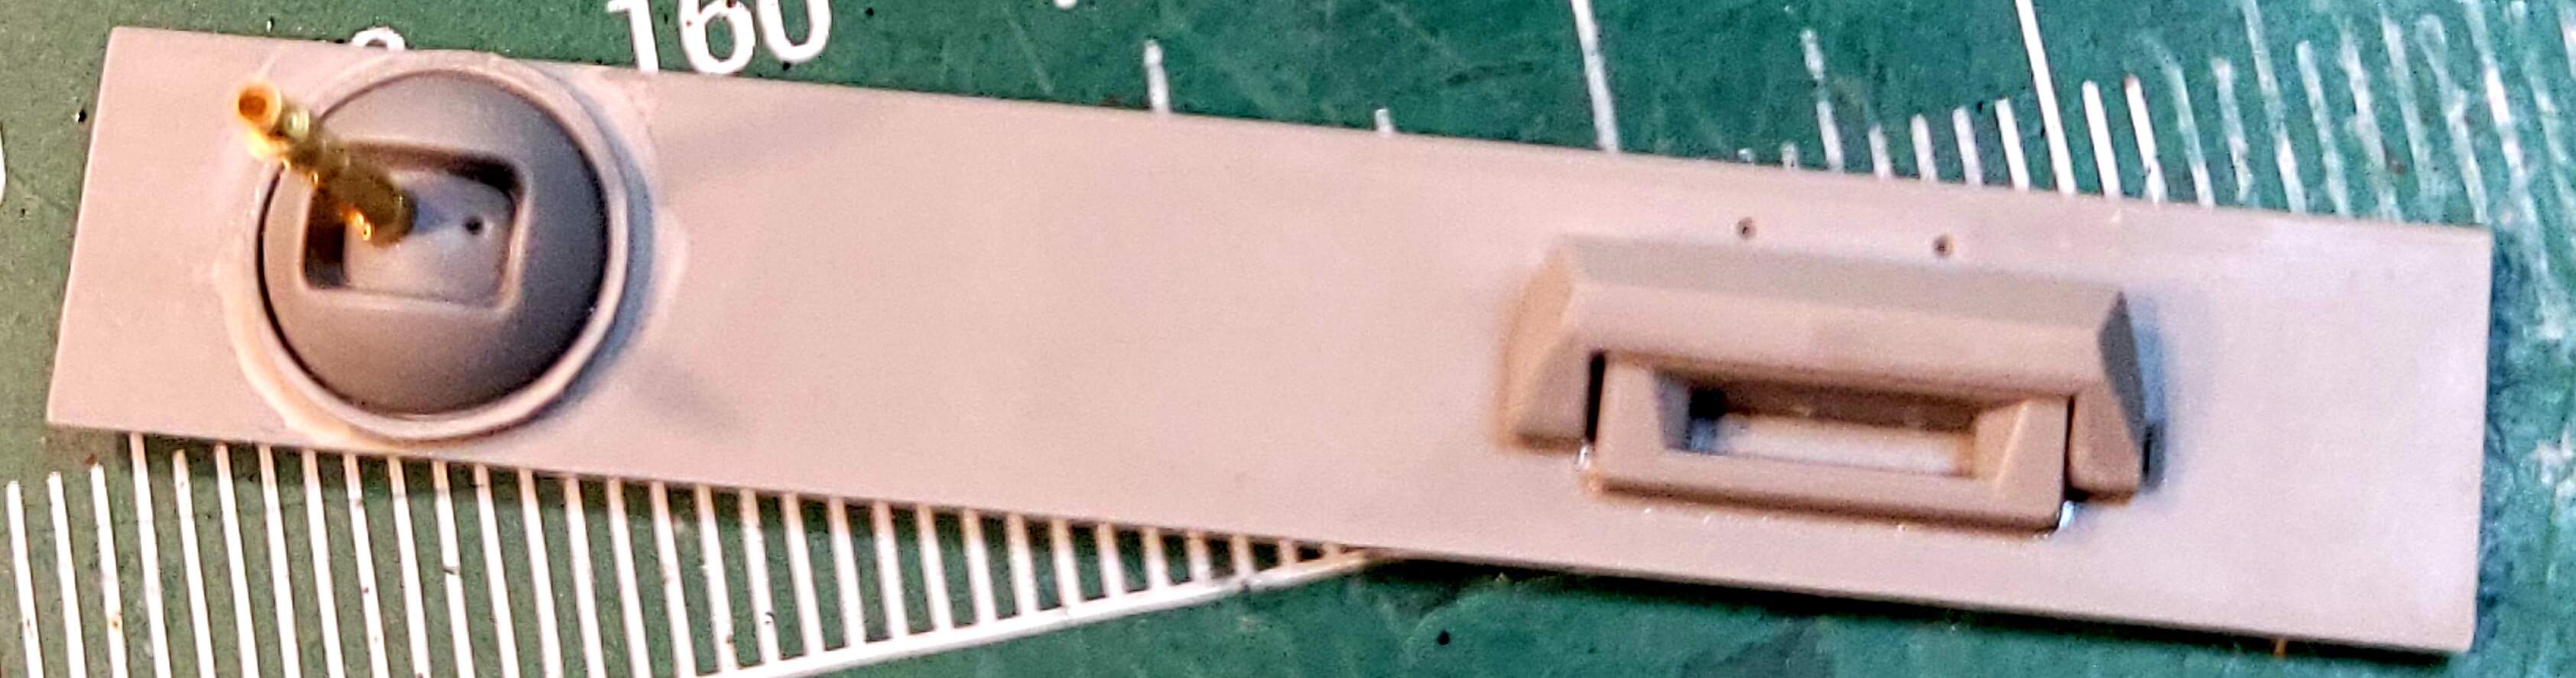
This looked like a quick step and it was I really disliked the Takom hull MG. Drilling the end of barrel out will help but it won’t have that crisp turned brass Aber look. Broke with the stock theme for the Aber MG34 barrel.
Step 16 < 15 minutes> total 31 hours & 5 minutes
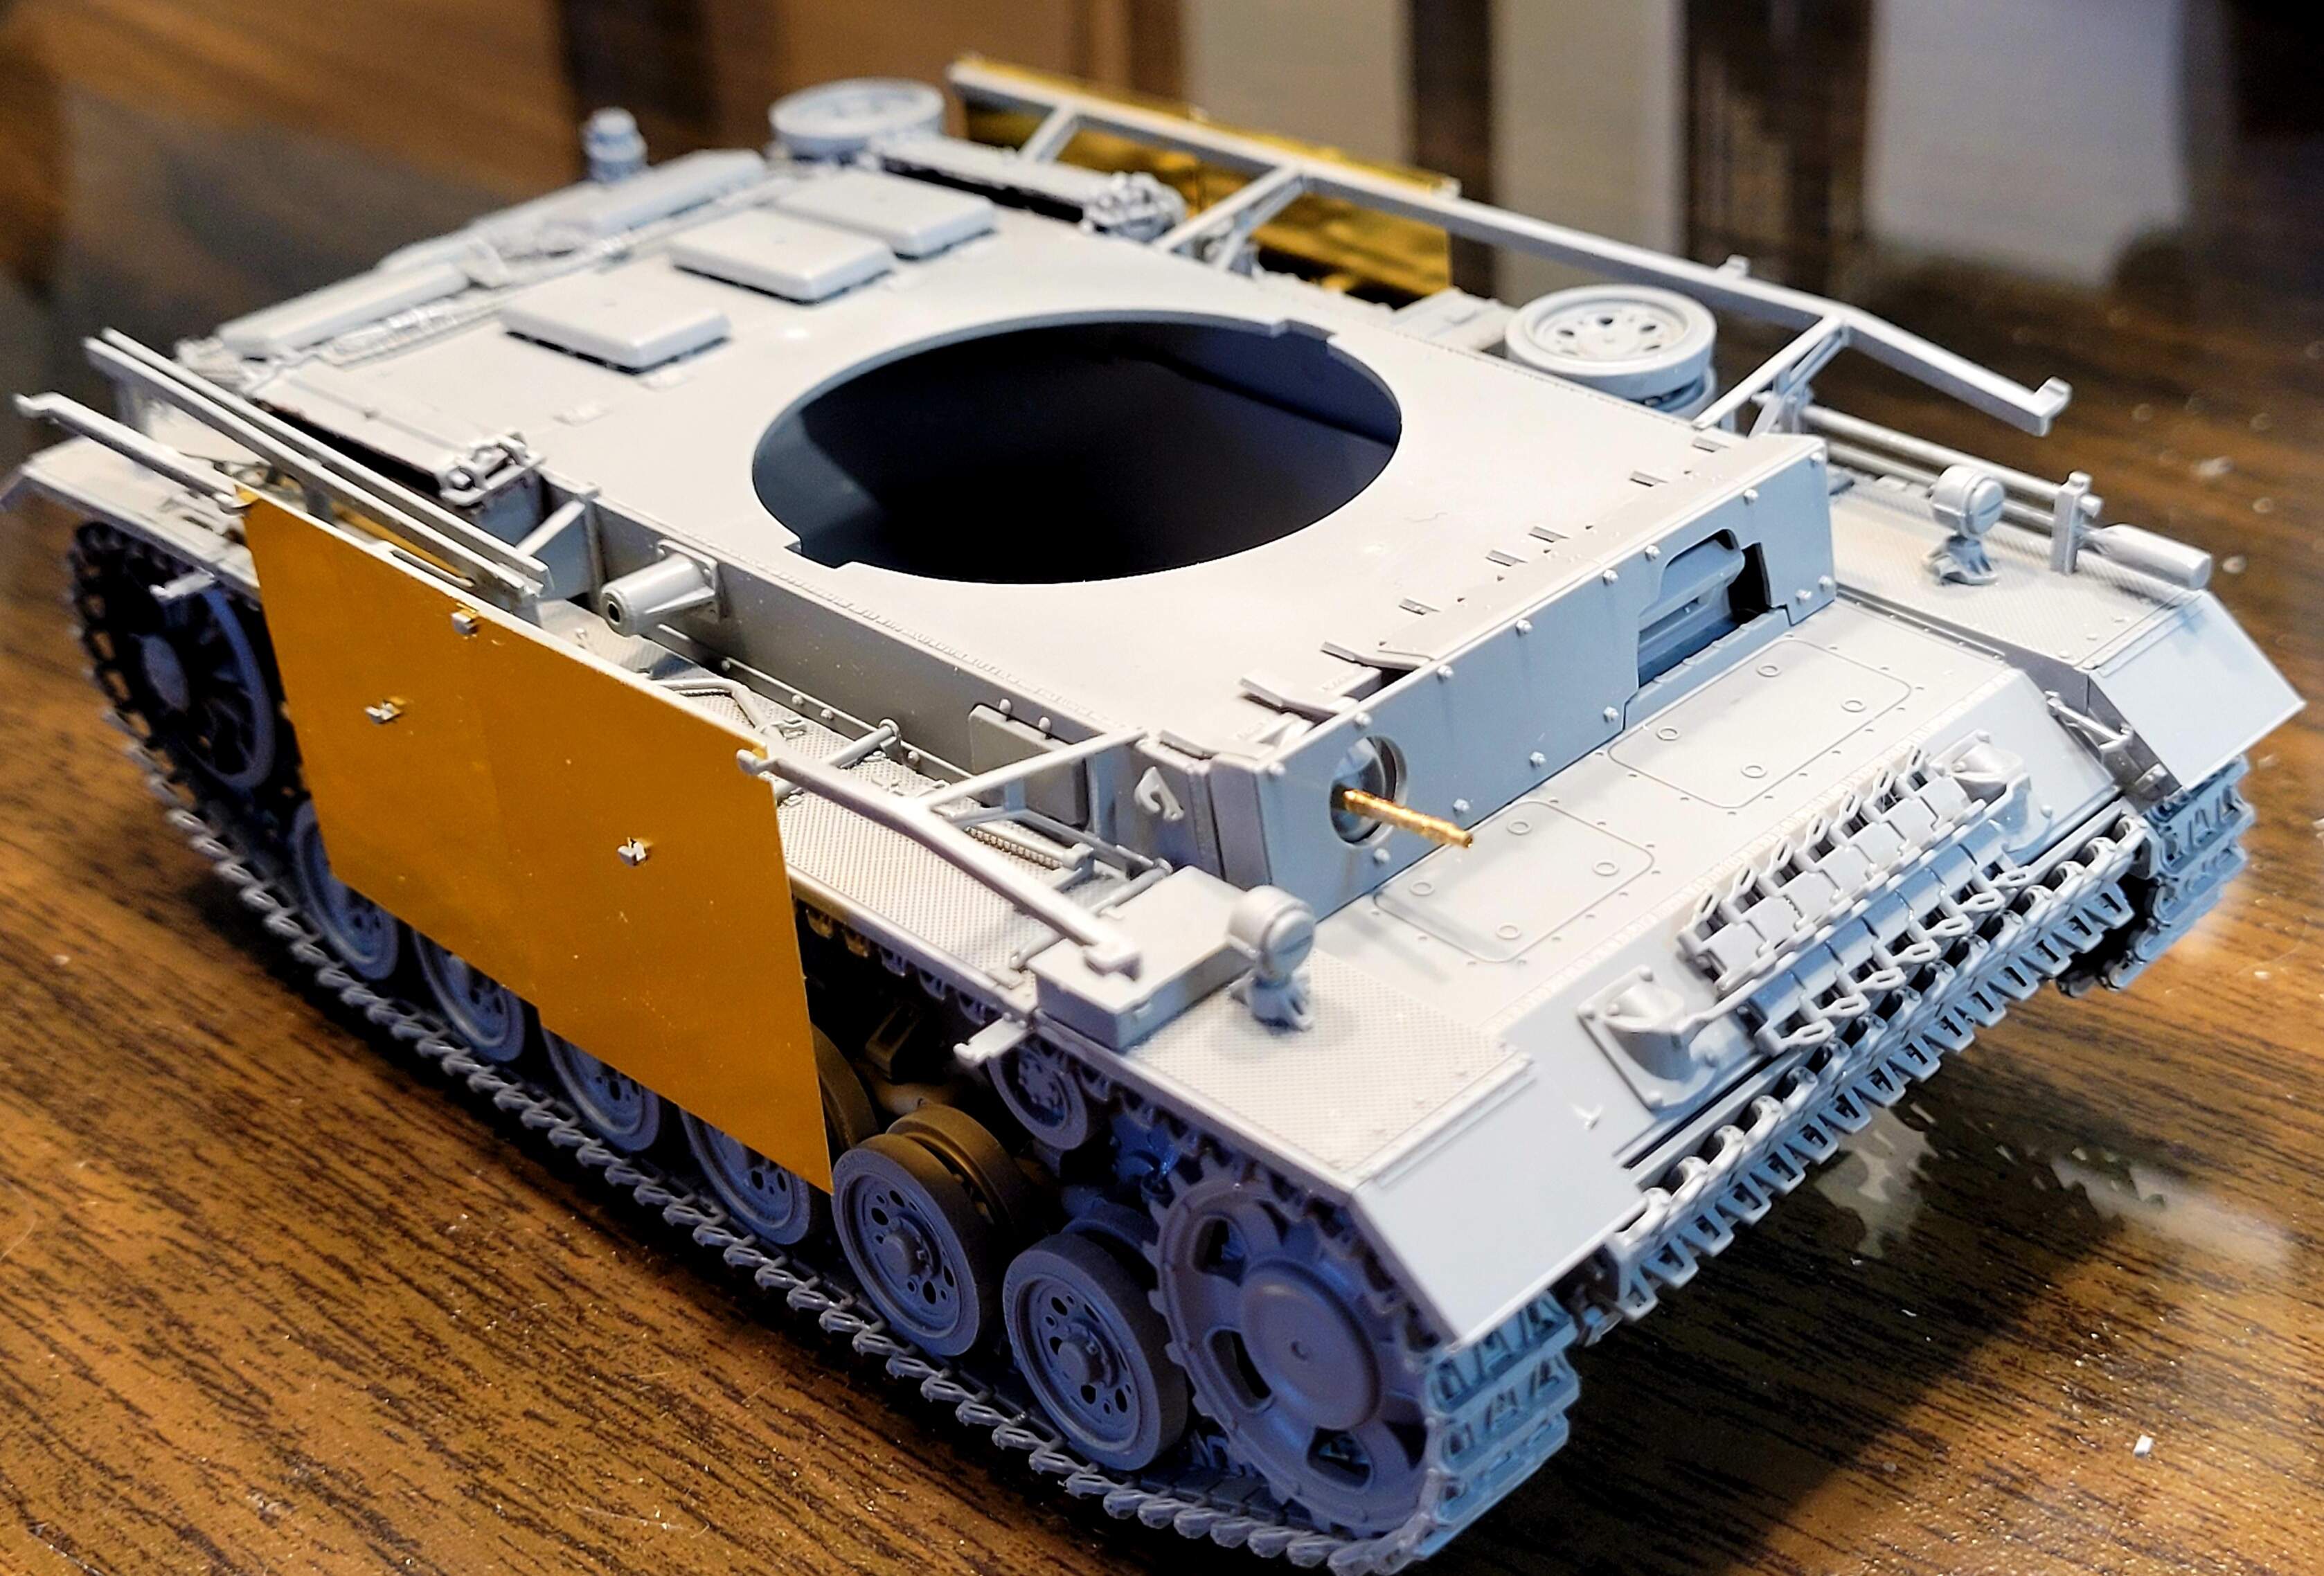
Naturally the front glacis plate wouldn’t fit. Found a spot of flash on the upper hull that had been missed during preliminary clean up. Removed flash the glacis plate fit was excellent. The spaced armor plate also fits very well. It won’t be attached until after painting.
Upper and lower hull fit have degraded significantly in the front. It appears the front fender flaps are part of the issue. Have additional sanding & testing to do.
9 Likes
Today is looking like the definitive WTF moment of this build.
Peeling that stupid Takom shrink wrap off the PE fret this happened. I should have been more careful in hindsight. Never had to peel shrink wrap off of PE before.
Not happy.
Two schurzen bent or slightly warped and not usable in my opinion. Even thin plates like 1/8 inch or 1/4 inch (~3mm to ~6 mm) mild steel aren’t easily bent.
Have four good good TP1’s so it will be OK.
3 Likes
Twenty minutes ago I was very unhappy with this kit and Takom. However moving along to the next part.
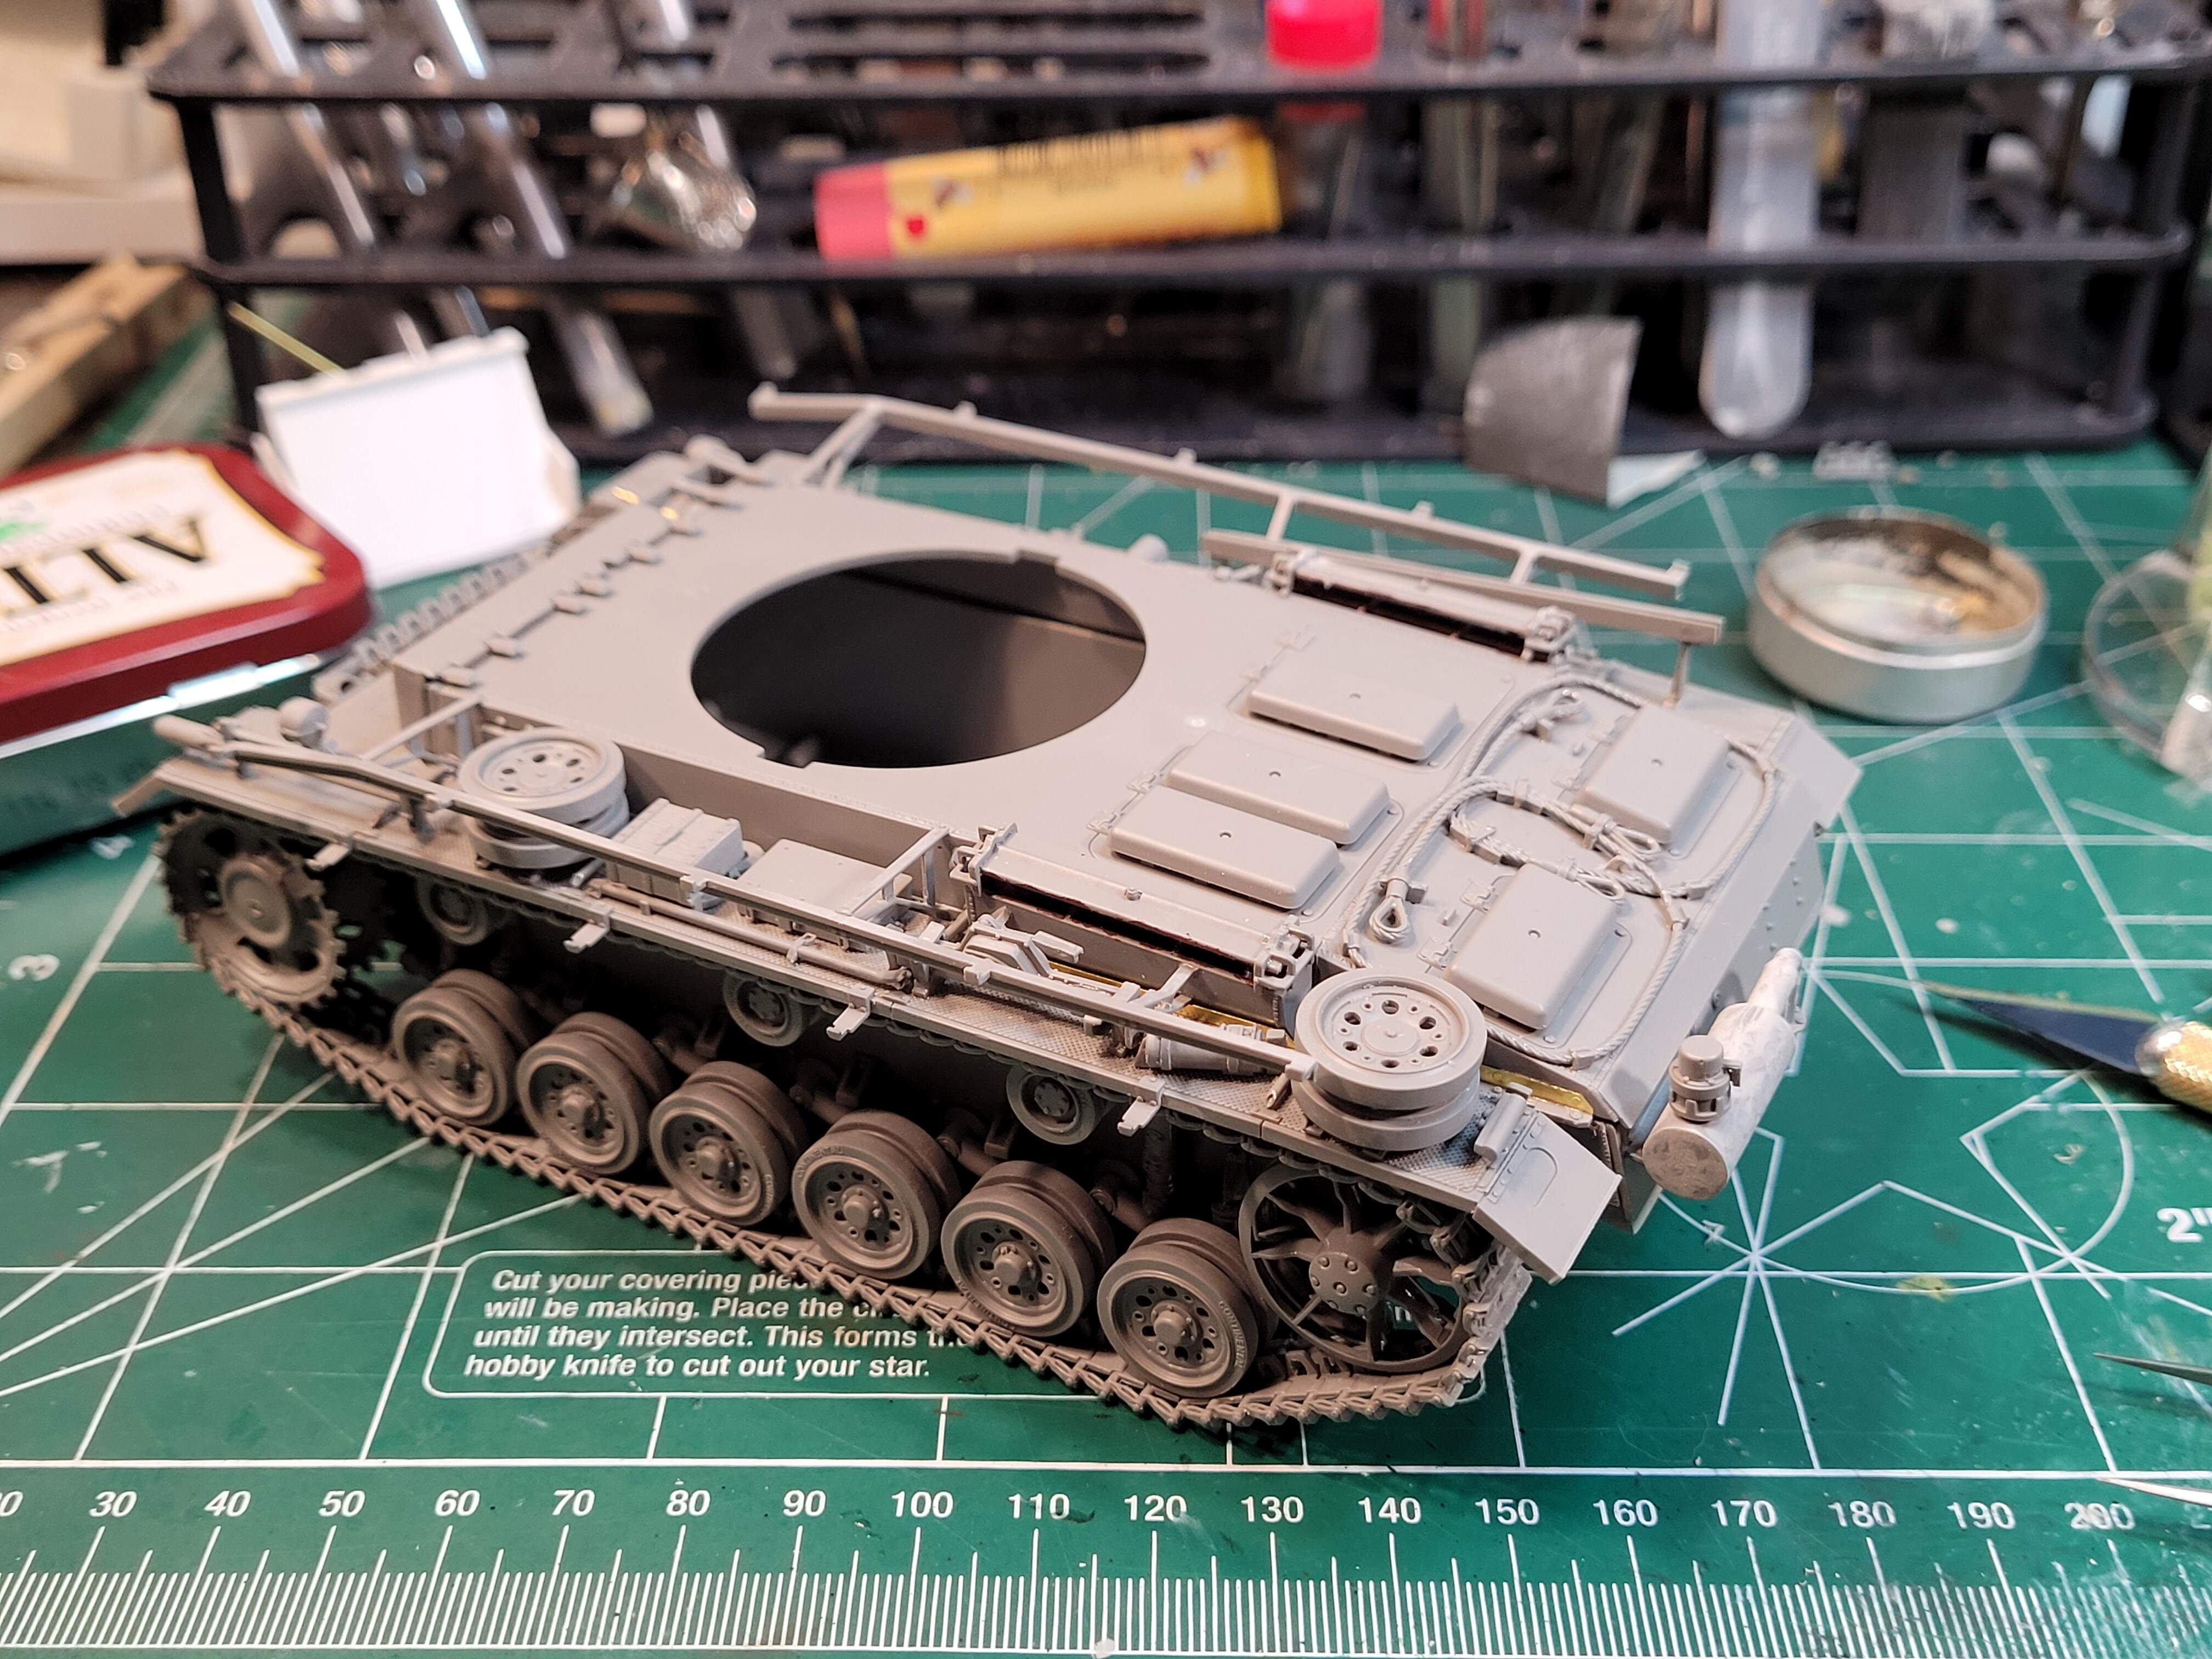
Step 17 <15 minutes> total time 31 hours 20 minutes
The way the skirt mounts ensures if the rail is barely any misalignment the skirt won’t mount.
The skirts went on with German Mercedes Benz precision. Takom really got this critical part of the model right 
Had to pause a moment and go WOW that’s darn impressive 
I was starting to realy hate this Pz III but those skirts are bringing me around.
6 Likes
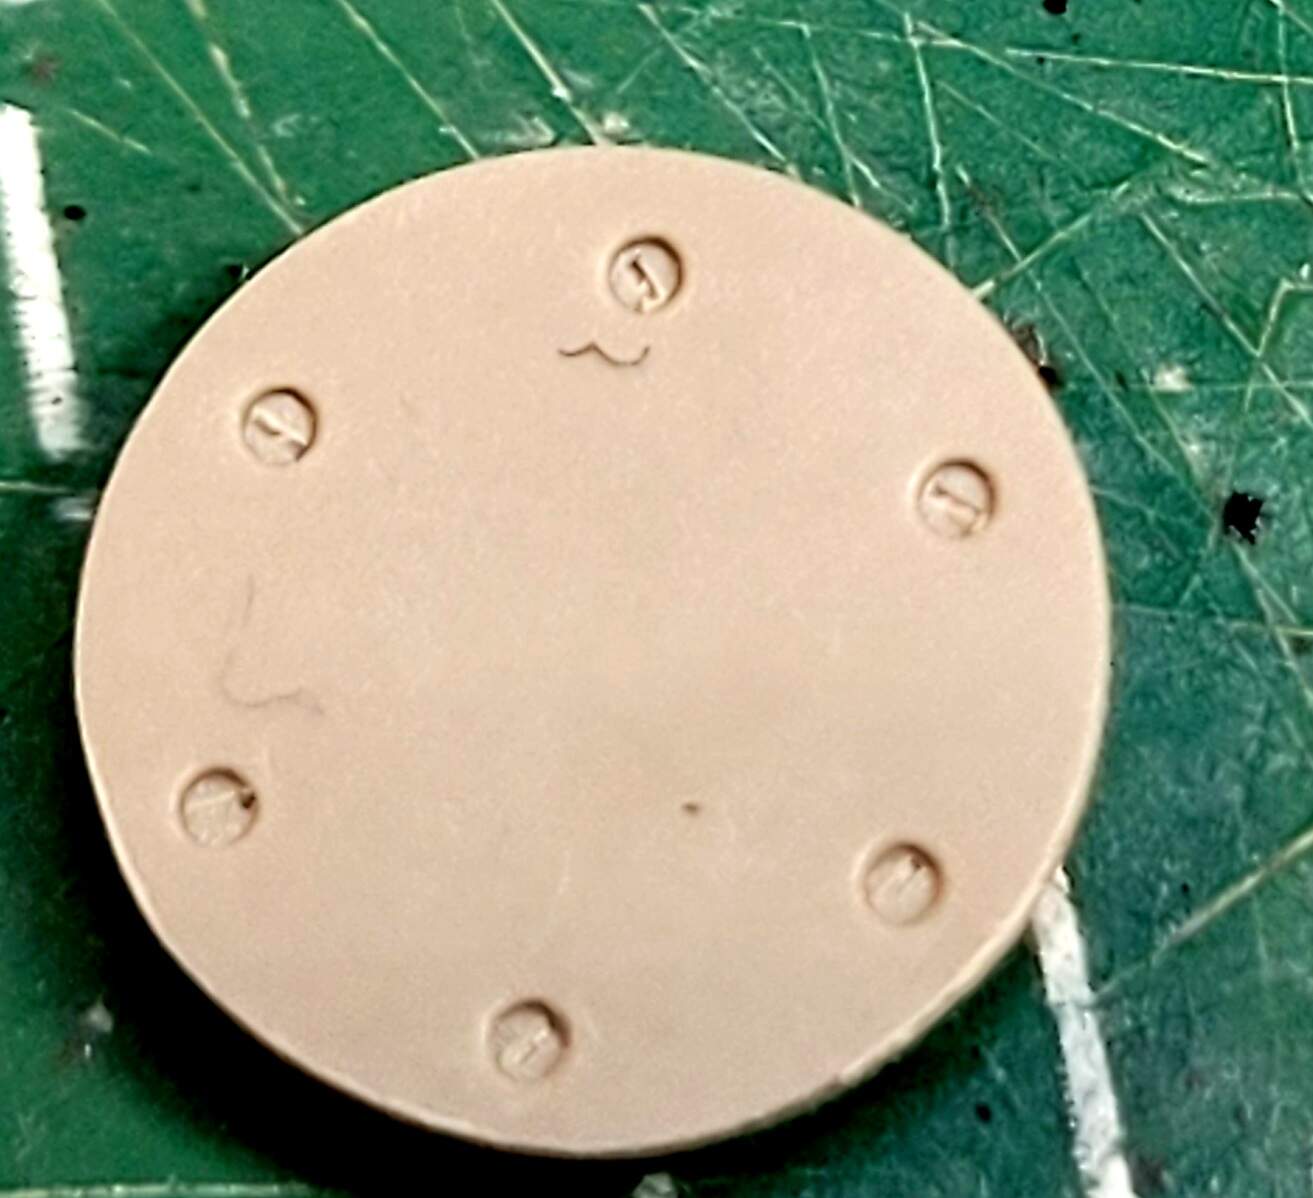
First part removed E8 fan cover housing lacks flat head screw detail. It’s almost on par with what Italeri in 1975 (Pz IV kit).
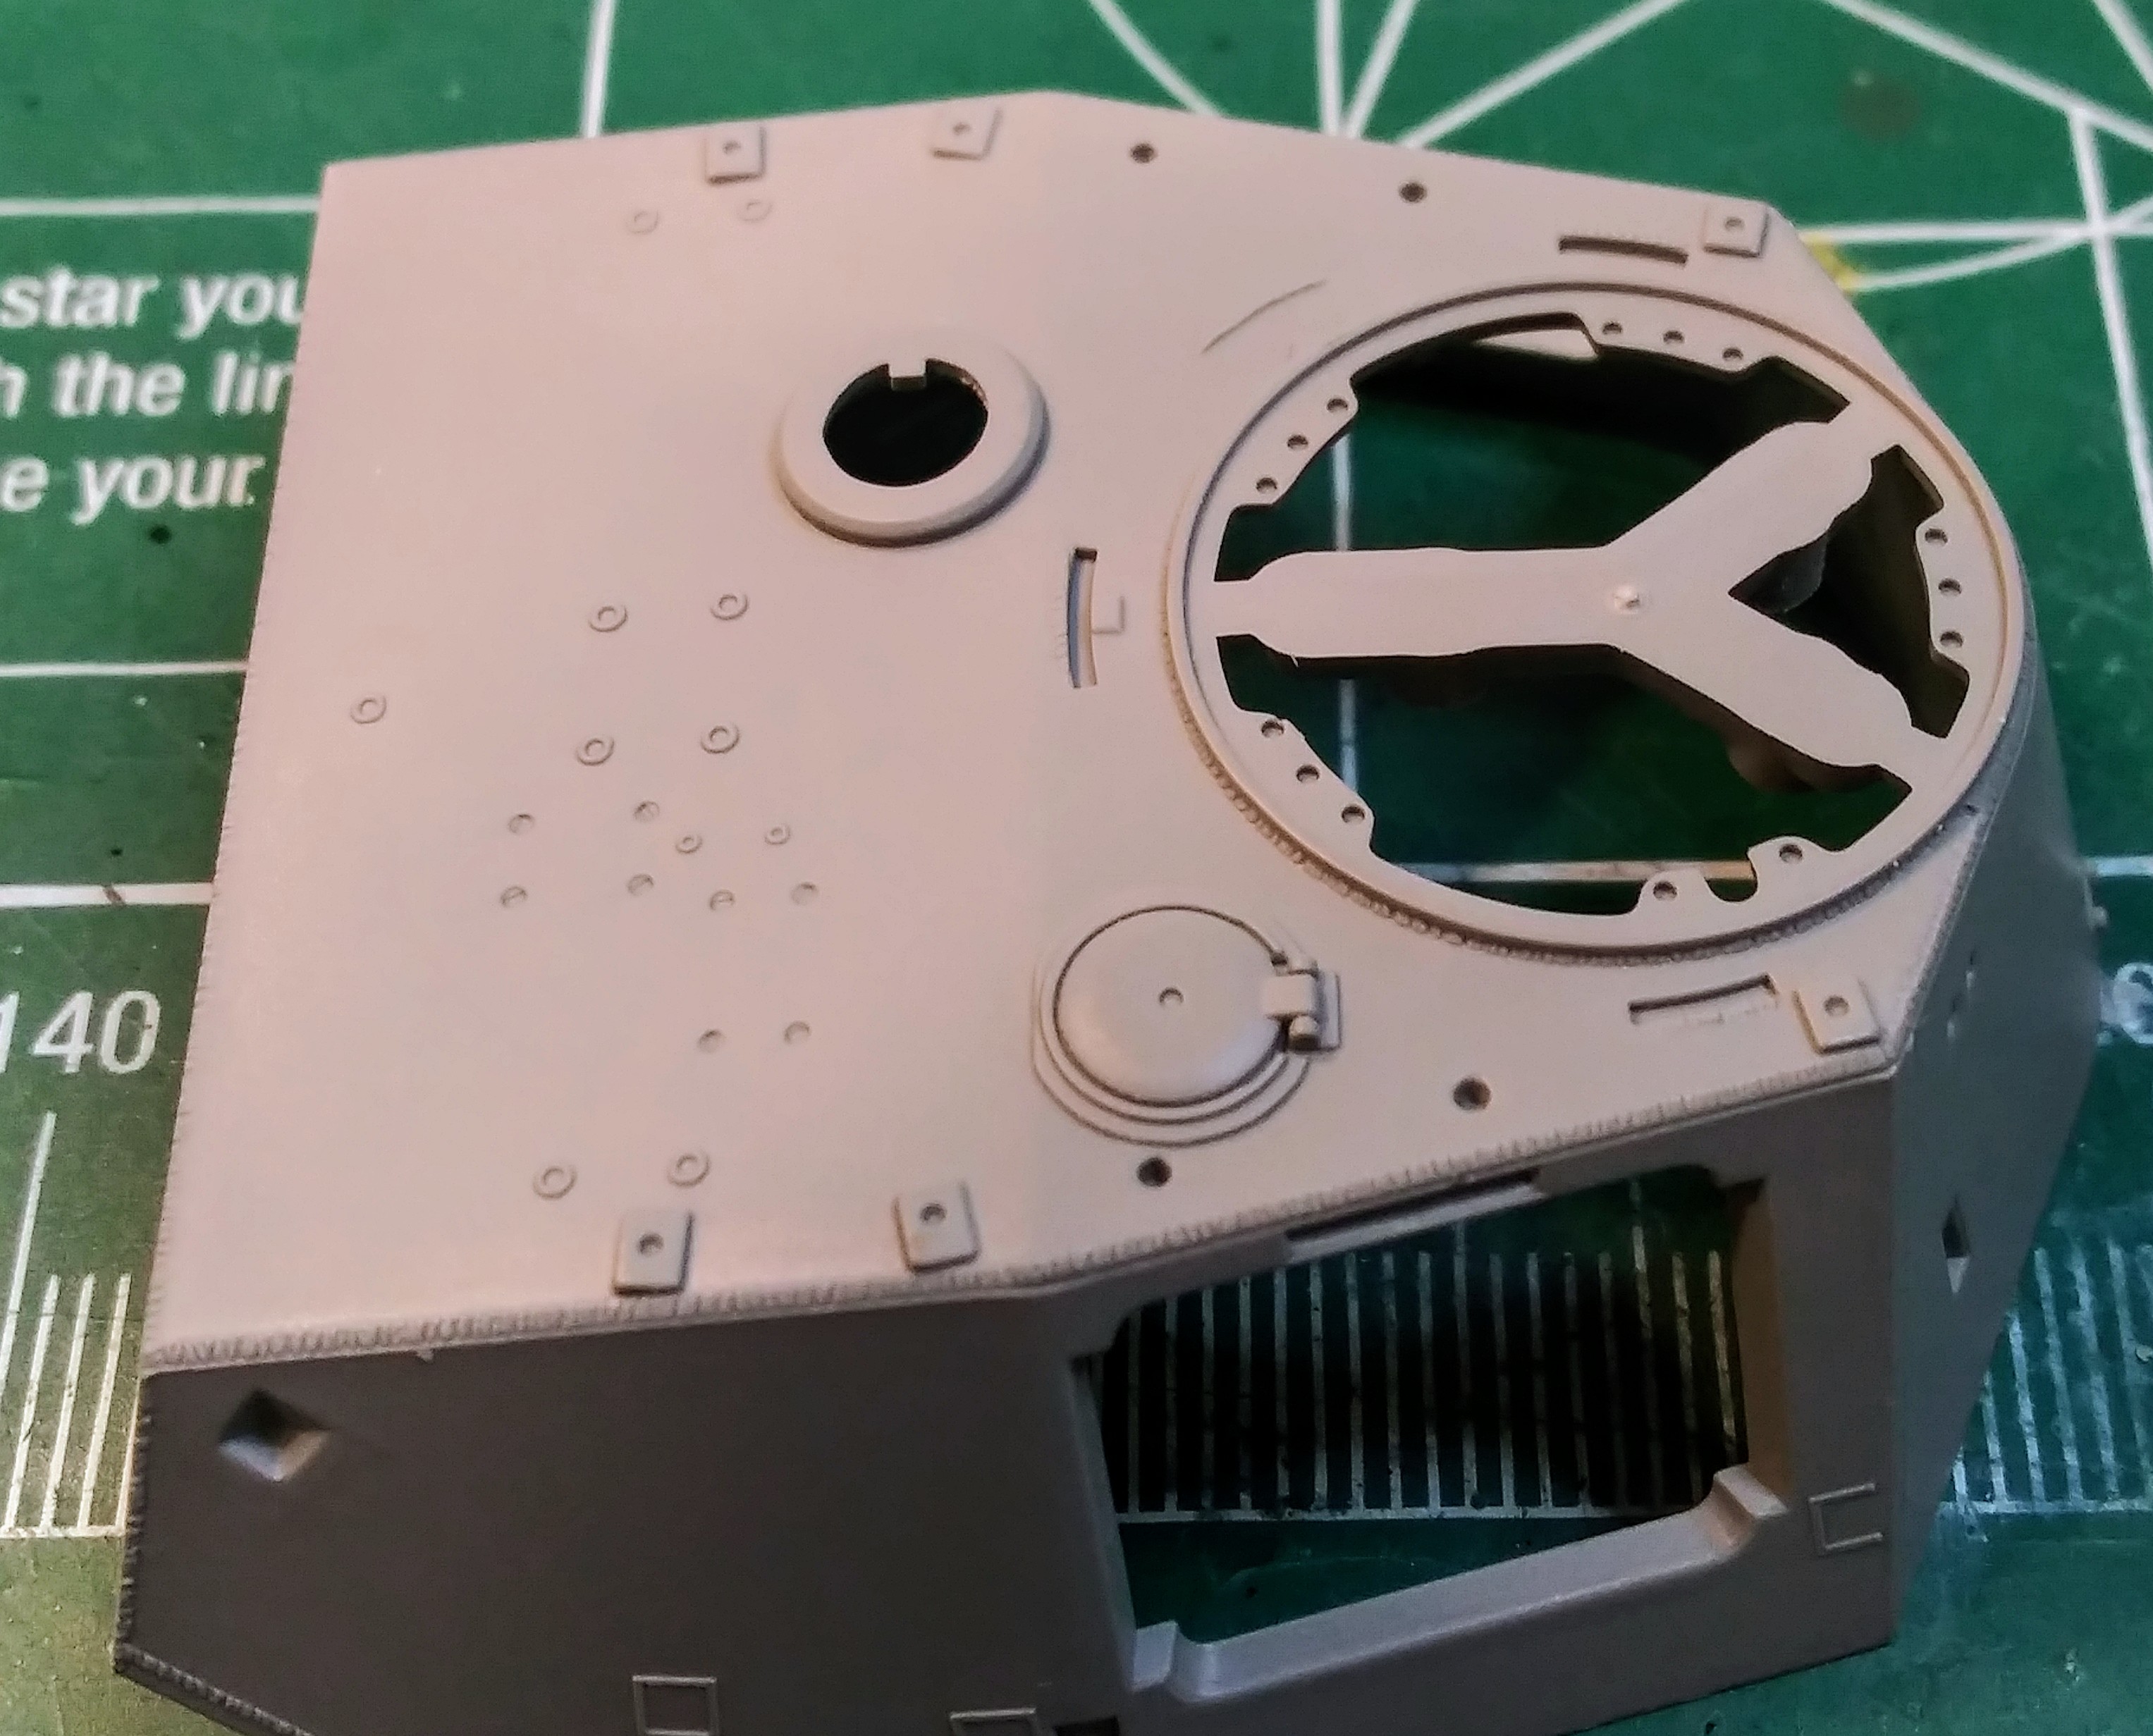
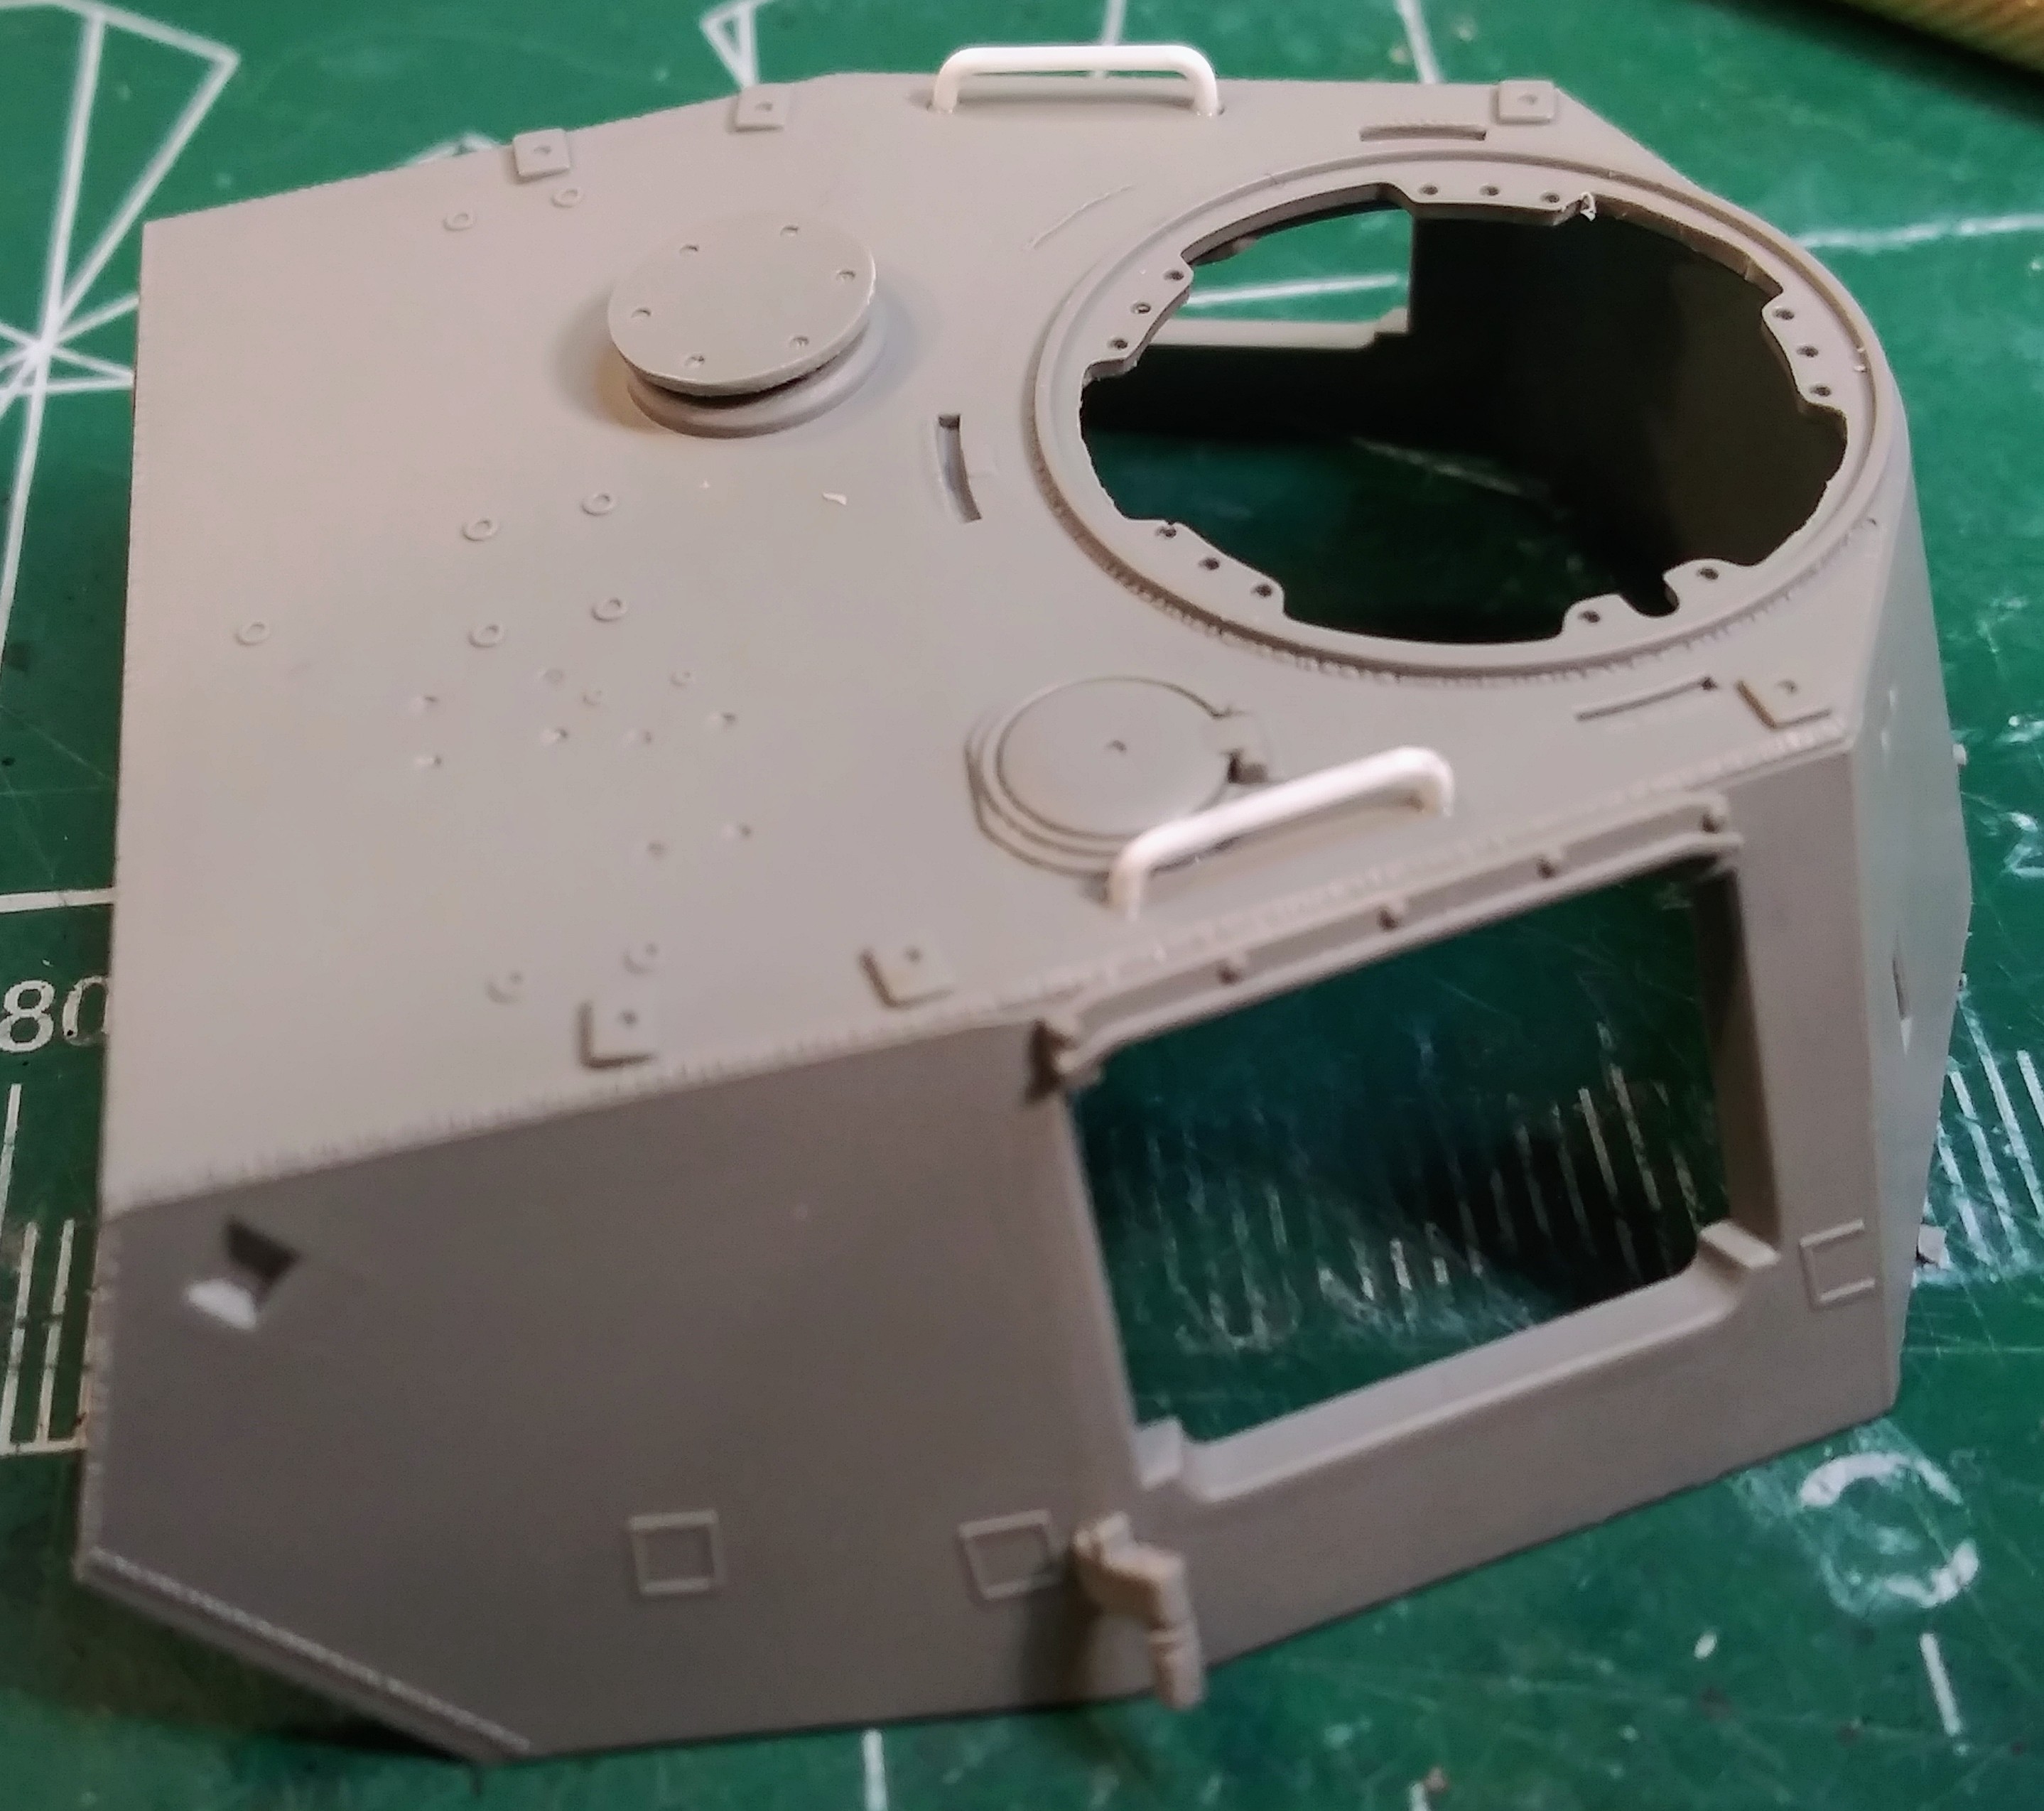
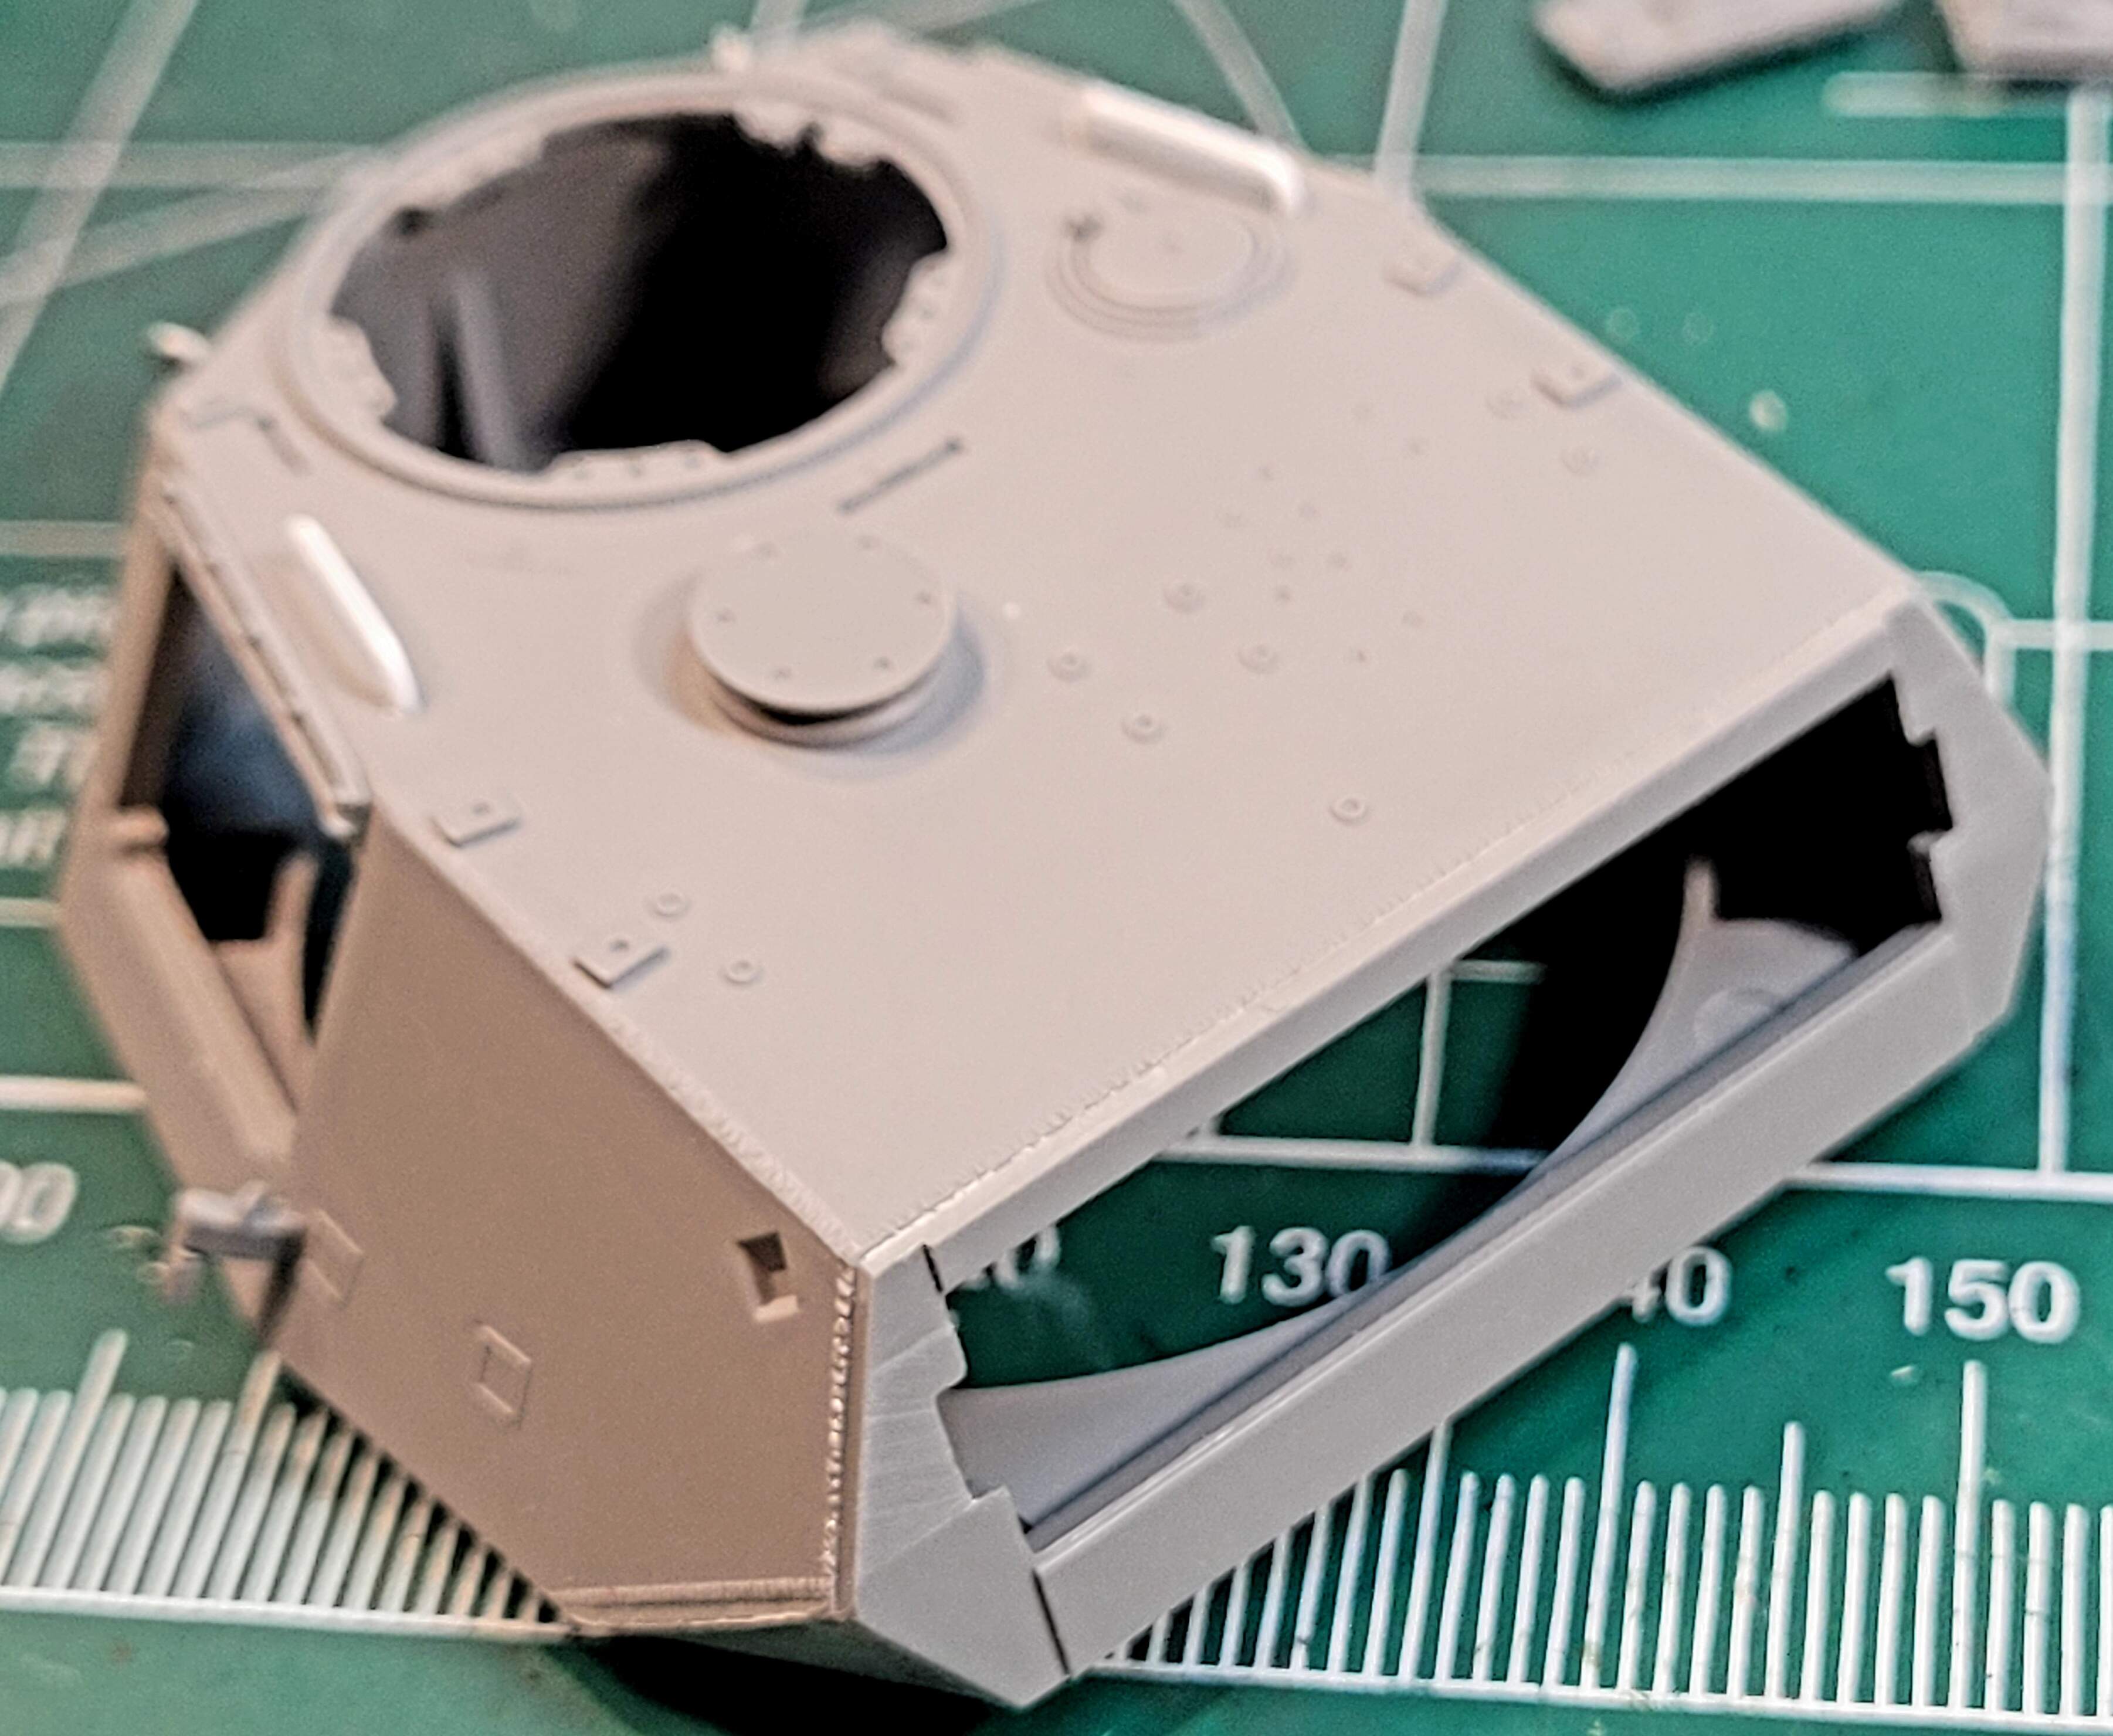
Looking at the Takom’s turret raises a few questions. Thankfully Takom didn’t leave an injection mark on top of the turret like with the two spots on the hull. However, if Takom can do it “right with the turret” why wasn’t the hull done accordingly?
Turret is more or less flash free but the top looks suspicious with nine big circles and two small circles. Maybe the goofy circles are a representation of a welded up plugged hole?

Let’s see how Tamiya & Dragon address the turret top.
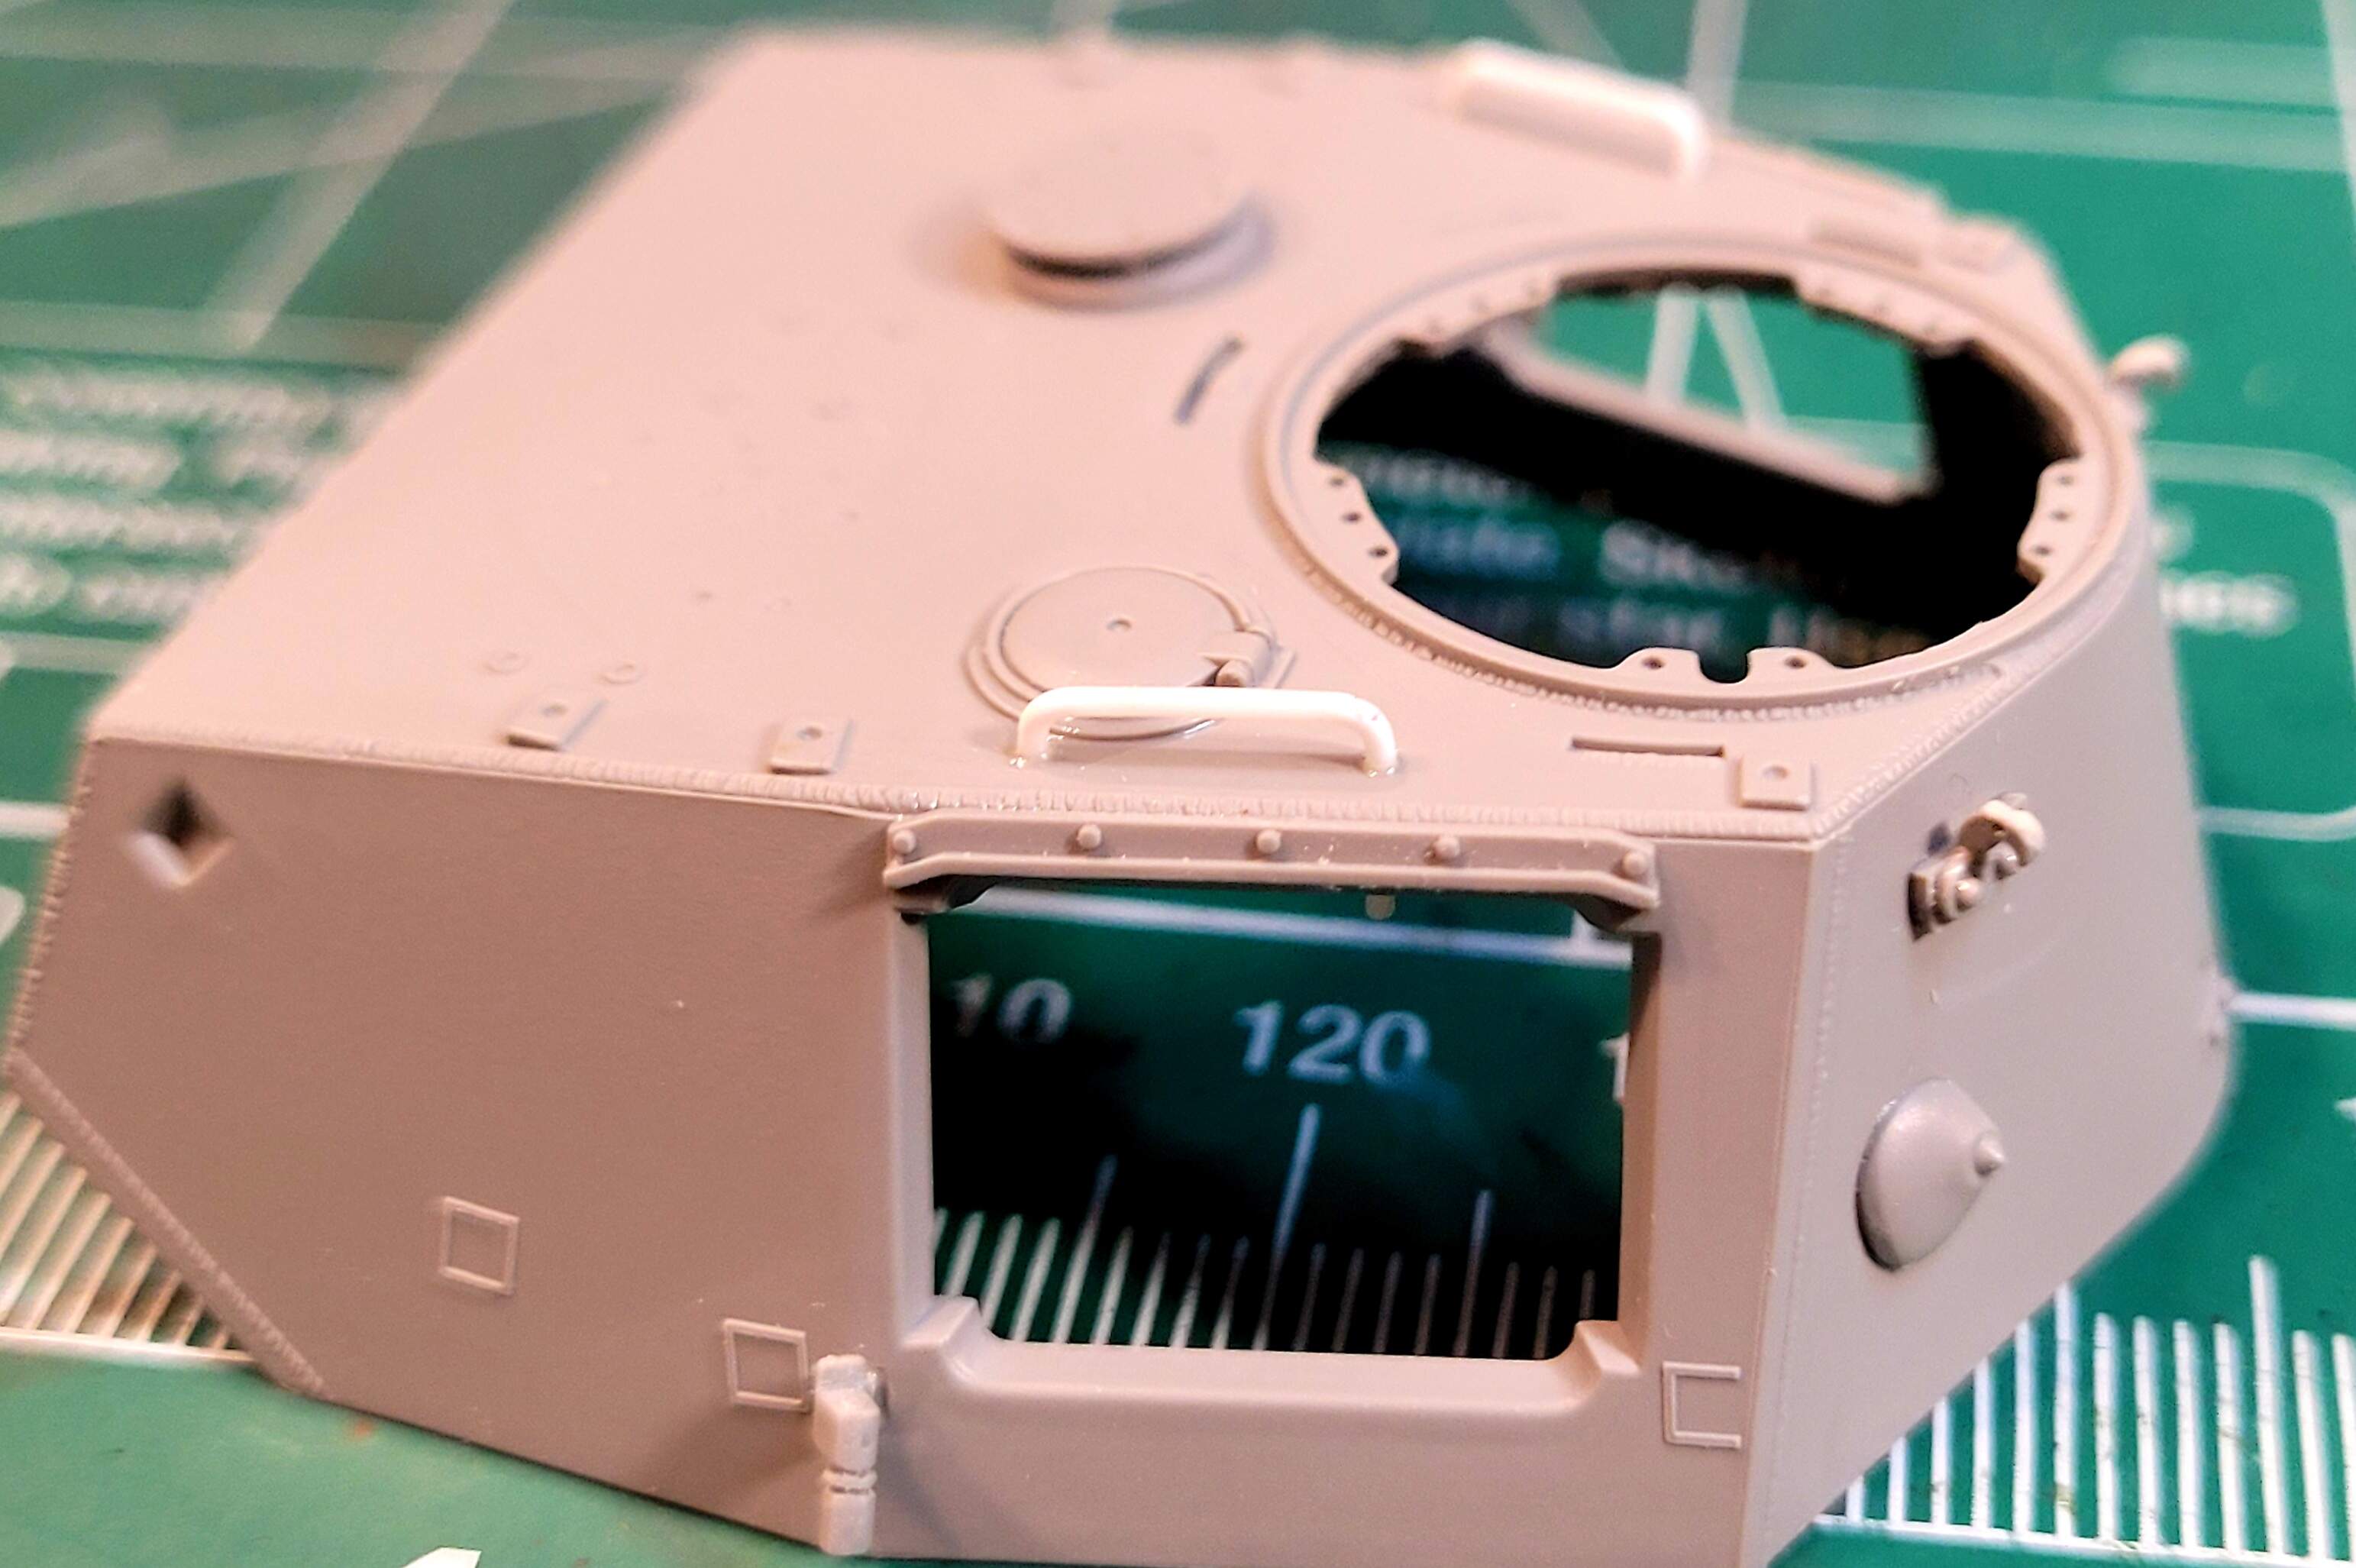
Left Takom, Center Tamiya, Right Dragon
I don’t have a picture of a real Pz III M turret top to determine which is more accurate if any of the three.
Takom - welds look nice.
Tamiya Pz III M - looks OK but different, missing flat head screw details but has the recesses. Calling to Aber PE flat head screw details. Weak weld details except around the signal port which the other two ignored.
Dragon/DML
Dragon has flat head screw detail. Welds look nice.
Looks like this guy has the edge in first impressions…
However, Dragon also uses the same E14 turret top in their Pz III L…
4 Likes
Step 18 <20 minutes> total time 31 hours 40 minutes
Decided to depart stock a little more.
Short cut to flat head screws on fan housing cover via .1mm scribed. Not as nice as tiny PE or slotted styrene rod but much quicker.
Also added hand rails from .025 styrene rod instead of using A26 parts.
8 Likes
Step 19 <45 minutes> total time 32 hours 25 minutes
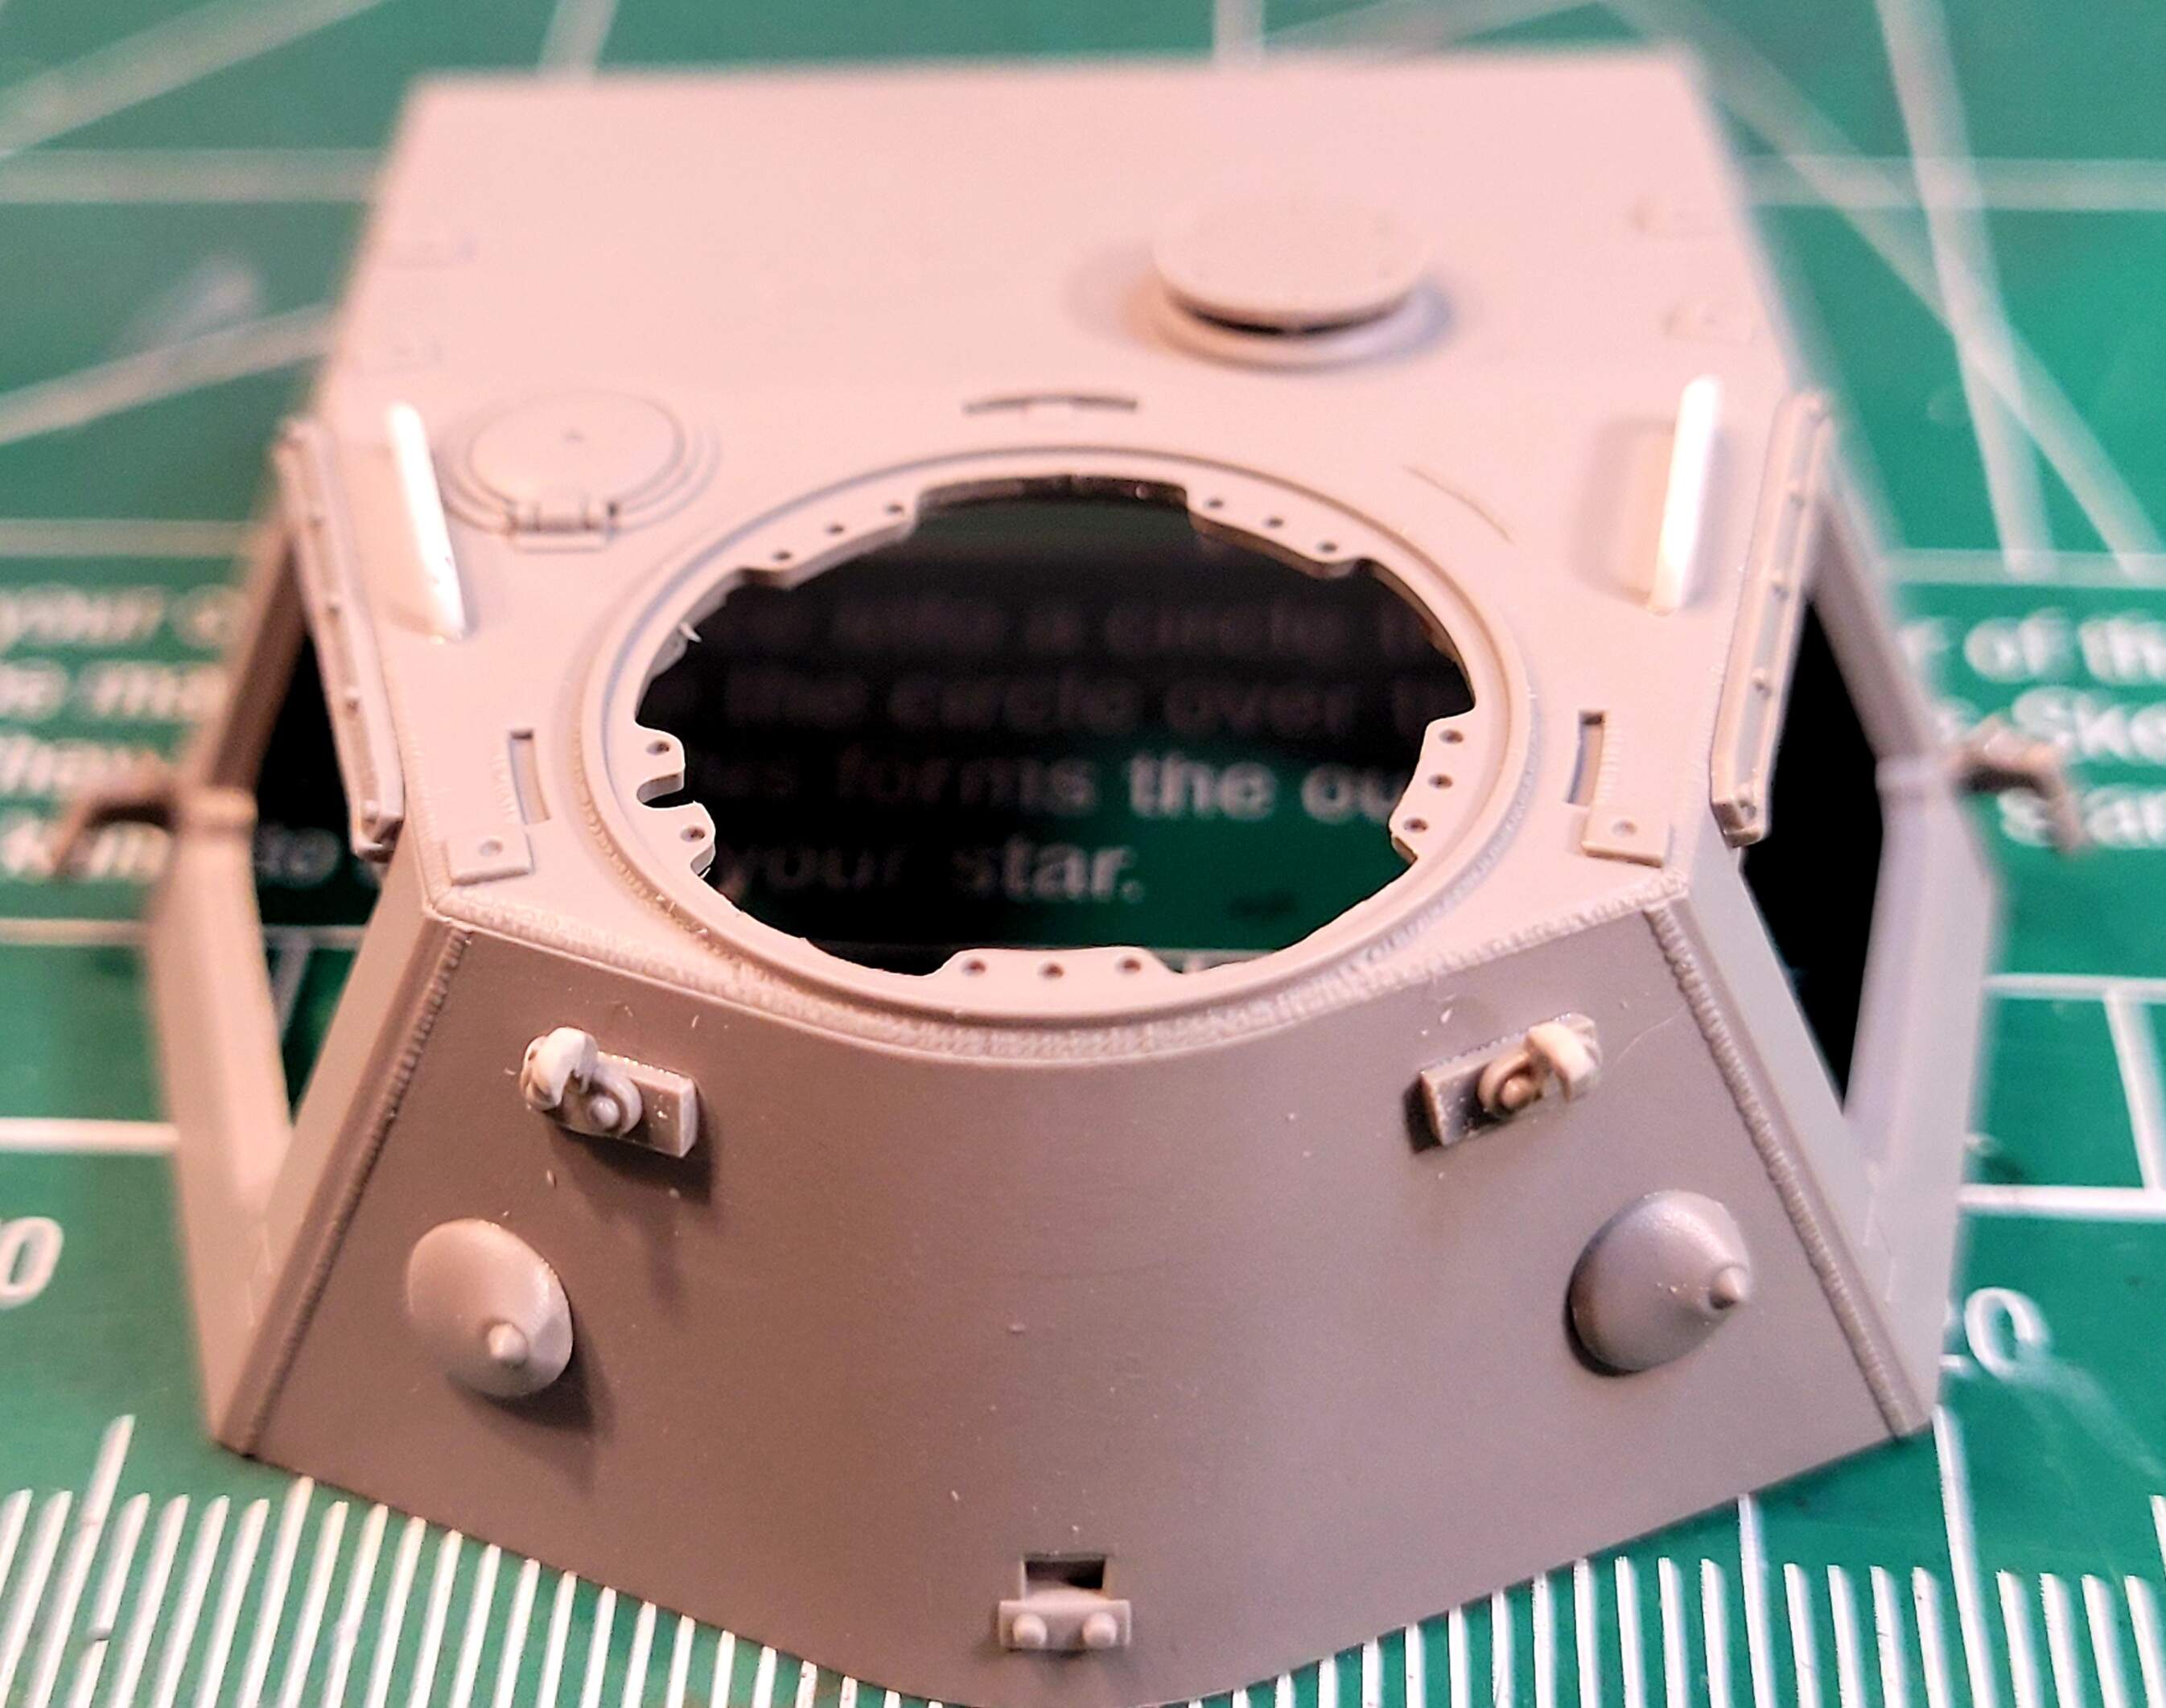
The bases (E10 & E11) for the hooks on the back turret need to have the alignment pins trimmed slightly or the back of the turret needs it’s alignment divets drilled out slightly to allow the parts to seat.
Takom doesn’t have the face (E41) or base (E36) of the turret fitted until step 23 after all the details are added to the top half except for the skirts. Adding E36 next. Had planned to add E36 & E41 in step 18 but forgot
6 Likes
Step 23 < 40 minutes > total 33 hours 5 minutes
Jumped to step 23 to assemble turret bottom and front. At bottom corners where the triangle  area fit is mediocre. Thinned Molak Stucco putty and sanded required on this one to eliminate divits in joint. I gave alignment priority to the top edge.
Top and bottom edges fit perfectly. I would expect some of the kits to fit just a hair better and not need any filler and some others to need a little more.
Can proceed less worrying about knocking small parts off in step 23 now.
5 Likes
Its looking like a very nice kit!
How are you planning on painting it?
1 Like
Thank you Ezra,
LOL that’s a loaded question. I have a uber nerd system that determines color scheme (within correct time period) and division markings It all depends how I feel about the kit after the build. Early on primer red plus rust waiting on a scrap yard to process it seemed appropriate 
If I like the model then 1943 dark yellow & olive green (Kursk summer) 2nd Panzer Division tank.
If I don’t like it then Panzer Brigade Norwegen - June 1945 in tricolor.
2 Likes
Step 20 < 1hour 50 minutes > total 34 hours 50 minutes
For some moronic reason Takom has the turret side door & frame assembled off turret. The frame A18 needs careful clean up and fitment checked for doors & turret. Attaching A18 first to the turret ensures best fitment and after meticulously cleaning A18 it fits near perfect. The two smaller rod ends of the hinge detail point up for A18, its in the sketch but hard to see. The doors fit nicely and are well detail OOB with lock tabs at bottom and grab handel on the door. Very nice.
The stowage box has several curves and requires careful clean to get a decent fit. There are two nasty punch marks in the recess on the inner face. Building to display standard not worth fooling with but building to contest standard they should be fixed. It’s the sort of landmine that will knock the model out of contention or lower its standing in a tightly judges contest where the judging🔦 flashlights crew is digging and having to split hairs.
The inner face of the stowage bin needed thinned Stucco putty and sanding to get rid of hairlines. Only one attachment point holds the bin to the turret. After gluing measure the left and right side to ensure its level to be safe. Found mine was canted .25mm almost imperceptible EXCEPT from the front where a nice long line of rivits are visible on the stowage box. It’s instantly noticeable vs the flat turret roof. This is another potential landmine for the ye ole contest gang.
The smoke grenade rack is decent. The base plate being plastic is thick. The base plate needs the two holes for the hook slightly enlarged so it will sit flush… Check alignment carefully as there is a lot of slop and the part can be canted like 15 degrees and still fit in the location.
I sneezed at the wrong time and blew tiny C hook top A36 into the next dimension A37 don’t appeared to be used and was converted as a replacement.
I decided not to wire smoke grenade dischargers as my reference is too thin to do it properly. Likewise, with the turret skirts, discharger angle and close tuck of the conduit I don’t think the wires would be very visible. No turret skirts and its worth IMO.
4 Likes
Interesting point you make about judges with flashlight. At IPMS Nationals in 2019 the judges were explicitly told they were not allowed to use flashlights.
3 Likes