Inspired by Armor Buff’s Three Amigos, I’ve decided to embark on building three StuGs, the three StuGes (ha ha ha).
I don’t think I can duplicate his diligence in documenting time took and providing as detailed photos, but I’ll comment on the way about the kits and point out where I had difficulties.
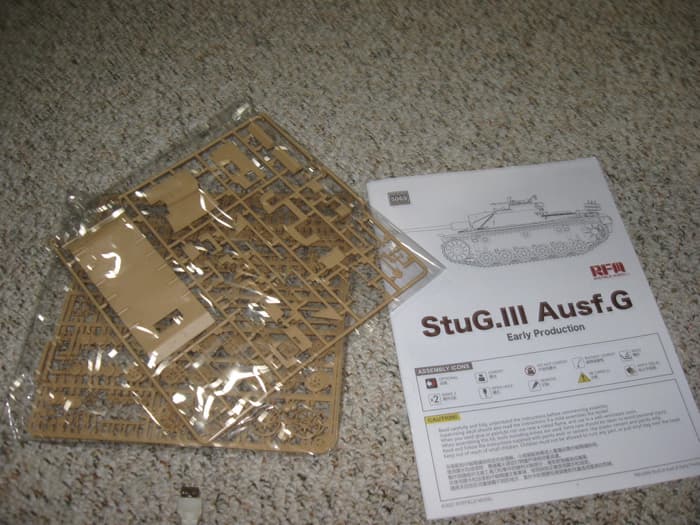
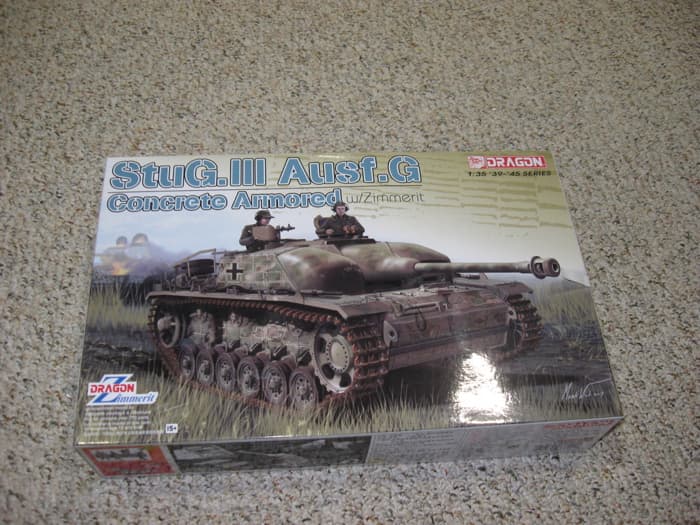
Let’s begin with the RFM early StuG, kit 5069.
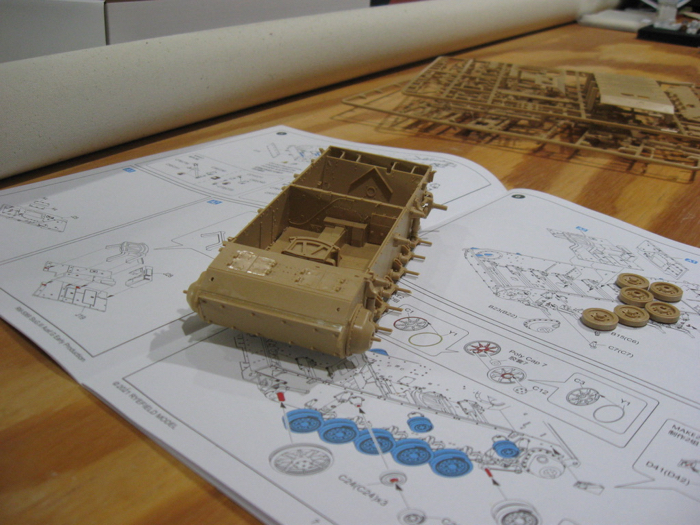
And just like that, the cellophane wrappers are gone and the basic hull assembly is complete.
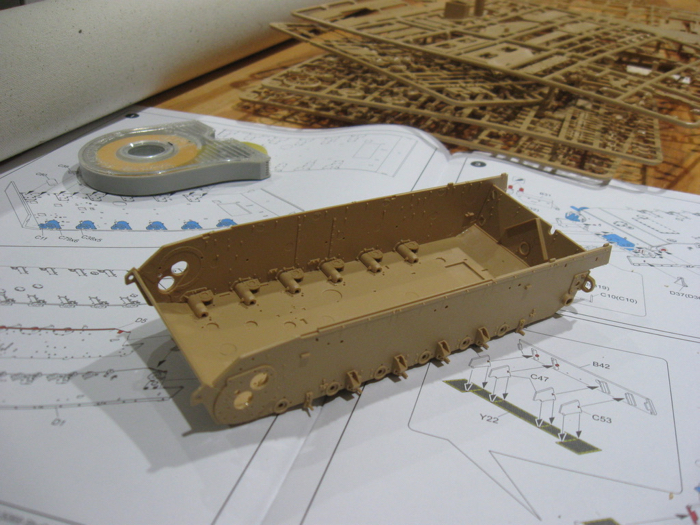
Steps 1 and 2 done. A couple of notes. The instructions call for a couple of parts M inside, but there is no M sprue. Looking at instructions online, it looks like the late kit comes with the M sprue, but it’s instructions don’t call for using the M parts at this stage. Not sure what’s up there, but it’s all inside, so I just used the C part at every point (C79).
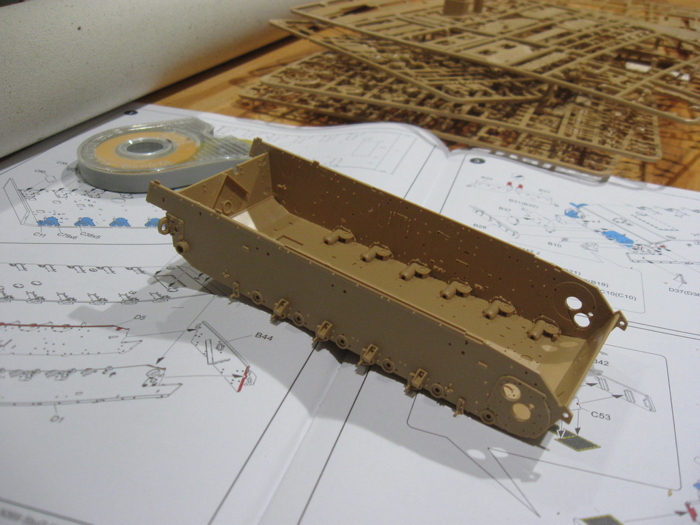
Mine has a lot of ejector pins on the bottom plate and on the side plates. Again they are inside, so appearance doesn’t matter, but it is worthwhile making them flush where you cut them off because the plastic will interfere with other plastic when assembling the hull if you don’t.
My bottom plate was fairly warped. I probably should have spent a few minutes making that flat as using glue and tape to hold it in place ended up being even more tedious. But it all came together nicely.
9 Likes
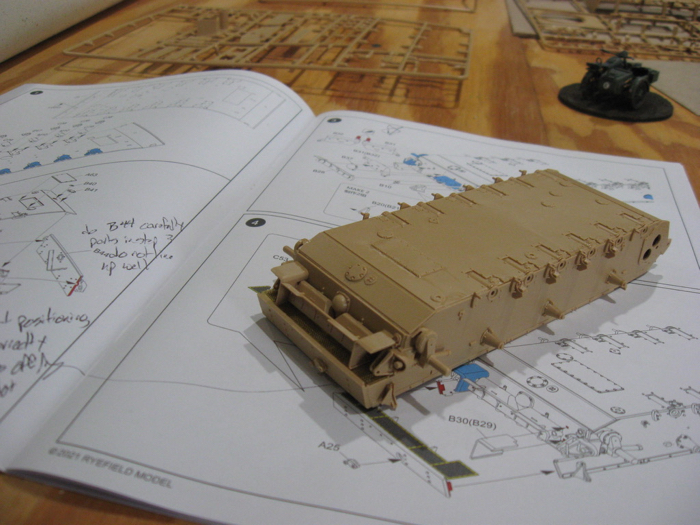
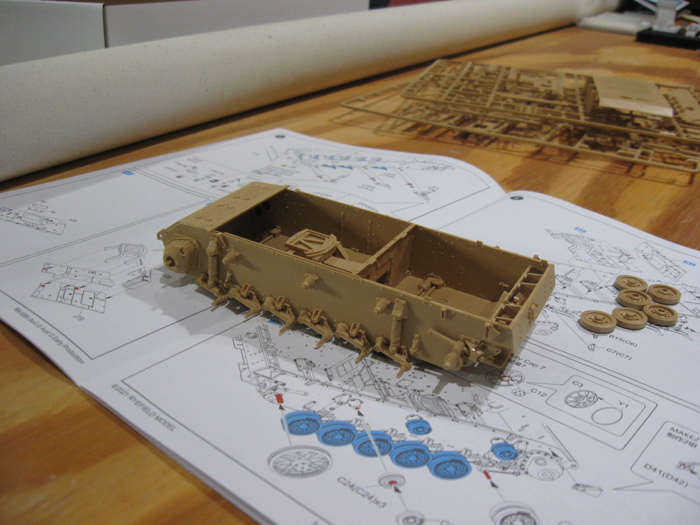
Steps 3 and 4 complete. It took me longer than I thought. I realized when I was having trouble getting the rear top panel on (I managed with a lot of sanding) that I probably didn’t have more lined up correctly on the lower hull, so put together the front hull top panel on. And sure enough, to do that, I had to sever parts that had already dried. They will be under the bolt-on armor, so no prob. But you can still see one little gap. Note to self for future construction, have those parts near-to-hand and ready to go when assembling the hull box.
When farting around with that top rear piece I was worried the PE might not fit and get all bent up but it really fit the space perfectly.
3 Likes
Phil, looking good!
Subscribed and along for the ride!
1 Like
Stugs are one of my favorite pieces of German armor, right next to Panzer IVs and Tigers. Watching this one.
2 Likes
There is a panzer iii hull in the box too. Interesting.
2 Likes
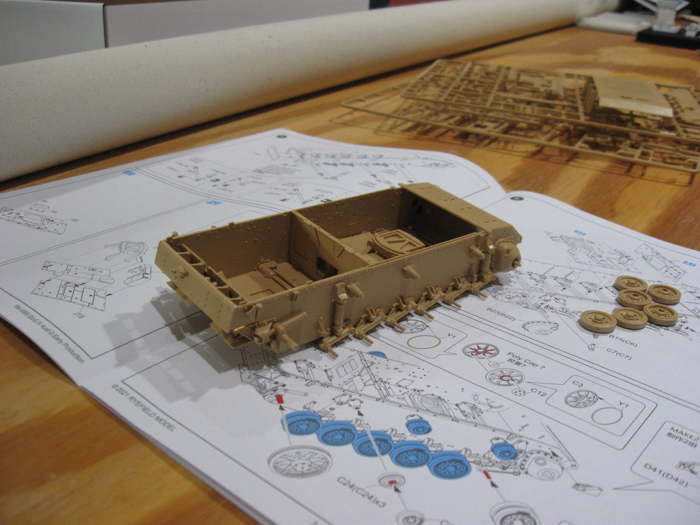
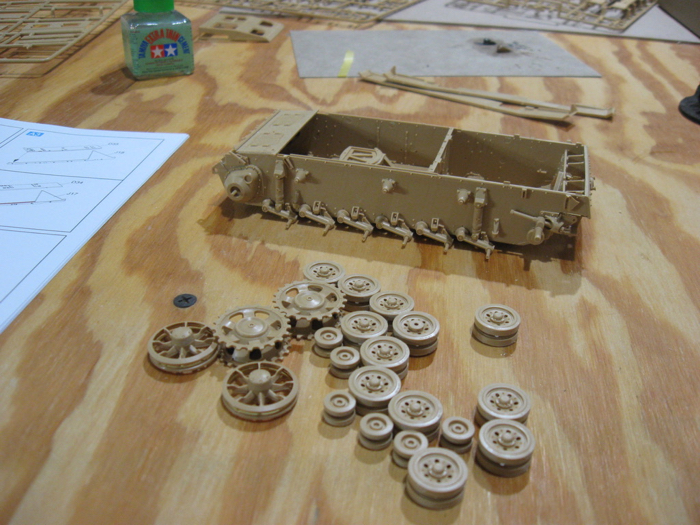
Steps 5 and 6 complete, filler added to small gaps in front of hull. No real issues in these steps. Started on wheels. Polycaps, yeah!
2 Likes
Hmmmm. For those of you who have done an RFM pz iii or stug iii, do the polycaps help in the end. Putting the wheels together they seem not to go that well together, so I thought it was the polycap, but then doing it without the polycap they didn’t seem to be any better. Now, don’t get me wrong, when I say they don’t seem to go well together, it’s not that there is something wrong, but the contact surfaces don’t seem that robust, if you know what I mean?
2 Likes
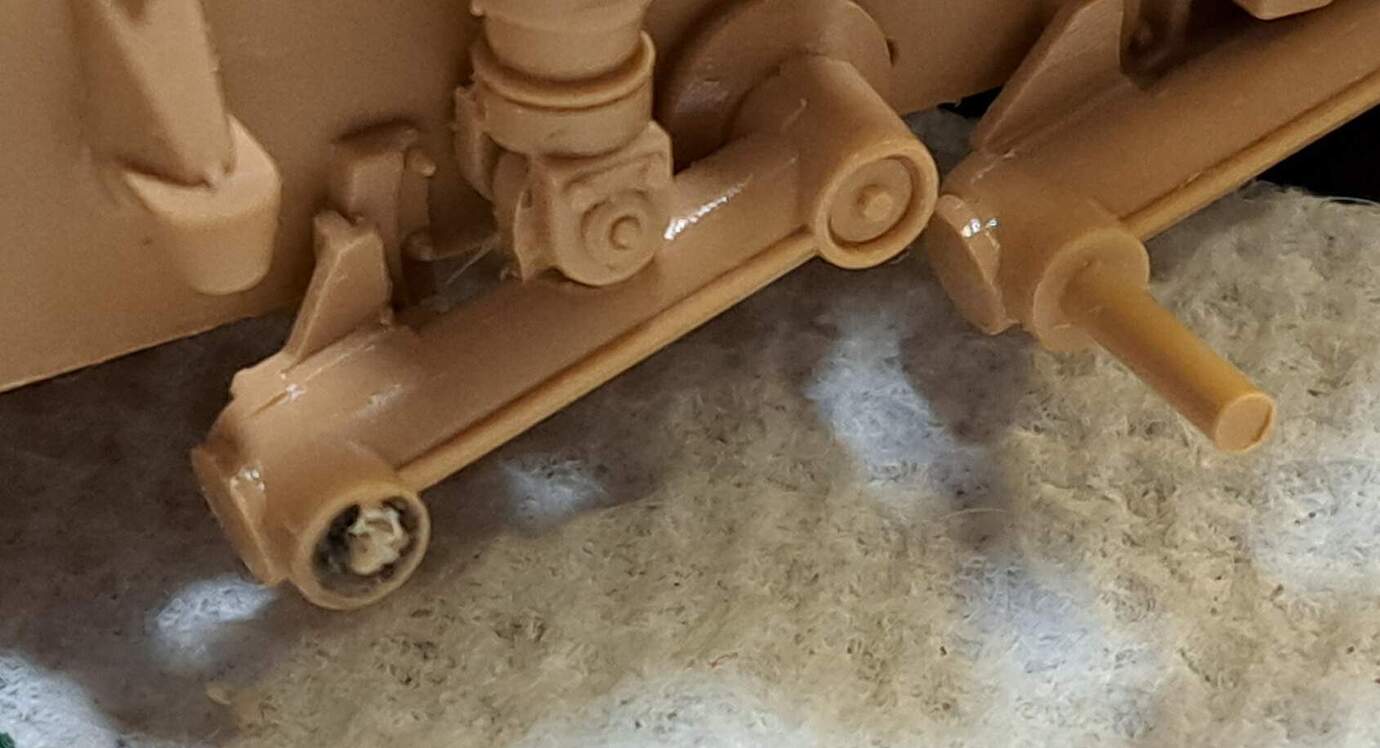
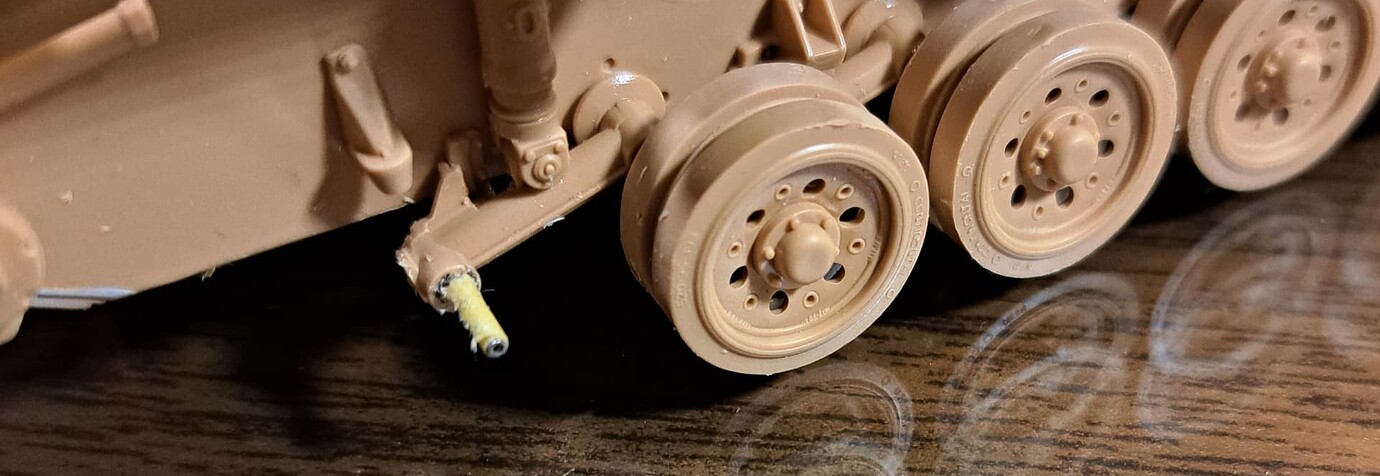
Phil, the torsion arms are fragile from what I recall building this kit. Fiddling with the road wheels and clumsy equals…
Drilled it out and slapped a pin in it.
Wrapped a bit of tape on the new pin to get a snug fit. Otherwise, I don’t recall much issue.
2 Likes
Through step 8 except for the tracks. Ready for first trip to the spray booth.
These steps were easy. I ended up putting the poly caps in and it makes for a nice snug fit for all the wheels and well aligned. The only bit that is a tad fiddly here is drilling out the holes in D20 for the top piece of the bolted armor. Didn’t look right, so I just made the holes bigger and adjusted it to where it looked like it’s in the correct position.
3 Likes
Although at any given time there were only three stuges, I think over time there were actually like five of them or something. Right?
2 Likes
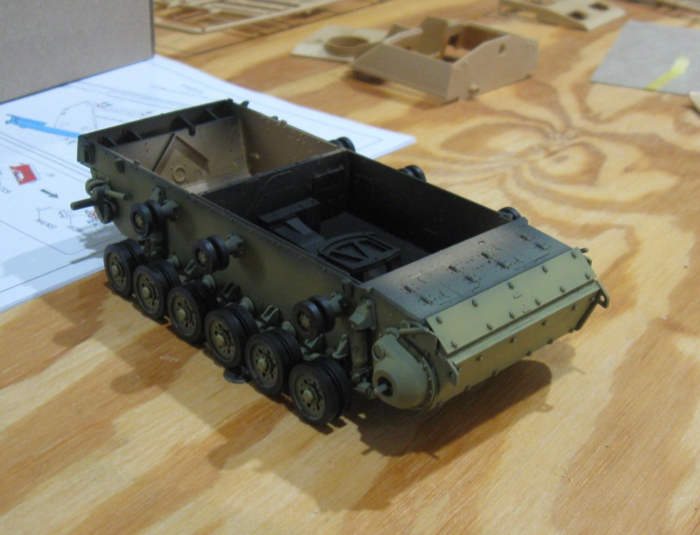
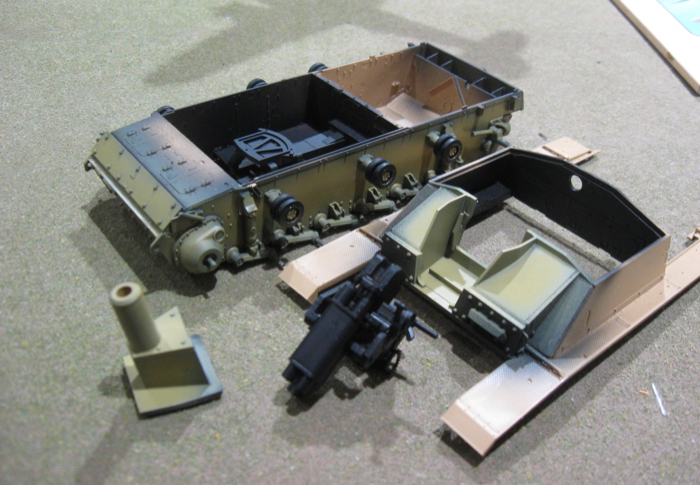
First coat of paint on what’s done. Tamiya dunkelgelb. It does have a kind of green tinge to it, which is extremely pronounced in the photos, not so much to the naked eye. I’ve glued on the return rollers, but the wheels stay in place nicely with the polycaps. I primed the inside, but I don’t think I’m going to paint it as this one will be entirely closed up I think. Leaving it black is probably fine if I have a tank commander in his hatch.
Started on the tracks. Lots of clipping to separate the links but they need hardly any cleanup, so I’m feeling good about them.
3 Likes
Started assembling the tracks. It took me about an hour and a half to separate the links and clean them. There wasn’t really much cleanup and I have this feeling that what I did do wouldn’t be noticed anyway. But I can’t be bothered with that on future builds so ordered a couple of sets of 3d printed tracks for the miniart kit and the RFM mk iv I’m looking at and thinking of starting soonish.
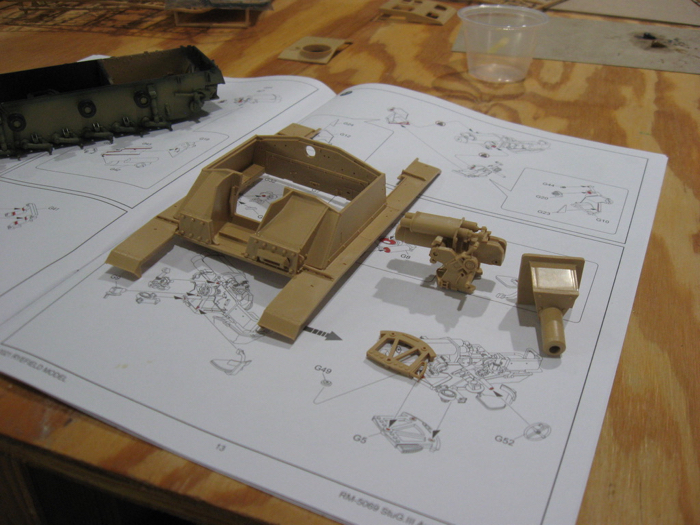
But to break up the track building process I built enough of the interior gun assembly to get the gun on. Since it’s closed up I just cleaned it enough to get it together smoothly and didn’t add all the bits. All those parts went together really well. And I stuck the fenders on the superstructure box. I didn’t bother filling all the punch out marks underneath those figuring they won’t be visible.
It will take a little bit of fiddling to get that to fit smoothly onto the hull when I’m ready, I think because one of the hull walls is slightly warped. Given that I left off the bendable PE and a couple of small parts I could see knocking off easily. I’m very pleased with this kit so far.
2 Likes
Added a little more paint is all. Plan to finish it with a winter whitewash. I wonder should I enter
it in the winter wonderland build?
4 Likes