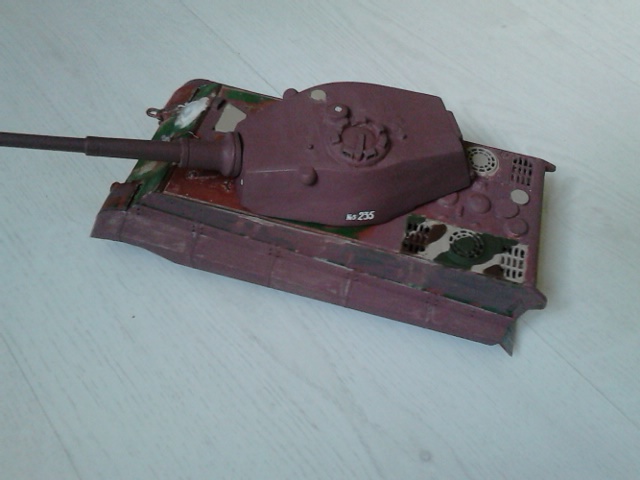
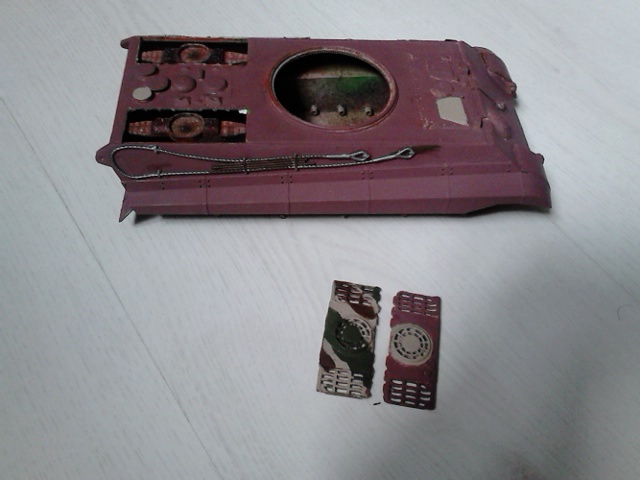
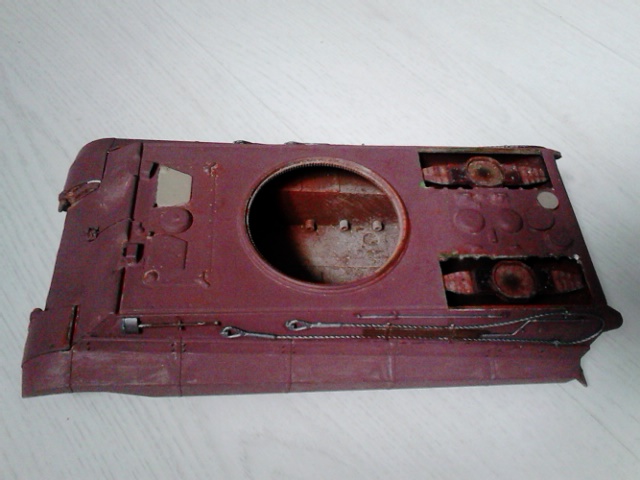
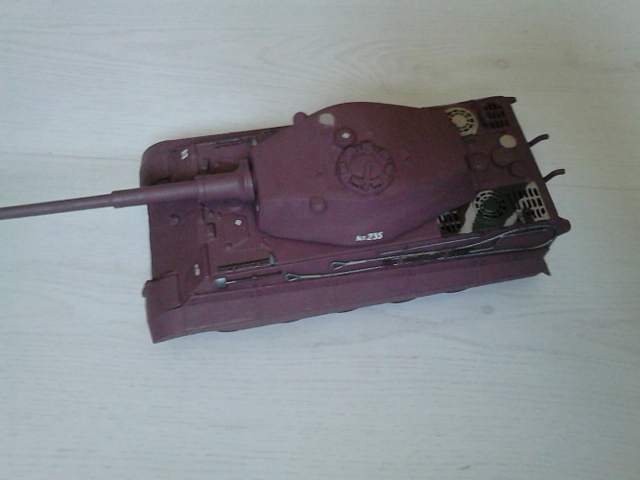
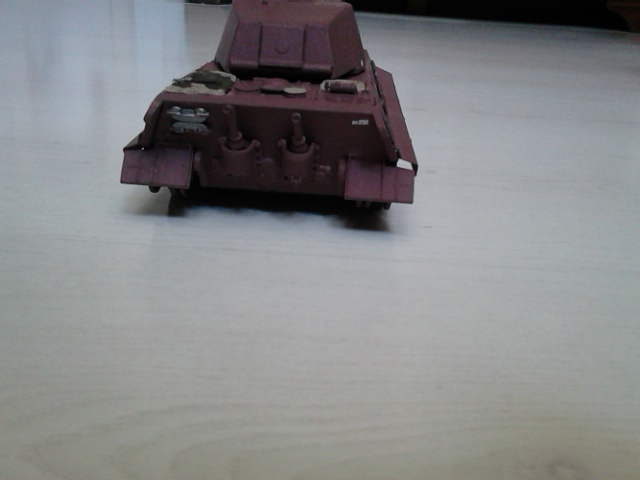
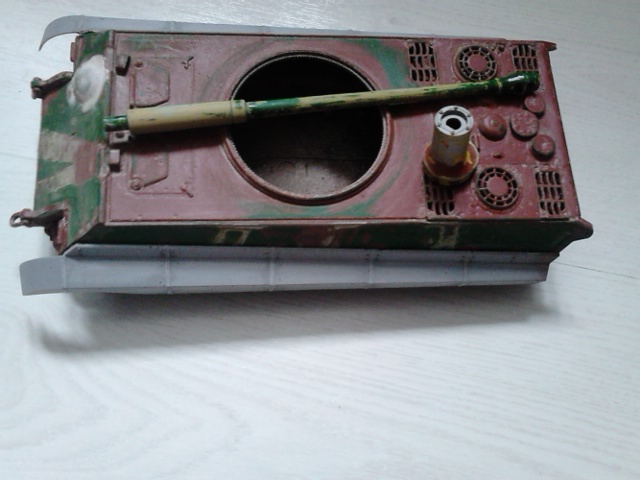
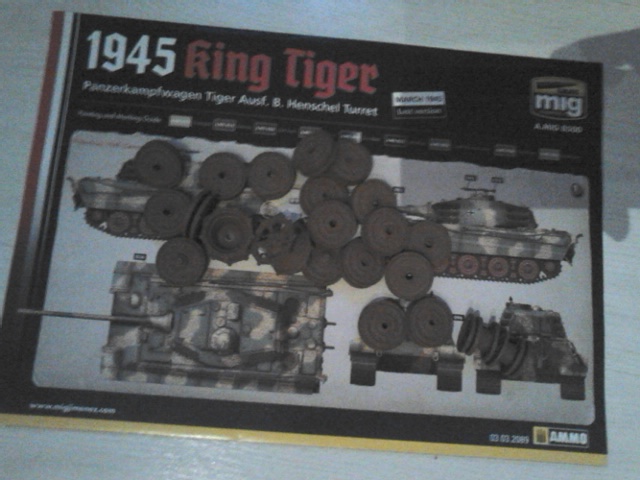
Hello, I did that build somewhat of a long time ago but I decided to repaint it because I think I didn’t do a good job and add some stuff that I didn’t wanted to put before like the hull machine gun (wich explain the putty). I decided to go for a red primer scheme to with factory marking. Note that I know the turret roof has the wrong shape for a july 1945 tiger II but I’m doing the 10,5cm proposition wich was just a rough scheme, so it somewhat excuse both the kit innacuracy and my own error. planning on getting the takom rebox for my birthday to give it another shot and do a better job.
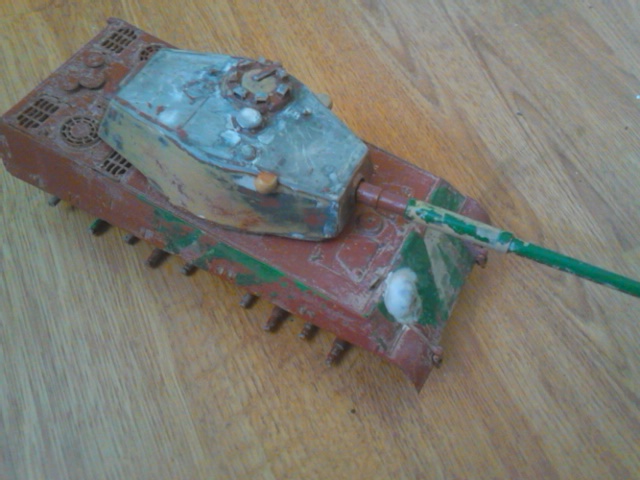
My question is: how am I cleaning this? I tryed putting the hull in water for a day but nothing got off, maybe with a toothbrush?
Thanks for your answer!
What kind of paint is it?
If it is acrylic, then soak it overnight in Windex or household ammonia. The paint will melt off.
If it is enamel, soak it for a few days, mixing occasionally, in automotive brake fluid.
If all else fails, use caustic oven cleaner, taking precautions.
multiple coat of tamiya paint bomb, the sstuff on the kit is whats left of décapfour, I don’t know why it doesn’t want to come off
I remove chrome with simple green. A non toxic option might work.
Tamiya TS spray paints are lacquers. Good luck getting that off.
1 Like
sanding it work well enough for me
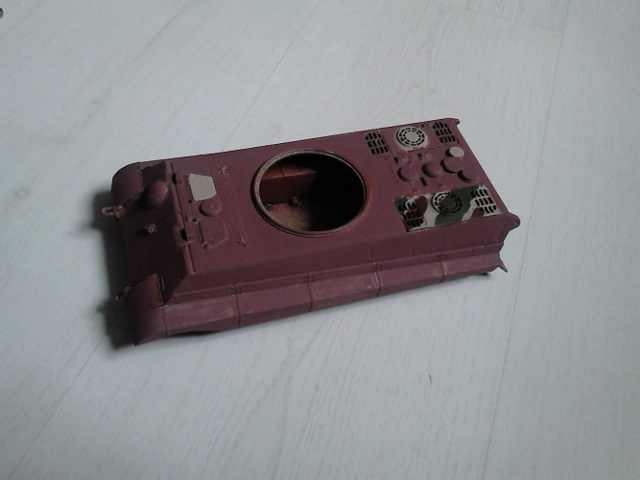
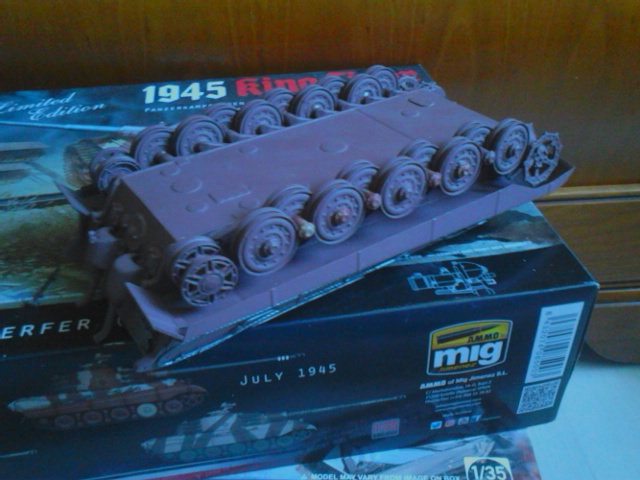
added the side armor on the hull and here’s what the suspension look like, glad I decided to unglue them
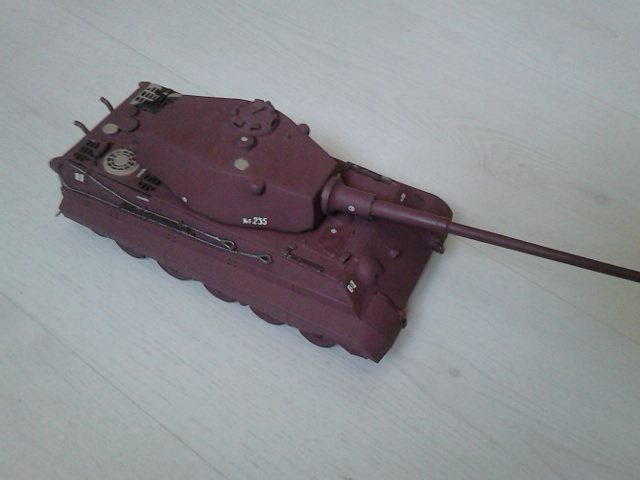
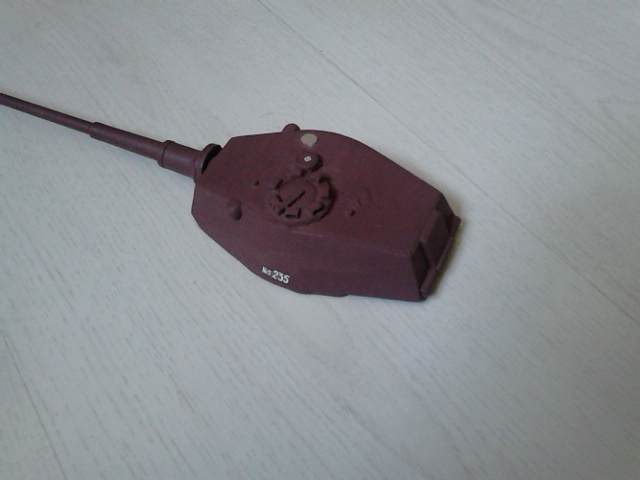
the turret look already better with the first coat of paint. I decided to go for a out of factory tank with some canibalised part
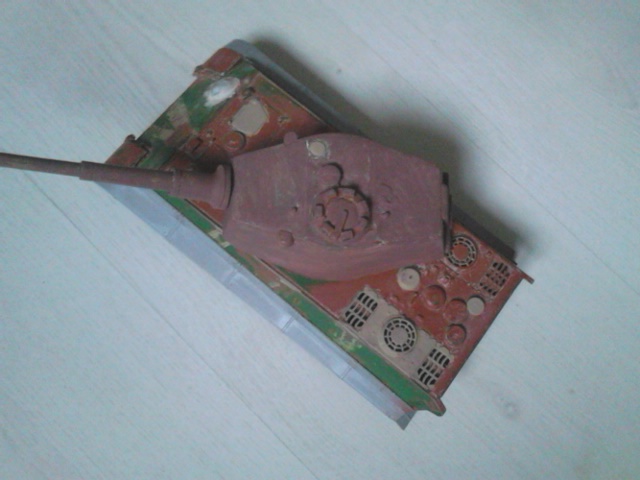
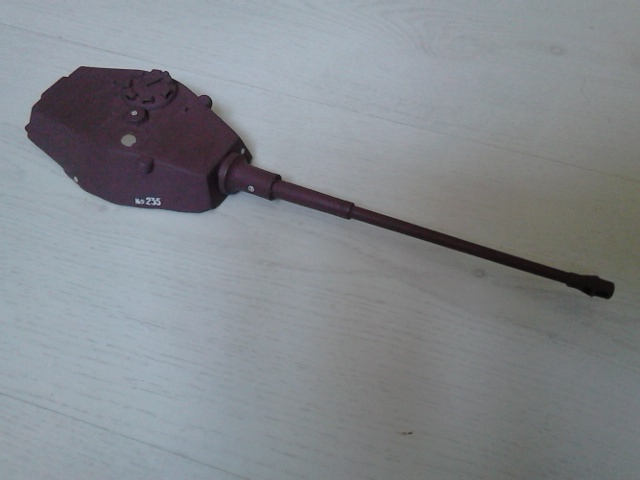
Et bim! The turret is already done, andd for me it look much better than my first paint job (but I messed up on it: putting too much putty made the underside melt a bit andd I got the bad idea of removing paint by cutting through it)
1 Like
Everyone has their own method so key is finding what works best for you.
My opinion is it depends on how you choose to paint the the tools. Ever one had their own preferences.
I’ve done it two ways. #1 when I first started and then switched to #2 after I learned to thin paint for brush painting and making washes.
1) Limited Paint Control - Brush painting tools with paint straight out of the paint bottle. Dab excess paint off of brush on paper towel etc.
Paint model and paint tools separately. Use super glue to attach tools to model.
2) Able to Control Paint & make heavy wash.
After I learned paint control & how to do washes, I glued the tools to model and painted the whole model and let it cure for a couple of days. Curing is very important!
Put two or three drops of paint on artist platte or cup, add a drop or two of thinner and a drop of retarder then mix. Paint will be thin and flow very well. With a good quality 0/3 red Sable fine tip brush, it’s easy to flow the paint into place on tool handles etc like a heavy wash. Bit of thinner on q-tip to clean up any over flow.
The paint on model won’t lift since it’s cured so you can carefully use a q-tip or clean brush with a drop of thinner to remove any over flow.
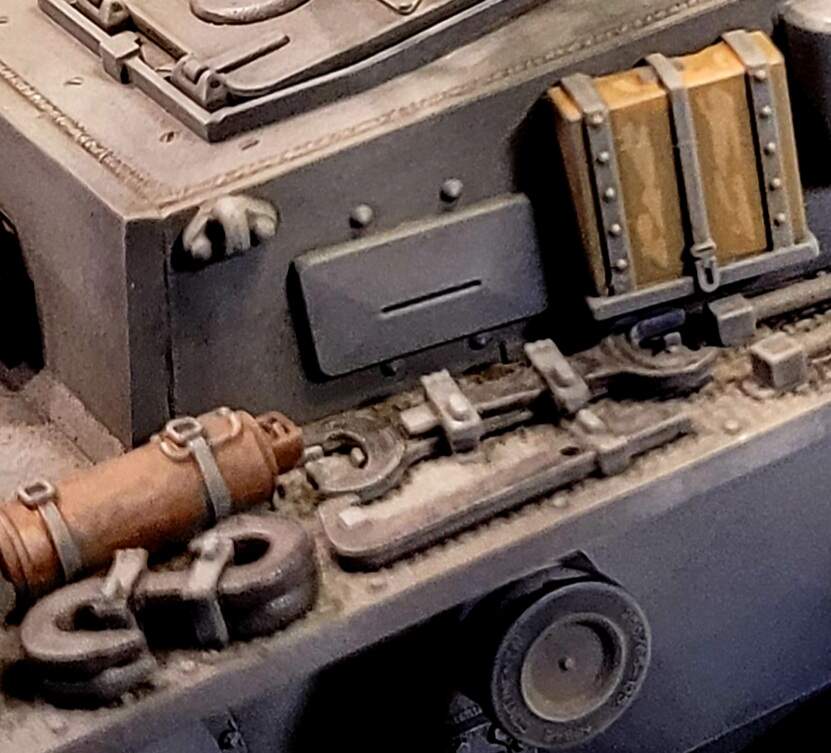
All tools & equipment were painted using heavy washes to flow on to items on this Pz IV.
With a little practice on #2, I can paint tools in half the time #1 took and have an overall better appearance and easier build.
1 Like
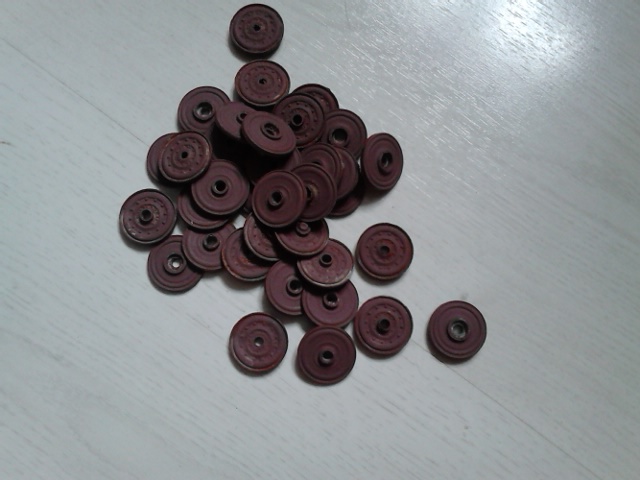
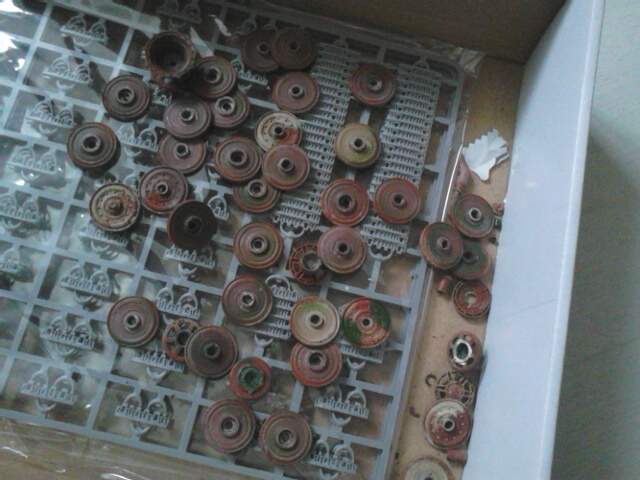
I prefer to paint my tool separetely from the model (at least the basic color since I know that after gluing them, I’ll have to do some paint touch). The roadwheels are done (much faster than I expected)
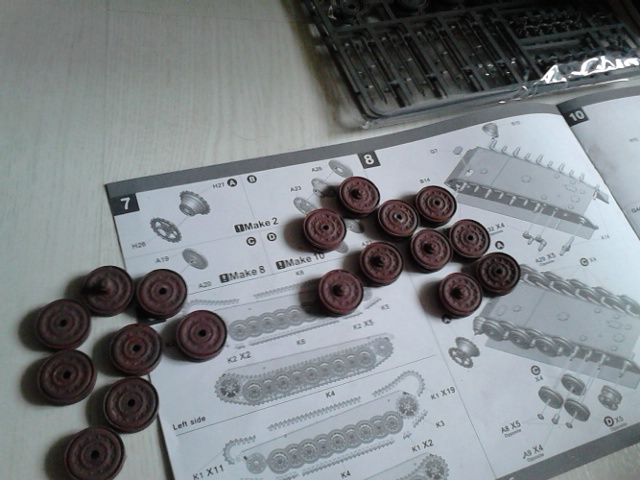
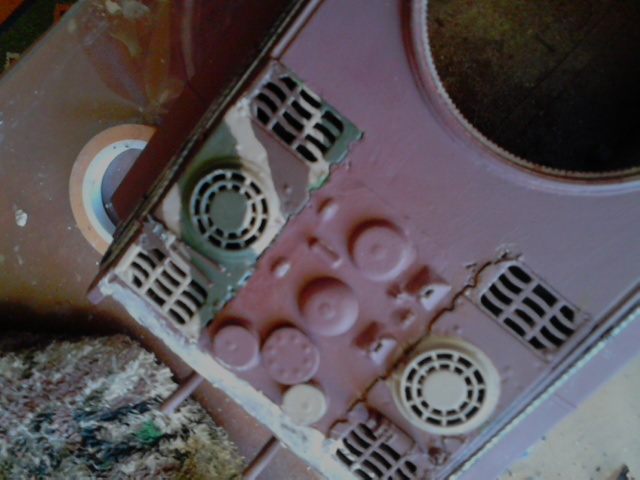
welp, I thought I could finnish it tonight but nope, I had to put putty because of the engine grills not wanting to get in place properly, managed to do the roadwheels( it’s not perfect though, will be better onthe other 2 I have)
Wow, what a difference you made from what the tank looked like at he start of this post. Keep up the good work and enjoy. It’s been a long time for me doing something like this with an old build but I know it can be fun.
~ Eddy