Trumpeter 2P19 Launcher with R-17 Missile SCUD B

Most of the finish work has been on the interior of the crew cabin. I think the photos below are pretty self-explanatory. I’ve still got a bit of weathering to do, and then some detail assembly with the seats, lights, (the 3D printed) windshield wiper motors, and the windows. I should have all of this buttoned up soon.

DSC05663
DSC05664
DSC05665
DSC05666
DSC05667
DSC05668

15 Likes

Nice work Michael.

80kt? I mean, that’s a fairly hefty wallop at the tactical level. Jeez…

2 Likes

Finally, a couple of shots of the missile erecting cradle. Trumper does a remarkable job on the design and molding of this assembly. It’s tedious as heck to clean up the mold seams and sprue attachment points, and I STRONLGLY recommend that the actual assembly is done in stages over several building sessions to give some of the more delicate details time to dry. The cradle builds into a quite strong assembly, but it’s best approached and built up slowly and carefully.

If care is taken, it can have a large degree of “workability” offering a number of display options. Trumper even gives you multiple different optional parts for the lifting hydraulic rams, one set can even be assembled to fully extend and collapse. (I’ll try to remember to take some pics of these before I paint and assemble them to the TEL. I’ve built them, and they do seem to work as “advertised,” but I’m not sure how well they’ll continue to operate after being painted.


DSC05669

The last photo here shows how I plan to display my SCUD, erected for launching with the cradle in the down position. I have to say that this is a really large model. It’s going to eat up a lot of display case room… However, it is also pretty impressive.

12 Likes

Saw one last weekend in Washington State.


7 Likes

Indeed, it packed a wallop!

The more I’ve studied it, though, the more I understand just how inaccurate it was. As we’ve seen over the past 2-3 decades in the Middle East, the SCUD with a conventional warhead is pretty useless as a tactical weapon. It’s a whole lot of resource for very, very little practical effect. As an indiscriminate terror weapon used against defenseless civilian area targets… maybe. Against pinpoint military targets, though, totally random with very little chance of actually hitting anything of value.

About the only way that it could have ever been really effective at the operational or tactical military levels would have been with nuclear or perhaps chemical warheads.

A modern, precision GPS-guided “smart bomb” it was not.

3 Likes

That is the 8U218 TEL, which, although similar to the Trumper 9P19 kit, is quite a different thing. If you’re interested in the gory details, I might suggest giving this a look:

Modeler’s Guide to the SCUD Missile

I do have an updated version of this guide that will be available soon in a very limited hardcopy print format.

4 Likes

Didn’t know that! Thanks, I’ll check out your link.

2 Likes

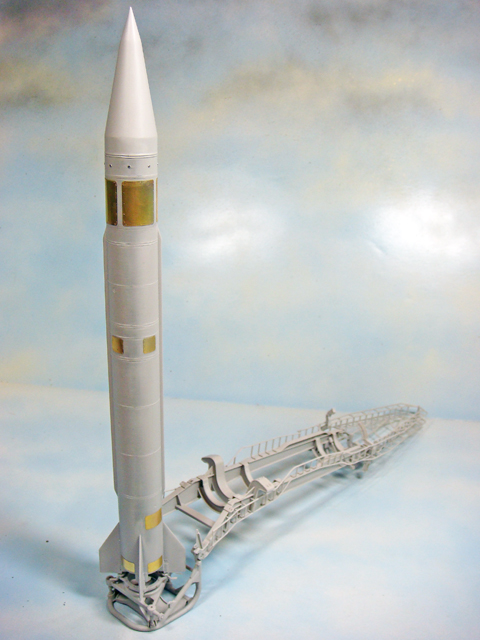
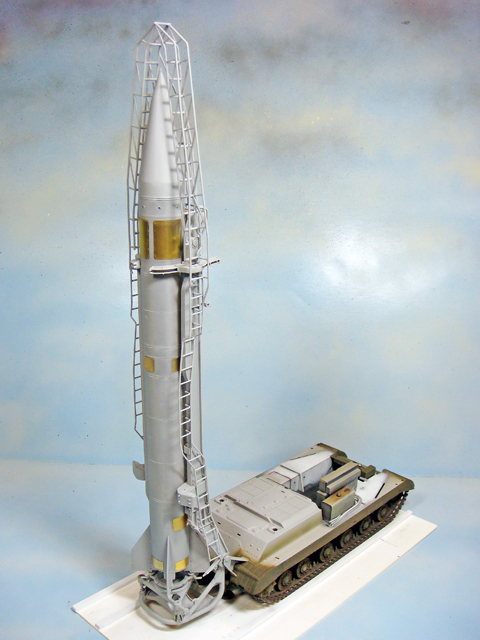
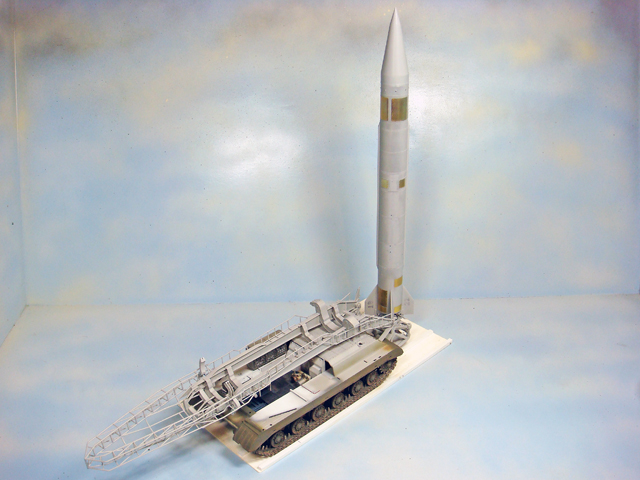
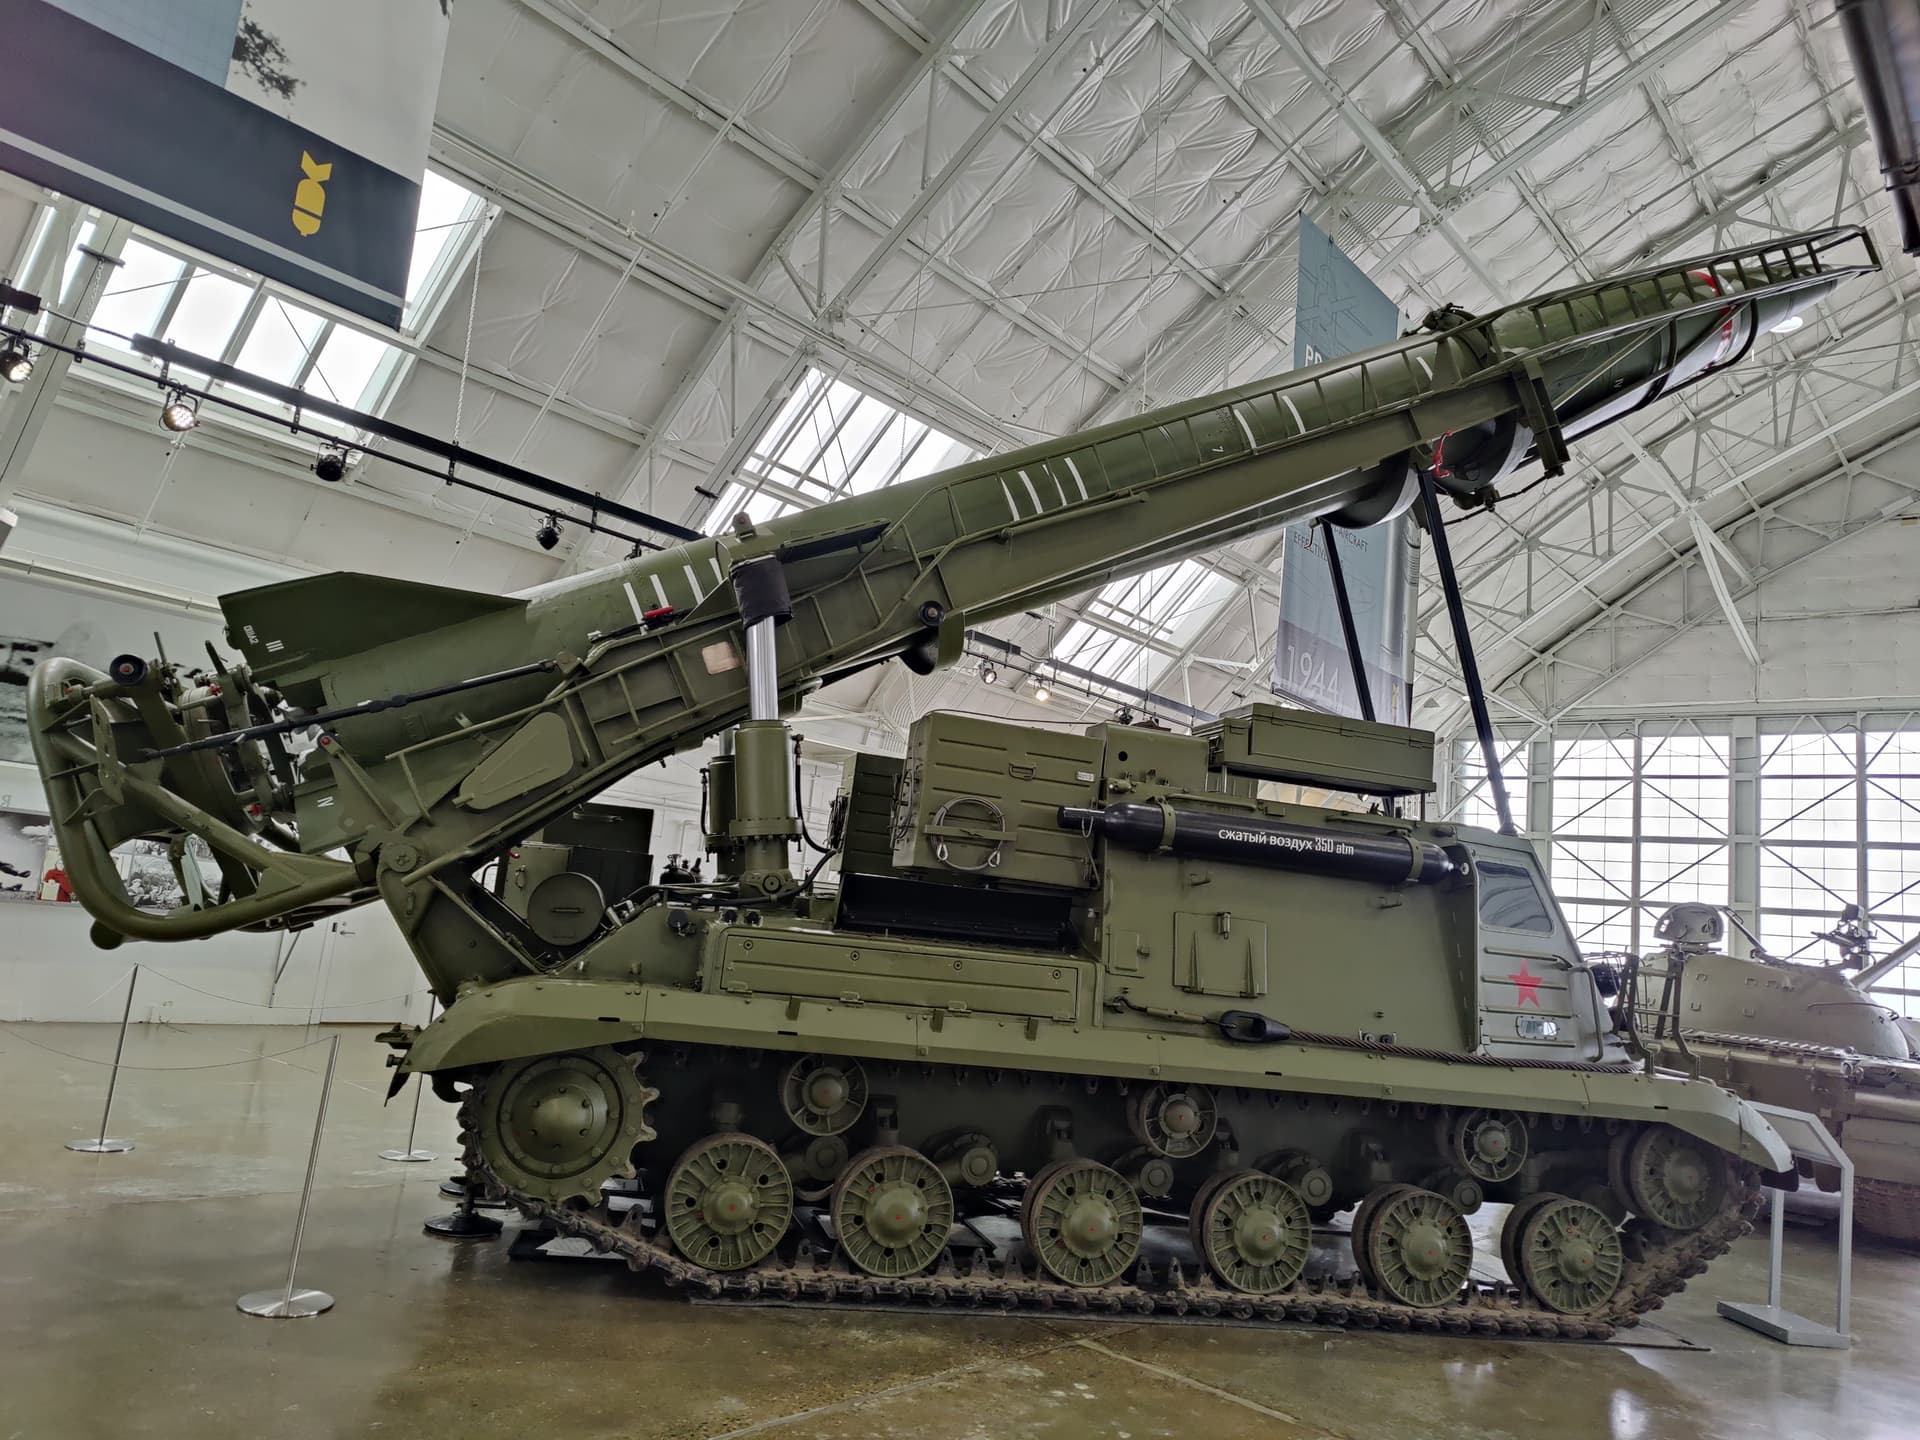
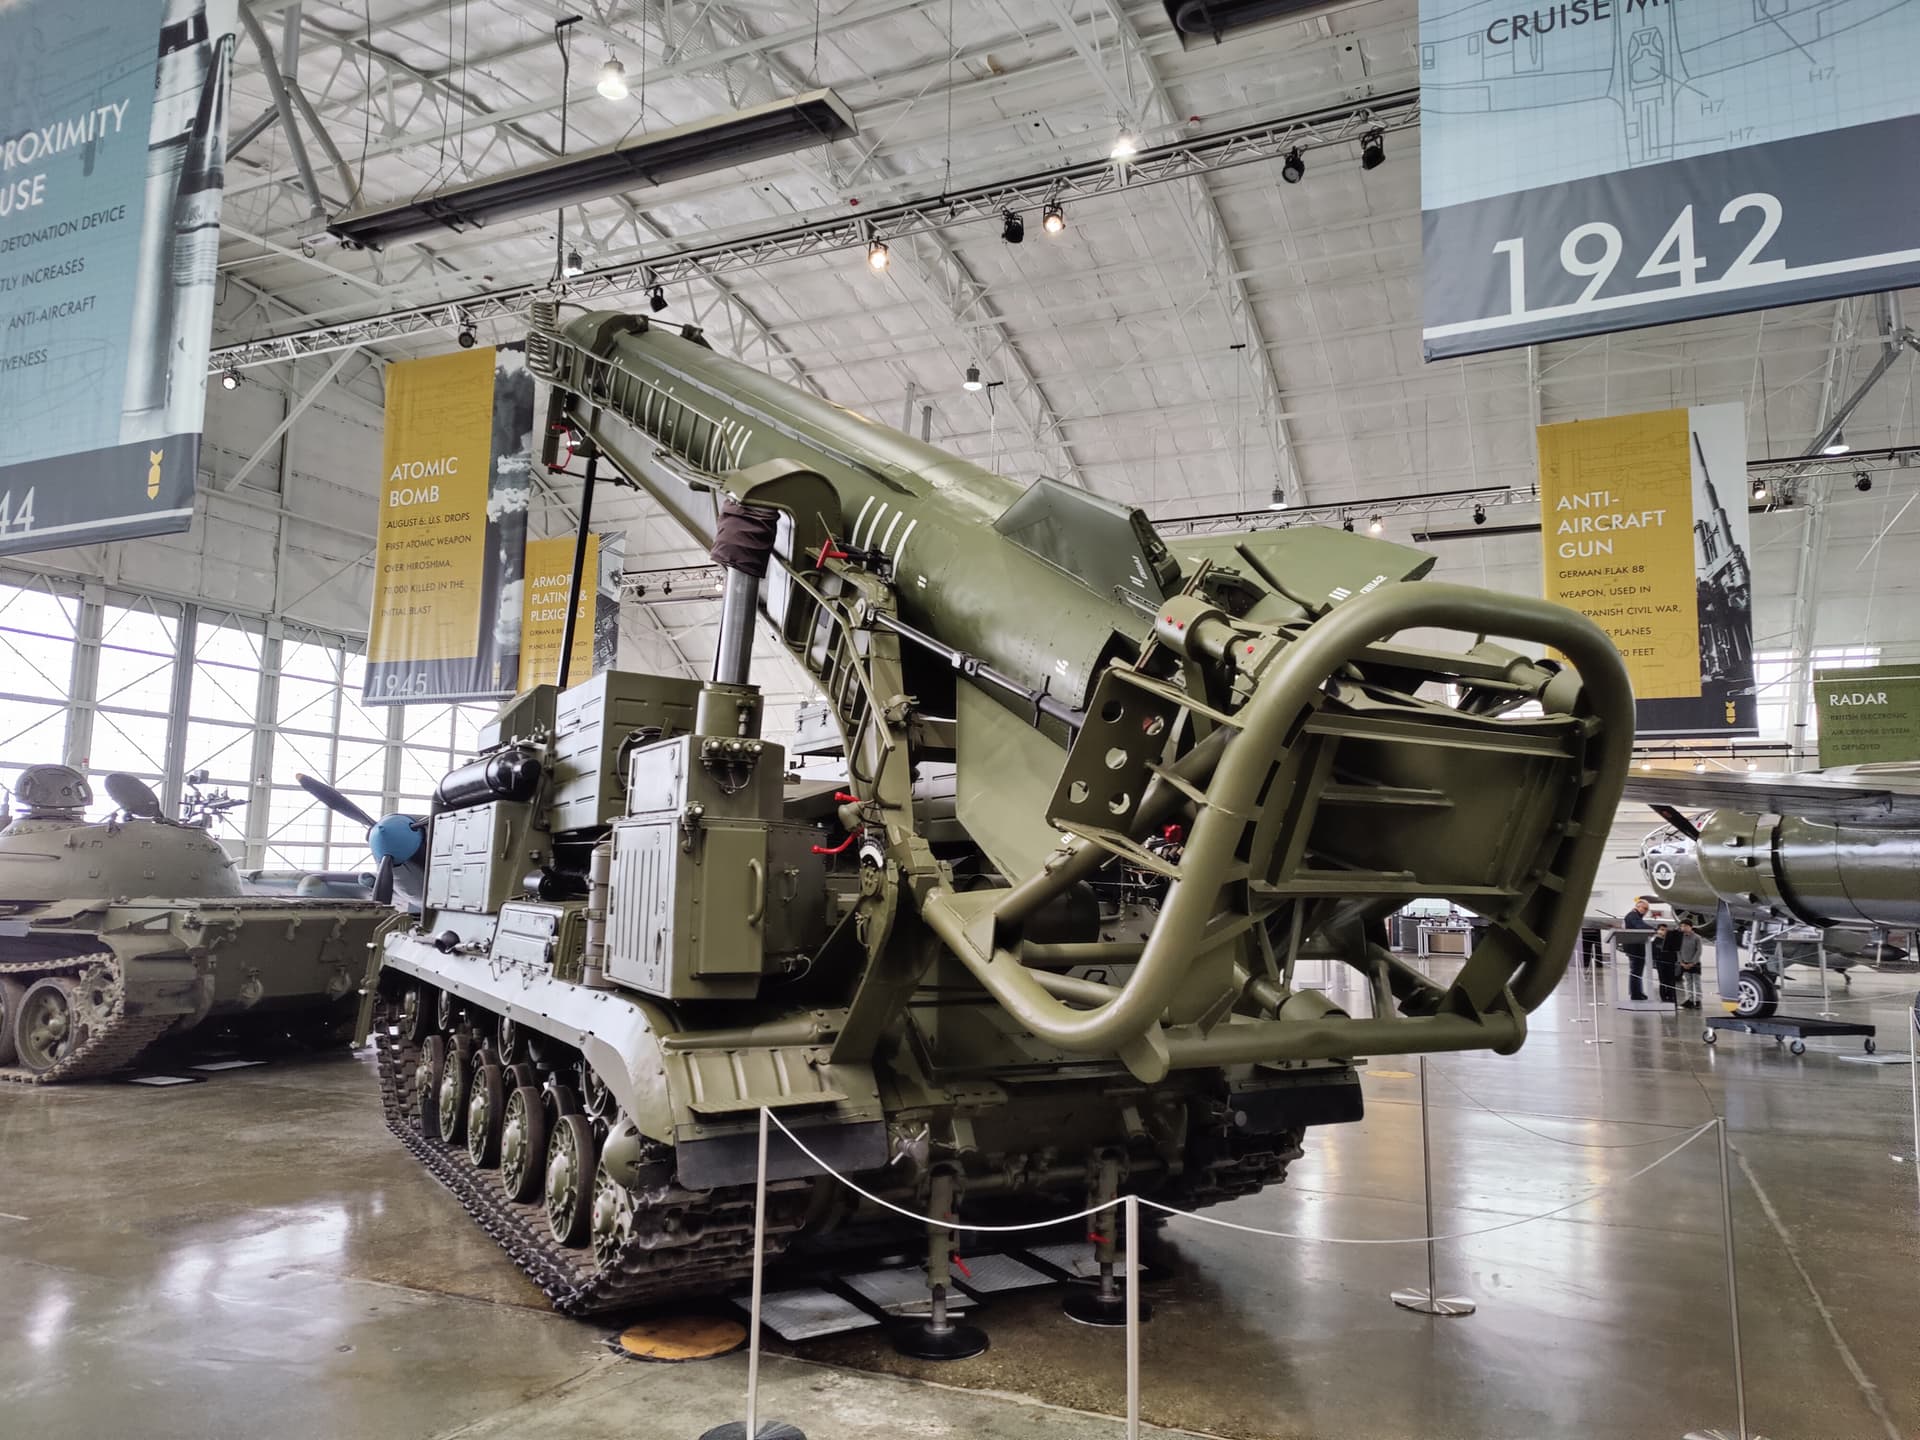
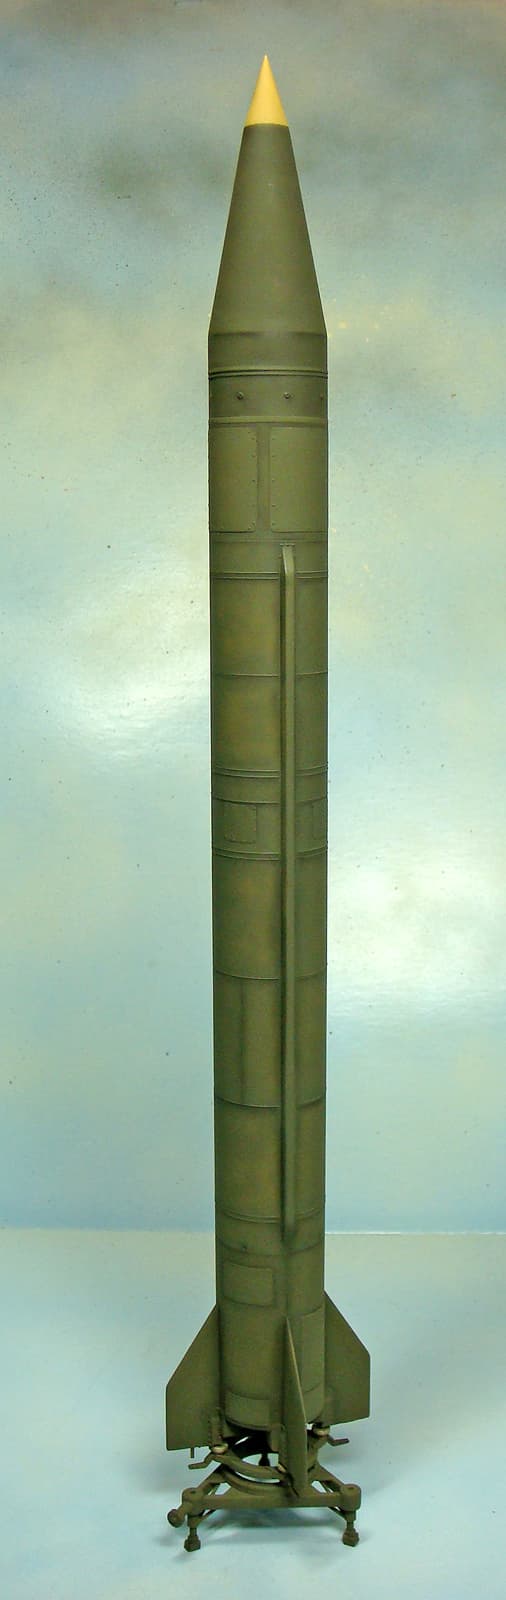
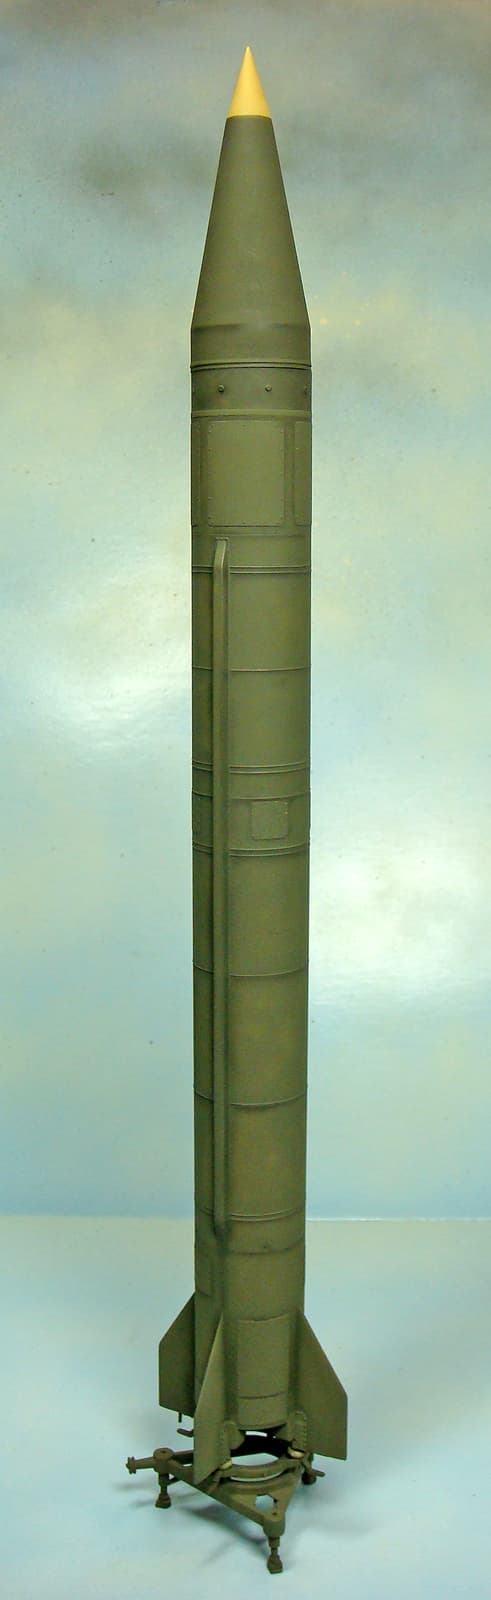
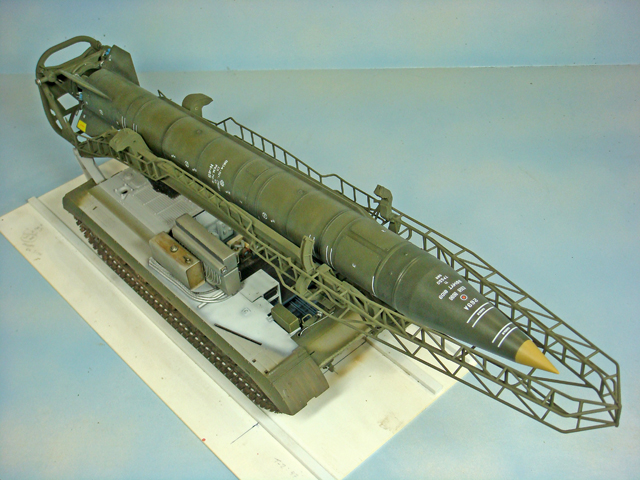
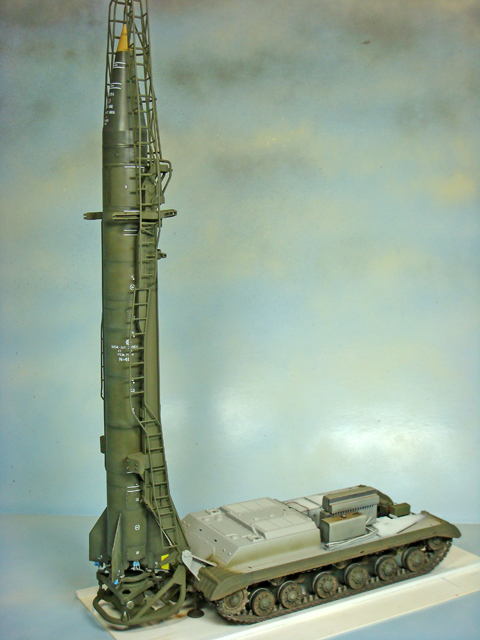
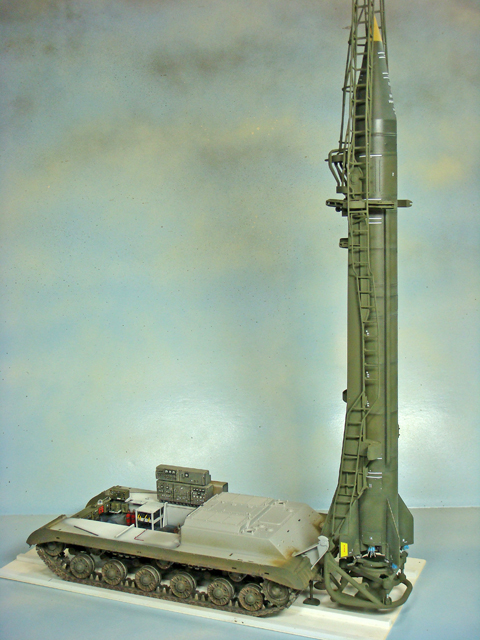
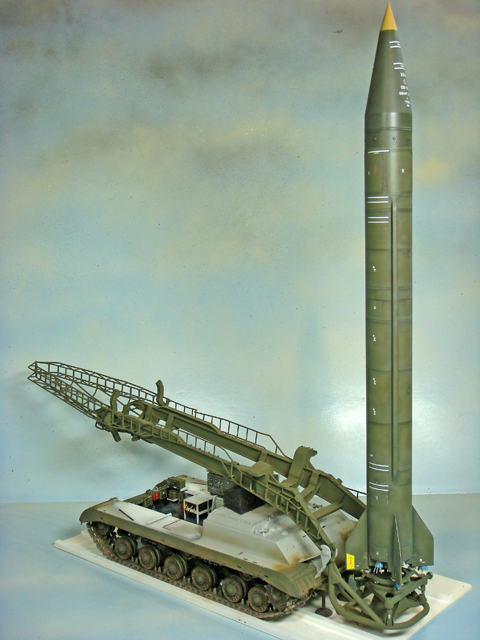
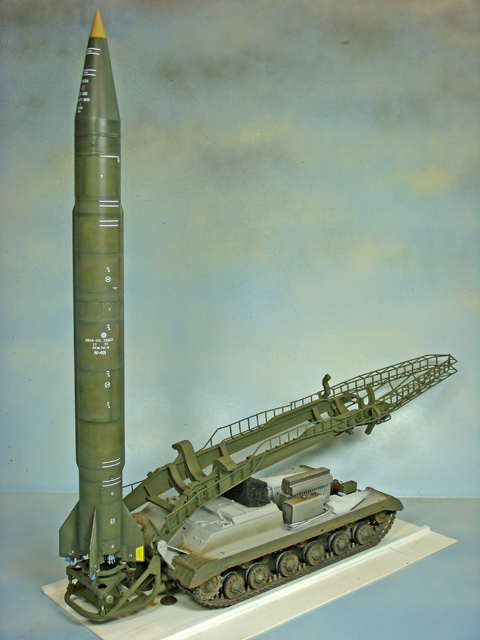
I recall, once (as it proved too expensive) that whilst in the Brit Corps HQ, occupying a relatively small piece of German real estate, it was fed into the exercise scenario, that we, Corps HQ, were a target for a Scud battery; now, what constituted a Scud battery I can’t quite recall - say 2 x launchers?

Anyway, the idea was that we would practice a “Crash Out” - an emergency departure before we met a fiery death. It was announced over the speakers in each Staff Cell in the following manner:

“Hello all stations, crash out now, crash out now!”

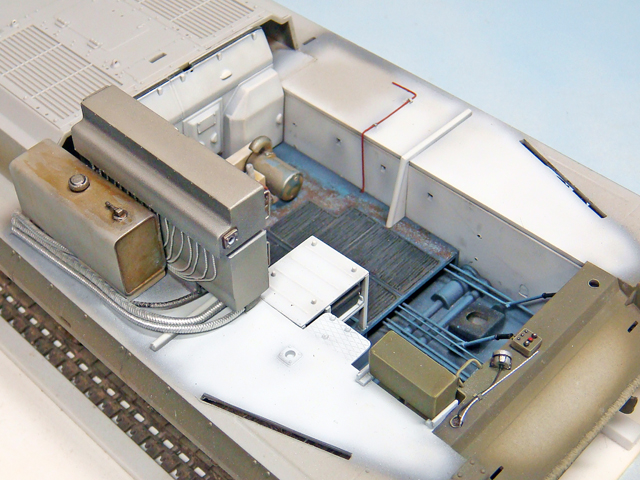
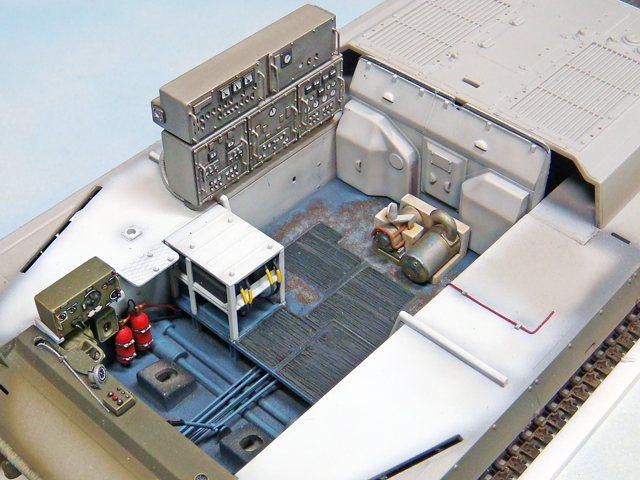
What followed was mayhem; documents and maps flung into the back of the office trucks, tentage either thrust in after them, or even abandoned, camouflage nets ditto, communications cables left trailing as the several score or so of office trucks all left at some speed in clouds of exhaust smoke amidst the cries of the abandoned.

Now, technically, as this was all underway, a duplicate HQ known as Step Up, probably some 20 miles or so away, ran the battle while we at Main HQ, underwent the above torment (just for info, while Main was ever on the move, say to a new location Step Up became Main, and Main became Step Up).

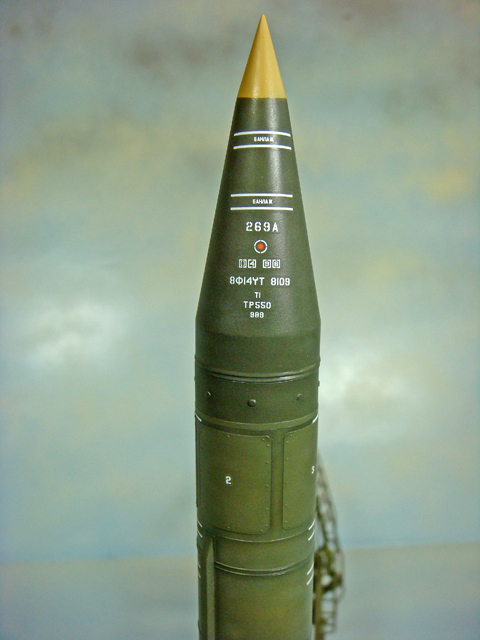
Now, we all knew that Sov missiles carried large-ish war heads as their CEP was never that good, but to consider 80Kt impacting, x 2(!), would have I should think, meant that both Main and Step Up would have perished, let alone a large chunk of North Rhine Westphalia! I mean, bloody hell!

5 Likes

Holy cow! That’s some fantastic painting and detailing on that interior Michael. Simply amazing how you get those radio boxes to look so real. What colors did you use to paint and weather/ highlight them?

2 Likes

Oh yea. Always at the top of our list of strat-recon target reporting. My eyes still want to bleed thinking about identifying SCUD related weather forecasting vehicles under tarps on RR flatcars.

Fortunately for all of us, I think the Soviets were just as terrified about the possibility of a two-way exchange…

3 Likes

Thanks, Richard!

Nothing really special. Base coated with a Tamiya X-32 Titanium Silver, then highlighted with various Citadel Silvers - Mithril, Chainmail, and Boltgun (gotta love those Citadel color names!). Black and white details picked out, followed by washes - mostly sepia tones. Still need to add drops of gloss clear to the dial faces.

I’ll grubby up the interior a lot more before closing the cab up.

1 Like

How often were these beasts actually rolled out to the field I wonder?
They look fragile in a way.

2 Likes

Lovely to see you back at this beast Mike! I think you’ve chosen the best way to display it too.

2 Likes

Hard to say really just how often they were exercised. I suspect that it was with some regularity, though. Tactical nukes formed a significant part of the Soviet’s overall force, and, IIRC, the average conscript’s enlistment period was for about 2 years. My guess is that rocket units would have participated in at least one major field exercise not less than once every two years as each drafted cohort reached the culmination of its training. However, this is just a guess.

The tracked TELs (8U218 and 9P19) were transferred out of Soviet service to other WARSAW Pact forces and remained in their inventories at least until the early 1980’s (roughly ~25 years) until they were all eventually superseded by the wheeled 9P117 TELs across the WARSAW Pact. The tracked TELs were apparently pretty rough on the missile internal electronics during travel (excessive vibration and shock from the tracked suspension), so as soon as the wheeled TELs became available the tracked TELs were shoved ever further down to secondary and tertiary reserve units in each national military force.

The tracked TELs featured prominently in annual Soviet military parades. I’d assume that all of the vehicles in the rocket units were maintained at a fairly high state of readiness, to include the TELs. Presumably, the tracked TELs likely required more maintenance effort than the wheeled TELs - another advantage of the 9P117.

2 Likes

I found recently an interesting video of the Operative-Taktischen Raketen of the GDR-NVA.
https://www.youtube.com/watch?v=C0h8iorVjxk
From the 13.00 min mark you can see SCUD-B prepared for live-firing in the USSR.

2 Likes

Here’s a “full length” edition of that same film footage - SCUD on 8U218 TEL being prepared and launched:

Rakéták. Rakétások. Oktatófilm 1971

I took a number of screen grabs from this film for my “modeler’s guide.” The link to this video and a number of others is in the sources / bibliography at the end of the guide.

2 Likes

Aaah, a Hungarian film. SCUD´s and camels. Remembers of 1991.:slight_smile:

2 Likes

So, a few happy hours with the airbrush, and the R17 rocket has its base coat and is ready for decals (final clear gloss over all of this is not shown, but has still been done, too):


Not much to say about this. Basic dark green Soviet armor color mixed up from Tamiya paints. The shade was varied a bit from the basic mid-tone to create a shadow and highlight shade. I did use some strips of masking tape to help get sharp lines and demarcations between some of the shadows and highlights. So, the process was spraying the basic green overall. Then adding the shadow color. The shadows were masked and highlights generally sprayed along their top edges. The masks were removed, and, as I though needed, additional highlight was sprayed to moderate and “even out” some of the shadows. I worked my way up with this process starting at the bottom of the rocket.

I wanted the warhead to appear as a different component (since they are attached to the rocket bodies during one of the firing preparation steps). The warhead was painted with a darker shade of the basic color, and again given shadows and highlights based further mixed from that color. The tip of the warhead is made from an unpainted dielectric material (presumably because it uses some type of radar altimeter type fuse). The color references for this are kind of all over, from yellow to tan. I mixed up my own “radome” tan version, again from Tamiya paints.

During all of this, I also painted a lot of other detail parts, but I’ll show those later.

10 Likes

So, a small update. The R17 rocket has been decaled and pretty much finished. The transport-erector cradle and launch table have received their base coats.

I gave the missile an overall coat of Tamiya Gloss Clear before applying the decals. I was anticipating that the Trumpeter decals might give me some trouble, so I had the Mr. Mark Softer standing by. However, I was pleasantly surprised that all that was needed was a bit of Micro Scale Micro Set (not even Micro Sol). The Trumpeter decals went down easily and were very well behaved. There are a lot of them, but decaling the entire rocket only took a couple of hours. All in all, much quicker than I expected.

After allowing the decals to dry out over night, I over coated the rocket with Tamiya Flat Clear. I thinned this out quite a lot and was able to get a little specular variation on the rocket between the body and the warhead. This helped to emphasize the slightly different tones used on these areas.

After the flat clear dried overnight, I did a small amount of detail painting and added the guidance-steering fins and the cable plugs (Sh37, Sh38, OShA1, and OshA2 - the OShAO plug will be added later). These plugs also have their scratch built hinged receptacle covers added as well. My intention here is to build the rocket so that I can easily add all of the cables during final assembly after the launcher has been permanently attached to the base. If things go as I’ve planned, all I should have to do is measure the cables and hoses and simply insert their ends into the receptacles on both the launcher and the bottom of the rocket. There are a total of 9 cables and hoses that must be attached to the rocket, so the extra work upfront should pay off in the end.
(Well, that’s my plan! LOL!)

At this stage, the cradle, launching platform, rocket and vehicle are all separate components for additional assembly work and finishing. However, you can see that with some care, the cradle, platform and rocket can be made “posable.”

DSC05680
DSC05681
DSC05682
DSC05683


I apologize that these last two pics are a bit fuzzy. (I should have readjusted my camera to give me a bit more depth of field, but I was in a hurry to take the pics and then get to the workbench.) These do at least show the cable plugs installed on the bottom of the rocket. Again, building these this way should make attaching the cables much, much easier and quicker.

DSC05690
DSC05691

So, that all for now. I’ve been working on the final assembly and finishing of the interior of the crew cabin. If things go well, I should have some pics of the final interior work and the hull-cabin finally all closed up before too long.

Happy modeling!

19 Likes

Good looking project. :+1::+1:

Do you build a working base for each kit?

2 Likes