As for your original question, it compares favorably with the Accurate-Armour offering that I built many moons ago. Many suggested it was a blatant copy but it was not. At any rate, you’re stuck with it!
If you apply the same skills to this as you did to your Chieftain it’ll be a great build for sure.
3 Likes
Yeah I did see your original post up top, and helped push towards the buy.
I have had a good look at the parts in the box and I am pretty happy with how it all looks. Will be sticking with the box tracks as I always get them to look fine. Not a fan of wasting money on extra bits if its not needed. Same as the barrel. I can easily work with that and the normal barrel in the box is fine, I can grab a few mm back from the bellows as they look a tad to long, and a few extra mm from the extractor end of the barrel to reduce the length there as well.
The bellows are not an issue either. Some times people forget that even if you see one or twenty wagons with bellows that sag, they dont all do it. The reason the bellows sag is because of the amount of times the gun has been fired and the bellows perform their concertina movement stretching it and thus letting the bellows loose their rigidity …if that happens enough the bellows start to extend causing the sag to show. A new bellows is pretty hard and keeps its shape for a good period of time. Mine will simply be a newly fitted bellows.
2 Likes
If the word ‘bellows’ was replaced with something else …
![]() …
…
2 Likes
While I had a batch of NATO green made up ready to spray, I thought I would make up the lower hull with the wheel stations added and get a base coat on it.
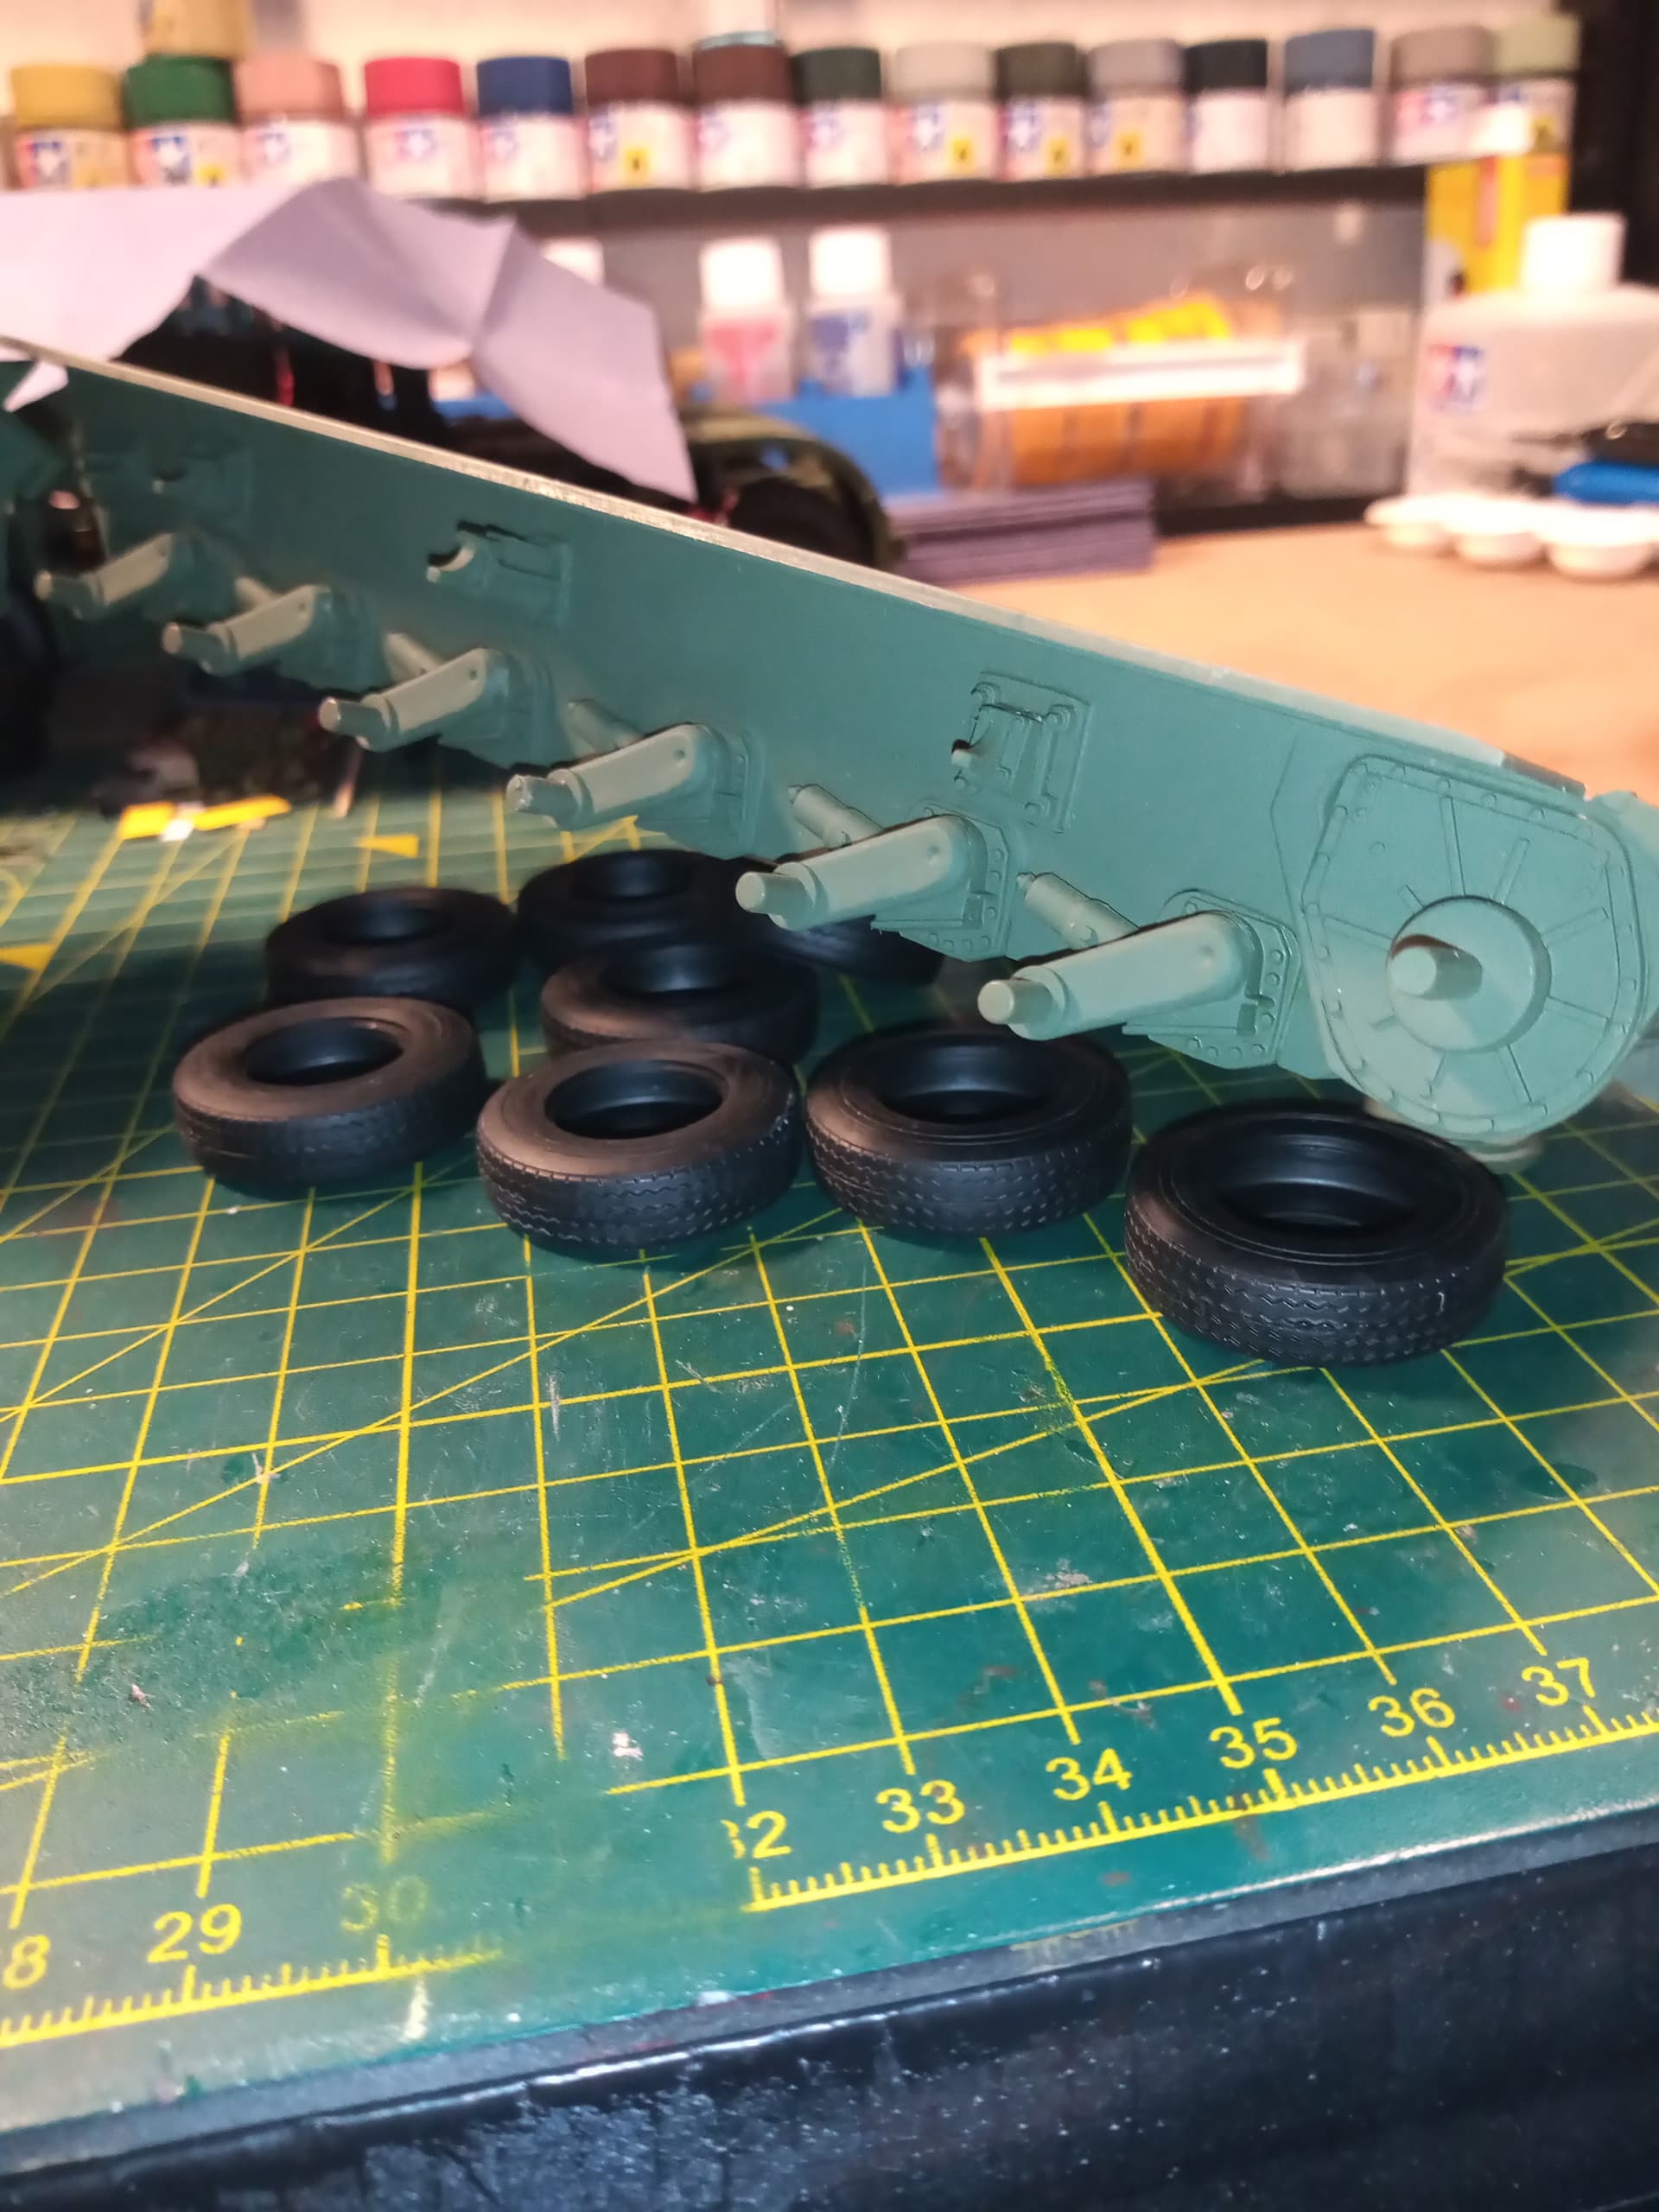
It’s always a faff painting this area when the hulls together and sprockets and idlers are on … I miss bits or can get good coverage… So thought I’d get it done now to ease the pain in the future…
4 Likes
I ‘always’ do this along with the running gear, & if build needs it, I’ll assemble the entire running gear & tracks, then wrap in bacofoil to protect it while the rest gets done.
1 Like
I’d forgotten you’d identified this for the load; that will just look brilliant I’m sure.
3 Likes
Had a look at the barrel, and it’s length issue.
I was tempted to leave it as is, as it’s only about 10 to 13mm I think someone said, and that really isn’t a major drama for me … however, I decided I will try and bring down a bit.
Plan of action…razor saw ![]() .
.
Assembly of the barrel, and seam lines sanded away. Only dry fitted onto the bellows.
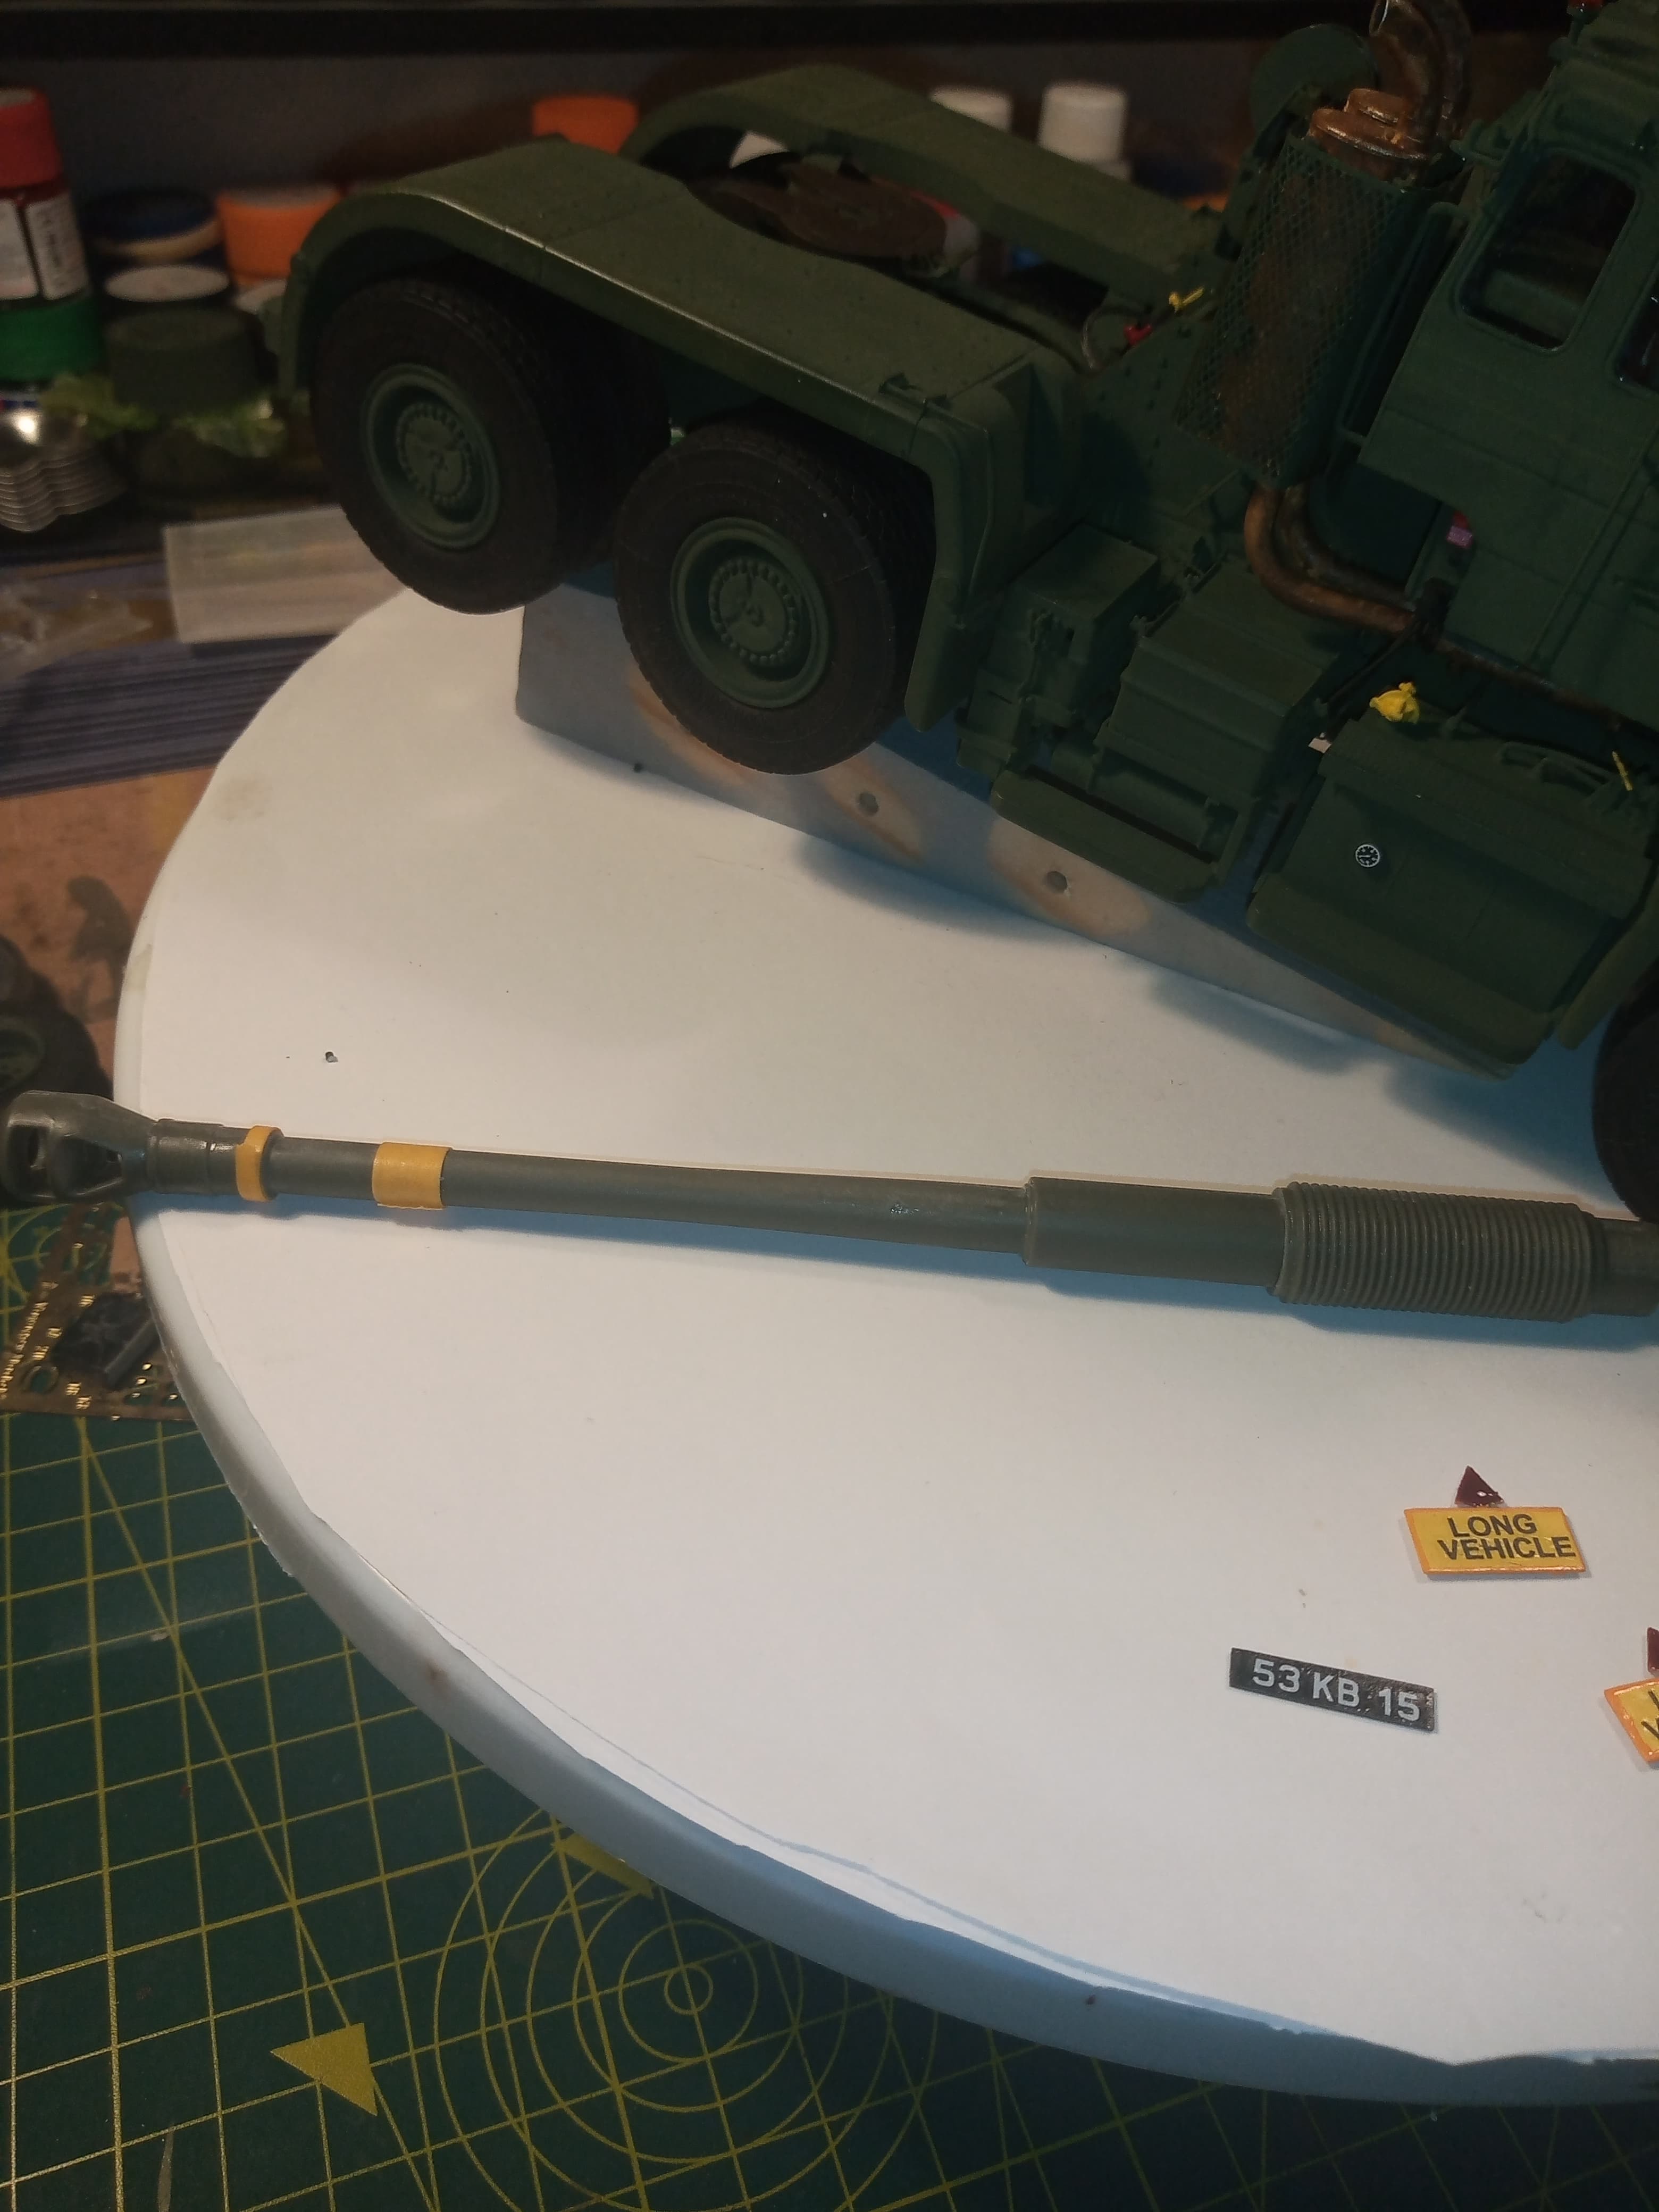
Now, the bellows are a bit long as well, so I will be taking about a 3 to 4mm section out the middle which should be easy, as I can use the V’s as guides for the saw.

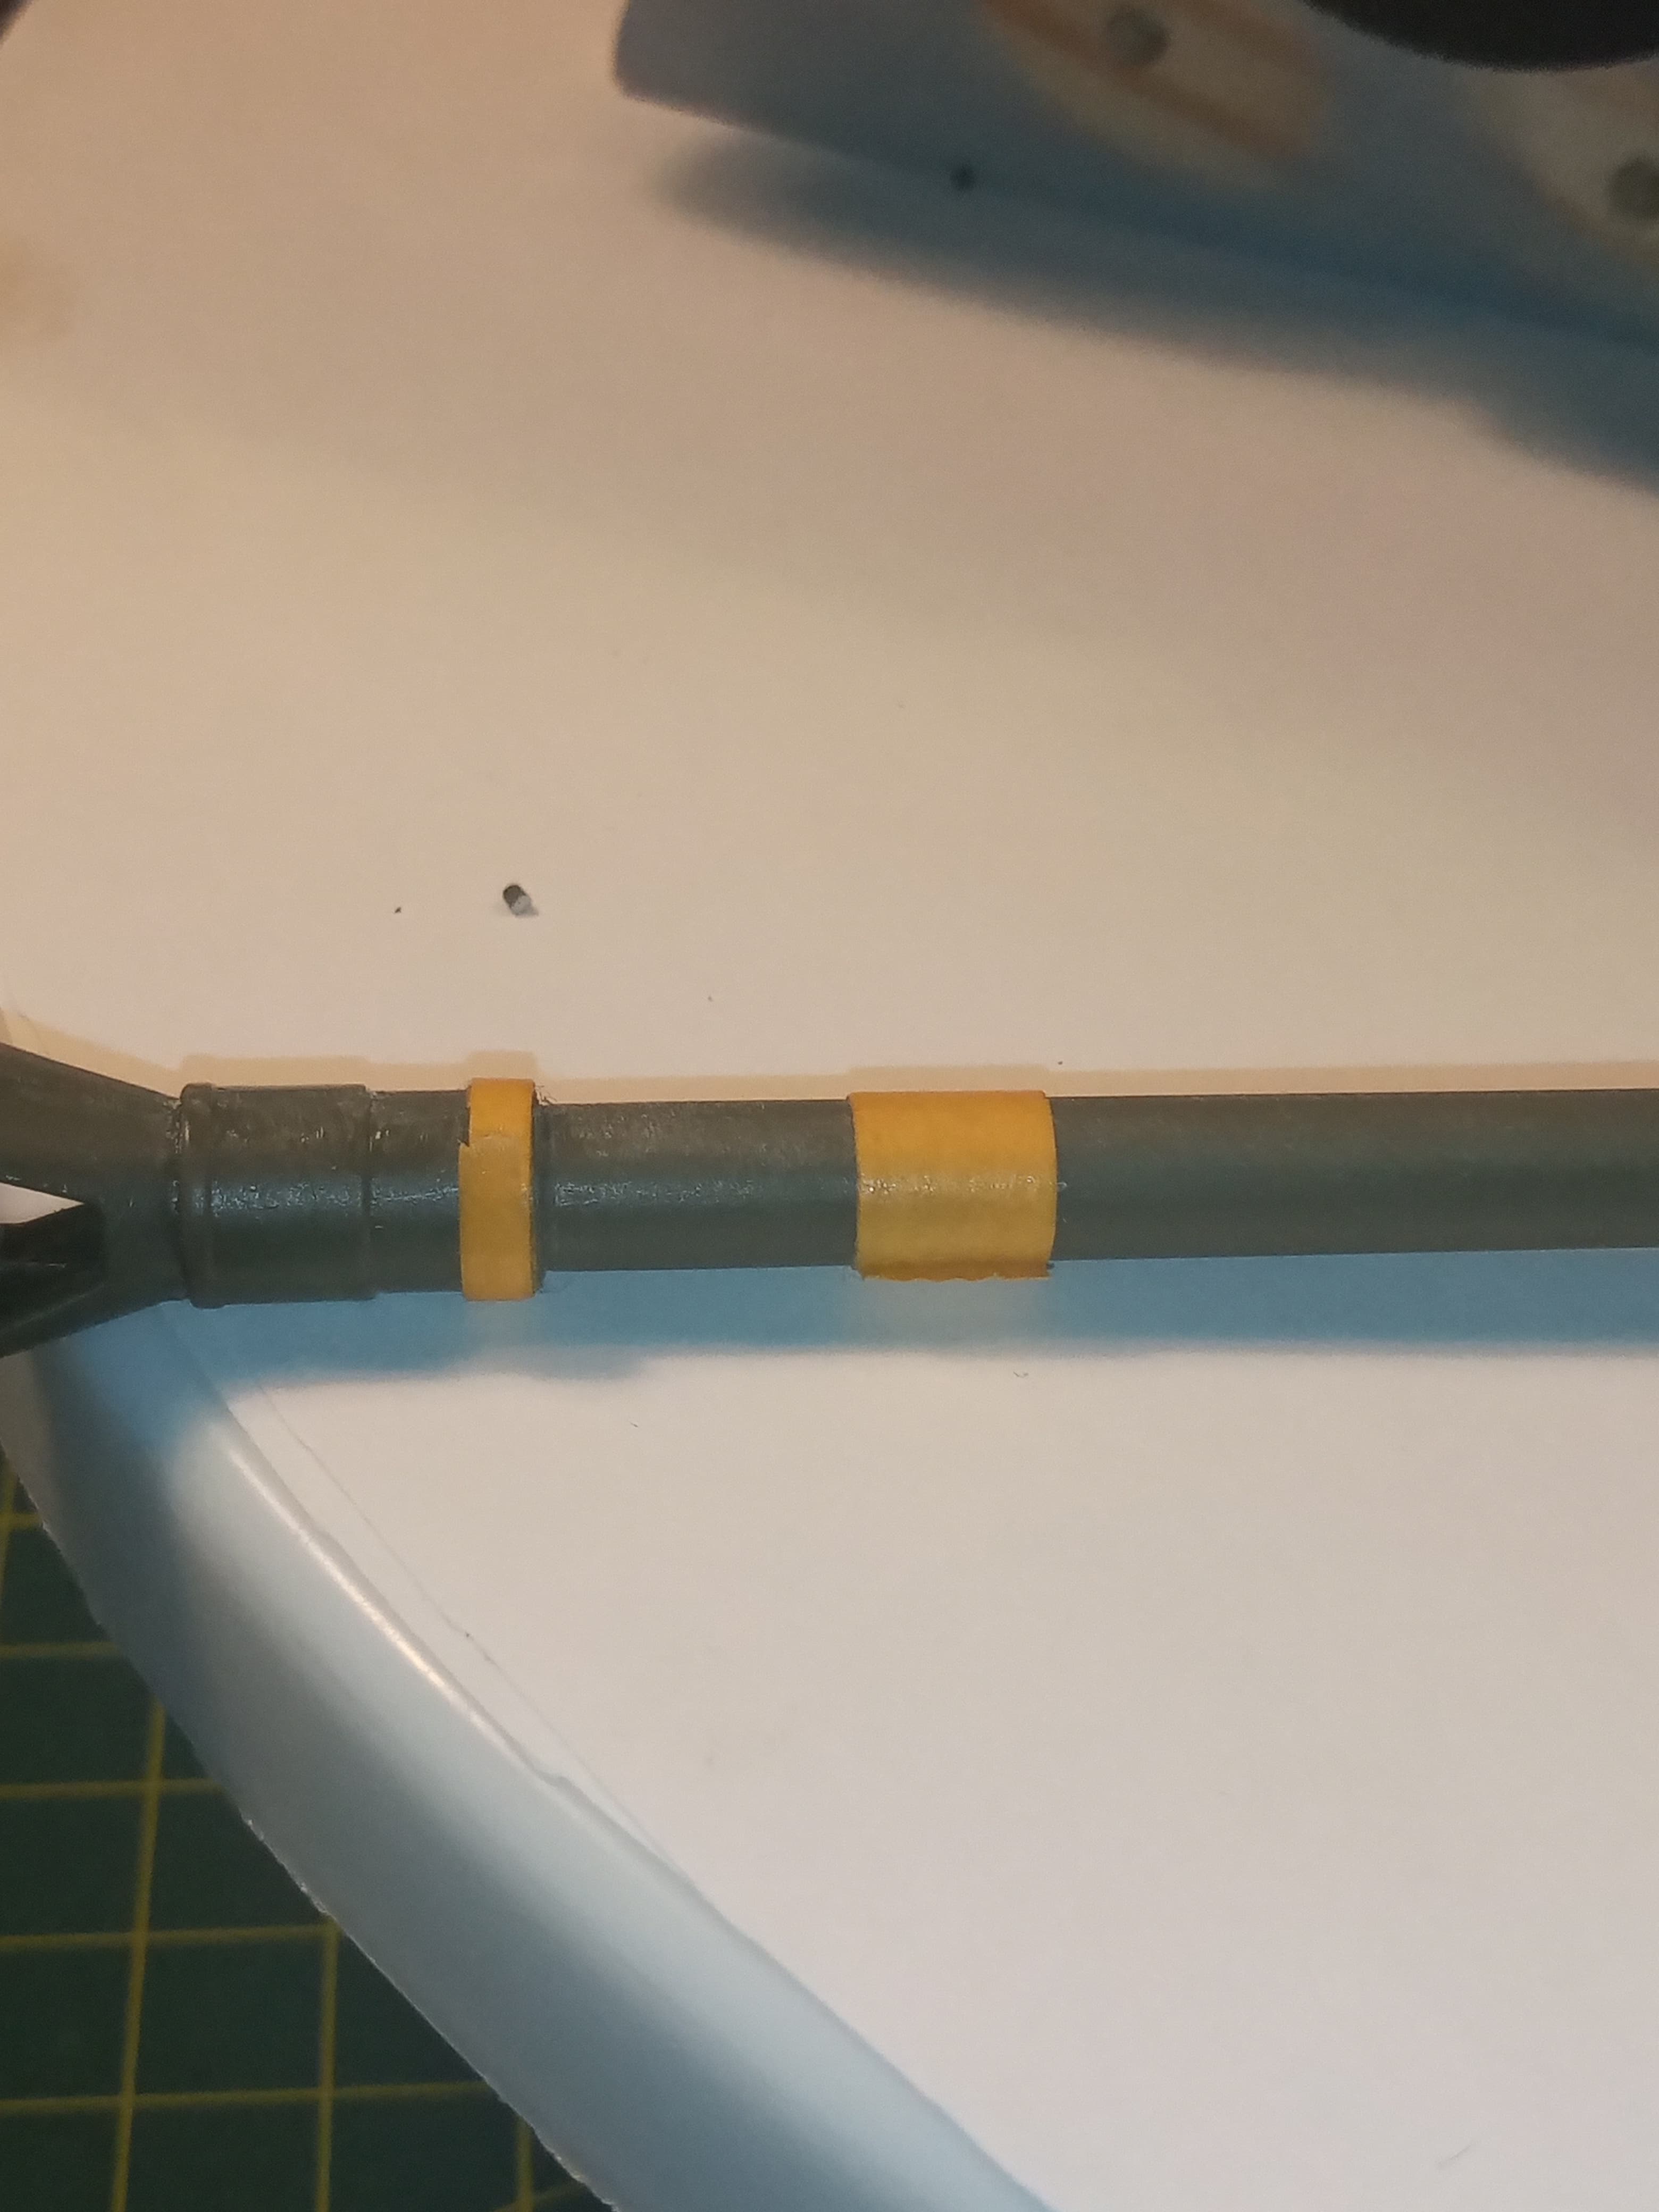
Onto the barrel. I will remove the section in between the 2 bits of masking tape as that looks the safest area that the barrel taper remains constant …it’s about 10mm.
Then glue it all back together… What could possibly go wrong lol
7 Likes
Fingers crossed… ![]()
2 Likes

Must admit I went down this route ref the barrel. I’m so cack handed I’d have likely ruined the kit barrel trying to cut it like Johnny.
3 Likes
That’s a fabulous build Terry T @barny, I love it when the model is so realistic that I think I’m looking at the 1:1 vehicle, curious though, what’s the hairy item sandwiched between the turret and hull? You set the standard high my friend ![]()
Cajun ![]()
3 Likes
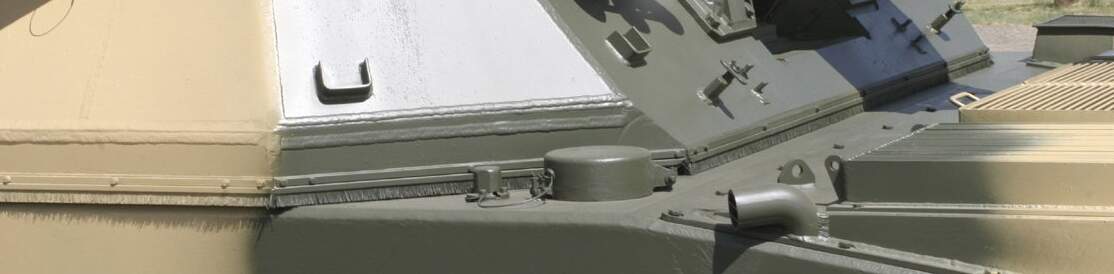
Small snippet from a walk around at Primeportal.
Looks like a brush to keep dust and debris from lodging between the hull
roof and the turret.
3 Likes
Thank you …the fury thing is the brush seals that run around the turret …as pointed out by Uncle-Heavy
2 Likes
Haha … “Trying” being the operative word … it all may end horribly wrong ![]()
1 Like
Camo net draped over the horrors to hide them?
3 Likes
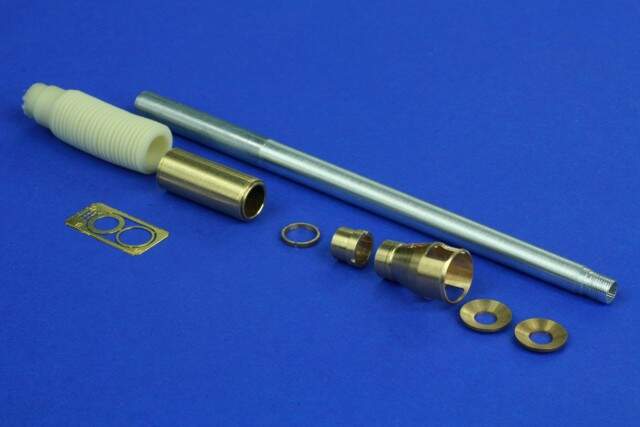
Drop the cash on the metal barrel. But at least you’re making the valiant effort! I hope it comes out perfect.
1 Like
I’m going for a final clean uncluttered look as in a wagon that’s been cleaned and prepped ready for a show or display … So nothing on the vehicle except stowed tools. So all baskets empty and no antennas or MG fitted (which will mean some work on the kit MG mount) … it will also get a Matt or semi satin/Matt varnish so it has a slight sheen …
Matt, you know me mate … To stubborn and tight to shell out on a barrel lol…
Phase 1 … All cuts complete…
Took 3mm out the bellows which are now glued back together and all nice and straight…

And 8mm from the barrel front, taken from directly behind the muzzle brake assembly…
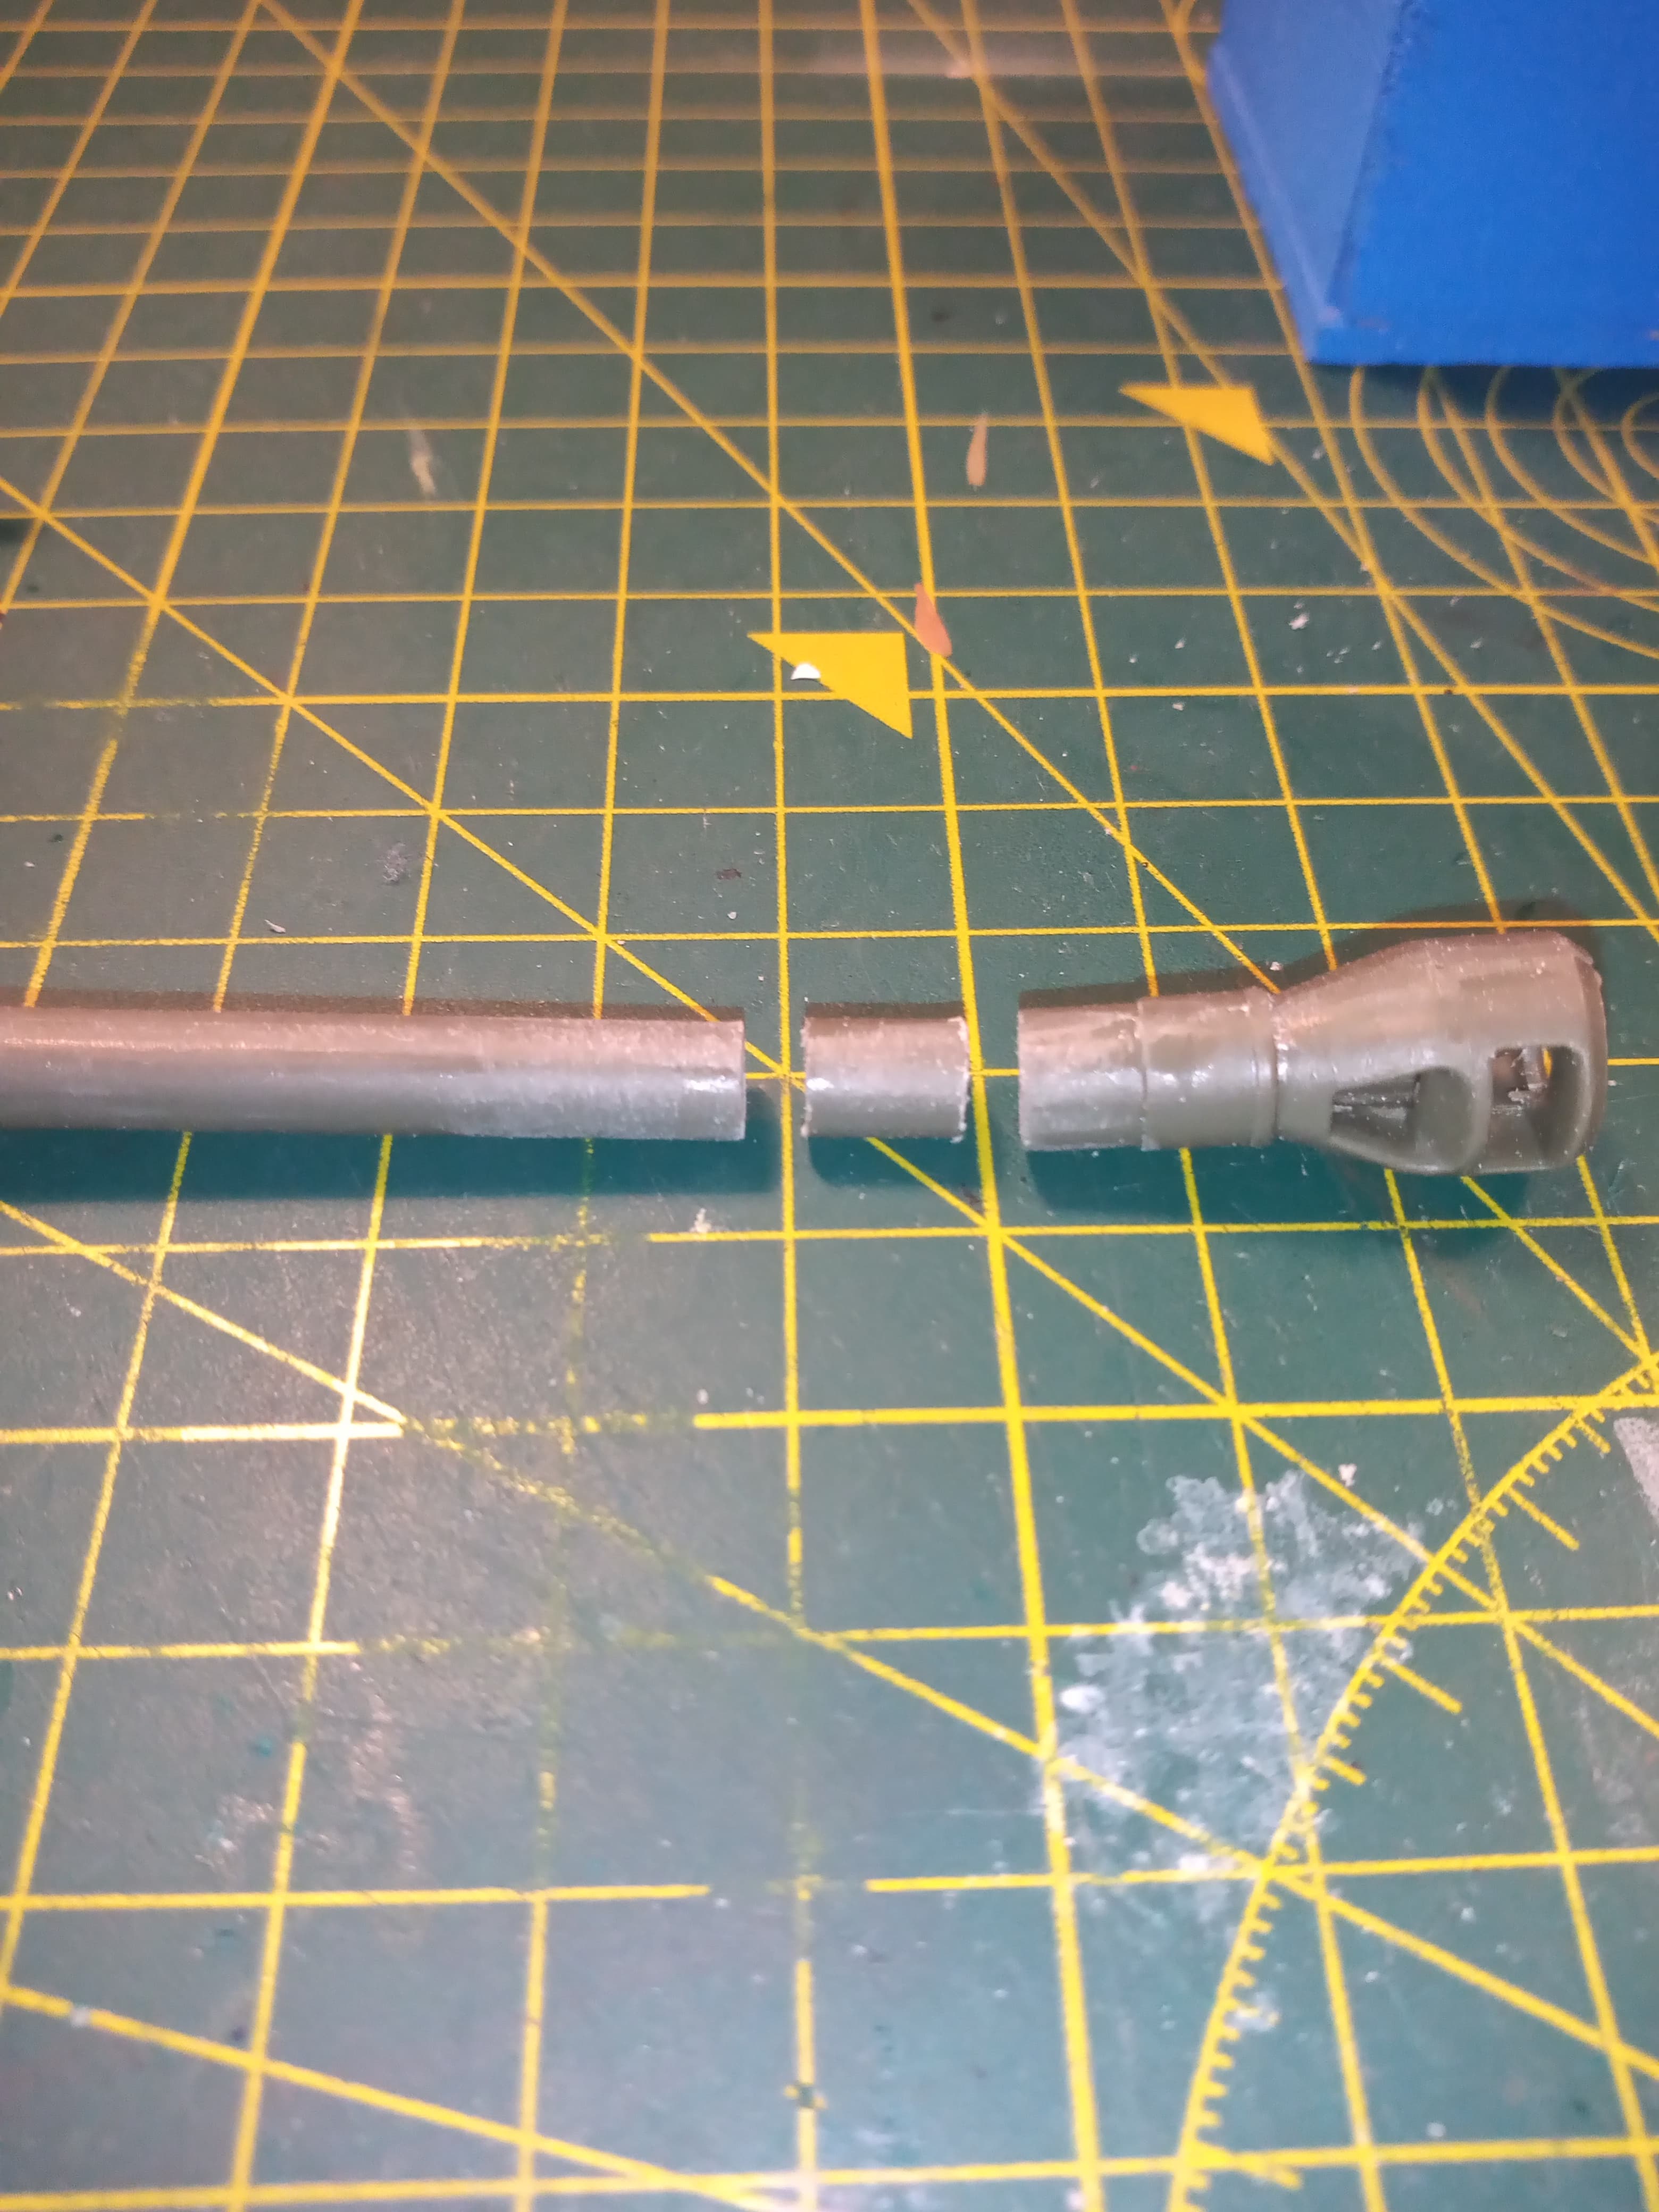
Now to try and get it back together ![]()
5 Likes
That’s my favourite style
![]()
![]()
brake!
2 Likes
![]() not only me that’s, s61t at English.
not only me that’s, s61t at English.
2 Likes
I hate those lapses creating a schoolboy error ![]()
2 Likes