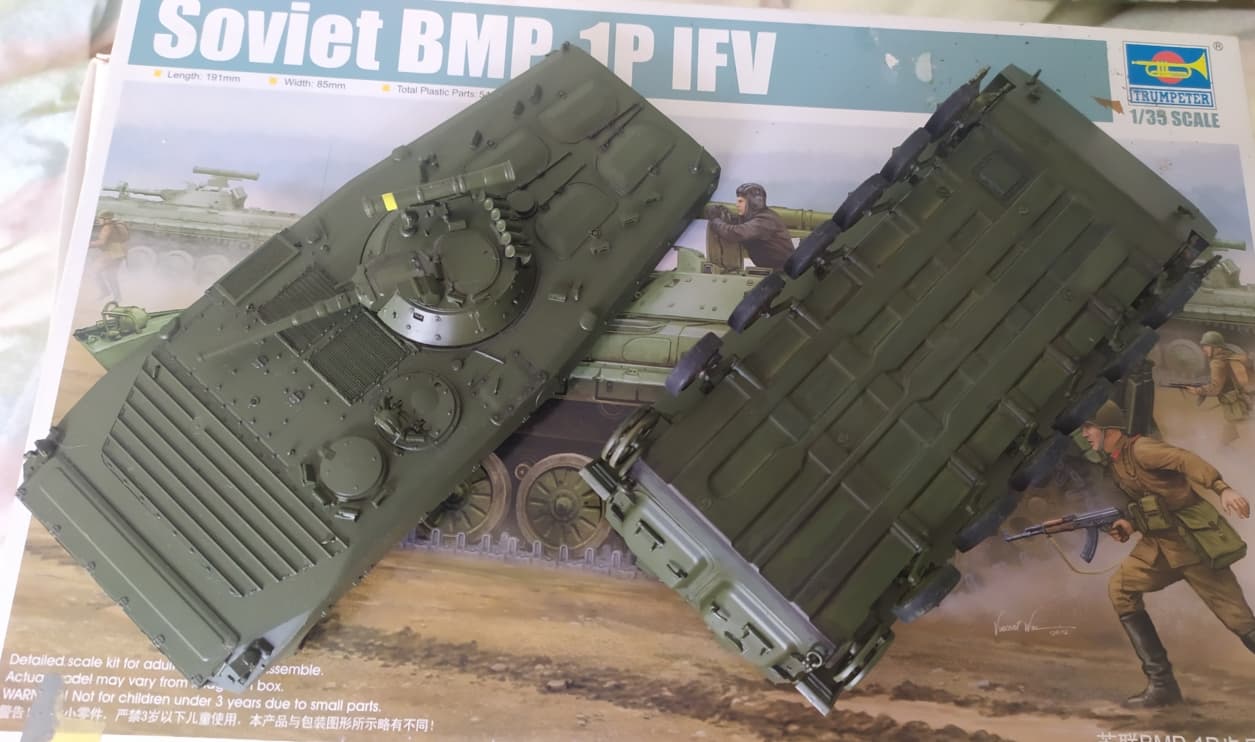
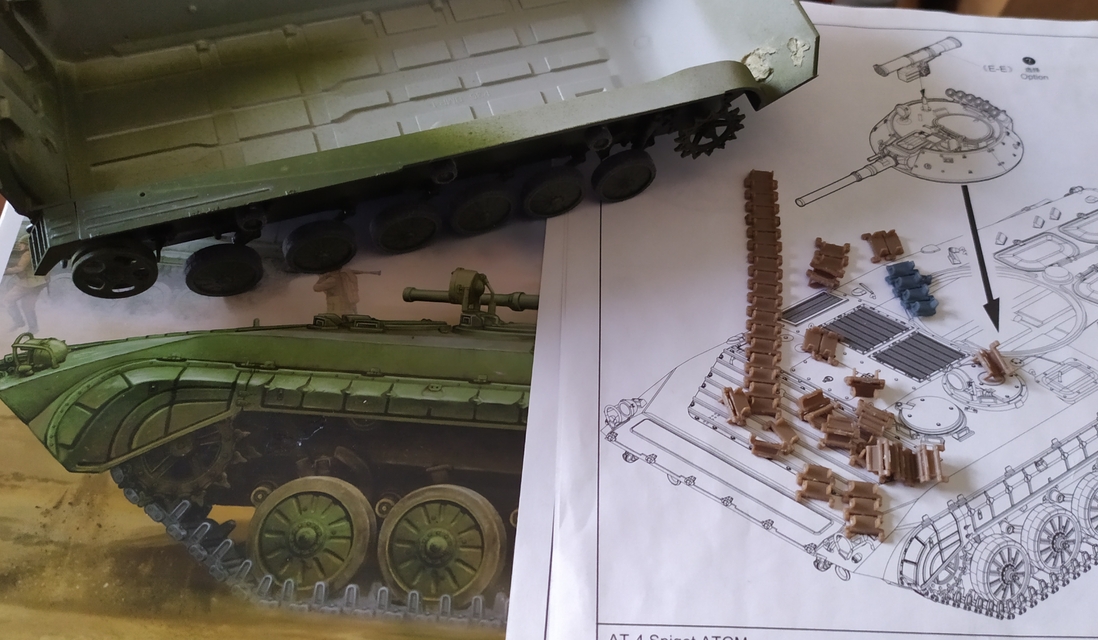
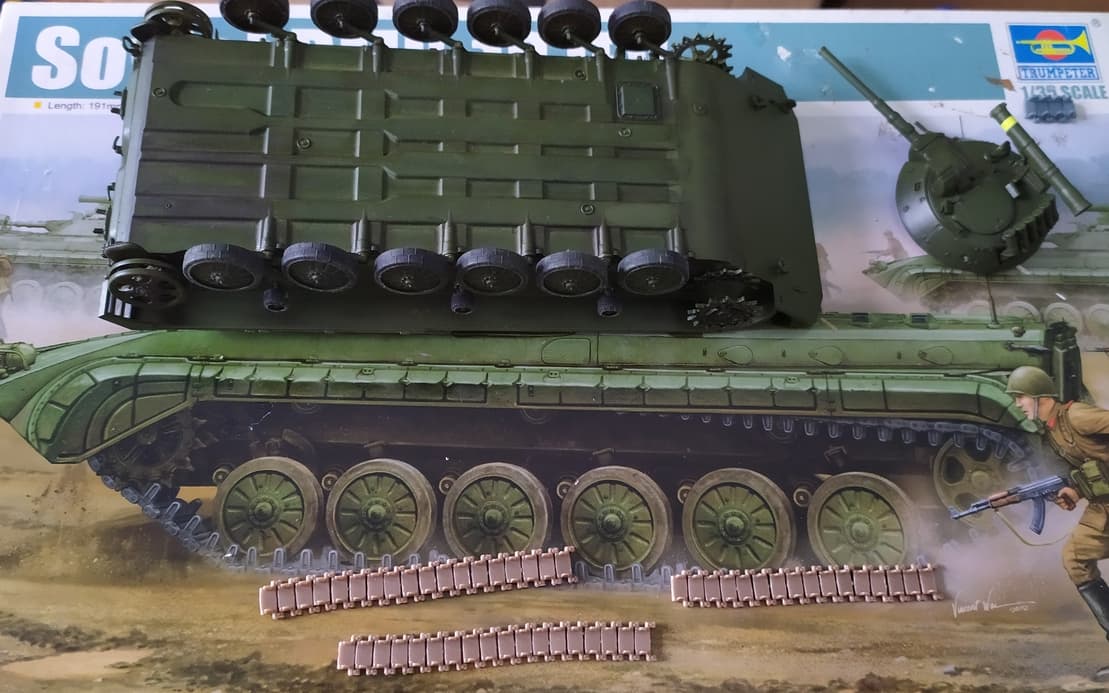
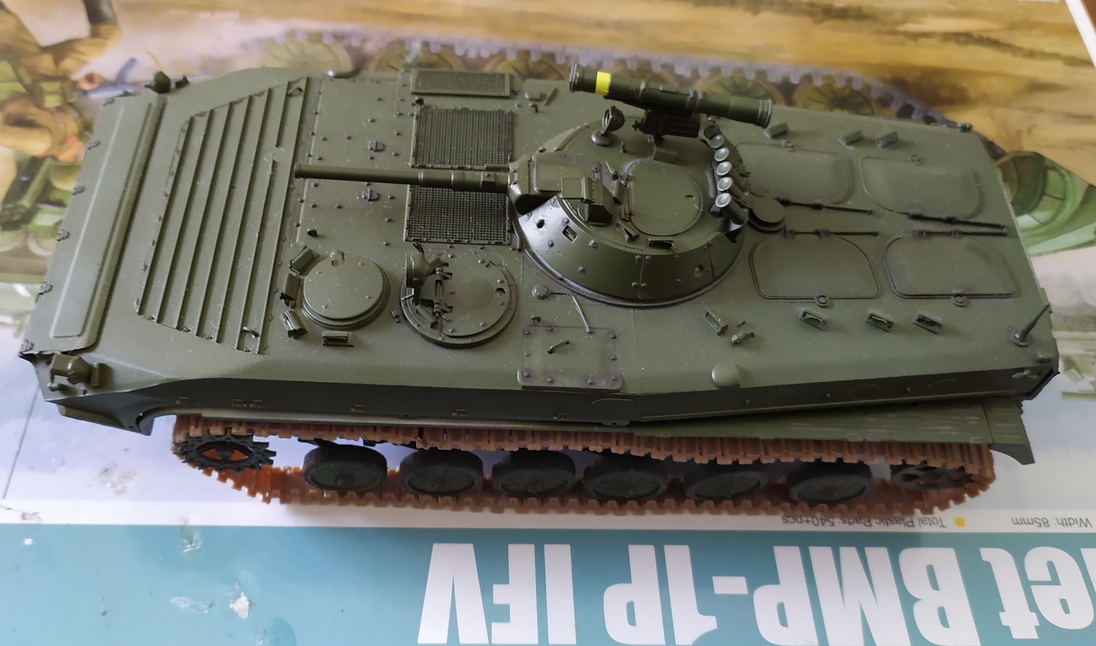
Hi again, here’s another one that I started last year, I’m struggling with the kit’s tracks for months, anyway, here’s my work so far.
14 Likes
I will say that the tracks can be overcome. Best to paint them off the model, then potentially assemble them (sometimes the paint adds just enough thickness to help them stay together more reliably. However, the kit tracks do tend to still be fragile, so handle as little as possible.
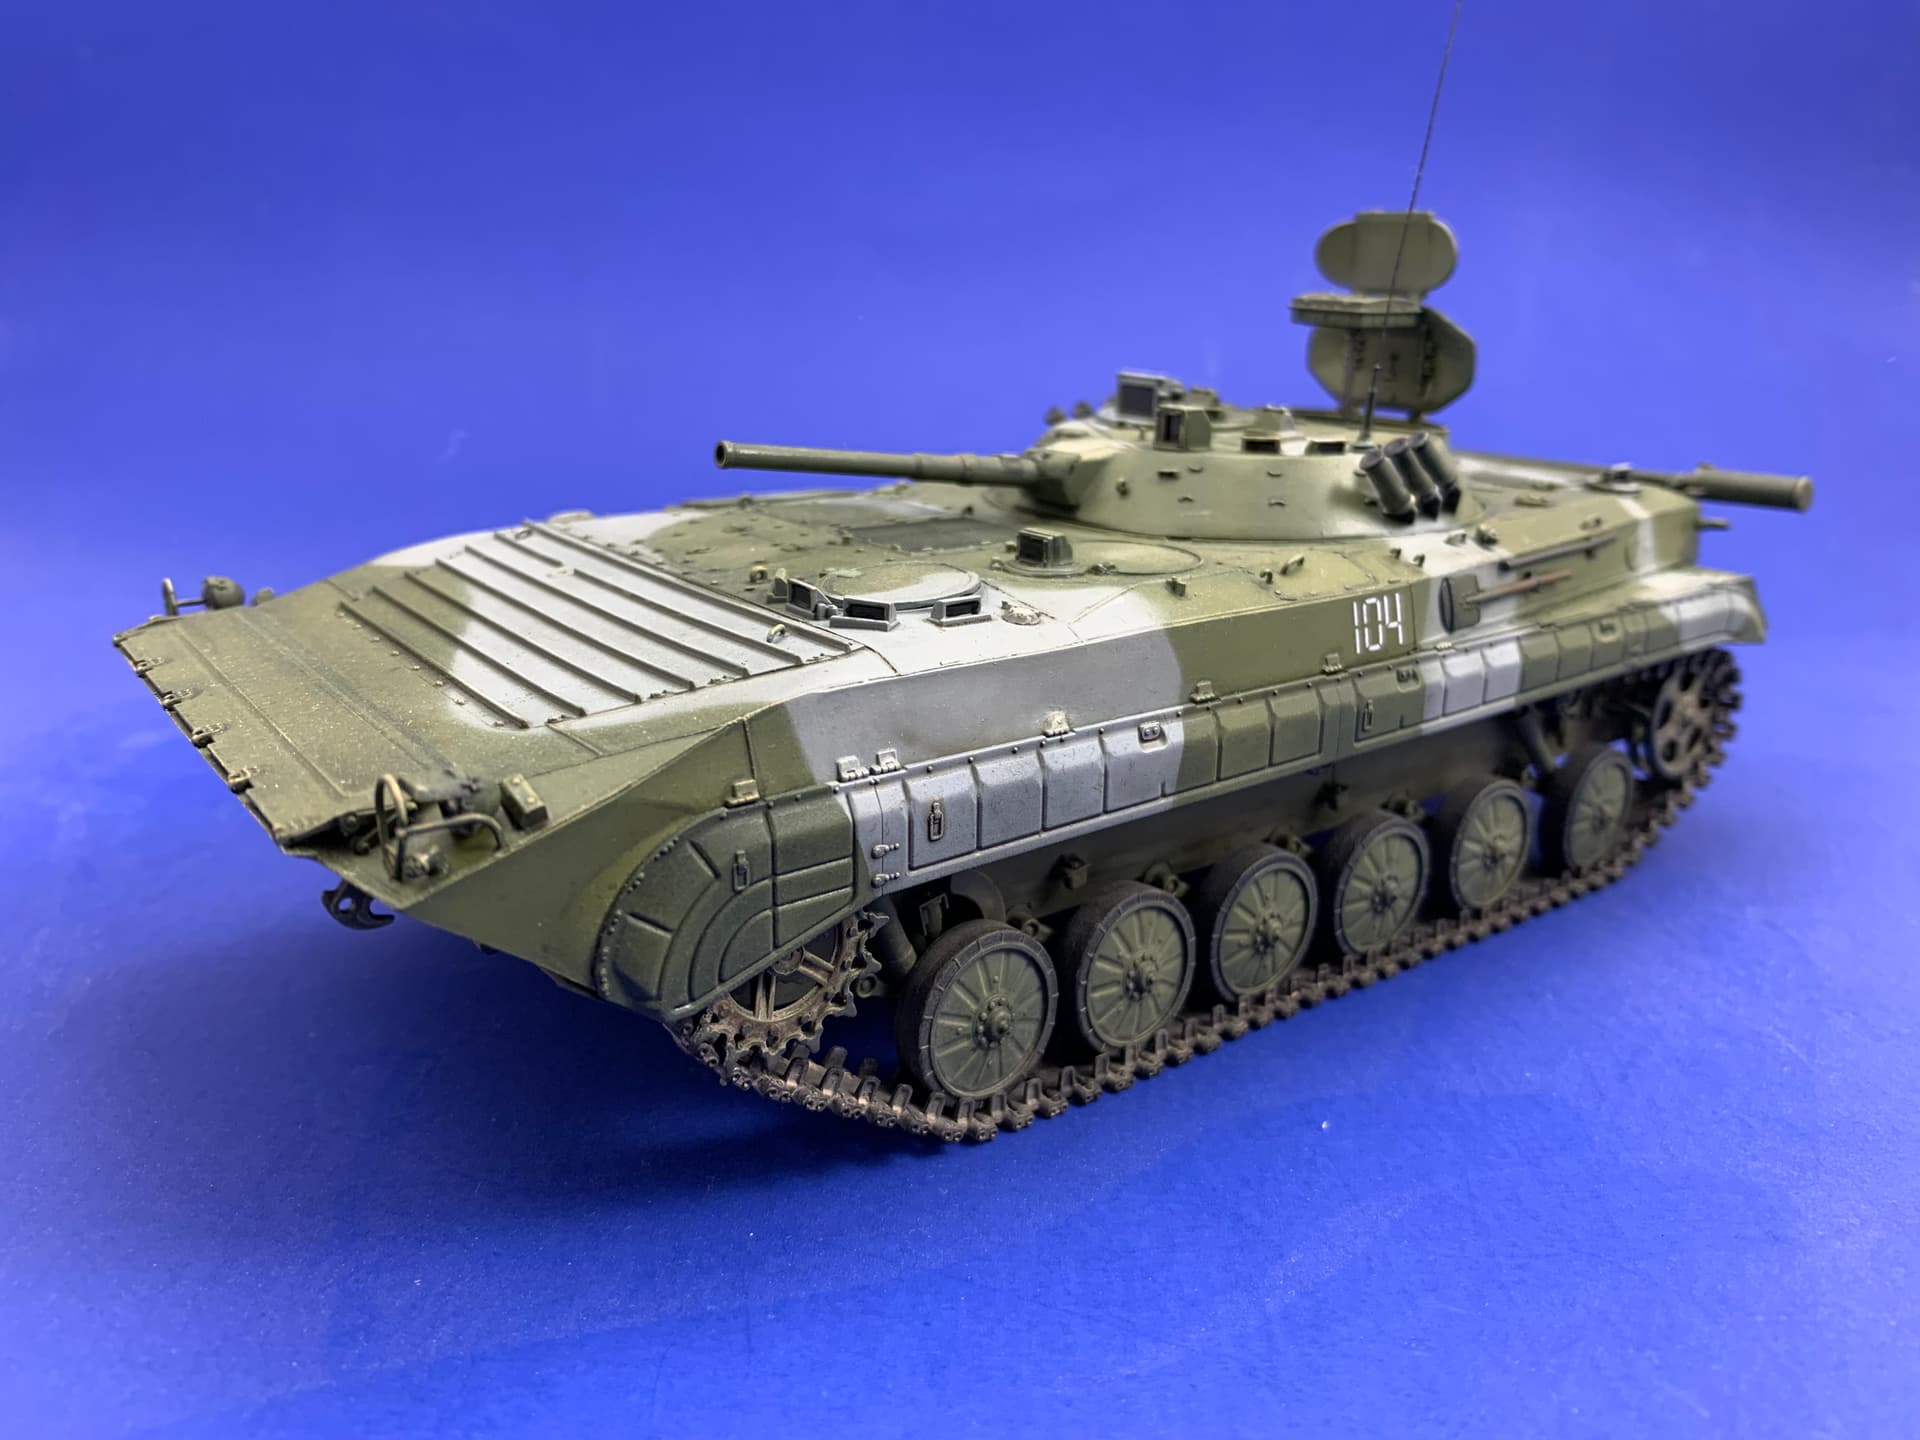
Here is a pic of my BRM-1 conversion from SP Designs. I have used the kit tracks on this and I used no glue, they are still moveable. However, I am very careful moving this model around knowing the tracks are relatively fragile staying together. I hope this gives you inspiration to finish them, it can be done.
11 Likes
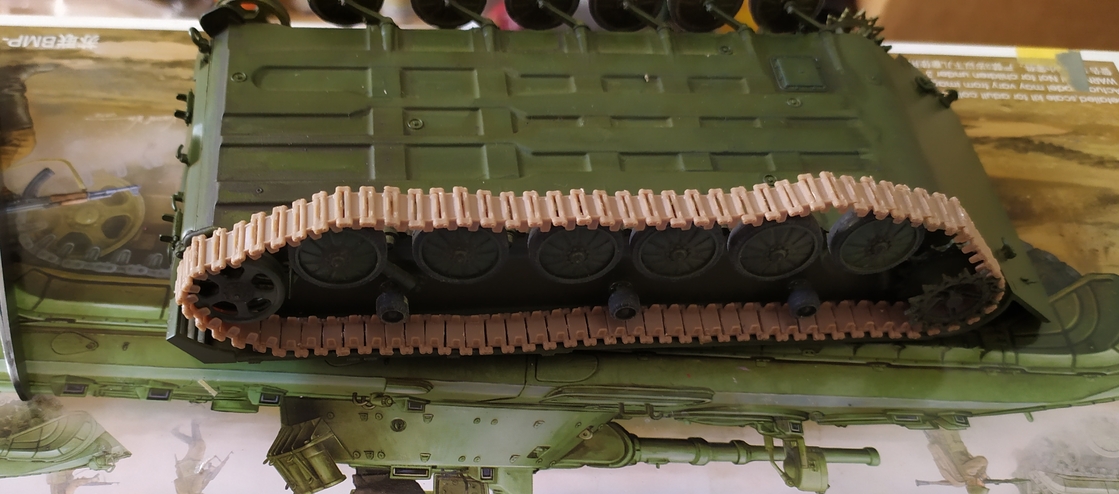
If the issue is the links not staying together , consider treating them like old style link and length tracks. Assemble and cement all the flat runs first then connect them with the curved sections around the drive sprocket & idler which can be formed separately around those wheels and allowed to set up. Leave these as sub assemblies until after paint or cement all the sections together leaving one end open to allow you to get it around the suspension, leaving the drive sprocket off until then may help as well.
3 Likes
Excellent model Jacques. What does the BRM -1 function as? Looks like a mini radar on the turret rear.
2 Likes
“The BRM-1K is a late Cold War era reconnaissance vehicle of Soviet origin. It was developed to support armored and mechanized formations employed by Soviet forces. The BRM-1K was to scout routes and detect enemy formations. During development in the early 1970’s a regular BRM-1 was envisaged with a limited equipment set, with the BRM-1K serving as command vehicle and having an advance equipment suite including radar. Only the BRM-1K reached serial production. The role of a less advanced vehicle with scout sections was filled by the regular BMP-1.”
3 Likes
It looks great your BRM-1 Jacques !
I was considering some AM tracks for my next BMP-1.
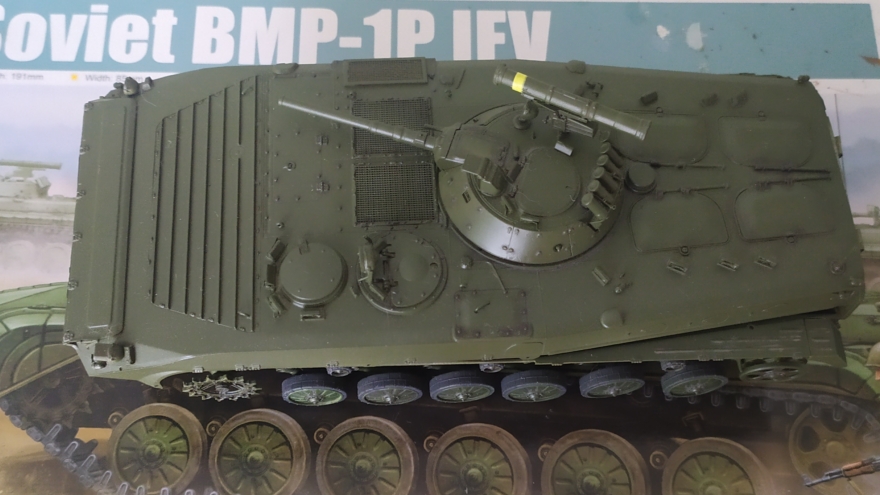
But I will try the kit’s tracks on this one. It’s almost finished…
How was the conversion ?
2 Likes
Fun fact: The enlarged turret of the BRM-1K was what led to the BMP-2 turret.
The conversion was great. Actually better than I thought AND with the option of the surveillance radar up or stowed. There is the usual work with putty et all, but overall it was a fun build.
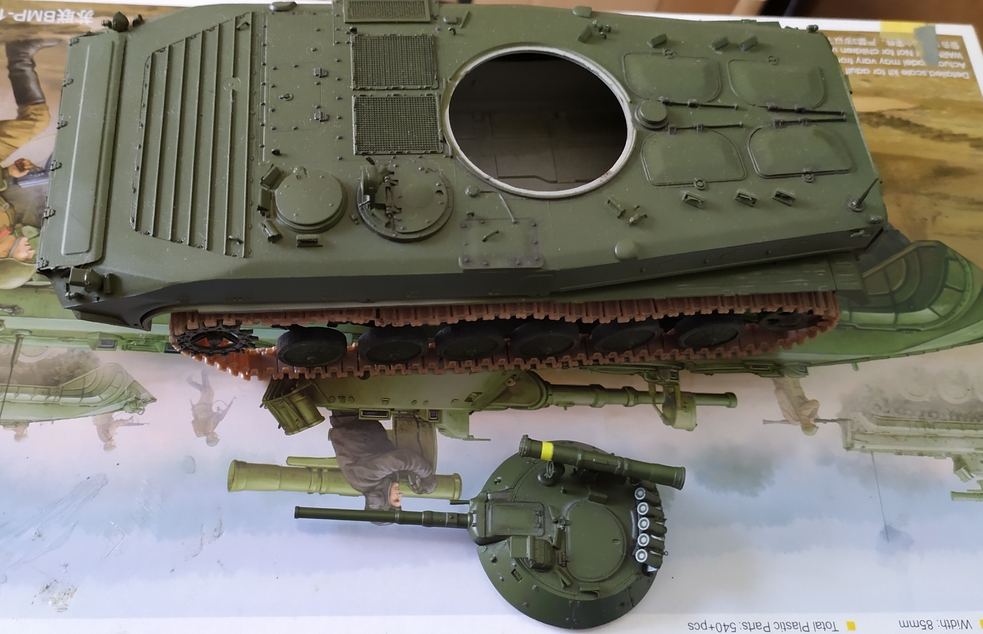
Word of warning to anyone building a Trumpeter BMP kit: the roadwheels only go on ONCE! They will break the roadwheel arms if you try to take them off. Ask em how I know… rolleyes
3 Likes
I tried to remove the wheels but I noticed that the plastic would break…so I left them as they were… I’m glad I didn’t force them.
3 Likes
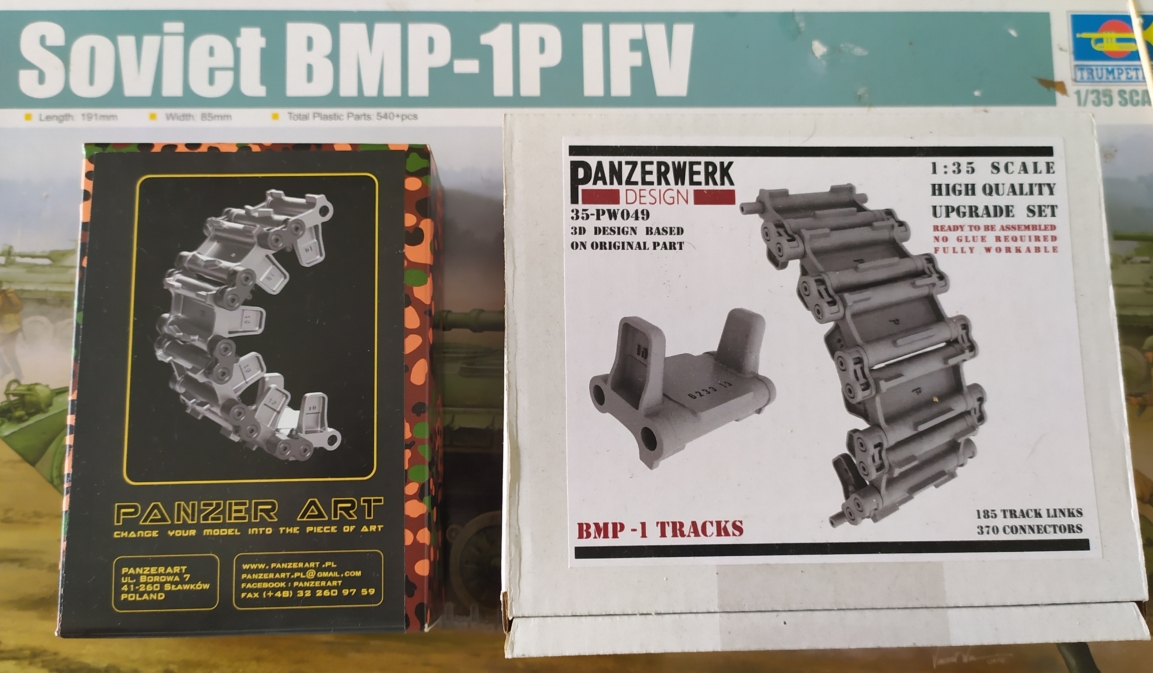
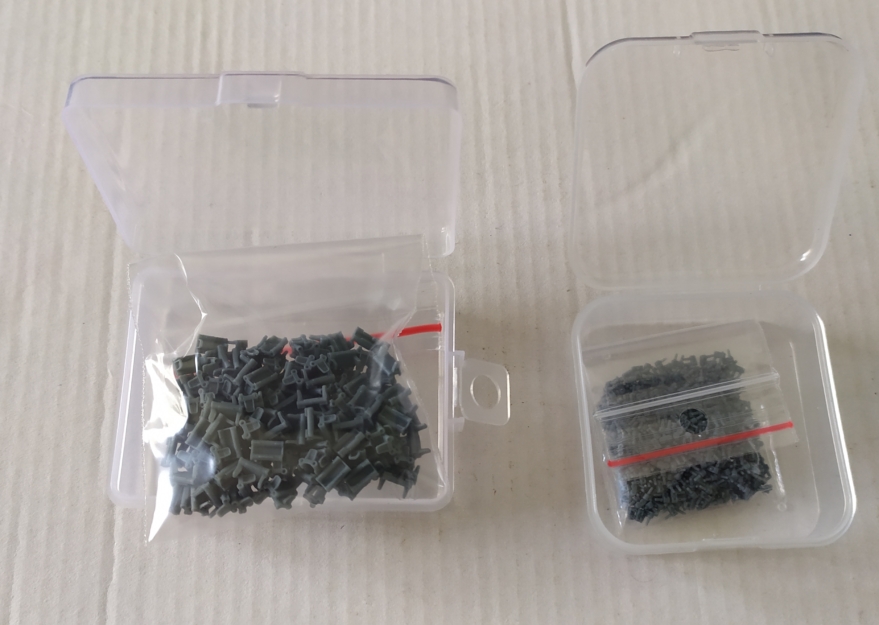
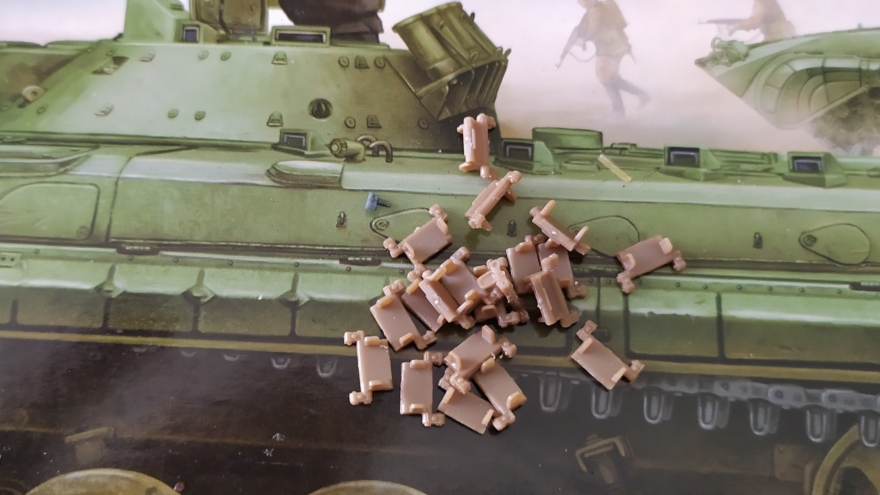
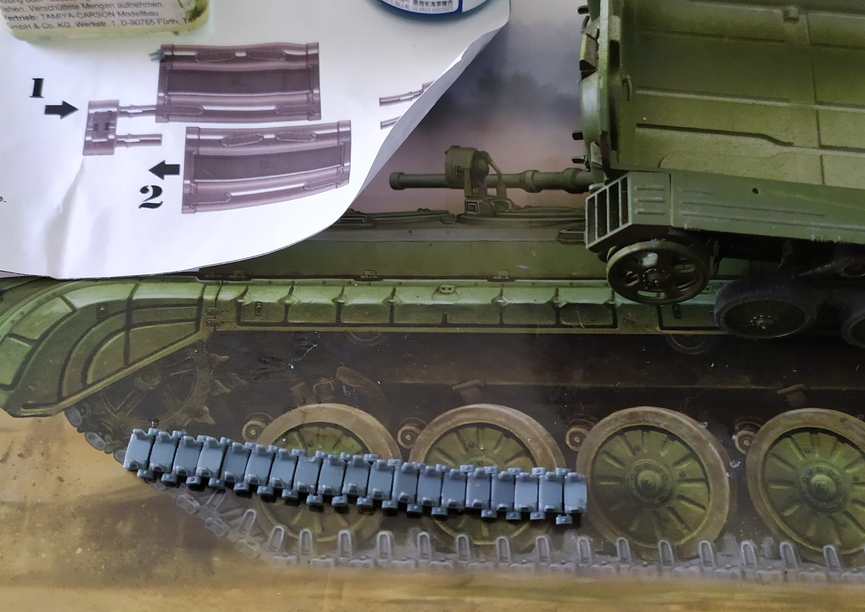
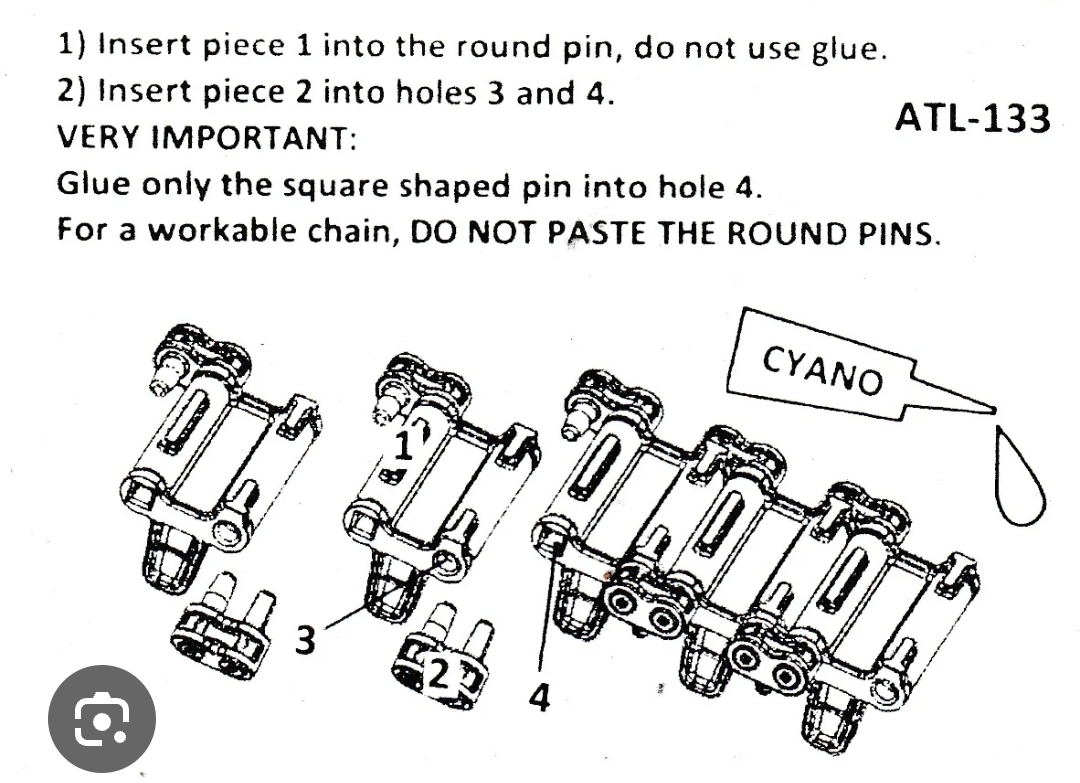
I went back to those pesky tracks…as you can see… Four connecting pins were broke, so 4 track pads are now useless…
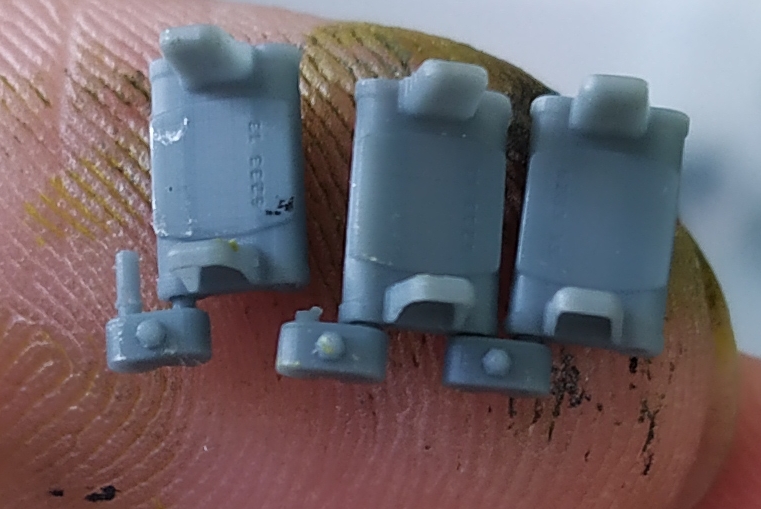
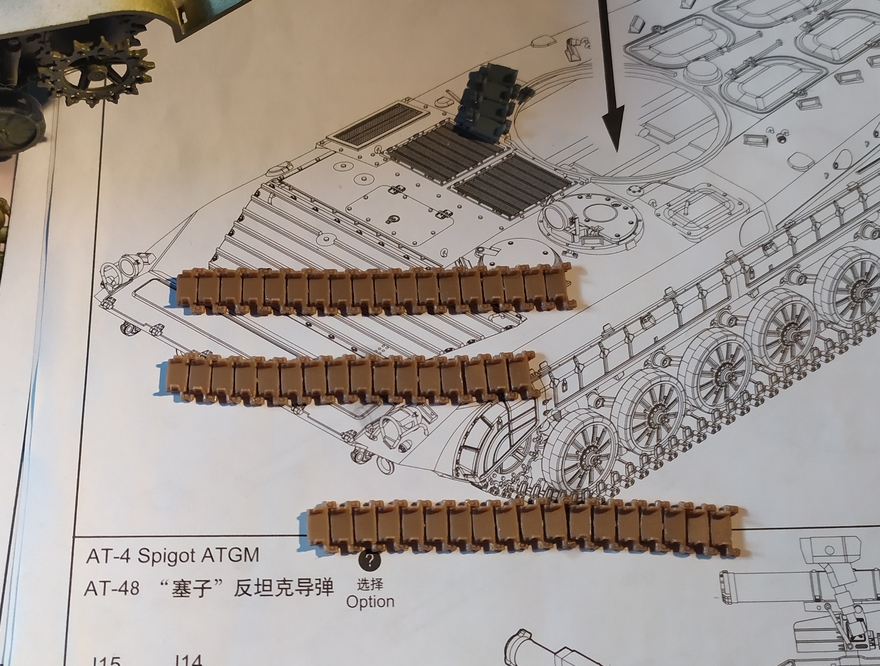
…all this to get 4 track links finished…
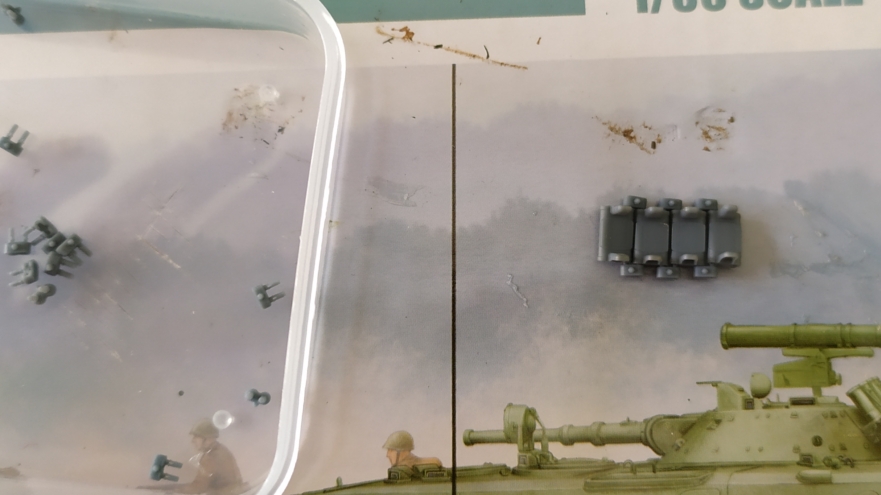
I also went back to Trumpeter tracks, just in case…

I also managed to brake the missile launcher and another detail, fixed it later.


I don’t recommend these AM tracks, the connecting pins are way too fragile,they brake easily, and after doing a few of them, if they brake, all those tracks are useless since you can’t remove the broken pin from the track pad.
3 Likes
Is there any way of drilling out the broken pins and just glueing the tracks back together? Or using the appropriate size brass pins to fix it once you’ve got the holes drilled out?
3 Likes
Another great start. How many kits are building at the same time.
1 Like
Too many … between 25 to 30… I have to check my list…

For BMP tracks I’ve used the Friul tracks. One set for a BMP Fire Support SP Designs variant and one on a Chinese BMP variant.
For the first vehicle I built the track lengths without any glue, just using pressure/friction. Then I dipped track lengths in burnishing fluid to weather them and that was a mistake as they started to fall apart unpredictably.
The second iteration was ‘fine’ and I used CA glue for a good number of the links.
Overall, the friul look really good a have a nice sag to them.
2 Likes
Ah ok !
The resin tracks are impossible to work with…I mean it’s a 50% ratio of damaged links & pins. And then you need to start all over again.
1 Like
I just went through this with Master Club’s T-80 MBT tracks. Same concept as yours. I was as careful as possible, yet the links would snap at the middle. I had an approximate 33 percent failure rate. I threw in the towel last night. Done with them. I was also built
ding the tracks from the T-90 from Tiger Models. Kind of had the same problem with the plastic snapping in the middle. Had an approximate 20 the 25 percent failure rate. I think the plastic was ABS. Frustrating. When I built the Meng T-90, the track assembly went smoothly. After the first ten links, which was the trial, I got into the swing of things by the 30th link. I am contemplating my next move which will be either Tumpeter, Fuils, or Meng tracks. Don’t know if this adds to the conversation, but sometimes you wonder if you are truly incompetent.
2 Likes