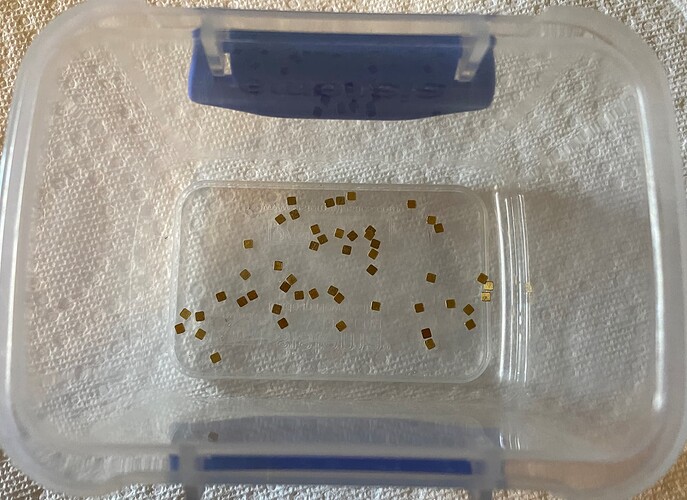
That’s a lot of glueing, but worth the effort. It is looking great ![]()
I feel your pain! Trumpeter and their tiny discs…
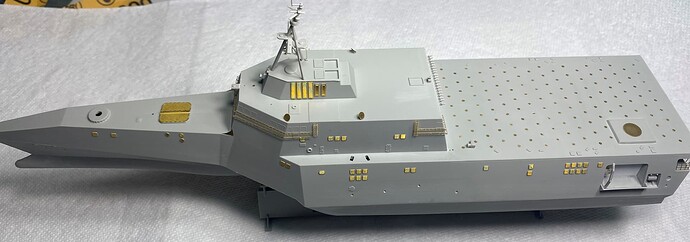
It’s much easier and faster to glue discs using Tamiya extra thin glue than using CA glue.
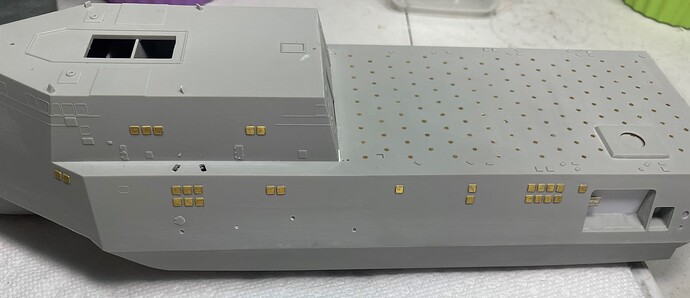
Turns out they are also a fan of PE squares… ![]()
These are vents scattered around the ship. Around 50 or so of the little buggers.
That looks like a test of patience great job well done, did you hold your breath while doing it?
How do you find the best way to hold these while putting them in place?
It’s a gift that keeps on giving … ![]()
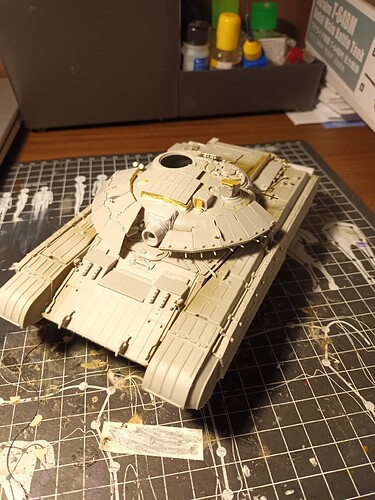
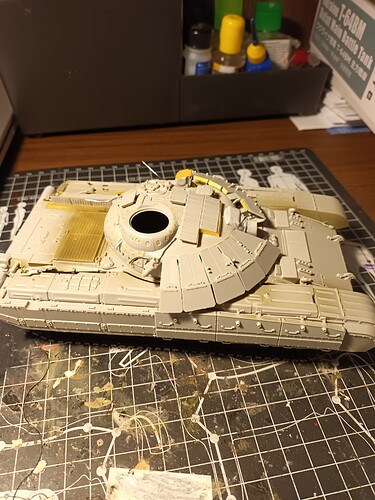
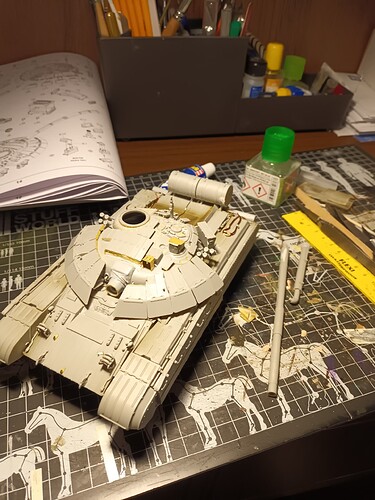
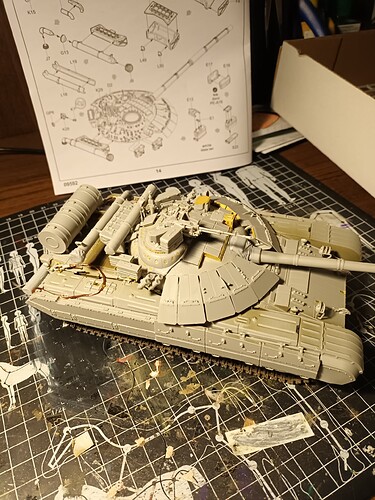
My progress is slower than expected. Thankfully tracks are not so complex compared to T 80 series which enables faster build.
That looks great Igor. The turret armour looks pretty complex, is it all a good fit and goes on well ?
I like those busy turrets on Soviet/ Russian tanks.
Fit is excellent.
I am sure everyone has their own methods and those methods depend on the project. For me, for this project, I am using a toothpick with the barest hint of PVA on it to pick up and position the PE. To adhere the PE I am using a gel superglue since it has a longish drying time. So far it has worked pretty well.
Very nice Rory. I things like this, the PE does make a big a big difference and although its time consuming and nerve shredding at times I imagine - the effort will really be worth it.
For what was supposed to be a nice easy build, this has been surprisingly frustrating and vexing to build. But I am finally at a point where I can start putting down paint.
Very nice Rory, I’ve seen a few documentaries about them, so it’s good to finally see a kit take shape and done well… Great job…
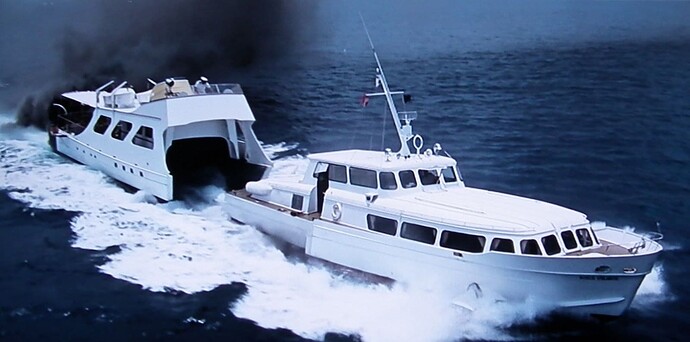
The way it looks like two ships grafted together reminds me so much of the ‘Disco Volante’ from the Bond film ‘Thunderball’.
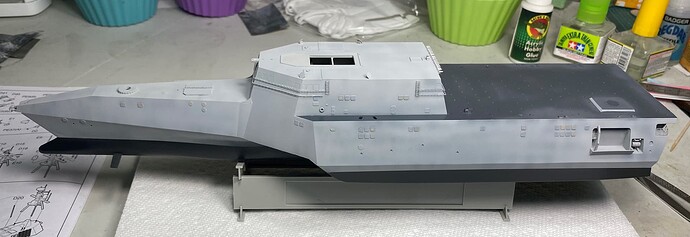
Basecoat of paint is down. Definitely a bit more of a challenge to mask off the hull line due to the tri-hull design but nothing a bit of patience didnt fix.
These ships have an unusual mottling to the hull paint which I tried to replicate via pre-shading. It kinda sorta worked. Enough so that I am not going to go back and try anything else.
Next up will be gloss coat, decals, assorted deck gubbins and then finally the railings. Hopefully should be finished fairly quickly now.
Looks the business with some paint on now … And for me the mottling looks nice and you can clearly see it … nice work ![]()
Alright, I think we are at the point where this will be my last update post. Next post will be the finished ship.
It is also my last opportunity to moan about this build. Lord but she has given me troubles.
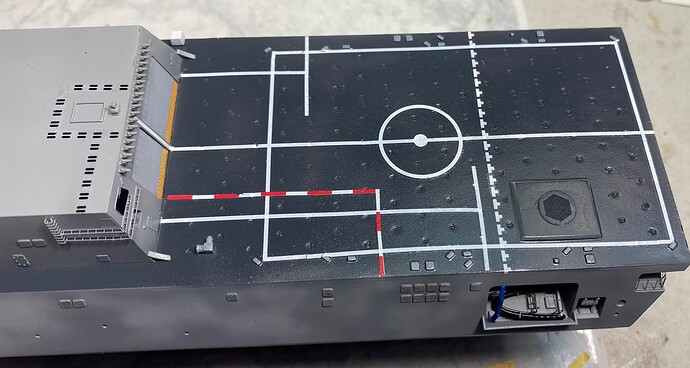
The decals are HORRIBLE. Very fragile. I managed to do the flight deck but it fought me and doesn’t
look the best. You can see all the joins and broken parts. I will be going back over these with paint to try tidy them up. Also, because of how fragile the decals were the lines are not the straightest.
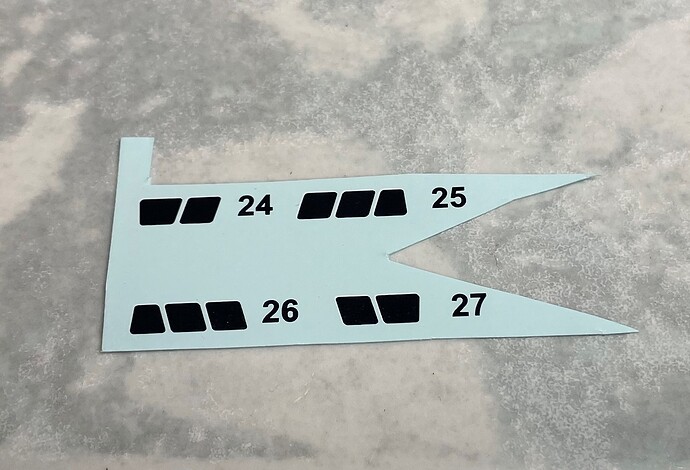
Next up, Trumpeter very nicely added these decals to use on the windows.
Fantastic idea except they literally disintegrated when put in water. So I will be resorting to the hairy stick.
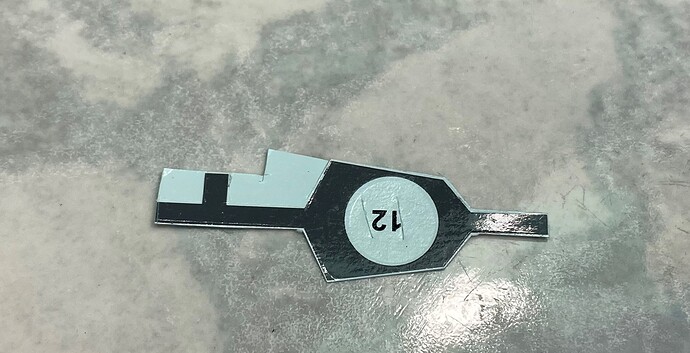
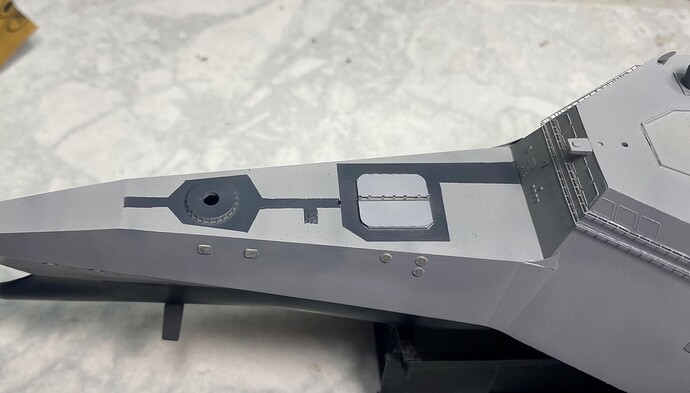
And lastly, decals were provided for the walkway and area around the 57mm gun and the Vertical Launcher doors.
Unfortunately, they behaved exactly the same as the windows and the first one disintegrated.
So out with the masking tape and the airbrush and I did them manually.
I think It came out looking pretty good.
