Anyone recently build one of the Trumpeter T-64 line of tanks?
I got all the suspension arms cleaned up and dry fit, and like half of them don’t touch the ground in a random fashion. They are keyed, so I know they aren’t on the wrong side and I was very careful to use the right arm in the right place cutting only one off the sprue at a time.
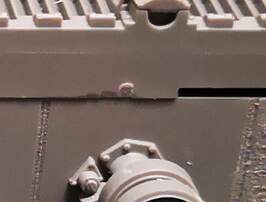
Anyone else run into this? Every review I read says the lower hull is a breeze and problem free leading to more confusion and frustration on my end. I am wondering if the part on the arm that slots into the hull has some flash causing them to twist (some of them feel a tad tight).
How badly are the misaligned arms off the “ground” ?
Flash or just poor fit can be the cause of this if the mismatch is in the range of
maybe 1/16th to 1/32nd of an inch. Some arms could be “up” and some “down”
so the average mismatch is half of what you are actually seeing.
One way to fix it is to make sure the first and last arms are in the correct position, then cut the tabs off from the ones between them. Glue them all in place and before the glue dries, line them all out with a ruler pressed against the axles of the first and last arms.
Great fan of the T-64 that I am, I’m afraid I’ve nothing to offer, my efforts having been on Skif. However, I think Jakko’s advice would work. The key is to get them all level and at the right ride height which should be an easy enough fix. If Trumpeter have ballsed it all up so what? Just concentrate on getting them level and you’re home and dry I should think (steel ruler, sheet of glass?). Good luck (love to see the final effort).
Most of them are quite close, one is a millimeter or two off the ground, but it is also quite tight fitting so my best guess is flash or a mold seam. Good point on the potential for some to be high and some to be low.
@BootsDMS and @Jakko good suggestion, I think this the approach I’ll take. The good news is that the first, second and last suspension unit also have a shock absorber, the way that trumpeter designed these, they kinda lock the arm at the right position. It appears that the four corner ones are all at the same height with the hull level
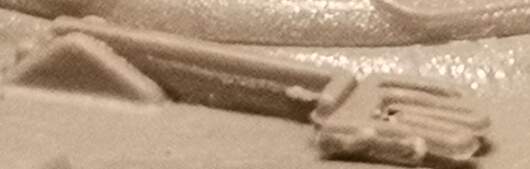
I would not assume that the blue line is straight when the red dots are on
the same level. There could be minor differences between the B5-parts.
If B5 twists a little, green arrows up-down and/or pink rotation it could easily
unalign the arm a mm.
Once you get all the axle stubs perfectly aligned there could be a risk that
the center hole in the road wheels are not centered.
I am not trying to scare you (hah, who am I kidding ) but there could
be issues later on. I have had a few issues with good kits and many with
bad kits so there is no guarantee that all parts are perfect …
It’s all a part of the challenge, tweaking parts to make it all fit.
I built 3 Trumpeter T-64’s. For some reason I did not have any issue. If I did, it couldn’t been much that did not involve muscle or slight glue application and subsequent readjustment. I like to do the first and last axles so that I can keep the wheels somewhat even. Good cleanup of the axle attachments always help.
This is for sure a concern of mine. Careful tweaking of the suspension arms to get it all nice only to find the road wheels are a problem!
I think my course of action is to get all of the arms with the extra shock absorbers aligned with road wheels on, then loosen the other arms as you suggest so they can drop down or swing up, and then carefully align them both vertically but also into and away from the hull.
I am thinking I didn’t clean up the axel attachment points well enough. Some of them are really tight. As you state, you had no issues, and all of the reviews I have seen or read indicate something to the effect of the “the lower hull is a breeze and falls together”, so it definitely isn’t the kit, and is something I have done or haven’t done (cleaning the parts well enough.
If you used Tamiya Extra Thin or some other solvent that softens styrene you could let the solvent soften up the tight fit: gently push the arm in, apply solvent, wiggle it a little, push further in, maybe more solvent, wiggle a little more until it fits properly. This will move some styrene from where it should not be to a position where some more styrene is needed. Instead of turning the styrene into file or sandpaper dust you turn it inte “filler” to get a better joint.
Even minute seams can cause interferences and misalignments. Removing them is one reason why my builds take so long . If you look closely at online builds you can usually see places where seams and even sprue attachments have not been removed or corners and edges squared up. That’s why I treat claims of poor fit with a skepticism unless I can see the preparation taken elsewhere on the model.
Agreed. It is my least favorite part of building but a crucial step that can lead to many issues down the line.
Thanks all, I’ll try some of these things. Trying to be really careful as I know suspension issues will propagate to possible other fit or alignment issues later
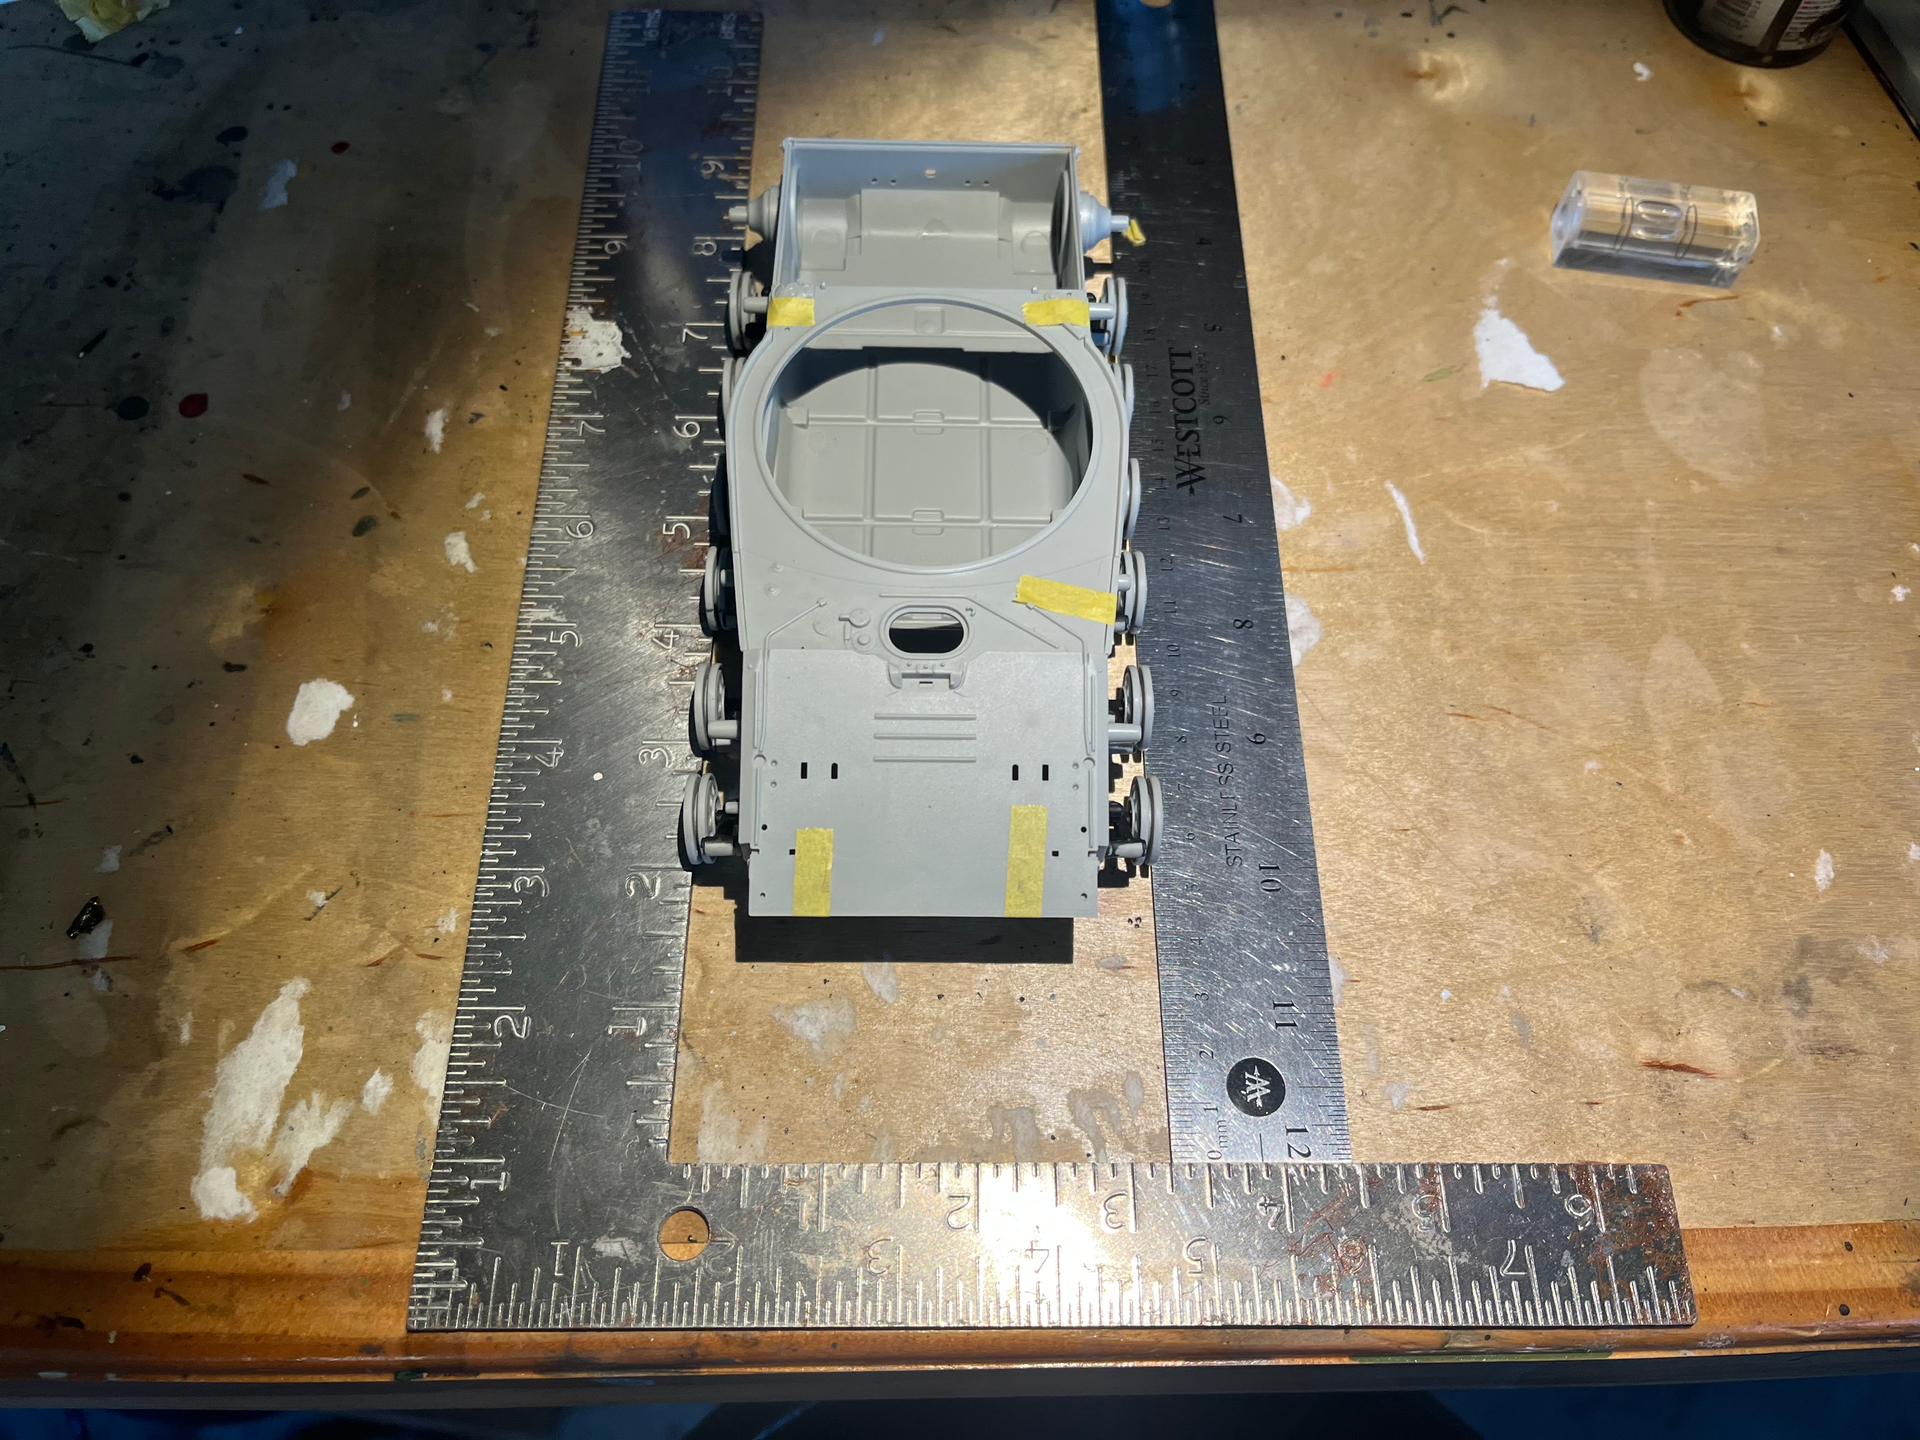
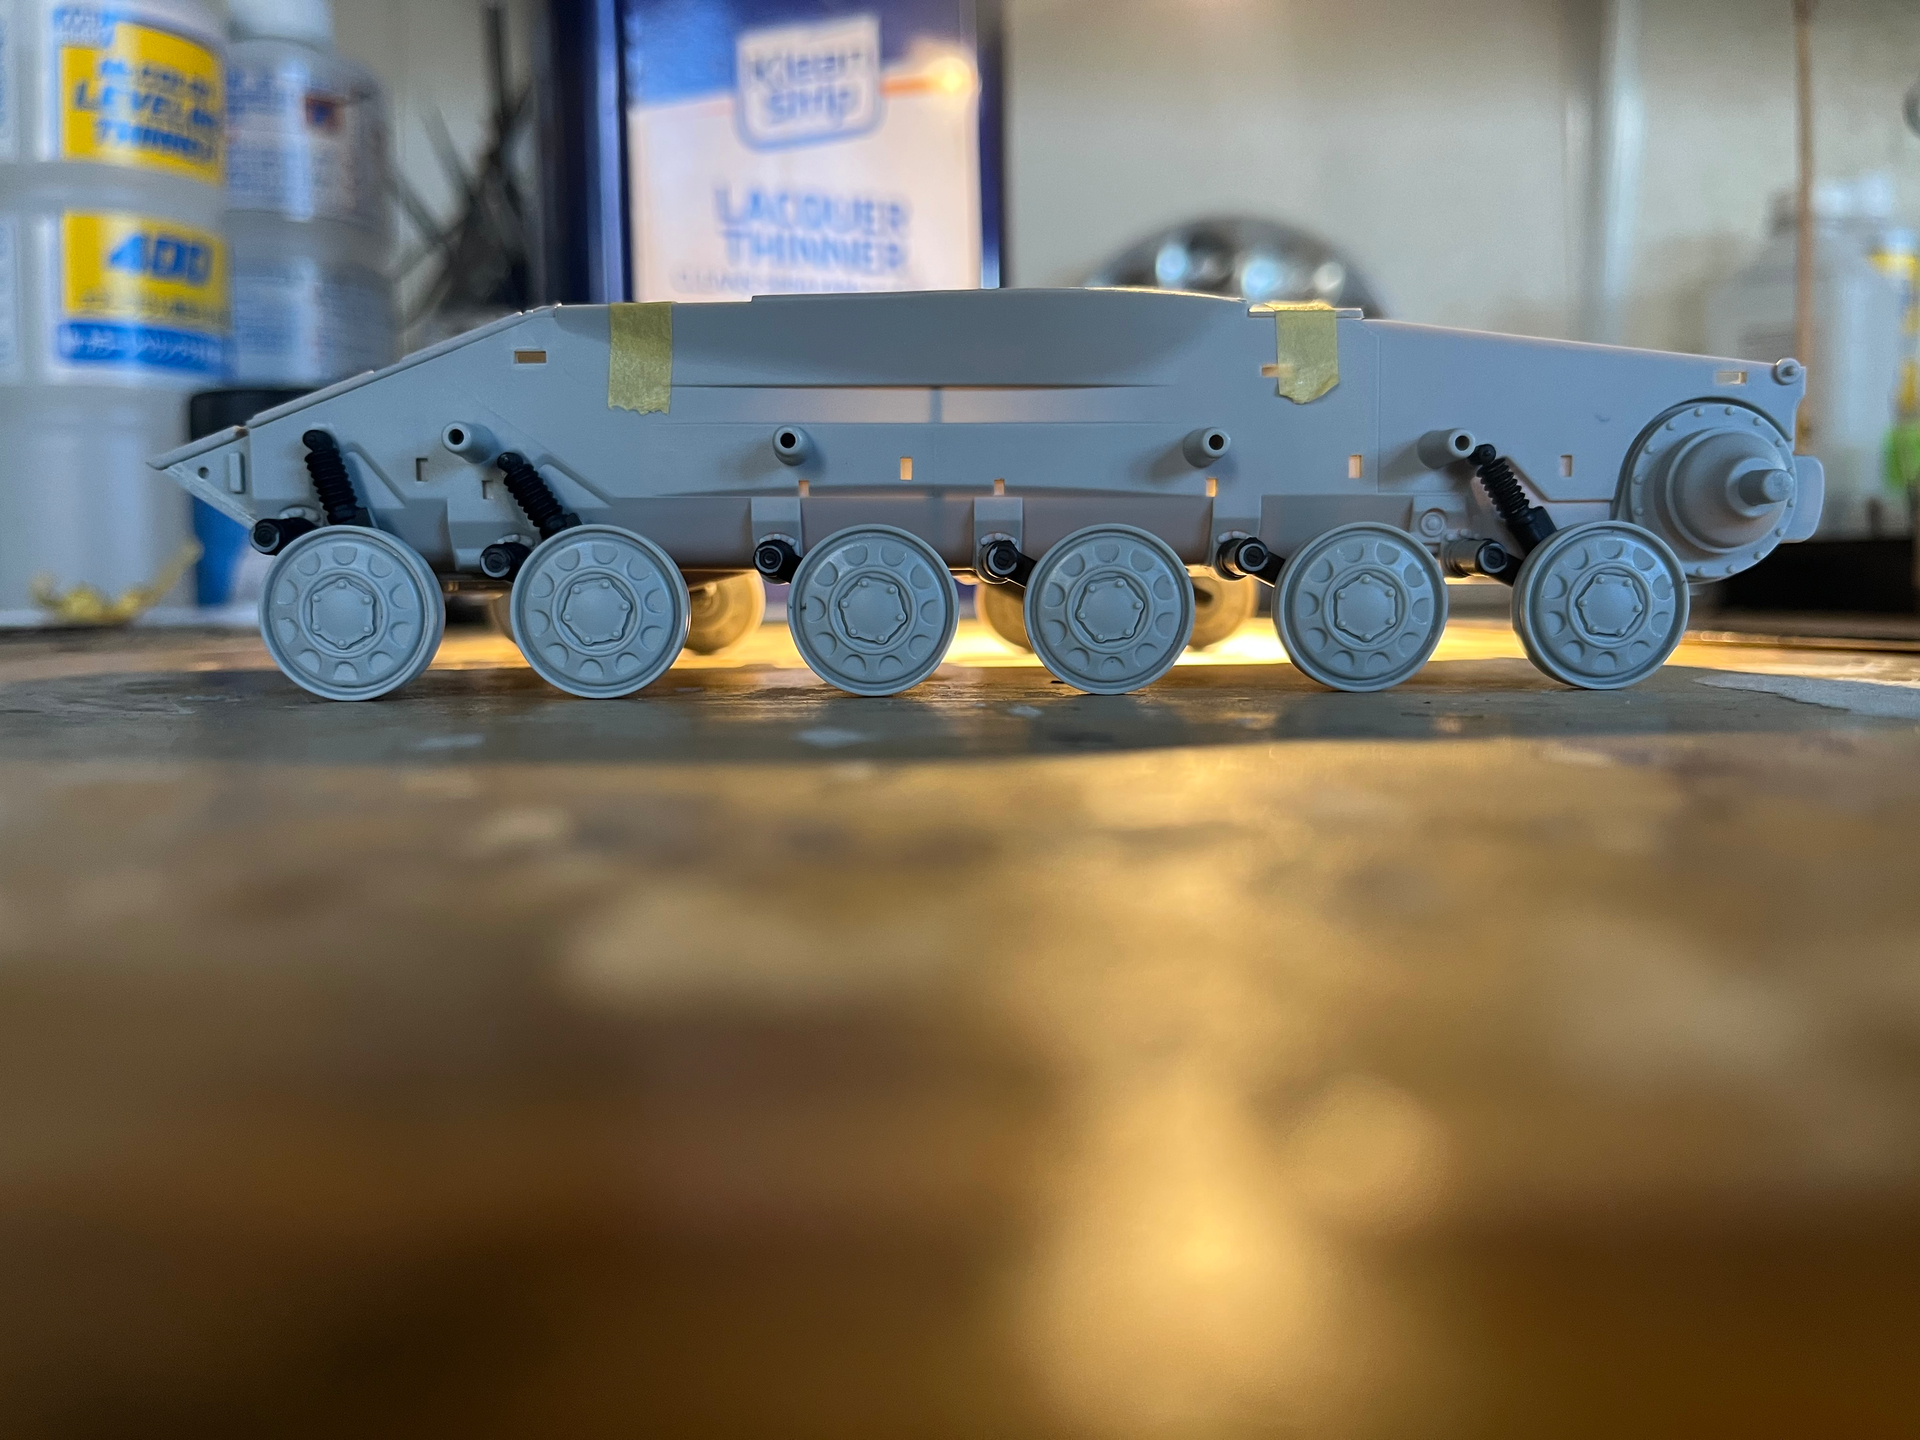
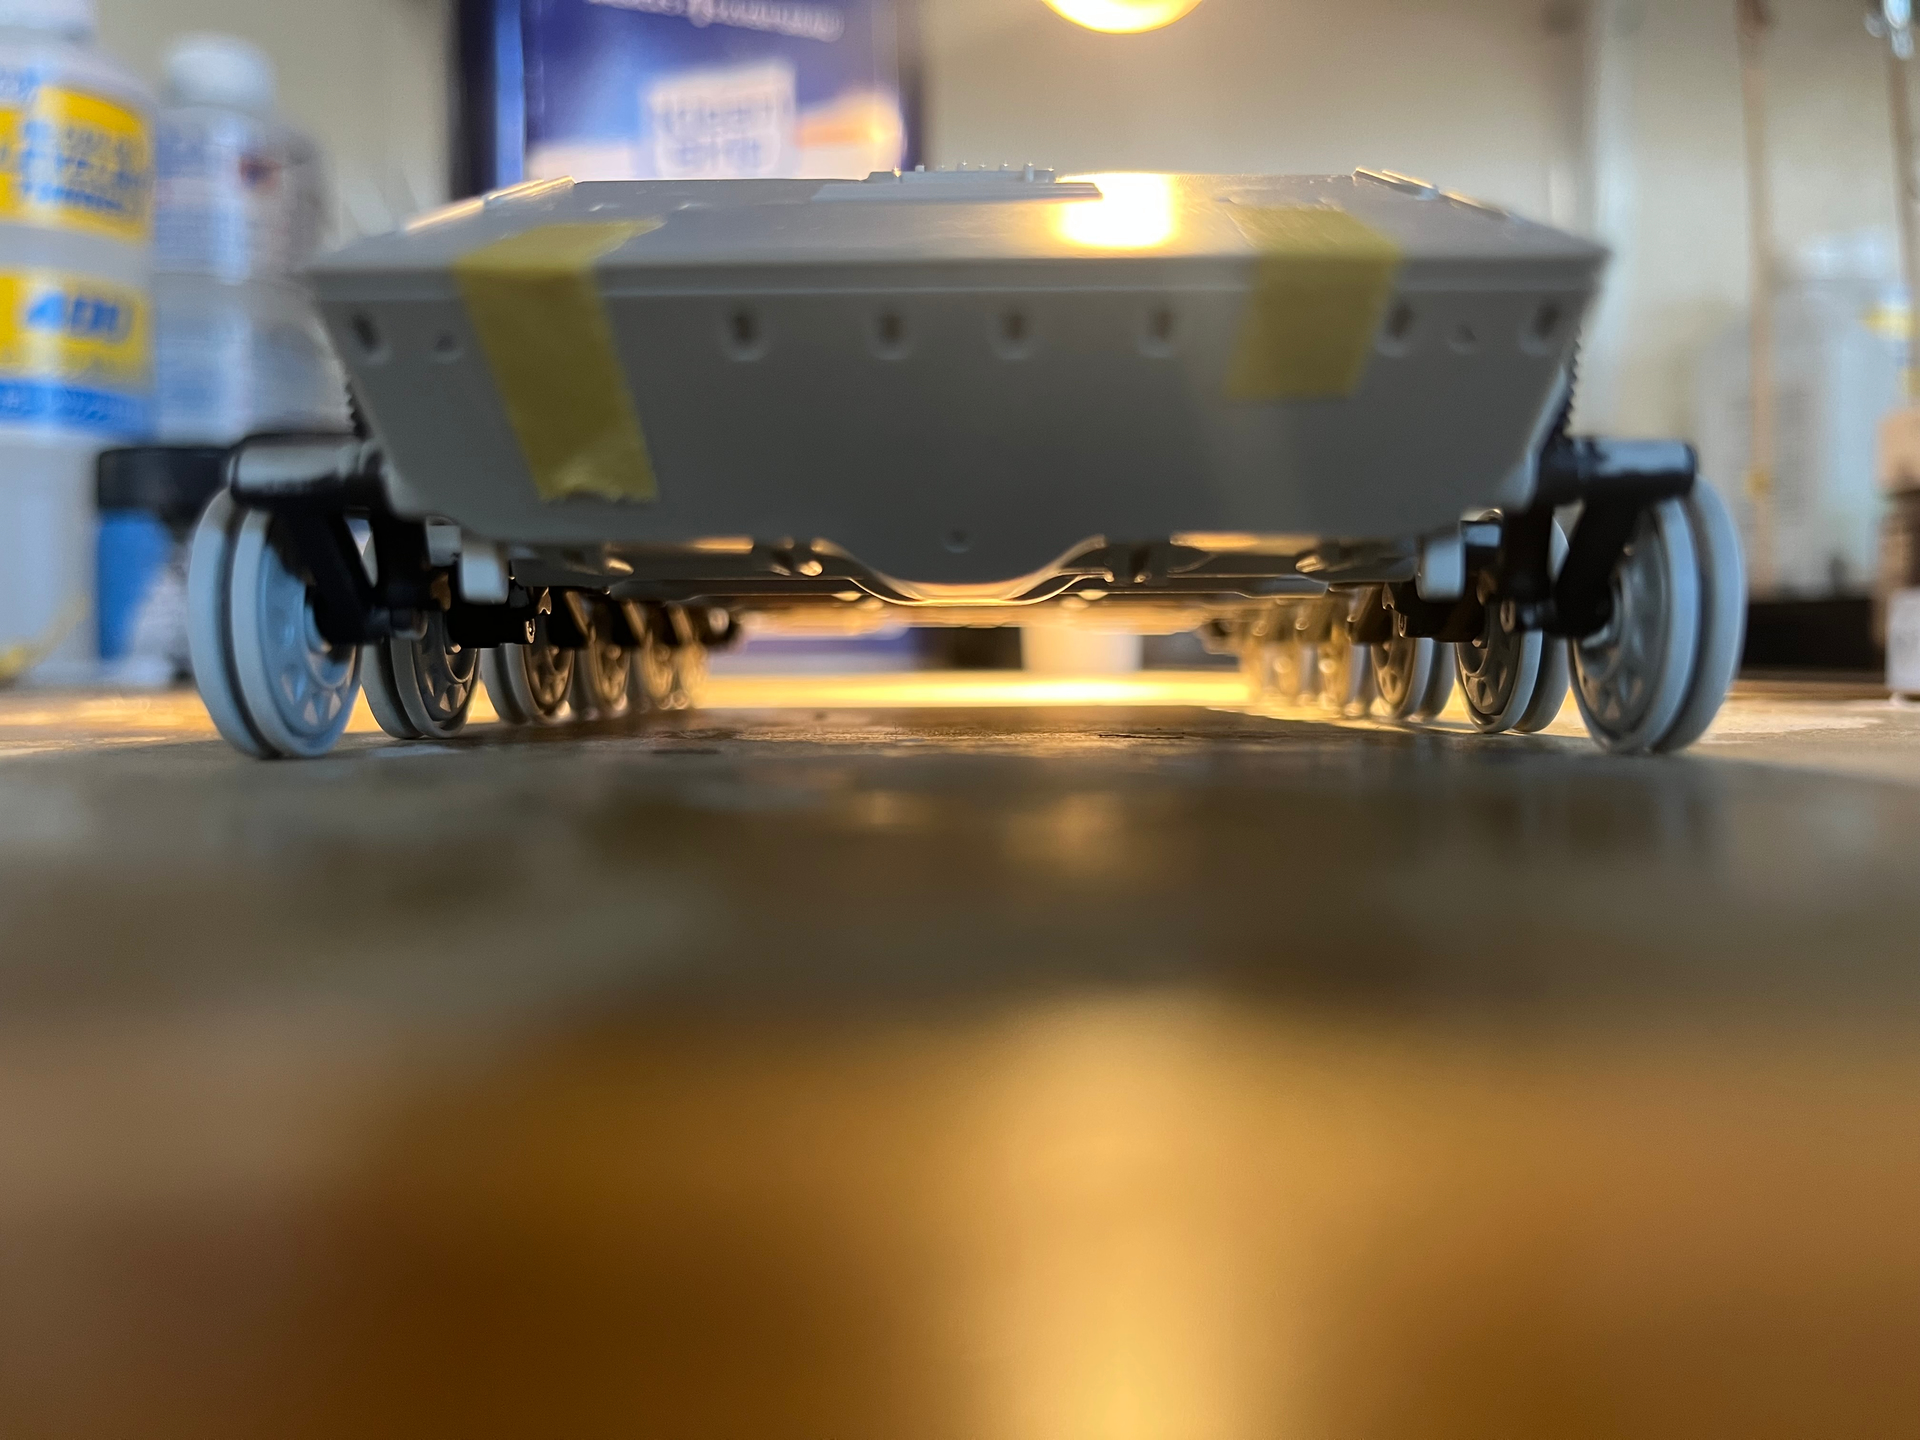
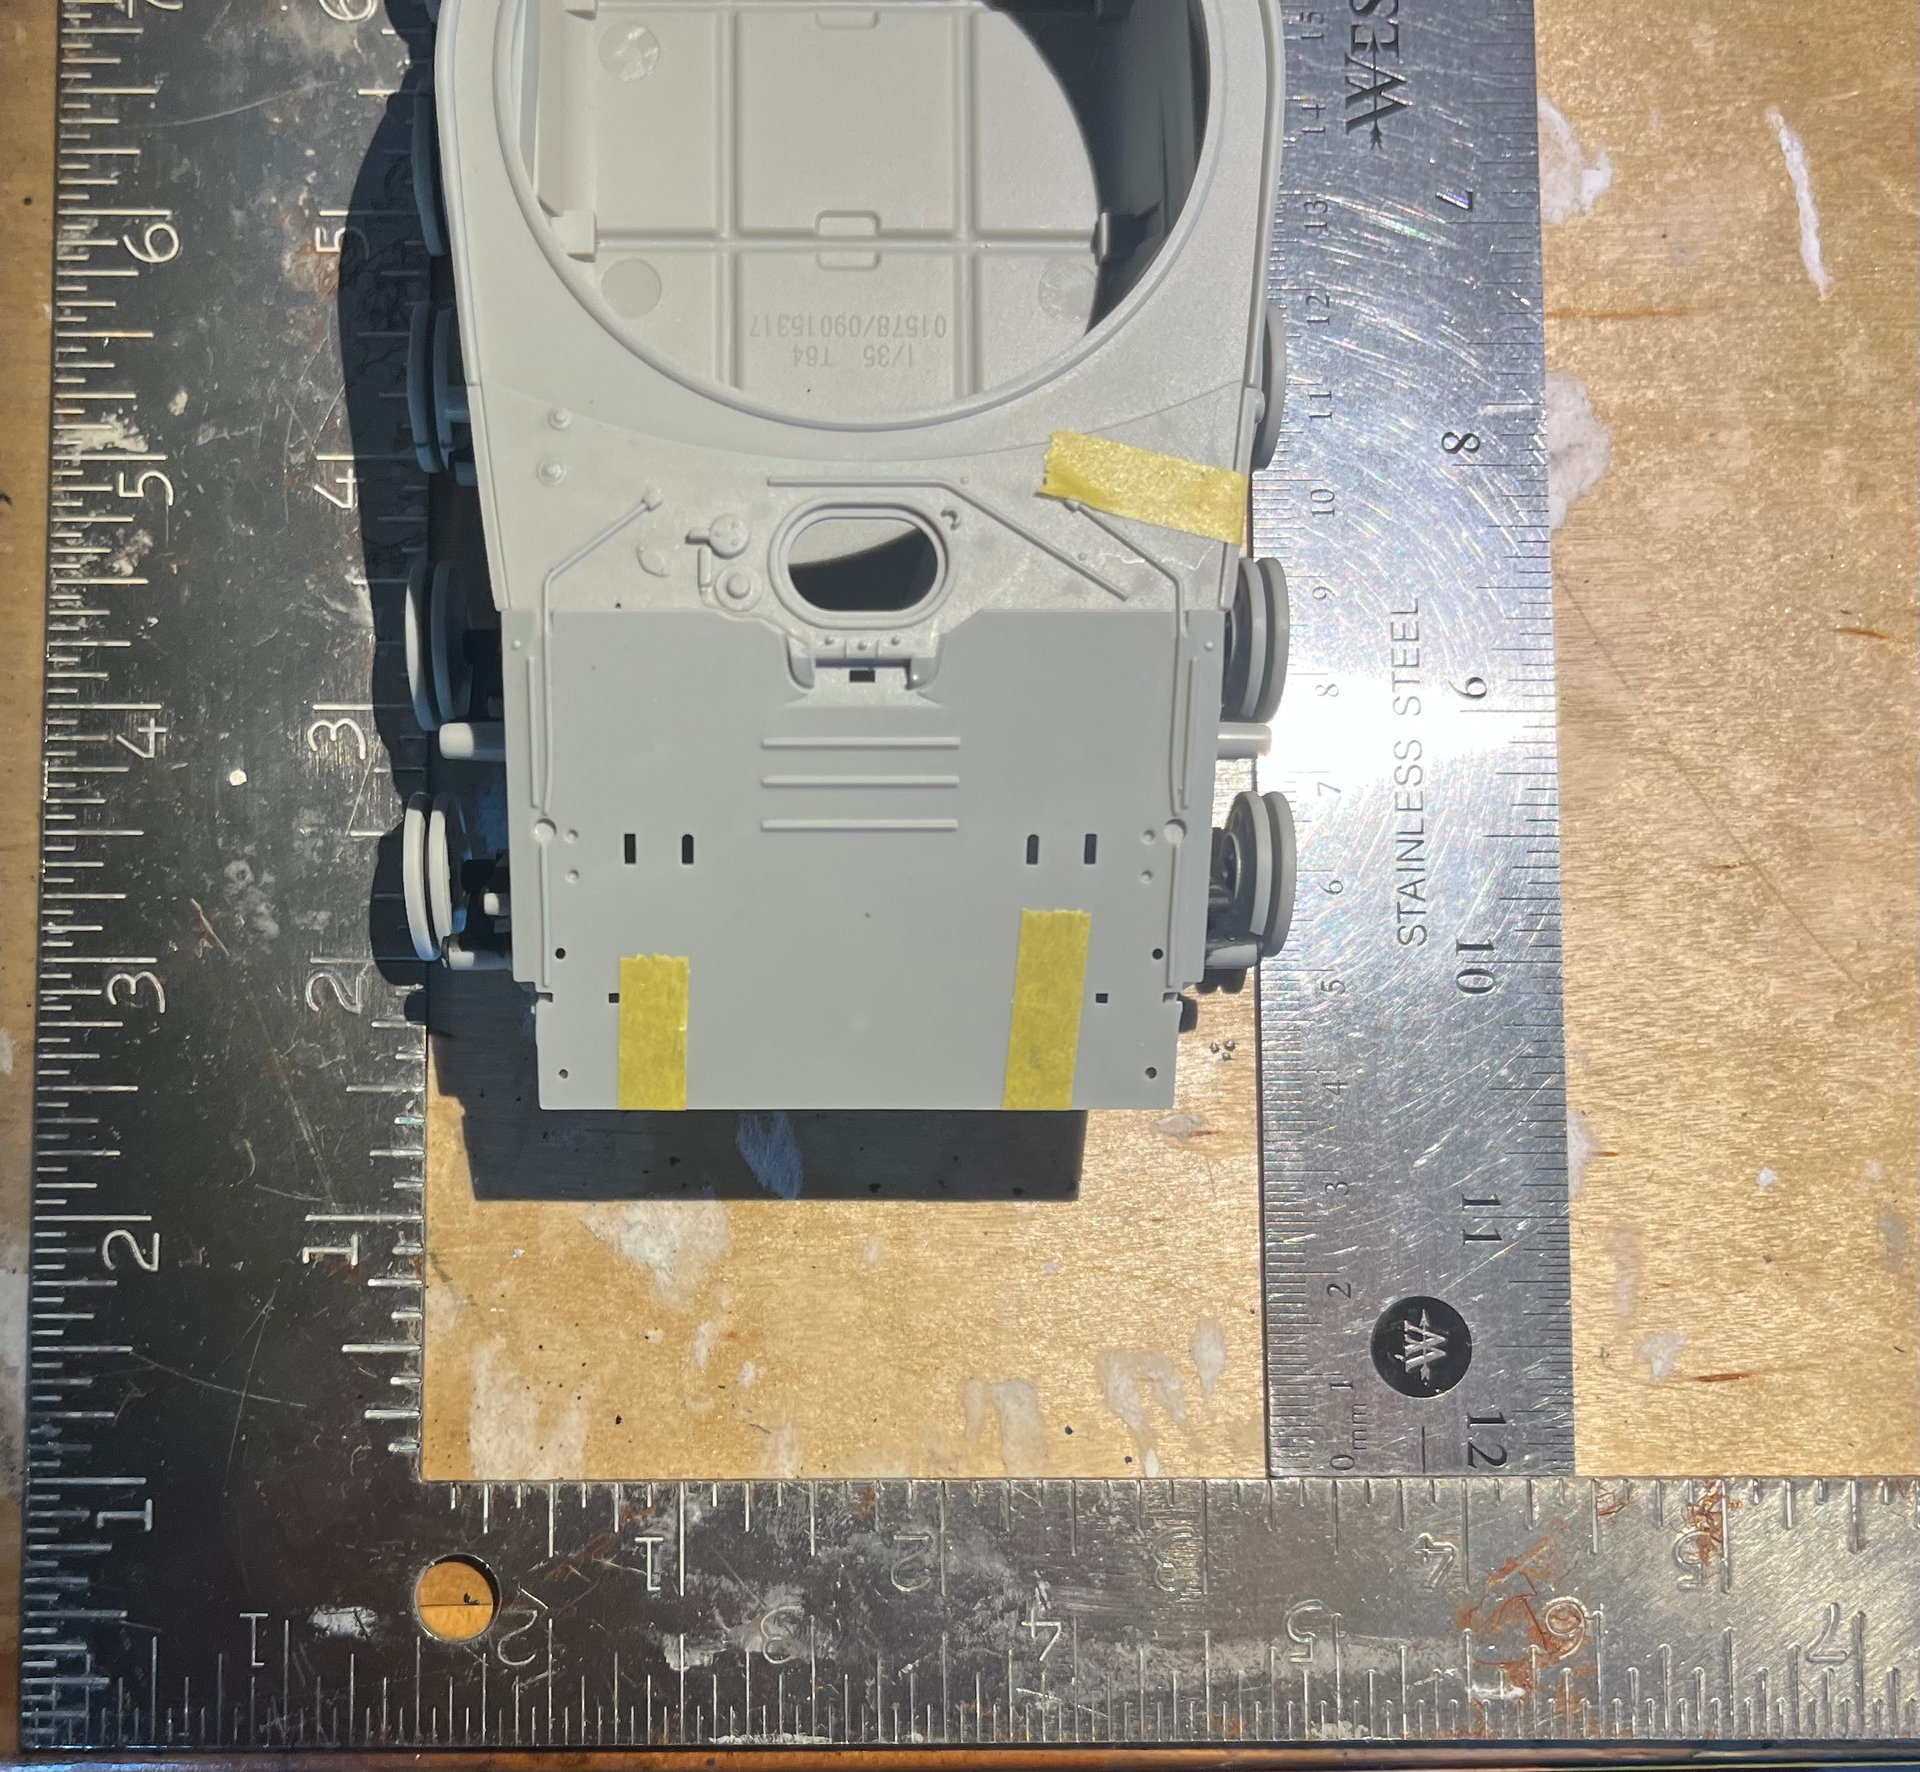
Followed the awesome advice here and was able to get a nice square and level suspension! Went really slow. Did the four corners first and then let them dry solid over night. Then aligned each arm using a steel ruler and a flat counter top ensuring alignment and that each arm touched the ground
Also taped the top hull plate in place. My hull was slightly warped and putting the top hull plate on squared it up
My method is to assemble the large parts as soon as possible.
If/When the parts are warped it is easier/safer to force them into compliance without the extra worry about small delicate parts. Even the suspension arms count as delicate when the parts for the hull are warped and need tweaking by force.
Straightening the hull after the suspension arms are aligned could pull them out of alignment …