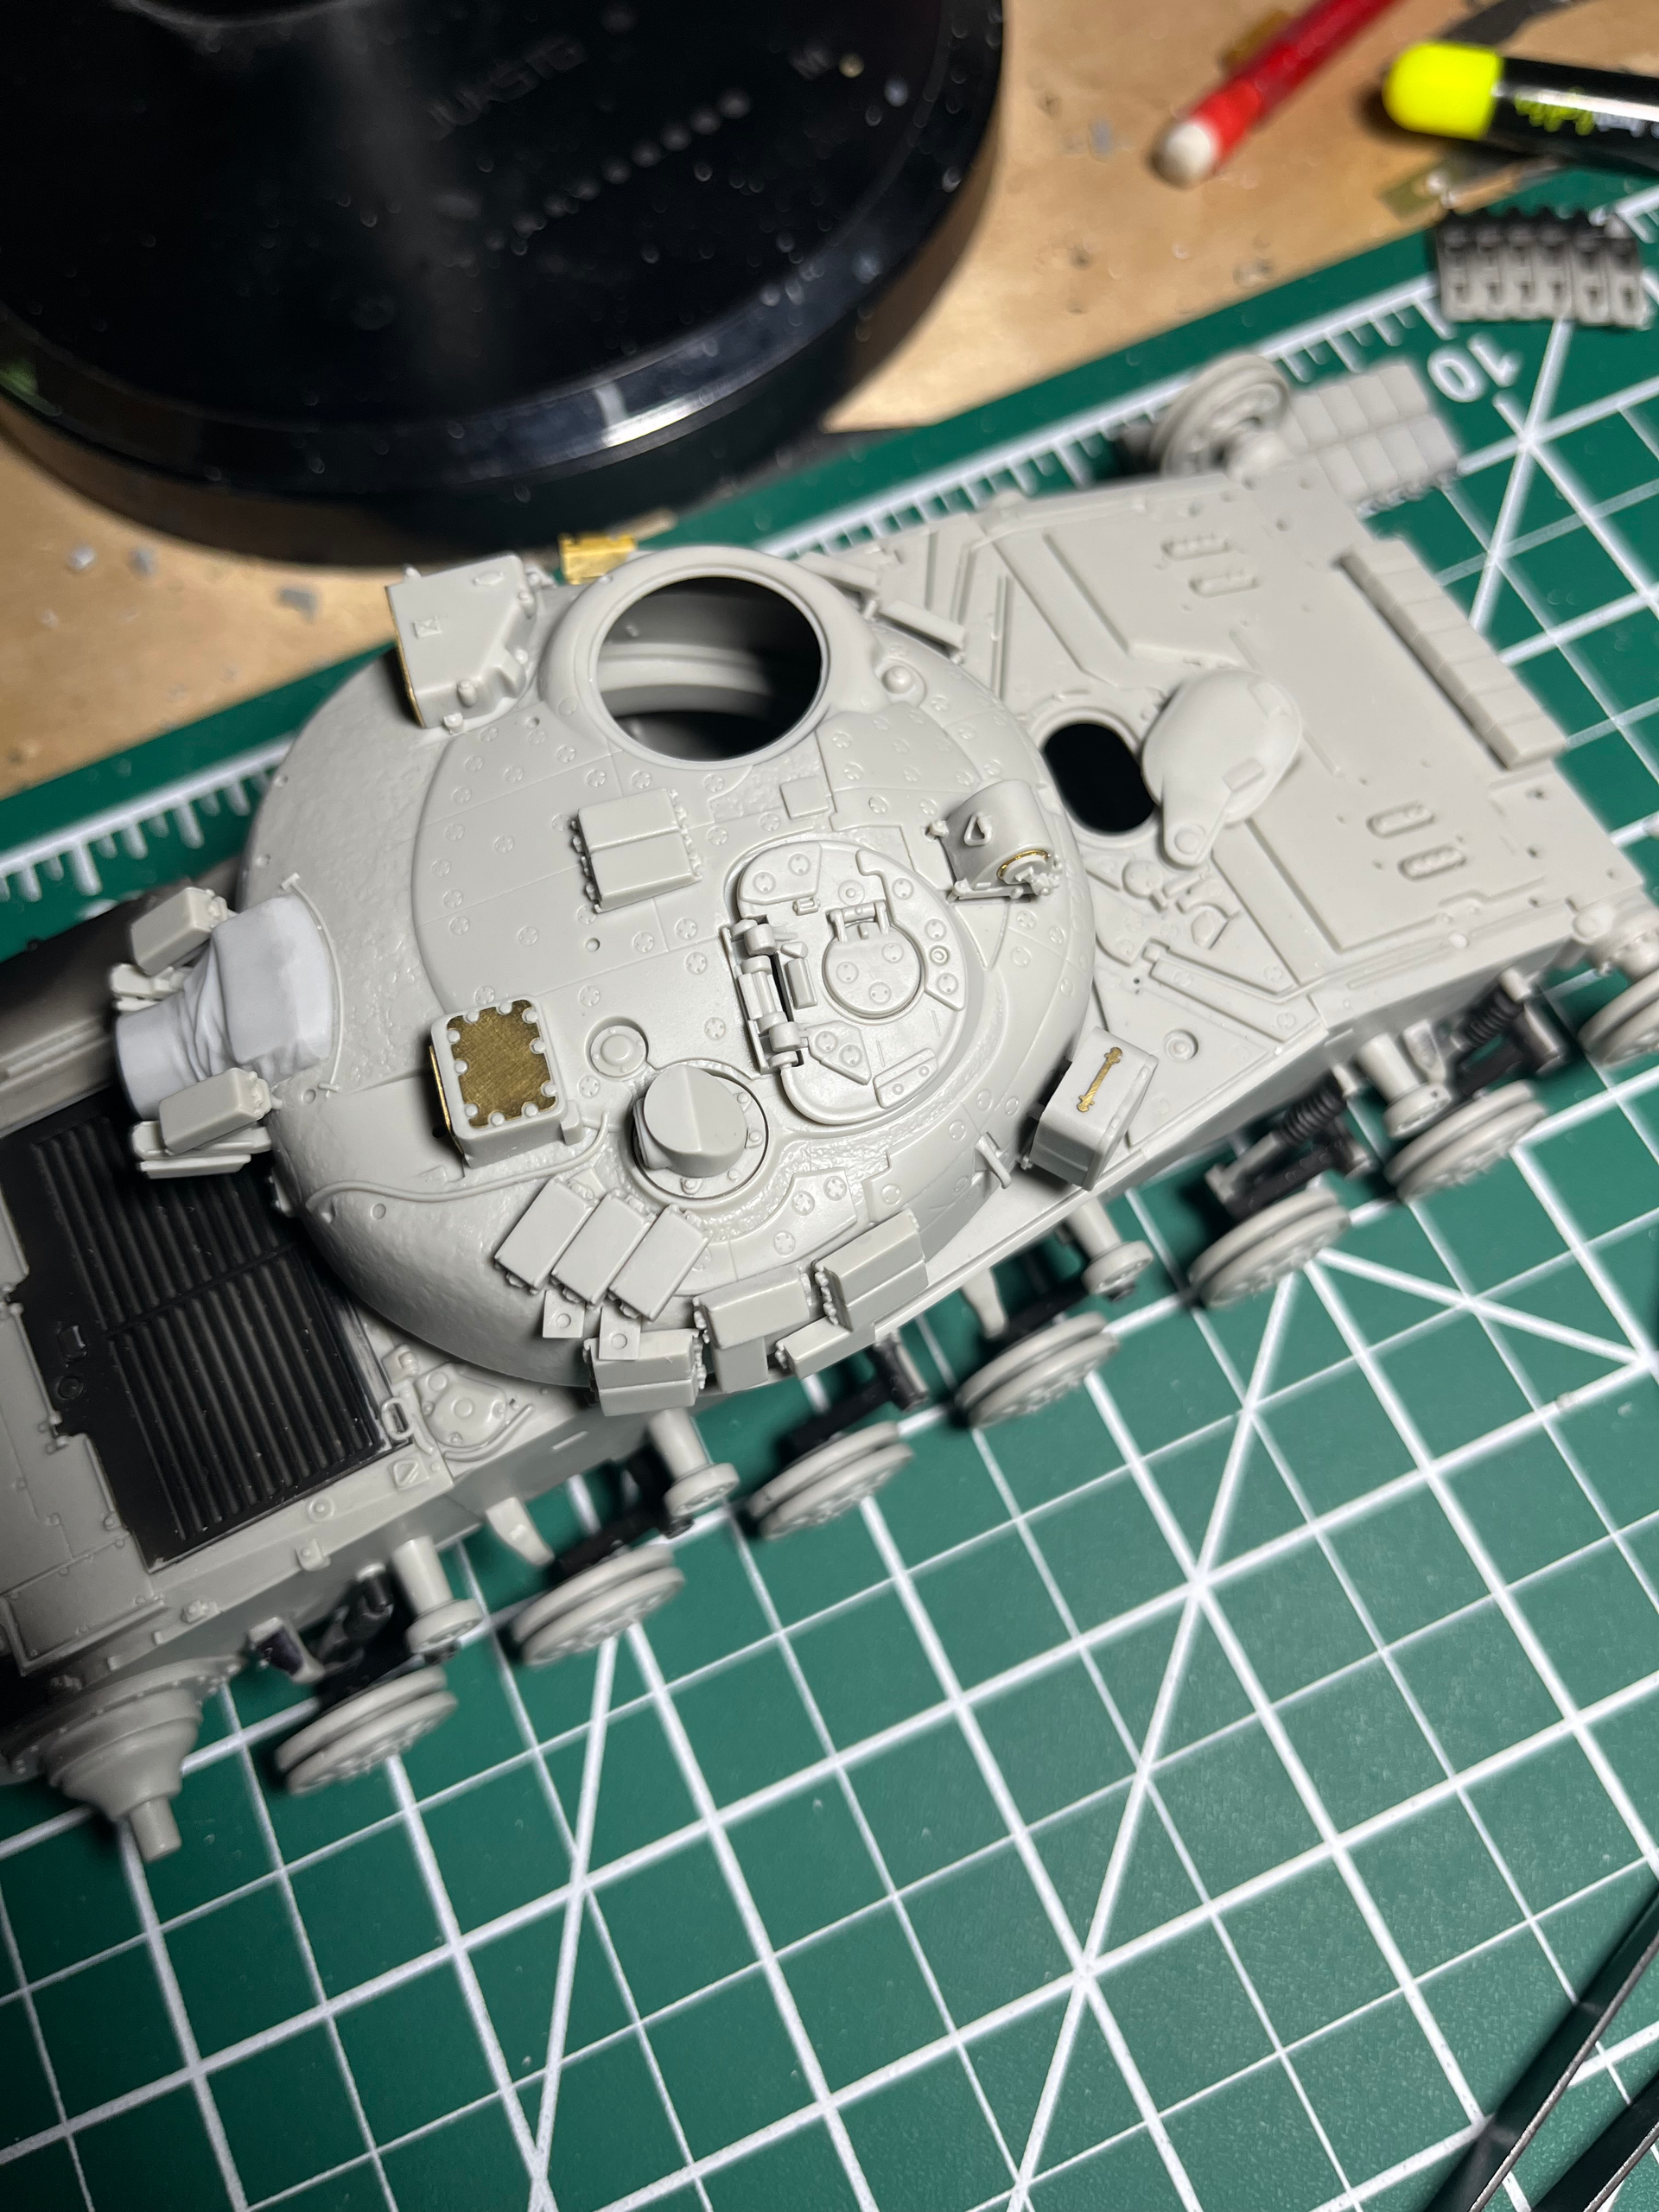
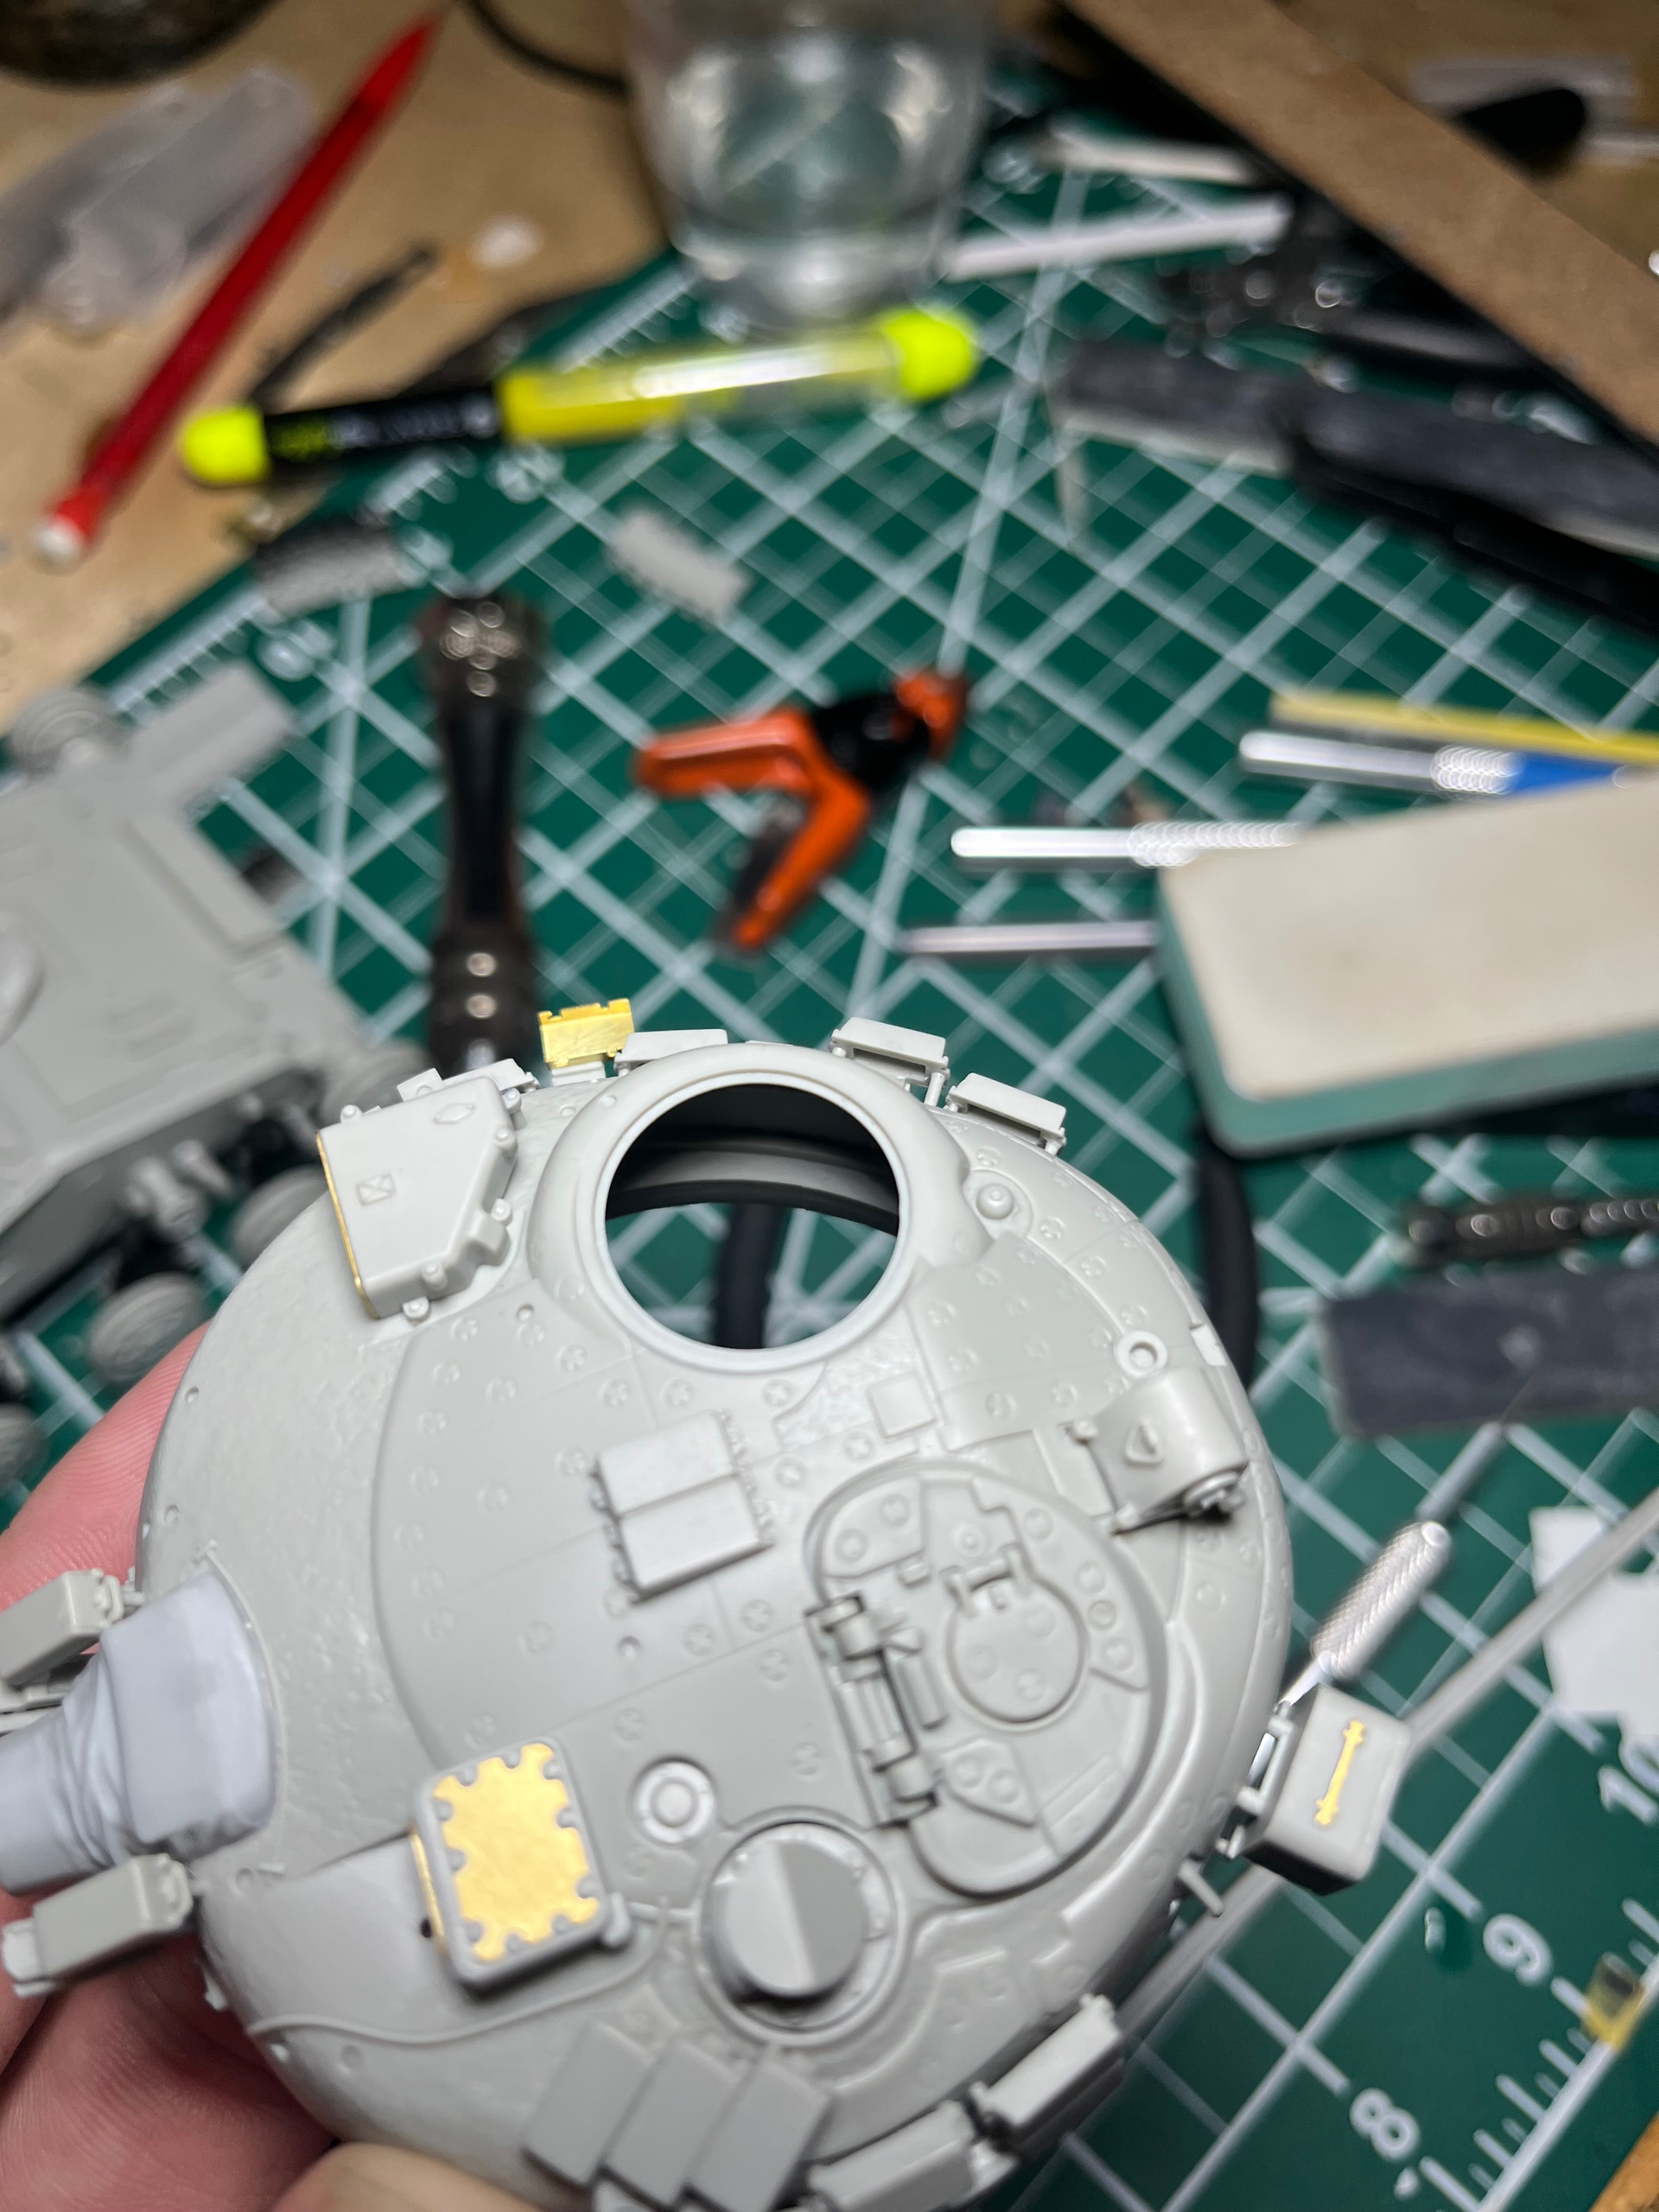
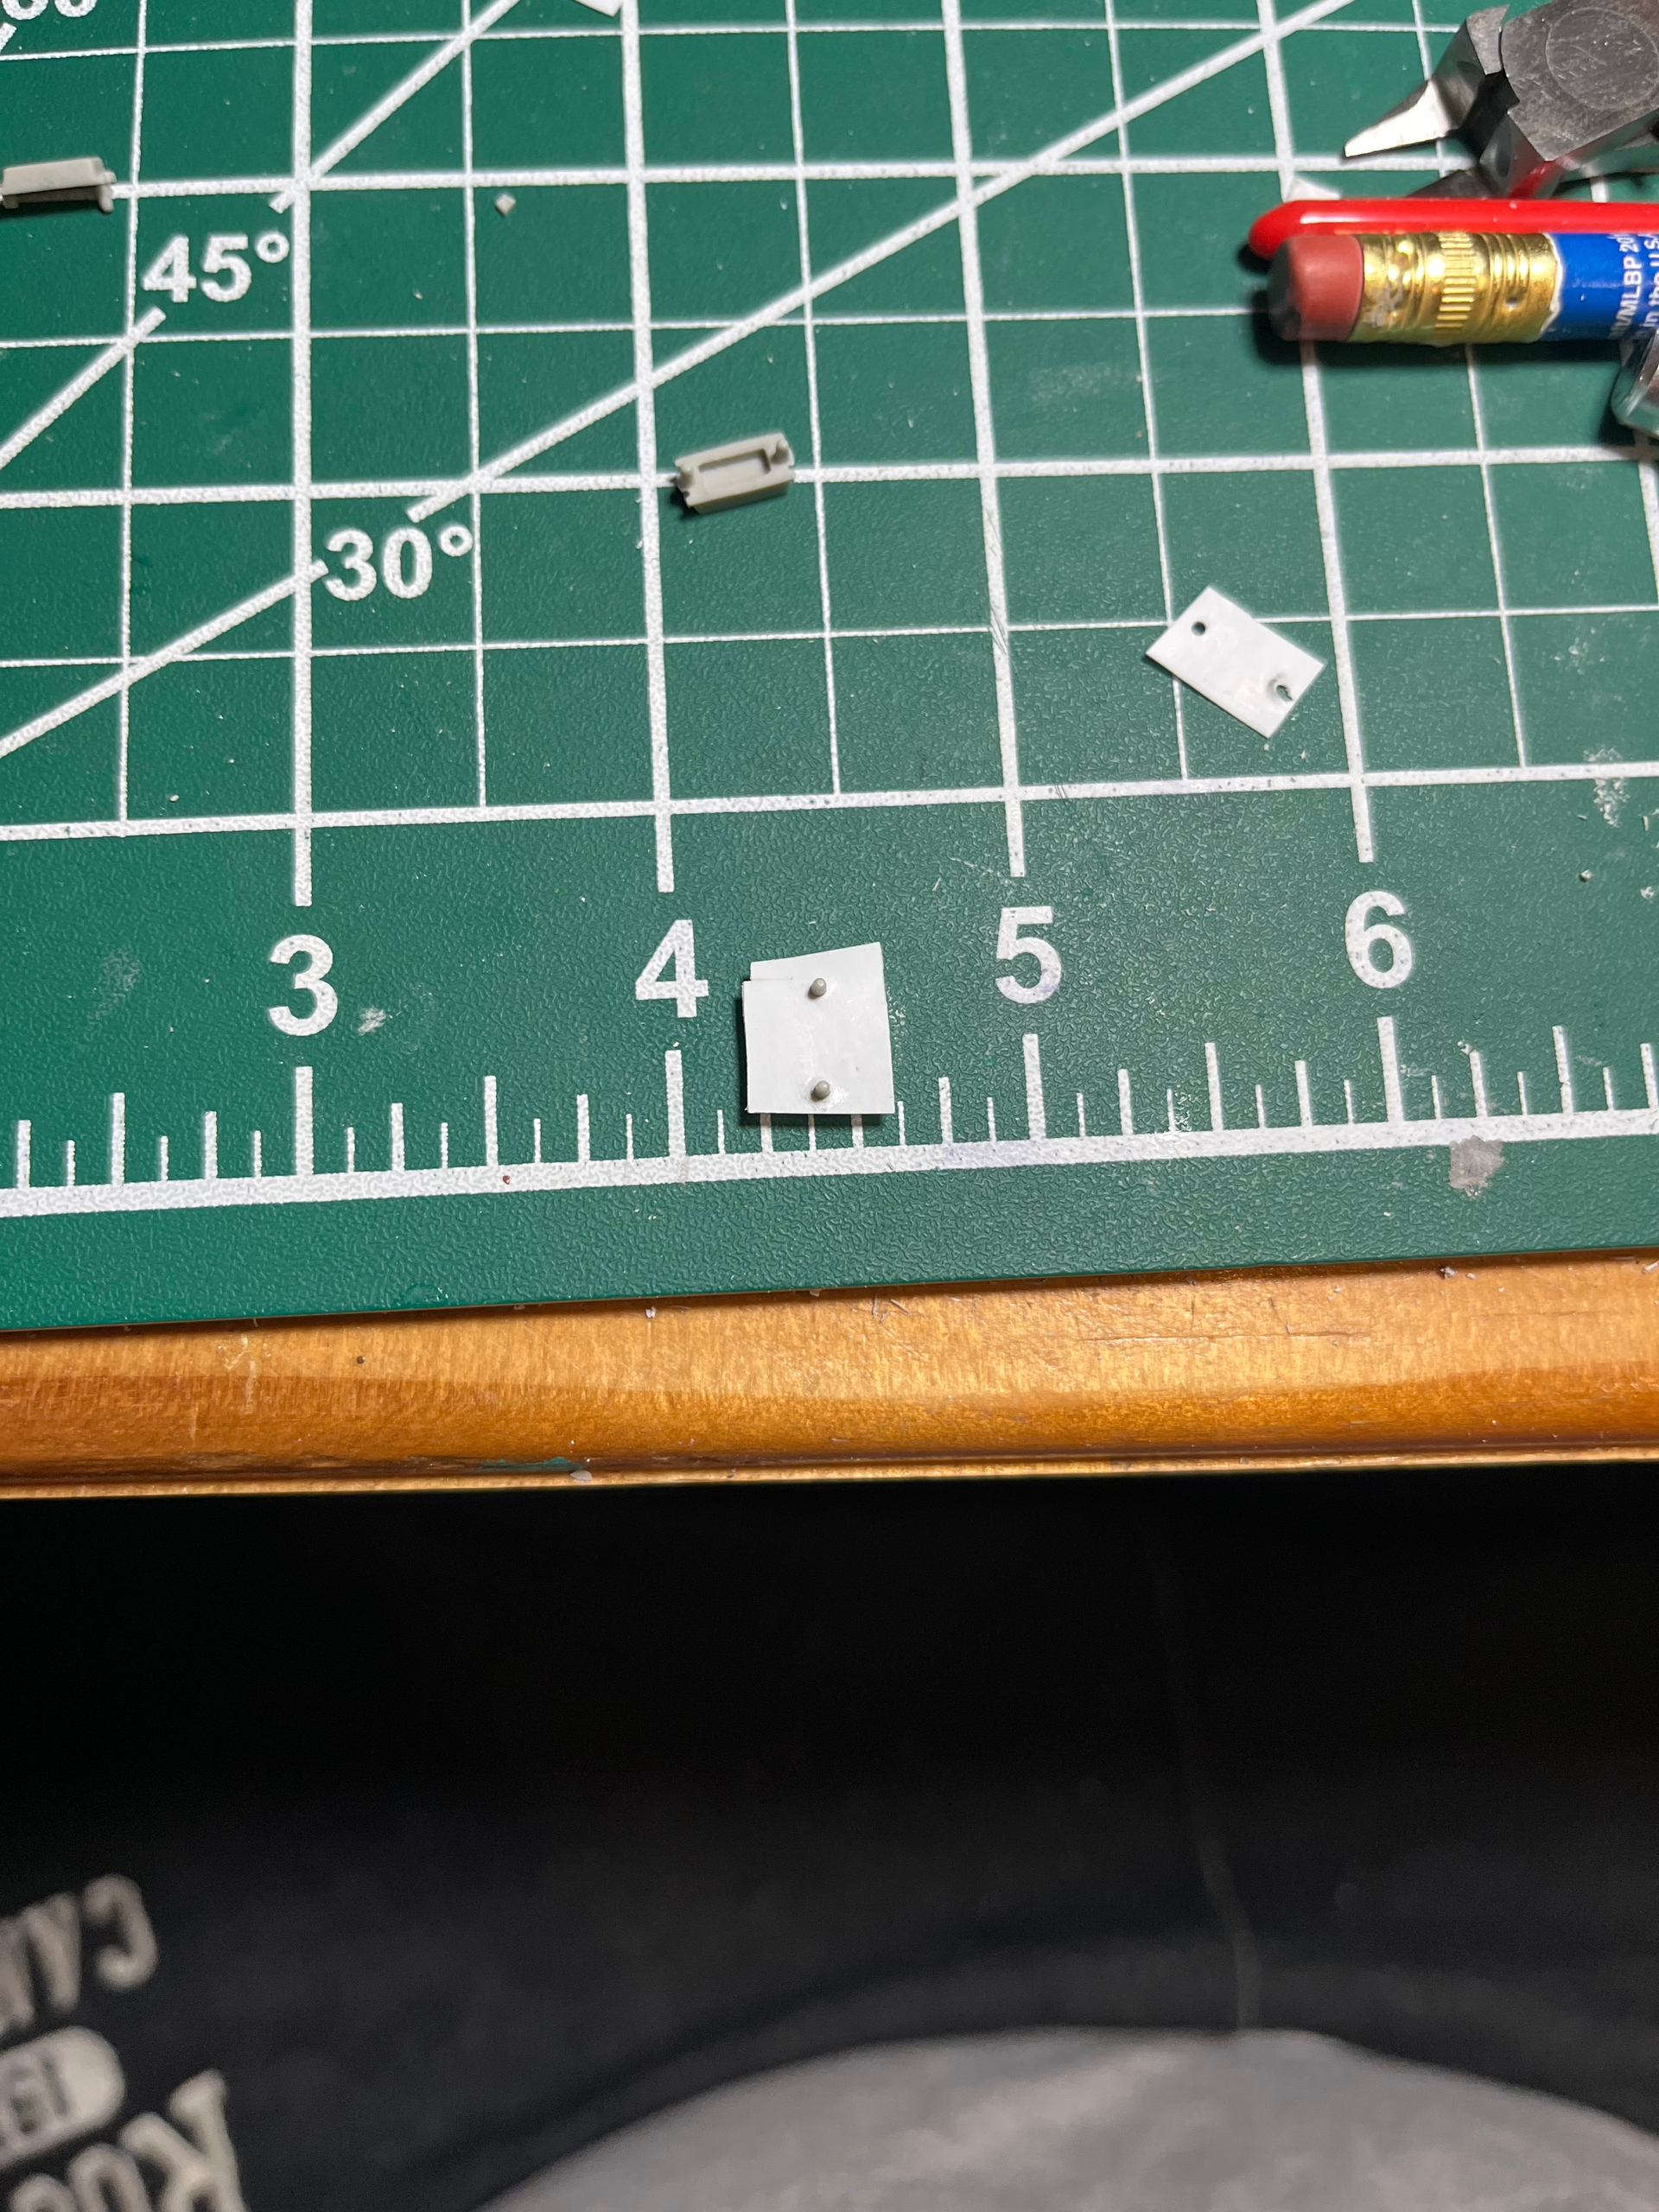
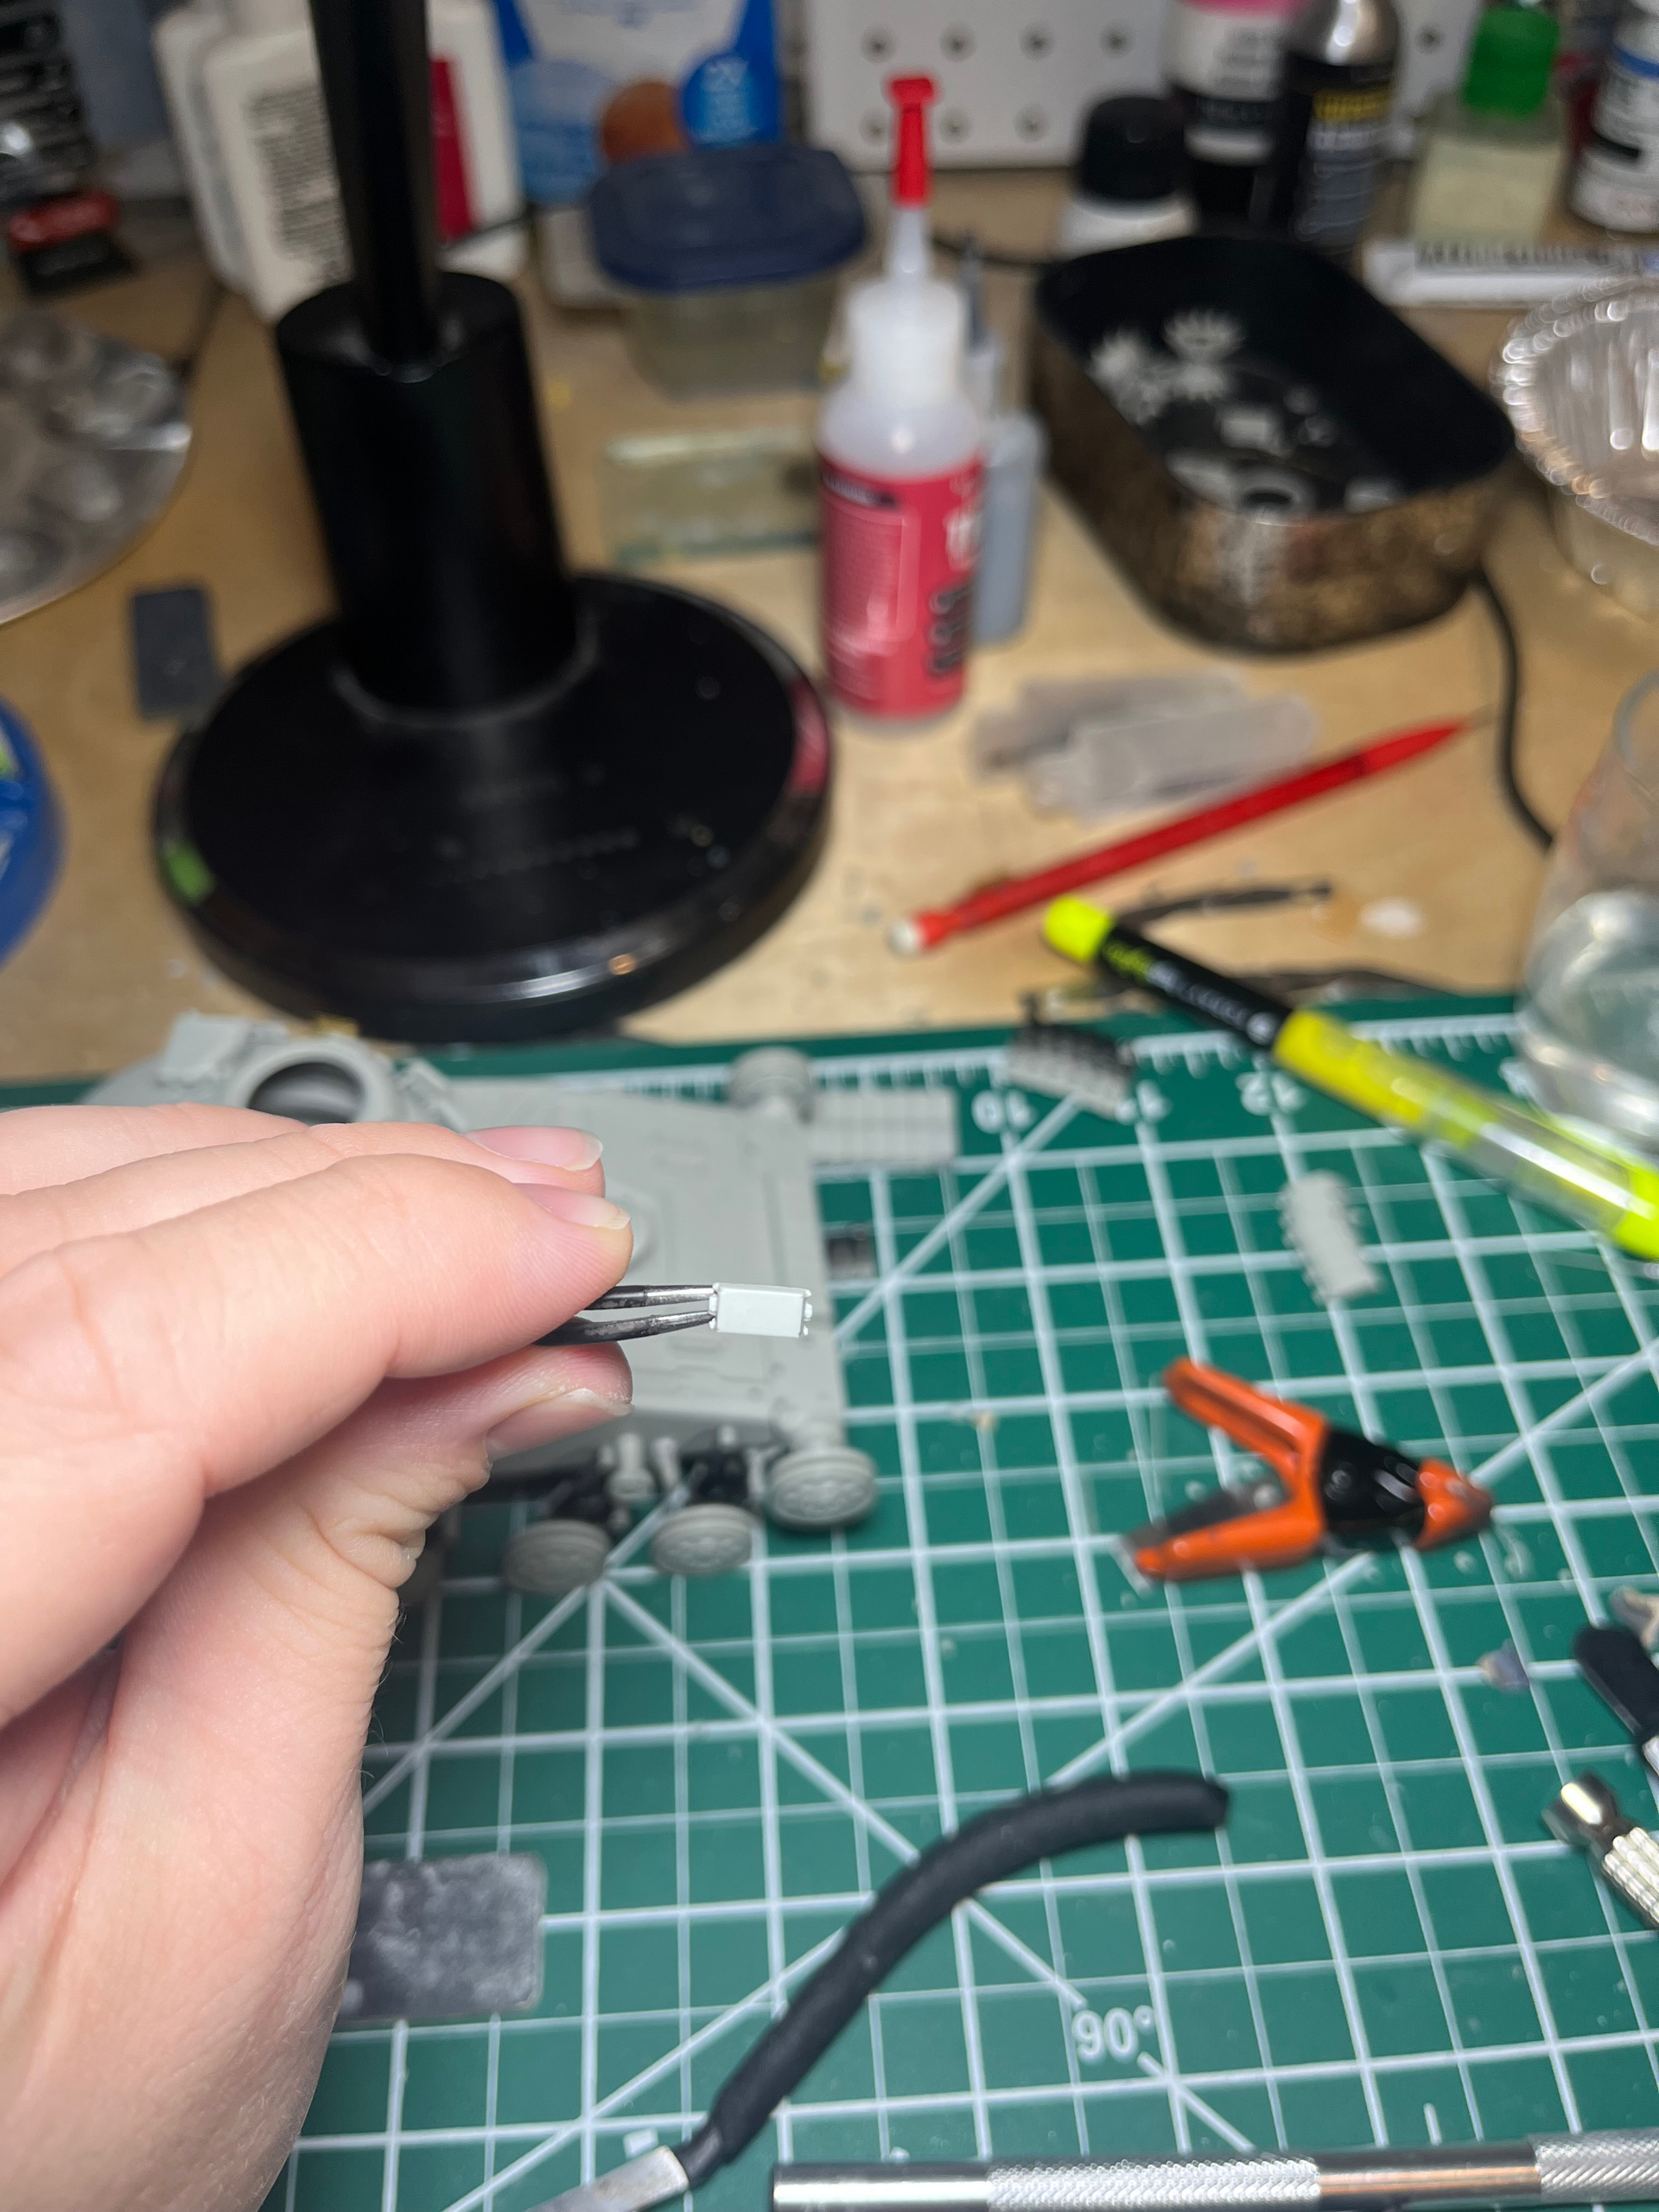
I am working on trumpeters T-64BV I am nearing completion, so far the kit has been really nice except for one small issue. I was working on the turret, which has quite a few ERA blocks. I got a little a head of myself and didn’t plan one thing out. The rear of the ERA blocks are hollow when the real things are decidedly not.
I had glued most of them on before realizing I overlooked this. For the most part this isn’t too noticeable since the blocks hug the turret closely and really have too look to see the back side.
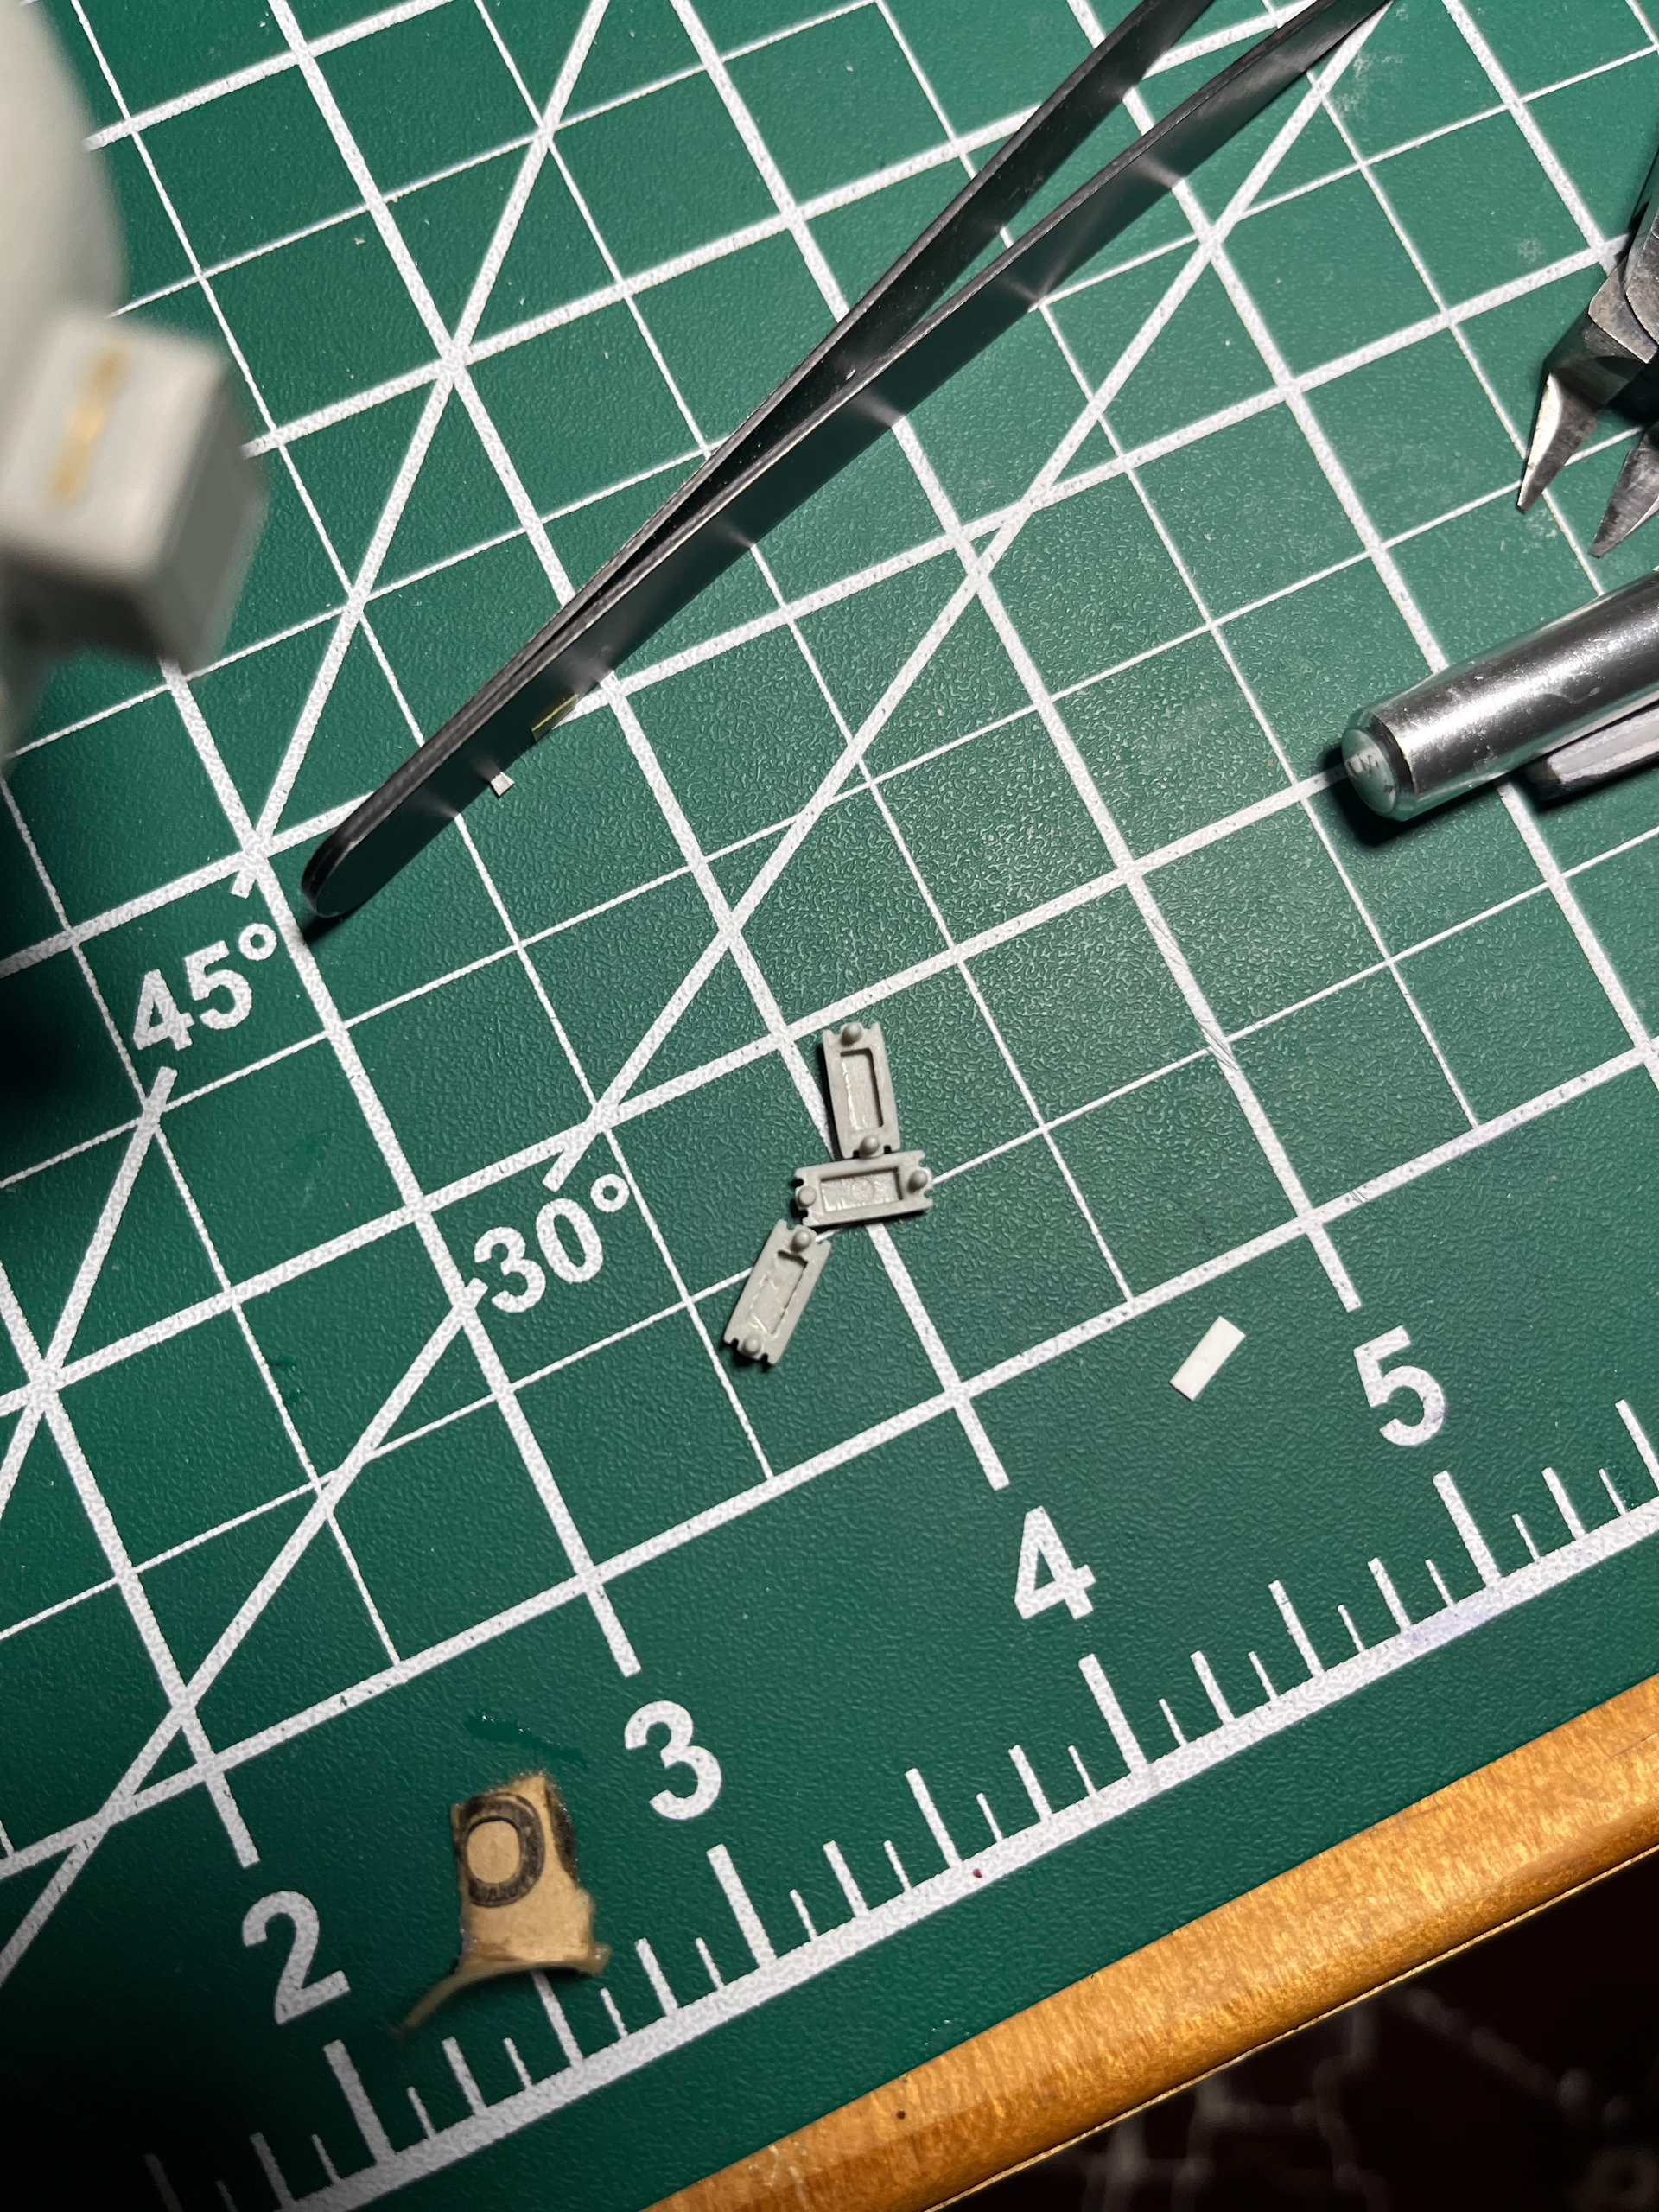
Thankfully, 3 of the worst offending blocks I have not glued on yet so I can fix those before I do. Also thankfully only 1 block on the port side is noticeable and two on the starboard side. So I don’t have too much fixing to do.
However I am not sure how to go about it? So far I have considered
Live and learn, I.e. just leave it alone
Fill will brass sheet or plasticard to give the blocks a solid backing
Fill with something more malleable like milliput or tamiya putty I can squish into the void and then level off
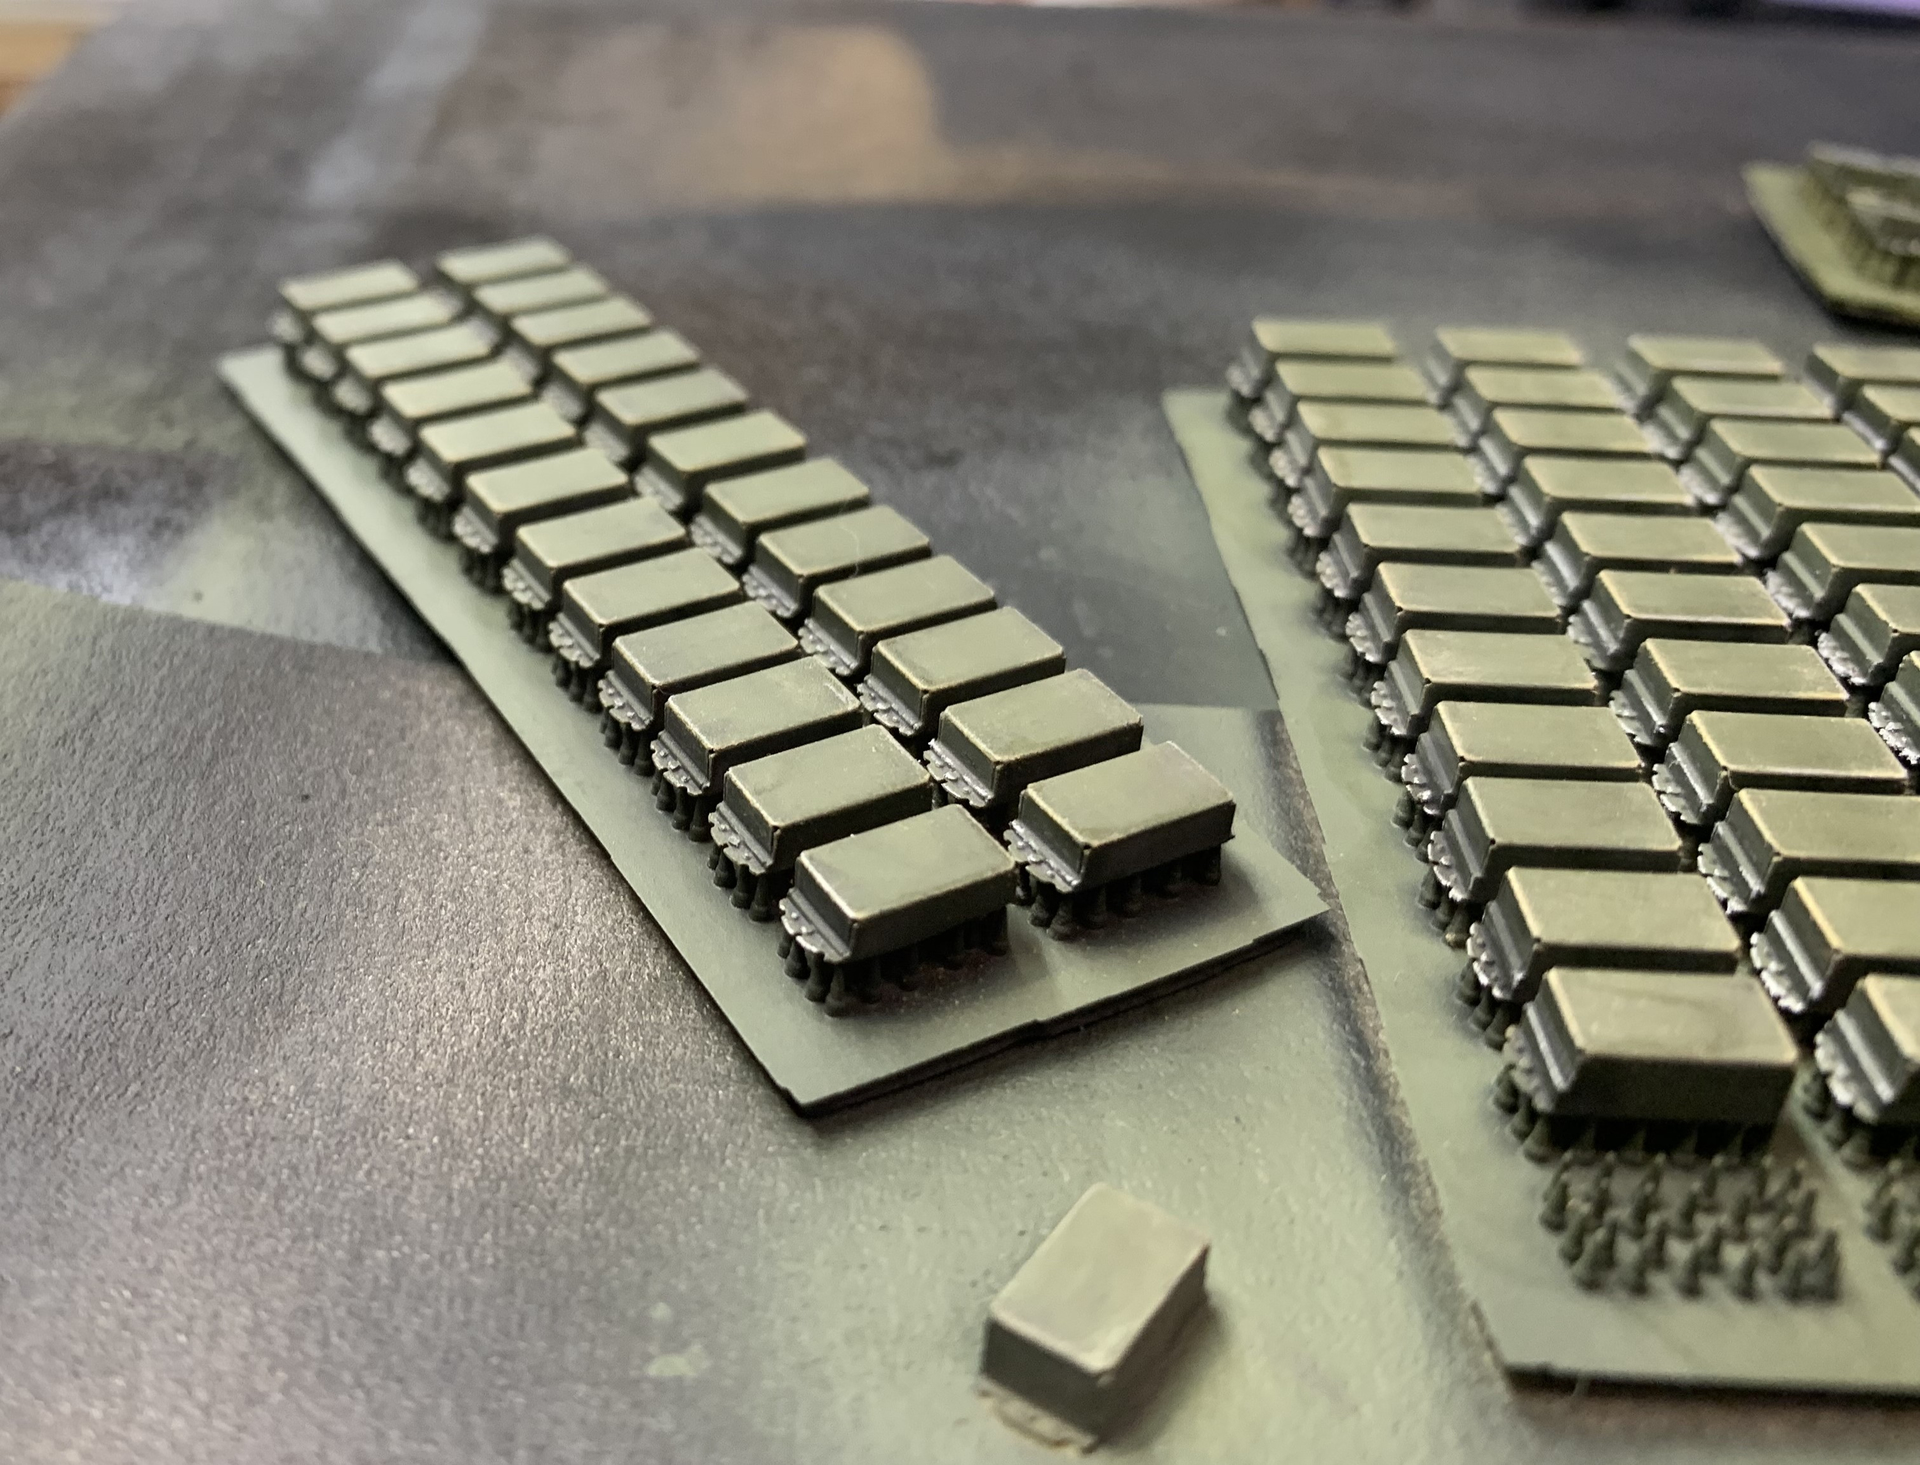
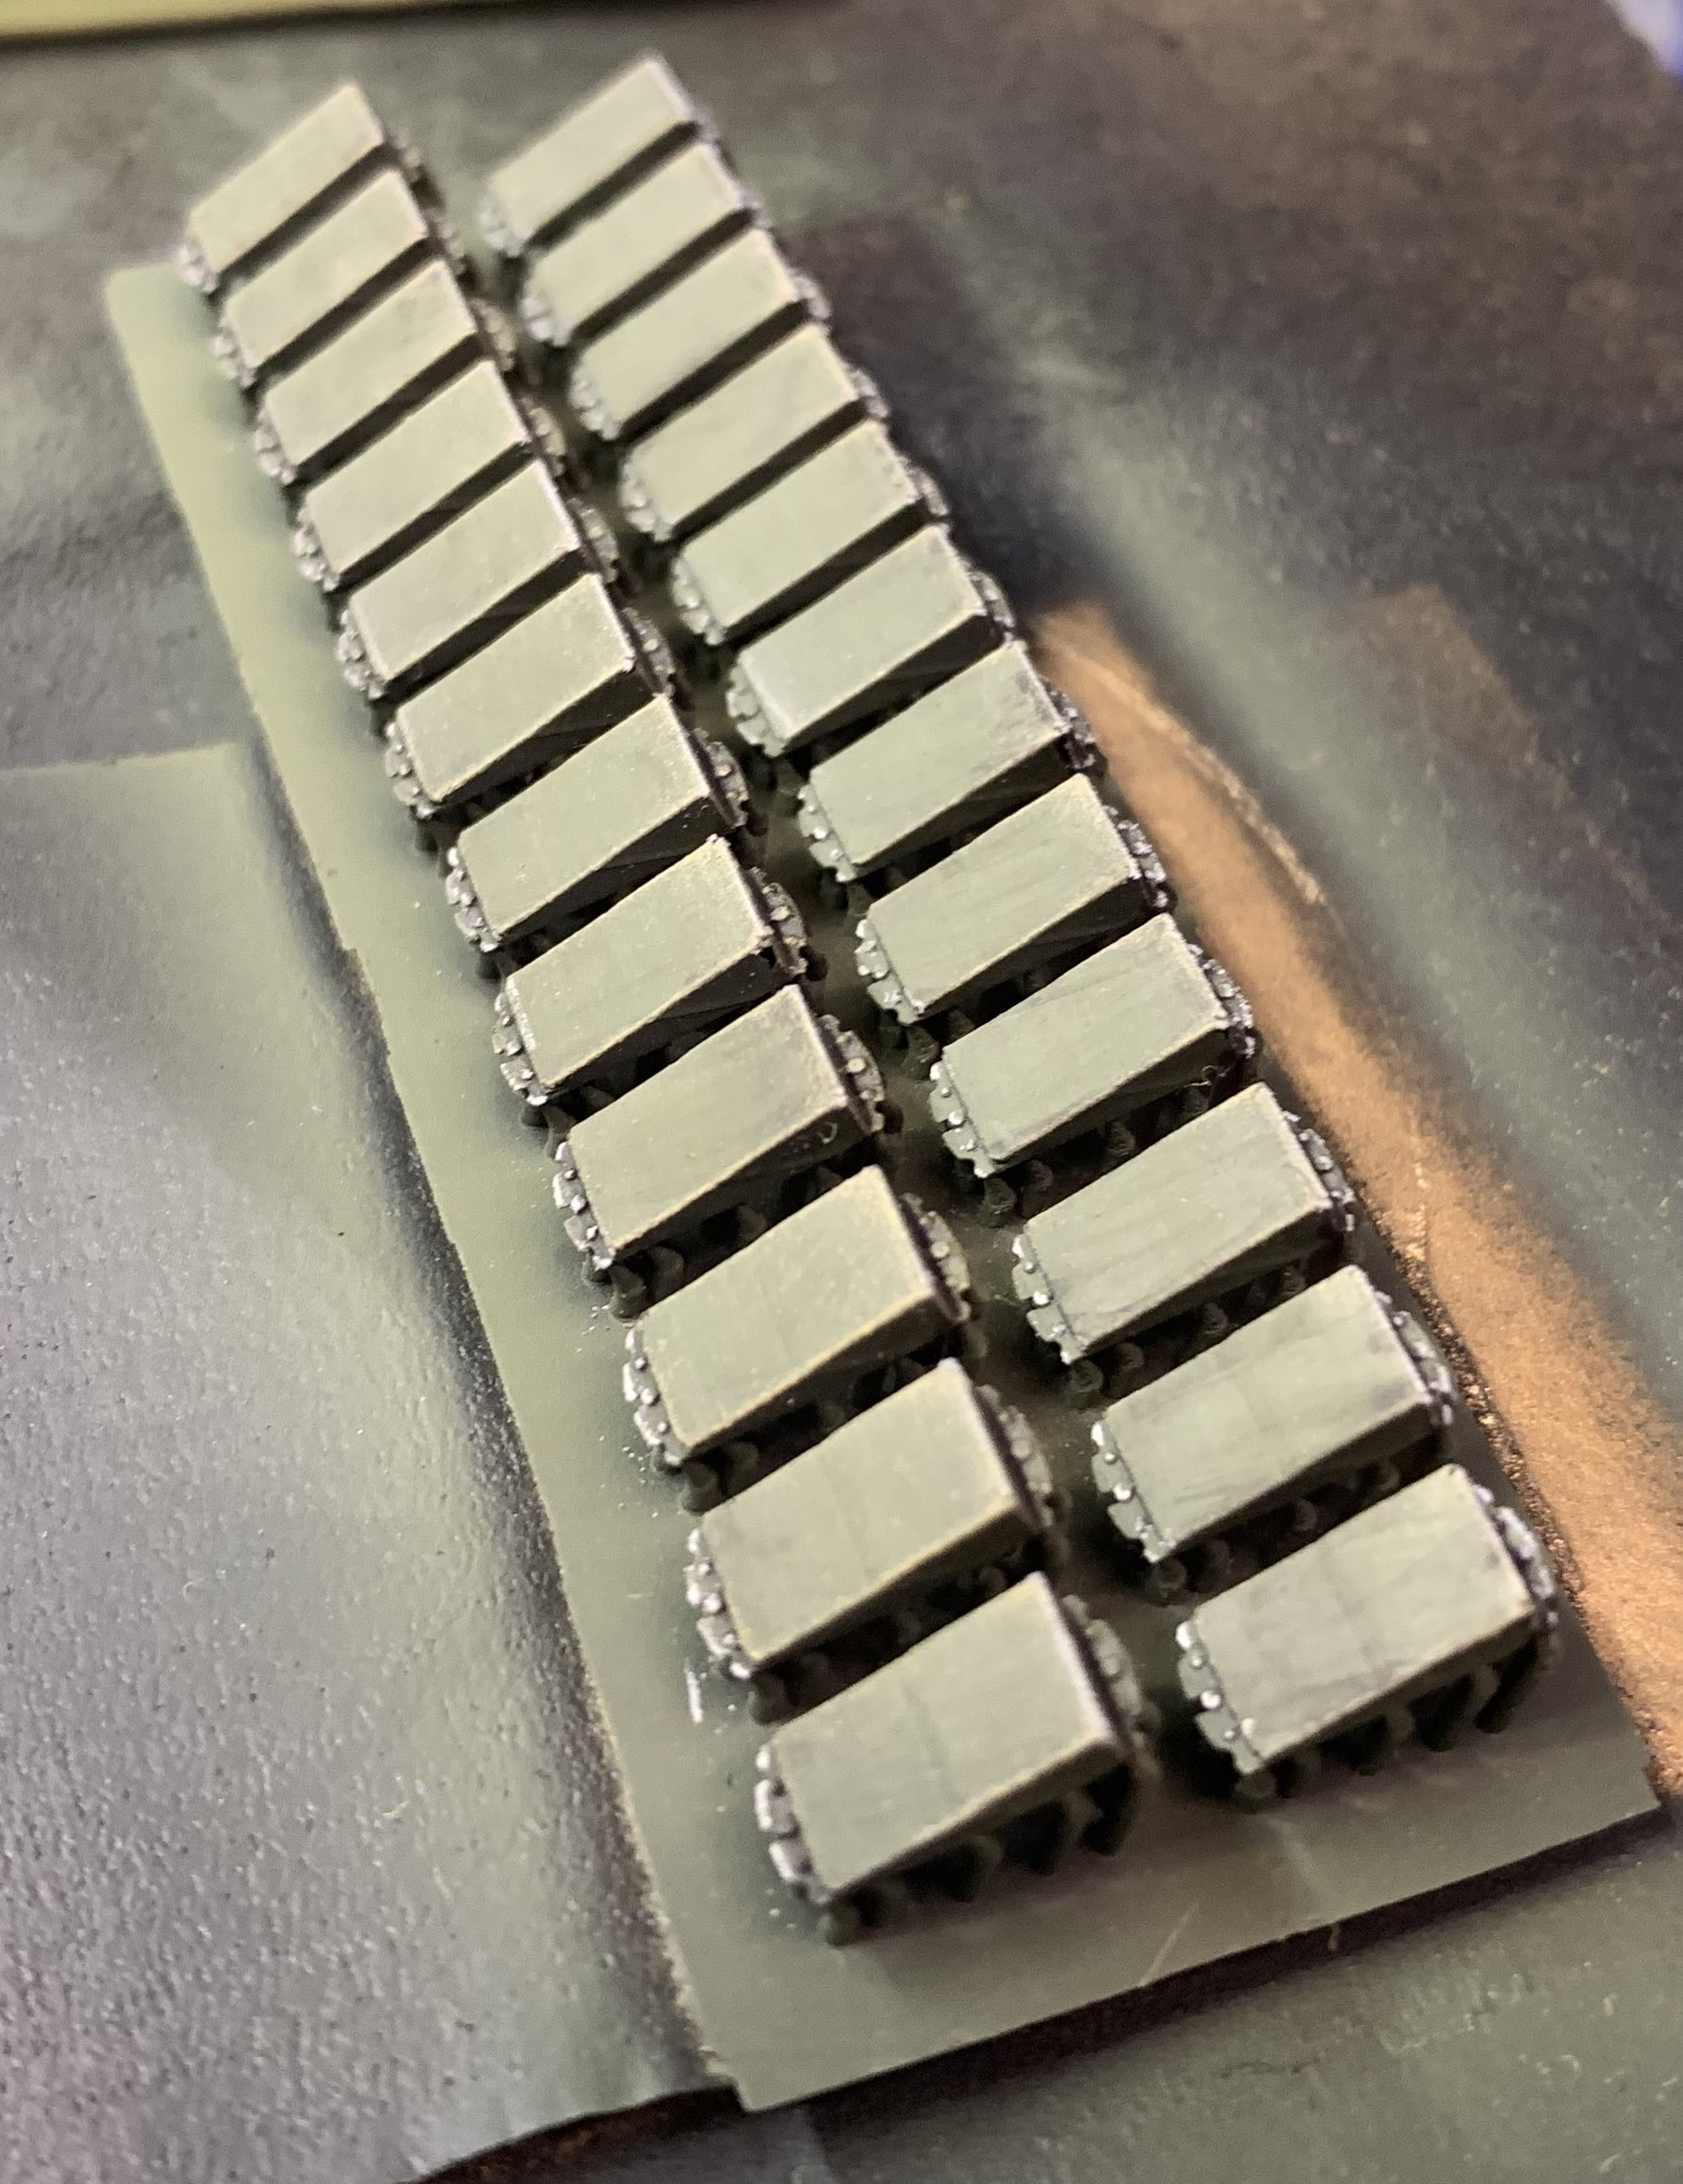
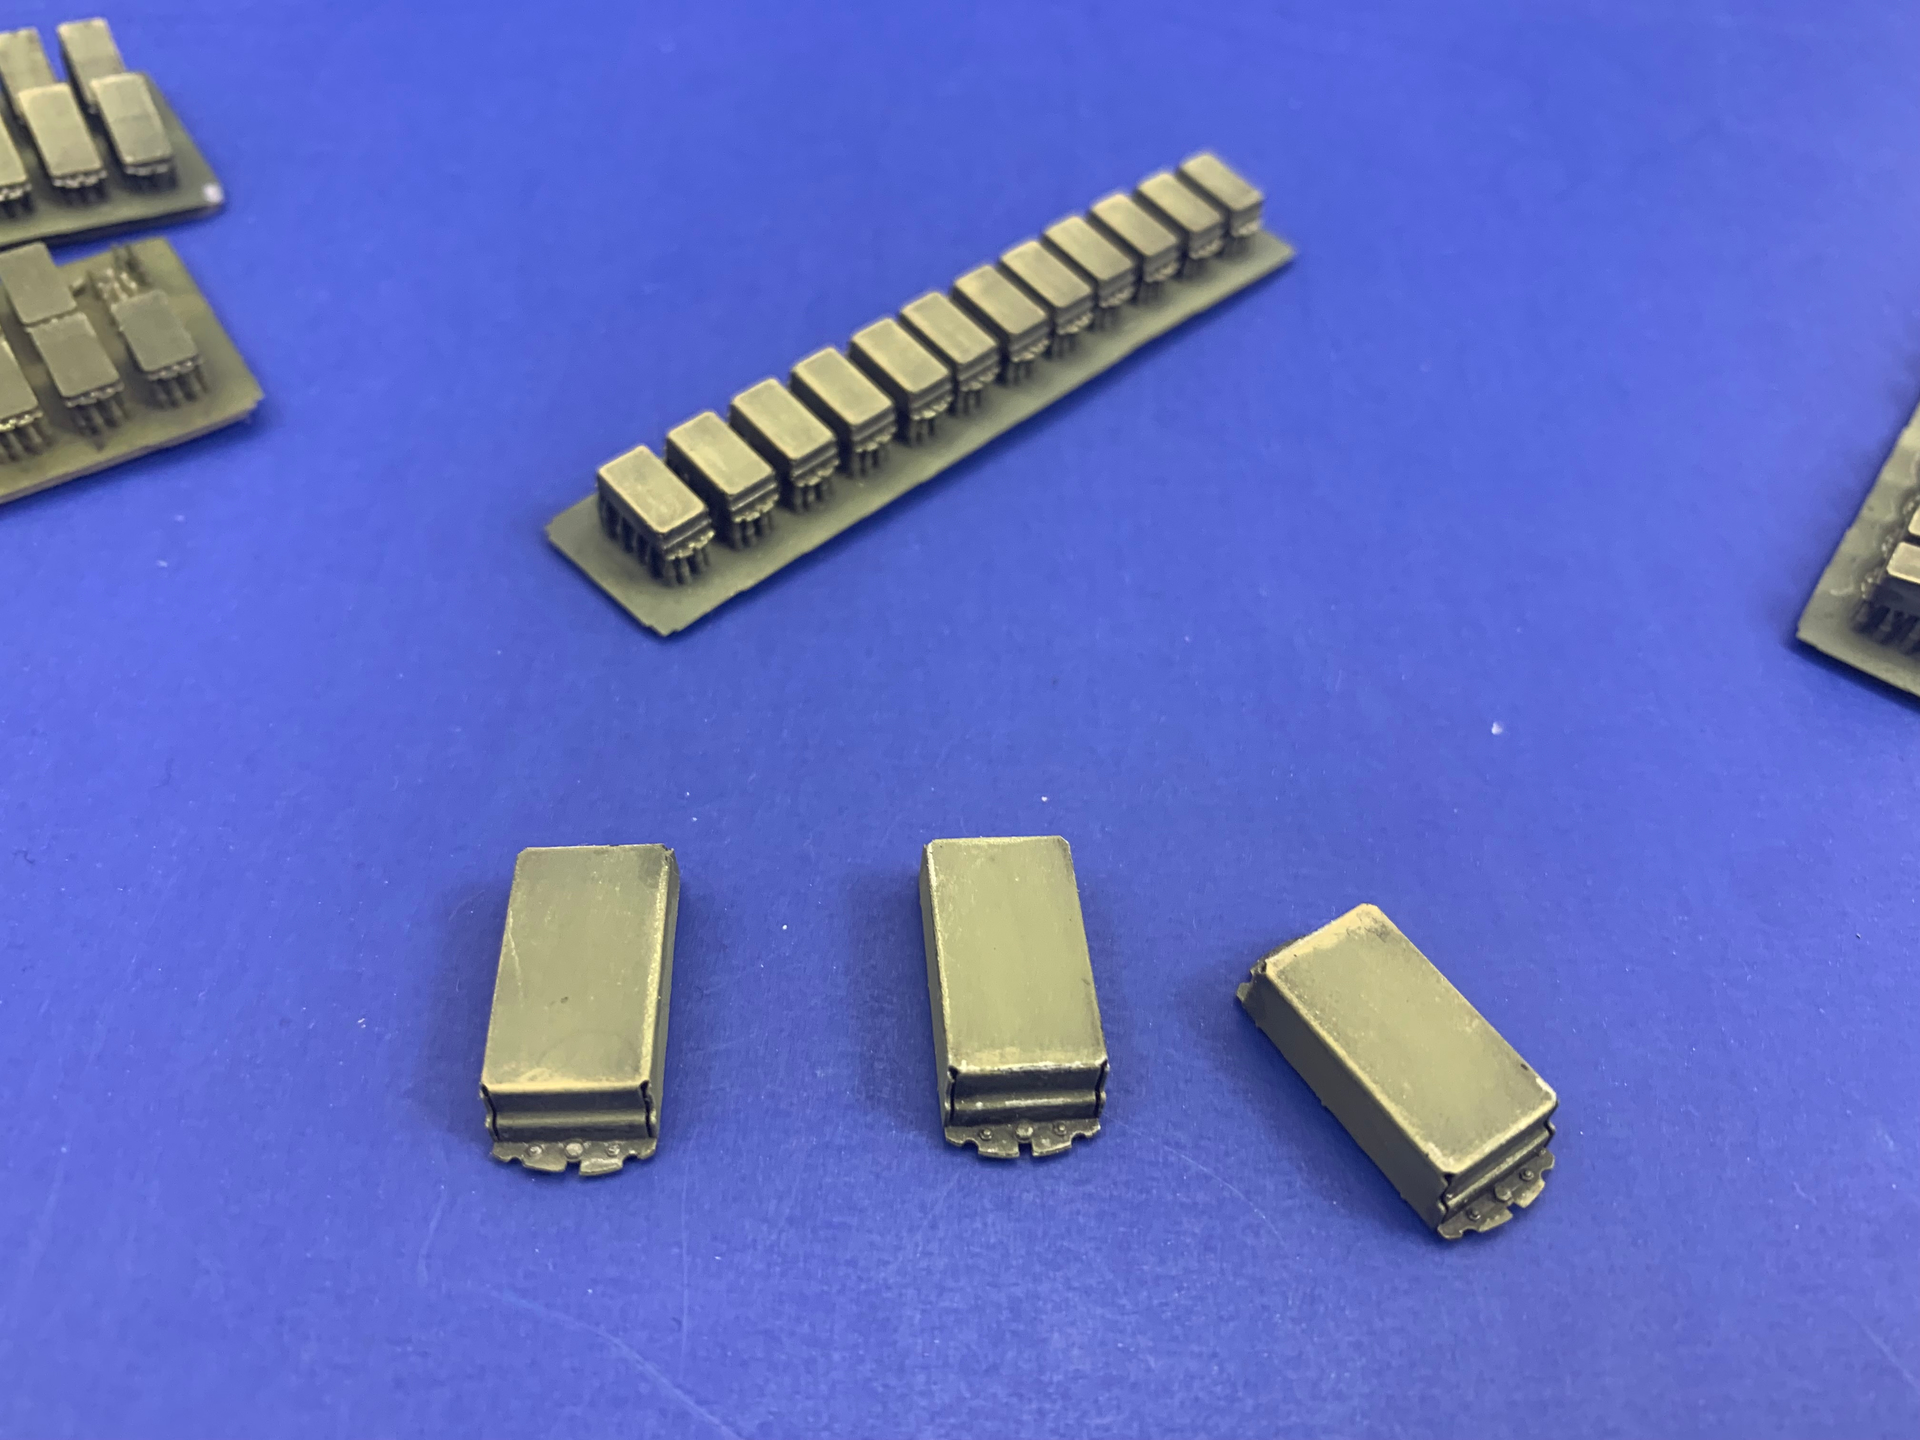
Here are some pics show the two most egregious blocks and some off the kit to give an idea of the issue. I am bit hesitant to try option 2 as I don’t know how I’ll get the sheet or plasticard to fit around the mounting pins
For the most part it doesn’t bother me too much. The majority of the ERA blocks positioning means you really have to look to see the issue, but specifically on the BV there are a couple ERA blocks that are pretty far offset from the turret giving you a pretty clear view of the back.
I agree option 3 will likely be easier than option 2. I only have the 3 single blocks not glued on yet (so easy to fix) and then two blocks on the starboard side and 1 on the port side so thankfully not too much filling
Just make sure that there is no gap between the cover sheet and the part by cementing it thoroughly. It will look like part of the explosive container’s construction.
If you can’t make things precisely, concentrate on making the sheet fit between the pins. You can notch the sheet around one or both pins with a rattail file and leave it overhanging the sides. Cement the perimeter solidly, let it dry, then trim and flat file the overhang flush with the side of the kit part.
The clear plastic film in window envelopes is 0.001 thick styrene (or at least it joins with styrene cement). You can use that if nothing else; it’s just a little tricky to work with stuff that thin.
Set them so that they’re level, (including the installed ones if I understand correctly) fill with PVA. It’s self leveling. Go to the gym, the strip club, or Popeyes. When you return, it should be close to being ready.
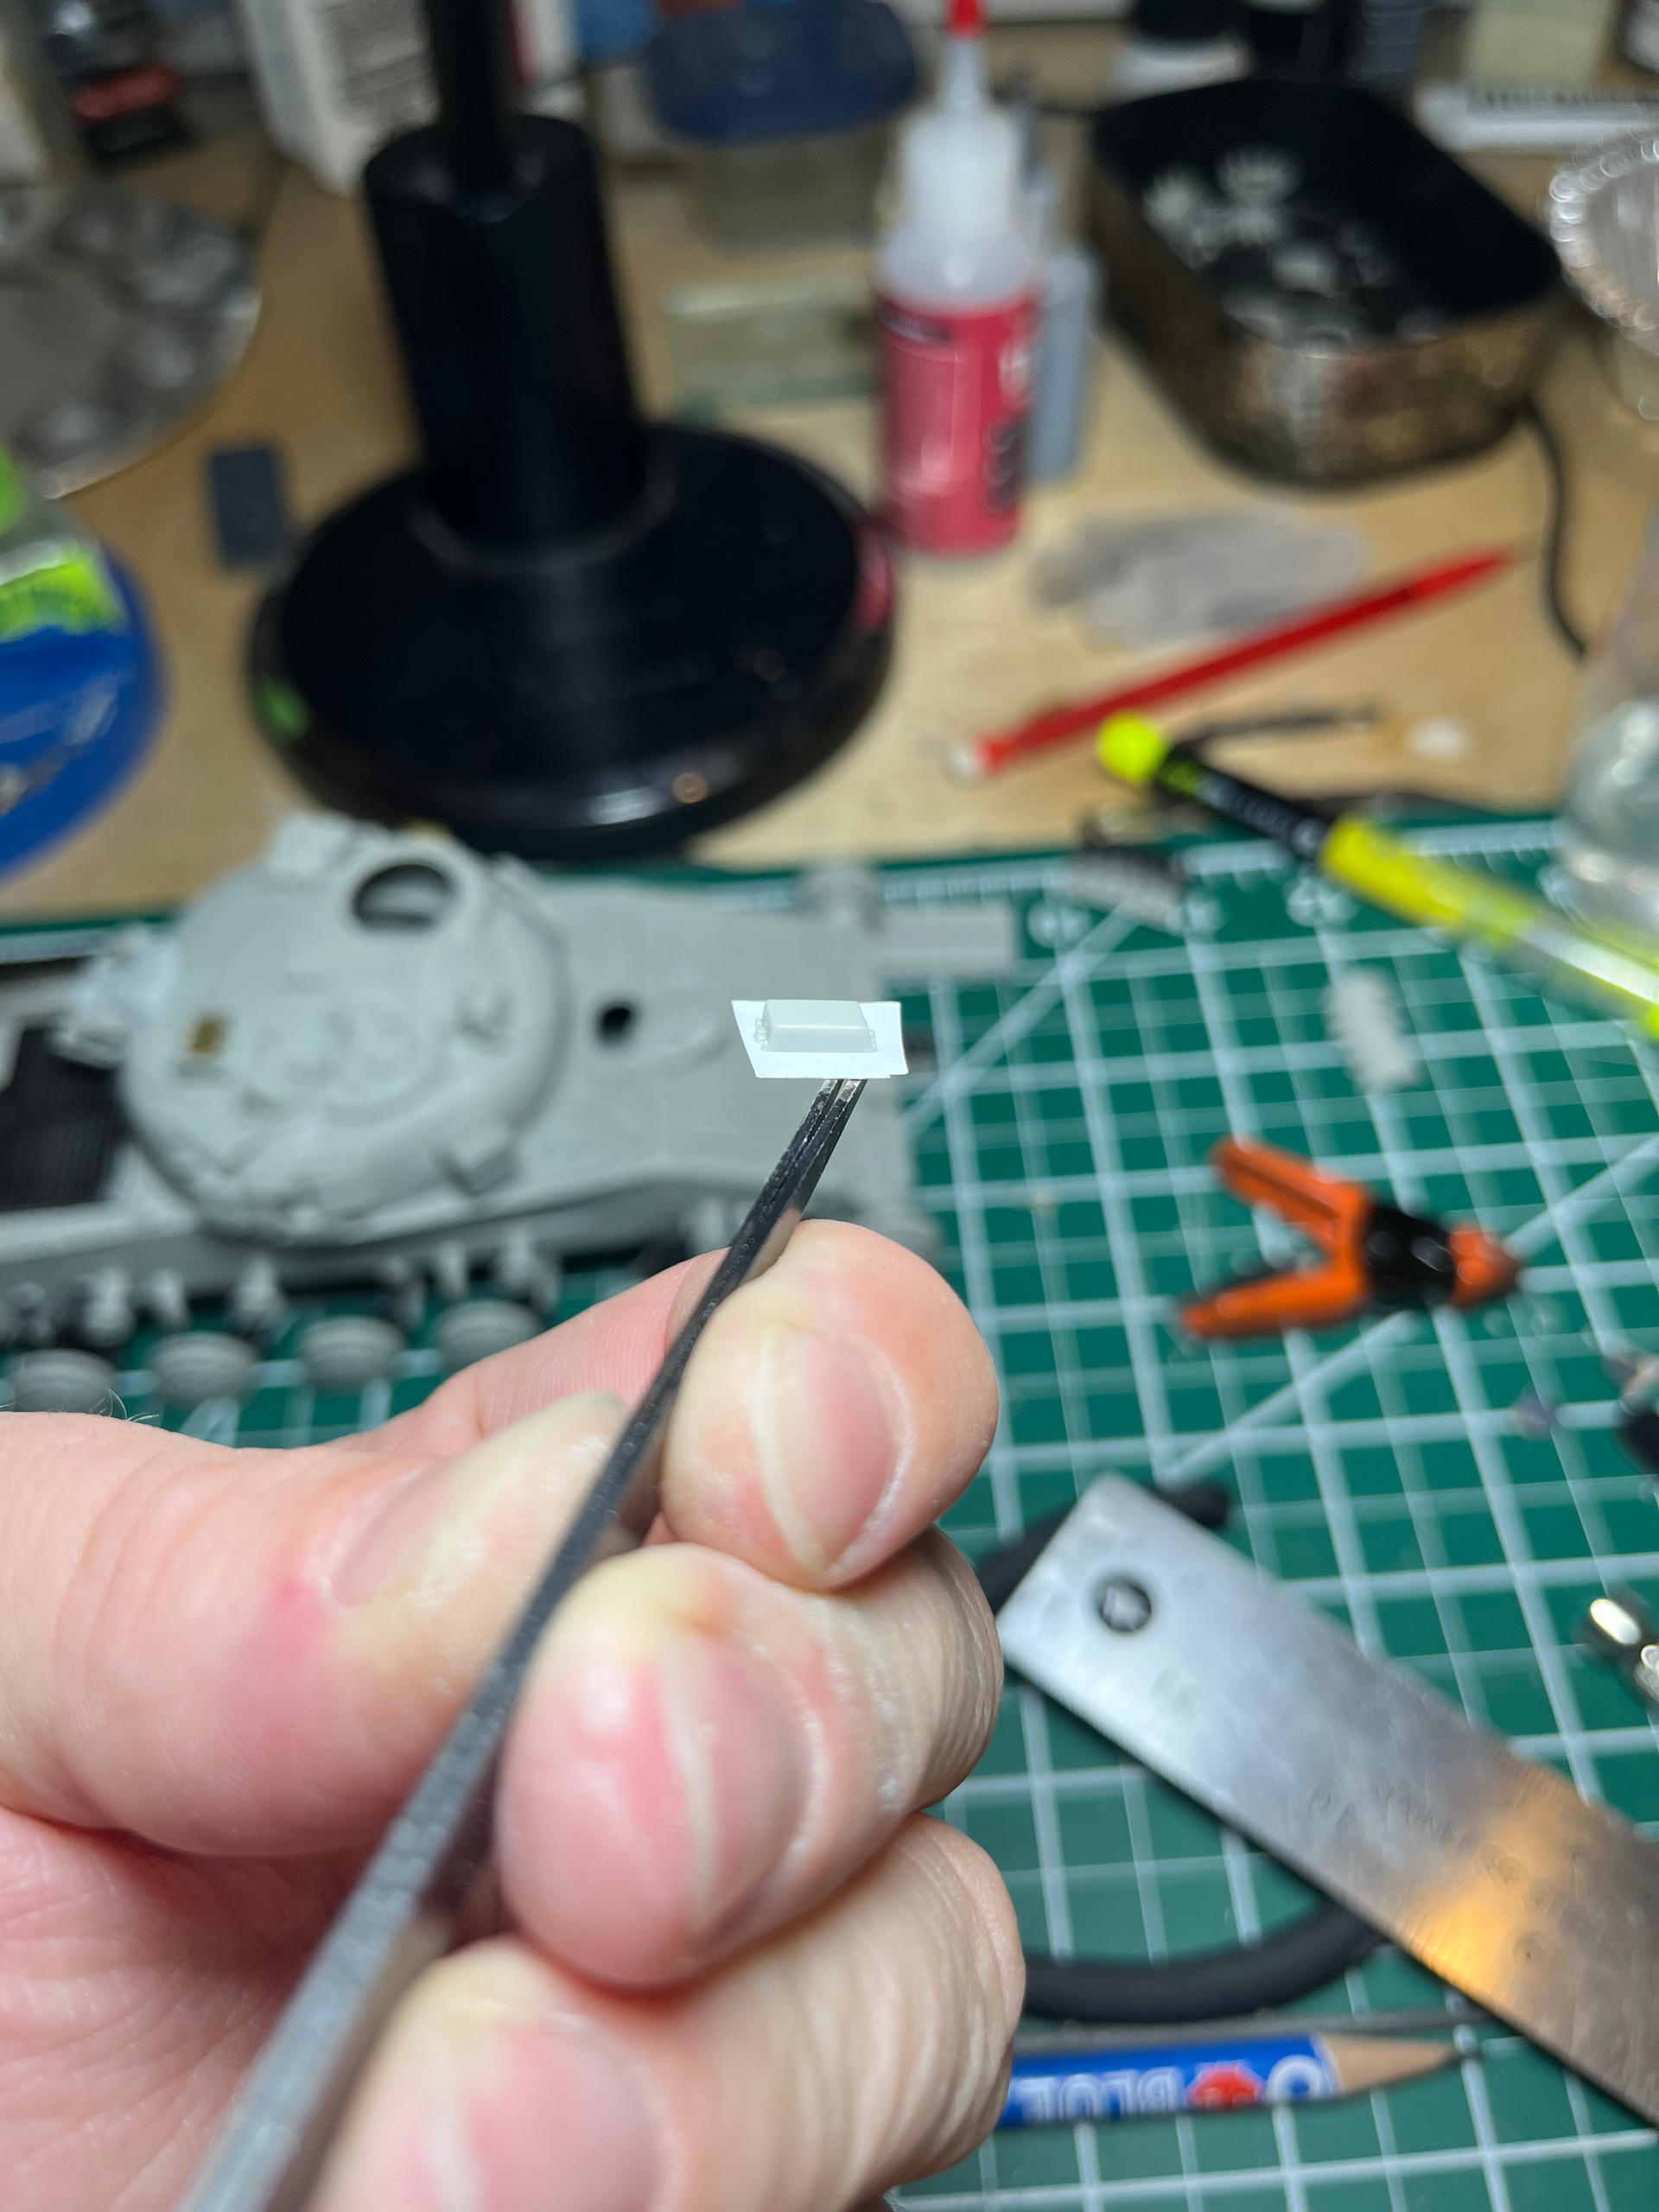
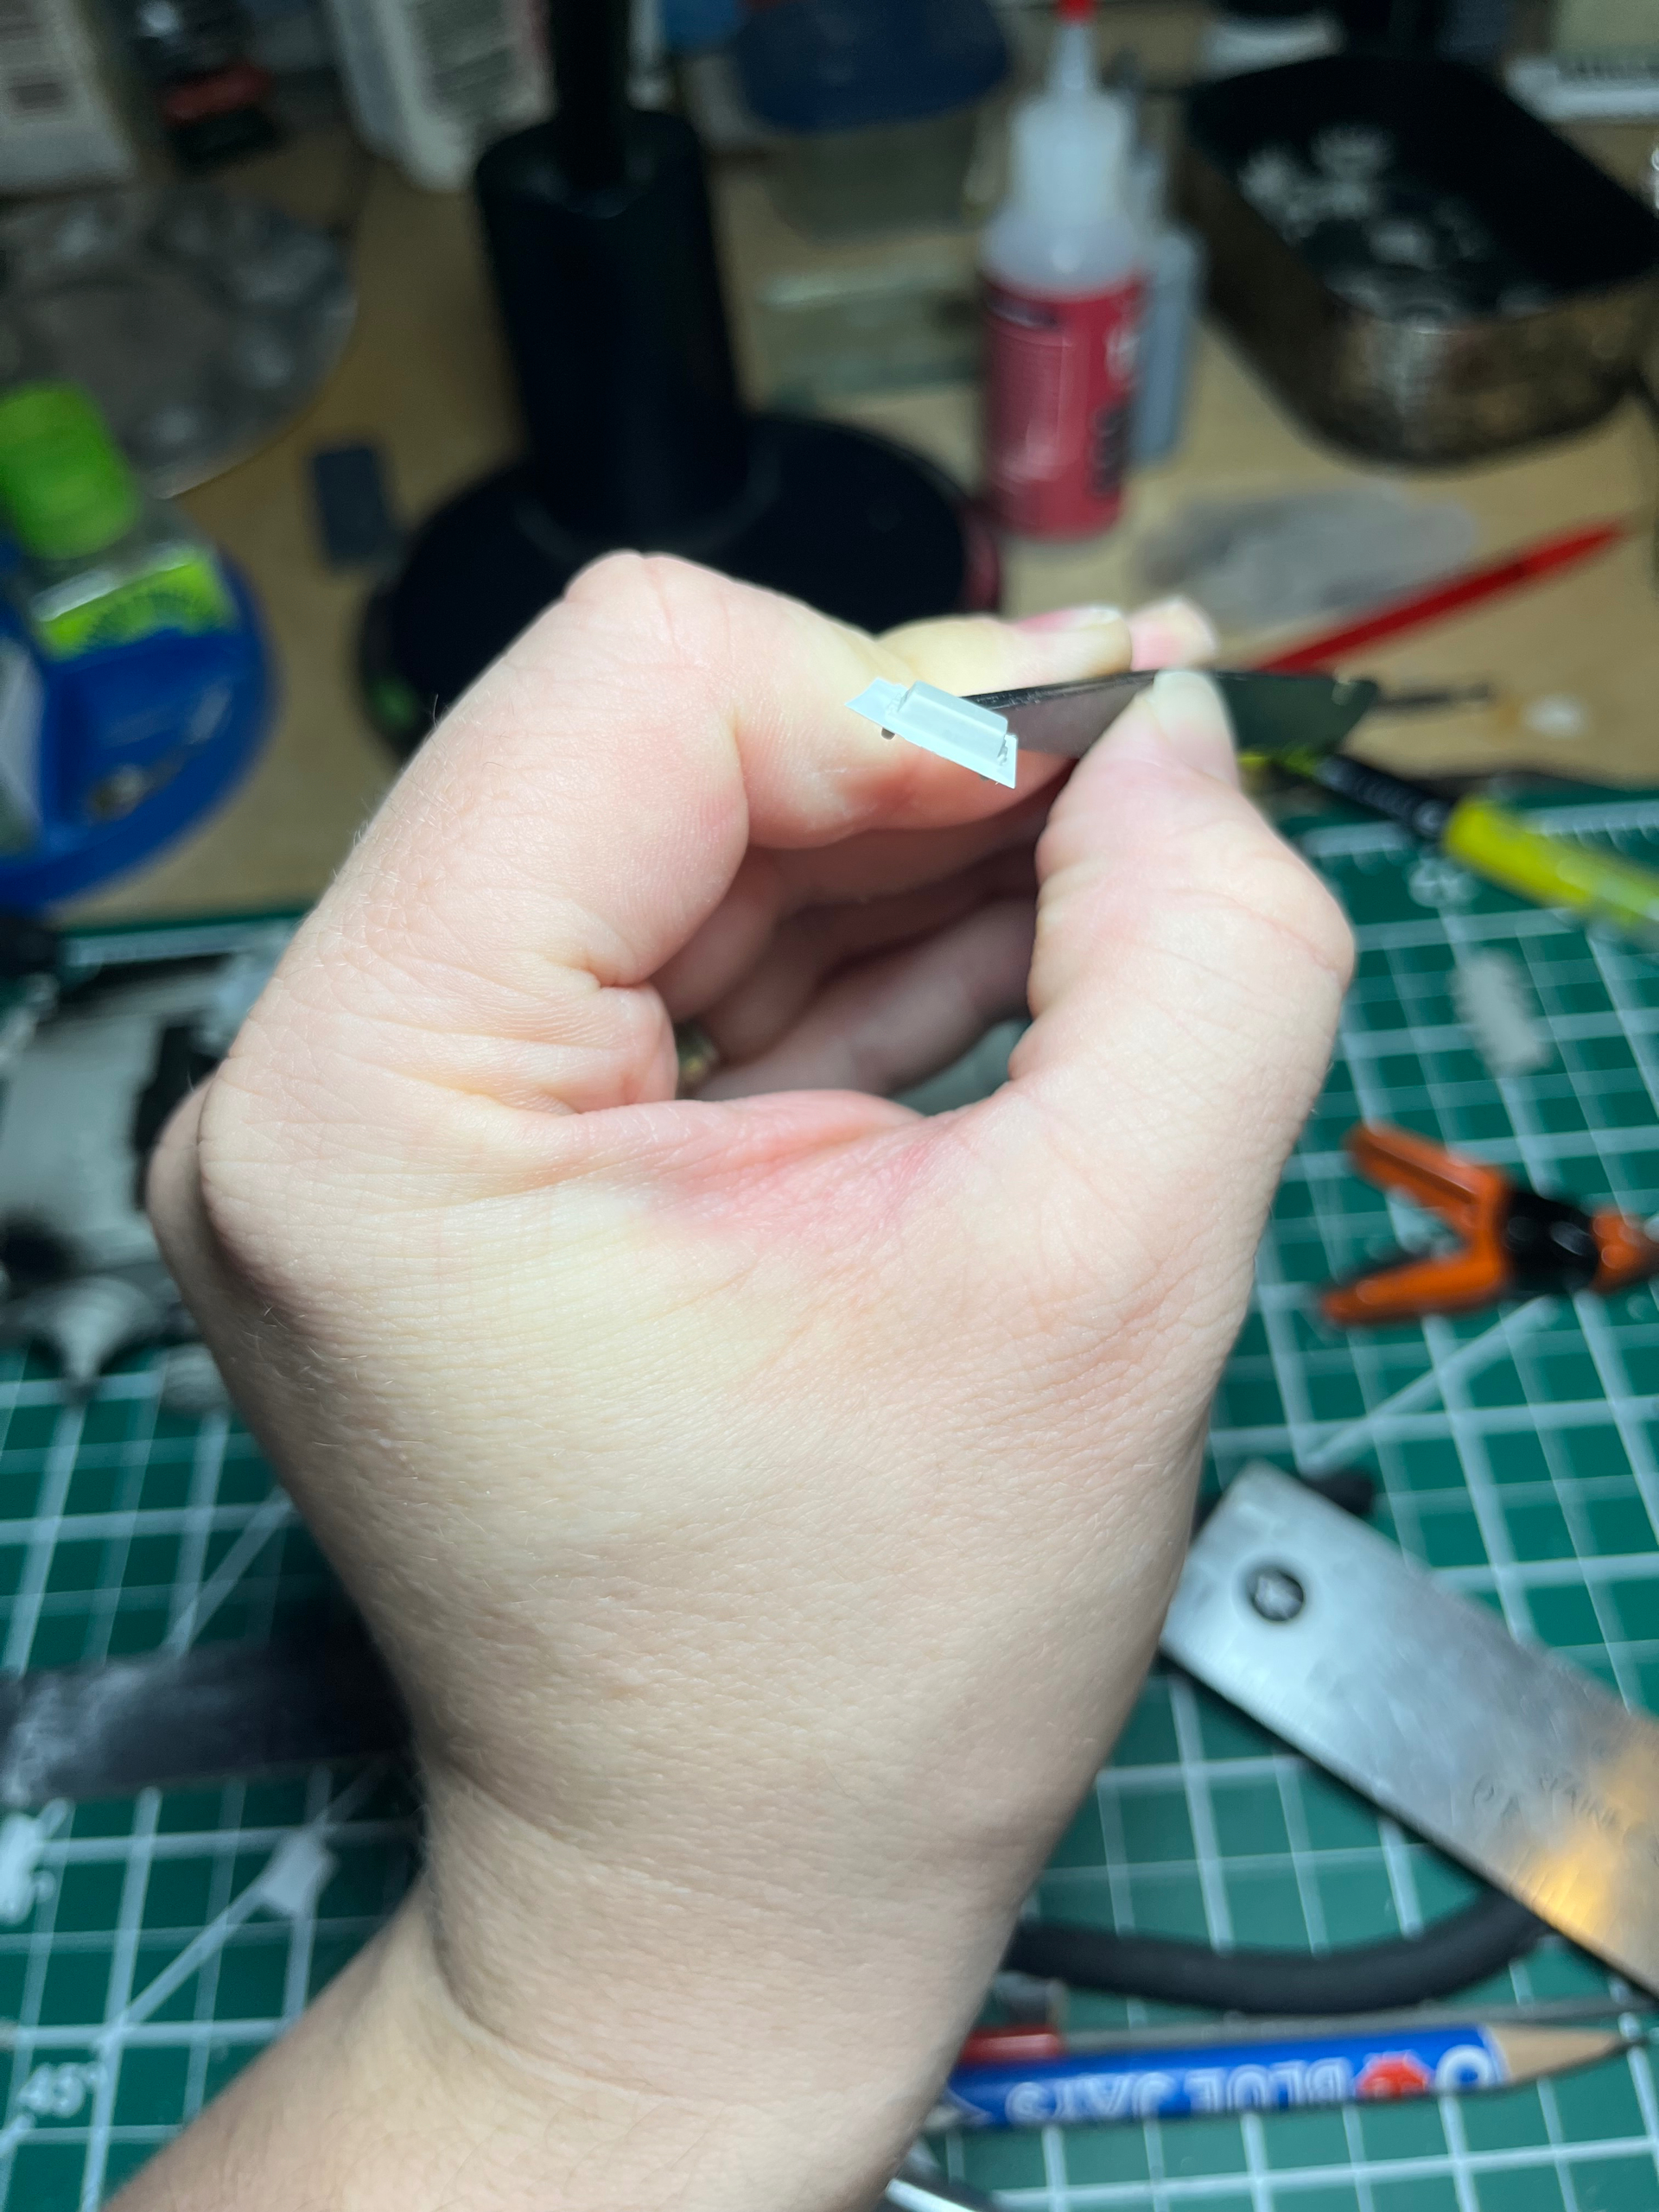
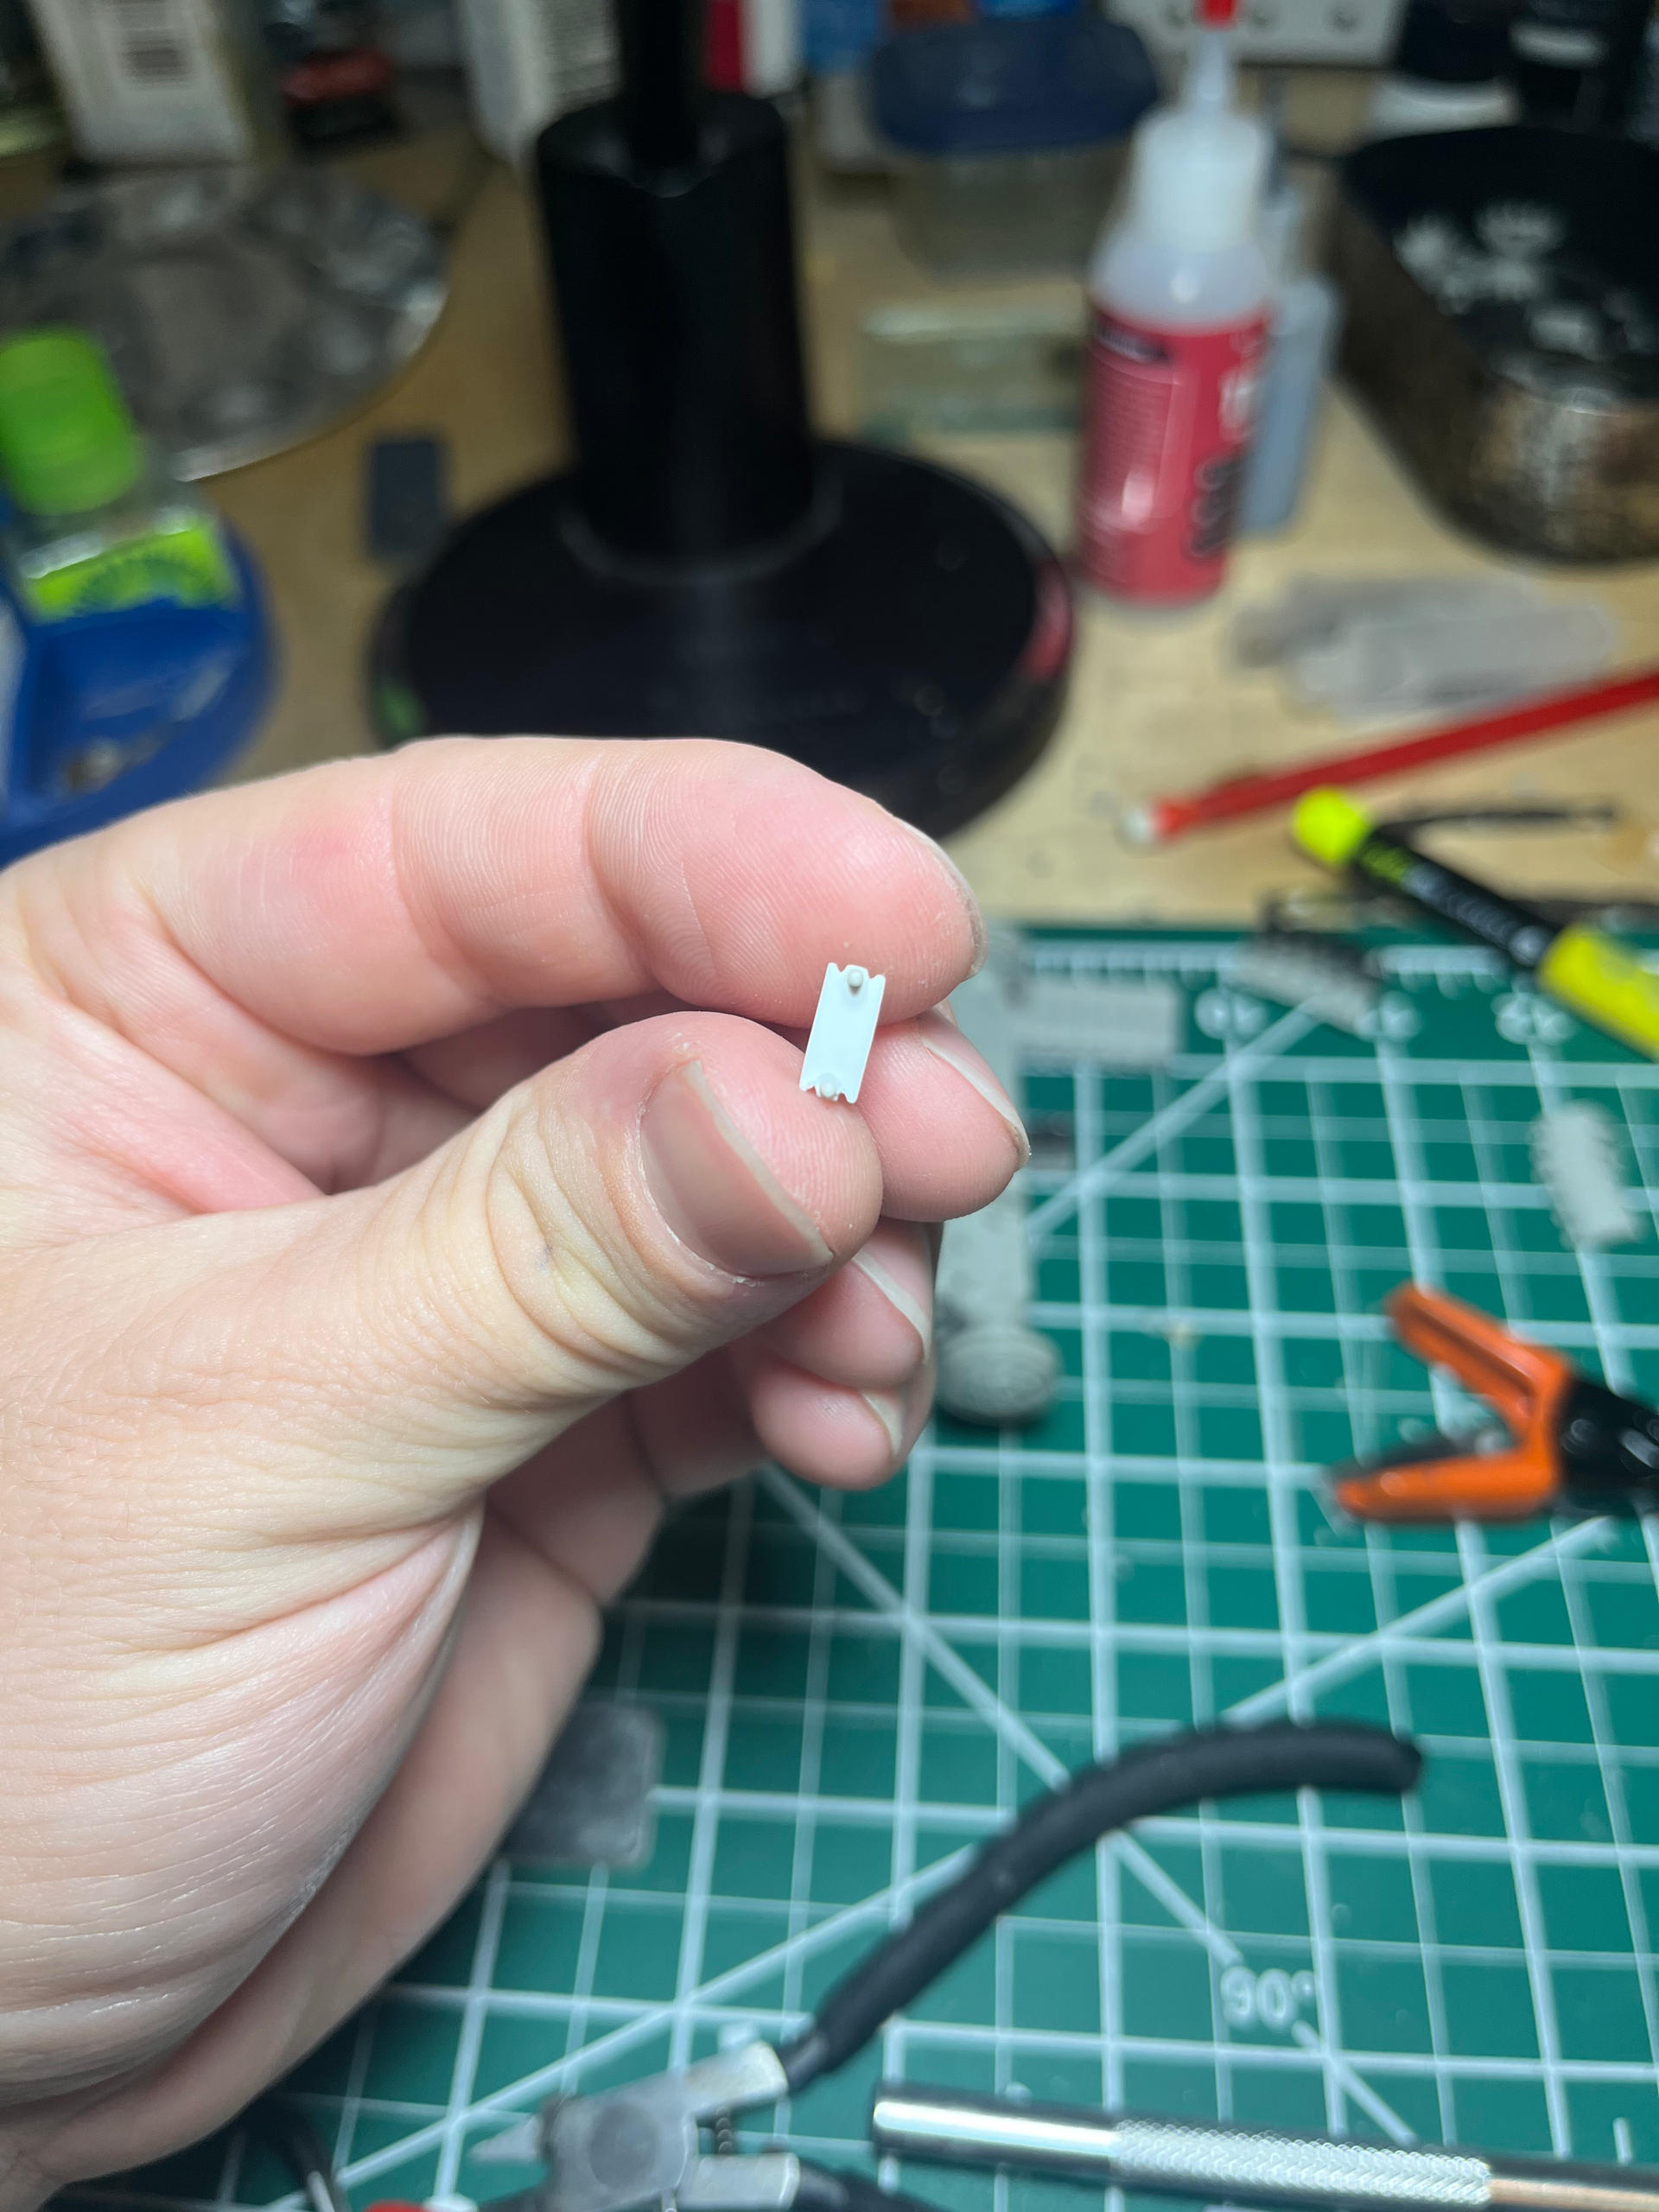
I experimented a bit tonight with some strip styrene, I think I settled on drill holes for the pegs. For the ones already on the kit, I can cut a small slit leading from the edge to the drilled hole which will allow a tight fit all around the peg, while allowing me to slip it over the already installed ones! Just need to order some .005 styrene. I tried saving .01” down but that was a chore
Was able to get one mocked up. I had a spare of one of these in case, but I think it worked it out. Would probably make the holes a touch larger on the next ones so they don’t bind when I fit the to he pegs
Sorry I did not reply to this earlier, I just got back on here after you posted this.
I made up some 3D printed K1 ERA bricks a while ago, but interest waned on having accurate bricks (I got tired of dealing with the awesome but way too much work PE bricks out there). I also did not like that many of the ERA at the time did not have a lot of the distinct details. And they did not come with the proper posts to mount them so…3D CAD and printing to my rescue. I was going to put them up for sale, but kinda forgot I had done them. Here is what I did…how did your work go?
Those look quite nice!! One thing that did bug me on the trumpeter kit is how many of the blocks don’t have posts, it is not something I think I’ll correct, but an updated set would be welcome for many I think!