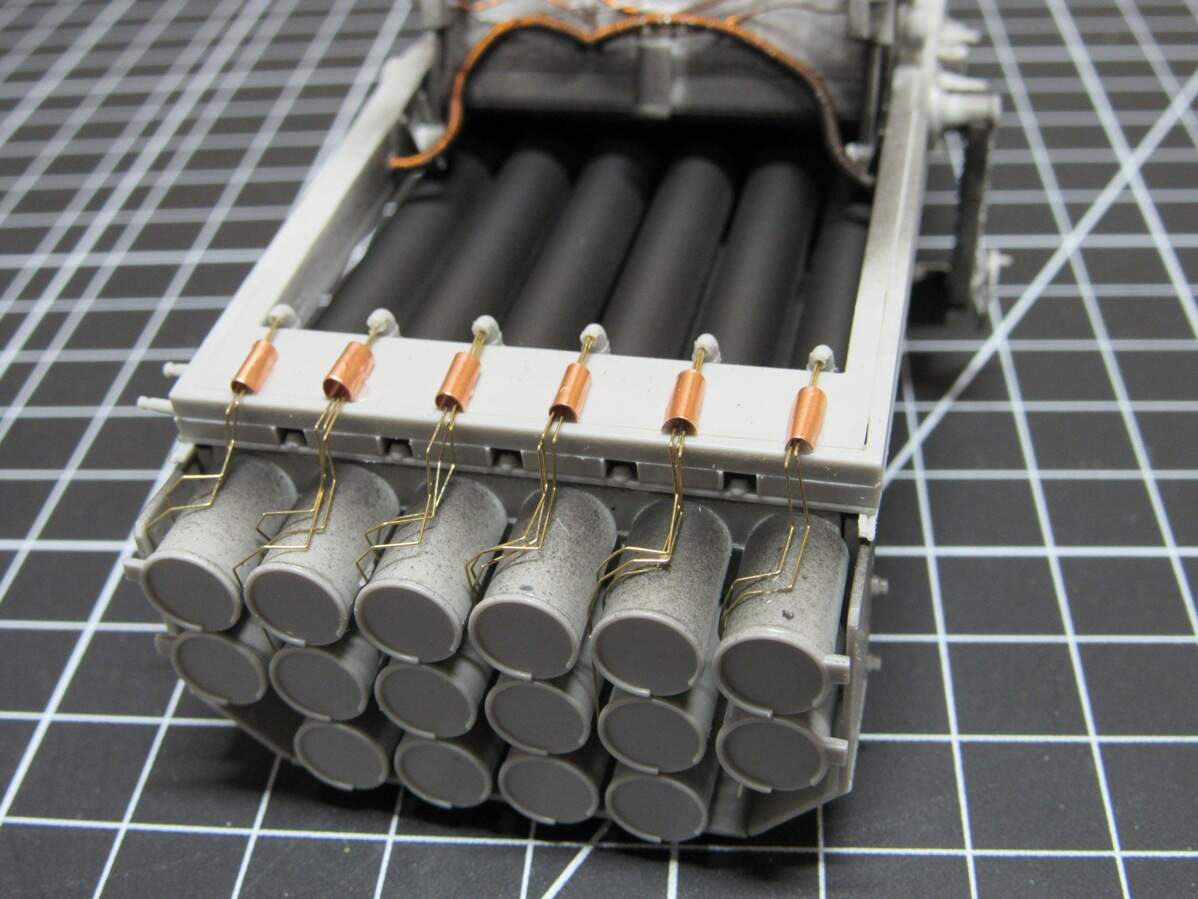
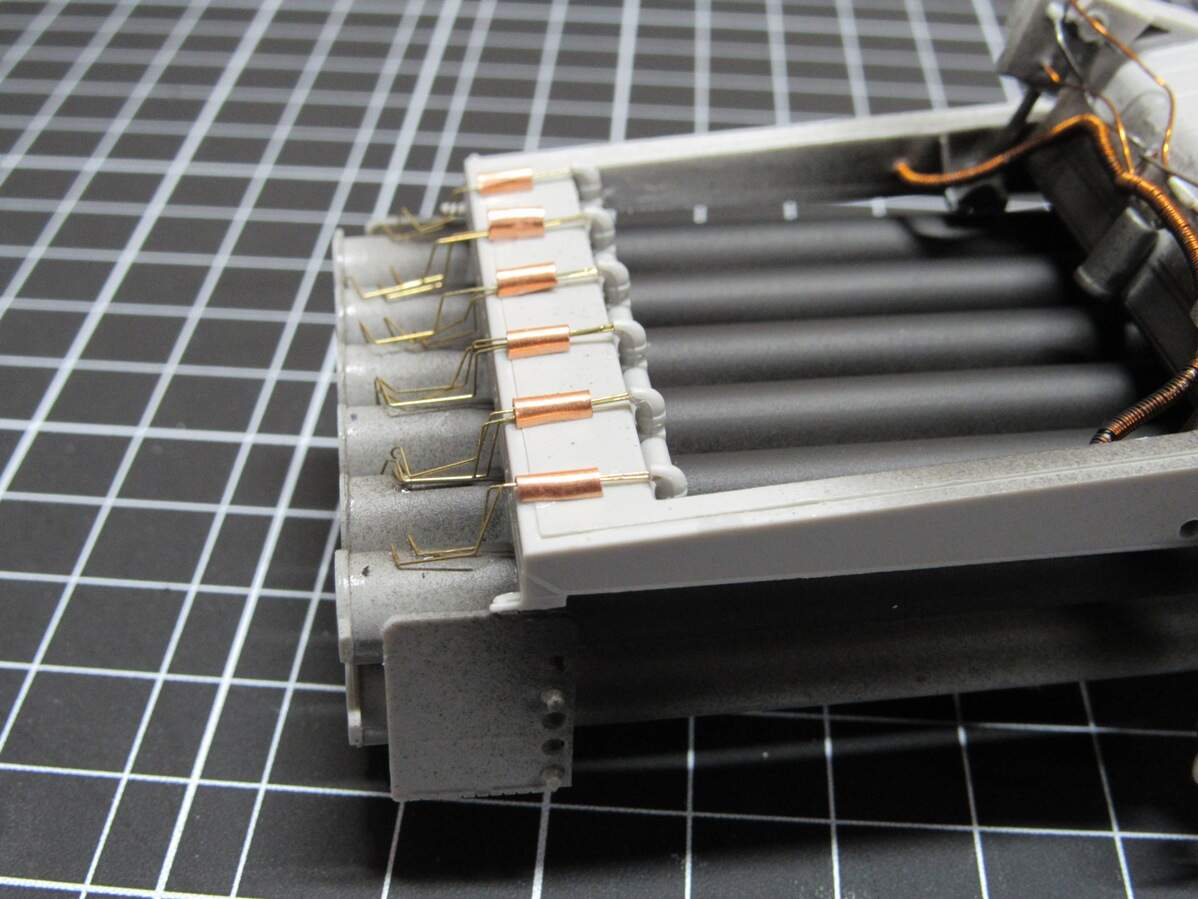
Only after this picture did I notice how tall that one copper protector was. I’m leaving it. The wiring is 0.2mm brass wire bent to shape. I went in thinking it might be too thin, but I like it. After bending the first couple the rest can be eyeballed.
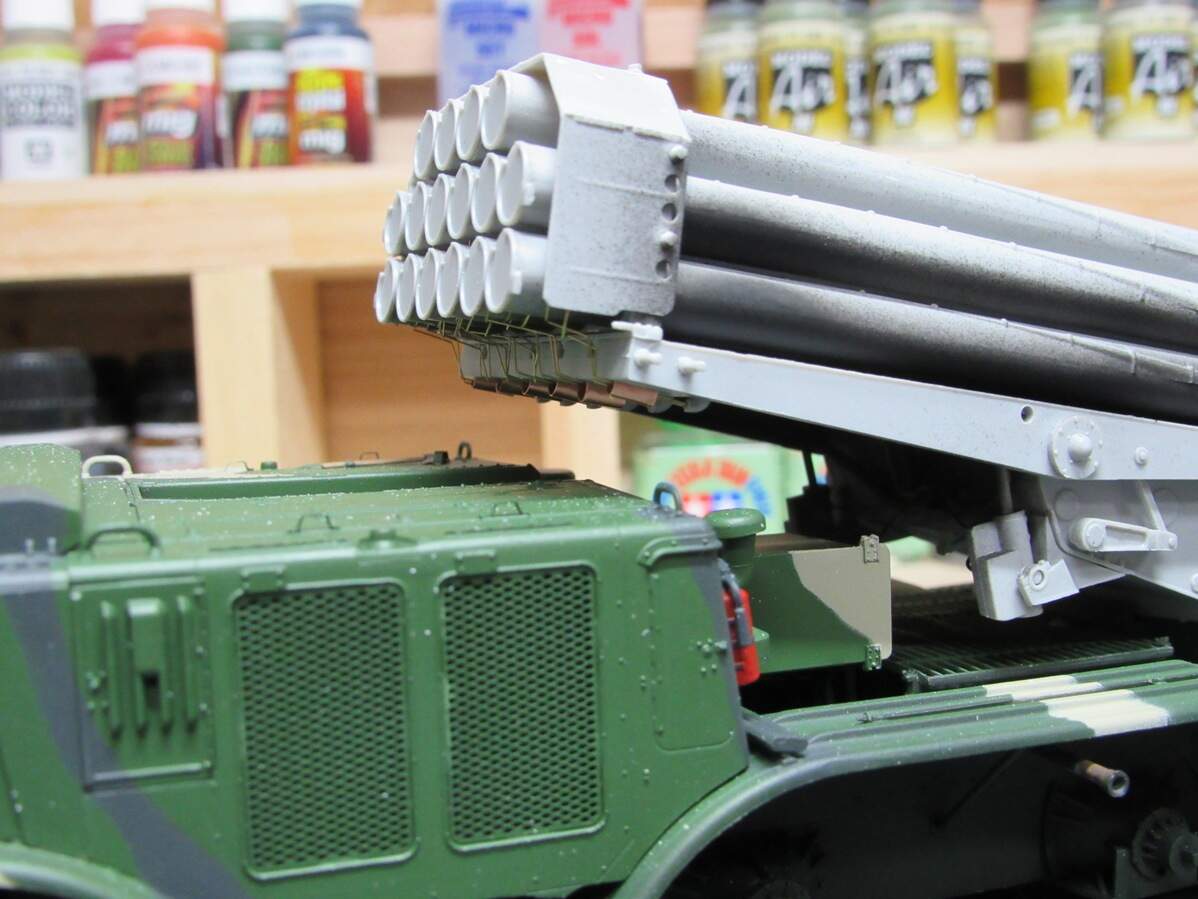
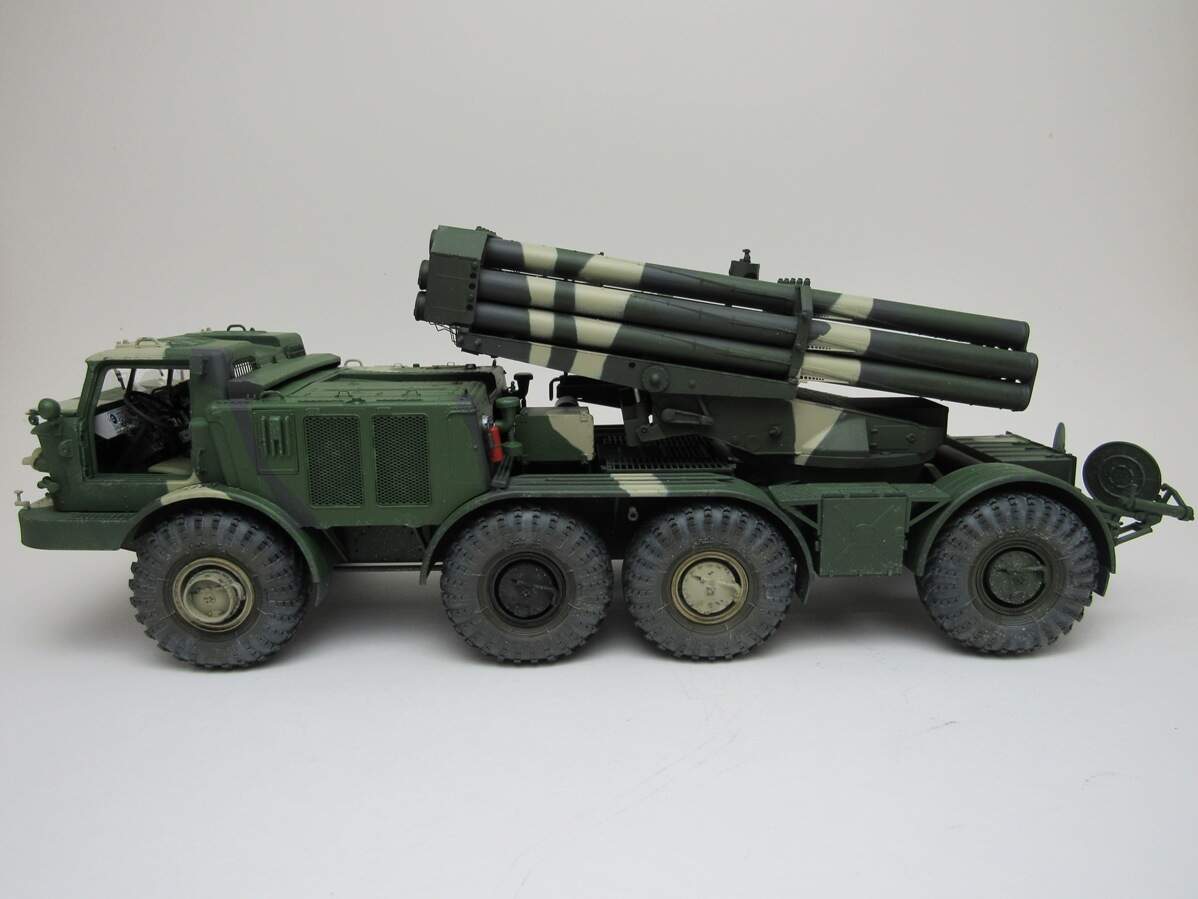
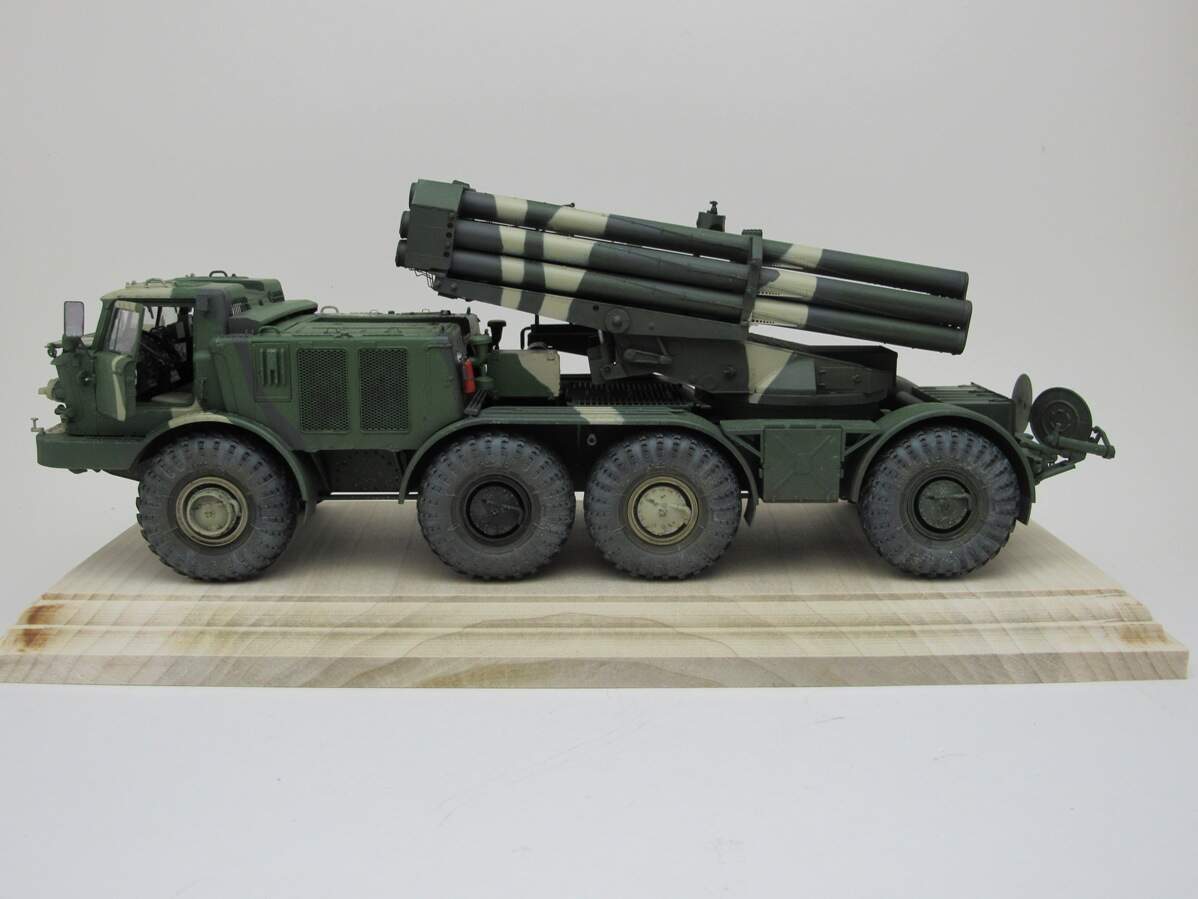
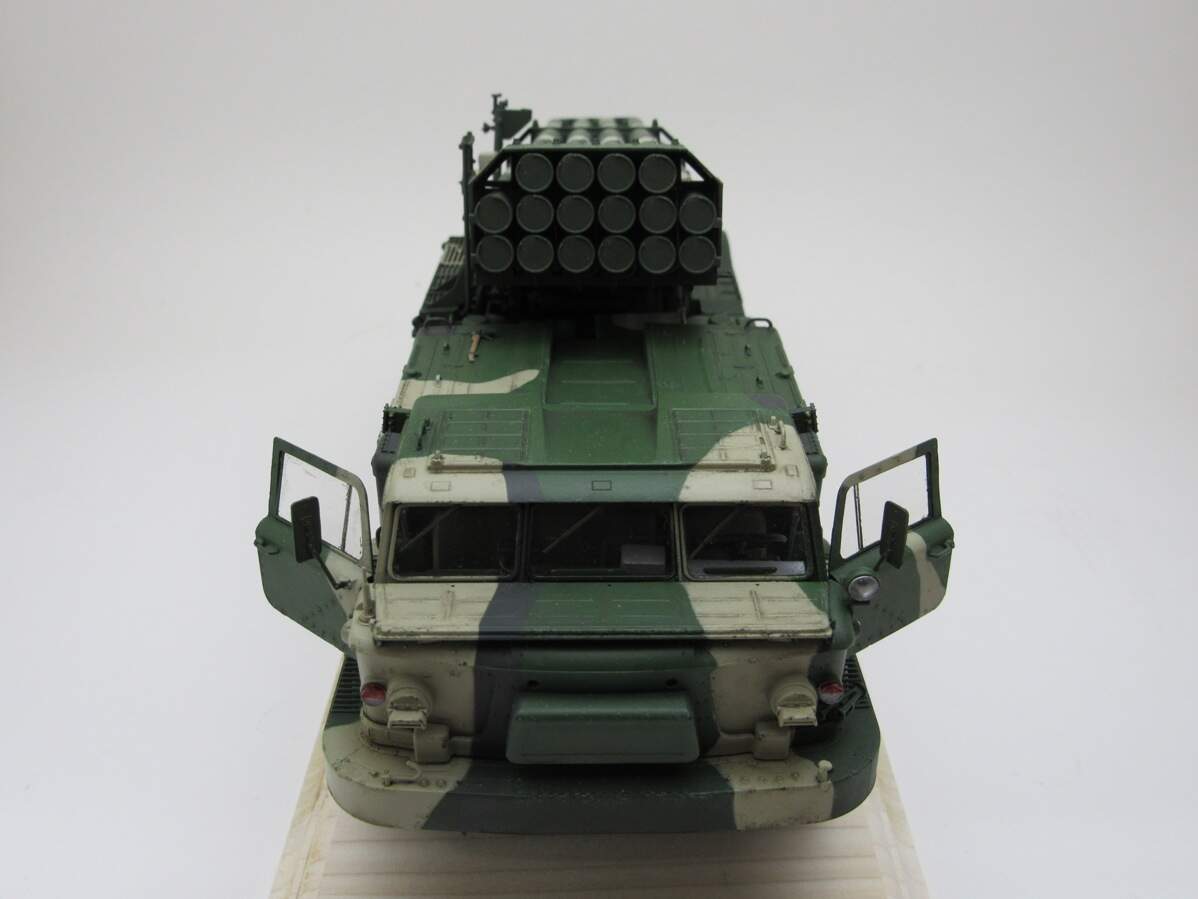
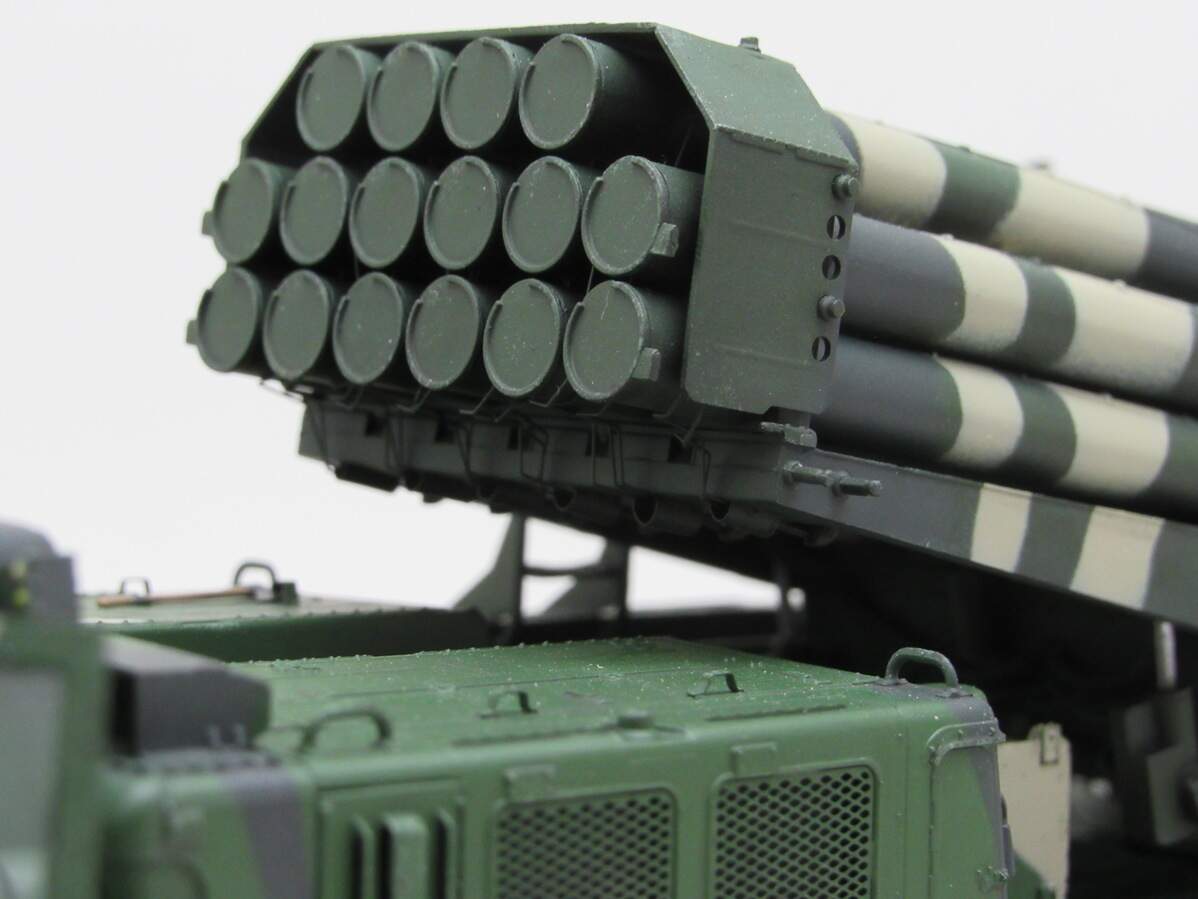
You might be curious why the missile launcher is a darker green from the cab, because I am too. Both bottles of paint are the same ‘color’ according to the number and name on the bottle. As I’m just about empty with the lighter one I moved to another bottle, and it’s much darker. Not sure if Vallejo went through some color updates as these were bought at different times or just some fluke. Not much I can do now, with filters and weathering it should tone down a bit.
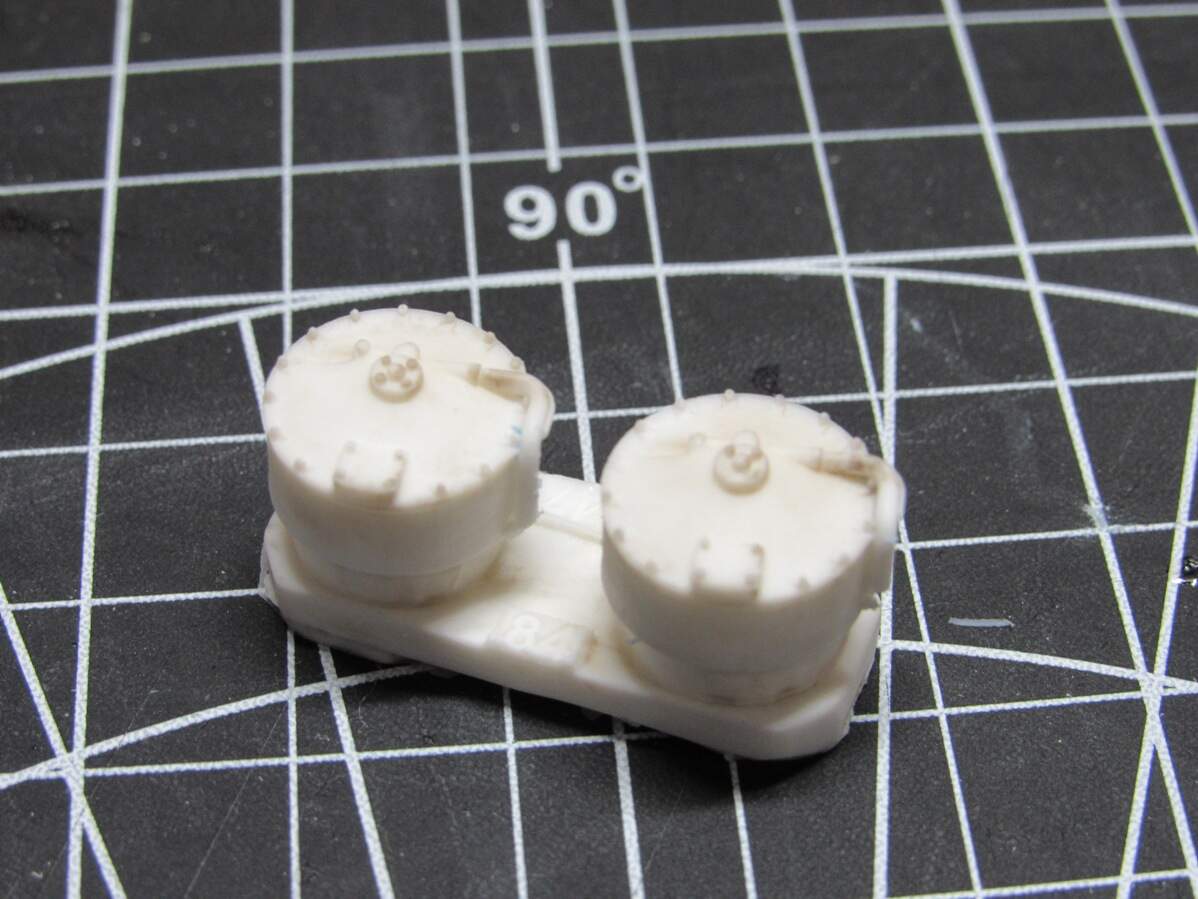
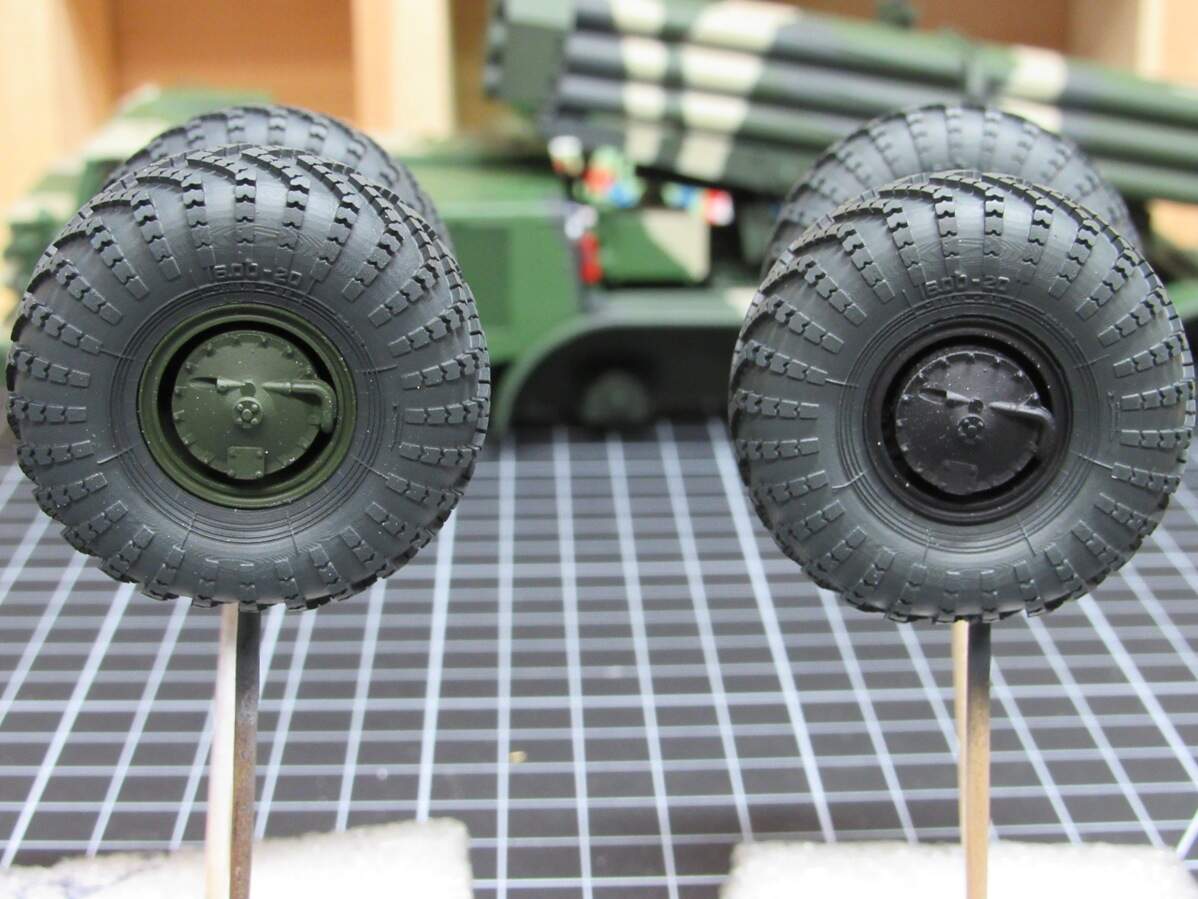
Also started the resin wheels. This is the MiniArm set, B35147. After priming and doing some test fitting I realized I was short two parts, the hubs on the outer side. Luckily I had just enough silicon to make a mold, so instead of complaining I went and made some copies.
There we go. I don’t have a vacuum chamber or any fancy equipment like that, so what I did was coat the inside of the mold with some baby powder to reduce the surface tension, and then poured just a little bit in, then squeezed the mold a few times to work the bubbles out, finally pouring the rest in.
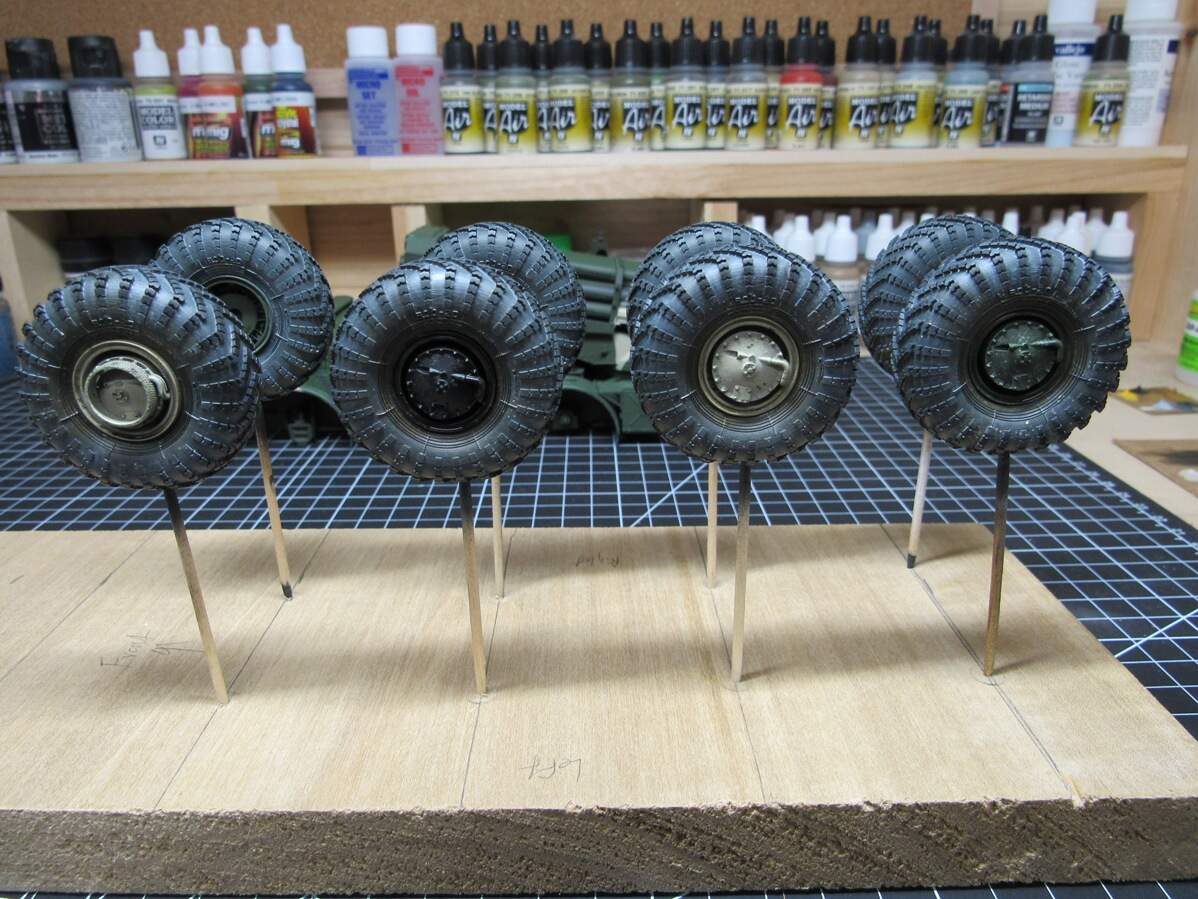
So far I’ve got 4 tires completed and ready for weathering
All wheels built and painted, time for some weathering. I ran into this tutorial a few months ago, and since then I’ve been looking forward to trying it out on some resin wheels.
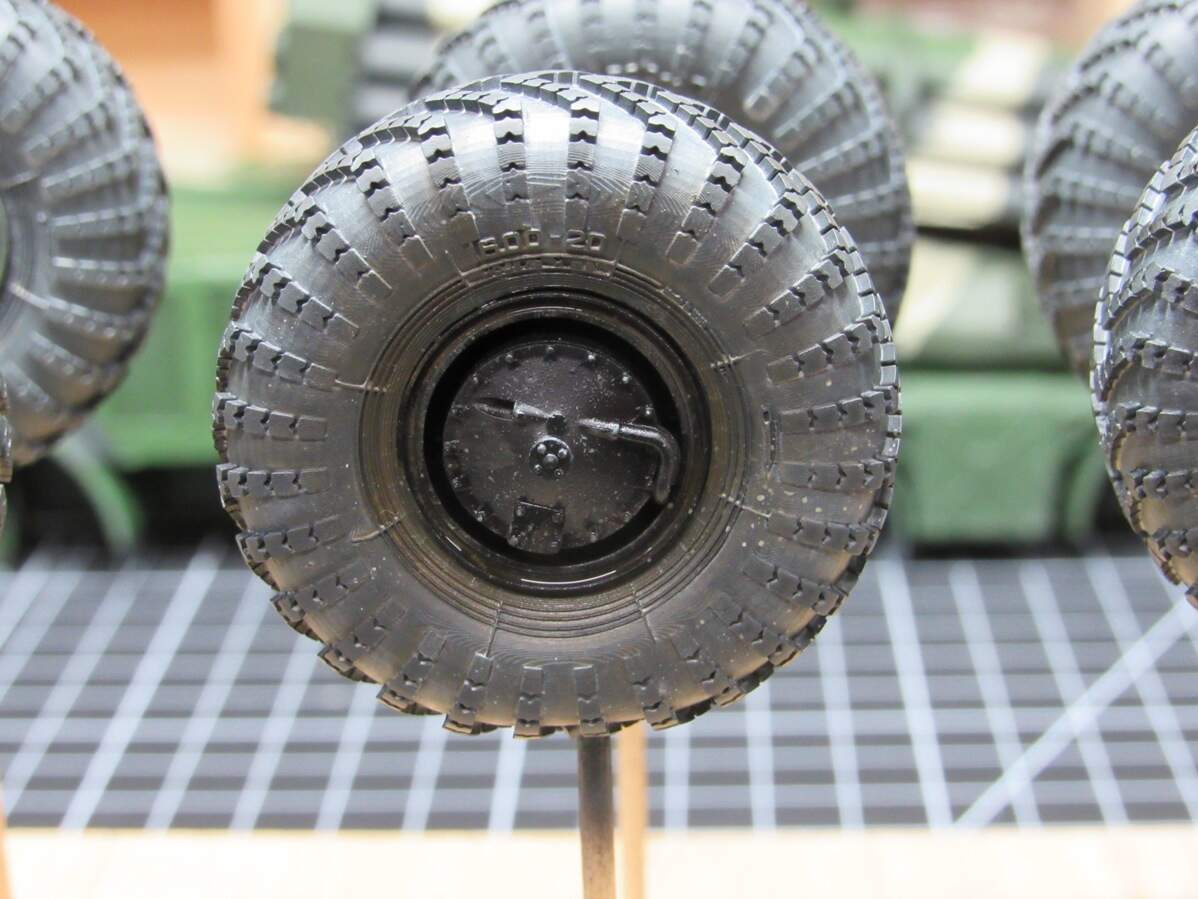
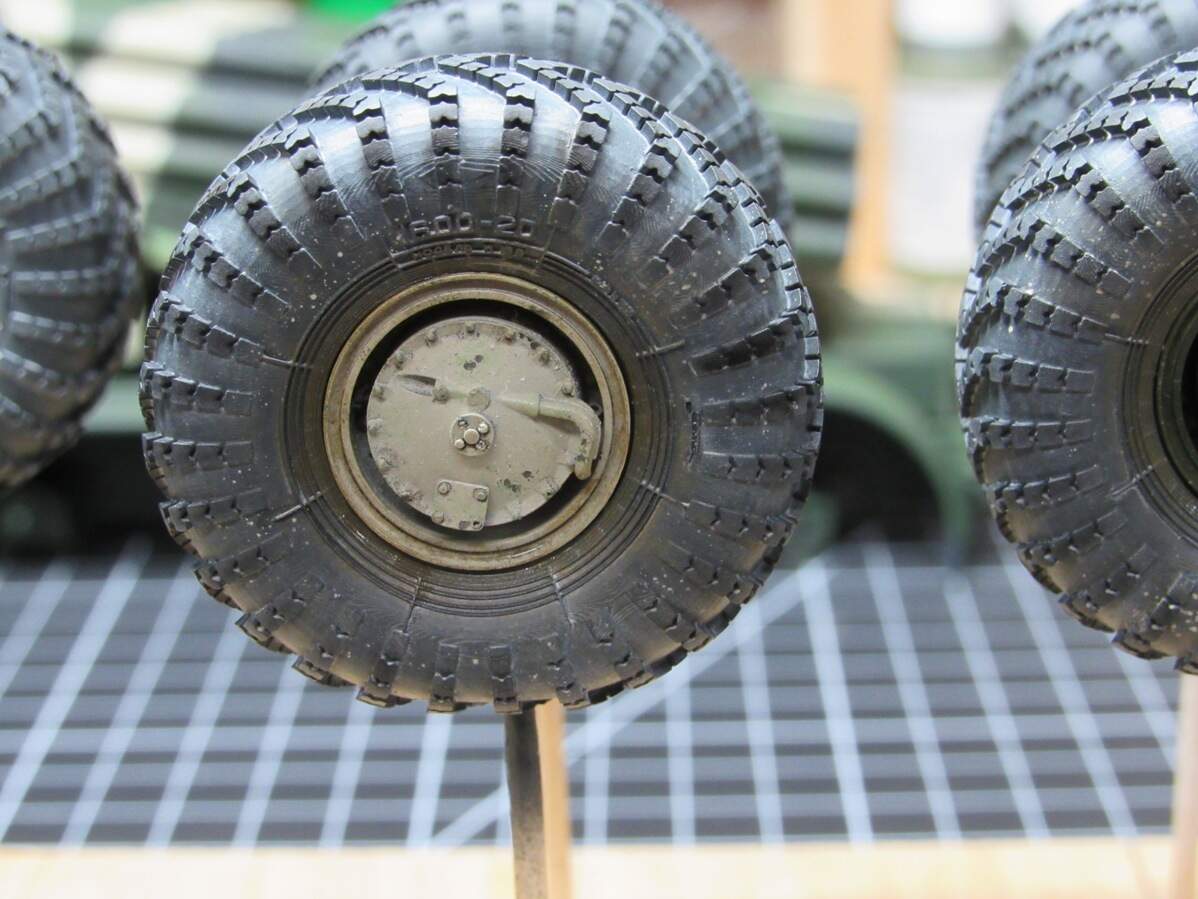
Went ahead and did 4 in one go. The only thing I did differently was I started with a dust wash instead of straight to blending oils, not sure how much it really helped.
I think they could use more weathering around the shoulders. I went a little conservative here as it’s my first try. Might touch it up with some pigments later on.
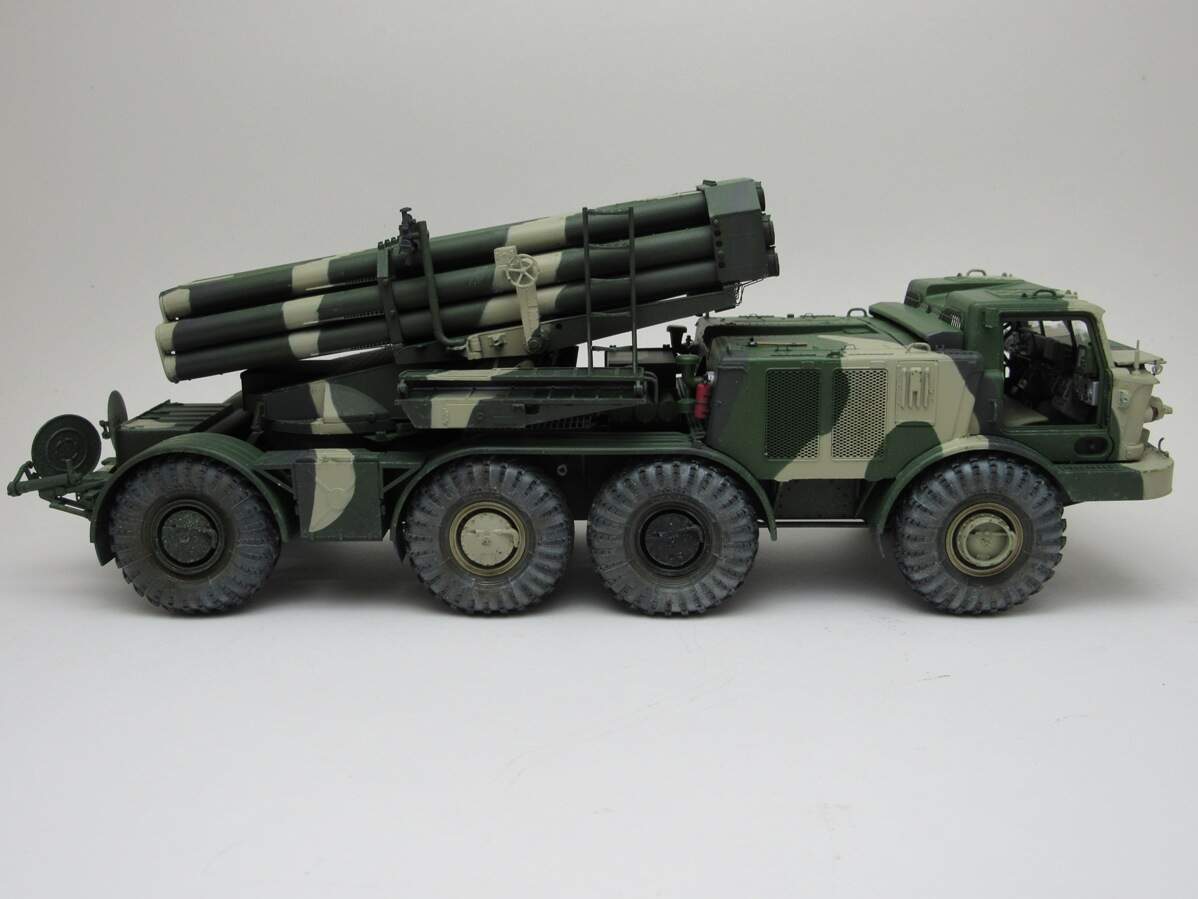
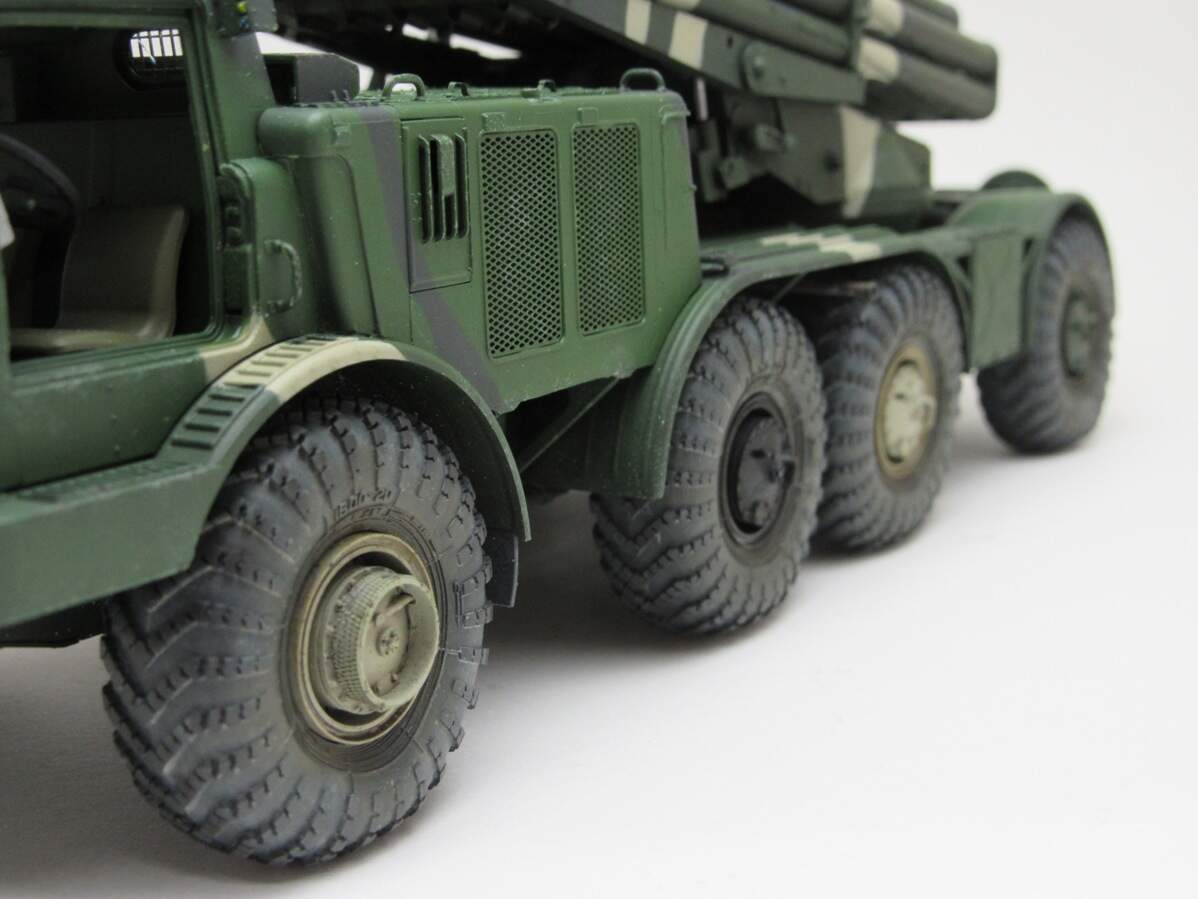
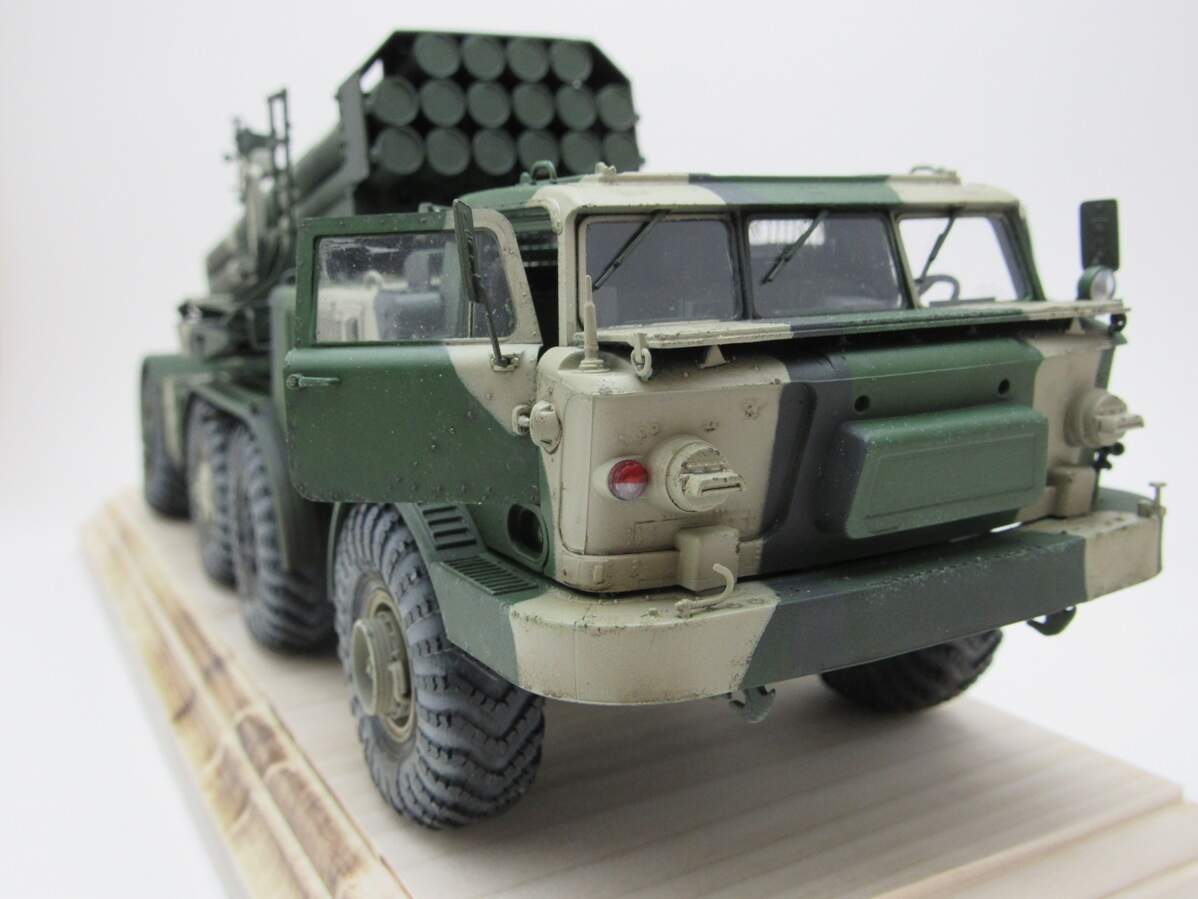
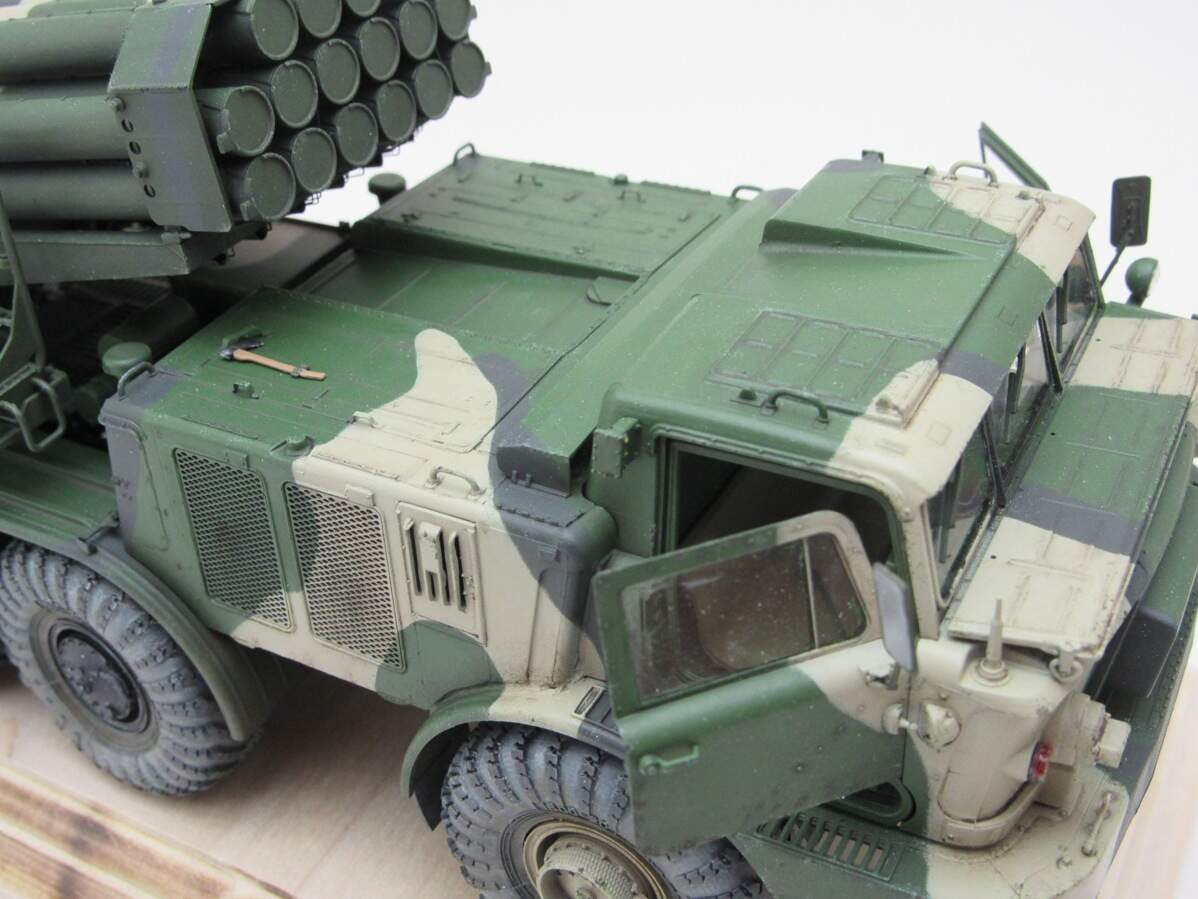
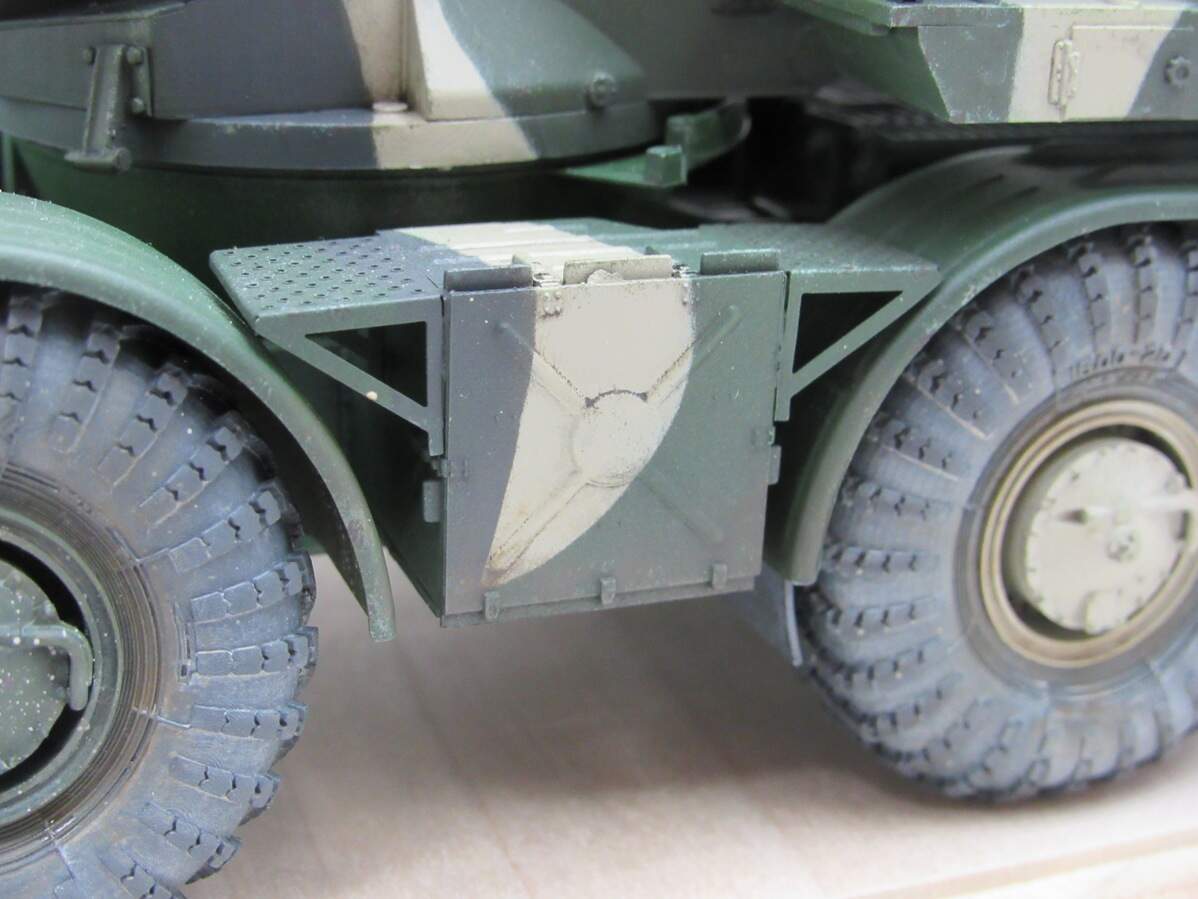
The rest of the model has been chipped and is now ready for a pin wash. After that it’ll be some streaking and shading, then a light dust spray along the lower half, glue the doors in place and that’ll be it. Now that I think of it, I’ll probably make a simple wood base for this one too.
James, you’ve done an excellent job on this fearsome piece of equipment. I remember the first blurry photos of the real thing from way back when, and also it was mis-identified as a “BM-22”. You’ve done this kit more than justice.
Thanks boys. No figures planned for this one Brian. I’ve only tried doing some figures once like 3 years ago, don’t think I ever finished them, afraid I wouldn’t be able to do them justice. It’s one of those dark corners of modeling for me. Still much to learn.
Thanks Karl. I got a pinwash on it the other day, but since then it’s just been sitting there. Getting a little distracted with work bench remodeling, but it shouldn’t be long now.
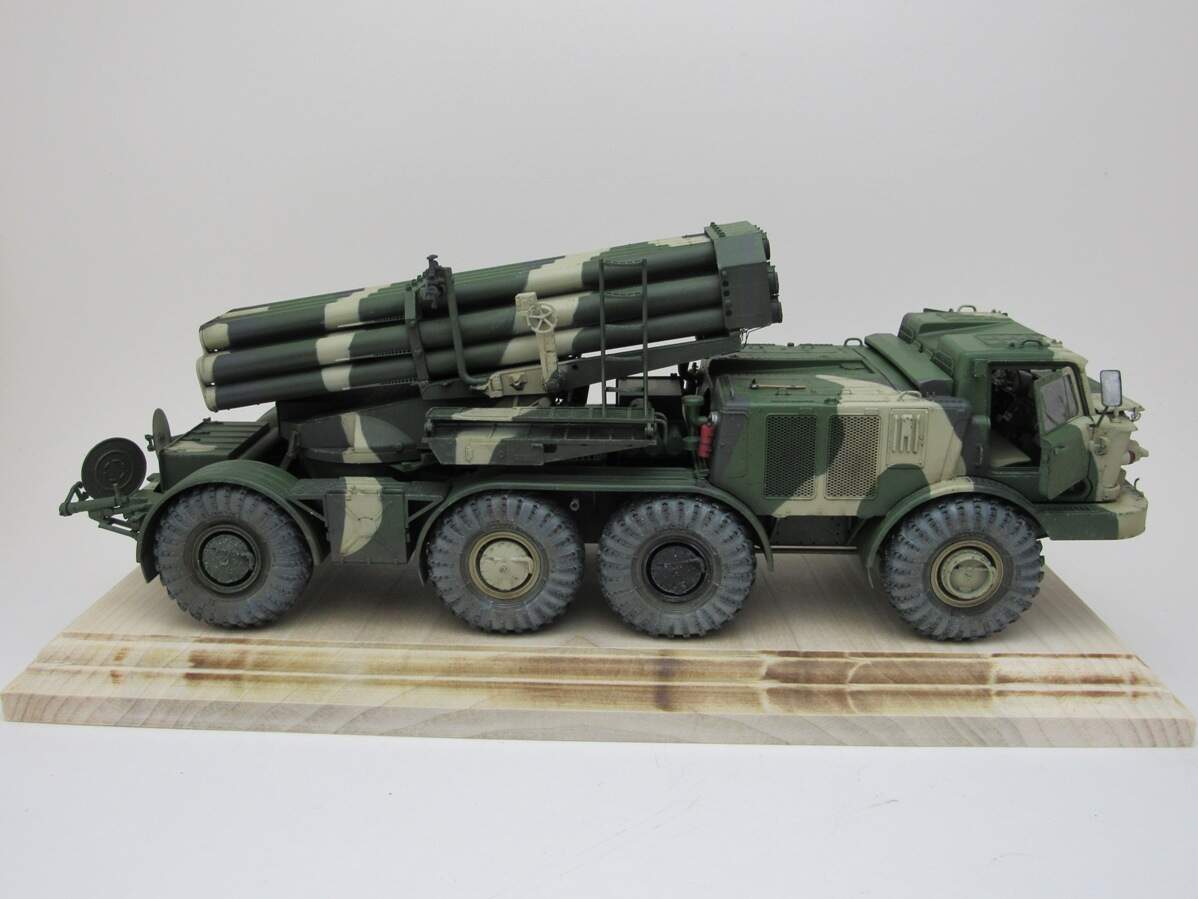
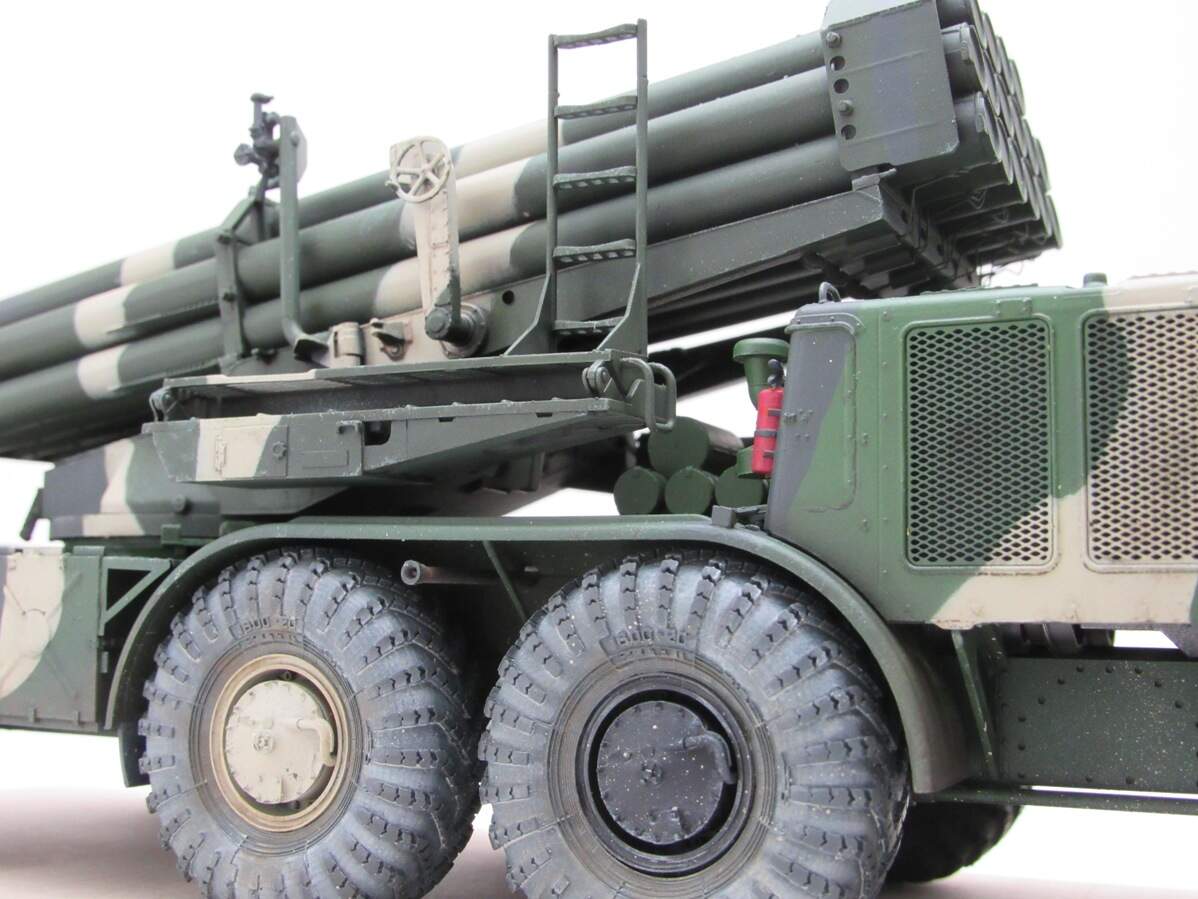
Calling it done. Was originally thinking of doing a few more weathering steps, but I’m getting burnt on this kit, and I think it looks good enough. Just a filter, chipping, pinwash and some oil weathering. Sitting on a piece of poplar right now, might stain it one day. Also got another desk light, so my photography has improved a bit.
I think you are wise to stop at this point. I often wonder at what point to stop and I think you have done all you need to here to bring the vehicle to life. I think this is a stellar job from the detailing through the camo painting to the weathering. First rate.